
The third chapter of Raft just came out and along with it comes the new location called Varuna Point. This location was once a construction site where skyscrapers were supposed to stand, but now they’re partly submerged and ruined. However, there are treasures and secrets to be found hidden within these ruins, as well as some menacing creatures that made this place their home.
In this guide, we will show you a complete Raft Varuna Point walkthrough, show points of interests, as well as give you pointers on how to survive the encounters within.
How to get the coordinates for Varuna Point in Raft
Upon clearing Tangaroa, you will get the note that will contain the coordinates that lead to Varuna Point. Once you have the coordinates, punch the numbers in your Receiver and head on over to the point.
How to prepare for Varuna Point in Raft
You’ll find a lot of scrap and valuable materials while exploring the ruins of Varuna point, this includes new recipes and crafting materials so make sure that you have enough space in your inventory and bring along the essentials such as healing salves and oxygen bottles since you will be spending quite some time underwater.
Raft Varuna Point Walkthrough Part 1 – Search for four spotlight parts
As you arrive in Varuna Point, you will see two ruined skyscrapers, the tallest one has a crane up top. The first thing you would need to explore is the underwater parts of the taller building.
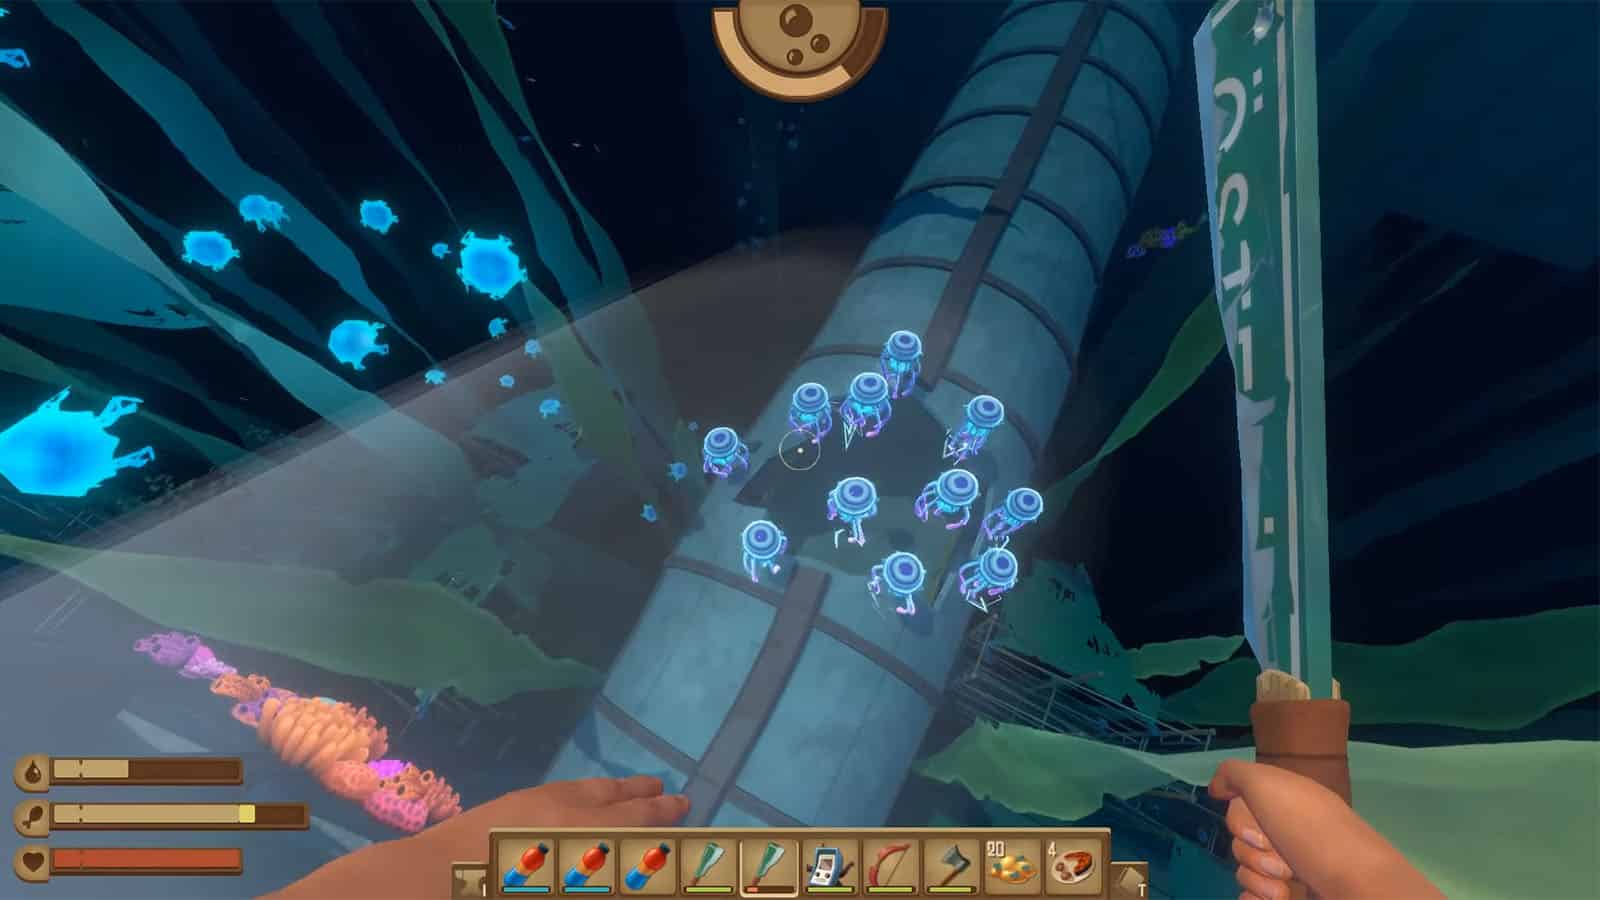
Head to the side of the taller building that is facing the other building and dive down. You will see a spotlight shining light towards a swarm of jellyfish, and take note of the other spotlight below that is not functional because our first objective is to find the spotlight parts to make the spotlight work again. Feel free to grab anything that you see as we navigate the areas.
Go through the jellyfishes that are blocking the hole towards the building by timing it right. You’ll then find a buoy with a note on its base, and a G written on the wall. This G will serve as a marker which tells that you are going at the right path. The buoys lead to air pockets which also have some explorable areas full of loot.
Spotlight Part #1
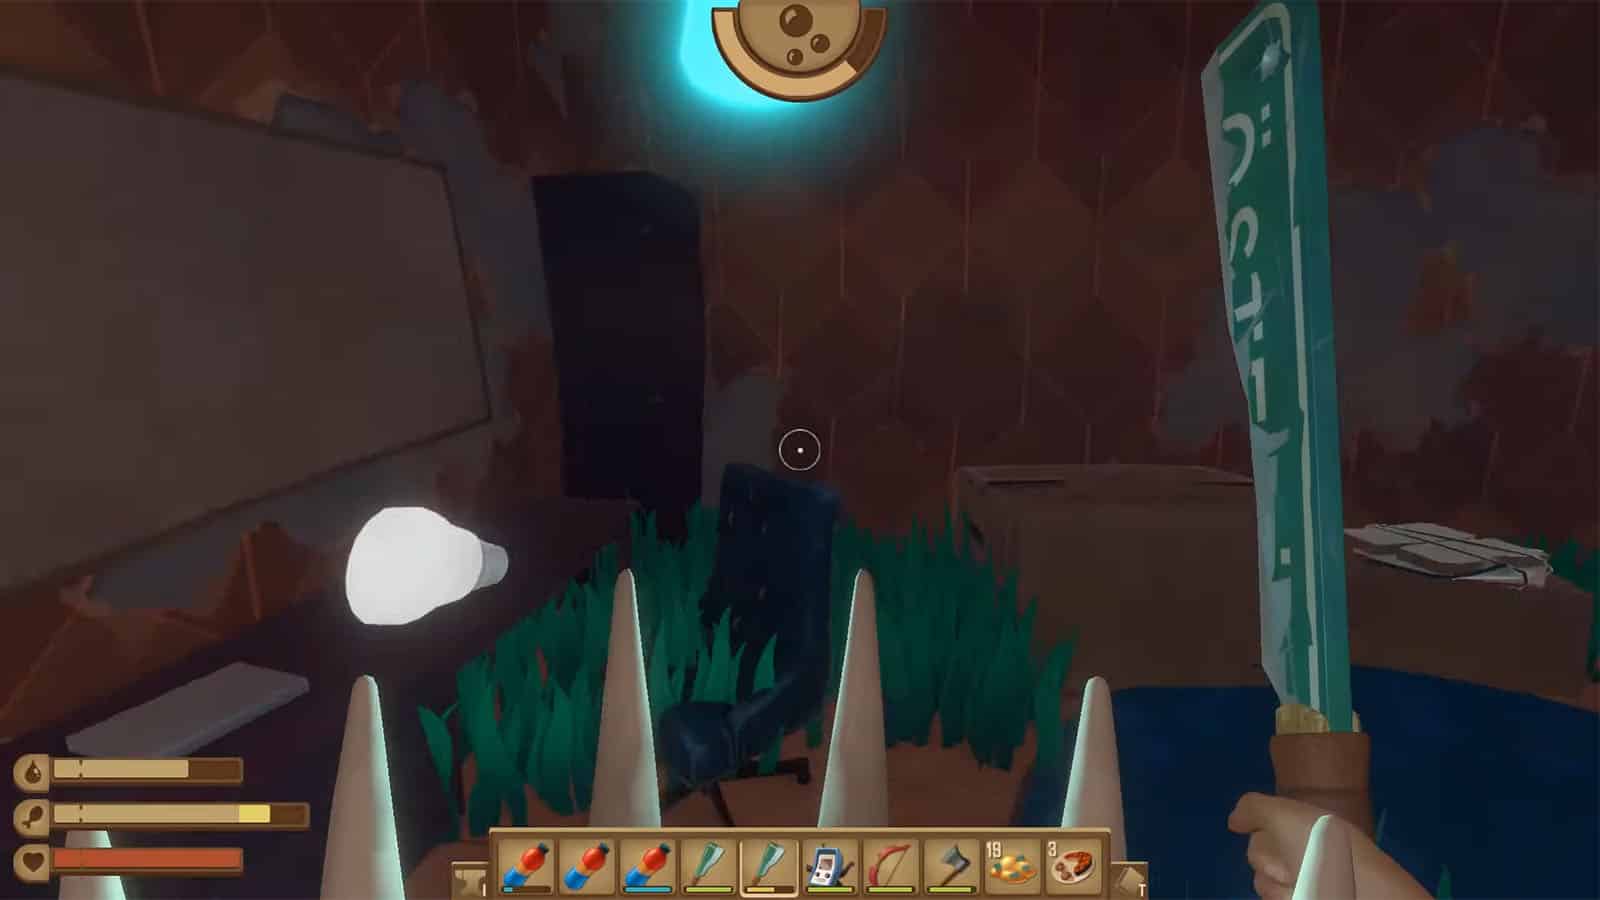
From the first buoy, head straight to the hallway and enter the room to the left. You’ll encounter an angler fish that drops its head when slain; this headgear can be worn to provide some spotlight. Enter the next connected room and you will find the first Spotlight Part.
Spotlight Part #2
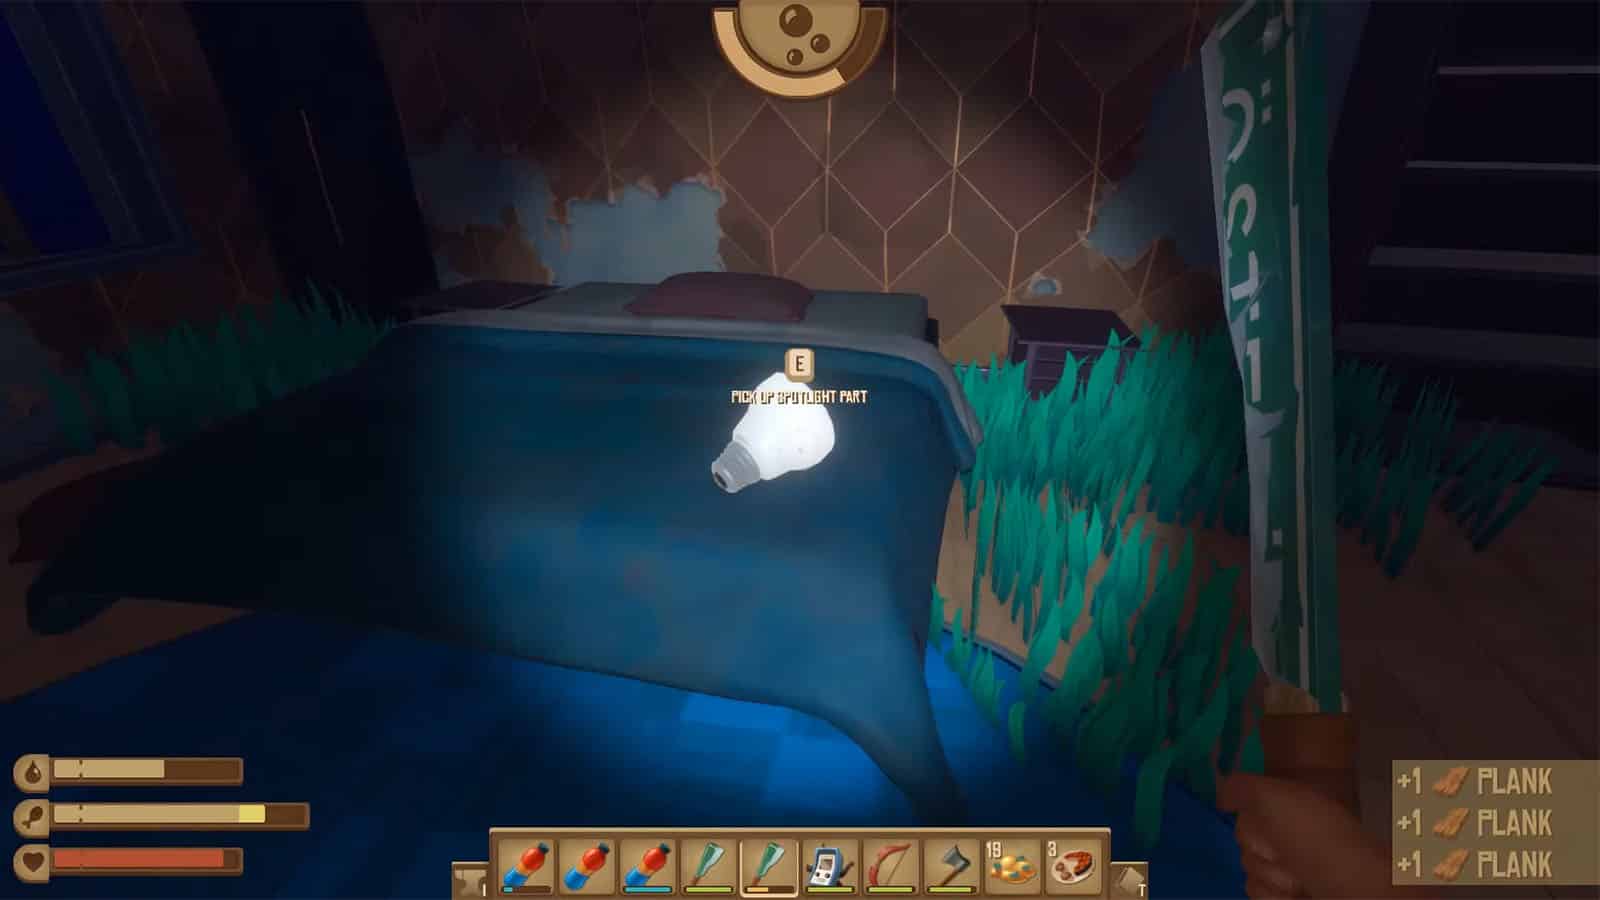
Head back to the hallway and check out the opposite room. Then, head towards the connecting room where another angler fish will be and you will find the second Spotlight Part on top of the bed.
Spotlight Part #3
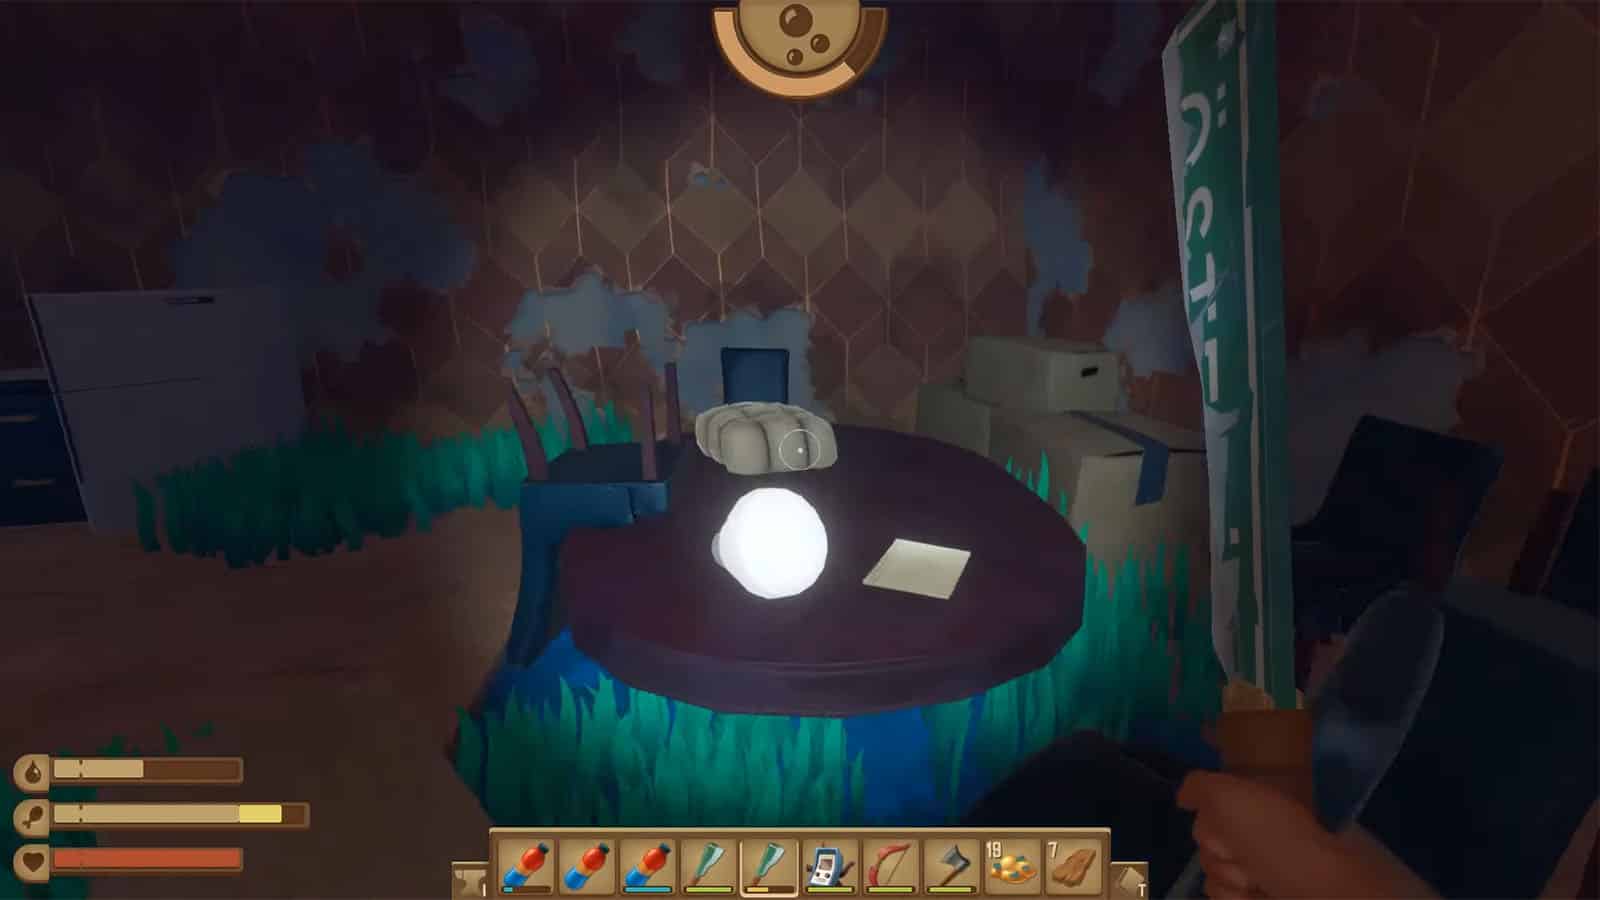
Head back to the area where you first entered the building and use the elevator shaft to the side to swim up a level. Then, head straight to the open door on the end of the hallway to find the third Spotlight Part next to the second note.
Spotlight Part #4
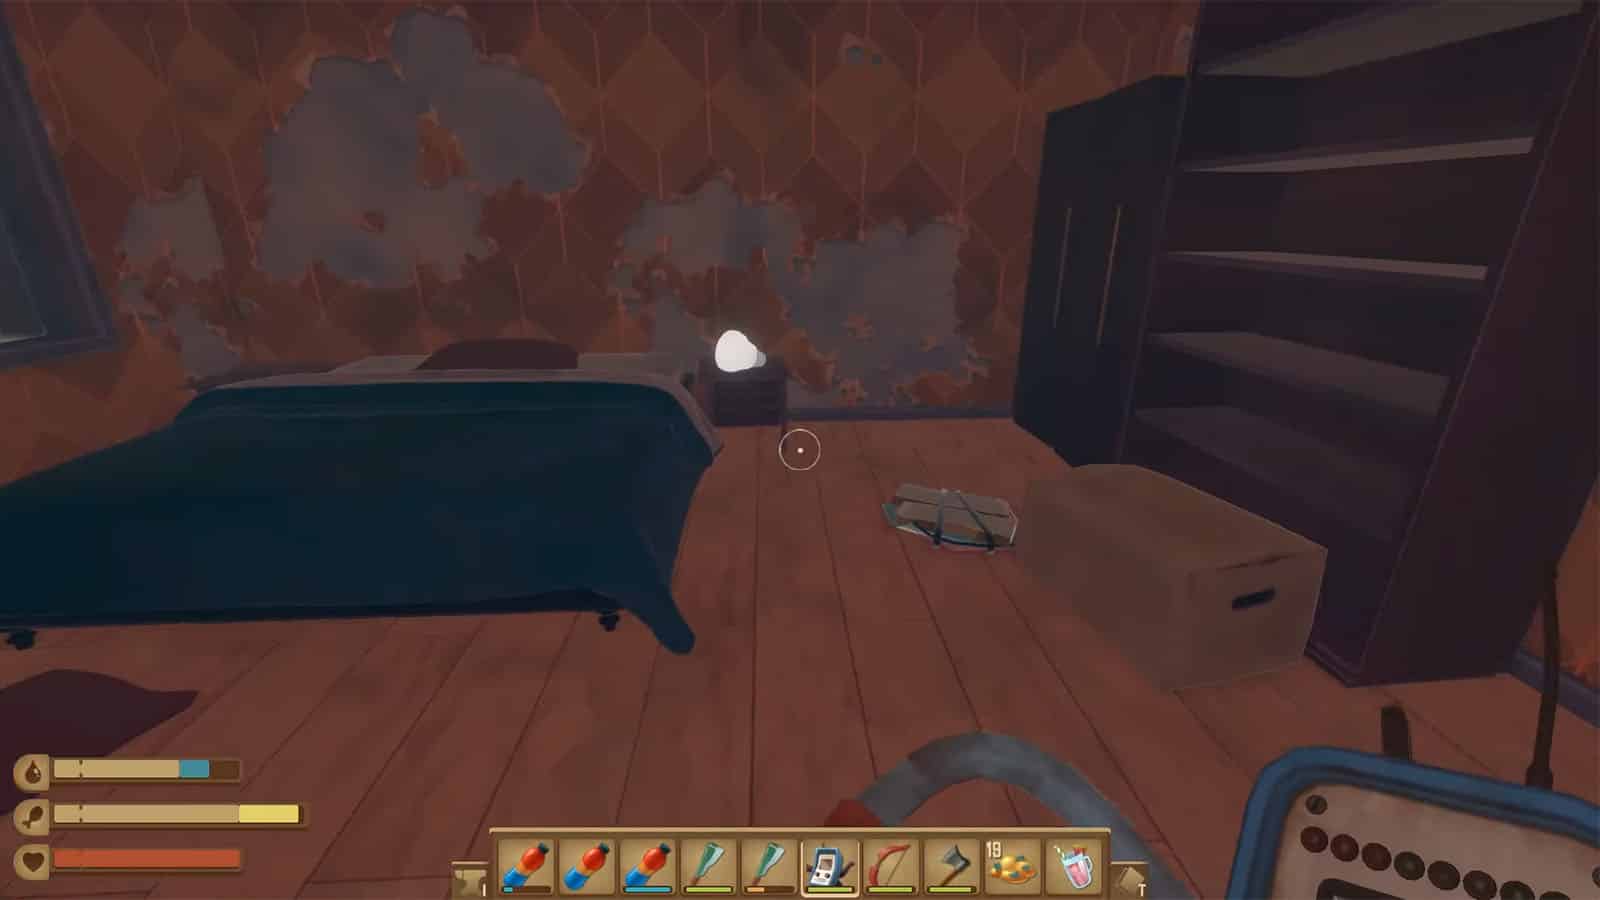
Head back to the area near the shaft and swim up and out of the water using the scaffolding. Then enter the room to the left and go to its connecting room to find the fourth Spotlight Part.
After collecting all four spotlight parts, head back out to where the other spotlight is and install all the parts. The spotlight will then light up and make the other swarm of jellyfishes move away from the hole in the tunnel bridge.
Raft Varuna Point Walkthrough Part 2 – collect Motherlode Key and Advanced Head Light Blueprint
Head inside the tunnel bridge. Since the door to the tall building is locked from the other side, head towards the side connecting to the short building. There’s another buoy leading to an air pocket at the entrance. While still underwater, head to the right side to find a recipe.
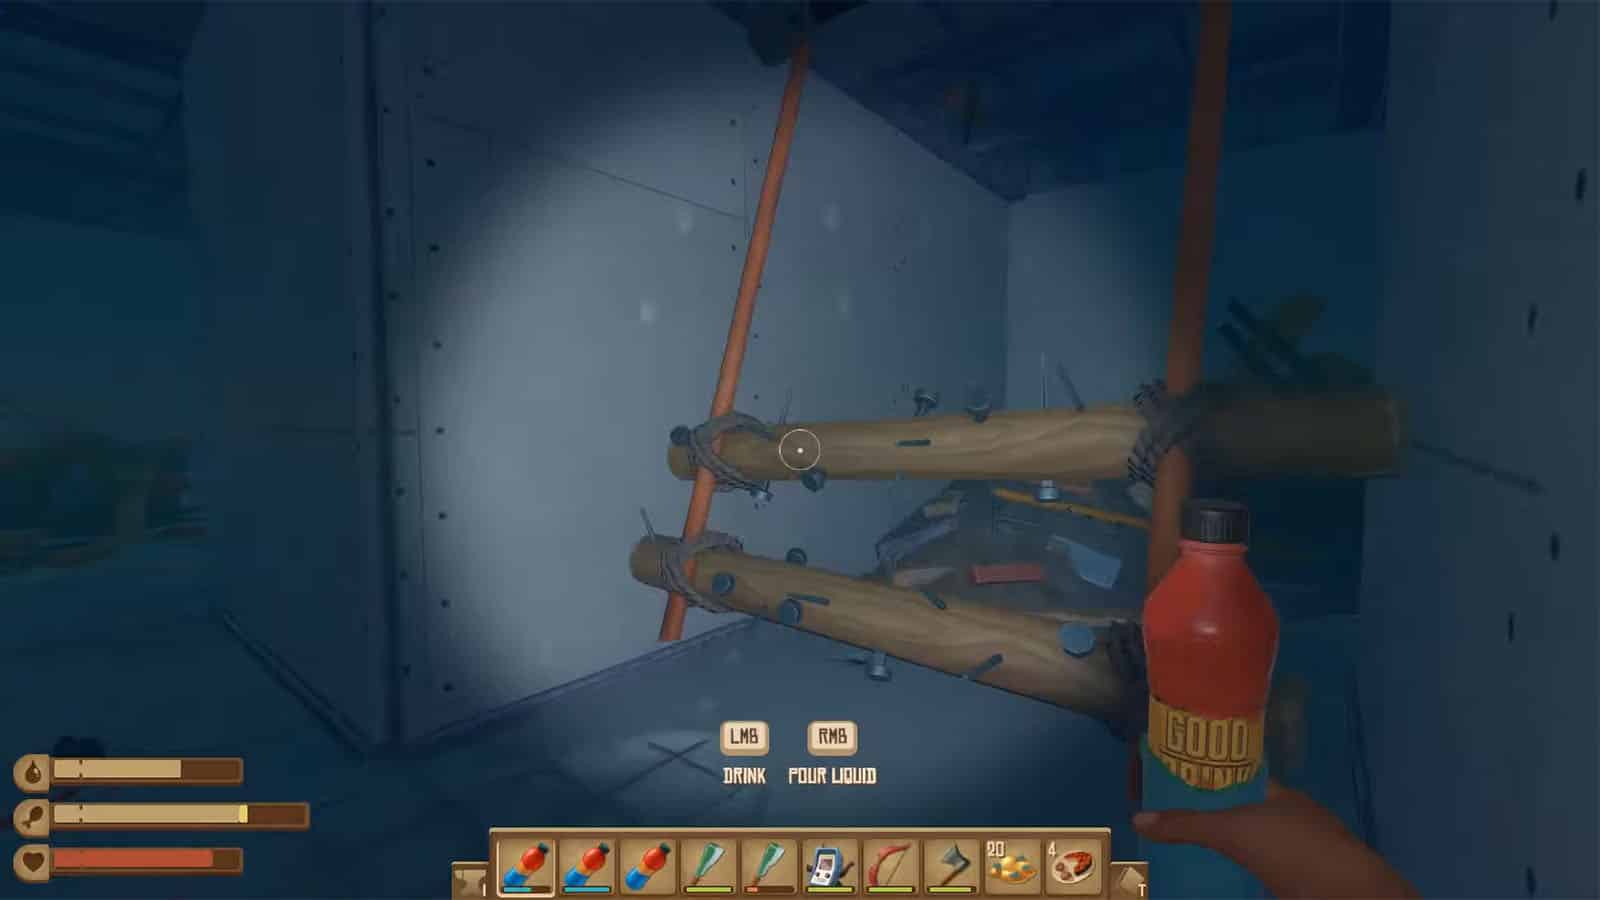
Follow the path until you reach another buoy and get out of the water. You’ll find another note by the pile of trash nearby. Be careful because from this point onwards, the path will be full of traps so watch out for tripwires and spikes. Go through the path carefully and you’ll need to climb up an I-bar to reach a higher level.
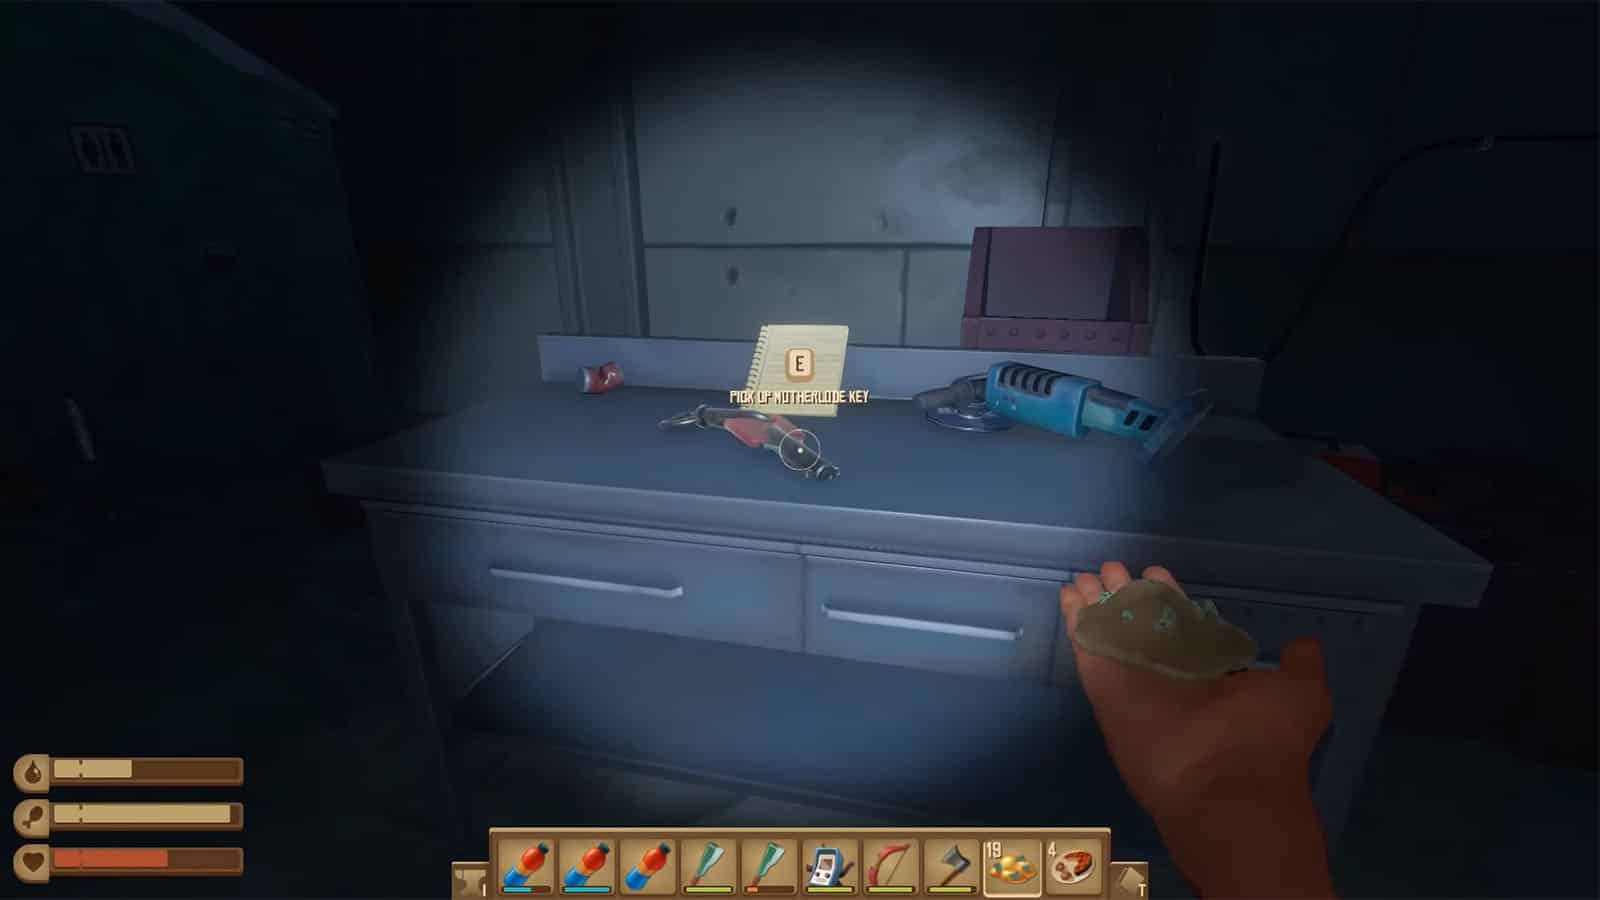
Go through another path filled with traps until you reach some scaffolding that leads to a higher floor. This is the final leg of the trapped halls, so carefully go through it until you reach a hole in the floor. This will then lead you to a room where you’ll find an Advanced Head Light blueprint, another note, and the Motherlode Key.
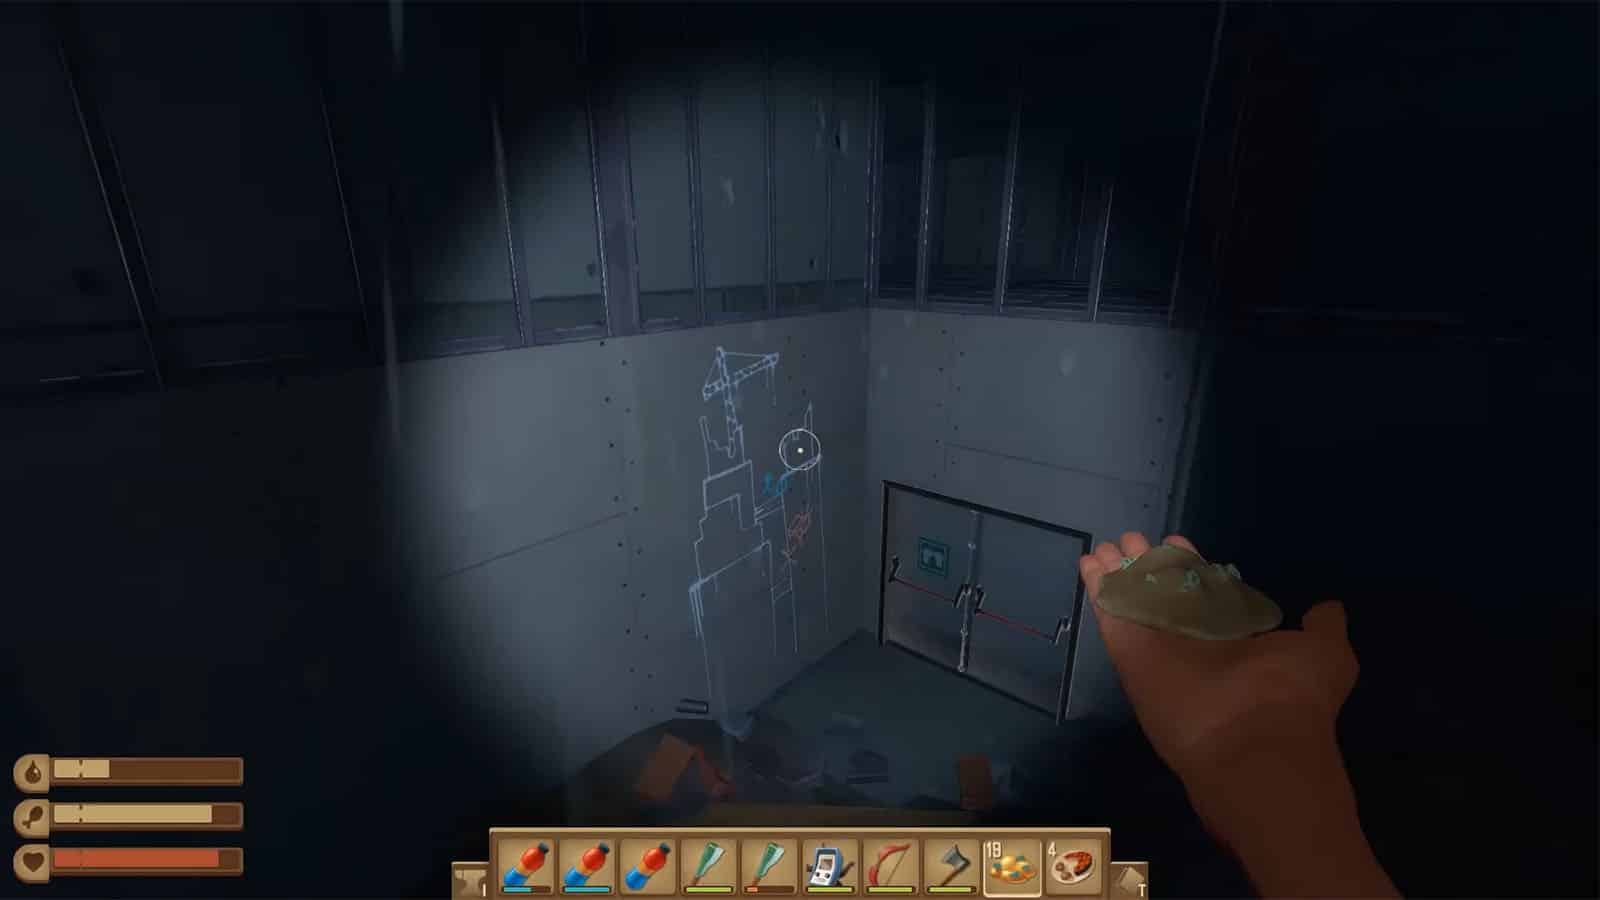
Climb the crates on the side to get to the next section where there are lots of scrap, materials, and a couple of recipes that you can pick up. Make it through the next areas until you see a drawing of the buildings next to the exit door. This door will lead you back near the tunnel bridge.
Raft Varuna Point Walkthrough Part 3 – Rhino Shark Boss Fight
Upon exiting the short building, dive down even deeper to find another hole leading back into the building. You will then find a closed gate where you can use the Motherlode Key to open it up. Then, navigate through the corridors and floors until you reach the other intact tunnel bridge as shown in the drawing from earlier.
At the end of the tunnel bridge are a bunch of items that you can get. The boss will suddenly bust the gate open which you can go through to get to its arena.
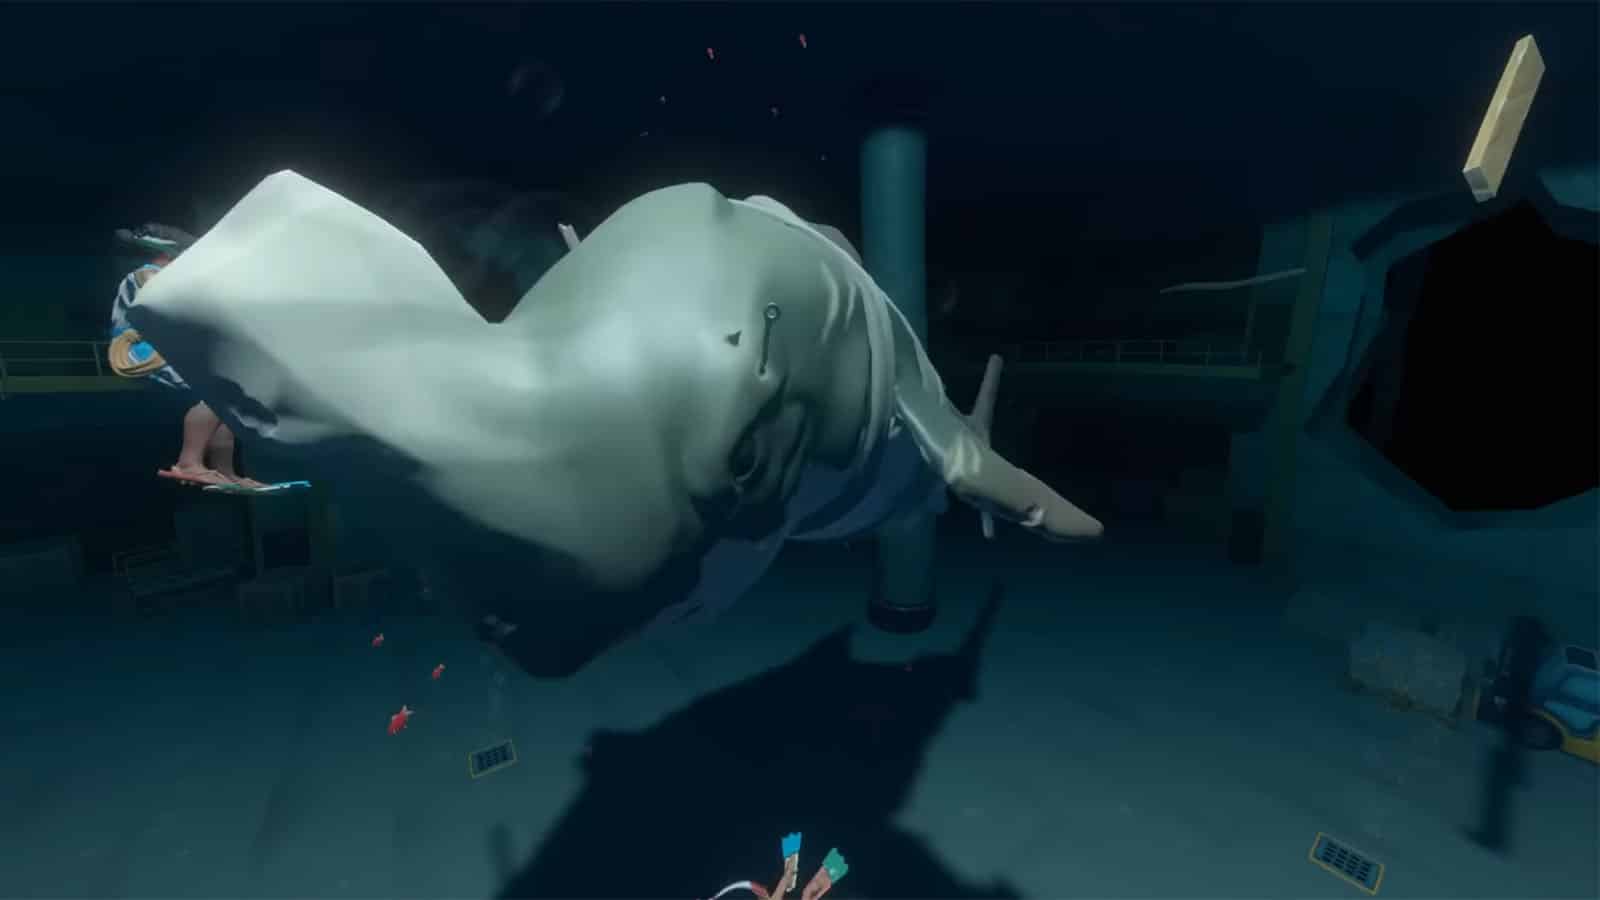
How to beat the Varuna Point Rhino Shark Boss in Raft
The Varuna Point Rhino Shark Boss in Raft will be split into three parts and in each part, and to beat the Varuna Point Rhino Shark Boss, your goal is to lure the boss to ram into the pillars and break them in each level.
Varuna Point Rhino Shark Boss Fight 1st Level
The first level has four pillars which have to be broken once to reveal its rebars. Lure the boss by positioning yourself near a pillar, then let the boss see you to taunt it to charge, and then immediately move behind the pillar to make the boss crash into it. Once they are exposed, you’ll have to grab an explosive barrel from the middle of the floor and place it in between the rebars. You’ll have to lure the boss to crash into them once more to make them explode. Once all four pillars are broken, swim up to the next floor.
Varuna Point Rhino Shark Boss Fight 2nd Level
The next floor only has two pillars, but they have to be crashed into twice to reveal the rebars, after which you can place another explosive barrel in it and make the boss crash into it again. Once both pillars are destroyed, swim up to the final floor.
Varuna Point Rhino Shark Boss Fight 3rd Level
The final floor only has one reinforced pillar that has to be crashed into thrice before a barrel can be placed in it. The final barrel will kill the boss as it crashes into it, allowing you to carve it for its meat. You will also get the Rhino Shark Trophy from it and an achievement.
Swim upwards to get to the upper level and out of the water. Defeating the Varuna Point Rhino Shark Boss will lead you to a room where the Wind Turbine blueprint is, along with a Crane Key which will be needed later on. Climb up the ladder and go through the pipes until you reach another door. This is the same door by the tunnel bridge earlier that was locked from the inside. Make your way back to the surface, unload your loot at your raft, and prepare for the next part.
Varuna Point Walkthrough Part 4 – find the Temperance Island coordinates
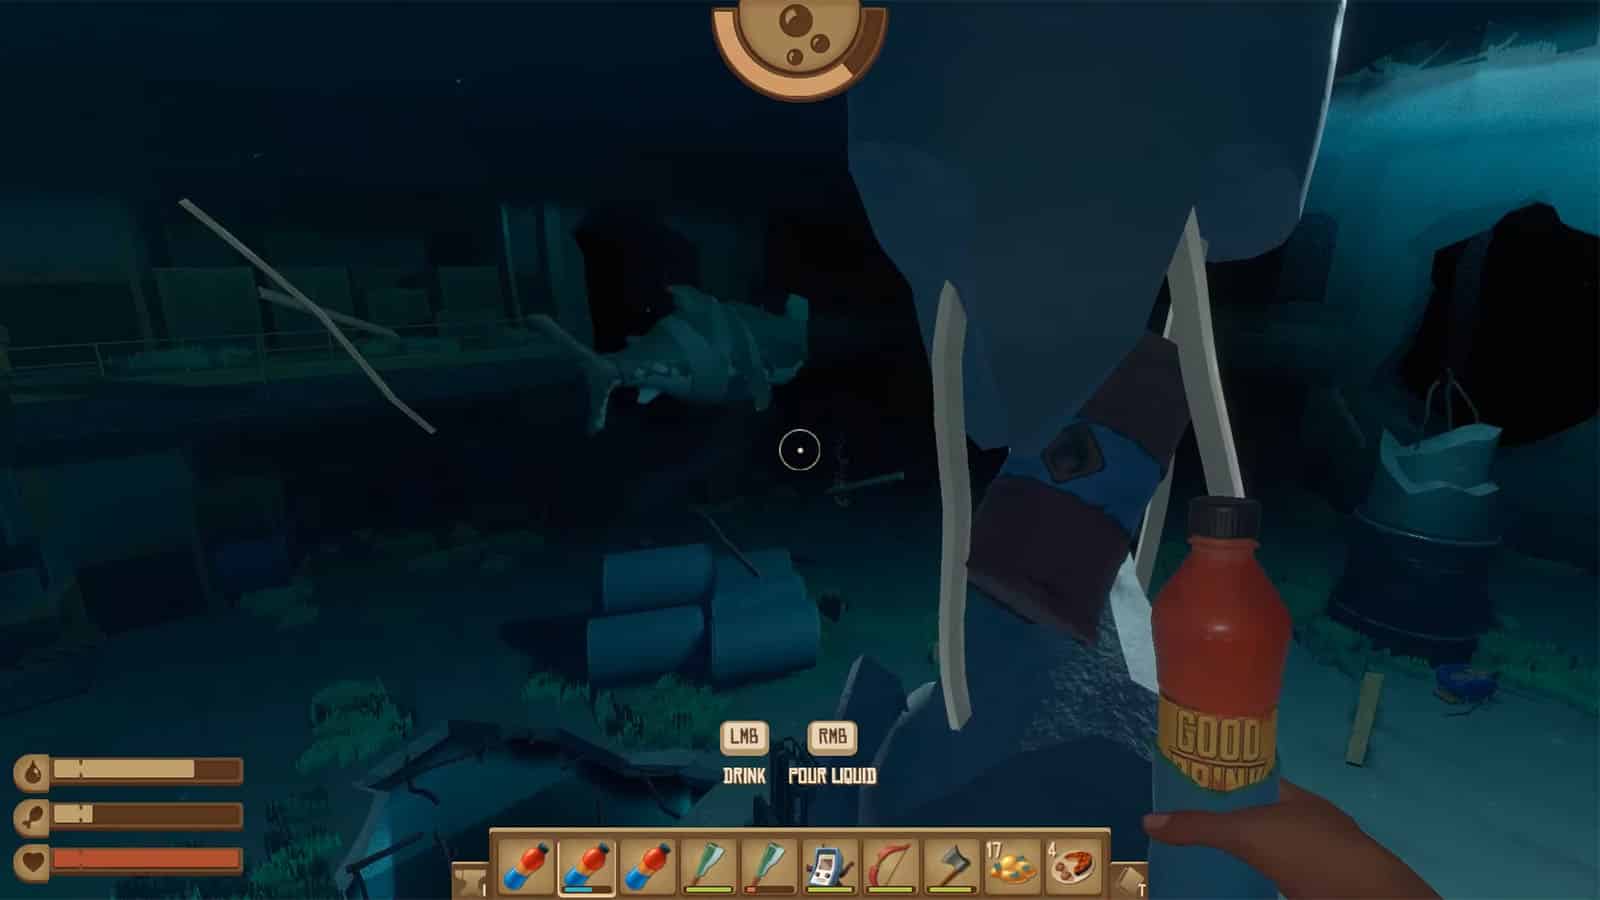
Climb up the sides of the taller building using the scaffolding and the nests on its side. Be careful as you will encounter Lurkers from this point onward. You objective at this point is to reach the crane cockpit at the top and you will have to do a little bit of parkouring to get there.
Start climbing using the machine in the middle of the building and make your way upwards by jumping on top of I-bars, debris, crates, and scaffolding. You’ll eventually reach the base of the crane where you can use the ladder to climb higher. Before entering the cockpit, make sure to check the other parts of the crane as there is an Electric Grill blueprint and another note that you can pick up.
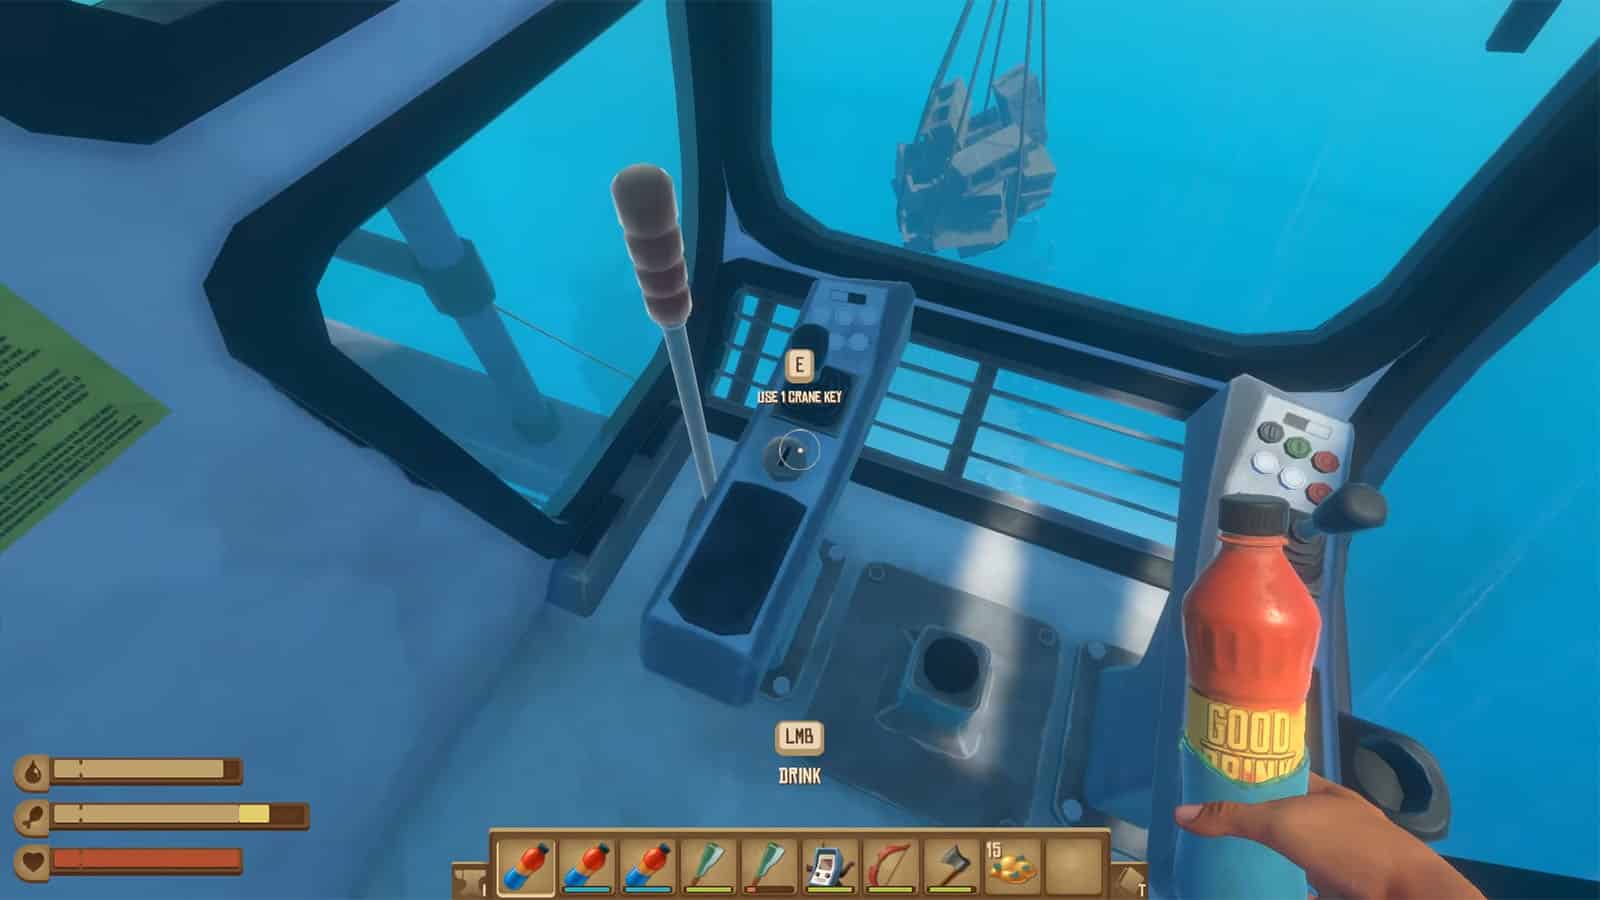
Once you are ready, use the crane key inside the cockpit and pull the lever to make the load of bricks fall on to the shorter building. This will tear a hole through the middle of the building for you to explore. Use the zipline to cross to the other building.
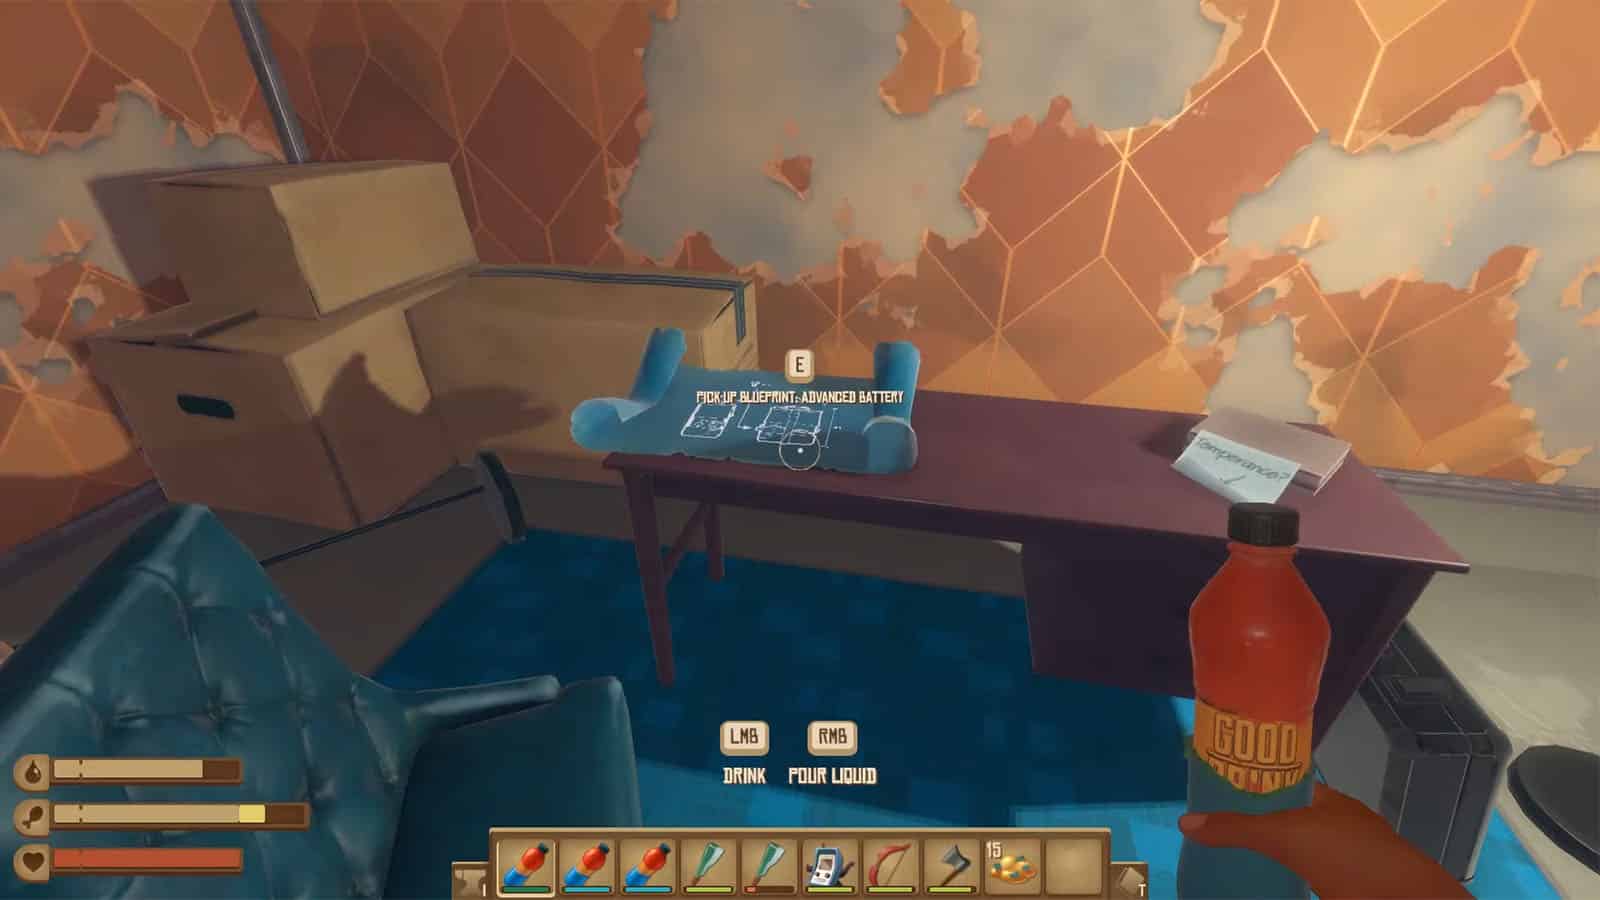
Once you are at the shorter bridge, make your way safely down to the lower floors. You will then see a desk where a blueprint for an Advanced Battery is on, along with a note that says “Temperance” with a new coordinates code. At this point, if you have collected all the notes, you will get an achievement. You have then completed Varuna Point and head back to your raft with your loot, to start your journey to the next island.
Check out this video by SeeShell Gaming showing what is in store in Varuna Point:
Image credits to SeeShell Gaming (YouTube)


