
Losomn is one of the worlds that players can visit in Remnant 2. It is a world where the Fae and the Dran have been forced to coexist, resulting in chaos between the two races. The separation between the two races are apparent; with the Fae’s regal structures in contrast with the depressive rundown streets of the Dran.
Read ahead as we talk about Losomn and how to progress through it in Remnant 2.
Remnant 2 Losomn Walkthrough

Losomn can be one of three worlds that you can visit throughout a campaign, but the order that you can visit these worlds will be random in every campaign run. In this world, the quests, encounters, events, and mini dungeons will also be random in every run, including the enemies and mini bosses.
There are two main storylines in Losomn that you can play through, and you’ll know which one you’ll be playing by your starting point:
- The Asylum – Starting location is Morrow Parish.
- The One True King – Starting location is the Beatific Palace.
Completing any of the storylines in a run by defeating their respective final bosses will reward you with the Index Segment which is the key item of the overarching campaign.
The Asylum Storyline
You will first arrive at Morrow Parish which is almost deserted save for some ghoulish enemies. Explore the area until you reach your first dungeon. After clearing the dungeon, you will gain access to a different part of Morrow Parish and your objective will be updated.
Mad Man
Continue moving through the Morrow Parish until you arrive at the estate which is the Asylum. You can also take the time to explore the newly unlocked paths that lead to the other dungeons in the area.
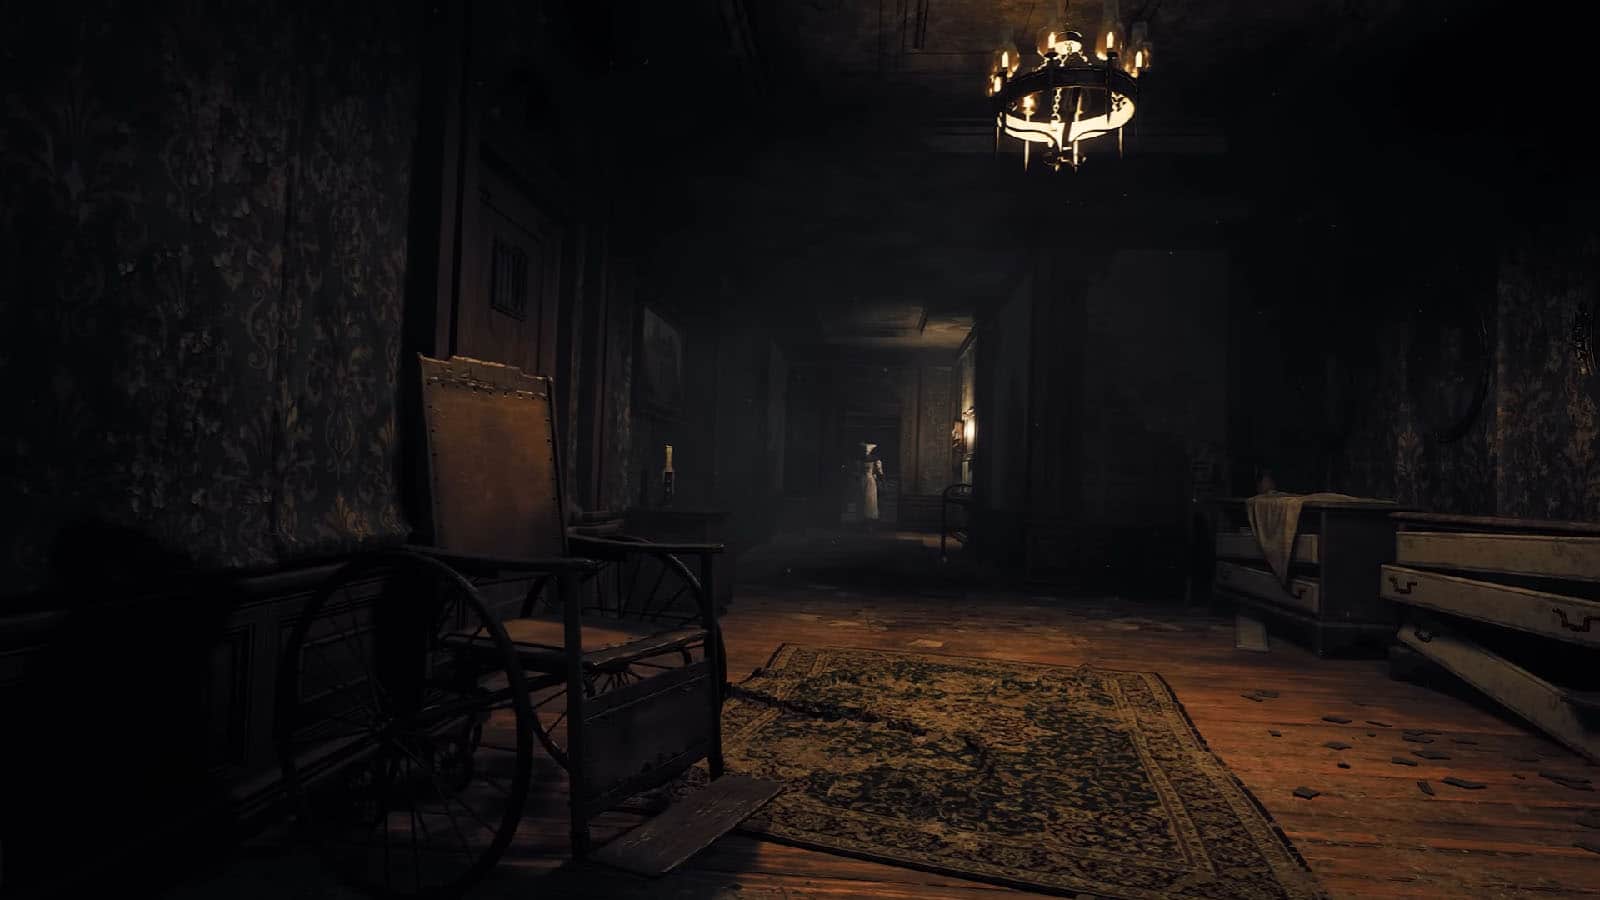
The Asylum

The Asylum is where the crazed staff and patients are roaming around; one they spot you, they will chase you down. You will also learn about the Nightweaver, this area’s main boss. As you go through the rooms, you may stumble upon one of the key items called as the Stone-Carved Doll. Exploring further into the depths of the Asylum, you will find Dr. Marrow who is the one that asks you to find these dolls for her.
You need to find three dolls in total, all glow in orange, which can be found in these areas:
- In the first floor near the room where you will find a nurse enemy.
- Outside near the shed.
- On the third floor.
Before you can access the third floor, you must face off against the Ripsaw, the boss that is hiding inside the shed. After defeating it, you can get the Third Floor Key that is in the shed. You can also find the Prison Cell Key on the third floor and use it on Dr. Marrow’s cell later on.
Once you have all three dolls, go back to Dr. Marrow and give them to her. She will then sing a song which have hints to a code that can open a safe in her office. Picking up the numbers in the song will give you 2971 as the safe’s combination. Inside the safe is where you can find the Double Barrel weapon.
If you open Dr. Marrow’s cell, you won’t find her there, but you will only see a Nightweaver Stone Doll. Using this item on the Nightweaver’s Web in the basement of the Asylum will reward you with the Dreamcatcher weapon.
Once you’re prepared for the next area, head to the veil at the third floor to reach Nimue’s Retreat. In here you will find Nimue, the former Goddess of the Fae. She serves as a merchant where you can purchase unique materials.
The Forsaken Quarter
Exit Nimue’s Retreat to arrive at the Forsaken Quarter which is the next overworld of this world. You can take the time to explore the other events here before taking on the main dungeon for this half.
After completing the dungeon, you will encounter The Nightweaver, but you won’t go against it yet. Scare it away by shooting at it and then check on the corpse it was feeding on to find the Soulkey Tribute.
With the Soulkey Tribute on hand, head back to the Asylum’s basement and use it on the Nightweaver’s Web and it will teleport you to The Tormented Asylum. In here, you will be fighting against The Nightweaver.
The Nightweaver Boss Fight
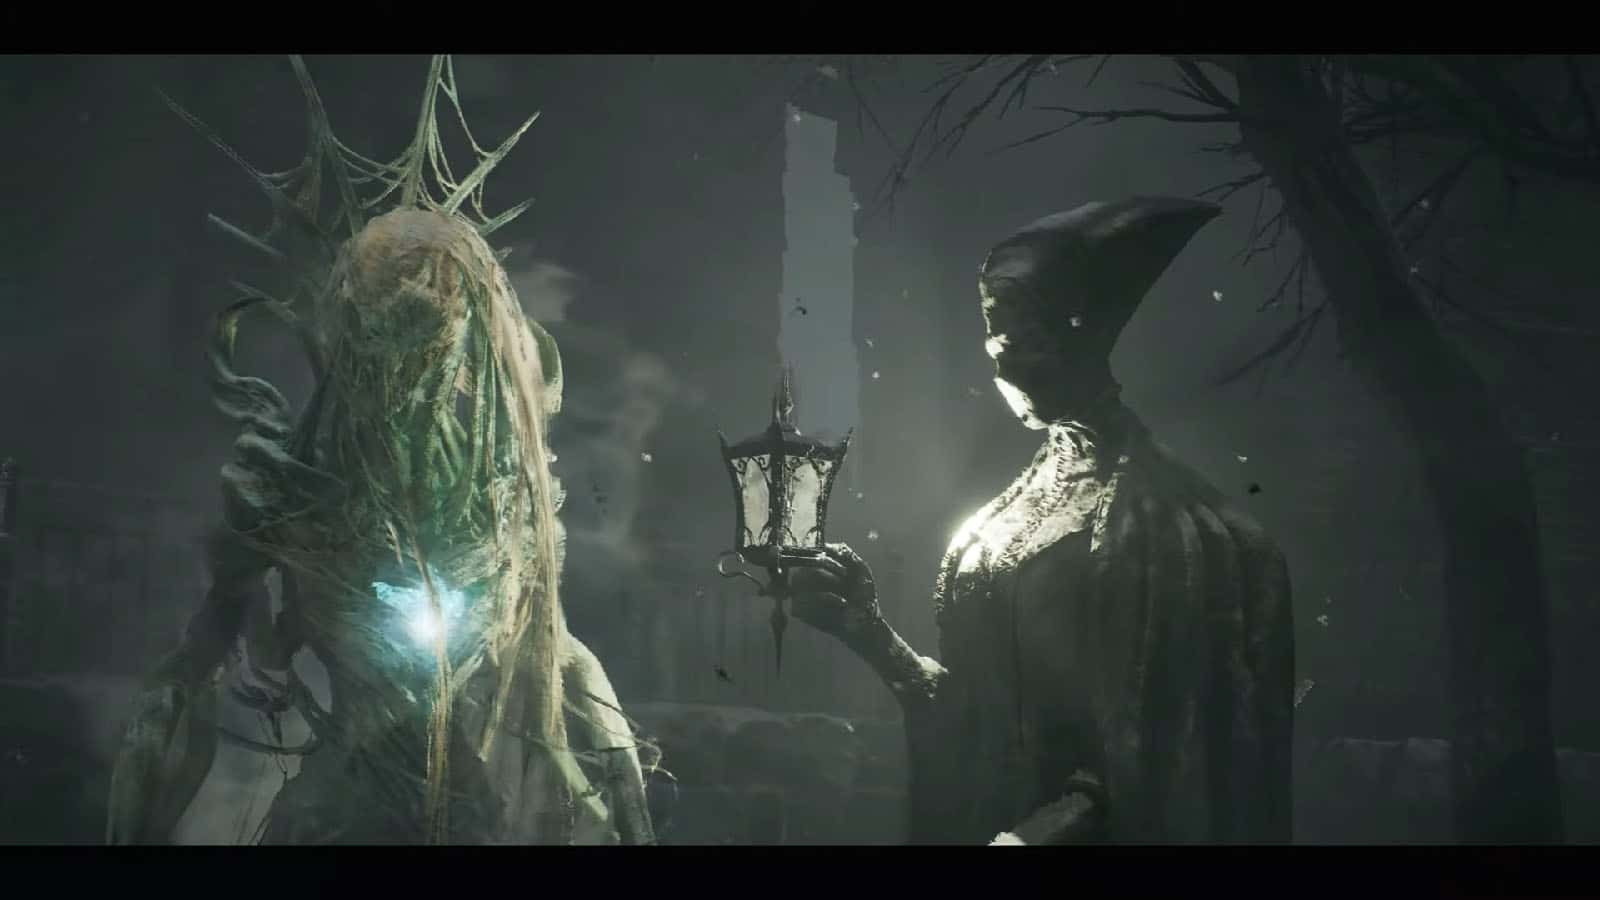
The Nightweaver is nimble and it also spawns its adds. What makes the fight challenging is the small area that you’ll be fighting in take note of its weak point which is the glowing part of its chest. Once you’re done with its first phase, get ready for a second phase where you will get teleported inside the Asylum. While in here, be careful not to stick close to the walls where you can get grabbed by the boss.
Once the boss has been defeated, you will be rewarded with the Cursed Dream Silks and an Index Segment. The Nightweaver also has another unique drop called the Nightweaver’s Finger that only drops if you manage to destroy its heart in the first phase of the fight.
The One True King Storyline
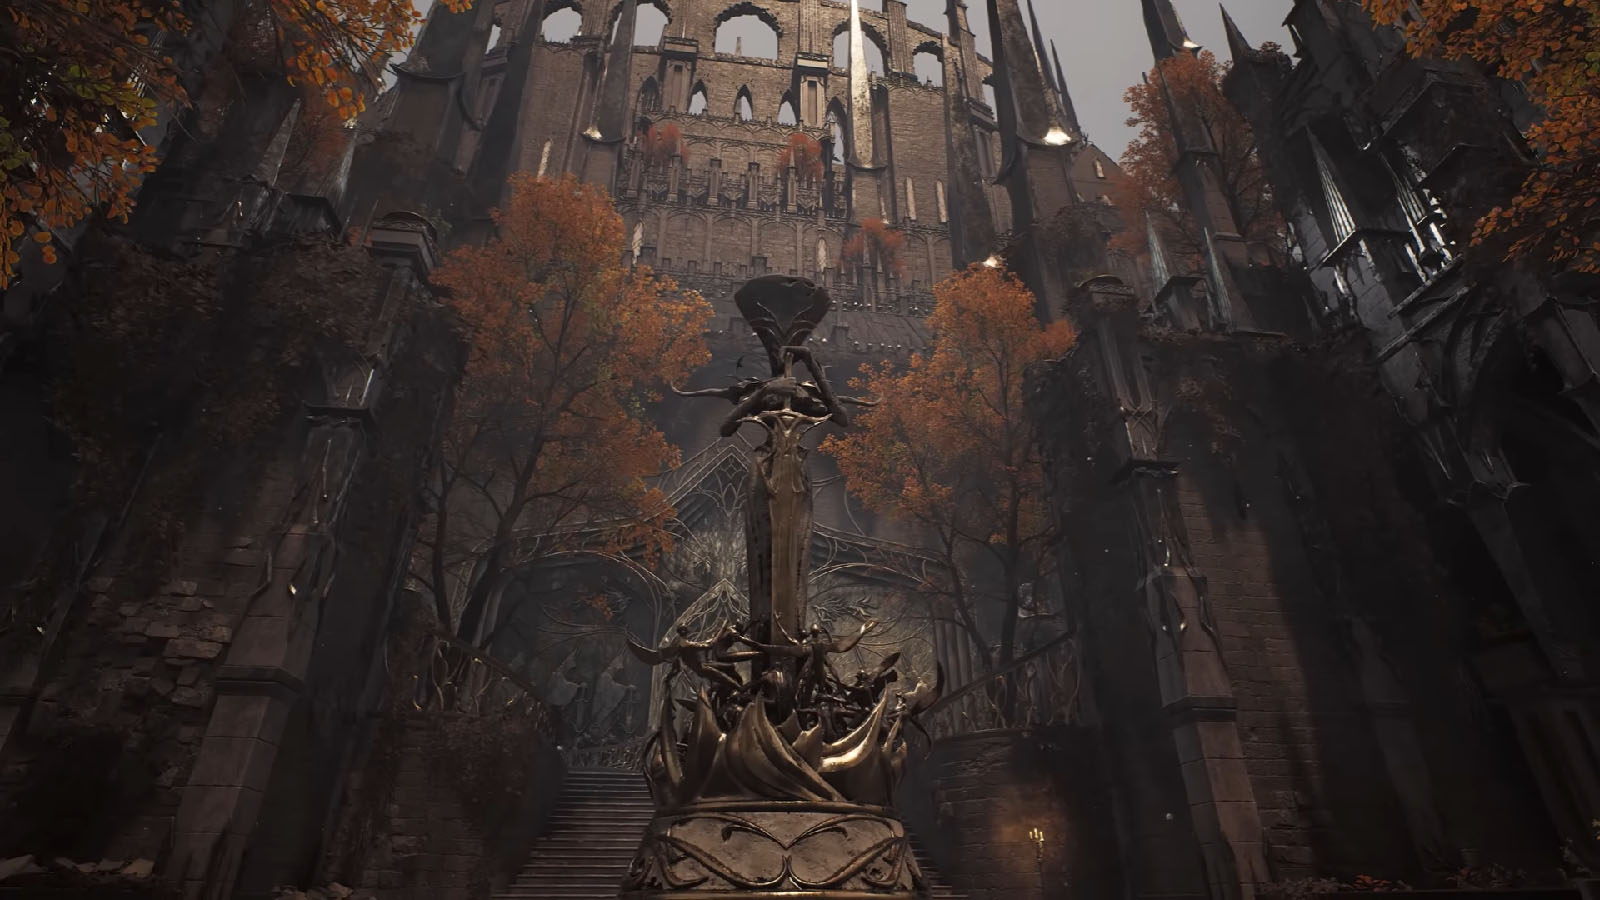
The Mural
As you arrive at the Beatific Palace, the first thing that you will see is a large ornate door and two faceless murals on the ground. There is also a lever in the middle of these faceless figures which only works when you find the faces that slot into these murals.
There’s only one path for now which leads you to the palace proper. Here, you will be fighting against Fae enemies. The enemies in this map can inflict Curse at you that slowly sap your health unless it’s cured by using a Purified Salve or washing yourself with the water from the holy basins within the palace. Shortly enough, you will reach your first checkpoint.
Explore through the palace and look for the objective marker on the mini map as it will lead you to one of the mural pieces: the Faelin Mural Piece.
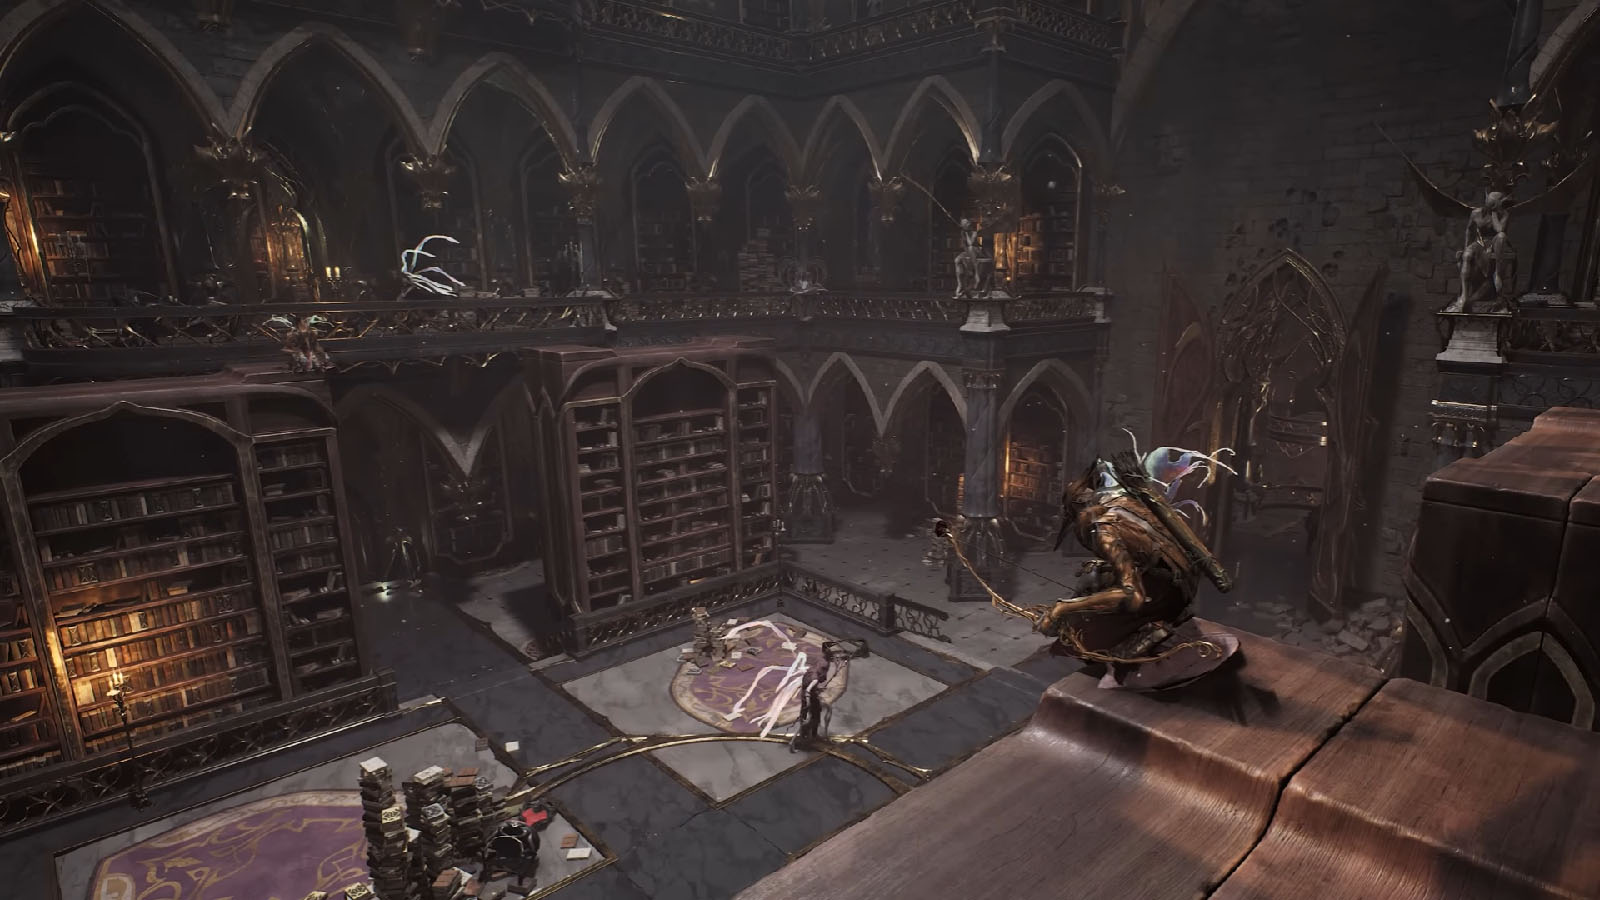
Continue exploring the palace and you will find the access into the basement. In here is where you will find the Jester who will give you the Magic Quill after its performance. This Magic Quill will then allow you to access the passageways that are hidden behind unfinished drawings on the walls which are marked as doors on the mini map.
You can then use the Magic Quill to access the other parts of the palace, however the main passageway to progress is the one that you found earlier in the library. Taking this passageway will bring you to Ironborough.
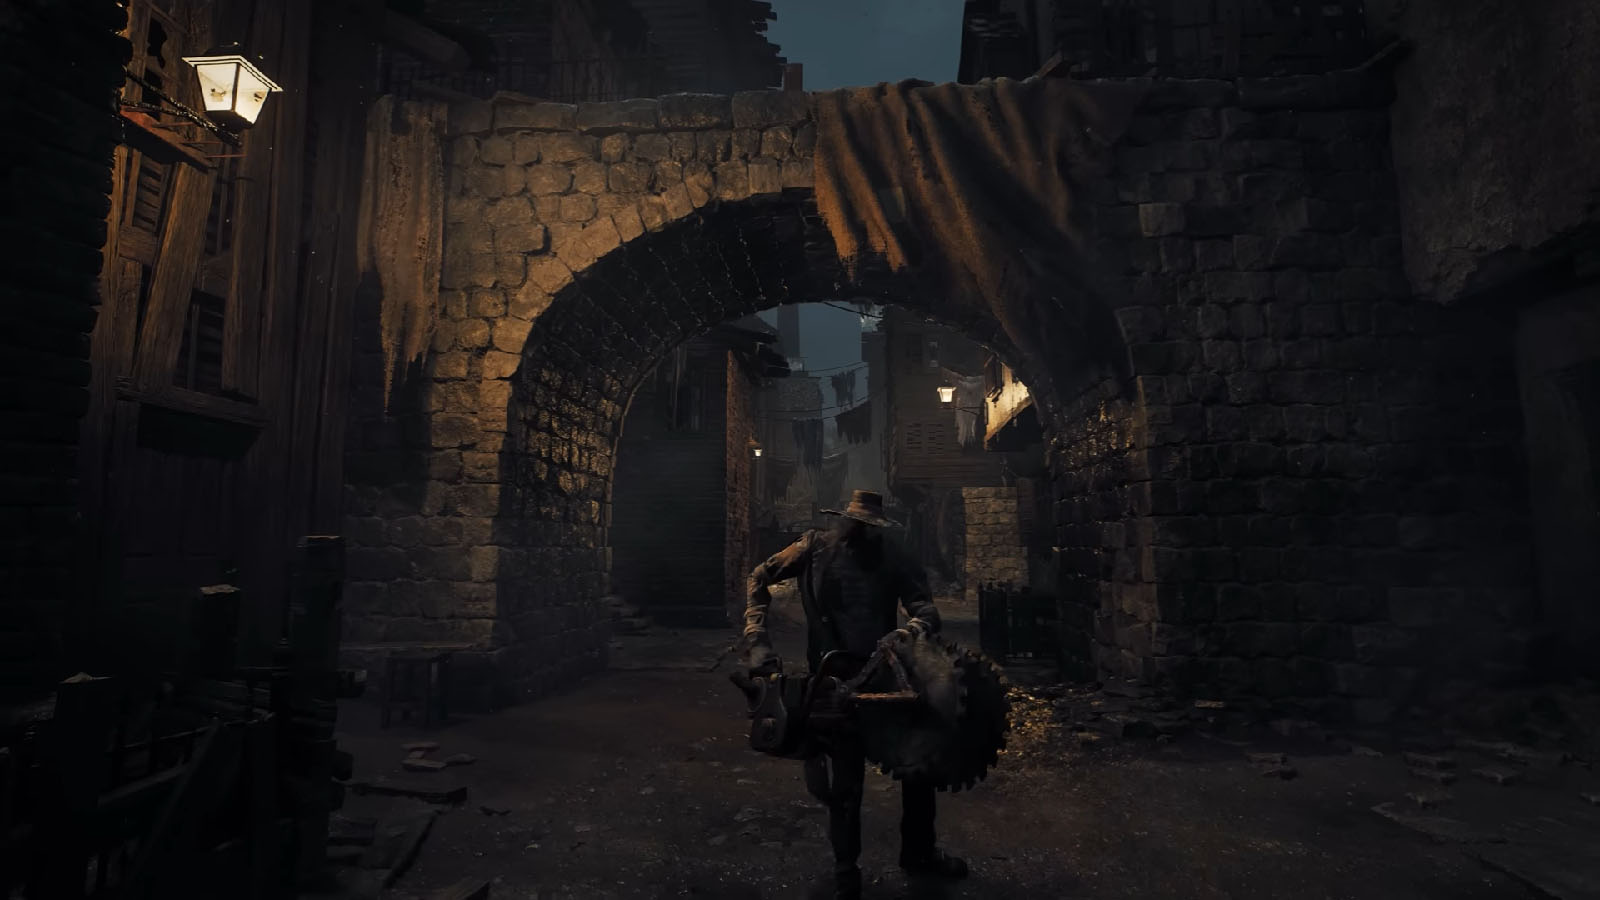
The Ironborough is an overworld section that you will have to go through next. It is a rundown town that are full of deranged villagers that are out to hunt you. Your main objective in this section is to navigate through it until you reach the main dungeon of this world, which will be different in every run. However, you can take the time to explore the other minor dungeons along the way to maximize your run.
After completing the main dungeon, the next area you will arrive in will be the Malefic Palace.
The Card Player
Inside the Malefic Palace, you will meet the Jester once again. This time, you will have to solve its puzzle. The Jester will show you five cards that get shuffled and turn into doors. Your objective is to follow the card that has a split mask. Enter the door that the split mask card turns into and you will find the Faerin Mural Piece.
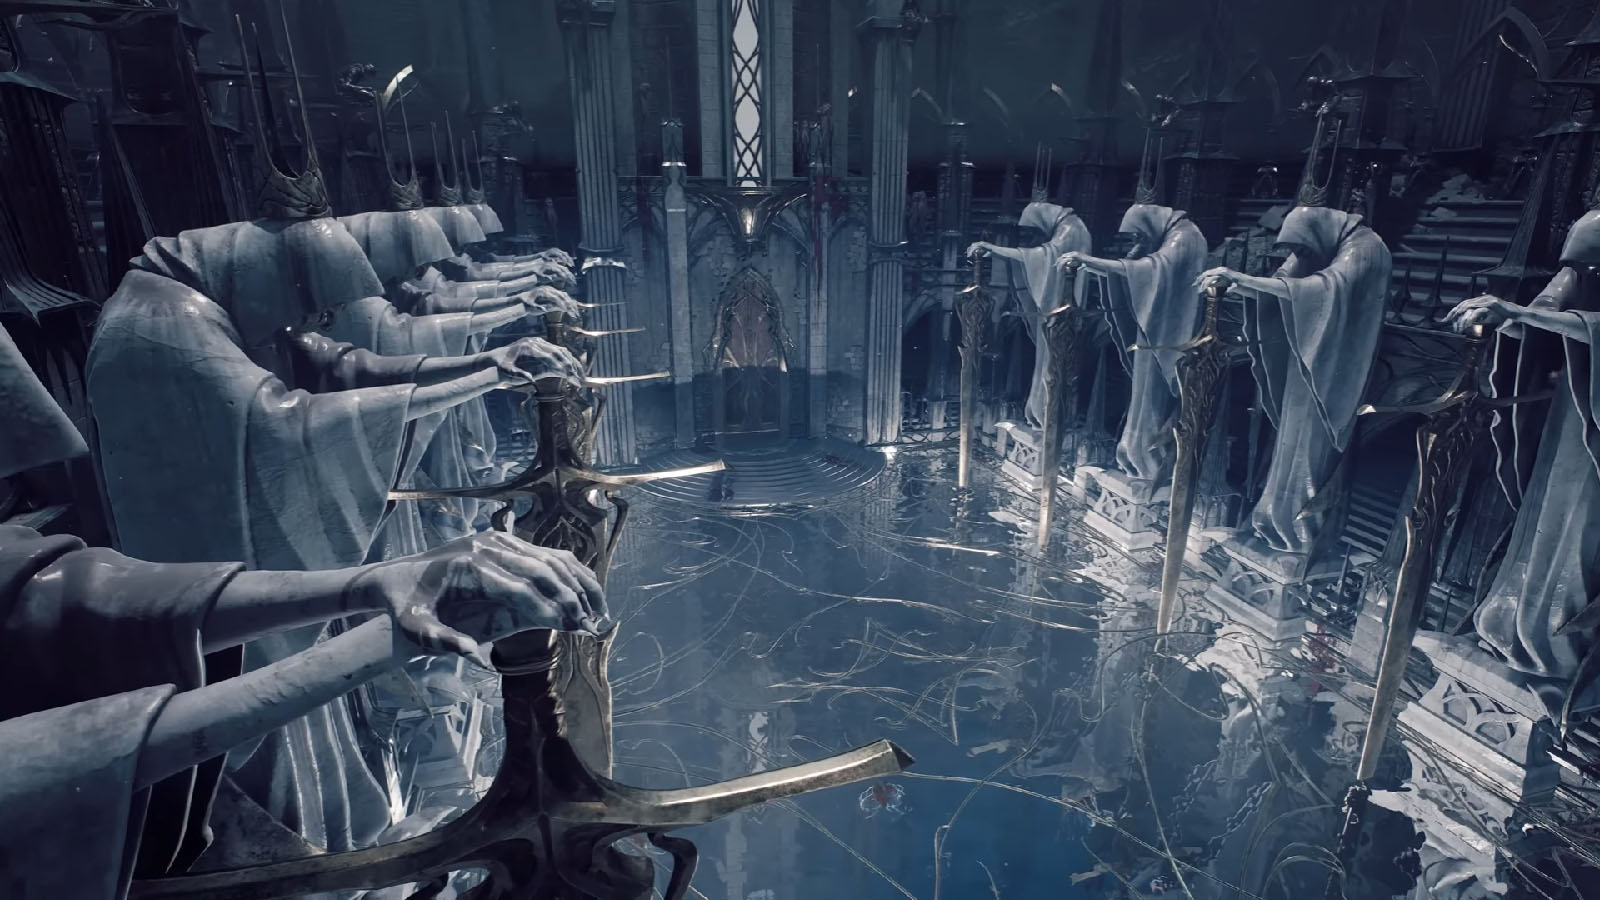
Faelin/Faerin Boss Fight
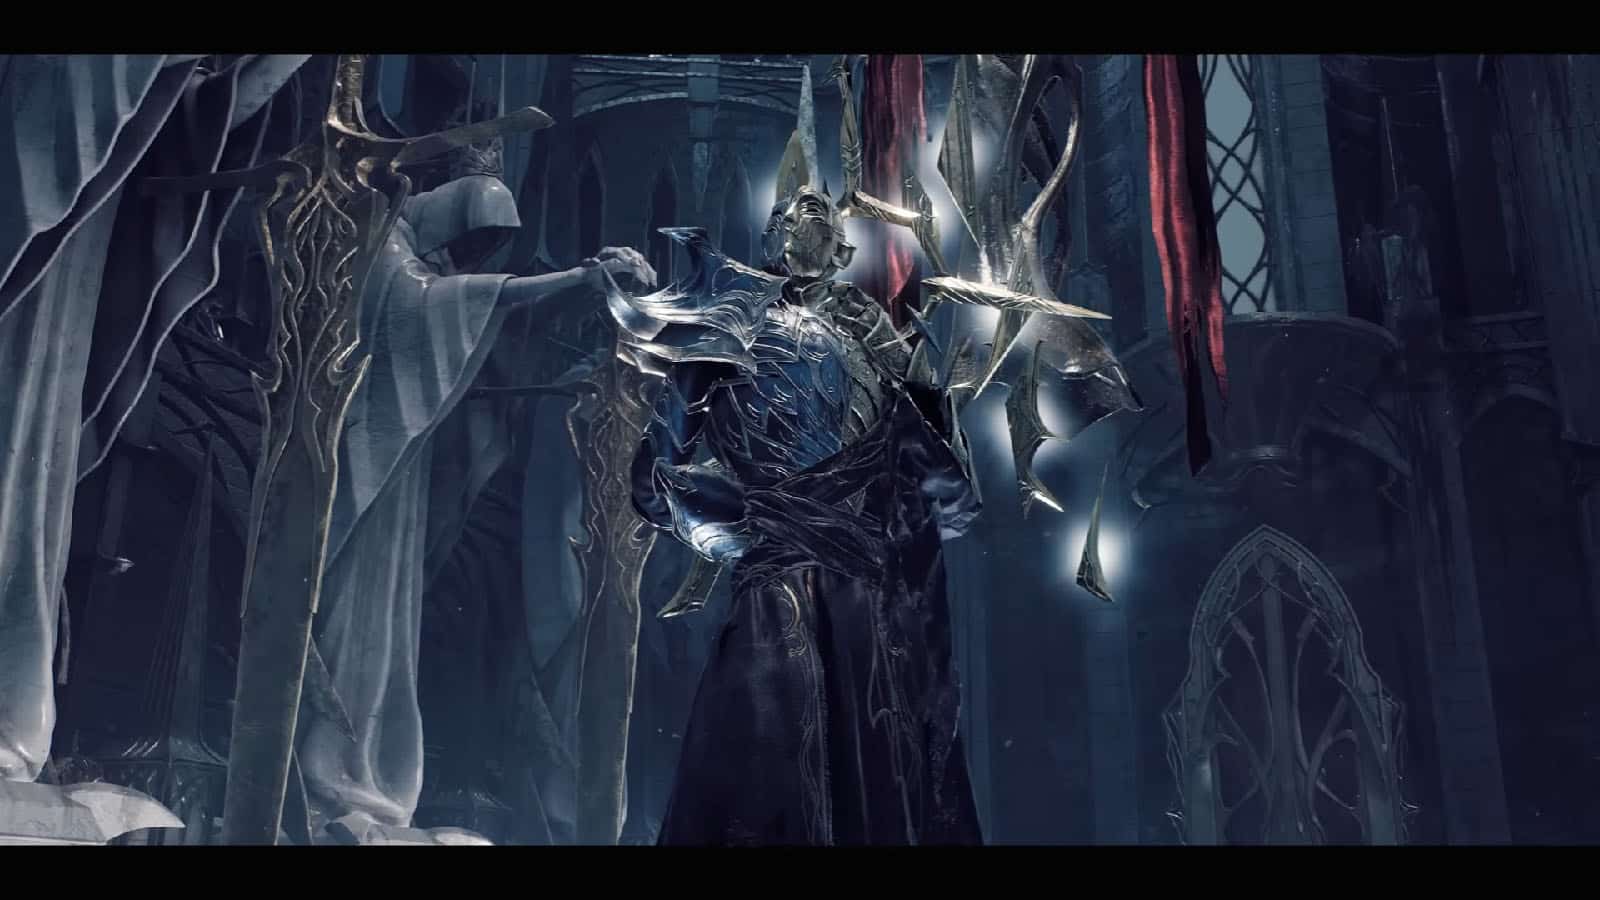
With both pieces on hand, head back to the mural and place the pieces on their right places. Now you have a choice to pick whether to challenge Faelin or Faerin by pulling the lever and switching between the Beatific Palace (Faelin) or the Malefic Palace (Faerin). They will both have the same attack patterns and move sets, it’s just the matter of which one you would like to defeat in order to get their unique drops:
- Faelin – Imposter’s Heart
- Faerin – Melded Hilt
If you have met Nimue in the Beatific Palace and accepted her quest, you can still complete it regardless of whoever you choose to defeat.
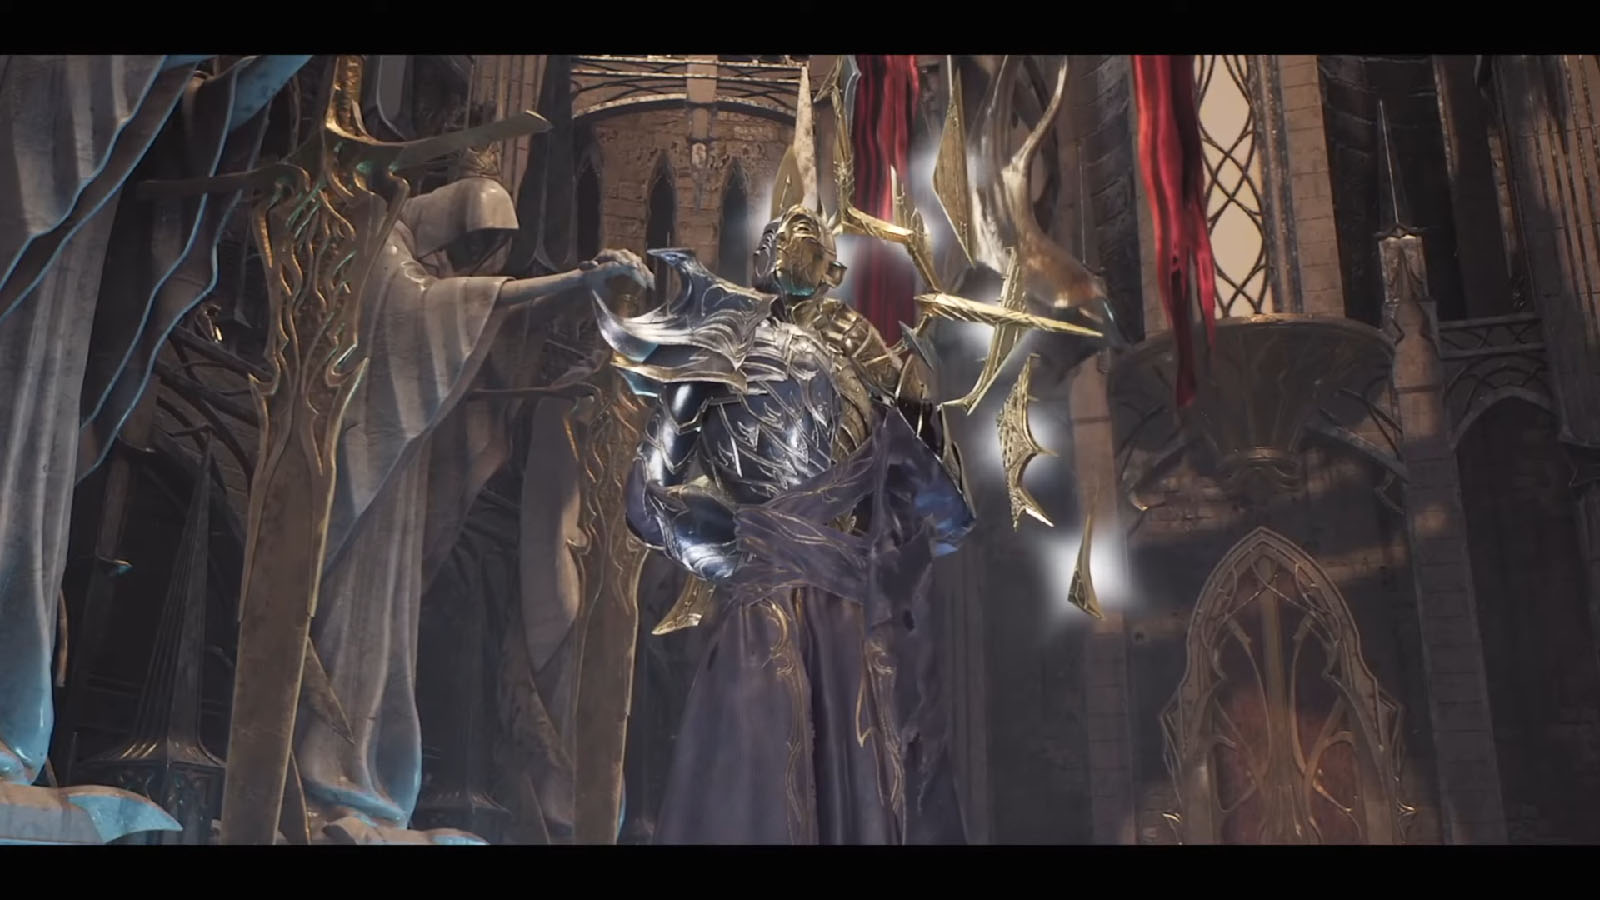
Both bosses will share the same kinds of attacks which are either sword attacks or orb attacks. The lesser their health get, the stronger their attacks get, so prepare yourself upon reaching the 50% and 25% health thresholds.
Once the boss has been defeated, you will be rewarded with their respective unique drops and an Index Segment. You can also pay Nimue a visit to complete her quest and also check the wares she sells that should now be unlocked.
After completing either of the storylines, you can head back to The Labyrinth and talk to The Keeper to get your quest objectives updated accordingly.


