
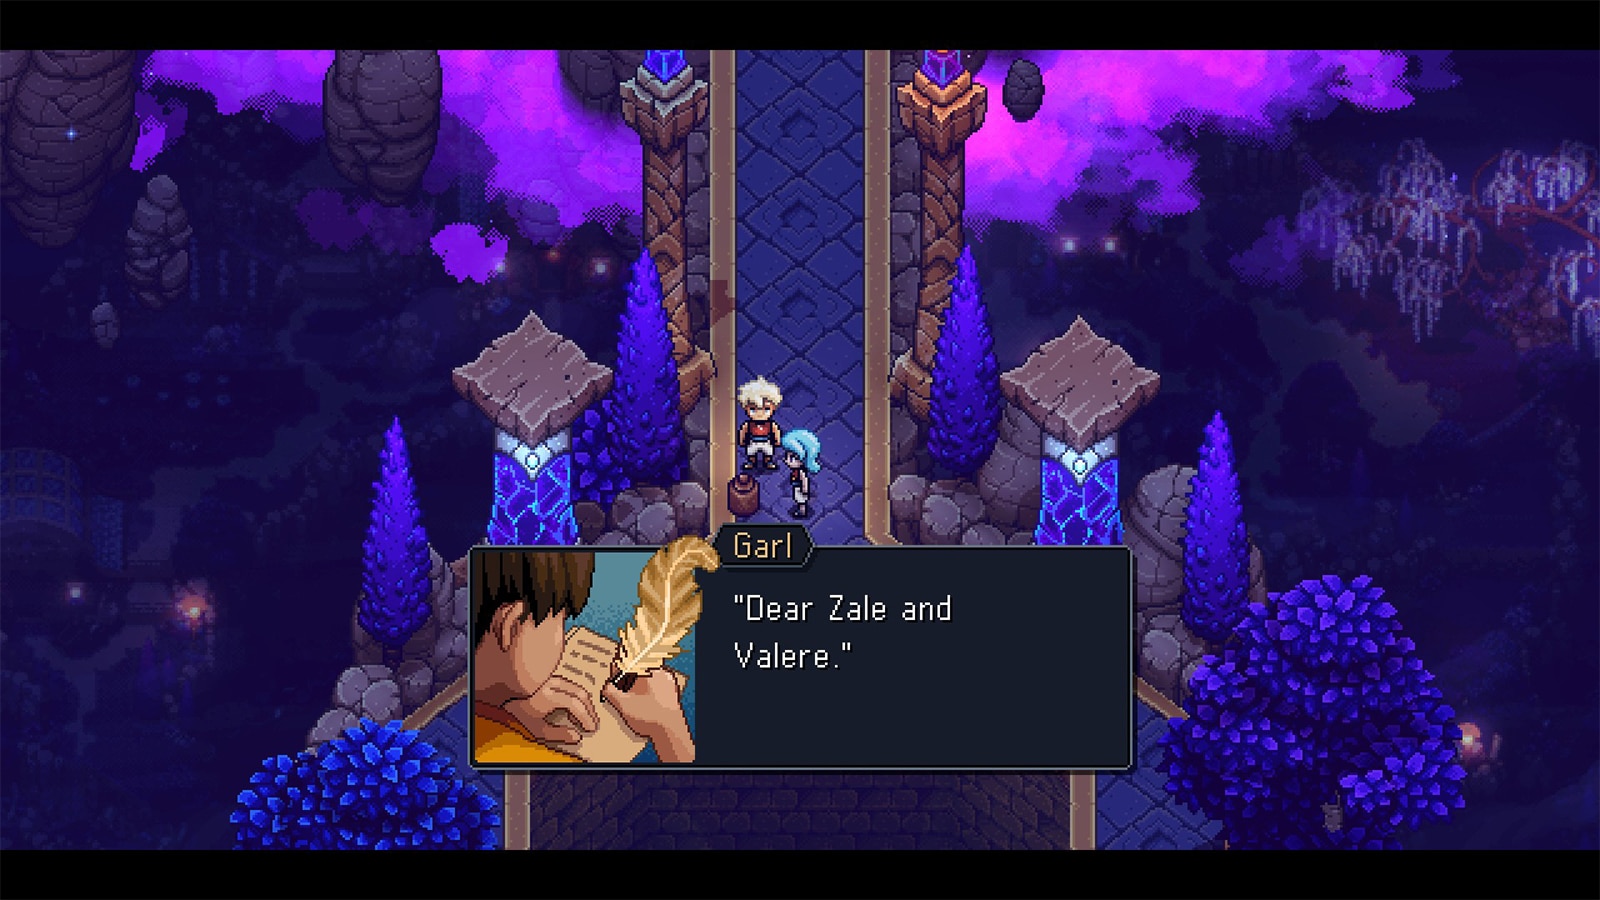
Sea of Stars follows the story of two Children of the Solstice, Valere and Zale, as they go on a journey to perform a ritual that will prevent the world from being overtaken by The Fleshmancer. As the two rest for the night, they think back to their younger years, when they were still kids living in Mooncradle Village with their dear friend.
Read ahead as we go through the events in Mooncradle 10 years Ago in Sea of Stars and share some tips and secrets that can be found within the chapter.
See previous: Sea of Stars Prologue Guide
Sea of Stars Mooncradle Village 10 Years Ago Walkthrough
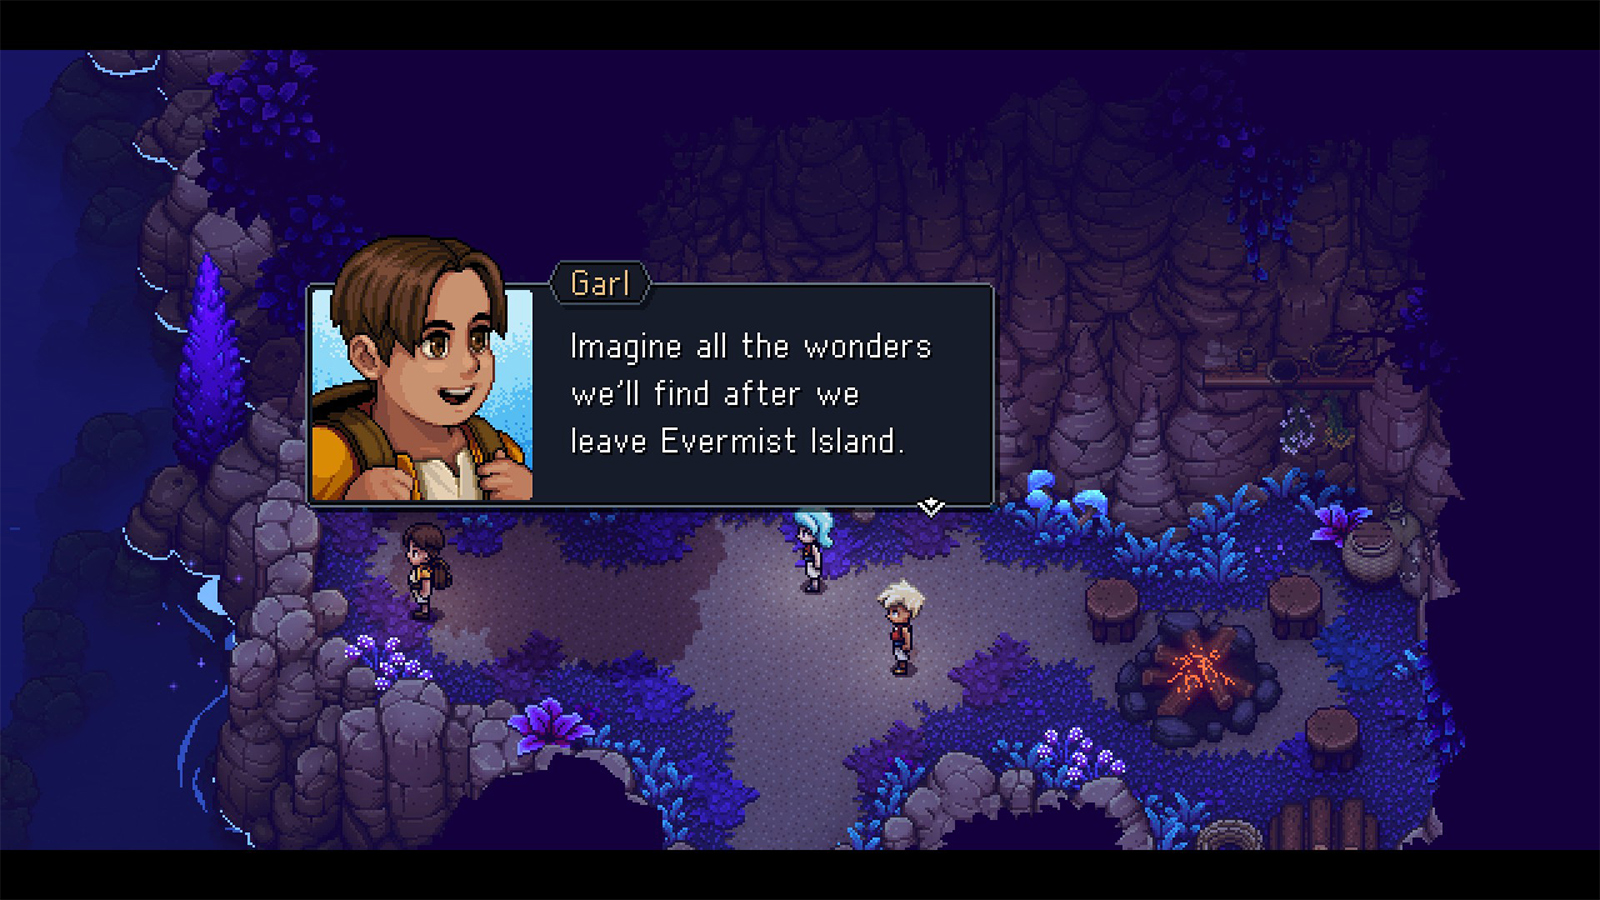
The scene takes us back to 10 years before the current events of the game. We see Valere and Zale with their childhood friend, Garl, in one uneventful evening. Once you’re done with their dialogues, interact with the book nearby to create a save file.
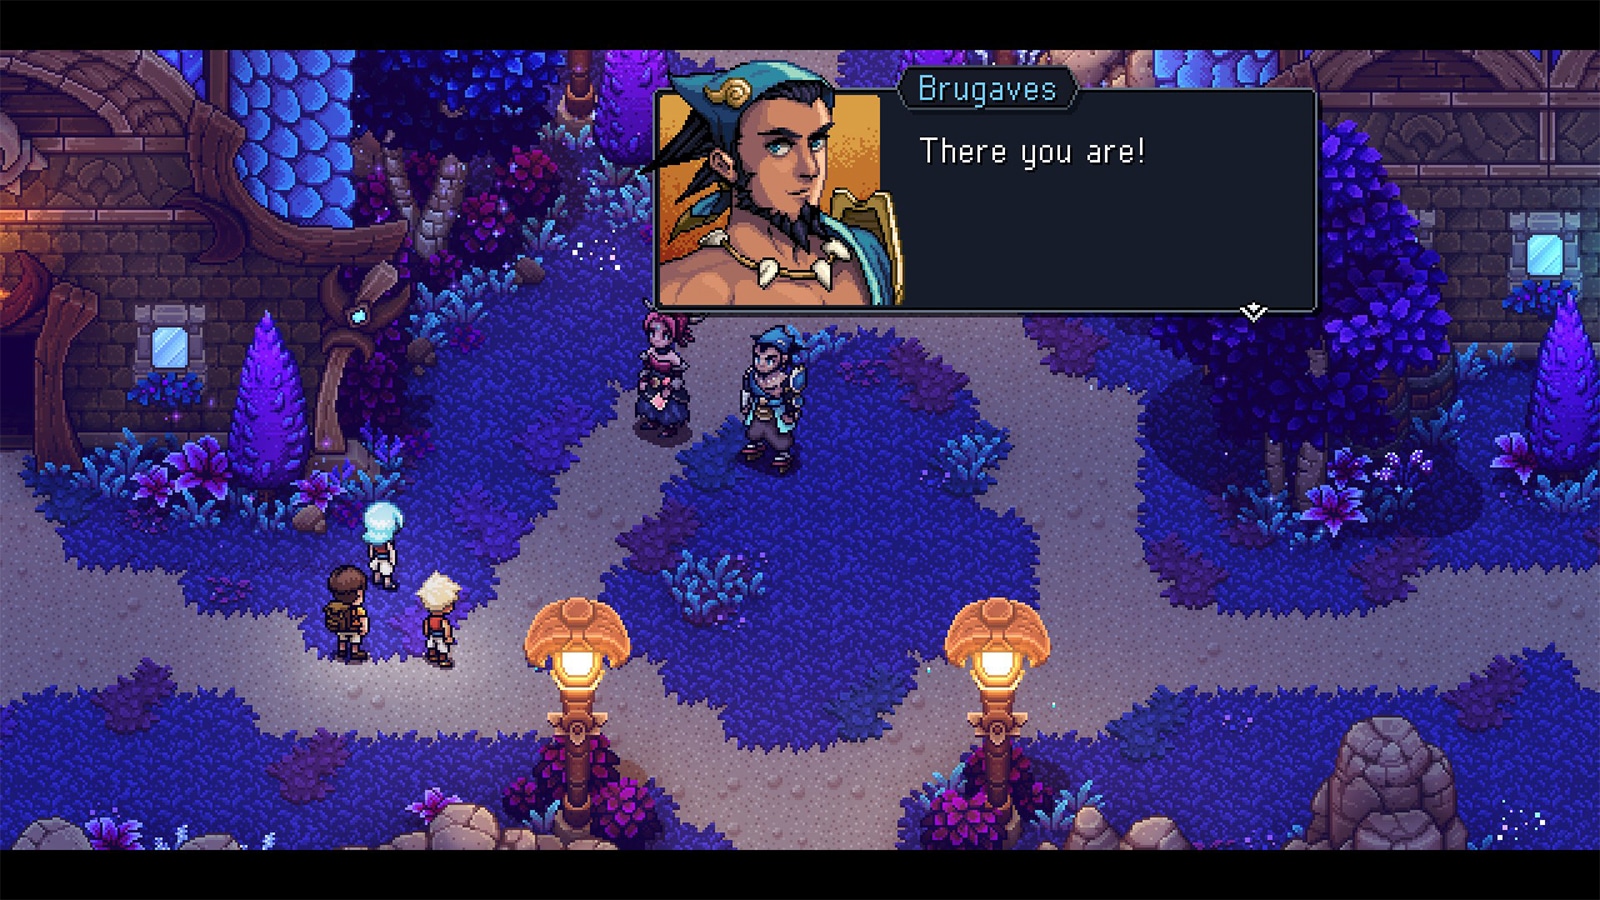
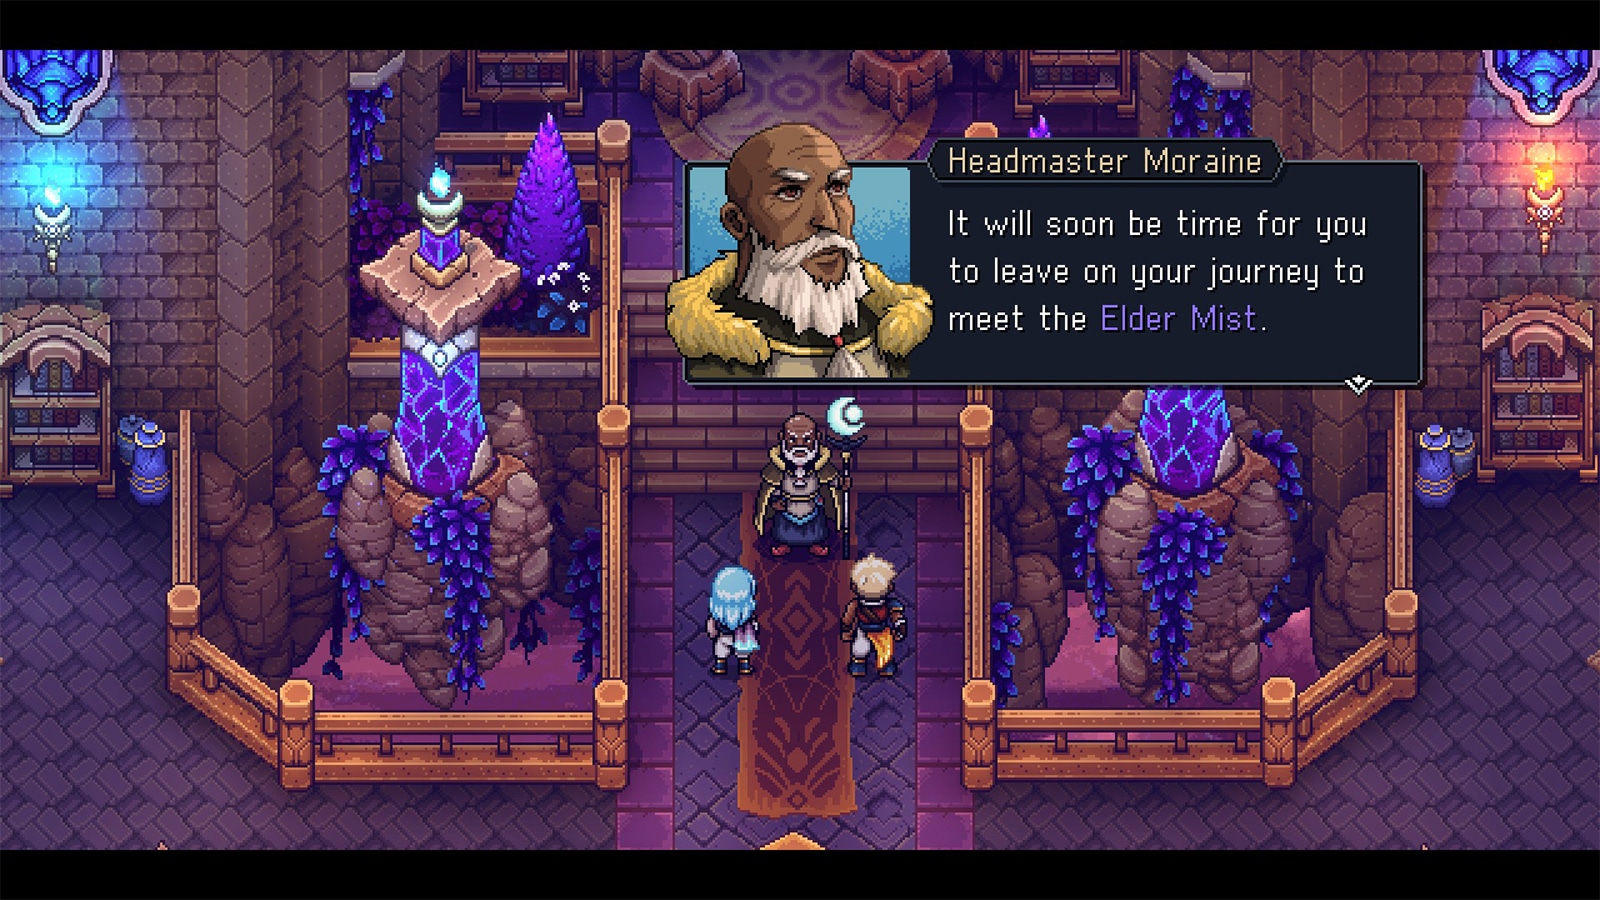
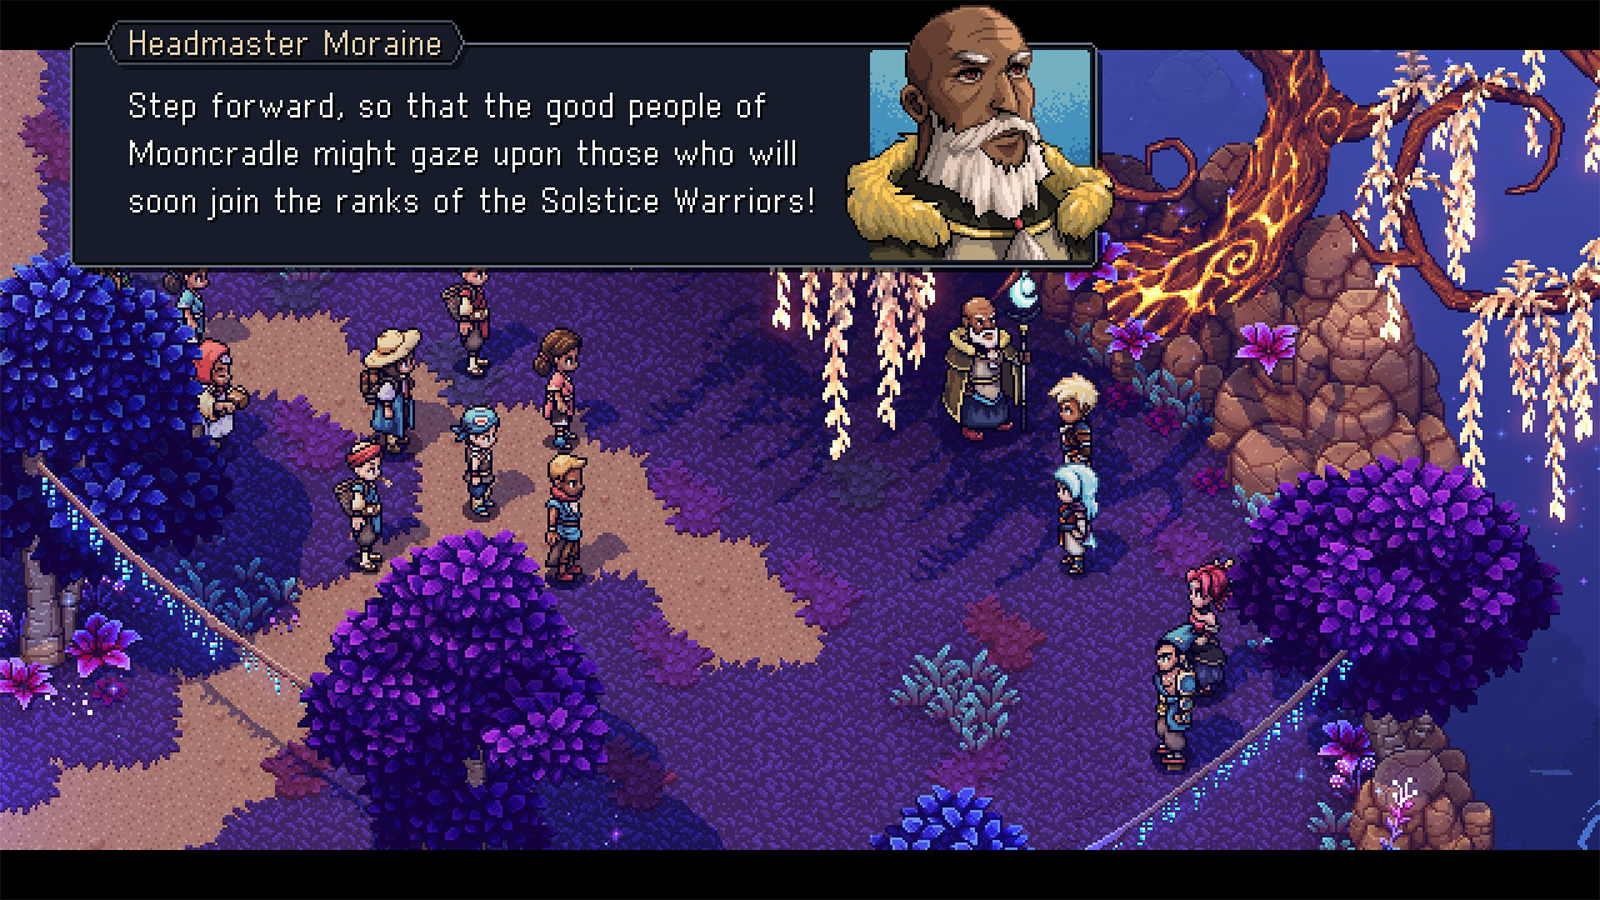
The friends decide to head back into the village where they are met by Brugaves and Erlina, the previous two Solstice Warriors. Not long after, Headmaster Moraine comes in and calls the two warriors to meet him.
With the three kids left alone once more, you then regain control over them. You can check out the east side of the village where you will see the Celestial Tree, and once you’re satisfied, head into the path that leads to the Forbidden Caver, just north of where you meat the two warriors.
Forbidden Cavern, 10 years ago – Children of the Solstice
Before entering the cavern, Garl will give the two a snack first. You can also save up on the save point near the door to the cavern.
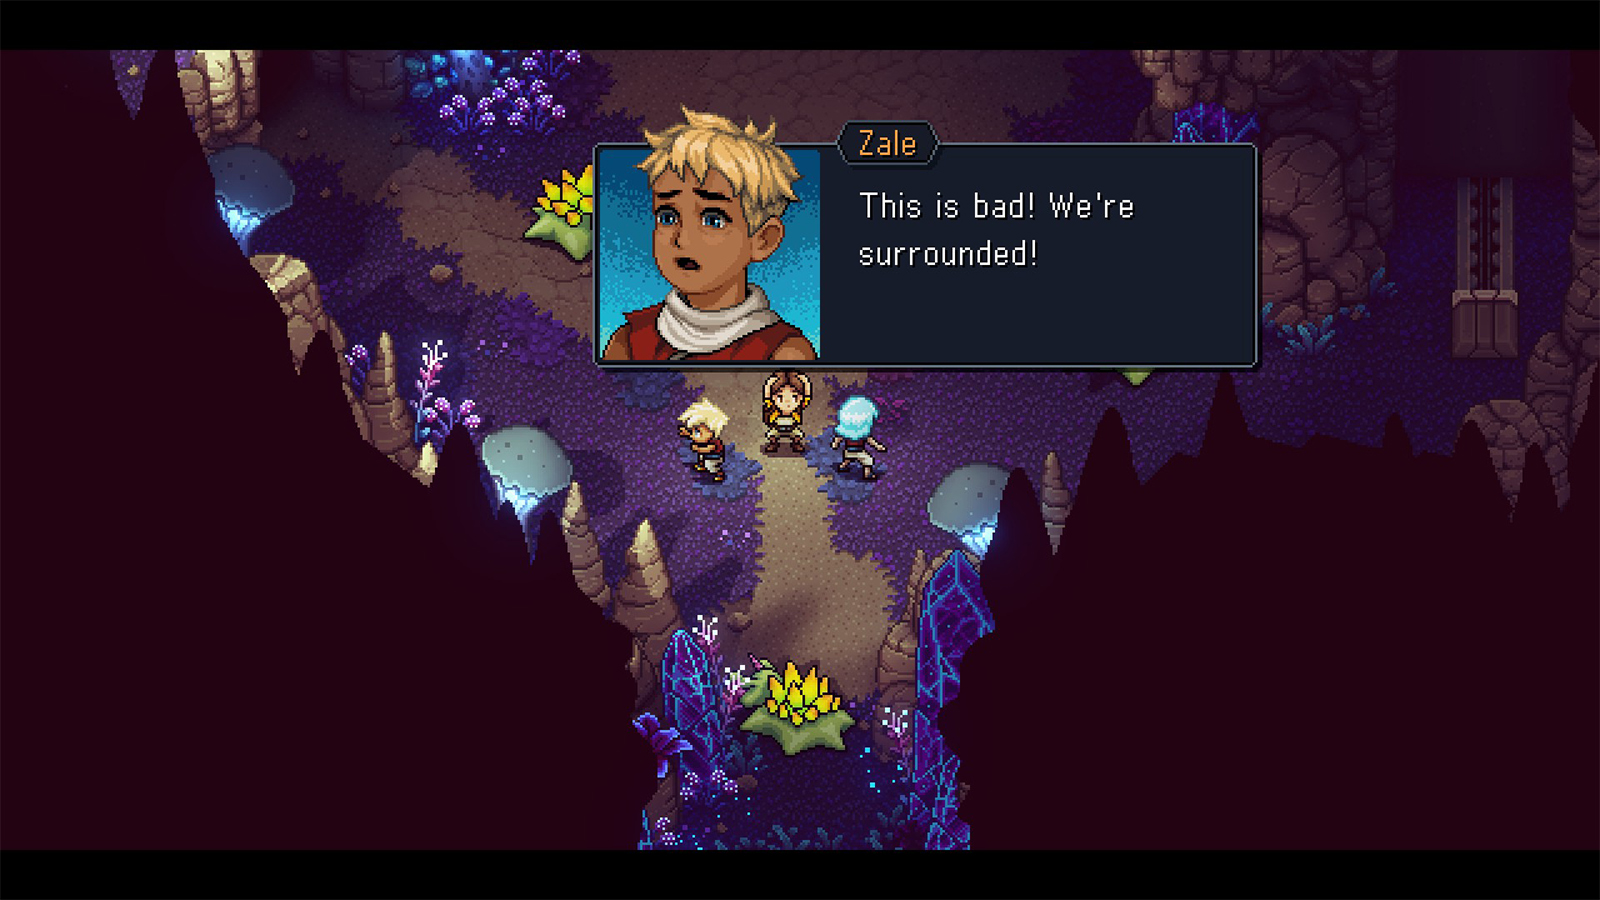
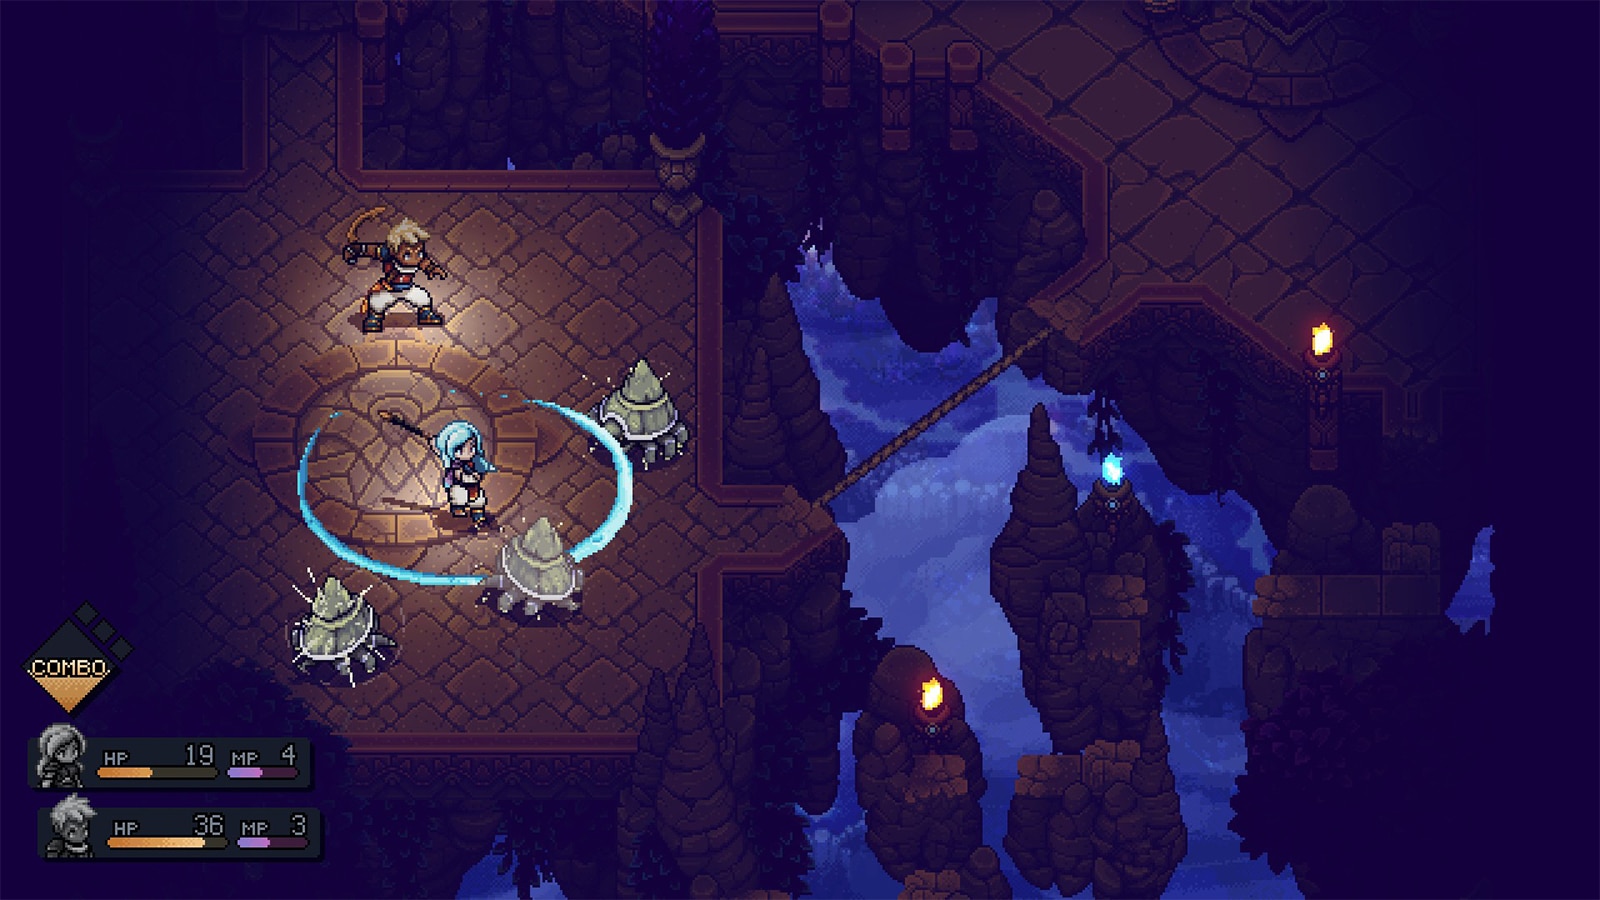
Once inside the cavern, the kids will then get surrounded by enemies. As they try to fend the enemies off, Garl gets hurt while protecting you and he loses an eye in the process. Headmaster Moraine comes in to save the kids and ease the pain in Garl’s eye.
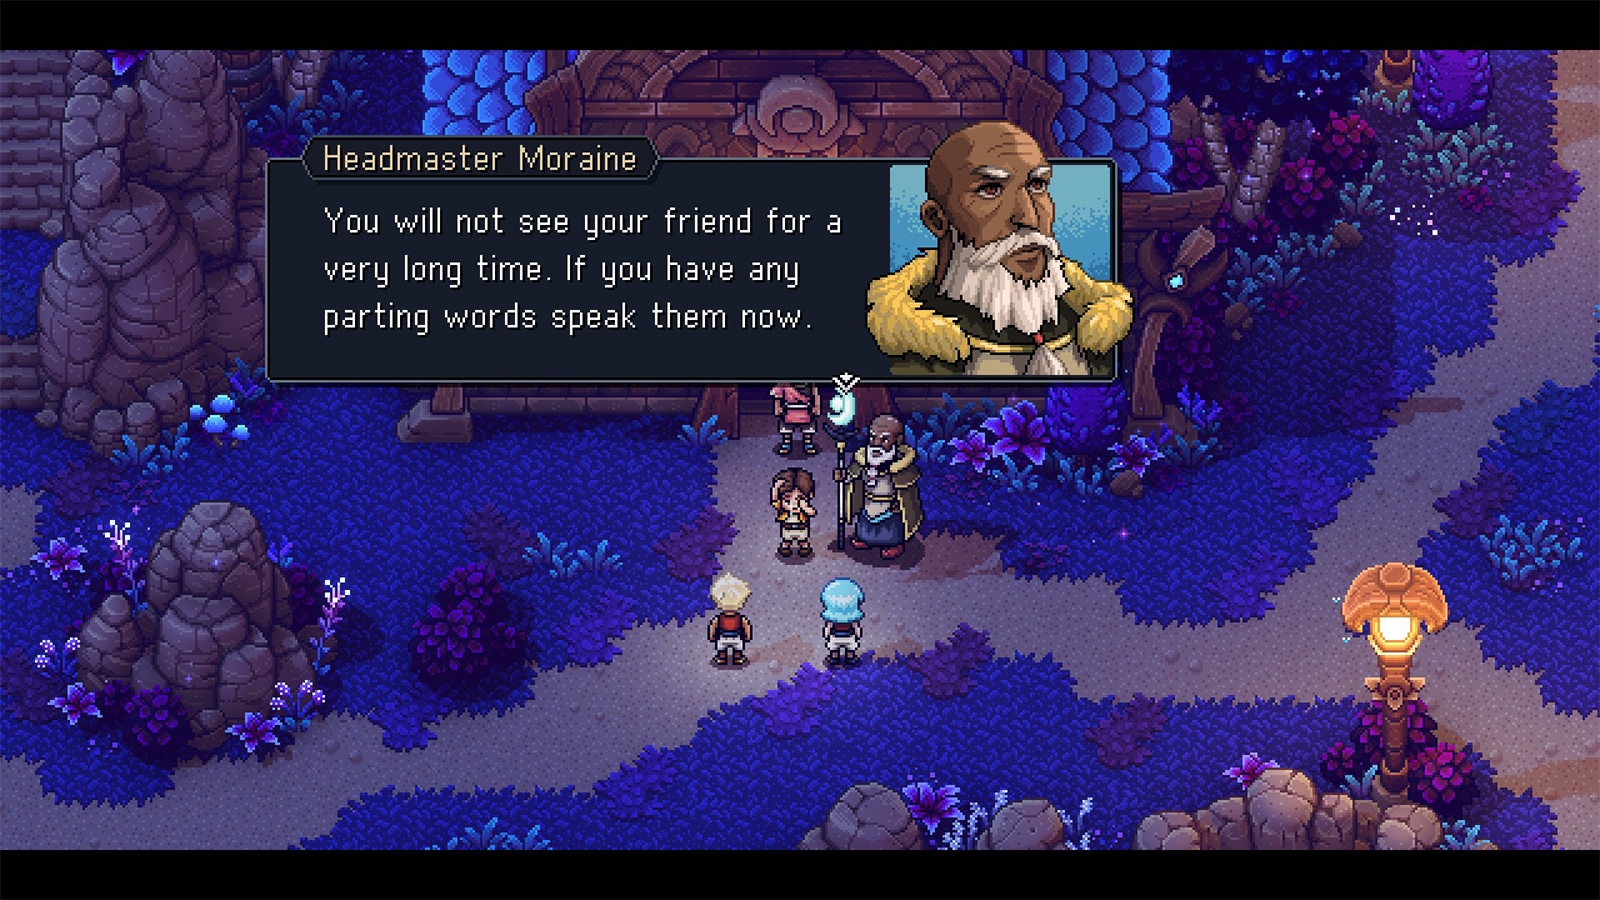
They then take Garl to get treated. The Headmaster then sees that Valere and Zale are eager to learn to control their powers, and he then takes them to the Zenith Academy, but not before letting them say their farewell to Garl as they will be training for years.
Zenith Academy – The school in the sky
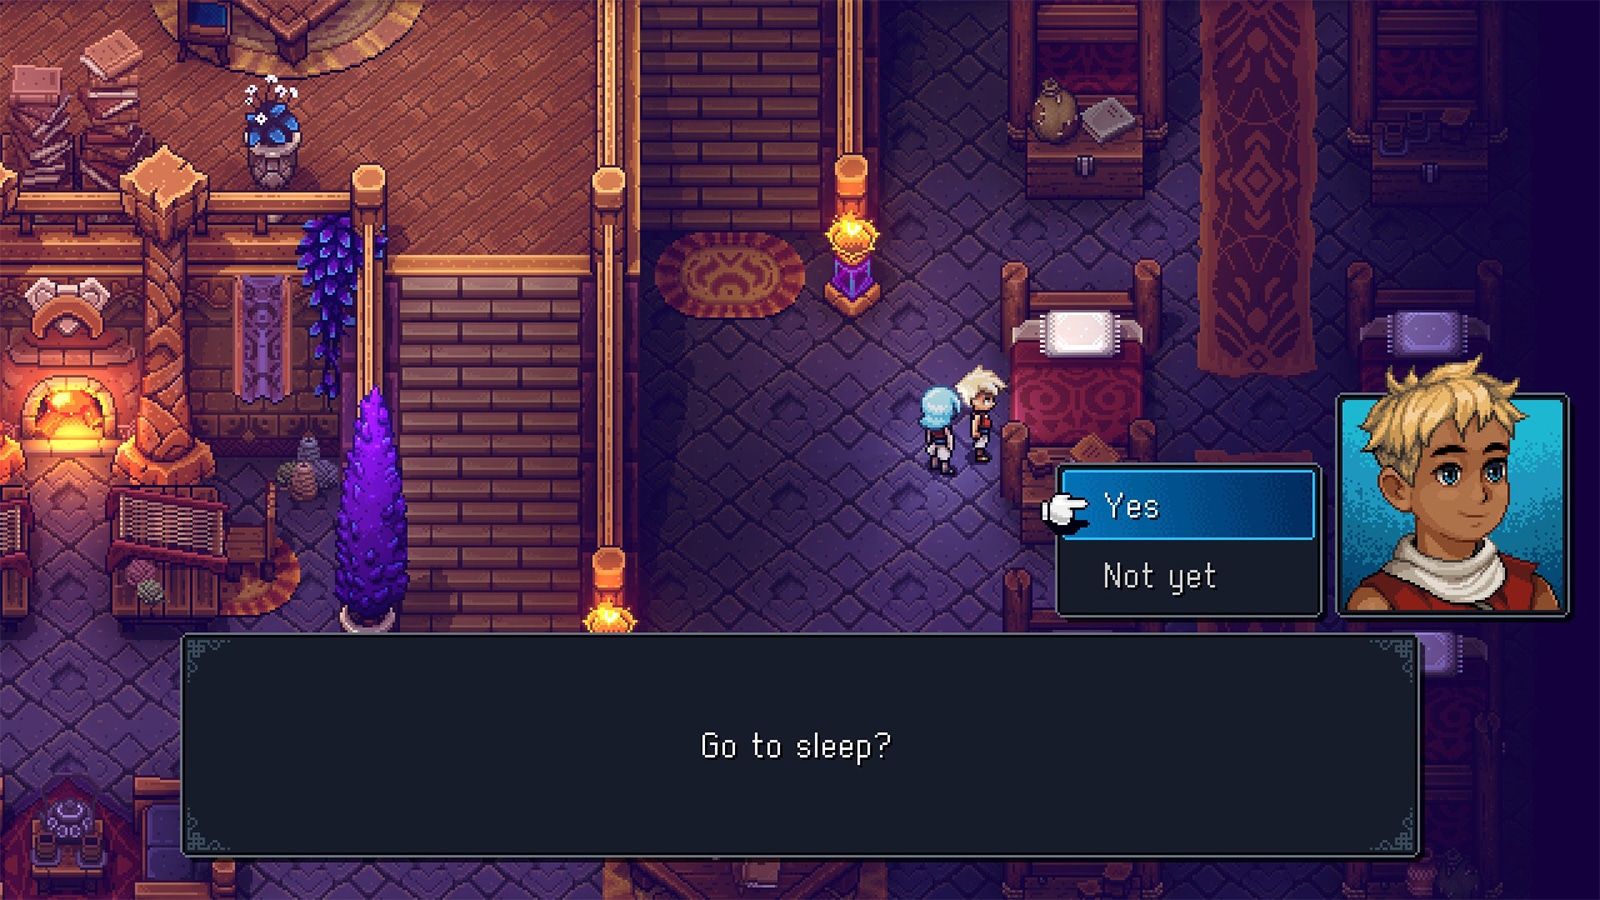
The Headmaster leads the protagonists to the platform that floats up into the sky where the Zenith Academy is. After getting a grief orientation, you then get to explore the academy. To the west is the training hall, and to the east is your living quarters. After you’re done exploring, you can then save at the save point inside the living quarters, and go to your respective bed.
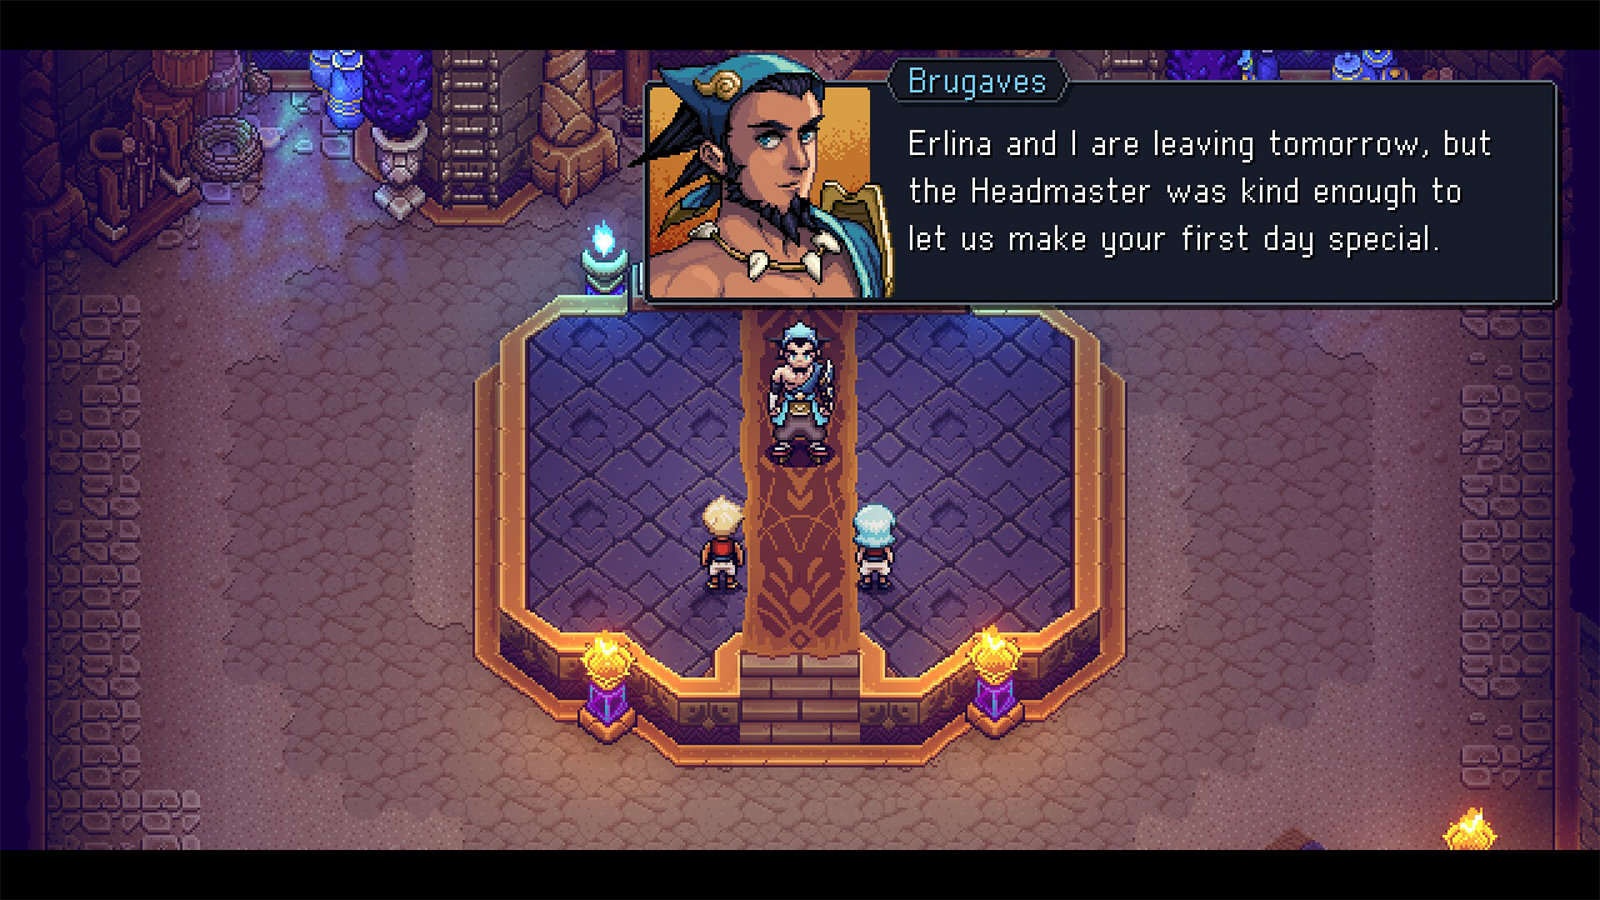
The next day, you both arrive at the training hall where Brugaves greets you. He then gives you your respective weapons: a Training Sword for Zale, and a Training Staff for Valere. After going through training, Brugaves then sends you to Erlina at the terrace.
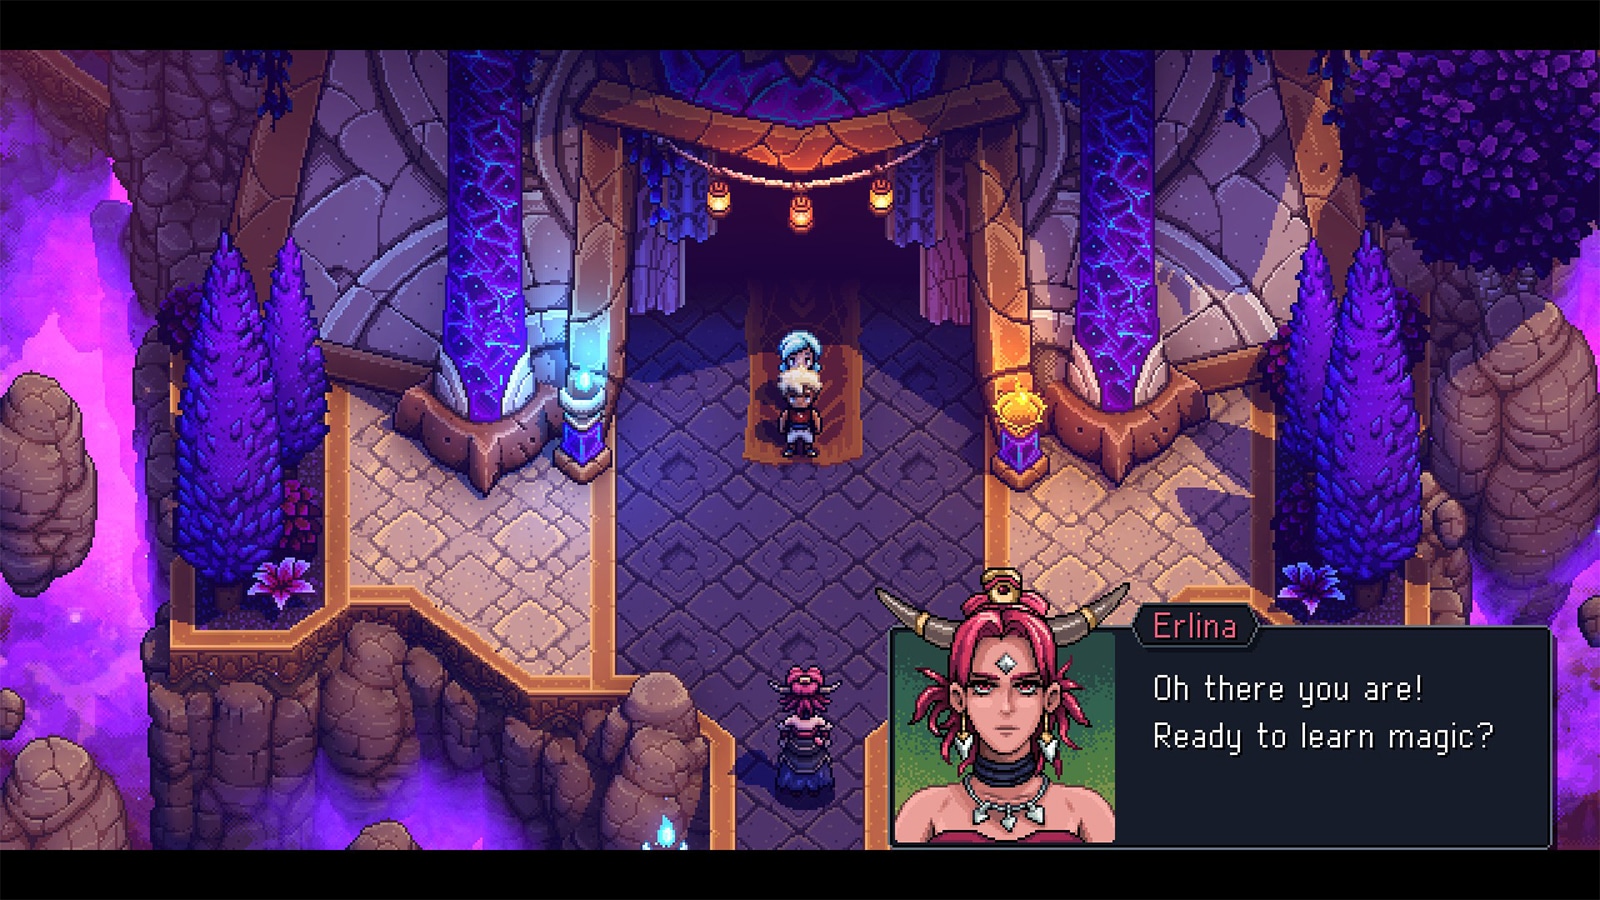
Head back out to the main hall and take the south path to meet Erlina. She will then be your instructor for your magic skills. As you complete your training, the Headmaster will come in to call Erlina. He also sends you over to the living quarters for your sewing lessons for the day.
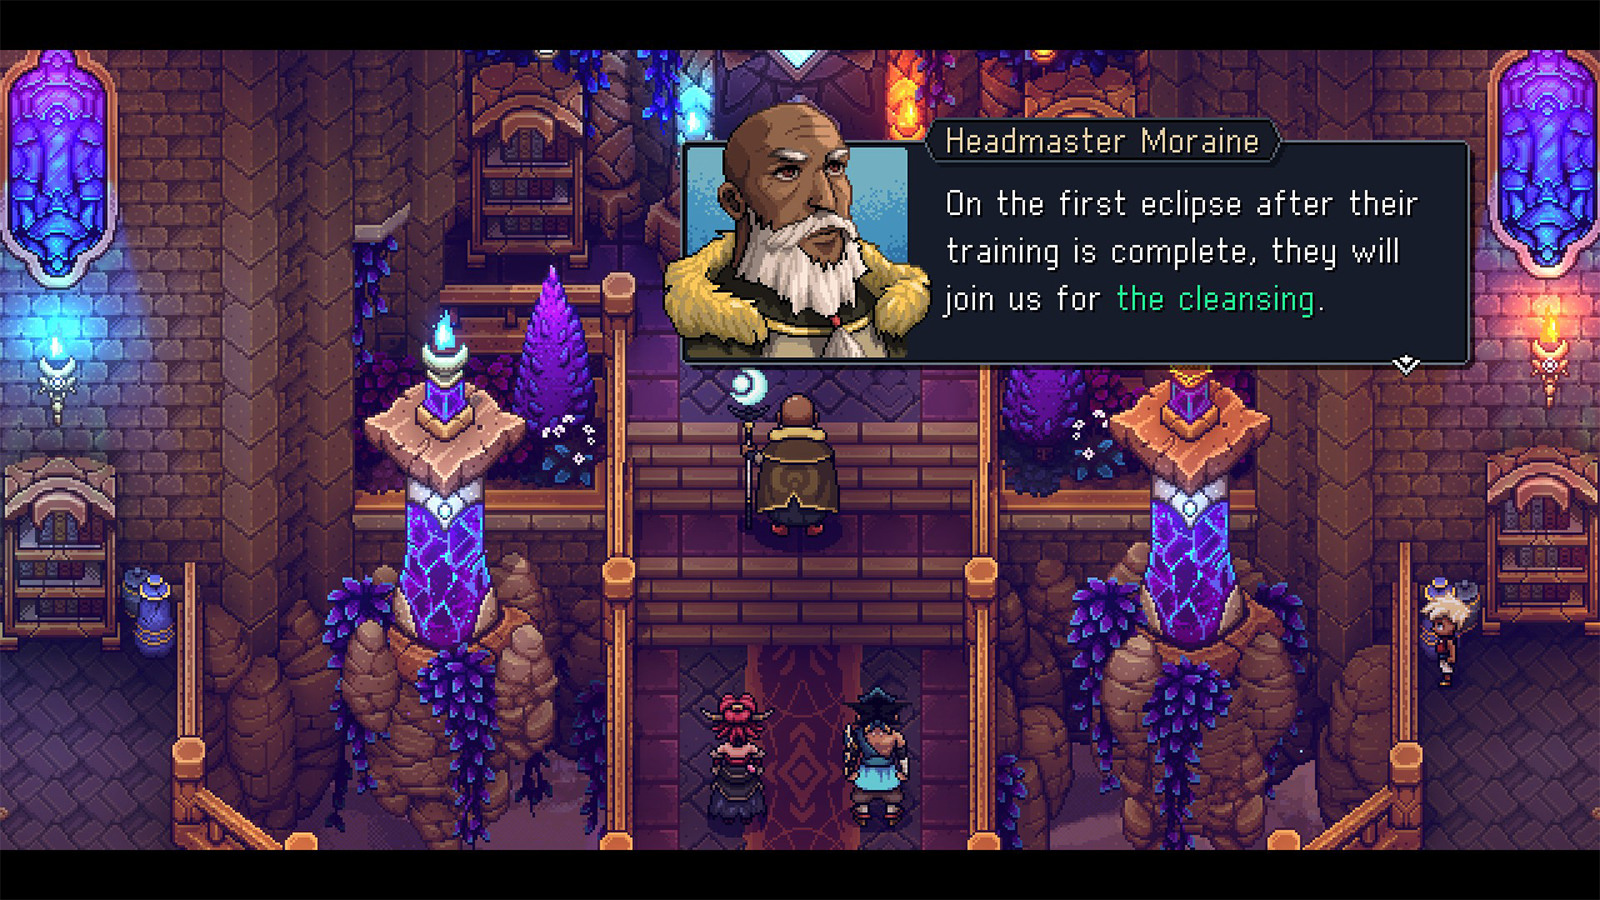
While working on the loom, you will then get bored. Once you regain control, head back out to the central hall where you will find the Headmaster and the two warriors talking and arguing. After the scene, a montage of the protagonists’ training plays. In one scene, you try to ask about the names you heard from before, but the Headmaster dismisses it.
Zenith Academy – A sound in the night
During one night, you get awoken by a strange sound. Head out and go to the terrace once again where you will find a note under a jar. The note is from Garl who managed to sneak in and leave a jar of cookies for you. The two then peacefully eat the cookies throughout the night.
Zenith Academy – Heroes in the making
Another montage plays showing the protagonists training through the years. They then finally weave their magical cloth. Head to the central hall to meet up with the Headmaster and report your progress. Erlina and Brugaves will also then arrive who will then be facilitating a trial before your journey.
Before taking the trial, you can talk to the warriors to get a run down on how the advanced combat mechanics work. Brugaves will teach you about timed hits and timed blocks, while Erlina will teach you about lock breaking and combos. Once you have taken both tests, speak to the Headmaster to start the final test. You will then be taken to the top where both of you will say your vows. Once you’re ready, jump down the hole to reach the lower levels.
Mooncradle – Final Test
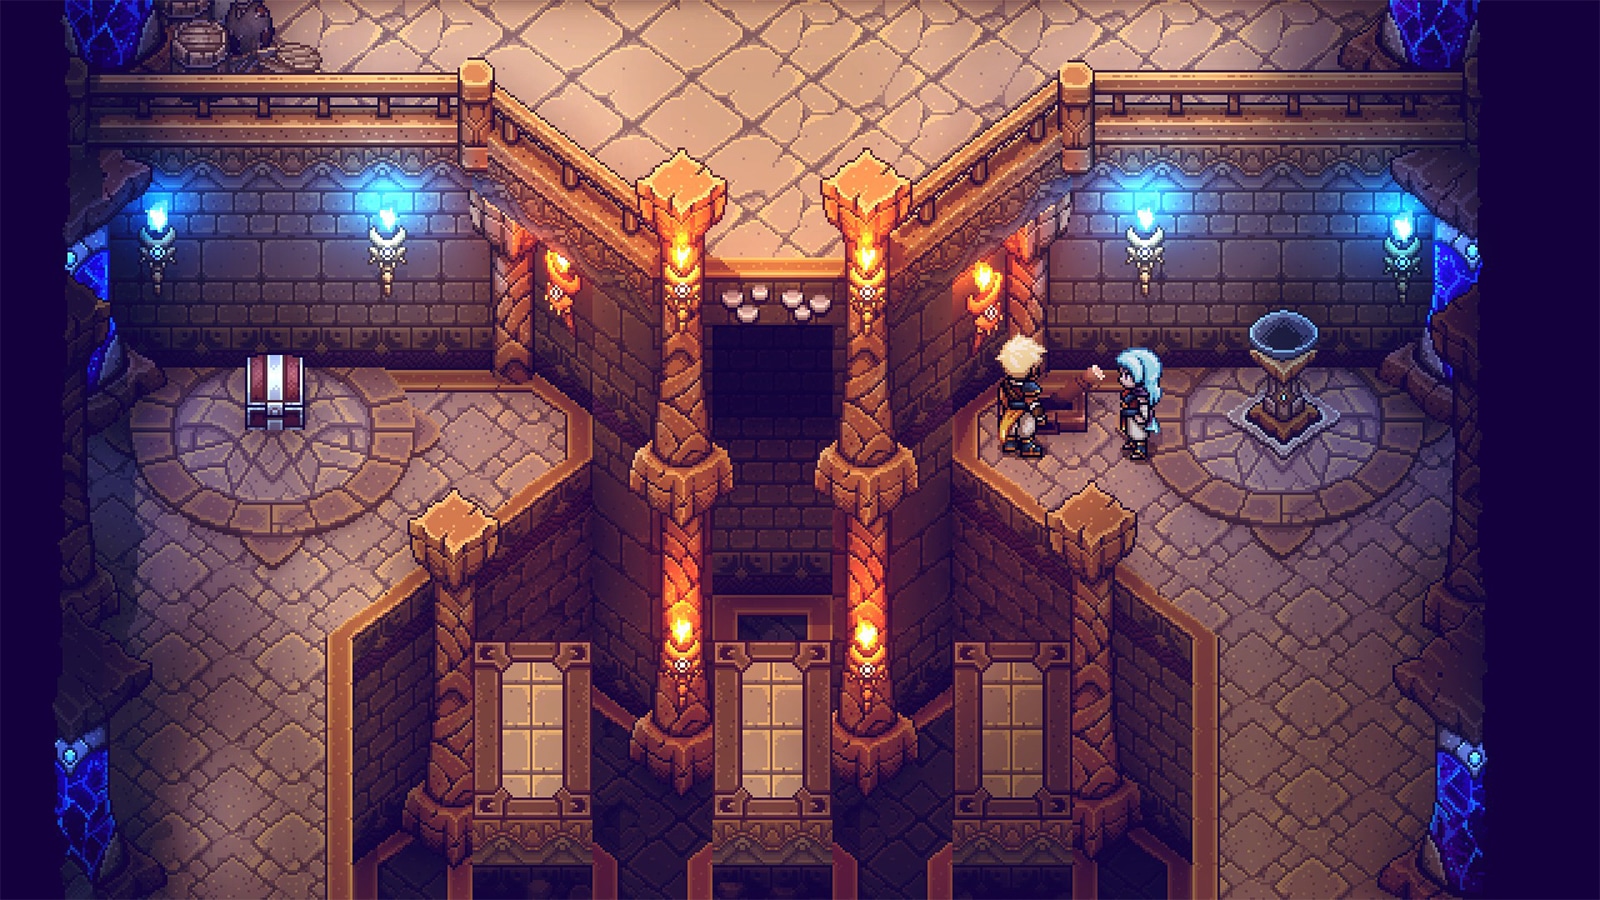
Once you arrive in the testing chambers, go to the next room. Head to the ladder on the right side, then pull the lever to raise the pillars in the middle of the room. use the pillars to cross over to the other side to reach the chest that contains an Ornate Stone.
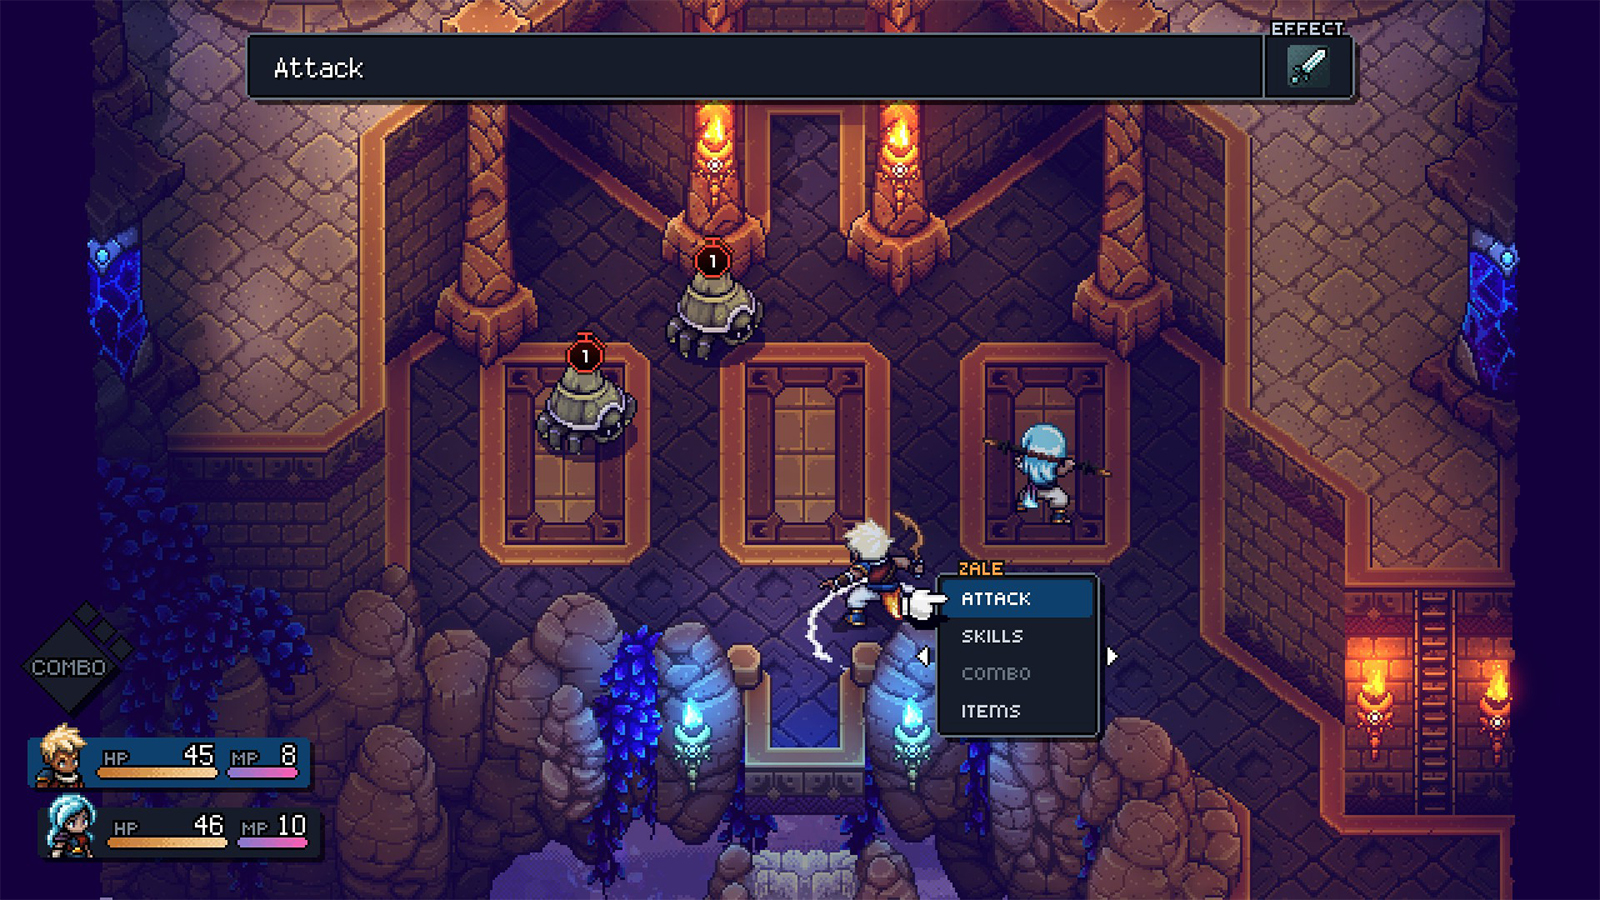
Cross back to the other side and place the Ornate Stone on the receptacle near the lever. This will open new doors where two enemies come out. Defeat the enemies and a rock wall will descend in the middle.
Climb the rock wall, then jump across the floating platforms to reach the other side. Cross the rope bridge and check the chest to find another Ornate Stone. More enemies will appear along your path. Defeat them, then go back to the right side to place the next stone on the receptacle. Stand on the activated platform to reach the next level.
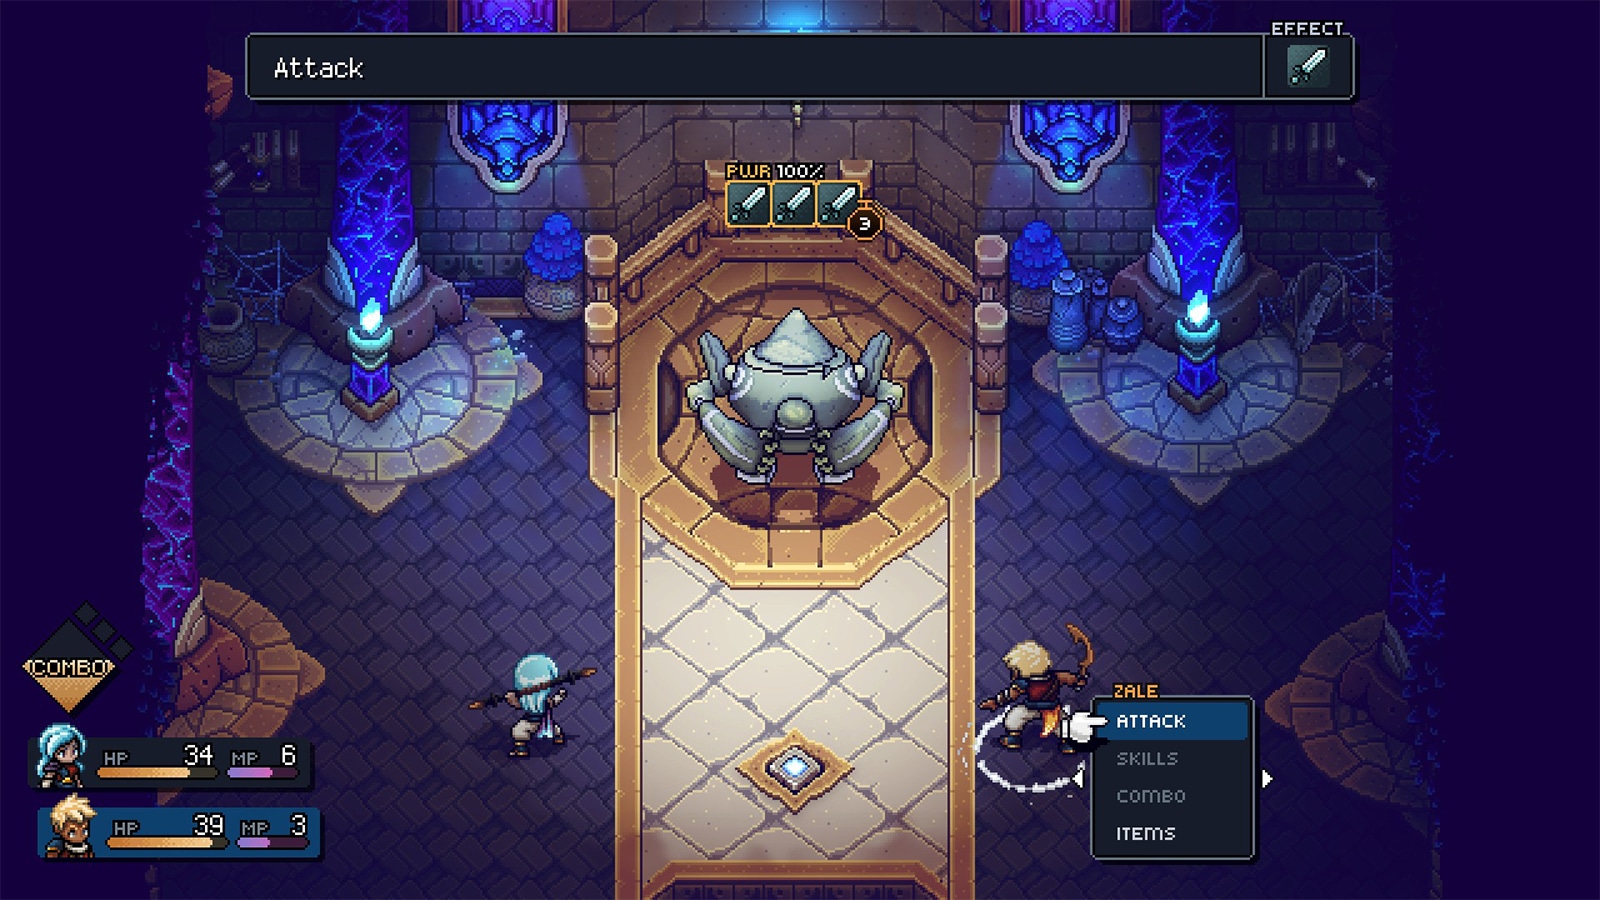
On the next level, activate the pedestal to call on the automaton Wyrd who will then be your next opponent. Pay attention as Wyrd can switch modes which are weak to certain types of attacks. Once Wyrd has been defeated, you will most likely gain your first level up.
On the level up screen, you will see each of your character’s stats and the amount they gain from leveling up. You will also get to choose one more stat to enhance from a selection of four. There are six different stats to choose from, and four will be randomly chosen to appear as one of the choices: Hit Points, Mana Points, Physical Attack, Physical Defense, Magic Attack, and Magic Defense. You’re free to choose whichever stat you wish to enhance depending on the play style you wish to go for.
Wyrd will then congratulate you for passing the test. You can then proceed to go back to the central hall where the Headmaster will also congratulate you and bring you back to Mooncradle for a celebration. During the celebration, the protagonists will try to look for Garl, but he is nowhere to be found. You are then led to the village gate where the entire villagers see you off for your journey. Before leaving, the Headmaster gives you some food to eat, as well as your first two relics to help you along the way.
See next: Sea of Stars The Forbidden Cavern Guide


