
Research Labs is the second level that is part of the first Laser Mission of System Shock Remake. After making it through the Medical level, the Hacker has to navigate through the Research Labs as soon as possible before SHODAN fires the laser towards Earth. Read ahead as we go through the Research Labs level of System Shock Remake and share the location of the key items and collectibles that can be found in the level.
See previous: System Shock Remake Laser Mission Level 1: Medical Walkthrough
System Shock Remake Level 2: Research Labs Walkthrough
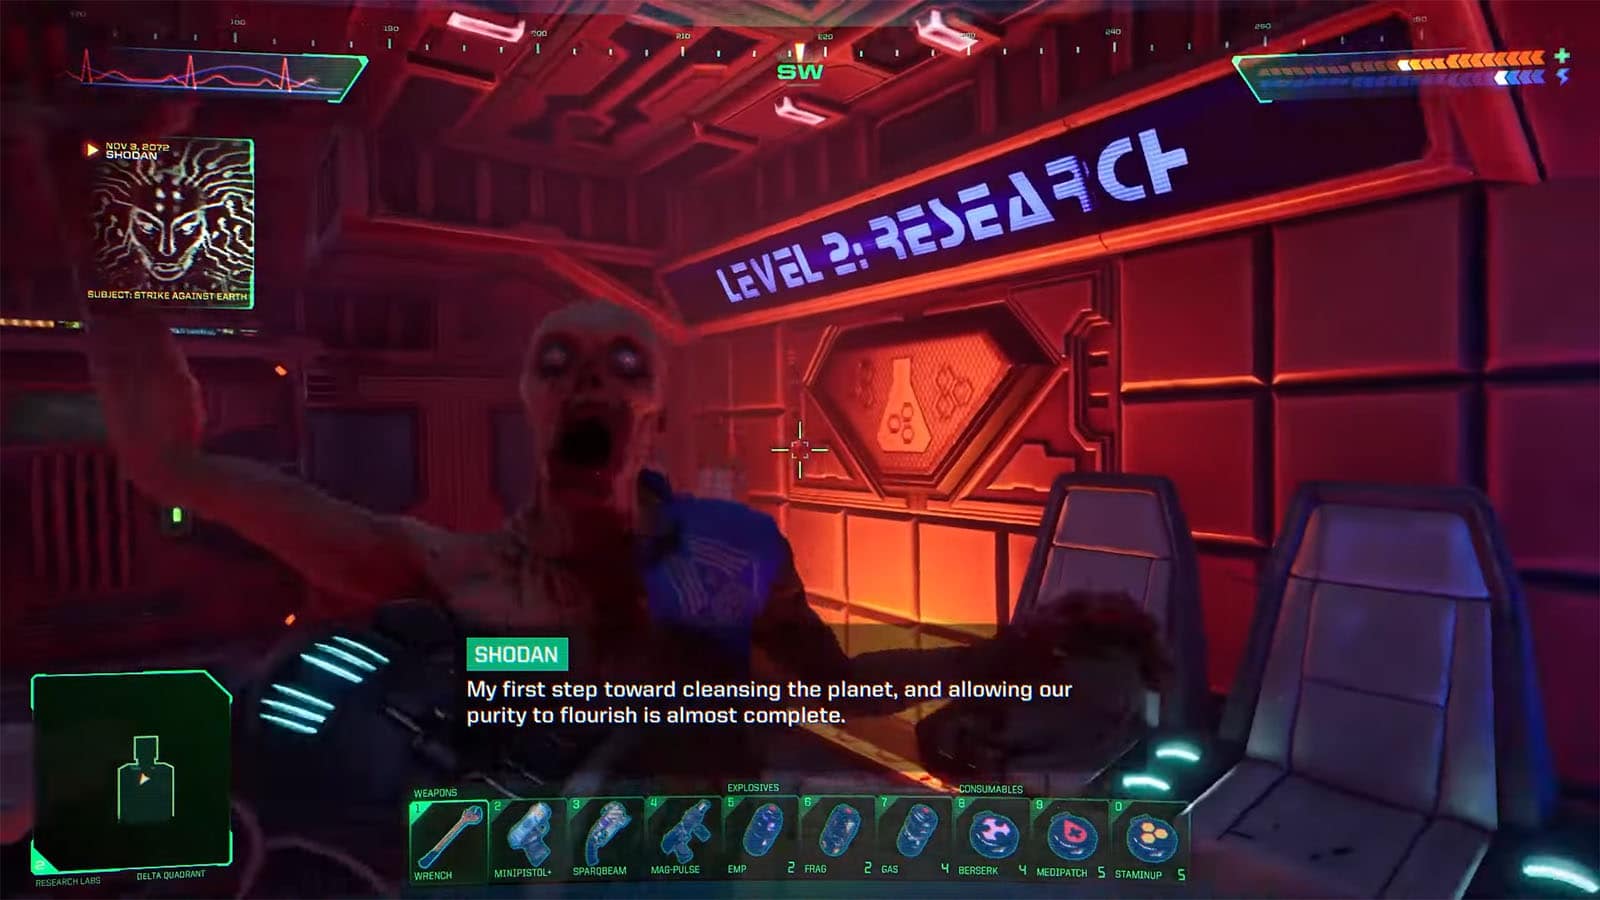
As soon as the elevator doors open up into the Research Labs, you will be attacked by mutants; clear them out right away.
Circuit Breaker Room – Alpha Quadrant
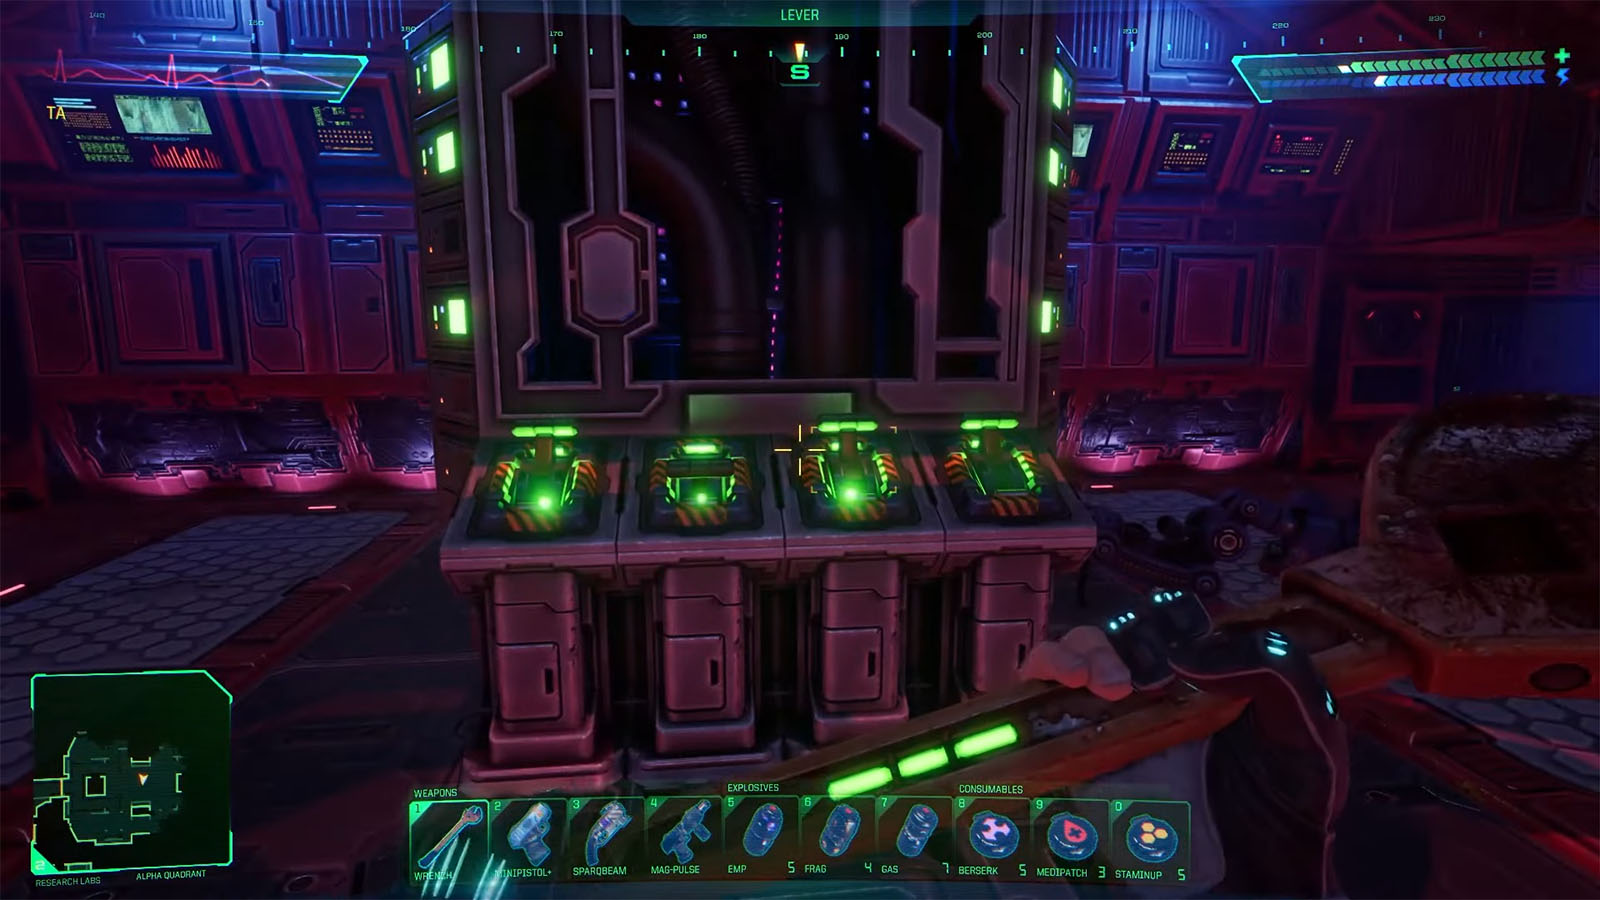
Your first objective for this level is to go around the Central Hub, make it to the Alpha Quadrant (northwest), and go inside the room where the circuit breakers are. After reaching the room, you will need to pull up the second lever from the left, as this will enable the doors that you need to get into in the Beta Quadrant.
Science Keycard – Beta Quadrant
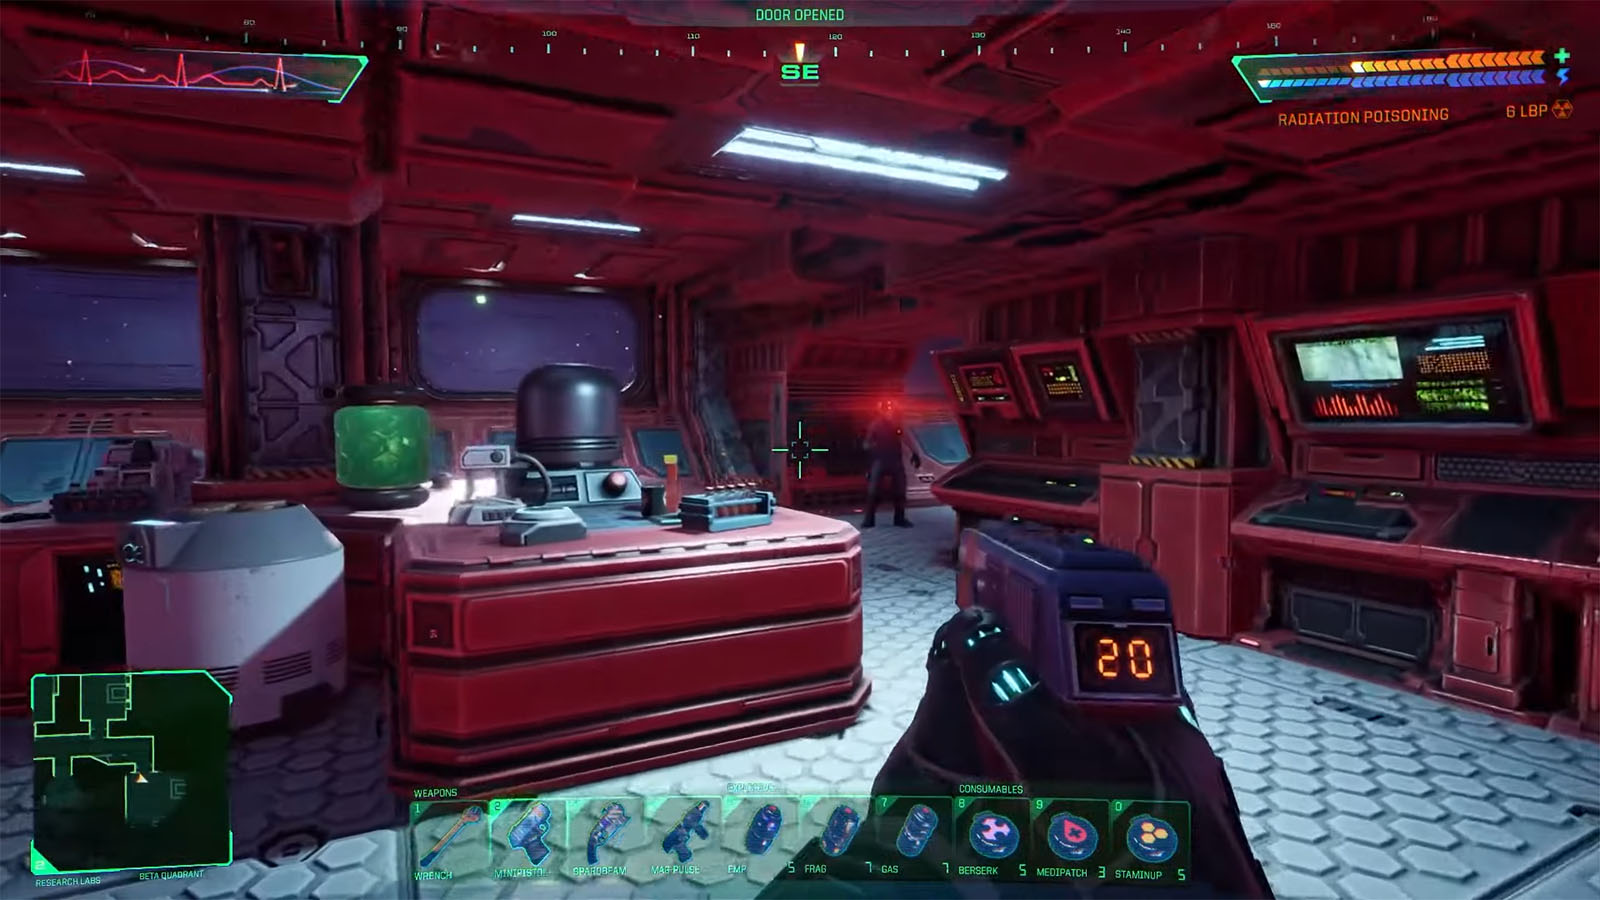
Travel southeast from the circuit breaker room to reach the easternmost room of the level. Head up north as you enter the room and take the door to the Admin Security to get the Science (SCI) Keycard and the Audio Log – Audio Log Firmware #28. This keycard will be used to open several doors throughout the level.
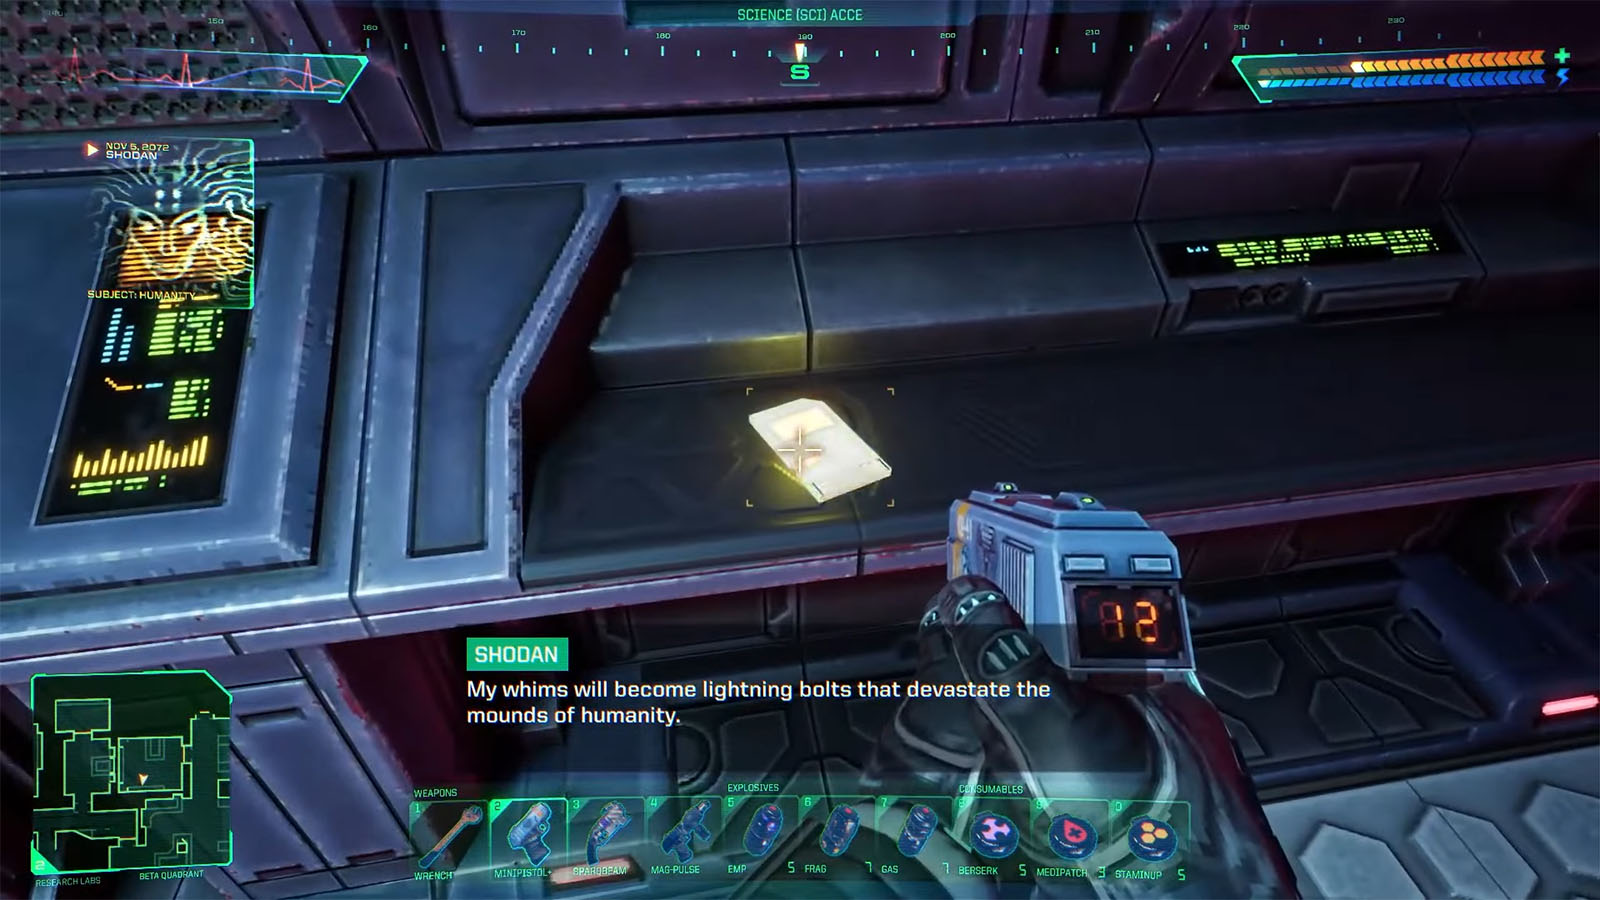
Exit the room and head towards the locked door of the library on the south side of the large room. To the west is another room where you can get the Target Identifier V1 gadget and other gadgets that you can take in case you haven’t picked them up in the previous level. There’s also the Data Stick – Always a Maze!, Audio Log – Wormhole, and Audio Log – Results to pick up in this room.
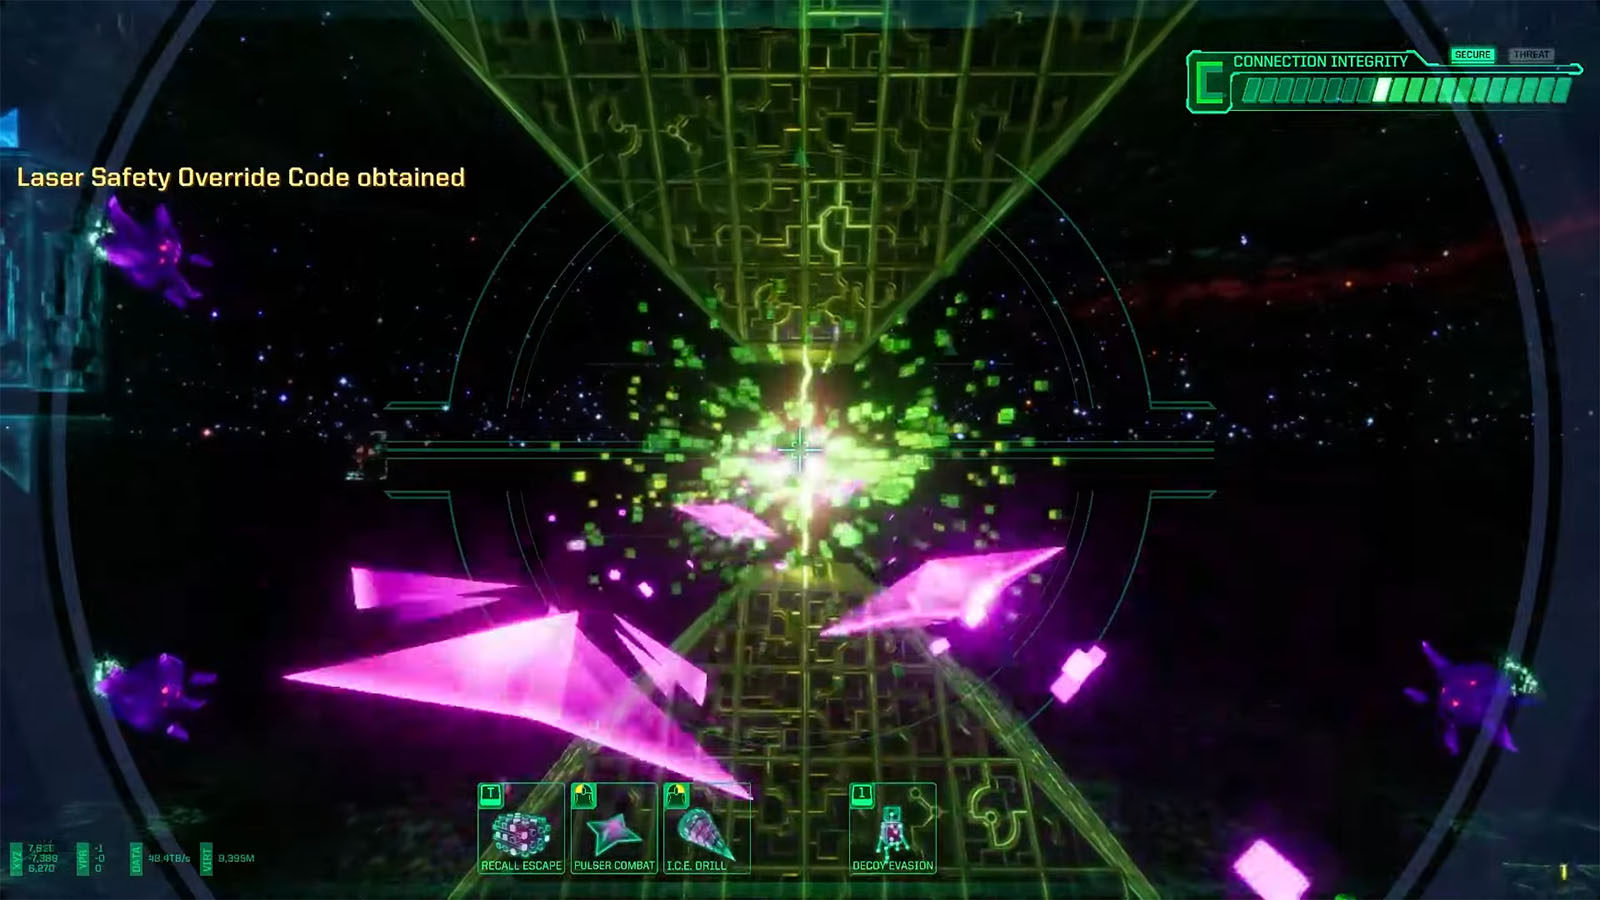
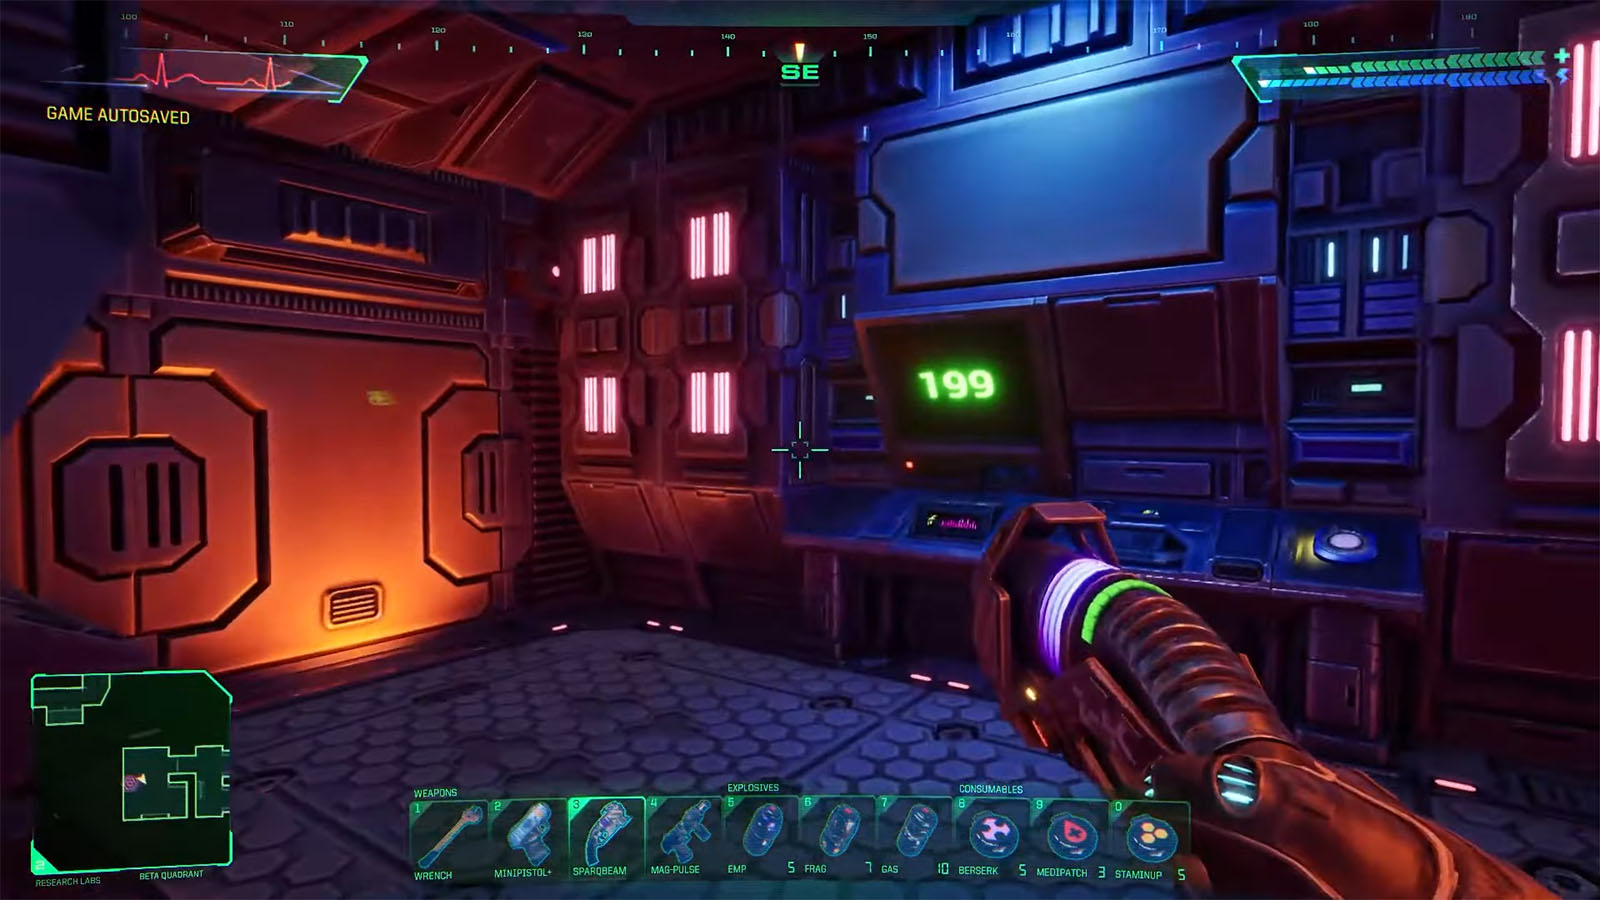
Inside this same room is a Cyberspace Terminal – Safety Override that works similarly to the terminal in the previous level. After completing the virtual course, you can then log out and look at the monitor nearby, which will now show the Laser Safety Override Code. Take note of the numbers shown in this code (number: 199).
Next, head back to the Central Hub and make it to the Gamma Quadrant gate on the south side; use the keycard to open the gate.
Isotope X-22 – Gamma Quadrant
In the next room, you will already see the elevator you will need to take to the Reactor and Maintenance area. Take note of this for now. Grab the Audio Log – Something Lurking by the elevator, then continue moving southeast to reach the CPU Node room.
Optionally, you can travel to the southwest area of the level and find the Data Stick – Robot Production, then go back to the southeast side, where you will have to solve a Junction Box. Inside the next room is a panel that needs a code coming from the data stick (code: 623). This code will then open another door, revealing another junction box. Solving this junction box will disable the robot production in the level.
Before breaking the CPU nodes, check the southeast corner of the room first to get the Group-3 (GP3) Keycard. Afterwards, destroy every node in the room to reveal another set of numbers that you need to write down. If you disabled the robot production prior to this, then you won’t encounter much resistance after destroying the nodes.
Head back to the room where the elevator to the Reactor was and go to the room southwest of you. Continue heading towards the southernmost room to get the Audio Log – Suit Shortage Over? and find another Cyberspace Terminal – Gamma Radiation Trench.
This terminal will still be similar to the previous virtual rooms, but you will get a new weapon to use: the Ice Drill. There won’t be much enemy force to encounter, but there are two bosses that you will have to face. Once the main boss is destroyed, you can log out and take note of the next set of numbers on the nearby screen.
Back in the previous large room, you will need to travel to the north side to find the room that holds the key item that you need. There will be radiation in the area, so your health will be sapped. Grab the Isotope X-22 from the room and immediately head out towards the elevator to progress to the next area.
You can either go up to the Maintenance Level or down into the Reactor Level. Since we have the Isotope X-22 to deliver, we’ll take a trip to the Reactor Level first. You can also spend some time exploring the rest of the level, such as in the Alpha Quadrant where you can find the Engineering (ENG) Keycard which will be useful later on. Do not access and fire the laser inside the Control Room yet before doing the steps in the Reactor Level unless you want to trigger the bad ending.
See next: System Shock Remake Laser Mission Level R: Reactor Walkthrough


