
Executive is one of the levels that are part of the second Virus Mission of System Shock Remake. To stop SHODAN from spreading her mutagenic virus, the Hacker must find a way to dispose of the groves where the virus is being cultured. Read ahead as we go through the Executive level of System Shock Remake and share the location of the key items and collectibles that can be found in the level.
See previous: System Shock Remake Virus Mission Level 5: Flight Deck Walkthrough
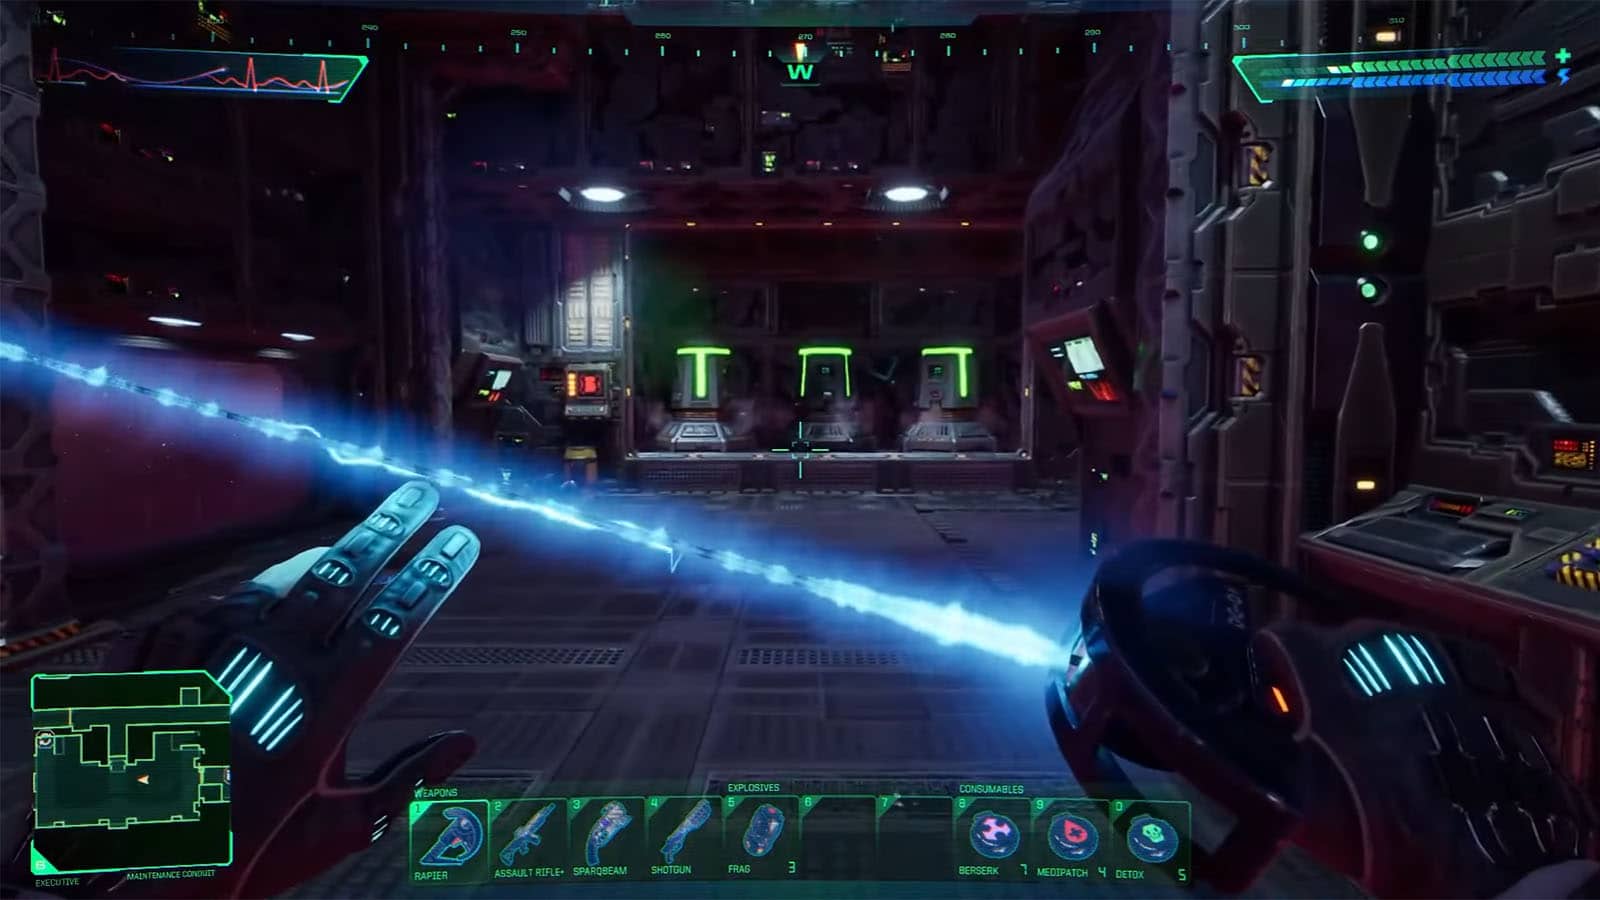
System Shock Remake Virus Mission Level 6: Executive Walkthrough
You can access the Executive Level via the elevator from the Flight Deck or from the Maintenance. The two elevators are not far from one another, but it’s best to go to the Maintenance elevator as the room there have codes on the screen that you will have to take note of, and one of the one-way teleporters. You can also find the Audio Log – Jettison Controls nearby.
Cyberspace Terminal – Beta Grove/Storage Room
Your first objective is to unlock Edward Diego’s Storage Room and the Beta Grove transit. Starting from the central area where the two elevator paths meet, take the west path and check the room to the left where you will find a Cyberspace Terminal. Interface with it and complete the course to unlock those areas mentioned earlier. In this room, you can also find Audio Log – Diego’s Bargain. Check the room nearby and you will find the Target Identifier V3 and Audio Log – Screen Malfunction.
Admin Keycard
Next, you will need to find the Admin Keycard in the northeastern side of the level. Head back to the elevator that leads to the Flight Deck and go to the eastern room. The next room down contains the Cargo Lift and a Restoration Bay. Back out in the main path, continue following it to the north then to the west until you arrive at the next area. To the right is where you can find the Admin (ADM) Keycard and to the left is the Data Stick – TriOptium Security Report.
Head back to the Central room and take the path up north. Grab the Head-Mounted Vision Unit V2 by the accessway before taking the tram to the Delta Grove.
Delta Grove
Once you arrive in the Delta Grove, your main objective is to make it all the way to the north area where a switch is located that will activate a lift that grants access to the Safety Interlocks area. First, you must destroy enough cameras in the area to lower the level security to 30%. There’s one near the tram, one in the southeast area, two just southeast of the virtual chessboard in the middle, and three more northwest; it should be enough to open the door.
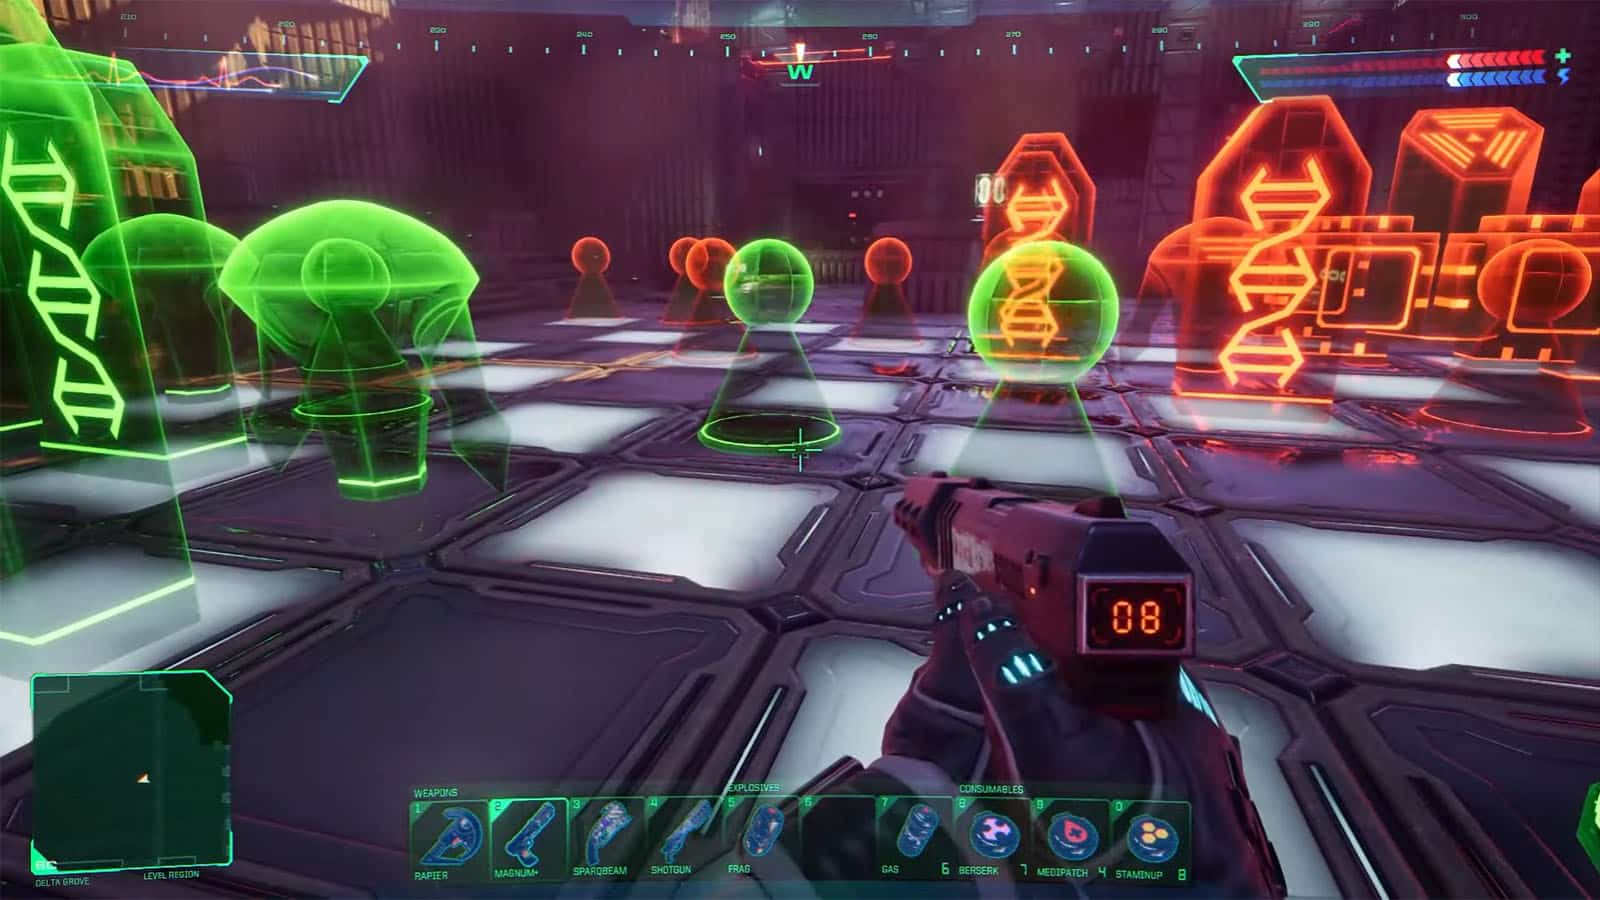
Next, go to the northernmost room and press the button near the live feed to enable the lift found near the virtual chessboard. Go to that lift and ride it up to the Safety Interlock room where you can press the Safety Interlock button. At this point, you can stay and try to win the virtual chessboard as it will earn you an achievement. Once the Delta Grove has been jettisoned, you will no longer have access to this area for this playthrough.
Head back to the tram to return to the Executive Level and proceed to the next grove as you cannot jettison it for now.
Alpha Grove
Next, head back to the area near the elevator from Maintenance, and take the east path towards the Alpha Grove Tram. Once you arrive at the Alpha Grove, you will need to destroy enough security cameras to lower the level security to 20%. There’s on near the tram, one south of the area near the tram, northeast near the maze, and northwest upper level.
Once the security level is low enough, go to the path southeast to open the door. You will find the live feed by the end of the room and a lever that opens the door to the Safety Interlocks which is at the south side of the grove. You won’t be able to jettison it yet for now.
Gamma Grove
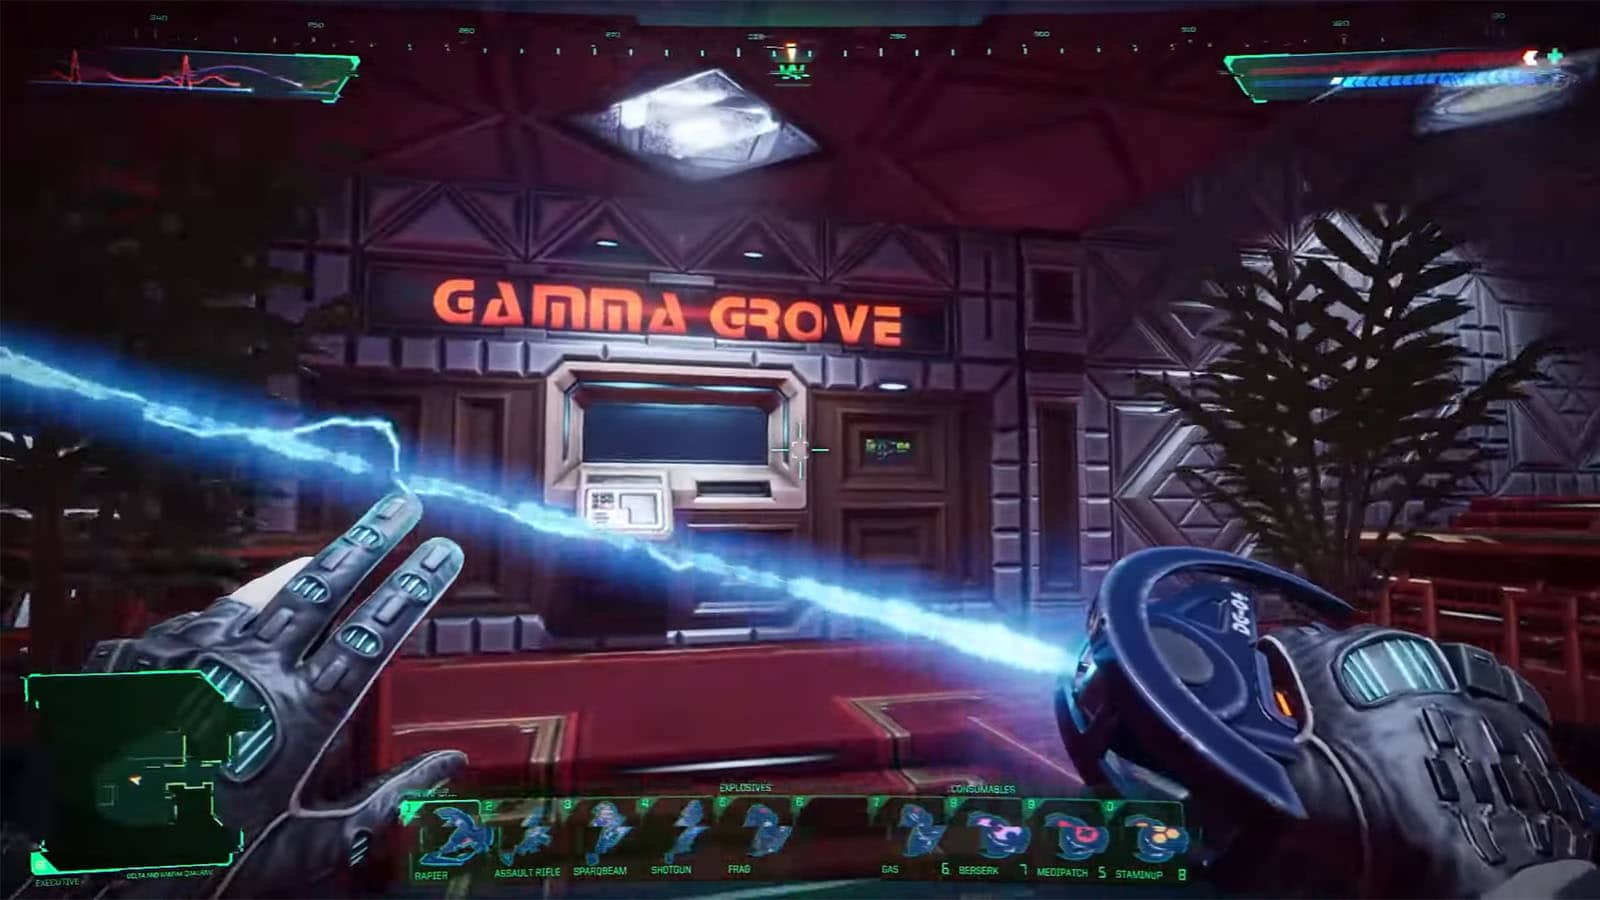
The Gamma Grove does not have a tram that goes to the grove itself, so you can skip this for now.
Beta Grove
Next, you can make your way south where there is a locked door. Once you have acquired the Admin Keycard, you should be able to go through the room and into the other side to reach the Beta Quadrant.
Before taking the tram to the Beta Grove, you will need to prepare as the entire grove is heavily contaminated. You will need the Environmental Protection Pack enabled plus a few more health packs as you will try to stave off the poisoning as you navigate through the grove. Once you’re ready, take the tram.
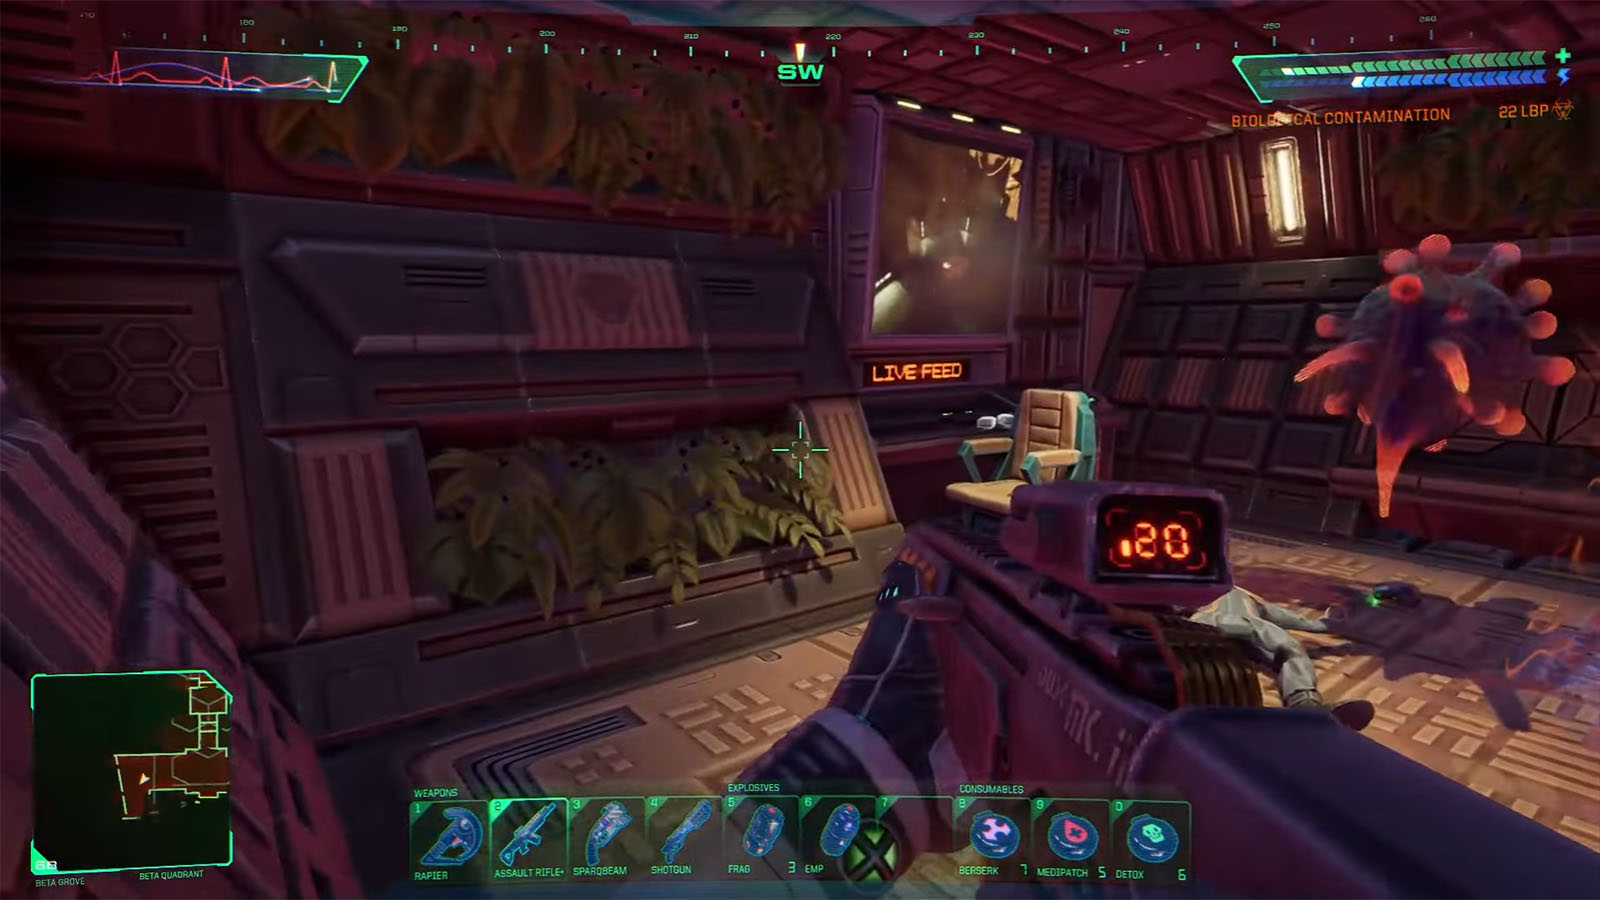
Upon arriving at the Beta Grove, immediately head south, then east, then continue running south. There will be buttons that you need to look out for which will spawn bridges to cross over. Continue heading westward until you reach the room with the live feed. Press the switch, then make your way back to the tram and into safety. Back on the Executive Level, when you try to jettison it, it would not work until the Master Control has been enabled.
CPU Nodes
The CPU Nodes can be accessed through a vent shaft through the Casino. Make your way through the long hallway down in the Beta Quadrant and at the very end of it, go inside the room to the east and read Audio Log – Personal Log. Then take the door to the south; this will take you to the Casino. Beware as there are lots of mutants and gorilla tigers in the area.
Once cleared, go to the southeast area and place in code 711 to open the door to the vent shaft. Travel through the shaft westwards until you find the door to the CPU room to the south. Inside, press the button nearby to disable the barrier, then you can destroy the cores down below. Prepare for an attack afterwards.
Edward Diego Boss Fight
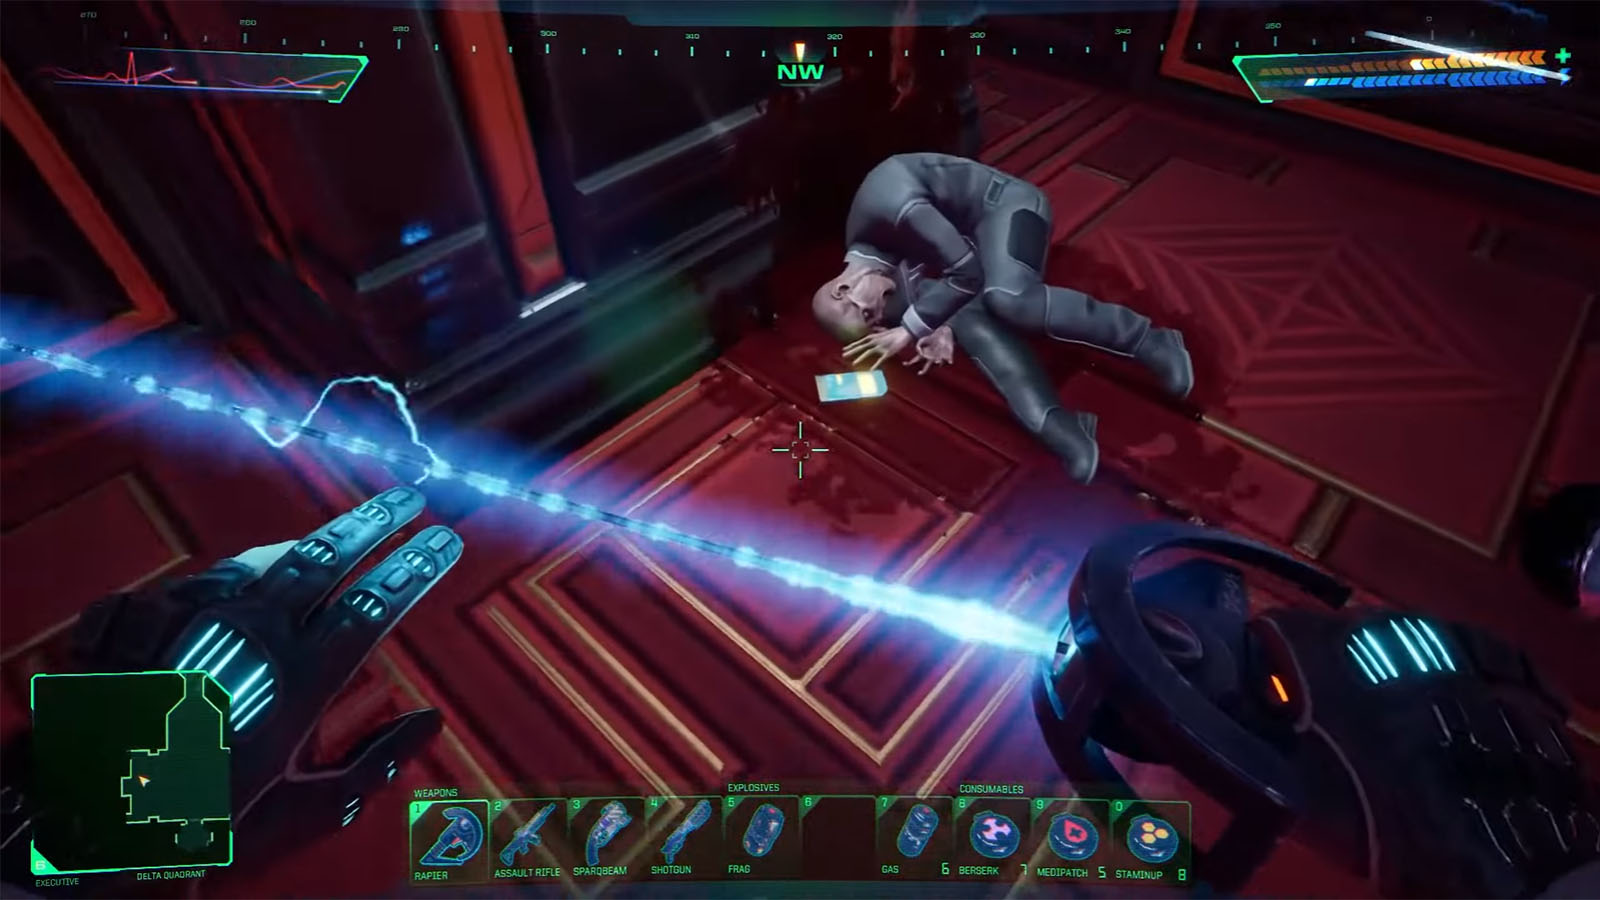
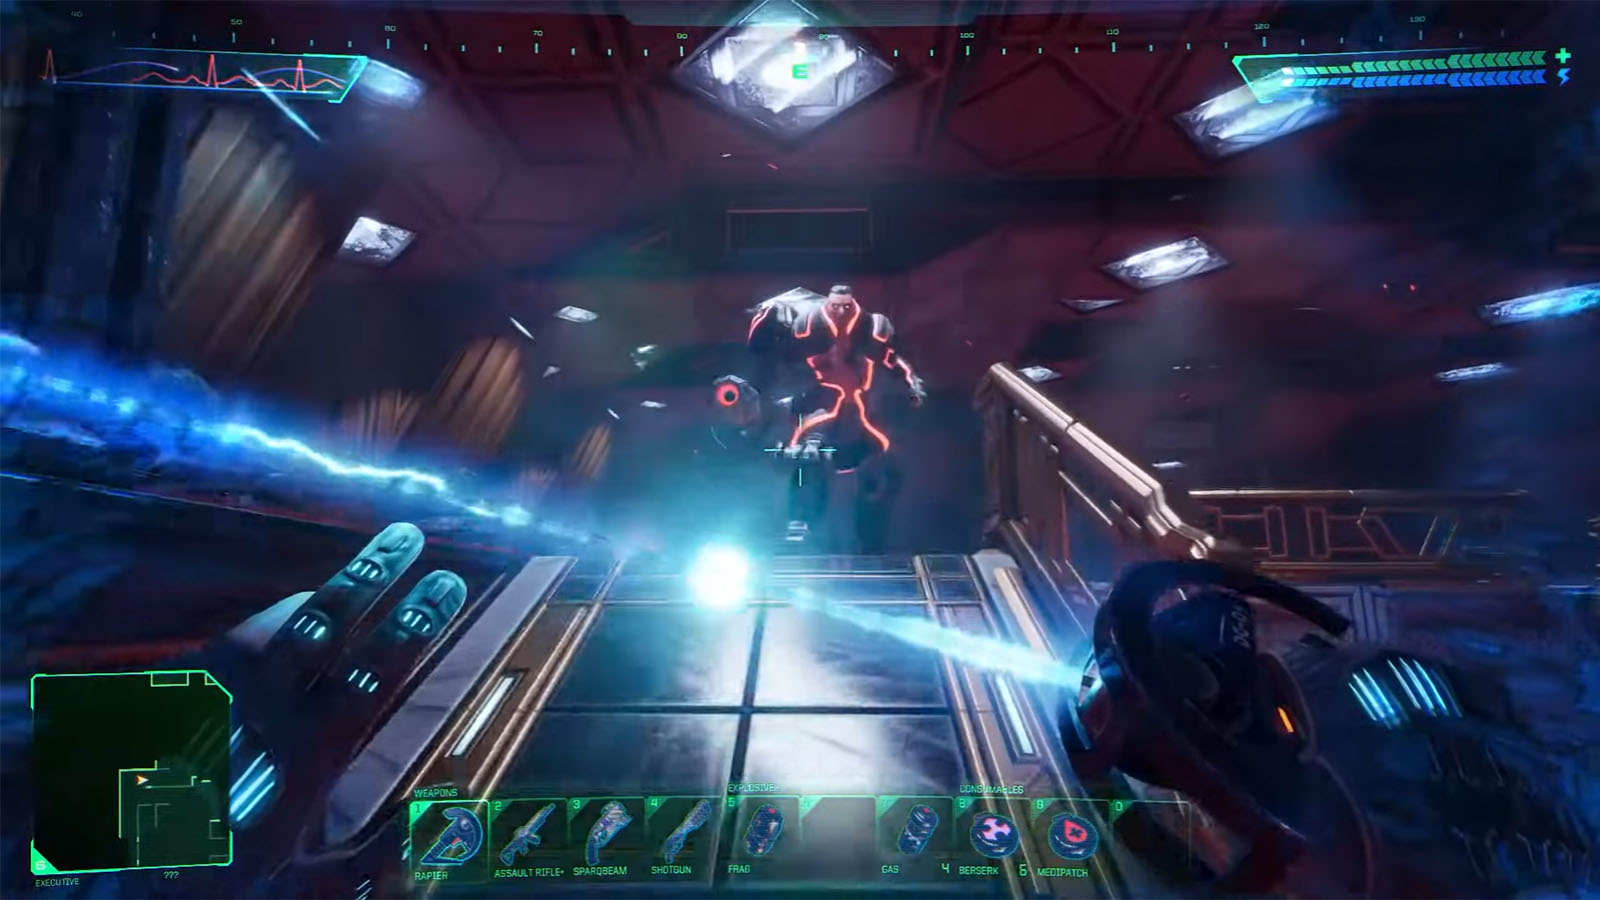
Go back to the vents and continue travelling west until you reach the huge gallery where you will encounter a cyborg Diego. Use the pillars as cover from his shots, and try to destroy his shields. Once he’s low on health, he will teleport away.
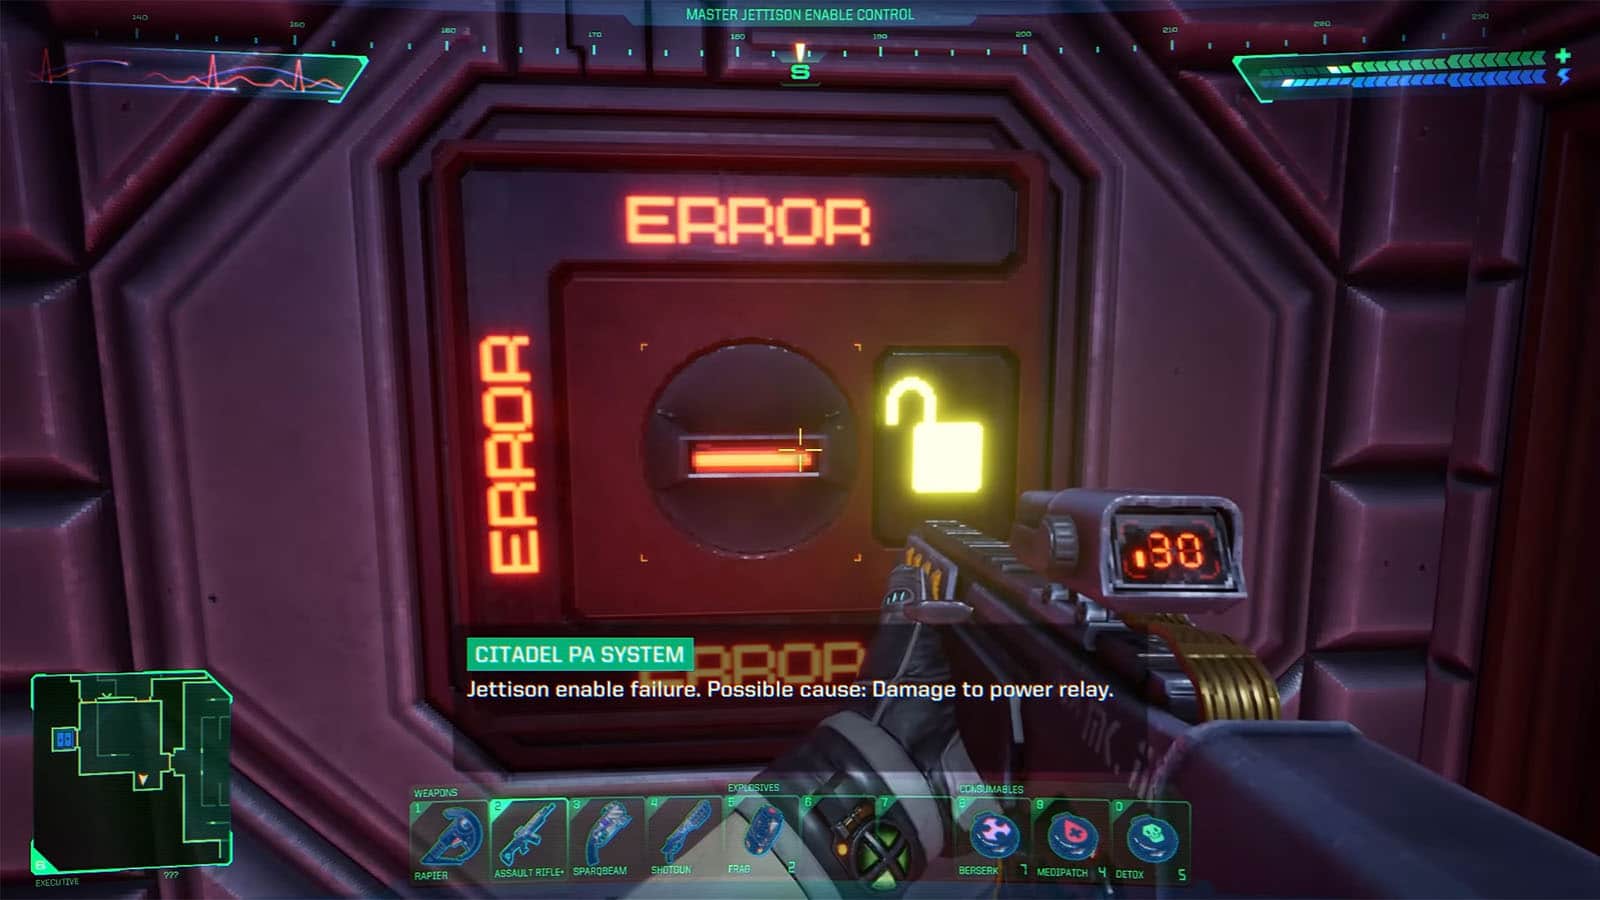
Go to the room to the west where you will find the Master Control by the door. However, the Master Control won’t be operational since its relay analyzer is broken. You will have to head back to the Maintenance Level and repair the Relay Analyzer. Once done, you can then head back to this room and use the Master Jettison Control.

Then, you can head back to the Beta Jettison and the rest of the other control rooms to jettison all of the groves (only the Beta Grove is necessary for the mission).
This concludes the Virus Mission of the game. However, SHODAN has another backup plan and it involves hacking into Earth’s data networks.


