


Branded is the third main quest of Tales of Arise: Beyond the Dawn. After accidentally revealing her powers and reactivating the mausoleum, Nazamil runs away from the group, fearing that she will be rejected once again.
Read ahead as we go through the events of Branded in Tales of Arise: Beyond the Dawn and share some tips on how to complete each of the quest’s objectives.
See previous: Warmth Walkthrough
On this Guide:
Follow Nazamil
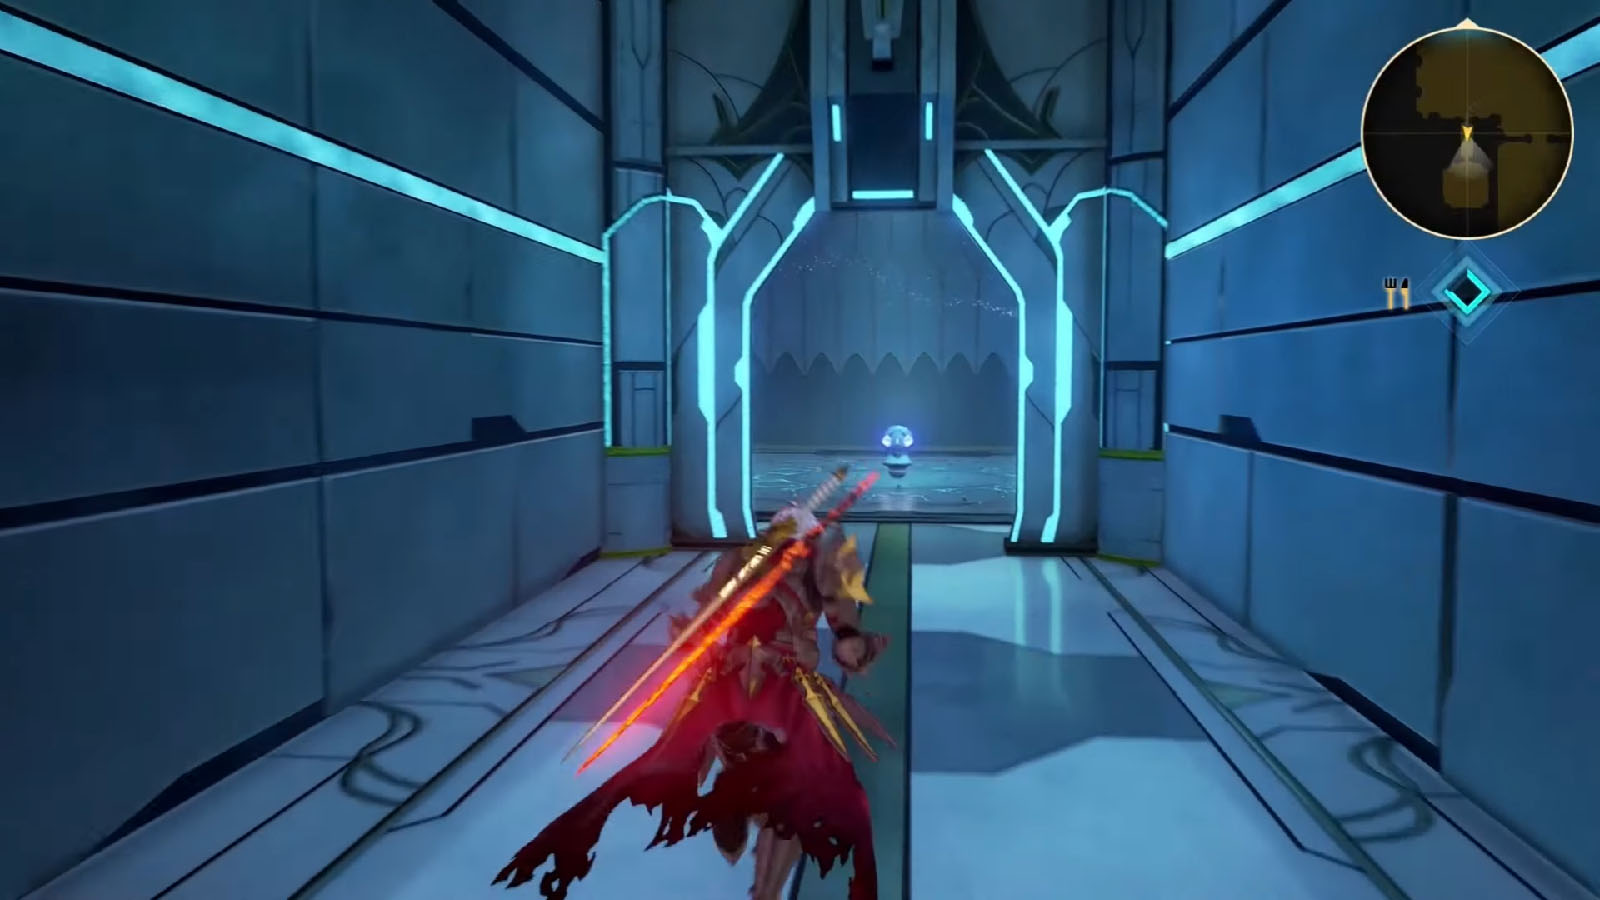
Central Stabilization Layer
The rooms up ahead are teeming with enemies, but most of them can be avoided.
From the control room, head south, then enter the room southwest to find an Elixir. Go to the southern path next and follow it to the next area. Take the southwest path to find an Elemental Guard.
Make it back to the previous area and take the northeast path, turning south at the next fork. Get past the enemies to get the Mumbane.
Make your way to the northeast room at the end of the path, where you’ll find a ramp that goes down to the Control Compartment.
Control Compartment
On this level, the east room where you’re closest is where you can fight an optional special zeugle, the Keyami Ooze. This enemy only takes 1 point of damage per hit, and its attacks can deal damage enough to cause a one-hit KO. Just be on top of heals and try not to get your entire team wiped out. Once defeated, you’ll receive a large amount of SP and some herbs.
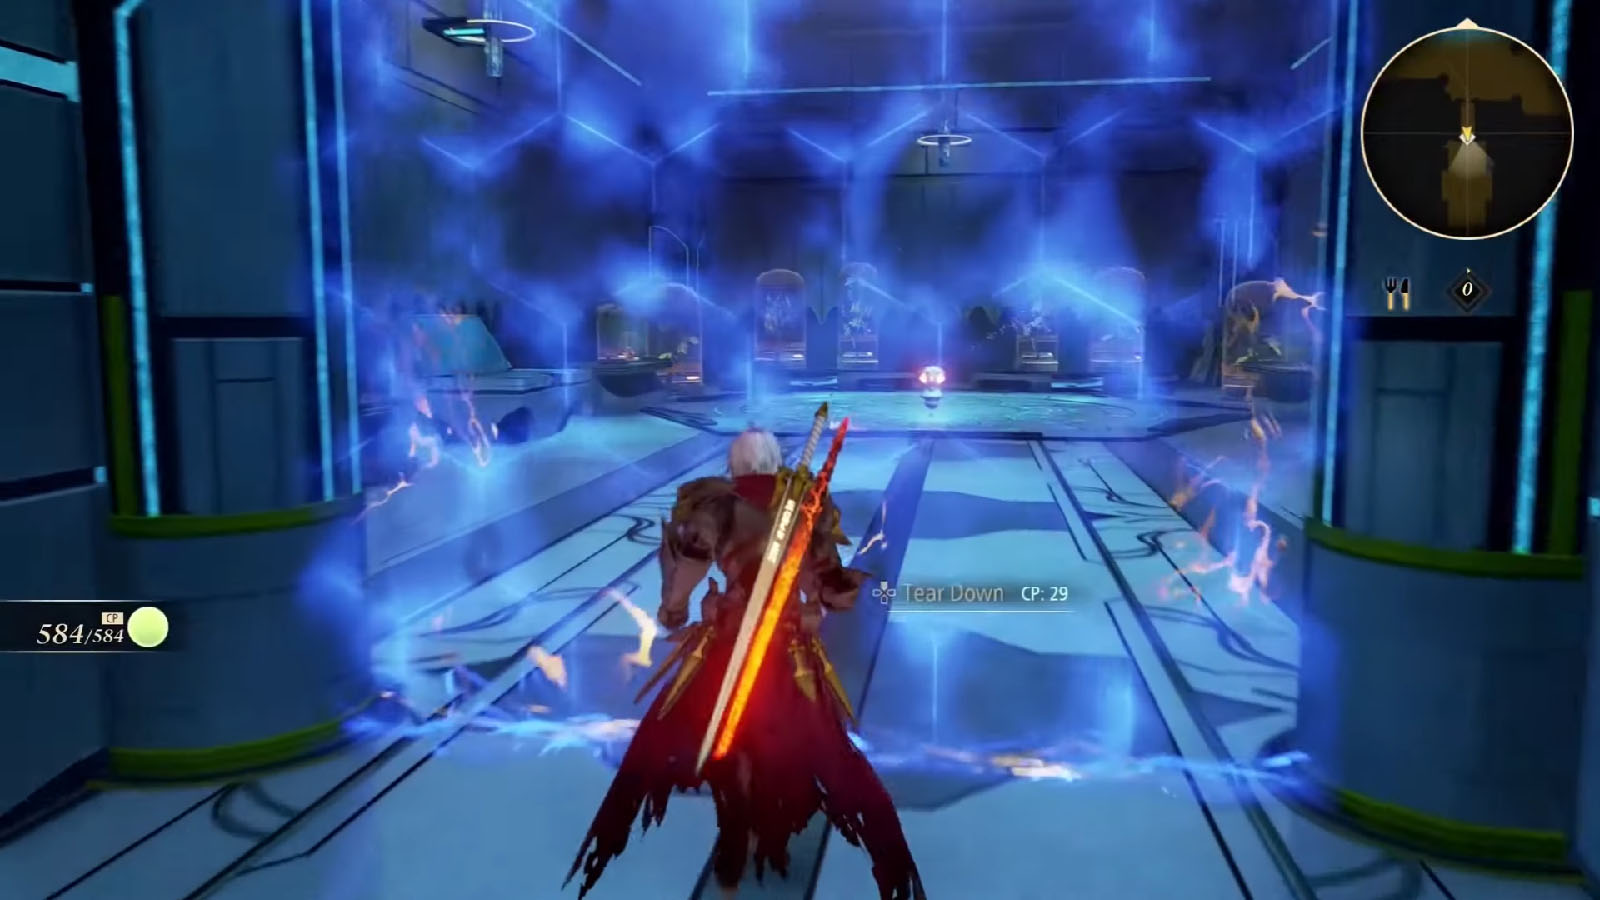
Go across the hall to the southwest room for now where there is a barrier that you can tear down. Inside the room is an Astral Flower.
Finally, head to the middle section and open the shortcut to the upper level on the northern part of the hall, then head to the door across and prepare for a boss fight.
Defeat Nimus Pandemonium
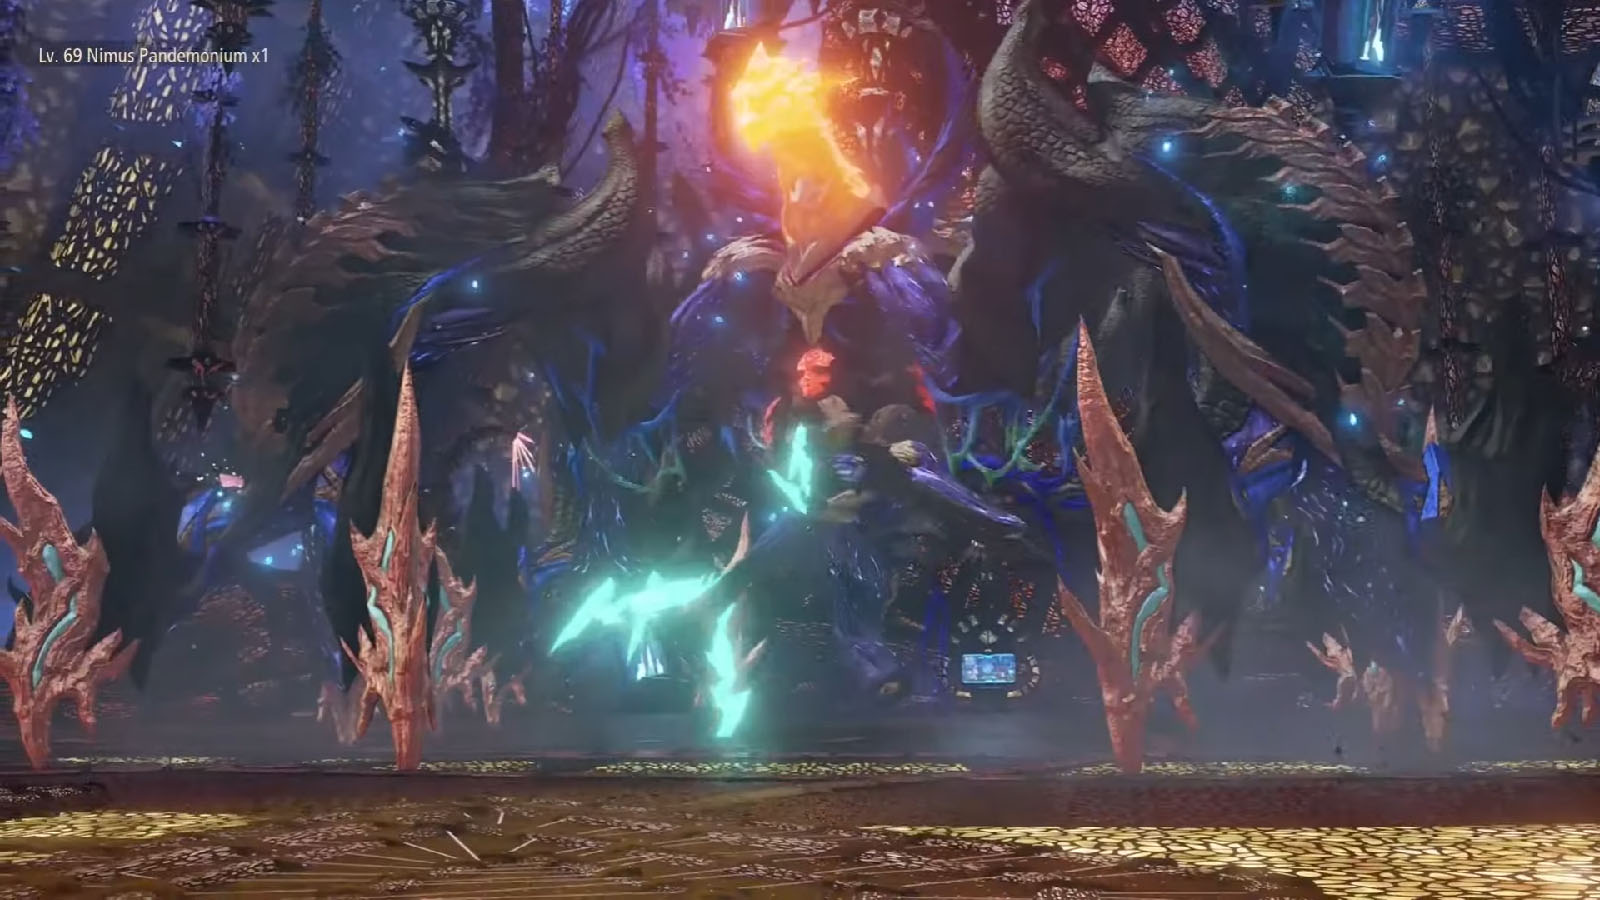
After the short cutscene where you find Nazamil again, you will be facing against the Nimus Pandemonium.
This boss is an Helganquil that has a body type that resembles an arachnid. Its vulnerable part is its tail, which is in the middle of its legs, and it’s the only part that can be reached from the ground other than the tough legs.
In the first phase of the fight, look out for its jumping slam attack. Once it jumps and disappears from the screen, time your evade around a second after to dodge its slam. Once it has sustained enough damage, the boss will topple down, allowing you to reach its crystal head, which is its weak point.
Once its health is below 50%, it will gain more attacks. Look out for the following:
- Leg Stomp: The boss will stomp its legs one by one, dealing damage to those under and around it.
- Claw Blast: The boss will plant its claws to the ground then release a lasting blast that emanate from the claws.
At this phase, the boss is also resistant to getting staggered, so you only have its tail to target most of the time. Stay on top of heals and resurrects, if needed.
After defeating the boss, another cutscene will play. You will then be rewarded with 40,000 EXP. Your job here in the mausoleum is not done yet, as there’s one more task to do.
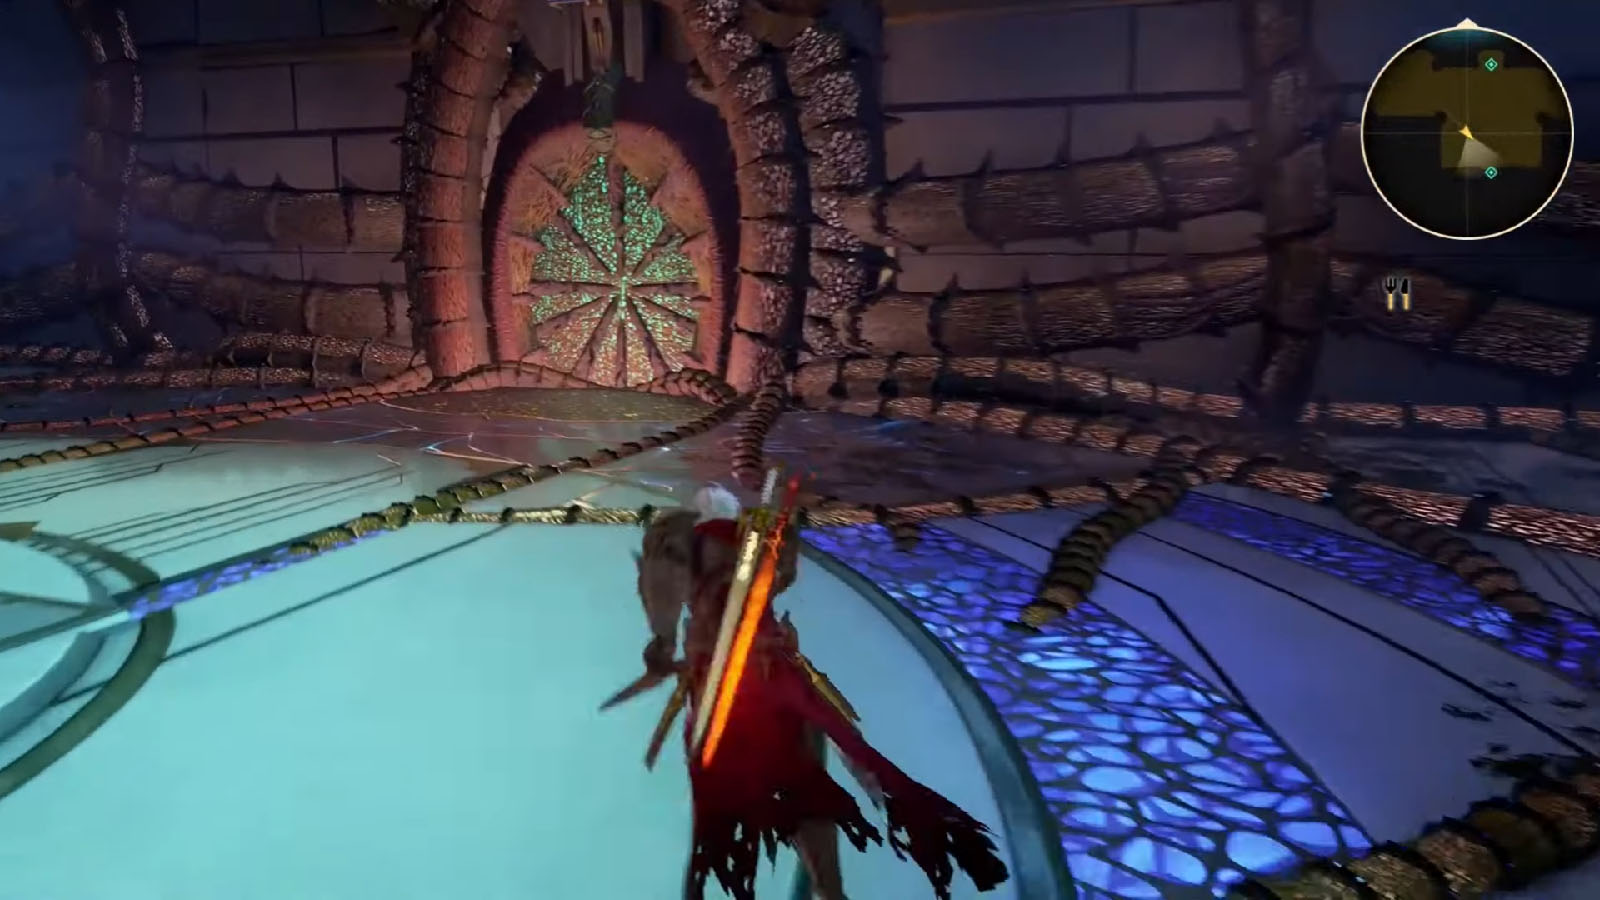
Seal the innermost door of the mausoleum
Head out to the exit to get back to the hall. Another cutscene will play where the room will be sealed. You’ll also receive The First Seal trophy for completing this mausoleum.


