
Beyond the Dawn is the twelfth and final main quest of Tales of Arise: Beyond the Dawn. The group finally arrives at the keystone, where Nazamil has already started enacting her plans to make everyone think the same through the masks.
Read ahead as we go through the events of Beyond the Dawn in Tales of Arise: Beyond the Dawn and share some tips on how to complete each of the quest’s objectives.
On this Guide:
Get to the keystone
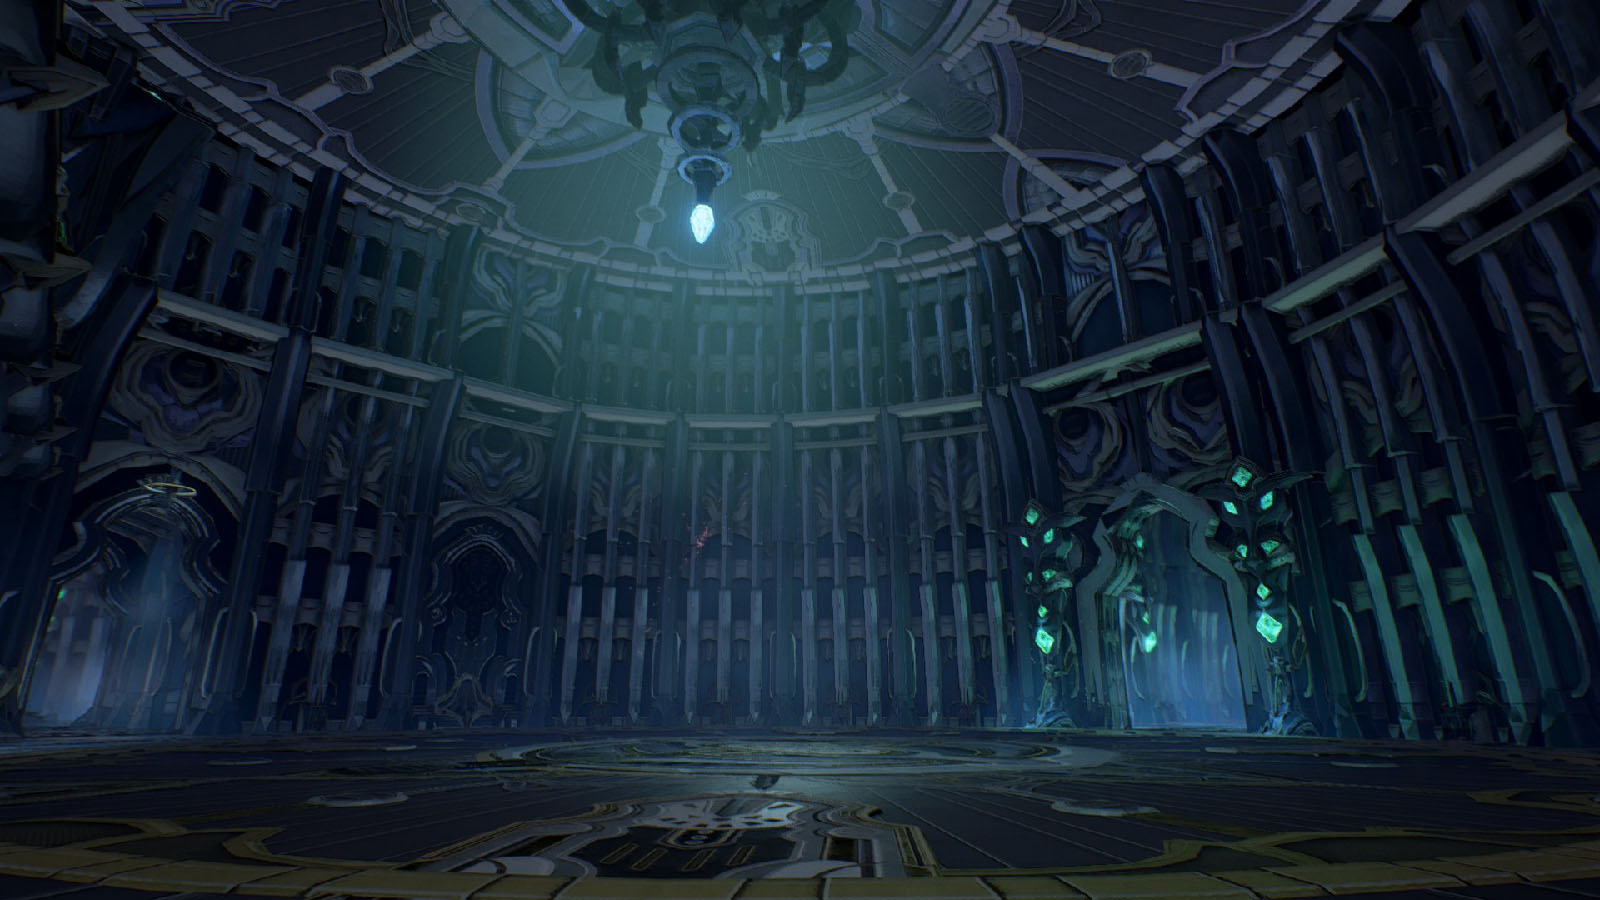
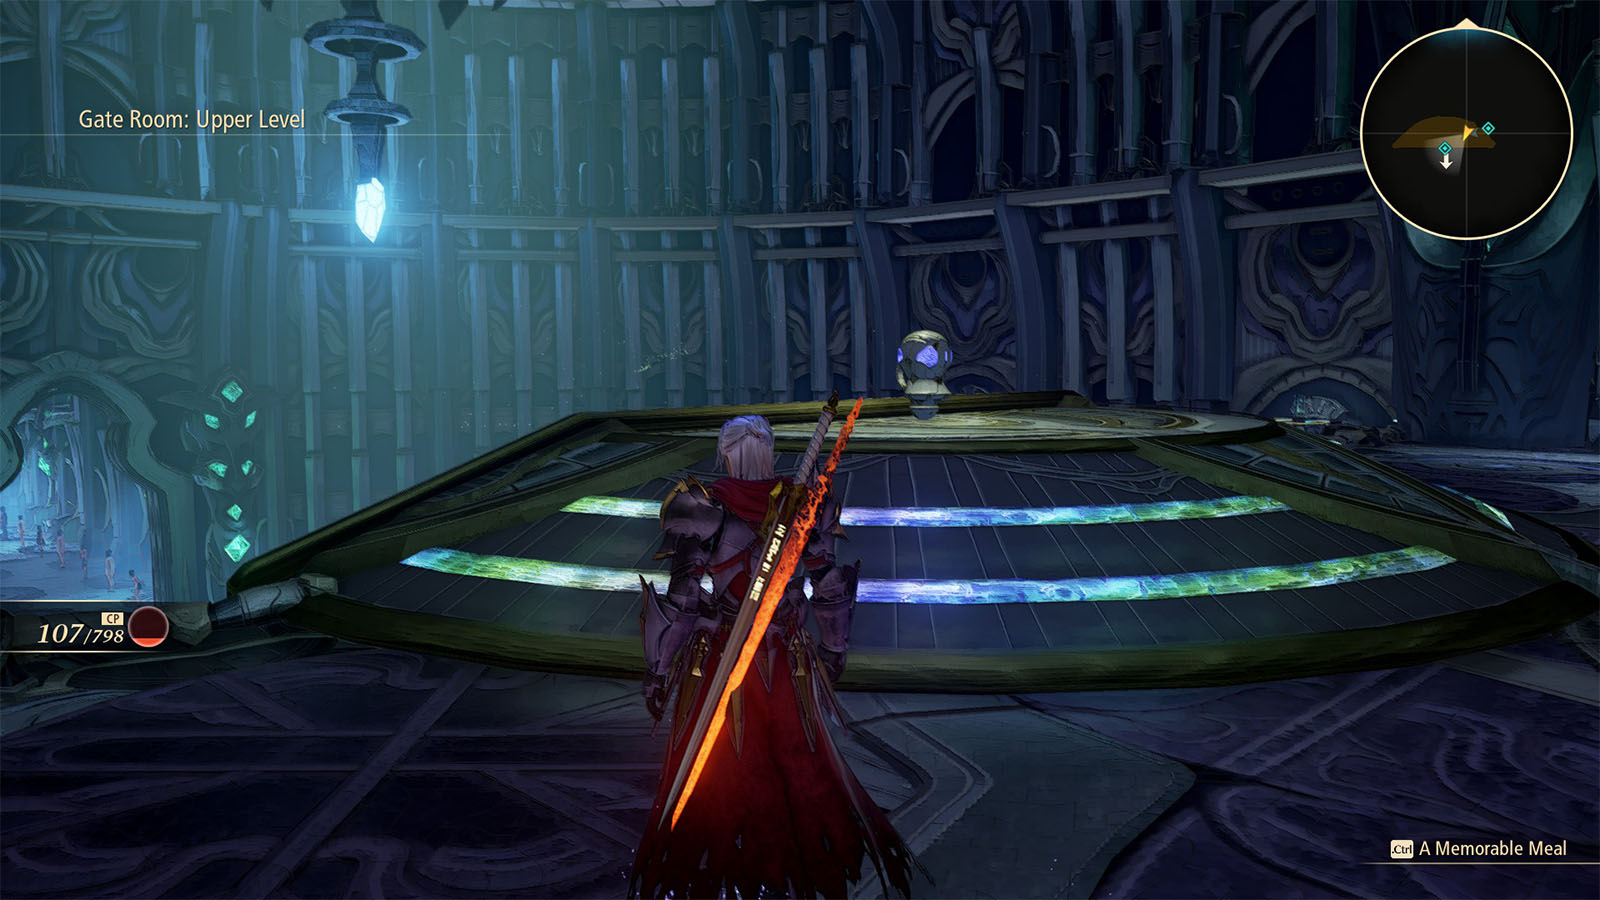
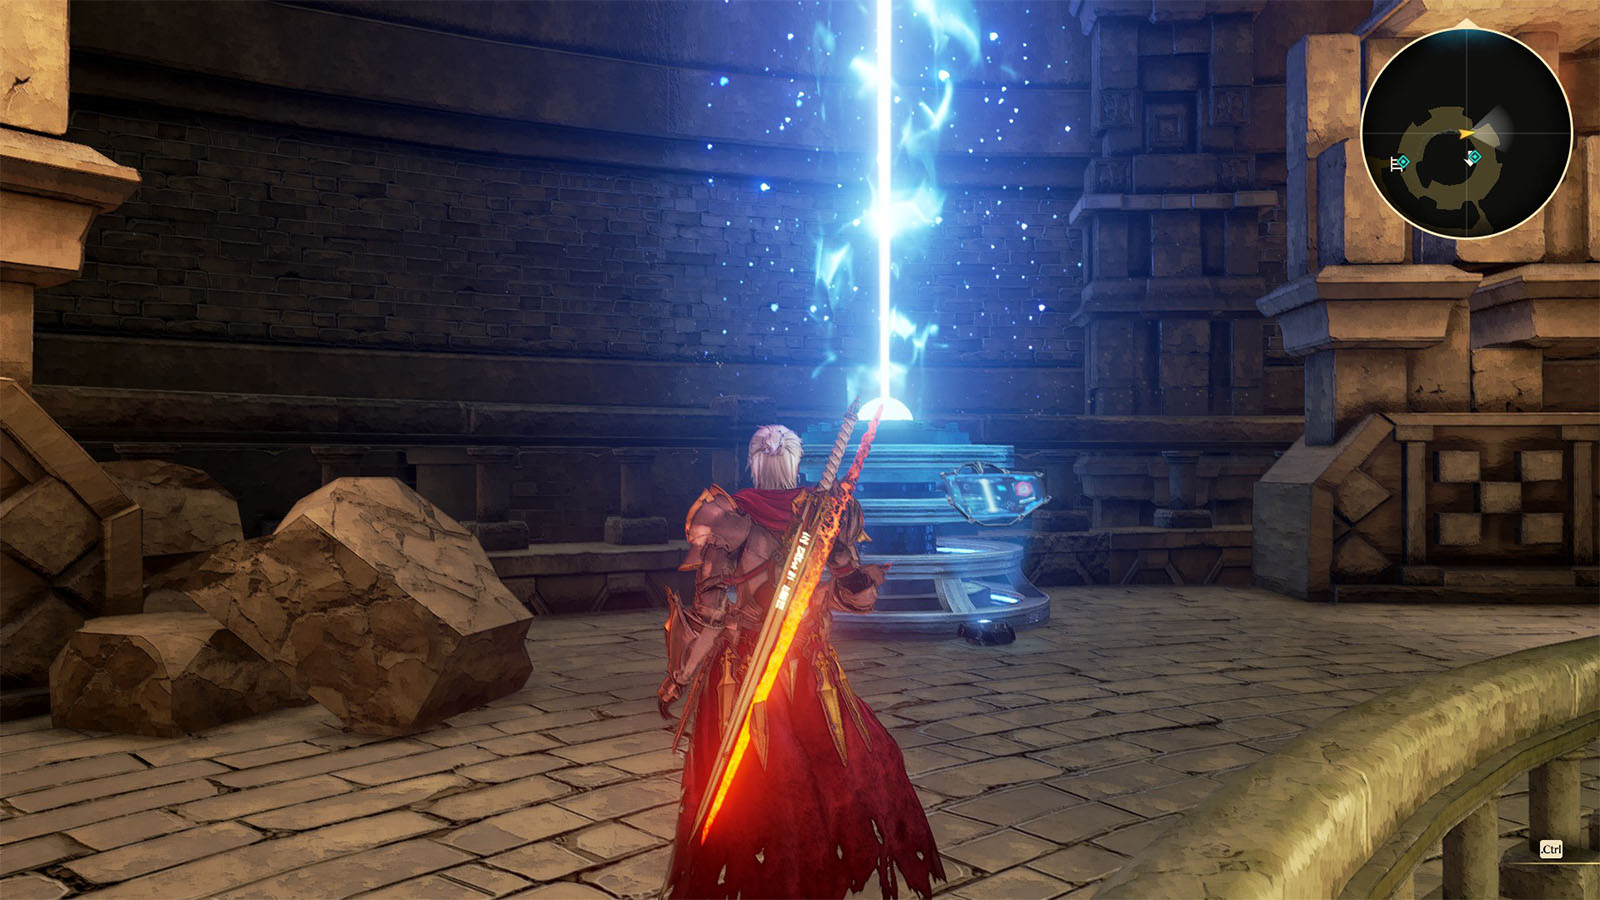
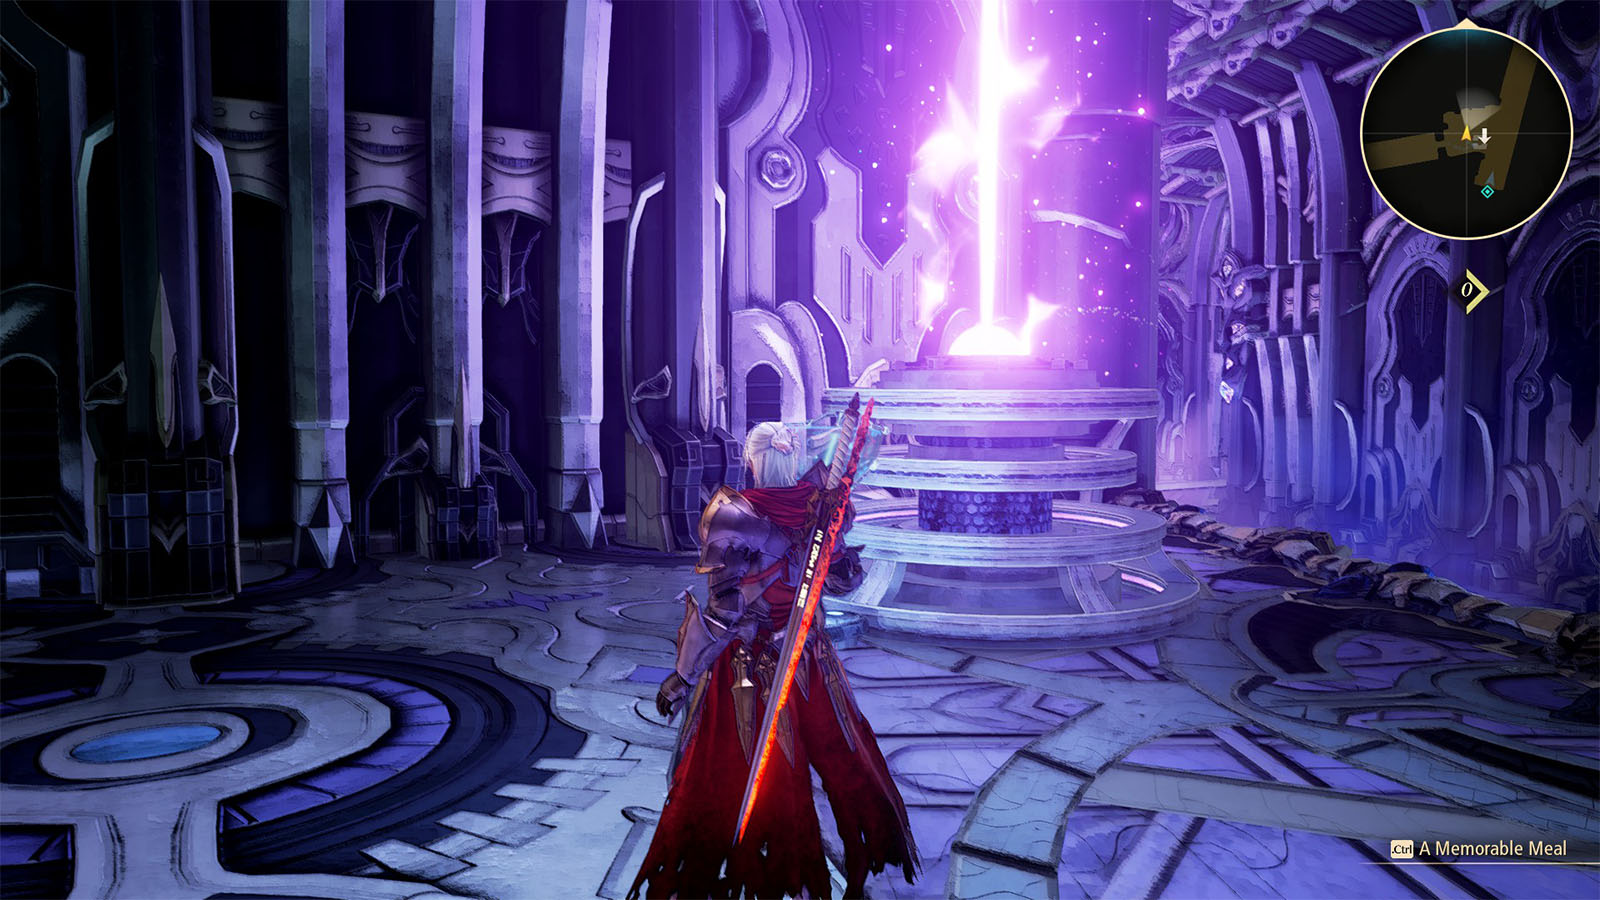
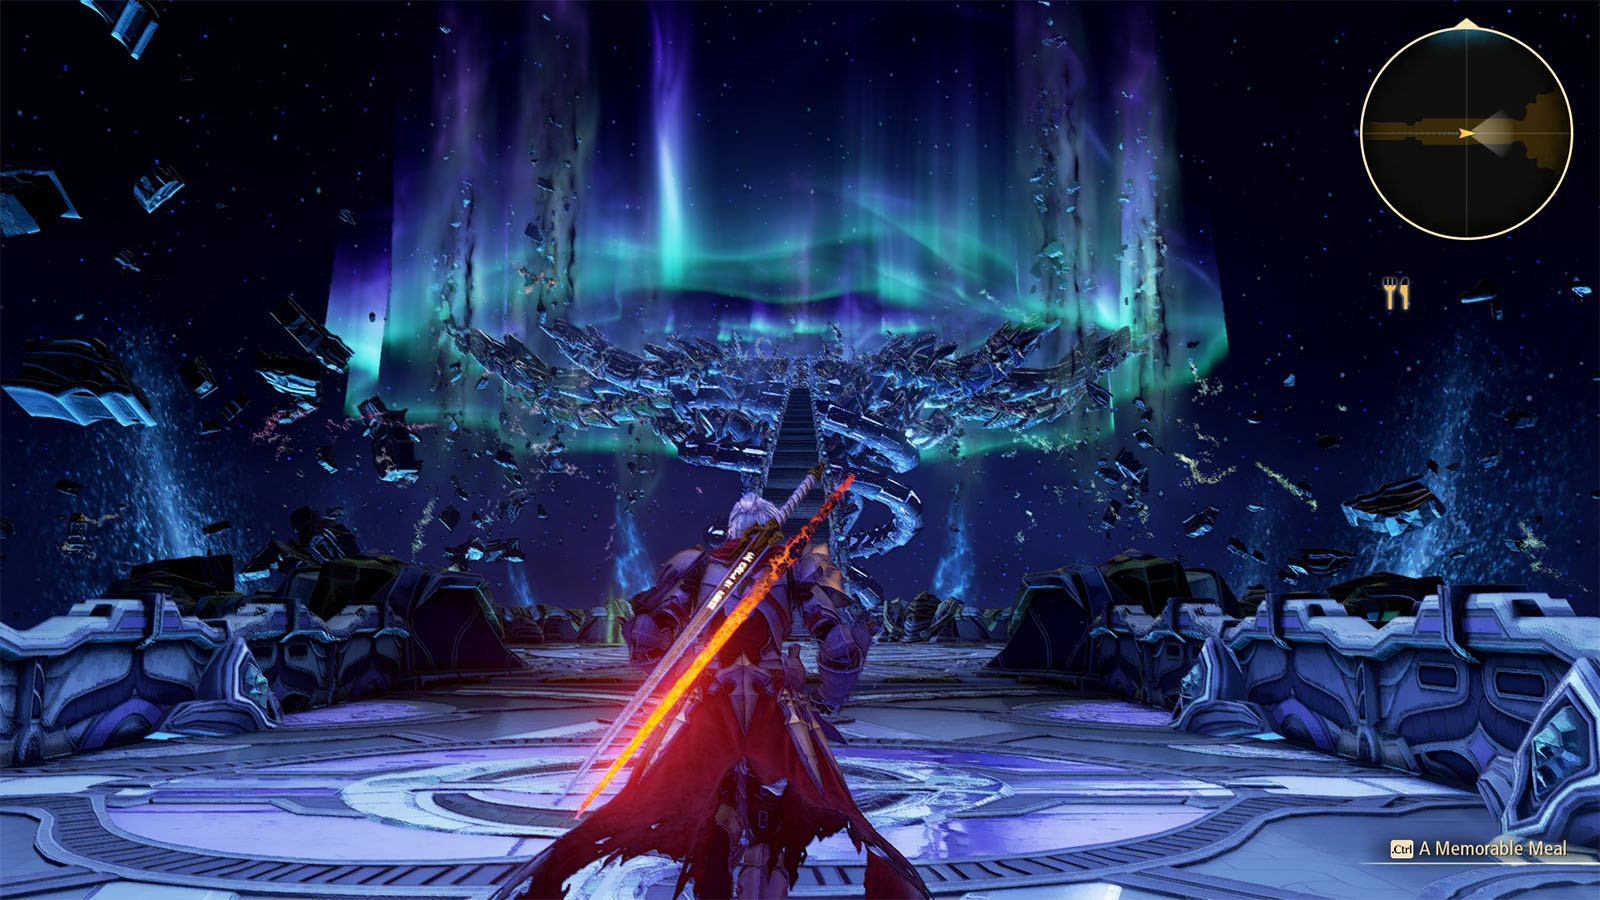
Activate the teleporter to reach the keystone.
Go into the depths of the keystone
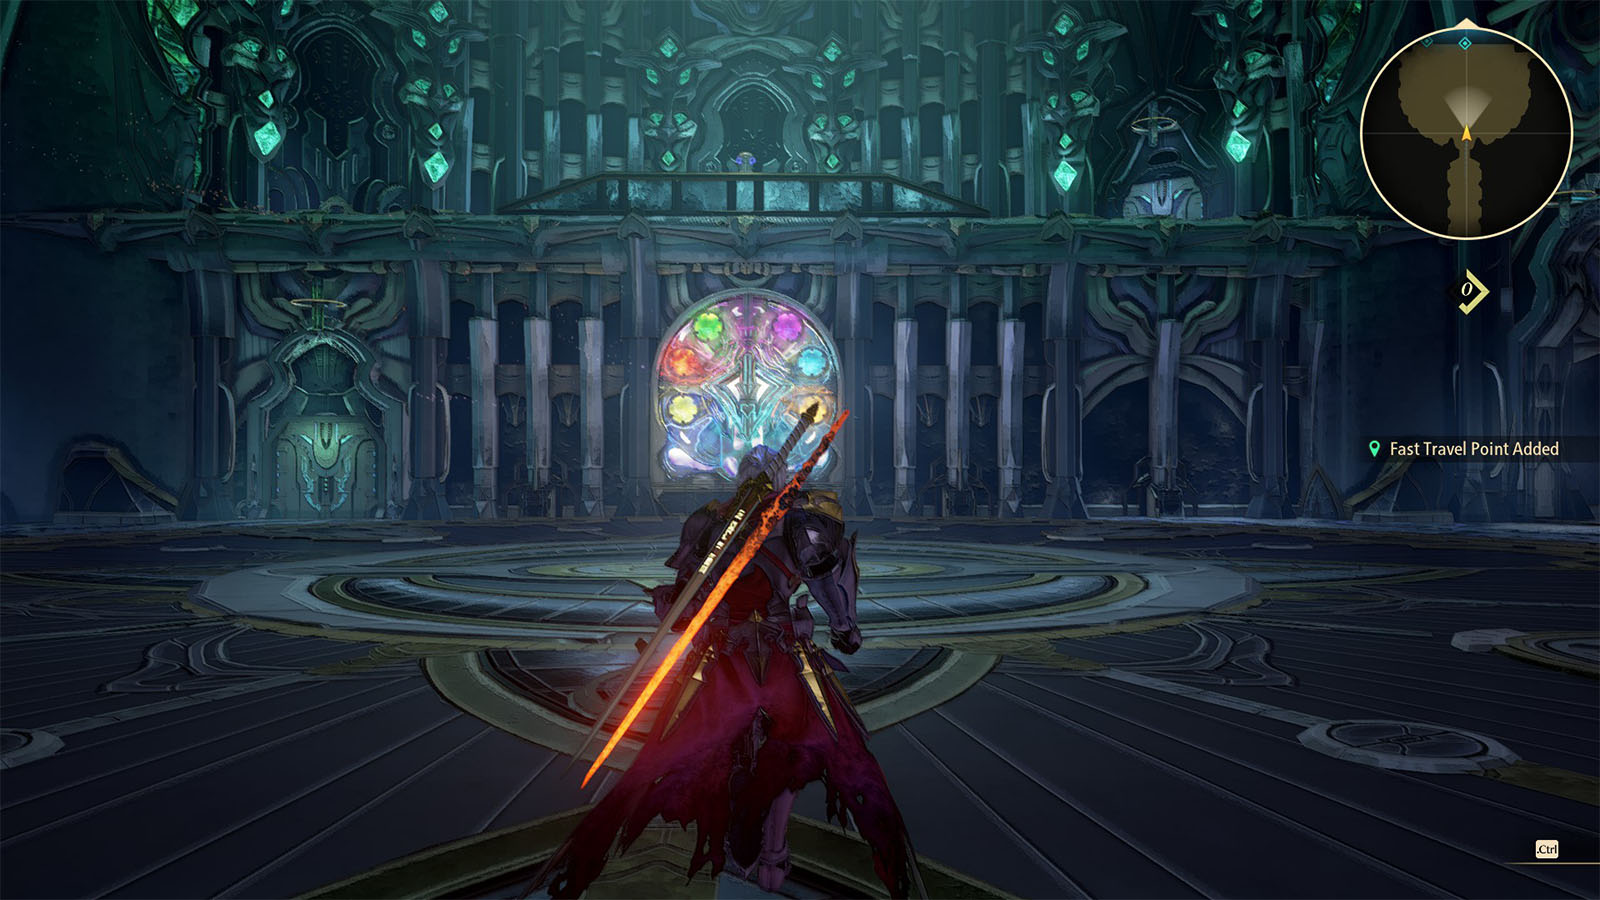
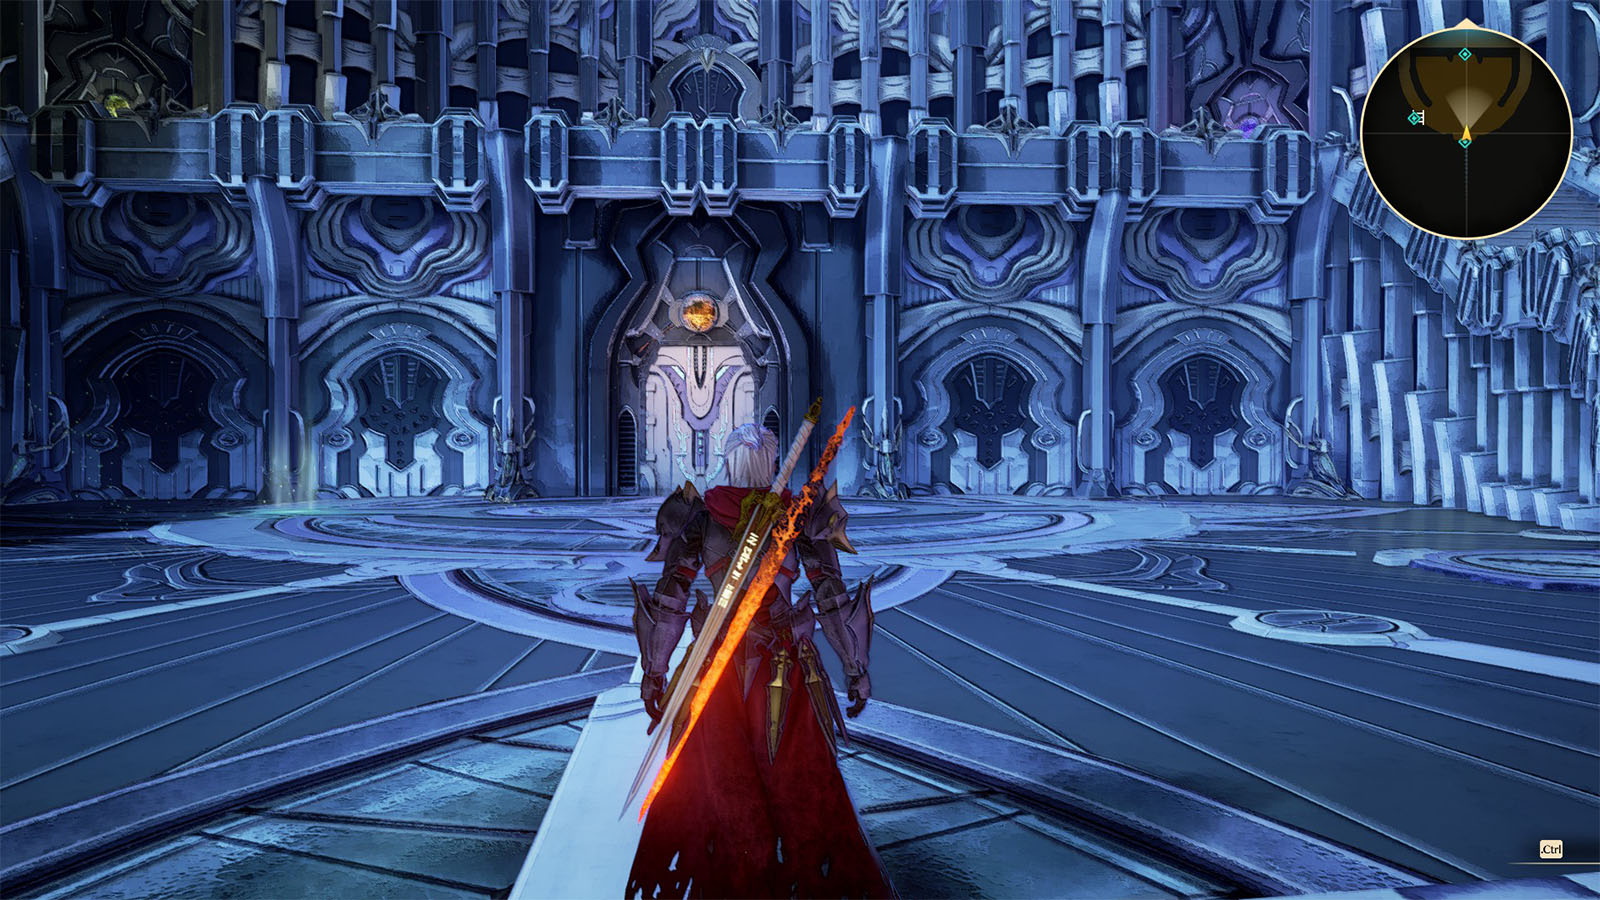
Go to the end of the hall where the main chamber is. There is a gate that has the emblems of all the elements, but it is locked shut.
For now, head to the west room where you can find a Heavy Treat and a Keyami Ooze to fight.
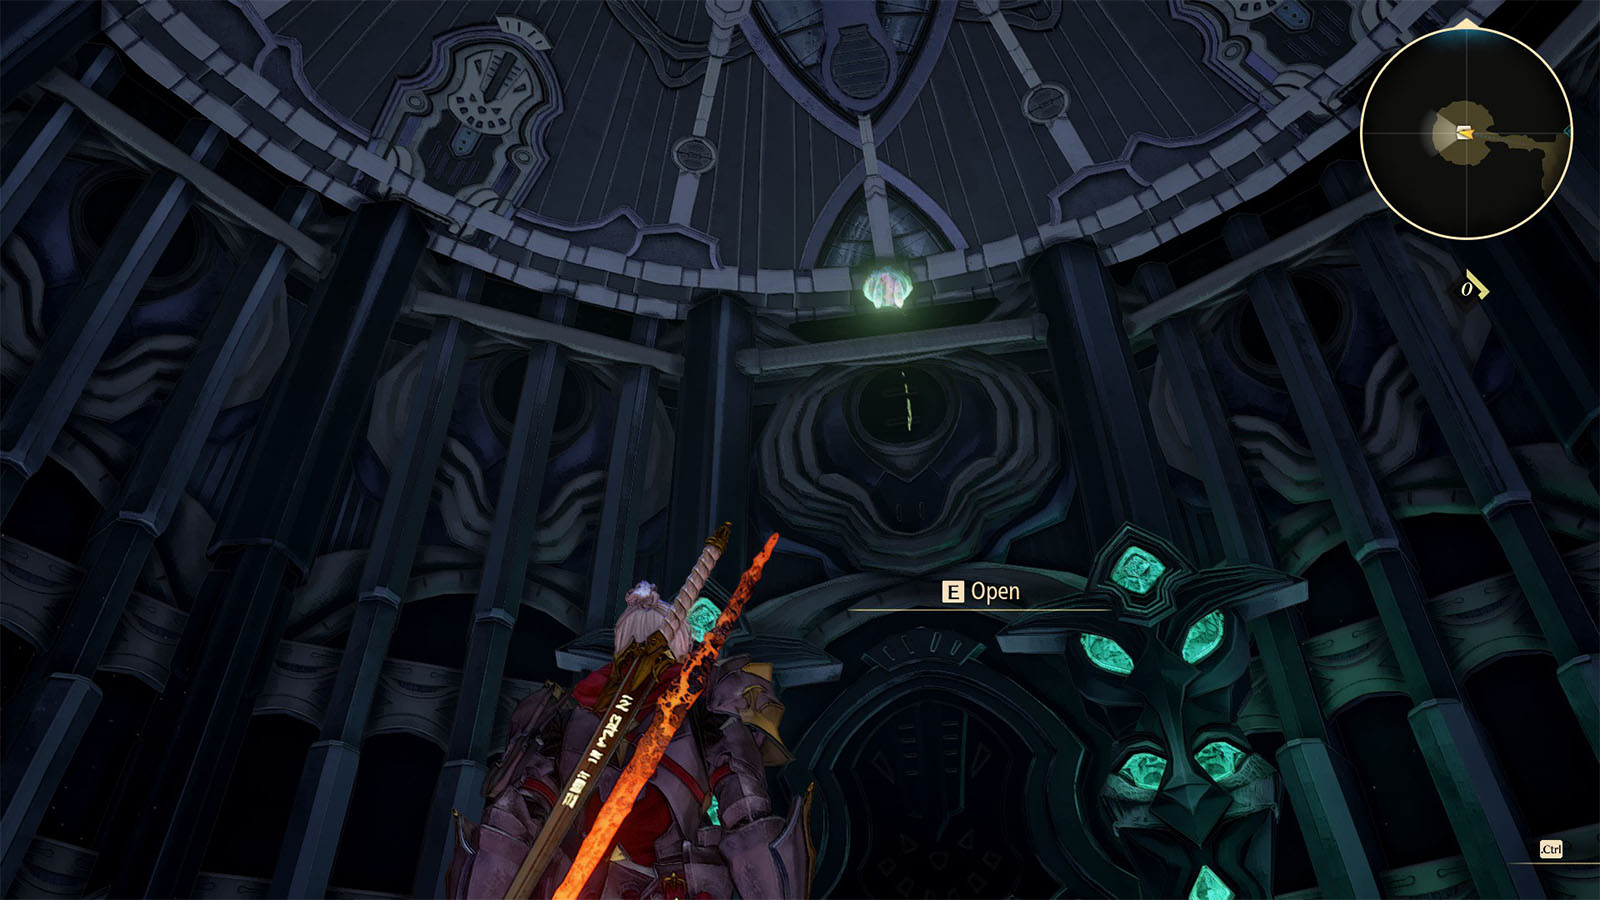
The room to the east has a teleporter that is not operational at this moment, so head back to the main room and go through the door beside the gate.
Revolving Ring: Lower Level
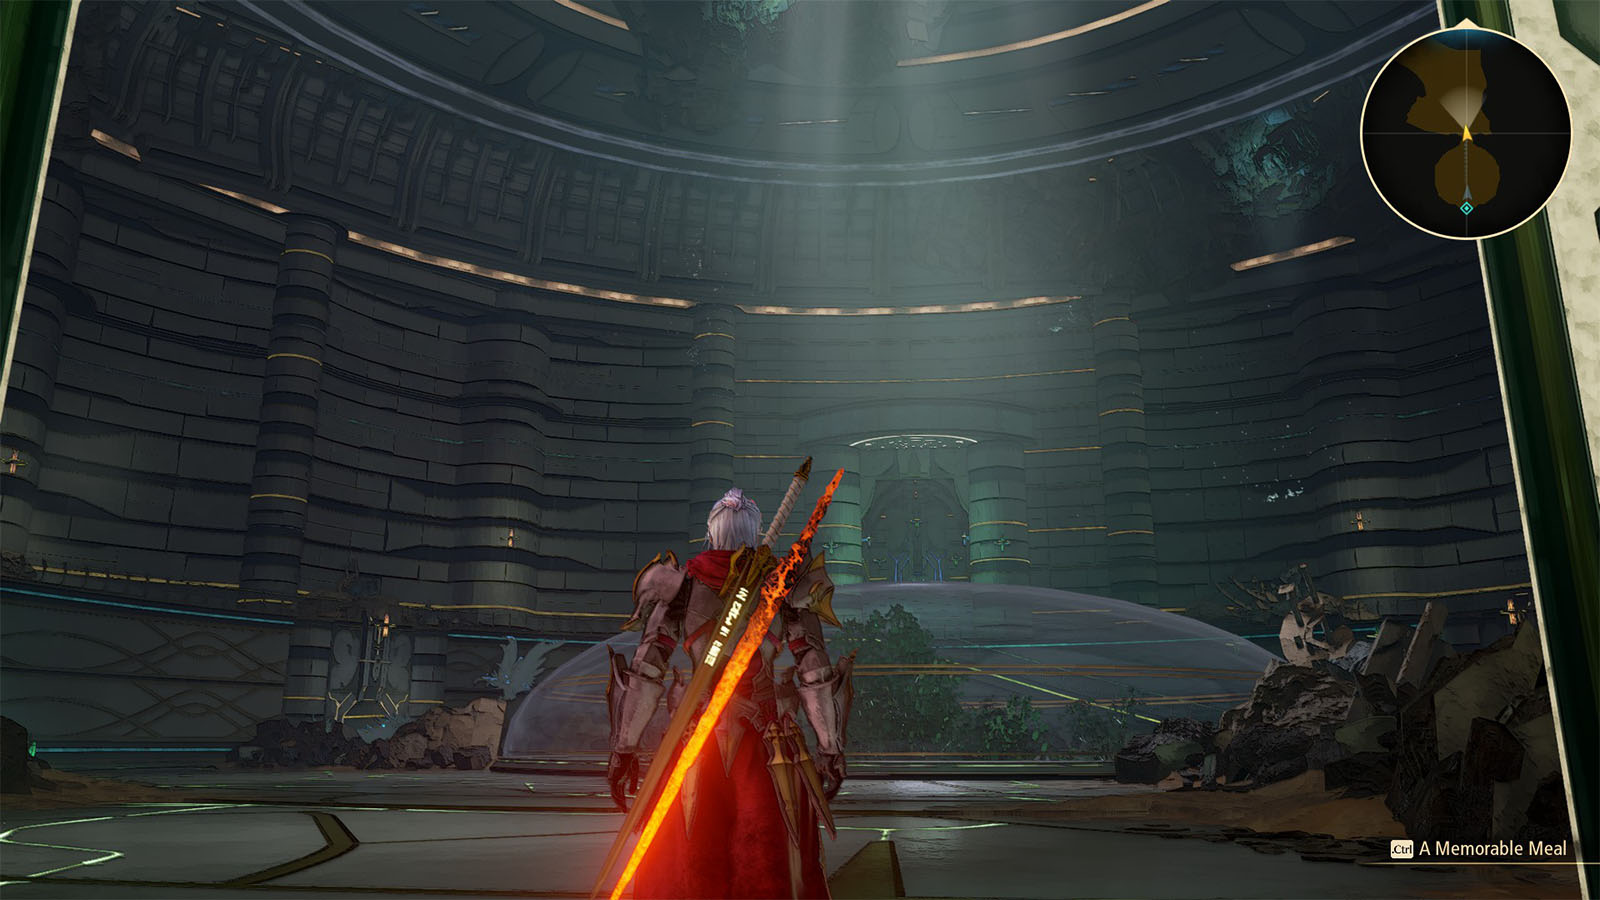
You’ll arrive at the base of the Revolving Ring. Head to the northwest room where you will find an injured NPC that you can heal for 39 CP. Doing so will reward you with a Gold Gel.
Head back into the main chamber and go up the ramp to reach the Upper Level.
Revolving Ring: Upper Level
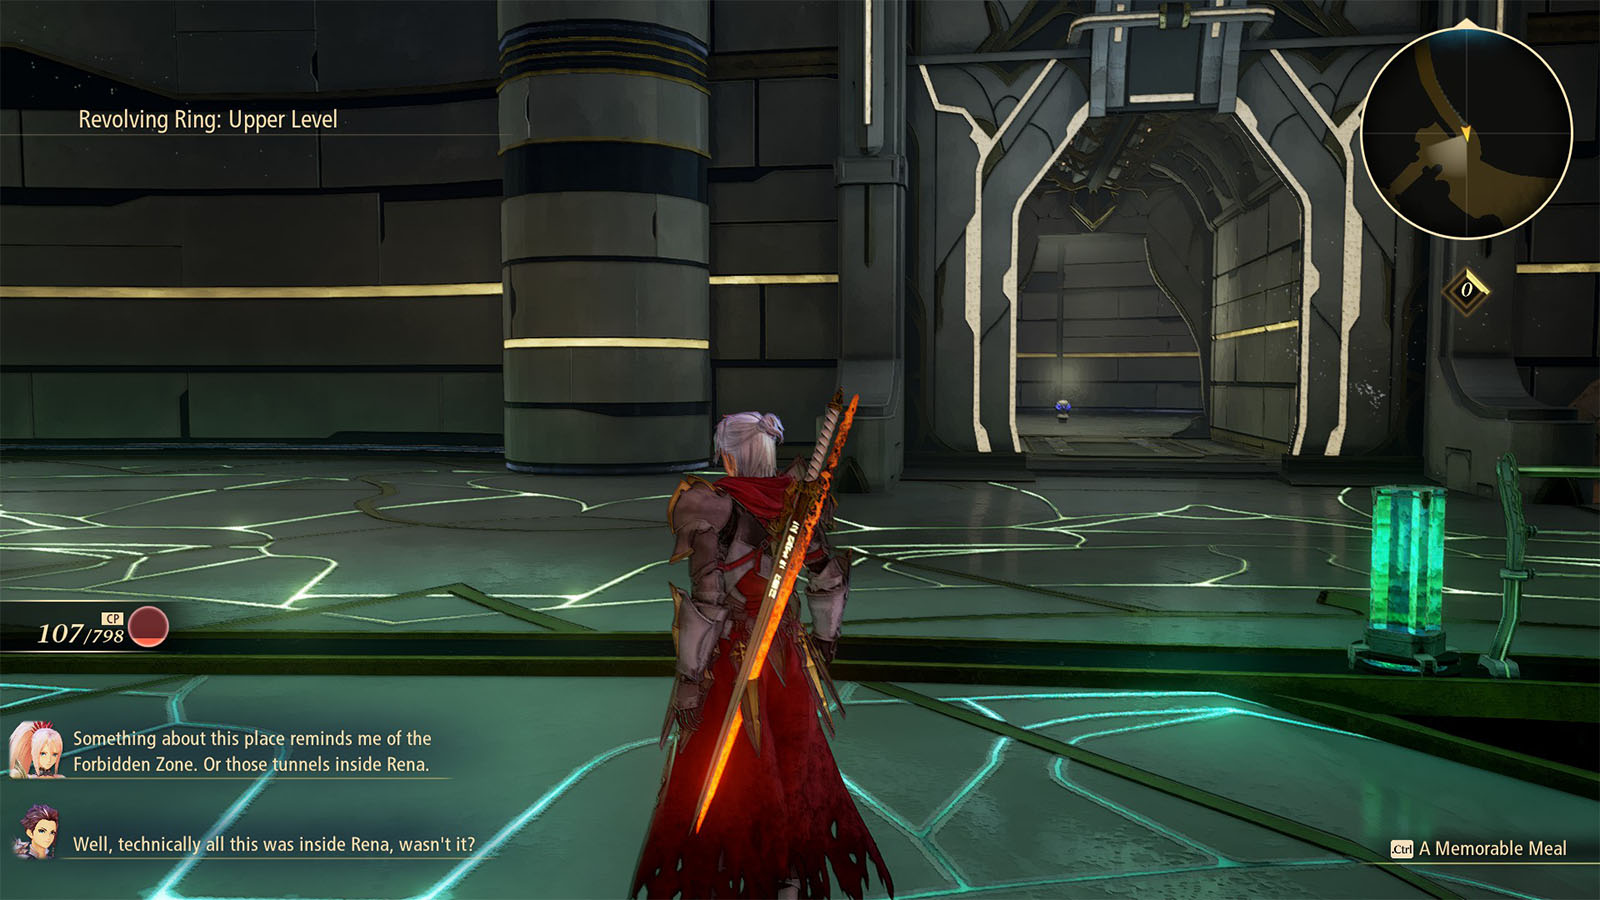
Head to the room southwest to find a Pineapple Gel. Then, go back to the main path and take the southeast door which leads back to Gate Room, but directly above the gate where you can find an Elixir inside a chest.
Back at the Revolving Ring, take the next ramp going back down to the Lower Level. The next room to the northeast has enemies and also a Red Saffron.
Take the next ramp that goes back up the Upper Level, then climb the stairs into the next room.
Newborn Floor: Sloped Corridor
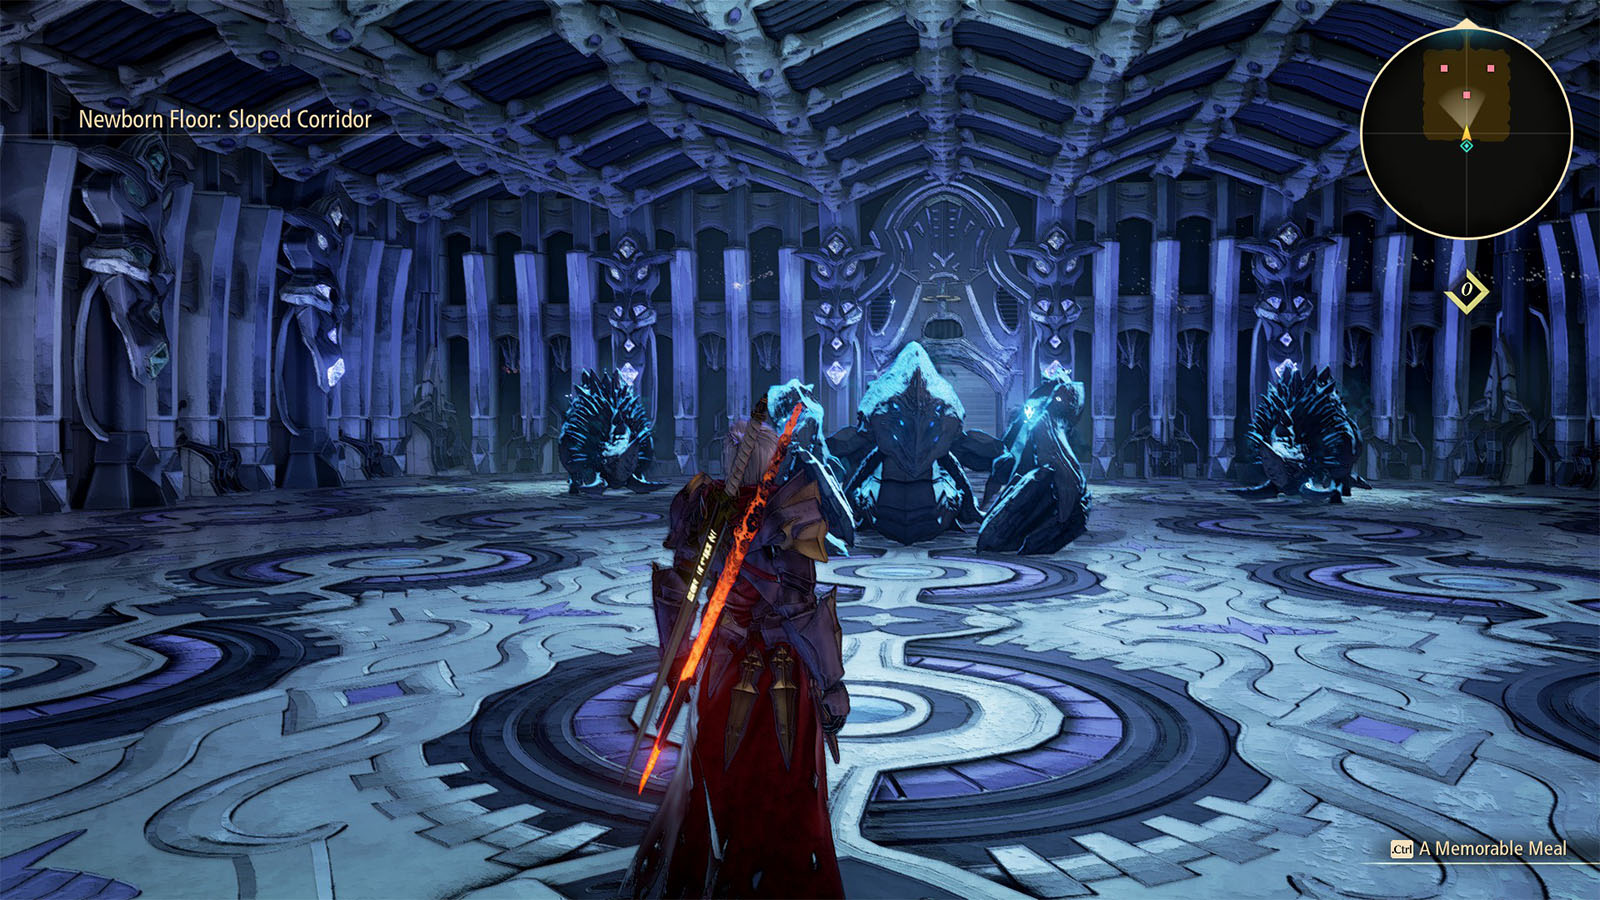
Defeat the enemies in this next room, then go up the flights of stairs to reach the Balcony.
Newborn Floor: Balcony
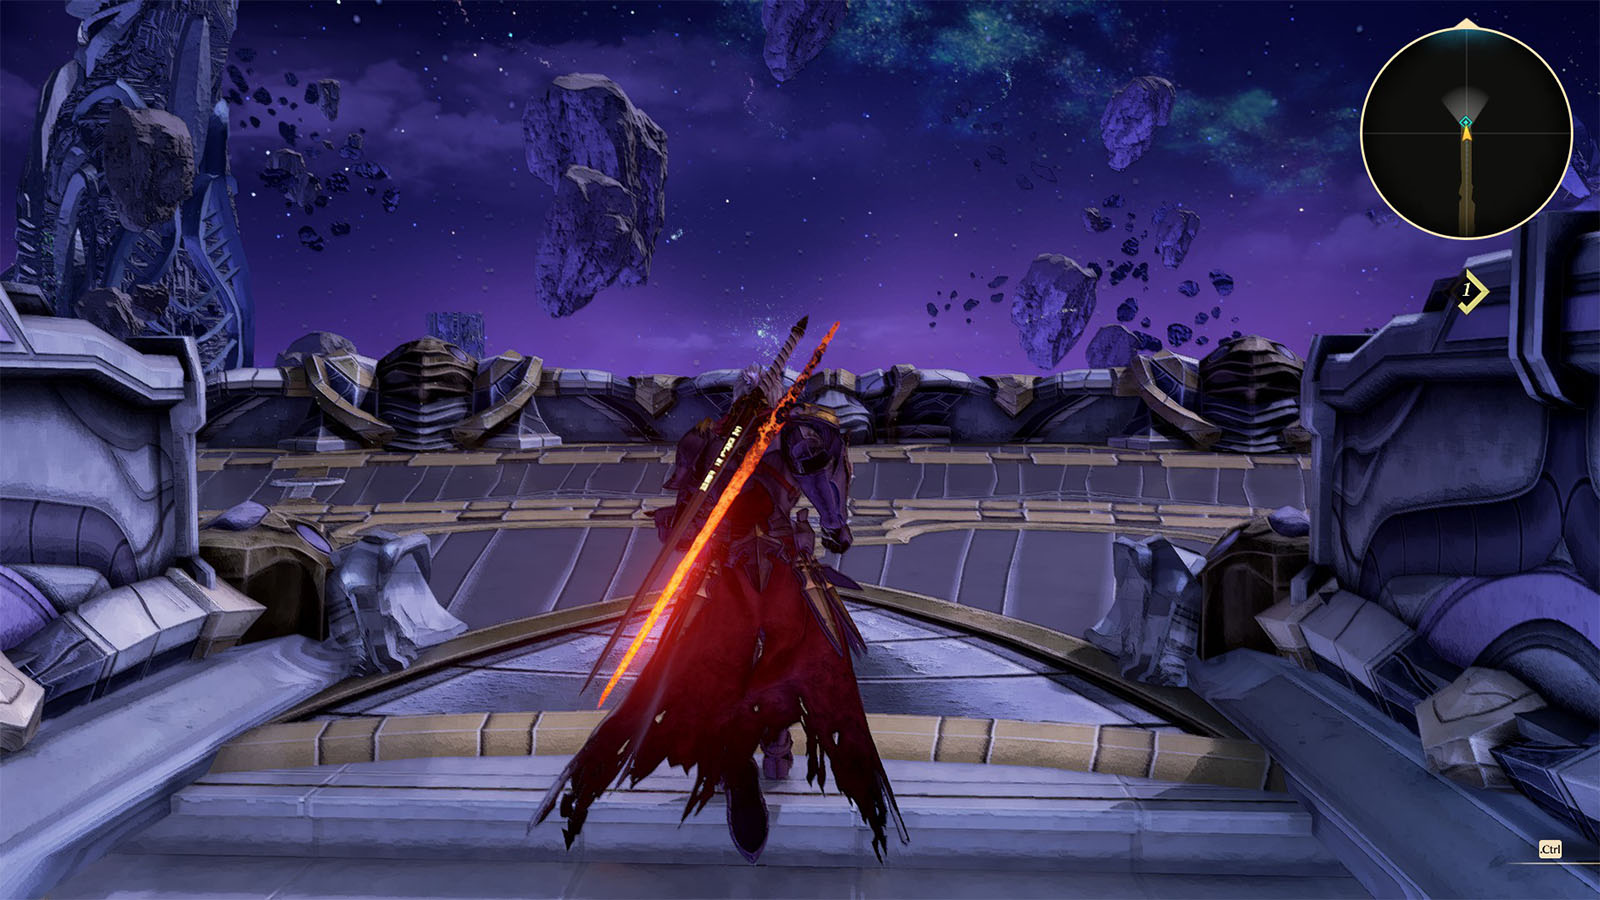
There are two doors on this balcony, but the bigger door is locked shut. Head inside the smaller door for now
Flame Palace
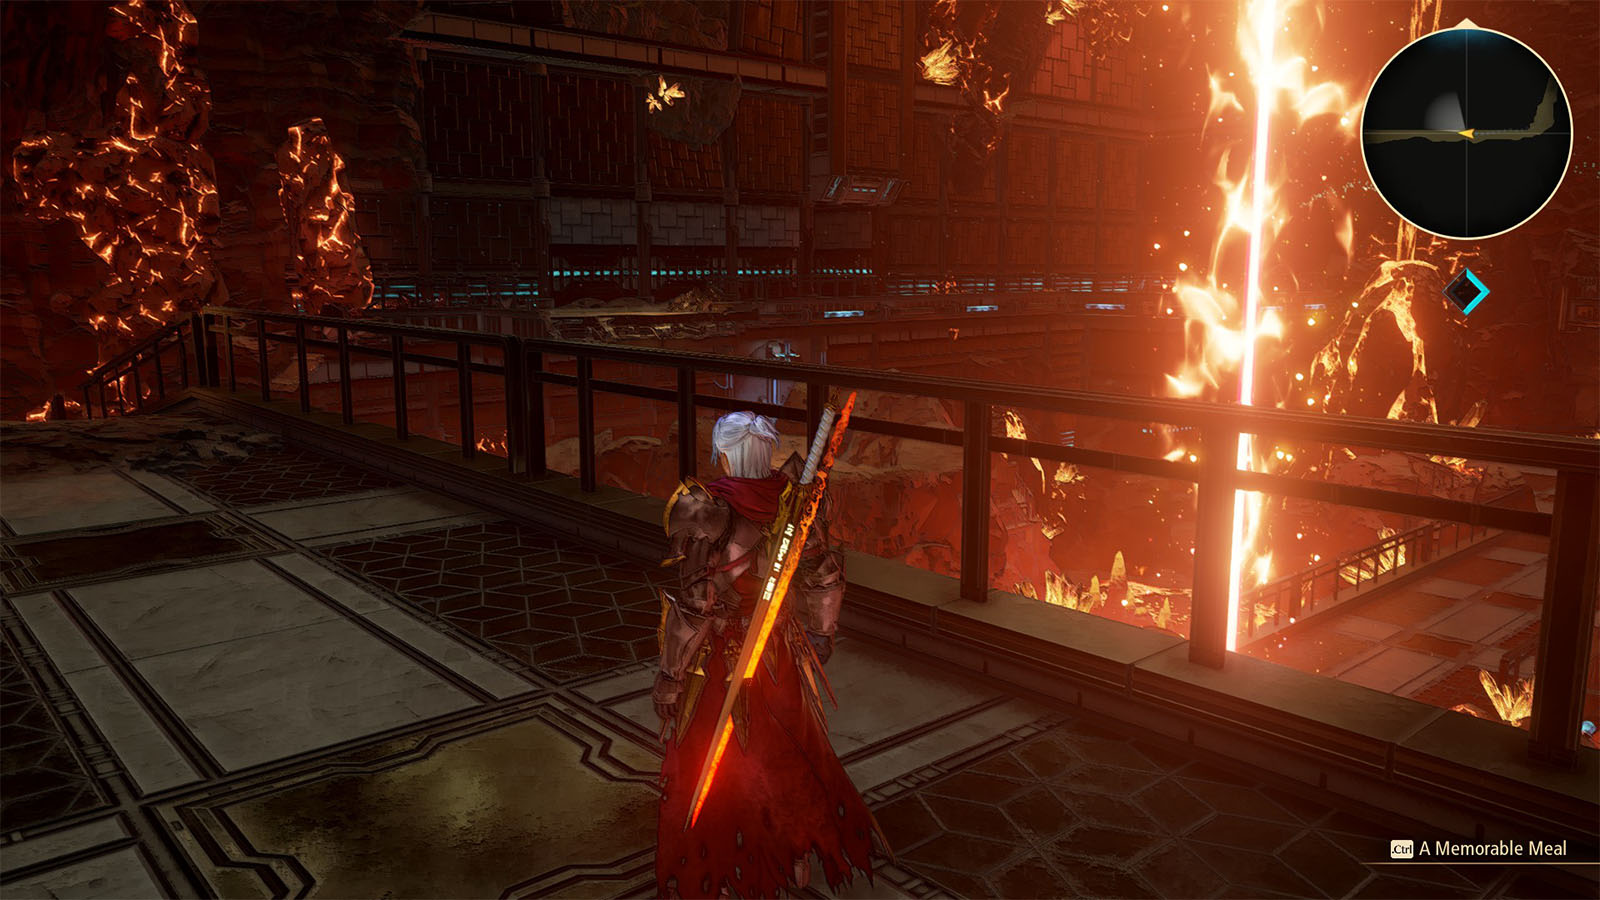
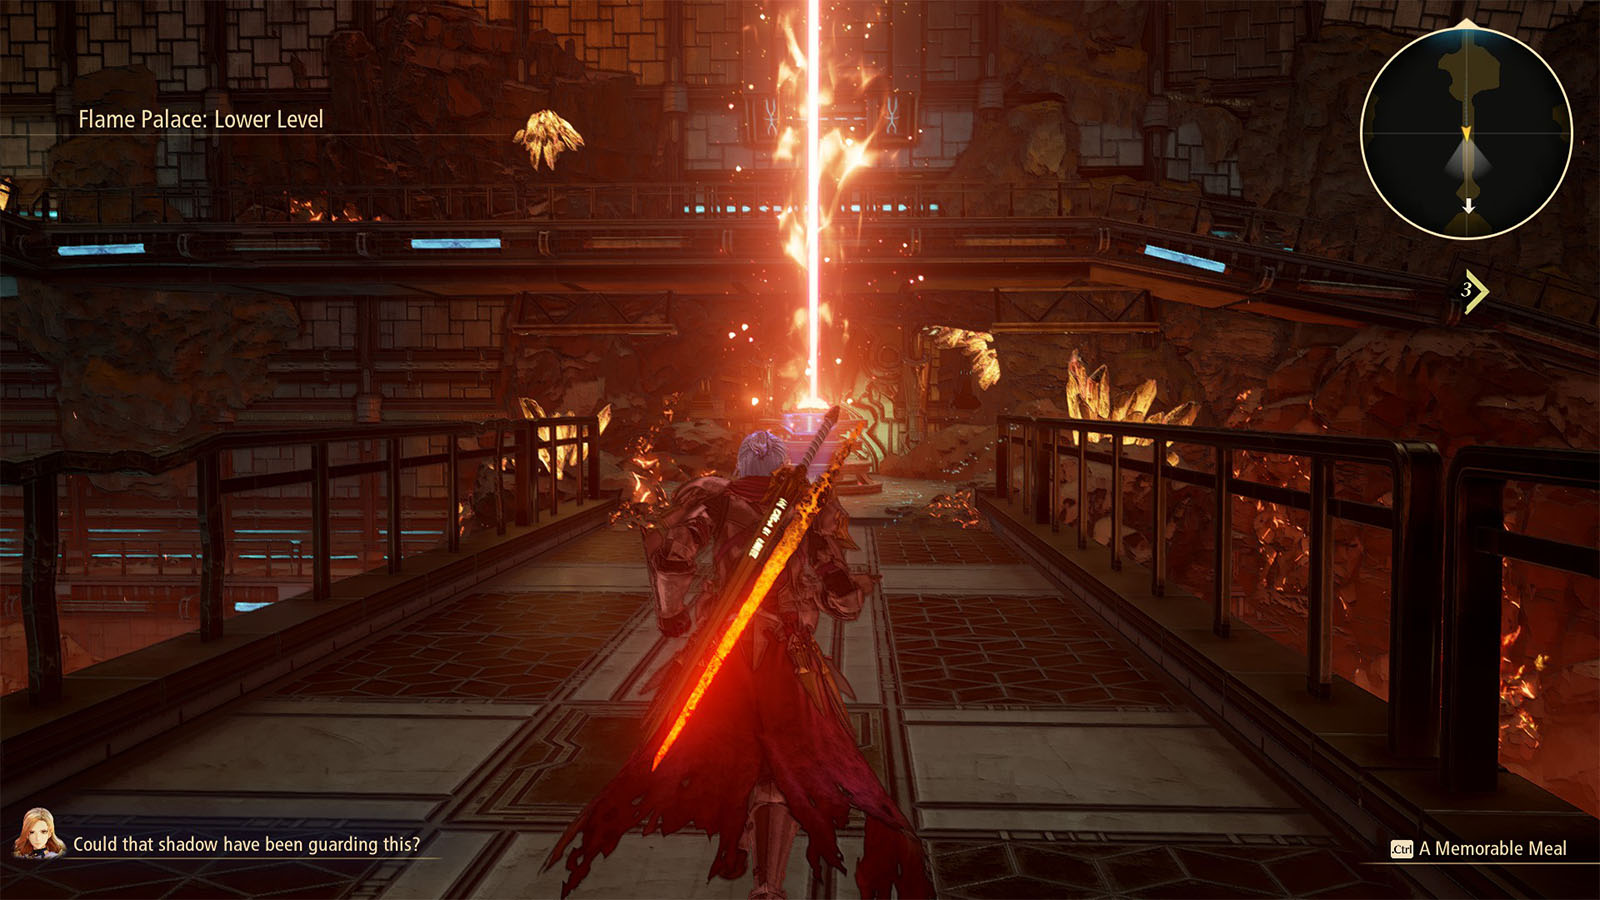
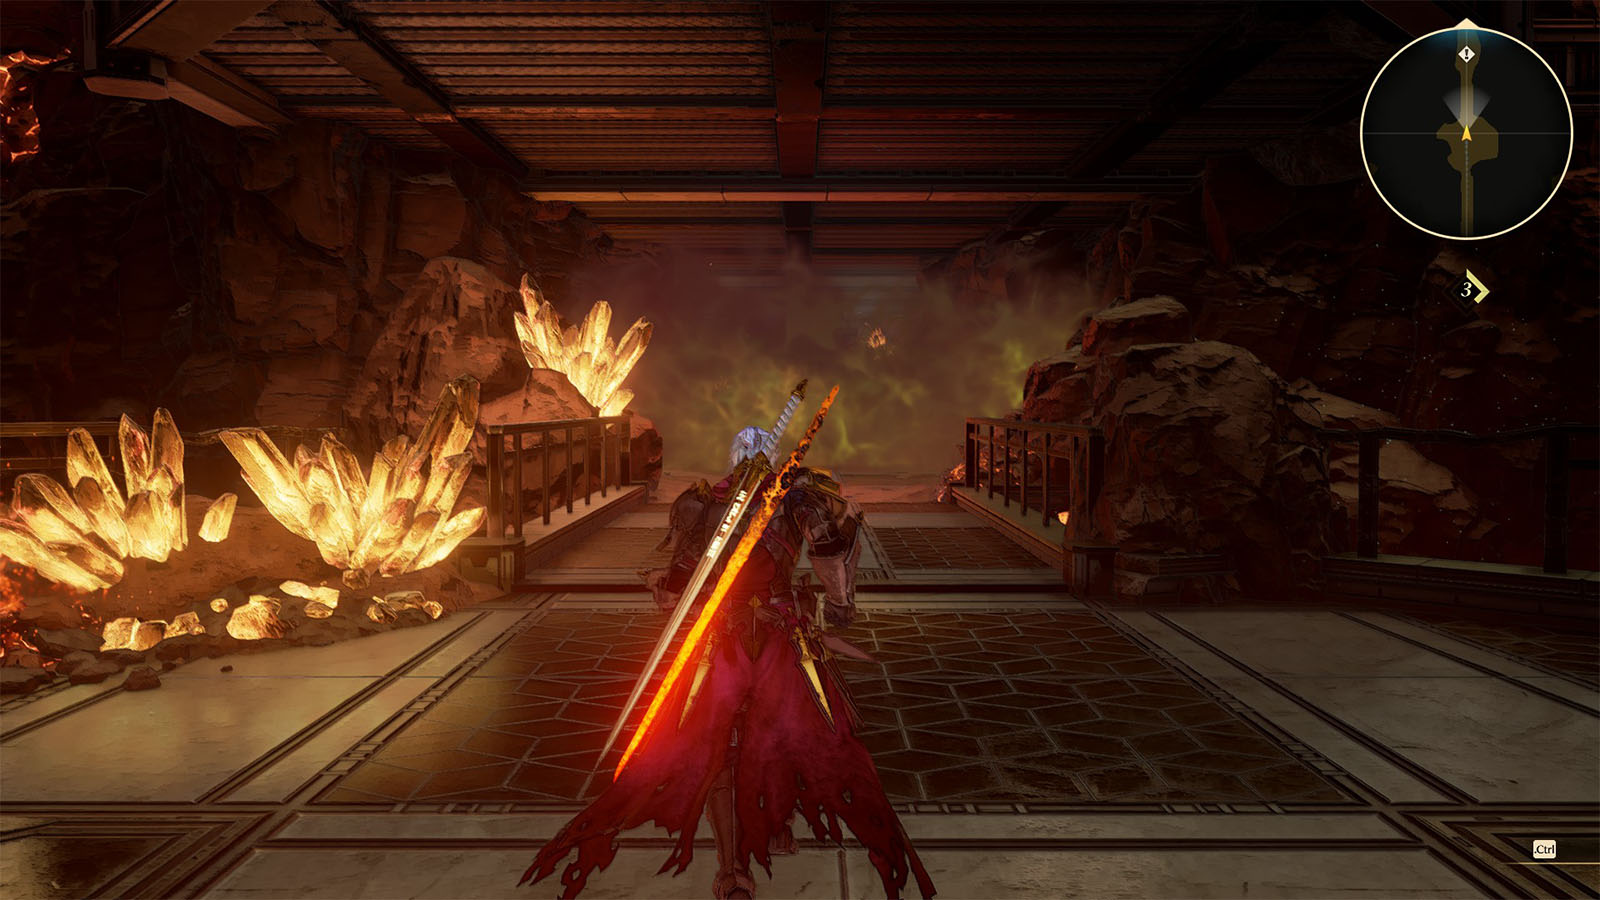
Flame Palace: Lower Level
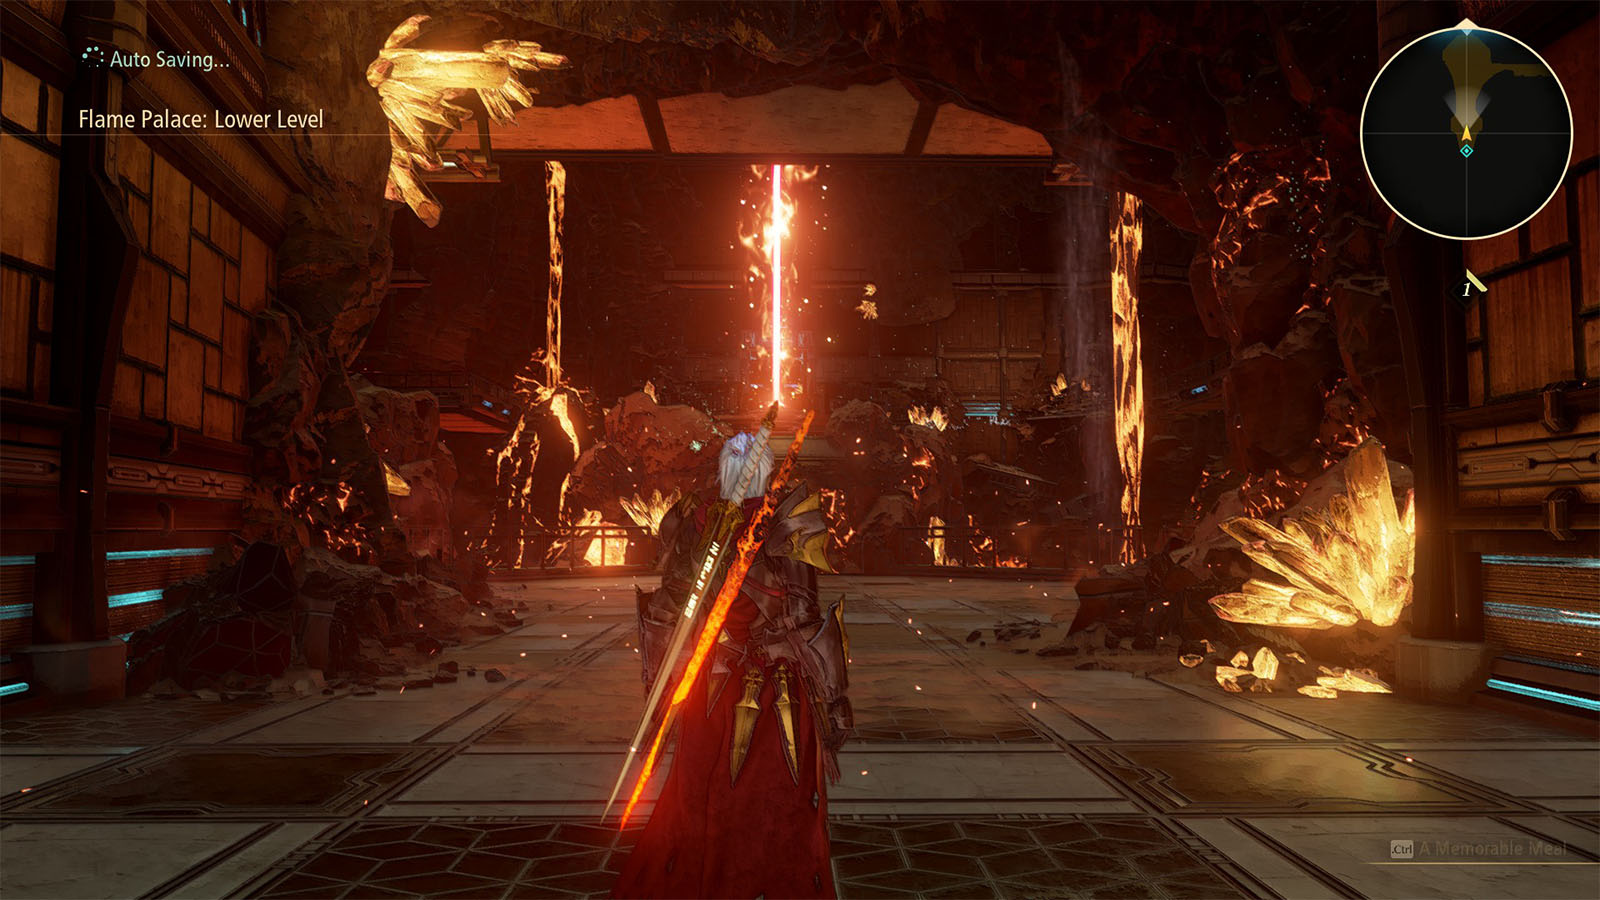
The Flame Palace is one of several of the smaller dungeons that you will have to clear to unlock the main gate.
Follow the catwalk and the first room to the east will have more enemies inside. Take this time to clear out the enemies from this point on to prepare you for the final boss fight.
Flame Palace: Upper Level
Go to the Upper Level and immediately to the west is a wall of fire that you can dispel for 39 CP. Inside the room are more enemies, a Red Verbena, and the Shining Armor of Dawn.
Continue following the catwalk down south and then take the door to the west.
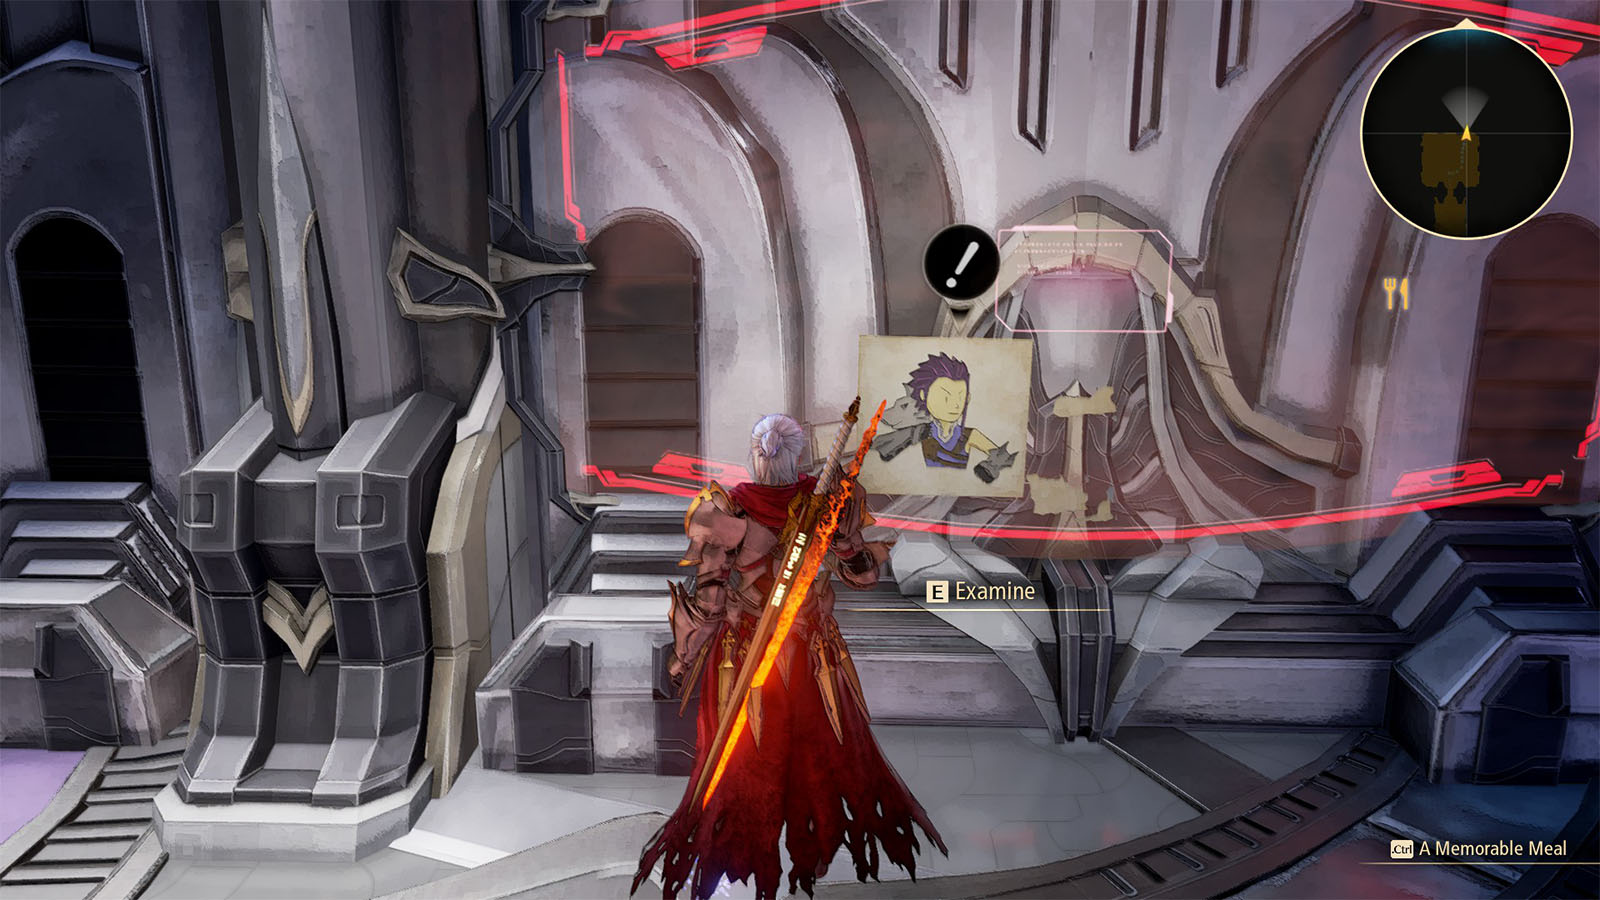
Flame Palace: Monogeneric Storehouse
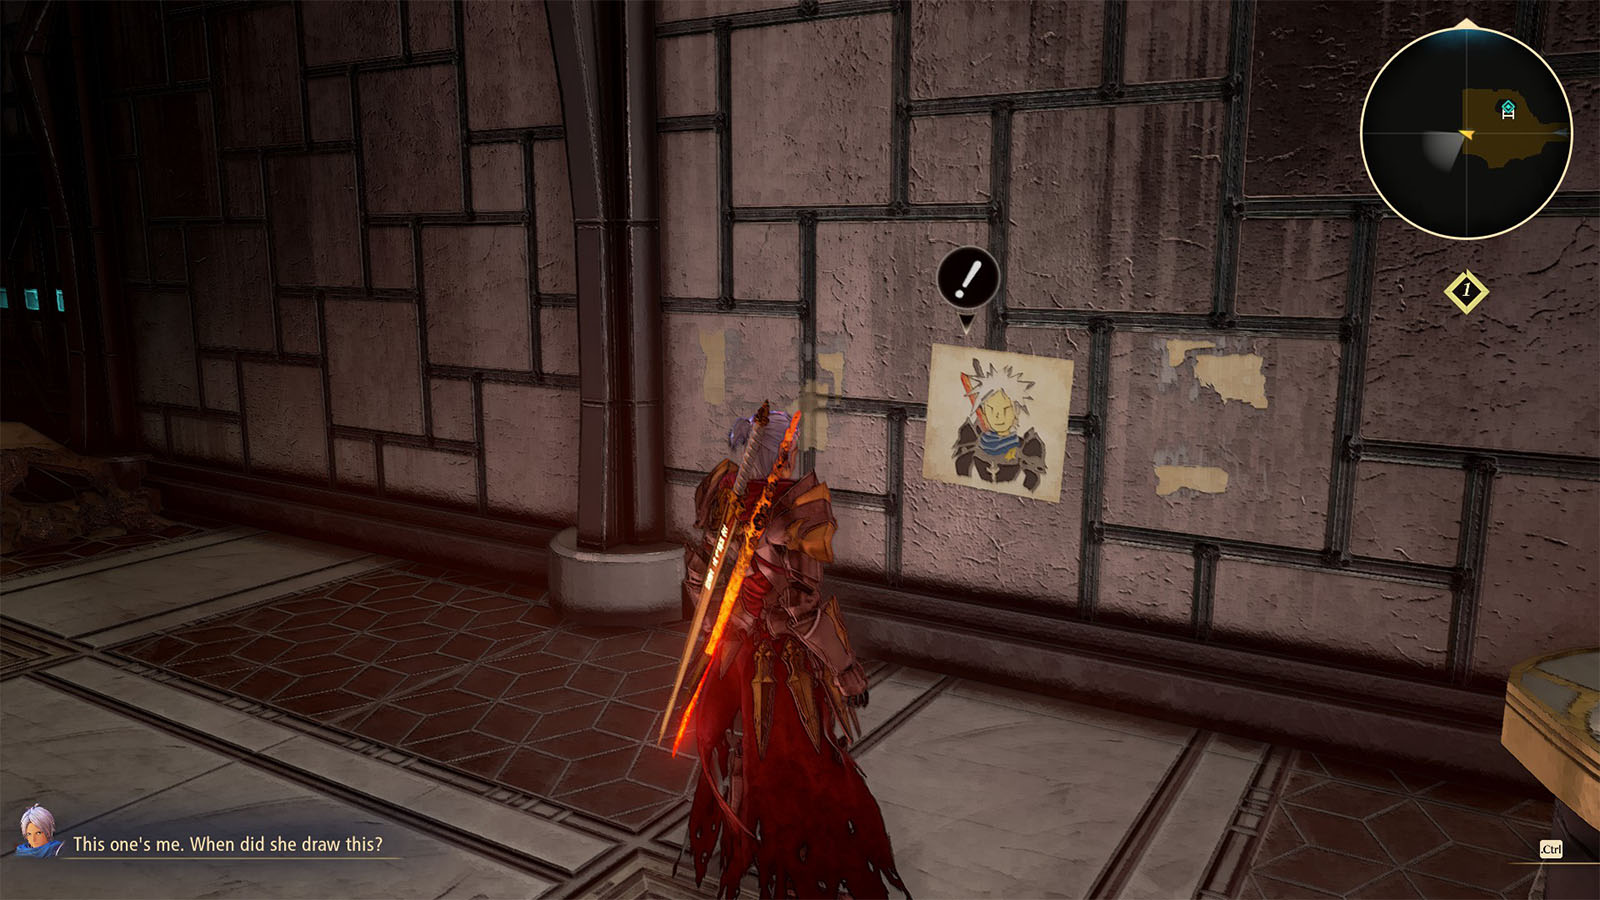
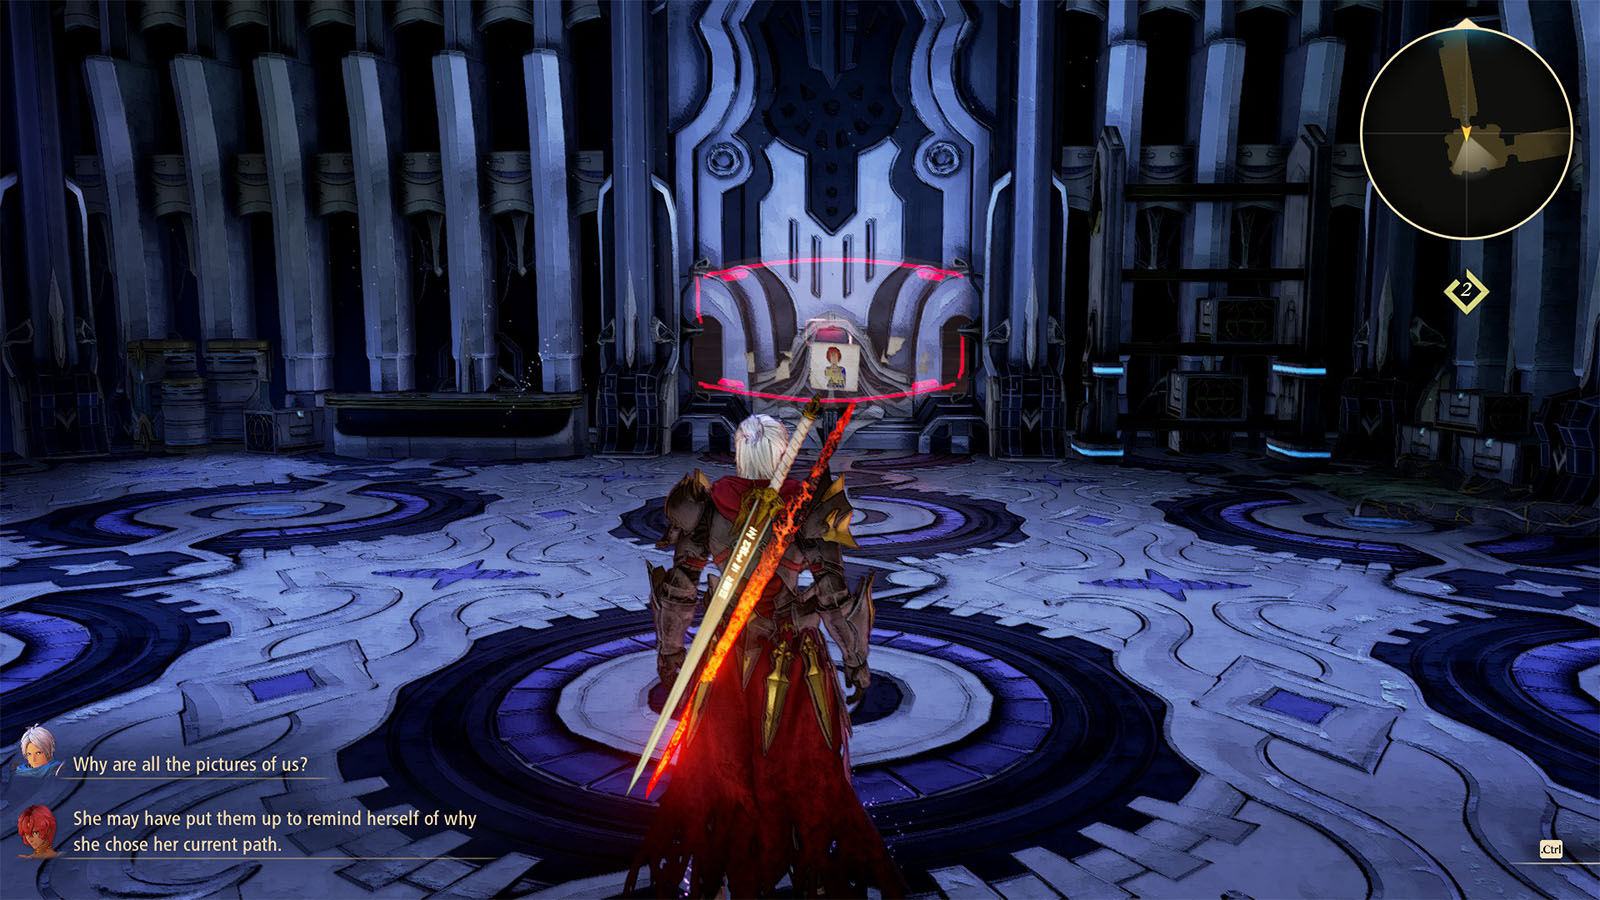
There’s not much to do in this room other than to look at a drawing of Alphen. Head up the ladder, then take the path to the east first. There is a ledge that you can jump from to reach the chest that contains an Elixir.
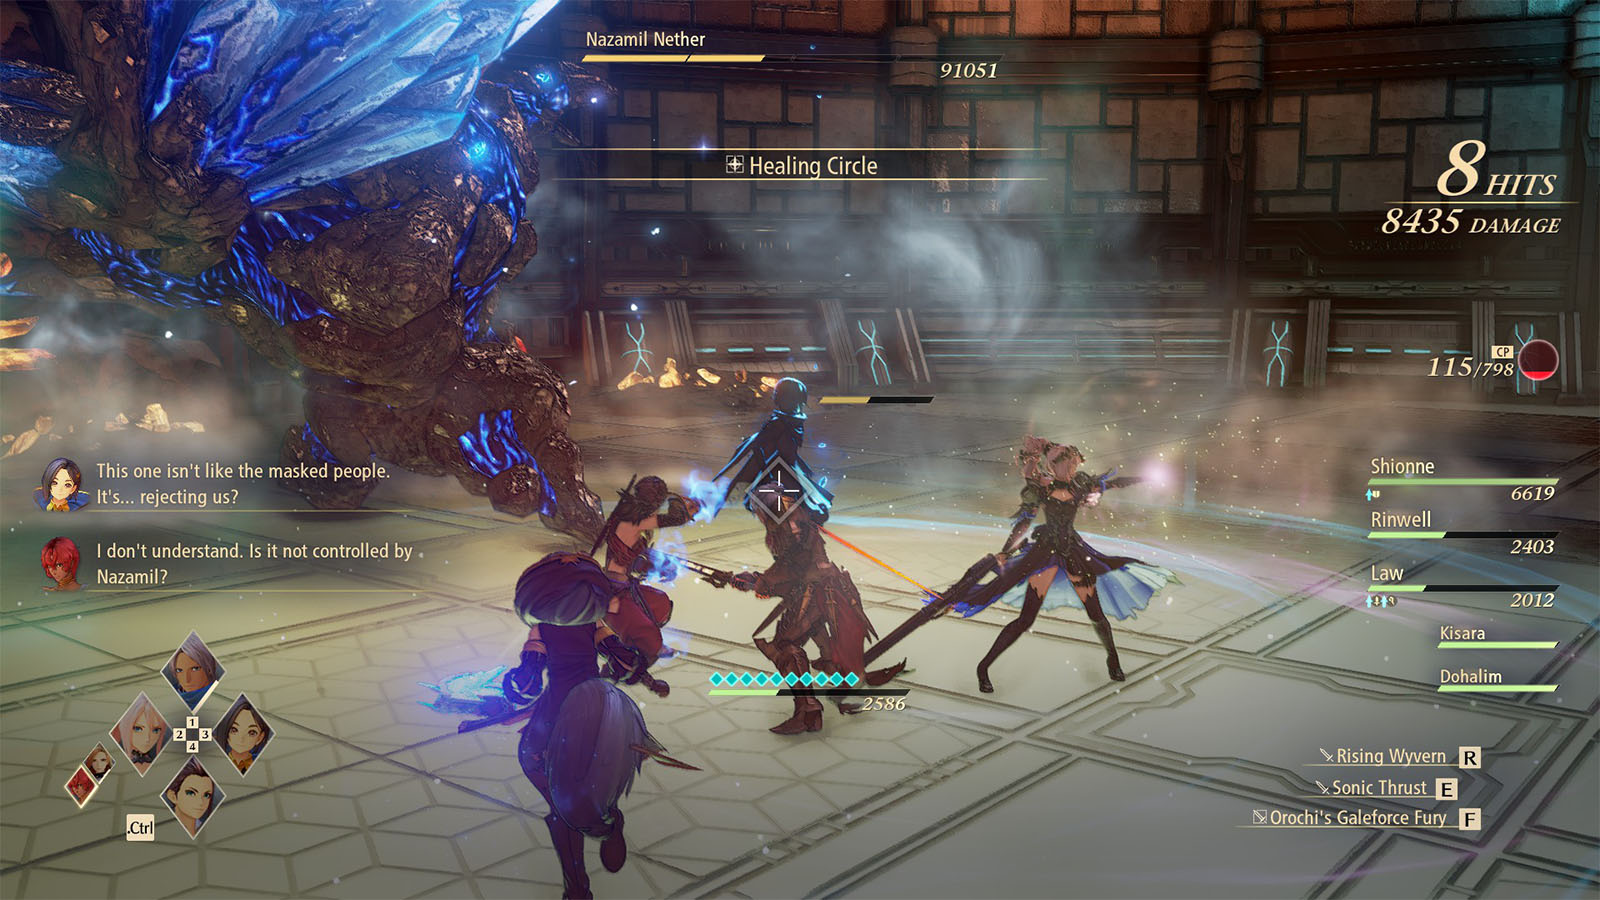
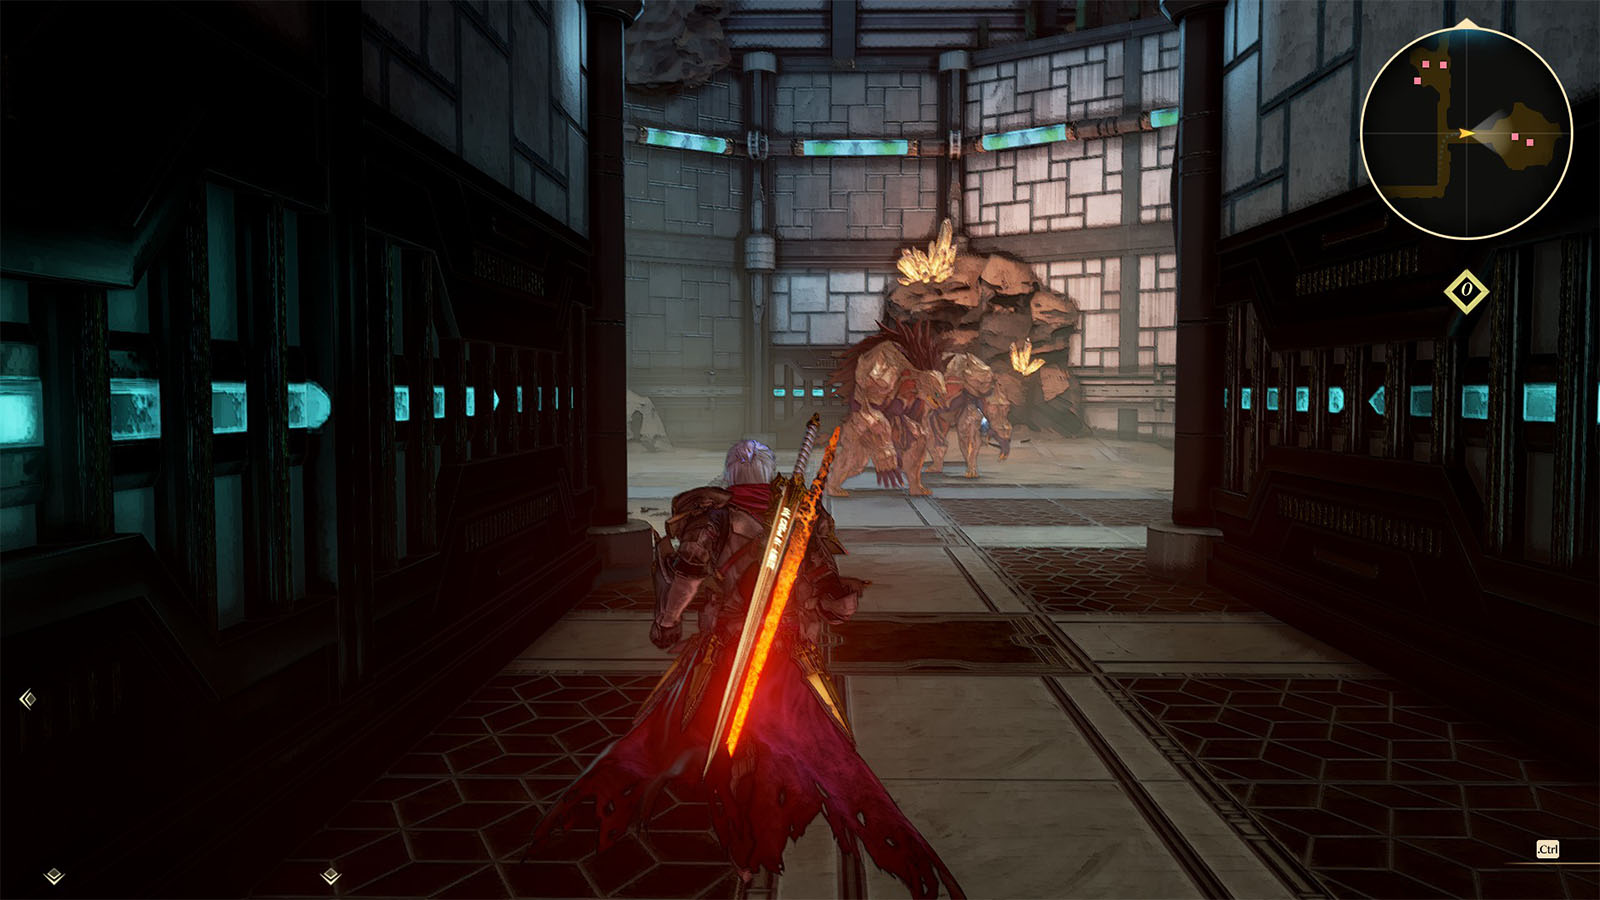
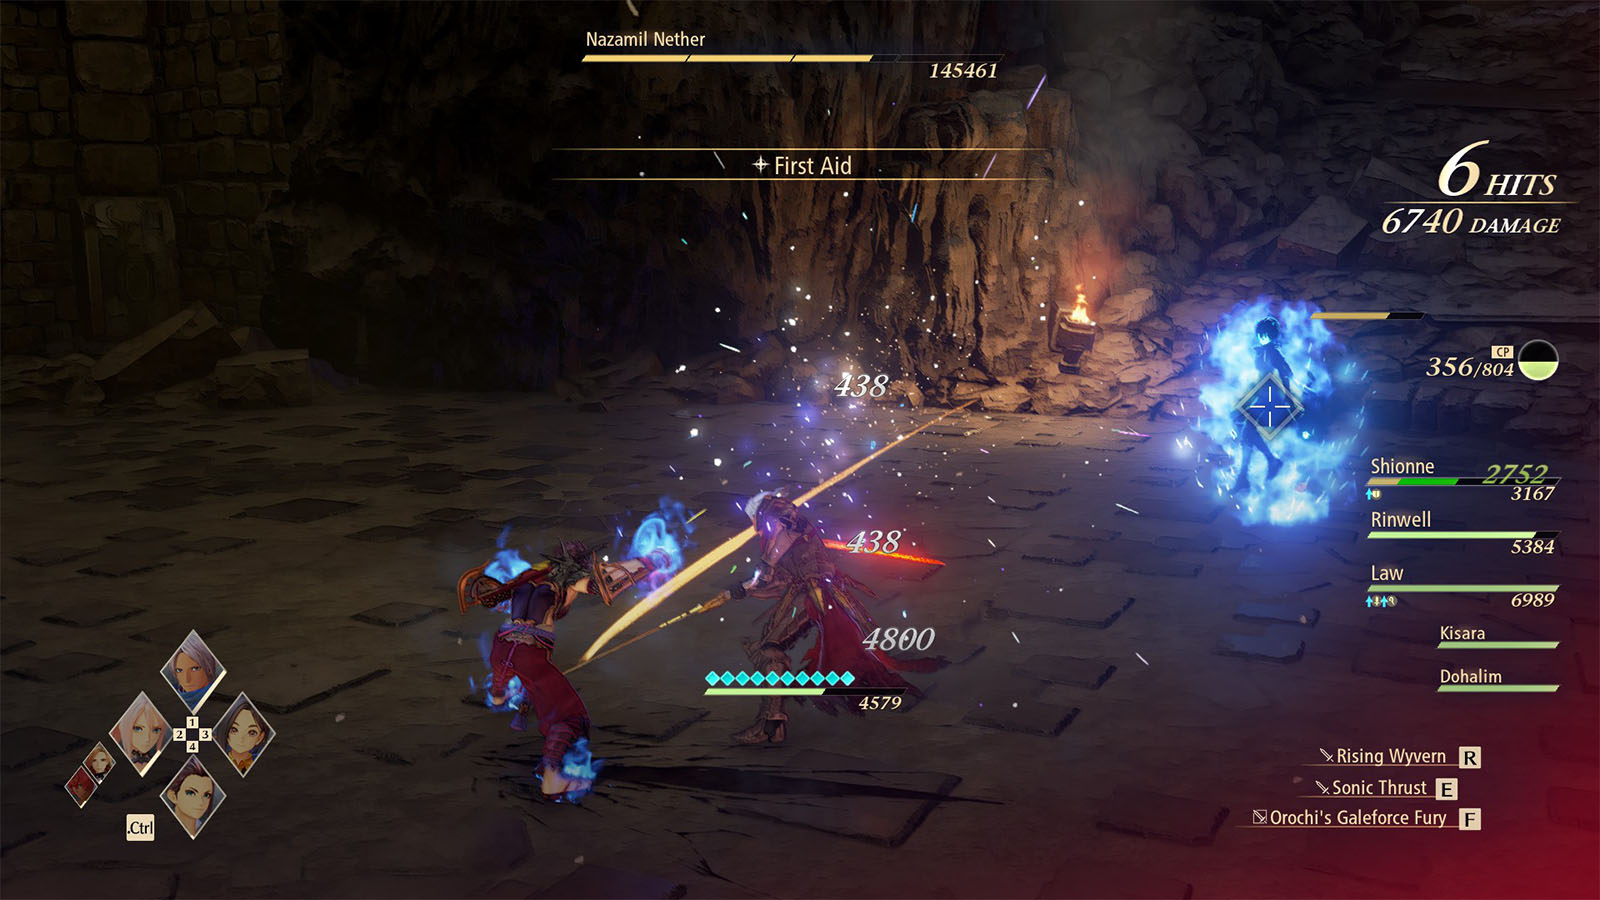
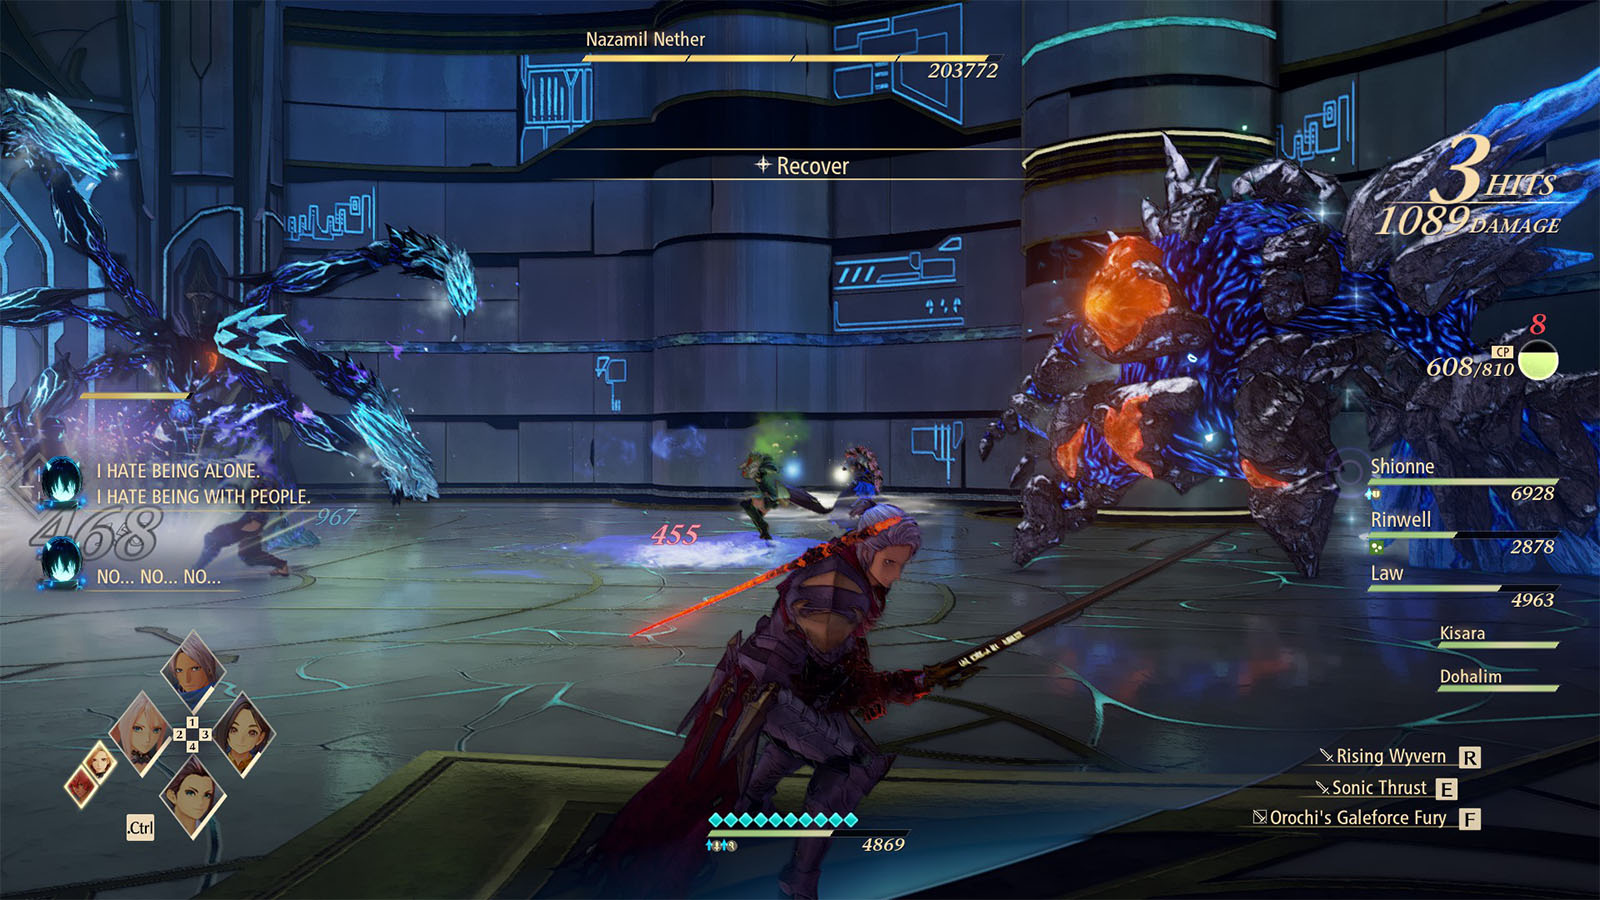
You can then head back to the ladder and take the north path which will lead you to to a Nazamil Nether miniboss fight.
During this fight, you’ll be fighting against a Nazamil clone plus a golem. Try to take out the golem first as this makes the fight easier, and the clone appears to be easier to stagger once it’s the only one left in the arena.
After defeating the clone, head to the south path and interact with the terminal. This will unlock the bigger door from before, as well as deactivate the associated lock on the main gate.
Turn around and head north to find a wall that can be purified for 40 CP. On the other side is where The Impregnable and x10 Adan Peppers can be obtained. Afterwards, make your way back to the balcony and enter the bigger door.
Youthful Floor: Sloped Corridor
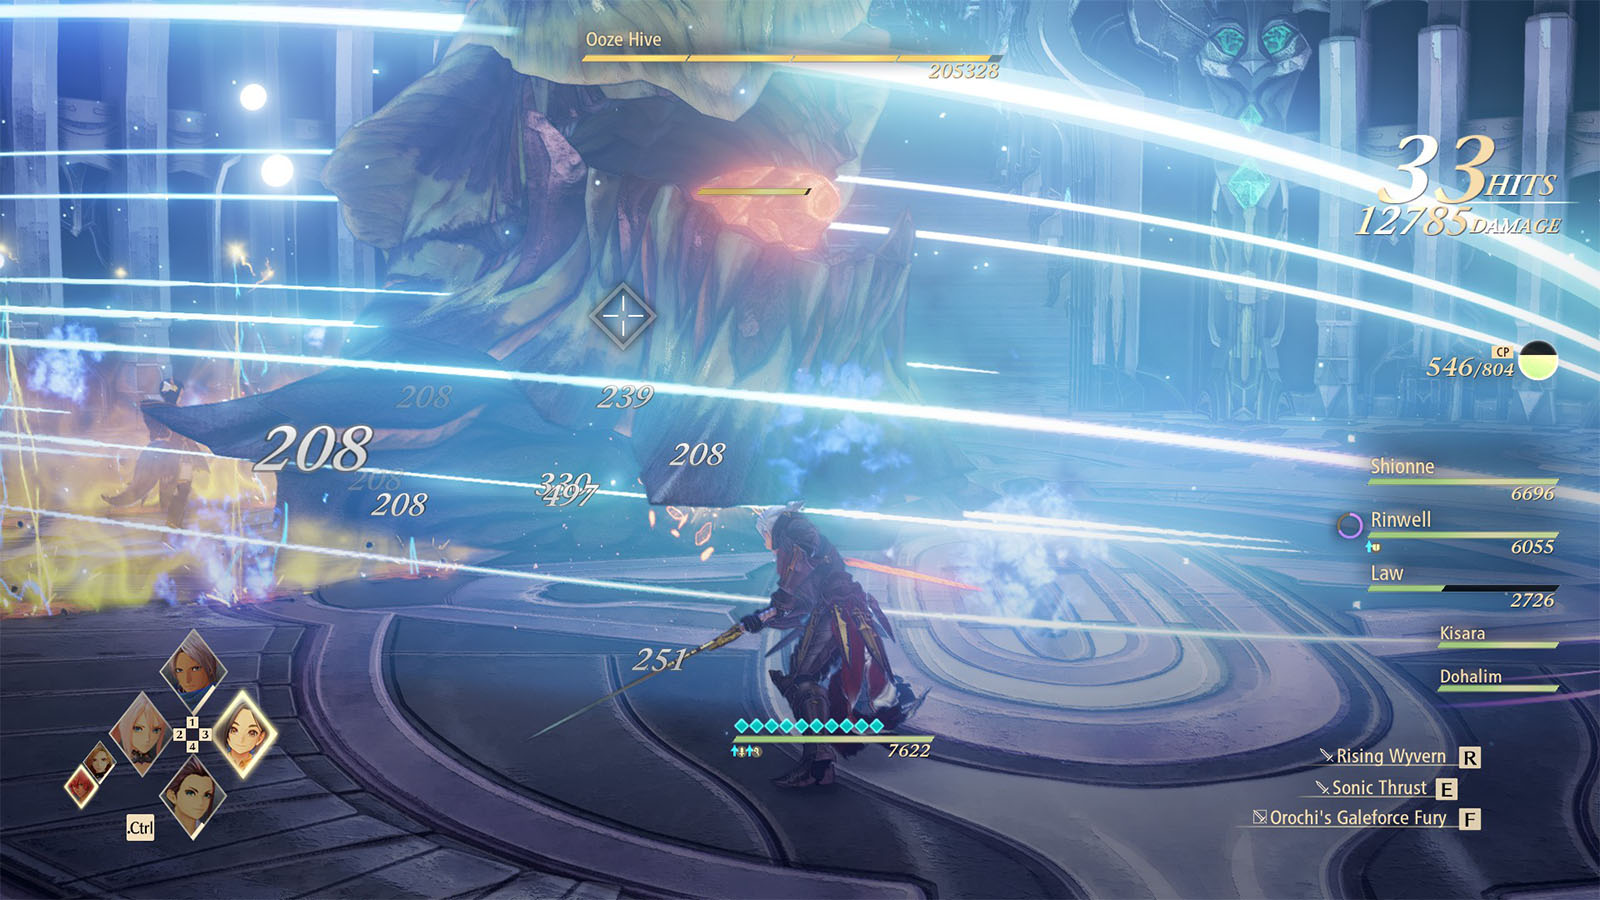
At the end of the corridor is an Ooze Hive. Defeat this enemy and check the rooms to find the Pure White Heritage to the east, and a Red Lavender to the west. Go up the next set of stairs to reach the next balcony.
Youthful Floor: Balcony
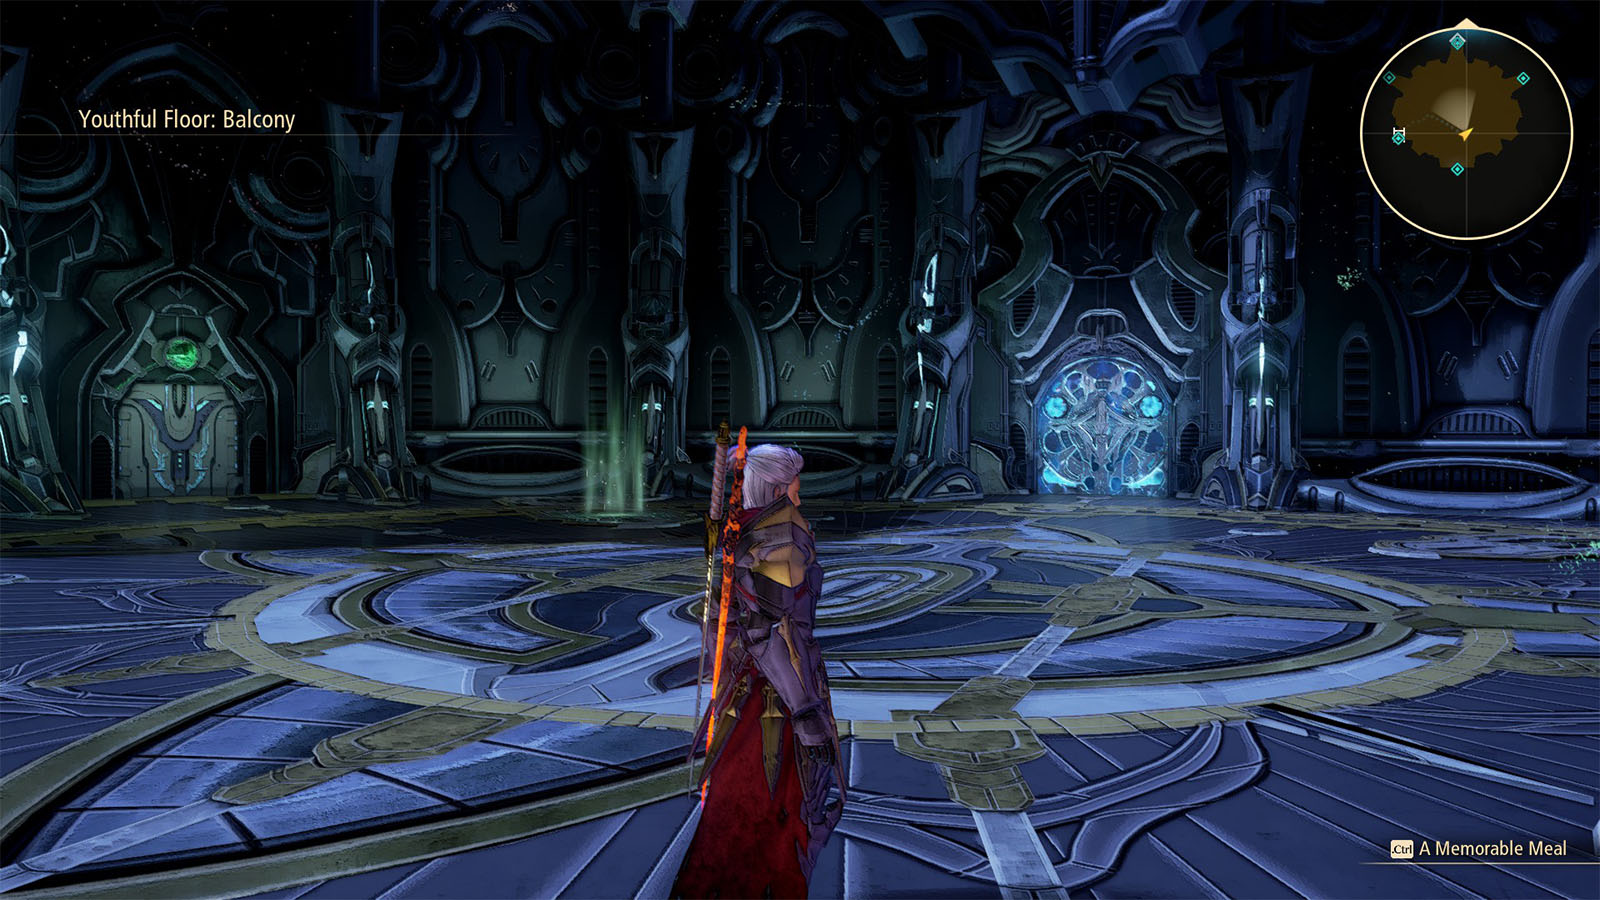
There are more doors on this balcony, but you can only head towards the small blue door which leads to the Whirlpool Palace.
Whirlpool Palace
Whirlpool Palace: Level 2
Once inside, head towards the west where you can get the Wrapping Cunabula. Head up the stairs to the east then go inside the room to the east to find a Pineapple Gel.
Whirlpool Palace: Level 3
Continue up the stairs and follow the path to reach the next Nazamil Nether miniboss. Same as before, defeat the summoned zeugle first, then focus on the clone.
Whirlpool Palace: Level 4
After defeating the clone, head up the stairs and then climb the ladder to reach the top level.
Whirlpool Palace: Top Level
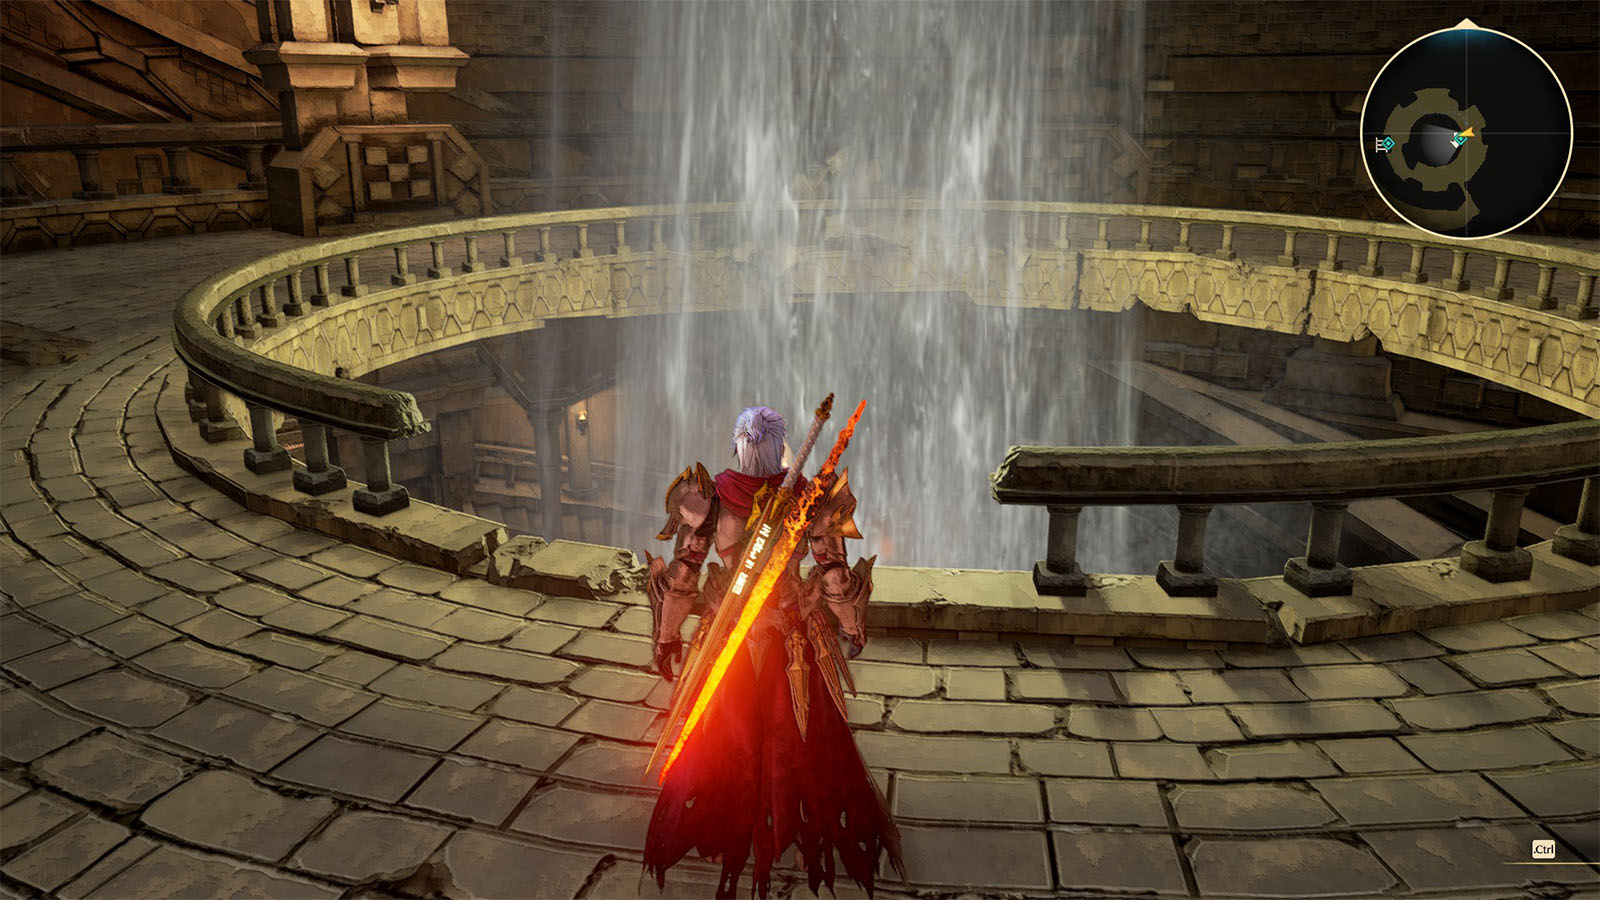
Interact with the terminal to unlock the next door and disable the next lock on the gate. Jump down into the waterfall to reach the base level.
Whirlpool Palace: Level 1
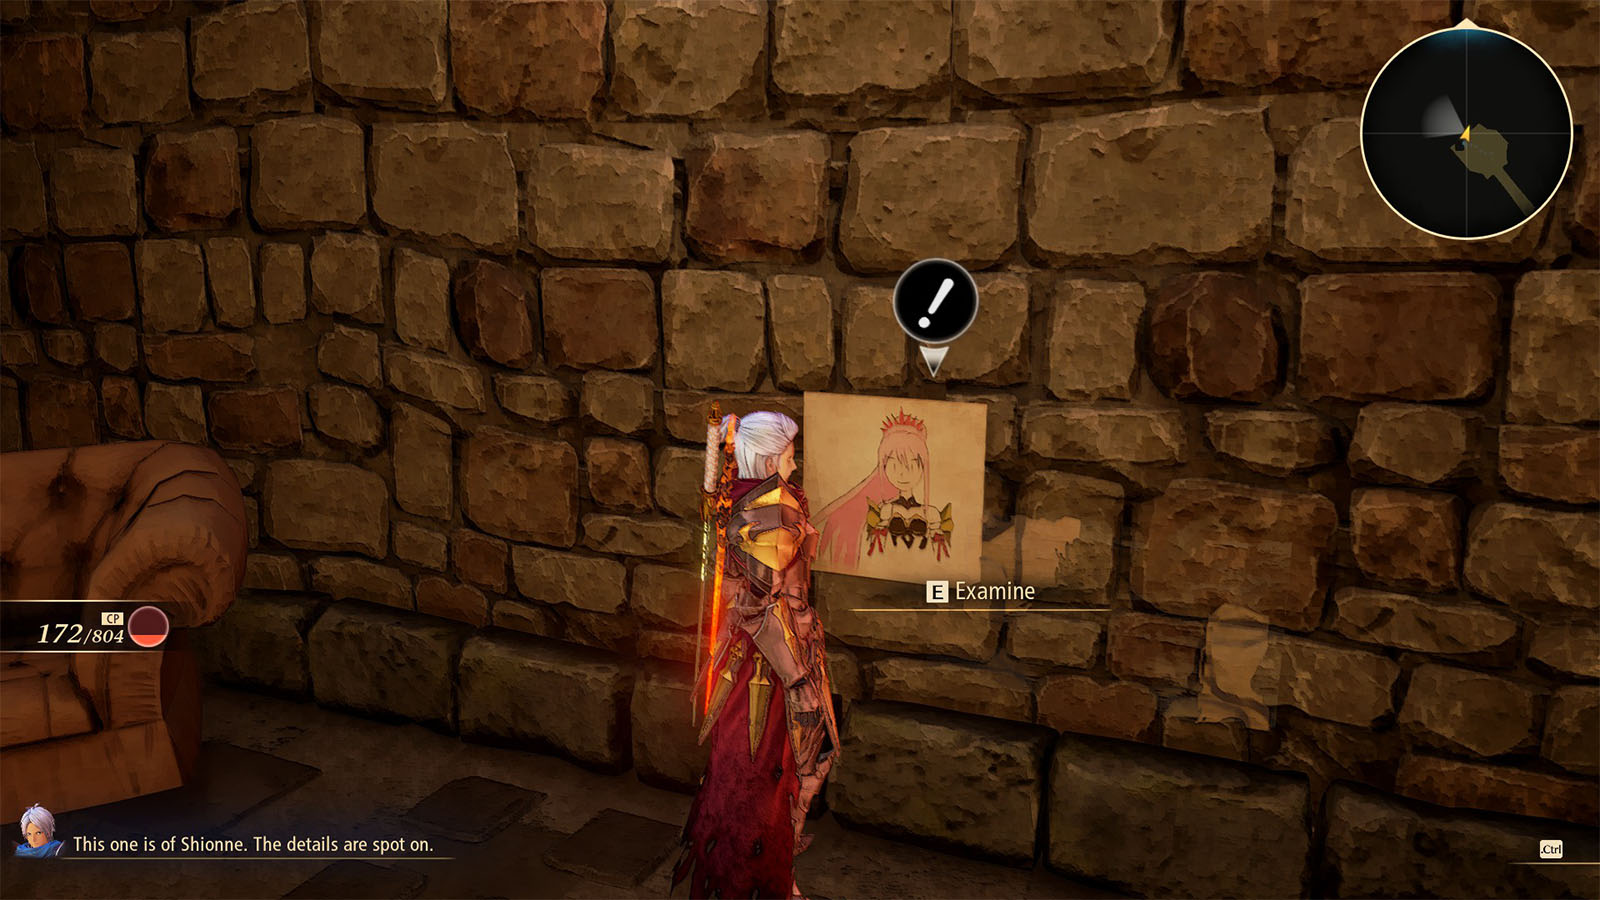
Go to the northwest path where you can absorb a wall for 40 CP. Inside the next room is a drawing of Shionne. Exit through the opposite corridor to get back to the Youthful Floor.
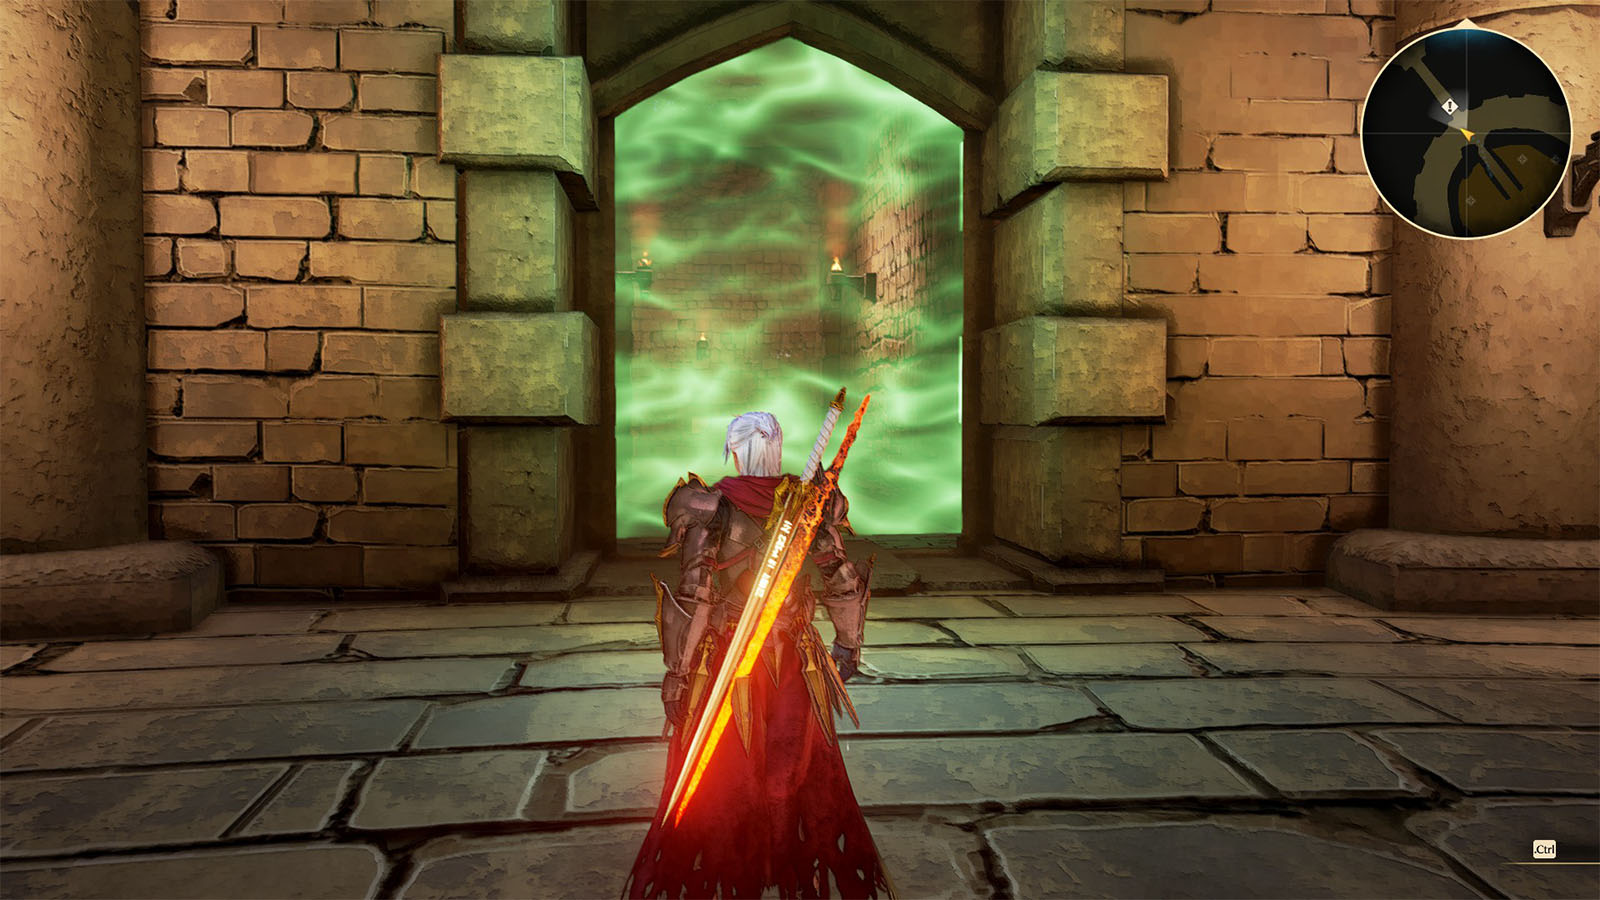
Make your way back to the balcony and enter the green door to reach the Whirlwind Palace.
Whirlwind Palace
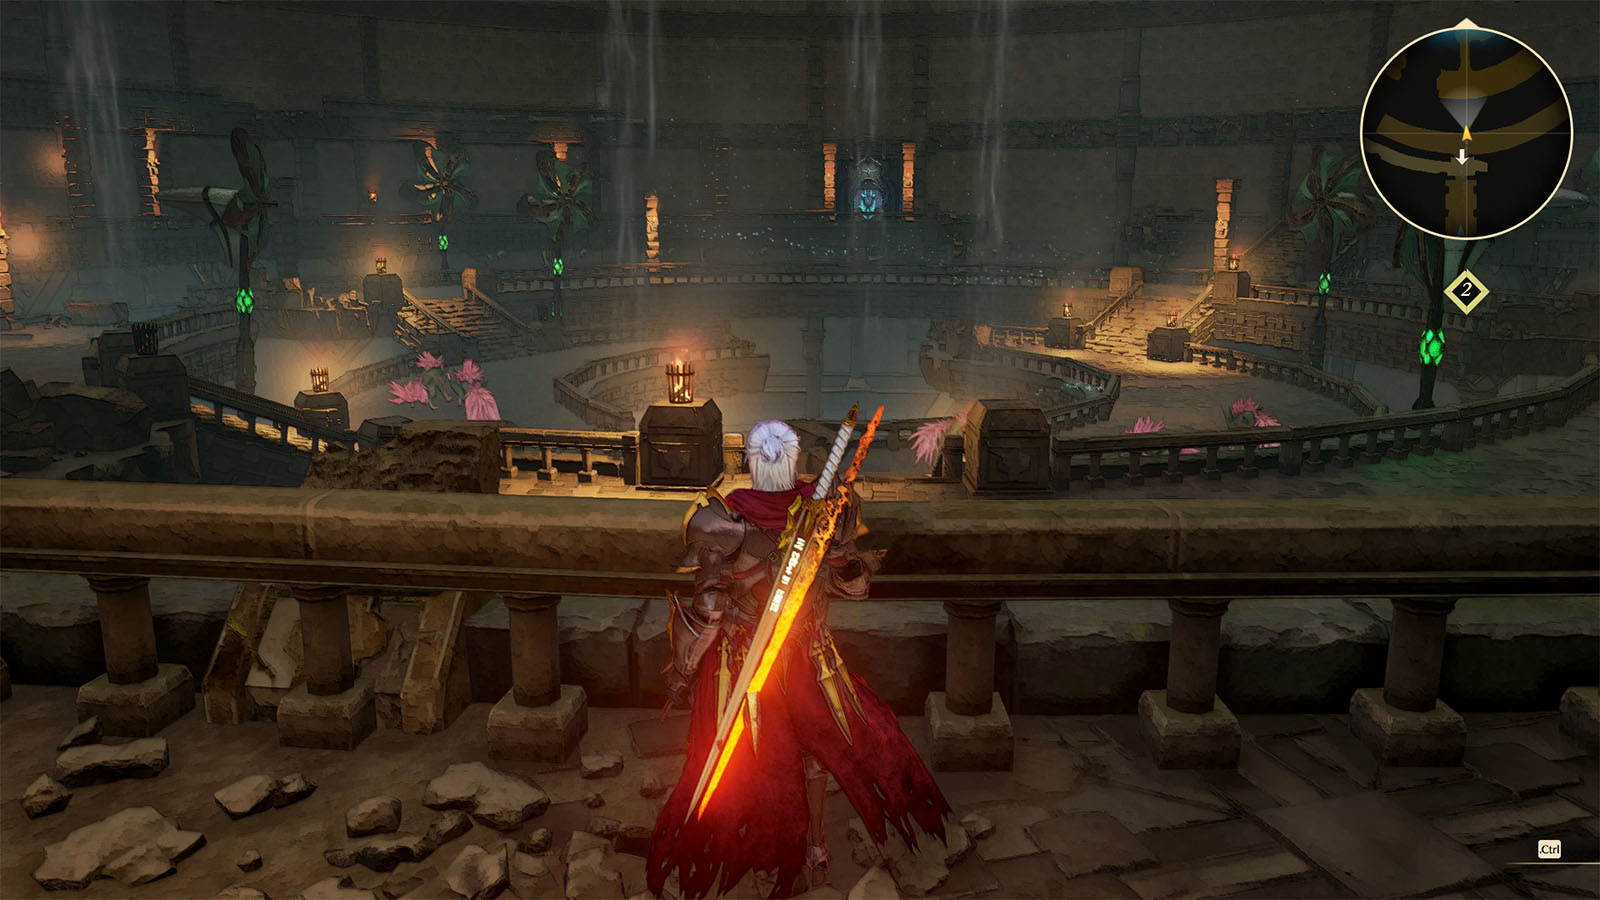
Once inside the palace, make your way through the maze in the middle. Head to the east side to get a Treat. To the west side is a ladder that leads to the upper level where you can get the Panta Rhei Robe at the south end. There’s also a Polymentus miniboss roaming on this side which is just best avoided.
Whirlwind Palace: Monogeneric Storehouse
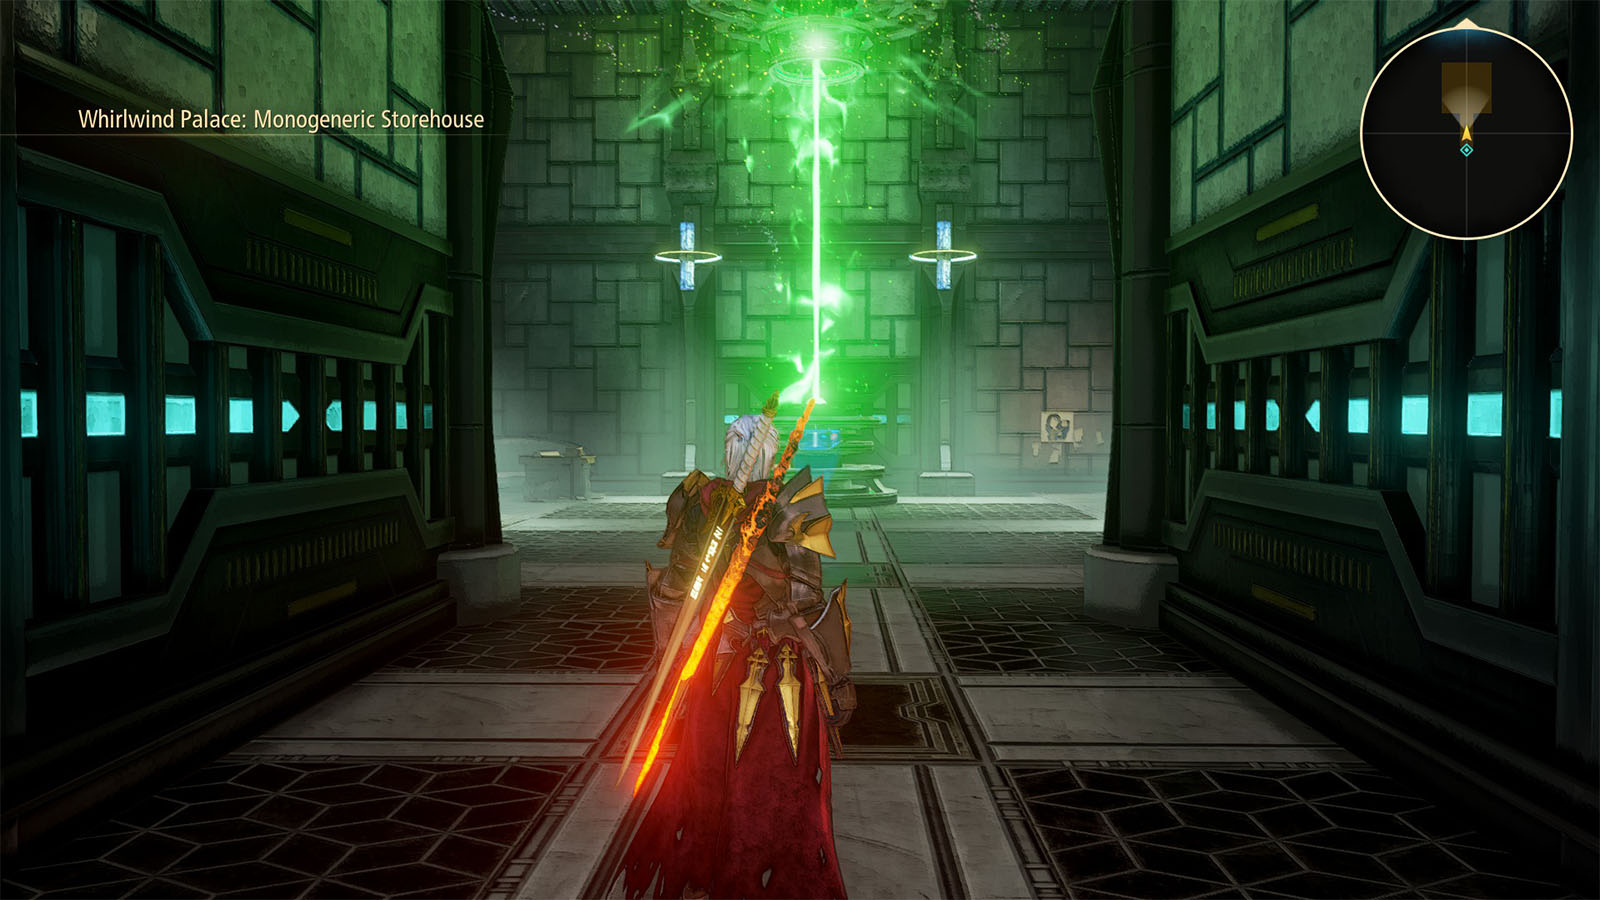
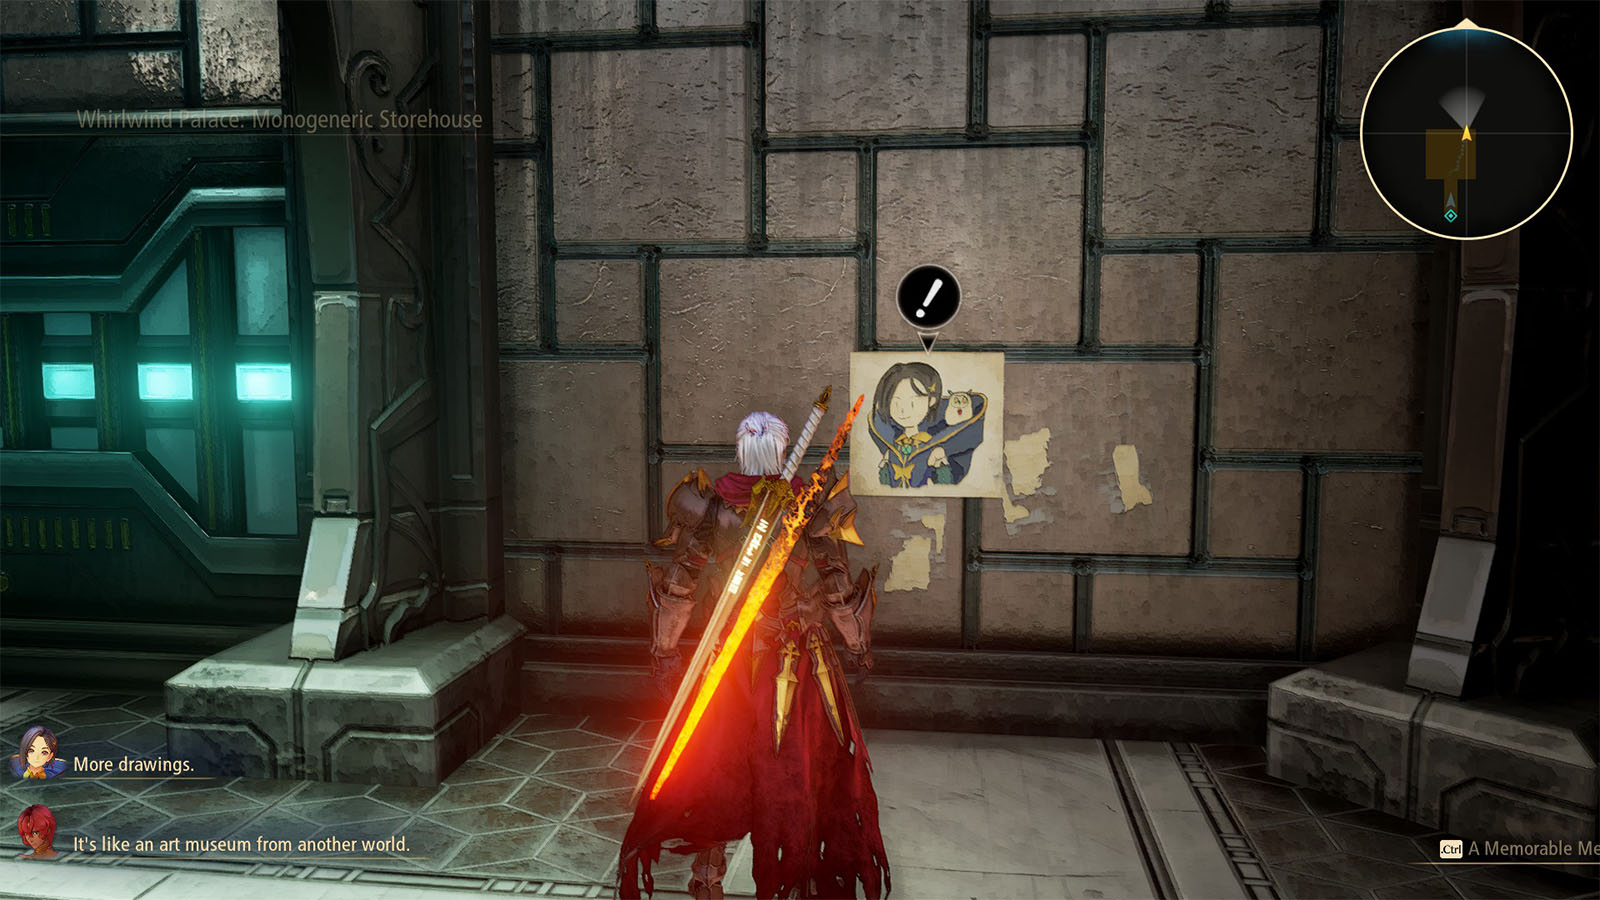
Head towards the next door where you will find the terminal needed to disable the gate lock and a drawing of Rinwell. Make your way back to the balcony by talking the catwalk and jumping down from it at the south end.
Aged Door: Sloped Corridor
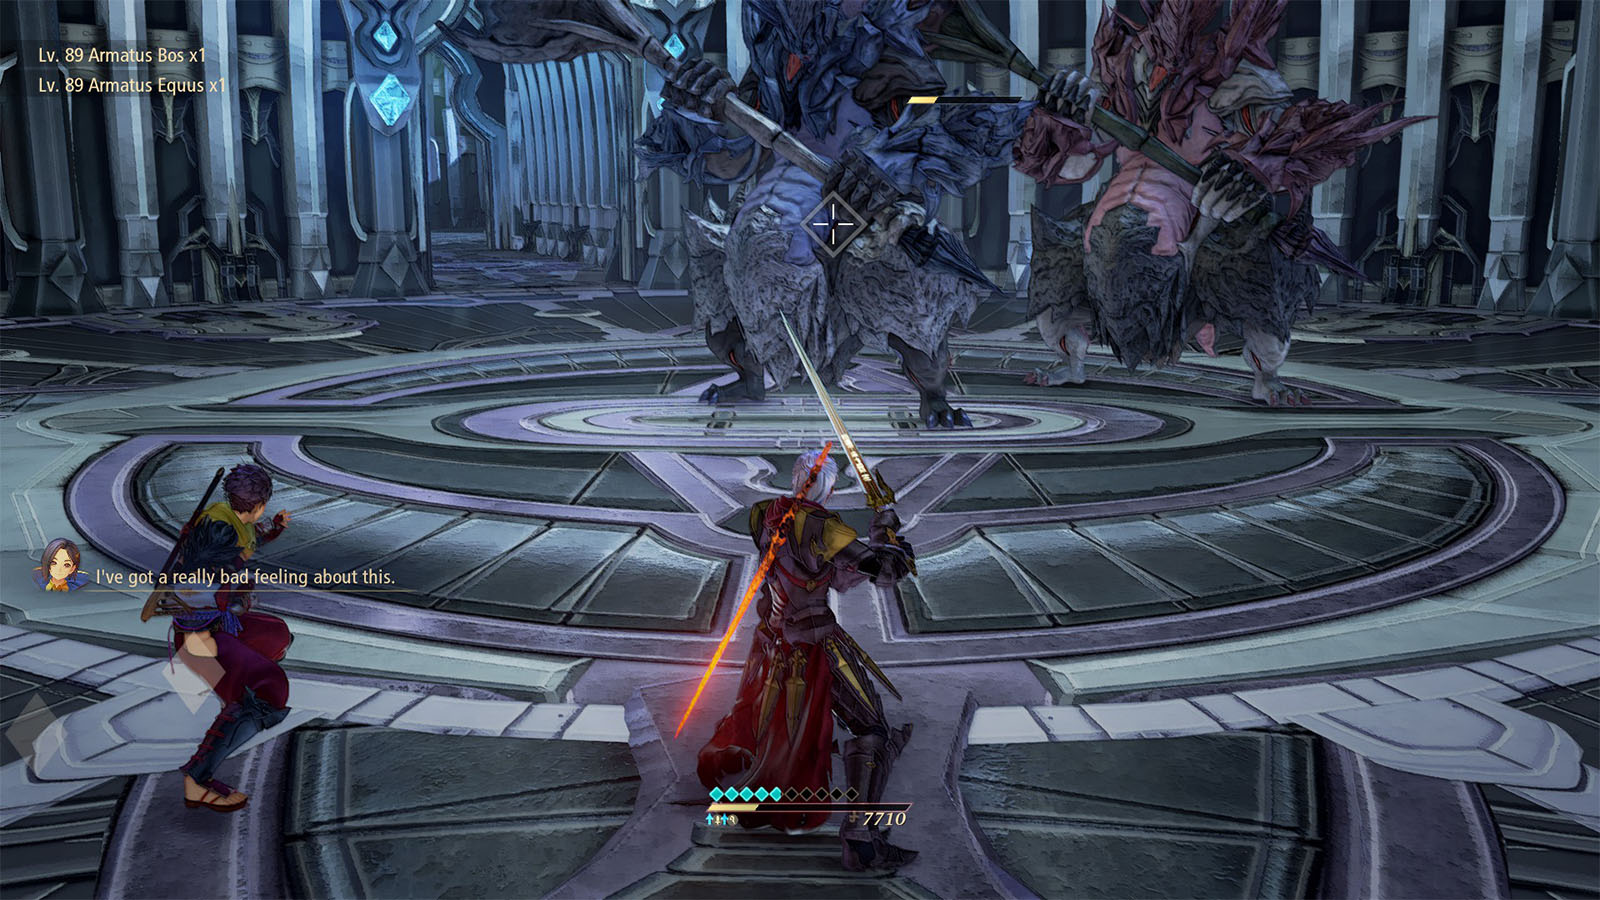
At the end of this corridor are two Armatus minibosses. Try to use Alphen’s boost attack as often as possible in between the two bosses to keep them staggered. After defeating them, check the next room to find an Orange Gel.
Make your way up the next set of stairs to reach the next balcony.
Aged Door: Balcony
There are several more small doors on this balcony, but take the one on the base level first.
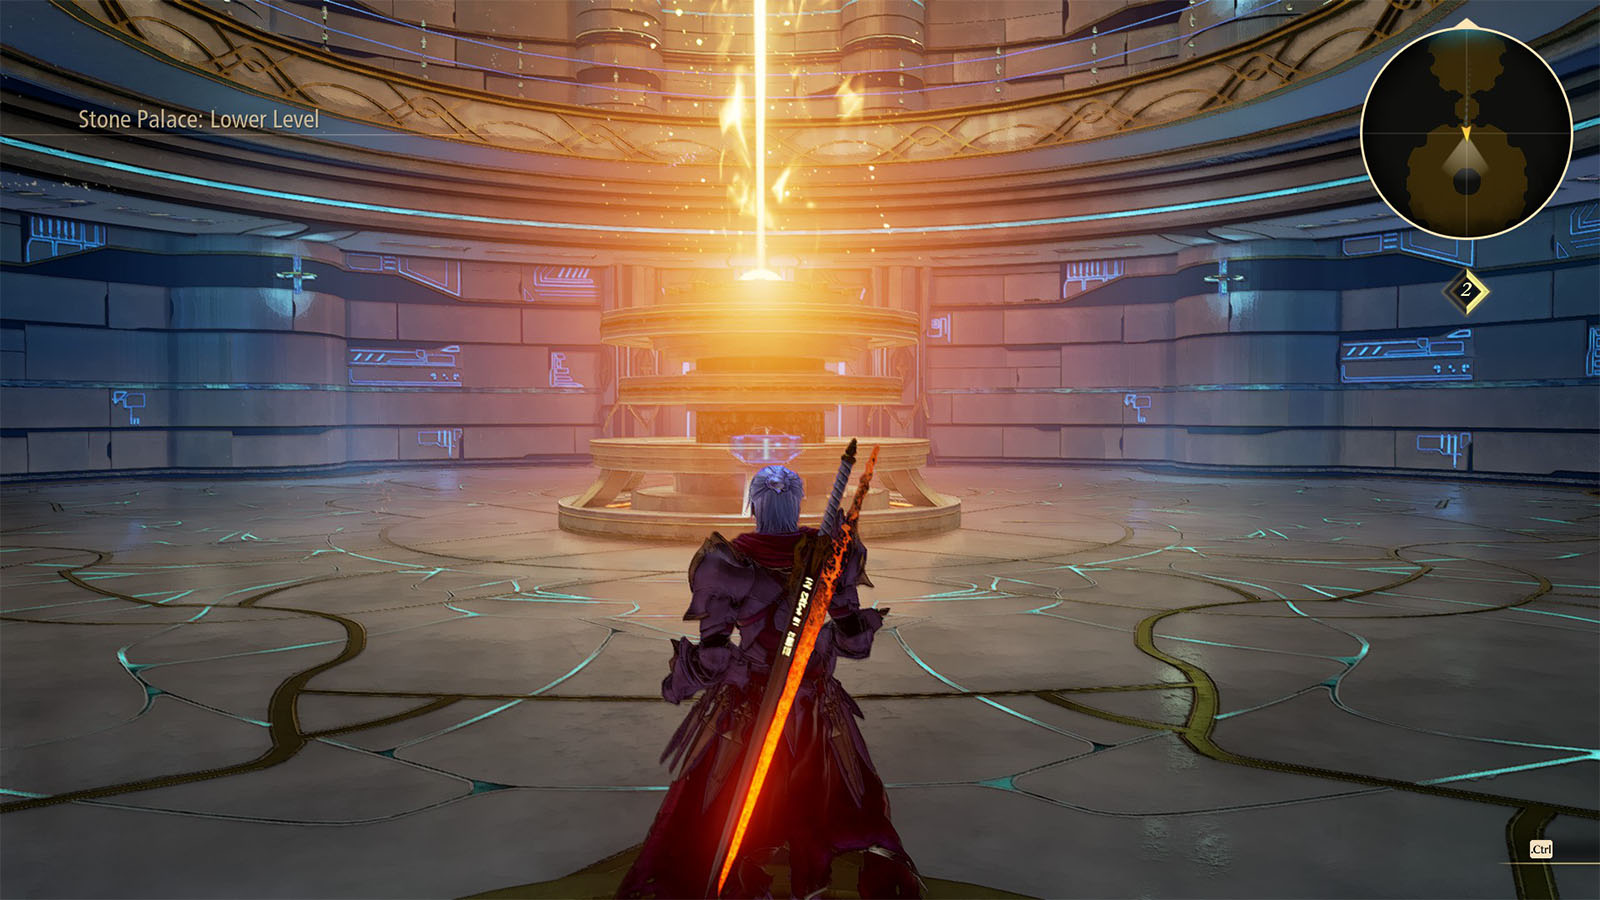
Stone Palace
Stone Palace: Upper Level
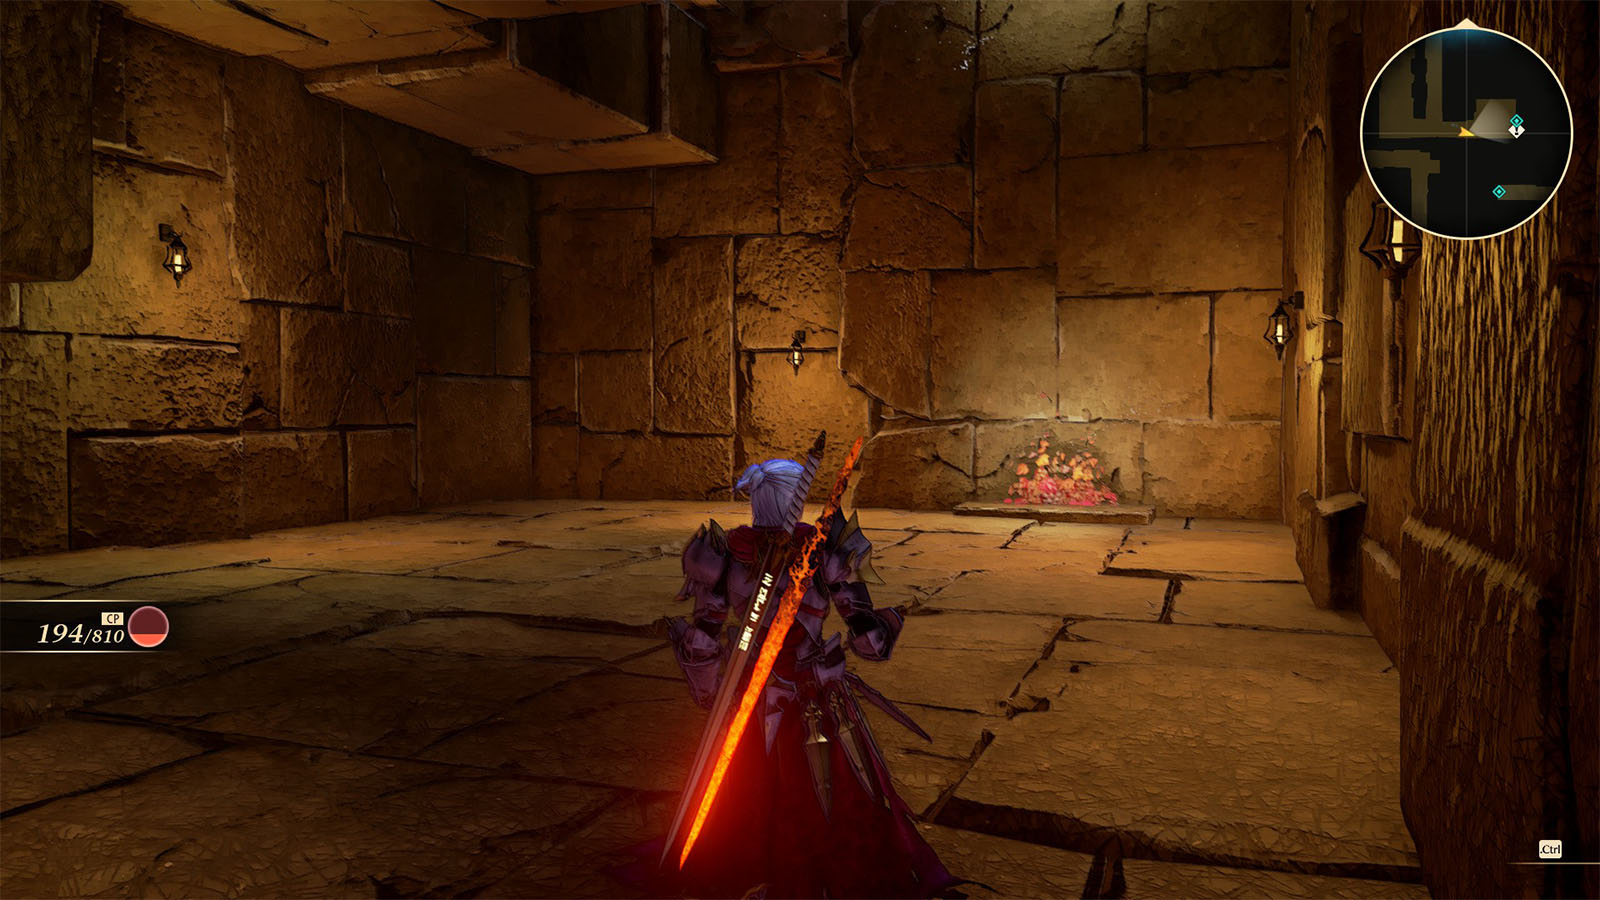
Inside the Stone Palace, head to the west area first and reach the next room where you can get a Pineapple Gel. Then, continue to the west path down to the Central Level to find a barrier that can be torn down for 40 CP. In the next room is where you can get the Aurum Lupus and x3 Gold Gel.
Head back up and take the east path which goes down to the Central Level.
Stone Palace: Central Level
Go across the circle path and continue back up to the Upper Level. Take the path to the south first to find a room guarded by enemies. Inside the chest in the middle of the room is an Omega Elixir.
Go back to the main path and you’ll find another room up north with an herb in the chest.
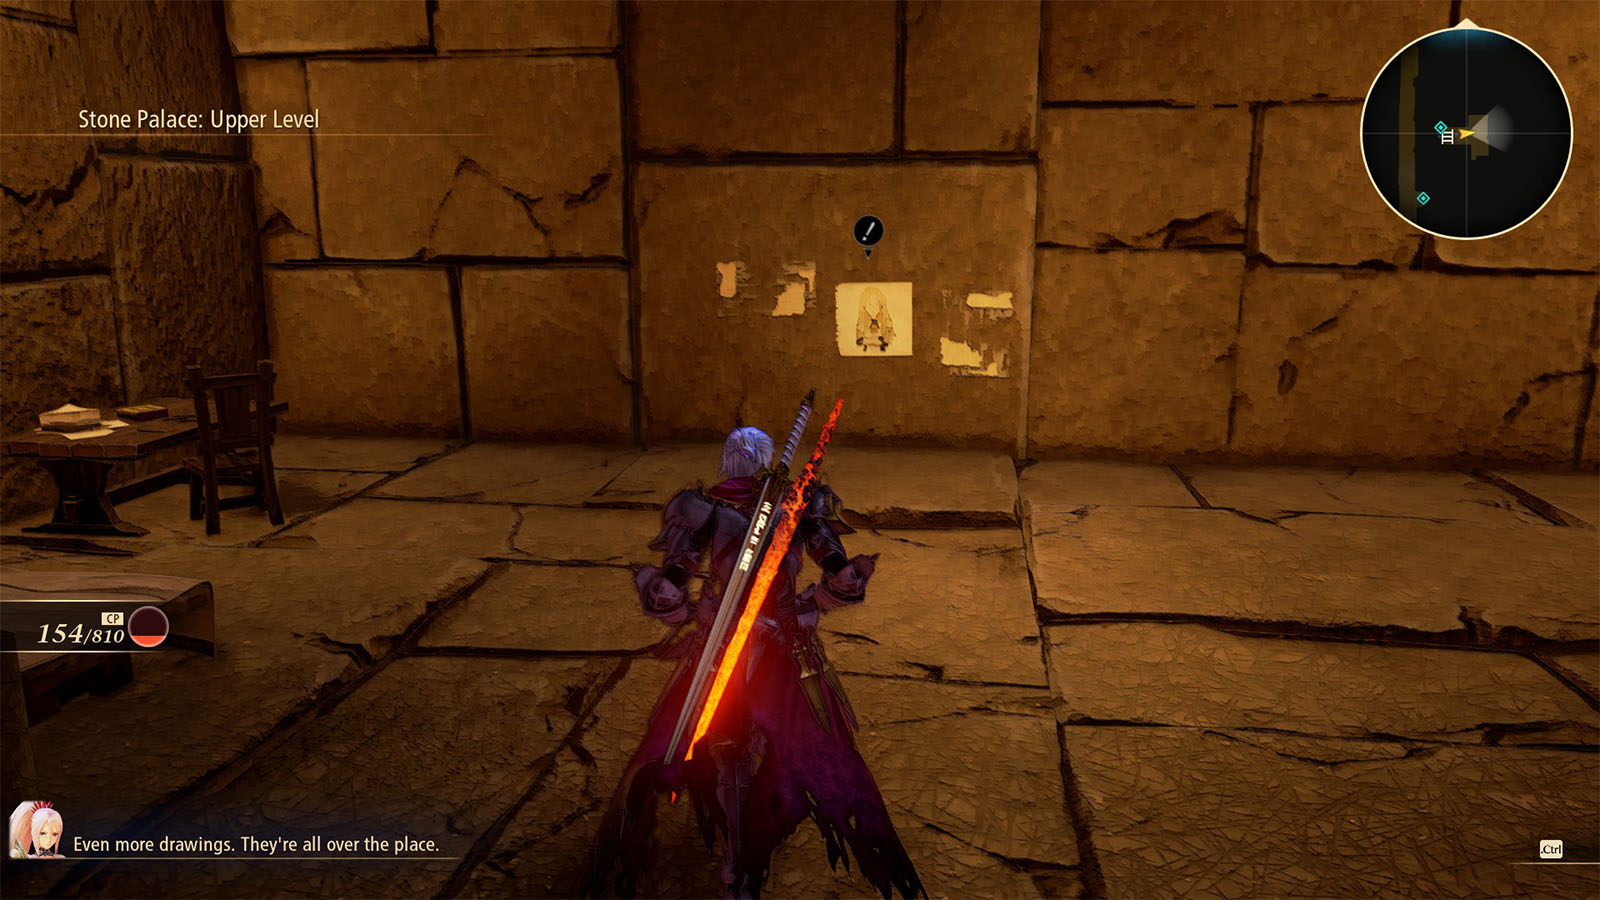
Take the stairs going back down and head east to find vines that you can grow. This leads to another room with a drawing of Kisara.
Continue to the west path and you’ll end up at another encounter with a Nazamil Nether.
This fight will be more challenging than the previous ones as the clone will summon two zeugles. Try to defeat the many-armed zeugle first as it’s the easiest one to kill.
After defeating the clone, head to the next door and interact with the terminal, then take the door and head back out to the balcony. Go up the next level to find a teleporter you can activate, then take the purple door.
Helgan Shrine
Inside the Helgan Shrine, there are two Polycontruses patrolling the paths; they can be fought or skipped. Take the path that circles around the top of the helmet to reach a room at the end that has the drawing of Dohalim. Up ahead is a chest with a Gold Gel and the next terminal.
Go back out to the balcony and take the yellow door across.
Ziern Shrine
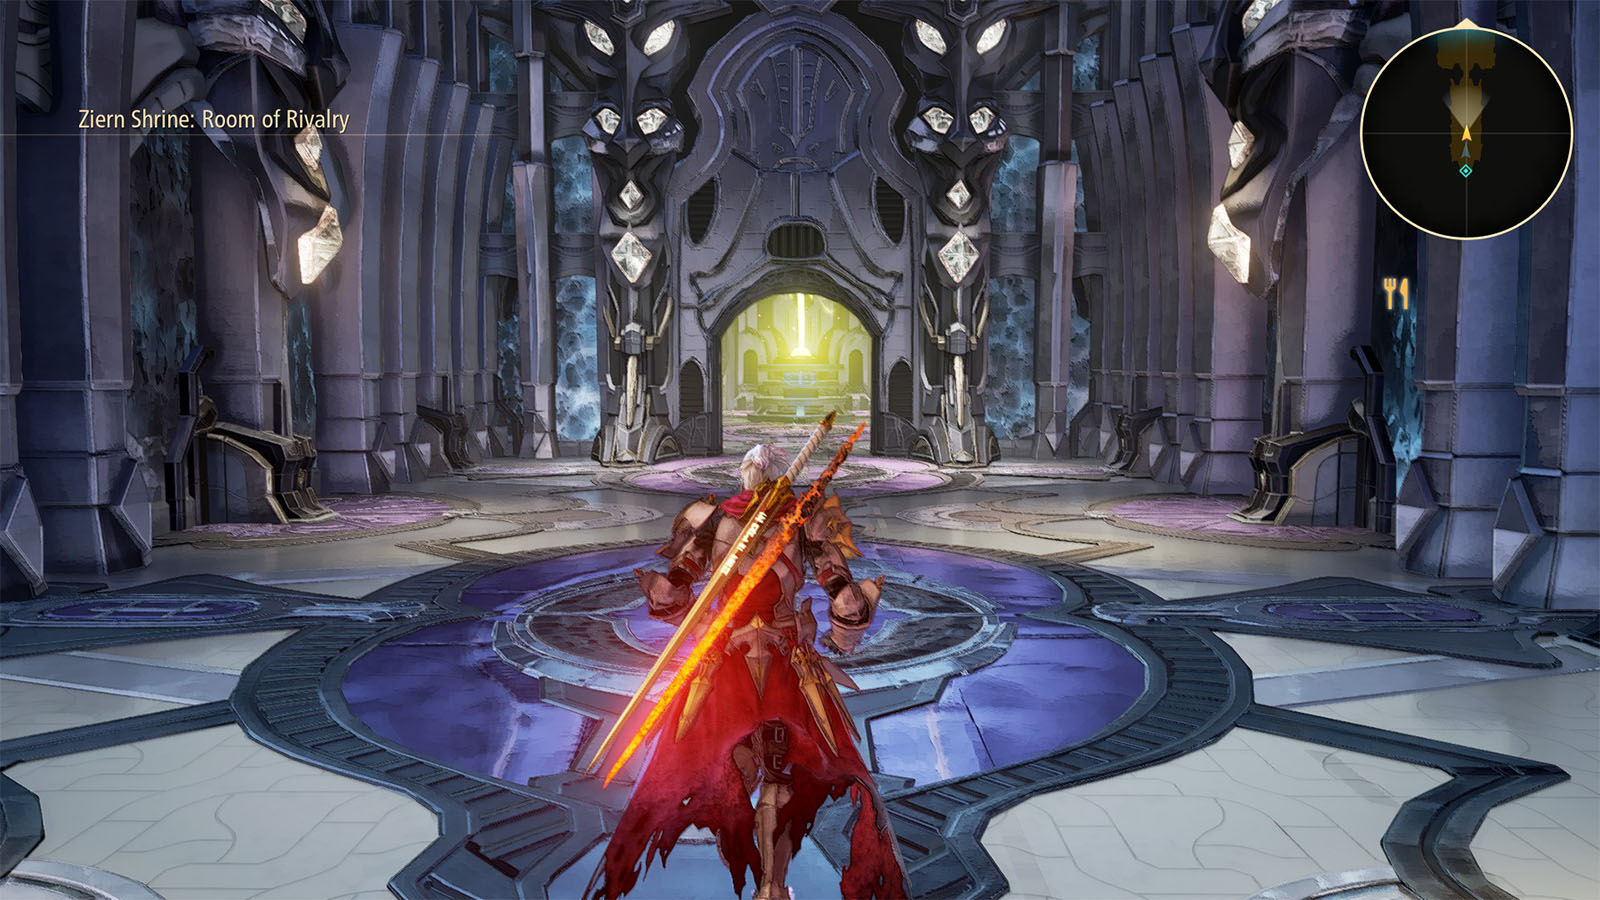
Inside, the Ziern Shrine, you can go up the stairs to find a cooking. Go through the door to get to the Room of Rivalry where you can find the drawing of Law and the next terminal.
Take the teleporter at the balcony to get back to the Gate Room.
Gate Room: Permanent Storage
Go inside the storage and you’ll find chests containing:
- x5 Astral Flower
- Os Rex
- Records of the Fallen
- Dämonisch Core
- Nebilim
- Demon’s Cry
- Diablo Nox
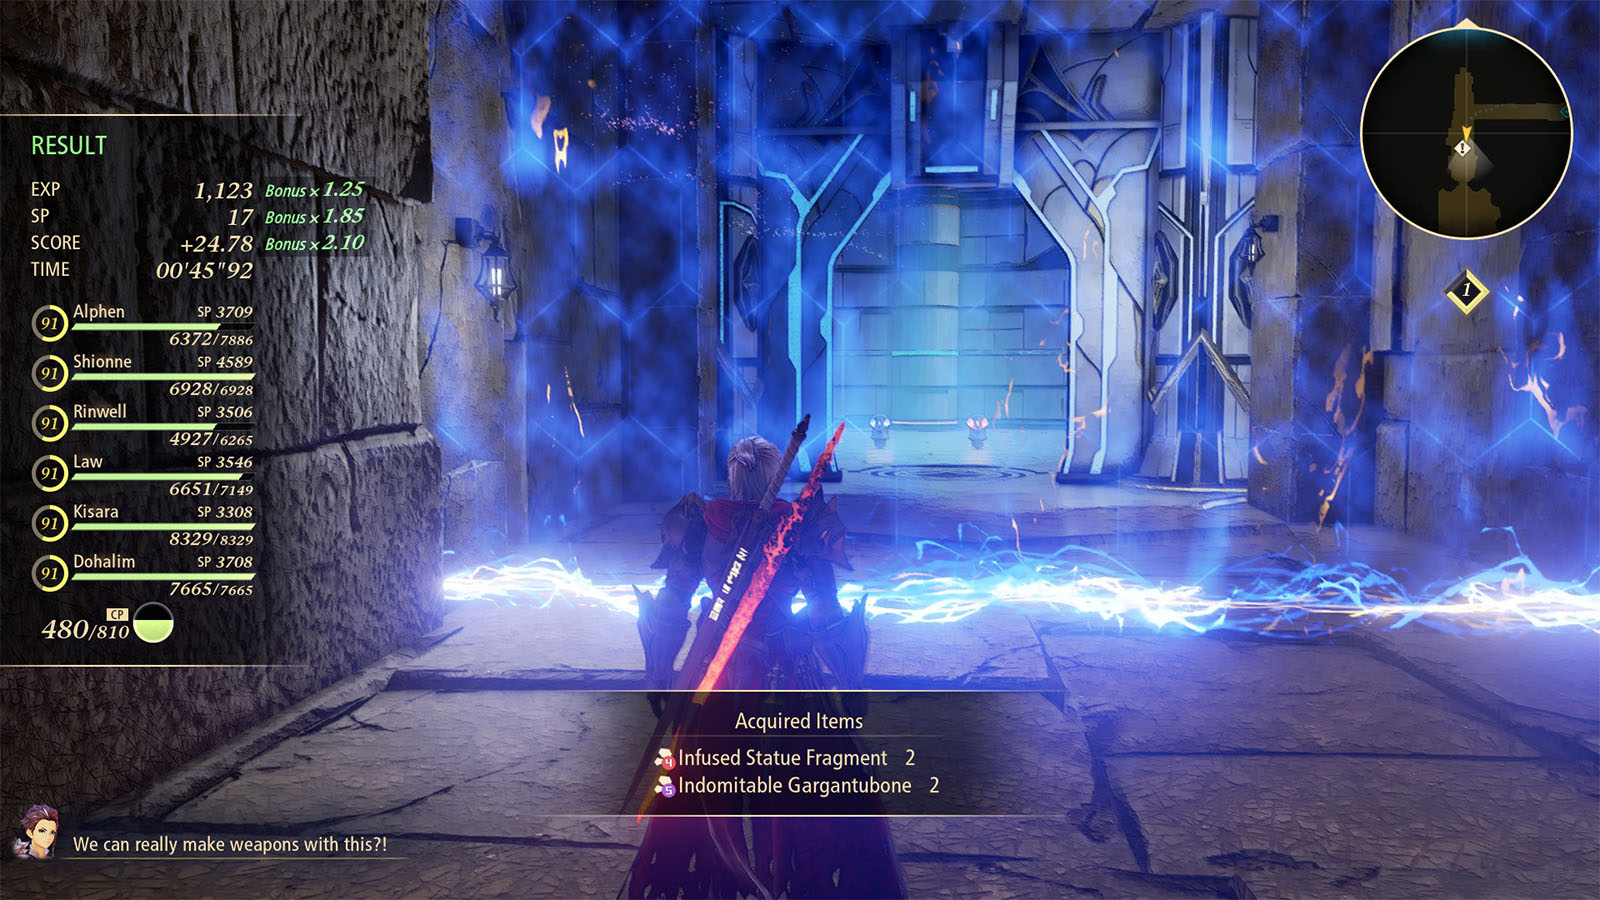
Each of these weapons have a higher Penetration stat which will help get through the shields later.
Go back to the teleporter and enter the final door that leads to the Bond Room.
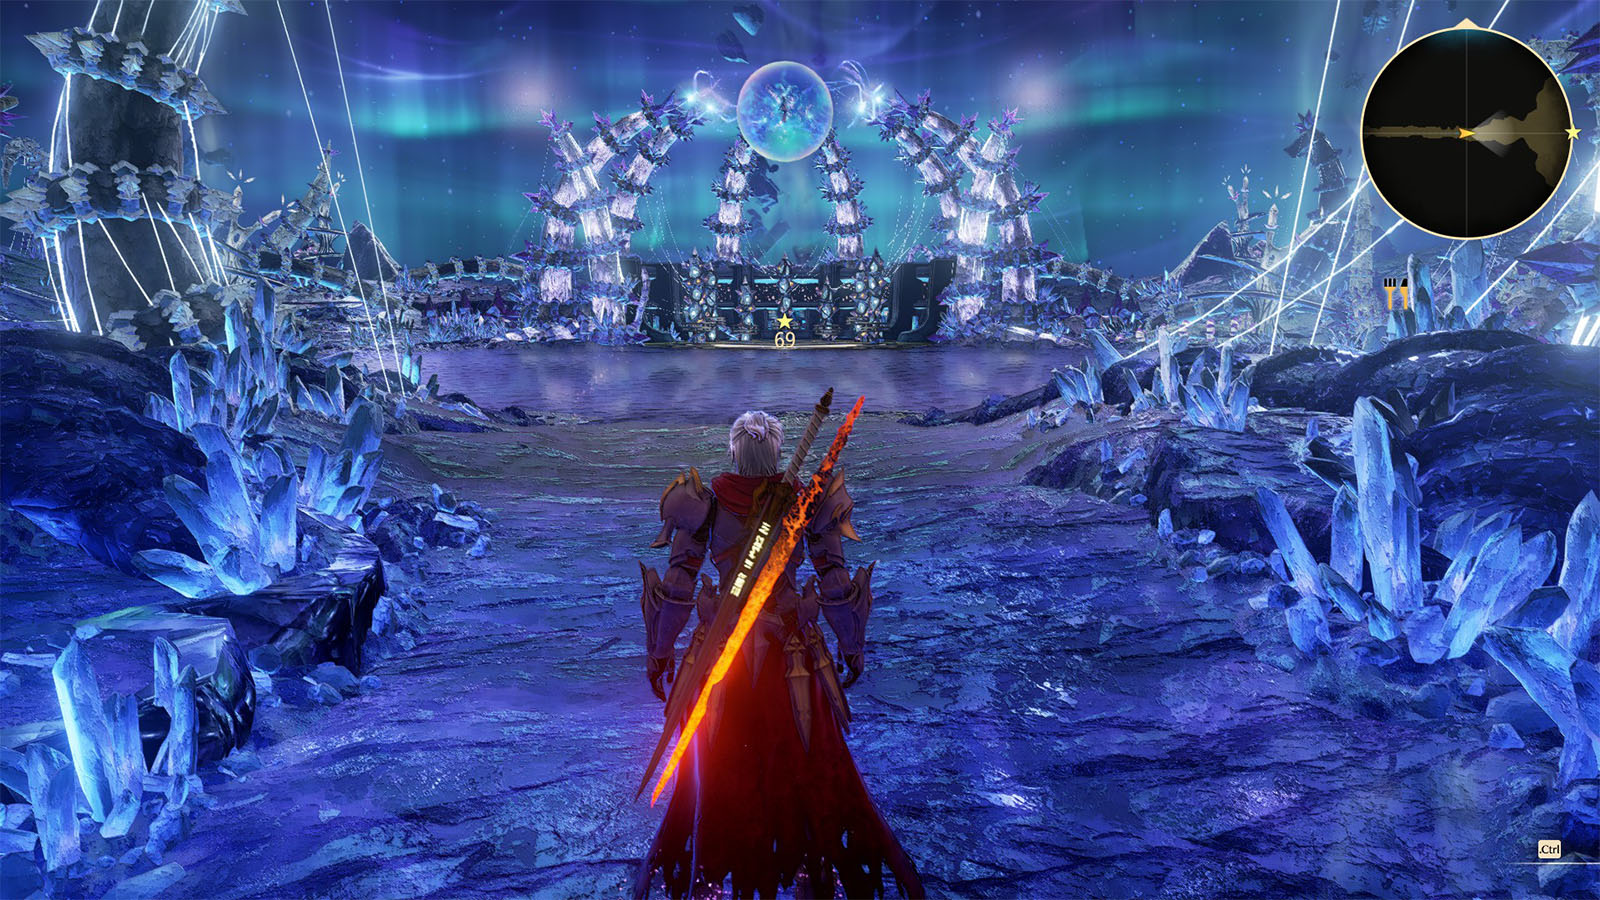
Keystone – Bond Room
This is will be the final area before the final showdown. Make sure to get to the healing light to heal up your units before heading up the stairs.
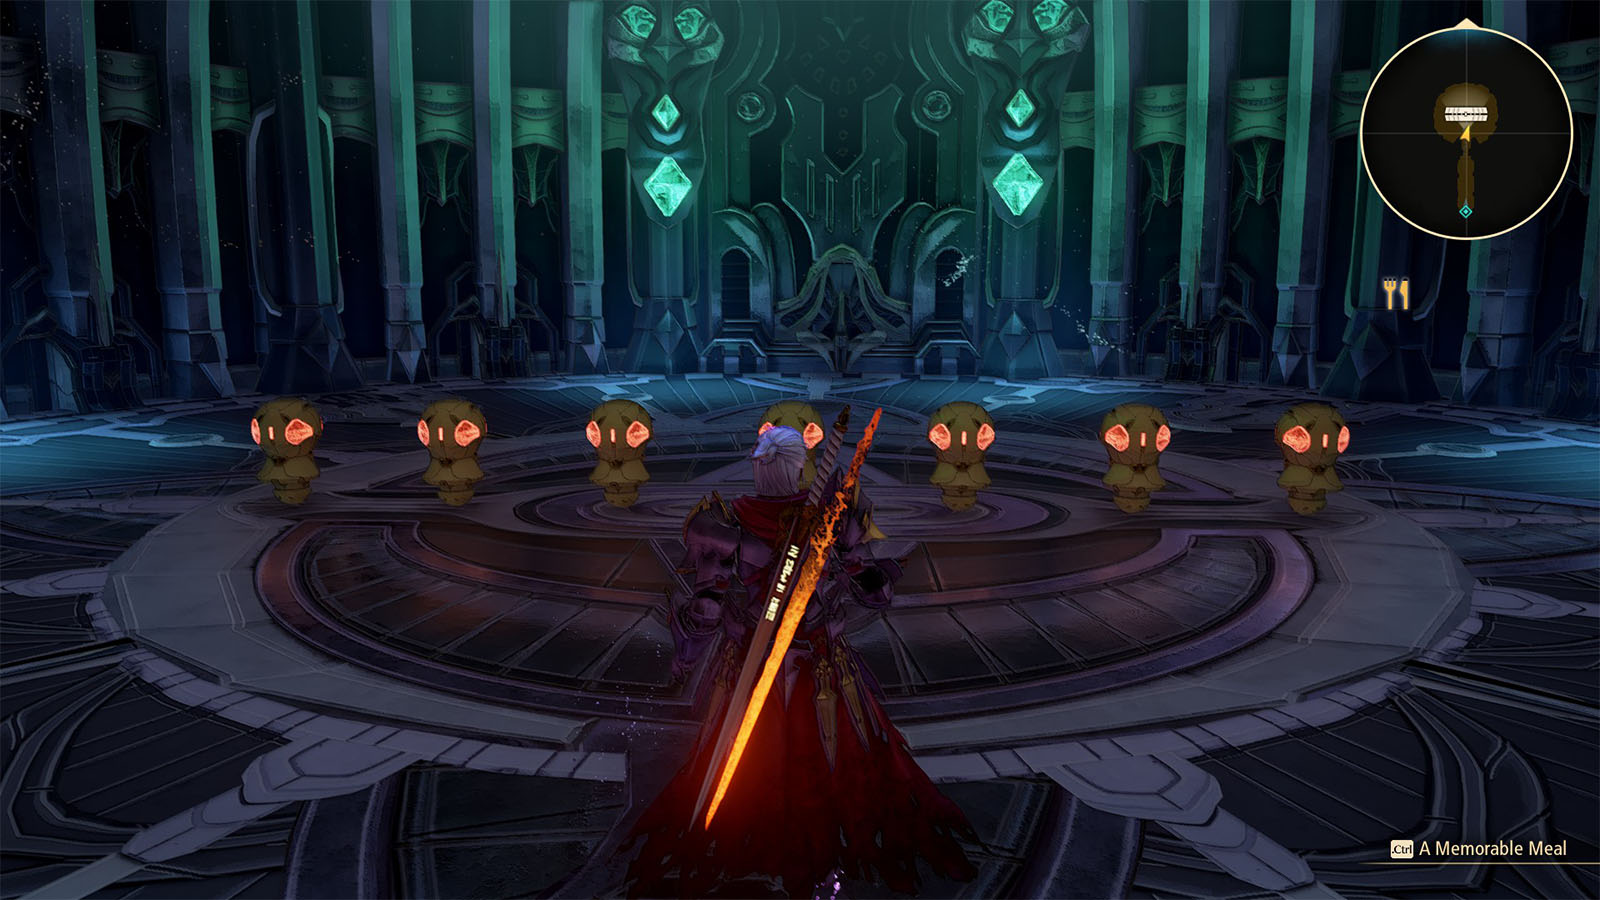
Set Nazamil free and save the world
Once you reach the very top of the stairs, you will be facing against Nazamil. There are two phases for her fight, the third one being just a part of the succeeding cutscene.
Captive Nazamil First Phase
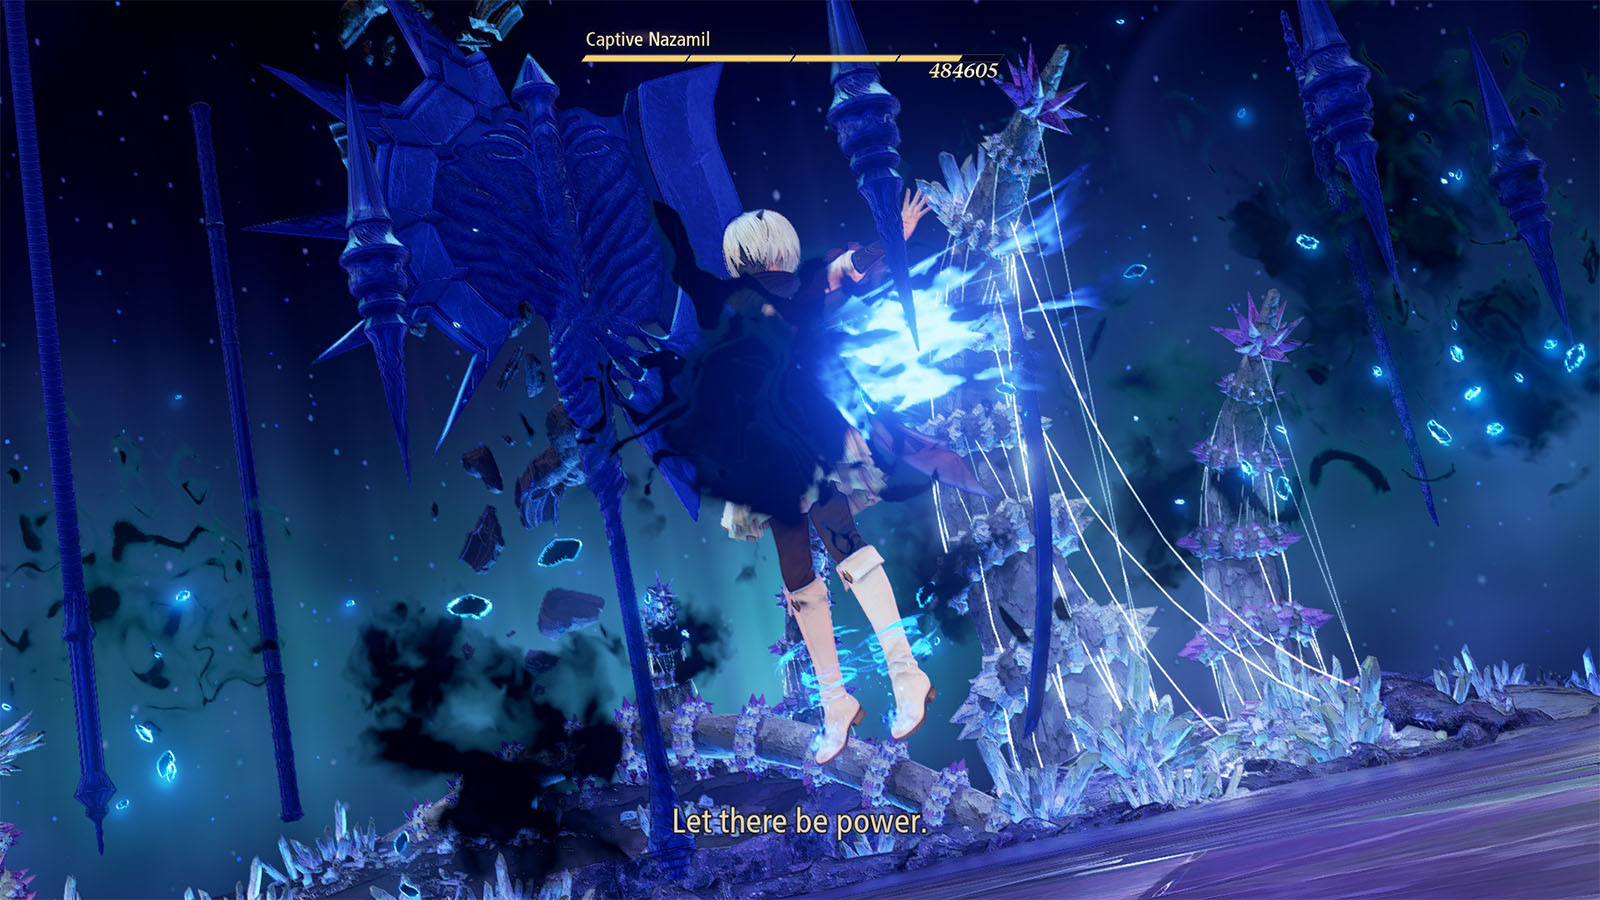
Nazamil is powered up now compared to the previous encounter. During this fight, she gains the ability to summon weapons of the previous Lords, including Dohalim’s. She maintains some of her spells such as Lagula Crystalis and Dyshclare Alma. Once her health reached <33%, she will start summoning Nether clones to aid her.
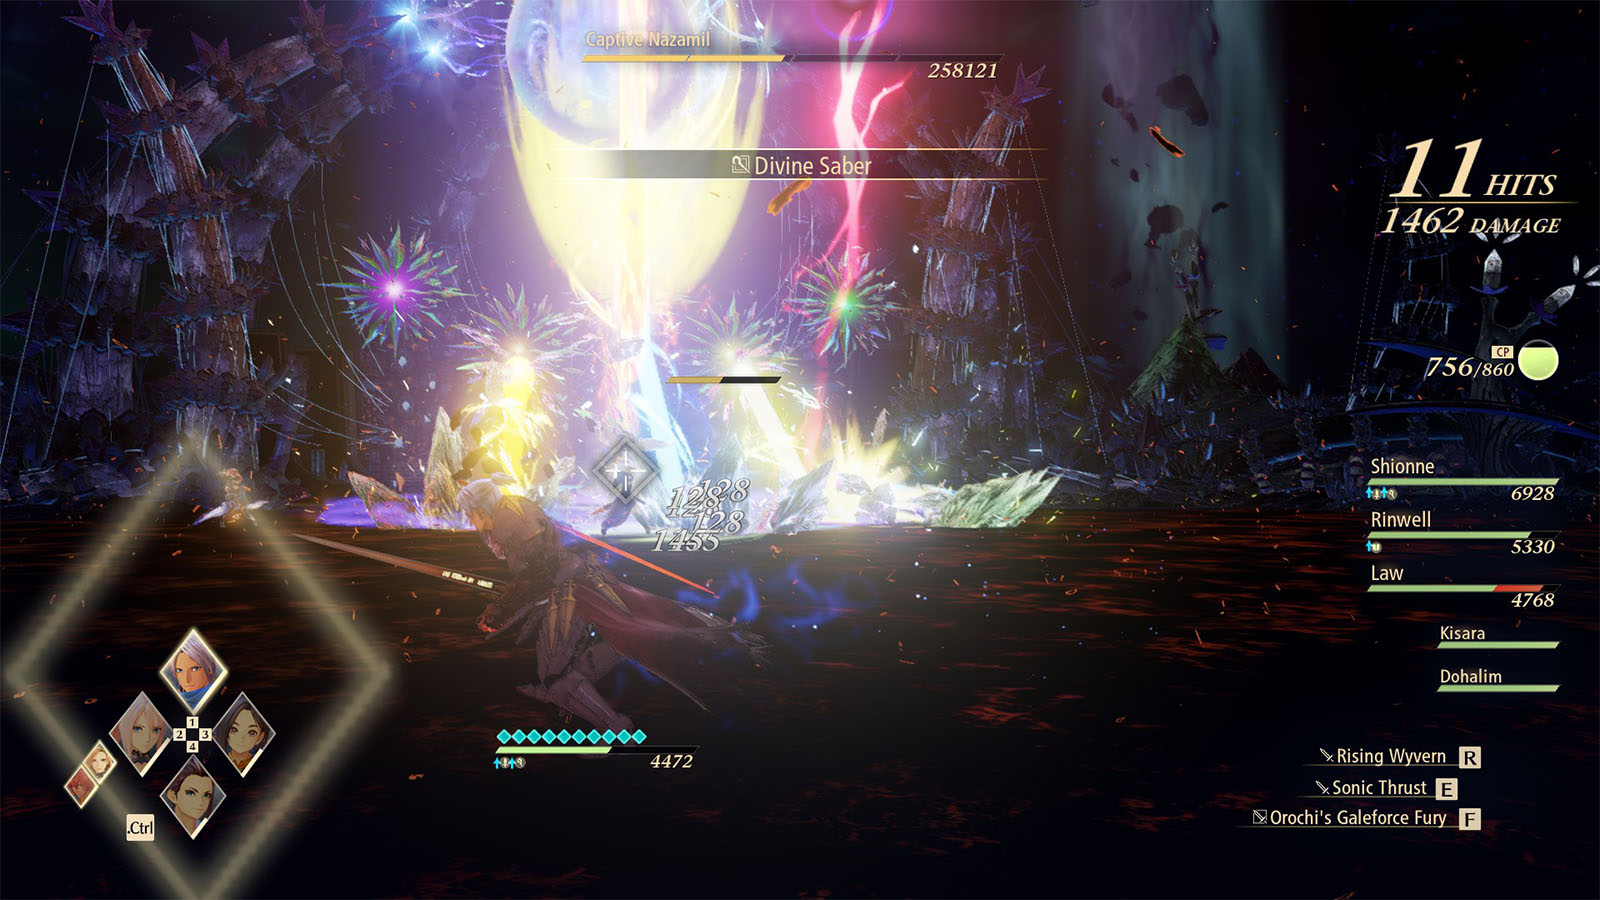
A strategy to go for is similar to the first encounter where she can be staggered while she is channeling her spells. Alphen and Shionne’s boost attacks are effective in staggering her, especially Alphen’s, so try and time these boost attacks to counter her spells and reduce instances of taking damage.
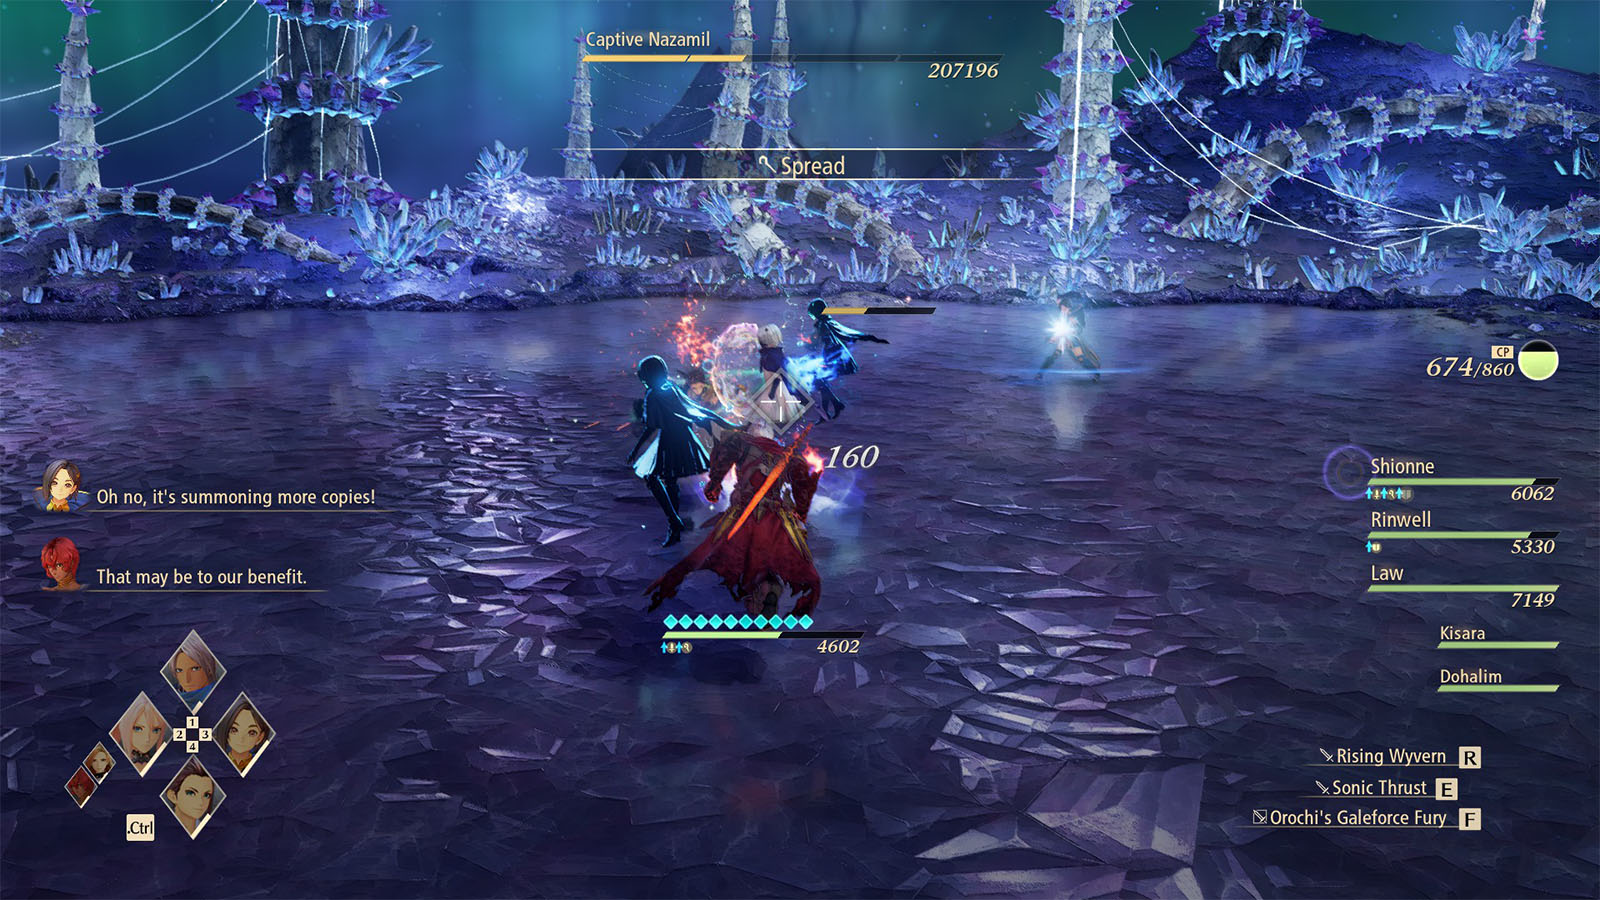
As for the second half of her fight, go for the clones she spawns first as this seems to weaken and possibly stagger her easier. She will continuously summon clones until the start of the second phase.
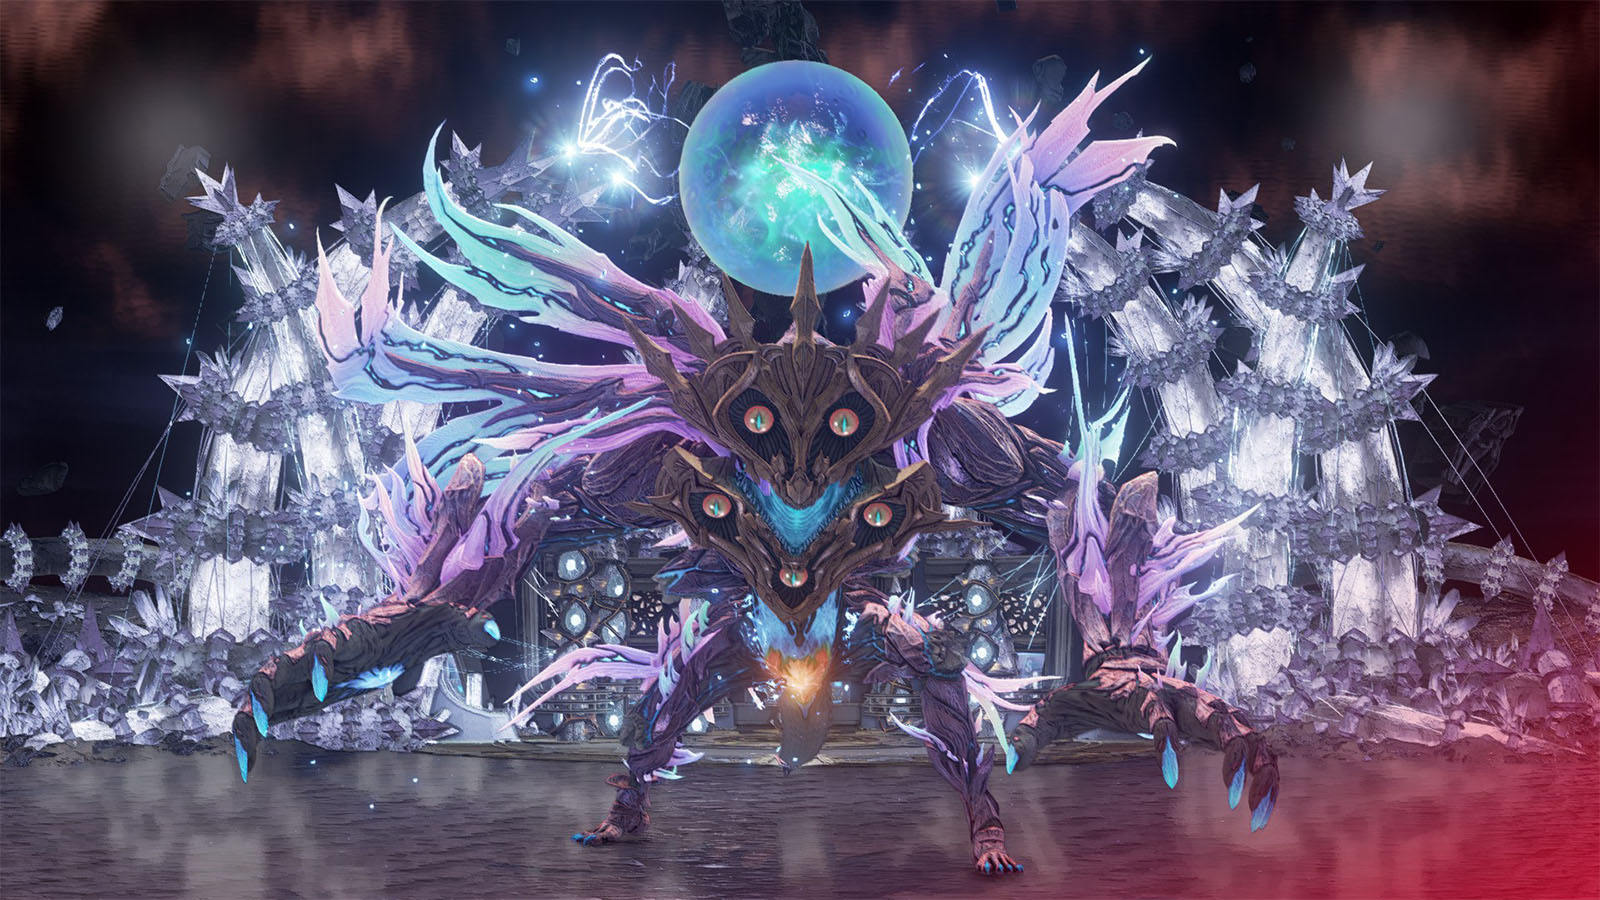
Oppressor Second Phase
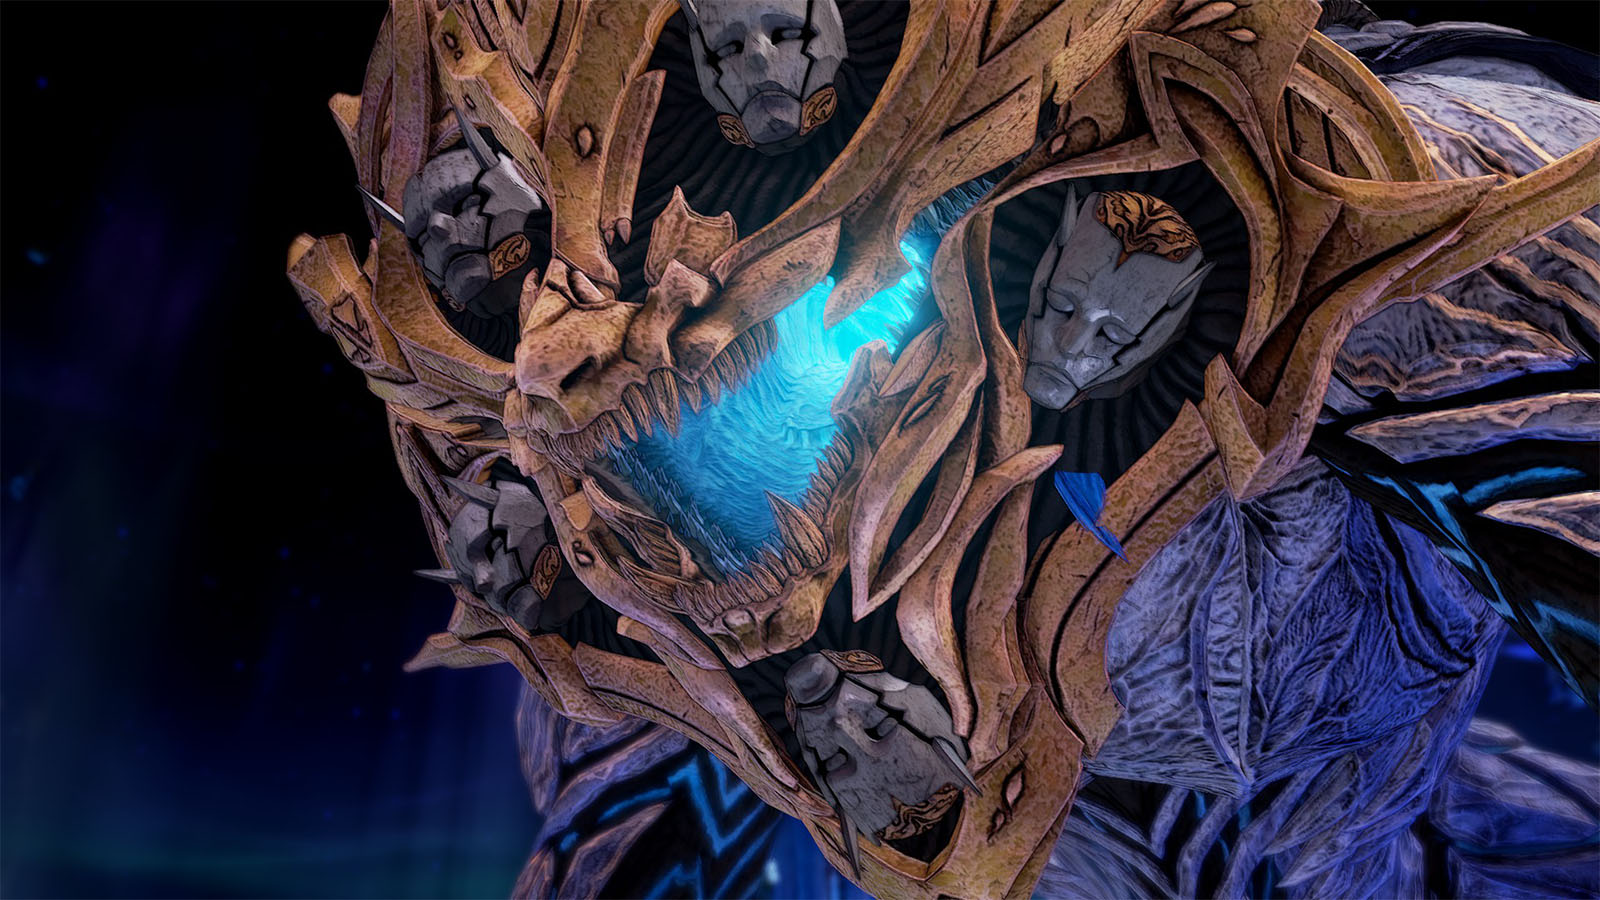
During the second phase, Nazamil gets corrupted by the keystone and transforms into the Oppressor. This boss is tough and it gradually increases in strength the lower its health gets.
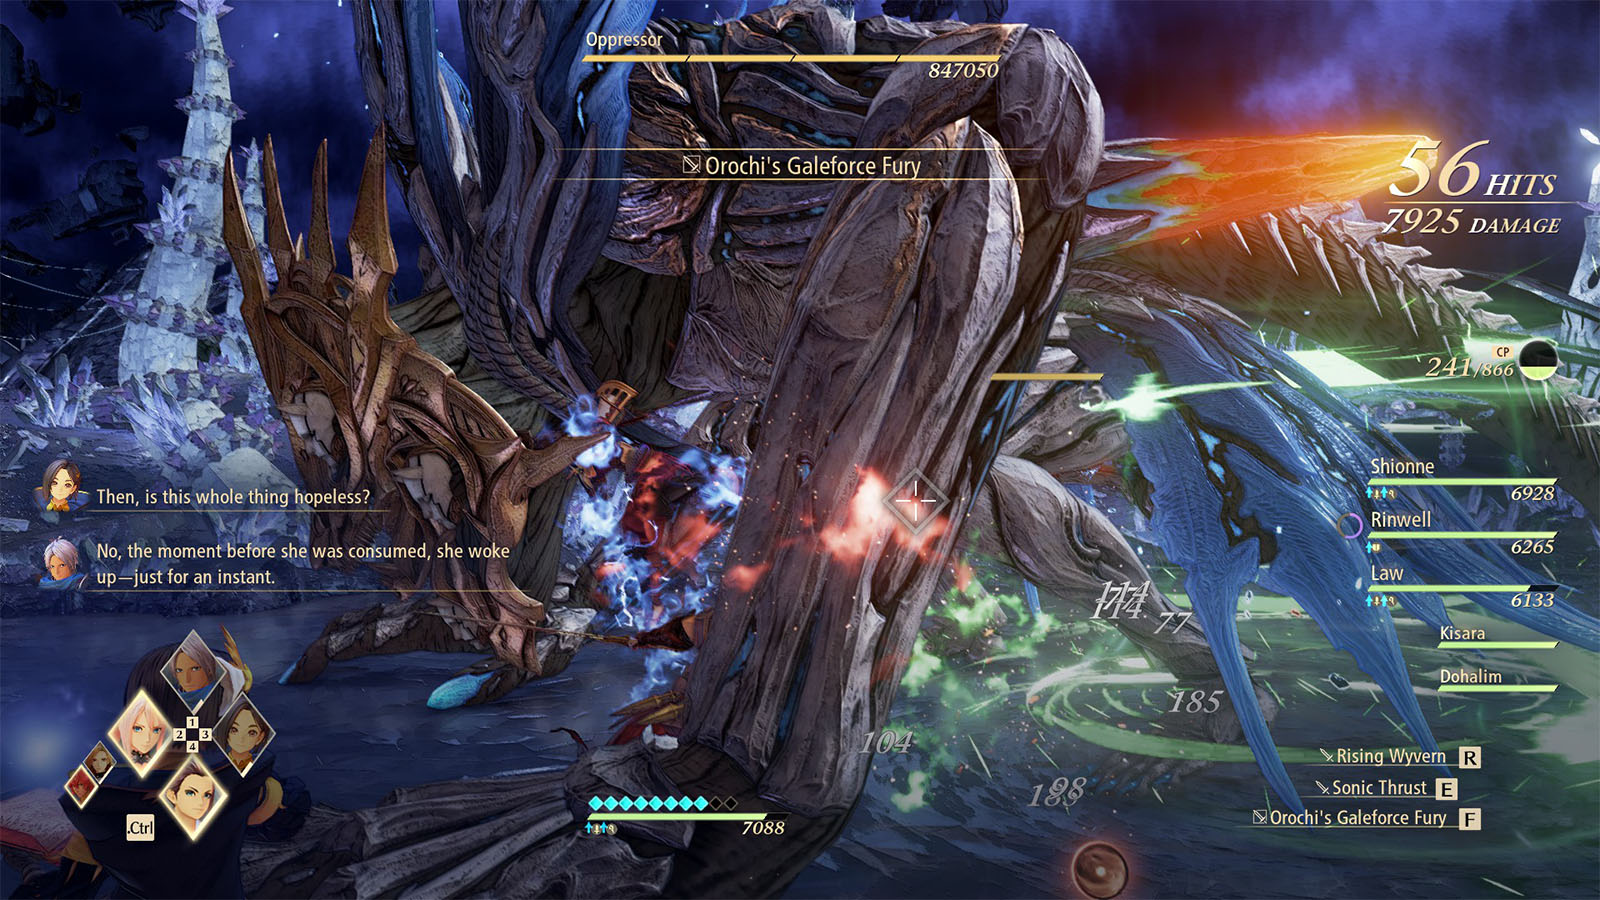
There are cores in different parts of its body; regardless of which ones you attack, the cores will break down in a certain order, which is at 75%, 50%, and 33%. It has a lot of AoE and ranged attacks on top of its physical swings, all of which can be avoided as long as you can time your dodges. Also, staying in the air appears to be a safer option as most of the ranged attacks trail on the ground.
Use Alphen’s boost attack as much as possible when it’s preparing for an attack, and not while in the middle of one to make sure that the boss gets staggered.
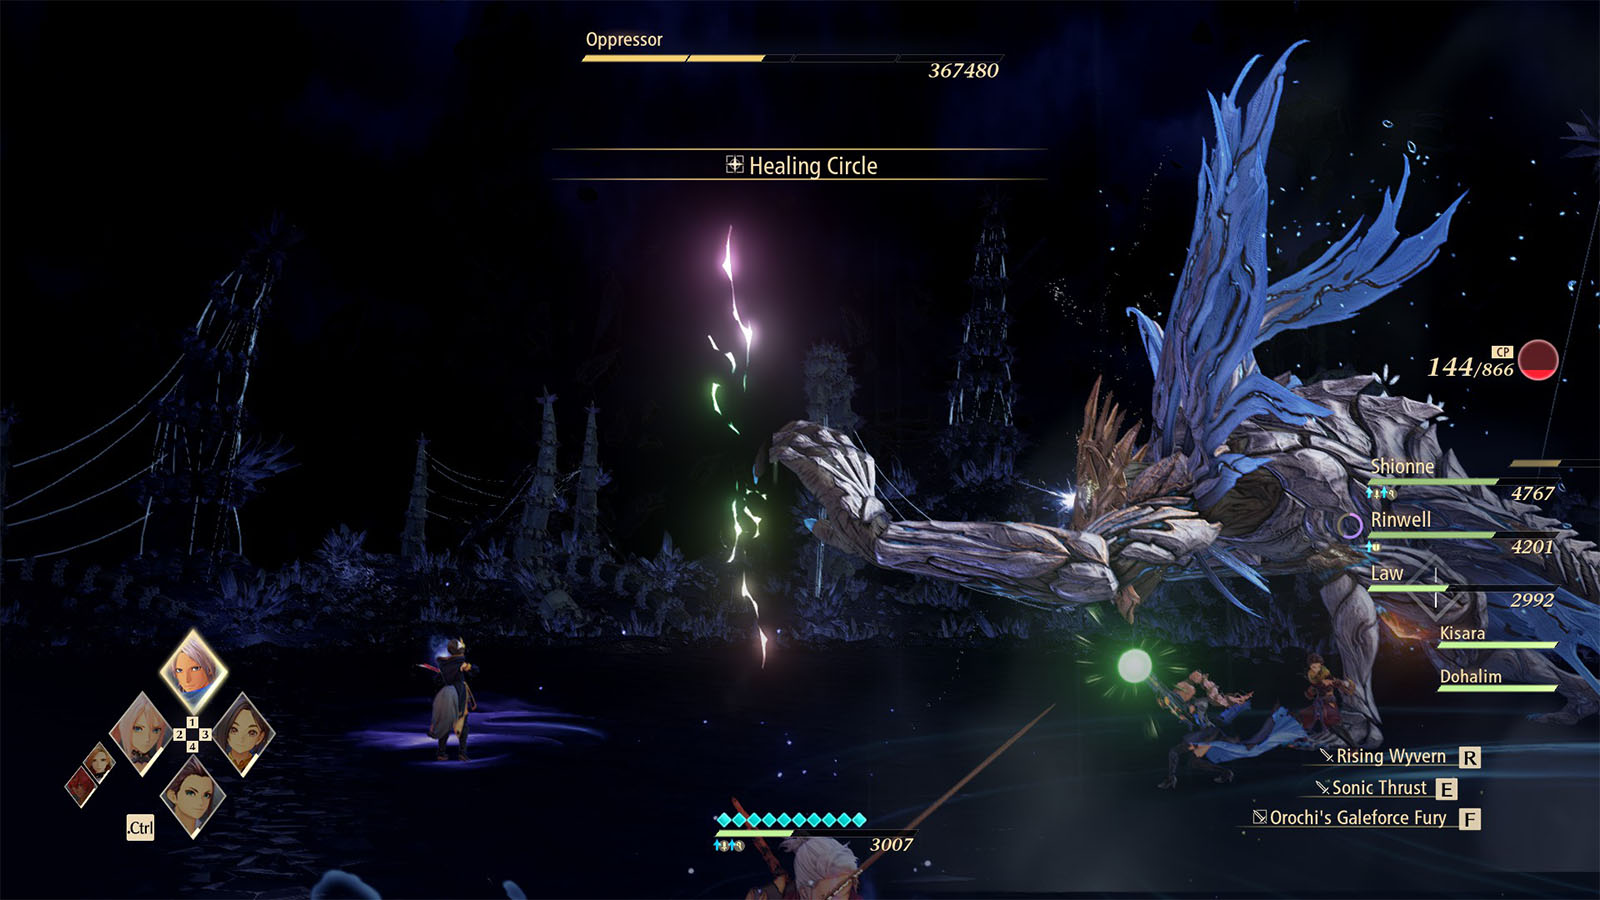
Once its health goes down, the boss will undergo another transformation. This time, it won’t have numbers on its health bar, but your units’ health bars will also disappear. From this point onward, you can just stay put or continue attacking as this will transition towards the final cutscene.
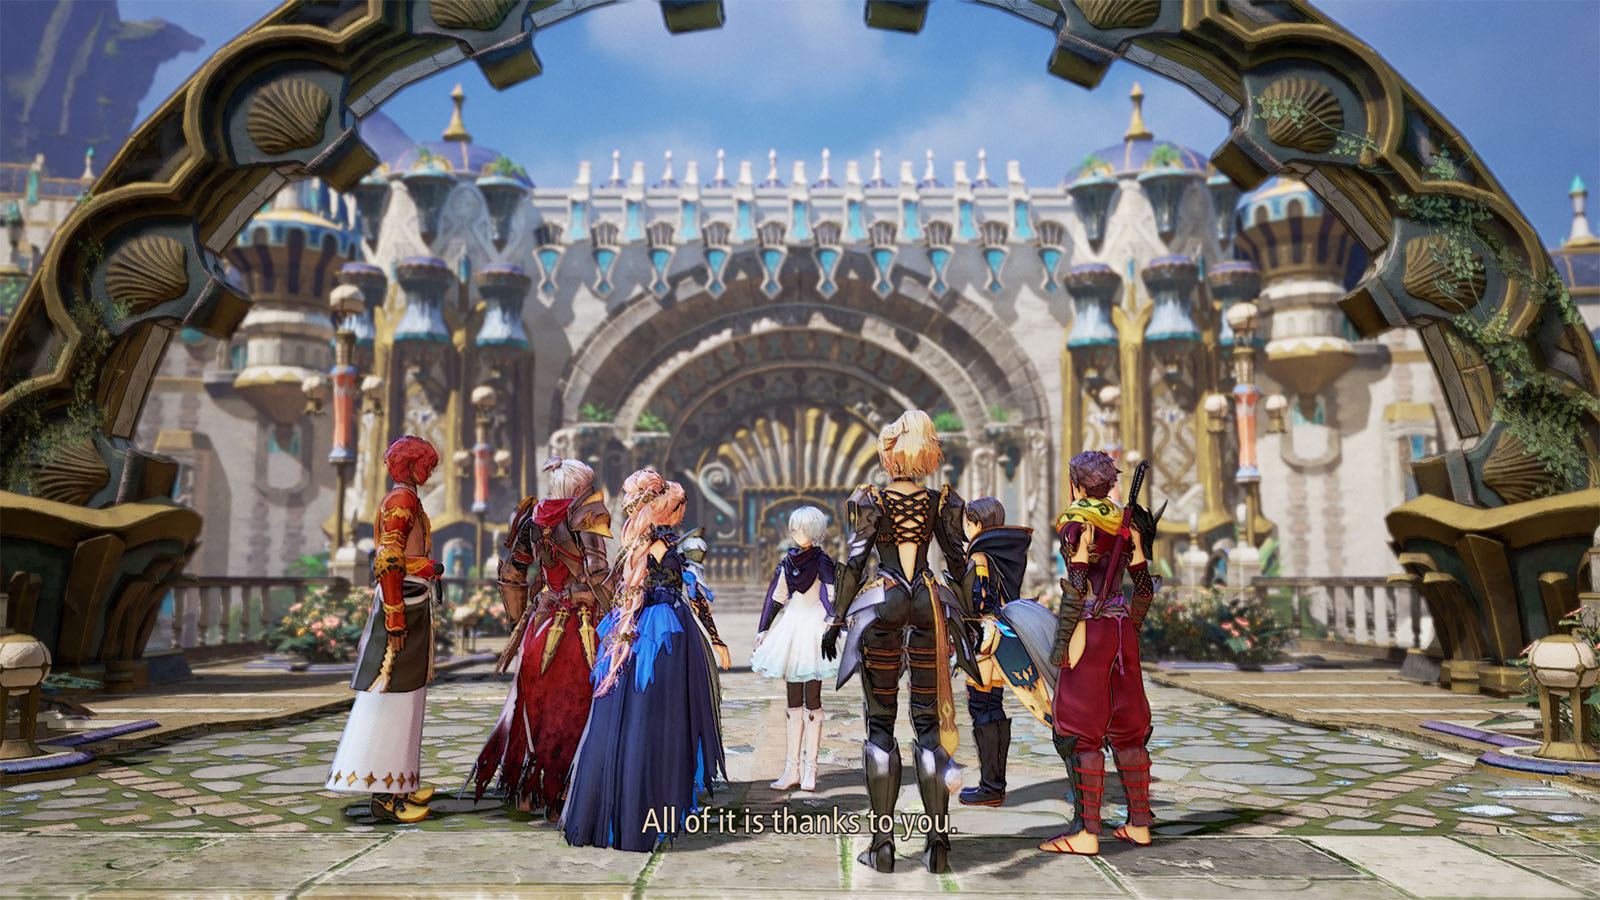
Congratulations! You have completed Tales of Arise: Beyond the Dawn. After completing the credits, you’ll see another scene before the story truly ends. You’ll also be able to start a New Game+, and receive the following items:
- Ancient Excavator
- Vivid Sphere
- Battle Maiden’s Shield
- Broken Machine Gun
- Metal Miner’s Cap
- Trident
- Machine Beast Statue
- Mechanical Doll Accessory
See our previous Tales of Arise: Beyond the Dawn DLC Walkthroughs here.


