Close Menu
Sirus Gaming
    • News Stories
    • Features
    • Reviews
    • Previews
    • Guide
    • Review Policy
    • Privacy Policy
    • Contact
    What's New in Sirus?

    Ryu Ga Gotoku Studio’s Project Century Revealed As Stranger Than Heaven

    June 9, 2025

    Sonic Racing Crossworlds Adds Numerous SEGA Icons to The Roster

    June 9, 2025

    Gears of War Reloaded Brings The Series to All Major Consoles

    June 9, 2025
    Facebook X (Twitter) YouTube
    Sirus Gaming
    Sirus Gaming
    Tears of Kingdom Jiosin Shrine cover
    Guide

    Zelda: Tears of the Kingdom Jiosin Shrine Solution

    By Dave AcuñaMay 14, 20233 Mins Read
    Share
    Facebook Twitter LinkedIn Pinterest Email

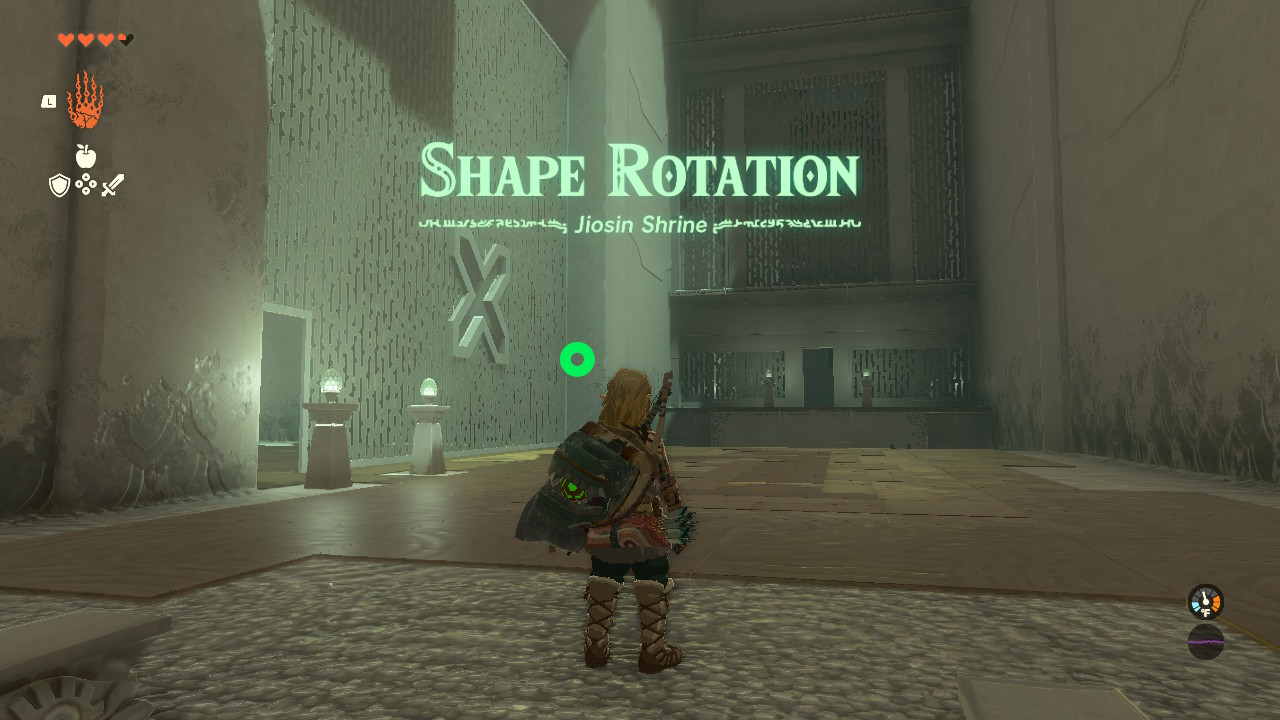
    The Jiosin Shrine is among the various shrines that can be found on the Hyrule Surface in The Legend of Zelda: Tears of the Kingdom. In this shrine, you’ll have to deal with the Shape Rotation challenge, where Link will have to use his spatial awareness in order to fit objects through holes and use them to be able to climb to higher platforms.

    Read ahead as we go through the steps in order to solve the shape rotation challenge of the Jiosin Shrine in The Legend of Zelda: Tears of the Kingdom.

    Jiosin Shrine Location

    The Jiosin Shrine can be found in the Ranch Ruins of the Hyrule Field region, with coordinates -0241, -0370, 0027.

    Zelda Tears of the Kingdom Jiosin Shrine Solution Walkthrough

    Jiosin Shrine Solution Walkthrough

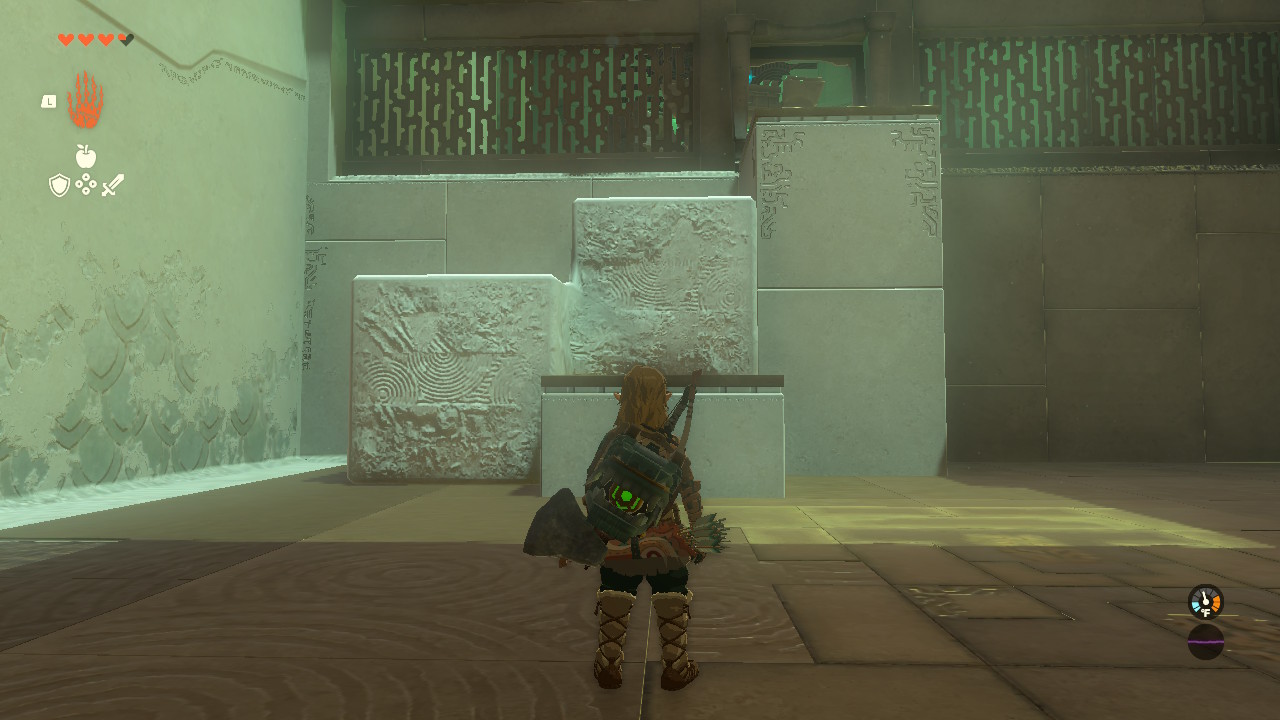
    The Jiosin Shrine will be all about shape rotation where there are odd shapes that you will have to fit through the holes on the walls and use them as a way to cross gaps or climb walls.

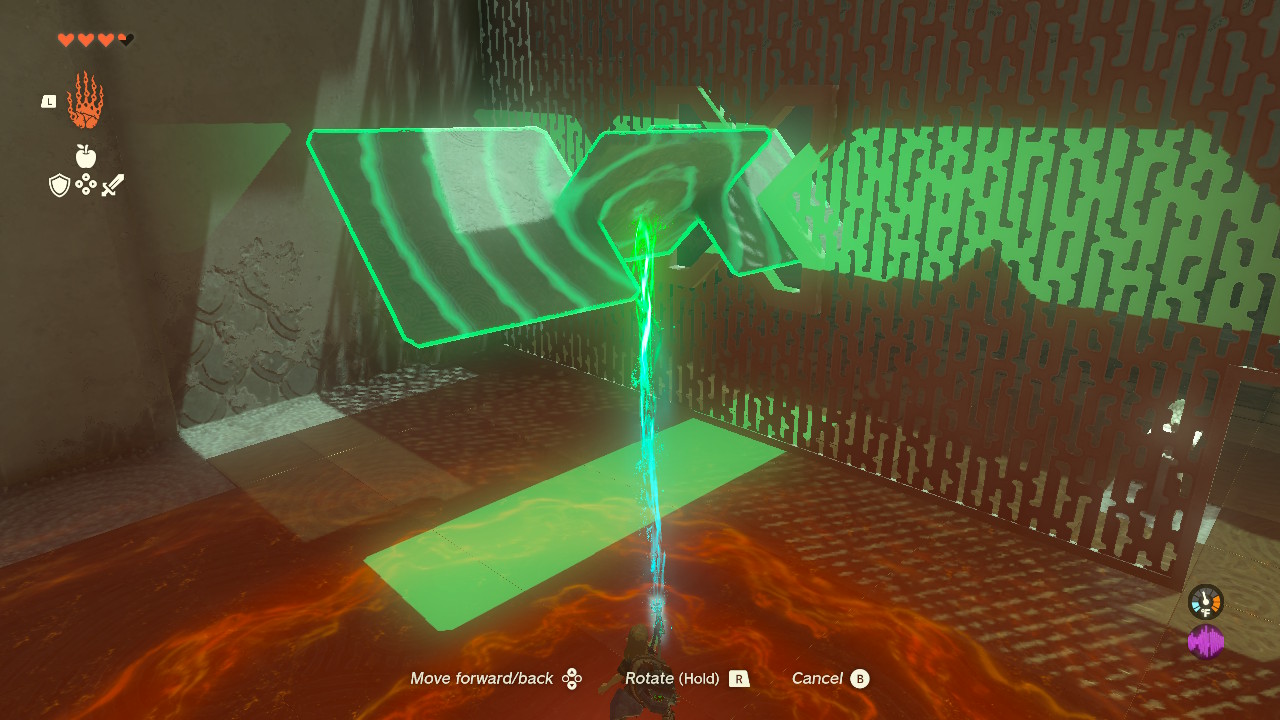
    The first puzzle will be the cross wall on the left. Behind the wall is a long piece of board with three segments. Grab the board with Ultrahand and orient it so that it goes through the hole short-side first. Once it’s through, use it as a bridge to cross the gap and reach the next room.

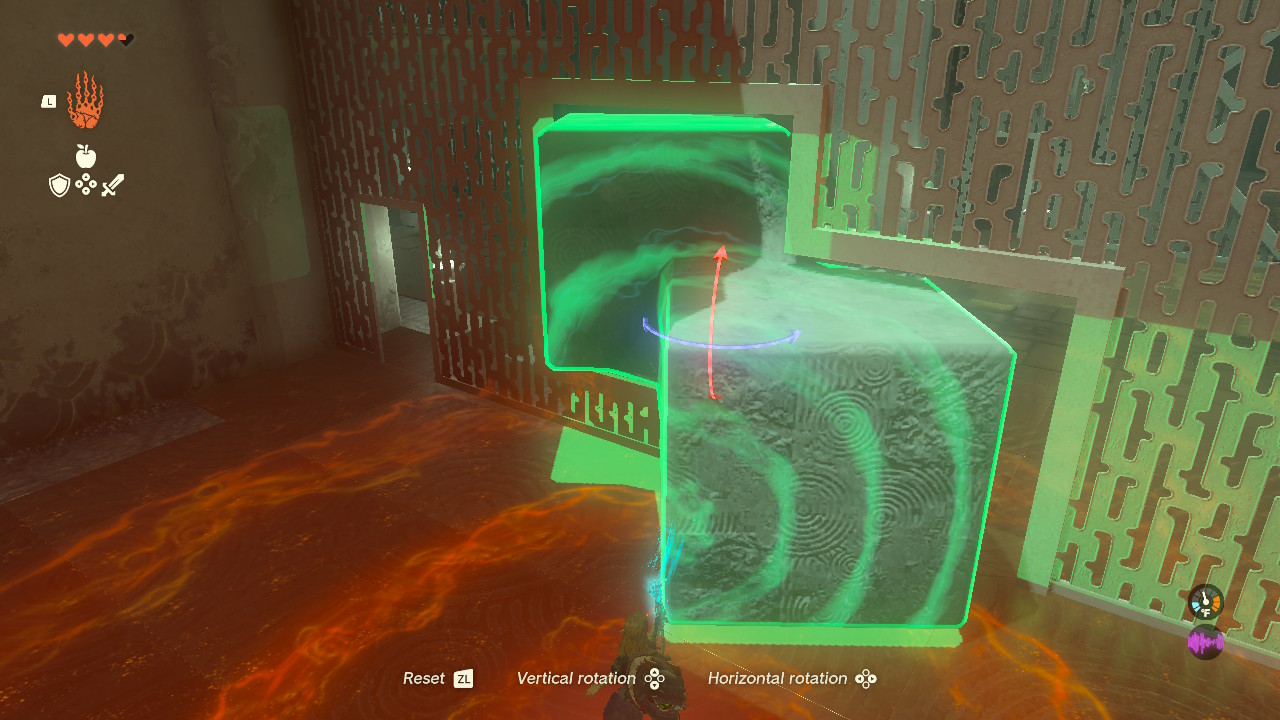
    The next puzzle works similarly, except you will have to work on two cubes fused together. You will have to rotate the cubes 45 degrees with respect to the wall for it to fit through.

    Once done, use it as a ladder to reach the chest on top first by putting the lower cube on the left side and the upper cube on the right. This chest contains a Hasty Elixir.

    Afterwards, orient the cubes to that they’re in a diamond orientation with respect to the the ground and fit them through the next hole a cube at a time.

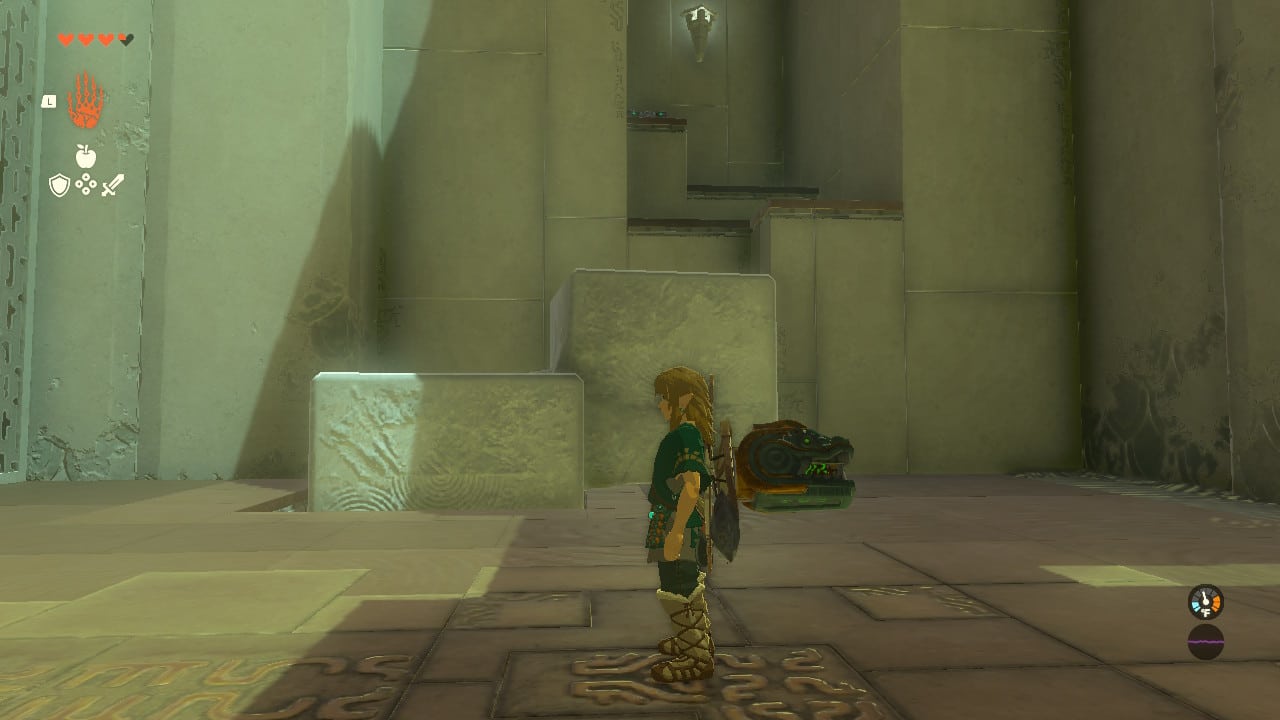
    Finally, use the cubes as stairs again to reach the center of the shrine and get your Light of Blessing.


    Once you solve the Jiosin Shrine, you’re one step closer from completing all 152 shrines in Zelda: Tears of the Kingdom. You can go to our other Shrine guides to collect more Light of Blessing and chests:

    • The Legend of Zelda: Tears of the Kingdom – Gutanbac Shrine Guide
    • The Legend of Zelda: Tears of the Kingdom – Nachoyah Shrine Guide
    • The Legend of Zelda: Tears of the Kingdom – Tukarok Shrine Guide
    • The Legend of Zelda: Tears of the Kingdom – Susuyai Shrine Guide
    • The Legend of Zelda: Tears of the Kingdom – Josiu Shrine Guide
    Share. Facebook Twitter Pinterest LinkedIn Tumblr Email
    Dave Acuña

    Dave, a seasoned author at Sirus Gaming since 2015, consistently delivers top-notch content that has made him a household name. His expertise lies in crafting comprehensive gaming walkthroughs that transform complex games into accessible adventures. Dave finds solace in passive gaming experiences. Generally detests playing horror games and even FPS games just because he hates the idea of being sneaked at from the sides.

    Related Posts

    Tears of the Kingdom Confirmed Not Getting Any DLC

    September 6, 2023

    Tears of the Kingdom Elements and Link’s Abilities Patented by Nintendo

    August 9, 2023

    Zelda: Tears of the Kingdom Update Fixes Quest Issues

    July 5, 2023
    Sirus Exclusives
    10 GOG Dreamlist Games You May Want to Support Featured Image

    10 GOG Dreamlist Games You May Want to Support

    June 3, 2025
    Onimusha 2 Samurai's Destiny First Impressions Featured Image

    Onimusha 2 Samurai’s Destiny – Hands-On Impressions

    April 22, 2025

    5 Animes Making Their Debut In Super Robot Wars Y

    April 22, 2025

    10 Mecha Animes That Should Be Added in Super Robot Wars Y

    April 15, 2025
    About Us
    About Us

    Sirus Gaming is a team of passionate gamers delivering the latest news, reviews, and insights on the gaming industry.

    Find us on OpenCritic, and we're proud to have been a voting jury in The Game Awards since 2022.

    Contact us: [email protected]

    Check Our Reviews
    Tempest Rising Review Featured Image
    8

    Tempest Rising – Review

    June 1, 2025
    Onimusha 2 Samurai's Destiny First Impressions Featured Image
    9

    Onimusha 2 Samurai’s Destiny – Review

    June 1, 2025
    Sorry We're Closed featured image
    7

    Sorry We’re Closed – Review

    June 1, 2025
    Exclusive Content
    10 GOG Dreamlist Games You May Want to Support Featured Image

    10 GOG Dreamlist Games You May Want to Support

    June 3, 2025
    Onimusha 2 Samurai's Destiny First Impressions Featured Image

    Onimusha 2 Samurai’s Destiny – Hands-On Impressions

    April 22, 2025

    5 Animes Making Their Debut In Super Robot Wars Y

    April 22, 2025
    Facebook X (Twitter) YouTube
    • Privacy Policy
    • Review Policy
    • Contact
    © 2025 Sirus Gaming. Designed by Sirus Media Digital.

    Type above and press Enter to search. Press Esc to cancel.