
The Desert is the second world that players can visit in LEGO Bricktales. Upon arriving to the Desert, a huge earthquake shook the town and the nearby construction site, and it is up to the players to help out the people and find out what caused the unusual earthquake.
In this guide, we will talk about the Desert level in LEGO Bricktales, how to solve the builds and the puzzles, and locate the collectibles within the level.
Desert Walkthrough and Builds
As you take the portal to the Desert, you will find yourself within a small walled town full of merchants. A huge earthquake will shake everyone up, and you will first have to find a way to help the merchants before you can explore the rest of the place. The build shown in the examples below are simple, if not the simplest solutions, but you can change the build as you like, so long as it passes the objective.

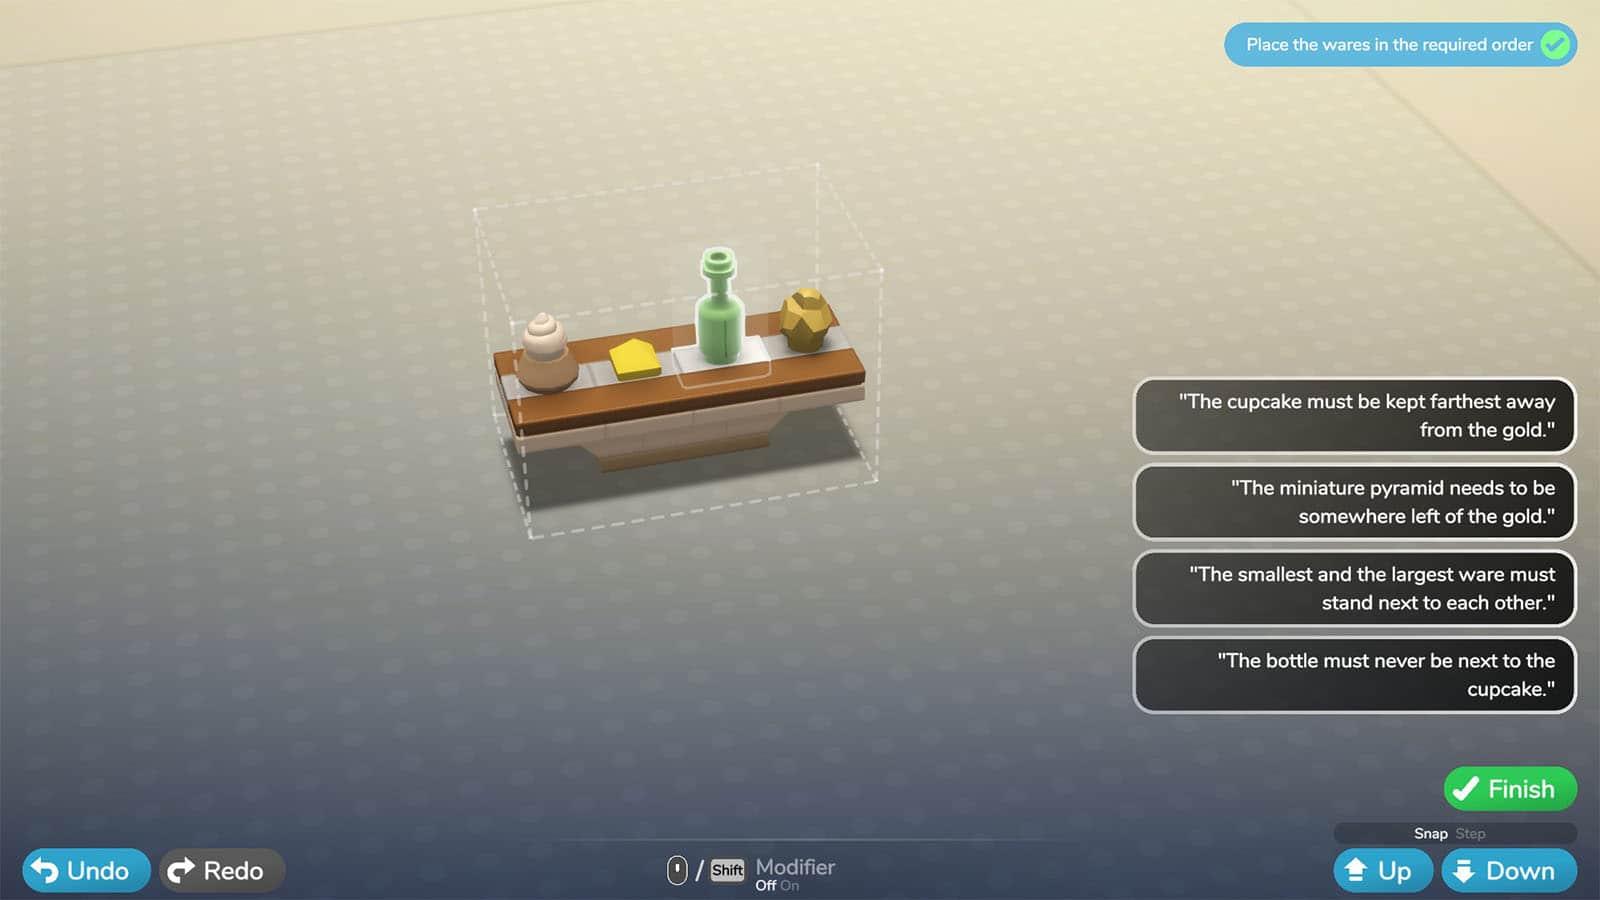
Desert Build #1: Wares
First, you will need to talk to the Painfully Rich Merchant in the middle of the town. He will ask you to help the merchants recover from the damage done by the earthquake. Head to the person beside him and talk to that person for the first build.
For this build, it is designed more like a puzzle. You will be given four conditions and you must meet all of them in order to solve the puzzle. The solution for this puzzle, from left to right is: cupcake, pyramid, bottle, gold.
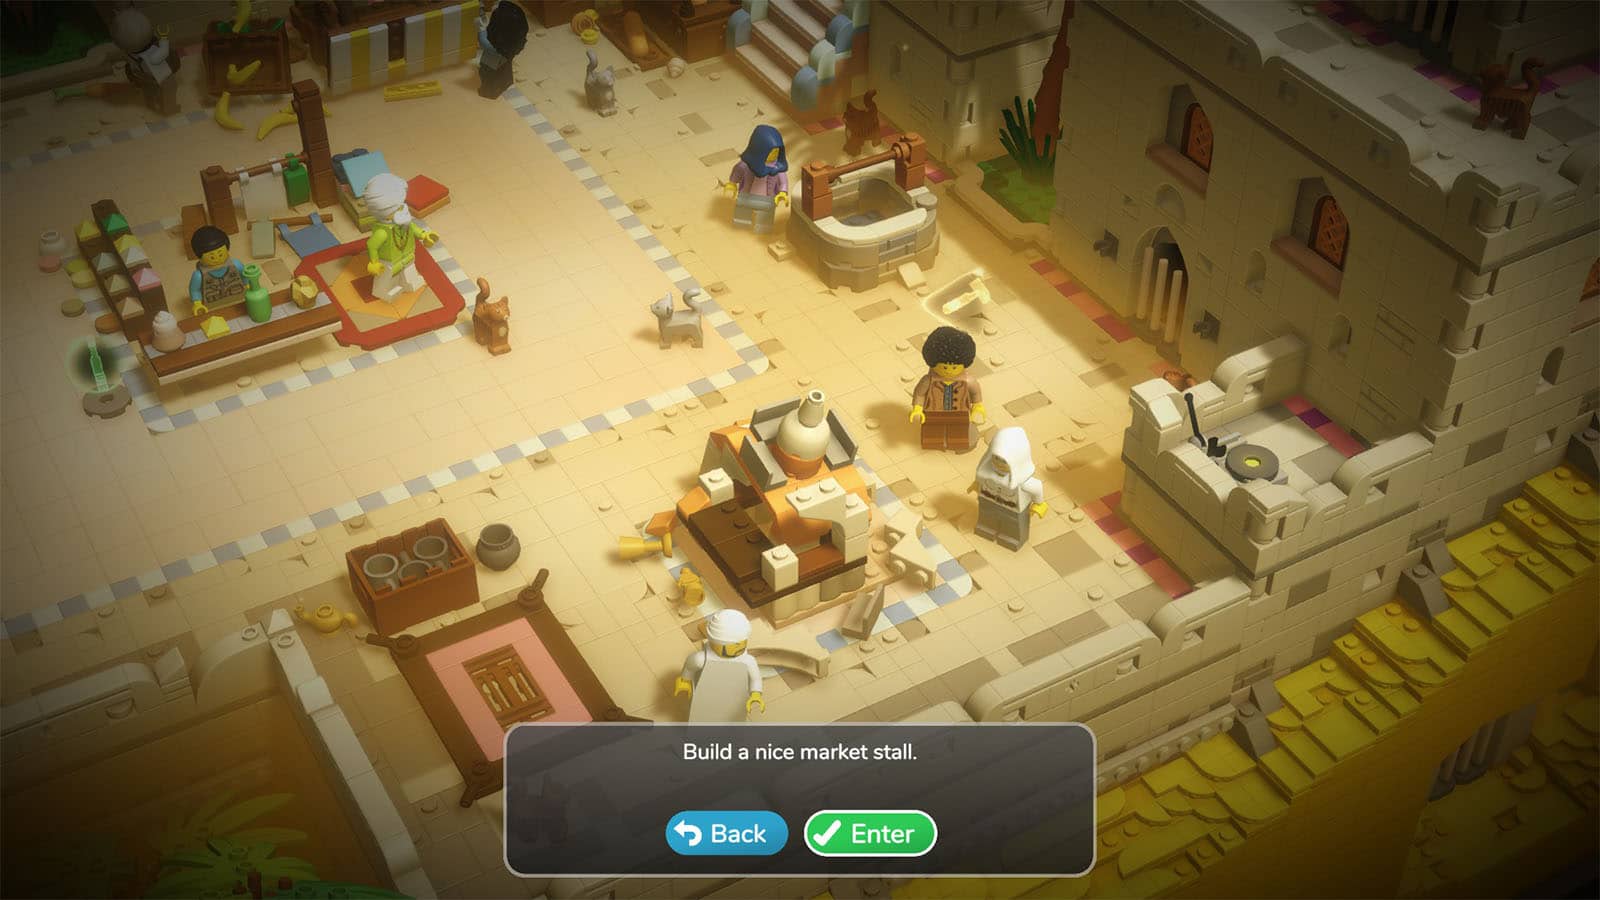
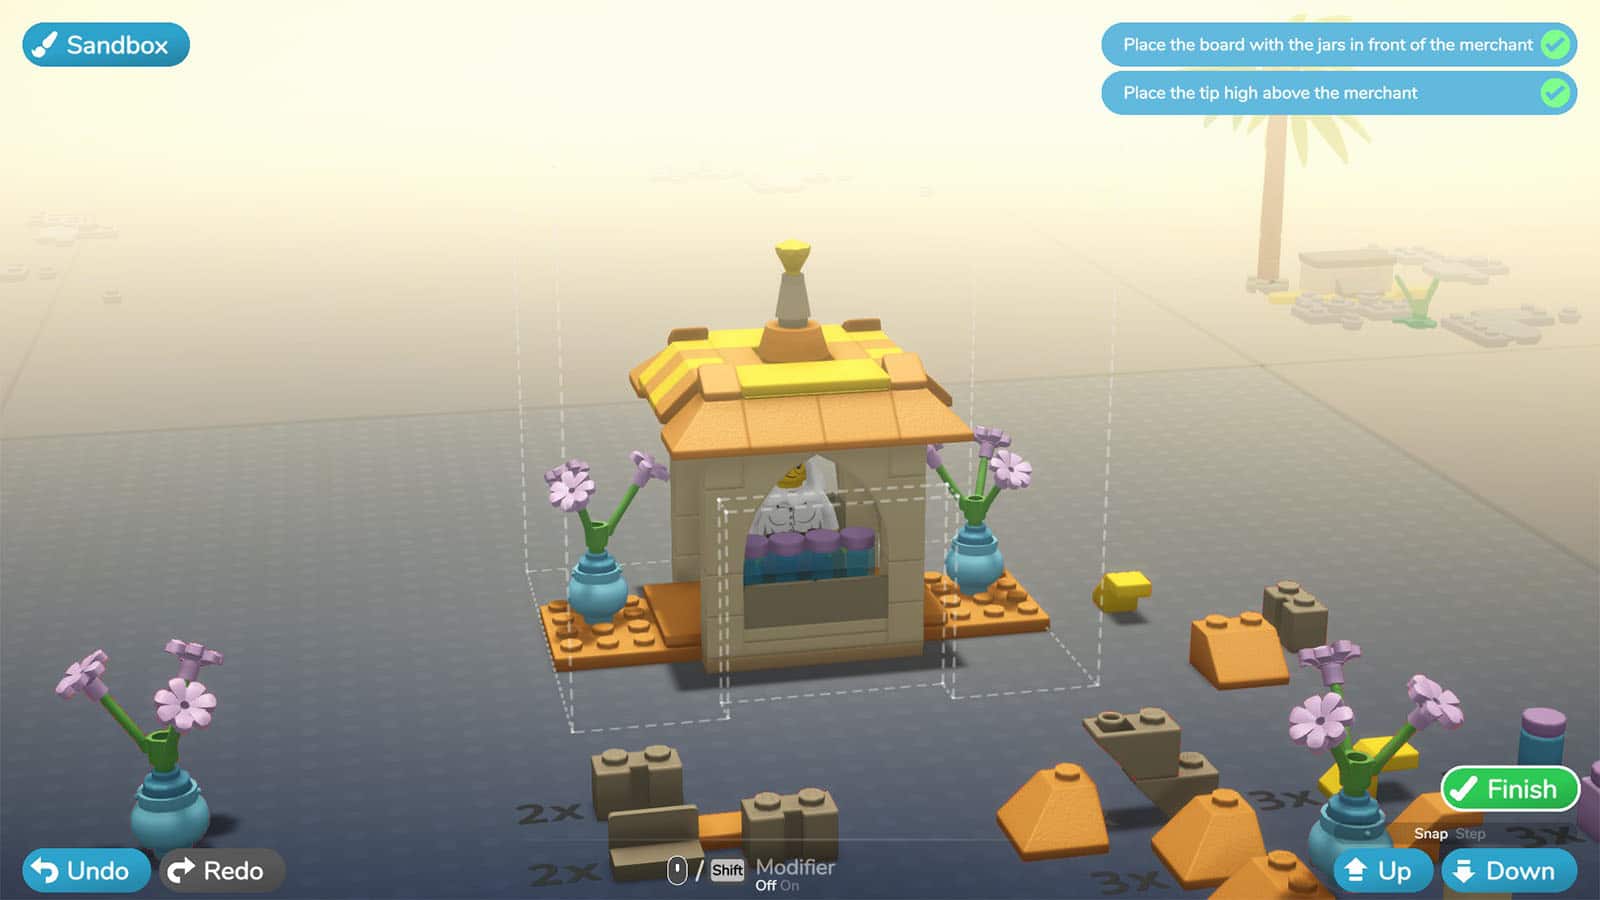
Desert Build #2: Market Stall
For the next build, talk to the merchant on the southeast corner of the town. She will ask you to rebuild her stall for her. The only conditions of this build is to put the row of jars in front of her, and that the tip piece should be placed high enough to reach the green line.
After completing the build, go to the left gate and talk to the Rich Merchant’s Security. He will not let you pass, so go back to the rich merchant to get an Exit Permission. Go back to the security to get to the next area.
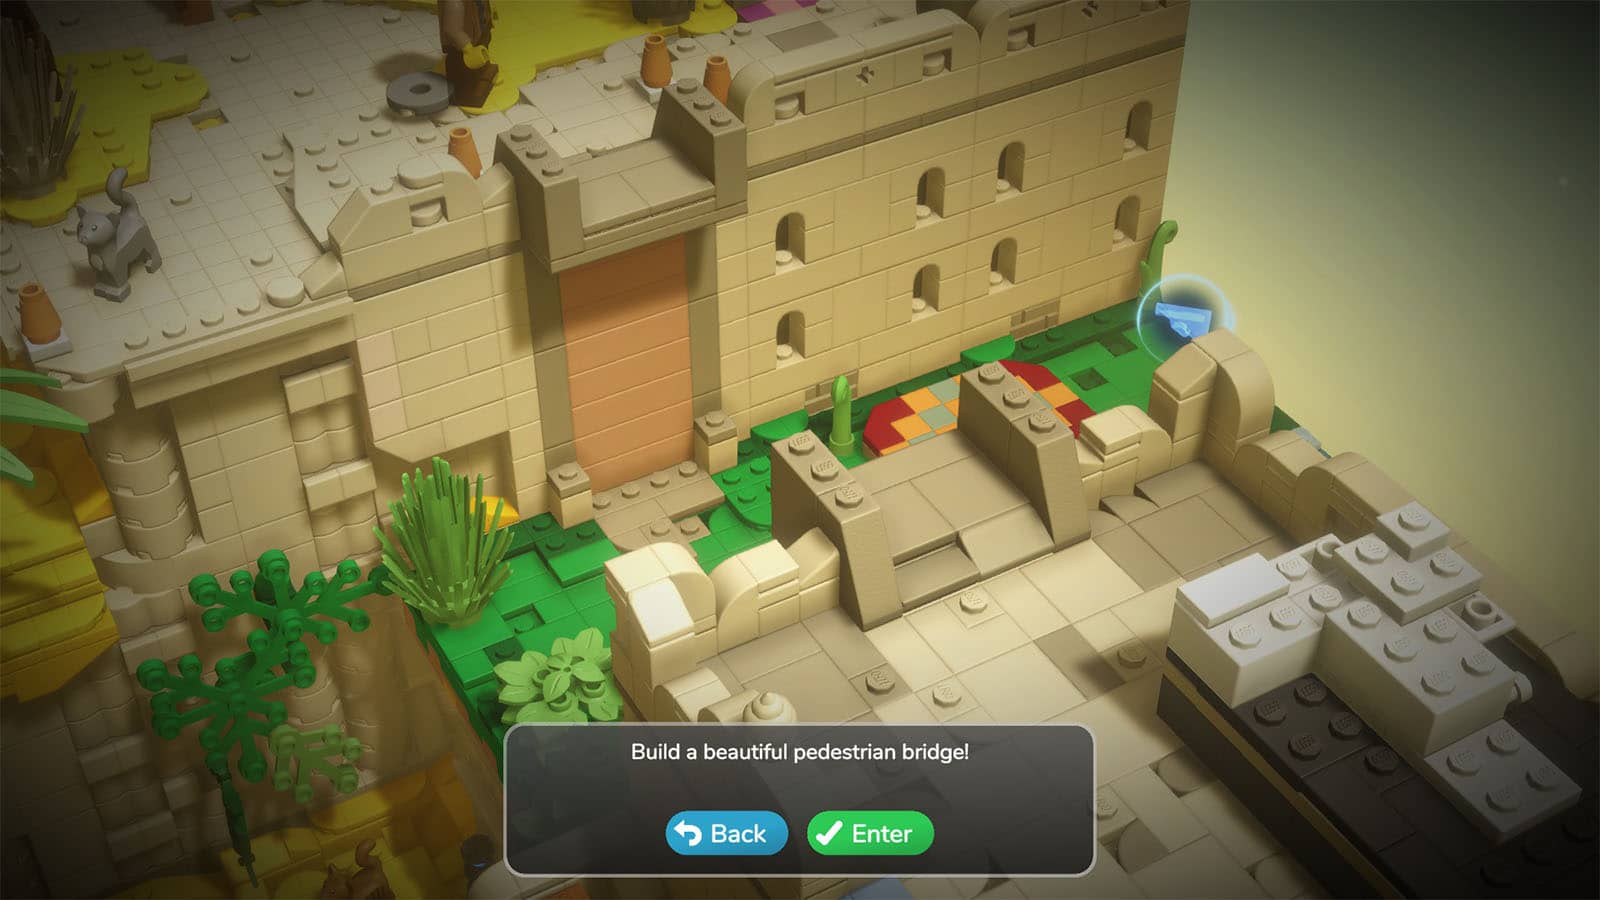
Desert Build #3: Pedestrian Bridge
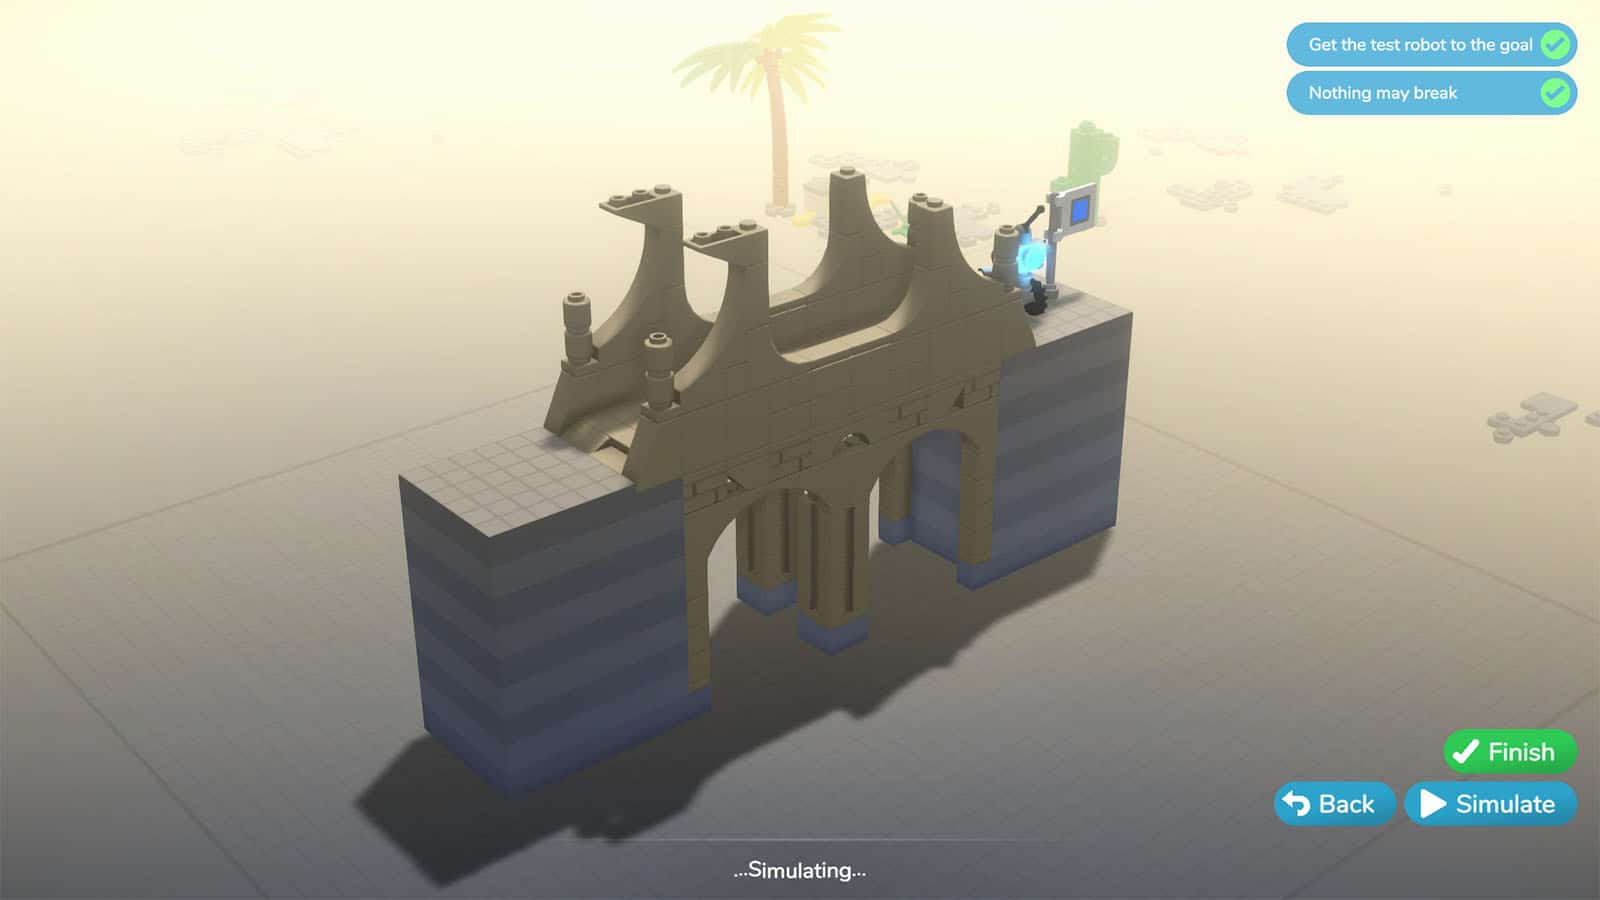
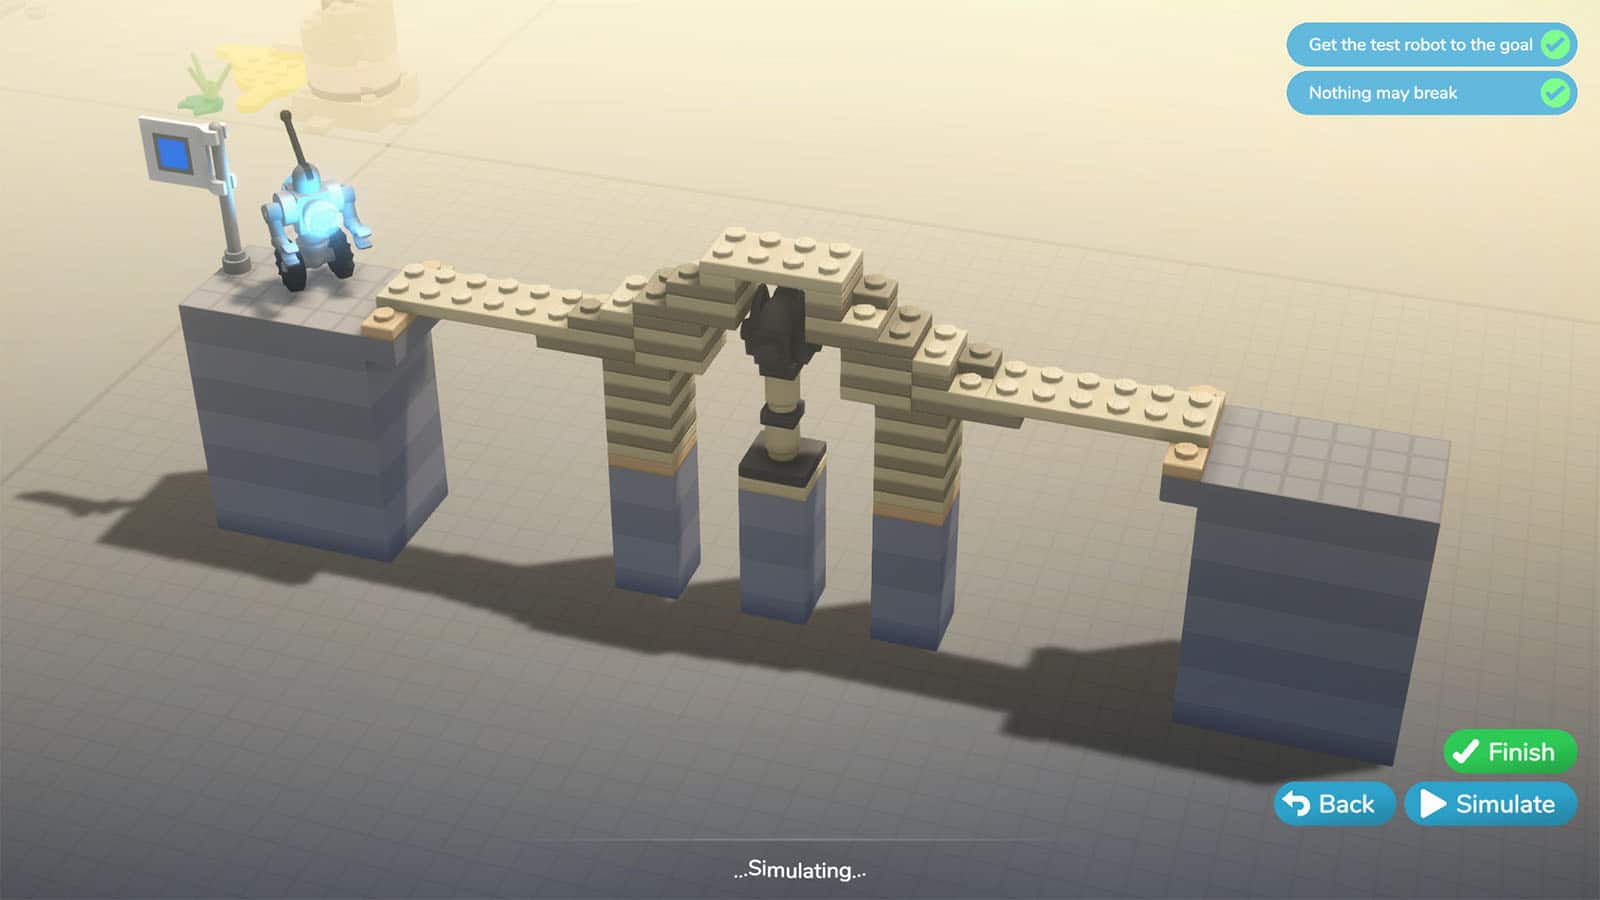
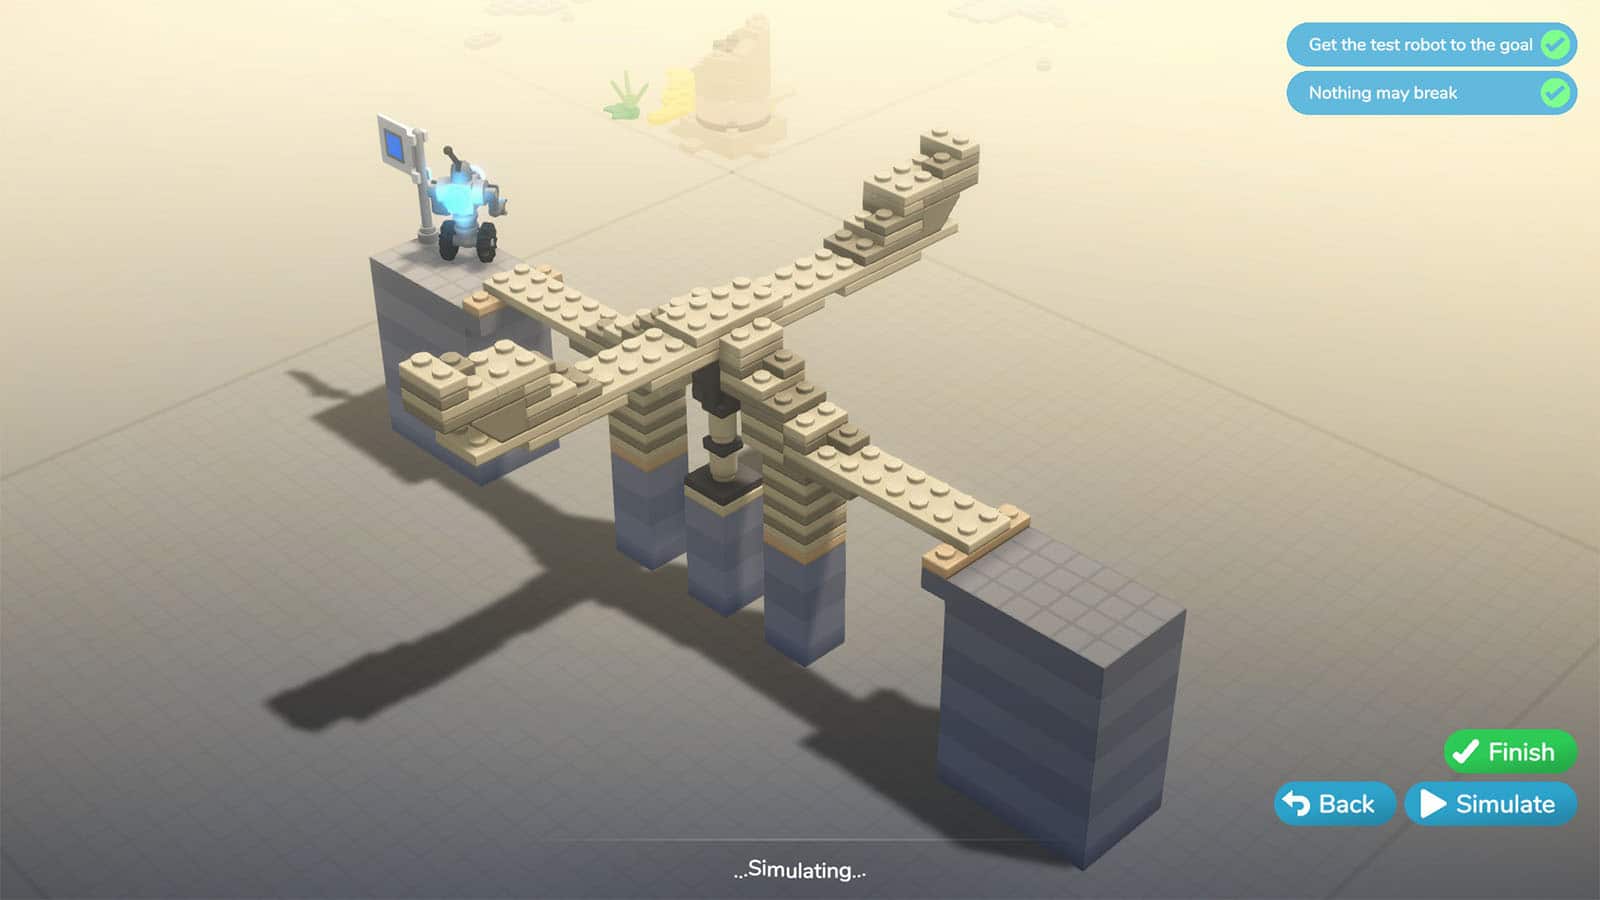
Once you are outside the desert town, go talk to the Annoyed Building Contractor and she will ask for your help to build a Pedestrian Bridge found on the east side. Start off by building the supports in the middle and on the sides of the gap, and then work on the floors, then place the side walls. The bridge has to be tall enough to clear the space underneath.
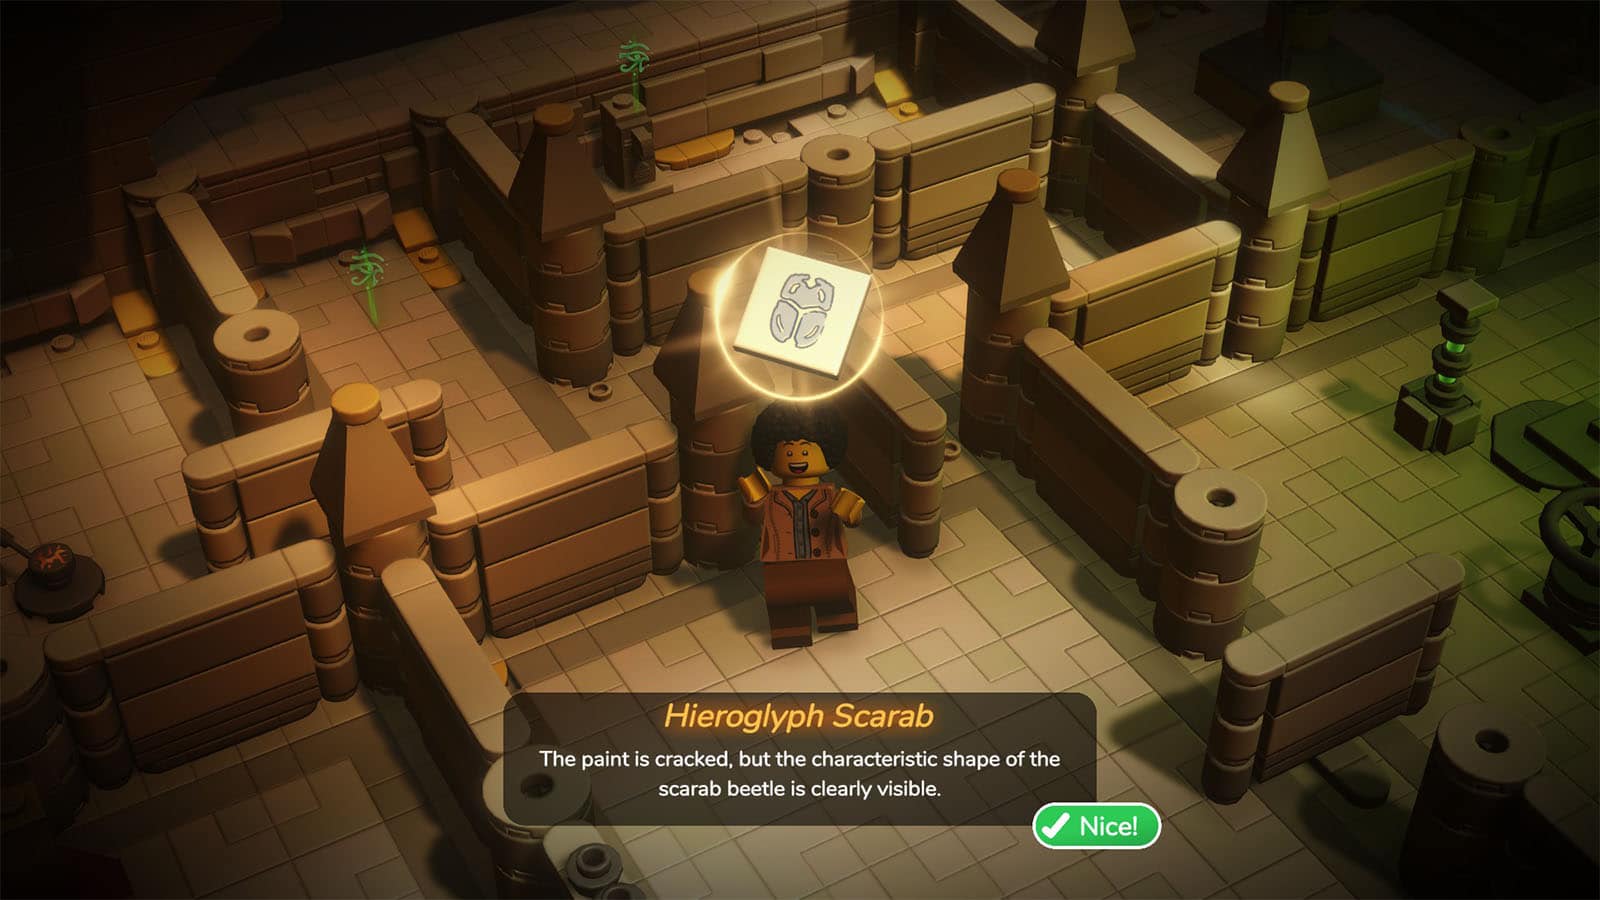
You will then be able to reach the Excited Conservator who is near the entrance of the Skill Temple. She will ask you to head inside the temple and gather the missing hieroglyphs that will open the entrance to the pyramid.

Inside the temple, head to the very end where you will find the Dimension skill that will let you scan for invisible items. Since you are inside the skill temple, you are only allowed to use one skill at a time. Should you wish to swap between skills, interact with the small pillars that match the color of the skill: red for Ground Smash, green for Dimension.
Using the Dimension near the spots marked by the green eyes of Horus will reveal an invisible thing. Interact with them to materialize them so that you can pick them up or use them. You can use the skill to get the first hieroglyph and reveal a wheel that will open or close the passageways to the other parts of the temple.
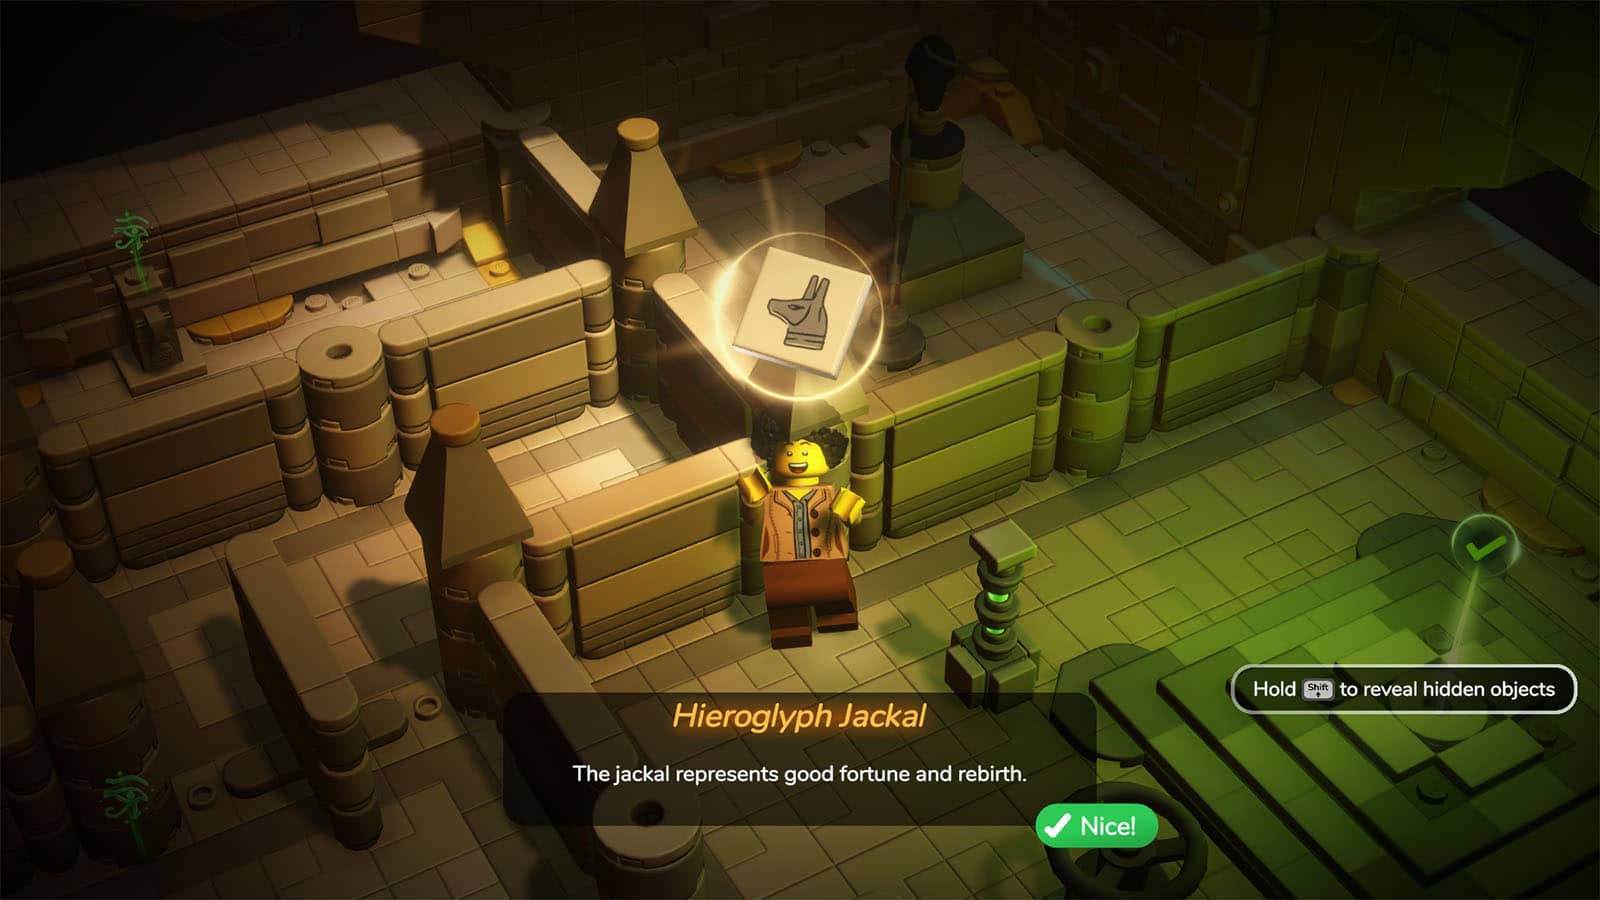
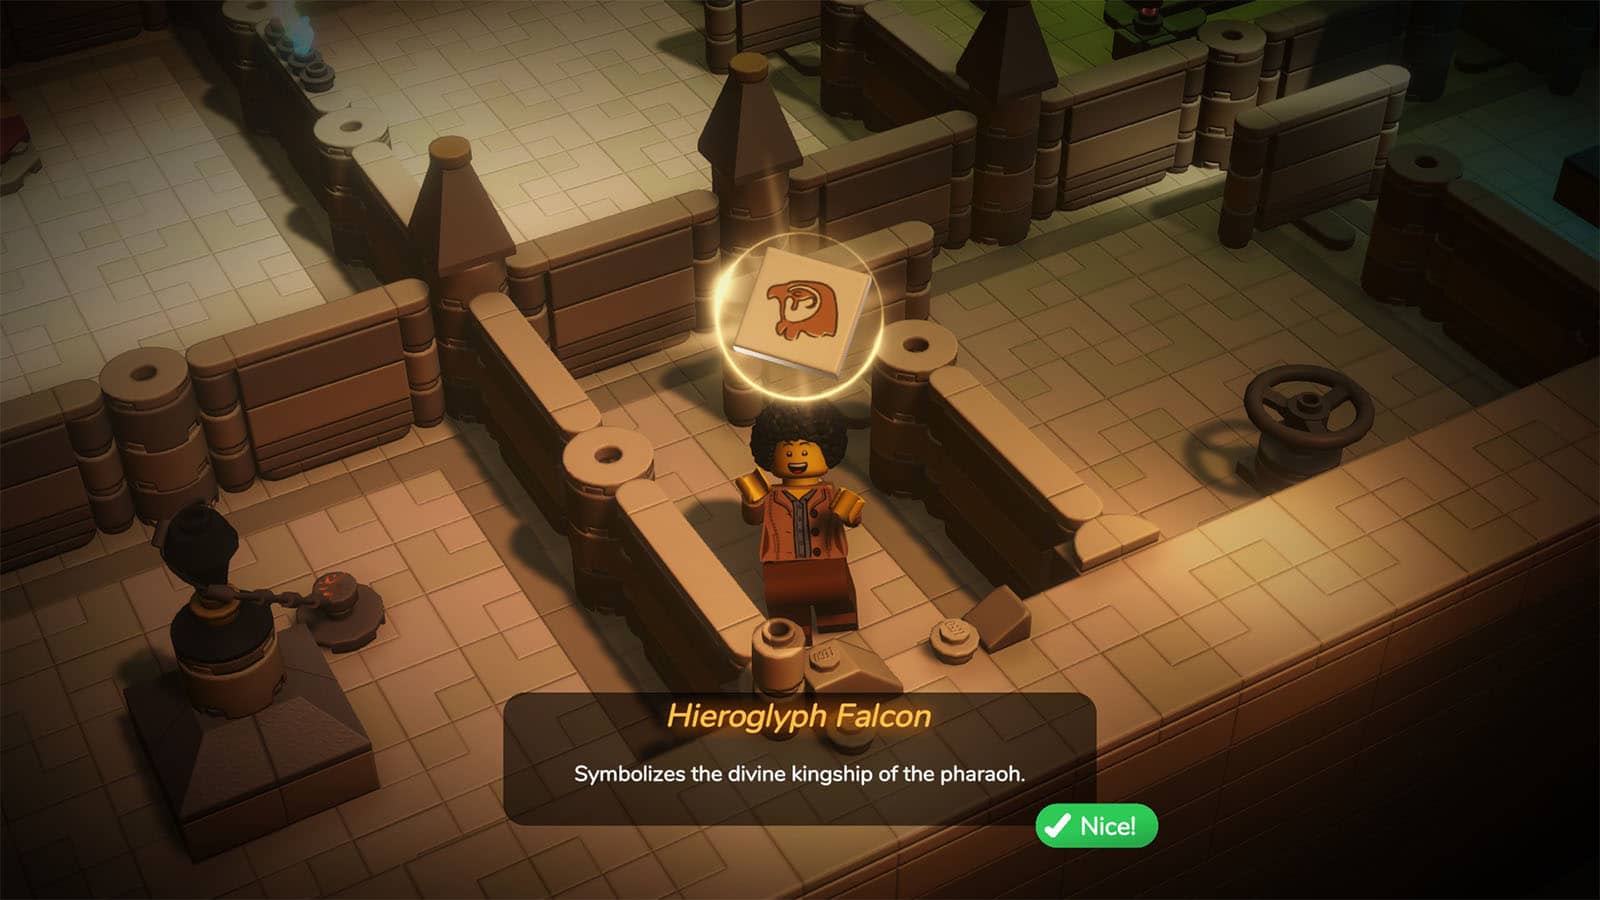
To solve this maze, you will need to light up the four torches on each corner of the temple using the Ground Smash skill. You will be switching between the two skills often, so before you lock yourself from accessing the middle room, make sure that you have the right skill activated and you have grabbed the hieroglyph.
This is the order of the wheels that you have to turn to make it through the maze:
- Middle wheel
- Right wheel
- Left wheel
- Left wheel
- Right wheel
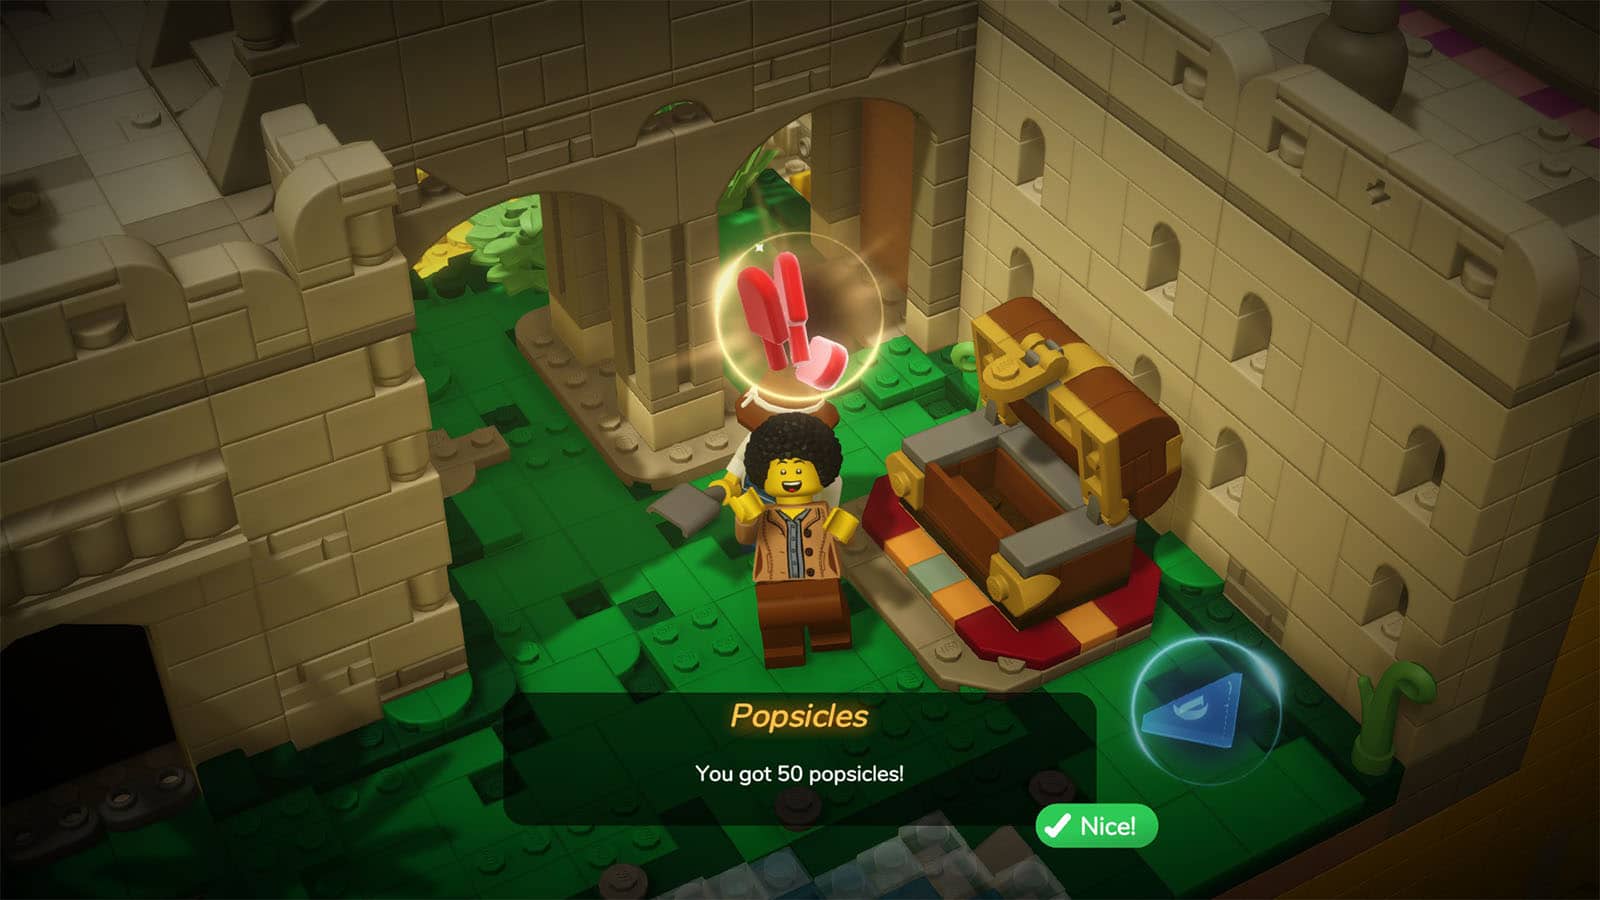
Once all torches are lit, you will be rewarded with a treasure chest containing popsicles and the exit to the desert. Talk to the conservator again and place the hieroglyphs on the obelisk to open the entrance to the pyramid.
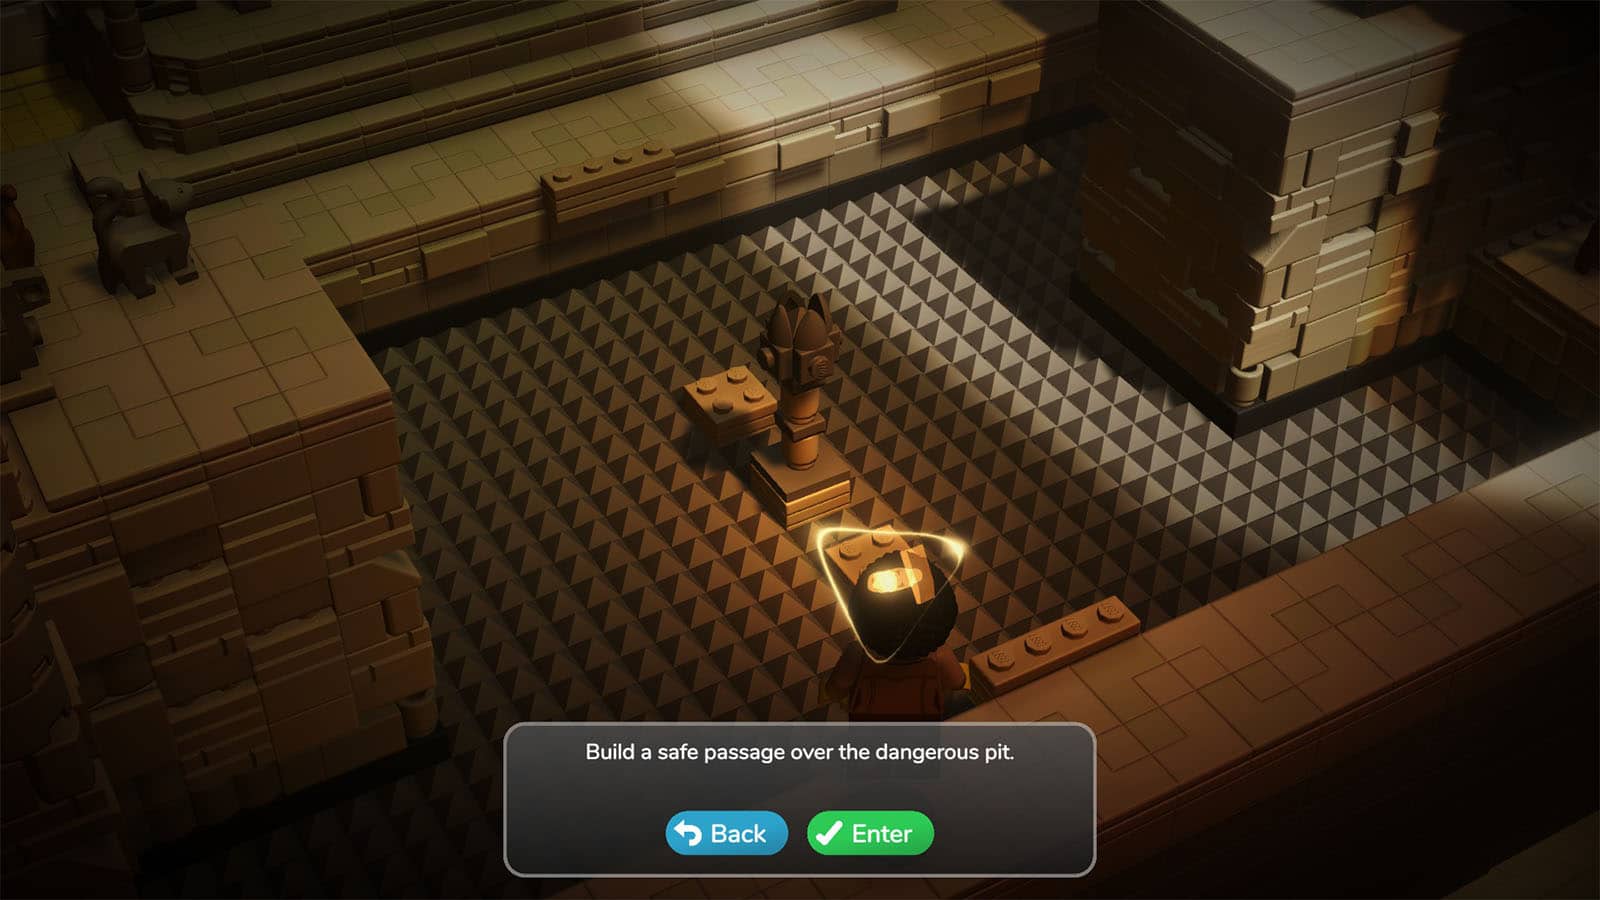
Desert Build #4: Dangerous Pit Bridge
Inside the pyramid, you will need to pull the lever to drain out the sand covering the lower level. Then, continue moving forward to the next room where there will be a pit full of spikes. You will need to create another bridge to get to the other side.
First, use the blocks to make support pillars in the middle. Then, use the steps to go over the spiked pillar, and then bridge both sides with the planks.
You can also use the remaining bricks to create two more bridges that go to both sides of the pit; one to reach a lever, and one to reach a chest.
You will then meet up with the Tomb Guardian Master who will put you into three trials which you must overcome before meeting the queen.
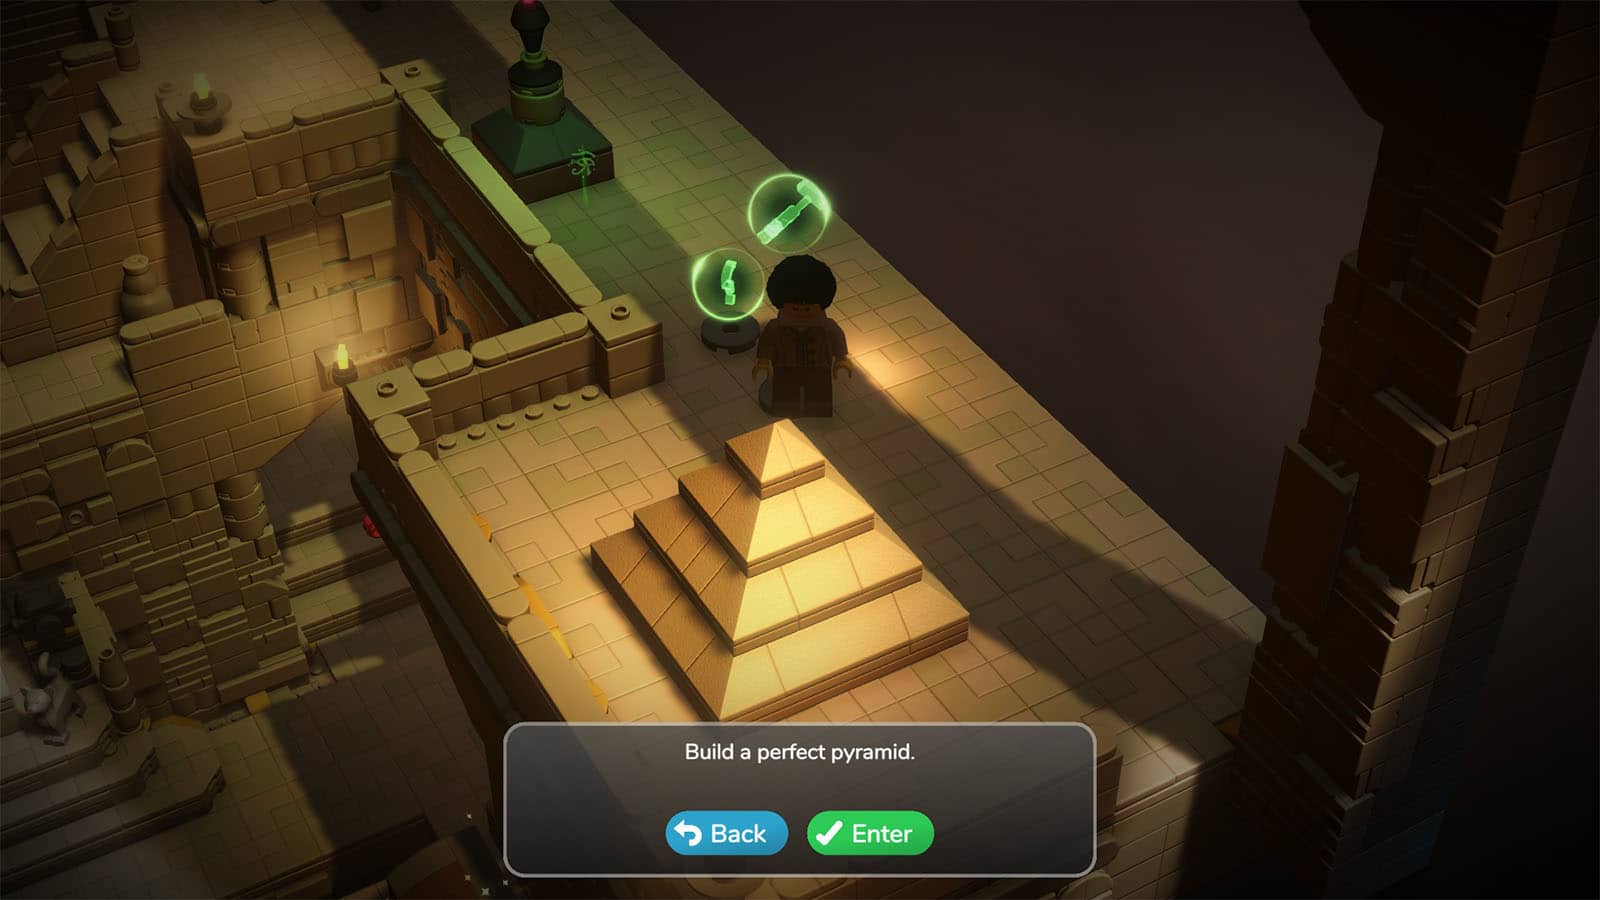
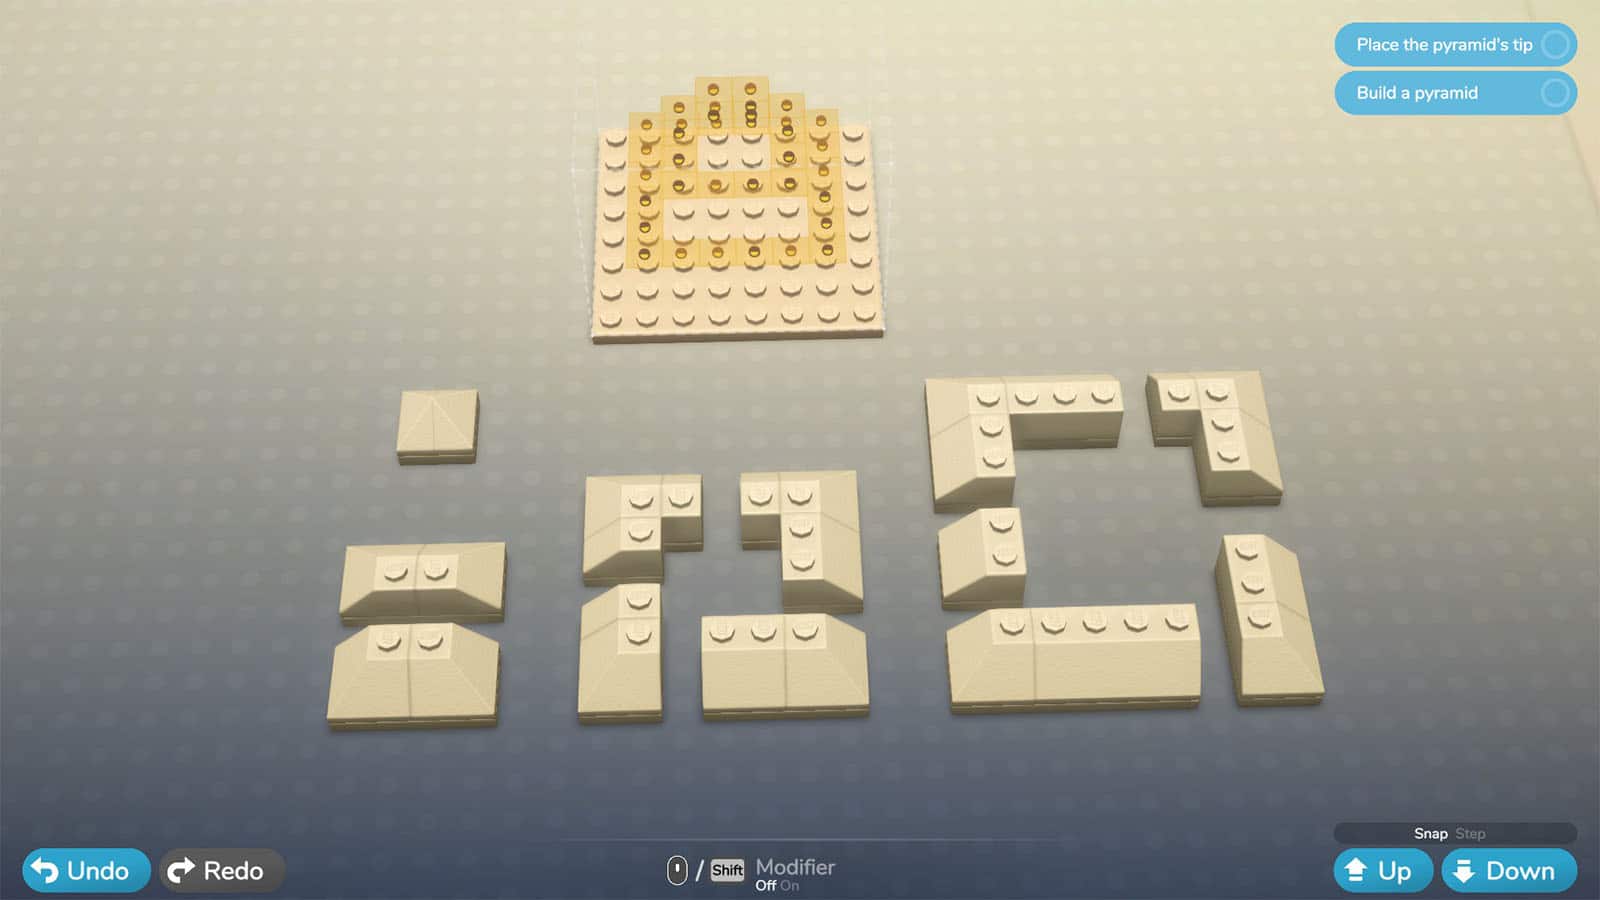
Desert Build #5: Perfect Pyramid
The first trial to the right requires you to stack pieces to create a perfect pyramid. You can set aside the tip and the two parts that form the second highest level. Then place the bottom pieces and work your way up to form the pyramid.

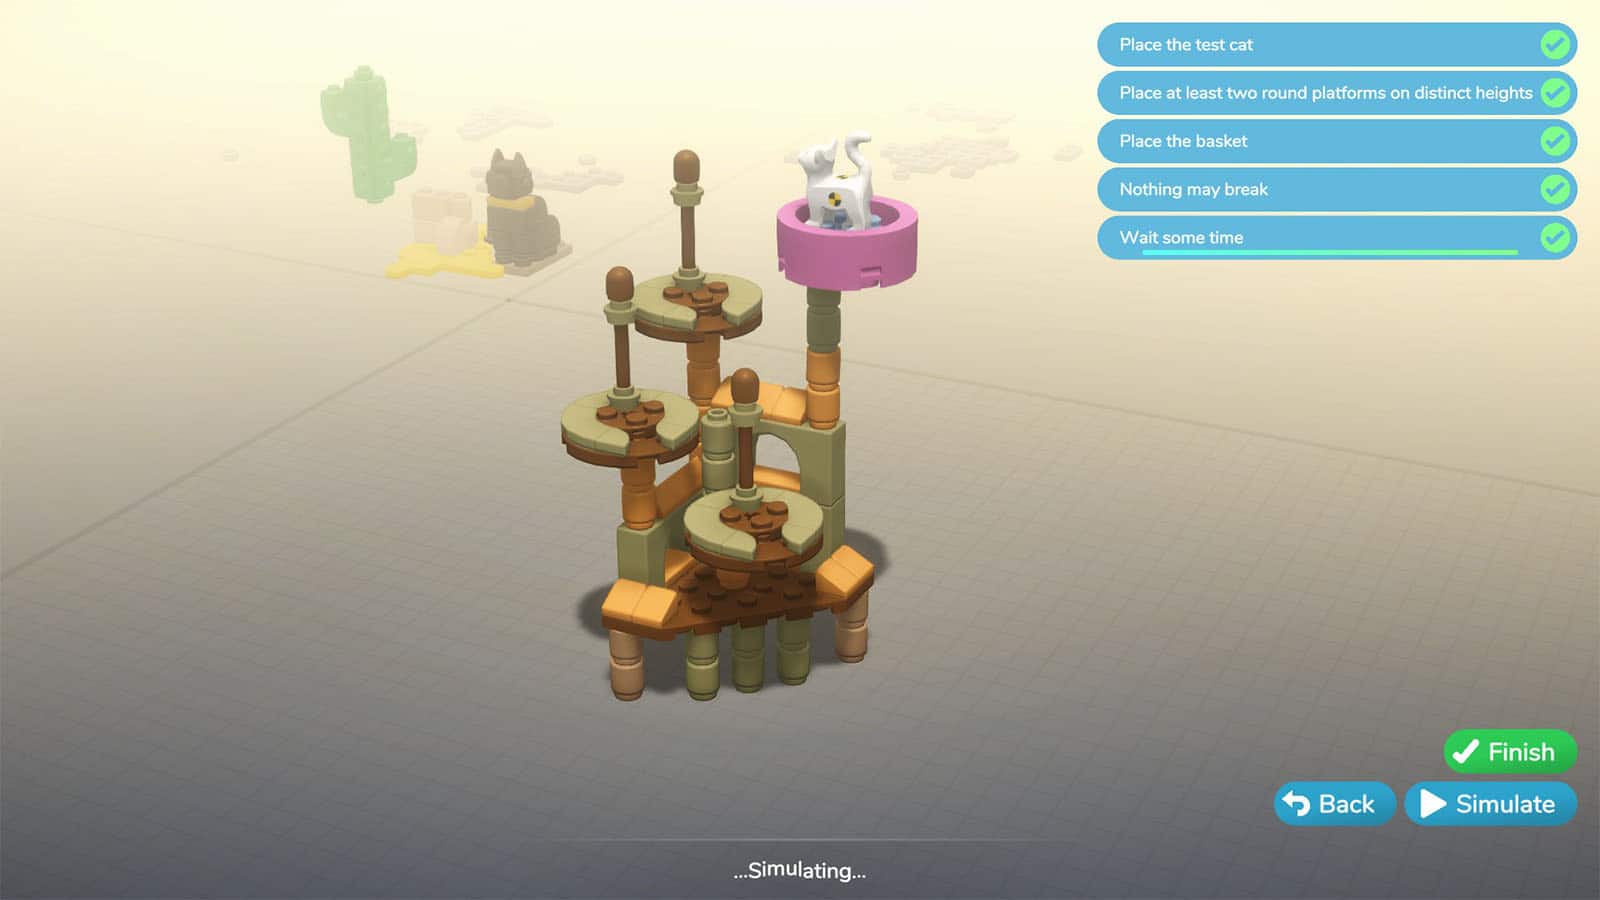
Desert Build #6: Pompous Cat Tree
The next trial requires you to build a cat tree. This is an easier trial since you only need to place at least two of the round platforms and the basket, then place the cat on top of it to check if it holds long enough.
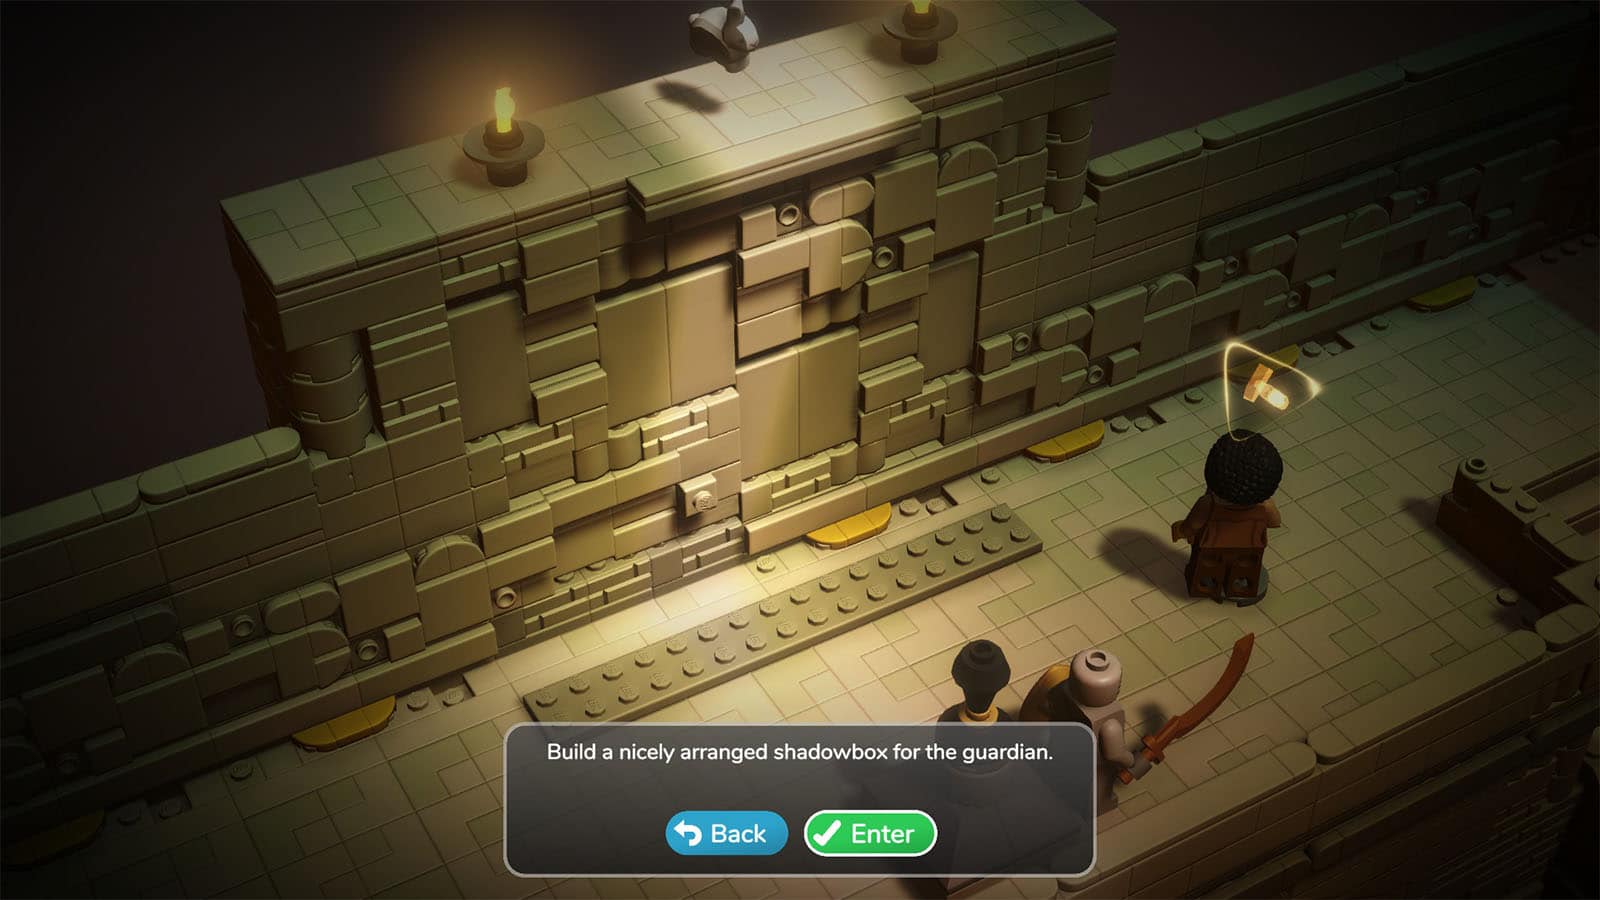
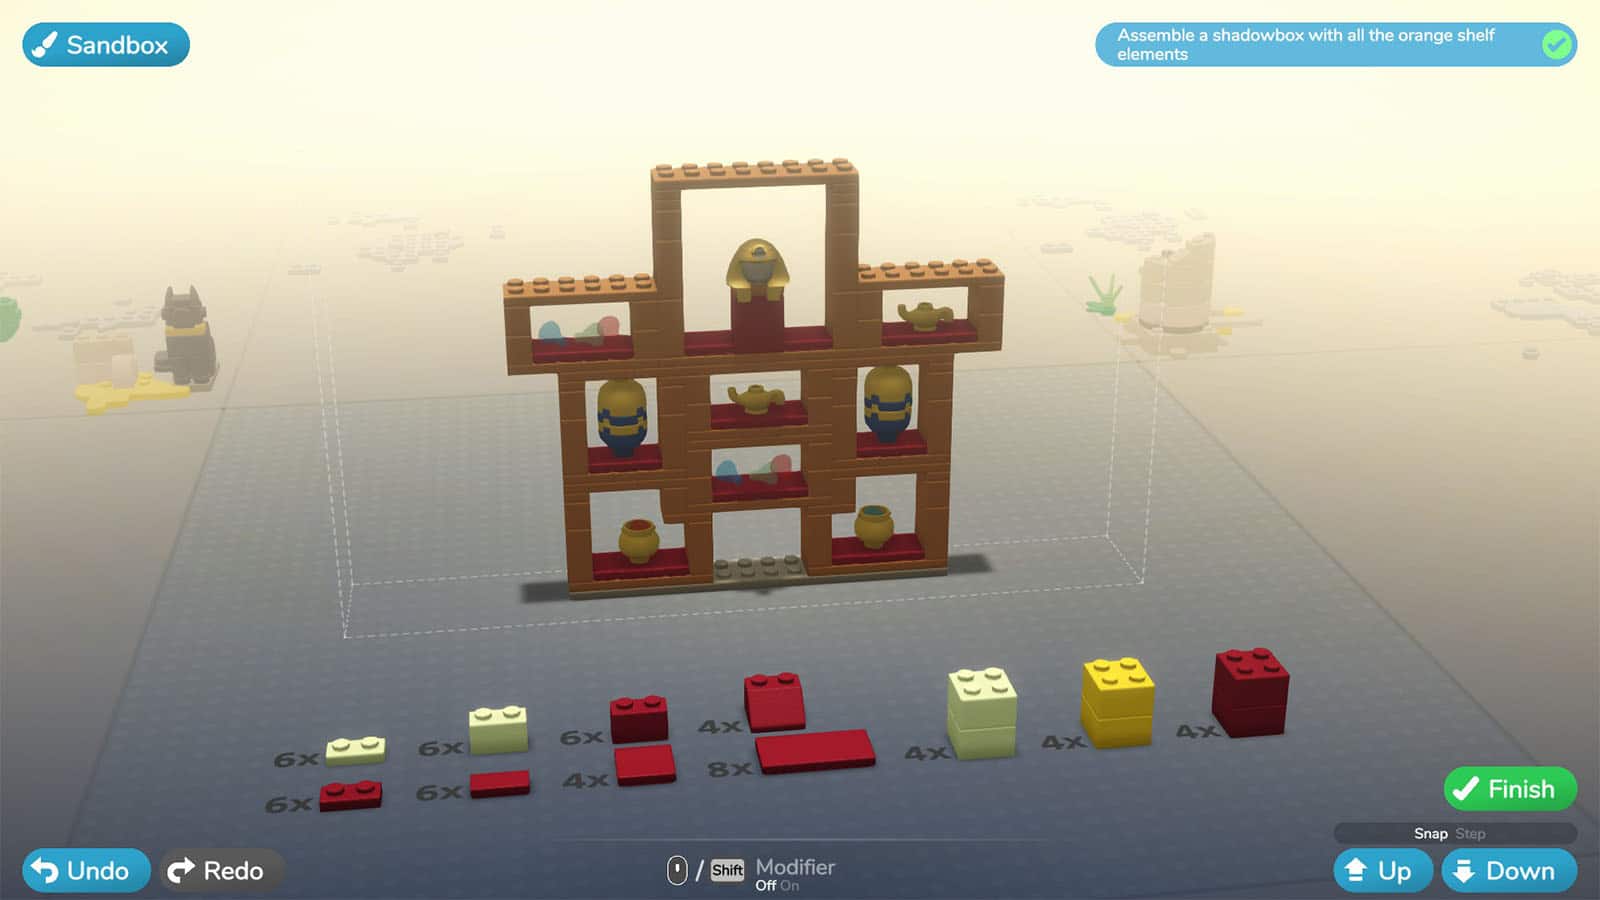
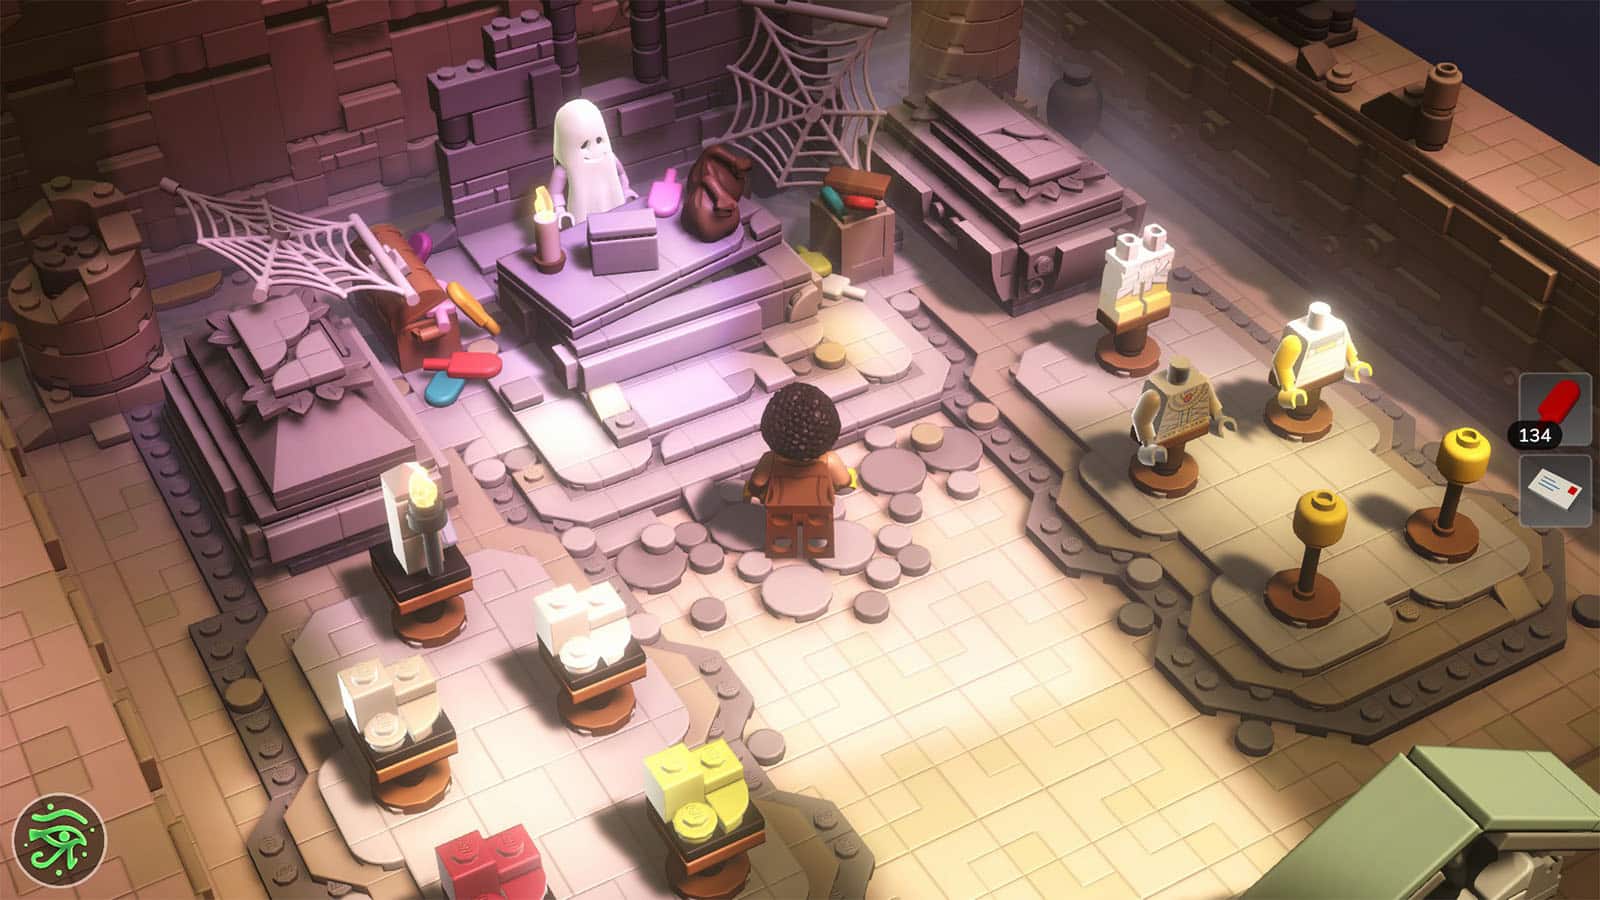
Desert Build #7: Shadowbox
The last trial requires you to build a shadowbox. You can complete this build by stacking just the orange shelves within the build space, or you can decorate it with the other blocks as you like.
After completing all three trials, you will get to enter the queen’s chamber where you will meet Queen Cleocatra. This is where you can also visit Boo’s Shop which contains more block colors and part styles for your minifig.
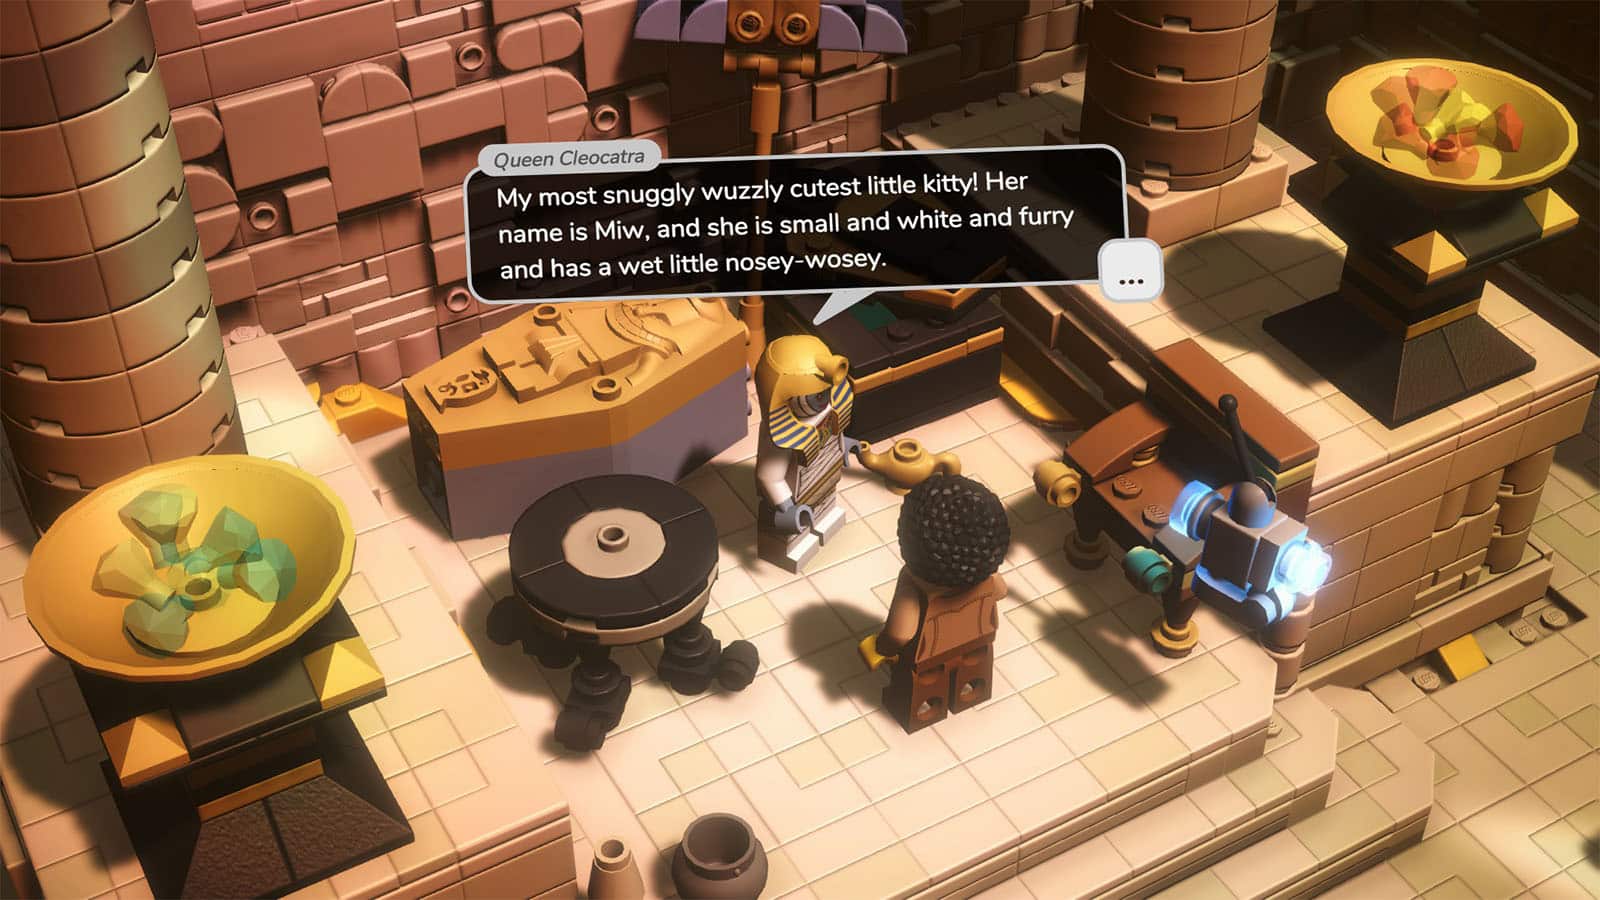
The queen will ask for your help in finding her cat Miw. She is most likely lured by the catnip that one of the merchants is keeping in stock. Head over to the stall in the town that you helped rebuild earlier. The merchant will then give you the key to the catnip storage area where you will find Miw. Head back to the queen to get the next task.
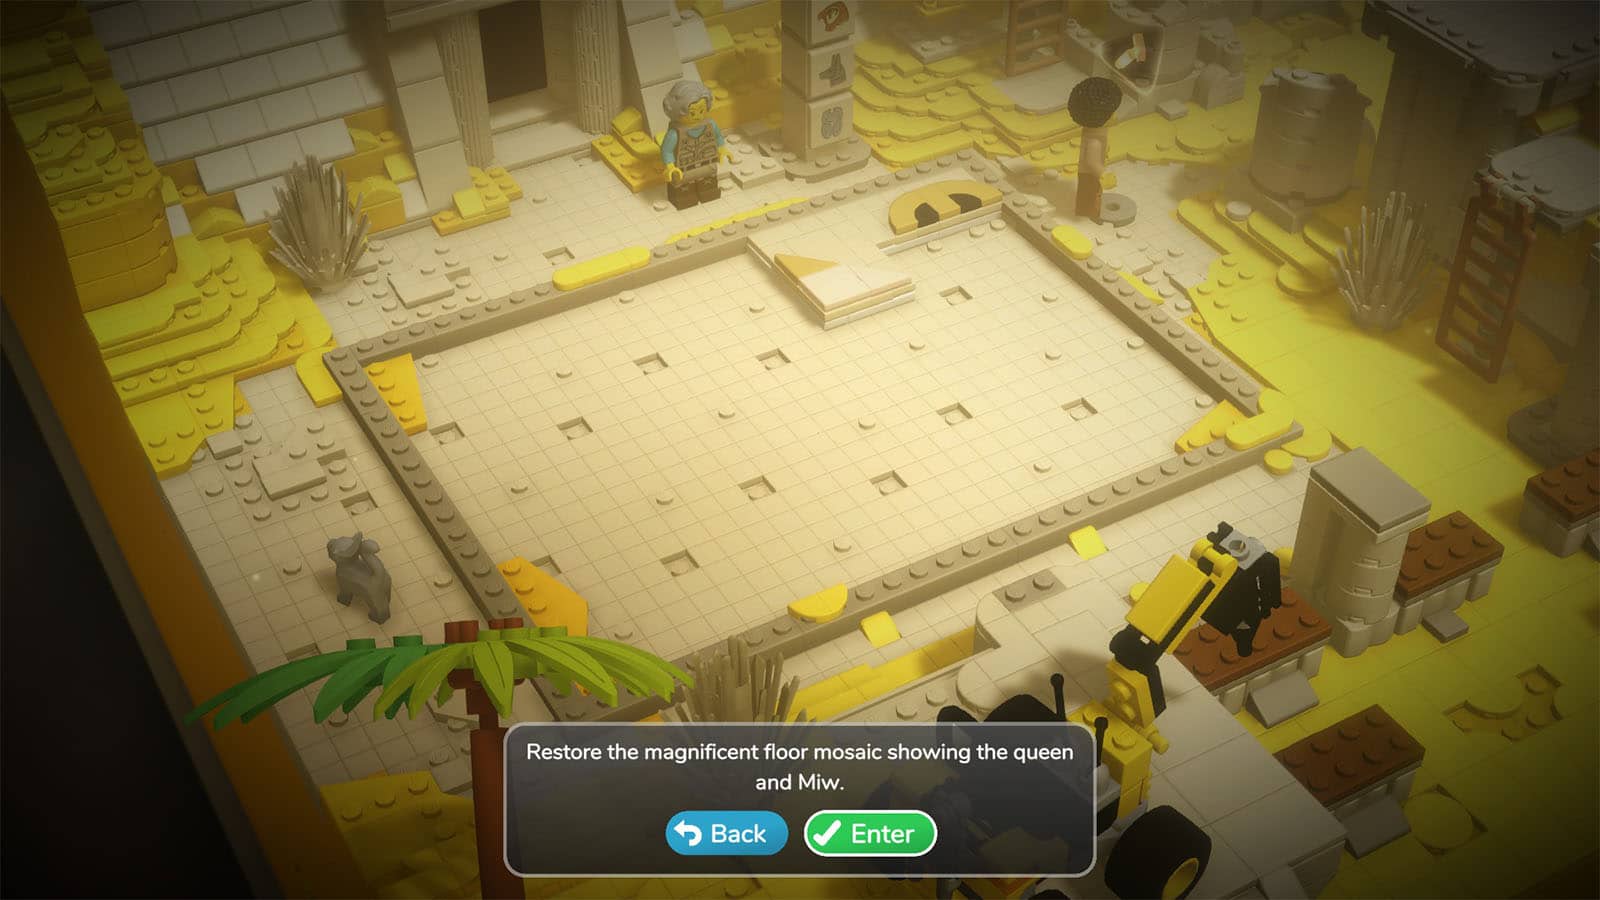
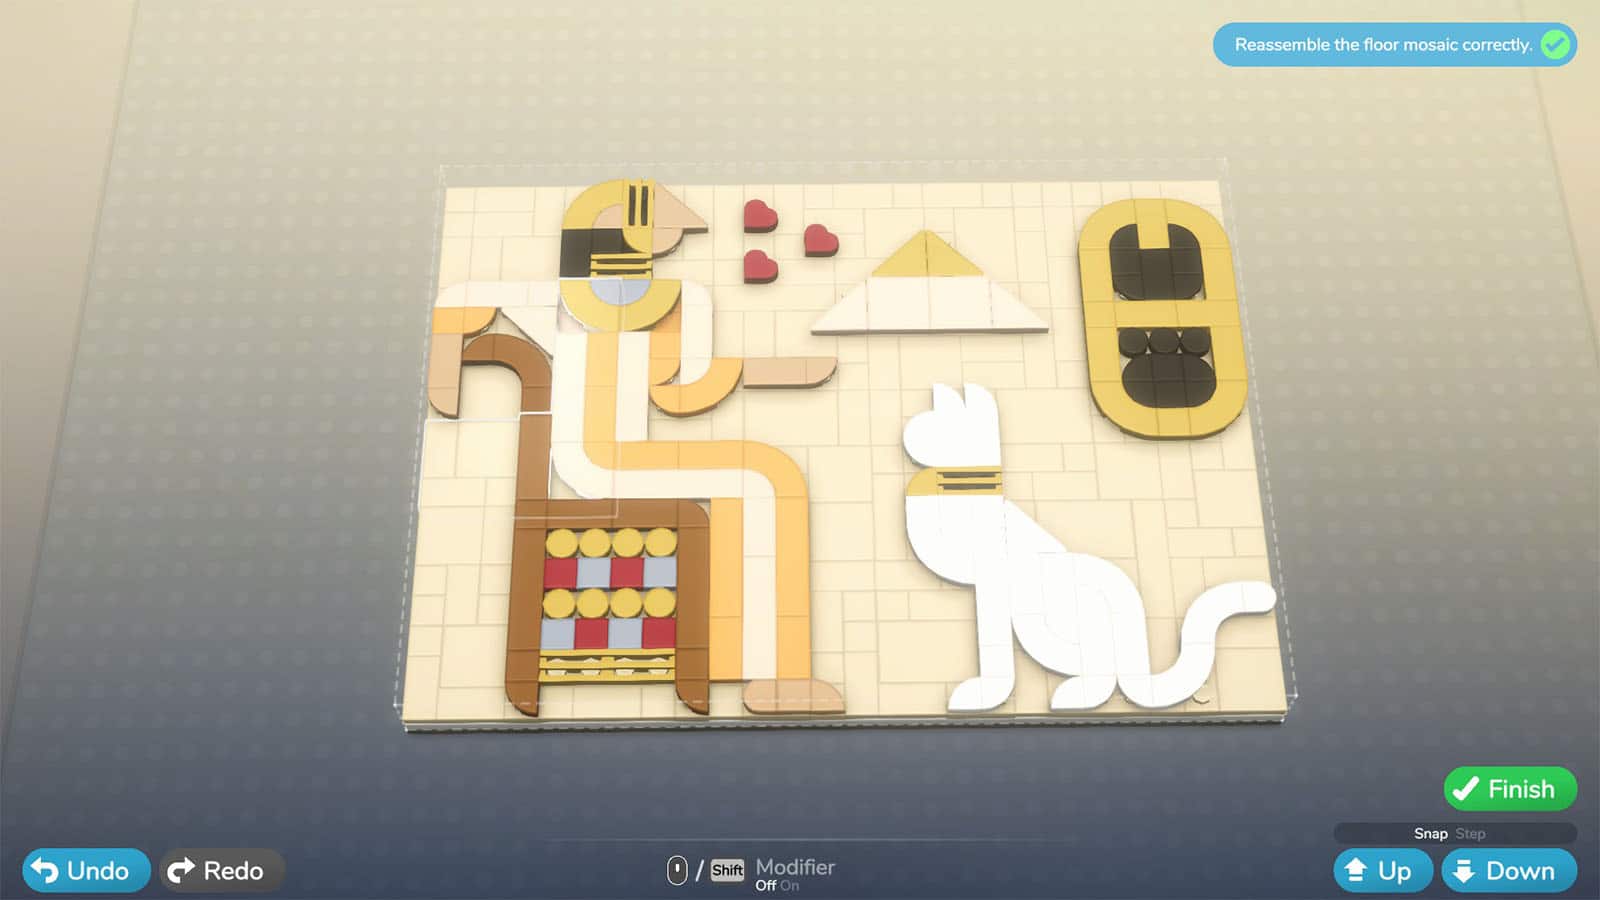
Desert Build #8: Mosaic
She will then want you to rebuild her mosaic outside the pyramid. Interact with the mosaic’s build marker first, and then go look for the two missing pieces that are nearby; one is near the ladder under a tree, and one is near the town’s gate. Then, head back to the mosaic and place the parts on their right positions to complete the build; no need to rotate the pieces.
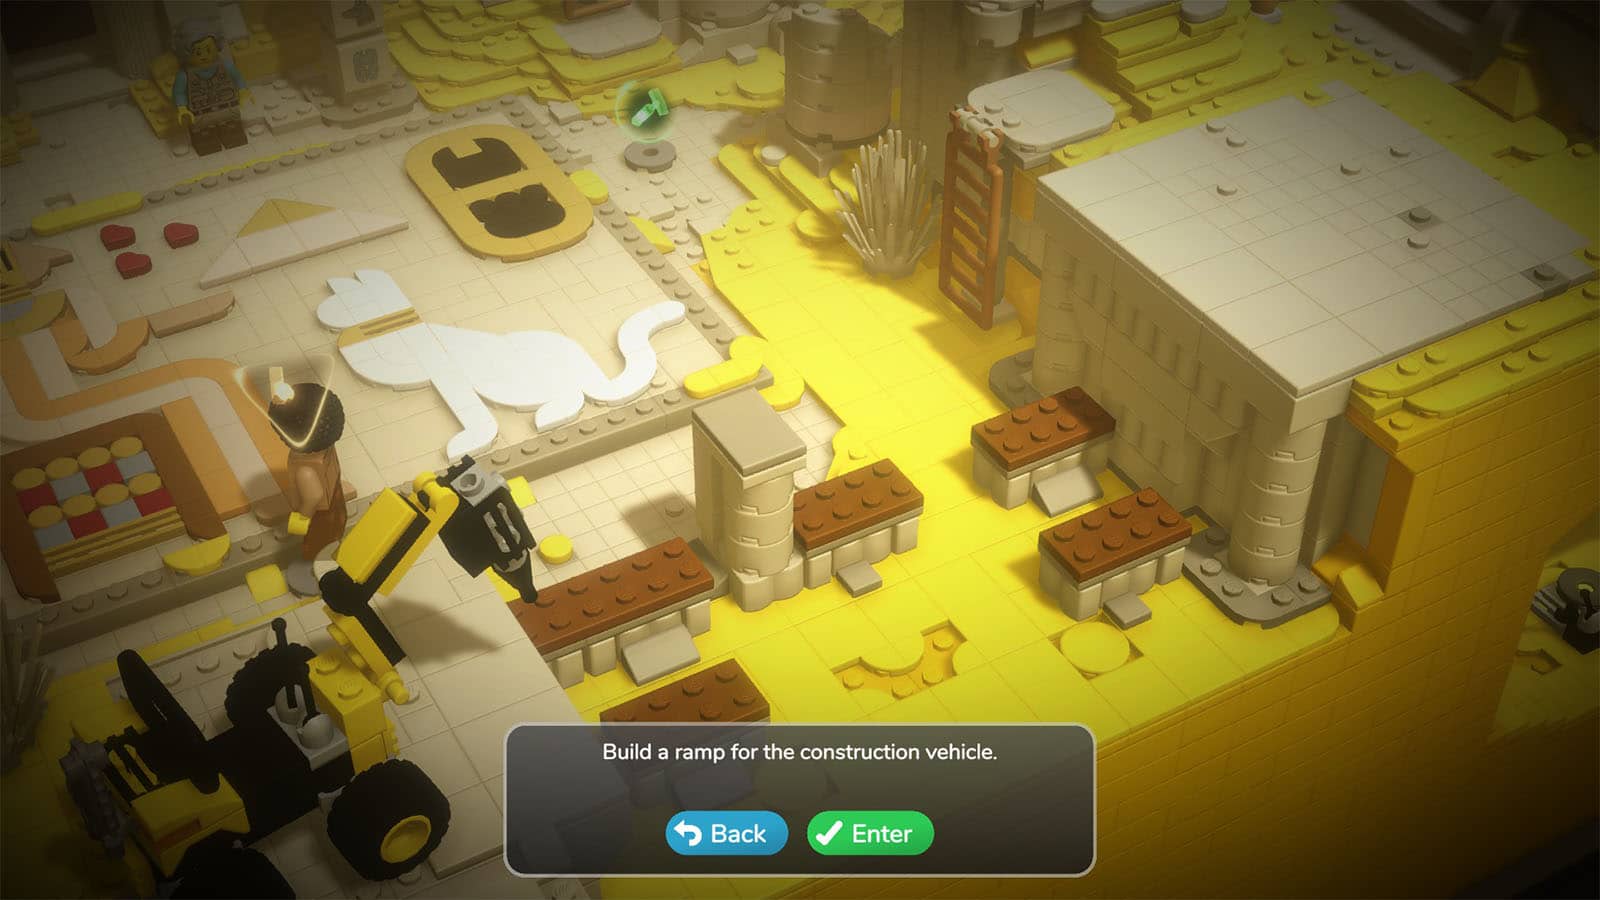
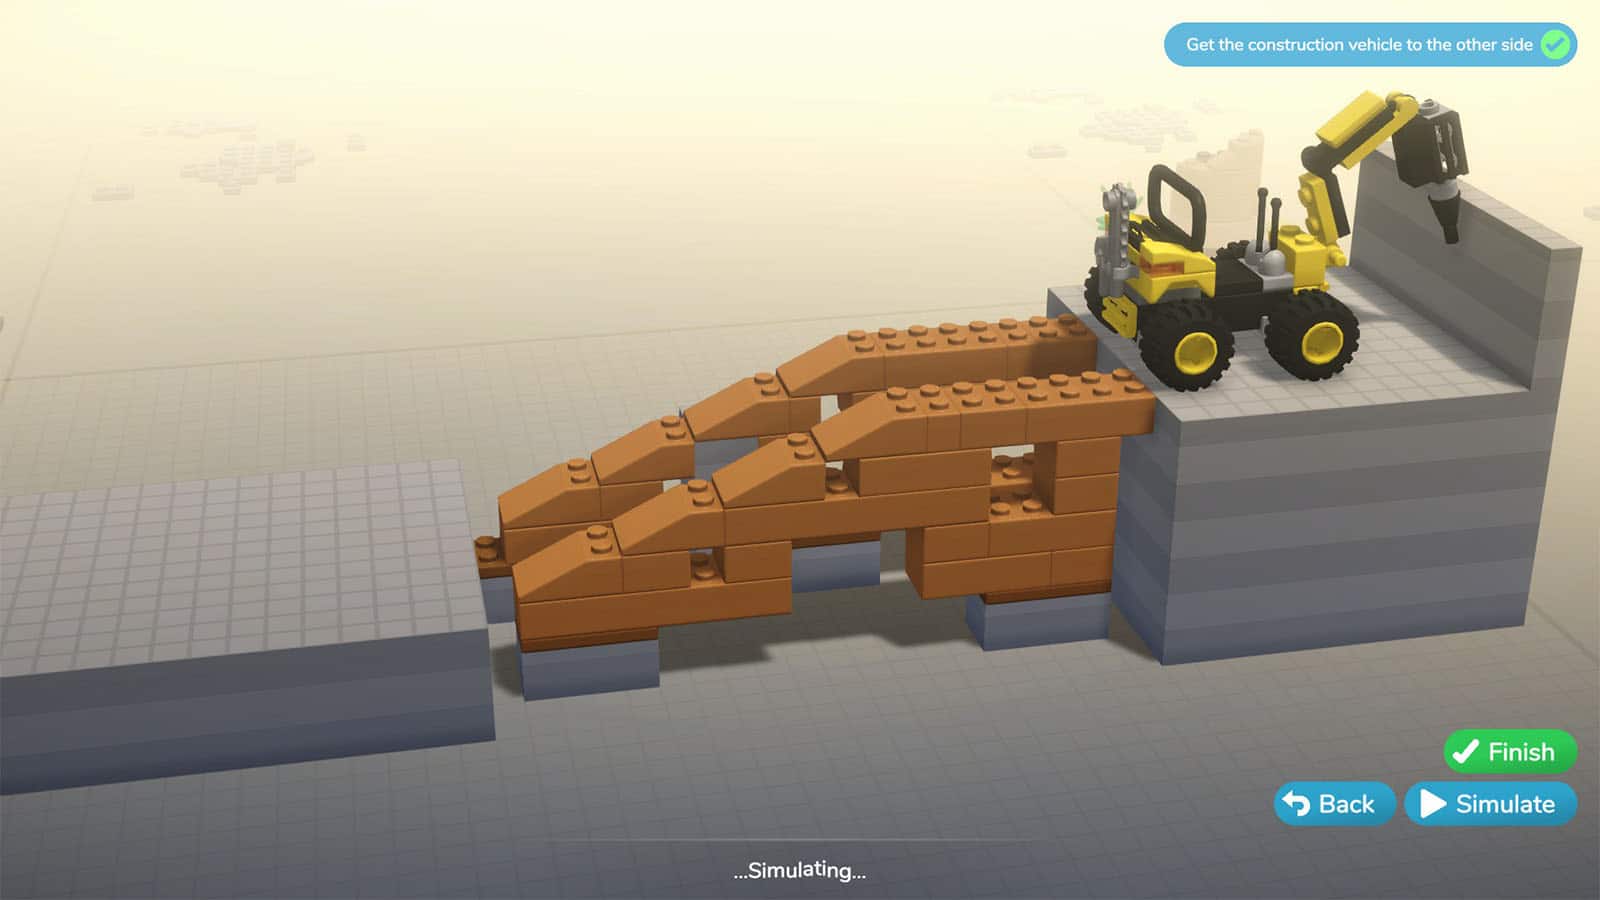
Desert Build #9: Ramp
For the last build, since the queen has decided to fix the construction equipment damaged by her earthquake, you need to talk to the contractor again. She will need your help in fixing the ramp so that their heavy equipment can be brought to the build site.
To build the ramp, you just need four layers that are tapered off using either the 2×3 slopes or the 2×2 slopes. You only need to build an almost symmetrical pair of ramps for the construction vehicle’s wheels; there’s no need to fill in the gap in the middle.
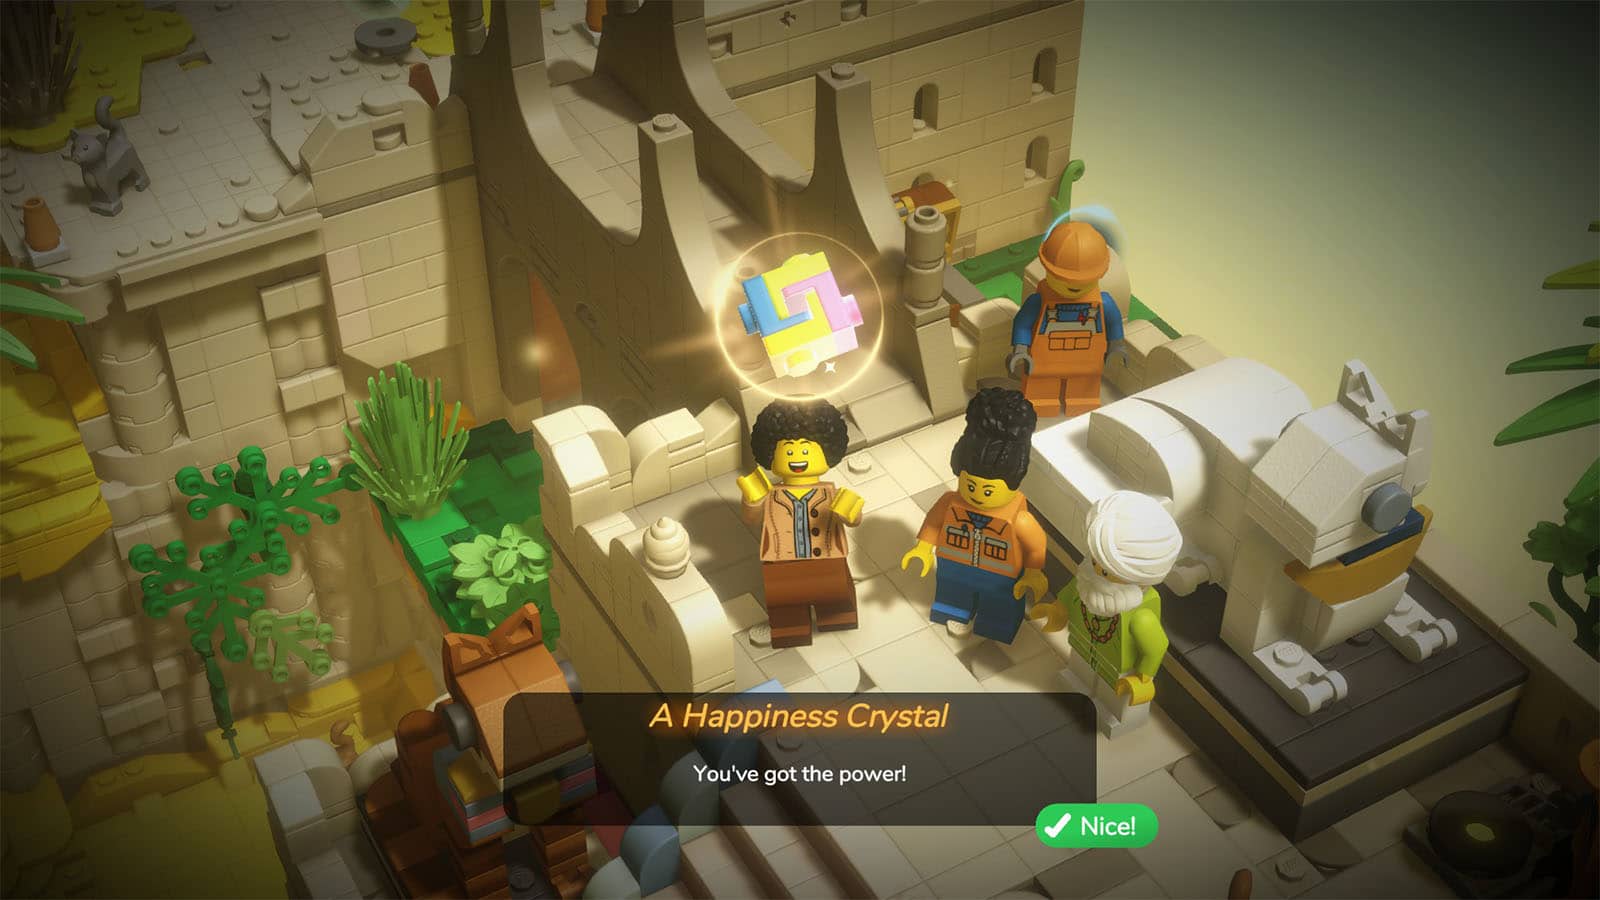

Once it is done, talk back to the Contractor and you will receive another Happiness Jewel and get teleported back to the Theme Park. Place the jewel into the transformation machine to restore the rollercoaster, and then you will have to build three carts for the ride. This build does not contribute to the completion of the Desert level, but it is required to unlock the next area.
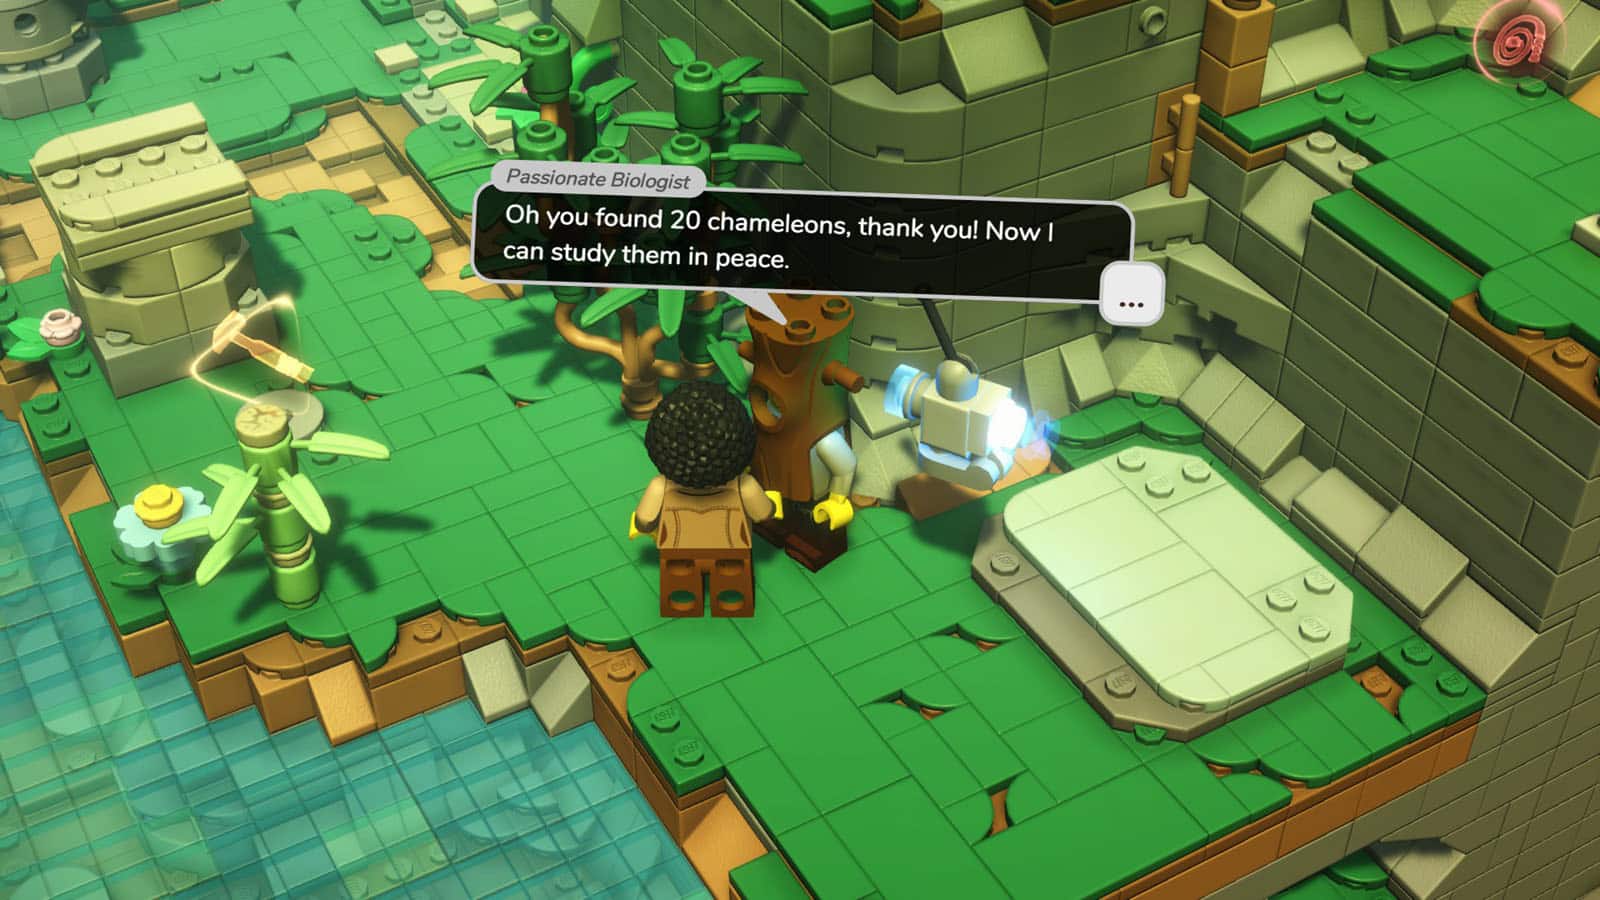
Desert Animal Collectibles
In the Desert level, there are a total of 20 animals to be collected. 13 of them can be found within the first run through the level, while the other 7 will require a revisit once the necessary abilities to reach them have been acquired. Check out our complete guide for the animal locations in All Animal Locations in Desert Level LEGO Bricktales.
In the Desert, you will find four (4) of each type of animal, with the Ladybug as the main animal for the level needed by the Gullible Gardener.
Desert Chests
There are a total of 13 chests to be found within the Desert level. Not all of them can be found within the first run as you will need to acquire additional abilities to reach them. Check out our guide for the chest locations in All Chest Locations in Desert Level LEGO Bricktales.
Desert Shop
There are 10 different items on sale in Boo’s Desert Shop and they all count towards the level’s completion when purchased. You will need a total of 250 popsicles to purchase everything in the shop.
- Brick Yellow – 15 popsicles
- Sand Yellow – 15 popsicles
- Dark Red – 15 popsicles
- Bright Yellowish Green – 15 popsicles
- Desert Bricks – 100 popsicles
- Egyptian Shendyt – 12 popsicles
- Mummy Bandages – 20 popsicles
- Egyptian Tunic – 22 popsicles
- Egyptian Nemes – 18 popsicles
- Mummy Headdress – 18 popsicles
LEGO Bricktales is available on PC, PS4, PS5, Xbox One, Xbox Series X|S, and Nintendo Switch.


