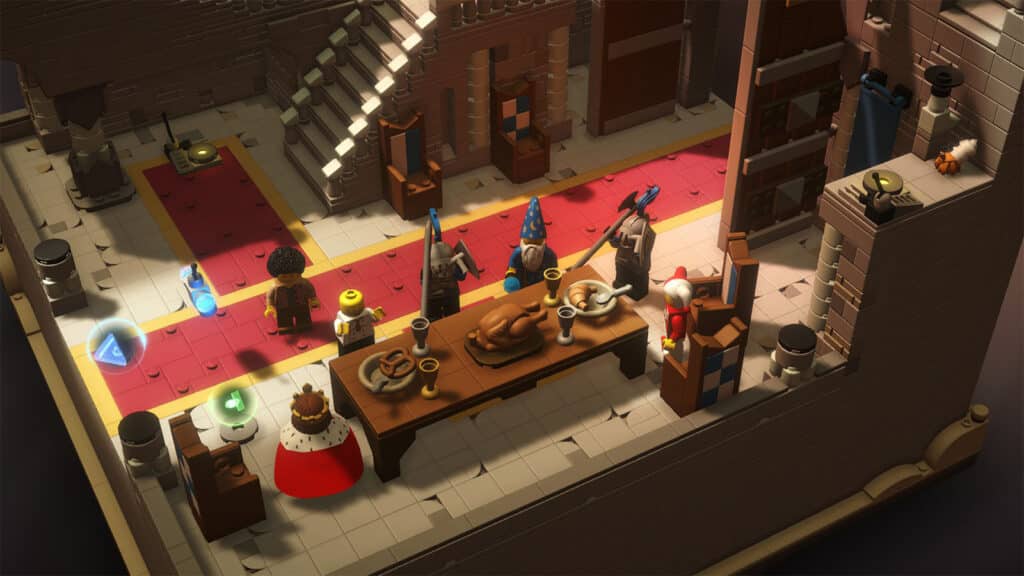
The City is the fourth world that players can visit in LEGO Bricktales. Players will find that the city is being overrun by malicious robot invaders, and they will have to make their way through the chaos to help out the citizens and stop the invasion.
In this guide, we will talk about the City level in LEGO Bricktales, how to solve the builds and the puzzles, and locate the collectibles within the level.
City Walkthrough and Builds
You arrive at the City in disarray from the current invasion taking over it. Head over to the Mayor and talk to him. He will tell you to find Rita who is a scientist hiding underneath within the city’s sewers.


City Build #1: Tetris Board
The first build you will encounter is a graffiti board. On top of another ledge is a wheel that you need to turn in order to make a sign turn and use it as a bridge to cross over to the next building.
For this build, there is only a thin strip where you can place a base on, so you need to rotate the pieces. Then, use a piece that extends at least four studs out from the base for the first step in order to allow Rusty to step on it, otherwise Rusty won’t be able to climb it. Then, you just need to stack the other bricks, keeping at least a step every level to only 1-brick tall. The staircase does not have to be going directly straight upwards.
Once you are at the top, turn the wheel to be able to proceed. For an added challenge, try to keep a bridge at the very top to reach the other pillar that has a Bird on it.


City Build #2: Fire Escape
Immediately after crossing, you will need to work on the second build which is a fire escape ladder. As a simulation, it must withstand four Rusties going down from the top of the building.
The easier way to approach this is to start building up top. There are outcroppings on the side of the wall where you can put more pieces on for some more stability. However, the bottom plate on these outcroppings are not that strong, but you can use the sides and build on top of them as they are directly attached to the wall. Refer to the image to see how the U-turns are built.


As for the scaffoldings, it’s possible to only use three of the tall ones and none of the short ones. Place two on the left side supporting the third floor from the top, and one under the right side for the floor near the bottom. Then place additional plates above and below the junctions to make the staircase sturdier.
Once you reach the other side, head down where you’ll meet Scientist Rita. She will then tell you to go to the Power Plant and fix it to restore power to the city. Before heading out of the sewers, you can pay a visit to Boo’s Shop. As you make your way back, make sure to pick up the Whip. To exit the sewers, look for a wheel and it will open the closed gate where you’ll find a ladder to the surface.
You’ll then meet Electrician Eleanor who is blocking the entrance to the Power Plant. She needs your help to build her another vehicle. First off, you need to find a steering wheel and an engine for the vehicle. The steering wheel is on her totaled car, while the steering wheel is on the map northeast of the Power Plant.


City Build #3: Small Car
For this build, you simply need to build a 4-wheel vehicle while following the requirements. It can be as simple or as fancy as you want.

After building her the car, you will then gain access to the Power Plant which is a Skill Temple. In here, you’ll receive the new ability called Electricity which allows you to teleport through the teleport pads.
To solve this Skill Temple, follow these steps:
- Get the Electricity Skill, then use the nearby teleport pad to go to the next one.
- Pull the lever to raise the water level.
- Head over to the emergency terminal and use Electricity to power it up.
- Climb the ladder nearby and switch to the Water skill.
- Use Water to clean the other pad, which should activate both the linked pads.
- Switch back to Electricity then power up the next emergency terminal.
- Use Electricity on the next pad, then pull the lever again to lower the water level.
- Head back to the same pad, then make your way to the lower level.
- Climb the ladder, then switch to Smash to break all the crates first.
- Pull the lever to lower the water level on the other side.
- Switch back to electricity and then head back to the same pad to teleport again.
- Then, head to the revealed pad to teleport up.
- Use Electricity once more to power up the final emergency terminal.
Don’t forget to pick up the treasure chest within the temple before heading back out.
Once you head out of the Power Plant, you will see a Jogger being harassed by the robot drones. Use your Electricity while beside these drones to electrocute them. Afterwards, the electrician should arrive back and she will need your help in fixing the Transformer Unit.


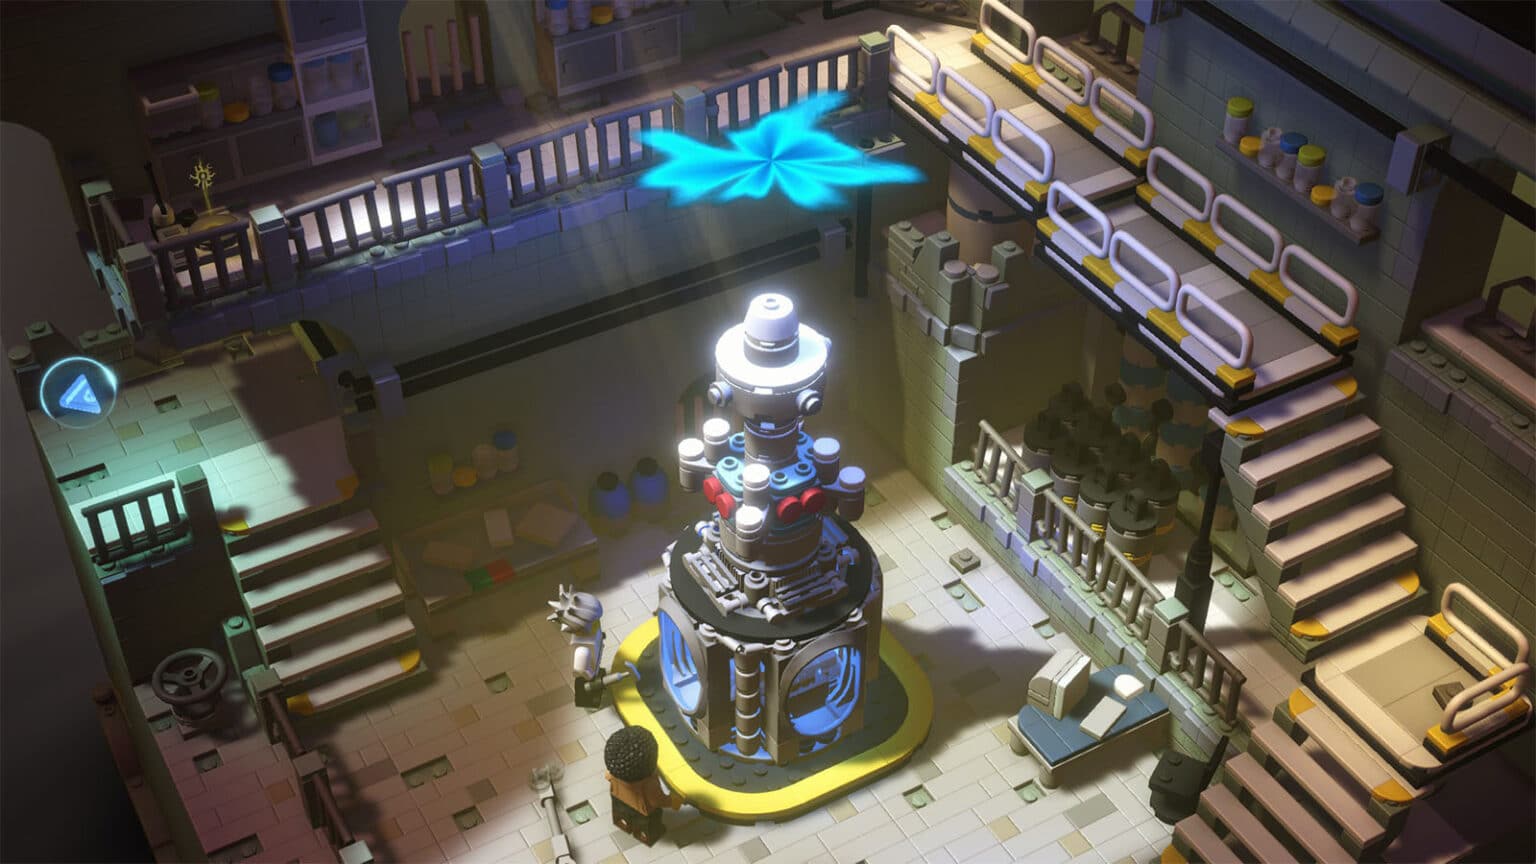
City Build #4: Transformer Unit
The next build requires you to build a transformer. It is a simple build where you just need to copy the model. There is a particular piece that is off by a few plates, but it won’t affect the result.

City Build #5: Switchgear
Finally, you will need to build a switch gear. You just need to fulfill the requirements such as making sure that the control panel is placed not too high, and all switch units are placed exactly on the marked spots. After completing this build, head back to the electrician to complete the objectives for the Power Plant. Head back to Scientist Rita for the next task.


City Build #6: Drone
Rita will need your help in building a drone. Start off with the 1×3 plates and build off from them, making sure that everything is secured in place. Check the balance if it’s tilting too much on one side and adjust as necessary.
Afterwards, follow Rita through another part of the sewers. Go through the passageway first, then use Electricity on the pad to teleport. Use Water to fill a receptacle to raise the water level. Teleport back and then use the other pad leading to a lever. Pull the lever to let Rita cross to the exit, then follow her.
You will then arrive at the Construction Site. You need to talk to Construction Worker Amelie for the next task.


City Build #7: Street and Bridge
For this build, simply start with the middle pillars first and use the arches to spread the support to a wider area. Finish off with the road plates. After completing the build, talk back to Amelie for the next task.


City Build #8: Crane
The next build will be the arms of a crane, specifically the jib and the counterweight. start by attaching long bricks in the middle. Then, attach the winch on the specified end. Make sure to fasten the links using the arch bricks or the long bricks on the top and bottom.
After completing the build, ride the crane up top the building.


City Build #9: Walkway
Rita will then ask you to build a set of walkways to connect the different platforms. For the build, you have four Rustys that will need to get to their respective destinations. You can start by building the walkway in the middle of all the platforms, then connect it to the rest using the stairs and plates. Make sure that the walkways are wide enough to prevent the Rustys from getting stuck.
Once the walkways are built, to to Rita again for the next task.


City Build #10: Scaffolding and Speakers
The final build will require you to build a scaffolding to support some speakers. Use the lateral arms to hang the speakers on to. The speakers can hang on with just one of its studs as long as it is fastened properly.
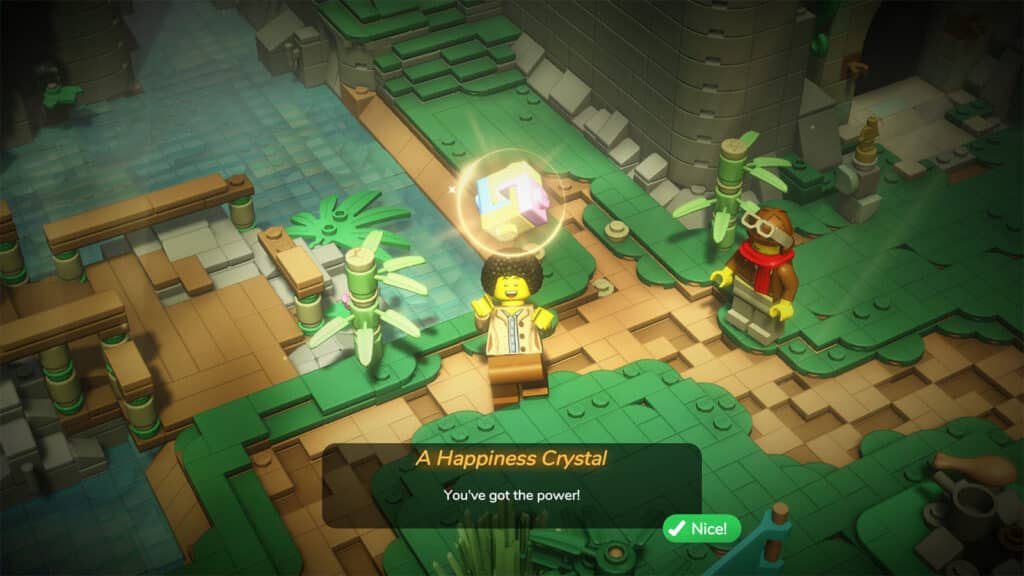
After the build, a short cutscene will play. Talk to Rita once more to complete the level and receive the Happiness Crystal.
Head back home and place the crystal in the transformation machine. You will then have to build three ferris wheel cabins in order to complete the attraction and unlock the next level.

City Animal Collectibles
In the City level, there are a total of 20 animals to be collected. All of them can be acquired through a singe run. Check out our complete guide for the animal locations in All Animal Locations in City Level LEGO Bricktales.
In the City, you will find four (4) of each type of animal, with the Bird as the main animal for the level needed by the Ornithologist.

City Chests
There are a total of 13 chests to be found within the City level. Not all of them can be found within the first run as you will need to acquire additional abilities to reach them. Check out our guide for the chest locations in All Chest Locations in City Level LEGO Bricktales.

City Shop
There are 10 different items on sale in Boo’s City Shop and they all count towards the level’s completion when purchased. You will need a total of 250 donuts to purchase everything in the shop.
- City Bricks – 100 donuts
- Medium Stone Grey – 15 donuts
- Cool Yellow – 15 donuts
- Dark Brown – 15 donuts
- Earth Green – 15 donuts
- Firefighter Pants – 12 donuts
- Firefighter Vest – 22 donuts
- Construction Uniform – 20 donuts
- Fire Helmet – 18 donuts
- Construction Helmet – 18 donuts

Bonus Dialogue
Interacting with the invading robots in the City will give you their line followed by a jolt of electricity. However, these lines are in binary. Decoding them will give out these messages:
- “Kevin Julia” for “01001011 01100101 01110110 01101001 01101110 00100000 01001010
- 01110101 01101100 01101001 01100001“
- “Boo” for “01000010 01101111 01101111“
- “Hungry” for “01001000 01110101 01101110 01100111 01110010 01111001“
- “Where am I” for “01010111 01101000 01100101 01110010 01100101 00100000 01100001 01101101 00100000 01001001“
- “LEGO” for “01001100 01000101 01000111 01001111“
LEGO Bricktales is available on PC, PS4, PS5, Xbox One, Xbox Series X|S, and Nintendo Switch.


