
Dead Hills is the first mission in Aliens: Dark Descent, following the events of the Otago’s crash landing into Lethe. Harper and Hayes decide to work together to figure out who is behind this infestation and how to get off the planet as soon as possible. They also get a distress call from one of the nearby settlements, which may give some clues as to what has been going on.
Read ahead as we go through Dead Hills Mission 01 in Aliens: Dark Descent and share some tips on how to complete the objectives, as well as the locations of the collectibles and blueprints in the level.
See previous: Aliens: Dark Descent Prologue Walkthrough
Dead Hills Objectives:
- Enter Dead Hills
- Reactivate the colony’s SatCom
- Deactivate the emergency lockdown
- Save engineer Macallan
- Save engineer O’Neil
- Save security guard Torrance
- Save veterinarian McNeil
- Save technician Carmichael
- Find the Source of the Infestation
- Save biologist Everly
- Investigate the Suspicious Container
- Find materials for the Otago
- Find the Colonists in the Old Mine
- Save veterinarian T. McNeil
Dead Hills Mission 01 Walkthrough
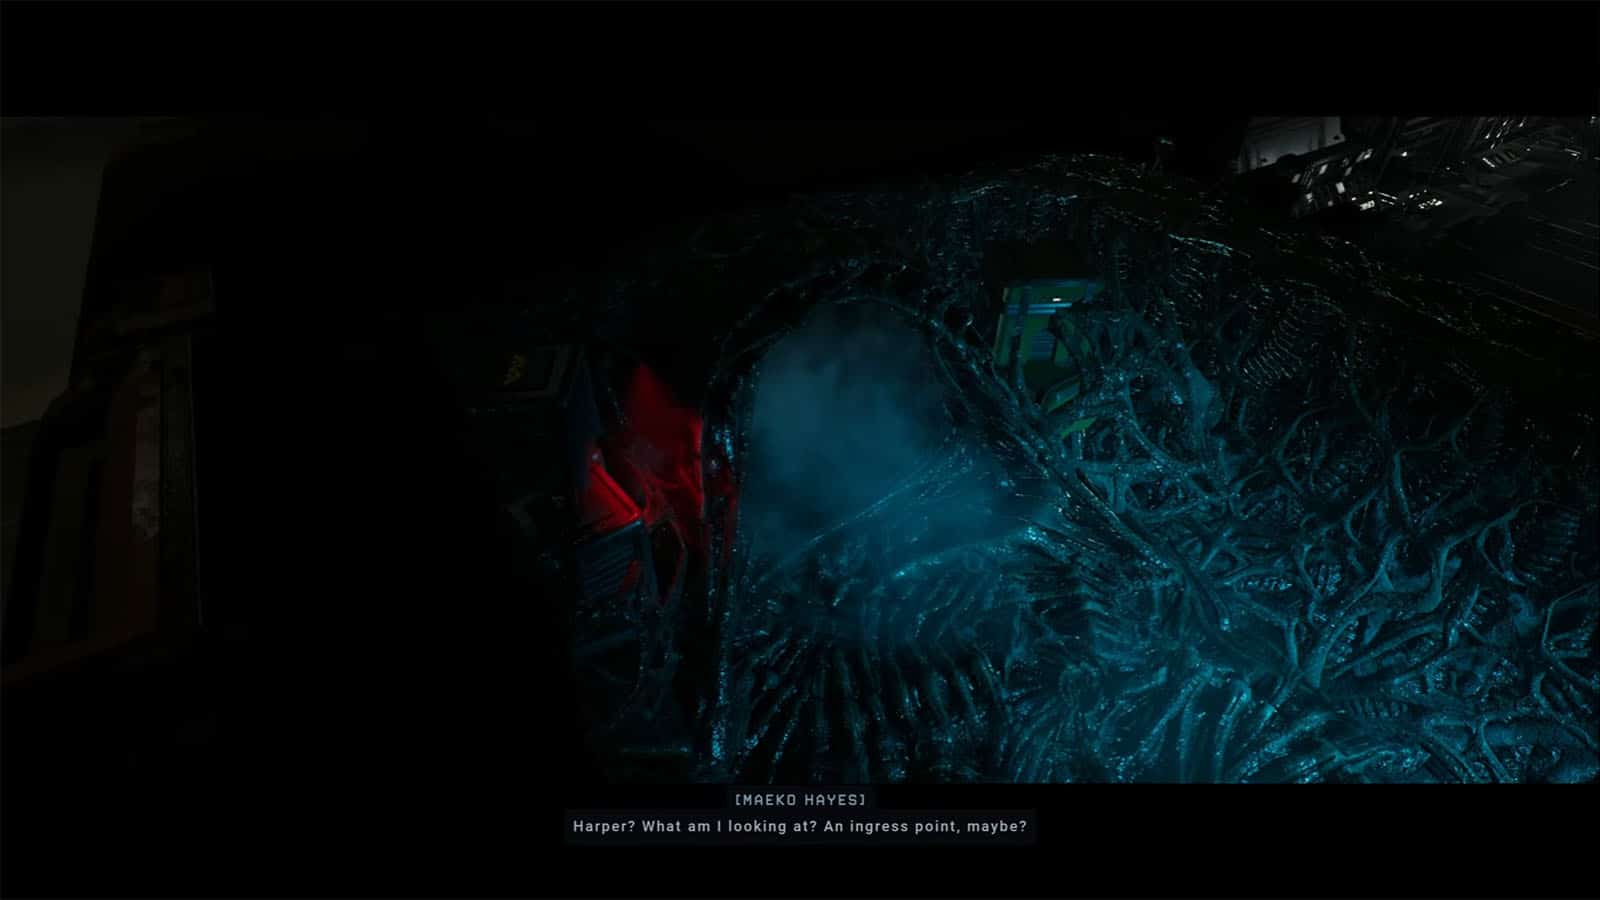
This mission will have you deploy your squad to the colony at Dead Hills after receiving a distress call from their sheriff. The settlement has also been overrun by the Xenomorphs, and you are tasked with investigating what caused the infestation and also rescuing as many civilians as you can.
Enter Dead Hills
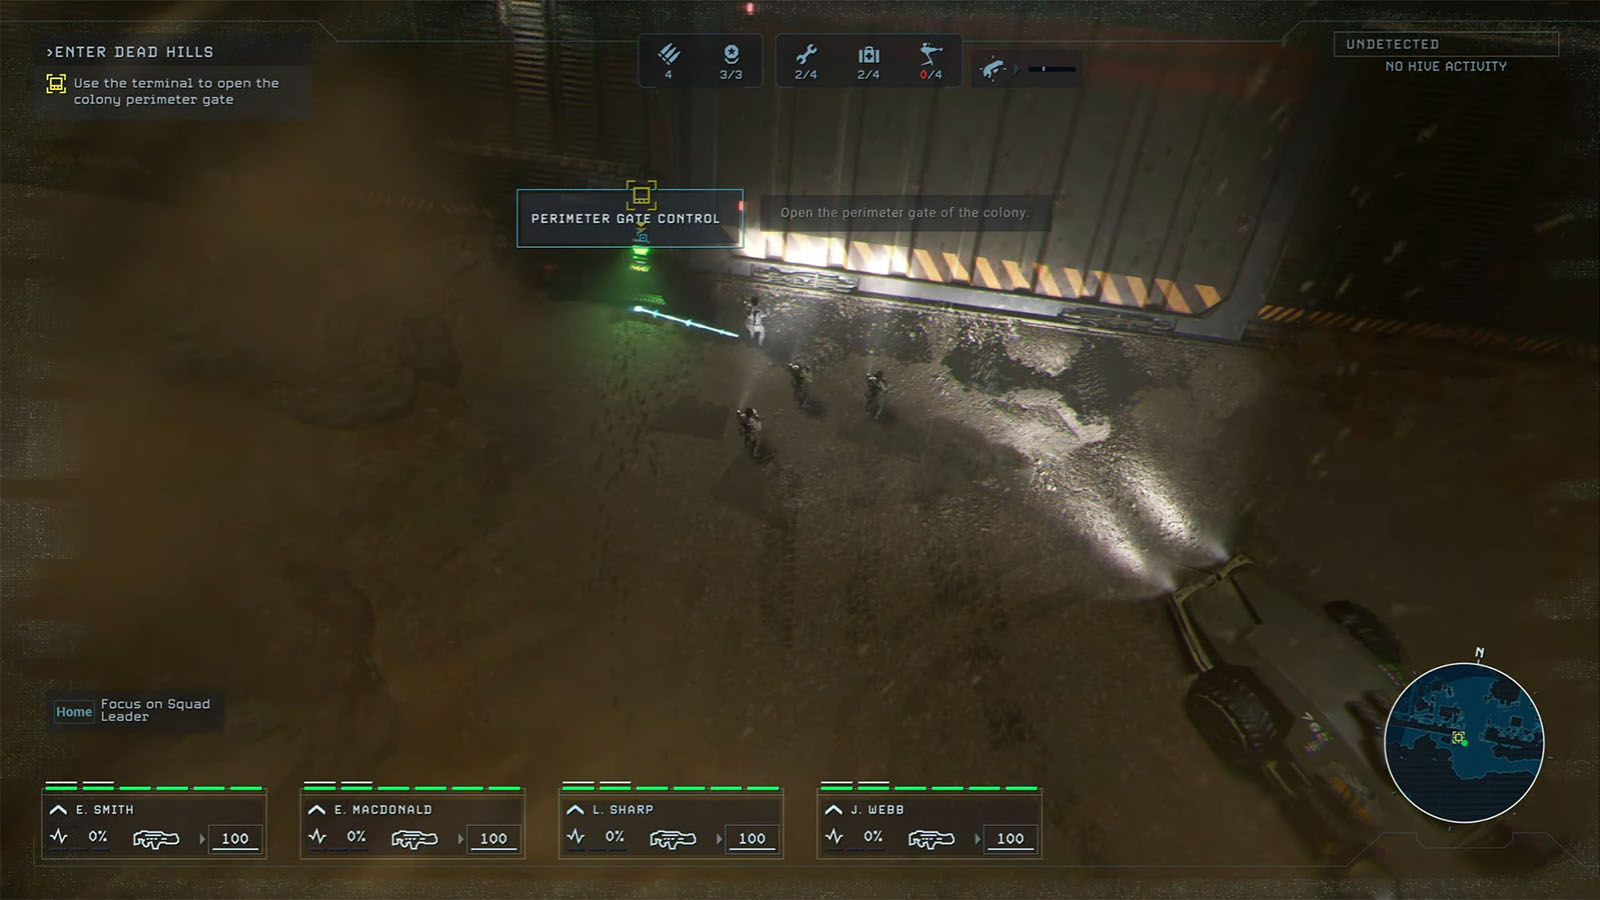
Upon arriving at the gate of Dead Hills, interact with the terminal to open the perimeter gate.
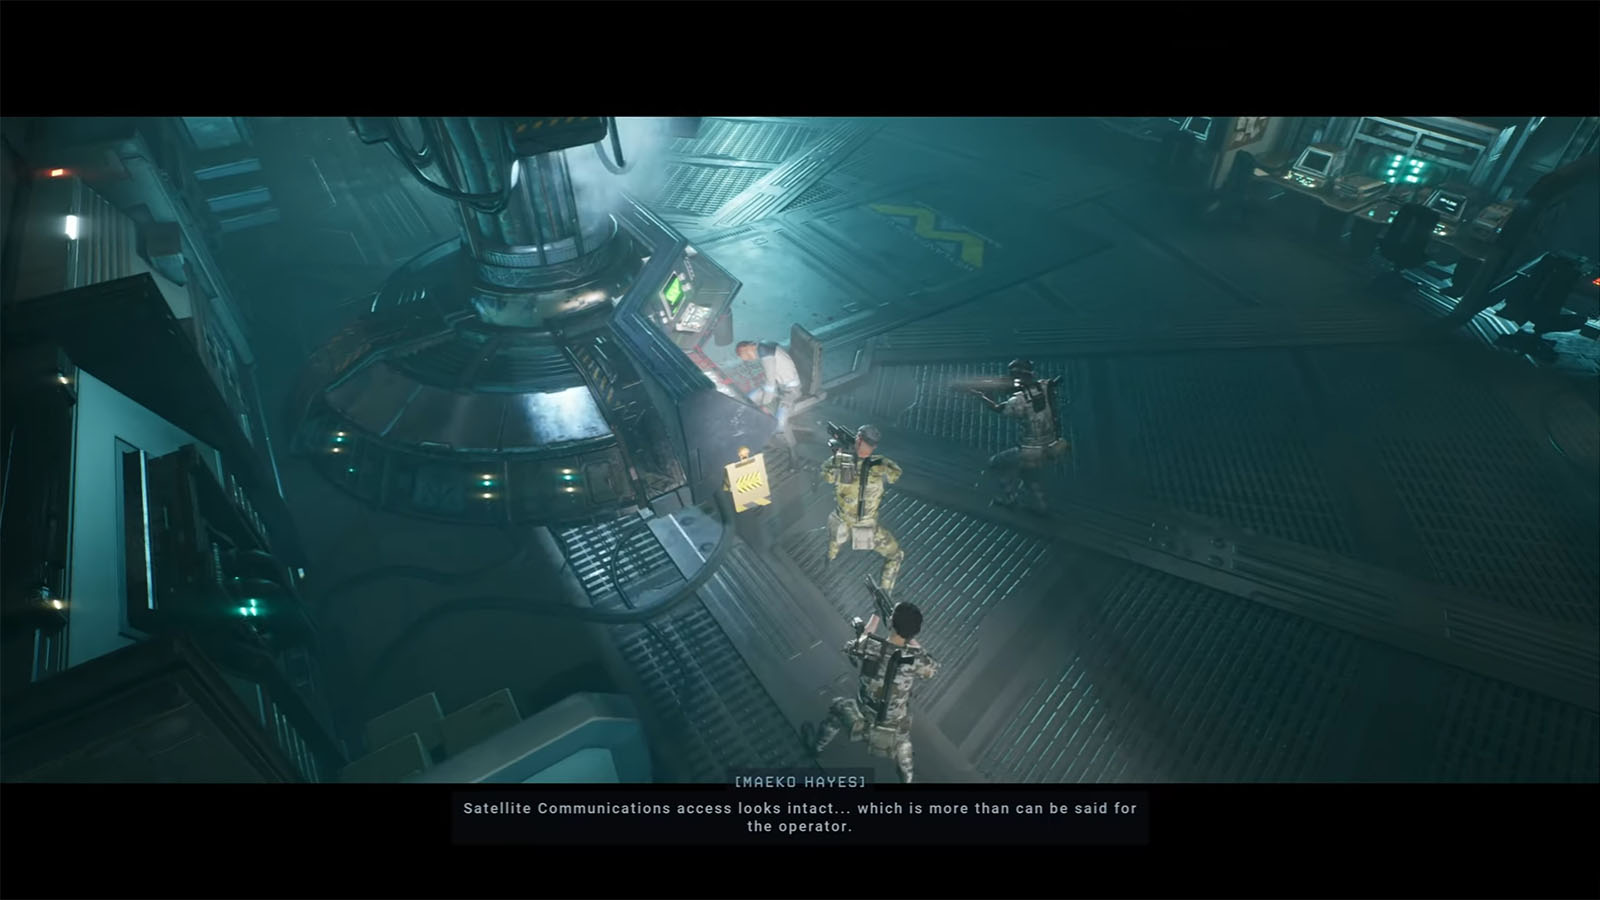
Reactivate the colony’s SatCom
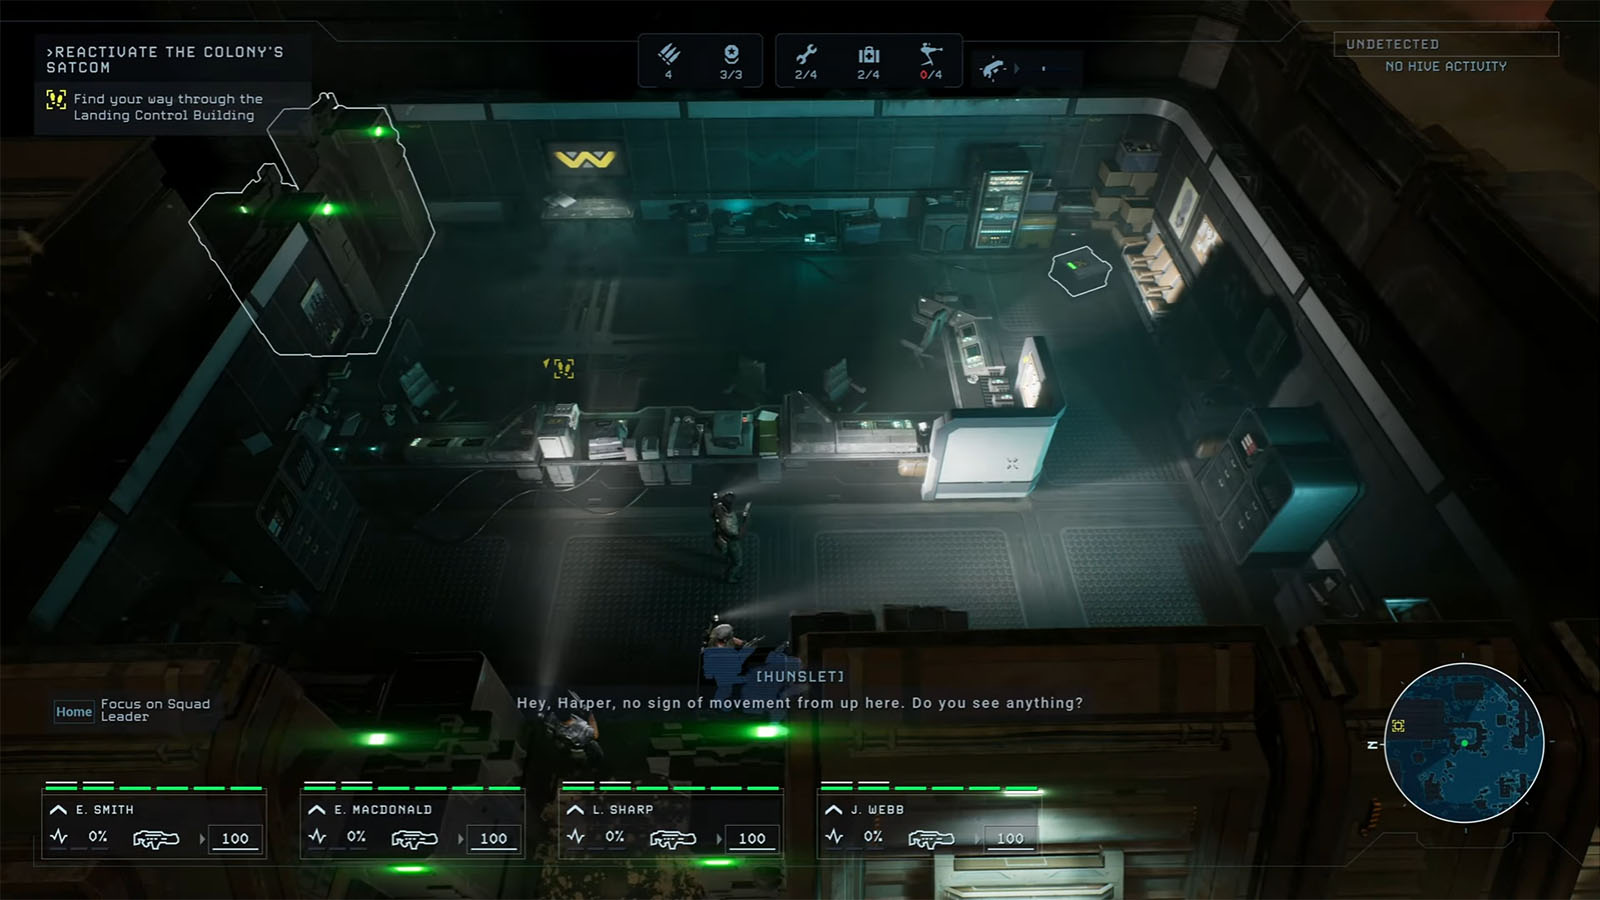
Follow the marker leading you to the Landing Control Building. After bypassing the door, head inside, where you’ll find some caches for some materials, supplies, and ammo. You will also get a tutorial for using the flashlight. Interact with the SatCom terminal to connect to the Otago, then undo the weld on the door nearby to proceed.
Deactivate the emergency lockdown
Move through the path ahead until you reach the barricade. Use C4 on the barricade to blow it away. Continue onward until you reach a fork; take the path to the left. Follow it around, and you’ll see some skin-like stuff on the floor and another barricade up ahead; blow the barricade up, then proceed. Then, ride the elevator and go to the upper level.
After nearly falling to their deaths from the elevator, lead your team over to the next room, which is the HQ. Check the glowing green light up ahead to get Dead Hills Datapad #1. Check out the loot box nearby, then interact with the terminal to lift the lockdown.
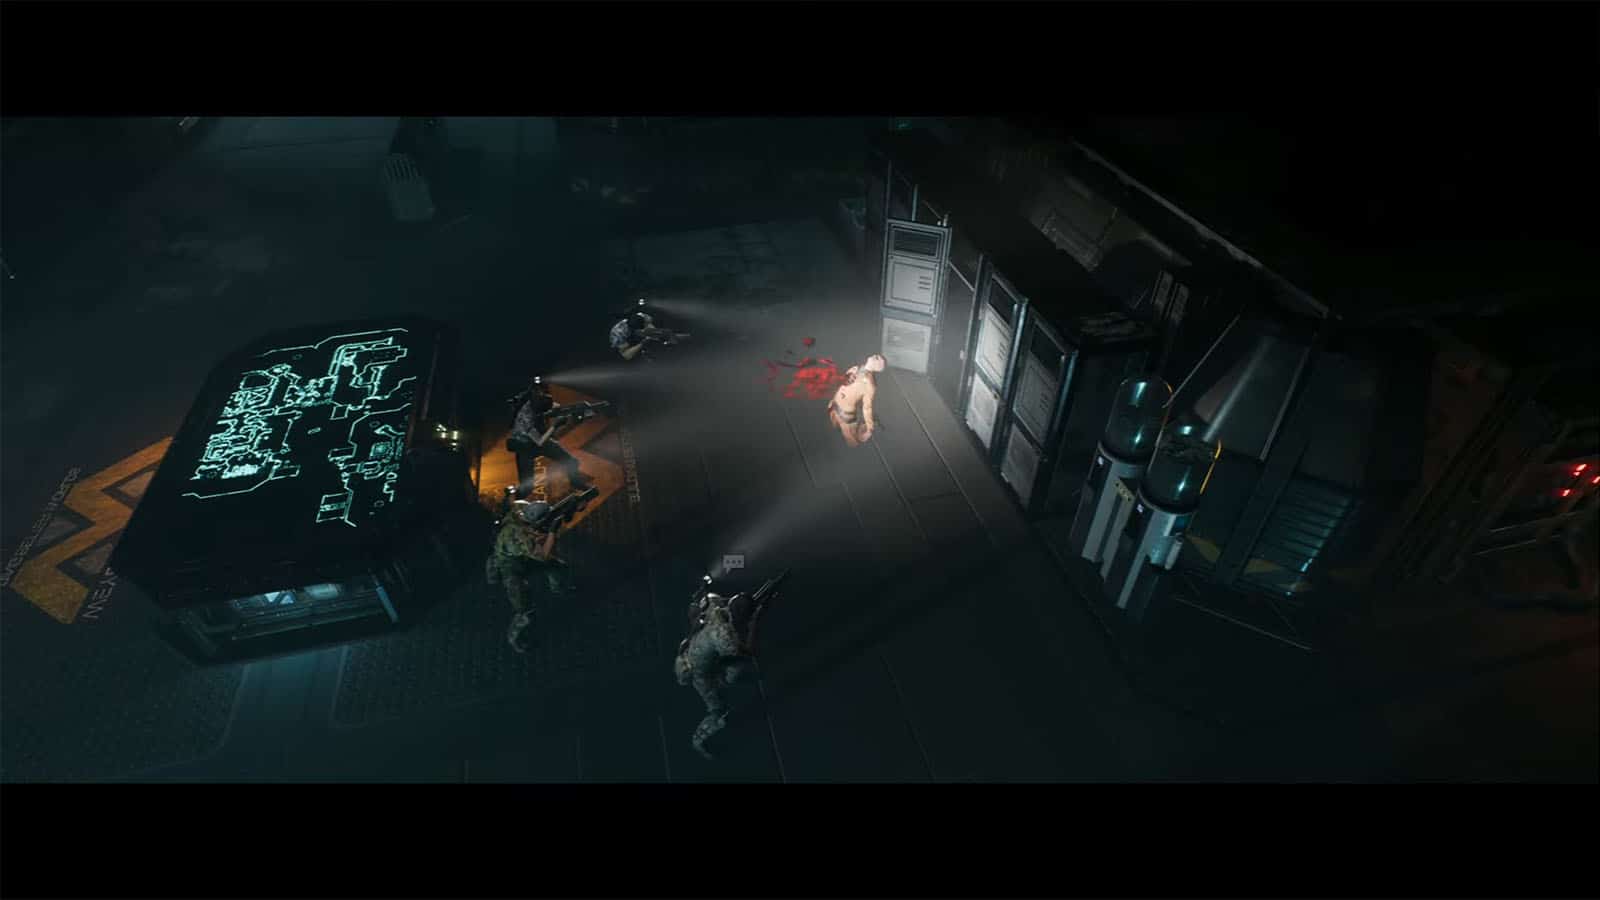
Go to the next room, then interact with the Sector Map where you’ll discover some vital signs. One of them is inside the locker behind your unit. Unfortunately, he’s a lost cause as a Chestburster comes out of him.
You’ll be given new objectives to save the detected survivors in the area. You can do them in any order, but it’s best to rescue them depending on how far they are from your squad and how far you are from the ARC. It’s also best to rescue them in batches to keep your squad number small. Continue moving through the next door after the lockdown has been lifted.
As you reach the next hallway, you will find a Xenomorph passageway. Deploy a Motion Tracker near the passageway, then continue on to the opposite path.
Save engineer Macallan
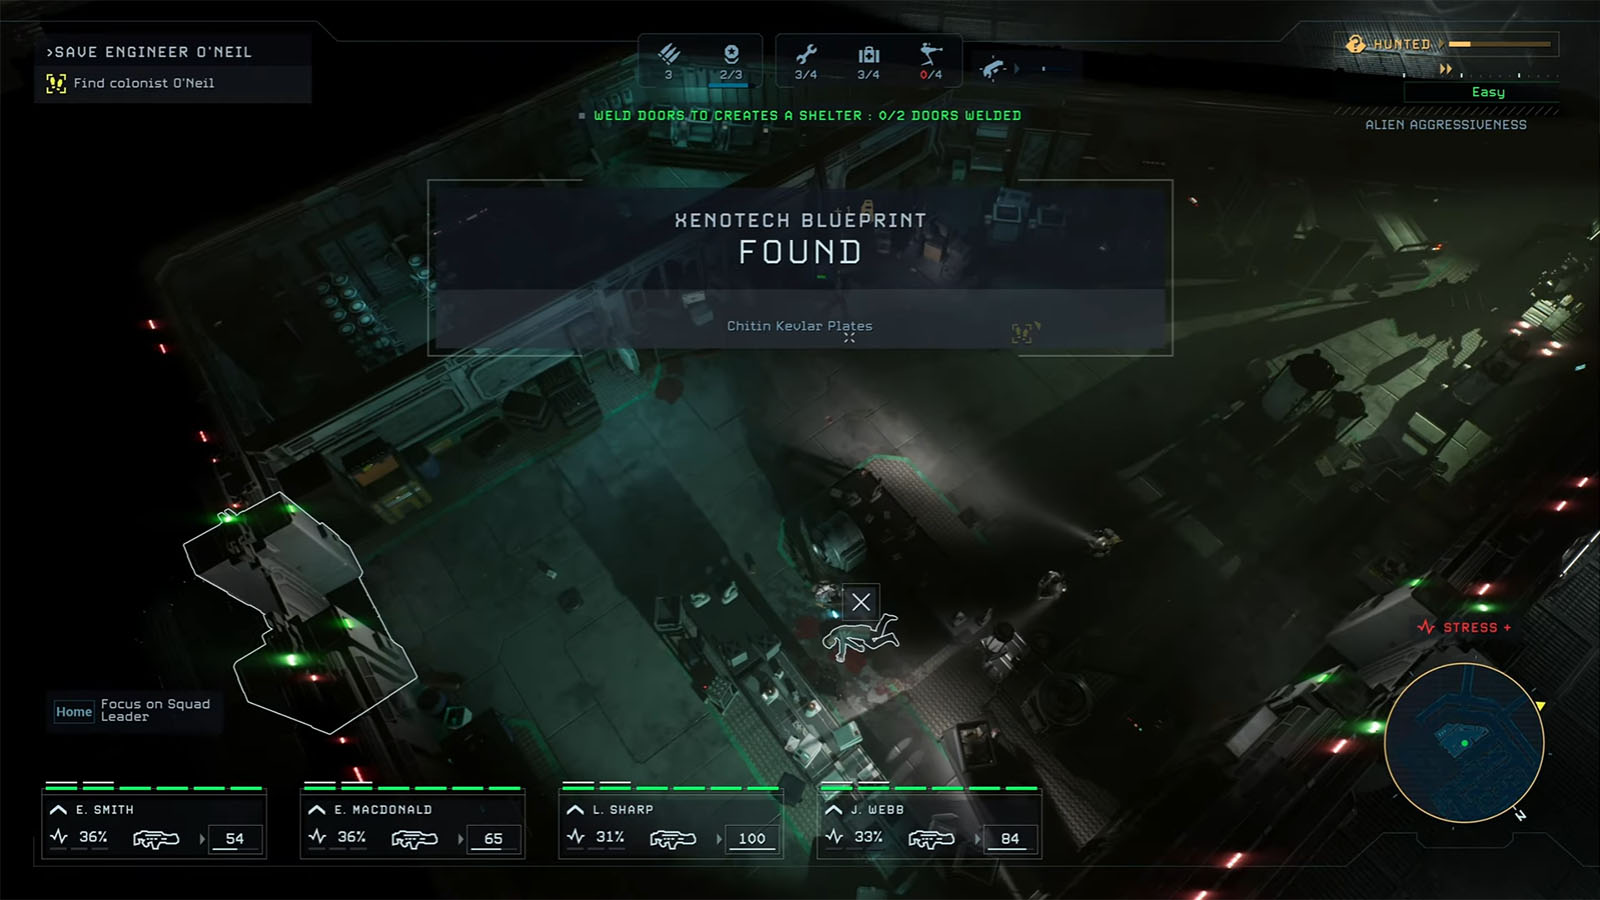
Make your way to the south path. At this point, your trackers will pick up something, so it’s best to make it out of there fast. Your goal is to reach the Technical Room, which is on the southwest side of the floor. Before heading out, check the south room on the 2nd Floor to find Xenotech Blueprint – Chitin Kevlar Plates. Take the longest route through the south if you’re fast enough, as you will not encounter anything there yet. Cut open the door, and you will meet engineer Macallan inside. You will also find some caches for you to take.
You will then have to escort Macallan through the level. He can keep up with you, but having another unit in the group will raise the difficulty. You have the option to head back to the ARC to extract Macallan right away or proceed to rescue more civilians.
Save engineer O’Neil
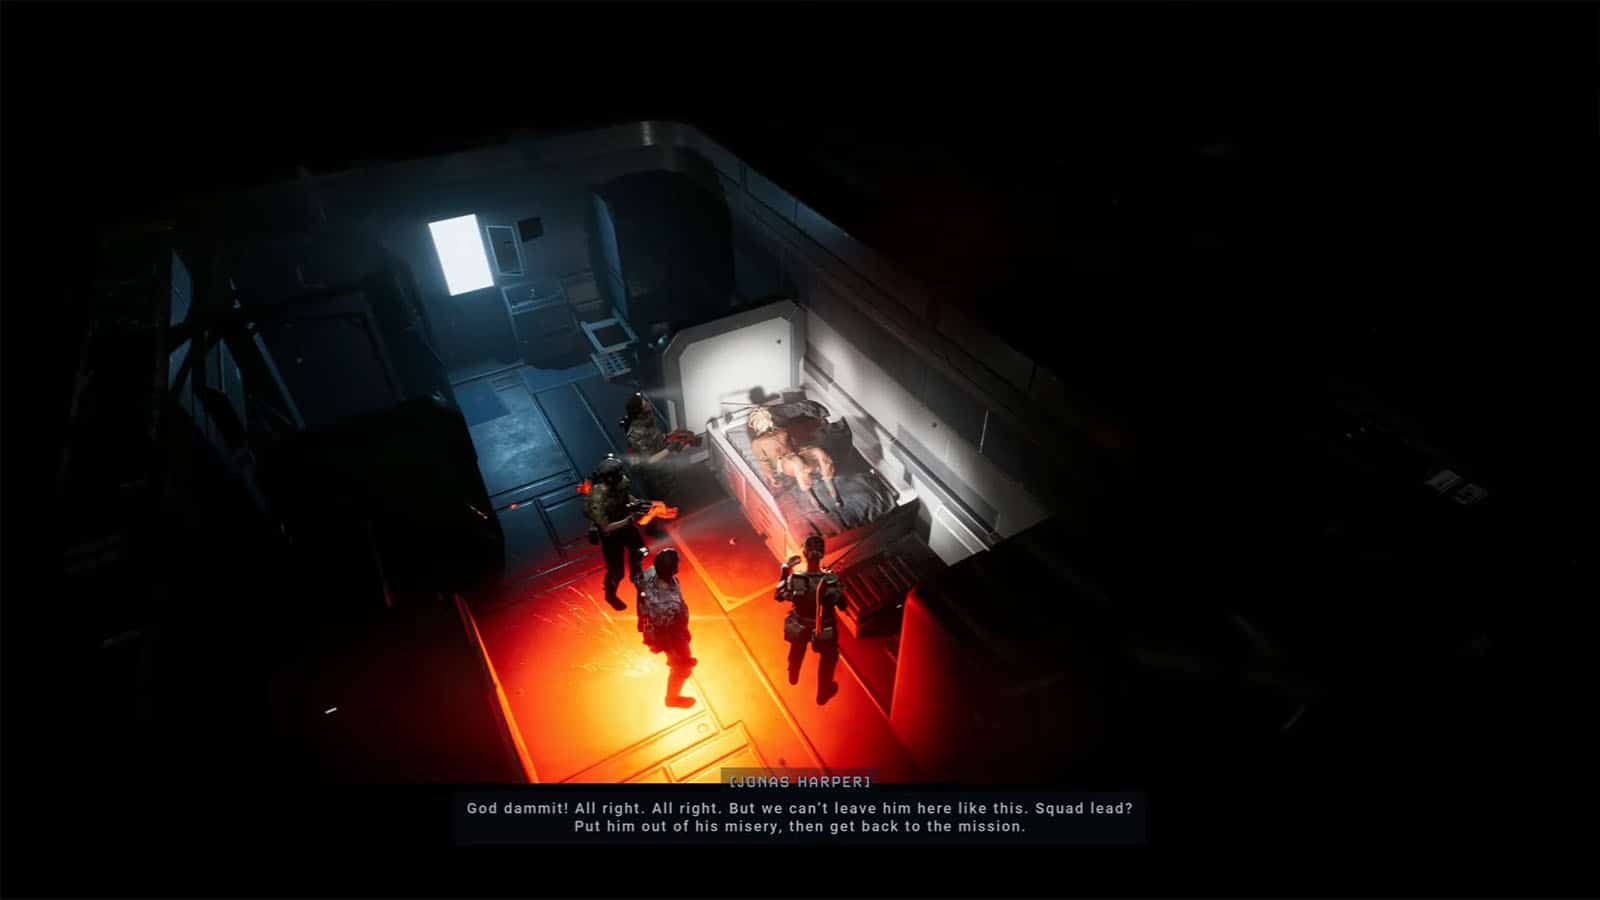
From the Technical Room, take the path up north. You’ll most likely encounter a patrolling Xenomorph; you can engage it or let it pass, your call. Make your way to where O’Neil is. You’ll find him strangled by a Facehugger so you can’t save him. Have someone end his suffering, however, the shot will get the attention of the Xenomorphs, so prepare for an encounter by setting up your turrets and your squad’s positions.
If your units are stressed out after the encounter, you can head to one of the rooms and weld the door shut to create a shelter. Continue to the next objective or the extraction point right after.
Save security guard Torrance
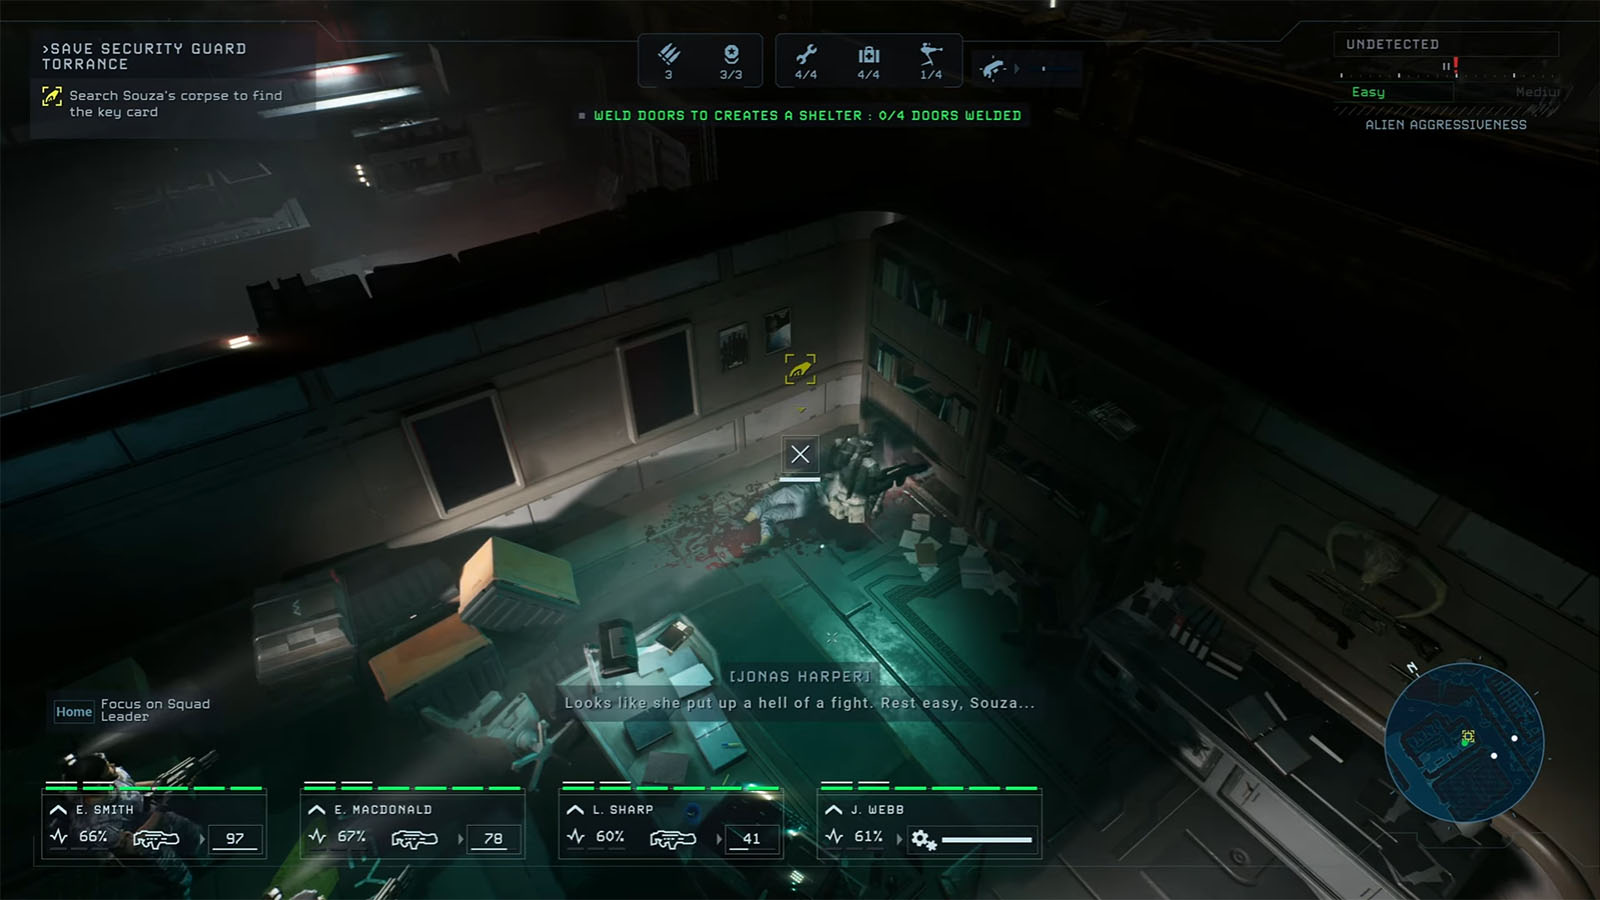
If you have headed back to the ARC, it’s best to rescue Torrance first, which is at the Sheriff’s Office just east of the Community Center (central building) or near where the ARC is parked. Torrance is locked behind a room, and you will need to look for the key to free him. Go to the room at the southeast corner of the building and find the key in Sheriff Souza’s corpse. Use the key and then escort Torrance back to the ARC. Remember to check the building, as you can find four datapads here: Dead Hills Datapad #2, #3, #4, and #5.
Save veterinarian McNeil
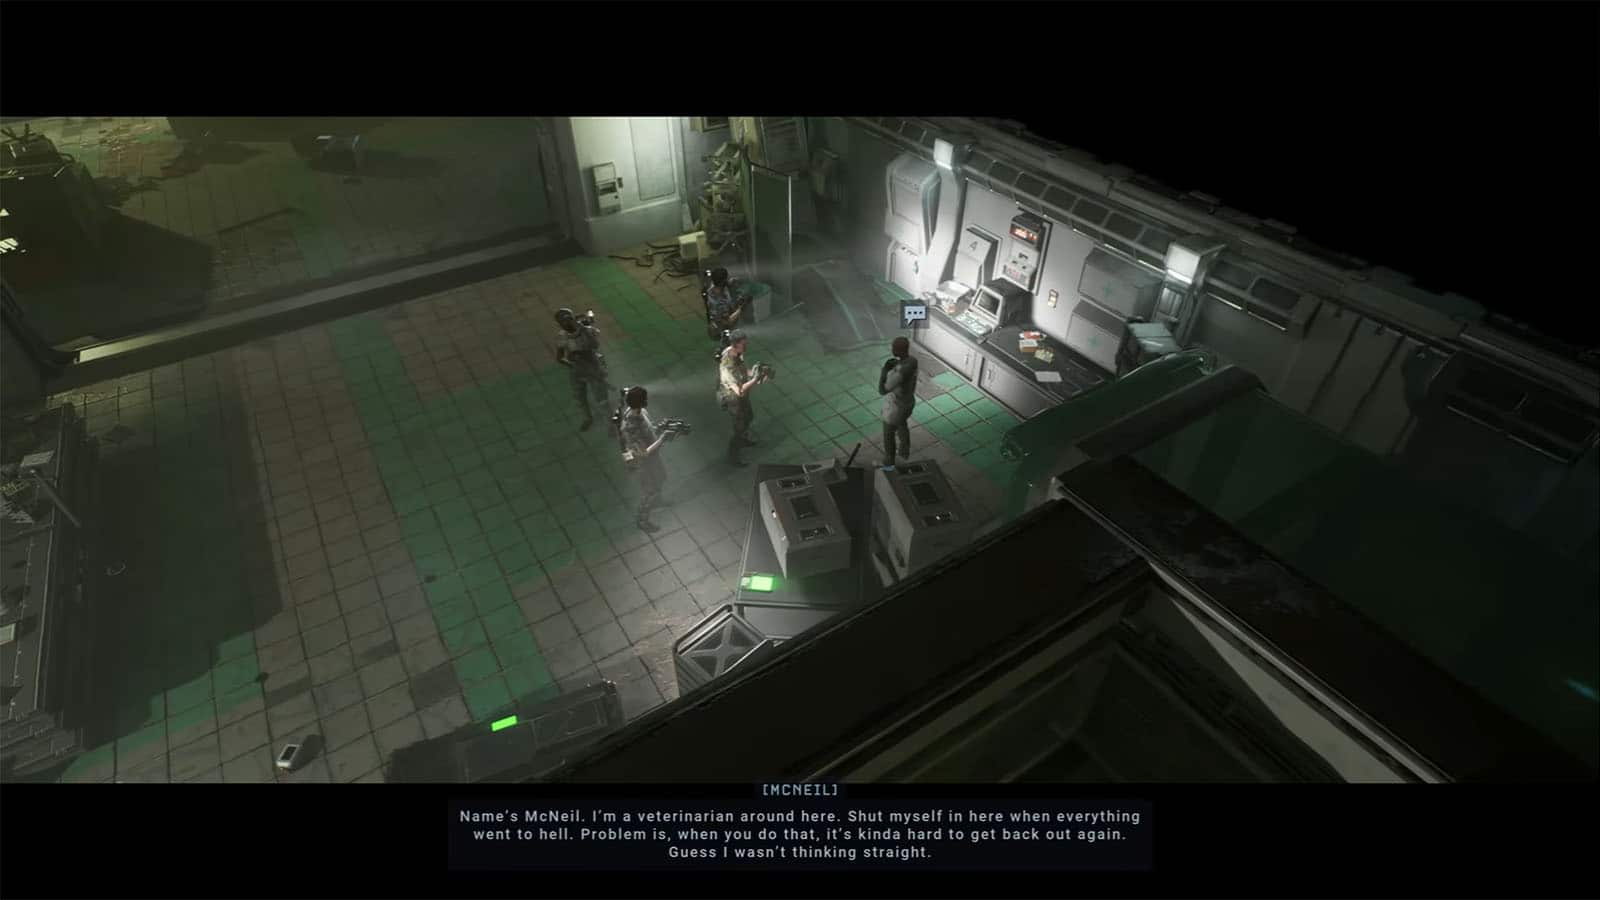
Veterinarian McNeil can be found in the Veterinary Clinic southwest of the Community Center. Open the door through the terminal, but during the process, you will be interrupted by McNeil. After convincing her, she will open the door for you and join you. Check out Dead Hills Datapad #6 nearby and the Sentry Gun. You can then start using the sentry gun by placing it facing the airlock ahead before opening the door. The gun should clear out the wave of Xenomorphs from the other side of the door.
After the wave, McNeil gets nabbed from behind by a creature from the vents. Pick up the sentry gun for now and proceed to the next objective.
Save technician Carmichael
Head back to the first floor of the building where you were at the early part of the mission. Carmichael can be found in the southern room, but before entering it, it’s best to set up turrets covering the hallway. Once inside, prepare to engage against some Facehuggers and against any backup that goes to your location. You can find Carmichael in the corner of a room and free him from the cocoon, but it’s also too late as he has been infested as a Chestburster comes out of him. Check the Workshop room northwest of where you are to find Dead Hills Datapad #7.
Find the Source of the Infestation
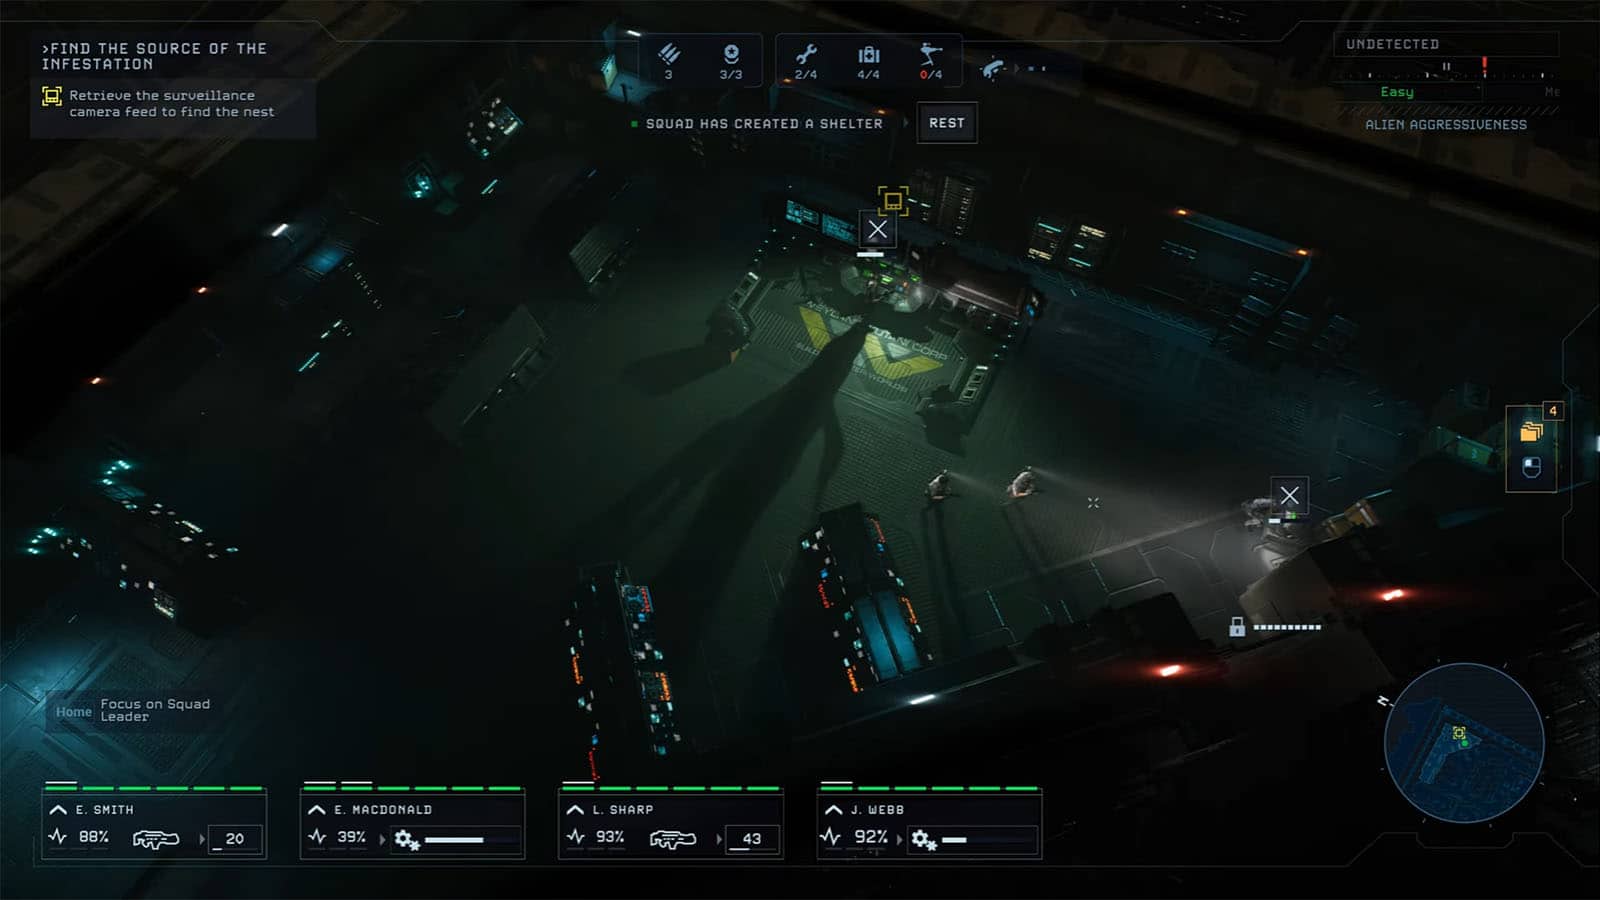
You’ll get a new objective that points you to the surveillance feed. Go to the room, then interact with the terminal. You will then be able to get access to the cameras throughout the compound. These cameras allow you to see the rooms and their contents. You will have to check the cameras at the Slaughterhouse, at the southwestern corner of the map, to get the Investigate the Suspicious Container objective.
Save biologist Everly
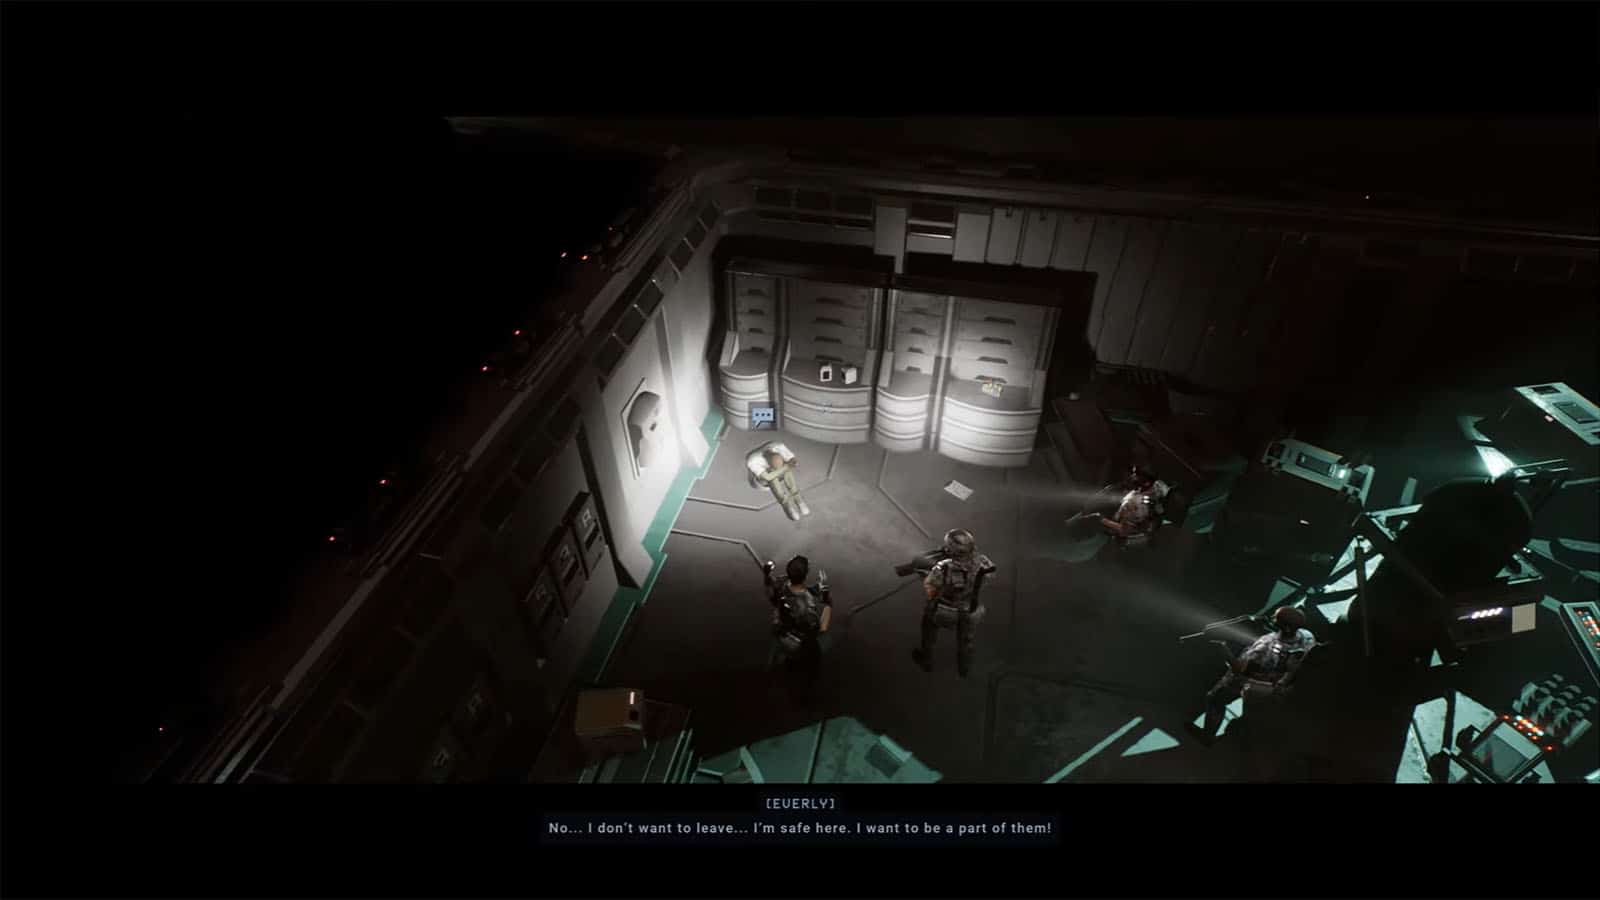
Biologist Everly can be found in the Agricultural Laboratory just east of your location (northern building). You can find her in the central room, however, Everly is so distressed that she decides to stay and let the infestation take her. Before leaving, take the time to check the room to the east and the room southwest of the building to find Dead Hills Datapad #8 and #9.
Investigate the Suspicious Container
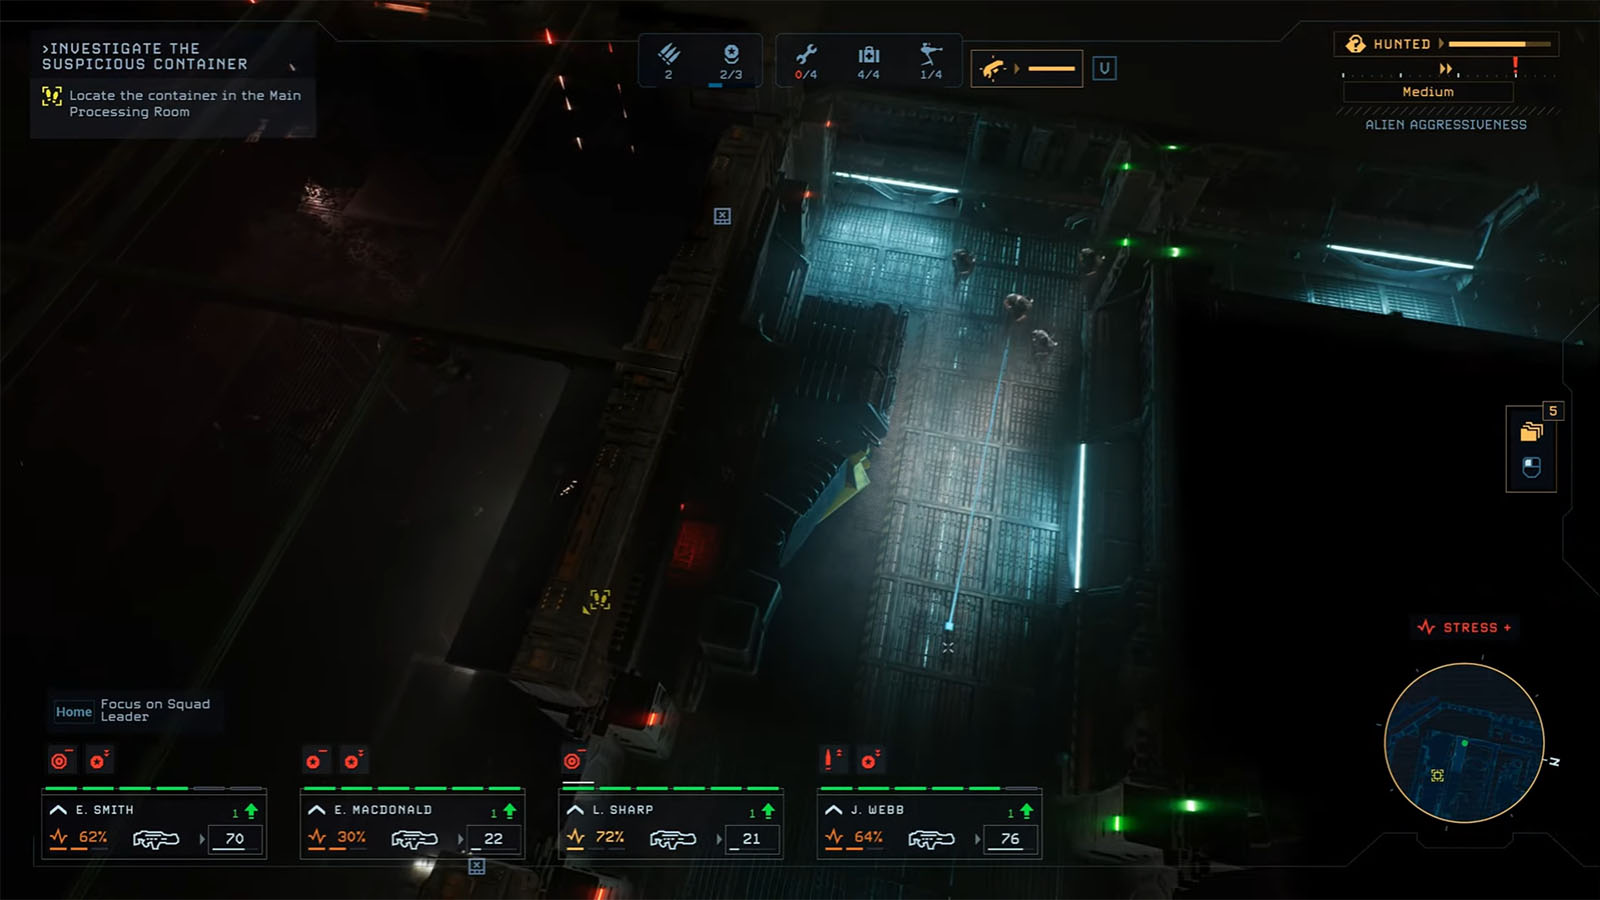
Your next stop is the Slaughterhouse, southwest of the compound. Take the time to gather supplies or lower down your squad’s stress levels as you are about to head into your first boss battle in this location. You can also decide to head back to base and redeploy with a new squad if you wish.
Head to the west side of the compound, where the marker is. Interact with the terminal to open the door to the Slaughterhouse. Check the room near the entrance to find Dead Hills Datapad #10. Further south, you will arrive at a hallway that goes east. The room at the end of this hallway has Dead Hills Datapad #11. Then, make your way to the south side of the building and set up your turret facing the door. Then you can engage with the boss up ahead.

You will be fighting against the Crusher, which is a tougher version of the regular Xenomorph. It has a thick exoskeleton that would render most of your regular bullets only do small chip damage. Still, it’s best to try and round it up in your turret’s line of fire. Using your grenade launcher or shotgun will help stagger it for a few seconds, giving you time to reposition. Once the Crusher is dead, check the shipping container manifest to find Dead Hills Datapad #12. You will then be given a new objective: go to the Colony Director’s Office.
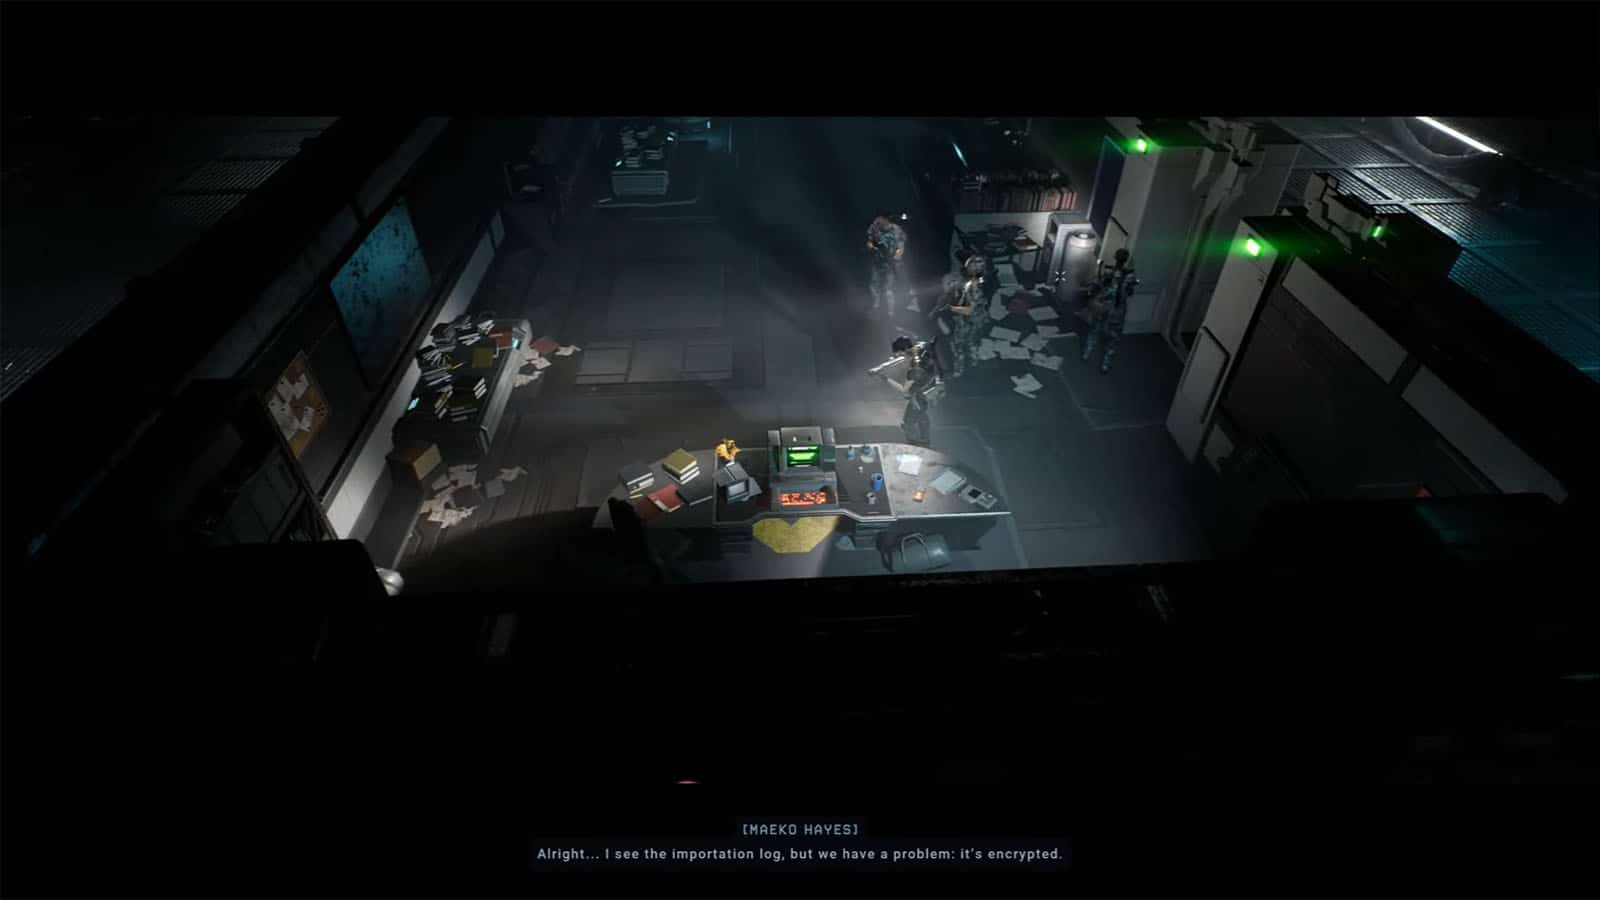
Head to the Community Center and check the table nearby for Dead Hills Datapad #13. Take the elevator to reach the 2nd floor, then head to the northeast. Go to the room next to the room where you found the Xenotech Blueprint from before. Interact with the Director’s terminal to find some data. It’s encrypted, and Hayes will need more time to sort it out. For now, go do some of the other objectives on the map or head back to Otago. Make sure to check the Bar, which is just south of the Sheriff’s Office, to find Dead Hills Datapad #14.
Find materials for the Otago
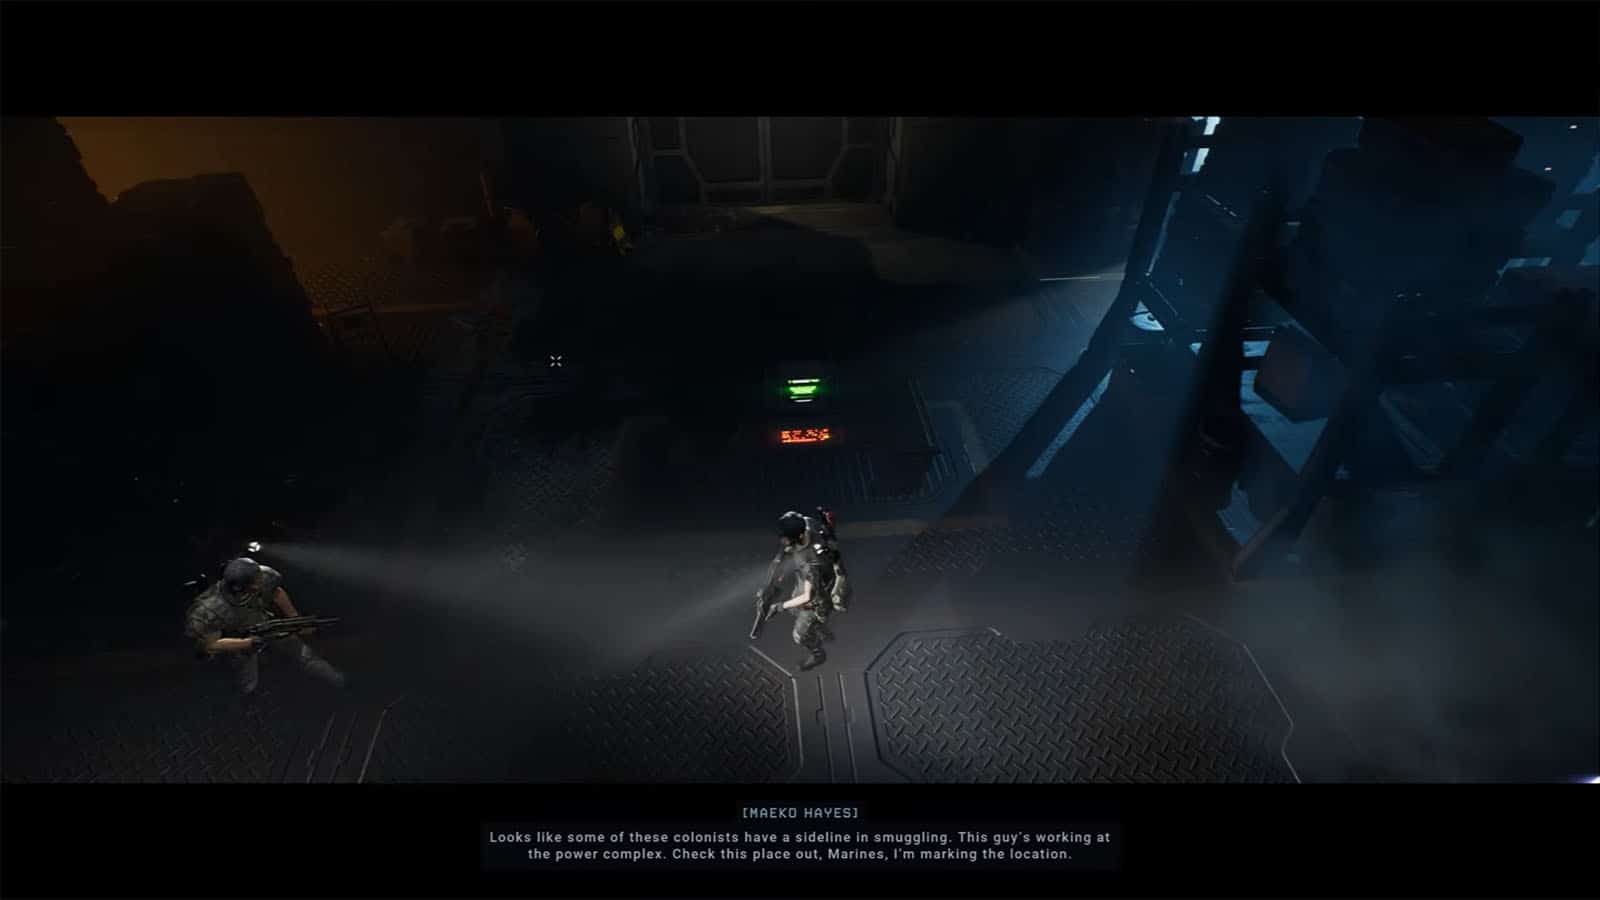
Take this time to complete another objective for the Otago. Head over to the Warehouse, which is the building south of the Community Center. Check the terminal inside the building to find the logs and clues that will lead you to the Generator Room, northwest of where you are. You will also find Dead Hills Datapad #15 in this building.

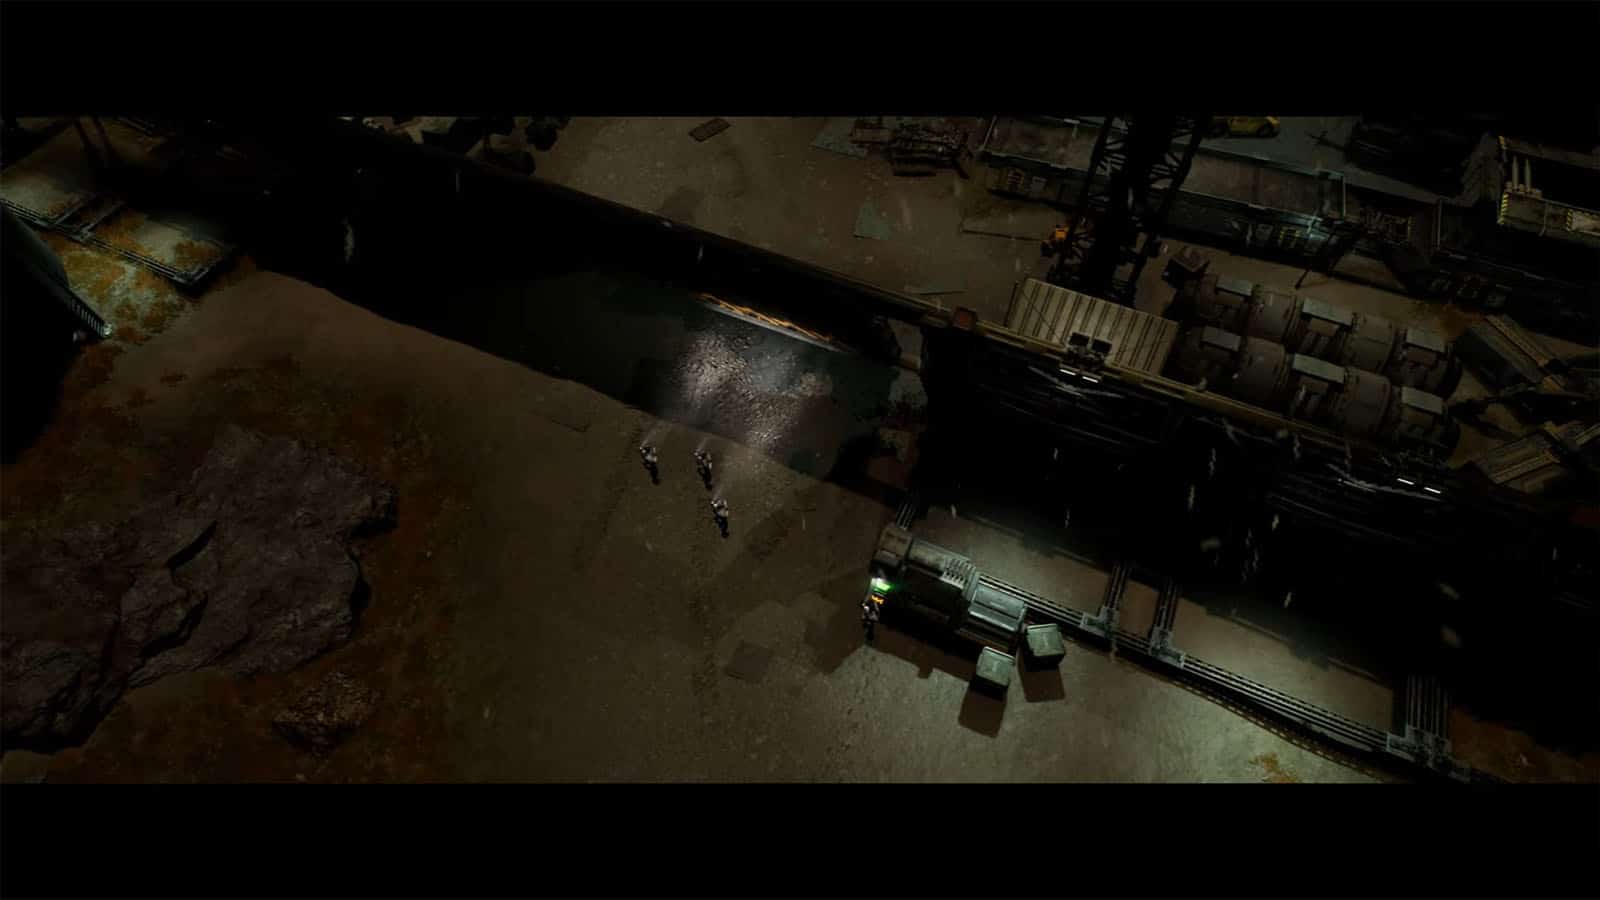
In the Generator Room, you will need to follow the markers to find where the smuggler is. You will eventually find its corpse and info about more supplies at the Transformer Station, north of the Agricultural Laboratory. Before heading there, check the rest of the Generator Room to find Dead Hills Datapads #16 and #17. Make your way to the next marker to find the container and complete the objective.
Find the Colonists in the Old Mine
At this point, Hayes will give you a new objective.
Head to the gate to the west of the Agricultural Laboratory and interact with the terminal to open the Perimeter Gate. You’ll find Dead Hills Datapad #18 just outside of the building, while Dead Hills Datapad #19 is inside the building near the Mine Entrance. Once you’re ready, take the lift and head down into Mineshaft-1.
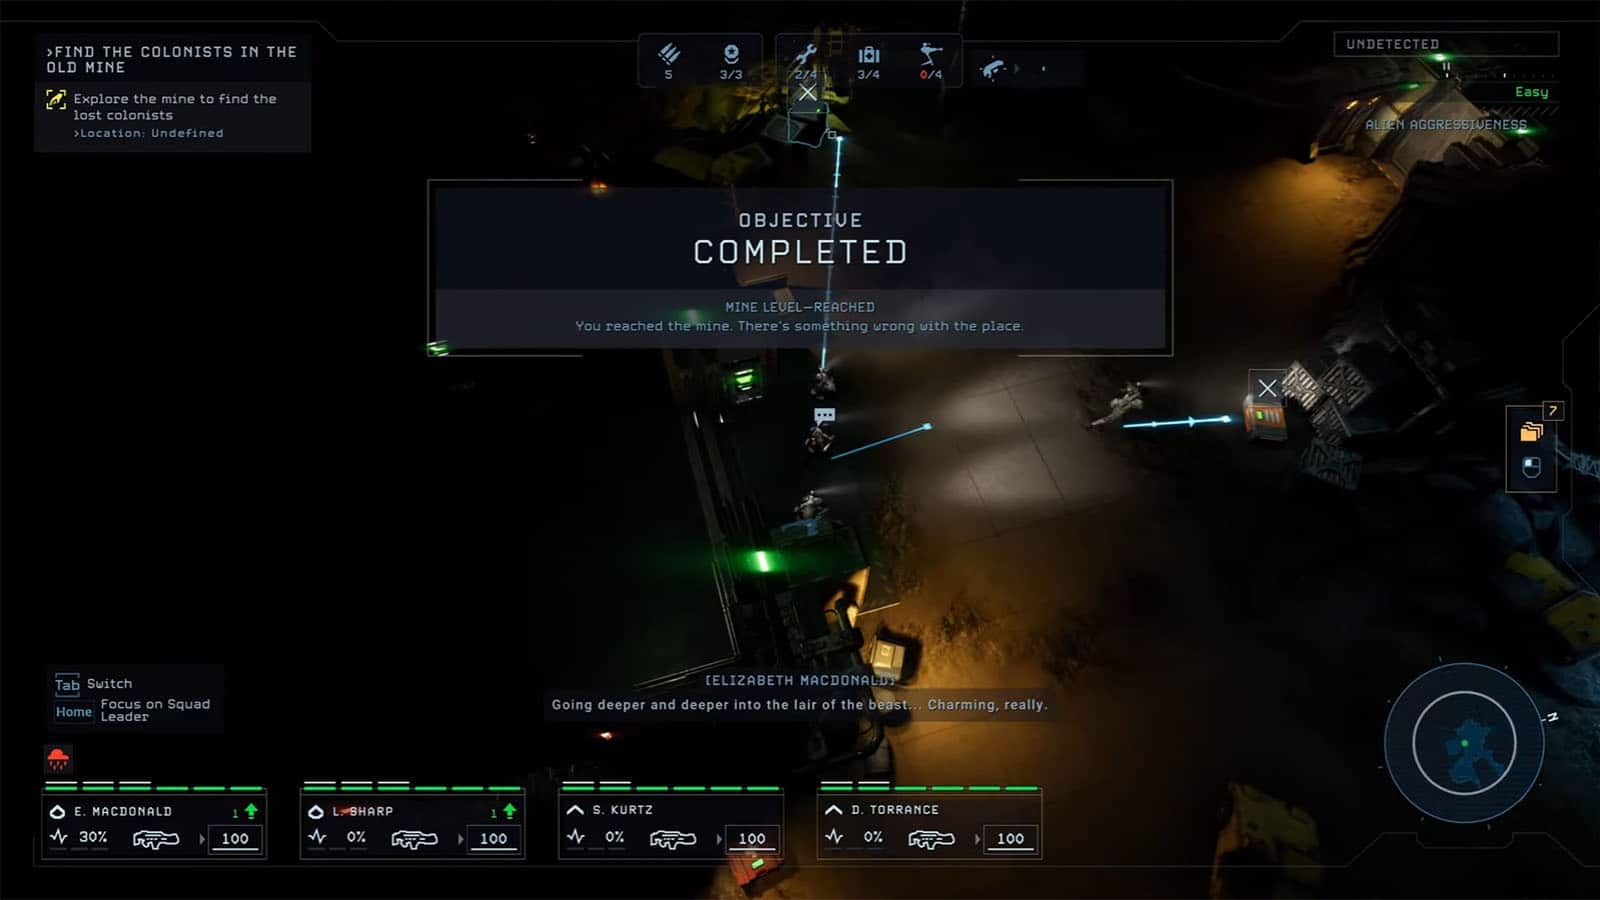
The Old Mine has a network of tunnels that could get very confusing. The general rule to avoid getting lost is to keep going north to where the next objective is. Make sure to stock up and pick up all the supplies that you can, especially since you’ll be encountering hostiles along the way, plus there will be another boss fight at the end of the mine. Because of this, you may also want to take the stealthy and less stressful route to prepare for the boss fight.
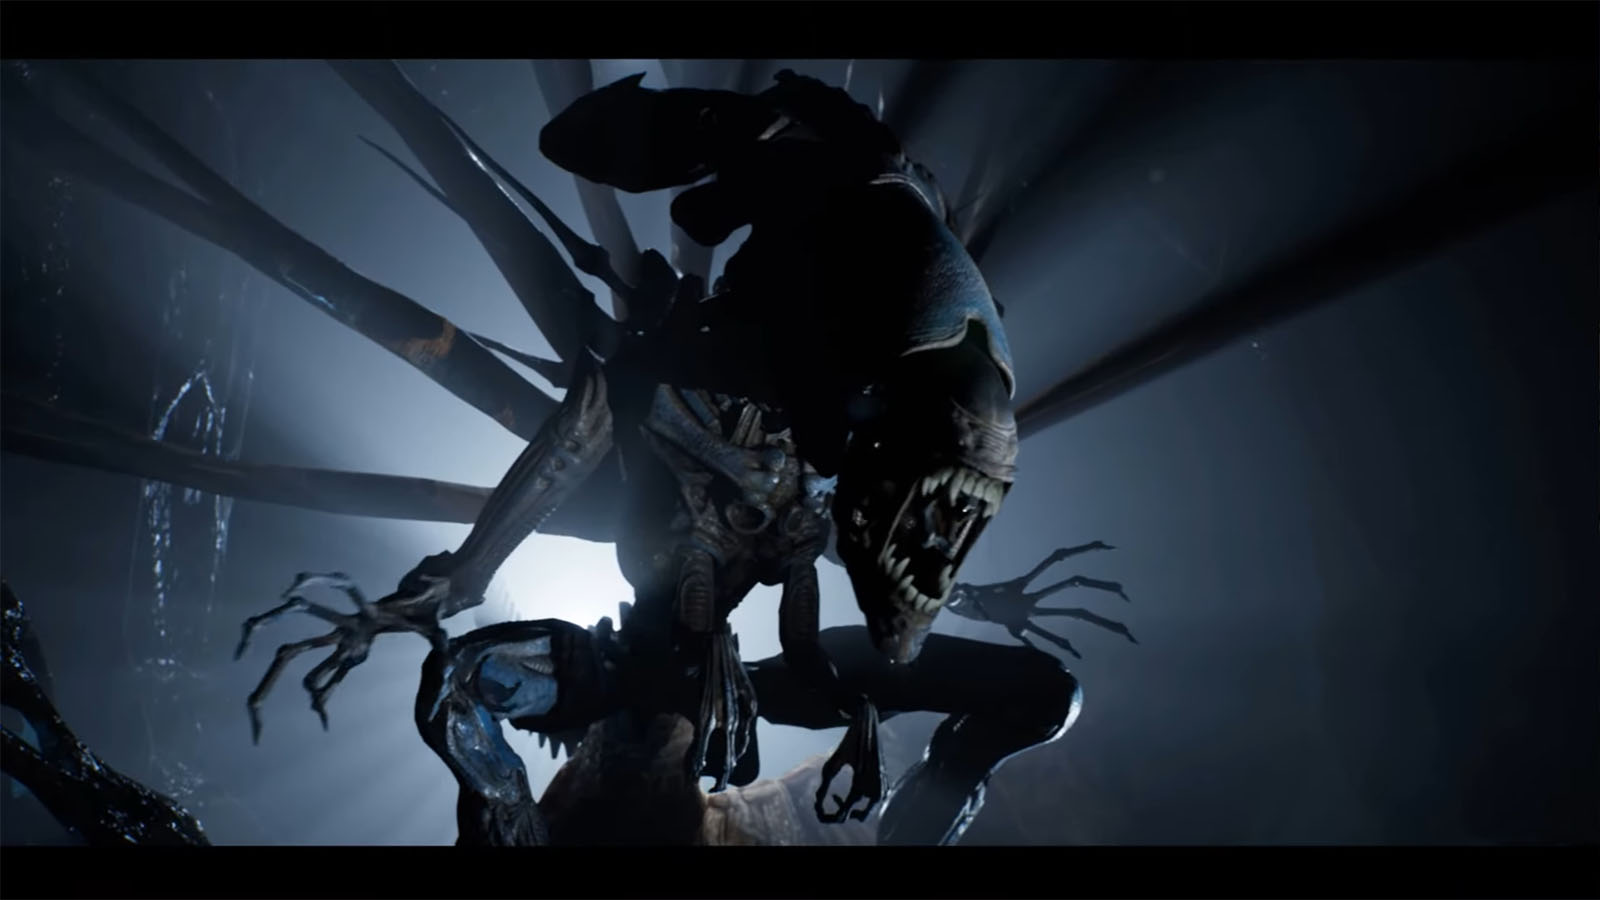
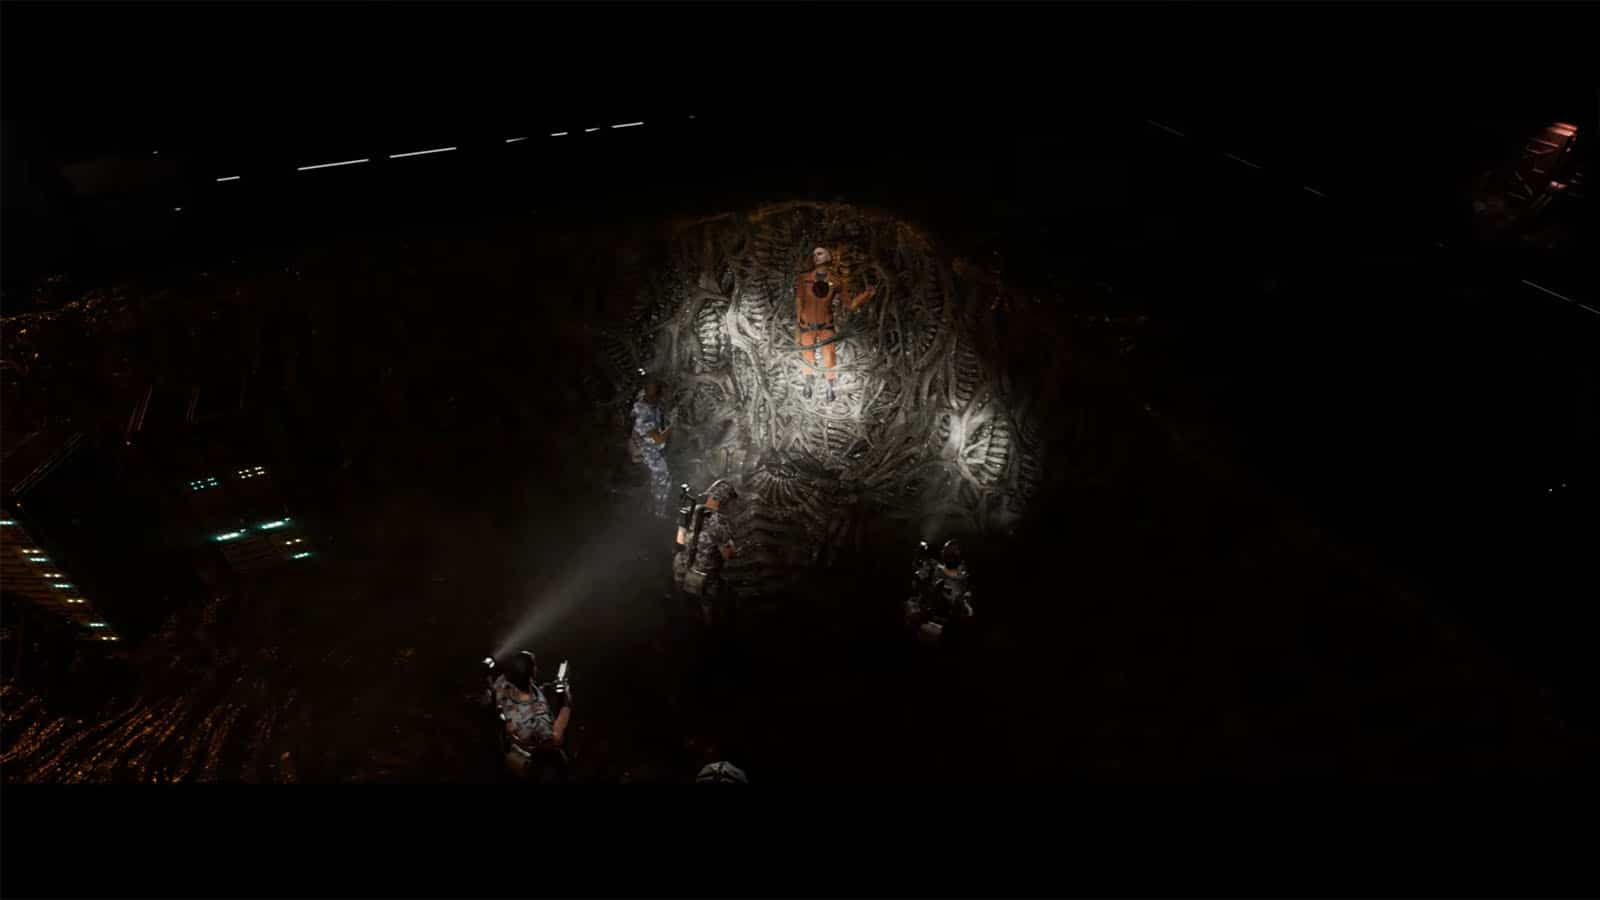
At the end of the mine, interact with the terminal, and you’ll get prompted for the danger up ahead. Push through, and you’ll be facing the Queen.
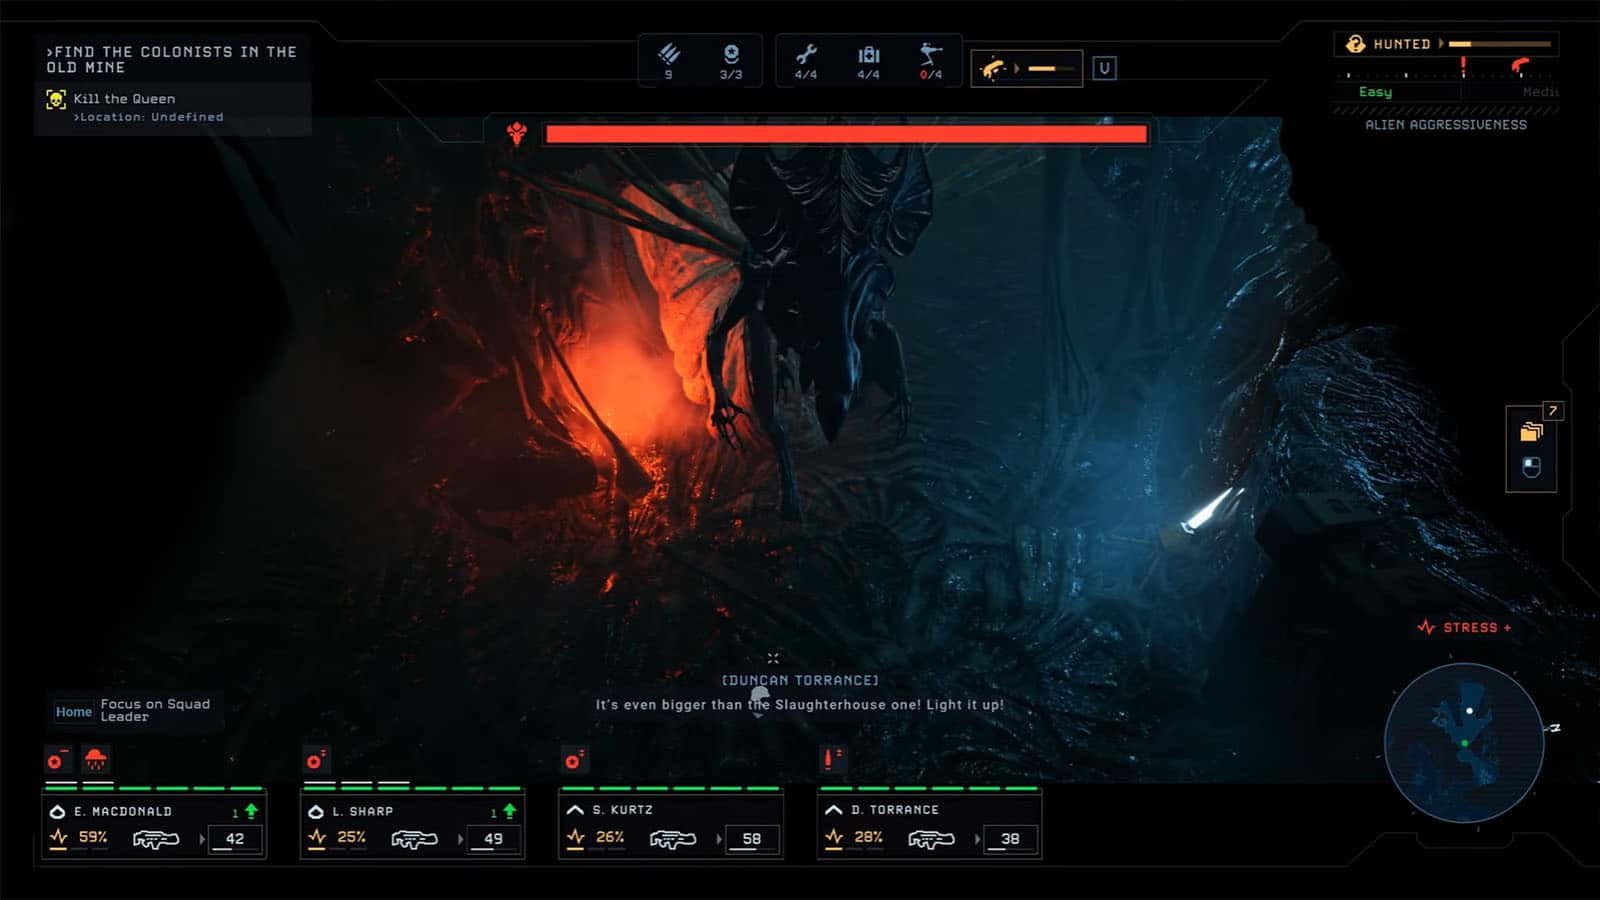
The Queen will be a tough fight, as she will be summoning more spawns to rush down on you. Keep moving and try to keep the targeted unit alive. Use your grenade launchers to keep the Queen and her spawns at bay. Remember that you also have a sentry gun to deploy, so use it to help whittle down the spawns. Once the Queen is dead, you can collect a sample from here to unlock the Xenotech Blueprint – Extraction Device.
You can also interact with the cocoons nearby; one of them contains the Director, from whom you can obtain the codes to decrypt the data you obtained earlier.
Save veterinarian T. McNeil
You will also find the veterinarian that you tried to save earlier. She’s unconscious but still alive, so have one of your units carry her as you make your way back to the lift. You will find another route that will take you back to the lift much faster than before. Once you’re back at the surface, get to the ARC and request an extraction to complete the mission.
See next: Aliens Dark Descent Berkley’s Docks Mission 02 Walkthrough


