
Berkley’s Docks is the second mission in Aliens: Dark Descent. After digging more info about the shipment, Hayes traced its origins and learned that it passed through Berkley’s Docks, Lethe’s biggest spaceport. Harper also wanted to head into the settlement to help save his people from whatever the infestation brought with it.
Read ahead as we go through Berkley’s Docks Mission 02 in Aliens: Dark Descent and share some tips on how to complete the objectives, as well as the locations of the collectibles and blueprints in the level.
See previous: Aliens: Dark Descent Dead Hills Mission 01 Walkthrough
Berkley’s Docks Objectives:
- Open Berkley’s Docks main doors
- Clear the way for the ARC
- Get into Port Control
- Reach the Harbor’s Control Room
- Find a way to reach the Command Room
- Rescue the hostages
- Extract the hostages
- Save the civilian in the cocoon
- Check the Shipping Manifest in the Command Room
- Explore the Warehouses
- Try to access the Seegson container
Berkley’s Docks Mission 02 Walkthrough
This next mission will send you to Berkley’s Docks after you get intel that the shipment that contained the Xenomorphs passed through there. Hayes will also need some help in recovering a comms repeater to help rebuild the communications of the Otago and warn the other settlements on the planet of the infestation.
Open Berkley’s Docks main doors
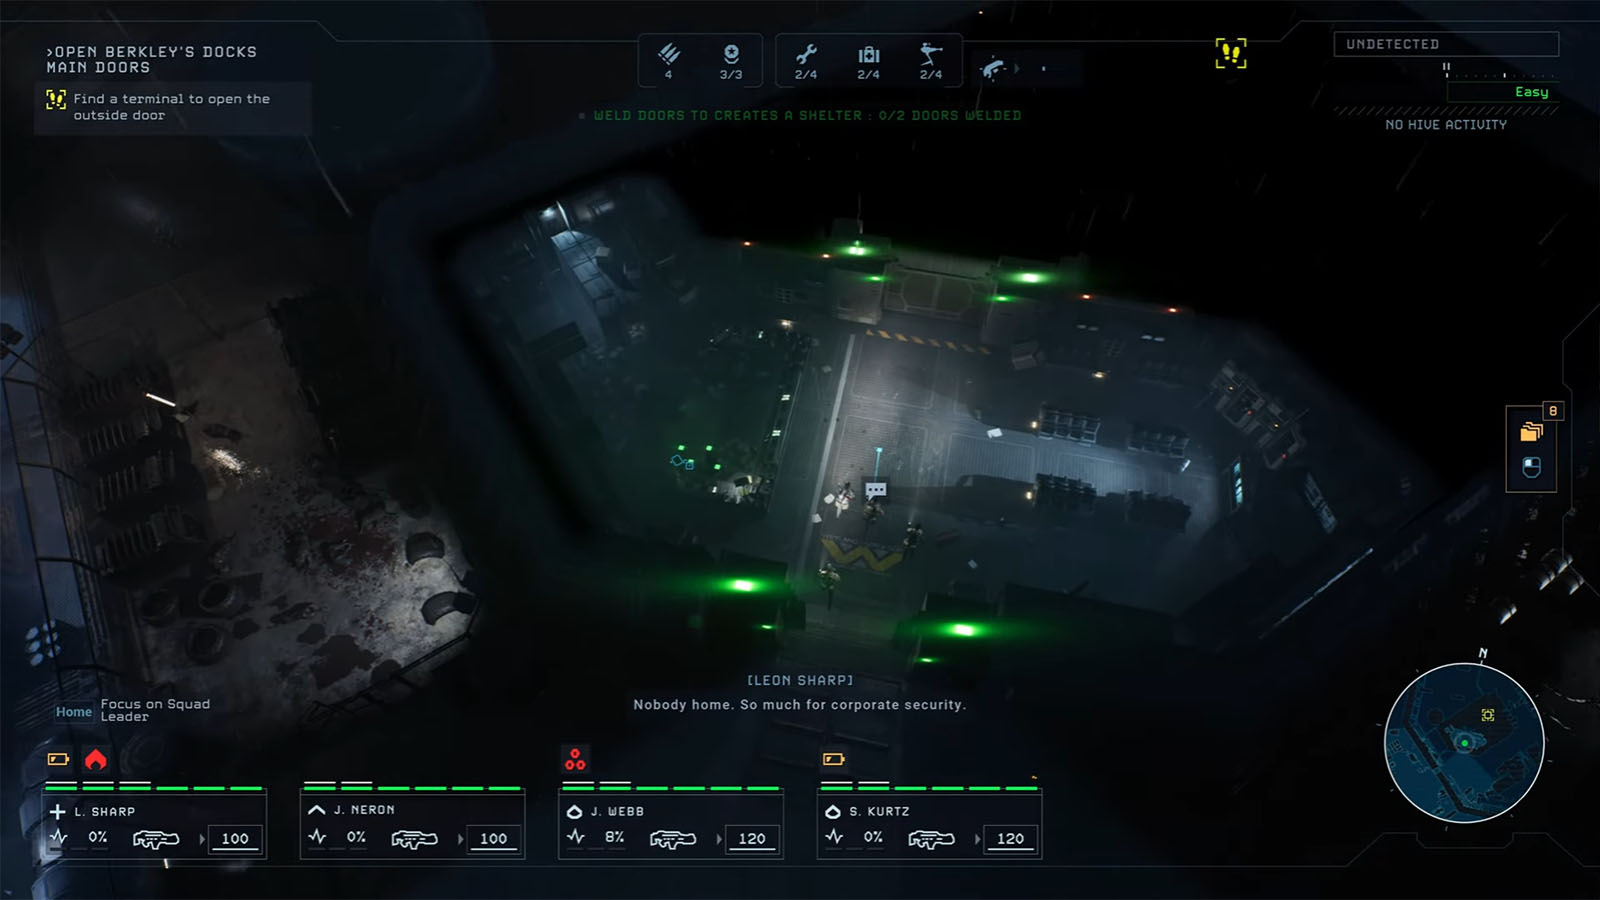
Upon arriving at the docks, you will need to open the gate wide enough for the ARC to go through. Head into the Security Office just north of you, where you will find Berkley’s Docks Datapad #1 by the door and Berkley’s Docks Datapad #2 in the back room. Head to the terminal in the main room and interact with it to open the gate.
Clear the way for the ARC
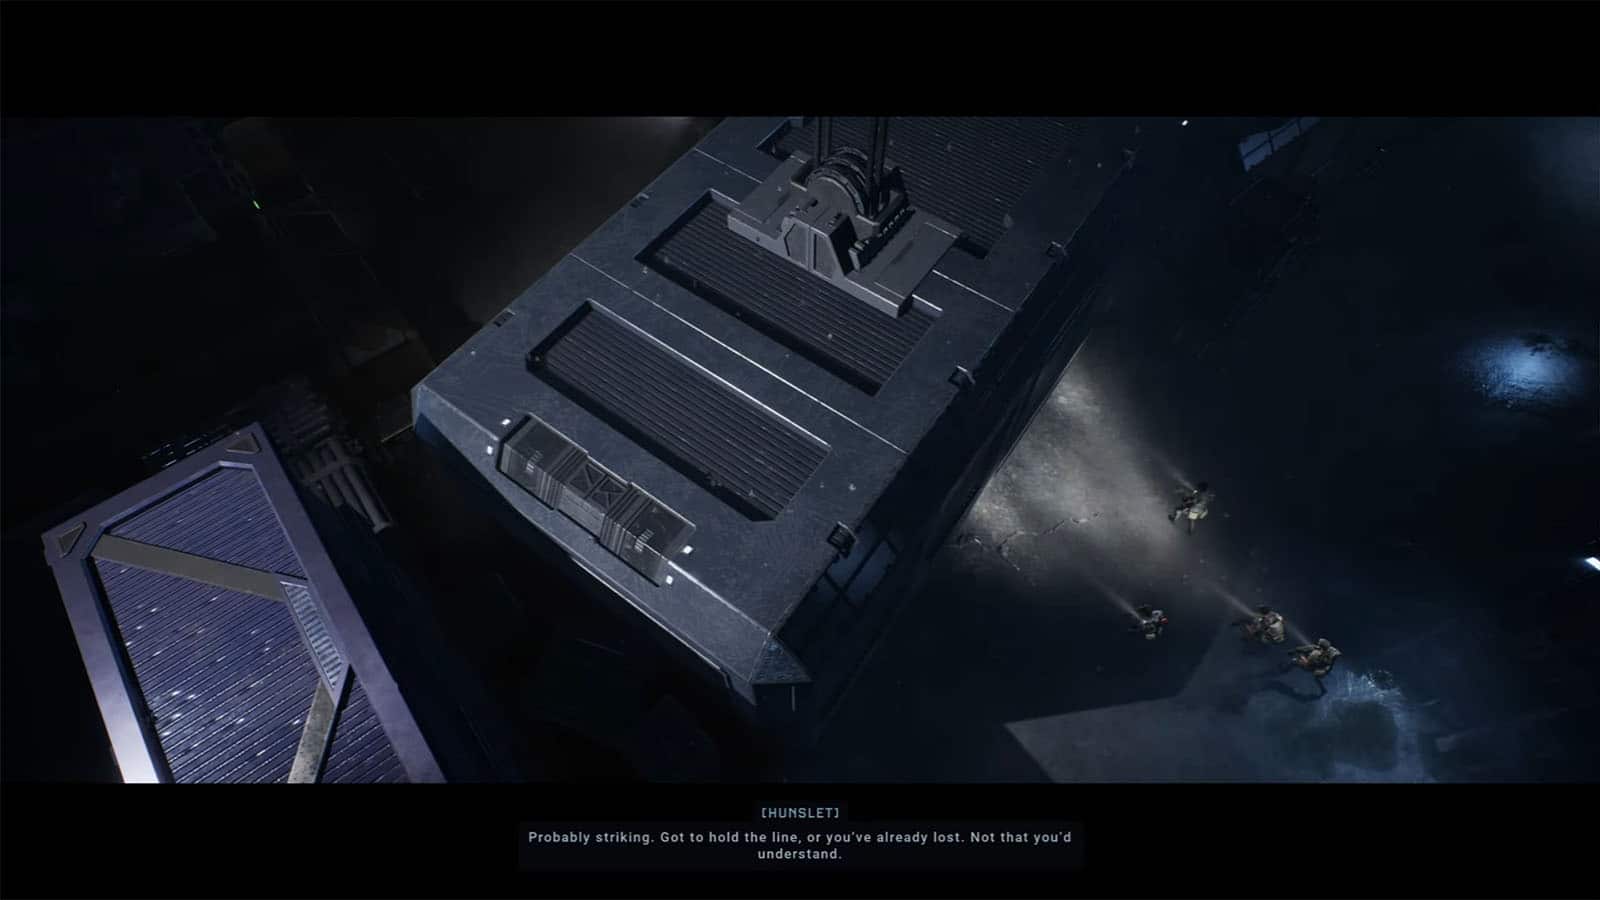
Your next location is Port Control, however, you have the option to clear a path for the ARC to get through the dock, which can help you in later encounters. You will find a huge container blocking the main path, so you will have to take the east path around the shipping containers to reach the control room.

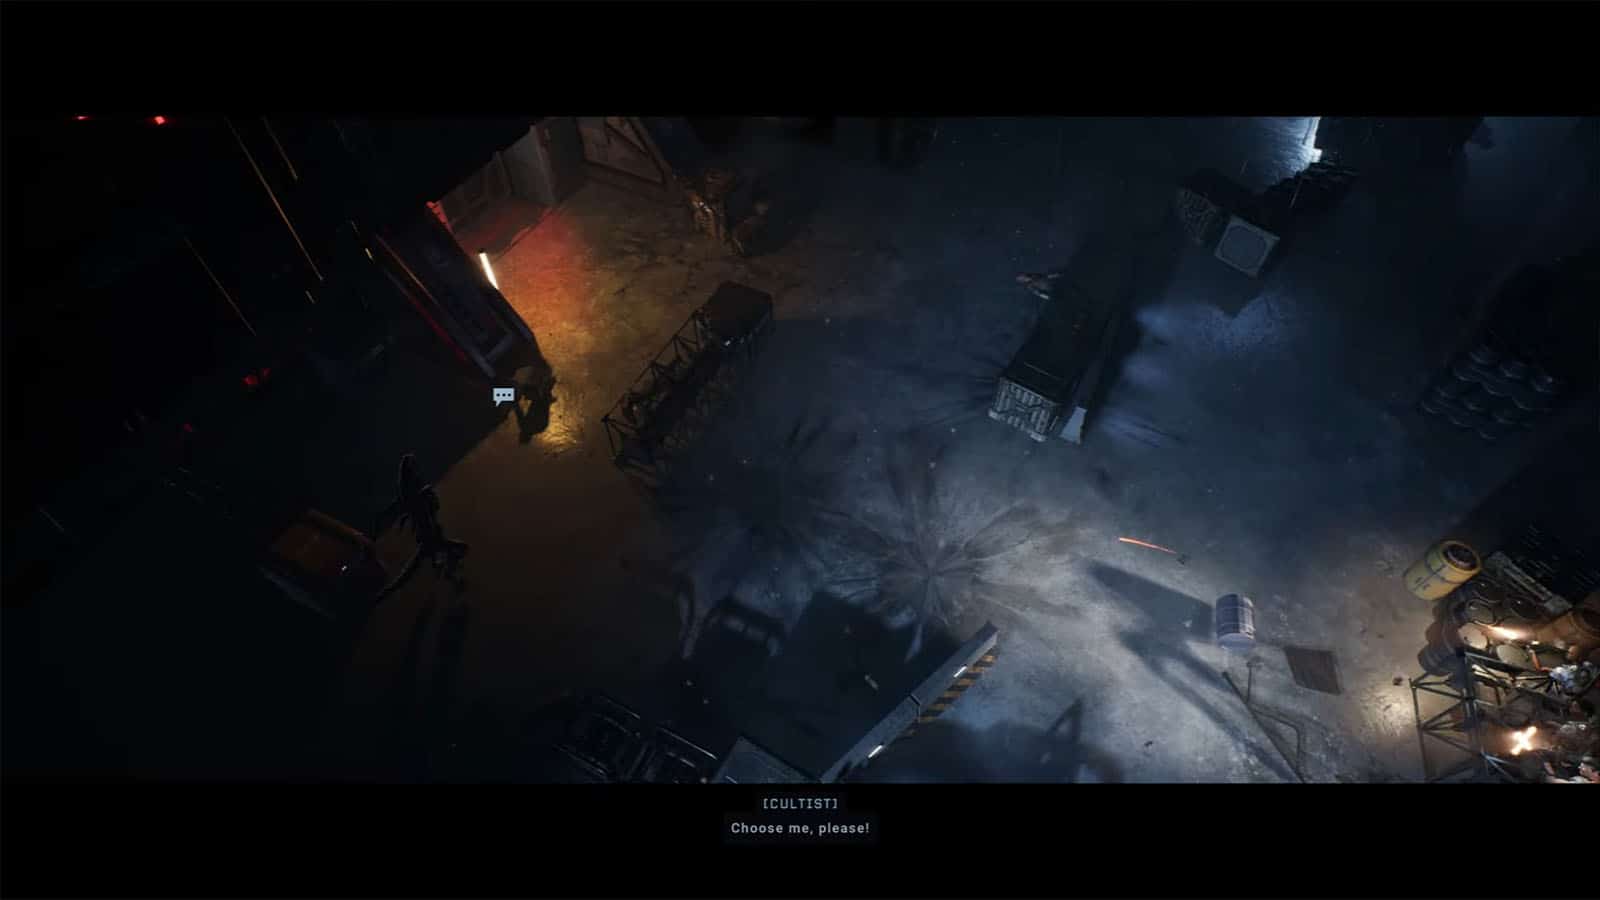
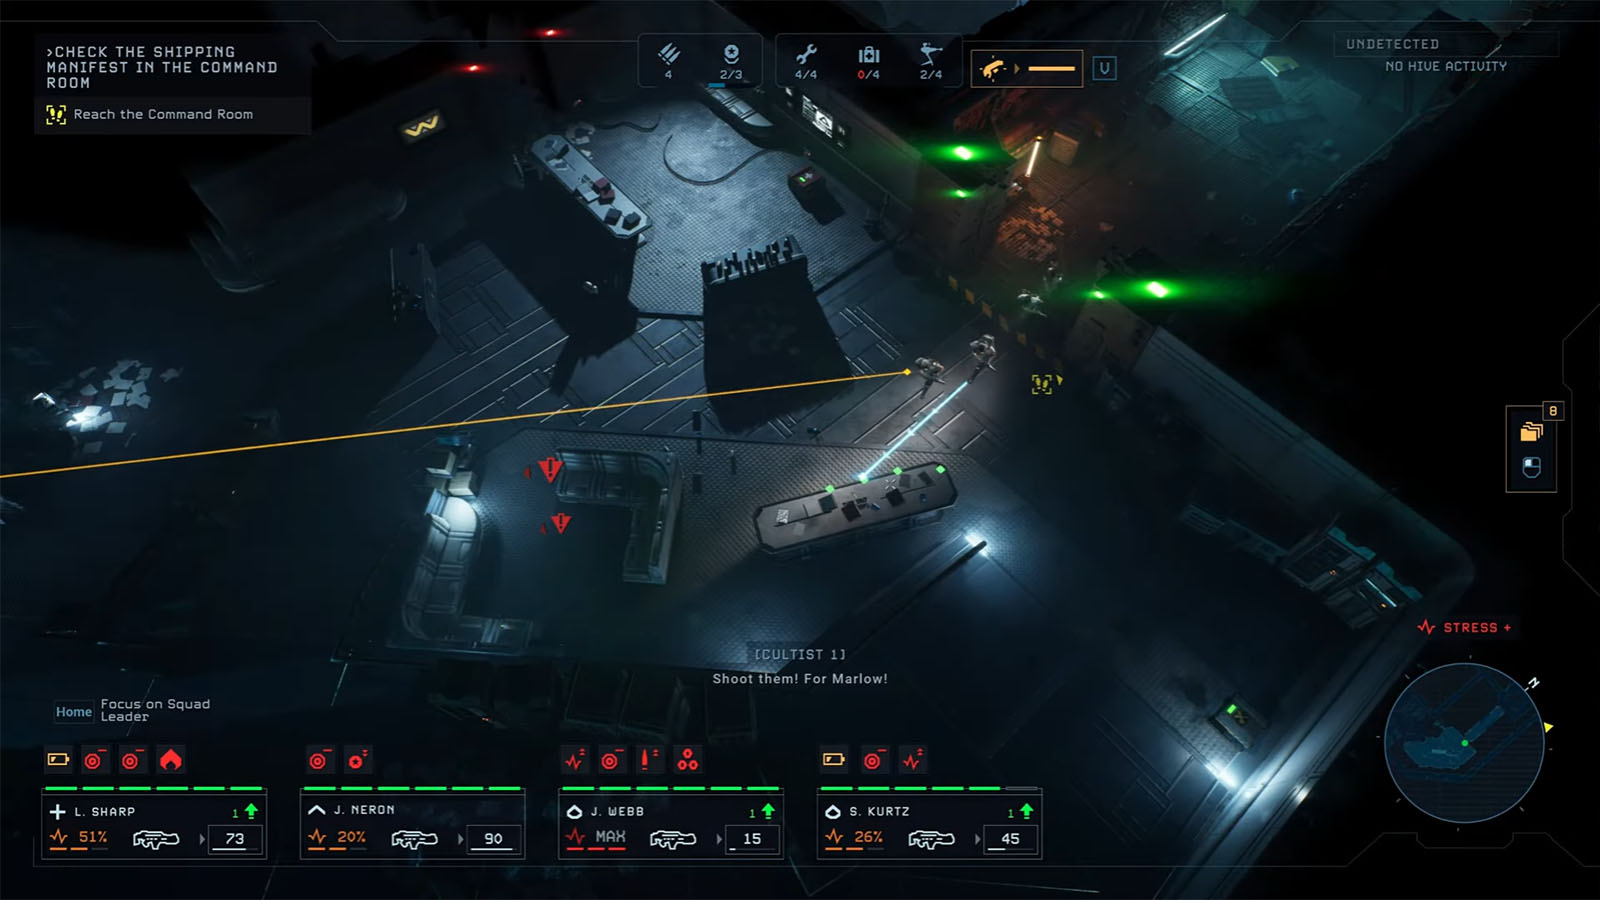
You will soon encounter a new type of enemy, the human cultists, so be prepared to engage them. Similar to Xenomorphs, they will also show up as white dots on the mini map. Be careful, as even though they use melee weapons, they can jump a long distance to get closer to your squad.
Once you get inside the control room, interact with the panel to use the crane and move the container for the ARC.
Get into Port Control
Get your squad into the ARC and redeploy over at the northern drop zone. Use C4 to blow up the barricade, then prepare to take cover as the guards will start shooting at you. During the second wave, a Xenomorph will join in and take one of the cultists away. Follow them inside Port Control.
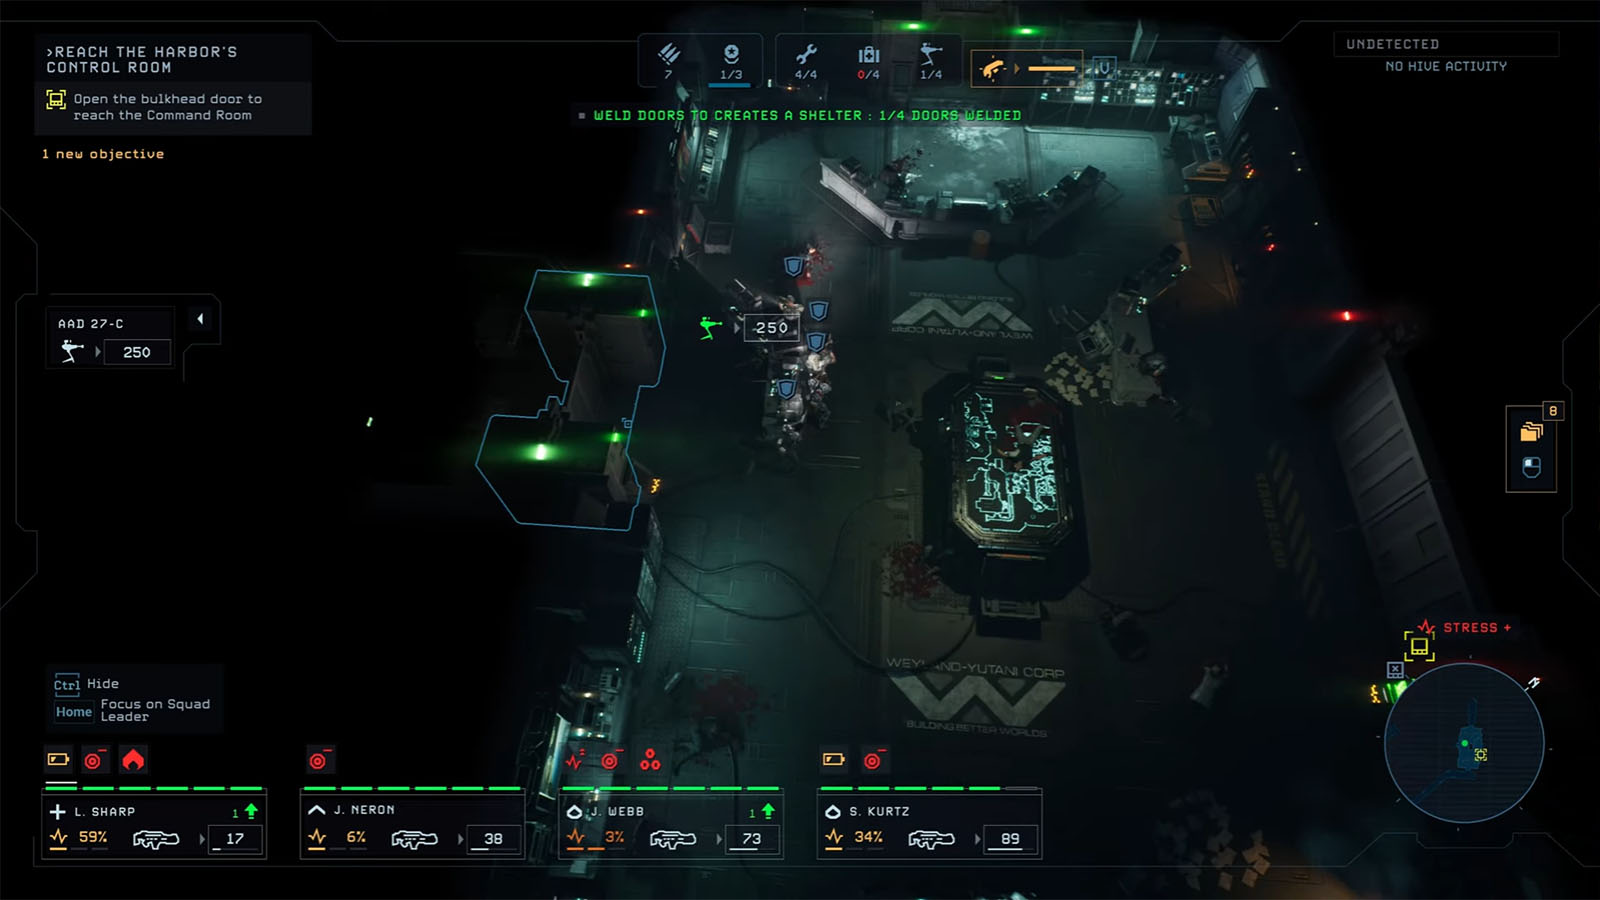
Reach the Harbor’s Control Room
Inside Port Control, there is a line on the floor that you can follow to get straight to the Command Room. You can take some detours along the way to gather some supplies, but most of the rooms will be patrolled by cultists, so prepare for some engagement.
The first room to your south, the Cafeteria, has plenty of cultists, so it’s best to set up your defenses before opening the door. Once they are cleared, get Berkley’s Docks Datapad #3 by the table.
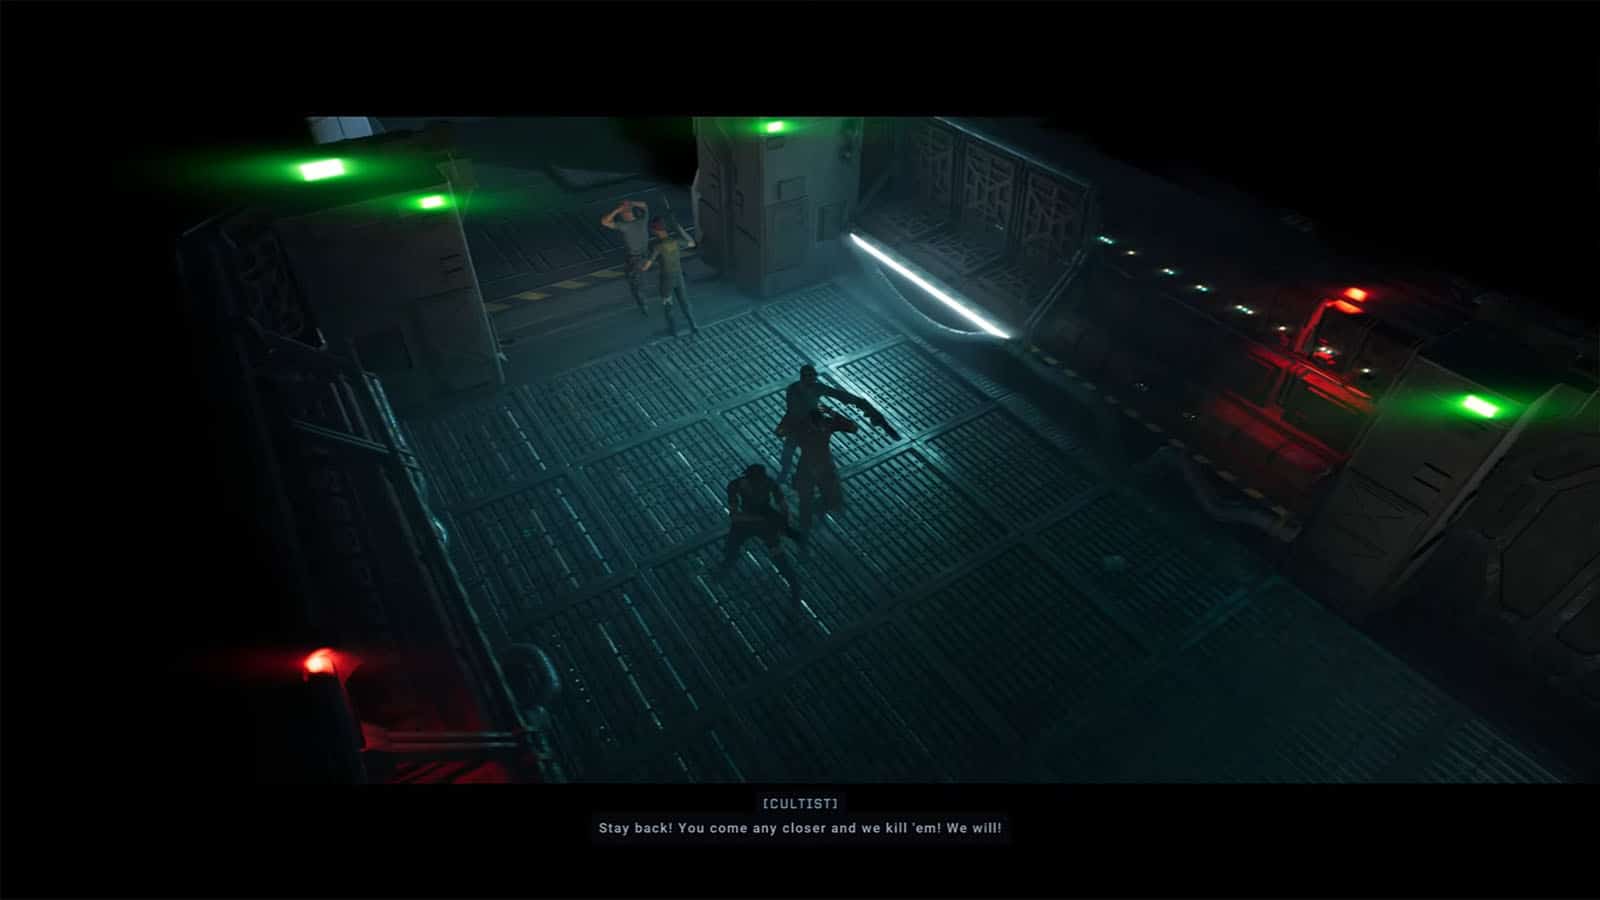
Continue towards the west hall until you reach the elevator, then go up to the 2nd floor. Check the rooms along the hallway (one room requires a decrypt), then continue to the end of the hall, where you will see some cultists holding some hostages. They’ll block your main path, and you will have to find a detour; this will be a secondary optional objective that you can take. Following the white line will lead you to a blown-up hall, so take the south path. After passing the first gate, the hallway behind you will also be blown up.

You will then encounter a different breed of Xenomorph known as Runners. These are faster than the regular drones, so killing them quickly before they reach your squad is a must. Have someone on suppressive fire as you move through the long hallway, and have your shotgun ready for those that get too close. You can weld some doors along the way to give you time to get away from these Runners.
Once you reach the next room, take the time to rest up before proceeding. Interact with the table to get the sector map. Then interact with the northeast terminal to open the bulkhead door, however, this door will be sabotaged, so you will have to find a SatCom to help Hayes open it.
Find a way to reach the Command Room
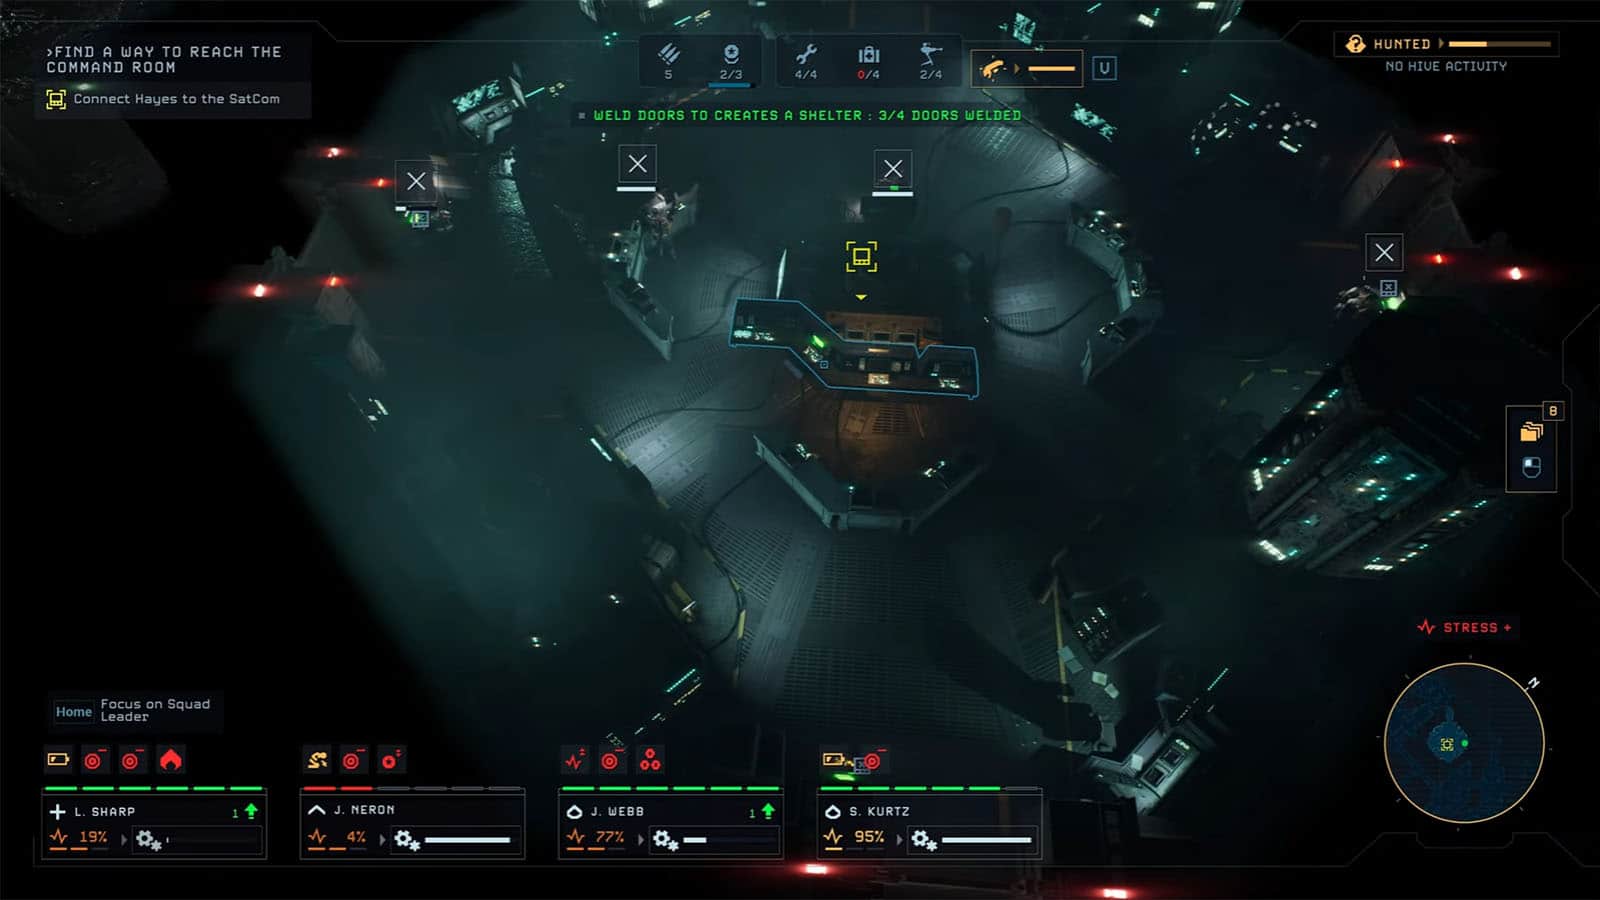
Set up a sentry by the southwest door, then lure the cultists through the hallway into the killzone. Once they’re cleared, open the door to the west (leave the southern door for now), then go through the rooms to the northeast; be prepared to engage with Facehuggers. Afterwards, turn right and head south to reach the SatCom room.
Check the room for Berkley’s Docks Datapad #4, then you can proceed to unlock the three other doors to get back to the previous rooms. Interact with the panel to override the bulkhead door. Head back to the bulkhead door to finally open it and get access to the Command Room.
Rescue the hostages
Before heading into the Command Room, go back to the previous room with the southern door and open it to discover the cultist’s barricade; use C4 to blow it up. Before entering the next room, set up your sentry, then lure the cultists into the hallway. Clear out the remaining cultists from behind the covers. Check the room up ahead to find Berkley’s Docks Datapad #5.
Extract the hostages
Talk to the two hostages to make them come with you. You will have access to the main door once again, so use it to get back to the ARC to extract the civilians. Head back to the bulkhead door to continue the main objective.
Save the civilian in the cocoon
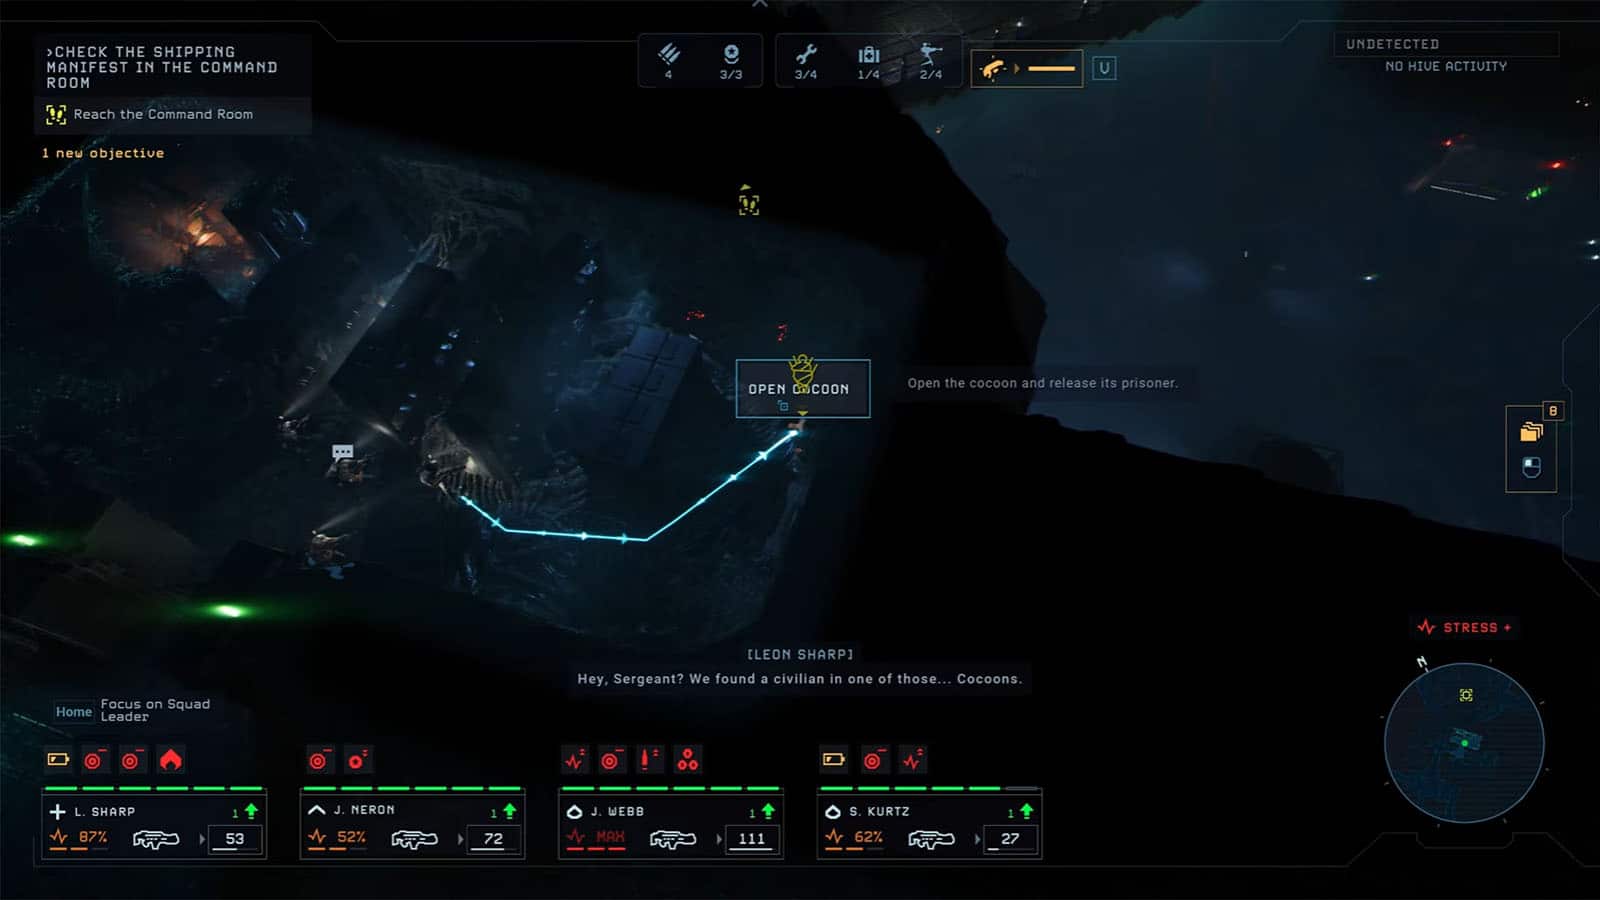
This is another optional objective. Head through the bulkhead door and take a right before reaching the Command Room. Go to the northeast room to find a civilian trapped in a cocoon. Set them free and carry them back to the ARC for extraction.
Check the Shipping Manifest in the Command Room
Once you enter the Command Room, you will find 6 cultists patrolling the area. Hide under the covers as much as possible while engaging them. Once the room has been cleared, set up your sentries first, as Xenomorphs will converge in the room as soon as you interact with the terminal. You can also take the time to recover Berkley’s Docks Datapad #6.
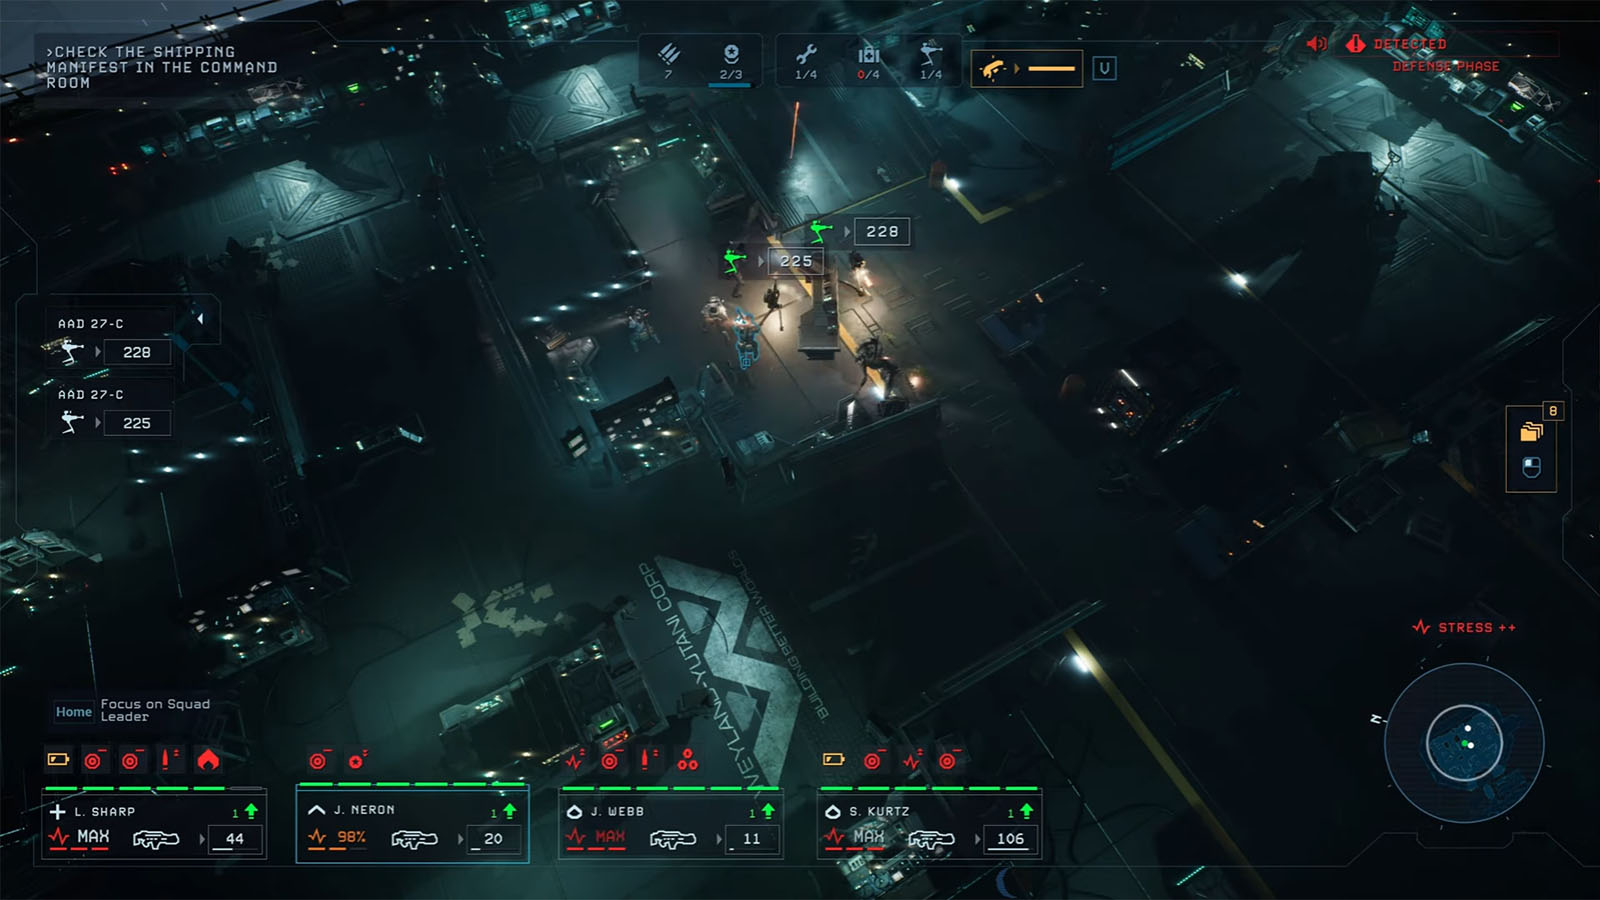
The best place to hole up is in the middle of the room, with turrets covering either side. After setting up your defenses, interact with the terminal, then prepare to engage. Have someone do suppressive fire to slow down the Runners. During this encounter, you will have to check the three terminals to get the data that Hayes needs. Every time you have to check one terminal, a wave will come into the room, so try to provide cover to your assigned unit.
After checking all the terminals and getting what Hayes needs, you can then proceed to the next objective.
Explore the Warehouses
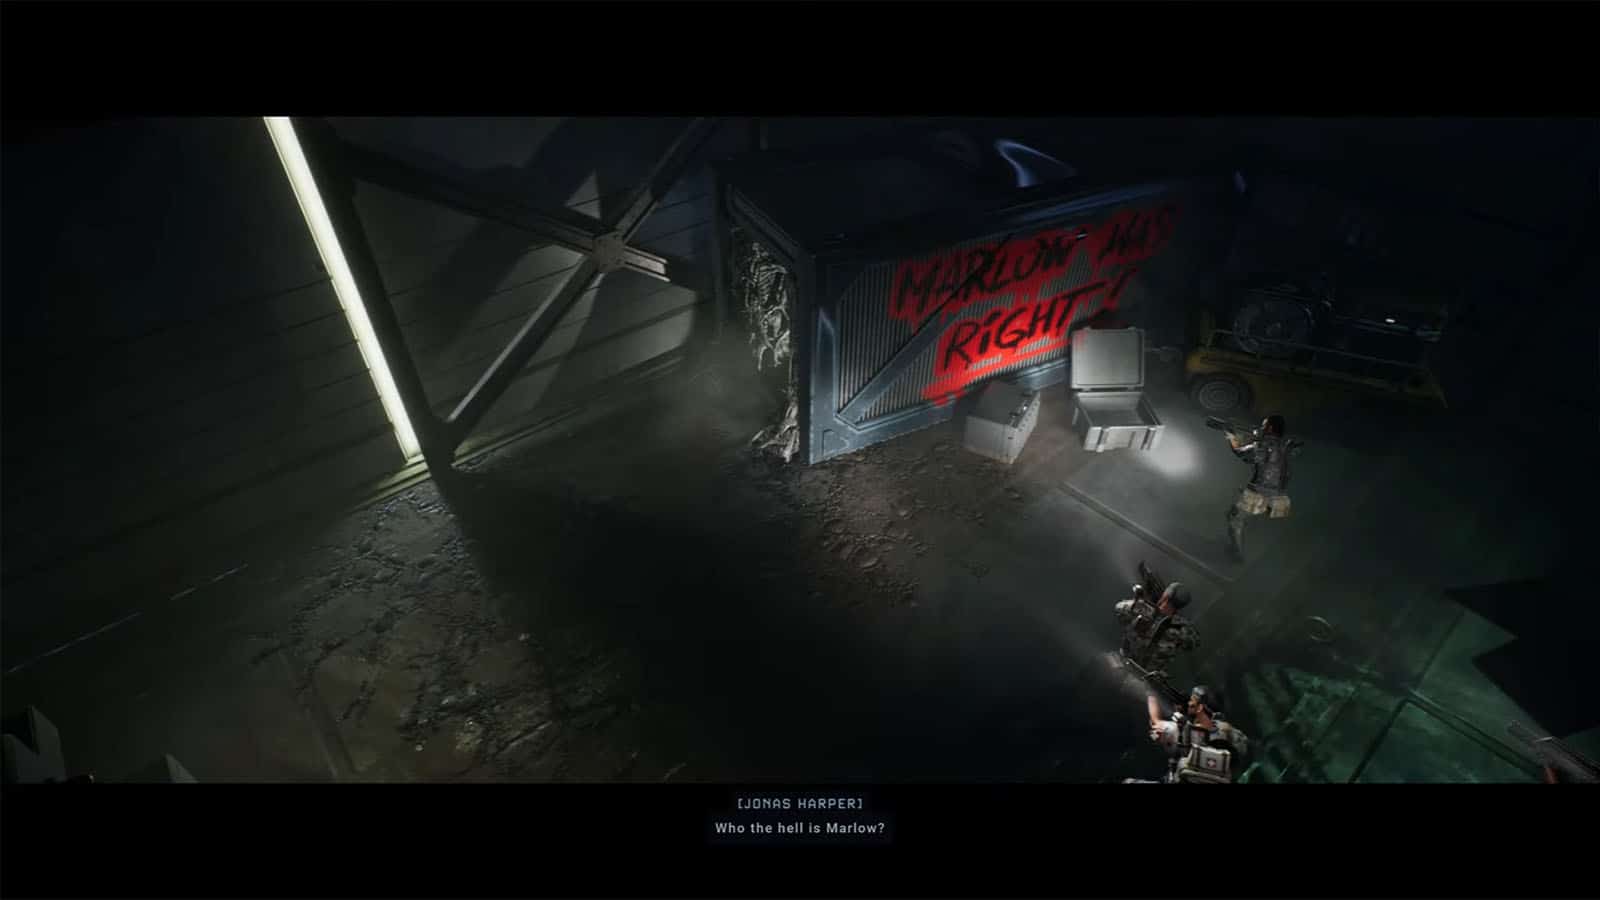
Exit the room and take the path around it to reach the elevator, then ride it back down. Cultists will be on your way, so prepare to engage. Once cleared, head towards the warehouse and open its doors; you will find a container inside that harbored Xenomorph material smuggled by the cultists.
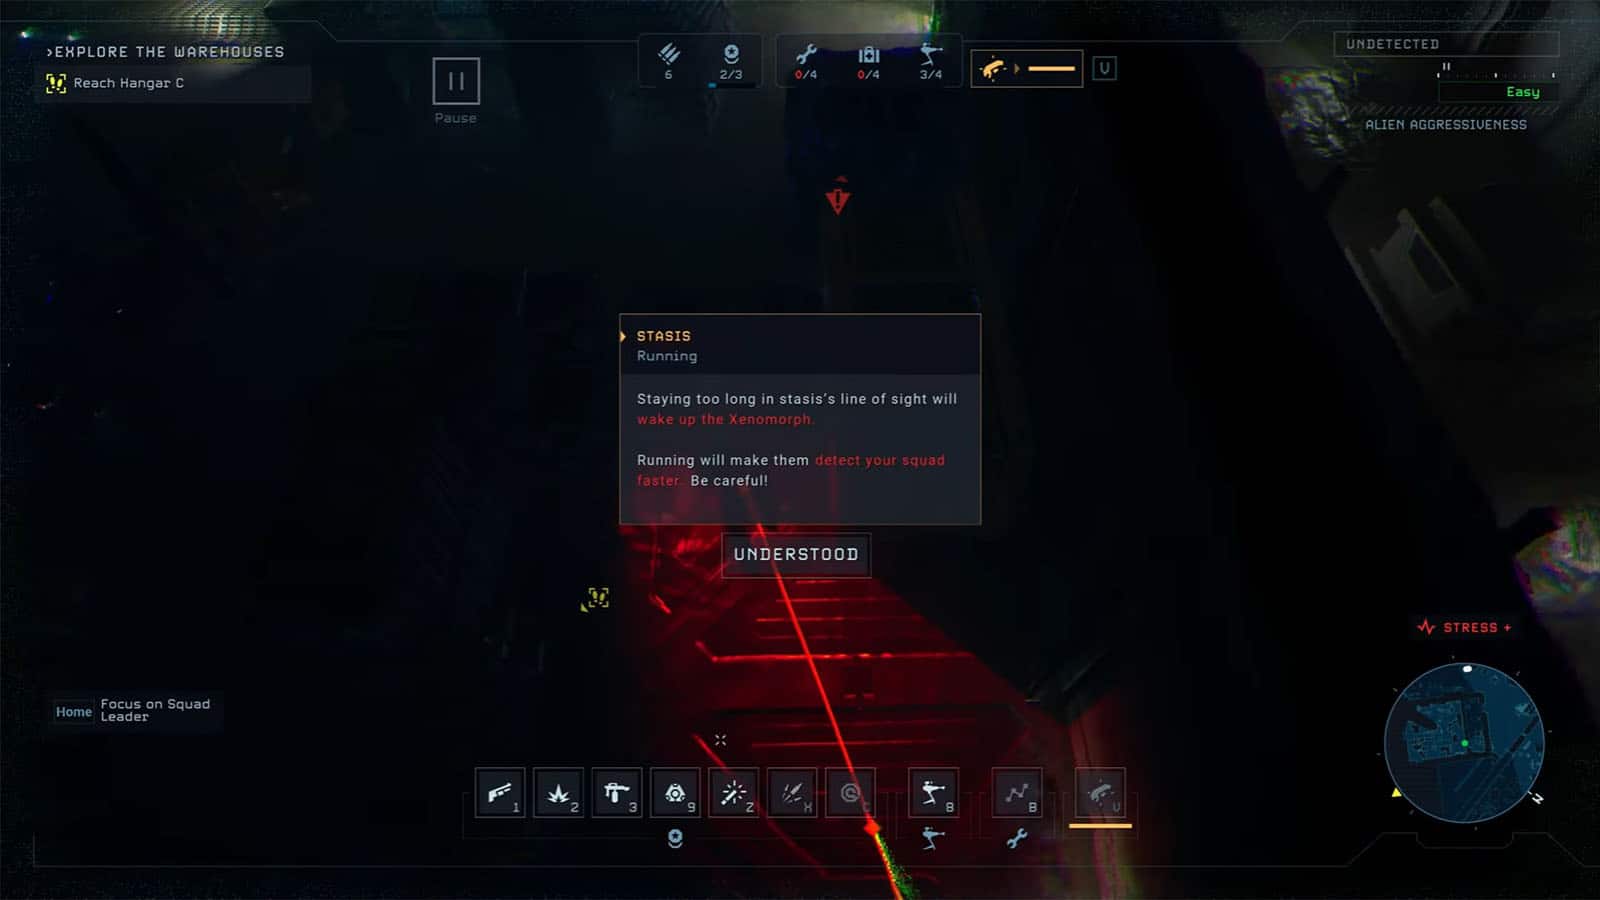
Your next objective is to check out Hangar C to find out more about the people behind it. Go to the northeast door and open it. You will then encounter Xenomorphs in stasis; stay out of their range to not wake them up or ambush them with grenades. Continue moving down to the next areas, but before heading to the northeast section, which is Hangar C, prepare your sentries by the door, as there is a Queen that will attack as soon as the door opens.
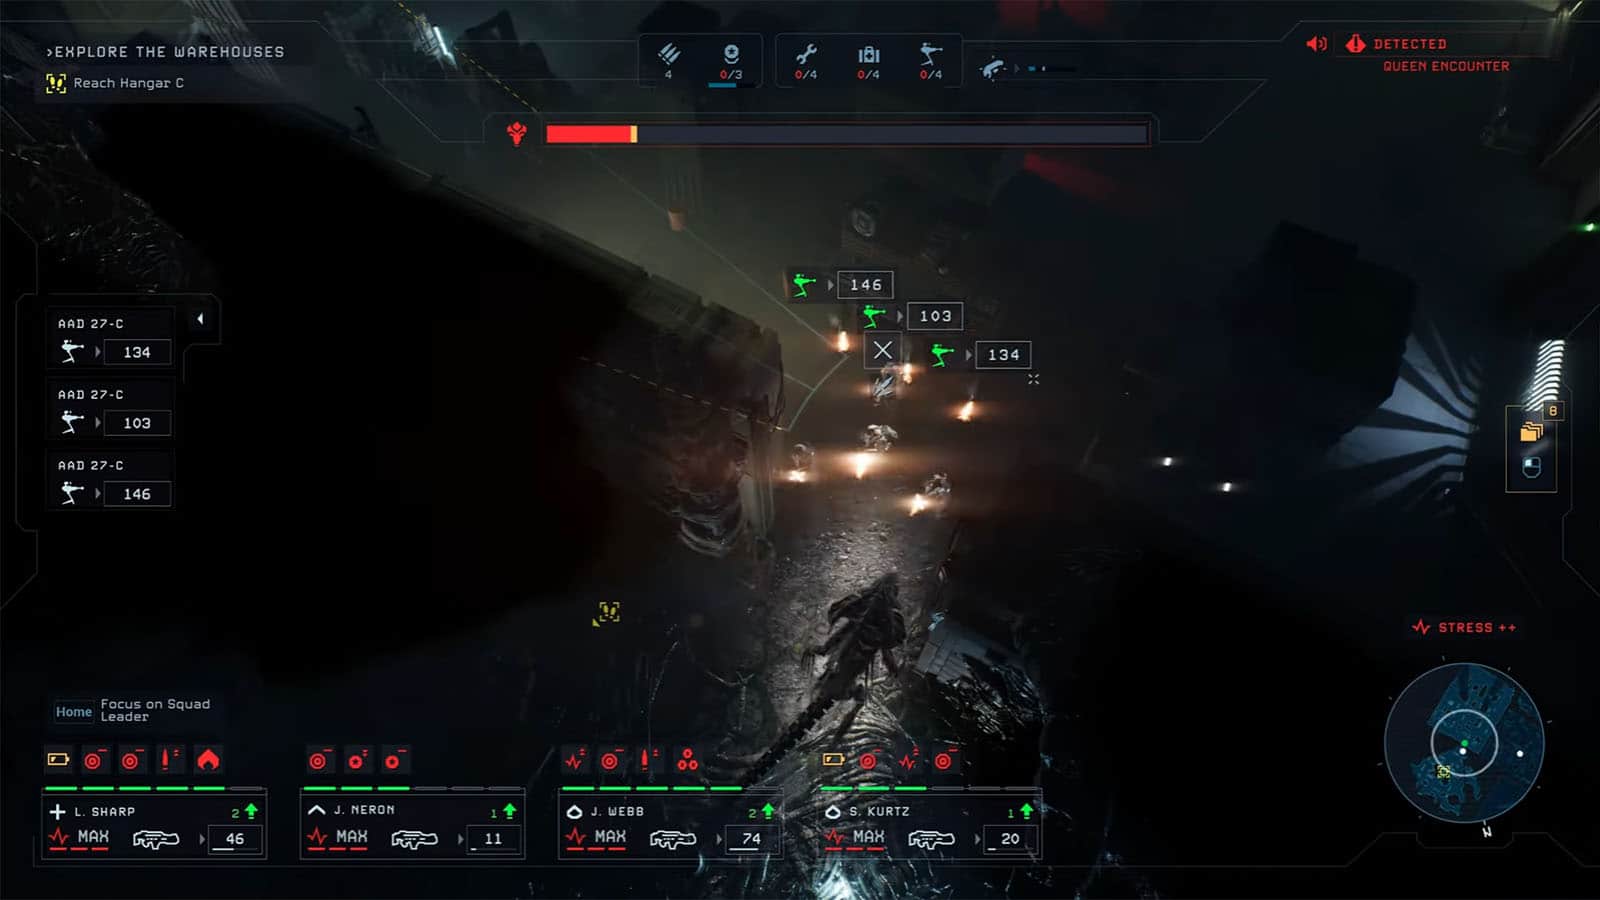
Once the Queen has been dealt with, inspect its body to find the Xenotech Blueprint – Pheromones. You will also find Berkley’s Docks Datapad #7 near its nest. Then interact with the nest to find the comms repeater. You can then head back to the ARC and get your squad extracted to complete the mission.
Try to access the Seegson container
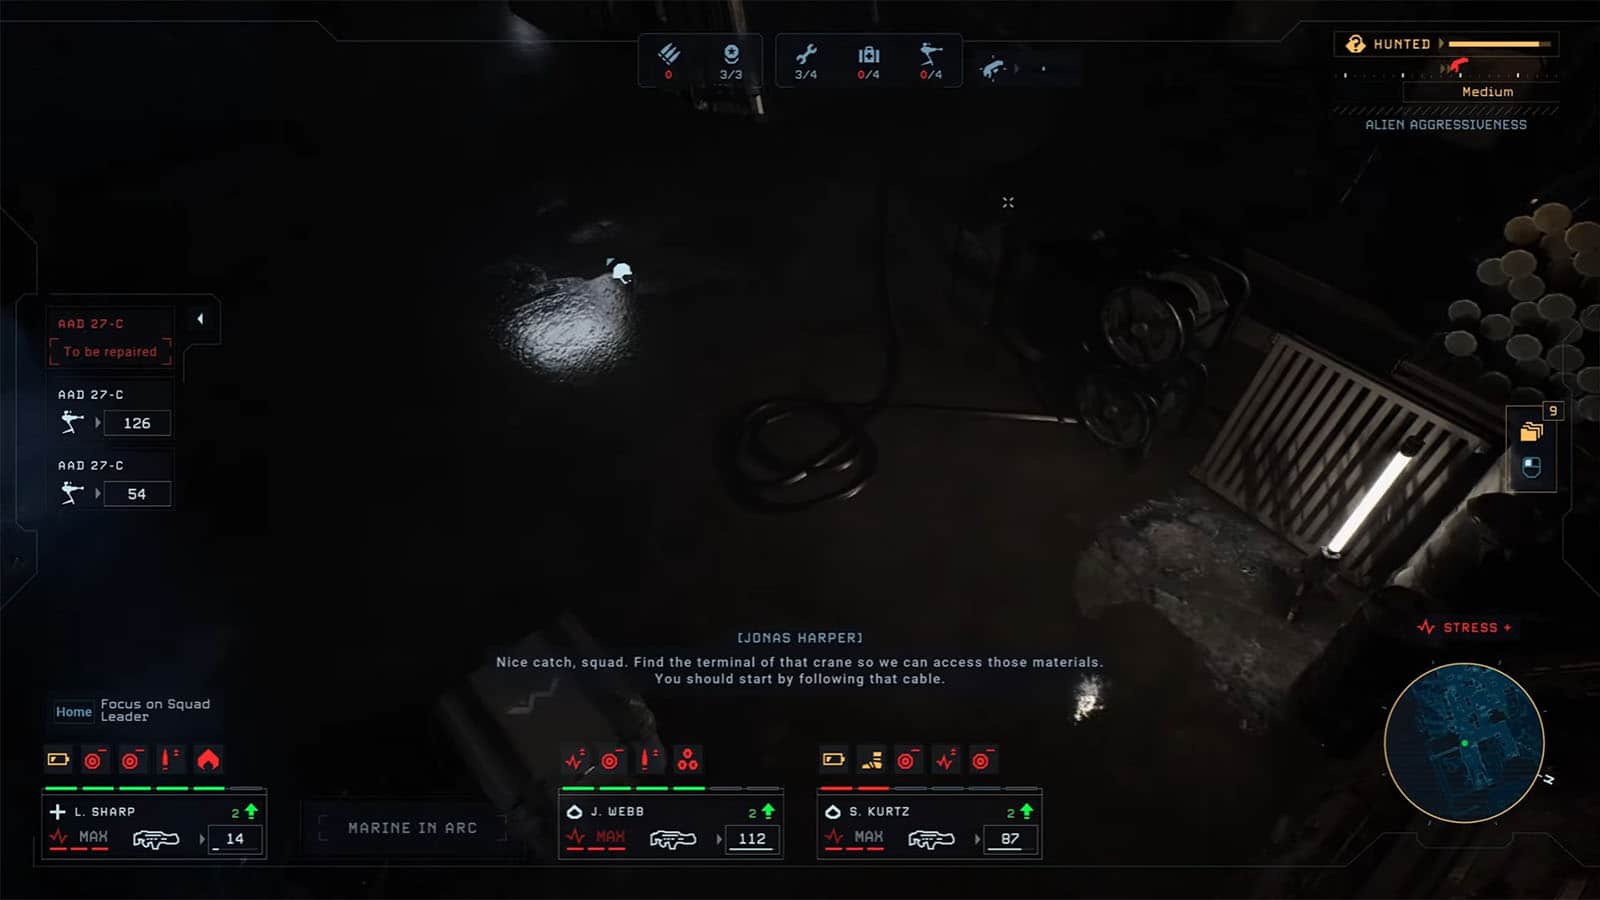
Before heading out, you can take on this secondary objective, which lets you get more materials for the Otago. You will have to go through the containers once more while blowing up barricades and taking on cultists along the way. You will eventually find the Seegson container, but it will be raised high. You will then have to look for the control for the crane to lower the container and get access to its contents.
See next: Aliens: Dark Descent Harper’s Hell Mission 03 Walkthrough


