
Harper’s Hell is the third mission in Aliens: Dark Descent. Harper found new intel that gives him hope for eradicating the infestation. Despite Hayes disagreeing about his plans for their safety, Harper is dead set on going to the refinery at Olduvai to execute his plans.
Read ahead as we go through Harper’s Hell Mission 03 in Aliens: Dark Descent and share some tips on how to complete the objectives, as well as the locations of the collectibles and blueprints in the level.
See previous: Aliens Dark Descent Berkley’s Docks Mission 02 Walkthrough
Harper’s Hell Objectives:
- Find the containers
- Access the Basement
- Rescue the civilian
- Rescue the prisoners
- Reach the Basement
- Reach the containers
- Bring the ARC to the Basement
- SQUAD – SURVIVE
Harper’s Hell Mission 03 Walkthrough
For this mission, you will be deployed at the Olduvai refinery, where the shipment was traced to have come from. Make sure to prepare your units as well as your loadout, as you will have to face waves of Xenomorphs in the refinery.
Find the containers
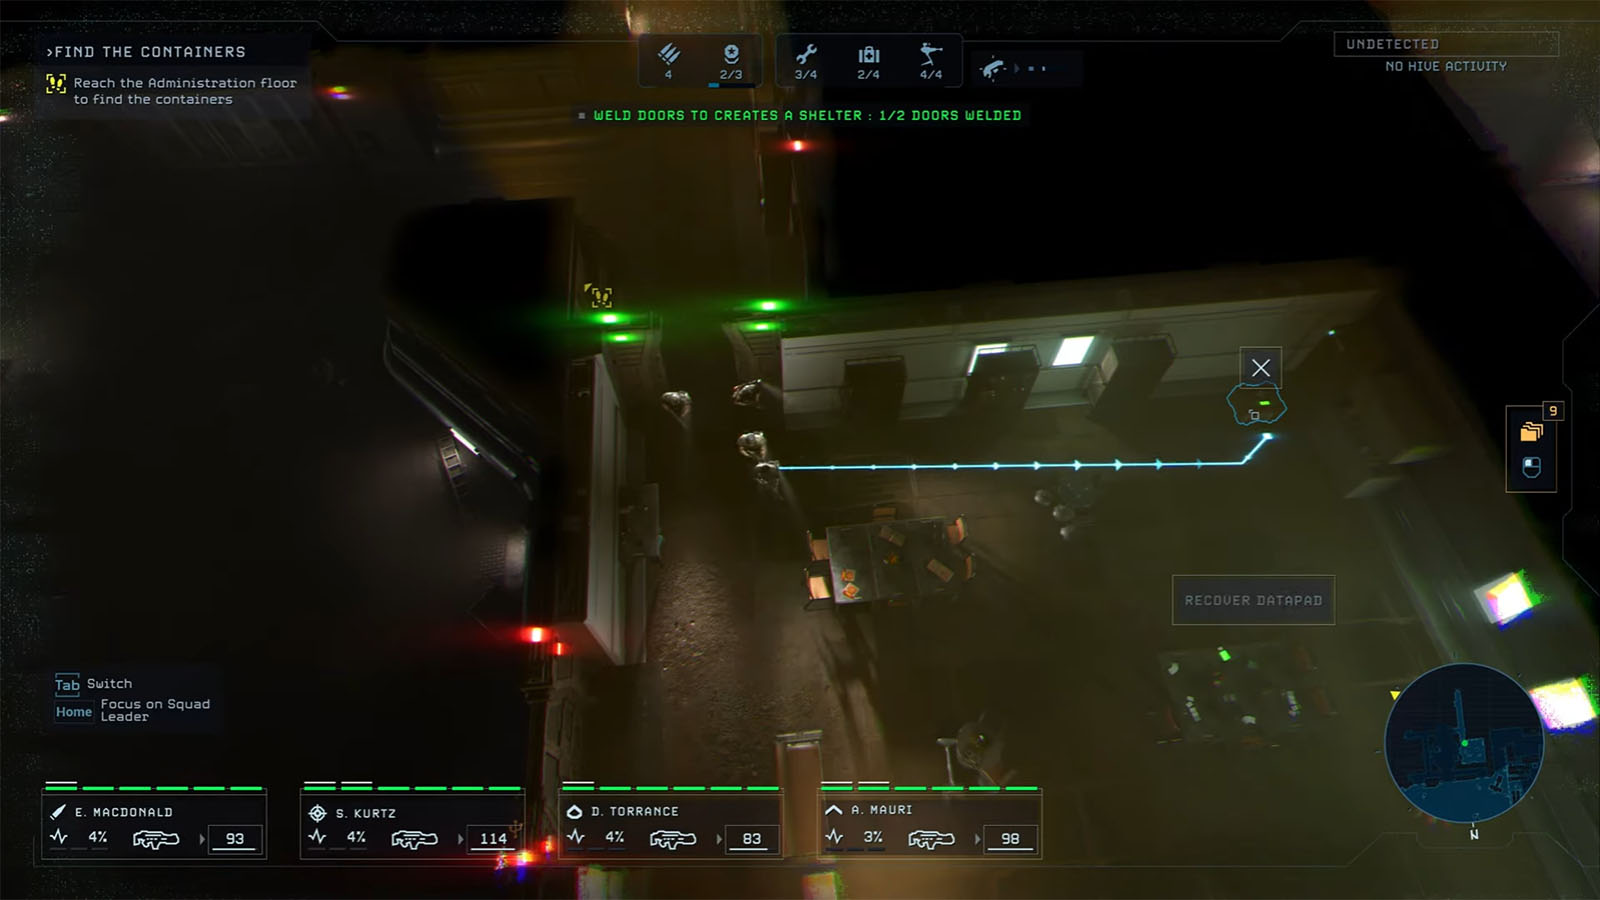
Upon arriving at Olduvai, your first objective is to reach the Administration floor and get access to the mainframe. Head inside the door up ahead, then open up the bulkhead doors as Harper requested to let the ARC through. There will be cultists patrolling this area, so prepare for engagement. The first room to the west that you’ll pass by contains Harper’s Hell Datapad #1.
Continue moving through the side route to get to the next set of bulkhead doors, then proceed to the third set of doors. You will eventually arrive at the elevator that will take you to the upper level. Have your ARC move towards the nearby deployment point for use later. Check the north side of the elevator to find Harper’s Hell Datapad #2.
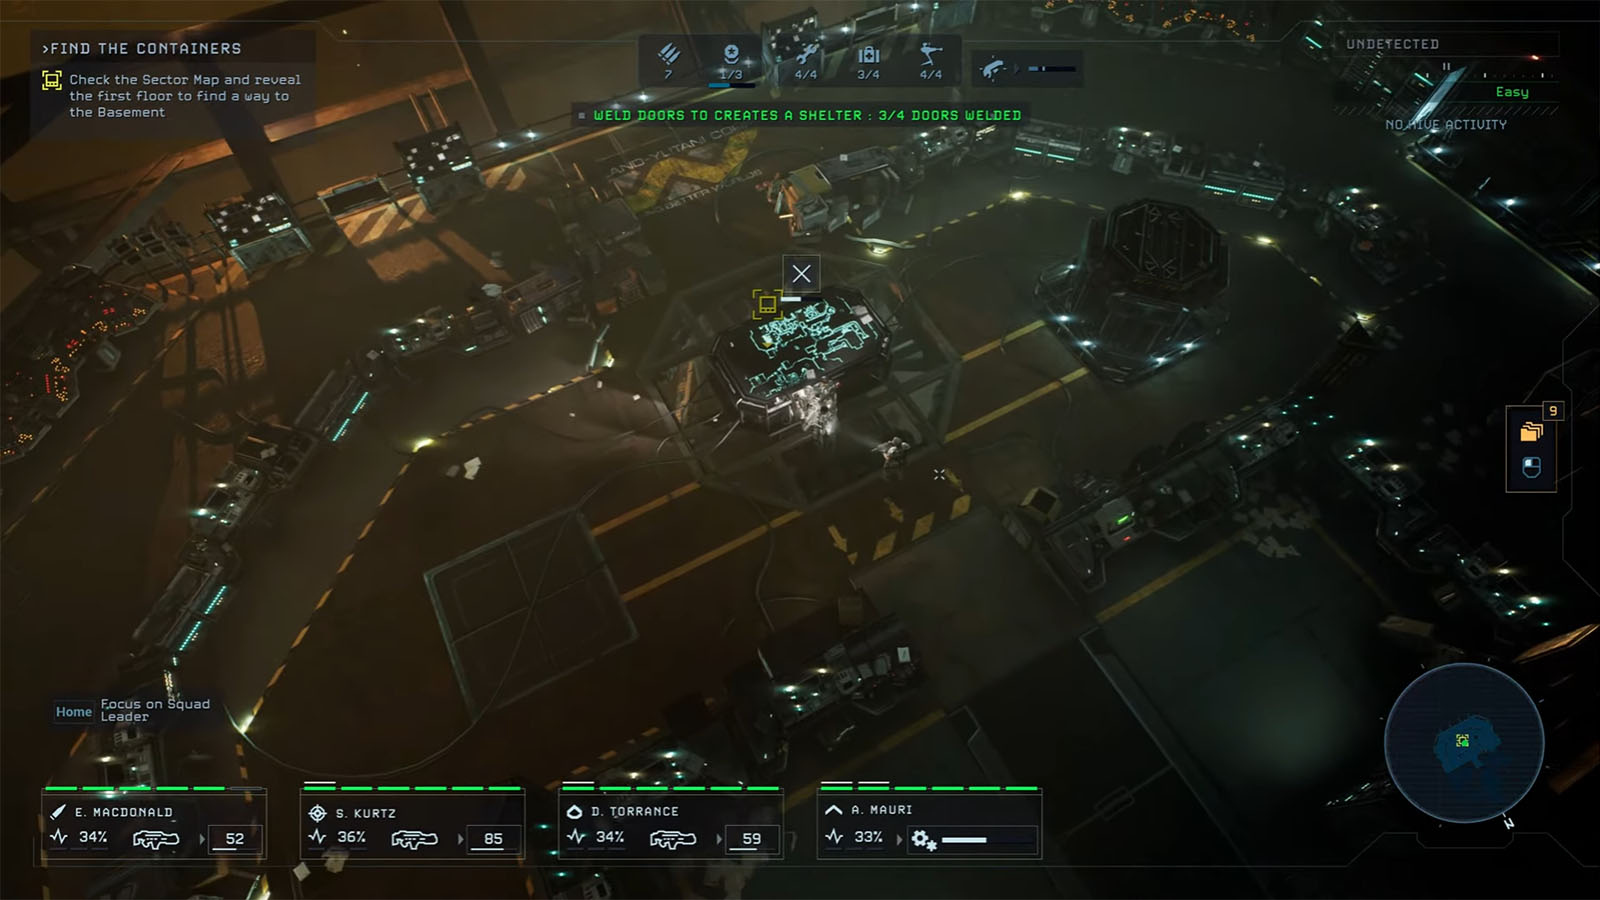
Move up to the 2nd floor and take out the pair of cultists up ahead. Then proceed to the Administration Room and take cover behind the desks while engaging with the cultists. Inspect the terminal for the shipping manifest, then check the table for the sector map to reveal the 1st floor. Your next objective will then be shown inside the basement.
After checking the map, prepare for another engagement as more cultists flood into the room.
Access the Basement
Take the elevator back down and unlock the doors to the east to access a small room with supplies. Continue on to the next room which is the Security Room, and access the cameras through the terminal. You can also find the Harper’s Hell Datapad #3 nearby.
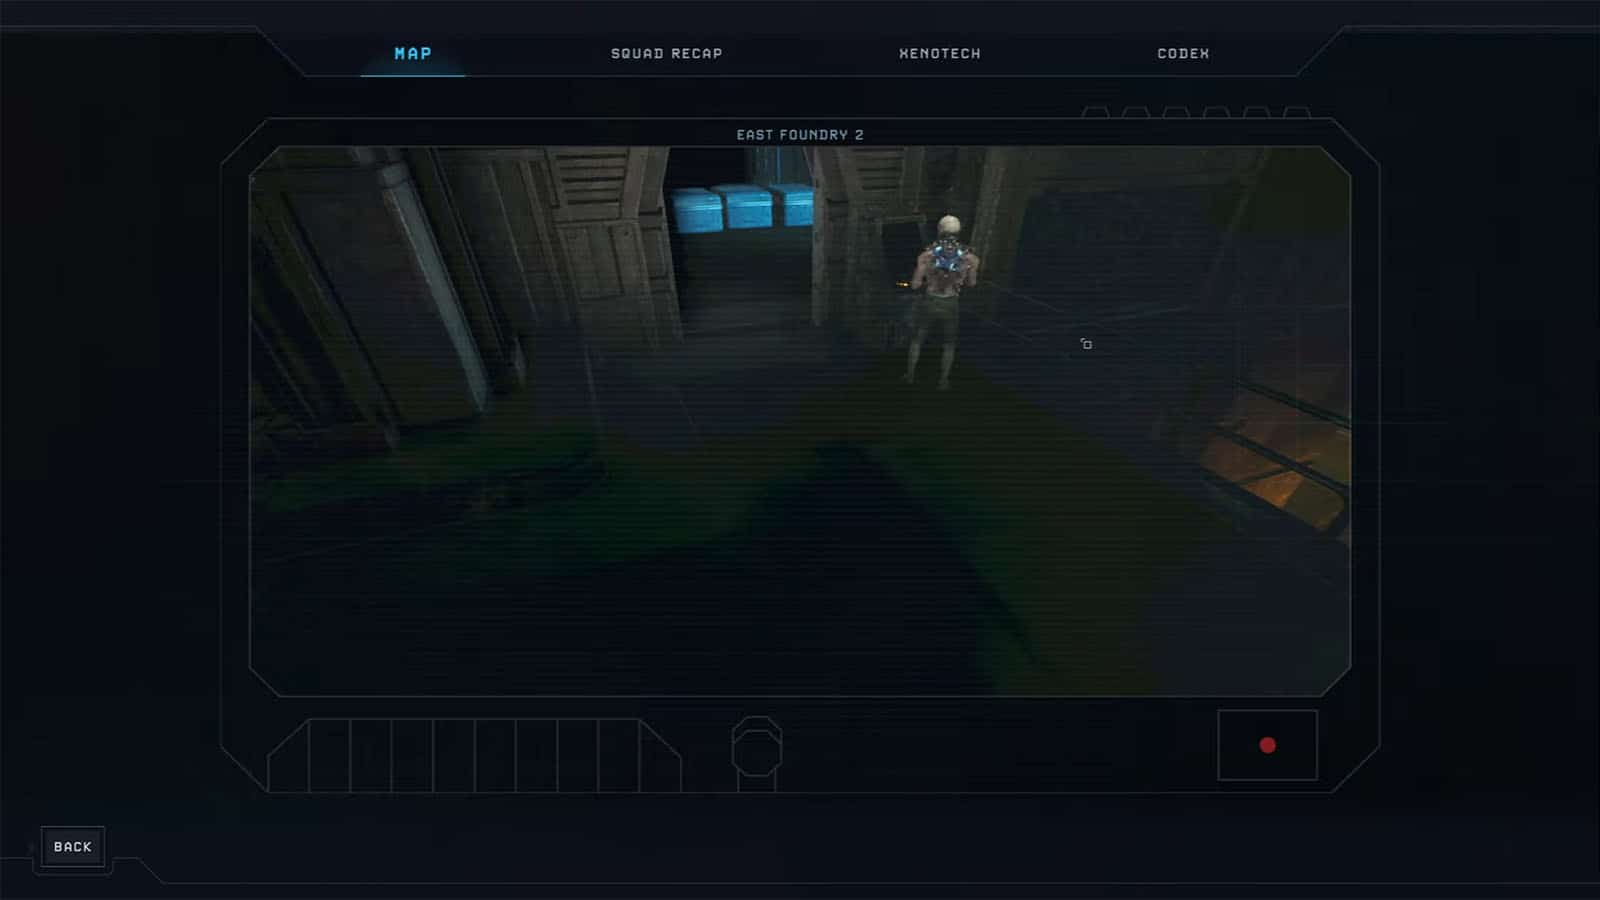
Open your map and check the cameras. You’ll find supplies in the Repair Shop, a synth in the Maintenance, and guardian with a pass in the East Foundry 2. Your main objective is the guardian, but you can take the time to reach the other areas.
Rescue the civilian

Slowly make your way through the foundry, as it’s patrolled by both cultists and Xenomorphs. You will see a door in the way of your objective, but to open it, you will have to eliminate all of the enemies in the area.

Once you reach the other side, you will encounter the Guardian. Xenomorphs will also be joining the fight; prepare to use your shotgun and suppressive fire, as you won’t have much time to prepare your defenses. After clearing the Xenomorphs, eliminate the Guardian and check its corpse for the pass.
Rescue the prisoners
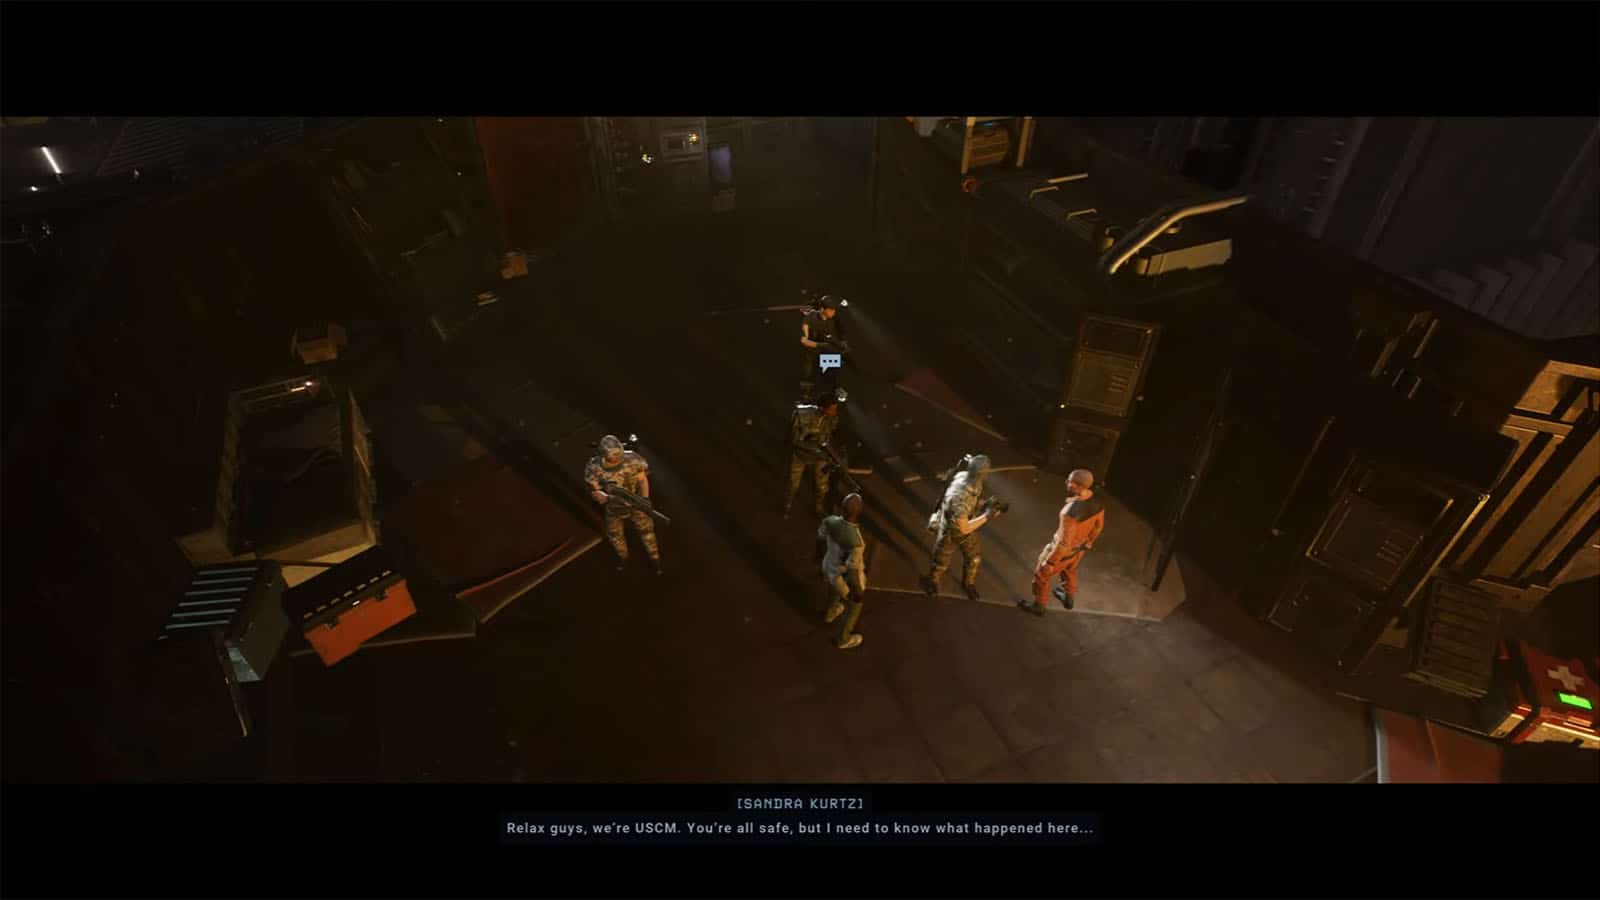
This is an optional objective where you will have to escort the two prisoners back to the ARC. You will be able to do this objective since you will have to pass by the ARC as you get to the elevator on the other side of the map.
Reach the Basement
Take the ARC and ride to the spot closest to the elevator, then make your way on foot towards the elevator. Prepare your supplies and stock up along the way for the next major encounter. Ride the elevator down to the basement to proceed.
Reach the containers

As soon as you get off of the elevator, a cutscene will show another Xenomorph variant known as the Praetorian. It won’t engage you right away, but it will try to ambush your squad as you make your way through the basement. They will also try to abduct your units if their health gets low enough.
Move past the starting area and try to go through the first loop that you pass through to find Harper’s Hell Datapad #4. Before proceeding any further from the loop, set up your defenses along the main hall, as you’ll be using it as an area to fall back to once you get chased by the Praetorian.
Explore the southern nest, where you will find Harper’s Hell Datapad #5 and some supplies in the small room to the west of it. Once you’re ready, have someone set up a C4 on the barricade southwest of the nest and immediately head back to the sentries, as the Drones will be chasing you down. Once they’ve all been cleared out of the nest, you can continue along the path to get past the rubble.

Once you reach the tunnel with the rails, clear out the cultists, then set up your sentries once more as there is a horde of Xenomorphs just up ahead. After clearing them, head over to the next section, where you will find Harper’s Hell Datapad #6. Go through the next door and follow the path south to reach the area just north of the loop from earlier. Open the gate to gain a shortcut back to the elevator.
Back in the loop, set up another set of sentries before heading into the Storage area that has a lot of Xenomorphs. Use the doorway as a chokepoint, and make sure that your sentries are all aimed at it. After a number of Drones, the Praetorian should be the final one charging in; kill it, and then you can safely explore the Storage area.
Continue moving towards the west until you reach the huge room where you will find the bodies and the containers your squad is looking for. There are a few Drones patrolling in this area; clear them out, then resupply from all the crates in the room.
Bring the ARC to the Basement
Once more, prepare your turrets and place them facing south. Then, interact with the Harper’s Hell Datapad #7 to proceed with the objective, then interact with the terminal to call the elevator with the ARC on it.
SQUAD – SURVIVE

The ARC will then be coming from the elevator, but before you can escape, the elevator fails, and another wave of Xenomorphs is closing in on your area. After the first wave, Harper will receive a transmission from Marlow, followed by another wave that includes a Crusher. Make sure to keep your sentries repaired if needed, and set up some motion sensors as bait to buy some more time.
After the second wave, Hayes sends out an improvised missile that blows open the hatch, allowing the team to be extracted from the refinery.
See next: Aliens Dark Descent Otago’s Last Stand Mission 04 Walkthrough


