
Testing Ground 1 is one of the areas in Atomic Heart that is an optional place to go through to get weapon blue prints and upgrades. Testing Grounds, also known as Polygons, are usually filled with puzzles and obstacles, as well as enemies that patrol the area.
Read ahead as we go through the steps on how to complete Testing Ground 1 in Atomic Heart, as well as share the locations of where the Loot-yagins can be found.
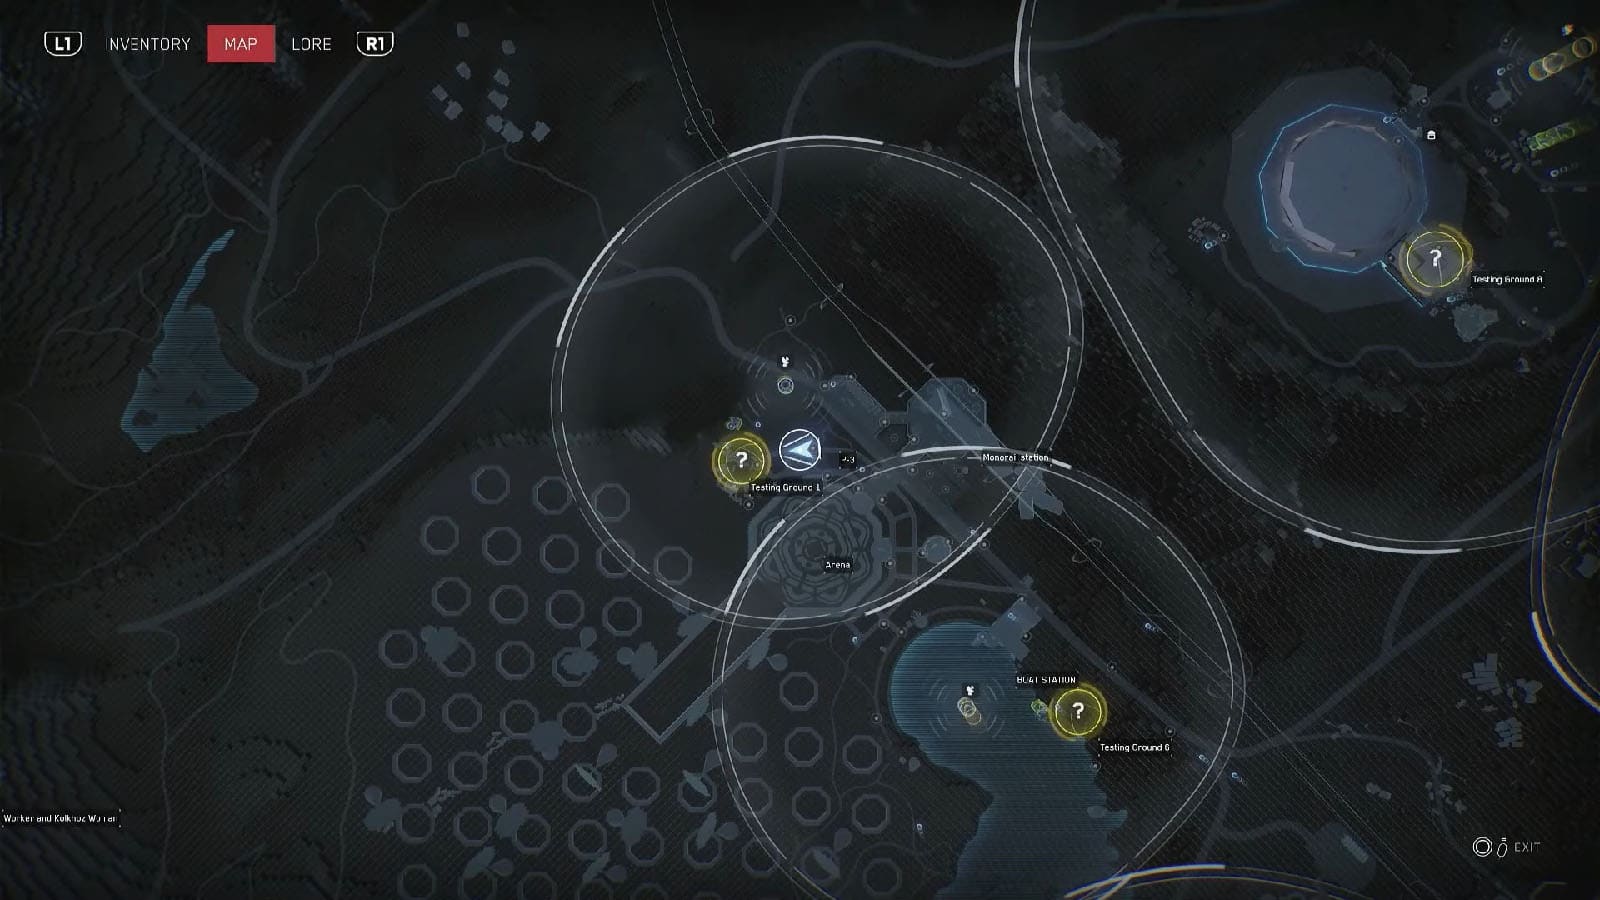
How to access Testing Ground 1
Head to the area marked as the Testing Ground 1 and look for the building that has a blue roof. The door to this building will still be locked, so look for a nearby platform that has an antenna up top.
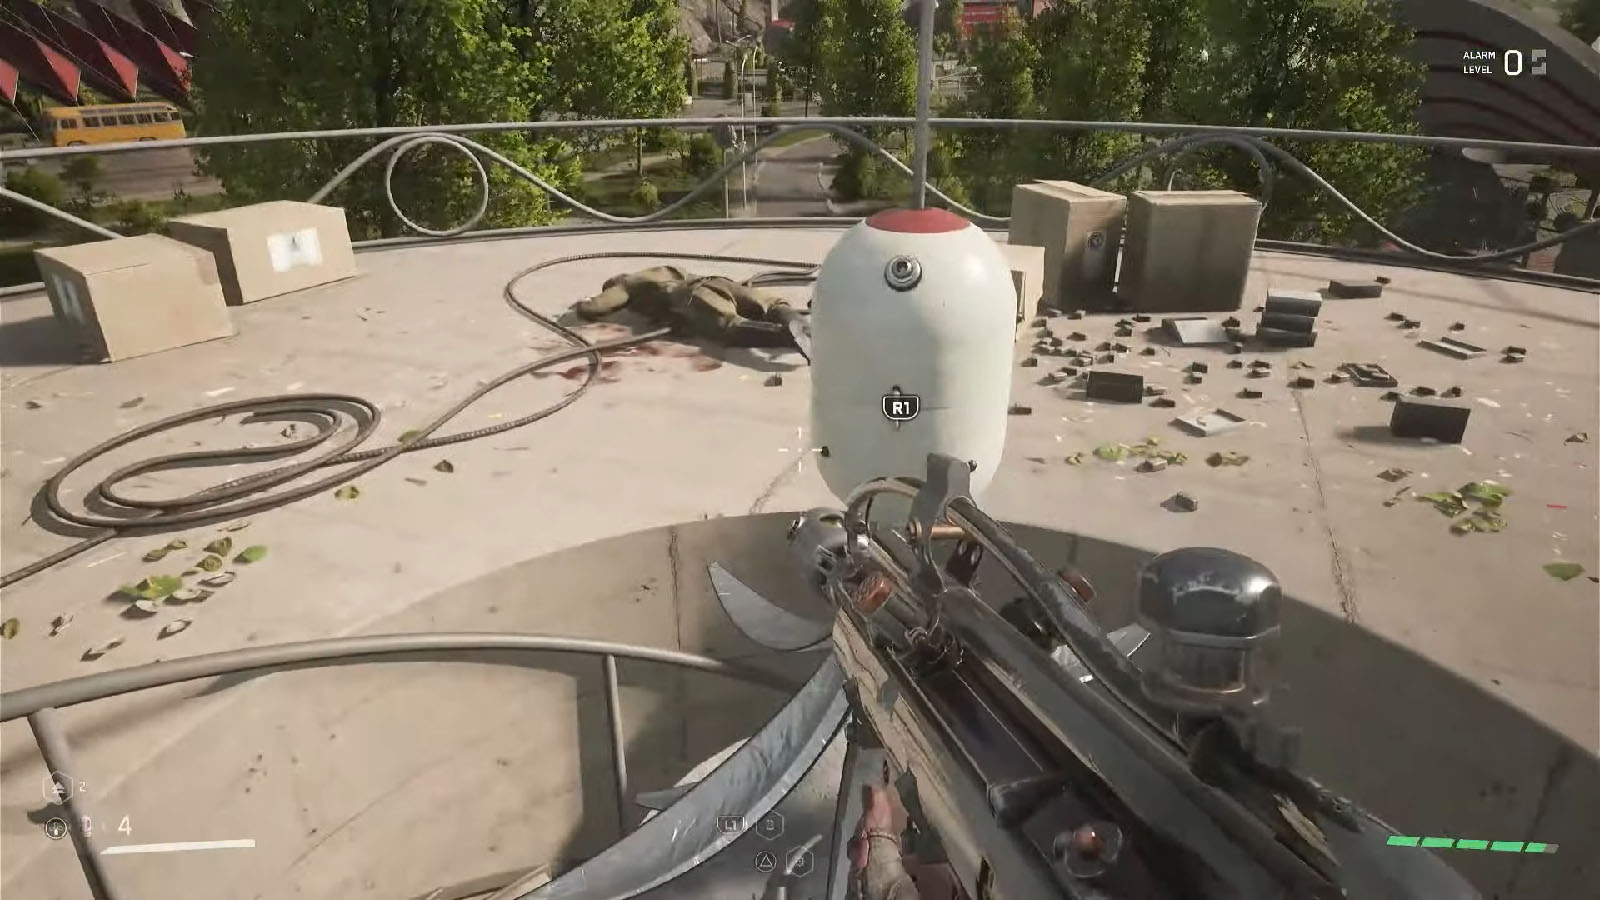
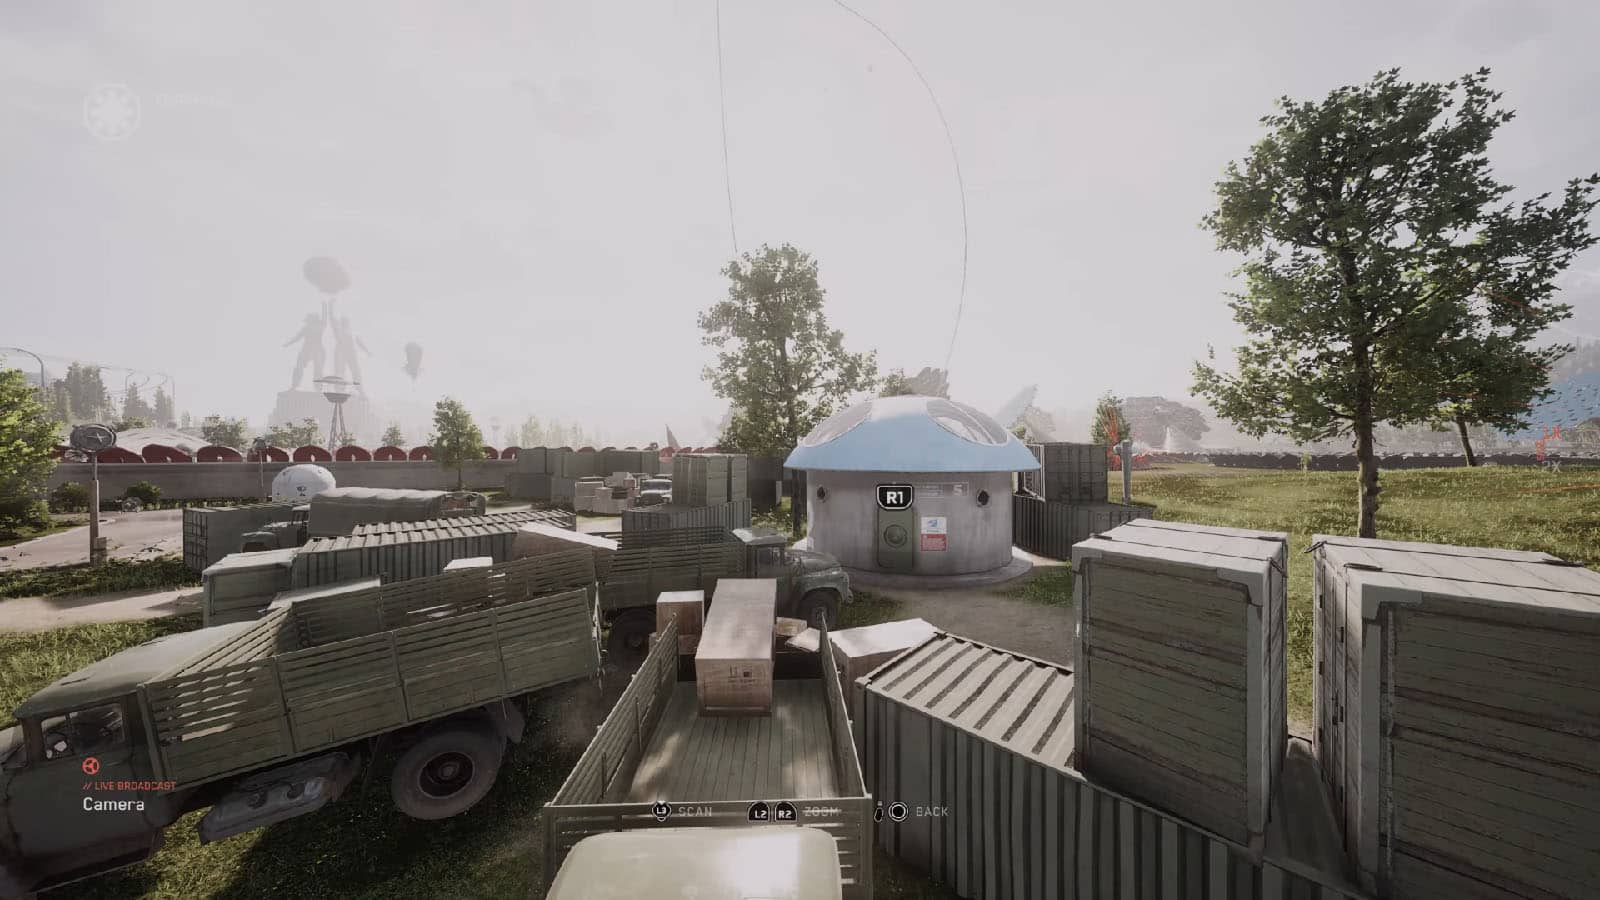
Interface with the antenna and access the camera that has a clear view of the blue-roofed building so that you can hack its door open. You can then head over to the building and ride the elevator down to the testing ground proper.
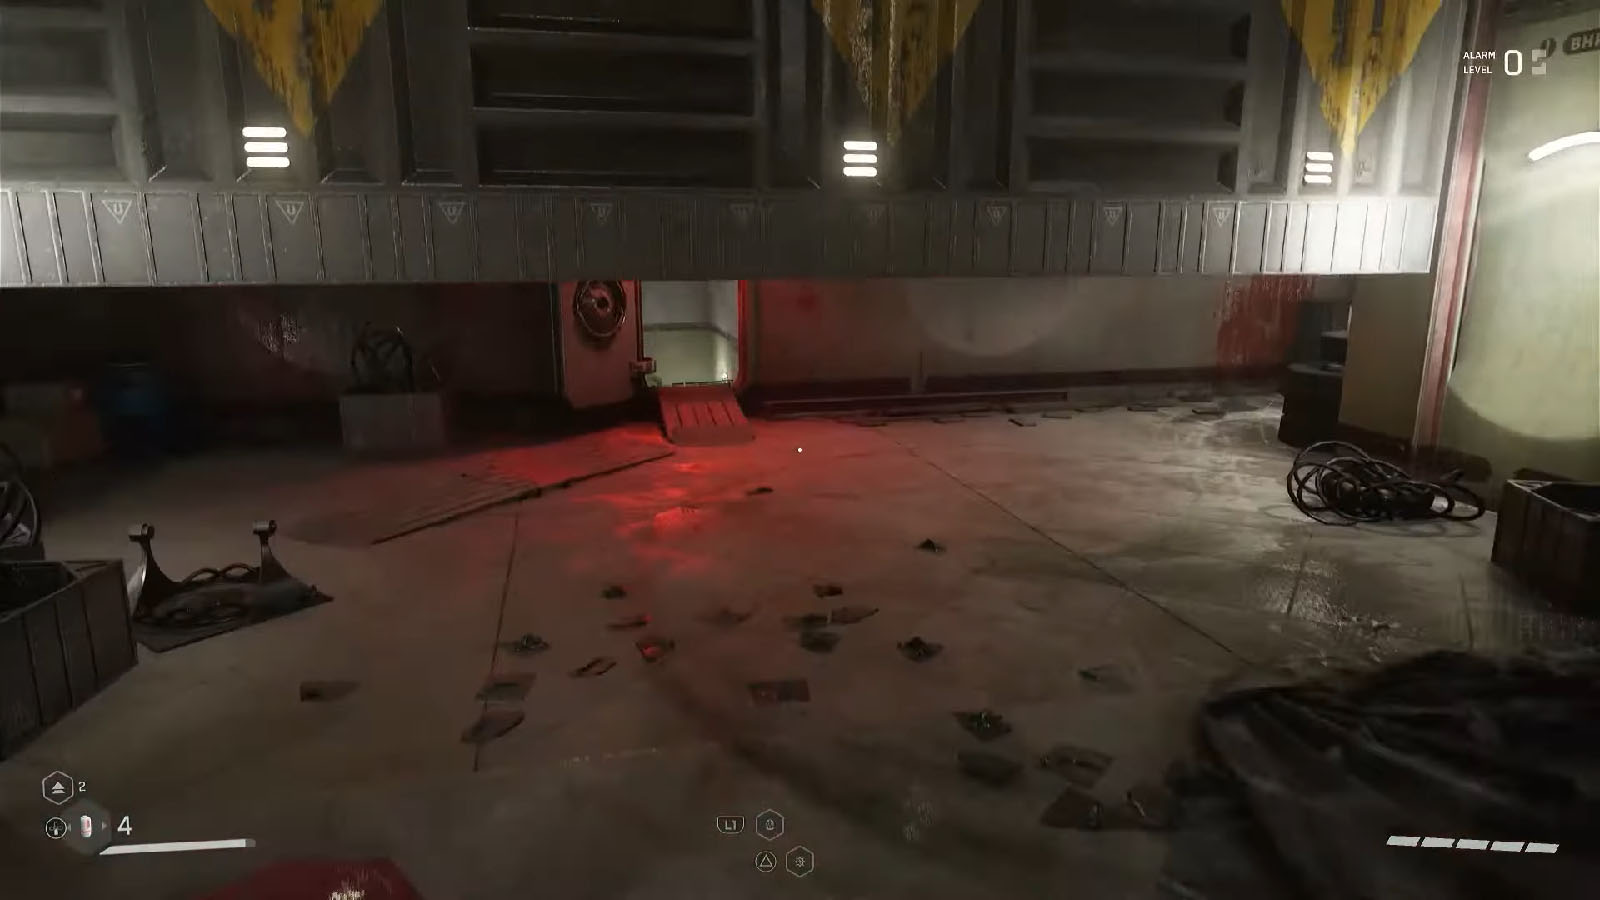
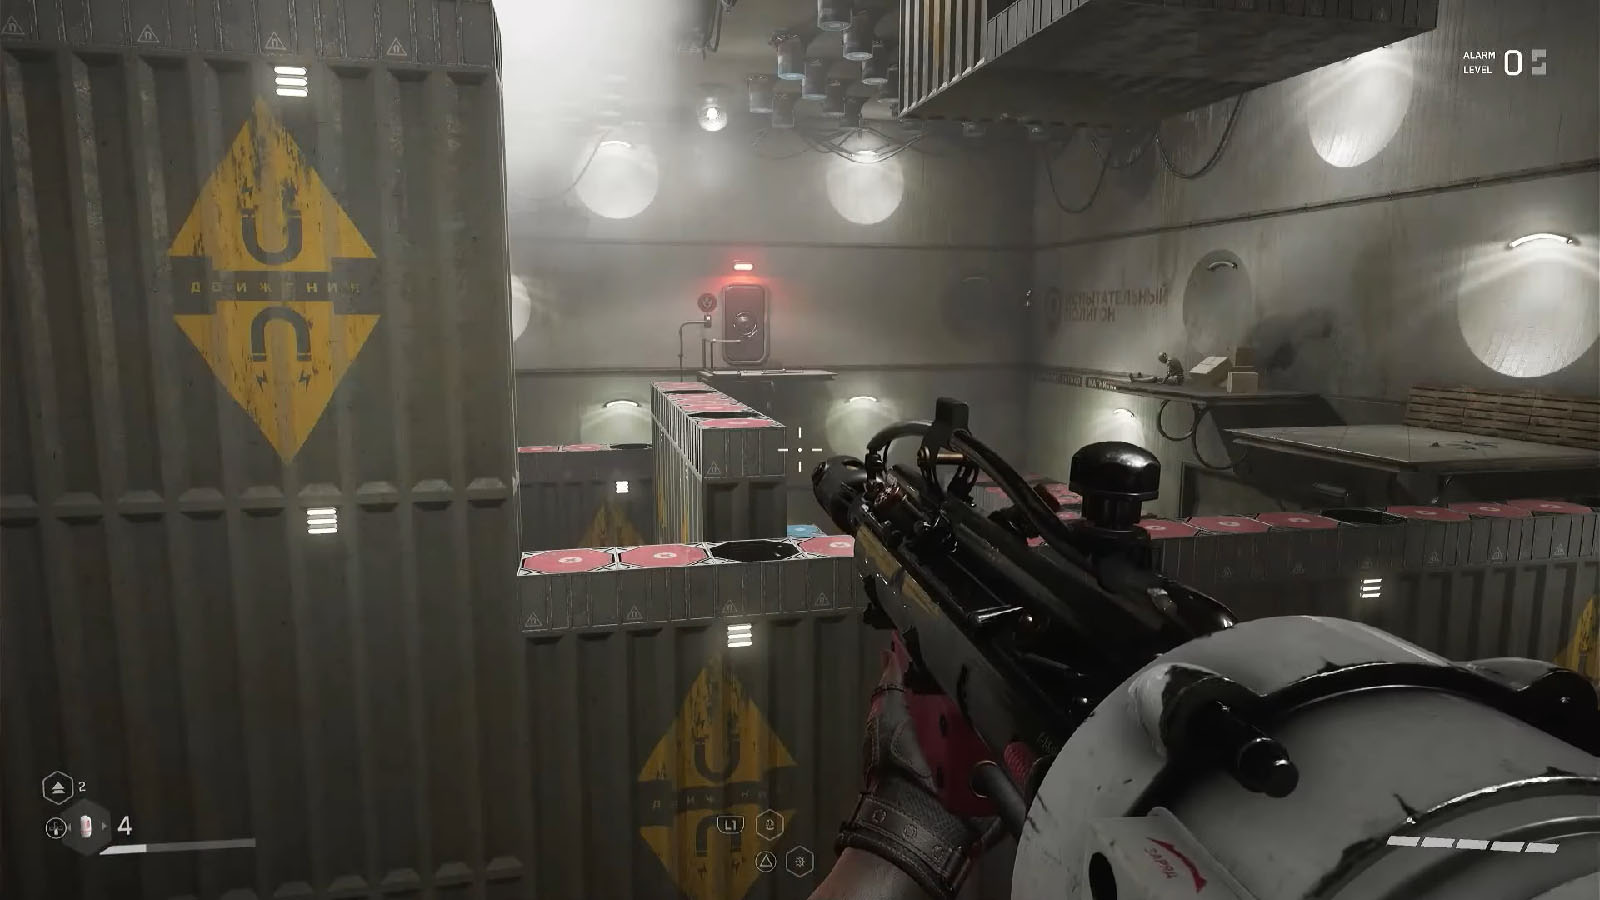
Magnet room #1
On the first magnet room, jump on top of the red magnet floor first, then reverse the polarity of the magnets on the ceiling. You’ll then be able to see the next set of ceiling magnets on the other side; reverse their polarity to lower the wall up ahead. The next wall will be slowly coming down, simply reverse the polarity again to raise it up and be able to pass through.
Magnet room #2
Similar mechanic goes in here, reverse the polarities to raise or lower the walls so that you can reach them. One shortcut you can take is to stand on the line of blue magnets, raise it up, then make a huge jump-dash towards the next door.

Bronze Loot-yagin – Fox Ergonomic Handle
Make your way through the corridors until you find a vent you can climb into. Once you’re out of the vents, head towards the open door on the far left side to find the Bronze Loot-yagin and get the Fox Ergonomic Handle. Continue making your way to the generator room for the next Loot-yagin.
Silver Loot-yagin – MP Expansive Converter
Open the gate on the far side of the generator room and go through the next room until you find a gate. Reverse the polarity of the magnets to clear the path, then continue down the path to the next rooms where you’ll find the Silver Loot-yagin on the final room and get the MP Expansive Converter.
Magnet room #3
Make your way back to the magnet gate, then reverse the polarity again without passing through to reveal the other path that the gate is blocking. You will eventually arrive at the next magnet room. You can reverse the polarity once, then do a bit of parkour to reach the other side of the room where a laser puzzle is located on a wall; it may be hidden if you’ve reversed the polarity again.
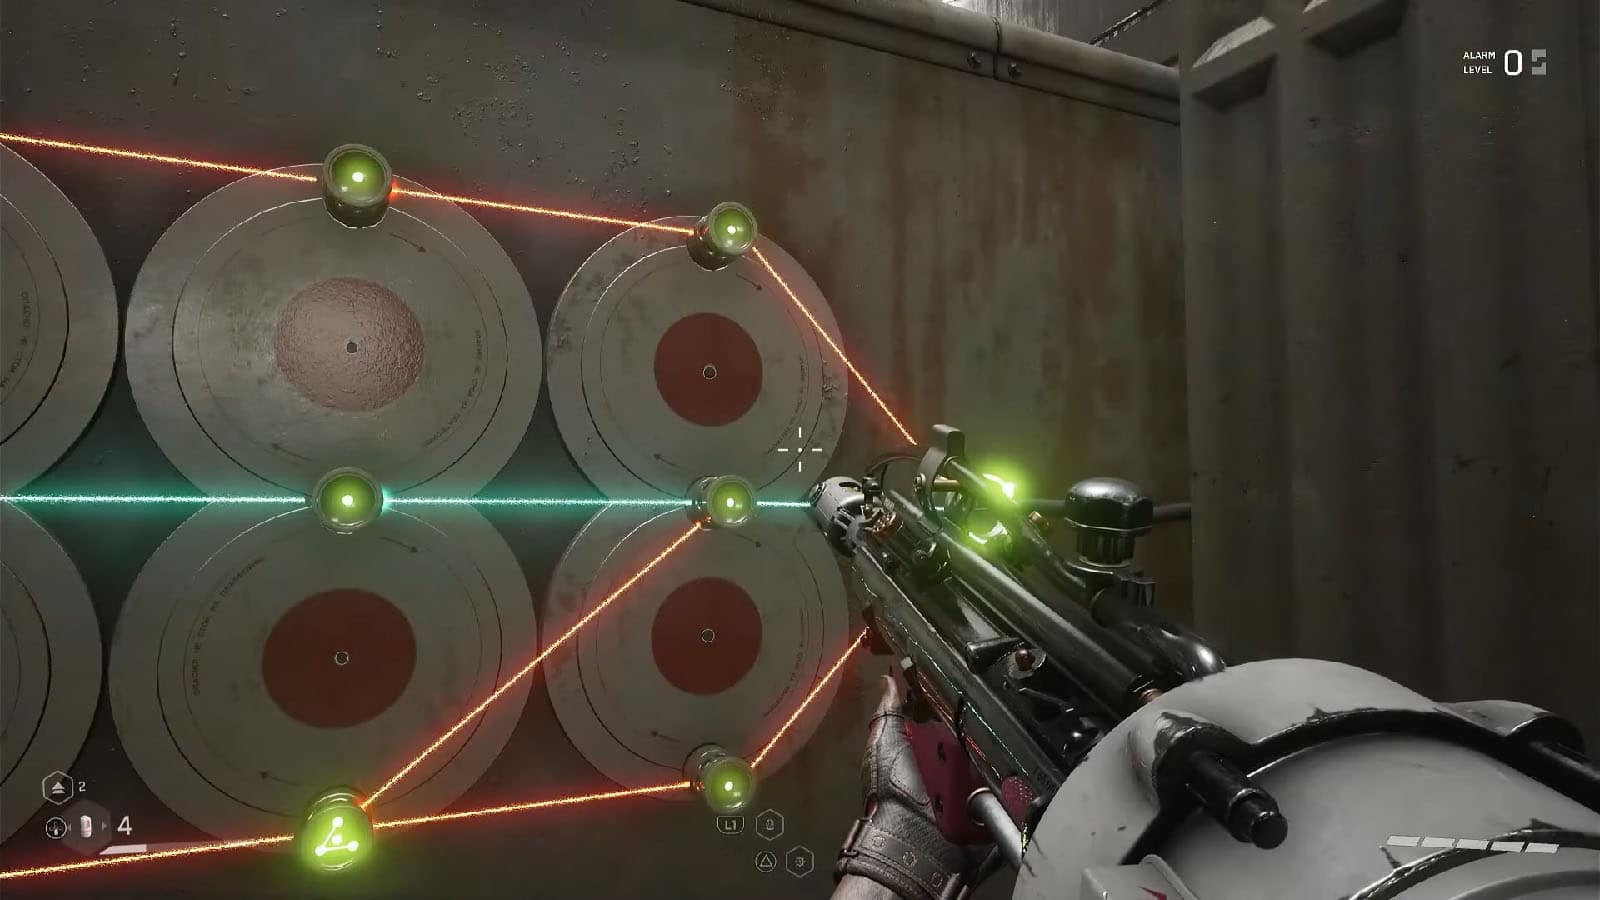
Laser Puzzle #1
To solve this puzzle, simply rotate the lower middle and lower left circles to align the lasers correctly. Then just jump on the blue platform on the other side of this puzzle, reverse the polarity, and jump to the next door.
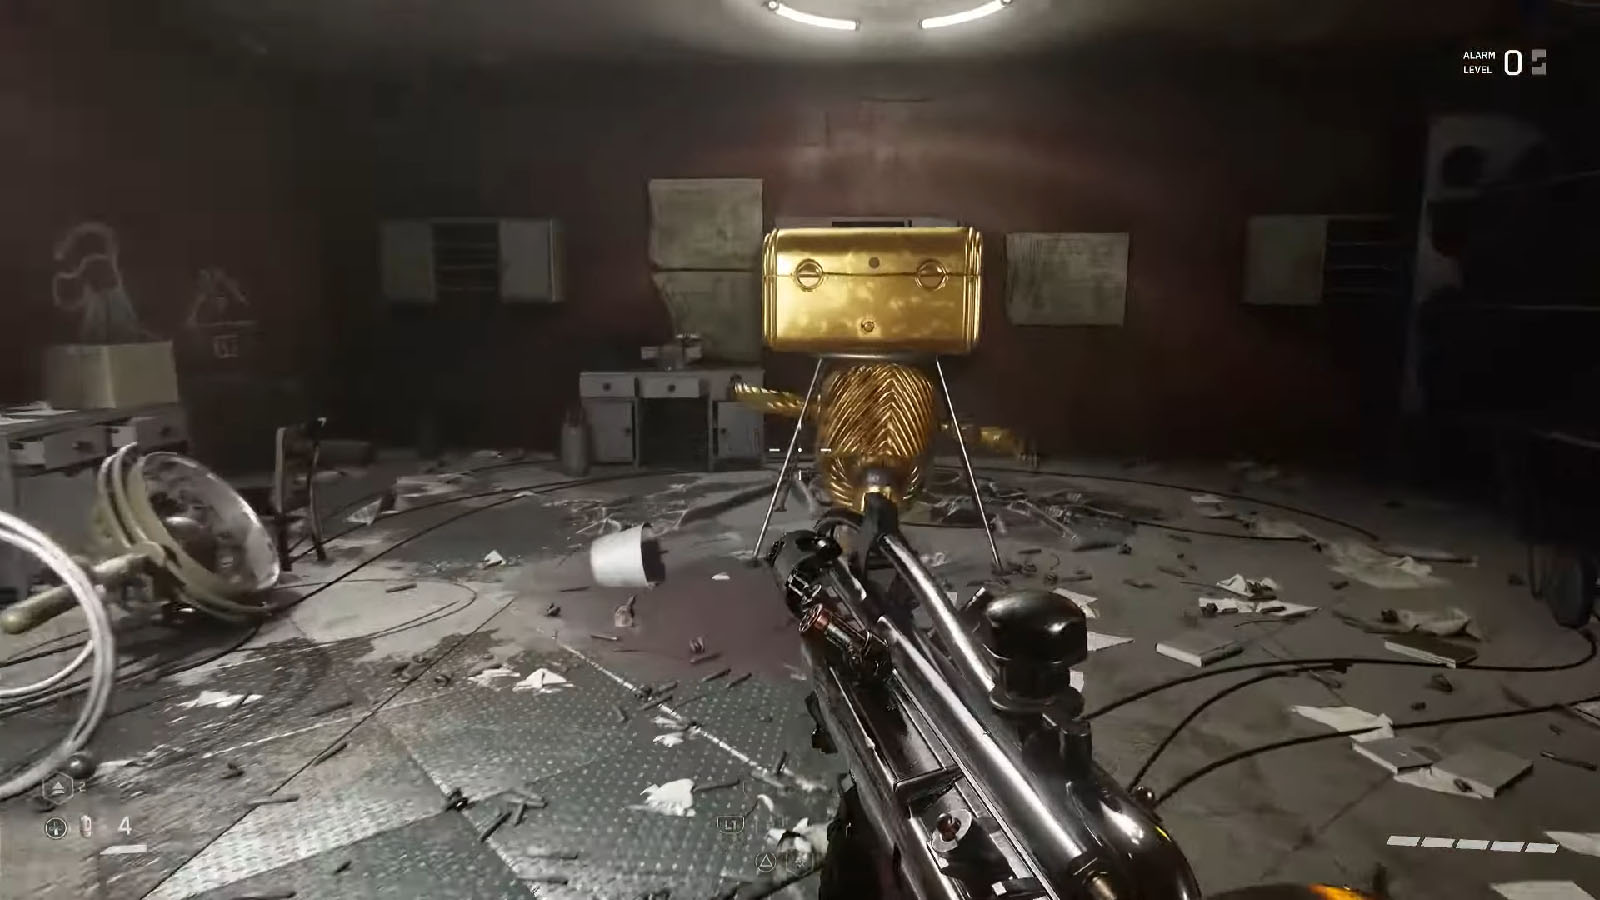
Gold Loot-yagin – KS-23 Extended Magazine / Zvezdochka Reverse Shot
From the magnet room, simply continue on the path until you arrive at the elevator. Go to the door on the left to find the Gold Loot-yagin and get the KS-23 Extended Magazine and the Zvezdochka Reverse Shot. You can then ride the elevator to exit the testing ground.
Check out this video by Game Guides Channel showing how to complete the Testing Ground 1 in Atomic Heart:


