")
Basement 2: Cell is the fifth area in Metal Gear Solid. Snake needs to secure the other password from President Baker, who has been brought deeper into the armory of the base. But as you reach the destination, you’ll eventually have to face a legendary gunslinger.
As such, this Metal Gear Solid 1 walkthrough will help you navigate through trapped doors, blast through walls, and get tips on how to efficiently beat the boss.
See previous: B1: Cell Walkthrough
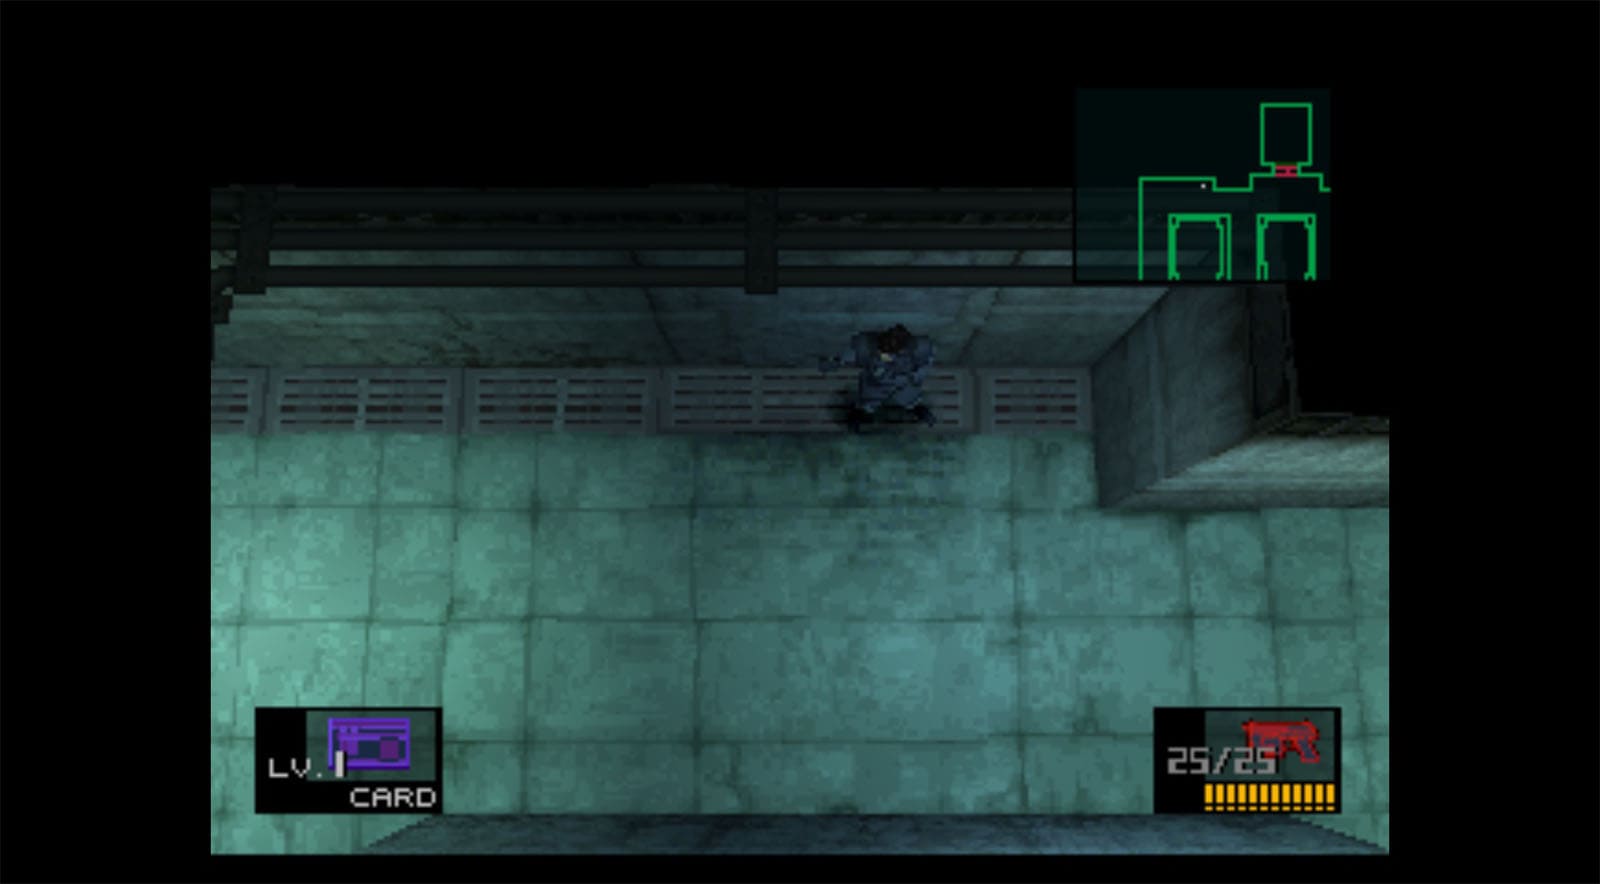
After taking the elevator to basement 2, you will arrive at the Armory. There are no enemies in the next room yet, but some of the hallways have trap doors that break open once you step on them. Make sure to keep going and don’t stop once you hear the floor trap getting triggered to avoid falling.
There are also six separate, smaller rooms within the armory, and most of them are locked. The rooms that you can access are the middle one near the elevator and the southwestern one; the middle south room is fully opened without a door. Make sure to equip the LV1 Card Key in your left slot in order to open these locked doors.
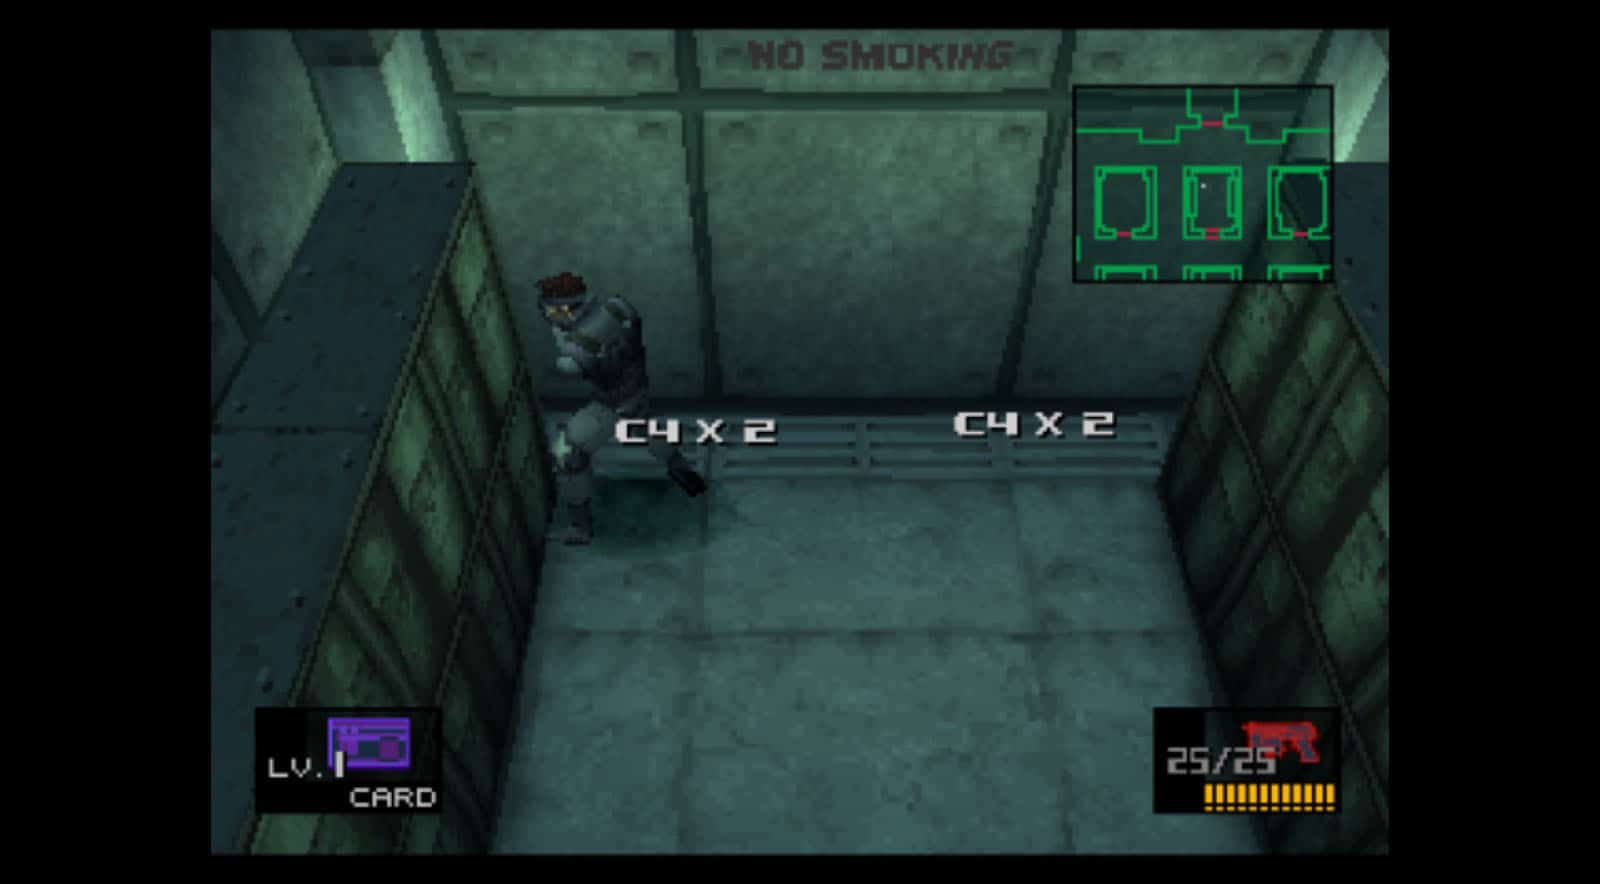
The middle room has the C4 that you will need to blow up the cemented doors and passageway within the armory, while the southwest room has some grenades. The open room down south has some SOCOM ammo.
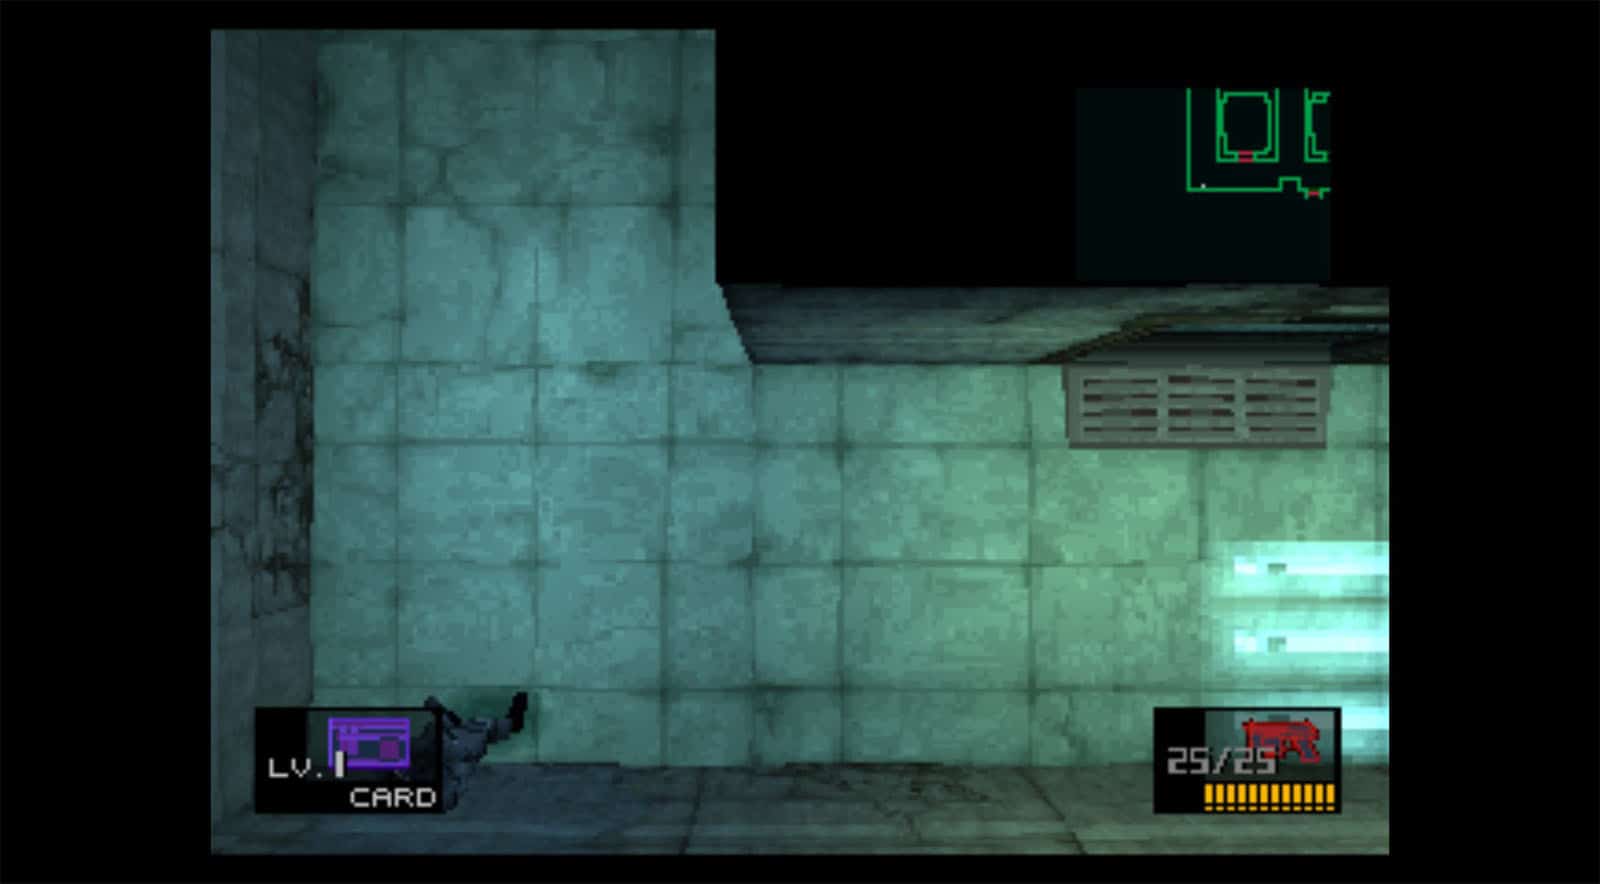
According to the intel you received earlier, the passageways from this room to the other rooms have been blocked, and you’ll have to find them. You can inspect the walls of the armory, where you will find segments that have been patched up; they will look different from the rest of the other walls, and banging on them will produce a different and hollow sound. Once you find them, arm your C4 and place one in front of the sealed wall. Move some distance away from the explosive before blowing it up.
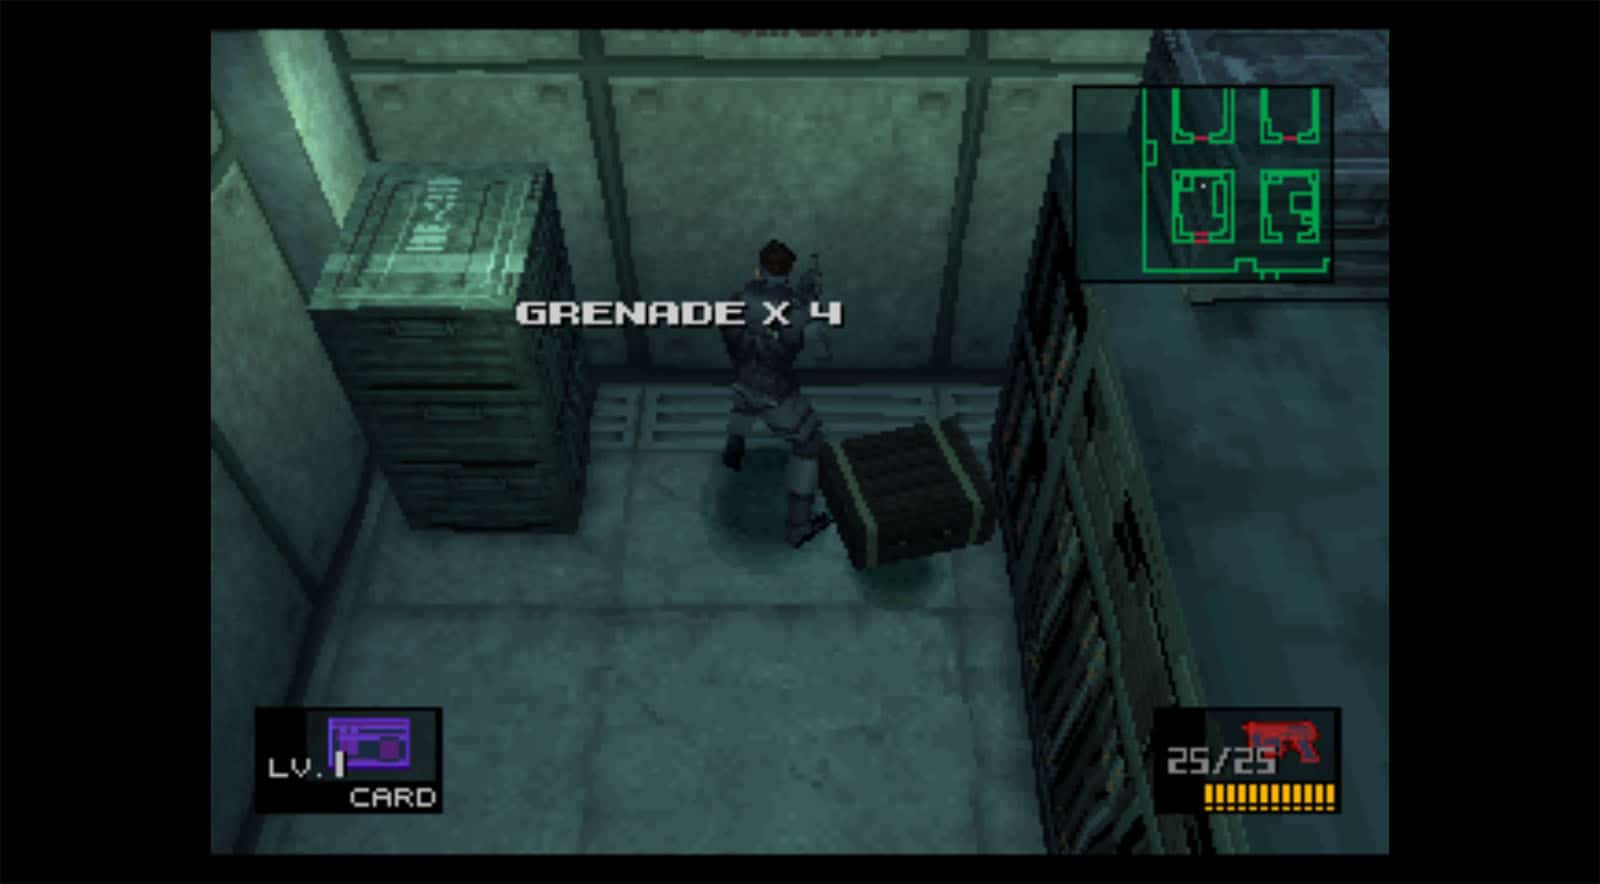
There are two sealed rooms up north on both sides of the elevator, and one on the southwest side of the armory. The northwest room has some Stun Grenades and Chaff Grenades, while the northeast room has some more C4 and some ammo, but be careful as this room also has two trap doors.
Once you’re done checking both north rooms, proceed to the southwest passageway to progress through the mission.
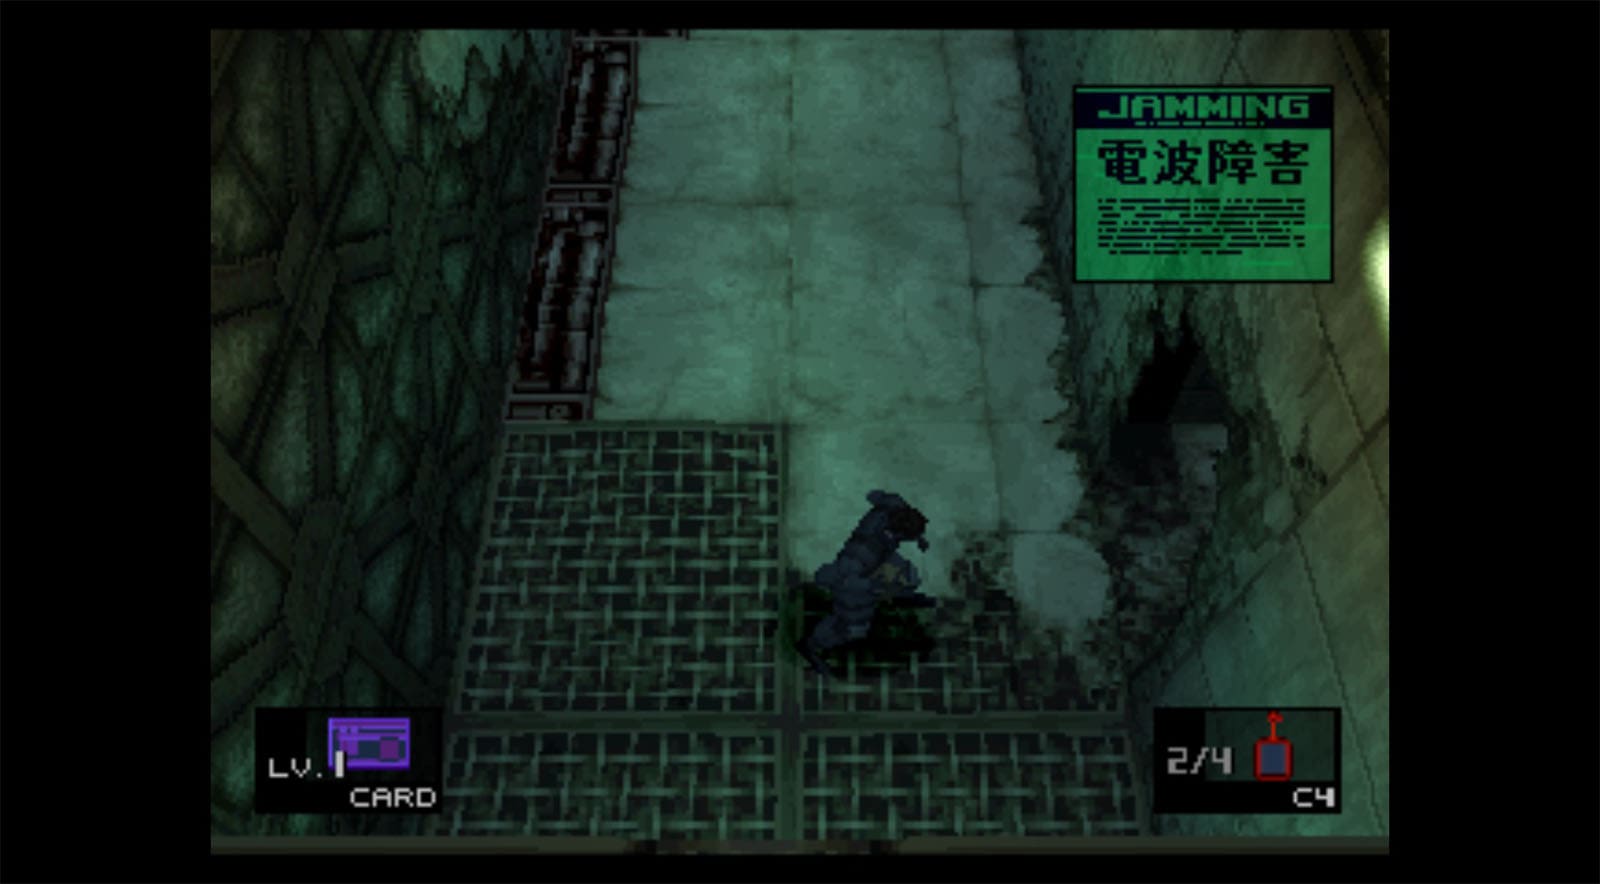
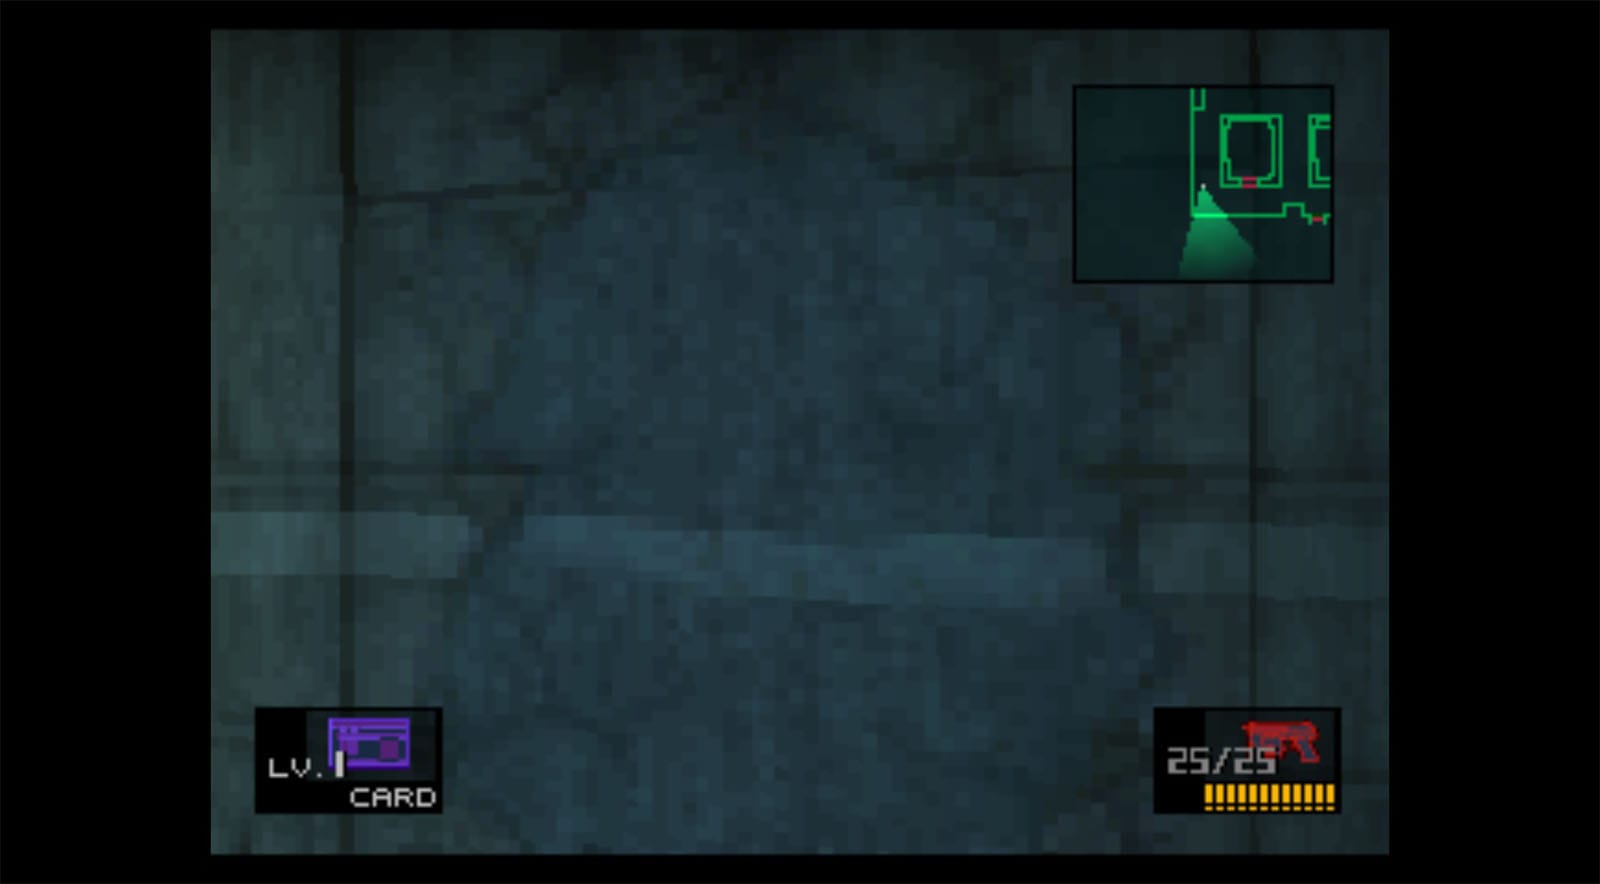
In this next passageway, your minimap will be jammed, but you won’t need them just yet. Go down south on this passageway, then lower up the sealed wall to the right.
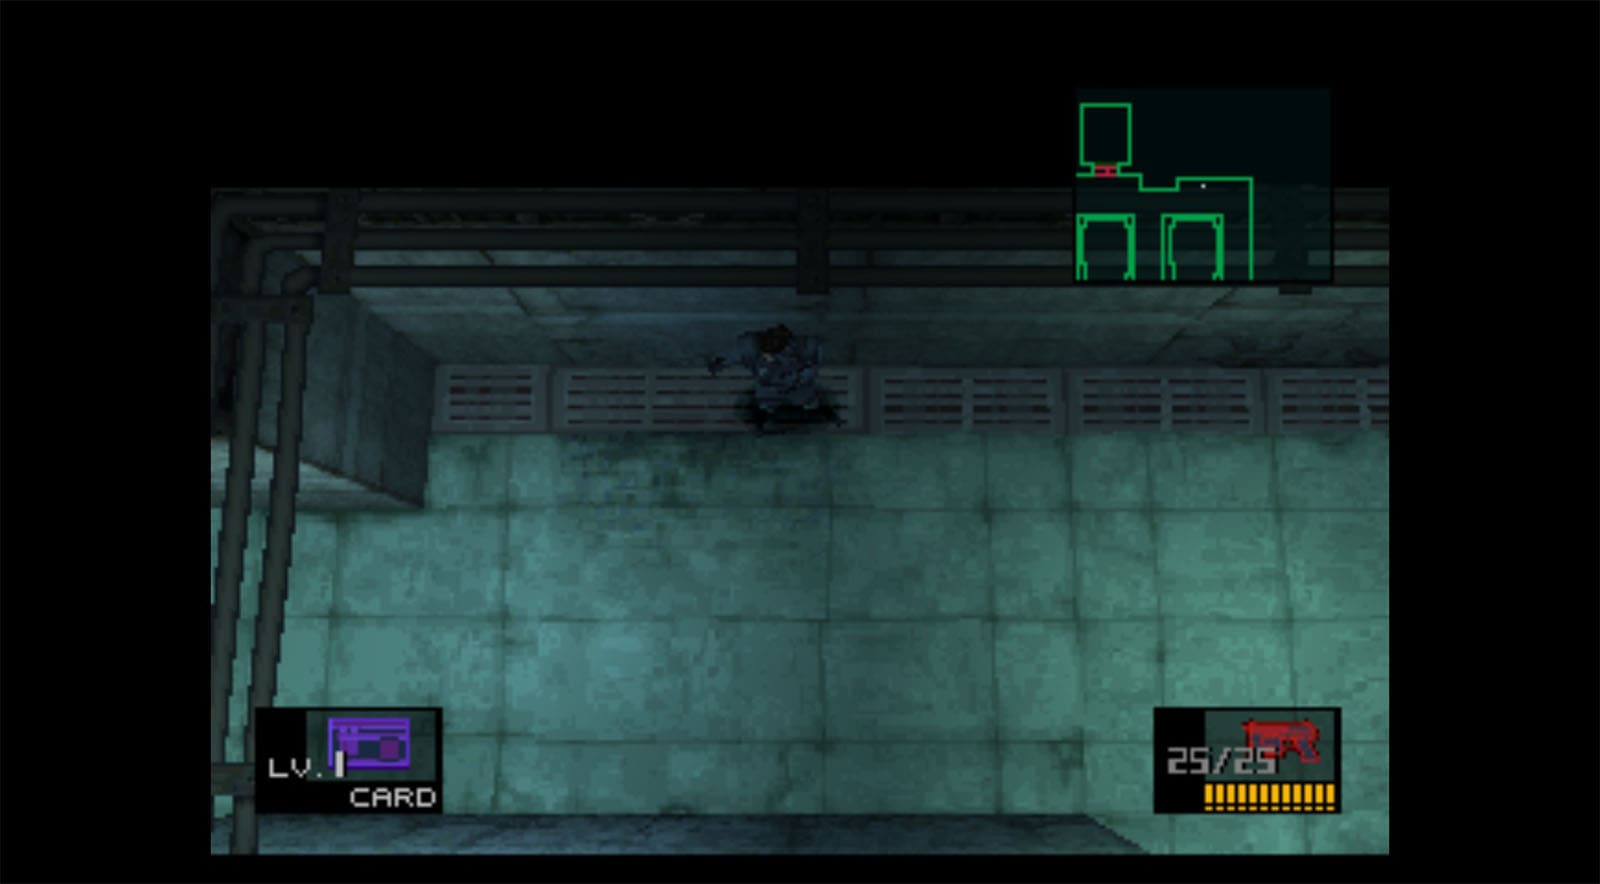
On to the next passageway are two more sealed walls. You will only need to break the top wall for now, as you won’t be able to do much on the wall to the east yet. Before heading into the next room, take the time to prepare and grab some rations, as you’ll be heading into a boss fight.
Boss Fight: Revolver Ocelot
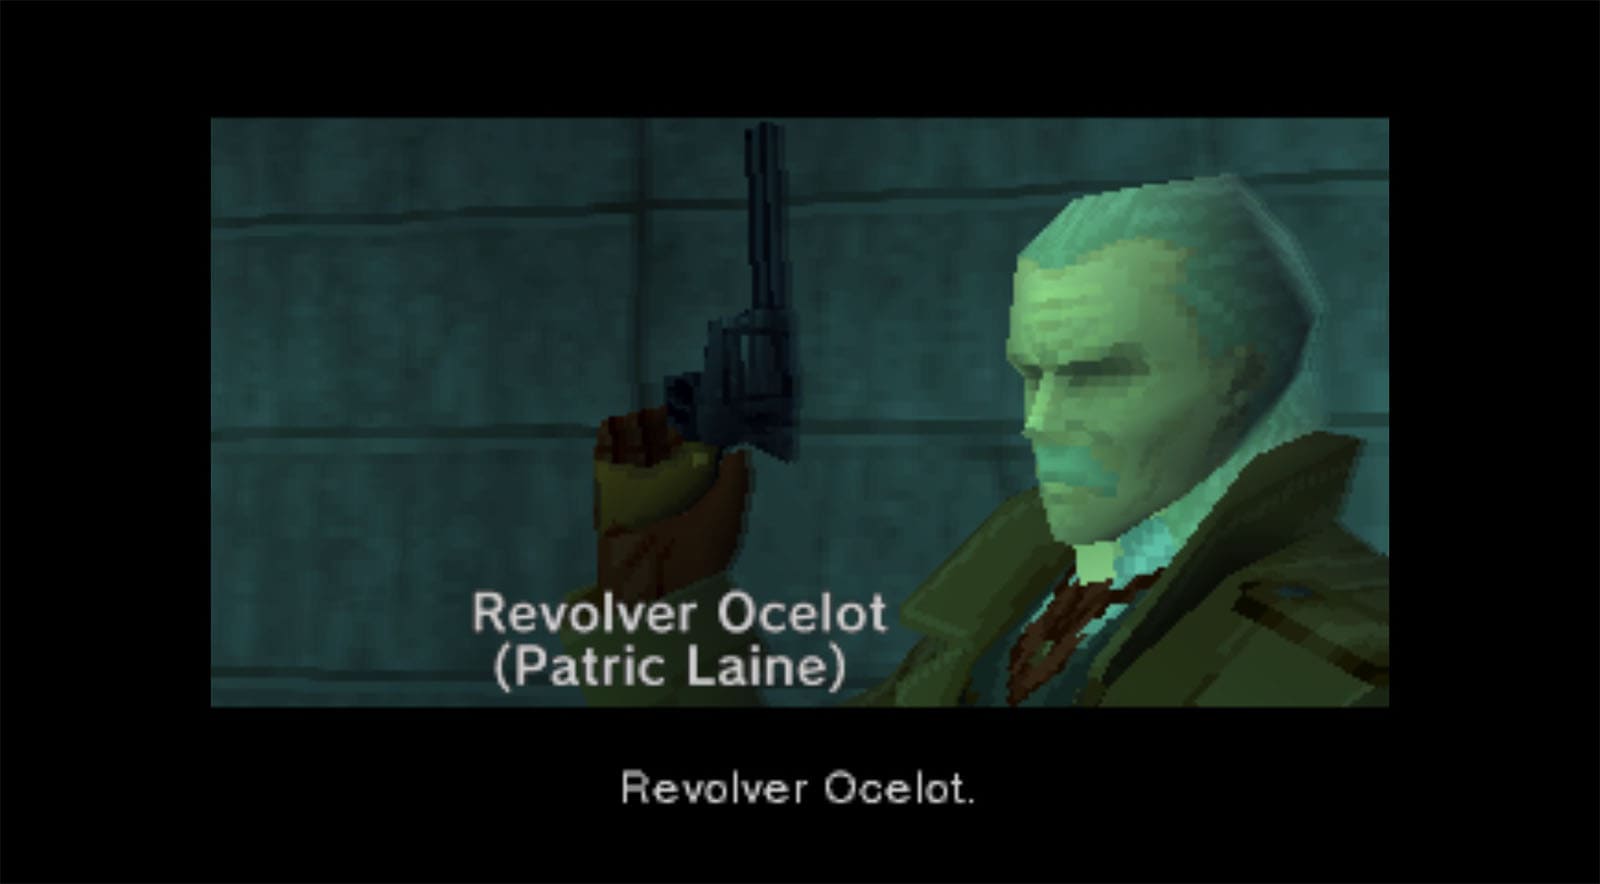
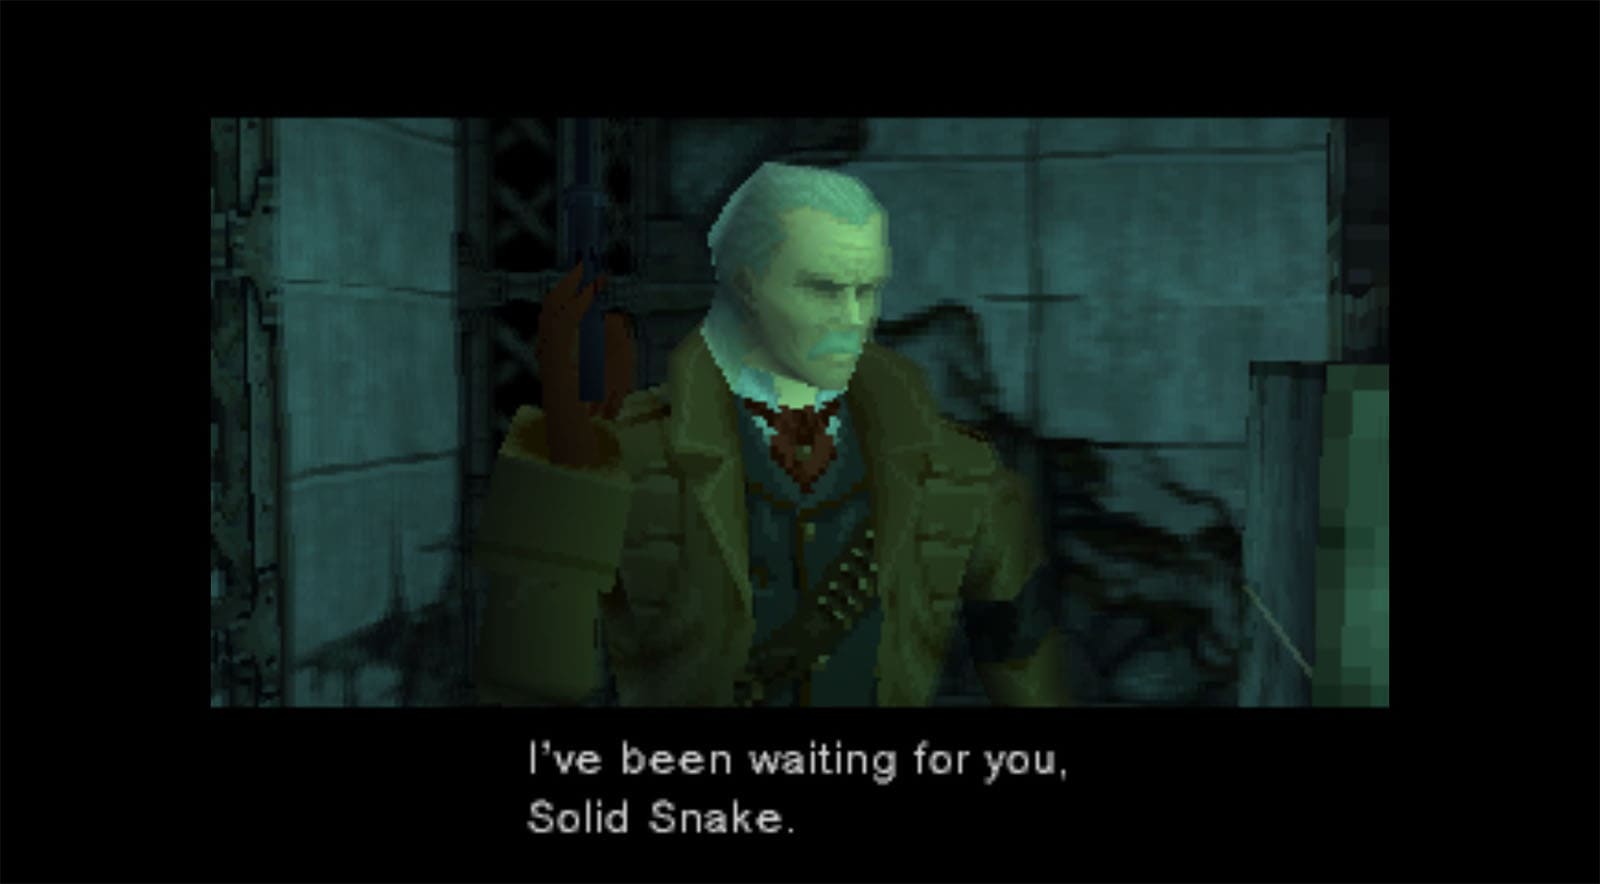
In the next room, you’ll find President Baker, but he is tied up, and the space around him is rigged with explosives. A guy then appears and introduces himself as Revolver Ocelot. He is a gunslinger who is adept at shooting his targets with his revolver.
For this fight, you will be fighting against Revolver Ocelot in a one-on-one gunfight. Because of the traps in the middle of the room, you will only be able to run around on the outer edge of the room; otherwise, touching the lines will trigger an explosion and an instant fail.
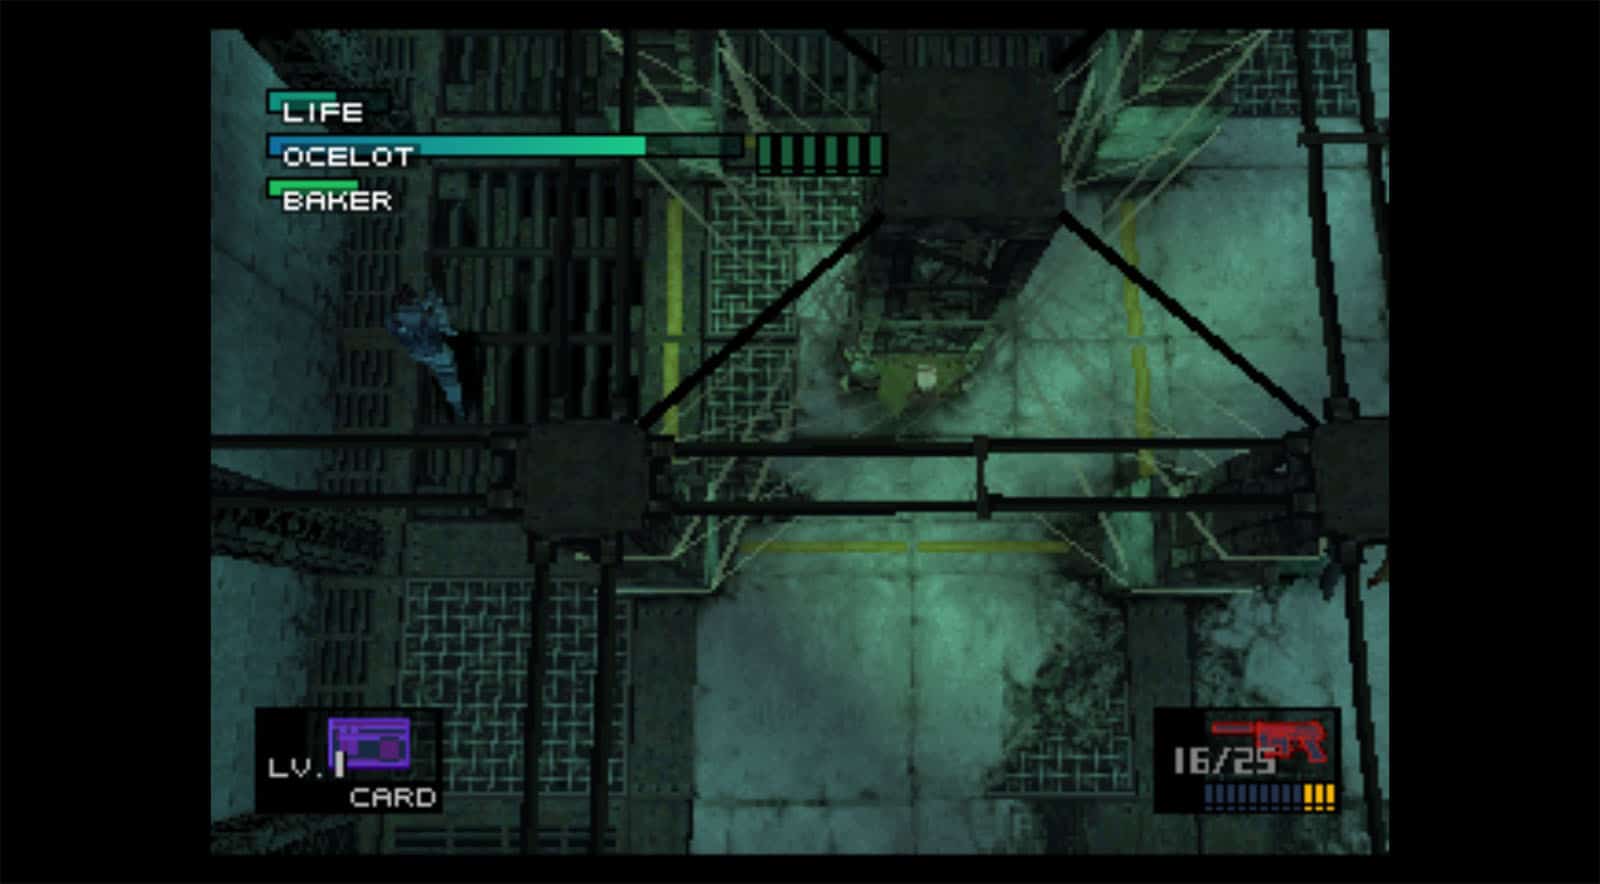
Revolver Ocelot’s revolver only has six bullets in it, but he has the ability to make some of his bullets ricochet off the walls and hit you on the corners. Once his barrel goes empty, he will take some time to reload his gun. The boss will always try to reposition away from you if you try to approach him, even when reloading his gun.
The strategy to defeating Revolver Ocelot is to keep moving and wait for him to shoot out his final bullet before going aggro on him; it also works to charge at him when he’s on his final bullet, making sure that you are strafing as you do to avoid getting shot. The only time that the boss stays still is when he is shooting at you, so being aggressive when he’s down to his final shots gives you a much better window for a counterattack.
Another strategy that you can use is to use the Stun Grenade, although this requires a more tactical maneuver. The first step is to position yourself on the corner of the side paths, as this would give you better visibility of where he’s at because of the screen size. Then, throw a stun grenade over the other path. Finally, run up or down the other side to make the boss run towards the stun grenade. Once the grenade explodes, you have a few seconds to catch up to him and get a shot. Don’t try to use a C4 with this technique, as it is strong enough to set off the traps in the middle.
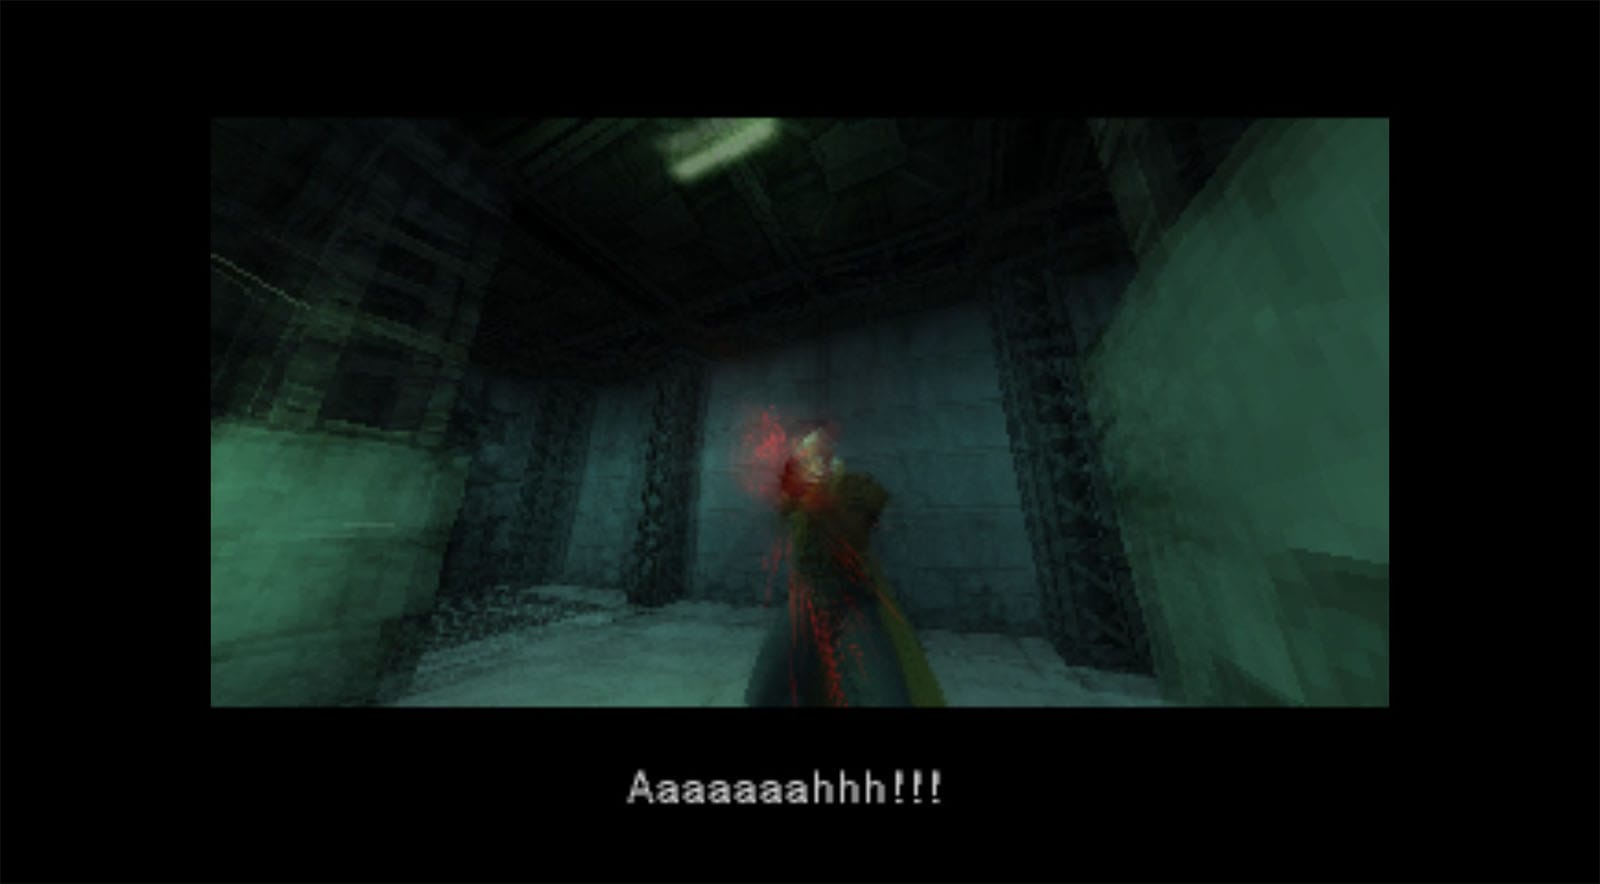
Once the boss’ health is down to zero, a cutscene will play showing a mysterious person in a mechanical suit coming in, untying the president from the traps, and cutting off Revolver Ocelot’s gun hand. After confronting the mysterious figure, he disappears and escapes. Snake is now left with President Baker and asks about his involvement and the truth behind the Metal Gear project. He also learns more about the mysterious woman from earlier, Meryl Silverburgh, and that she is actually the colonel’s niece and that he was working with her prior to his capture.

The president then gives Snake an optical disk that shows Meryl’s codec channel and his level 2 card key. As Snake tries to urge the president to come with him, the president declines and opts to stay behind. Soon after, he also succumbs to the unusual heart attack, only uttering some words mentioning the Pentagon’s involvement before passing away.
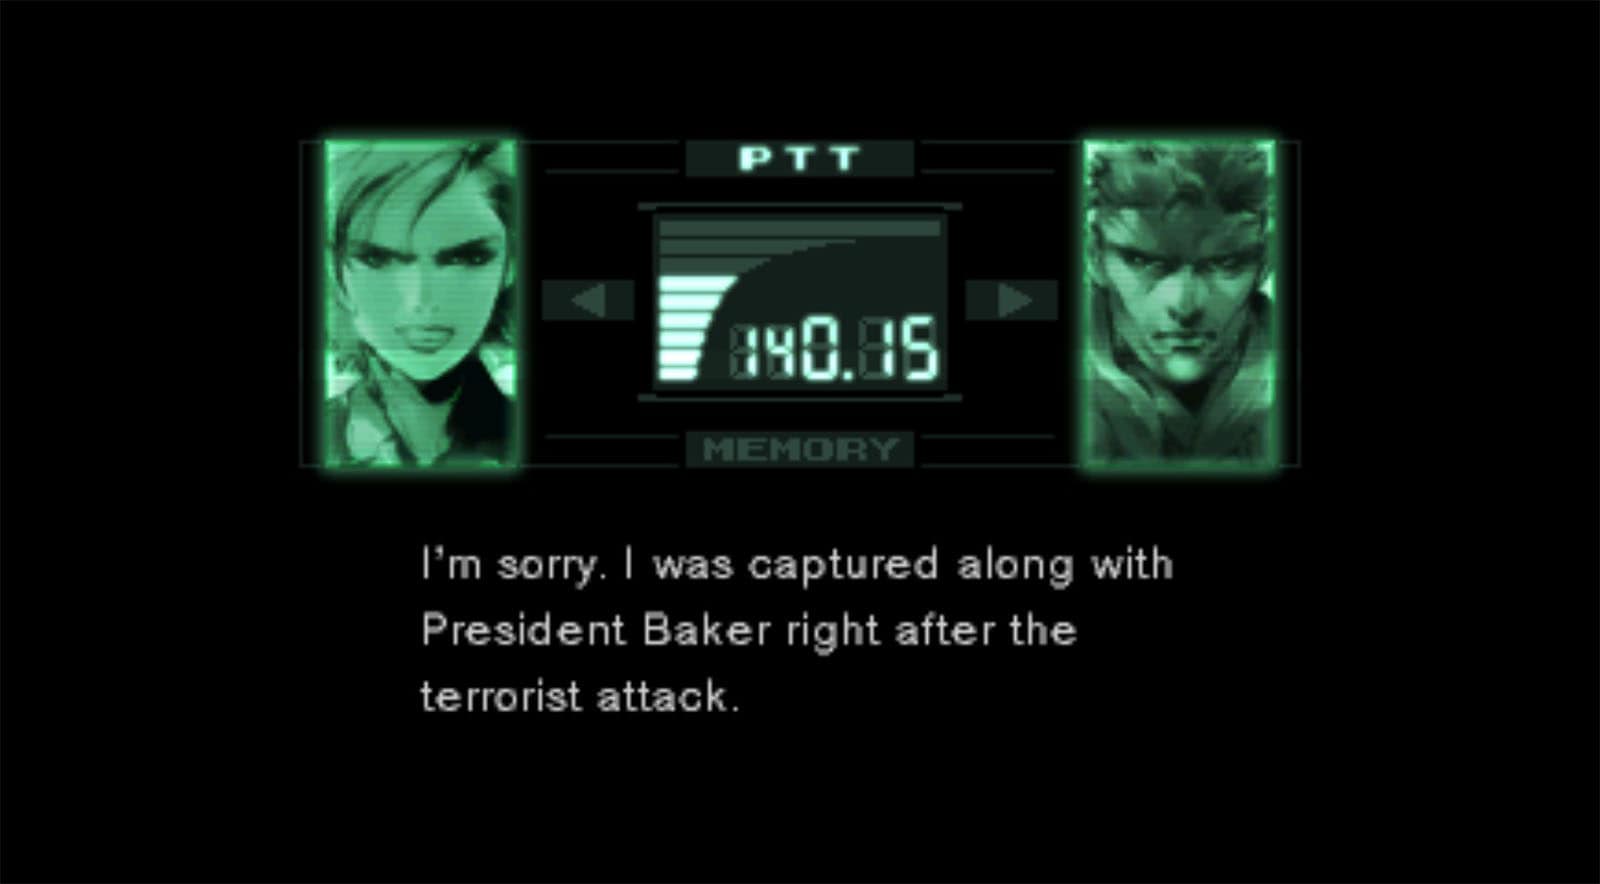
After the scene, you get to control Snake once again. Open your codec and dial in 140.15 to reach Meryl (if this does not work, try to go back to the armory or cell where you’ll have a stronger signal). You’ll then have a lengthy talk with Meryl, who finds out that you are the legendary mercenary that she has always known from stories. After sorting out some misunderstandings, she offers her help on your mission by using her access key to open up the gate back on level 1 hangar.

Before heading back to the hangar, go back to the armory. This place will now have guards patrolling the corridors, so try to avoid being spotted or clear them out quickly and silently. Head to the southeast room that you can now open by equipping your level 2 card key in your left slot.
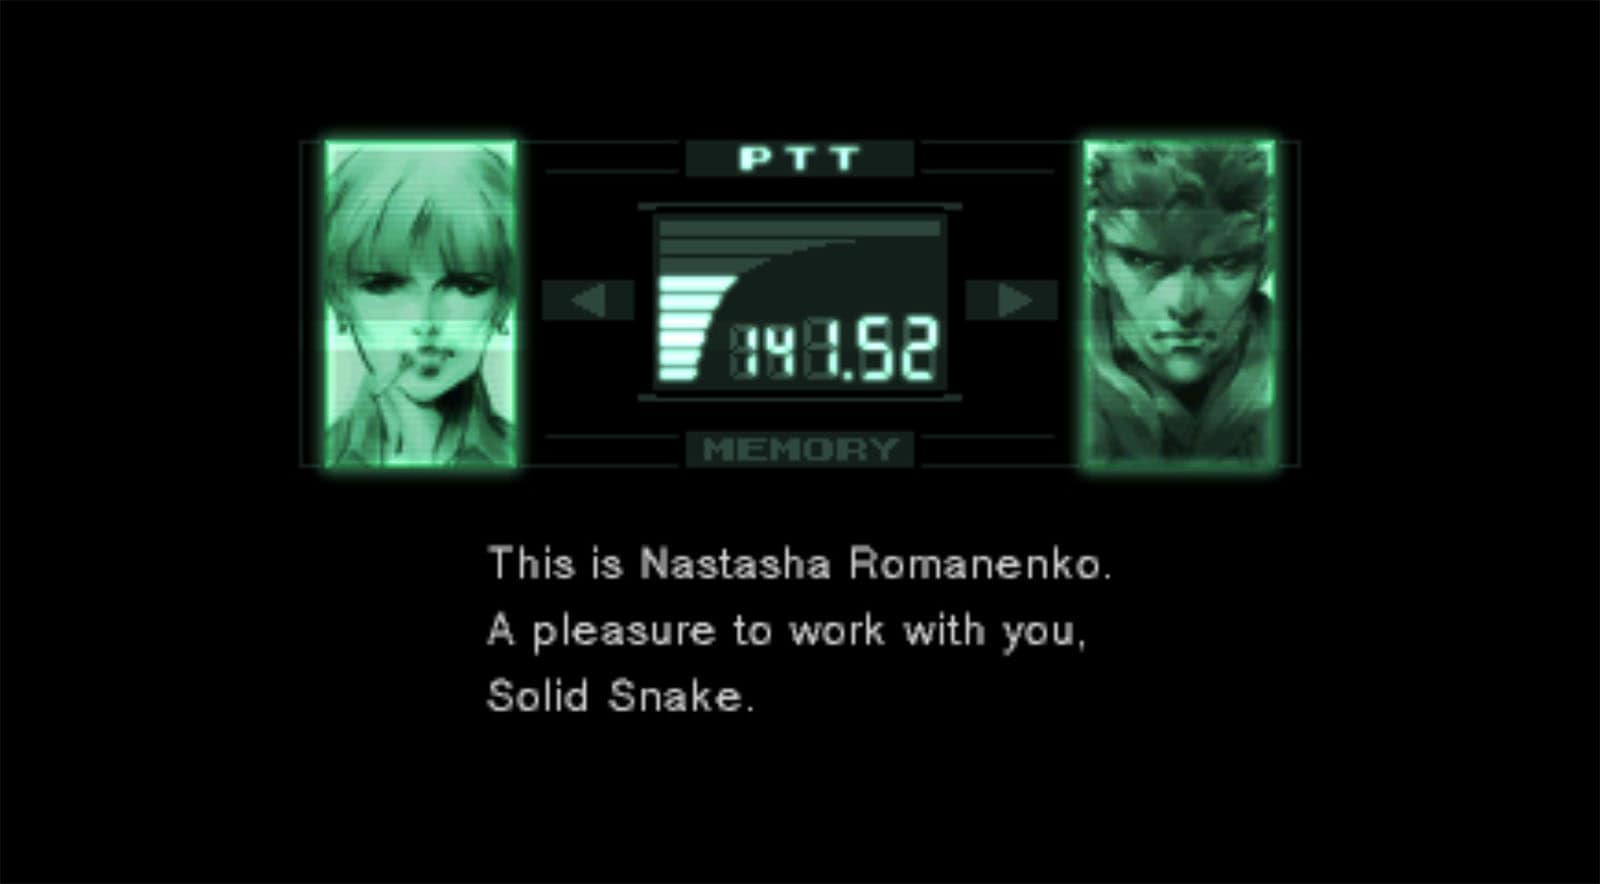
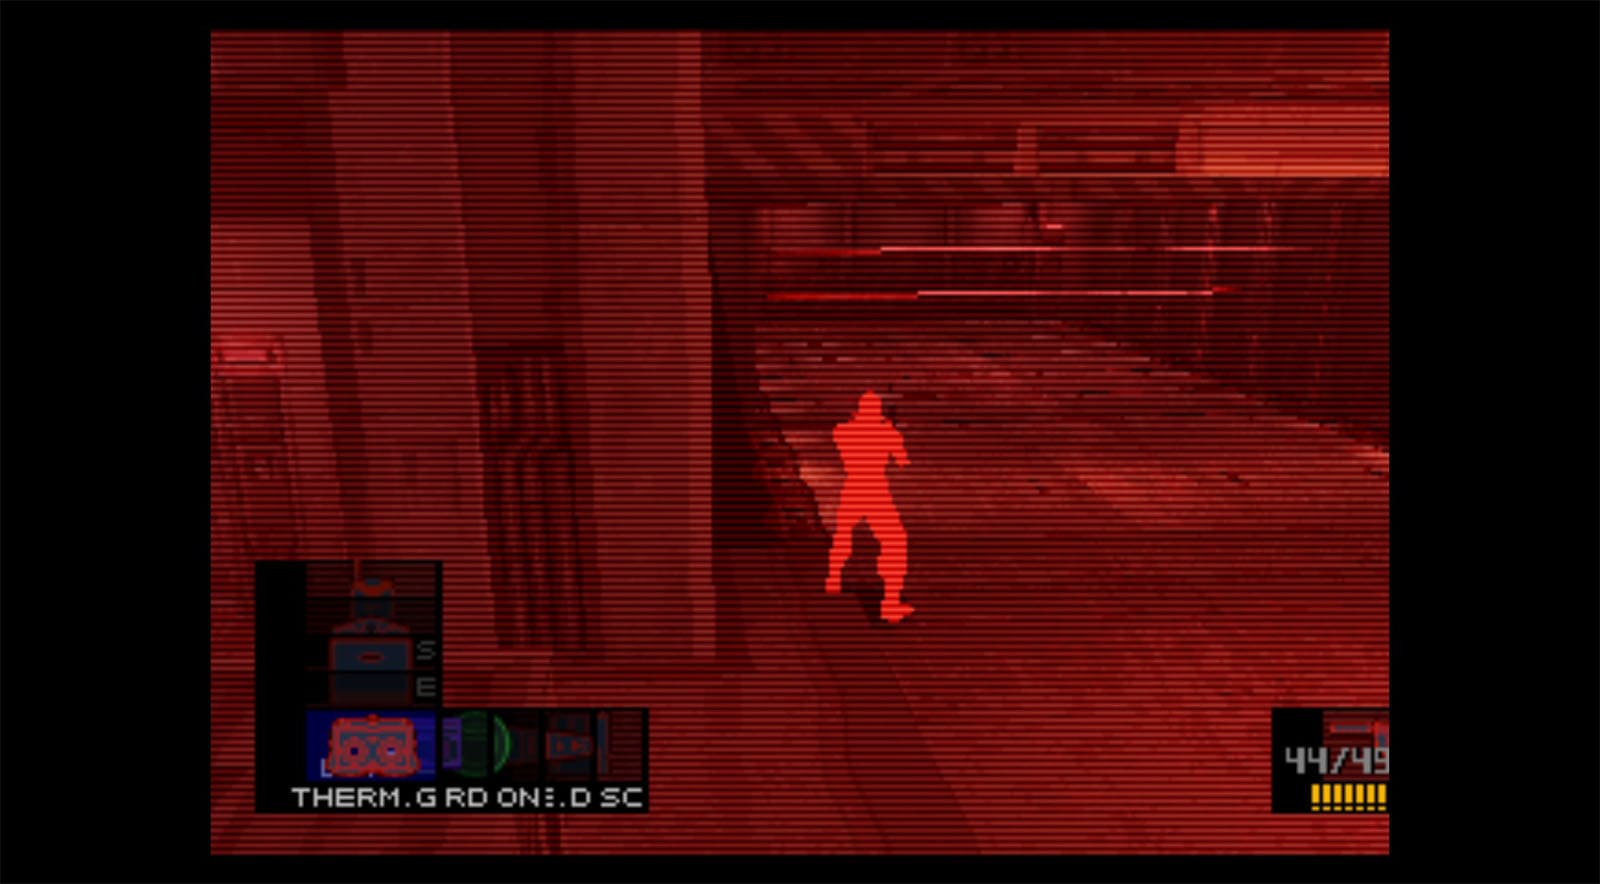
Enter the room, but before taking the loot, answer the call from the colonel first, who will give you a heads-up that the room is lined with infrared lasers. He will then advise you to call Natasha Romanenko, who is a weapons specialist over at 141.52. She will tell you how to see the lasers by using the smoke grenades. If you have managed to grab the Thermal Goggle from earlier, you can also equip it.
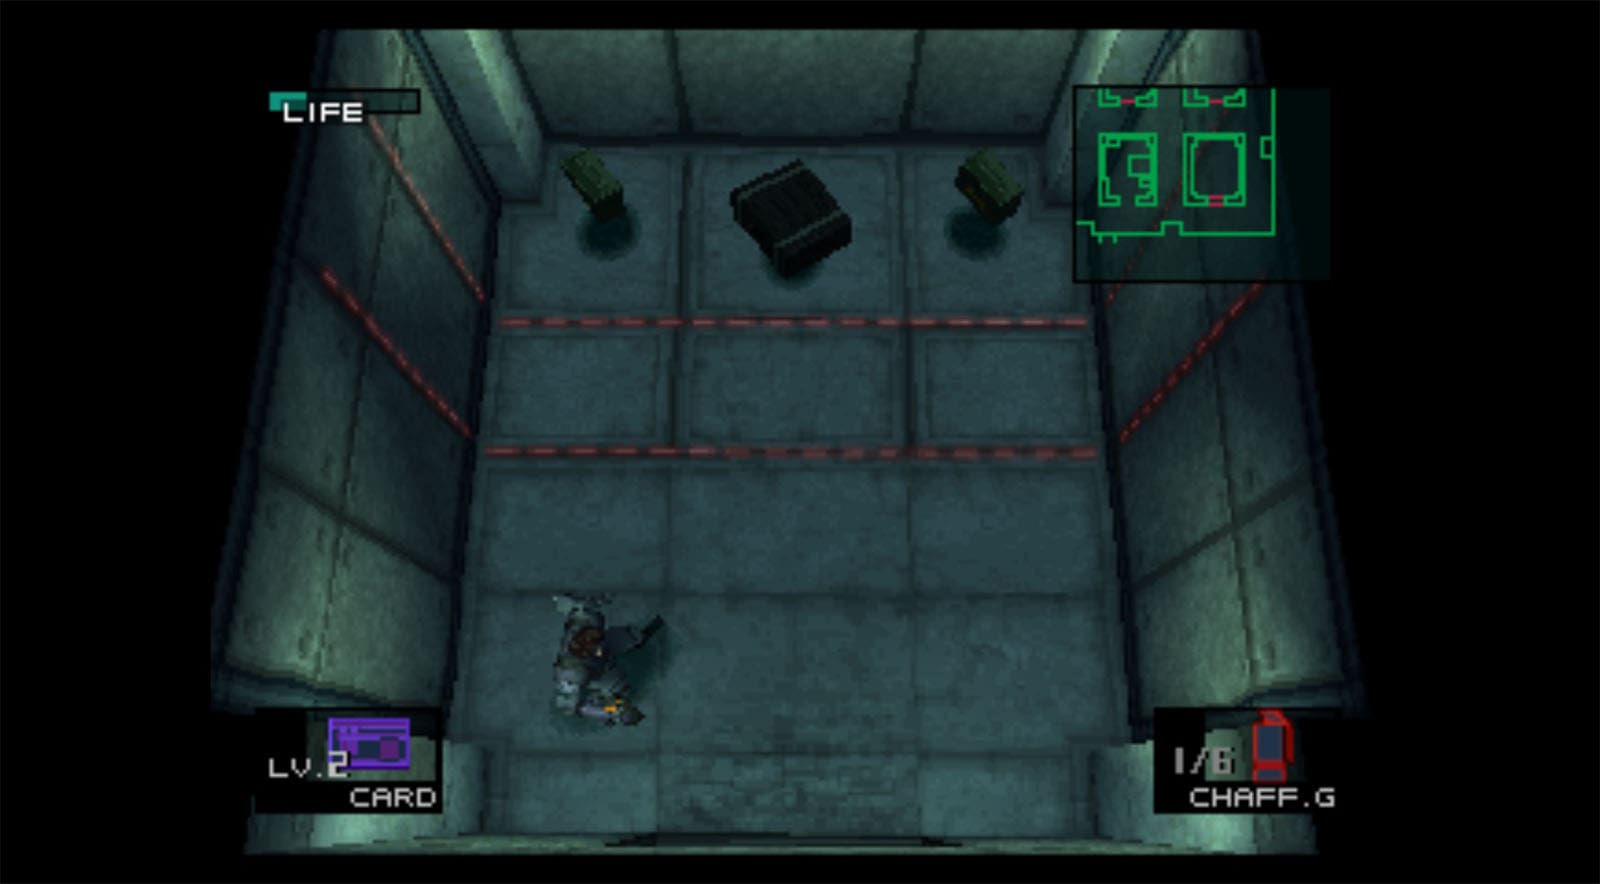
Now that you see the lasers, go prone and grab the FAMAS gun and its ammo in the room. This gun is effective at quickly clearing out enemies, but only use this when the enemies have already been alerted.
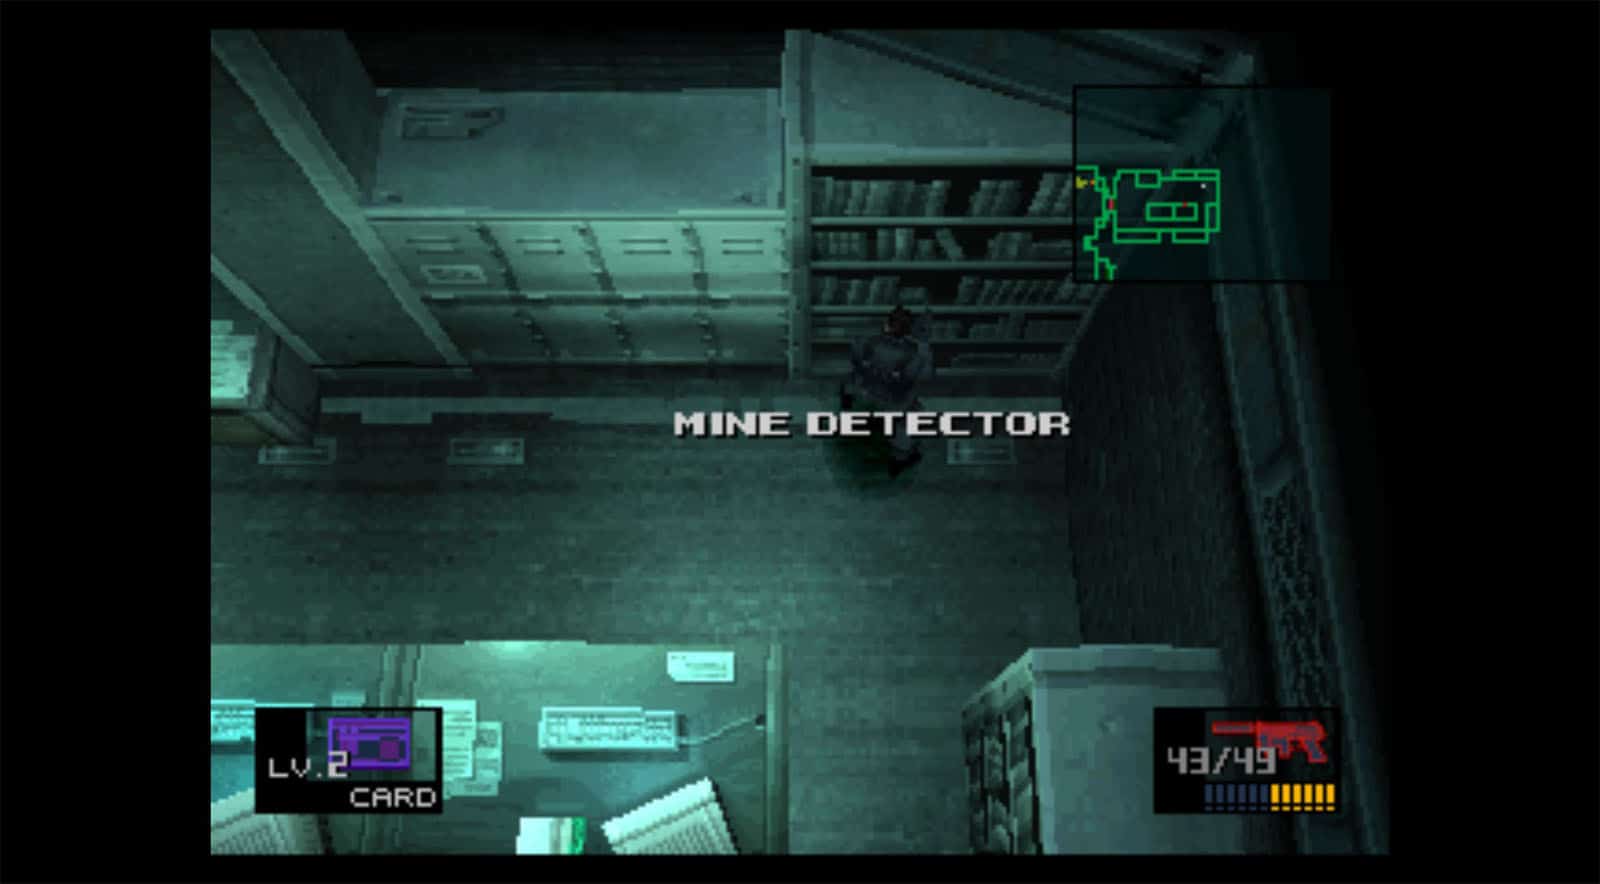
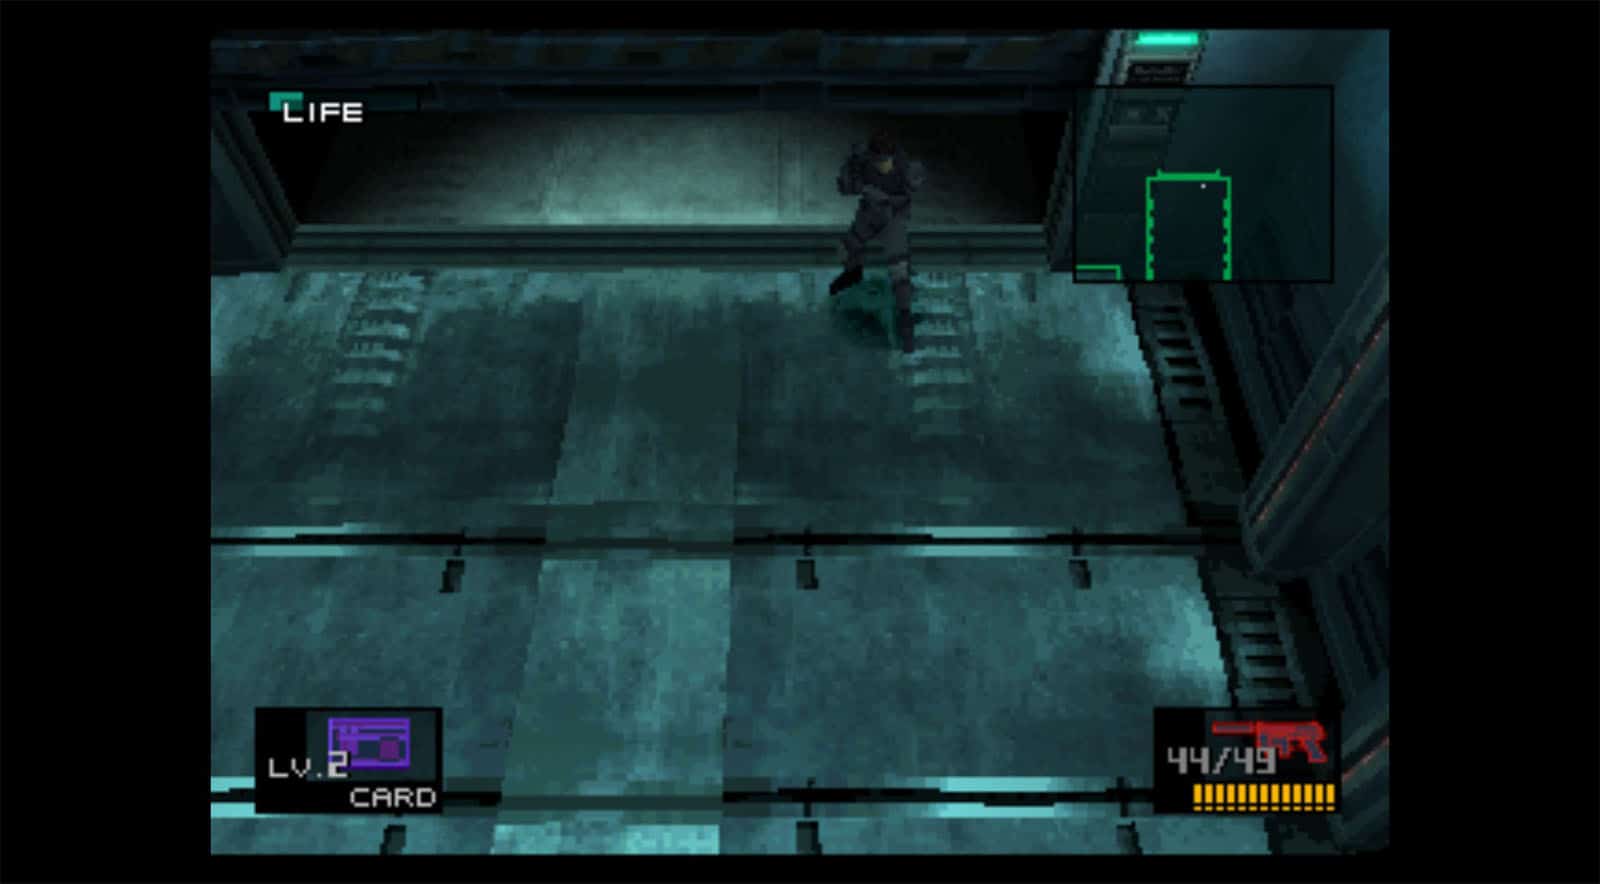
Next, go back to the level 1 hangar and go to the mezzanine level east side to enter the door using the level 2 card key; be careful as there is now an enemy patrolling this side of the mezzanine. Inside the room is where you can get the Mine Detector, which is another tool that will help later on.
To proceed with the mission, you’ll need to get another call from Meryl where she confirms that she has opened up the gate on level 1; if this hasn’t happened yet, make sure that you have contacted her at least once on her 140.15 channel.
Go to the opened gate, but before proceeding, equip your Thermal Goggle to see the lasers. These lasers are moving, and to get through them, it’s best to not go prone and just walk through once you get the right time to do so. Once you get to the other side, equip your level 2 card key to open the gate to the canyon.
See next: Canyon Walkthrough
")
")
")