")
Basement 1: Cell is the fourth area in Metal Gear Solid. Snake hears some intel that the DARPA chief has been held in a cell somewhere deep in the hangar and he has to find a way to get him out back to safety. As Snake dives deeper into the hangar’s underbelly, our Metal Gear Solid 1 walkthrough B1: Cell will guide you through the challenges of locked doors, secret vents, and unforeseen enemies.
See previous: Tank Hangar Walkthrough
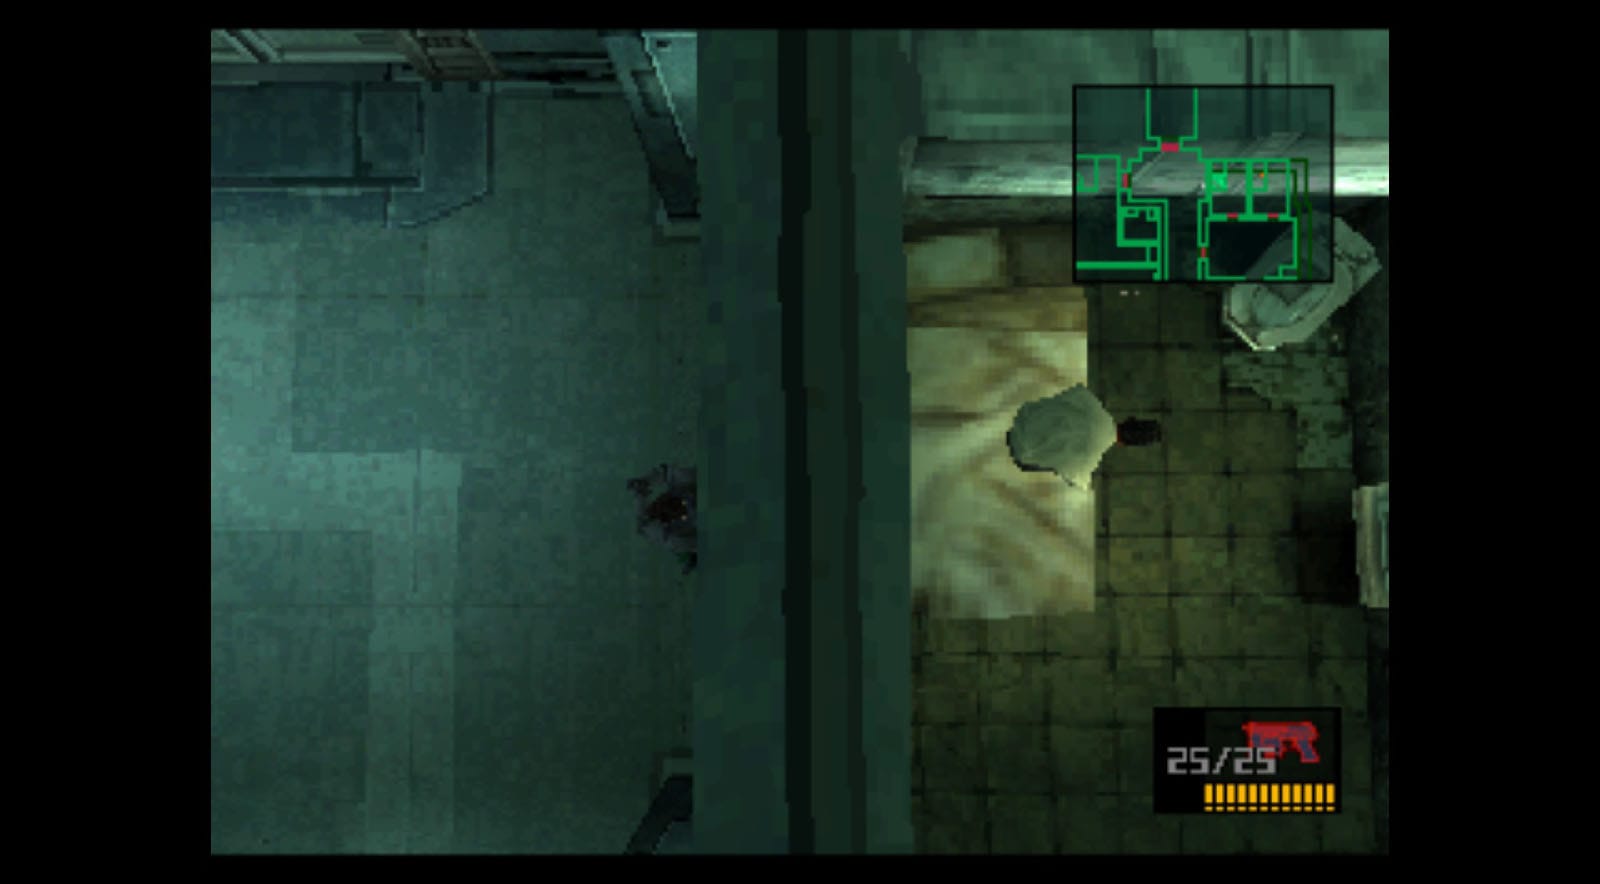
Once you arrive at the basement 1 level, Mei will call you from the Codec confirming that the chief is within the level. Approach the wall to the right to see an overhead view of the chief’s cell.
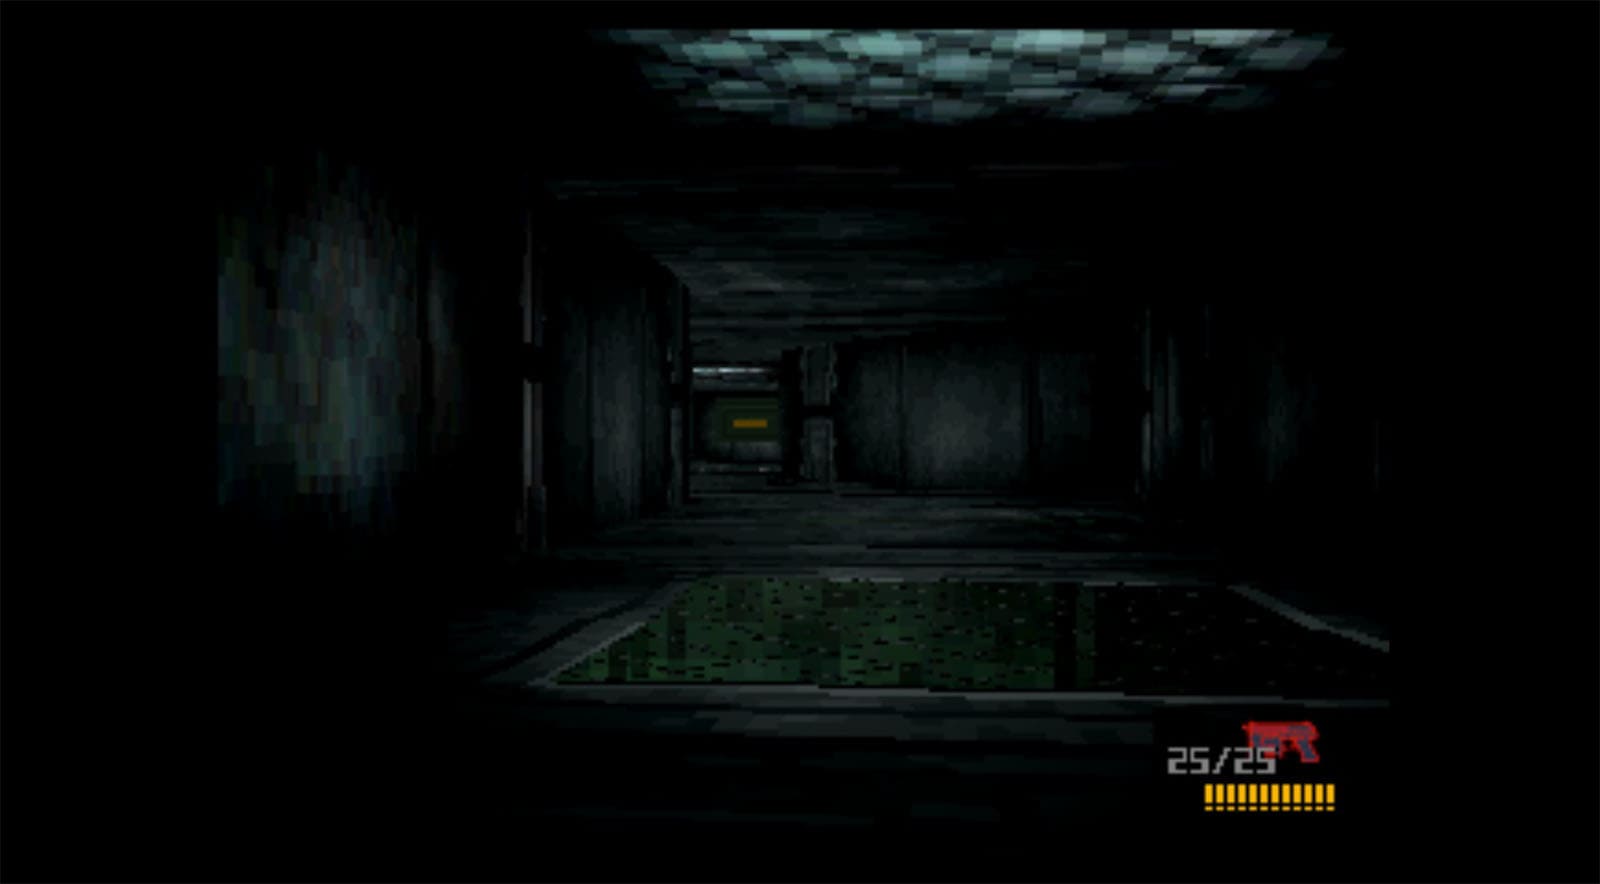
The doors in this level are currently locked. Move to the south and take a right to find a ladder that leads to the vent system.
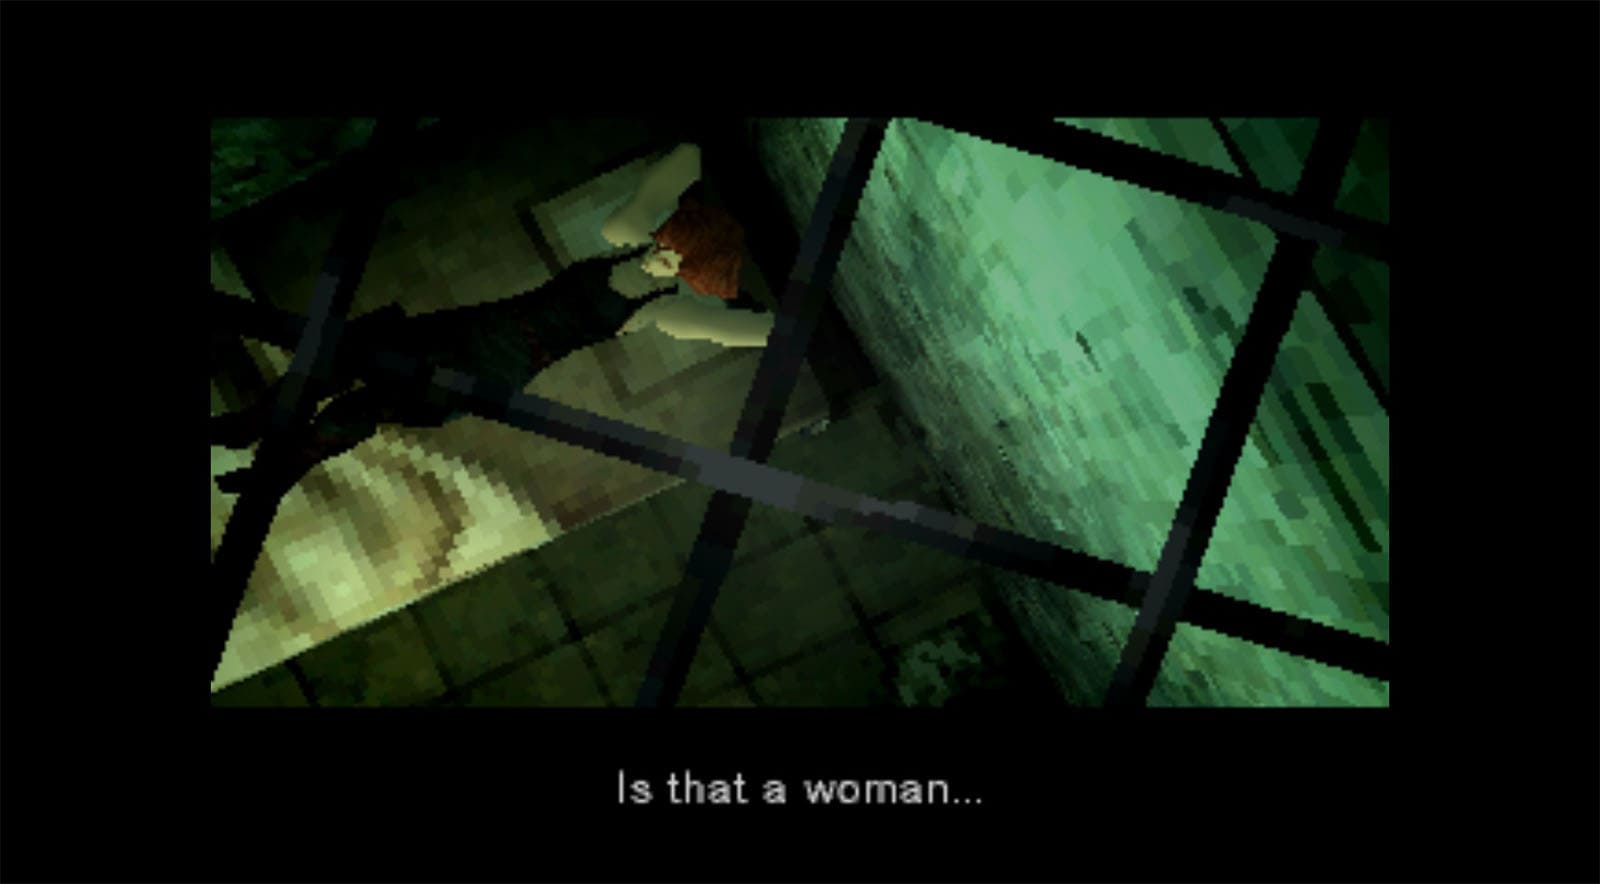
In the vents, follow the path until you reach the first fork. Taking this fork all the way to the end will give you some ammo. There are also two grates that you can look down into, one of them lets you view the other cell that holds the female captive you’ve heard about earlier, the other one is just one of the guards.
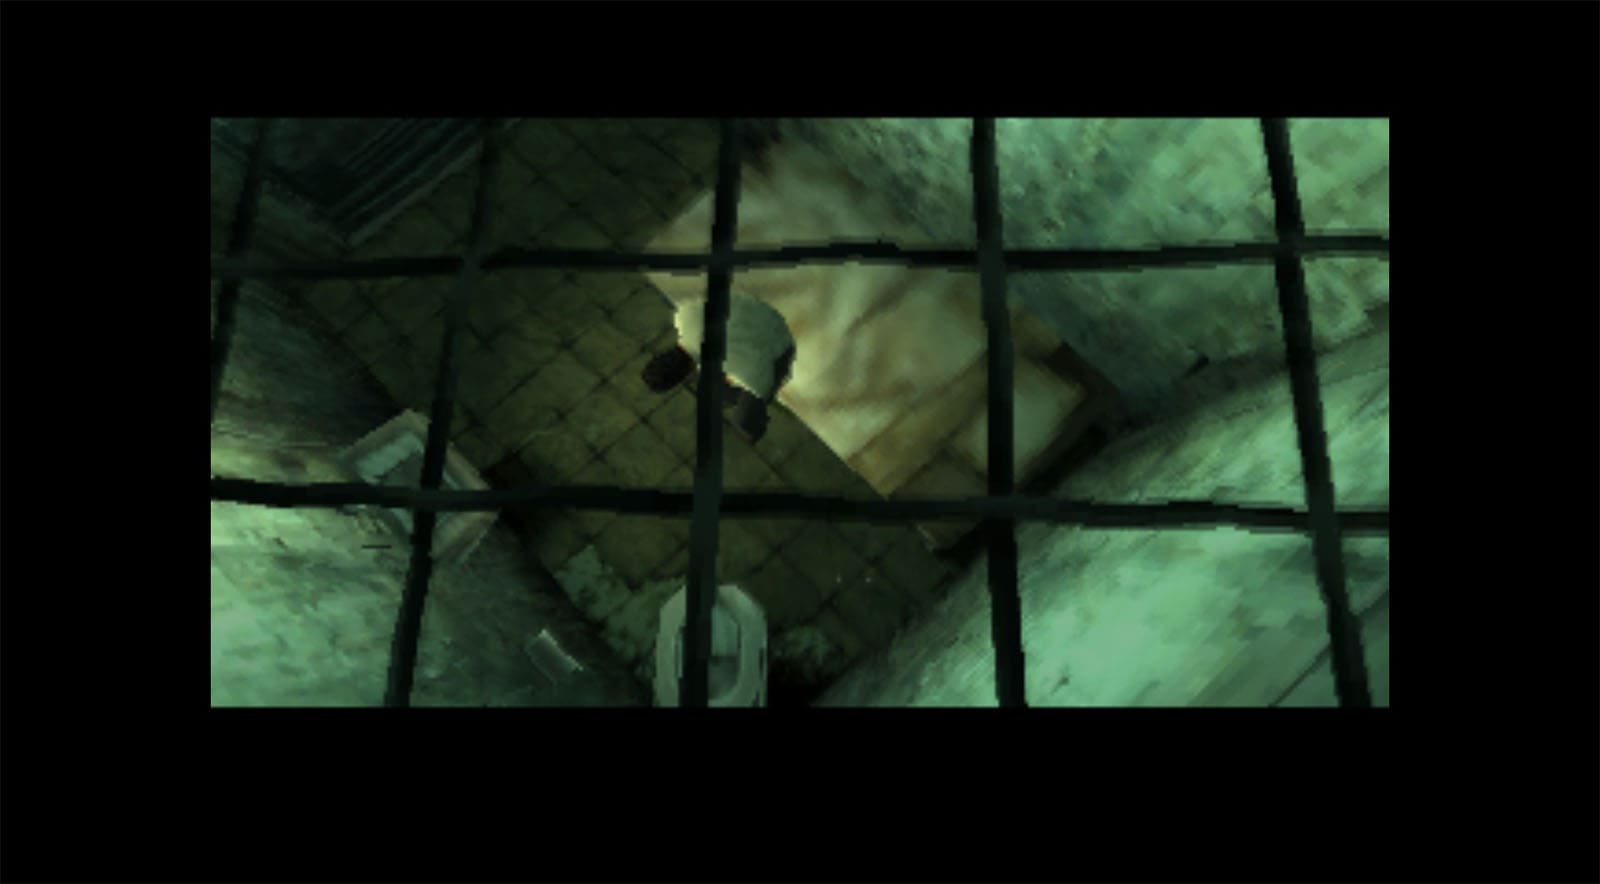
Move back to the main path and take it all the way to the end where you will find the chief. Press your action button once you reach this grate to get inside the chief’s cell.
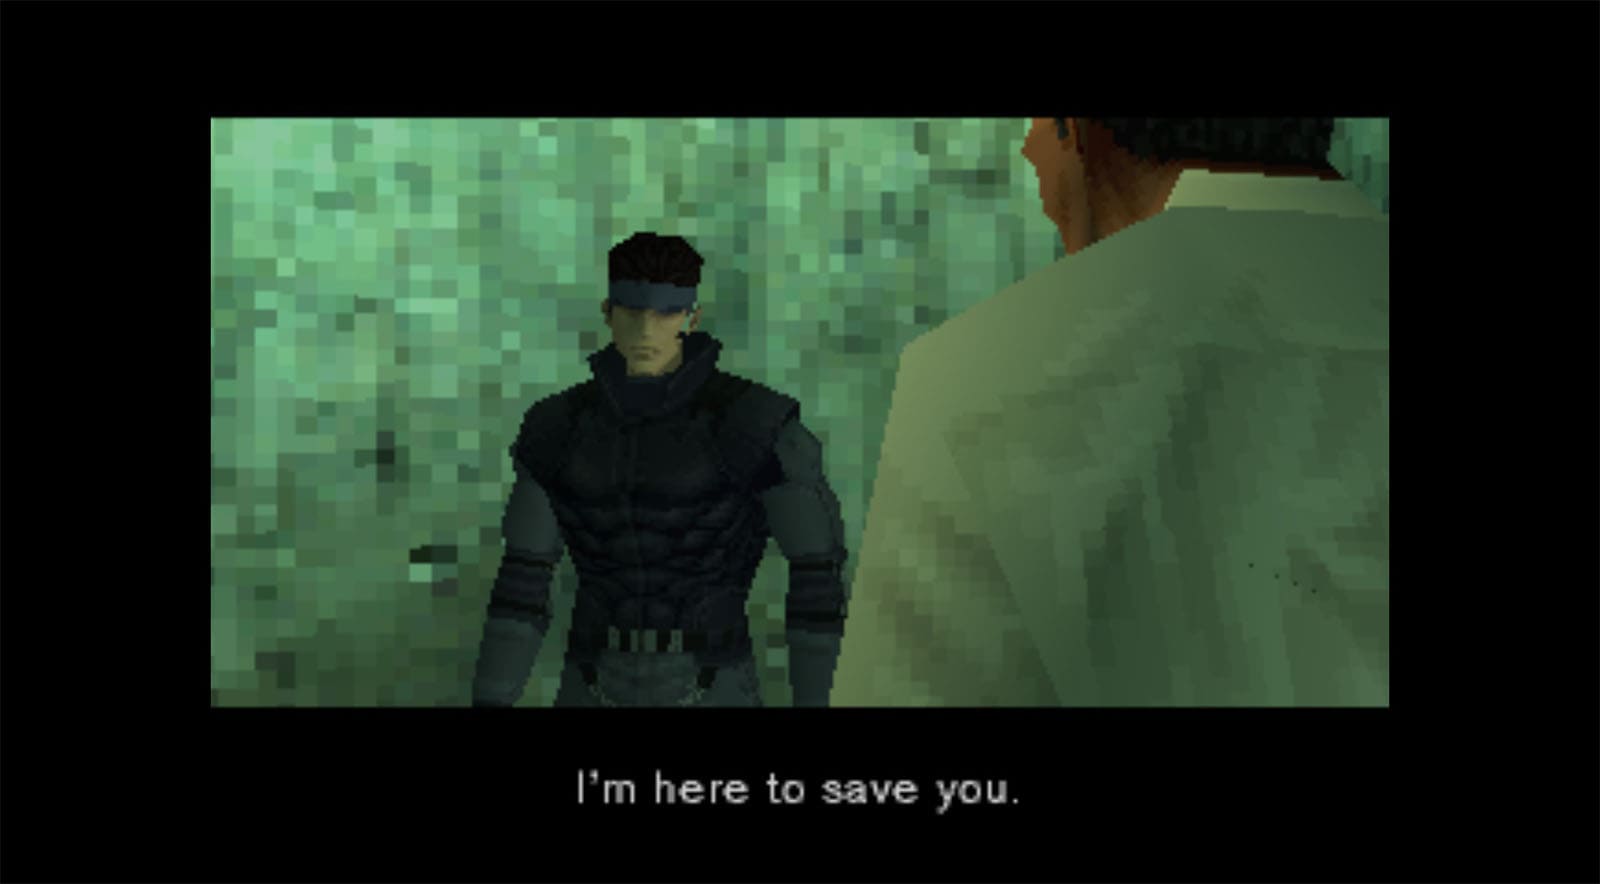
A cutscene will then play between you and the chief as you learn about his involvement in the Metal Gear project, how he got locked up, and that Snake has to secure two passwords in order to keep the prototype that they’re working on safe from the enemies’ hands.
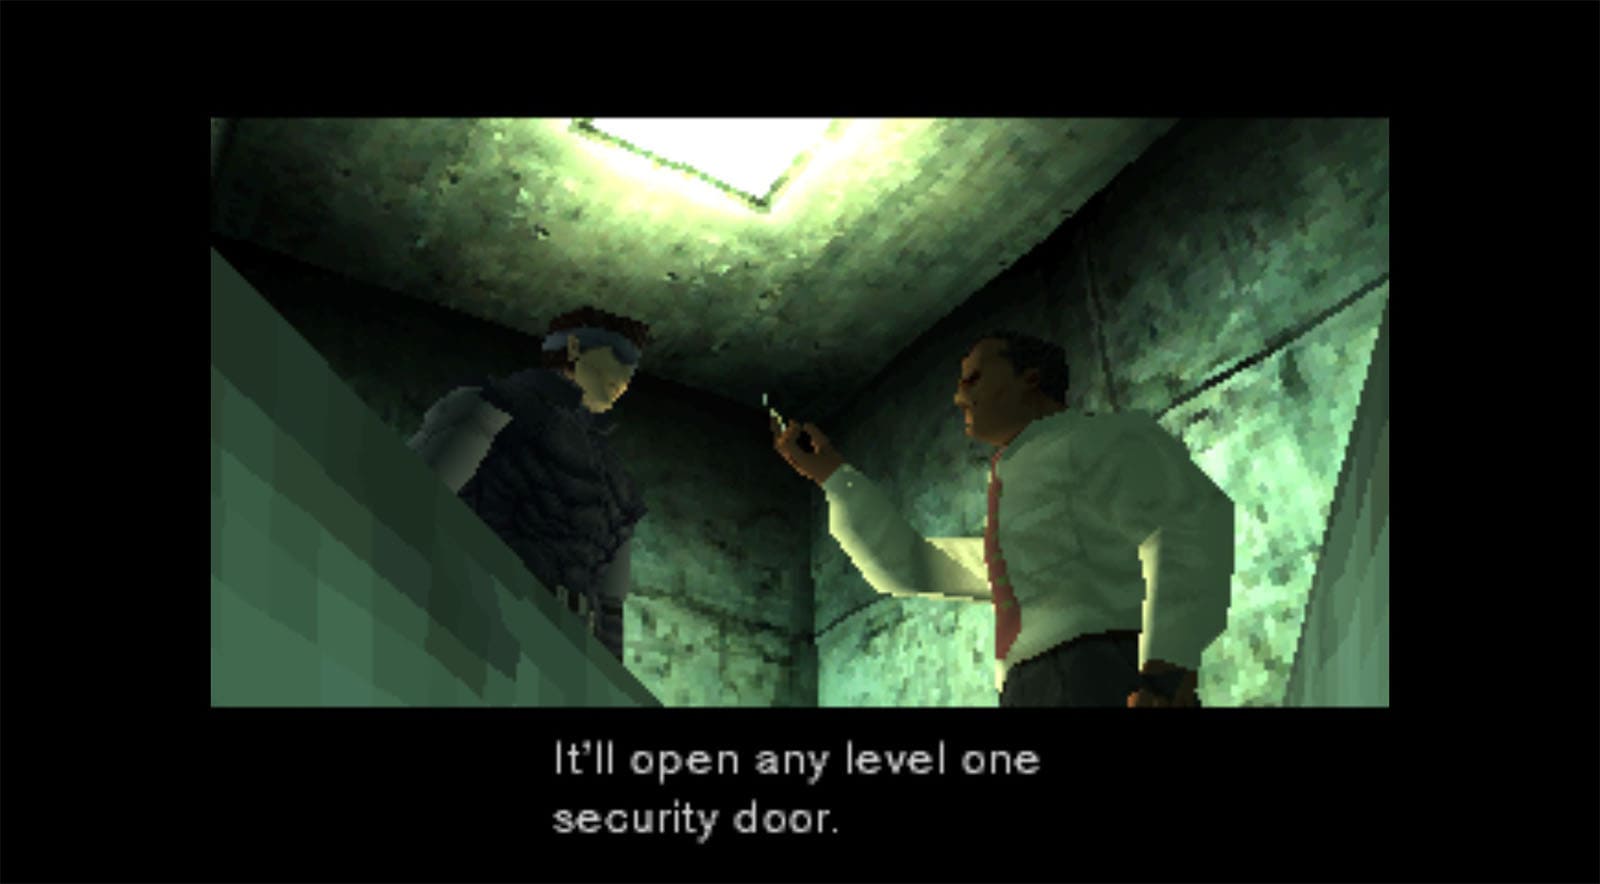
The chief then gives Snake his PAN card which allows Snake to open doors with level 1 access.
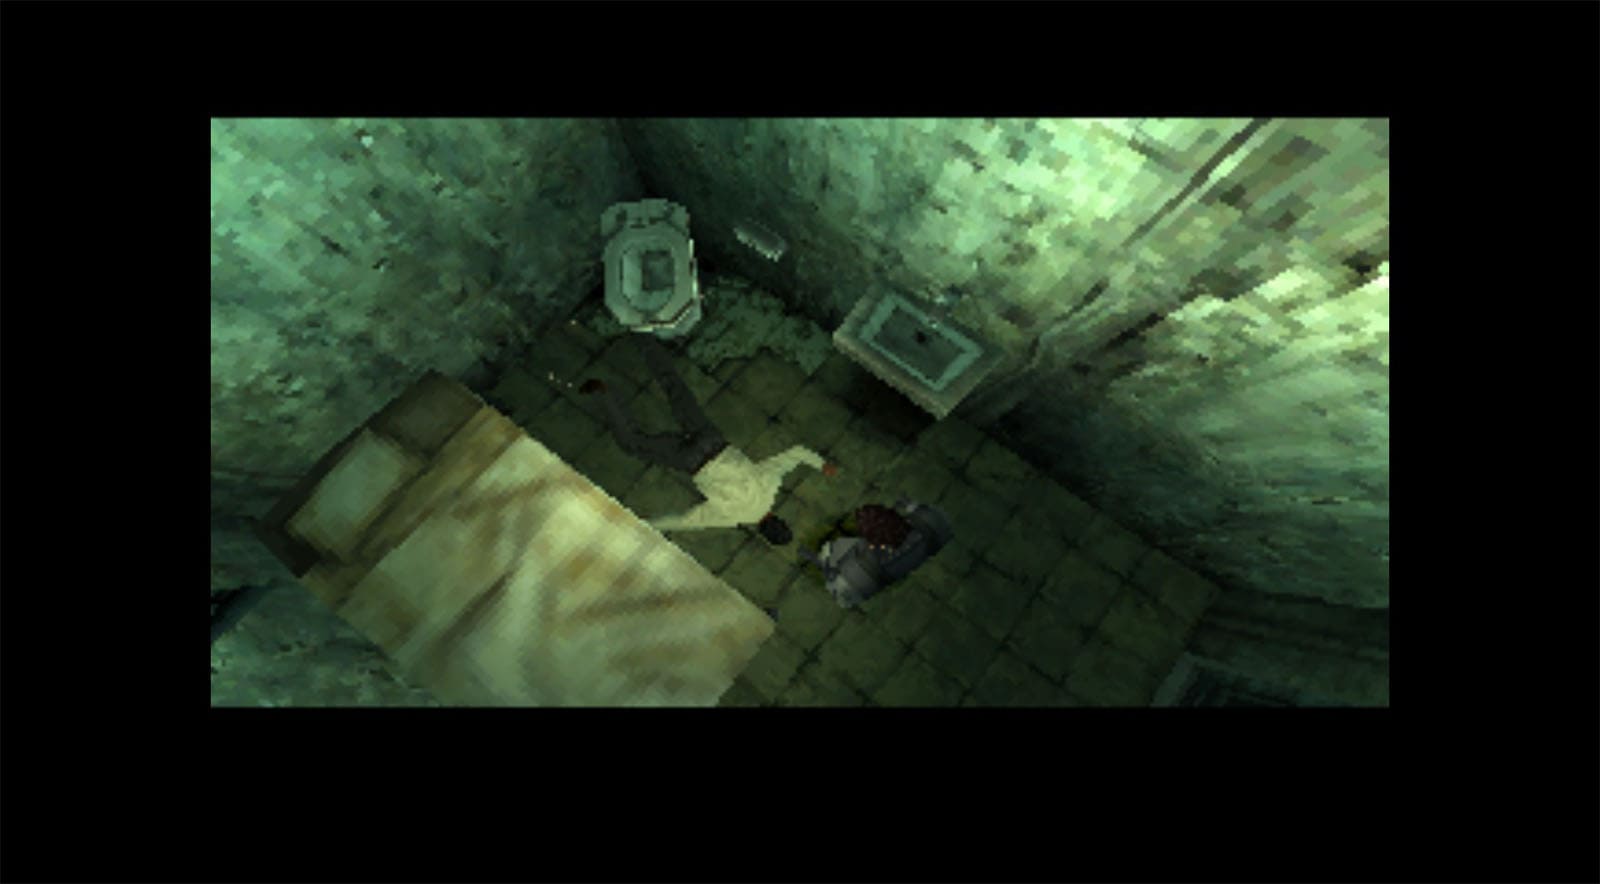
After being almost caught by a guard, the chief suddenly gets an unusual heart attack and dies on the spot. This is heard by the woman in the other cell. She then moves into action, manages to open her cell door, and takes down the guard outside the cell. Wait for her to open your door and you can get out.

As you get out, she points a gun at you, but Snake calls out her rookie façade. More guards then storm the area which ends in a gunfight.
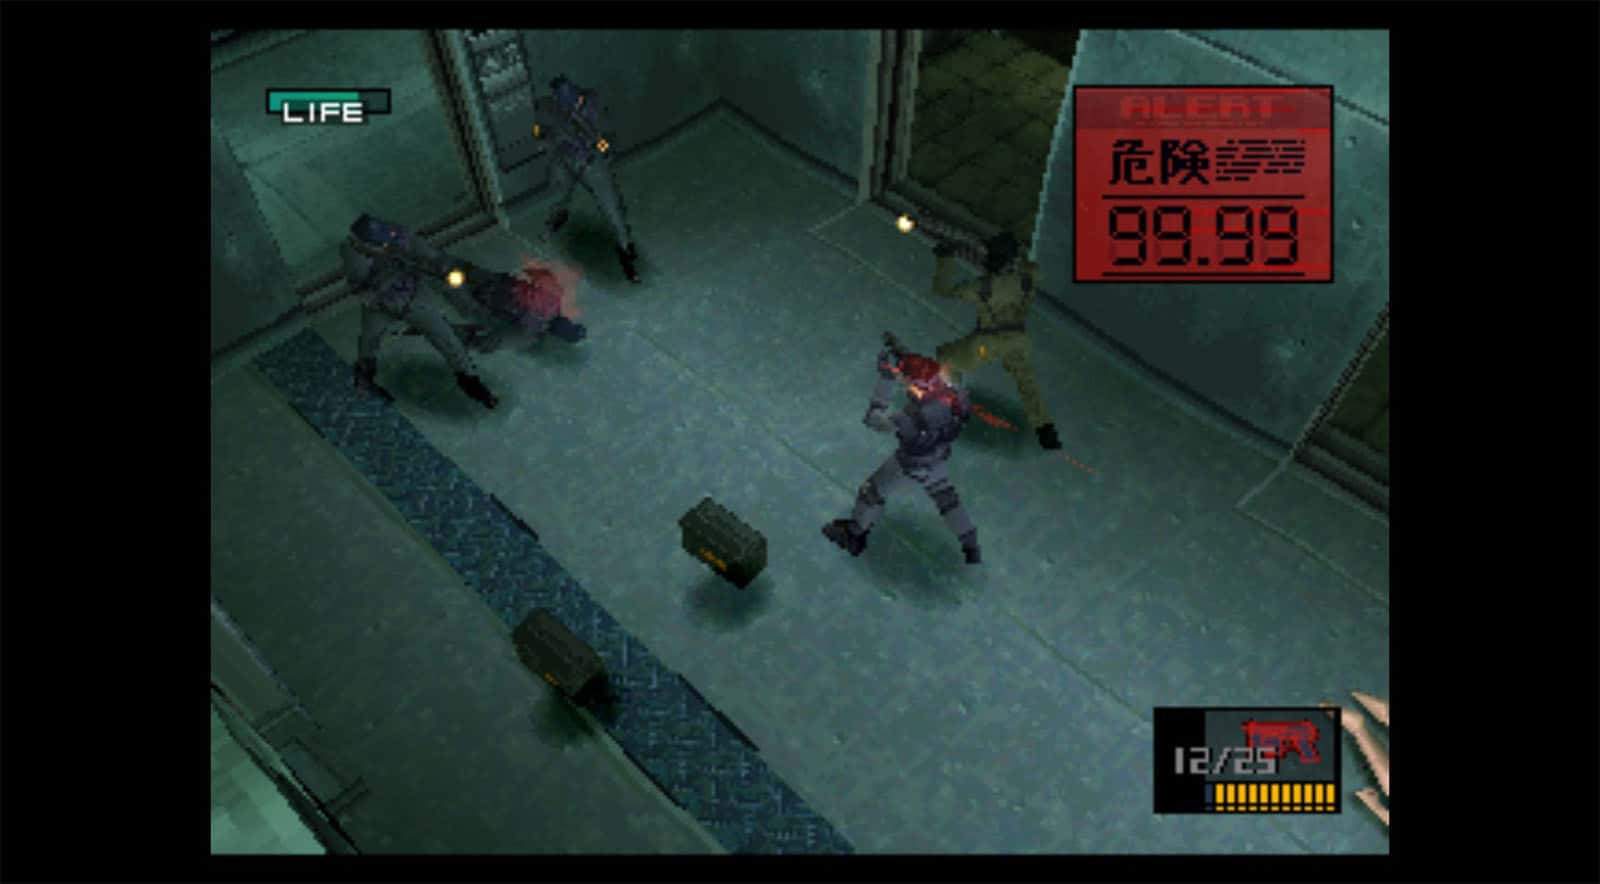
During this fight, guards will be shooting at you and the other woman. Shoot back at them using your weapon and keep your health topped up with rations. Enemies will drop ammo and rations for you to use. try to use your stun grenades to help control the situation. There will be multiple waves of guards that you will have to face. Once they have all been dealt with, another cutscene will play.
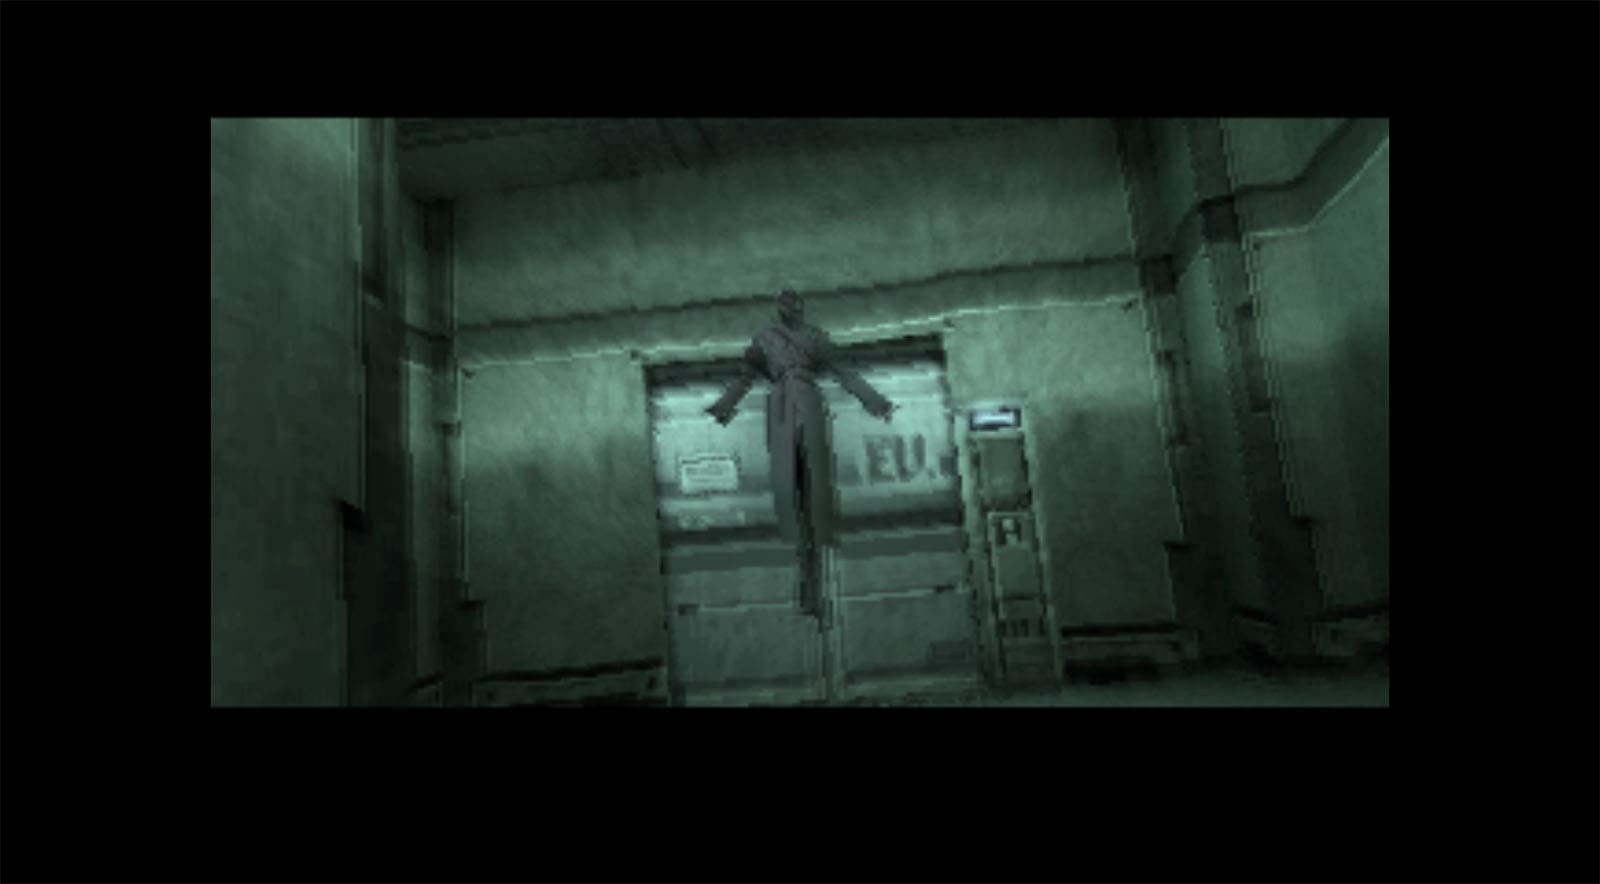
The woman escapes to the elevator, leaving Snake behind. As she does, she shoots back at Snake without hesitation. Snake then sees a hallucination of a mysterious figure which will later be known as the Psycho Mantis that the chief spoke of, suggesting that the woman was under its control.
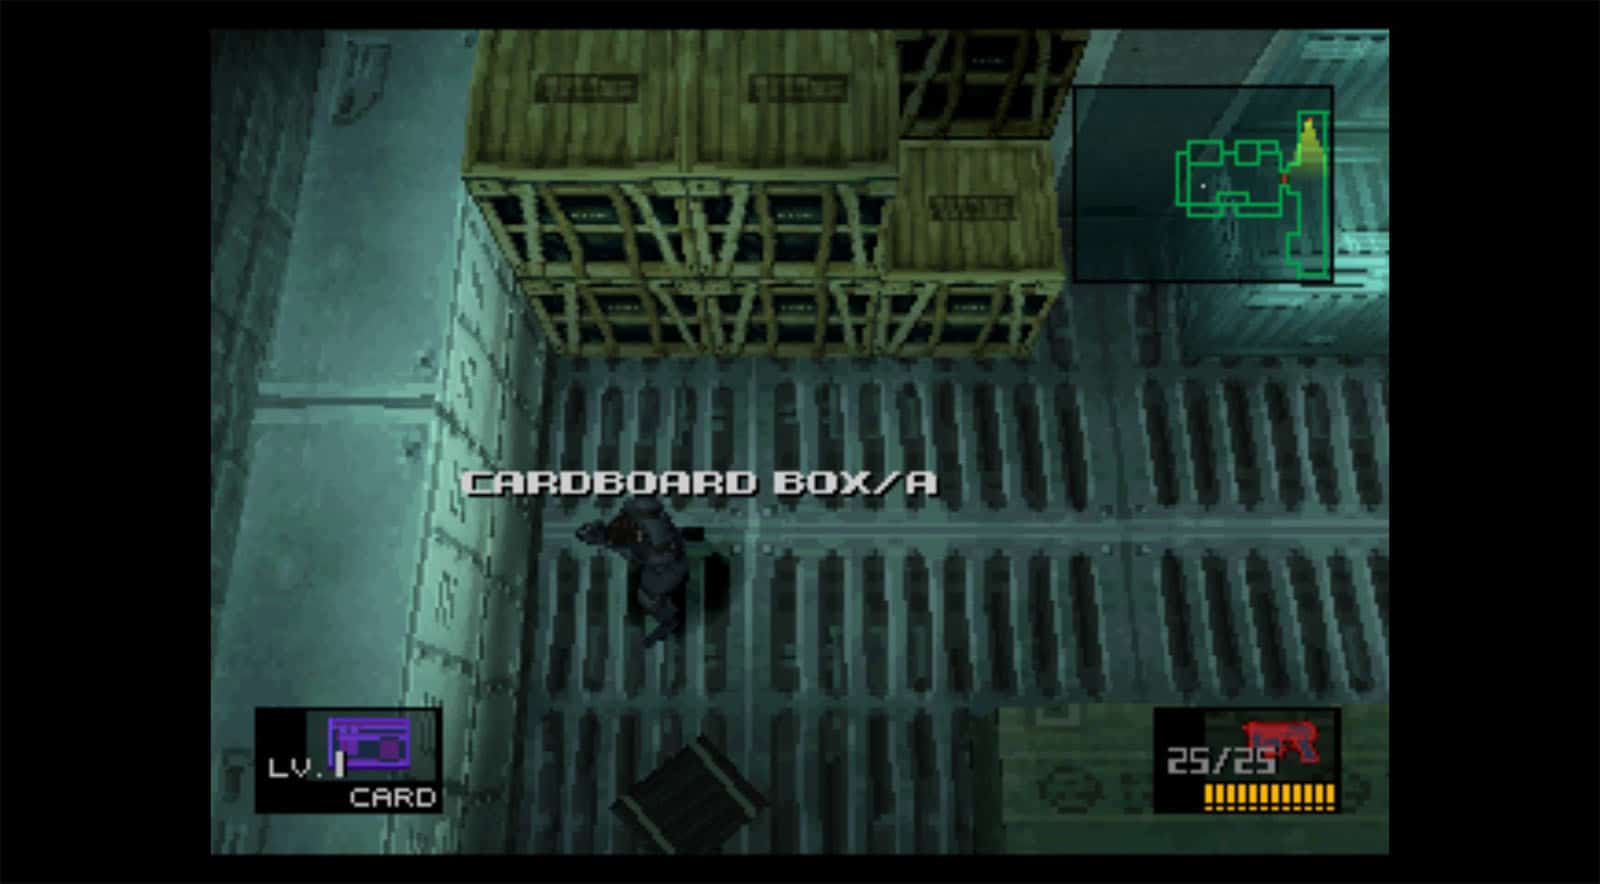
Now that you have the L1 Card, you can revisit the ground floor to access one of the locked rooms to the west. In this room is where you can get the Cardboard Box/A and x3 Chaff Grenades.
Next, go down from the mezzanine level and head east to unlock the other room. There is a soldier patrolling in this room, but he will face the wall most of the time. Near him is the SOCOM Suppressor that you will need. You can just sneak near the guard and grab the suppressor and then leave; taking down this guard without having the suppressor yet will be challenging as you will most likely sound an alert.
Head back to the elevator and go down to basement 2 to proceed.
See next: B2: Armory Walkthrough
")
")
")