
Chapter 1 of Baldur’s Gate 3 follows the story of the protagonist who just survived the crash of the Nautiloid and is now in search of a way to remove the parasite that is in their brains.
This guide covers the first early parts of the chapter, starting from the aftermath of the crash, up until the discovery of Druid Grove. Read ahead as we go through these events in Baldur’s Gate 3 as we share some tips and secrets that will be helpful in the journeys to come.
See previous: Baldur’s Gate 3 Prologue: Escape the Nautiloid Guide
Chapter 1: Part 1 Objectives
- Removing the Parasite
- Free Lae’zel
- Explore the ruins
Chapter 1: Part 1 Walkthrough
The first part of Chapter 1 will have you prioritize the removal of the parasite from your body and prevent the transformation into a Mind Flayer. However, since the game provides a bit more freedom when it comes to the order of the quests taken, for this guide, we will take the route that would give us a higher chance of surviving, and that starts by looking for other people to recruit into our party.
Removing the Parasite
This quest will immediately start as soon as you wake up on the Ravaged Beach. However, this is a long arching quest that will put you through many side quests in search for a way to rid yourself of the parasite. For now, proceed to explore the world and we will pick up on this quest once more after reaching the Druid Grove.
Recruiting Shadoweart – Daughter of Darkness
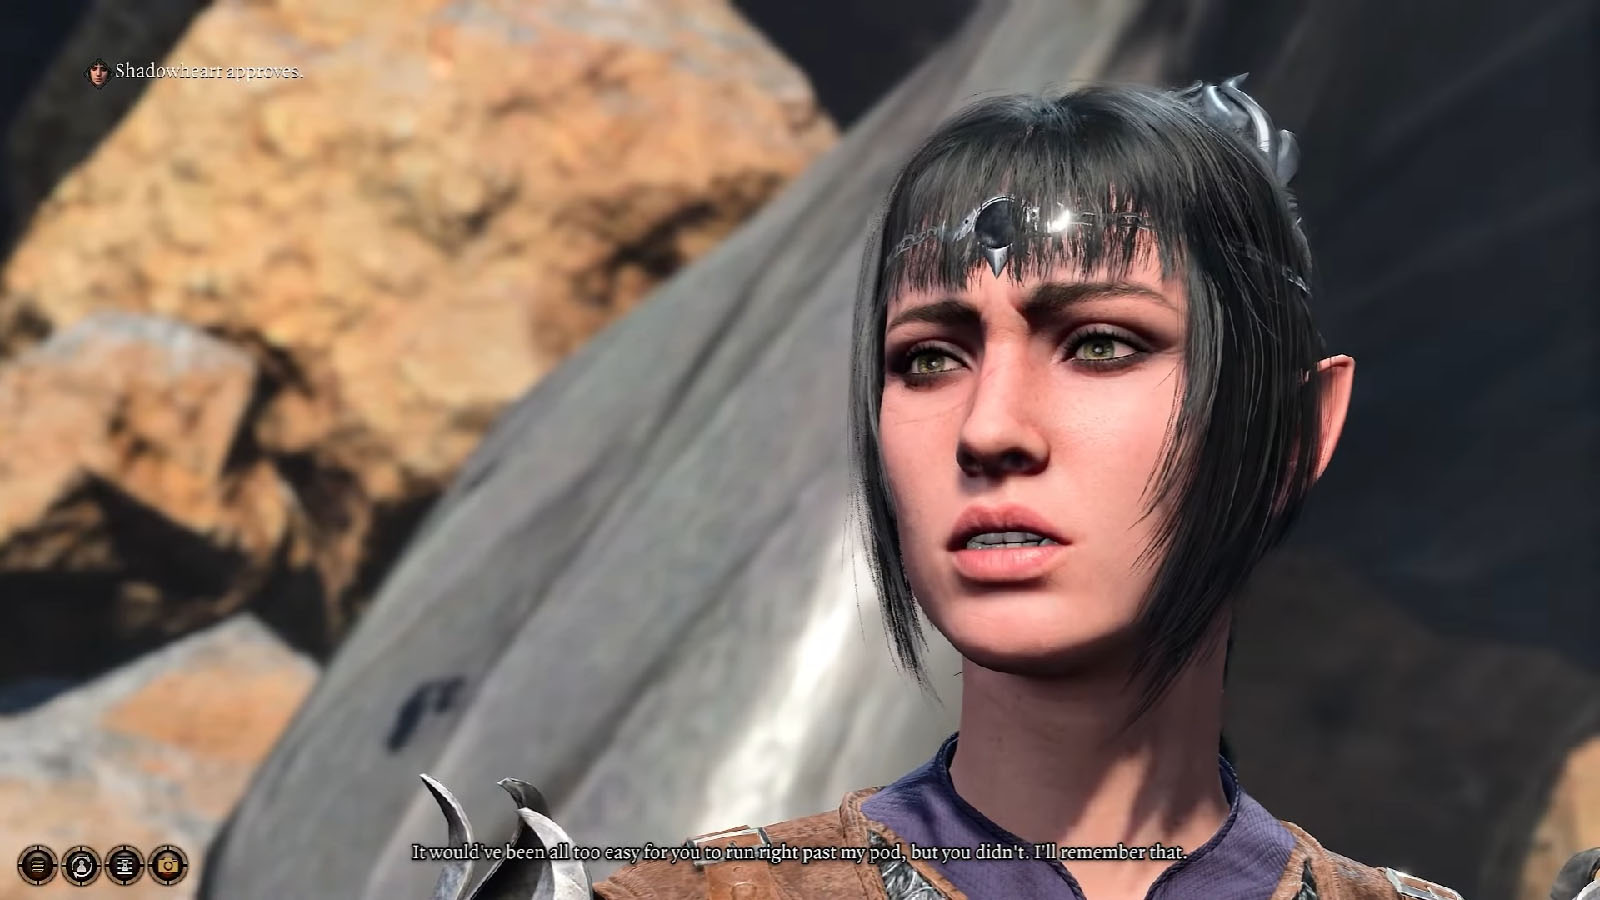
After almost falling to your death from the crashing ship, you find yourself miraculously alive. You can explore the beach and loot the corpses nearby. Head up north and you may also find Shadowheart if you managed to free her from the pod from earlier, otherwise you will see her by the entrance of the Dank Crypt.
Talk to Shadowheart by the Overgrown Ruins and you will get the option to help her through the door by picking its lock. Depending on your stats, you may or may not open the lock. You can increase you chances be taking a detour over to the west side and checking the crates where you may find some Thieves’ Tools that will help with picking the lock. Inside is where you will find the Overgrown Ruins waypoint that will be useful later on.
Continue conversing with Shadowheart and you will eventually get an option that will allow you to add her to your party. If you refuse to recruit her at this point, you can still find her later at the Druid Grove, but it will require a Persuasion check if you have Lae’zel in your party, so it’s best to get her now while it’s easier.
Next, cross through the wreckage of the Nautiloid where you will encounter more enemies. Try to keep your distance to avoid getting mobbed on, especially if you decided to go solo.
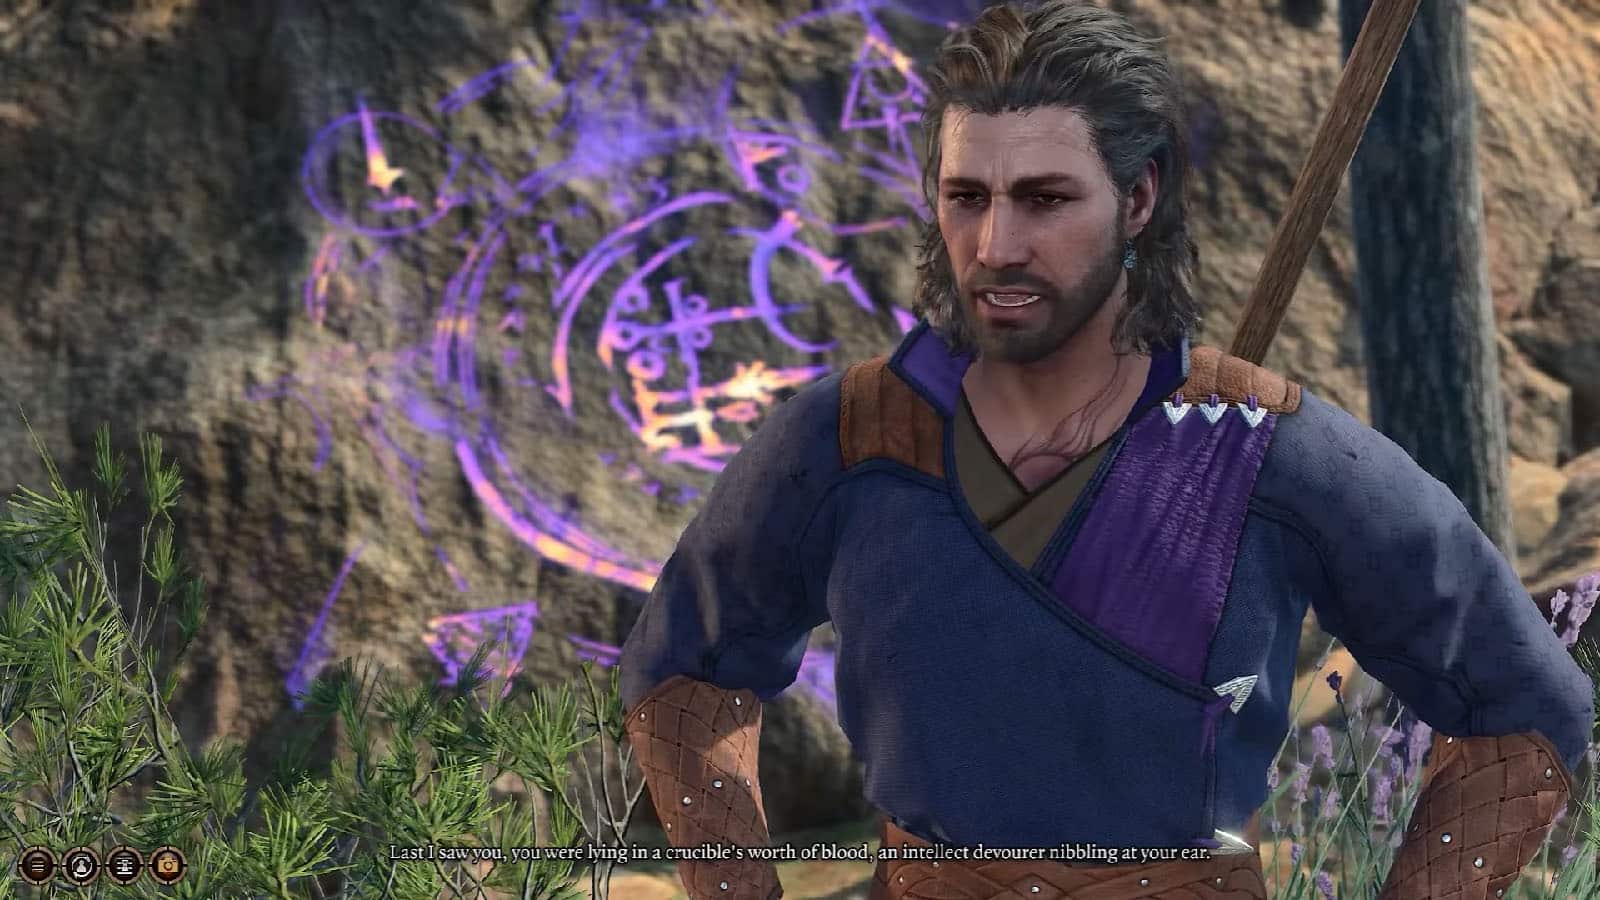
Recruiting Astarion – The Pale Elf

Continue following the past to the west where you will find Astarion. He will say that he found a Devourer and wants you to kill it. If you agree to his request, you will see that you have just been deceived and Astarion will hold his knife to your neck.
You will have dialogue options to choose from here on, but both of you will have a mind link thanks to the parasite, which will convince Astarion to let you go. You will then have the option to add Astarion to the party or not; it’s best to add him to add a good rogue for stealthy encounters.
Take the time to check the area near Asturion, especially down in the rocky cliffside. At X:140, Y:280, you will find a rock that sticks out from its surroundings. If you pass the Nature check, you can lift the rock and see an ornate chest containing some items like a map, a tome, gold, and gems.
Recruiting Gale – The Wizard of Waterdeep
Make your way to the north where you will find another waypoint for the Roadside Cliffs. Shortly after, a wizard named Gale will teleport close to your location. After talking to him, you will learn that he’s looking or a powerful cleric for the same reason as most of you are – to remove the parasite. You can then invite him to the party as you go looking for a cleric.
Dying Mind Flayer
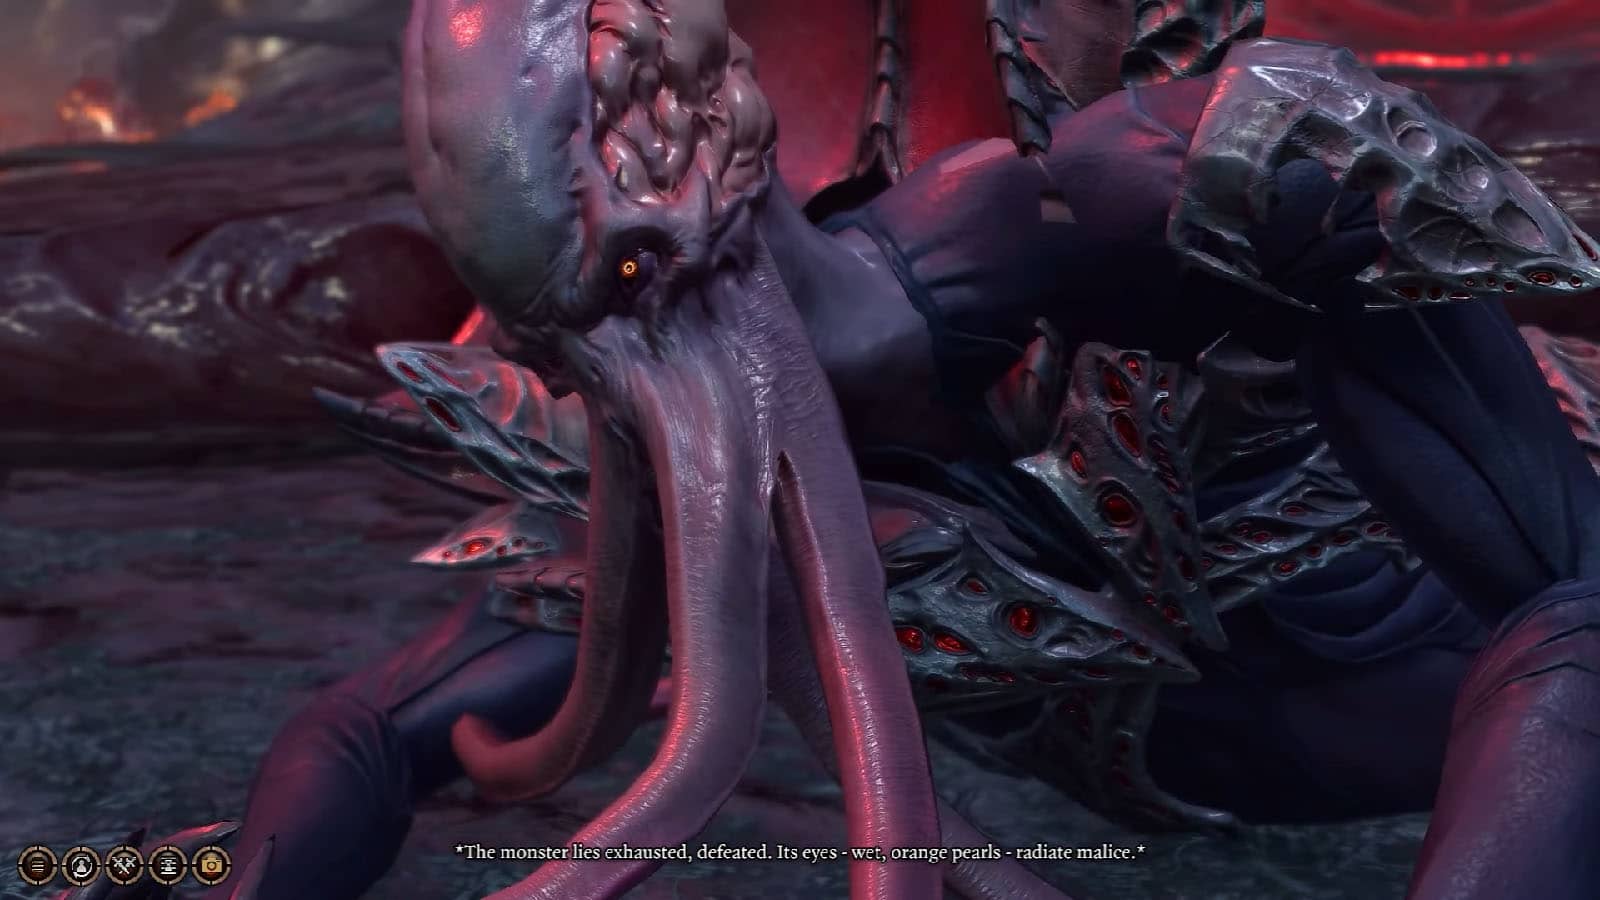
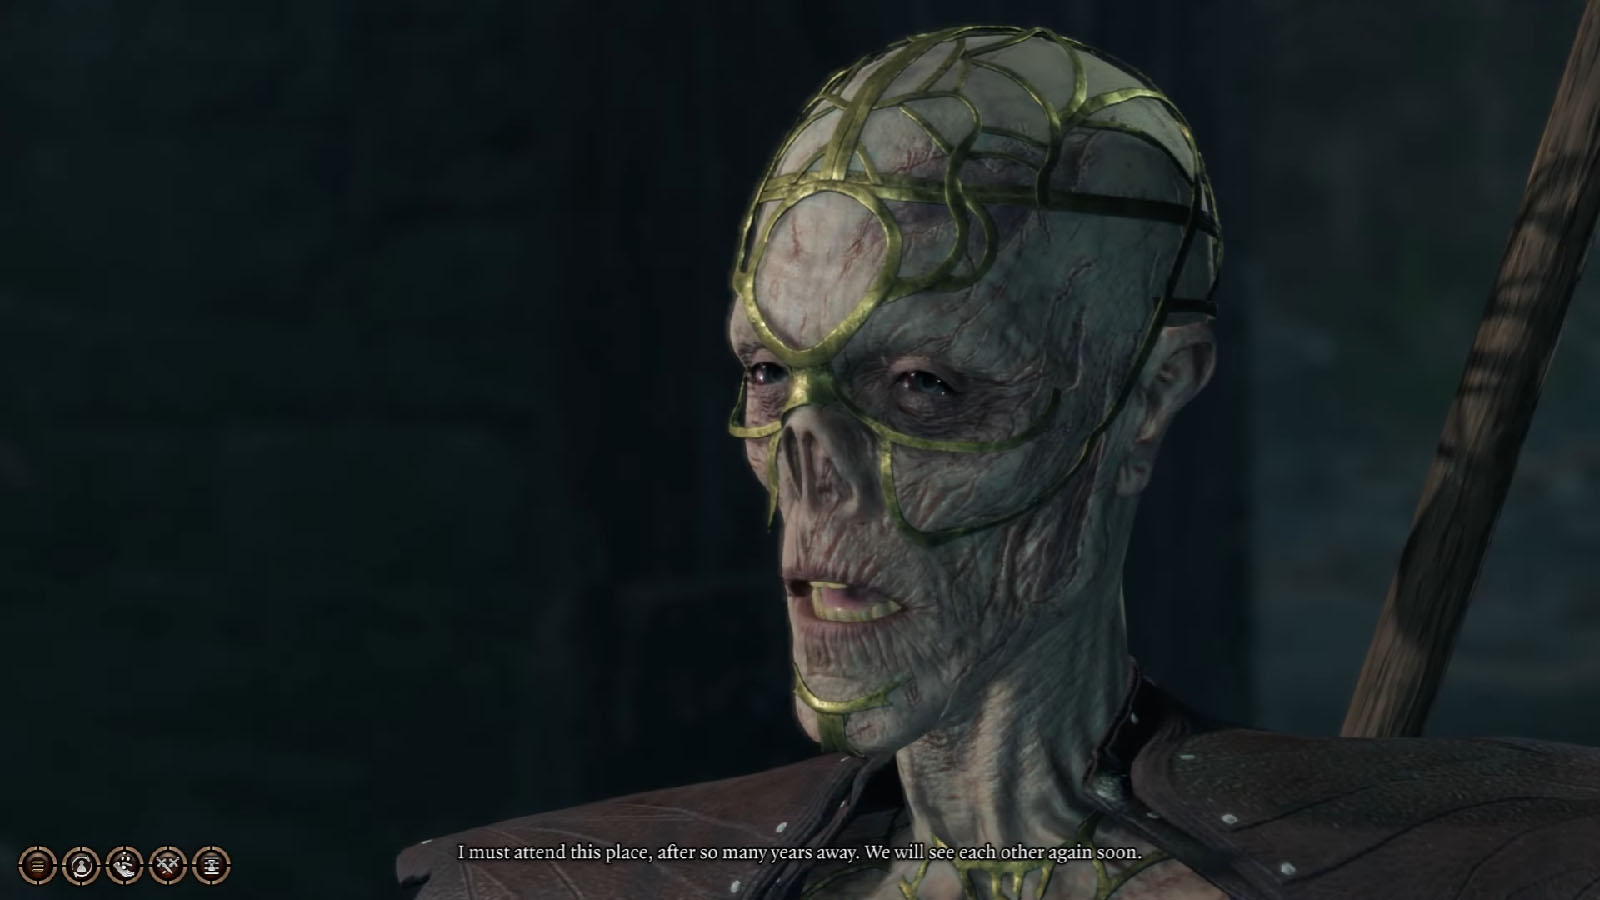
Back in the Nautiloid wreckage, you will find a dying Mind Flayer. You can interact with it and it will try to manipulate your thoughts into giving it compassion.
If you give in to the emotion, you will have the option to concentrate on its thoughts while it’s distracted which requires an Intelligence check. If you succeed, you will have an option to submit to the emotion and lean in for a kiss; doing so will kill you and make the Mind Flayer regain its power. Your remaining party will have to fight against the Mind Flayer. You will also have an option to resist the kiss through a Wisdom check.
The other dismissive options will simply give you the option to kill the Mind Flayer or let it die slowly. You can also just not go through any of its dialogues by avoiding it or killing it right away.
Free Lae-zel
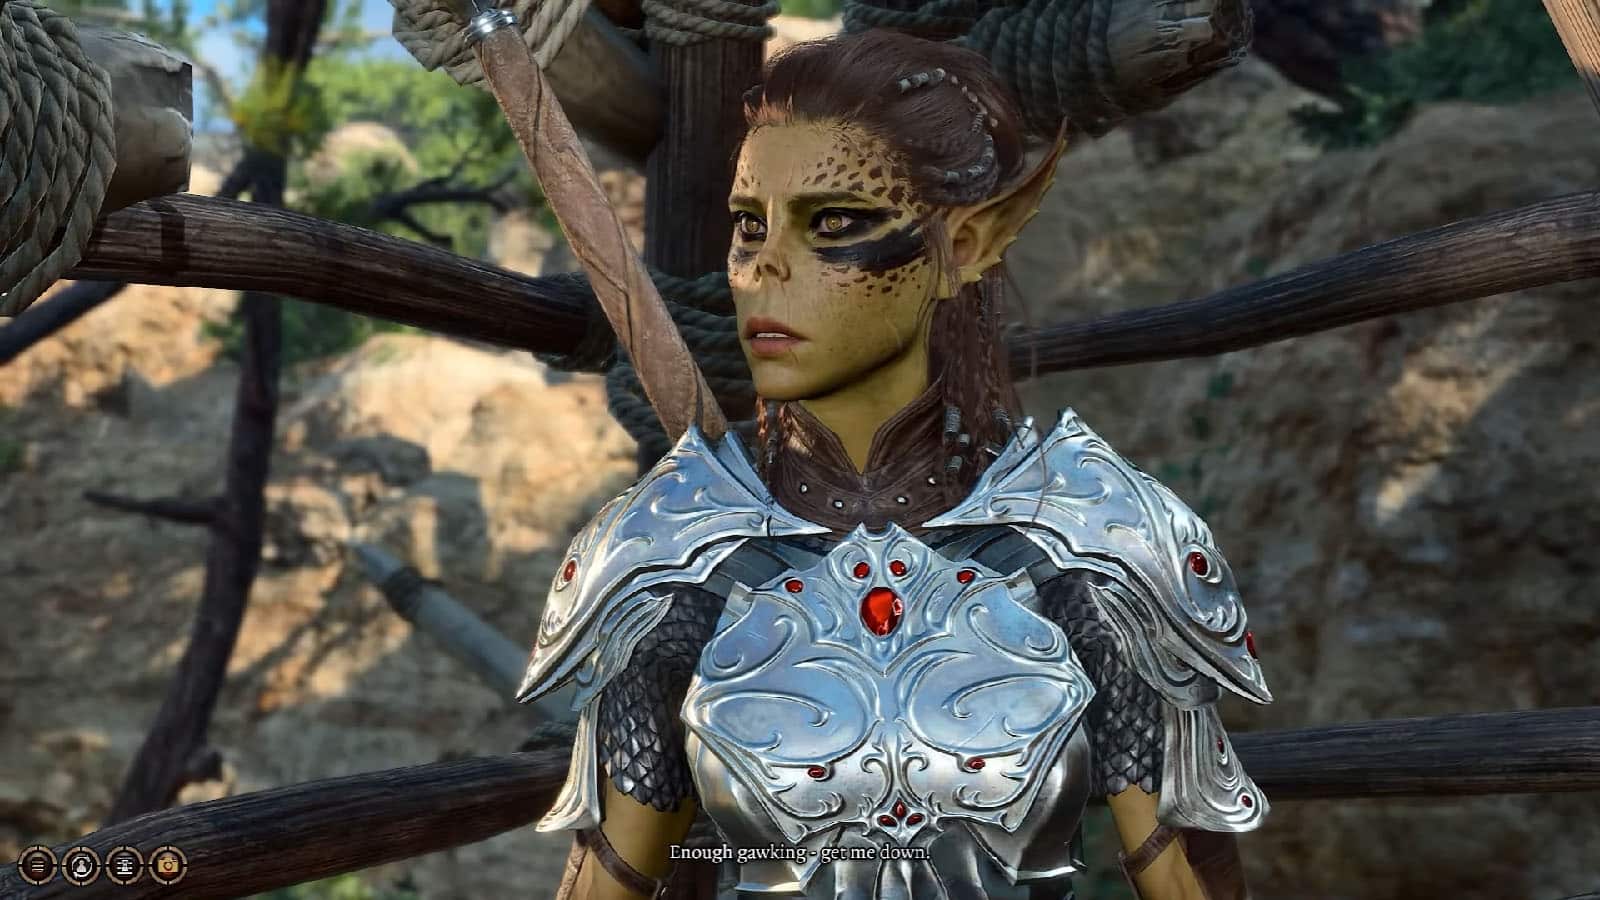
We’ll take a detour from the main quest for now and head back to the Roadside Cliffs to take the north path near the Cathedral Ruins. You will encounter some tieflings and a caged up Lae’zel, if she manages to survive your encounters in the Nautiloid.
Depending on your class, you can do the different options that might work for you, especially checks that you have advantage on.
If you decide to kill Lae’zel, you will gain her armor and weapon and the tieflings will leave you alone.
If you decide to free her, you can recruit her to your party and you will be fighting against the tieflings. Lae’zel is a good fighter that can take the role of a tank in the party. However, if you already have a total of four people in your party, you will have to decide at your camp who to dismiss in order to take Lae’zel in.
If you take the deceitful route with the tieflings, you can trick them to leave the area. Before leaving, through a Charisma check, you can also get some info from them on where to find a cleric that can help you.
Explore the ruins

Go back to the Overgrown Ruins near the coast, if you have managed to unlock the door there, or take the northern route as an alternative. There are multiple hostiles patrolling the path to the ruins. You can plan for a pre-emptive attack on them with your party, or you can try your luck in avoiding as much conflict as possible.
If you decide to do a bit of talking, approach the two arguing hostiles by the start of the path. Then, you can either persuade, deceive, or intimidate them. Picking the first two and succeeding on them will allow you safe passage to the ruins entrance, while picking to intimidate them will get you into a fight.
Remember to check your surroundings; there are environmental traps that you can take advantage of, like hanging rocks, to get some massive damage into the enemies. The rock by the start of the path can also reveal another entrance into the ruins by creating a hole on the cracked floor. This route will be dark, so consider bringing a candle or have Shadowheart lead the party to use her Darkvision ability.
Bandit’s Hideout
If you plan to take the main door instead, someone from the inside will be guarding the door. You can just intimidate him, or deceive him; you will end up fighting against the other person. It’s just a single encounter for now and once he’s dead, loot his body and take the Bandit’s Key.
Make your way through the hideout and loot what you can, then get to the door at the end of the hall. Opening this door will immediately alert the enemies inside, so prepare for a fight.
Take advantage of the doorway and lure the enemies towards you instead of heading inside the next chamber. This will prevent them from getting better angles at your units and you can simply just concentrate on take them on from one side without moving too much.
Use Gale’s or your wizard’s Grease ability and coat the path that the enemies will walk over. It will slow down the enemies or make them go prone, plus there is a chance that one of the enemies can ignite the grease and set themselves on fire.
Once the enemies are dealt with, explore this room where you will find a lever at the back of the statue. Pull this lever will open the locked door nearby and the next door up ahead will lead you to the Dank Crypt.
Dank Crypt
Inside the Dank Crypt, there are hidden traps within the dark chambers. Take your unit that has Perception, such as Astarion, and use them to lead or scout the areas ahead for any traps. If you do find traps, you can disarm them with toolkits first or put heavy objects on them before doing anything such as opening the sarcophagus.
Once you have covered all the gas vents and disarmed the gargoyle’s heads, you can then start opening the sarcophagus. The large one in the middle contains The Watcher’s Guide spear.
Head through the huge door to reach the next area. To the west is a room that has the Book of Dead Gods which can give you scrolls later on. Prioritize looting and disarming all the dead scribes for now. This is because there is a button on the west side of the statue that, when pressed, will revive all the scries and open the secret door behind the statue.
Once the scribes are dead once again, check the secret room for a chest that contains The Amulet of Lost Voices, an amulet that goes great with Necromancers. Then, check the sarcophagus inside to find another undead, Withers, but he will only ask you a question. You can pick any answer and it will satisfy him. You will then see Withers from here on within your camp and he can offer his services like resurrecting a party member or changing a unit’s class.
After your dialogue, you can exit the crypt by taking the path through the cave and pulling the lever to bring down a ladder that leads back to the surface.
Removing the Parasite (cont’d.)
Druid Grove
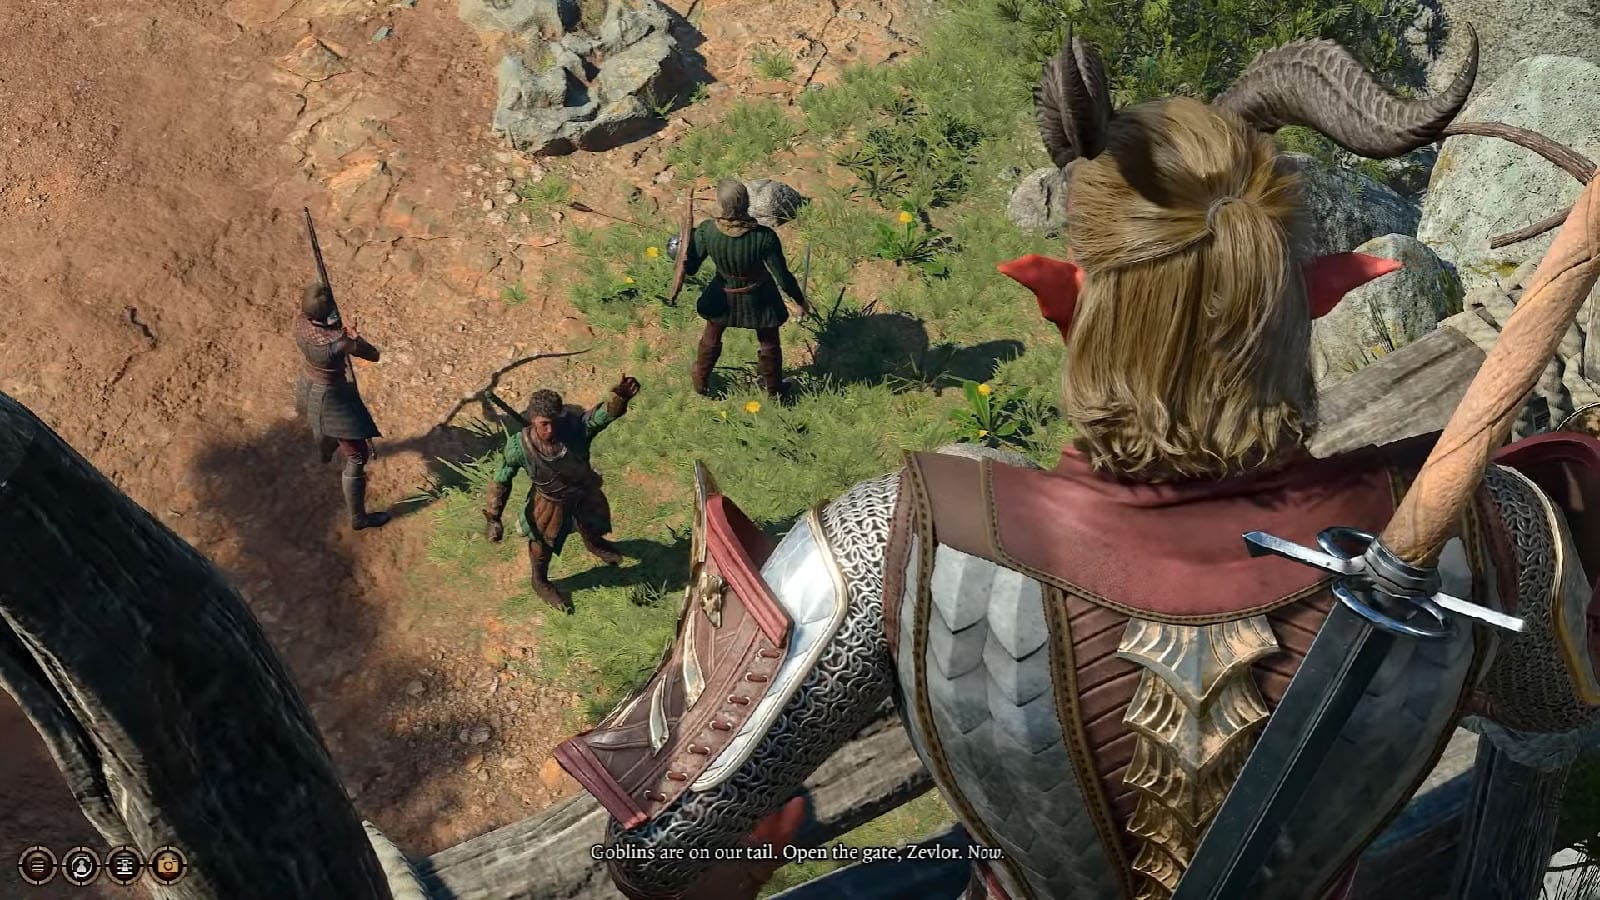
Back in the overworld, head up north where you will find three armed people pleading to let them in through the gate. Shortly after, the goblins that have been chasing them arrive and this starts an encounter. Clear out all the goblins to resolve the encounter, then the gate to the Druid Grove will be opened. Take the time to loot the orcs for their belongings, including the Gloves of Power.
At this point, you will be able to go through the different paths that you can take in search of the cure to the parasite.


