
Cyberpunk 2077 Roads to Redemption is a new gig you can complete in the Phantom Liberty DLC. You’ll be introduced to a new character, Nele Springer, a defector from the Crimson Harvest terrorist organization who needs your help preventing a terrorist attack in Berlin.
In this guide, I’ll be teaching you how to complete the Roads to Redemption Gig the best way possible, including the crucial decision involving Nele.
On this Guide:
Roads to Redemption Gig Overview:
Gig Unlock Requirements: Complete Phantom Liberty DLC Main Quest #10: Firestarter
Gig Objective: Thwart a terrorist attack
Gig Rewards: Hercules 3AX Iconic Assault Rifle, 7,000 eddies, 2015 XP
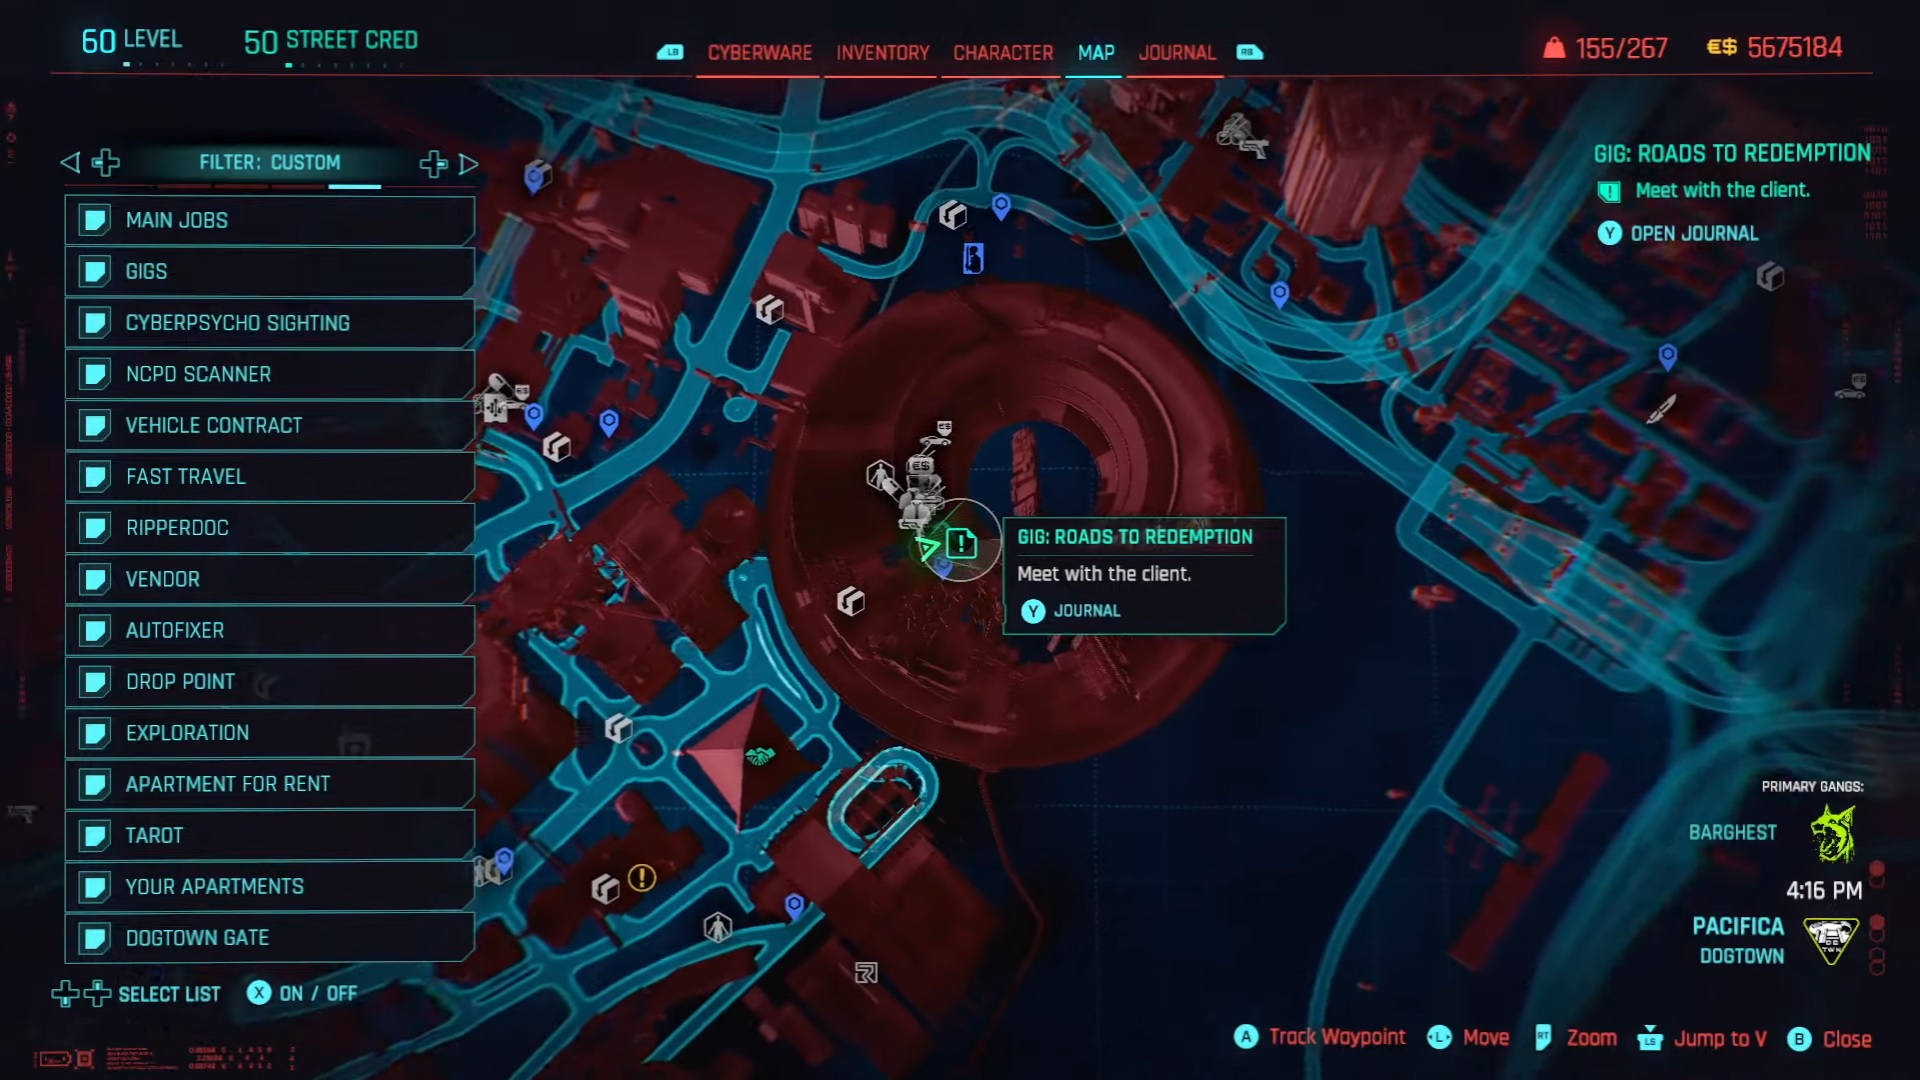
Gig Location: Pacifica, Dogtown (Fast travel at EBM Petrochem Station)
Roads to Redemption Walkthrough
To start the Roads to Redemption Gig, players must have completed the Phantom Liberty DLC’s 10th main quest called “Firestarter.” After your conversation with Myers, the gig “Roads to Redemption” becomes available.
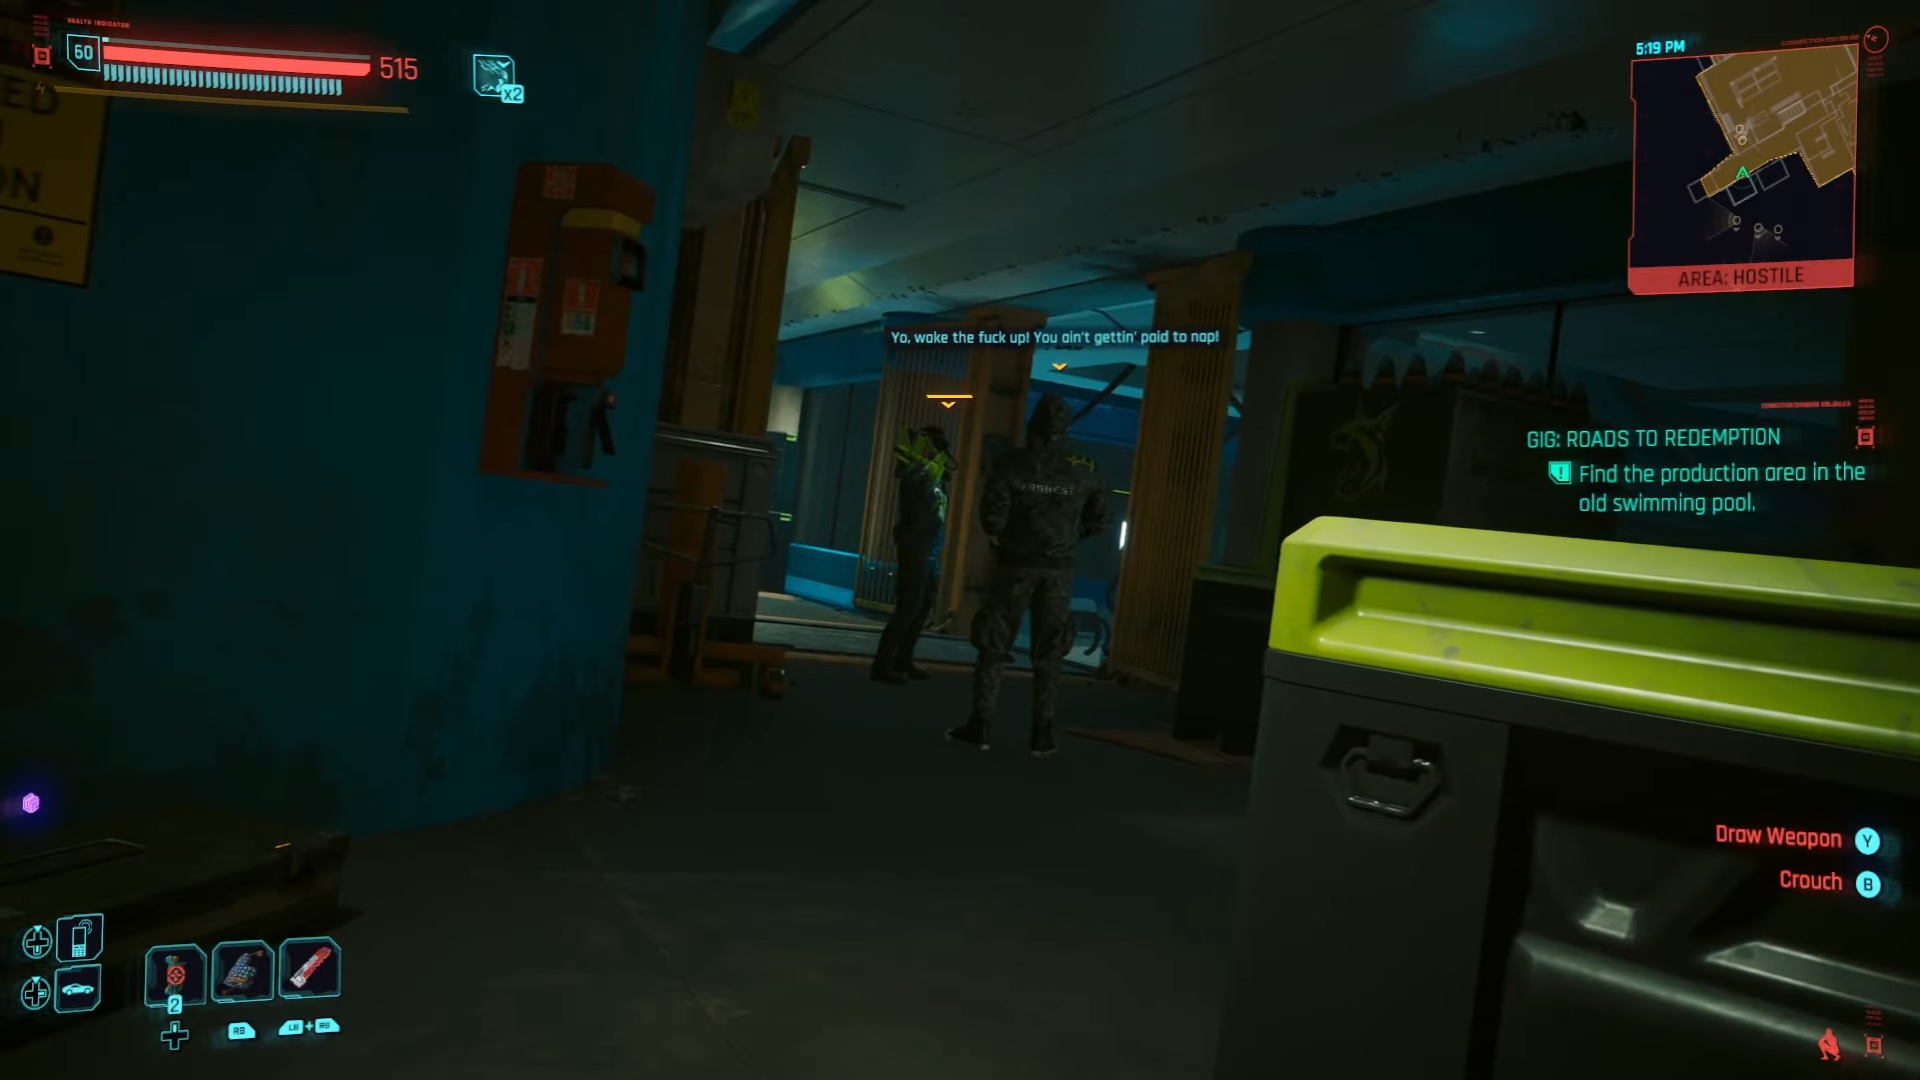
Begin the gig by heading to the location of the gig marker on your map, which is at the Dogtown stadium. When you get there, pick up Mr. Hands’ call. He’ll then ask you to meet up with Nele Springer.
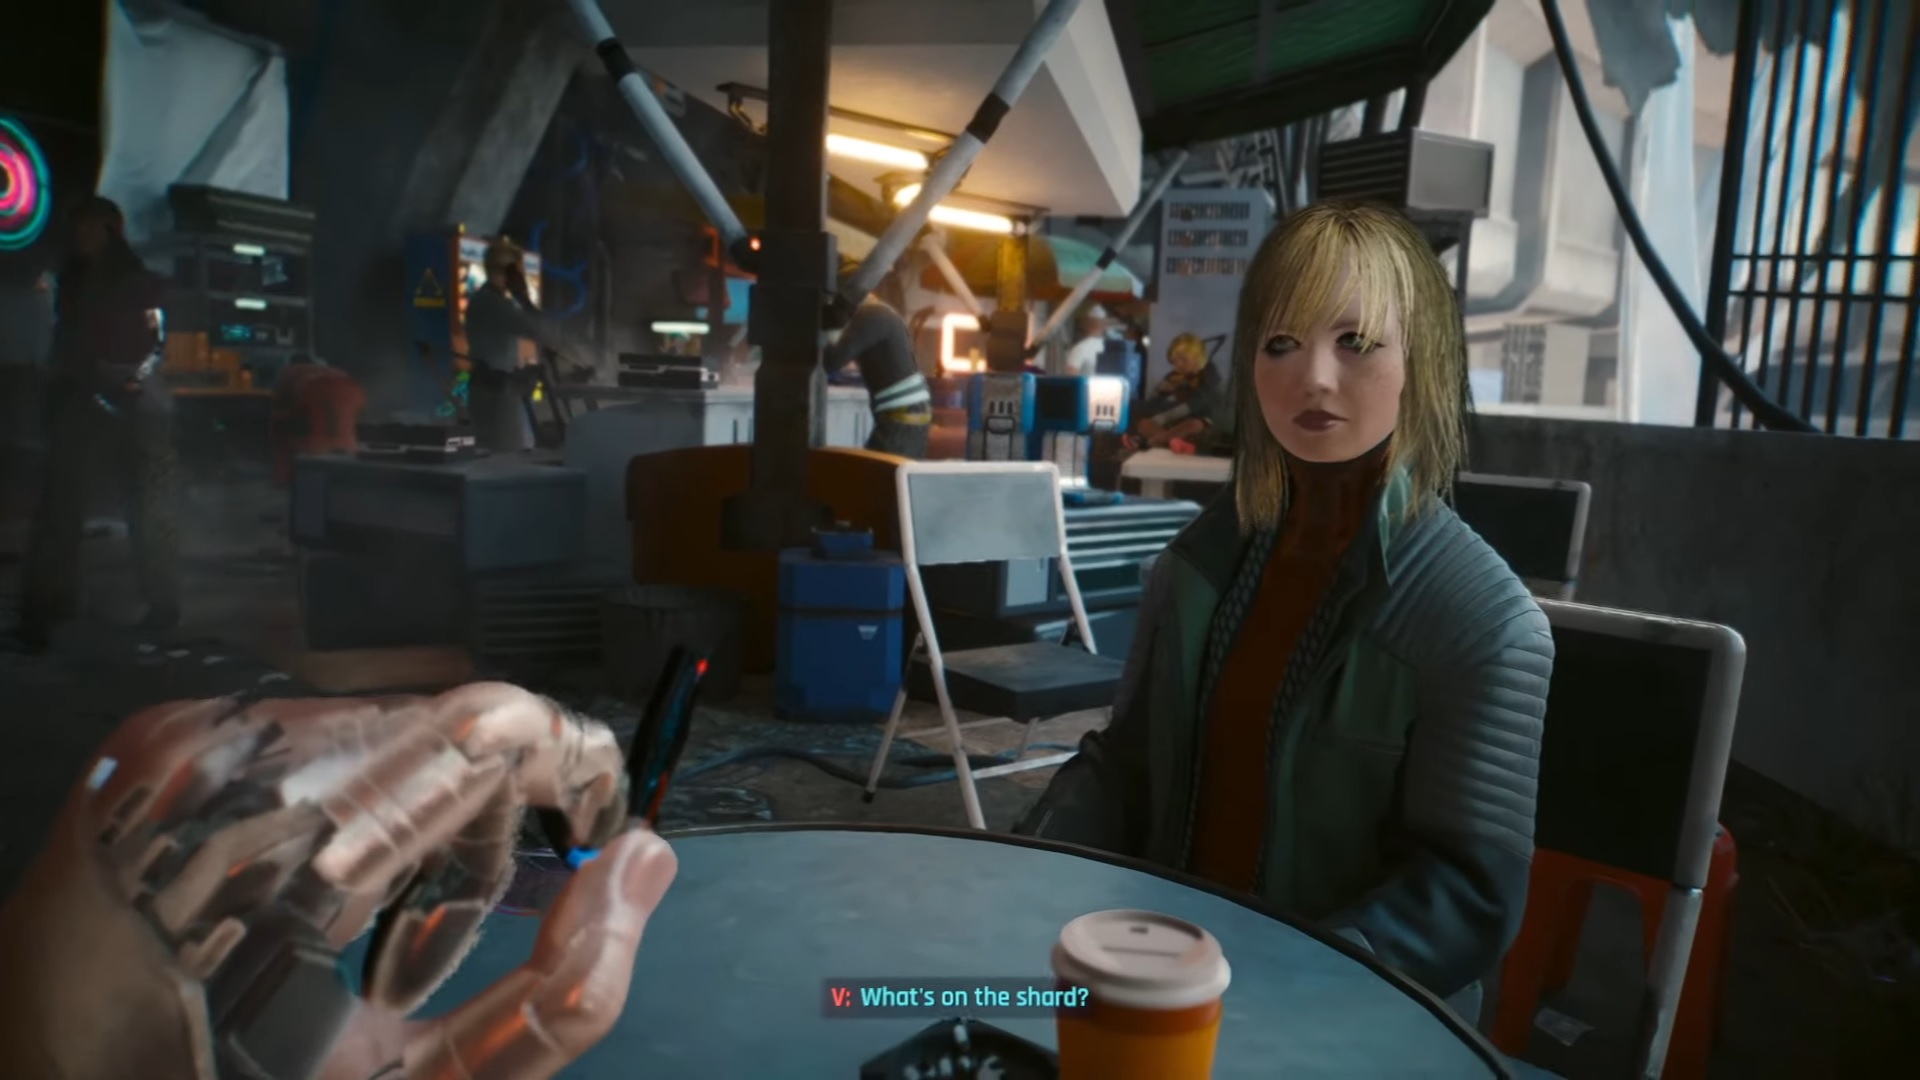
Locate Nele by simply following the marker, and join her at the table for a quick job briefing. She’ll give you a shard (piece of hardware) that you’ll need to hack and upload a software to the Net-Nuke bomb inside the weapons factory.
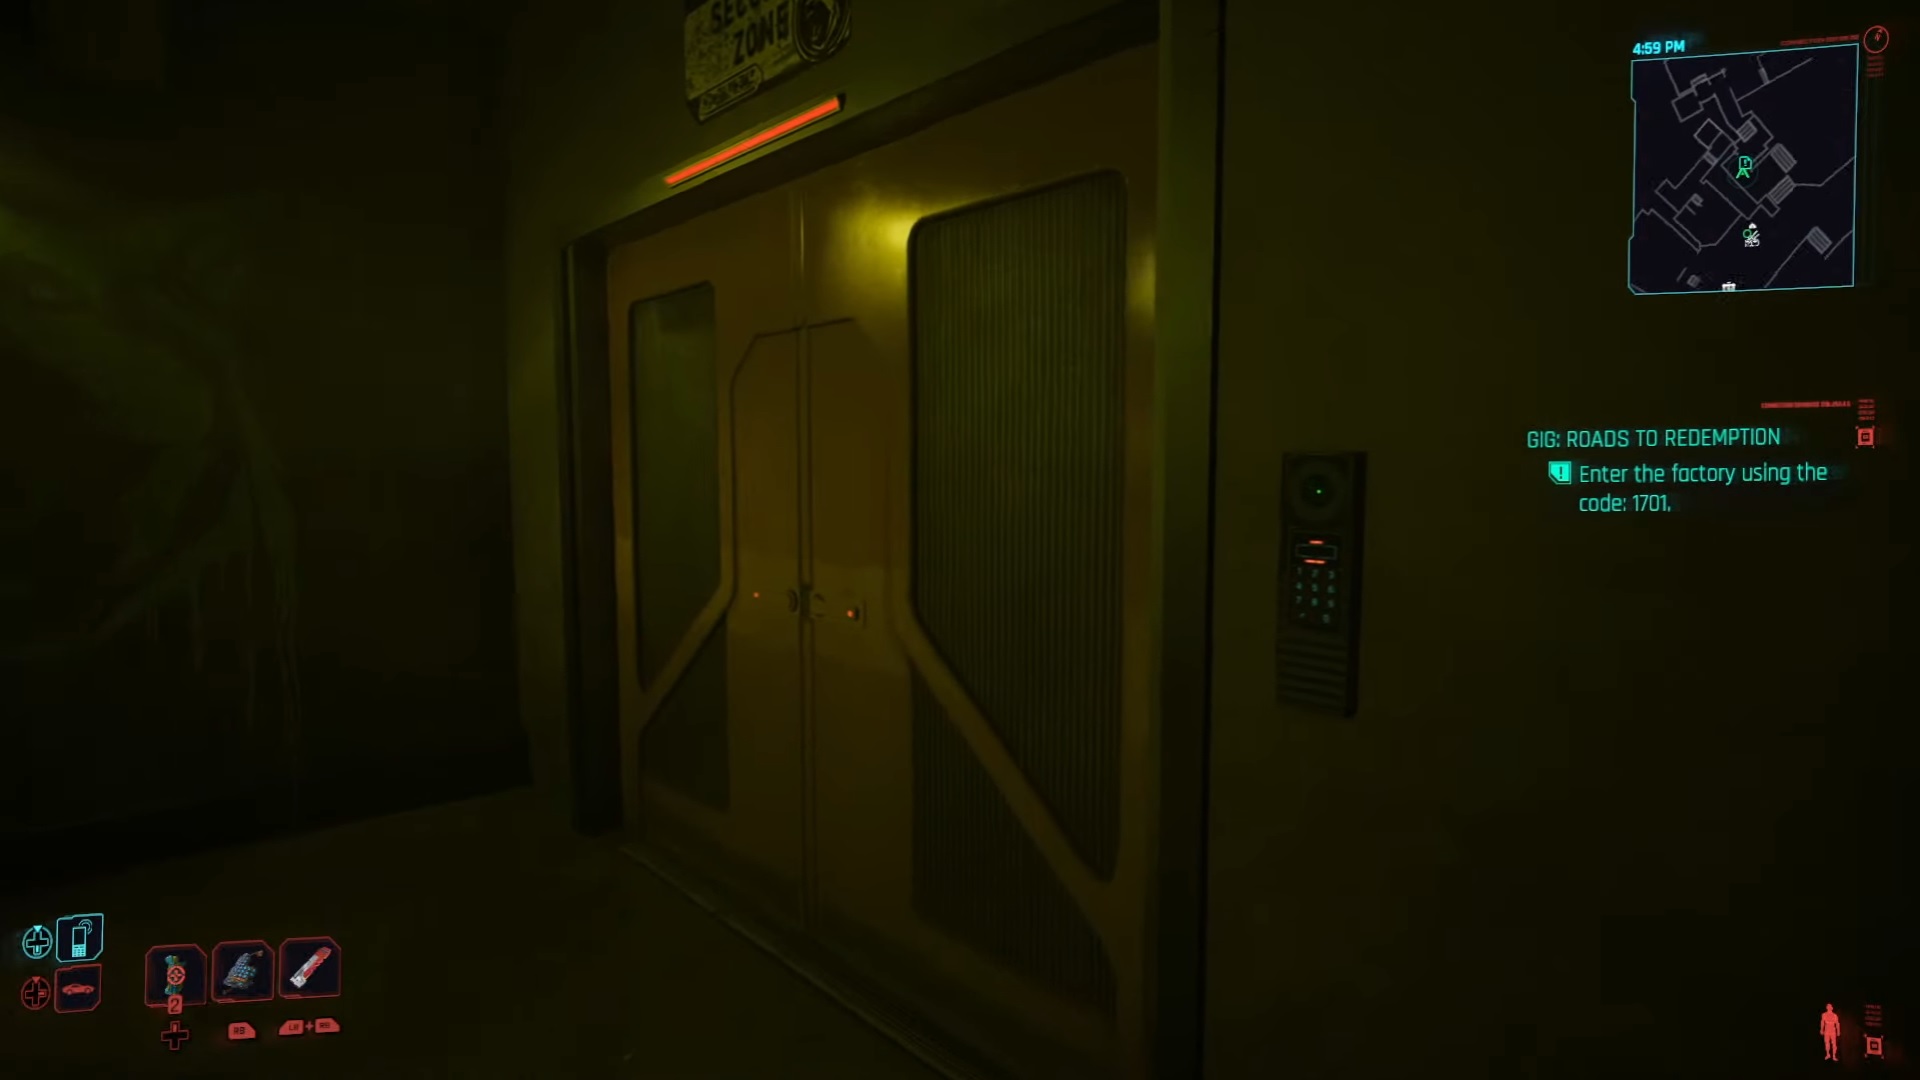
Once you have the shard, proceed to the factory entrance indicated by the green marker. Then open the door by entering the code “1701” into the keypad. (Bug warning: do not pass through the door if it’s already open to begin with, doing so may cause a bug and prevent you from completing the gig. Instead, take a few steps inside, then exit back out of the door to close it first before entering the code) Once inside, take the first set of stairs to an area and take out a bunch of guards and a handful of turrets.
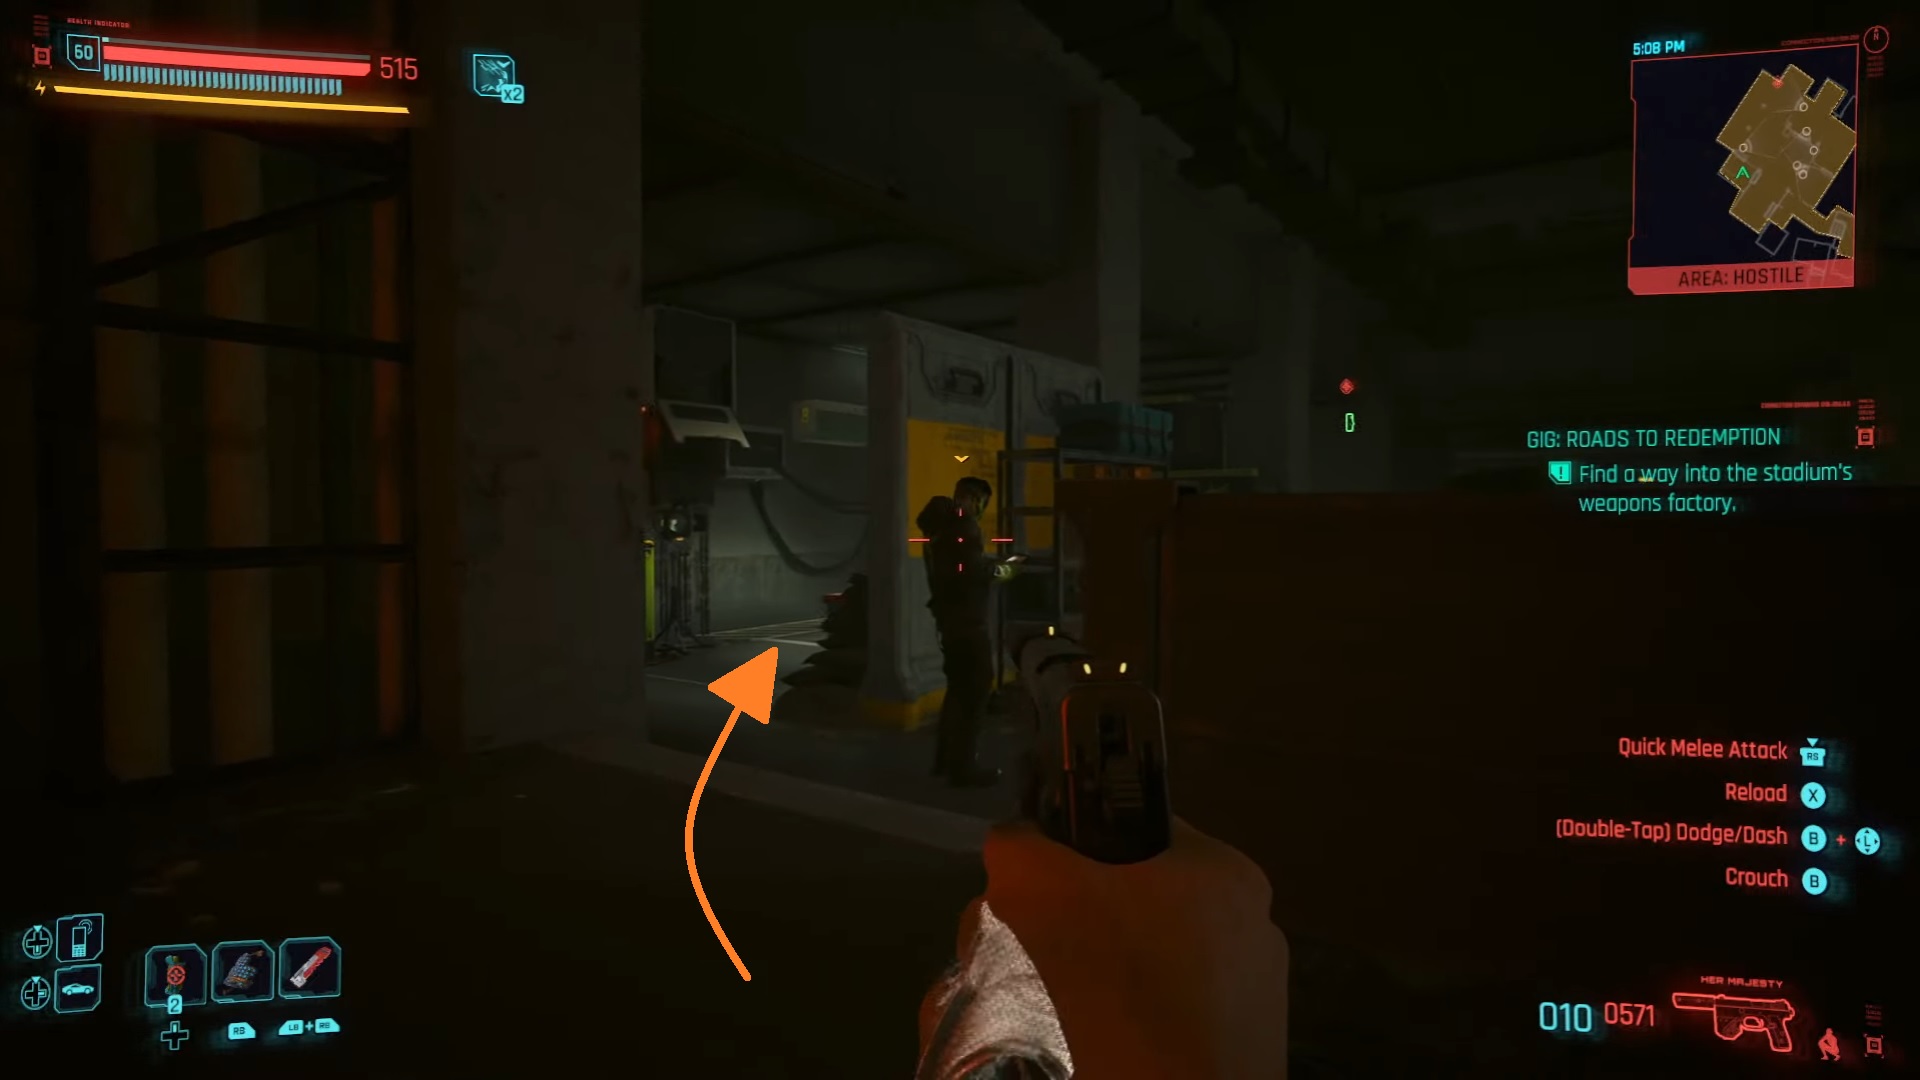

Now, move past the broken wall behind you and crouch your way to the far left corner of the room. There is a laptop hidden behind the yellow wall with a guard nearby, allowing you to deactivate all of the turrets in the area at once. Crouch behind the guard, then interact with the laptop to disable the turrets (Local Network > Surveillance System > Turn Off).
After that, proceed to your left until you reach the elevator in the middle of the room. Before heading into the elevator, skip the hassle by distracting the guard with the air conditioner using quickhack to divert his attention, then quickly sneak up behind him to successfully enter the elevator without being noticed.
Nele will give you photos of the room via text message in an effort to aid in the location of the device. Take the elevator to the manufacturing floor, and you’ll be met with more guards and turrets there. While you wait for the two guards in front to disperse, you can disable the turret on your right with your quickhack.
You’ll eventually reach a manufacturing room if you continue the route around the chamber to the right. You’ll find a Hercules 3AX Iconic Smart Assault Rifle inside a yellow briefcase. Now, proceed toward the back, and you’ll reach the main area where you arrived outside the elevator. If you have sufficient Technical Ability, you have the option to unlock the door on the right and enter the room where the bomb is located.
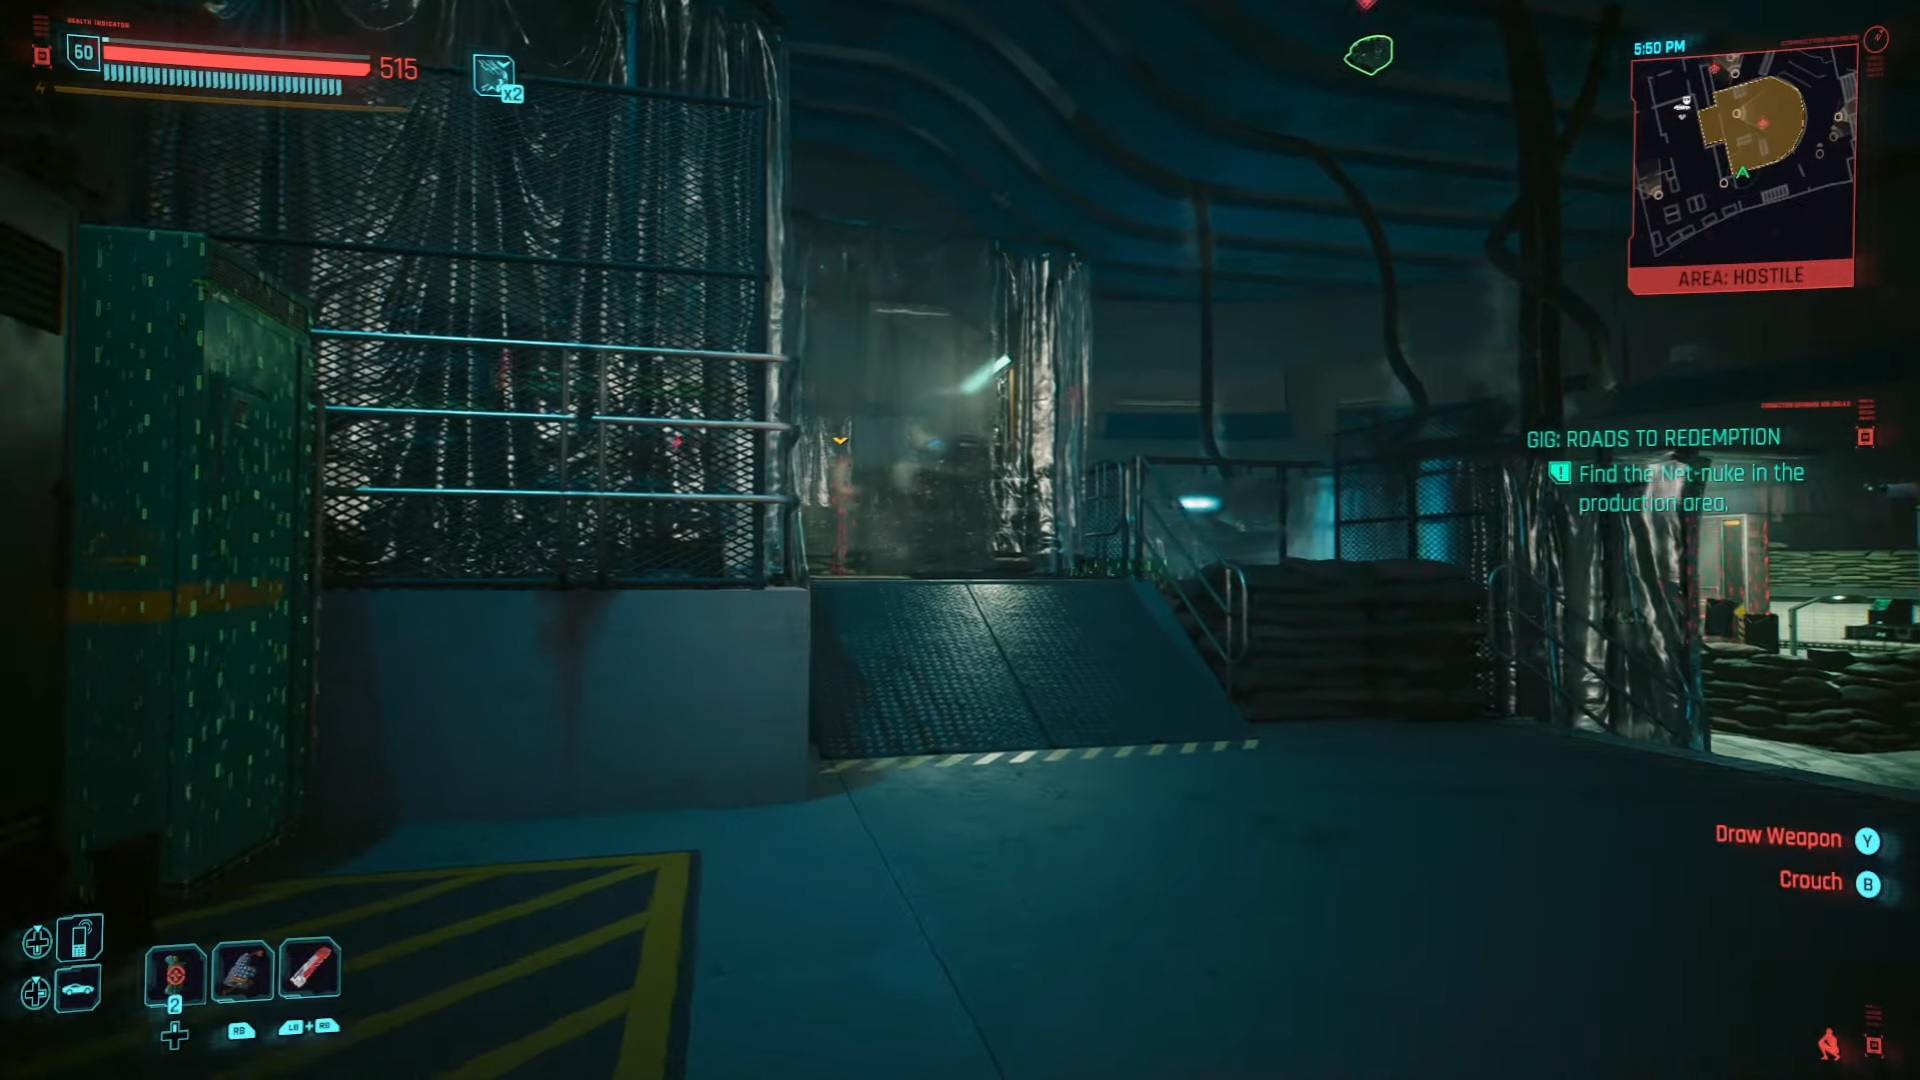
If not, turn around and enter the pair of doors on the right, near the place where you first spotted the Hercules 3AX. Once inside, there’s a path with curtain rolls that leads directly to the bomb’s location. Watch out for the scientists and guards in the room.
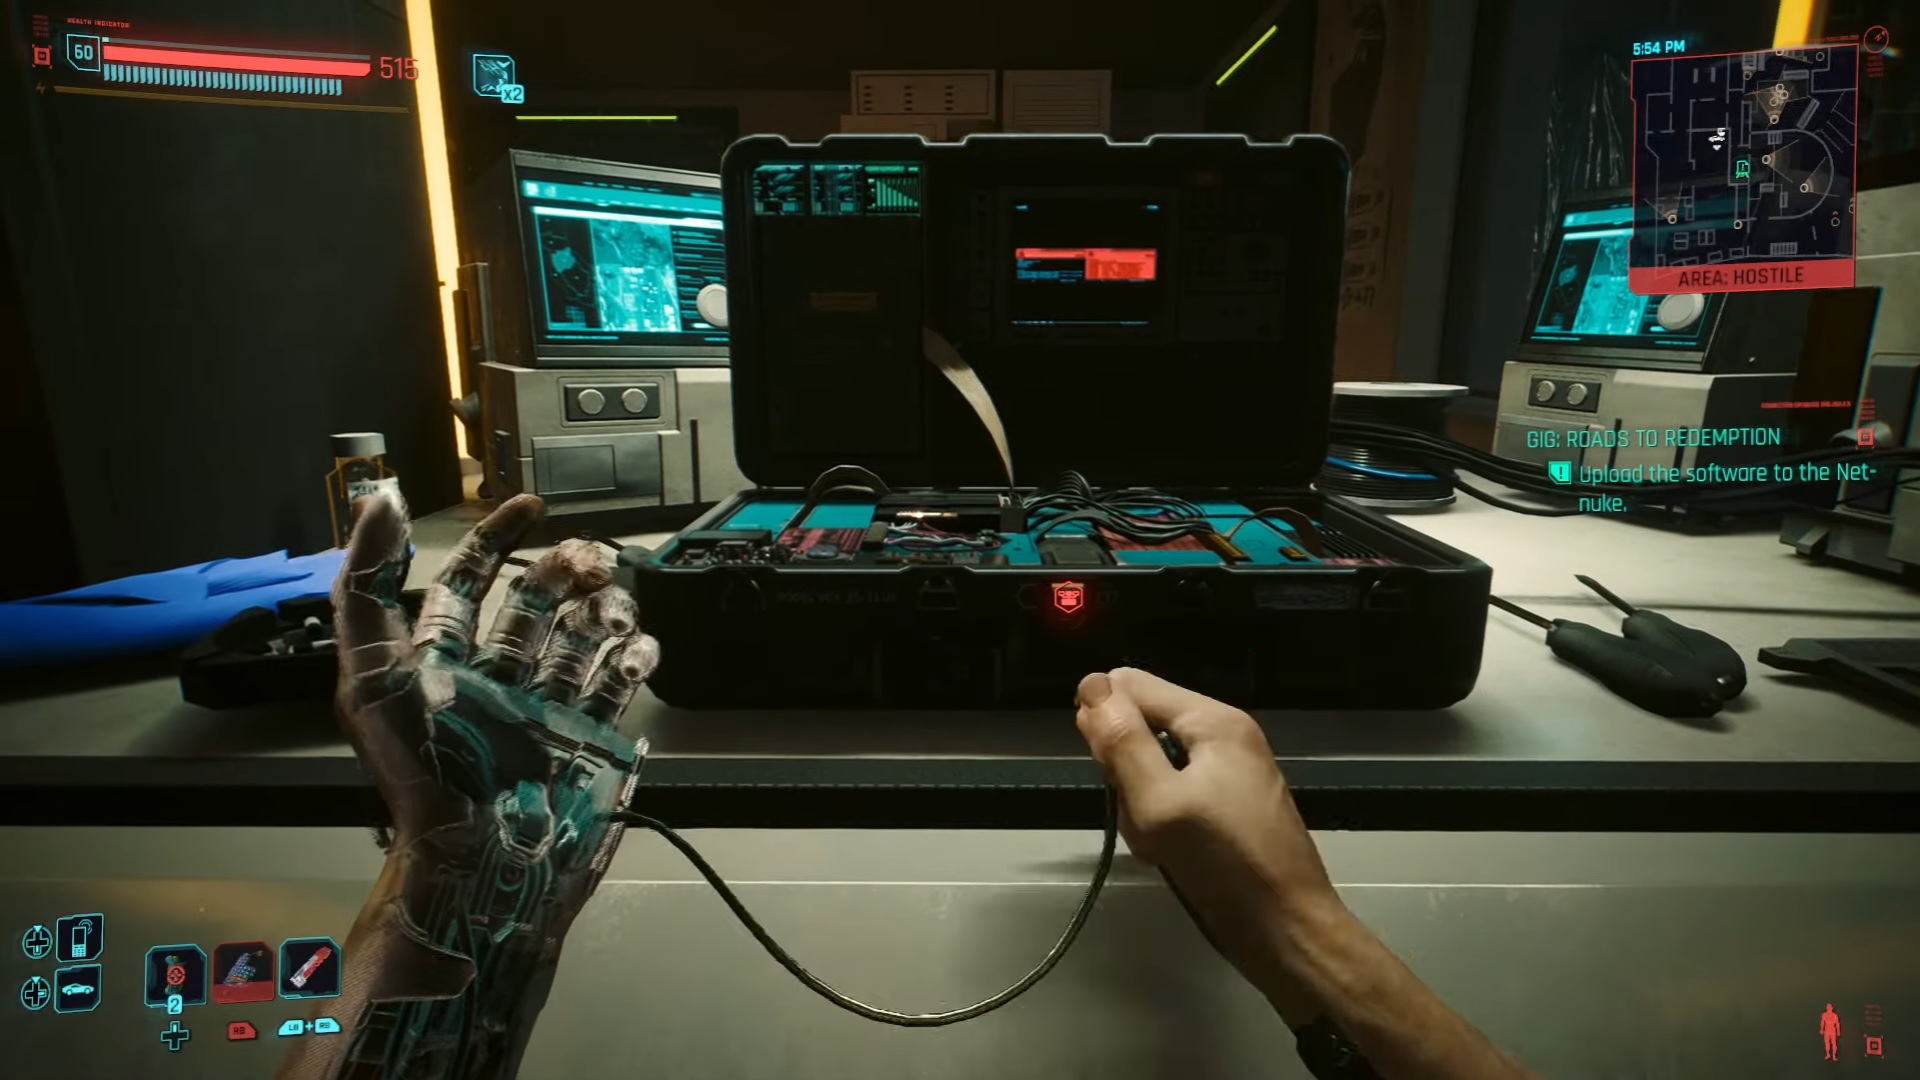
Once you’ve located the bomb, plug into the briefcase and upload the software from the shard to to disarm the bomb. After that, confront or stealth through the guards as you leave the weapons factory. Get back to the elevator, and then escape via the garage.
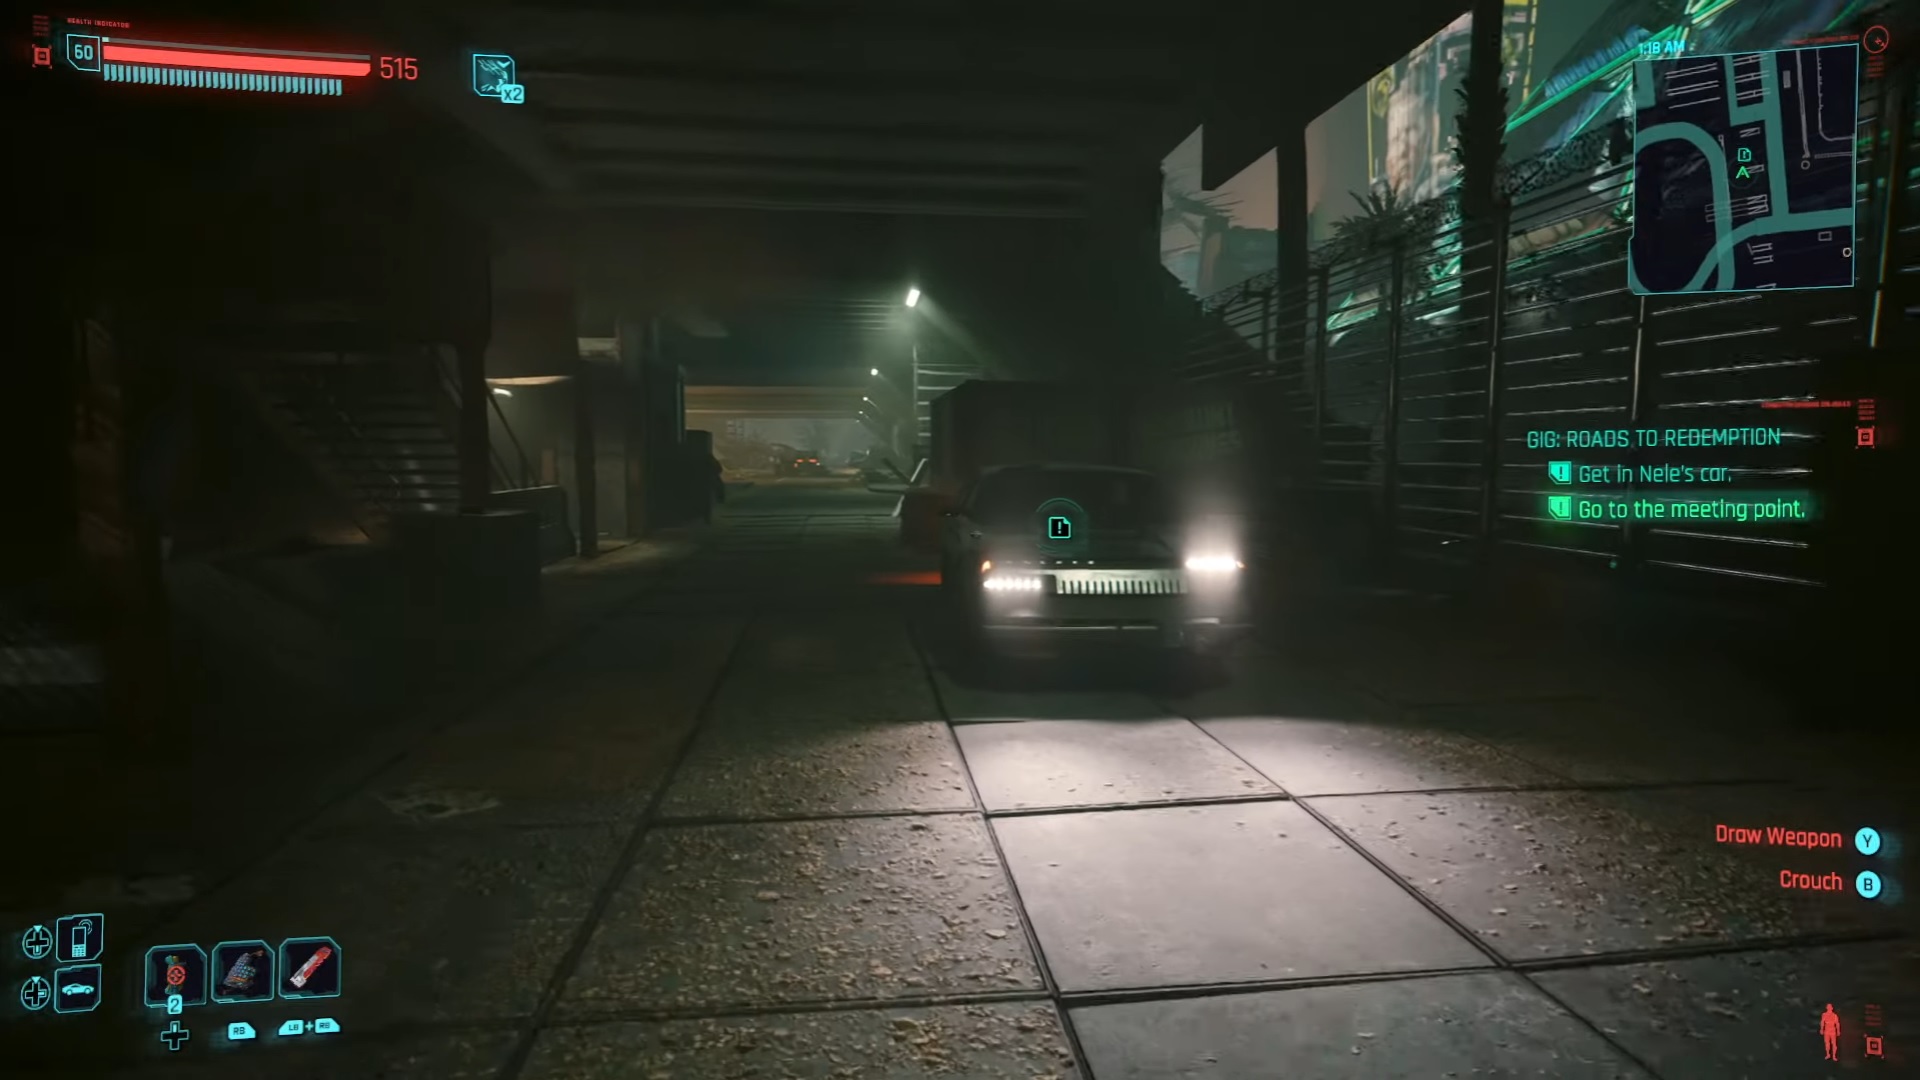
After exiting the factory, meet with Nele at the specified location. Once there, get inside the vehicle and give the shard back to her.
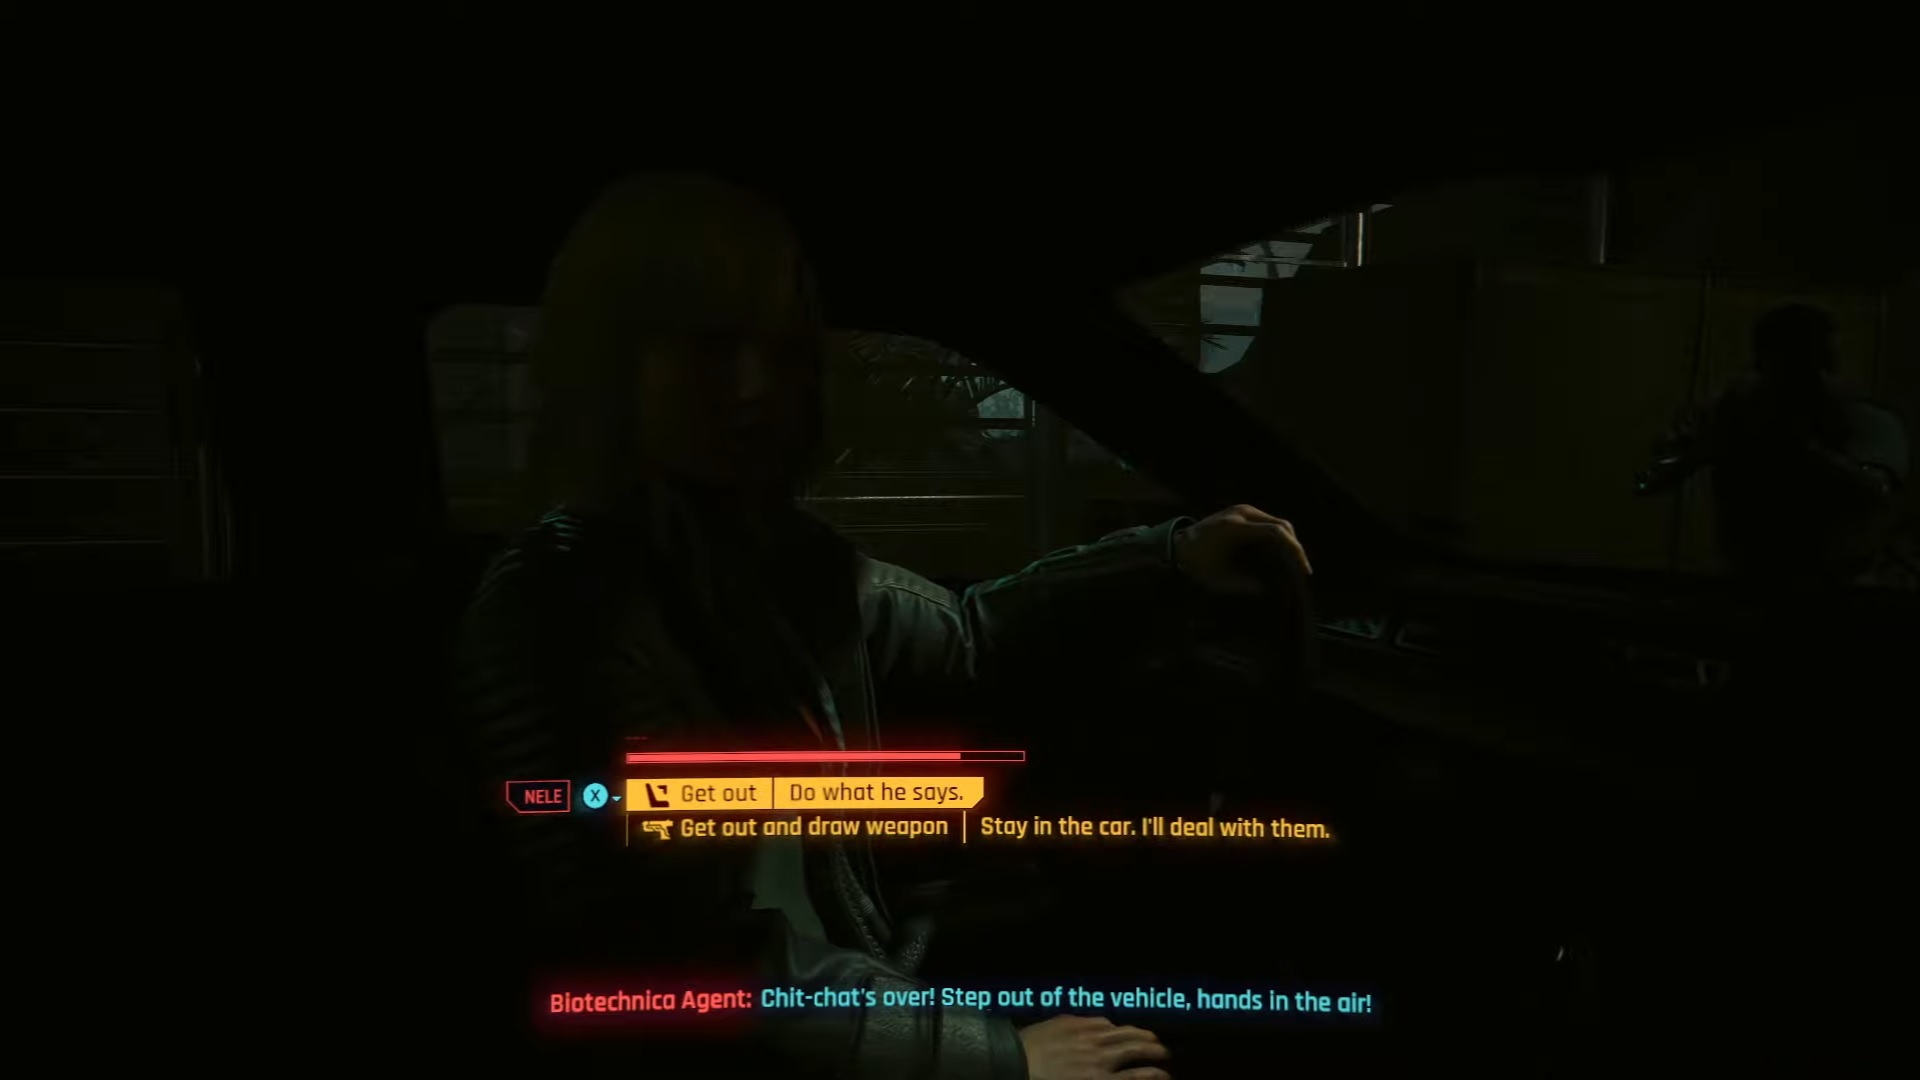
Before you could hand over the shard, four agents from Biotechnica would show up and attempt to apprehend Nele. Here’s where you have to make an important decision regarding what to do with Nele. The two choices are to give Nele up to the agents and betray her, or take the blame for her and eliminate the agents.
After everything is concluded, Mr. Hands will call to express his appreciation for your work and finalize the transaction.
Betray Nele or Side with Her?
Roads to Redemption is a gig with two possible endings. You’ll still get rewards, but they’ll have varying values depending on what you choose.
Betray Nele Outcome
If you turn Nele over to the Biotechnica agents, Mr. Hands will likely give you fewer eddies since he doesn’t like it when his clients disappear without a trace. Exit the vehicle and give away the shard to the agents as evidence that the Net-Nuke was sabotaged, proving that you’re not completely involved. The agents will load Nele into their car and depart.
Here are the dialogue options you can choose to get this outcome:
- “Get out” [Do what he says.]
- “Return shard” [Arrest her. I’m clean.]
The only problem if you don’t choose this path is that Biotechnica is a more powerful organization, and you wouldn’t want to cross their path in the future with unfavorable consequences.
Side with Nele Outcome
If you choose to side with Nele and deal with the four Biotechnica agents, you’ll make Mr. Hands pleased and receive the full amount of eddies as a reward. Exit the vehicle and fire at the four Biotechnica agents. Once they’re eliminated, talk to Nele once again, give her the shard, and she’ll express her gratitude.
Here are the dialogue options you can choose to get this outcome:
- “Get out and draw weapon” [Stay in the car. I’ll deal with them.]
- “Draw weapon” [Cuff me. I dare you.]
I would recommend siding with Nele as the best choice. Taking Nele’s side will earn you respect among the Crimson Harvest, which could come in handy and will unlock additional side quests with Nele. You won’t also risk damaging your relationship with Mr. Hands, which could lead to him no longer hiring you or providing assistance in the future.
For more Cyberpunk 2077 Phantom Liberty Gig Walkthroughs:


