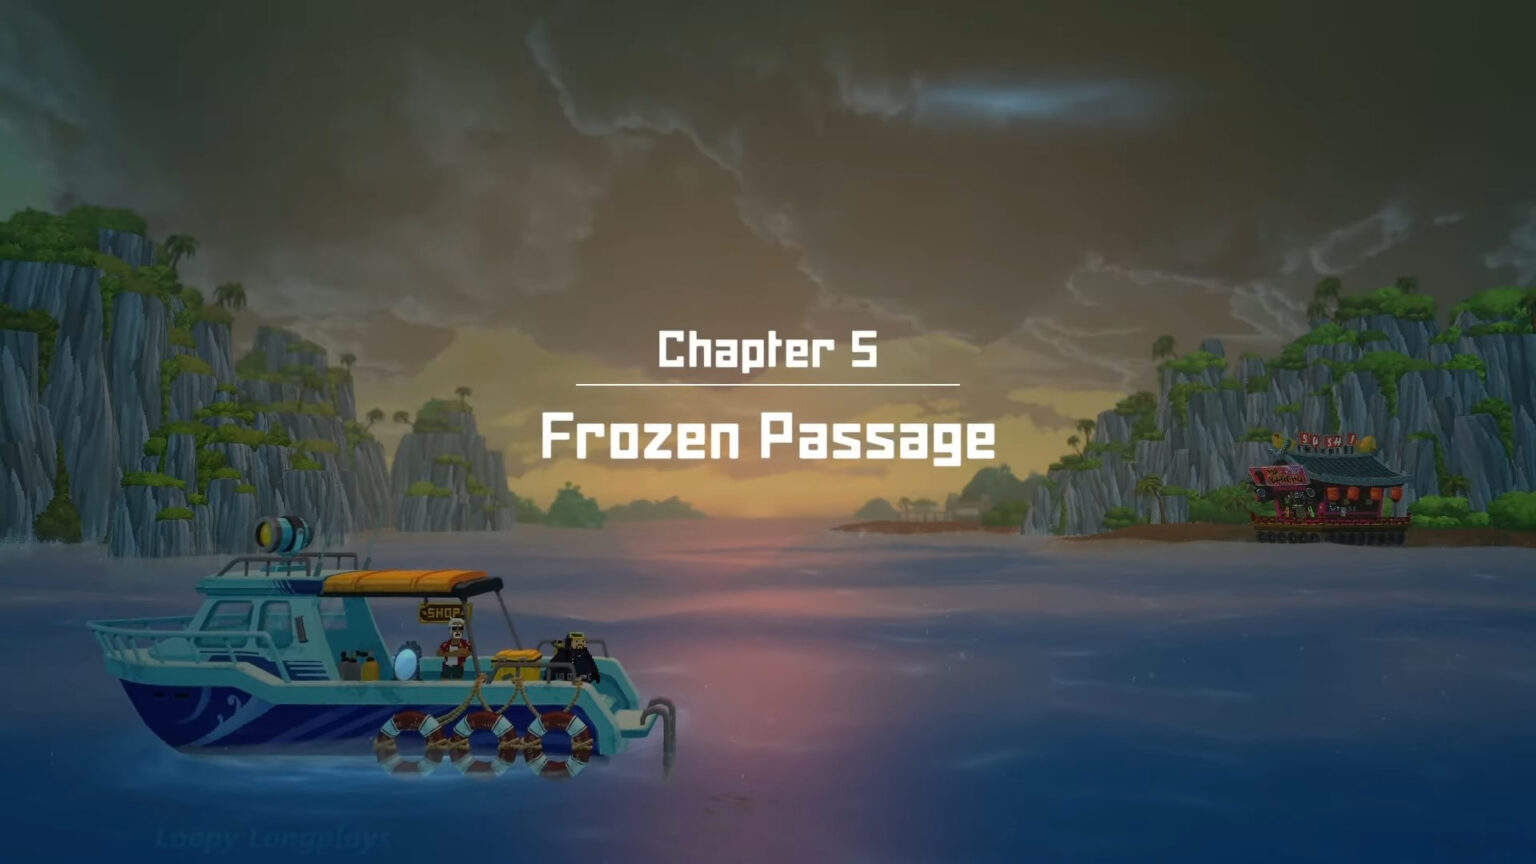
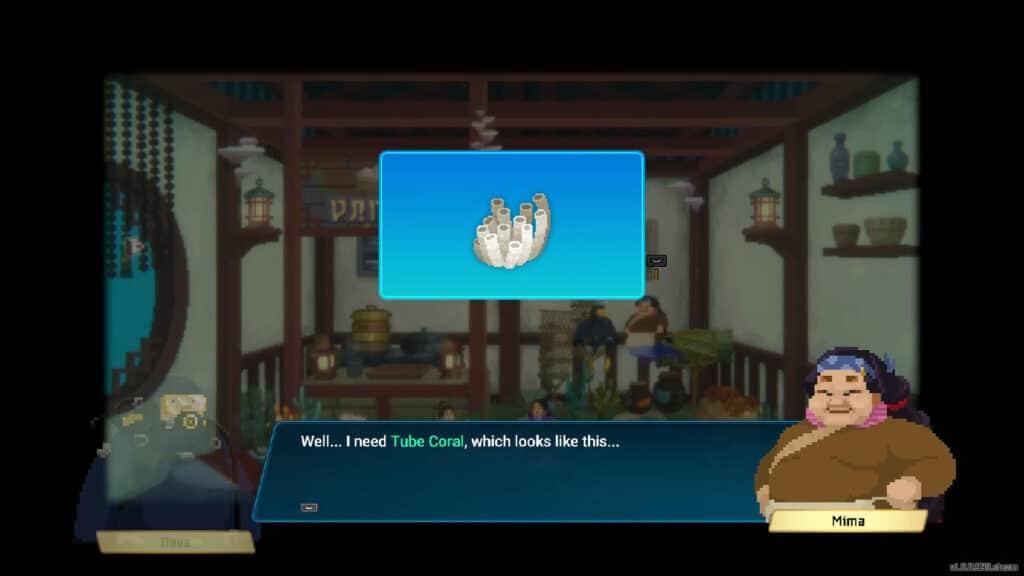
Frozen Passage is the fifth chapter in Dave the Diver. Now that Dave has the key, he now has to go through the Glacial Passage, which leads deeper towards the glacier that is underneath the Divine Tree, to find out what is heating up the place. Read ahead as we go through the events of Frozen Passage in Dave the Diver and share some helpful tips for a great playthrough.
See previous: Chapter 4 – Abandoned Cave
Objectives:
Open Glacial Passage Door
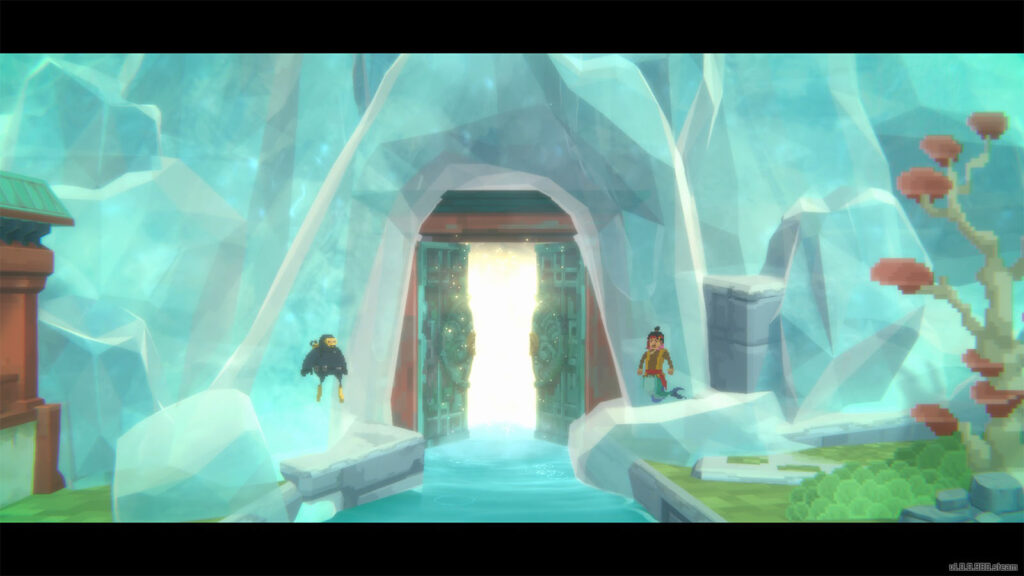
With the key in hand, head to the cave by the falls below the Divine Tree within the upper part of the village. You will then arrive at the Glacial Passage.
Pass through Glacial Passage
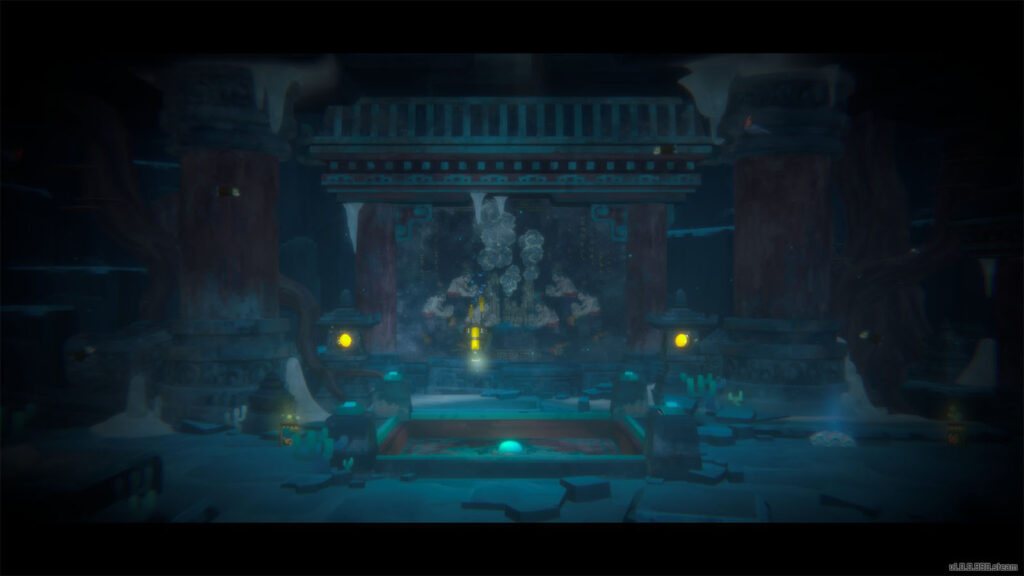
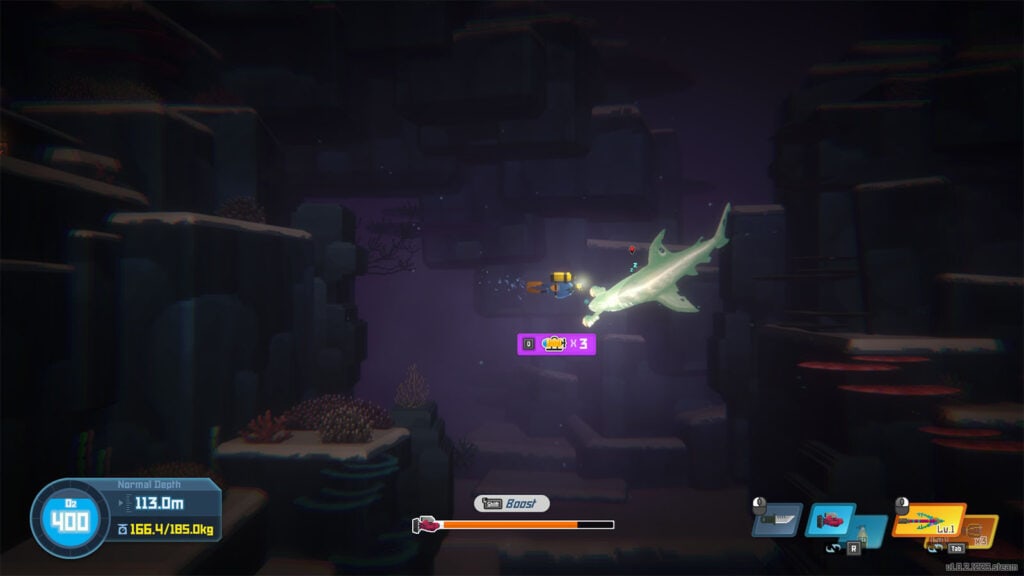
The Glacial Passage is made up of several interconnected rooms Some of these rooms have murals on them which will be important for this quest. The side rooms are the puzzle rooms that you need to solve in order to go into the deeper rooms below. Caution has to be observed in these side rooms as some Gadons have been spotted to roam in them.
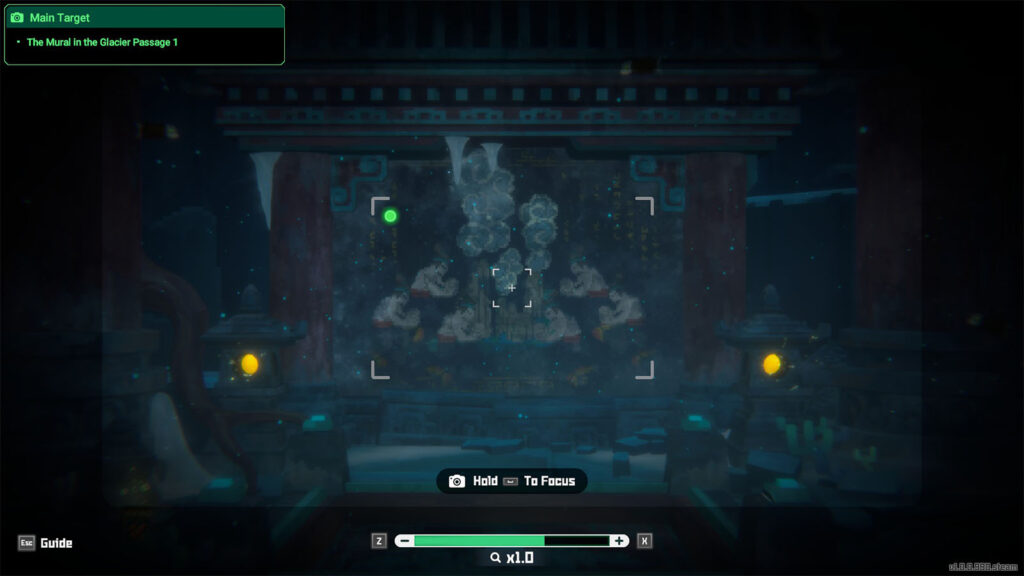
At the first room of the passage, head to the camera icon as you will need to take a picture of the first mural. Afterwards, head to the room to the right to get to the first puzzle.
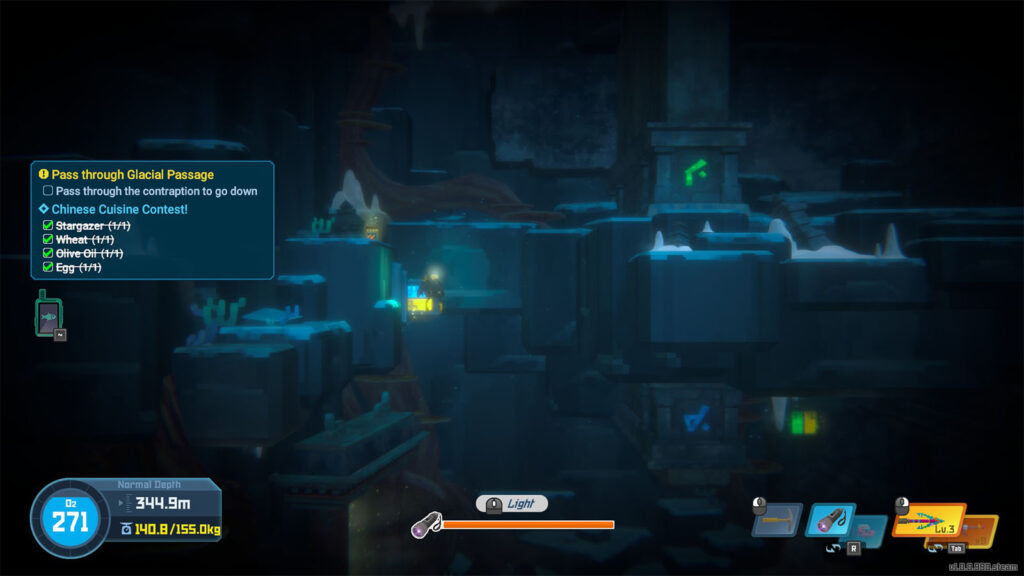
In this room, there are buttons that raise and lower stone walls. Pay attention to the colors on the buttons to match the stone door that you need to move. Push the button in this order to proceed:
- Blue/yellow
- Green/yellow
- Blue/yellow
- Blue/green
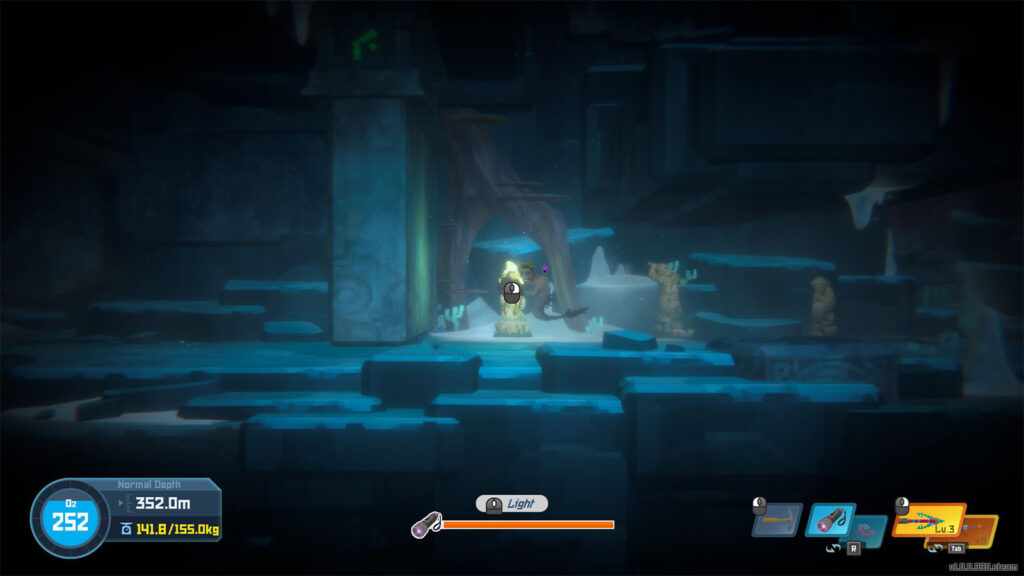
Up ahead is a Gadon that is patrolling in the only path that you can take. Hide behind the statues so that you can sneak past it as it swims by.
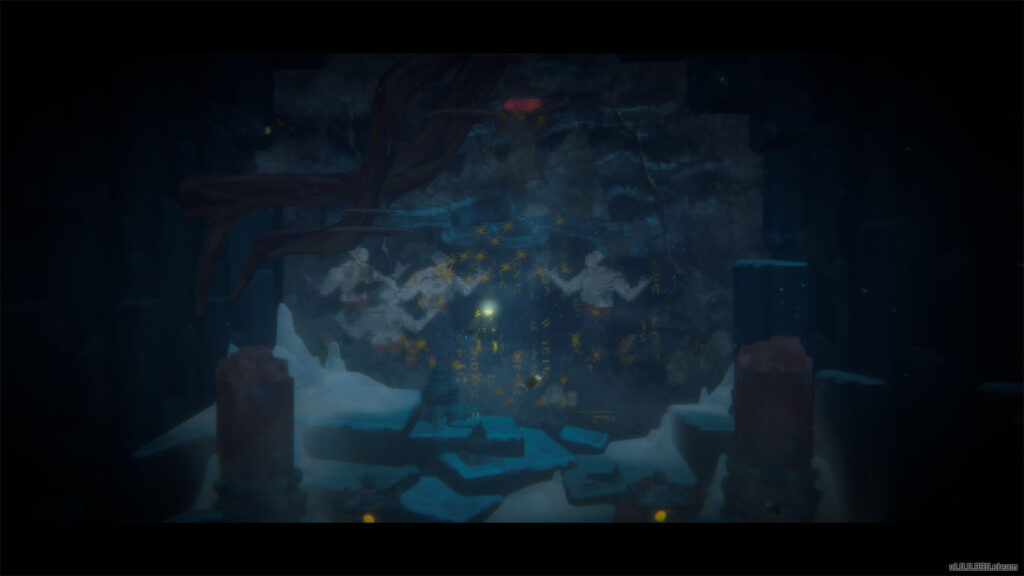
Once you’re in the next room, you will see another mural; take a picture of it while making sure that both the sea people and Divine Tree are in the shot.
Next, swim down through the floor on the right side to get to the room below.
In this next room, there are huge wheels that have channels that go through them. To operate these wheels, go to the center where you can interact with the middle piece and make the wheel rotate. This will also rotate wheels that are connected to it.
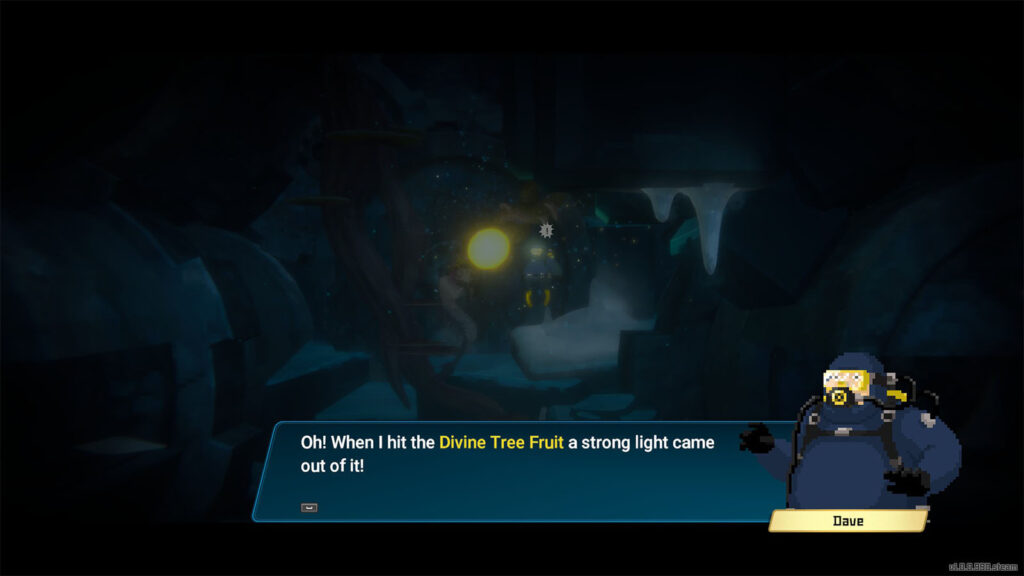
Past the wheels, you will find another Gadon that is swimming up and down. Pay attention to the glowing orb of light which is a fruit of the Divine Tree. You can strike this orb with your melee attack and it will send out a flash of light that can stun Gadons for a few seconds. Do so and then slip past the enemy to reach another wheel.
To get past these wheels, follow these steps:
- Turn the lower right wheel once
- Go up and turn the upper right wheel three times
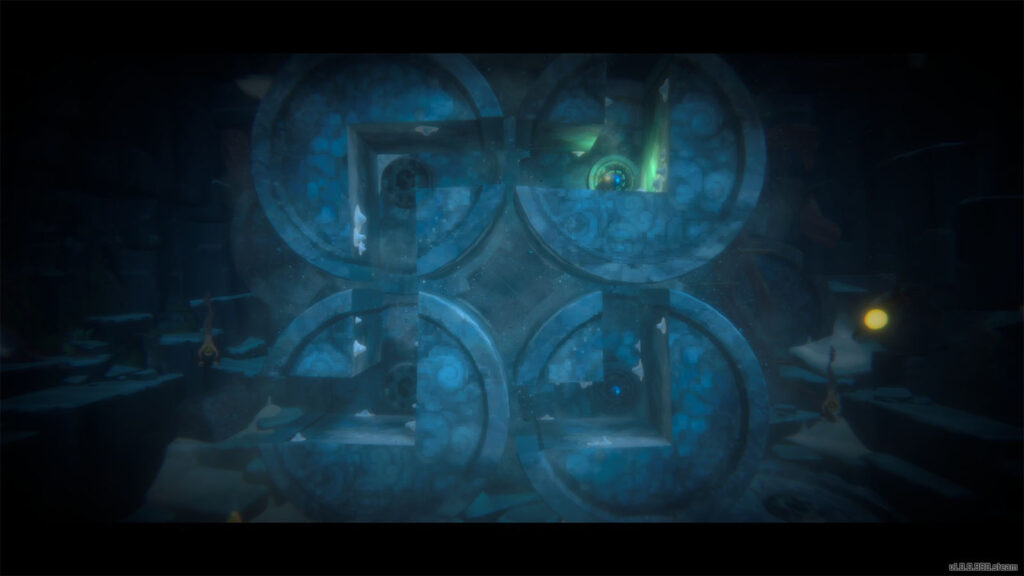
This should create a path to the other side of the wheels. Be careful as there is another Gadon patrolling nearby. Go towards the left where you will find a loose Divine Tree Fruit.
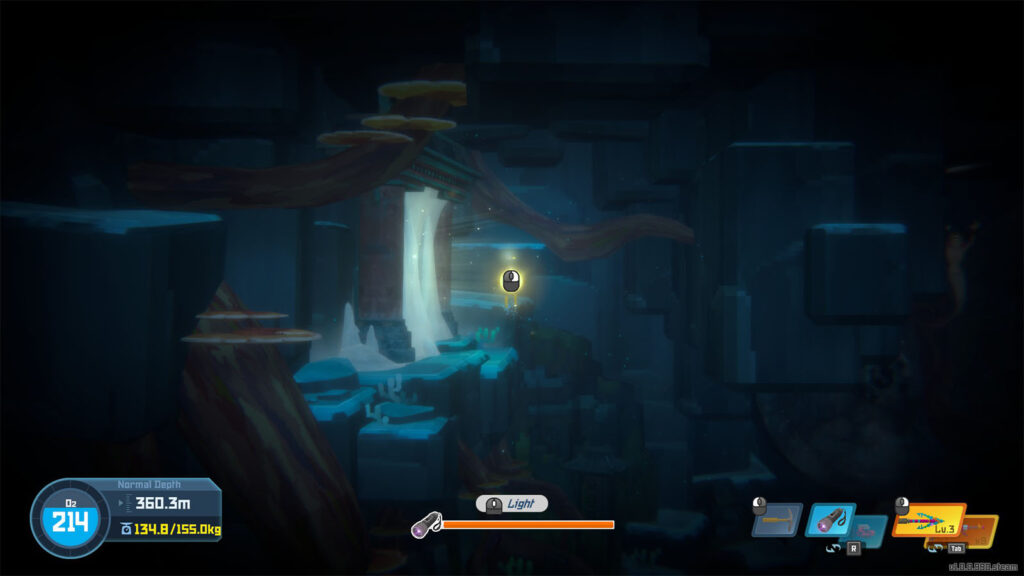
Grab the fruit and carry it to the blocked doorway to melt the ice. You will then arrive at the Central Passage.
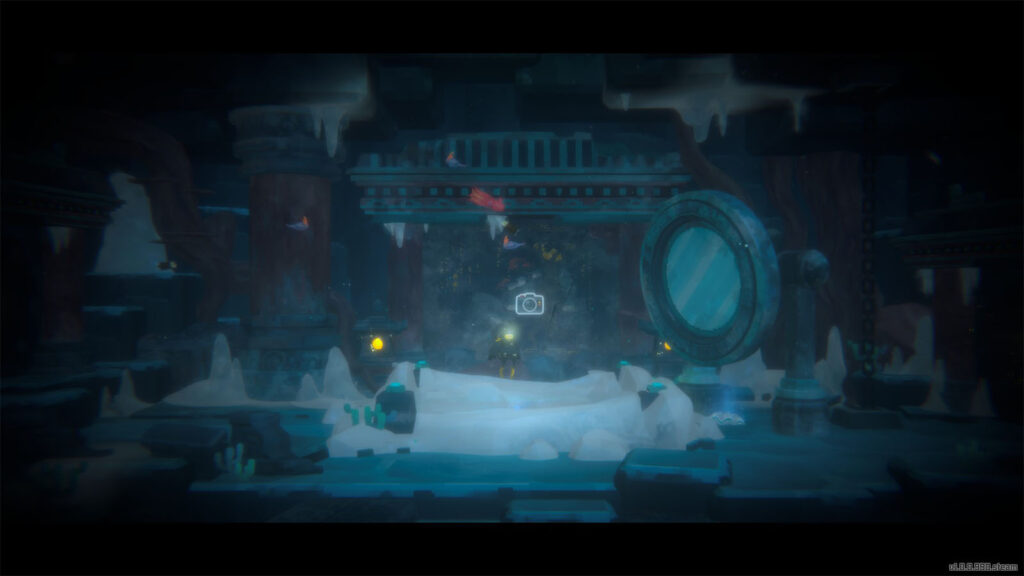
In this room, there is a huge mirror and the path going down is blocked by ice. Pull the chain behind the mirror to open a passage back to the upper room, then take a picture of the mural in the room. Next, head towards the left room for now to solve another puzzle.
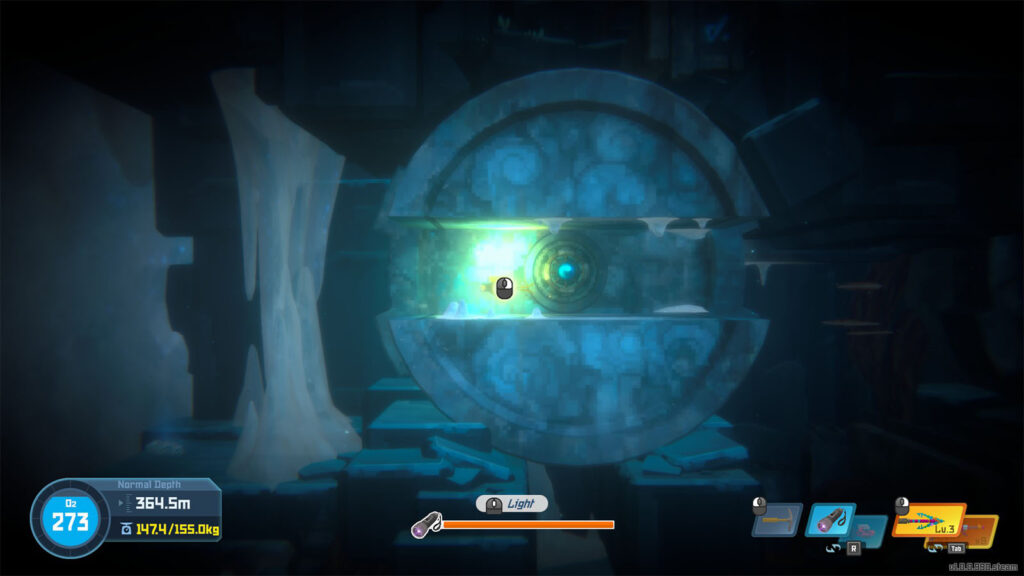
To solve the next room’s puzzle, follow these steps:
- Go to the right wheel and turn once
- Swim up and press the blue/yellow button
- Go back to the wheel, turn it once, and head left
- Sneak past the Gadon, press the blue/green button
- Go to the left wheel and swim up
- Grab the fruit and drop through the wheel
- Turn the left wheel once, retrieve the fruit and melt the ice
If you want to get the treasure behind the ice, press the green/yellow button past Step 5, drop the fruit from up high, then quickly turn the wheel to catch the fruit as it falls. Bring the fruit to melt the ice and grab the treasure.
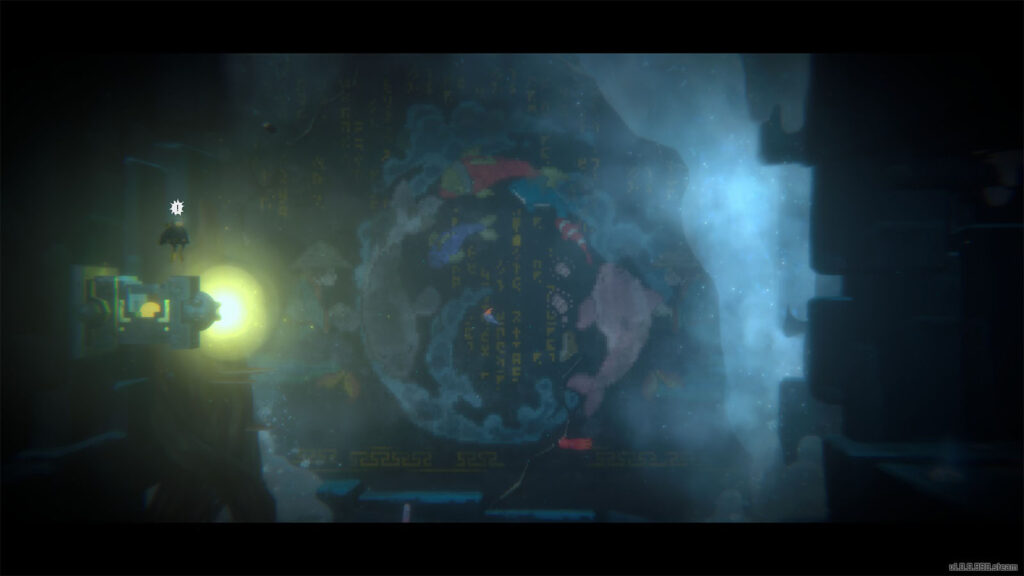
Once the huge wall of ice has been melted, you will find a receptacle on the far left side of the next chamber. Place the fruit on the receptacle and it will reveal the next mural. It will also shine a beam of light to the central room and reflect on the huge mirror.
Back in the central room, the mirror has to be moved to redirect the beam of light to the ice on the floor, but the hinge on the back is jammed. You decide to return to the boat for now and ask Cobra if he has a tool to unjam the hinge.
Cobra’s Lost Crowbar
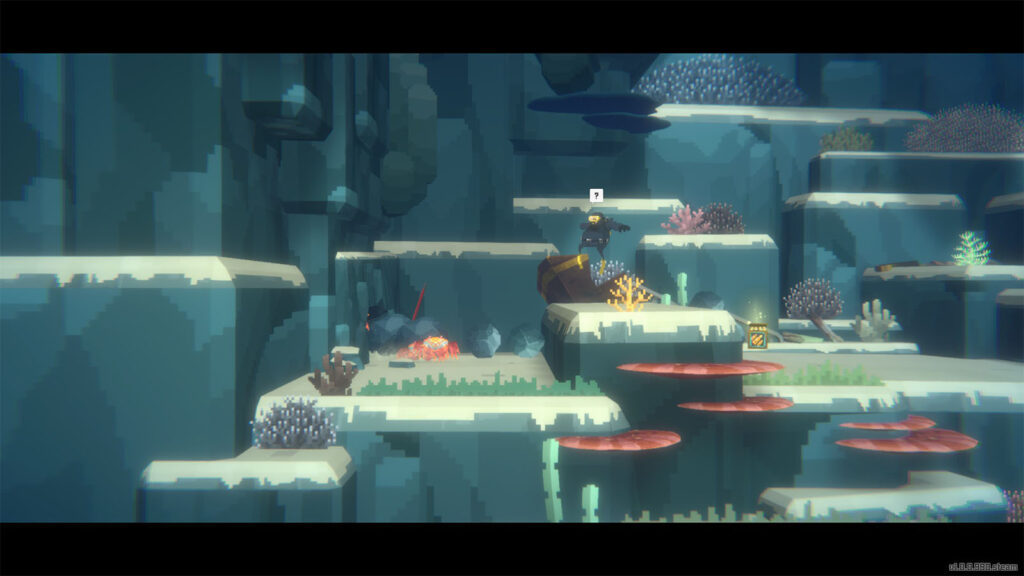
Talk to Cobra and he will tell you that he had a crowbar, but it sank near the yellow boat shipwreck. Before you dive back to the shipwreck, it’s best to upgrade your diving suit to level 6 as the next area will have you dive into depths deeper than your current suit can handle.
Go to the area and you will find the crowbar stuck within a few rocks. As you move the rocks and attempt to grab the crowbar, three crabs will appear and start attacking you. Grab and drop rocks on top of these crabs to defeat them, then grab the crowbar. Take it back to Cobra, then you can go back to the Glacial Passage.
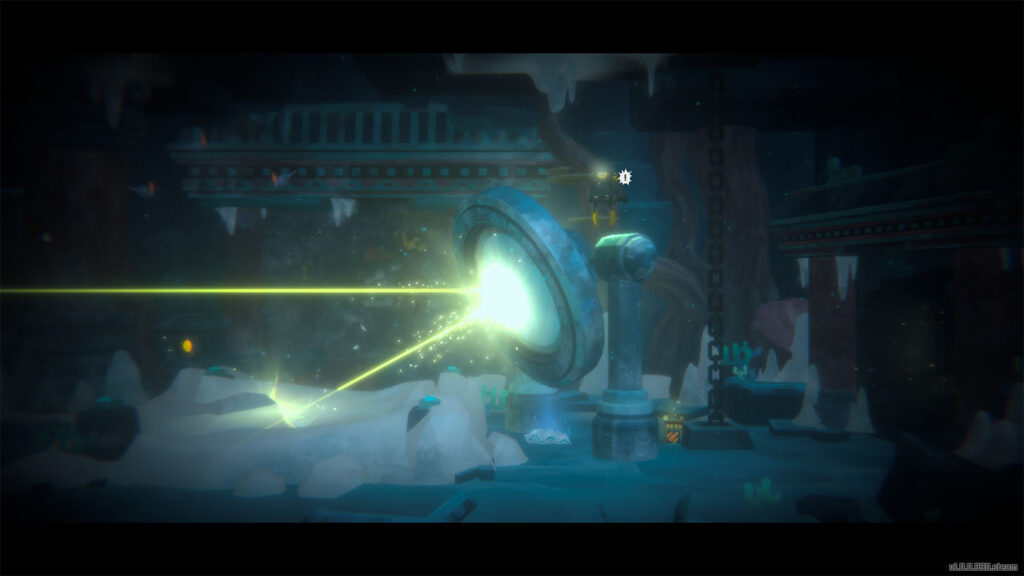
Back in the Glacial Passage, use the crowbar to remove the wedge rock behind the mirror, then tilt the mirror to melt the ice on the floor.
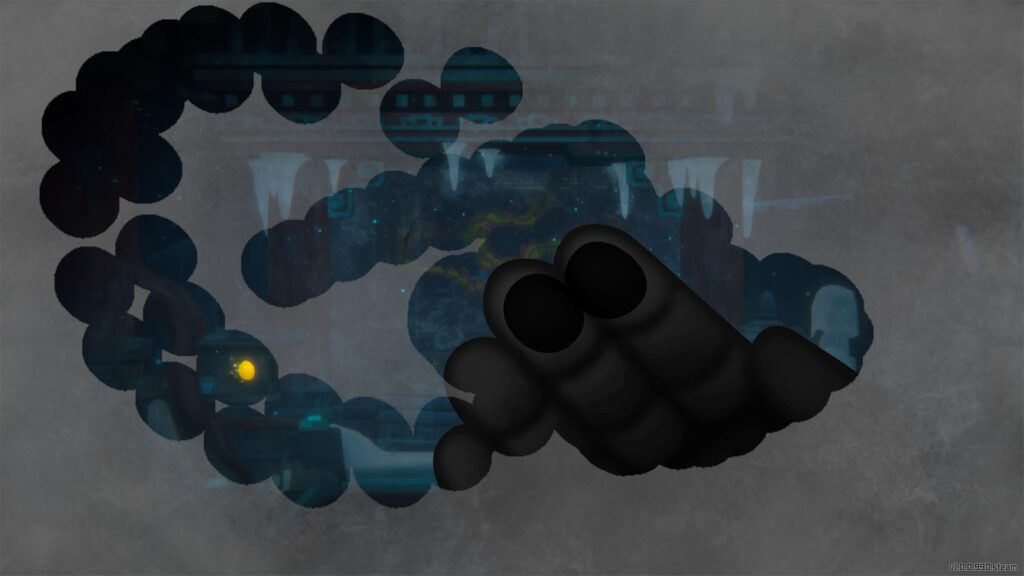
In the deeper room, you’ll find the next mural. Because of how cold the waters are in this depth, the camera will be fogged up, so while using the camera, wipe away the fog using your fingers until you have a clear sight of the mural, then take a picture of the mural.
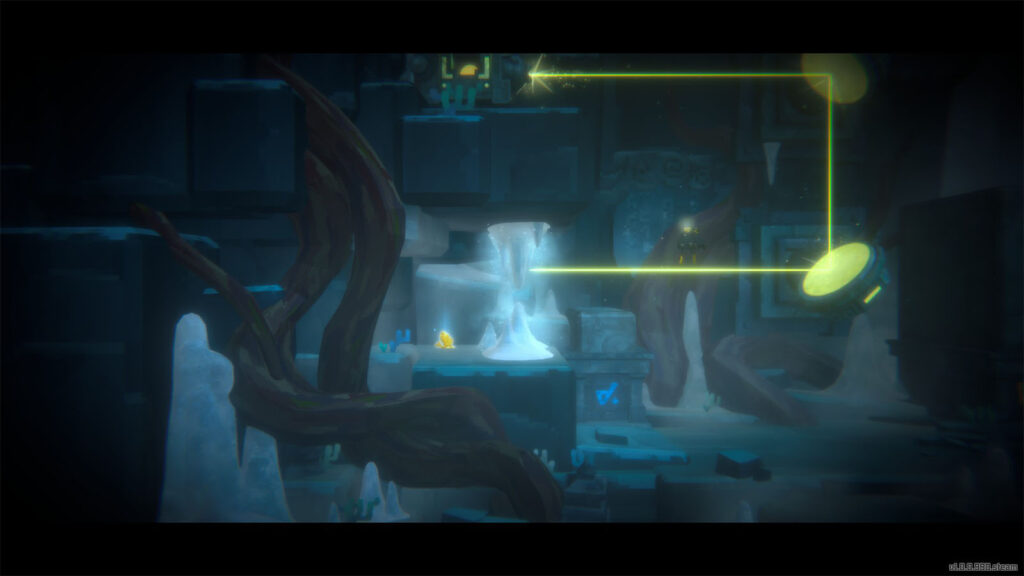
Next, move to the room to the right to arrive at the next puzzle area. This room has a bunch of mirrors around and a fruit in the middle. Bring the fruit over to the receptacle to shoot a beam of light. Then, you can turn the mirrors to redirect the beam to melt the ice.
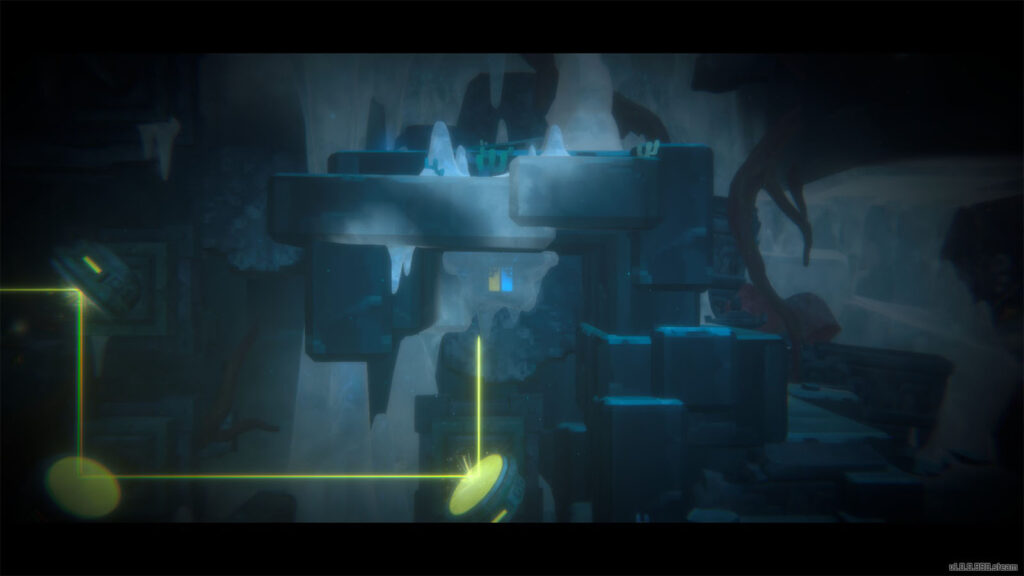
If you want to get the treasure in this room, do it now as the room will be wrecked later. Start by redirecting the beam to melt the button on the right side, then press the button to move the walls. Finally, redirect the beam to melt the ice blocking the treasure.
Get to the next area by melting the wall of ice on the upper right side. You will arrive at another chamber with a mural; take a picture of the mural, then swim down.
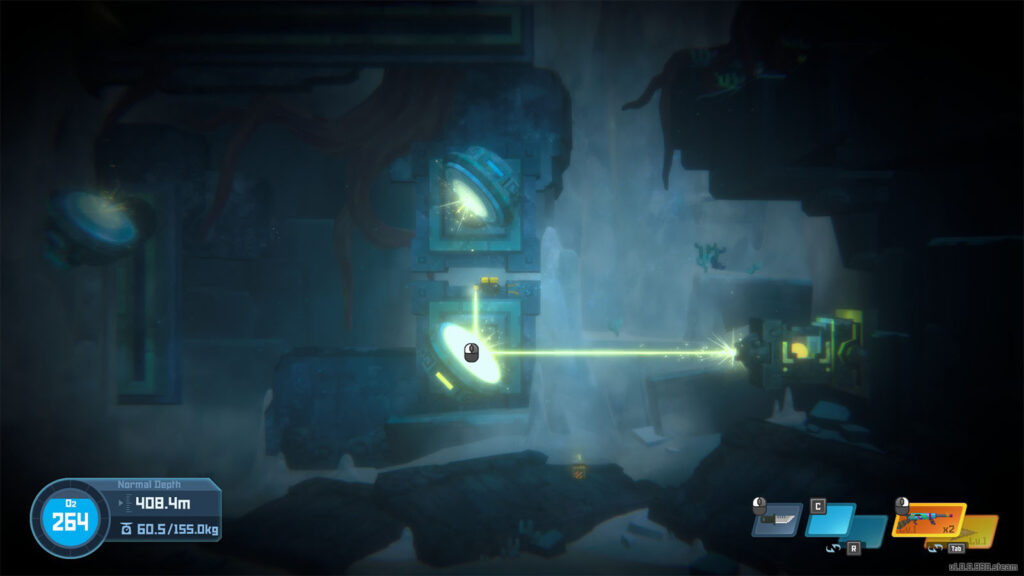
You will arrive at another puzzle room with more mirrors. This time, some mirrors are placed on rails that can be moved up or down or left to right. Start by putting the fruit in the receptacle to get a beam of light.
To solve this room, follow these steps:
- Turn the first two mirrors to make the beam shoot to the left
- Move the top mirror to the left
- Drag the left mirror upwards
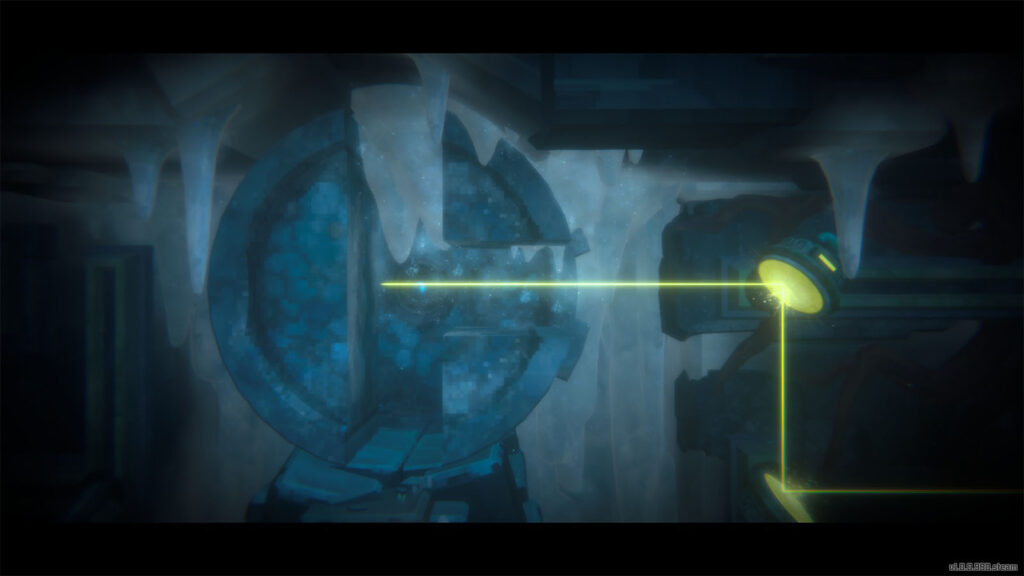
This will melt the ice on the wheel which you can then turn to get to the other side where there are more mirrors. Continue on with these steps:
- Rotate the first mirror to shoot the beam down
- Move the rightmost mirror downwards
- Move the middle mirror to the right
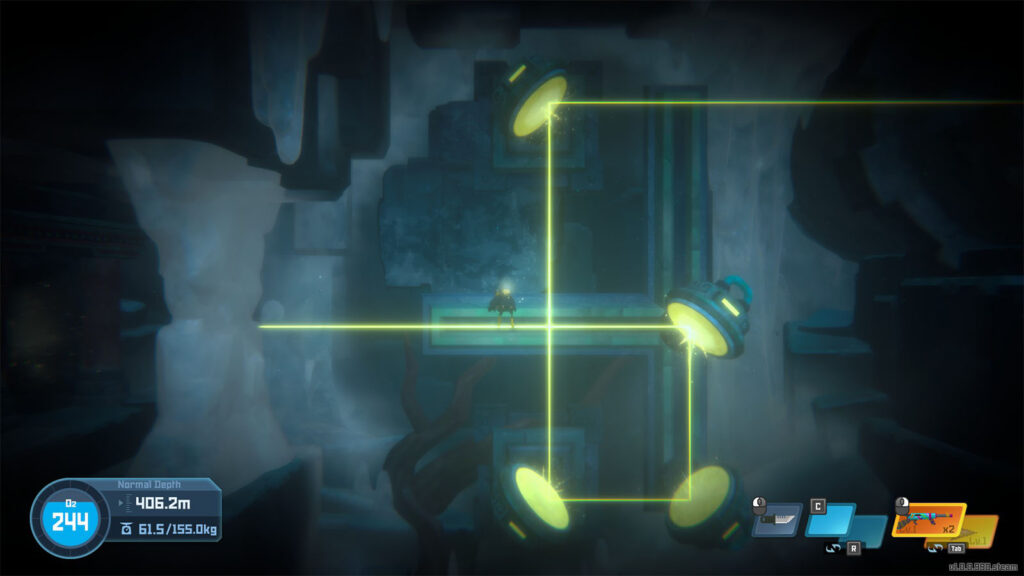
This will make the beam do a loop and melt the next wall of ice to the left. The next chamber will be pitch black, but there is a fruit that you can hit to shine light inside, revealing the next boss you’ll encounter.
How to beat the Giant Gadon
The Giant Gadon encounter is more of a chase encounter where you will have to swim away as the monster tries to escape and get you.
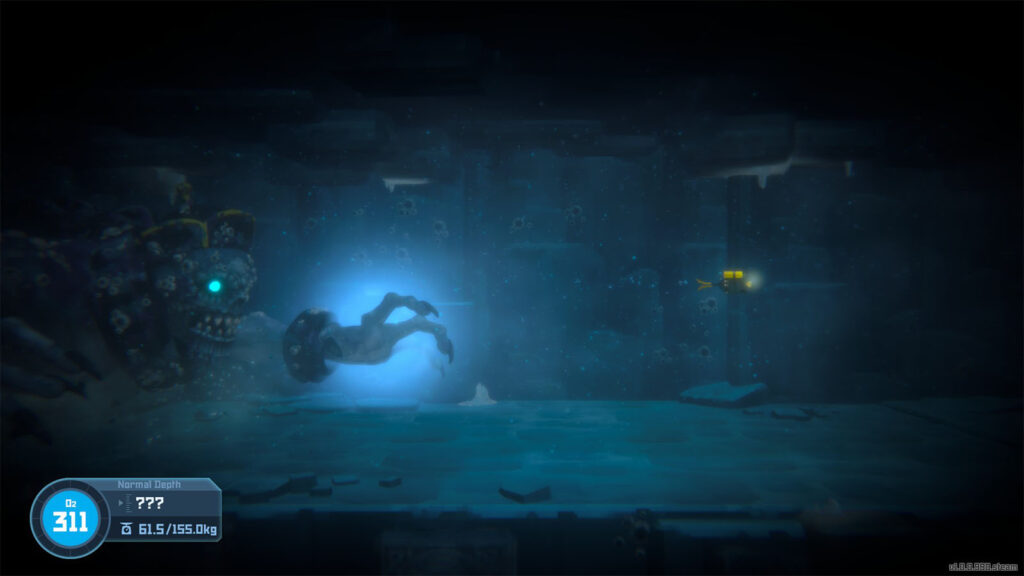
On the first part of the chase, you will have to swim through a long corridor that is has ice spikes on the floor and on the ceiling. You will need to avoid these spikes in order not to slow down and run out of O2. During this part, Giant Gadon will charge up its hand and grab you. Once you see this, swim up or down to avoid the line where its hand will go, otherwise you will get grabbed and you will have to restart the chase.
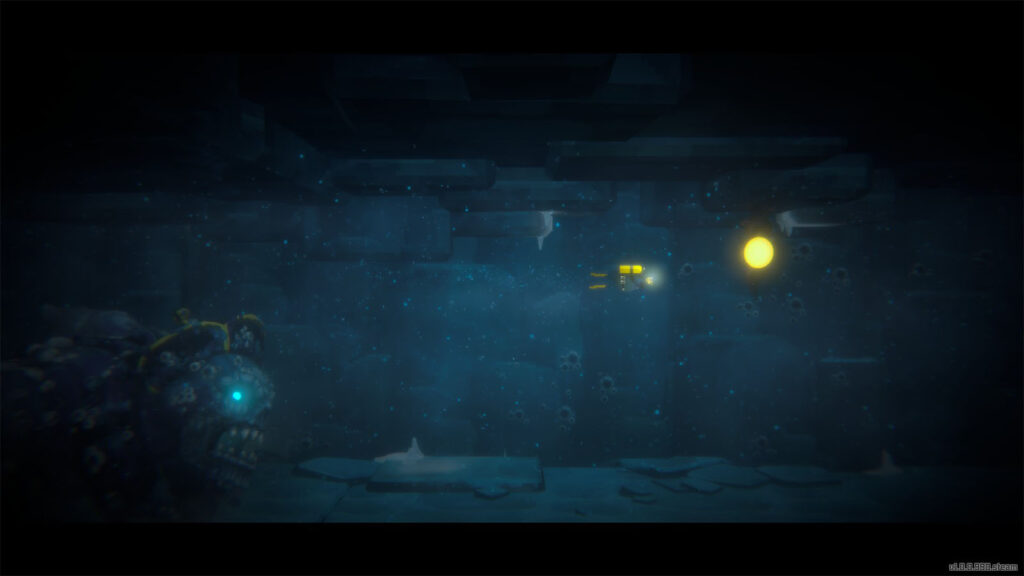
On the next part of the chase, Giant Gadon appears to be preparing for a lunging attack. Luckily, there are fruits that you can use to stagger it mid attack. Once you get close to a fruit, a QTE will happen and the game slows down. To pass this QTE, you will need to move the halo of light to get close to the fruit until it forms a proper circle, then you can hit it. This will stagger the monster and give you some distance away from it.
Eventually, you will hit a dead end, but you manage to evade its lunge. The crash will open up a new path that goes downwards.
Not long after, the chase will continue, but this time your orientation will now be from top to bottom. This will be a lot more challenging just by the fact that the screen is shorter than it is wide, giving you just a few milliseconds to react and void the ice spikes. Luckily, all you need to do in this leg is to just avoid the ice spikes as best as you can.
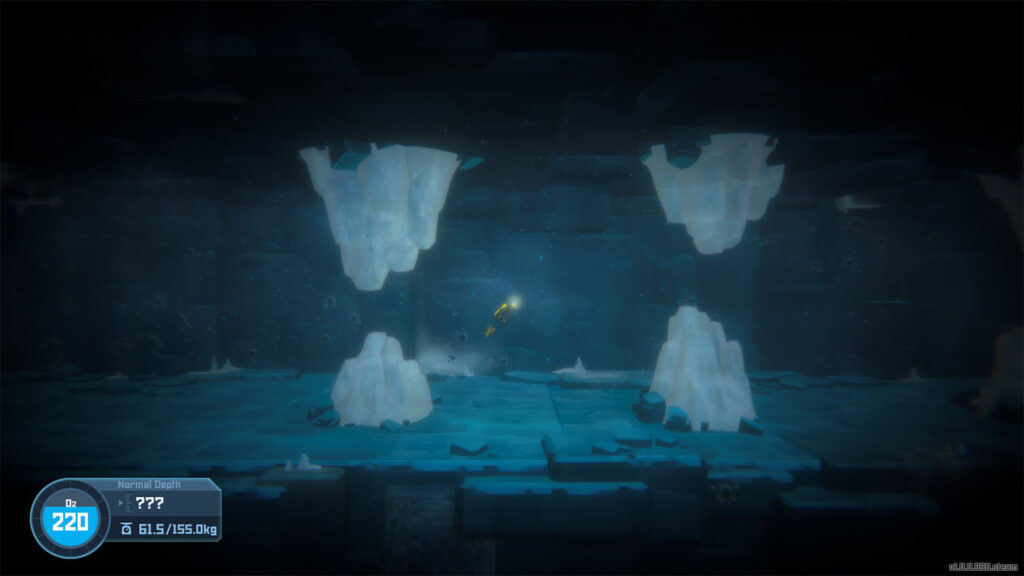
The Giant Gadon will hit another chunk of ice and slow down. For the last part of this chase, you will be back to swimming from left to right. But this time, there are now chunks of ice and the gaps between them are narrower. Try not to hit the chunks as they will greatly hurt you.
The monster will be back to chase you just as you’re about to get to the exit. Be prepared to do a couple more QTE that involve pressing buttons.
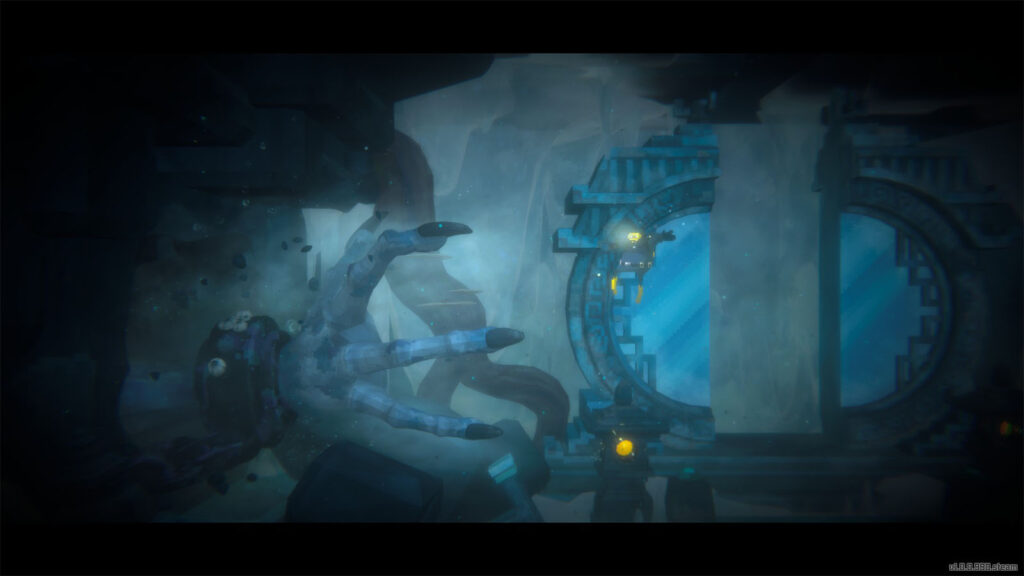
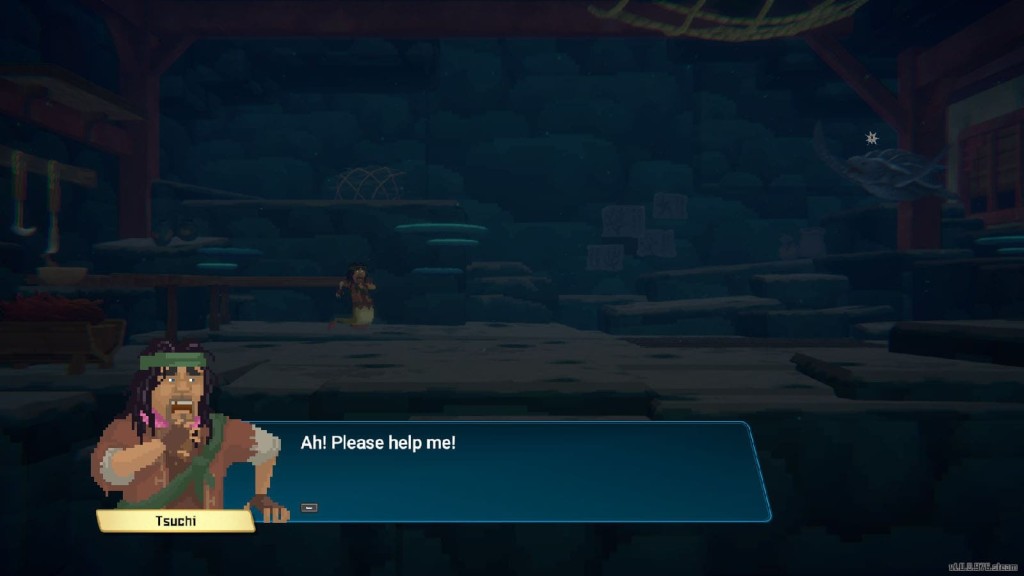
Once you get out, pull the spike on top to make the rocks fall down. The monster manages to shoot out its hand through the rubble, but you will get saved by Suwam just in time.
You are now at the end of the passage and the next area will be the Glacial Area. However, the waters are too cold for you to proceed so you will have to find a way to protect yourself from the cold for now.
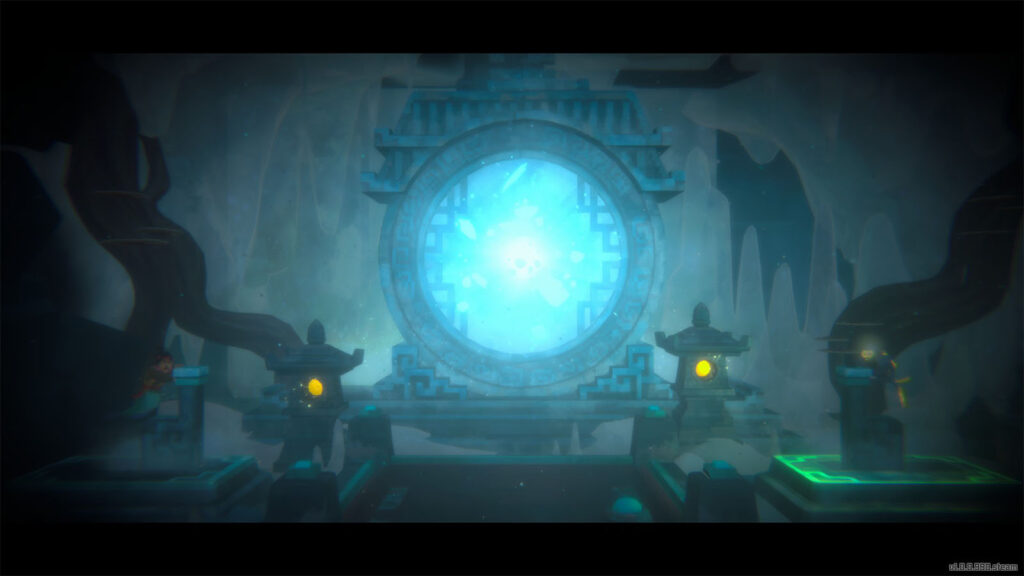
Suwam will have you activate the huge mirror with him by pulling the lever to make the two mirror halves join. You can then use this mirror to travel back to the village or to the boat and vice versa.
You head back to Tenzhin’s house and he gives you the Divine Tree Fruit Cloths that could help you protect yourself from the cold. You then decide to ask Dr. Bacon’s help in fabricating a suit using this material for you. After the conversation you will be rewarded with 200 Bei.
The chapter then ends and you get to continue on with your fishing day. Wait until the next day to get another visit from Dr. Bacon for the cold suit that you need him to work on.
See next: Chapter 6 – Melting Glacier
