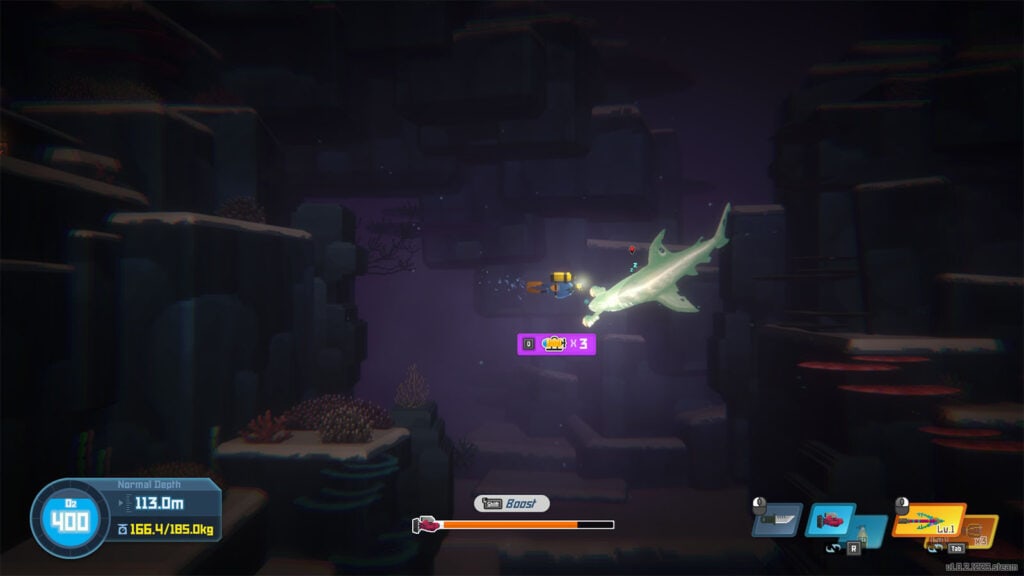
Melting Glacier is the sixth chapter in Dave the Diver. Dave now sets for a journey deep into the Glacial Area to investigate what has been heating up the Divine Tree’s roots. Read ahead as we go through the events of Melting Glacier in Dave the Diver and share some helpful tips for a great playthrough.
See previous: Chapter 5 – Frozen Passage
Chapter Objectives:
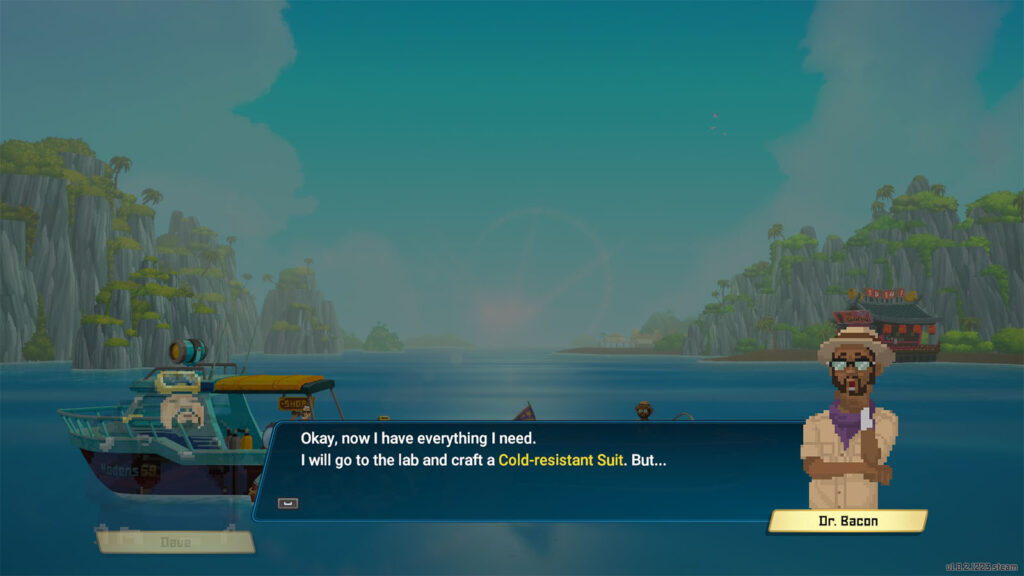
On the following day after opening the path to the Glacial Area, Dave decides to head back to the surface to find a way to survive the cold waters. He asks the help of Dr. Bacon and shows him the Divine Tree Fruit Cloths as he shows Dave the Sea People Breathing Apparatus that he found in the cave. Dave also shows Dr. Bacon the mechanical part from John Watson’s suit, but it is beyond repair.
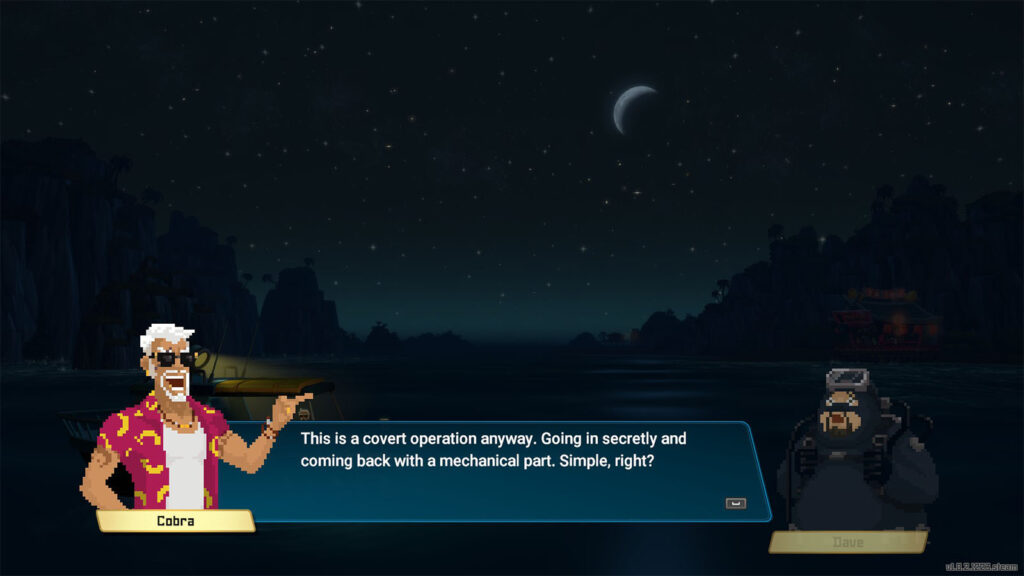
Cobra has a plan in mind about how to find a new mechanical part, but he suggests to wait until evening as he irons his plans out. Continue on your fishing day until you reach the evening where Cobra finally shares his plan. He reckons that you can find a working mechanical part from inside the Sea Blue’s base, but you will need to sneak into the base to get it.
After taking the shift at the sushi bar on the same night, the night will not end yet as you head back to the boat and prepare to infiltrate the Sea Blue base.
Infiltrate the Sea Blue Base
Your first objective is to follow the Sea Blue drone as it heads back to the base. Following it could get quite tricky as you can only get close enough to it before it spots you. Once the drone sees you, it will sound an alarm and you will have to do it again from the start.
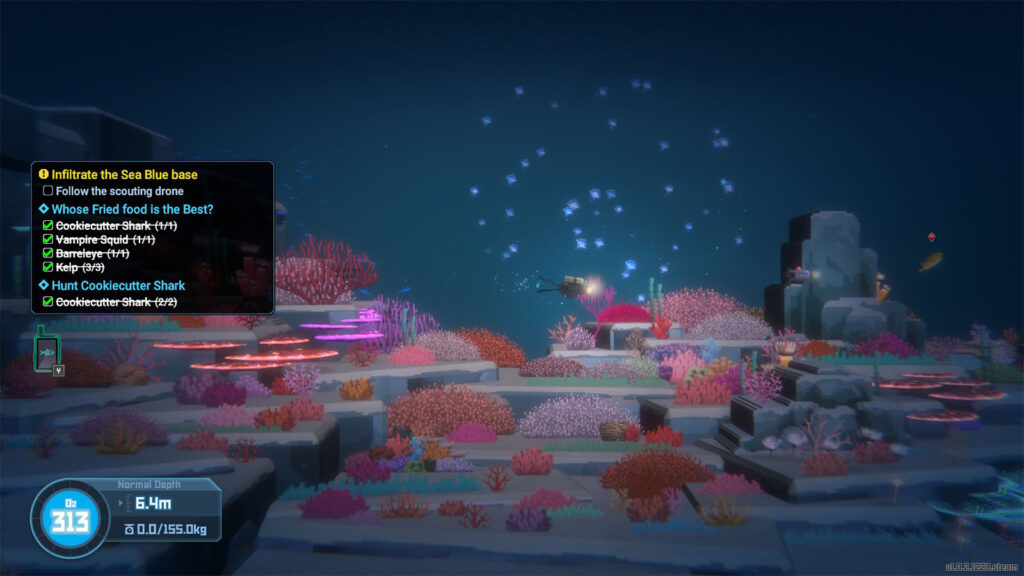
Additionally, the drone will be swimming through the paths where aggressive fishes and sharks will be at and you don’t have access to your harpoon or weapons, so you will have to find the right timing to pass through without also getting the additional attention. You cannot lag behind too much from the drone or it will get away.
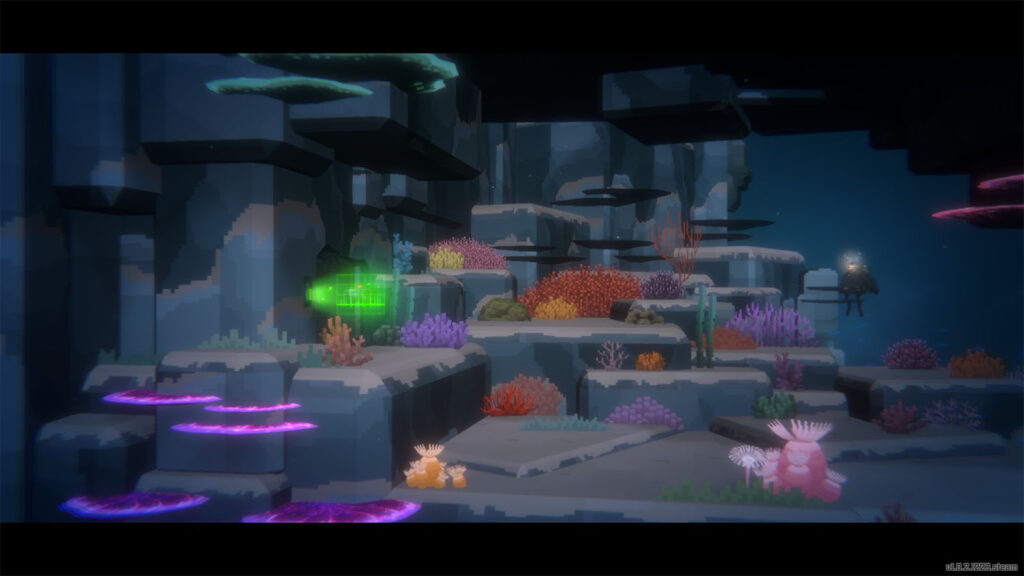
Once you reach the entrance to the Sea Blue base, the drone will then open the door, allowing you to get inside the base.
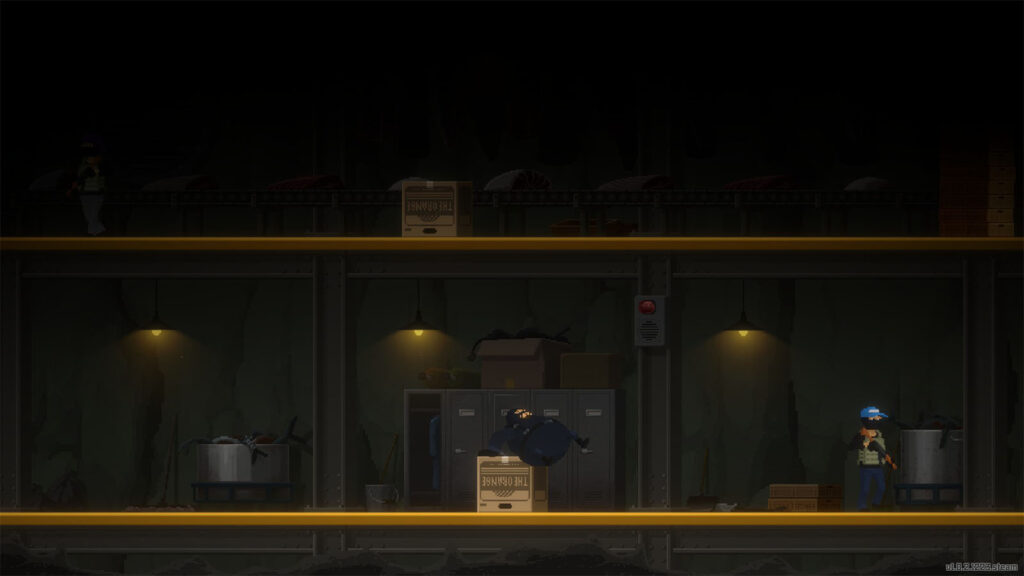
Inside the base, you will need to get past the soldiers and the security cameras. Use the boxes as cover to hide from the patrolling soldiers. Then, once the coast is clear, jump over the box and proceed to the next area.
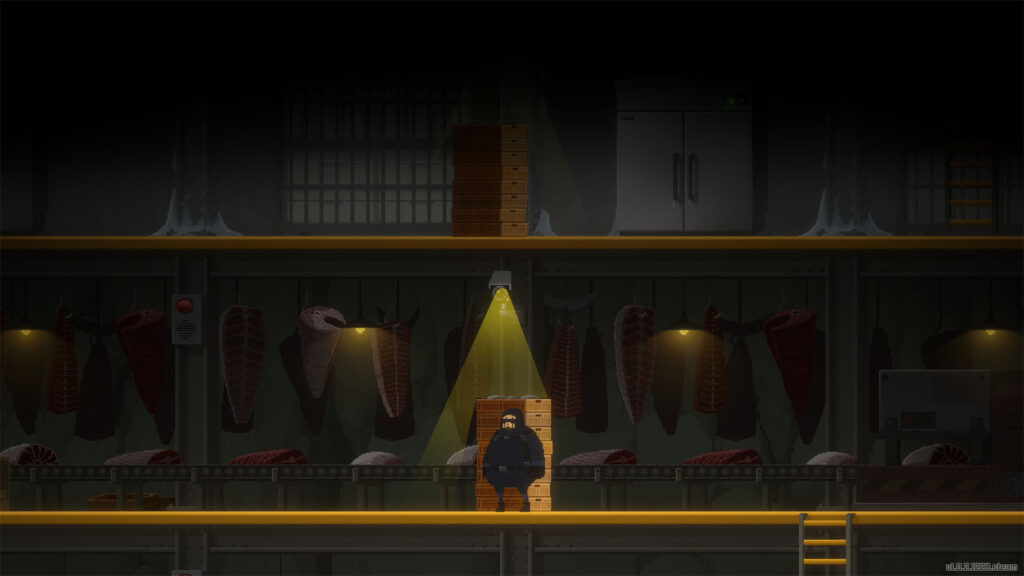
Security cameras have a wide detection range as shown by their light cone. Stacked palettes can be used as a cover to slip by a camera, but make sure to approach them while the camera is looking away.
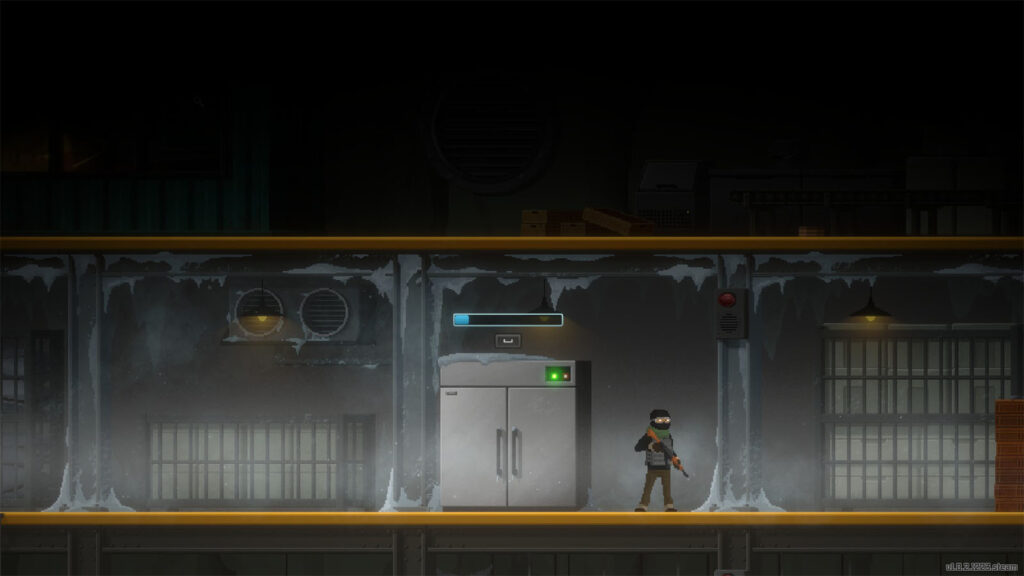
Once you reach the cold area, there are large freezers that you can hide inside, but be aware the Dave can only stay in for so long before he has to get out and get some air. Try to find the right timing and don’t get inside the fridge too early. Also, Dave takes a few seconds to recover once he gets out of a freezer, leaving him open, so take this into account.
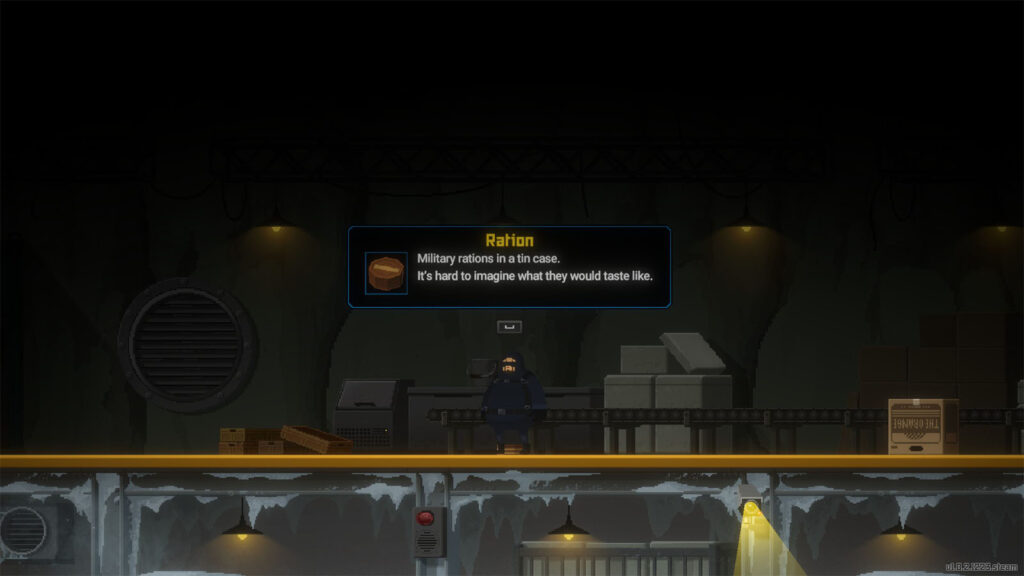
After reaching the top floor, you will find some rations on the floor. This is a callback to Metal Gear Solid just like this entire level is. Eating the rations will reward you with the Ration Eater achievement that you can only get on this level, so make sure to eat it if you’re gunning for a 100% completion rate.
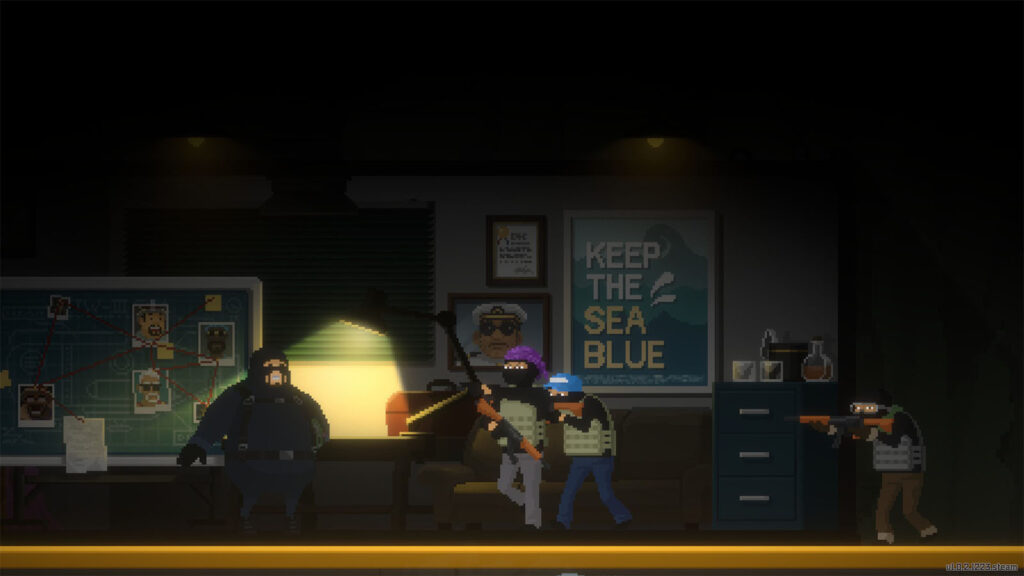
Head inside the office where you can find the mechanical parts on the tables, as well as some objects that you can inspect. After taking the mechanical object, you will be caught by the soldiers, but you manage to get out by jumping through the window and into the water. You then get back to the safety of the boat where Cobra is waiting, and the night proceeds into the next day.
Explore the Glacial Area
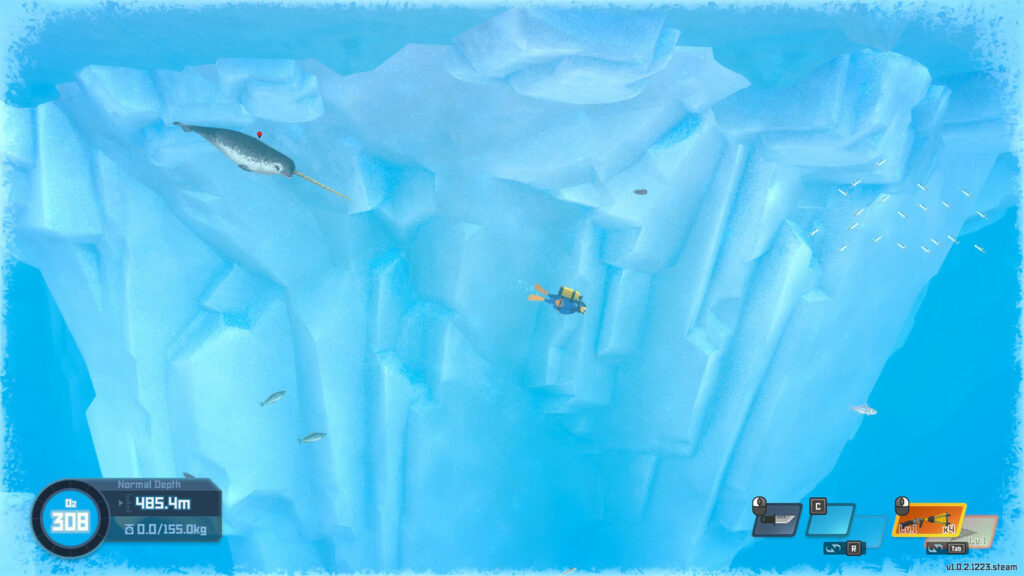
On the following day, Dr. Bacon comes back with your newly upgraded diving suit. With this suit, you can then head into the Glacial Area safely. If you have enough money with you, consider getting the upgrade for the diving suit so that you can dive until 800m. Consider upgrading your diving knife as well as it can be used to mine out the ores in the area.
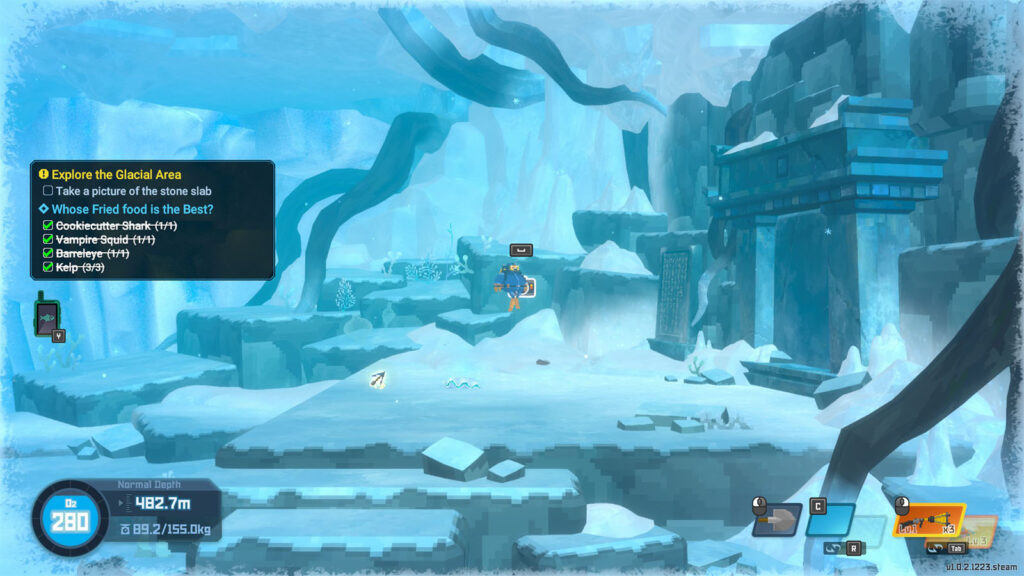
In the Glacial Area, head towards the east side where you will find a door with a slab that has text on it. Take a picture of the slab as Dr. Bacon might get something out of it.
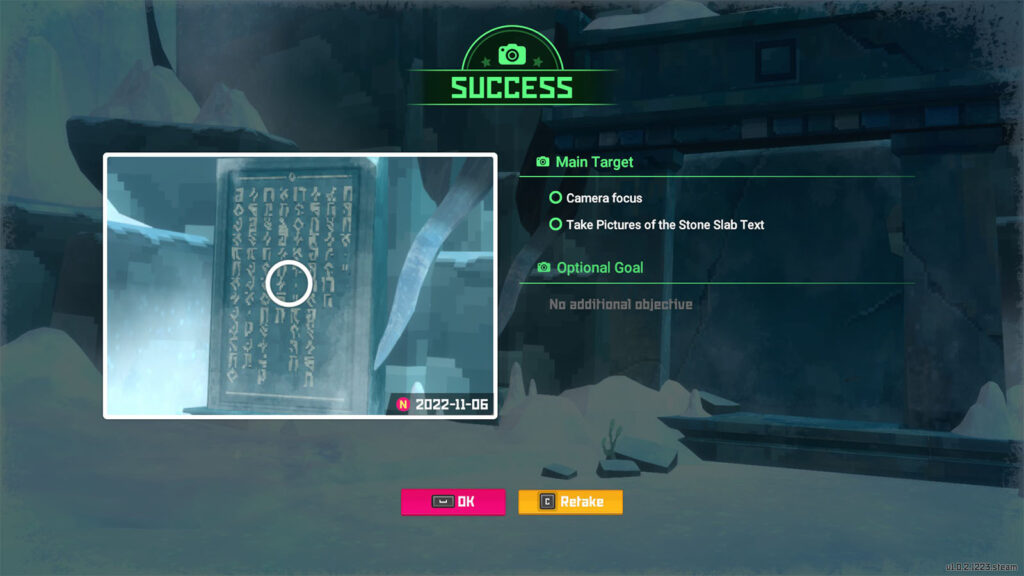
Next, head back to the boat, but you can still take the time to explore the rest of the available area, as well as catch the fishes to complete your collection and some of the Ecology missions.
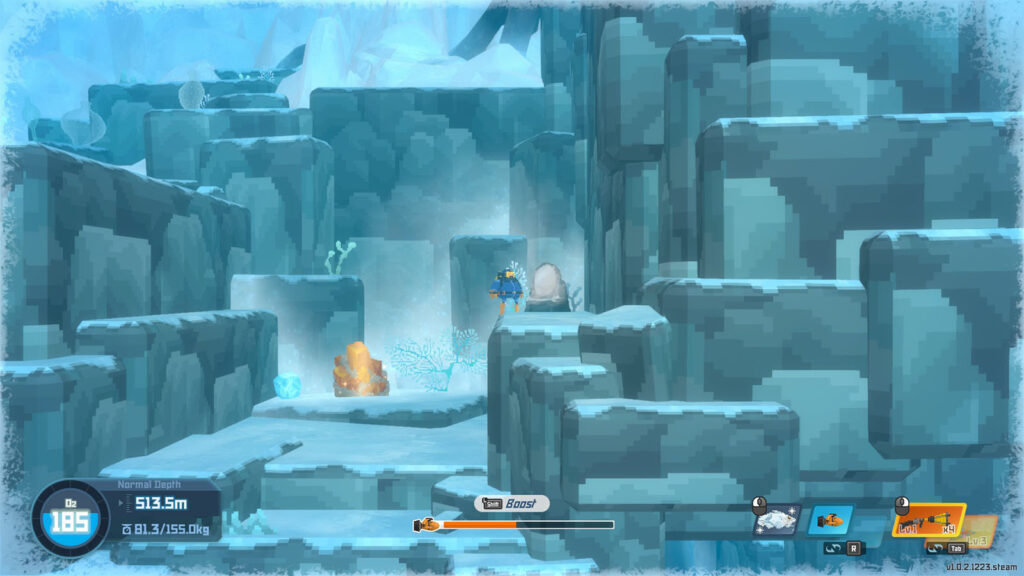
Be aware that there are no escape pods at this depth, but there are mirrors that you can use to teleport back to the boat or to the village.
Ancient Stone Slab
Back on the boat, you show the stone slab to Dr. Bacon who then uses his deciphering device to find out what the stones says.
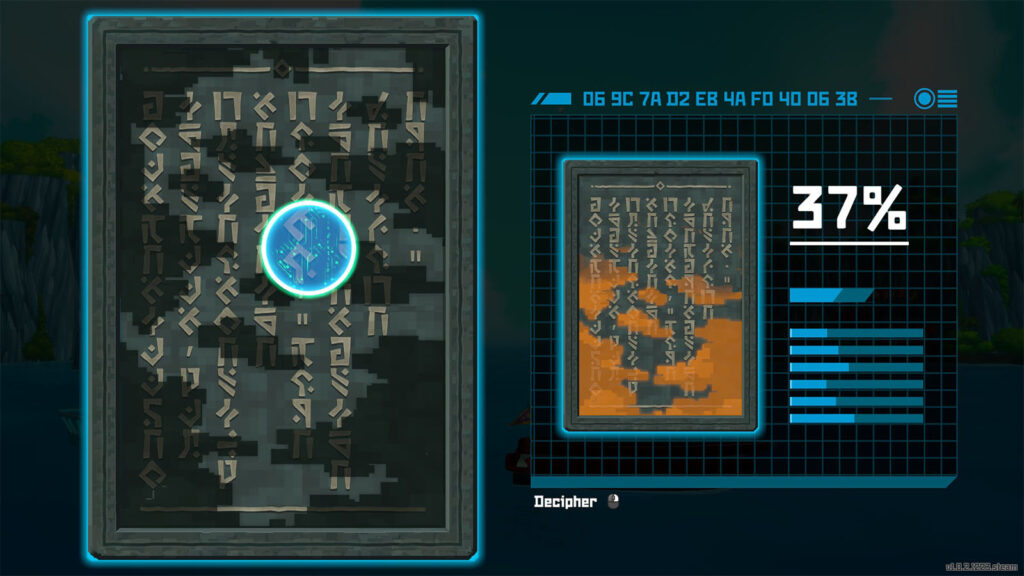
In the device’s interface, you need to move the circle around the slab as you decipher it. Pay attention to the image on the right side which shows the areas of the slab that needs deciphering covered in orange. Decipher every bit of the slab until you get 100%. Dr. Bacon then guesses that this slab contains a spell, but he is unsure of the Sea People symbols. You then decide to head back to the village to talk to Niamo about the Sea People language.
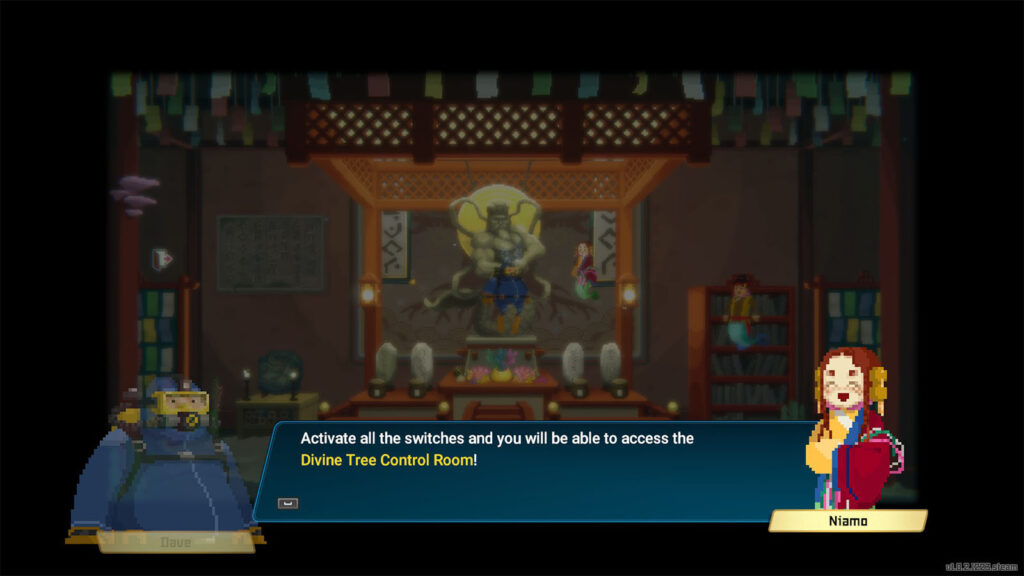
Niamo tells you that the quakes are being caused by the Divine Tree Control Room, but first, you will have to activate three switches in order to get access to the room. Also, you will need to cast a spell near the door where you found the slab on, but since you cannot speak the Sea People language, she suggests to bring Suwam with you.
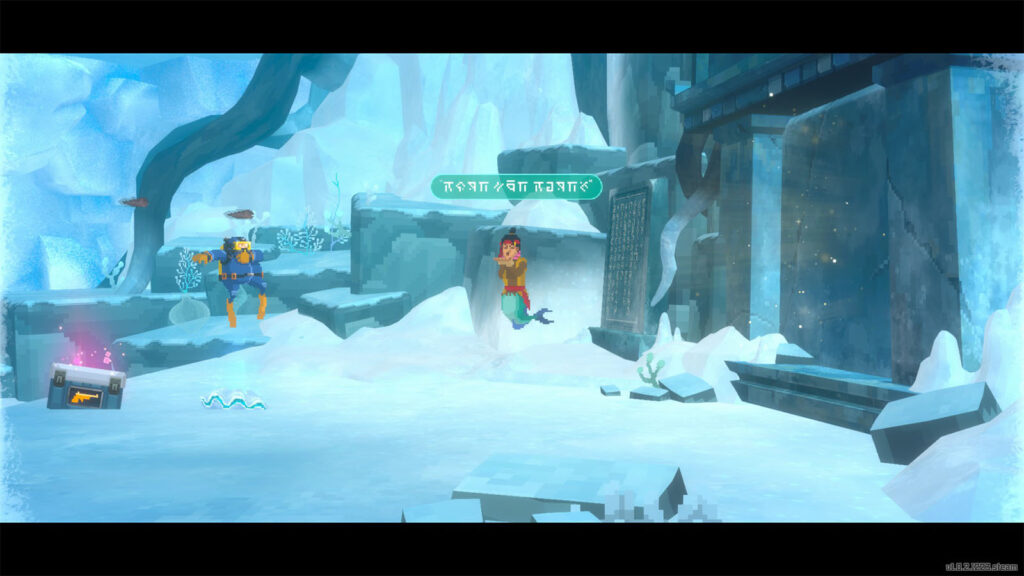
Suwam accompanies you to the door where he performs the spell. The door then opens and you can continue to the other side.
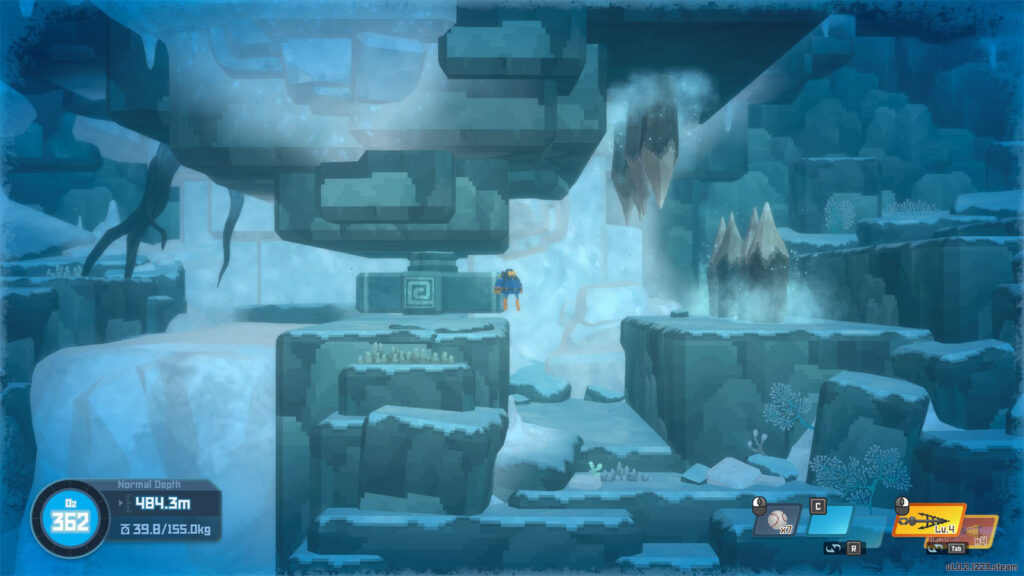
You will then arrive at the First Glacial Cave. Head to the right where you will find a capstan that you can turn; doing so will activate the spike traps in the area ahead. Make your way through the spikes until you reach the next room.
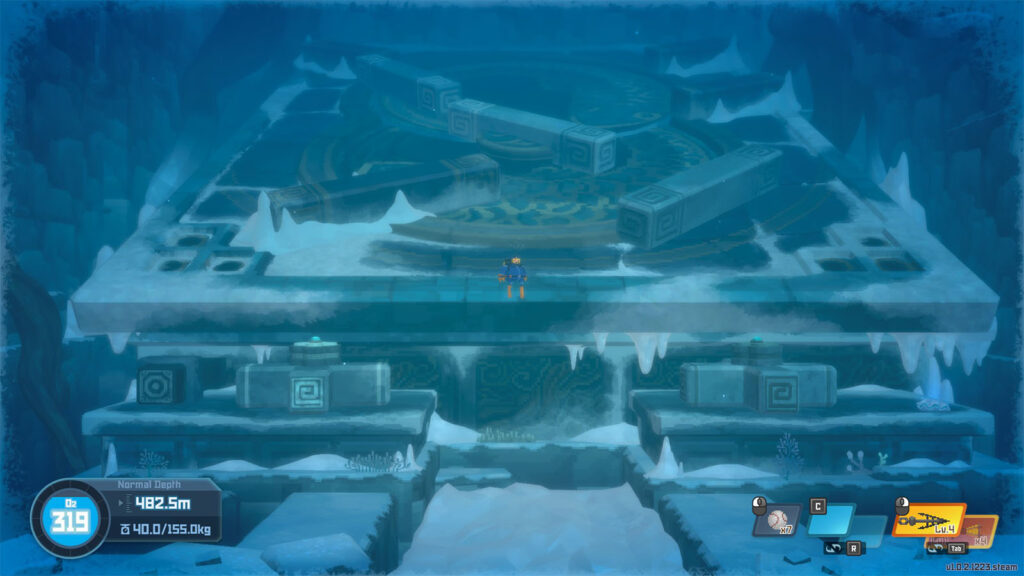
In the next room, you will see a huge mechanism that looks like a pinball machine. Use the capstans on the left and right to rotate the barriers so that they all funnel down towards the center. Press the button to release a boulder that will roll down and break the ice on the floor.
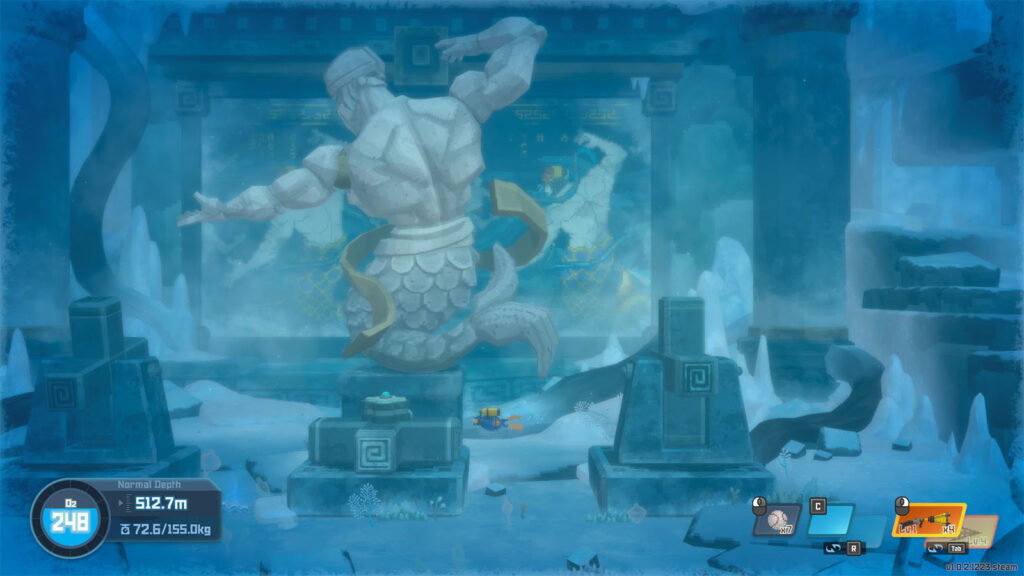
Head down the hole and go to the left side where you will see a statue of King Long, but it is not in the right pose. Use the murals on the far back as reference, then use the capstans to turn the arms and the head to match the right pose. Once done, the statue will be activated and shoot a beam of light that will melt the path above. You will also see one of the locks light up near the entrance to the control room.
After this, travel back to the village and talk to Tenzhin about the locks and that you are searching for the other locks to get into the control room. You will then be rewarded with 200 Bei.
The Missing Beluga
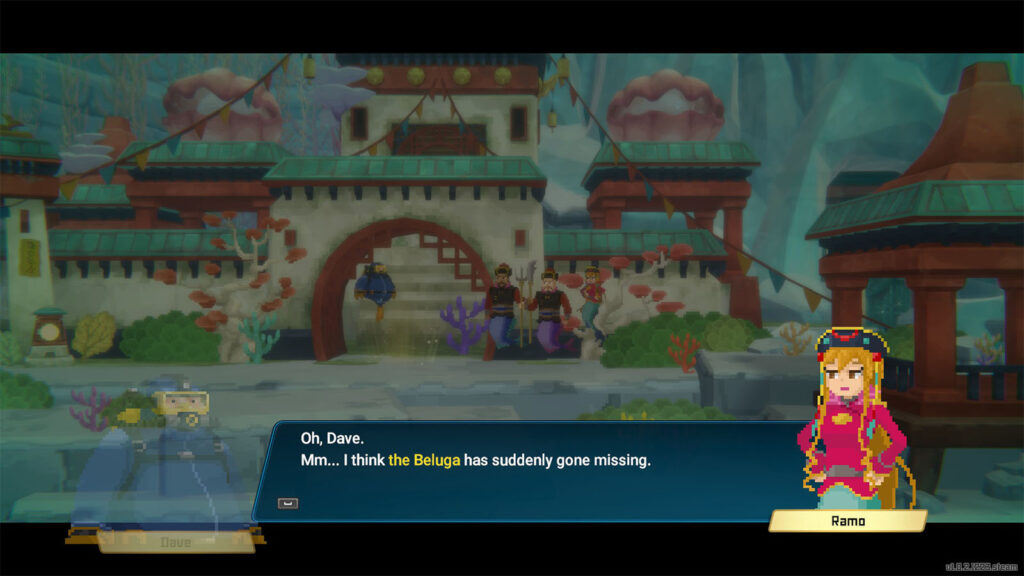
As you head outside, you see Ramo and the guards looking for a missing beluga. You offer your help to find it.
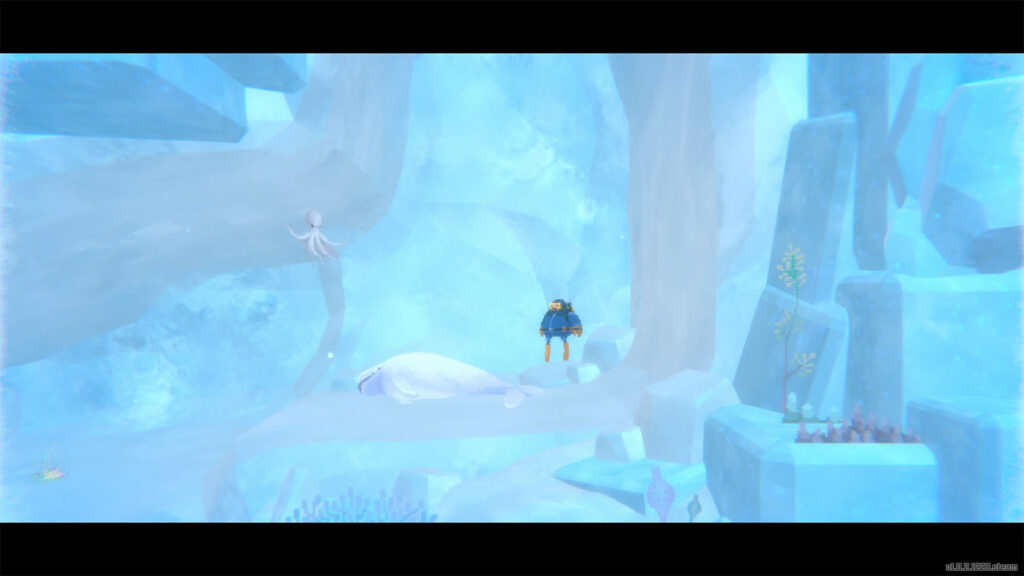
Head back to the Glacial Area and go to the left side to find the icy maze. Make your way inside the maze going towards the right side and you will find the incapacitated beluga. An Atlantic Octopus will show up, appearing that it was the one who poisoned the beluga.
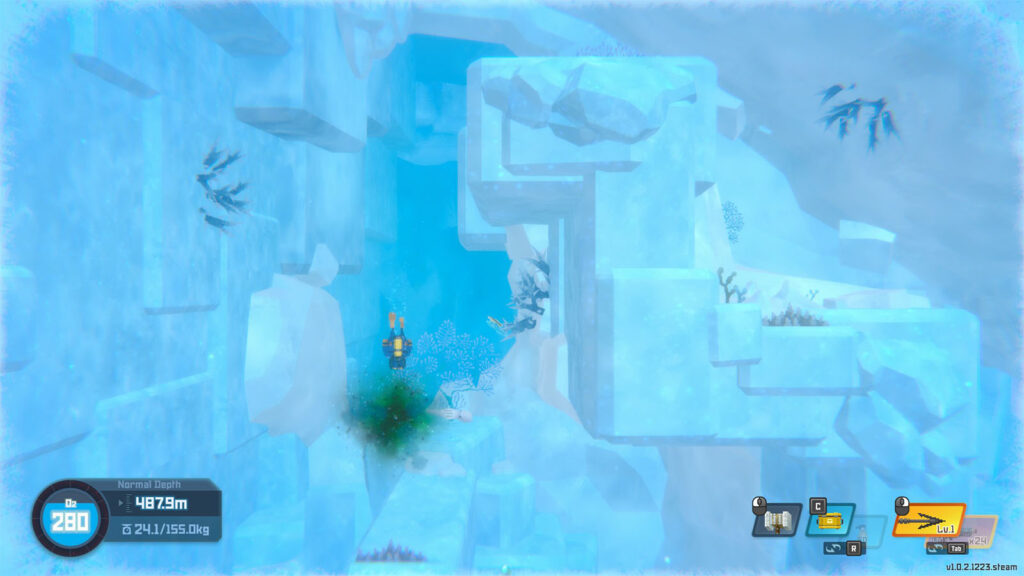
Chase down the octopus as it goes through the maze to get an antidote for the poison. Be careful as the octopus can trigger icicles to fall which can slow you down when you hit it. The octopus can also squirt out its ink that can damage you and slow you down.
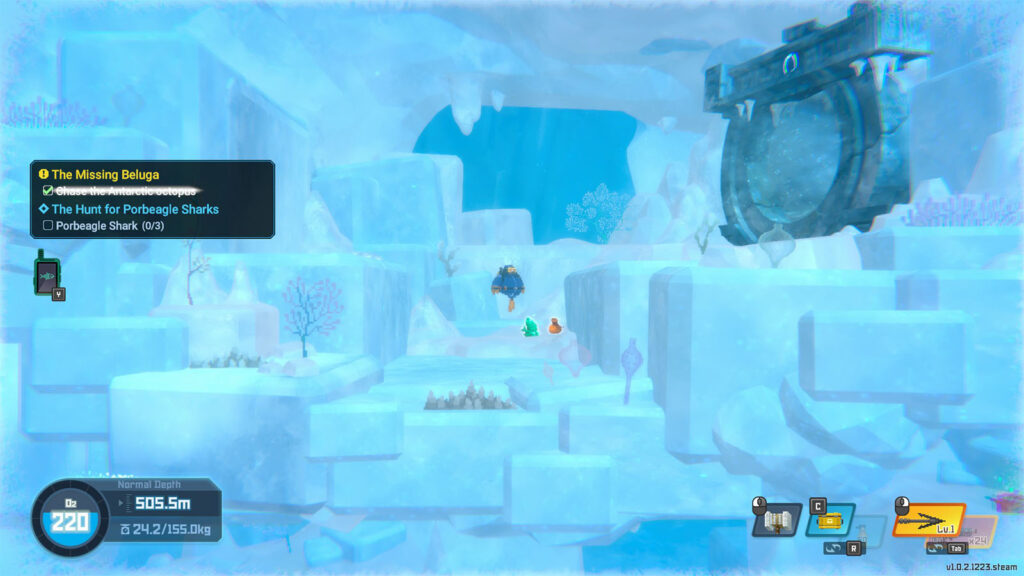
Eventually, you will be able to corner the octopus and choose to whether harvest it or rescue it. Choose to rescue it and it will drop a Jade Fish Statue and the antidote. Bring back the antidote to the beluga to cure it. Continue on with your fishing day as the next objective will be updated on the next day.
Check the Control Room Entrance
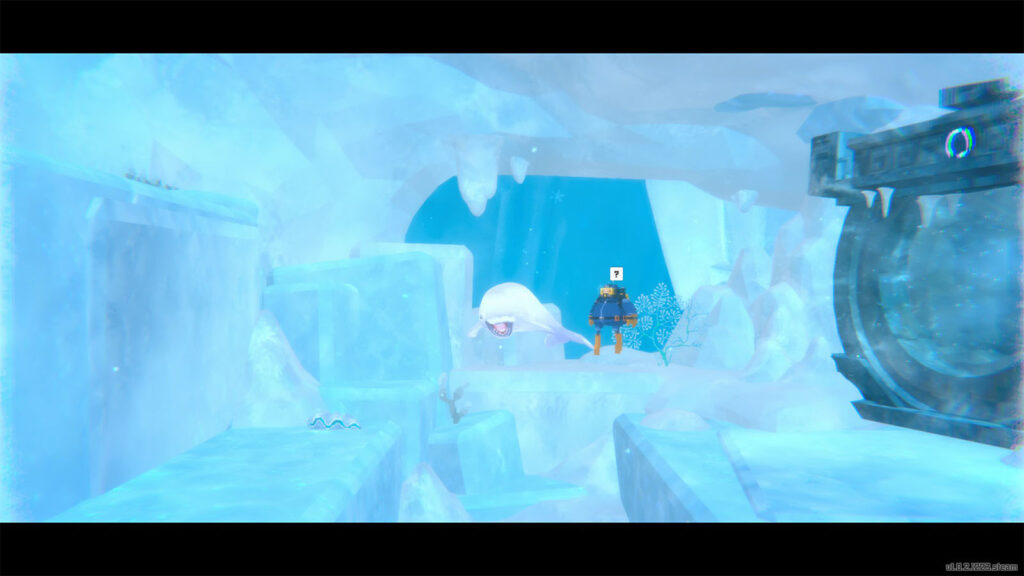
On the following day, head back to the location where you cornered the octopus from earlier to find the passageway to the next switch. However, the current is too strong for you to head in. The beluga you saved earlier comes back and offers its help by allowing you to ride on it as it swims against the current.
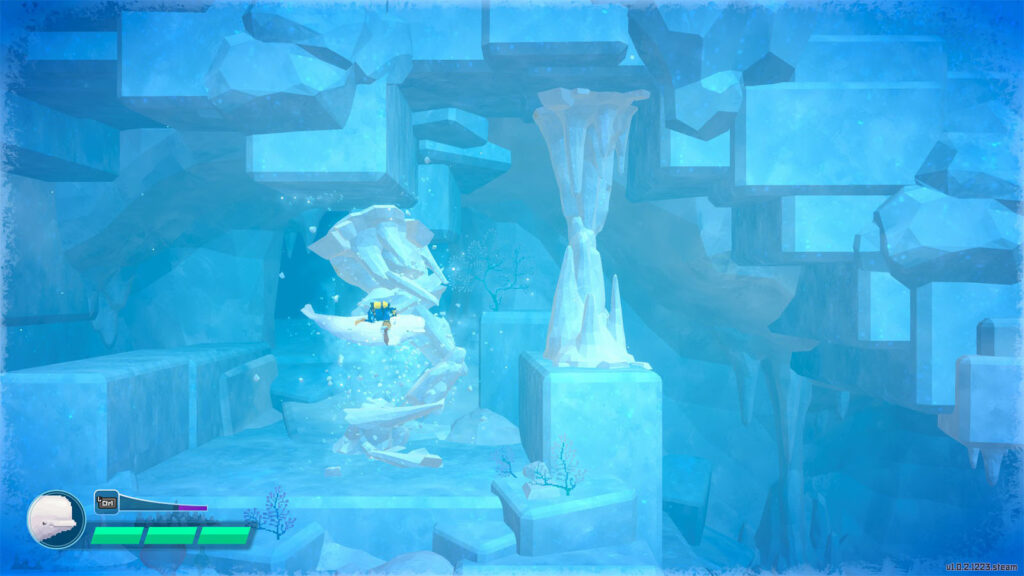
Through the passageway, you will have to avoid traps and obstacles by guiding the beluga around them. You cannot use your harpoon or weapon, but you can make the beluga charge and do a headbutt which is helpful in breaking down ice walls.
At the end of the path, you ill encounter a giant jellyfish which you have to defeat to proceed.
How to defeat the Phantom Jellyfish
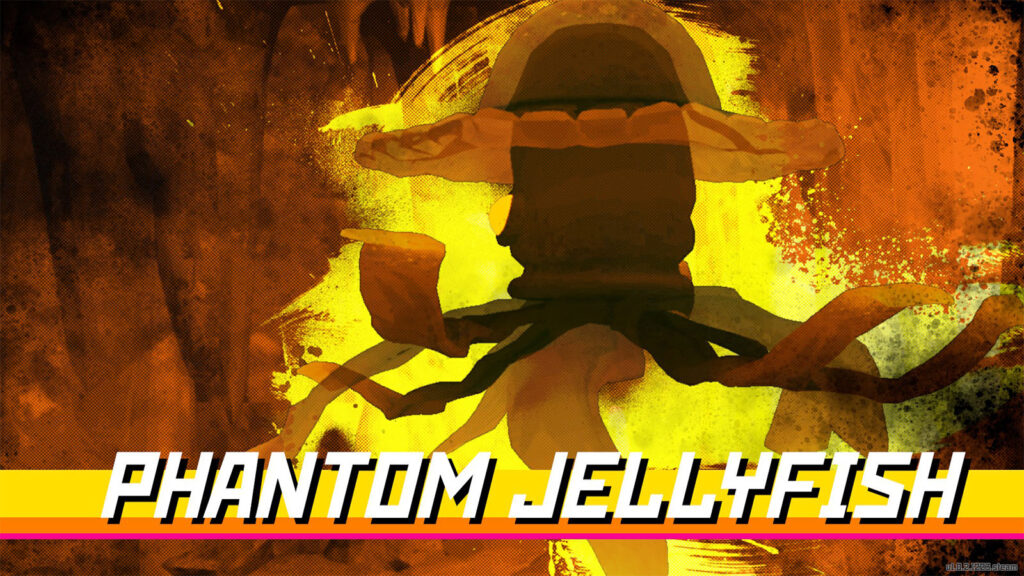
The Phantom Jellyfish is a huge jellyfish that has the ability to spawn smaller jellyfishes, as well as spit out poisonous globs. Its weak point is its glowing eye that is hidden inside its main body.
The mini jellyfishes can be headbutted so that they explode early, but it’s best to just swim around and avoid them. As the fight progresses, more jellyfishes will be spawned.
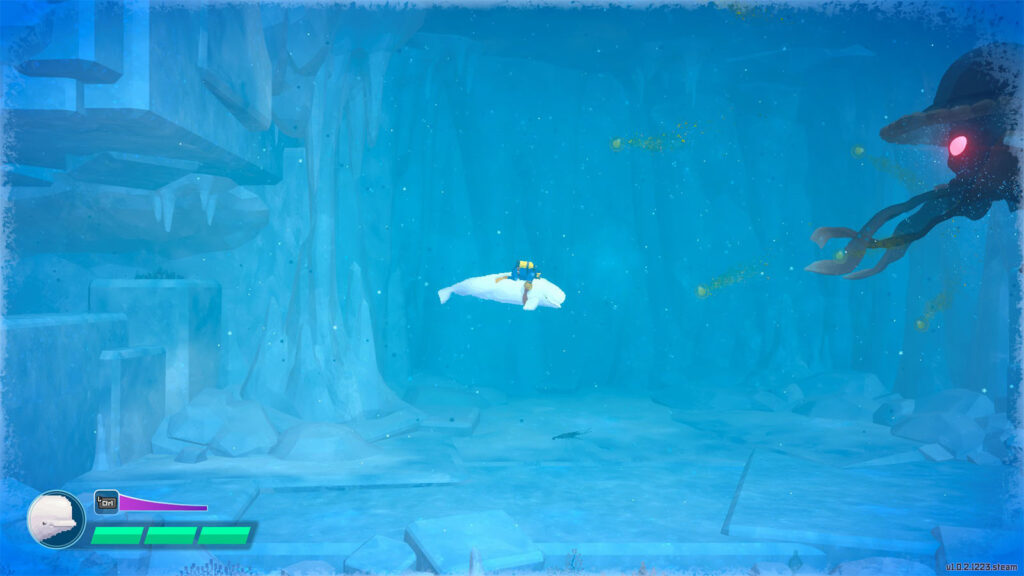
Whenever the Phantom Jellyfish does the poisonous glob attack, it will send out a strong current that pushes you at the back or the room. Its eye will be visible during this attack. Try to weave through the globs as you make it closer to the eye, and once you’re close do a headbutt targeting the eye to deal damage. Do this three times and you will defeat the Phantom Jellyfish.
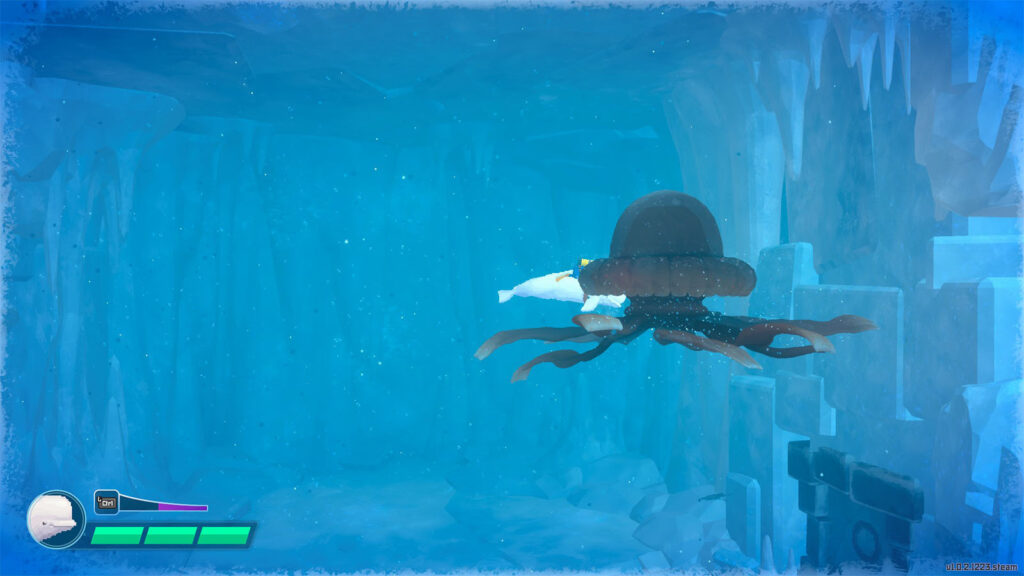
After the fight, the jellyfish will drop a tentacle where you can get the Phantom Jellyfish Poison Sack and the Phantom Jellyfish Meat.
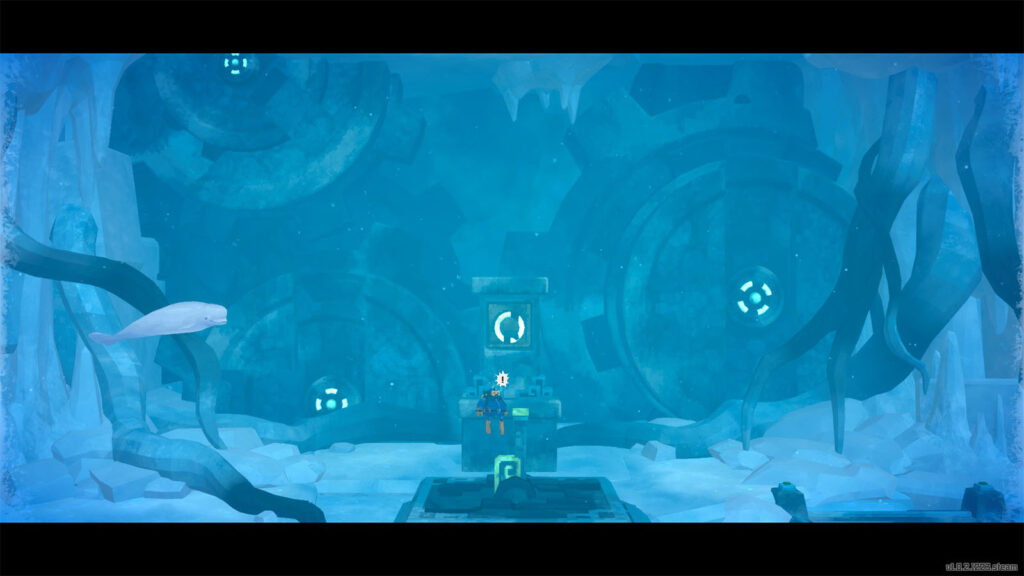
Head into the next room to find the Ancient Contraption. Push the lever to activate the contraption and it will light up the next lock on the control room entrance. It will also open up a door that leads back outside.
Ancient Control Room
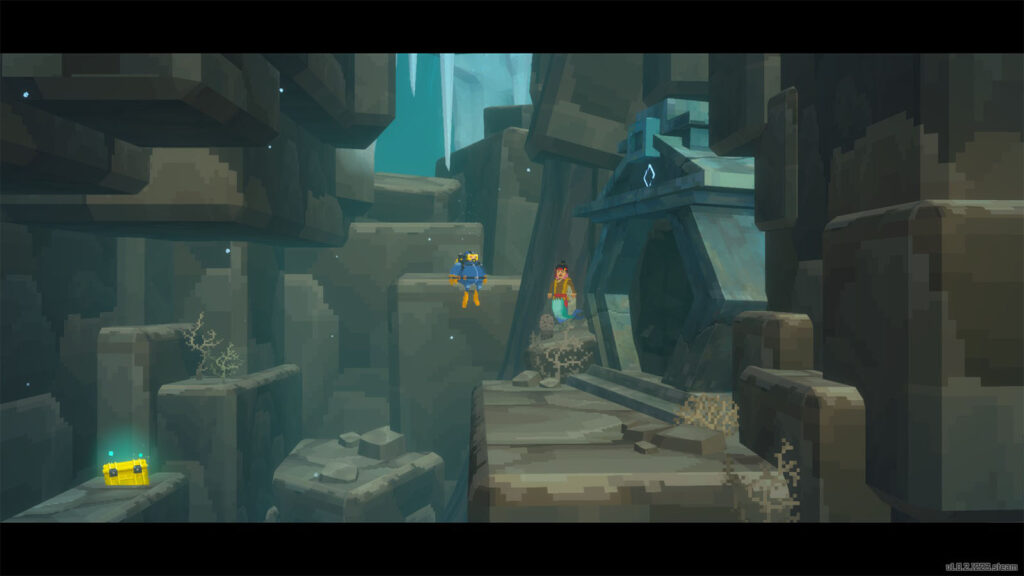
Now that the water on the deep part of the area has lowered its temperature, you can swim to the control room entrance to see your progress. Then, swim to the east side where you will find Suwam waiting by the next switch room.
Suwam asks for your help as the room’s water has been sucked up by the Divine Tree’s roots, leaving only parts of the room submerged.
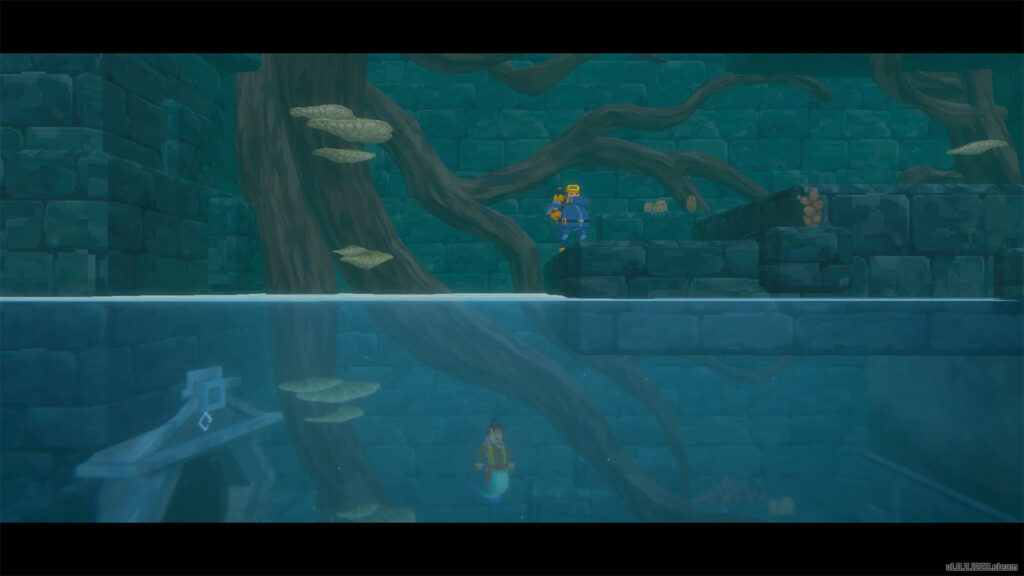
In this room, you will be able to control both Dave and Suwam as you maneuver and solve the puzzle to fill the room back up with water.
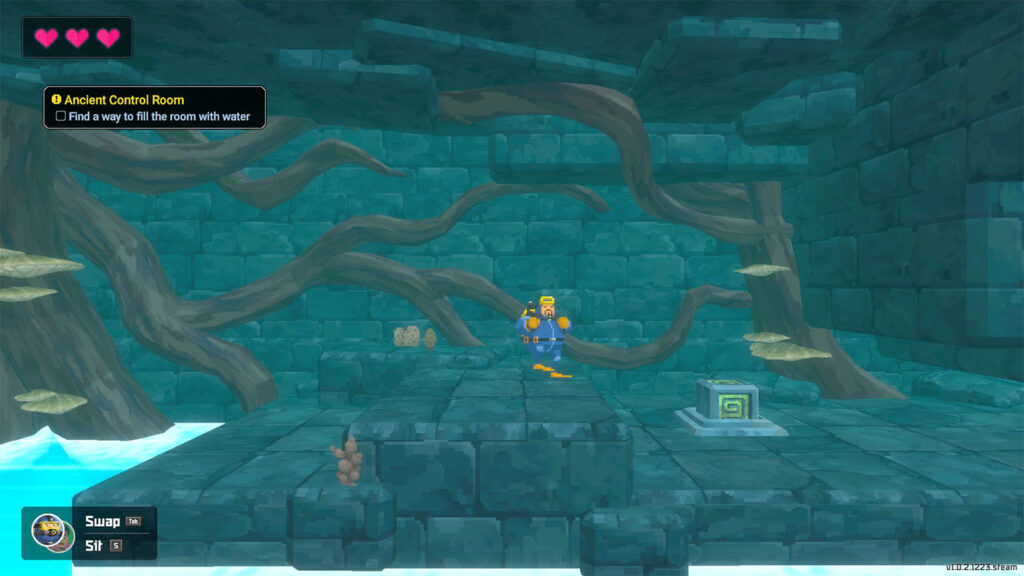
Start with Dave and push the button up ahead to open the gate for Suwam.
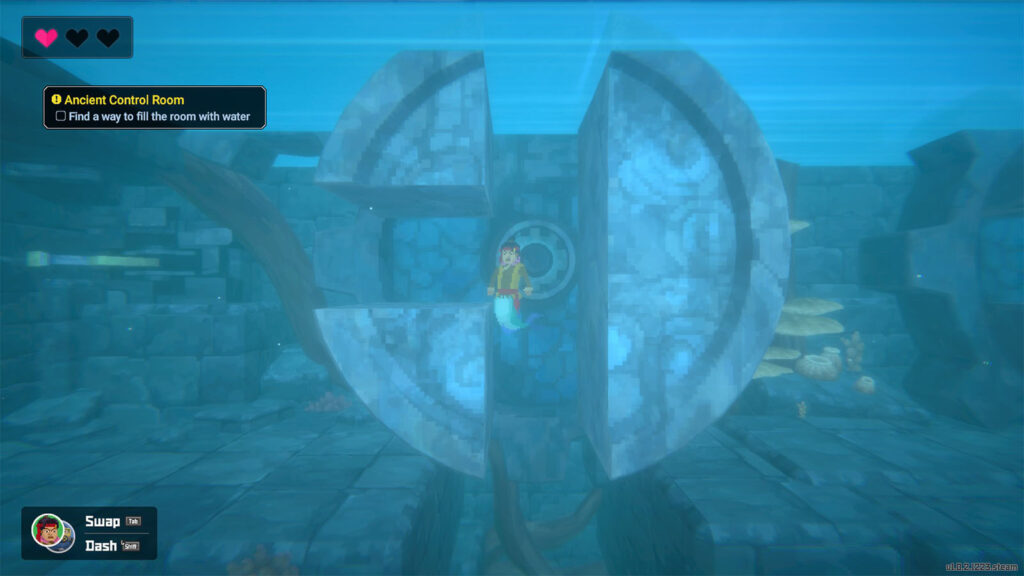
Switch to Suwam and swim through the channel while avoiding the obstacles along the current. At the end of the channel is a room with a wheel and a lever on the left side. Pull the lever to open the gate for Dave.
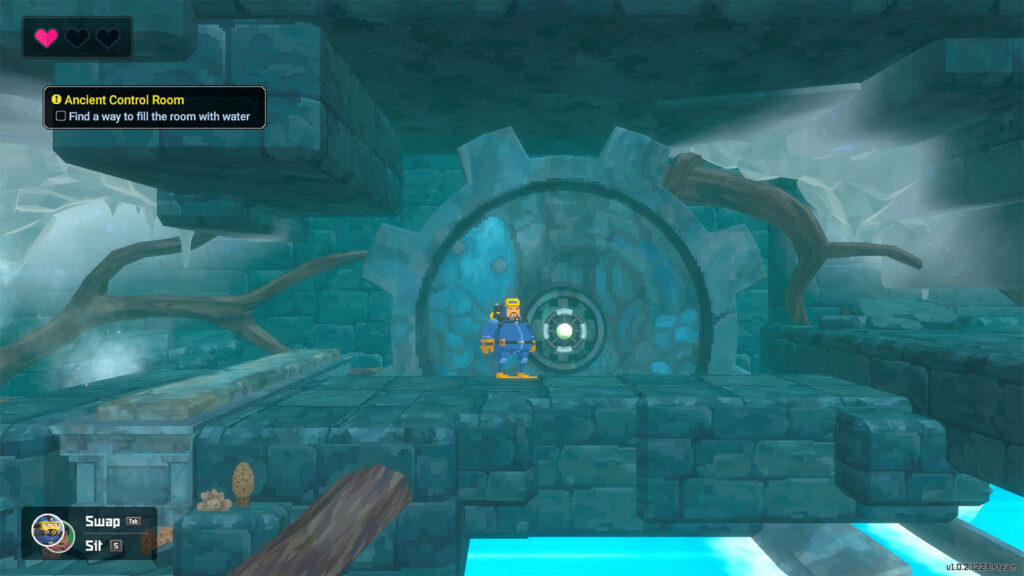
Switch back to Dave and continue to the right while avoiding the icicles. Turn the wheel on the huge gear to turn the large wheel near Suwam. Continue moving to the right until you reach the next large wheel.
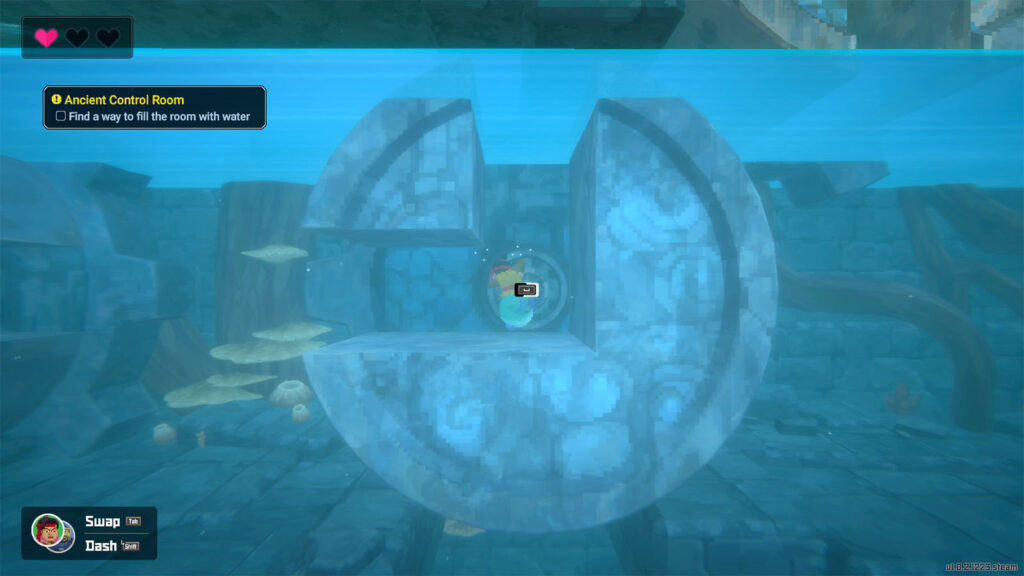
Switch back to Suwam and rotate the wheel with the corner passage twice so that both Dave and Suwam can get a path to continue to the right. Next, swim downwards while avoiding the icicles, and then do a dash swim upwards while the large gates are open.
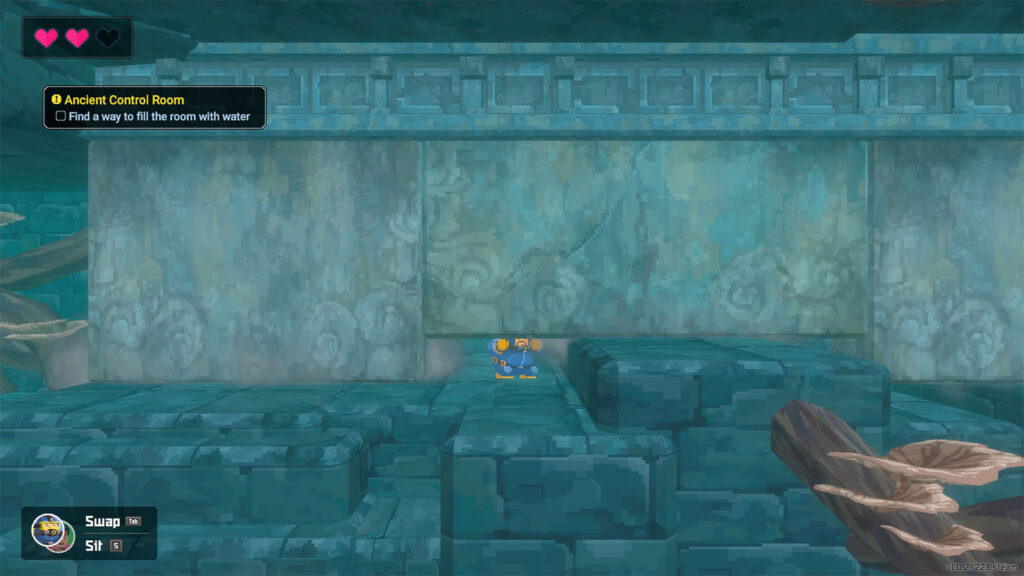
Switch back to Dave and move through the dropping gates. Try to avoid getting crushed by ducking at safe spots near ledges. Then, go to the wheel and turn it to let Suwam through.
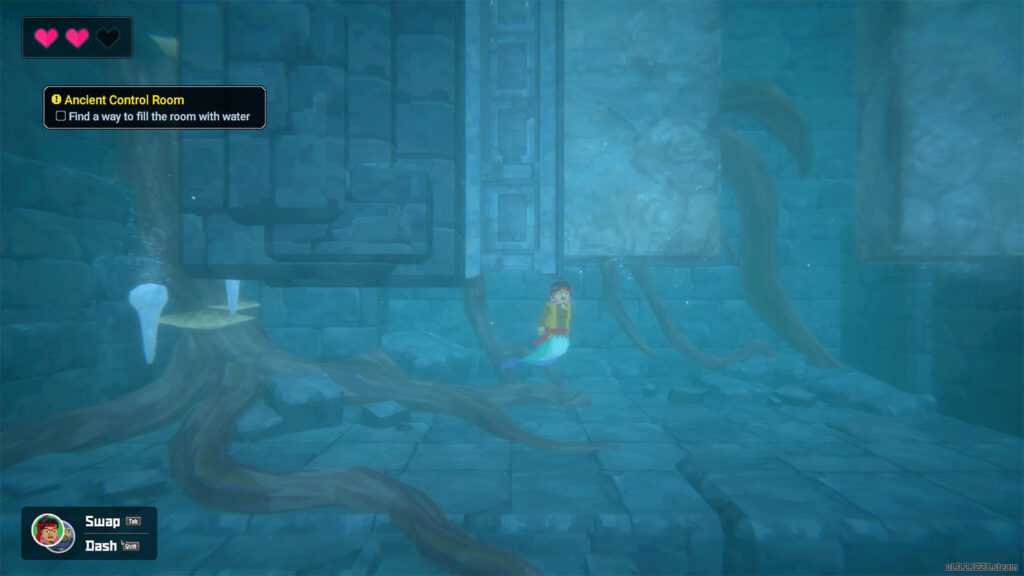
Switch to Suwam and push the lever to create a bridge for Dave. Then switch back to Dave and have him cross the bridge. Continue moving to the right side where Dave will find a divine tree fruit; grab it and make it fall down through the hole on the ground.
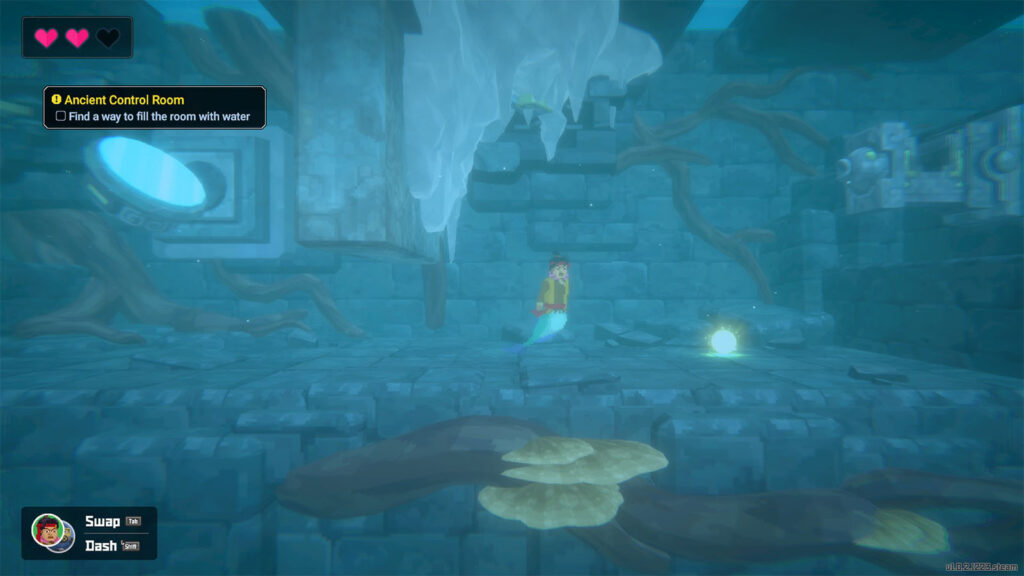
Switch to Suwam and have him retrieve the fruit and put it on the nearby receptacle to make a light beam.
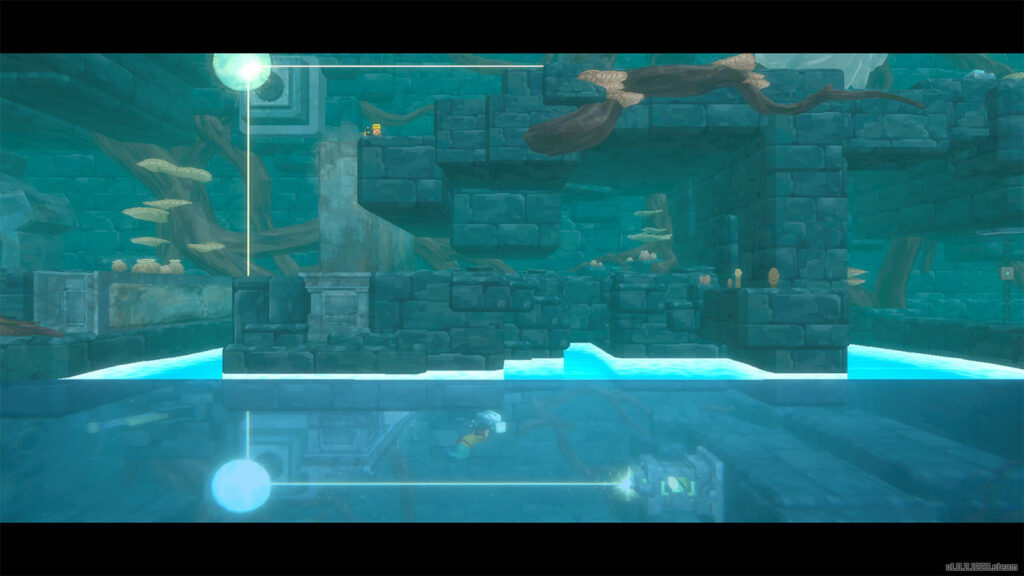
Go back to Dave and have him stand on the top of the wall on the ground before switching back to Suwam to pull the lever. This will make the wall go up and take Dave to the higher ledge.
Switch to Dave and have him push the button that will raise the nearby wall and let the beam through, melting down a huge ice chunk that will raise the water level.
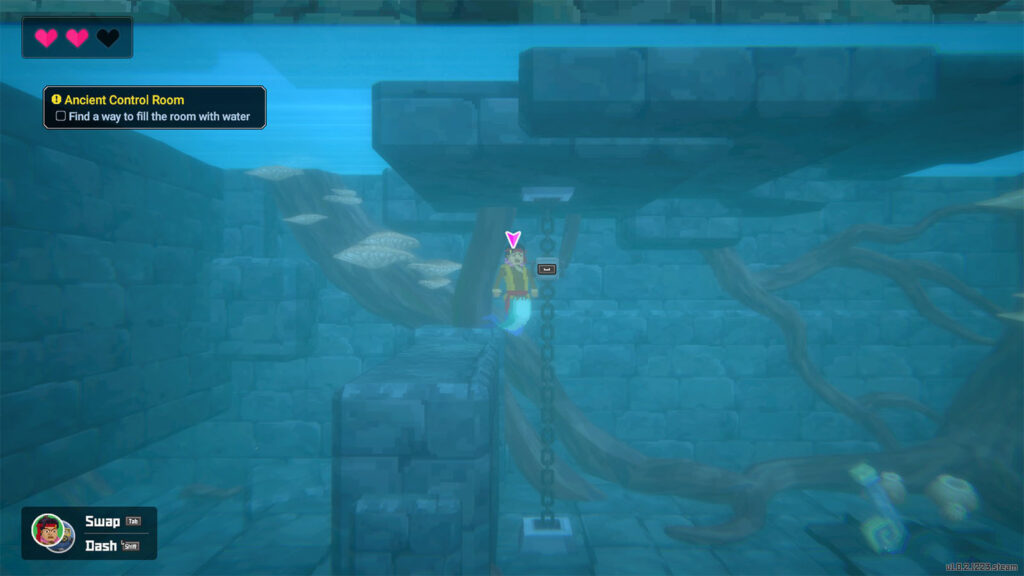
Switch to Suwam and pull the chain to close a door on the floor and let Dave walk across it. At this point, both Dave and Suwam should be able to reach their respective levers and be able to push them. This will open up the waterway that will let more water into the room.
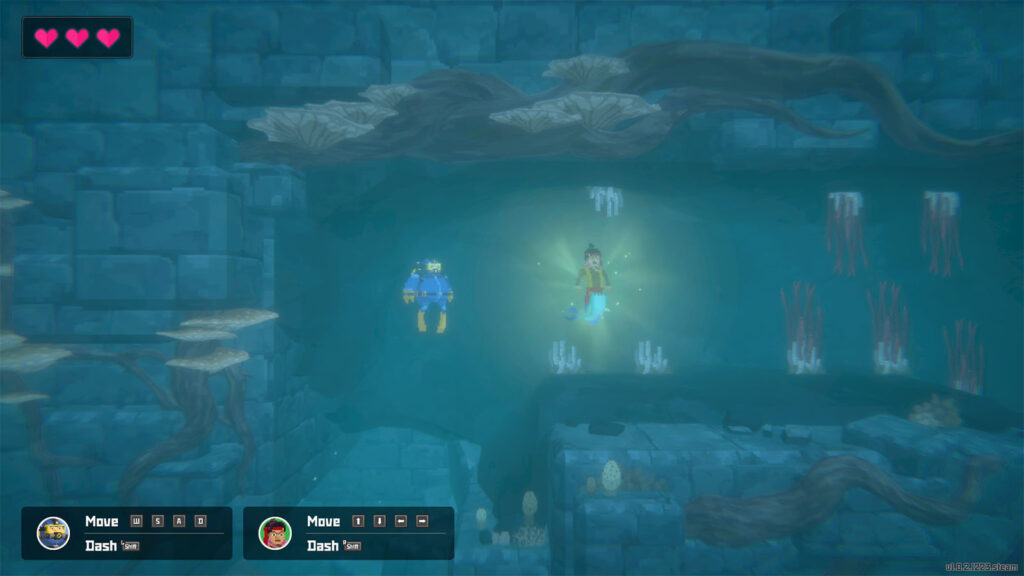
In the next room, you will be able to simultaneously move both Suwam and Dave through the path. You can either move them together or have one move to a safe spot then followed by the other. Move them through the obstacles and have both of them go through the tubeworms especially that Suwam has the ability to make them go away.
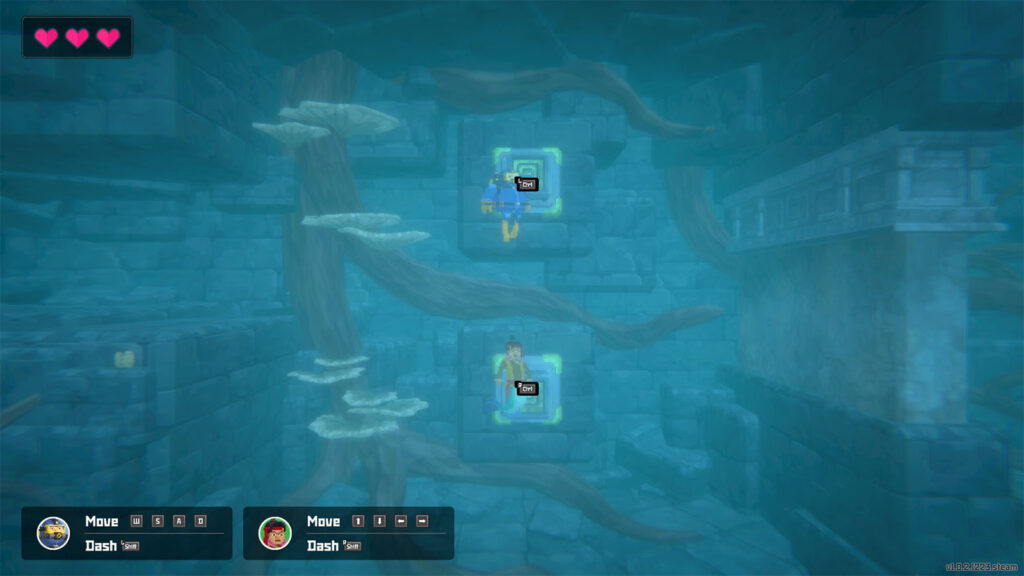
Go past the next room by pushing the two buttons simultaneously.
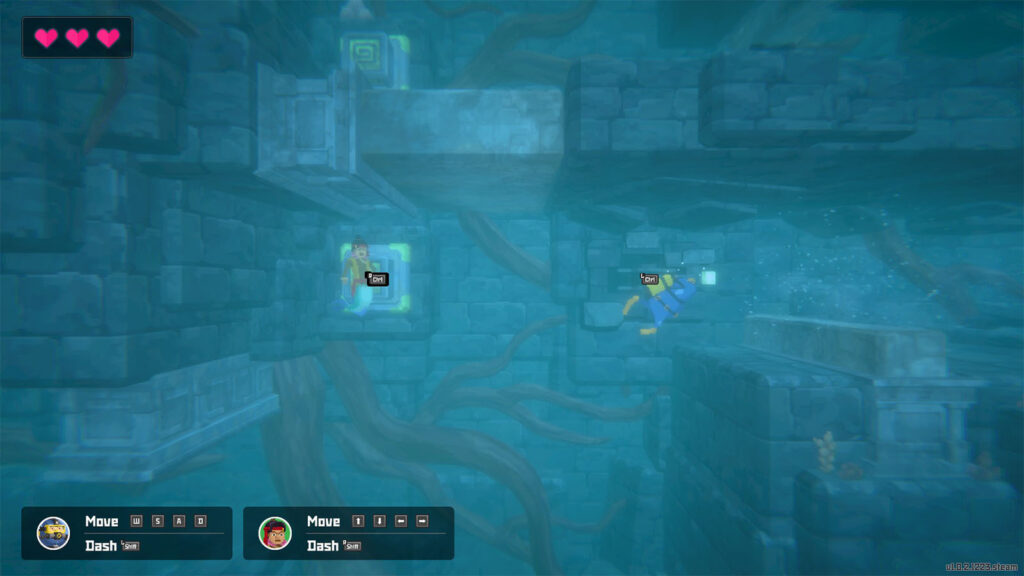
On the following room, make Dave push the lever to open the gates, then have Suwam swim through the current all the way to the upper level. Once Suwam is at the button, simultaneously press the two buttons to open a gate for Dave.
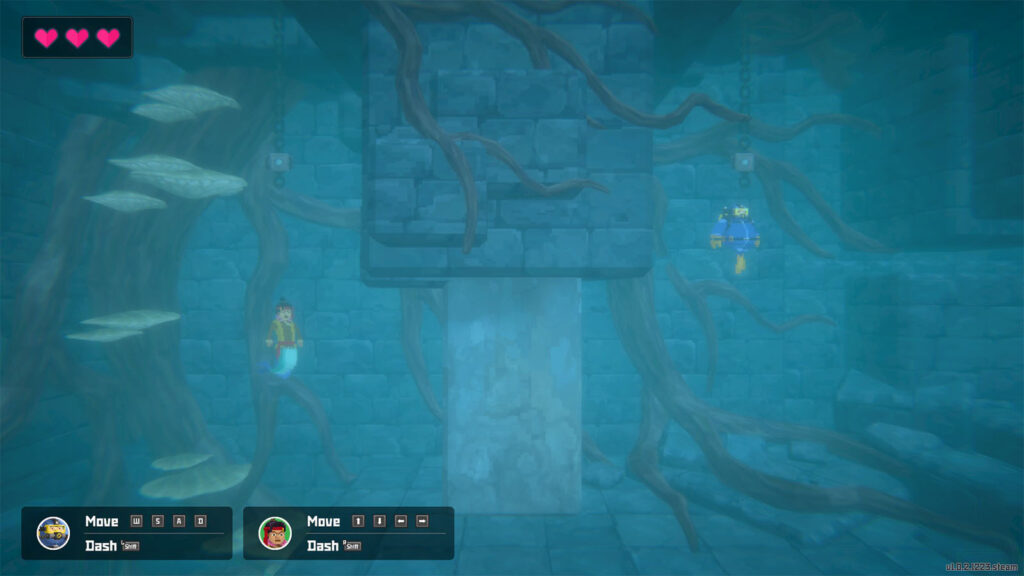
On to the next gate, have one pull the chain to raise the gate while the other swims to the other side to pull the chain and hold the gate open, then let the former pass through.
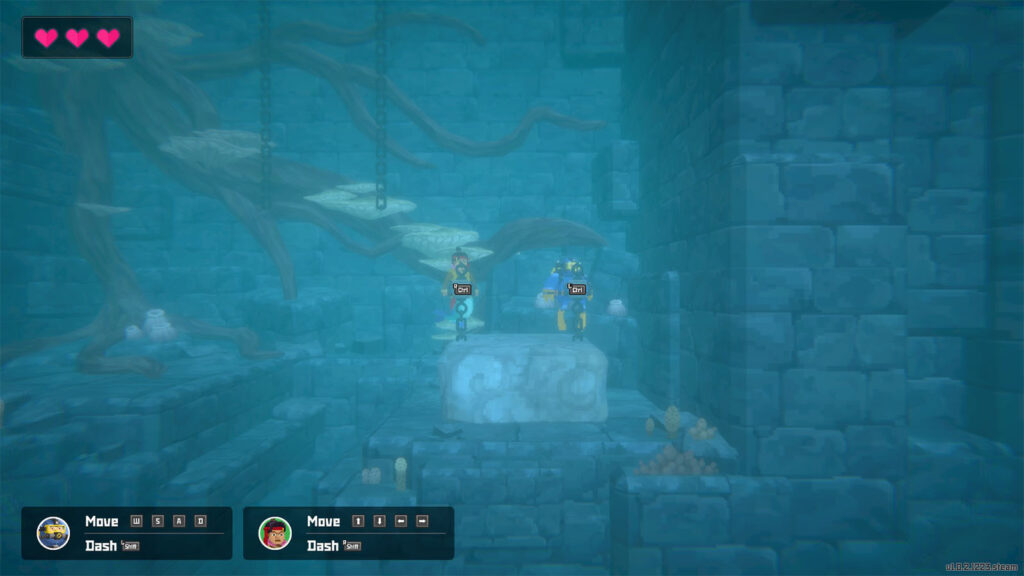
Next, have both pull up the chains on the slab on the floor and then move the slab to the side.
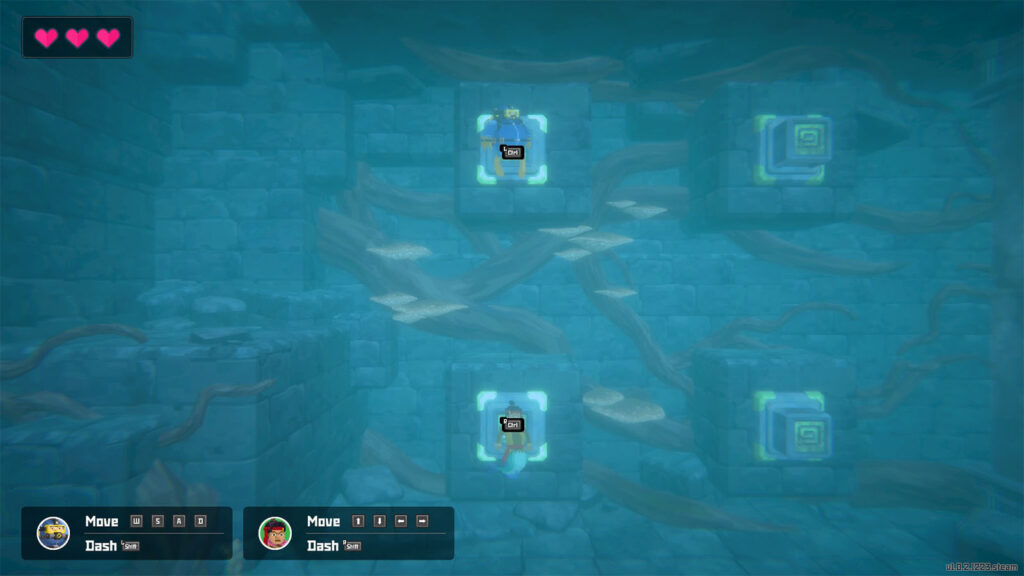
On the next room, there are four buttons that you need to press. Press the first two buttons first, then quickly press the other two before the first two reset. This will activate a gate obstacle where the two should pass through. You can have them move through the gate one at a time, using the gaps as safe spaces.
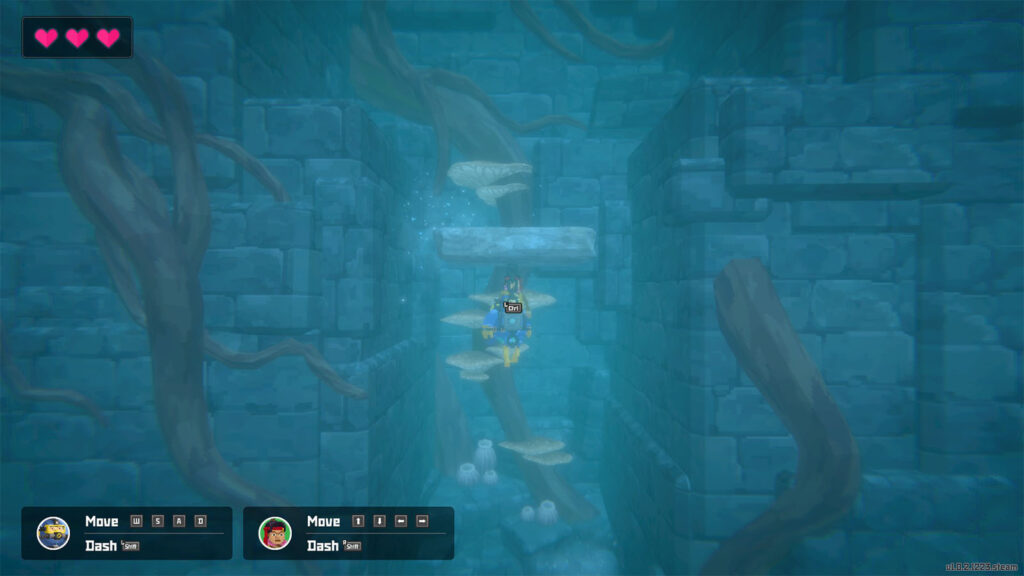
In the next area, have one hold on to the chained slab and use it as an umbrella to hide from the falling icicles. Push the button to open a gate, then head to the left while still under the umbrella. You will then arrive at the next room where an ancient shark has been awakened.
How to defeat the Helicoprion
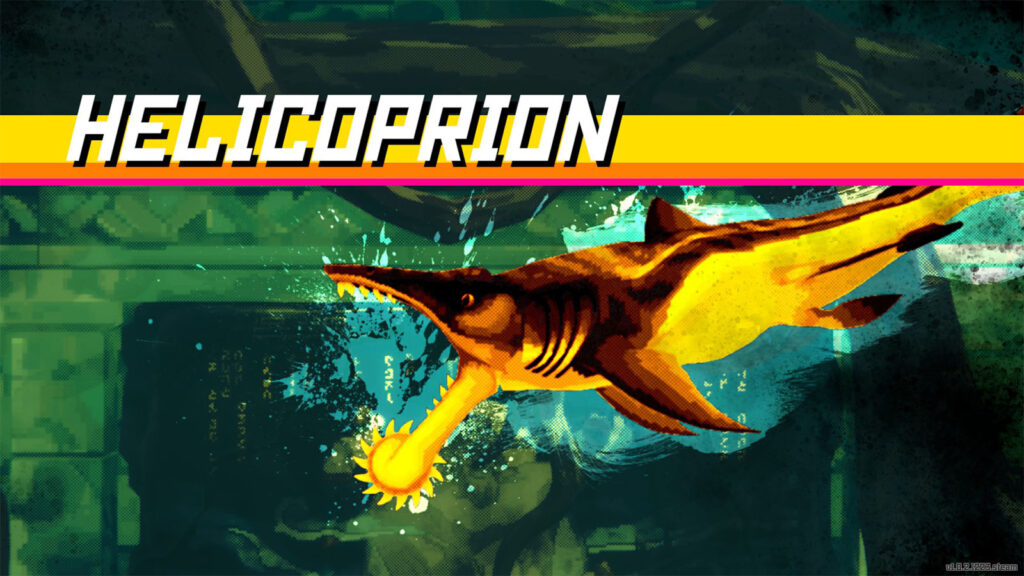
The Helicoprion is a fast ancient shark that has a sawblade-like snout. It charges like any other shark, but its snout has the ability to go through rock and turn it into rubble.
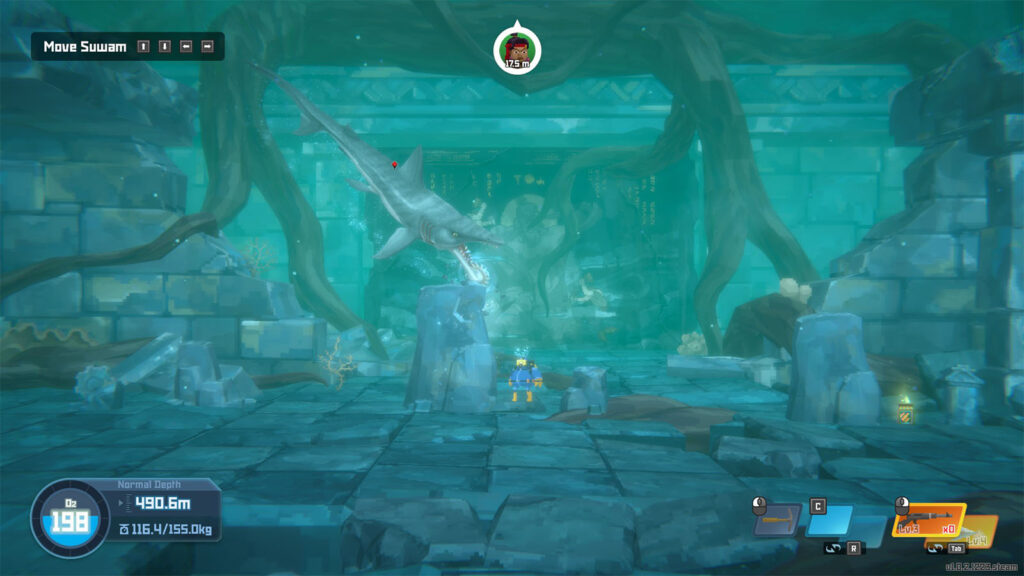
To defeat the Helicoprion, lure it to charge towards a large boulder. It will get stuck for a few moments, giving you some time to deal some damage with your gun or harpoon. It usually alternates this attack with one other attack where it charges while thrashing. It has two phases, and it gets much more aggressive in its second phase.
Once the Helicoprion is dead, it will crash on to the wall and reveal a pathway to the last switch. You can also carve its body to get the Helicoprion Sawblade and Helicoprion Tail.
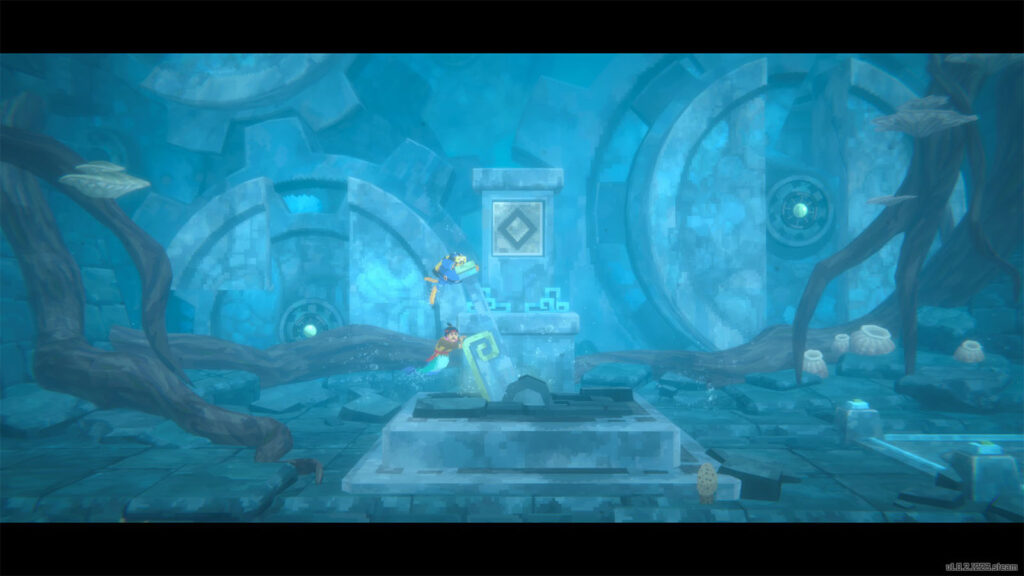
Push on the final lever to activate the last switch and open the entrance to the control room.
Check the Control Room Entrance
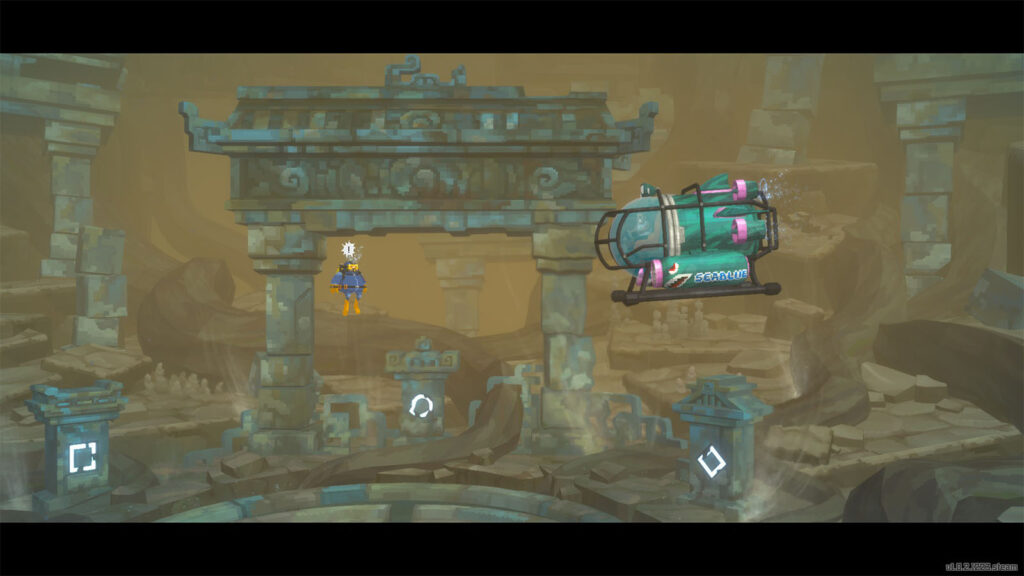
Go through the exit and make your way to the control room entrance. You’ll find that the door to the control room is jammed by the roots. Shortly after, John Watson comes in in his submersible and challenges you to another fight.
How to defeat Submarine John Watson
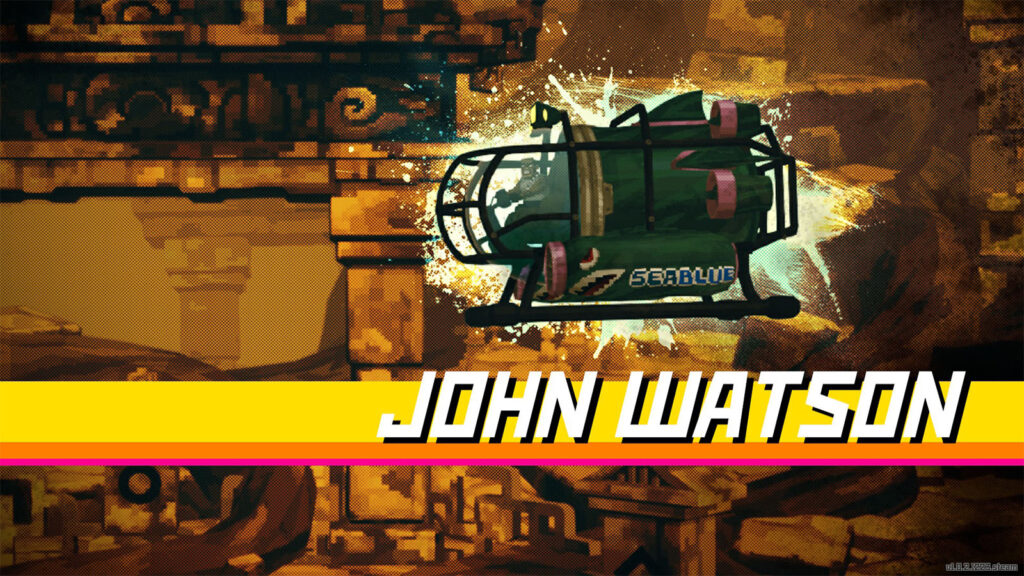
In this rematch against John Watson, you can’t really do anything else aside from evading his homing missiles. After some time, a huge monster will bite on to the submarine and destroy it.
How to defeat the Kronosaurus
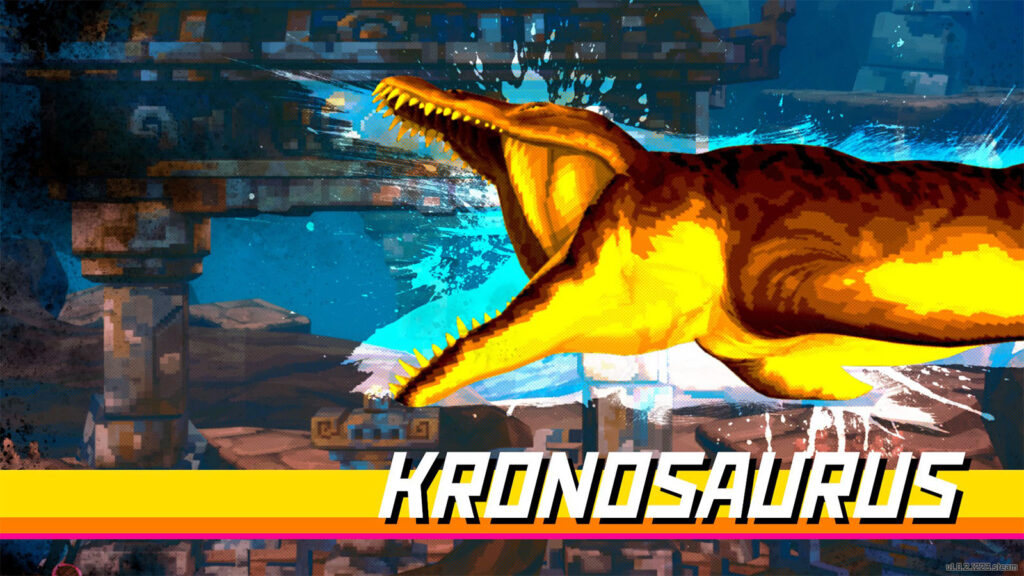
Your enemy at this point will change to the Kronosaurus which is an ancient sea reptile. This creature is big and fast that avoiding its charges can prove to be difficult. But, you can use the missile launcher from John’s sub to deal significant damage to it.
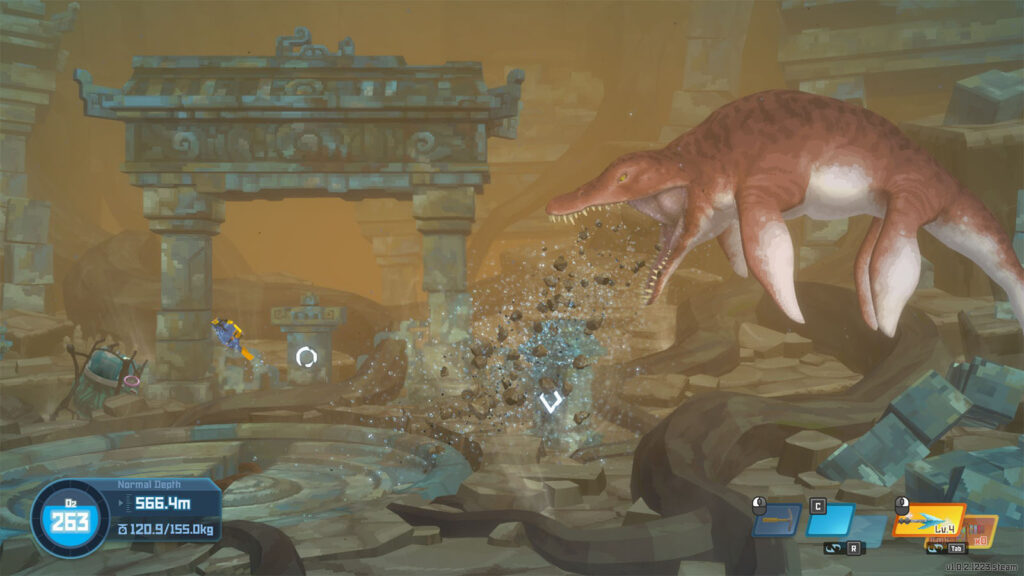
The Kronosaurus has two special attacks where it will breathe out fire or rocks. When it inhales, it can also suck the missile launcher closer to it.
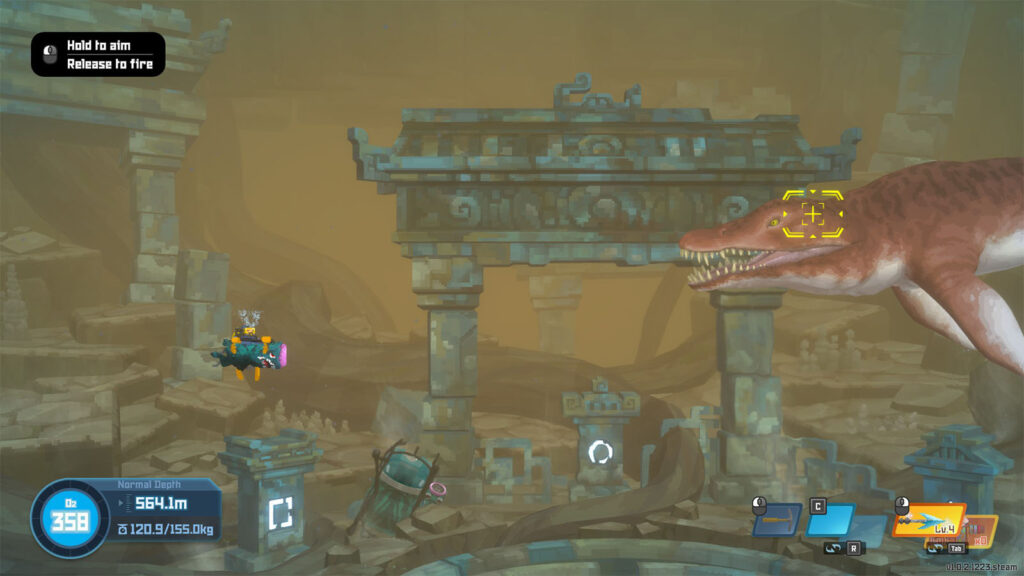
Grab the missile launcher and then aim at the Kronosaurus. A reticle will then appear and slowly locks into the Kronosaurus. Once the reticle has locked in and turned green, release the trigger to fire the missile on to the creature. The launcher will take a few seconds before it can be picked up and used again. It will take around 5 missile hits before the Kronosaurus gets defeated.
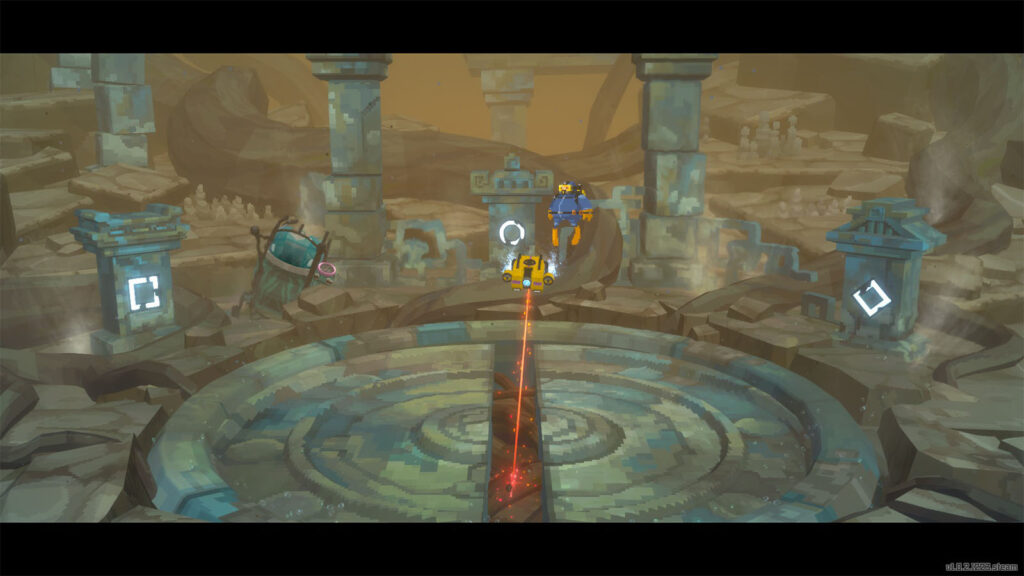
Once the Kronosaurus has been defeated, a drone sent by Dr. Bacon and Duff will arrive and help you with cutting the roots from the door. This will take two days to complete, so you can take the time to prepare and continue on with your fishing days. Don’t forget to check the Kronosaurus and carve its body to get the Kronosaurus Tongue and the Kronosaurus Thyroid Gland.
After two in-game days, you will receive a call from Dr. Bacon telling you that you can now go into the control room. The chapter then ends and proceeds into the final chapter of the game.
