
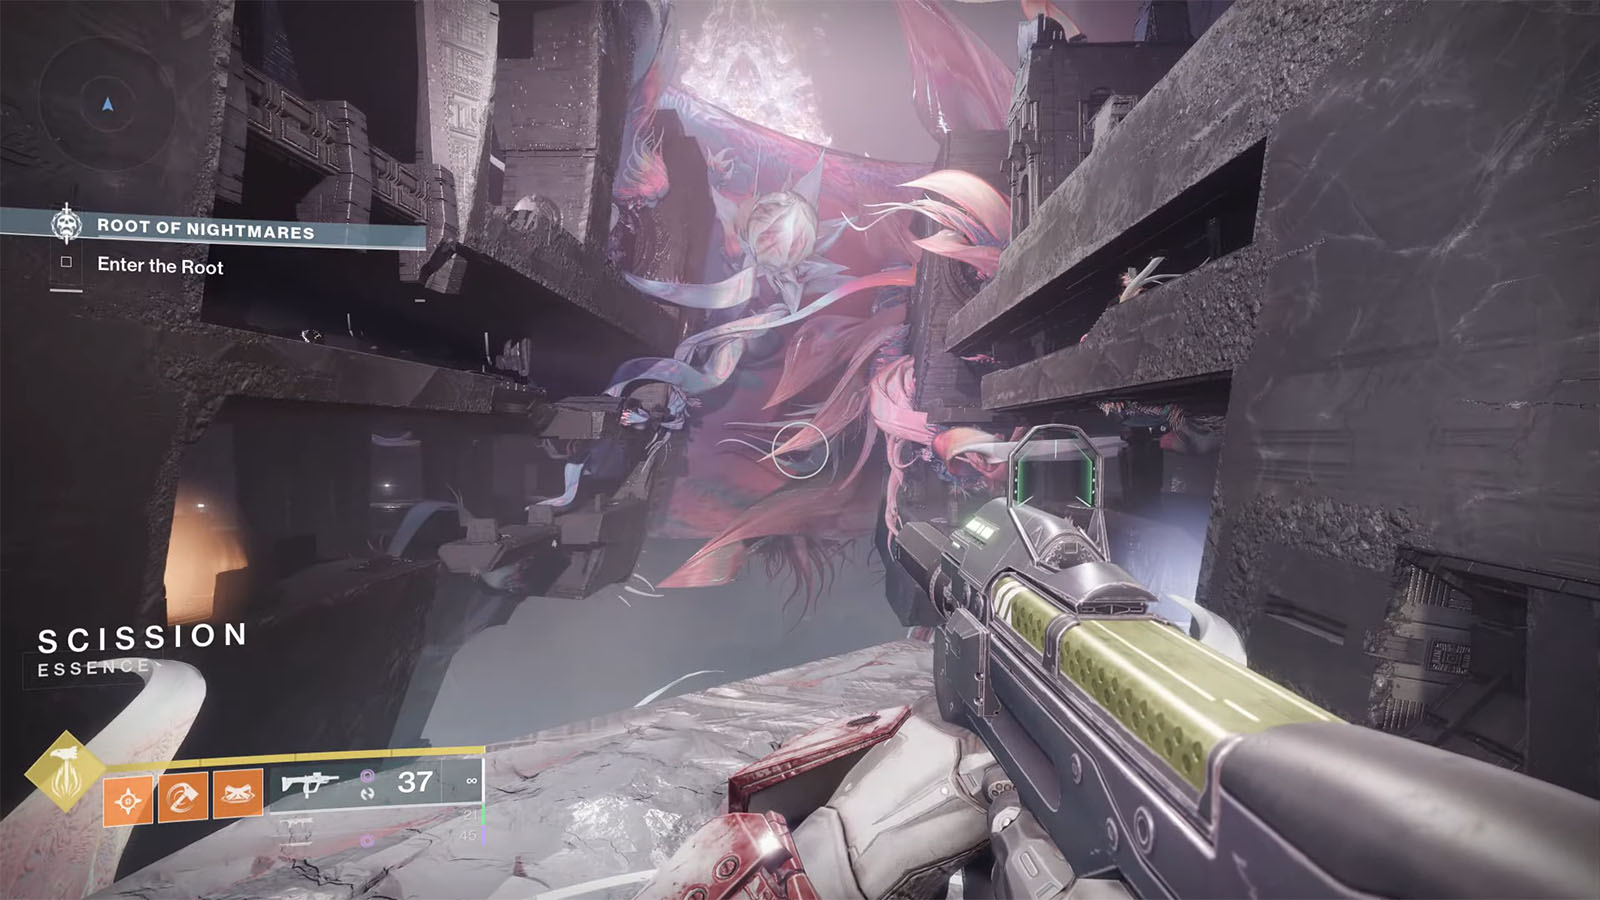
Scission is the second encounter in the newest Root of Nightmares Raid in Destiny 2. In this encounter, players will continue to work with reconstructing spheres, but this time there are two kinds of spheres, and all of this happens across a huge chasm inside the ship.
Read ahead as we go through the mechanics and strategies for the Root of Nightmares Scission encounter in Destiny 2.
See previous Destiny 2 Root of Nightmares First Encounter: Cataclysm
Root of Nightmares: Scission Mechanics
The mechanics for the Scission encounter is almost the same as with Cataclysm wherein you will have to get an effect from Lightsphere to reconstruct other Lightspheres. The main difference is that your team will now have to deal with Darkspheres which are just the dark counterpart of Lightspheres and follow the exact same mechanic. Another difference is that you won’t have to deal with Tormentors to extend your effects that prevent a team wipe, but it has been changed for something else called the Imminent Expulsion countdown.
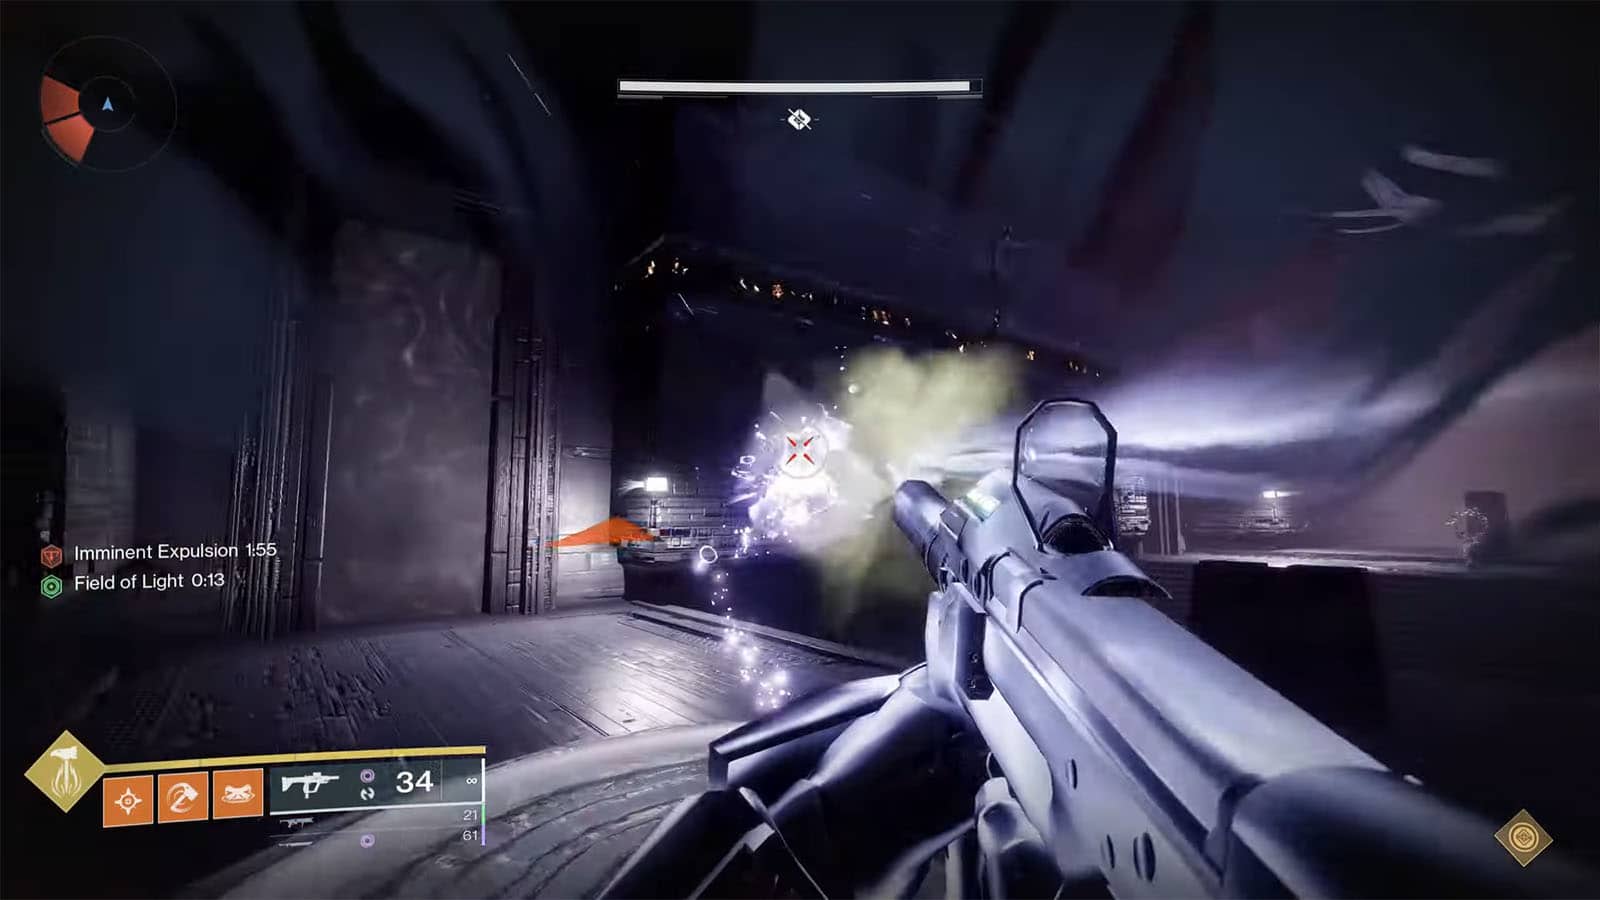
Lightspheres and Darkspheres
As mentioned before, these Lightspheres and Darkspheres have the same mechanic as before. Shooting a Lightsphere will grant you the Field of Light effect which allows you to reconstruct other Lightspheres. On the other hand, shooting Darkspheres will grant you the Flux of Darkness effect which allows you to do the same on other Darkspheres.
The challenge in completing this mechanic is with the map layout. The entire playing field is split in have into two by a huge chasm, with nodes of Lightspheres and Darkspheres found on both sides of the map. To cross this chasm, there are launchers found on the edges that can be activated by stepping on them and shooting the shard up ahead.
Same as before, there is a delay before you can get the effect again, so planning between teammates is essential.
Another thing to take note of about the light and dark effects is that there will be enemies that spawn who have light or dark shields. These enemies are only susceptible to hits from players who have the matching effect active; i.e.: light to light, dark to dark.
There will be three rounds of reconstructing spheres. Once all spheres on the light and dark chains have been completed for a round and defeated all the enemies, launchers will then send you to a higher level where you will have to repeat the process for the second, then the third time.
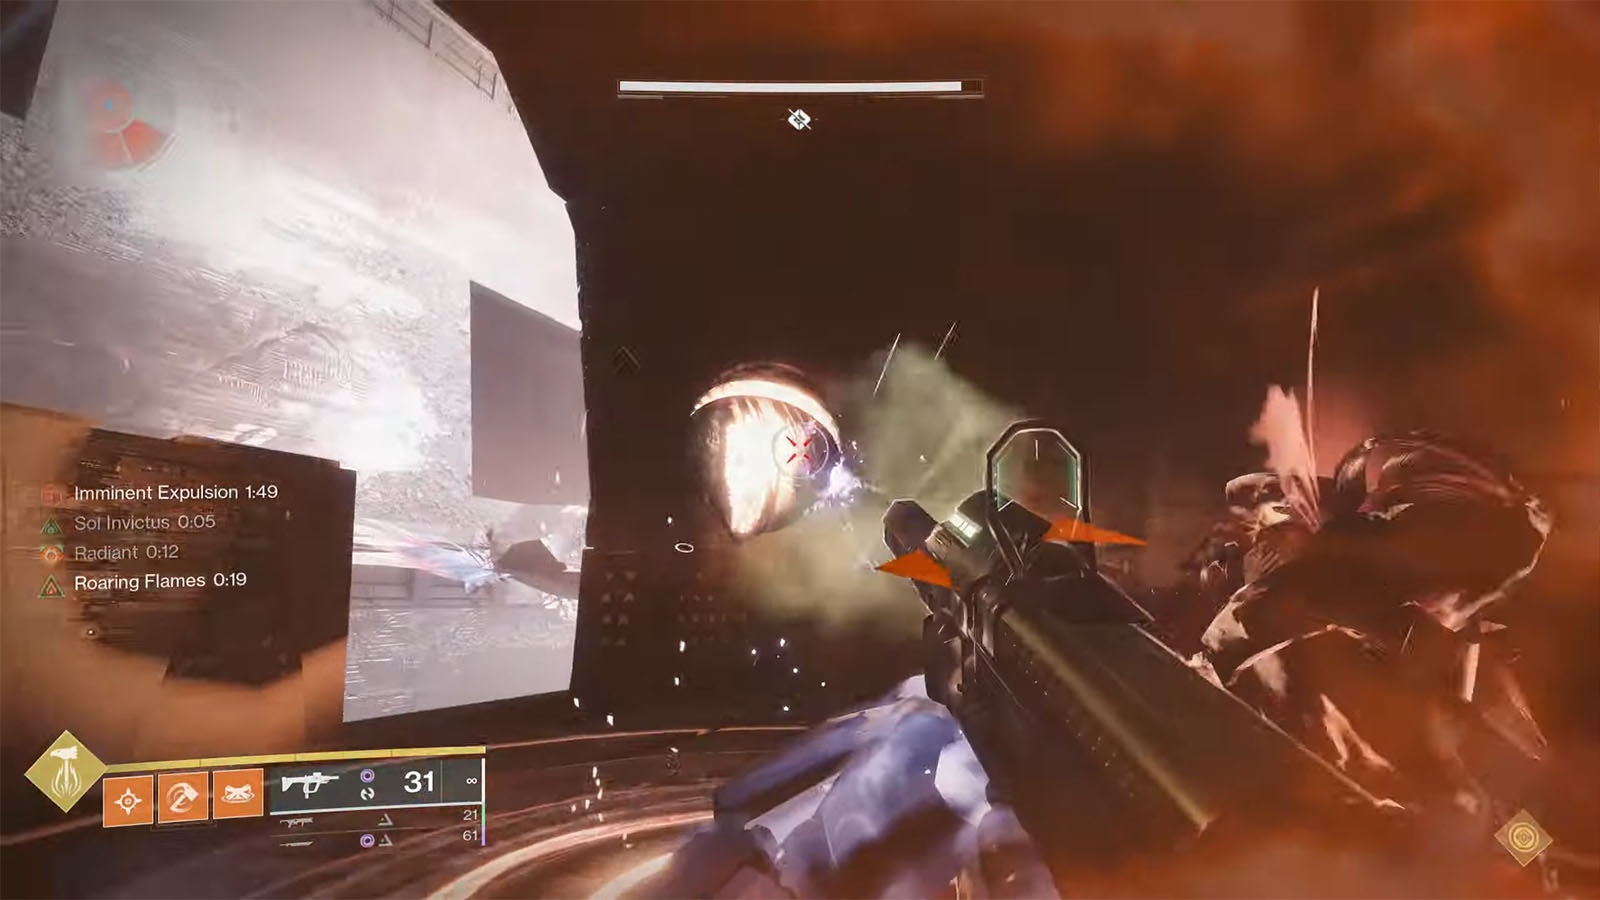
Imminent Expulsion
As soon as the first Lightsphere is shot in this encounter, the Imminent expulsion countdown will appear. This goes for around 2 minutes and once the timer runs out, a wall of mass will push everyone into the chasm. Completing a round of sphere chains will stop the timer and it will restart once again once the next round of sphere chains is started.
Root of Nightmares: Scission Strategy
Since there are two sphere chains to work on, it is best to split the fireteam in half in order to complete each round before the timer ends.
Like before, only one member per chain should have the effect until they manage to jump onto the other side and reconstruct the sphere. The sphere that provides the effect will remain on the starting node, so it’s best to have the second member on each chain remain on the source sphere’s side all the time to take care of the shielded adds that spawn. This means that the first and third members will have to make jumps a couple of times to reacquire the effect.
For solo play, the order of spheres goes like this:
- Get light, jump across, reconstruct light #1
- Get dark, jump across, reconstruct dark
- Get light, reconstruct light #2, get light again, jump across, reconstruct light #3
- Get dark, reconstruct dark #2, get dark again, jump across, reconstruct dark #3
- Get light, reconstruct light #4, get light again, jump across, reconstruct light #5
- Get dark, reconstruct dark #4, get dark again, jump across, reconstruct dark #5
- Jump to the next round
This pattern goes on for all rounds, but you can save up on a step for the second and third round if you manage to get the Flux of Darkness effect before going up to the next round, then reconstructing the first Darksphere which should be near the first Lightsphere source.
See next Destiny 2 Root of Nightmares Third Encounter: Macrocosm and The Explicator Boss Fight
Check out this video by KackisHD showing how to complete Root of Nightmare’s Scission encounter in Destiny 2:


