
In Enshrouded, Sun Temples are several ancient structures that are found within the Nomad Highlands and Kindlewastes. These temples hold valuable treasures inside, but most of them are hidden behind traps, obstacles, and puzzles, not to mention that enemies have also inhabited in them. Read ahead as we go through the Sun Temples in Enshrouded and share some tips on how to navigate through them.
There are a total of four Sun Temples in Embervale as indicated on the map below:
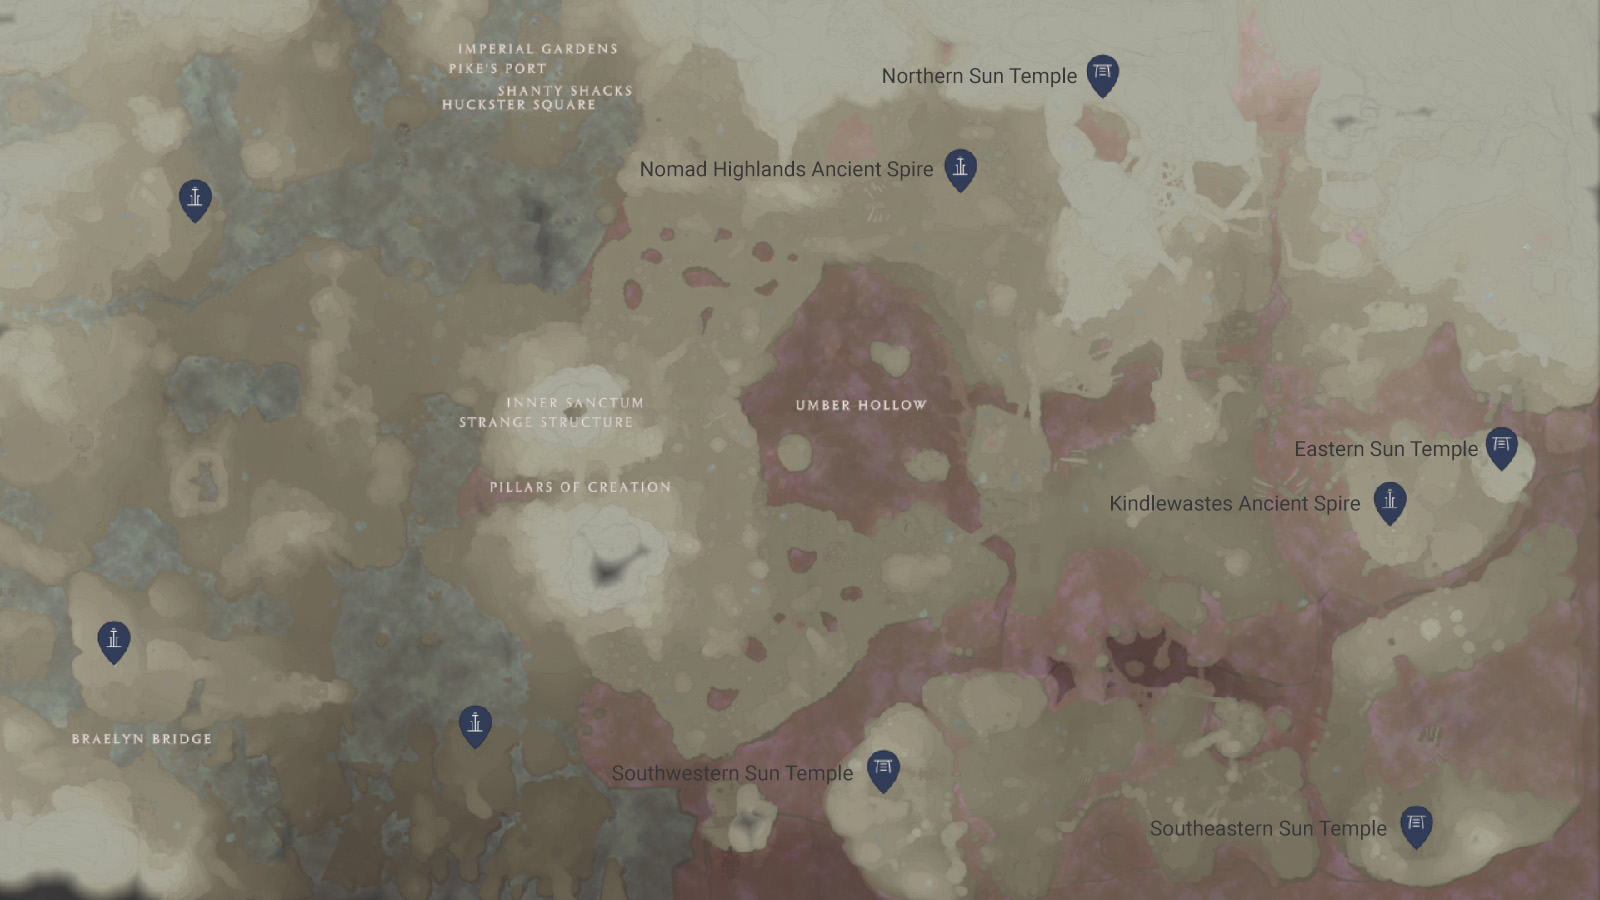
Each temple has its own set of challenges. Before exploring these temples, it is recommended to have a high-level character with some high-level gear. It is also important to level up the Flame Altar to at least level 5 as some of these temples are covered in deadly shroud. Make sure to also bring some lockpicks as there are a number of doors that are locked in the temples.
Northern Sun Temple

The Northern Sun Temple is located northeast of the Nomad Highlands Ancient Spire. It can be accessed from the spire with the use of the glider and the Updraft trick, or it can be climbed by taking the longer route up the mountains and through the shroud.
As you enter the Northern Sun Temple, you will find a respawn anchor. Continue through the hole in the wall to reach the inner hall where you can find a Flame Altar and a staircase leading to the lower level. Be prepared to face scavengers from this point onwards.
At the lower level is a door that can be opened with two switches. Both of these switches are hidden behind rooms that are locked behind switch puzzles as well.
Take the east door and lockpick it open. This room has four levers that are connected to the door up ahead. Each lever has a light high up above; use these lights and find the ones that are turned off. Pull the levers that are underneath the turned off lights to open the next door where one of the two buttons can be found.
Take the west door and lockpick it open. Clear out the enemies and then take the stairs heading up. There’s a silver chest at the end that goes around the stairs. There is also a door that leads to the next room.
This final room is where you will find one of the two buttons. Push the button, then go out through the door to get back to the main hall.
Once both buttons have been pressed, go back to the main hall and get through the electric traps. You will then reach the deepest room where a golden chest can be found.
Eastern Sun Temple
Go inside the Eastern Sun Temple to find the respawn anchor, then continue following the path leading to the back to find the Flame Altar.
From the Flame Altar, go down the stairs where you will find a door leading to a shrouded section of the temple. Go through the door and you will be faced with a 3-way path.
Take the path to the right and go through the small door to find a switch.
Go back to the fork and take the path to the left and break through the next small door to find another switch.
Back on the fork, take the stairs that goes down further into the shroud. As you get to the bottom, turn left and open the gate to find a golden ornate chest.
Head out of the room and go to the opposite side where you will find the door activated by the two switches, but before going through, there is a smaller room opposite the door that has a silver chest.
Pass through the door and defeat all the enemies inside. In this room, there are several doors to explore, some of them have treasures behind them. Once you’re done, go through the door at the end of a short hallway.
The next room has two wraith enemies; defeat both of them. Afterwards, look for the south path that goes up to mezzanine levels that fork to the east and west. Each of these paths have switches that open up the door leading to the deepest golden ornate chest and the shortcut to exit the temple.
Southeastern Sun Temple (a.k.a. Scatterbone Sun Temple)
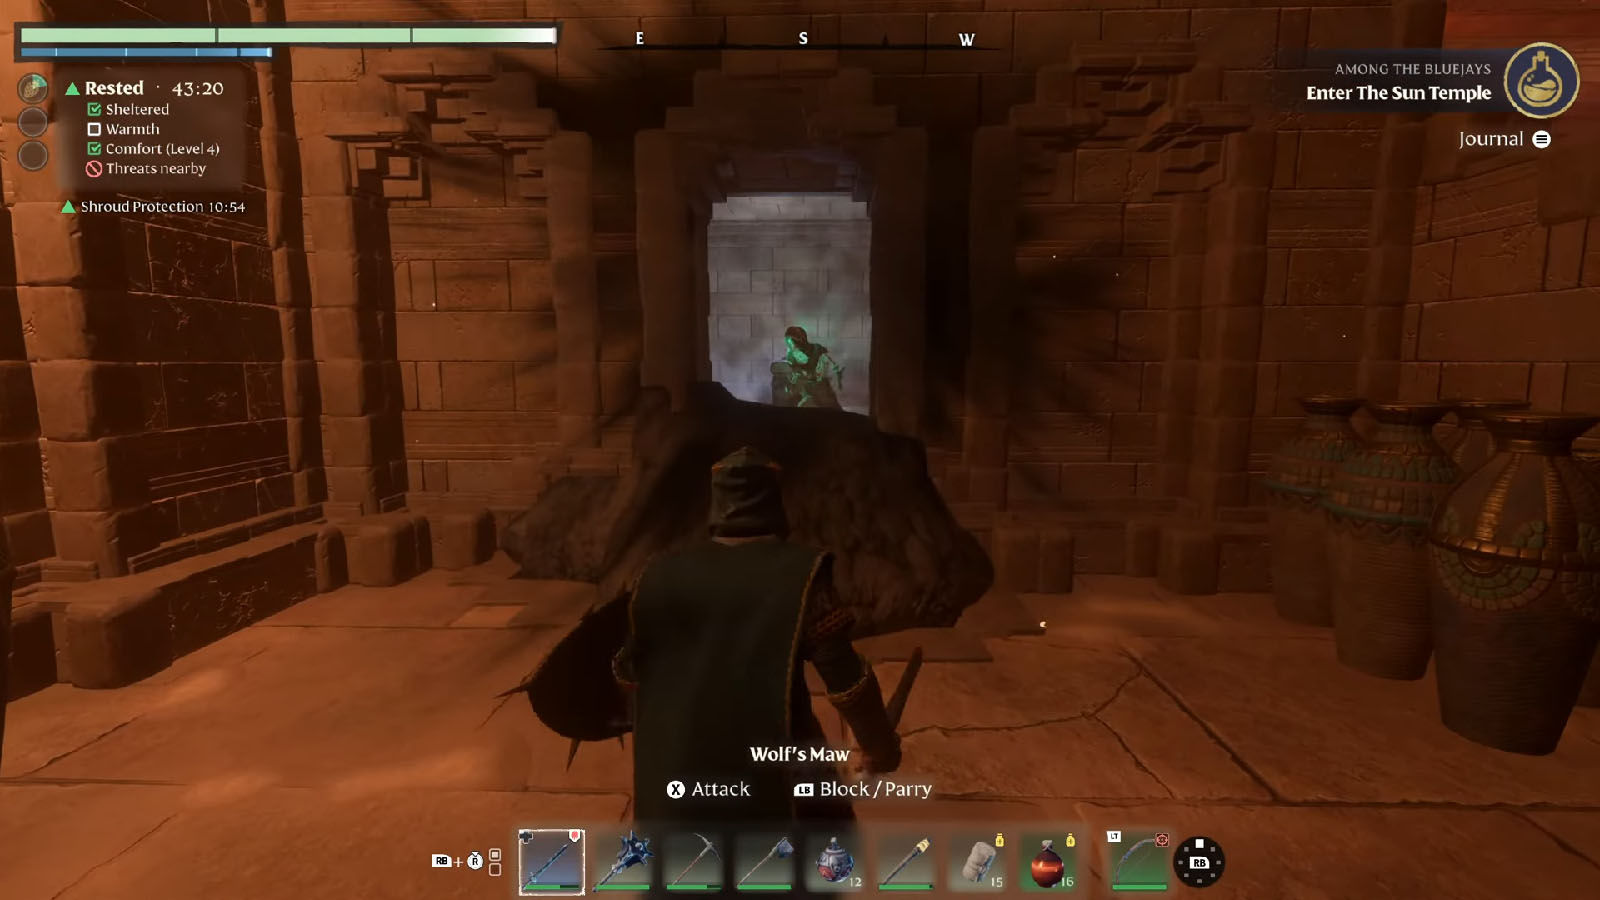
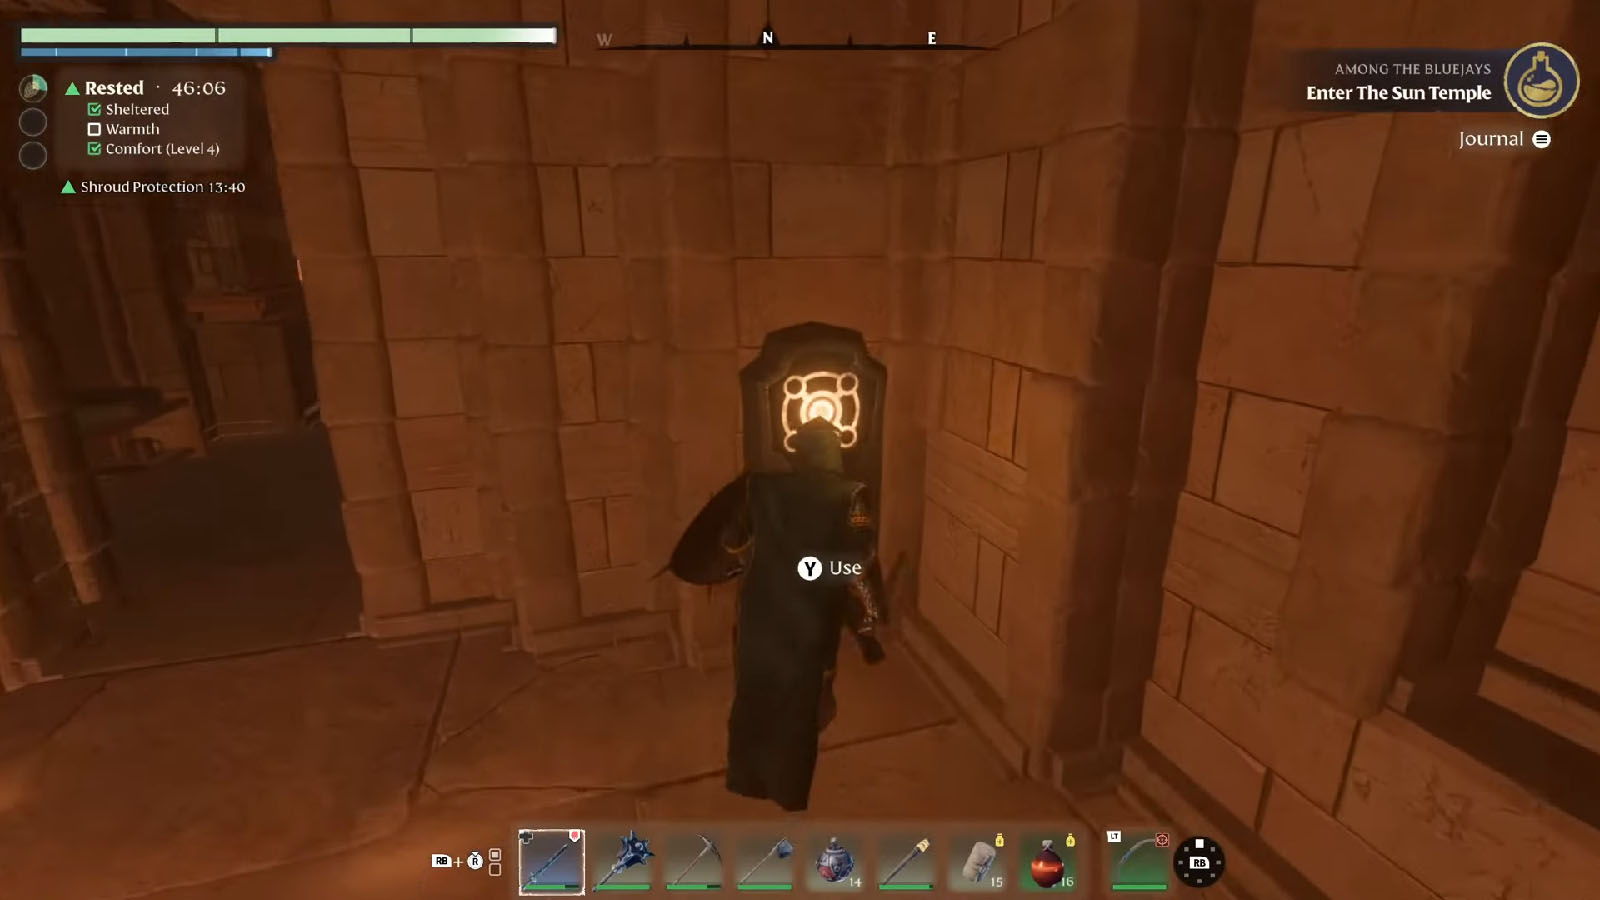
Upon arriving at the Southeastern Sun Temple, you will find that the main door needs three switches to be activated. You can find the two switches on each side of the door; activate them with arrow shots. For the third switch, face away from the main door and look up at the closest arch to find the switch.
Once inside the temple, check the left side where you will find rubble covering a path. Dig up this rubble to find an enemy and a shining coffin.
Next, head upstairs and check the right side for another shining coffin.
The next goal is to find four switches that will activate the next door. We will go around the upper floor in a clockwise manner.
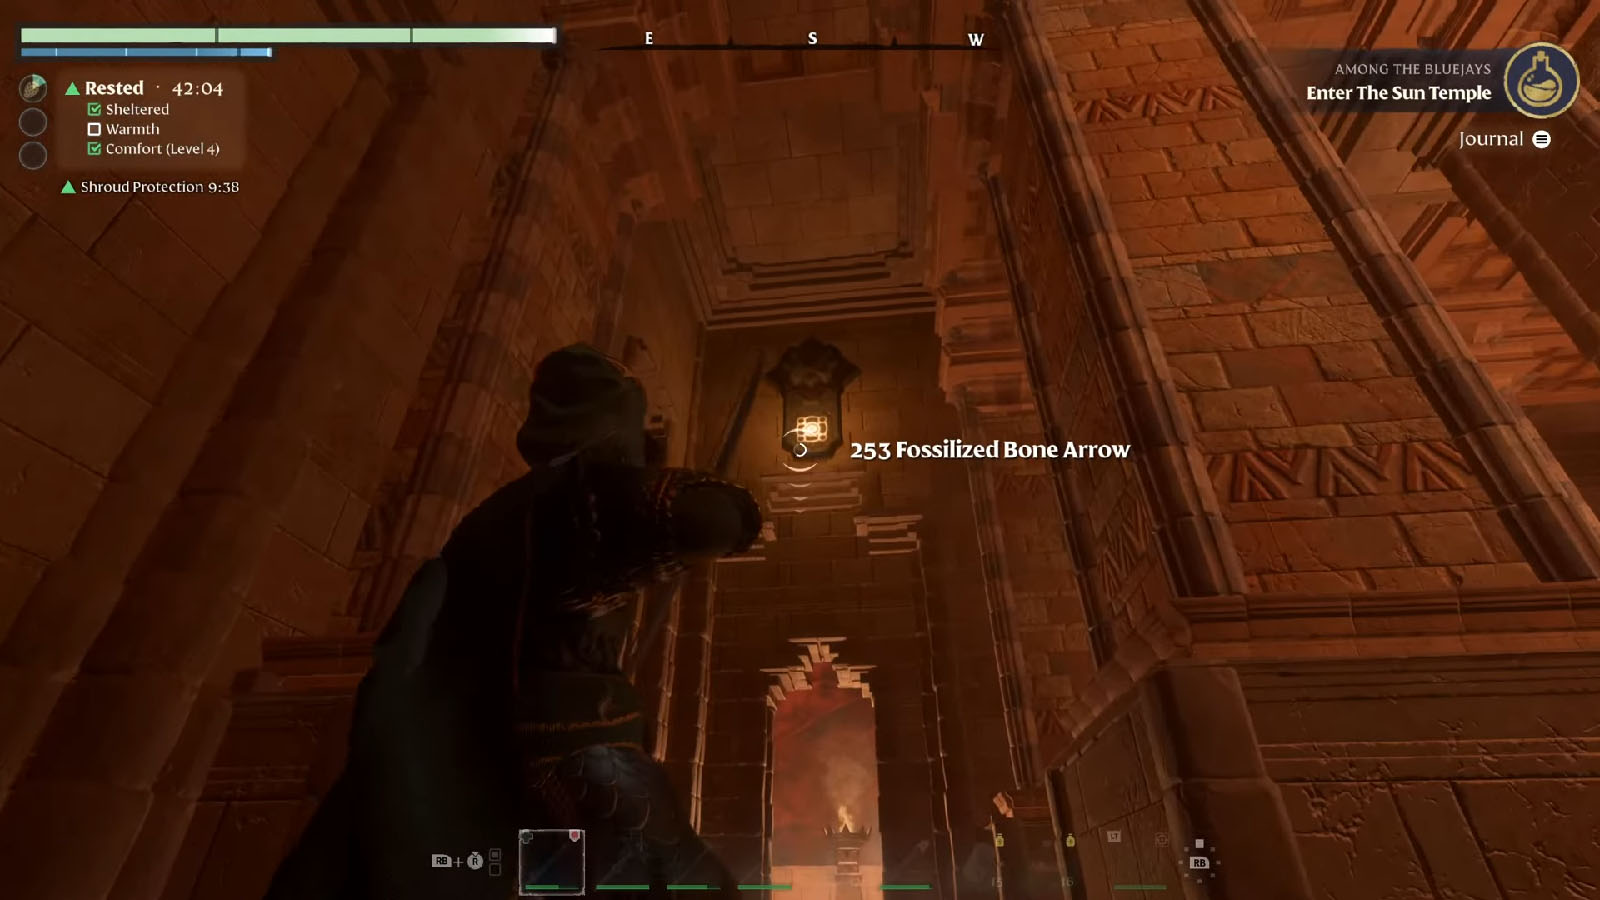
Go up the stairs and turn right. Look above an opening to find the first switch.
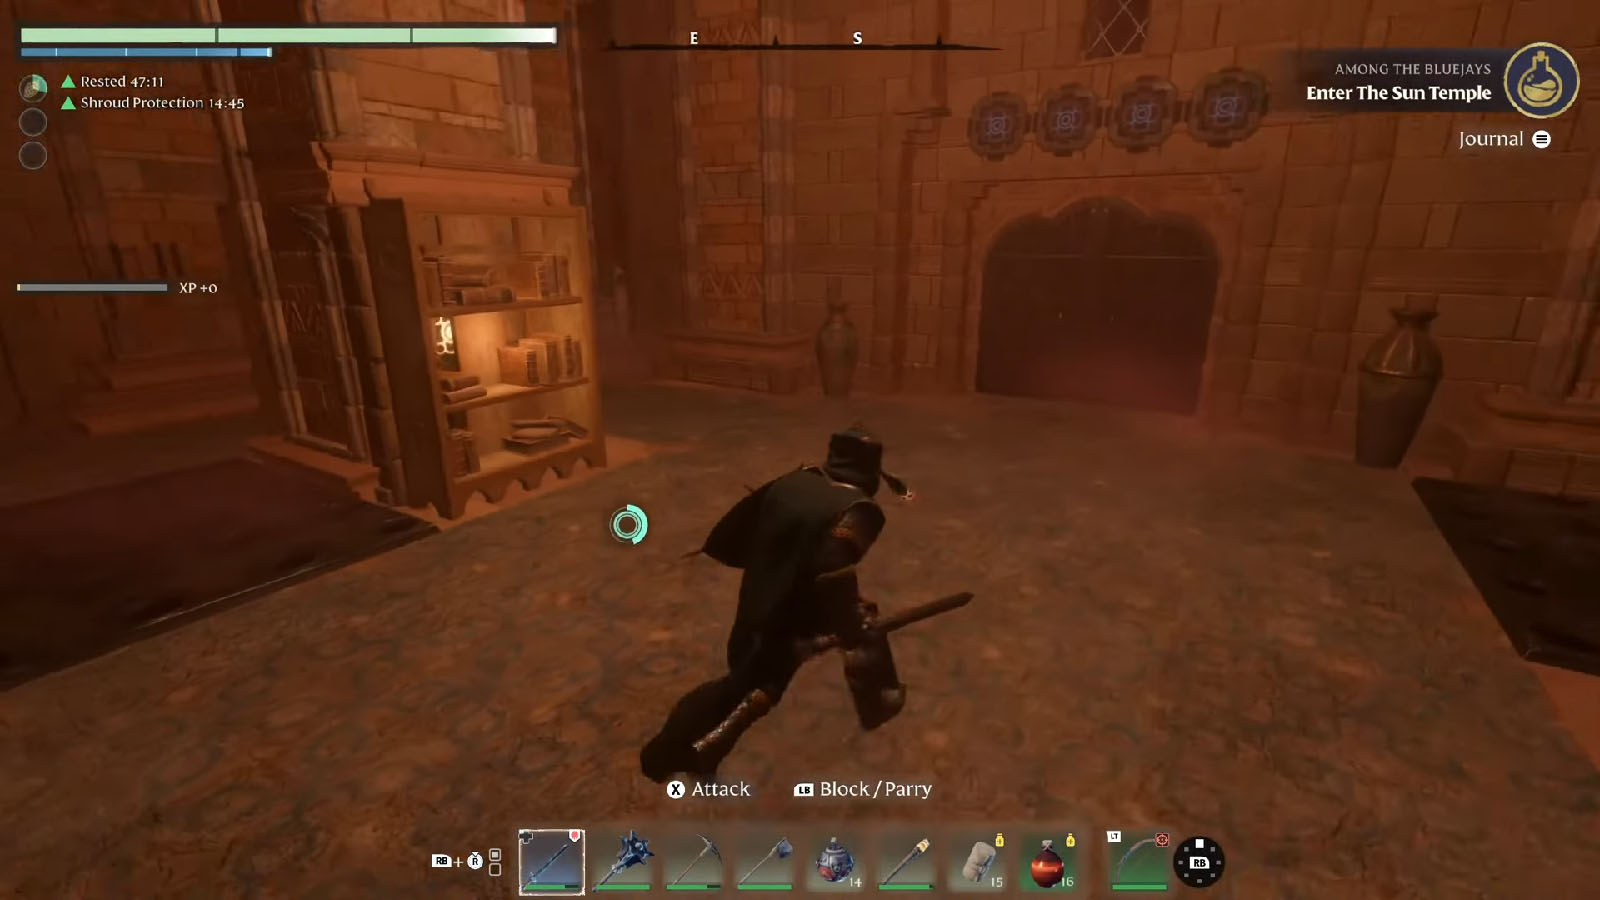

Next, look for the locked door and you will find a glowing bookshelf on one of the pillars. Interact with the book and the bookshelf will slide to the side, revealing the next switch.
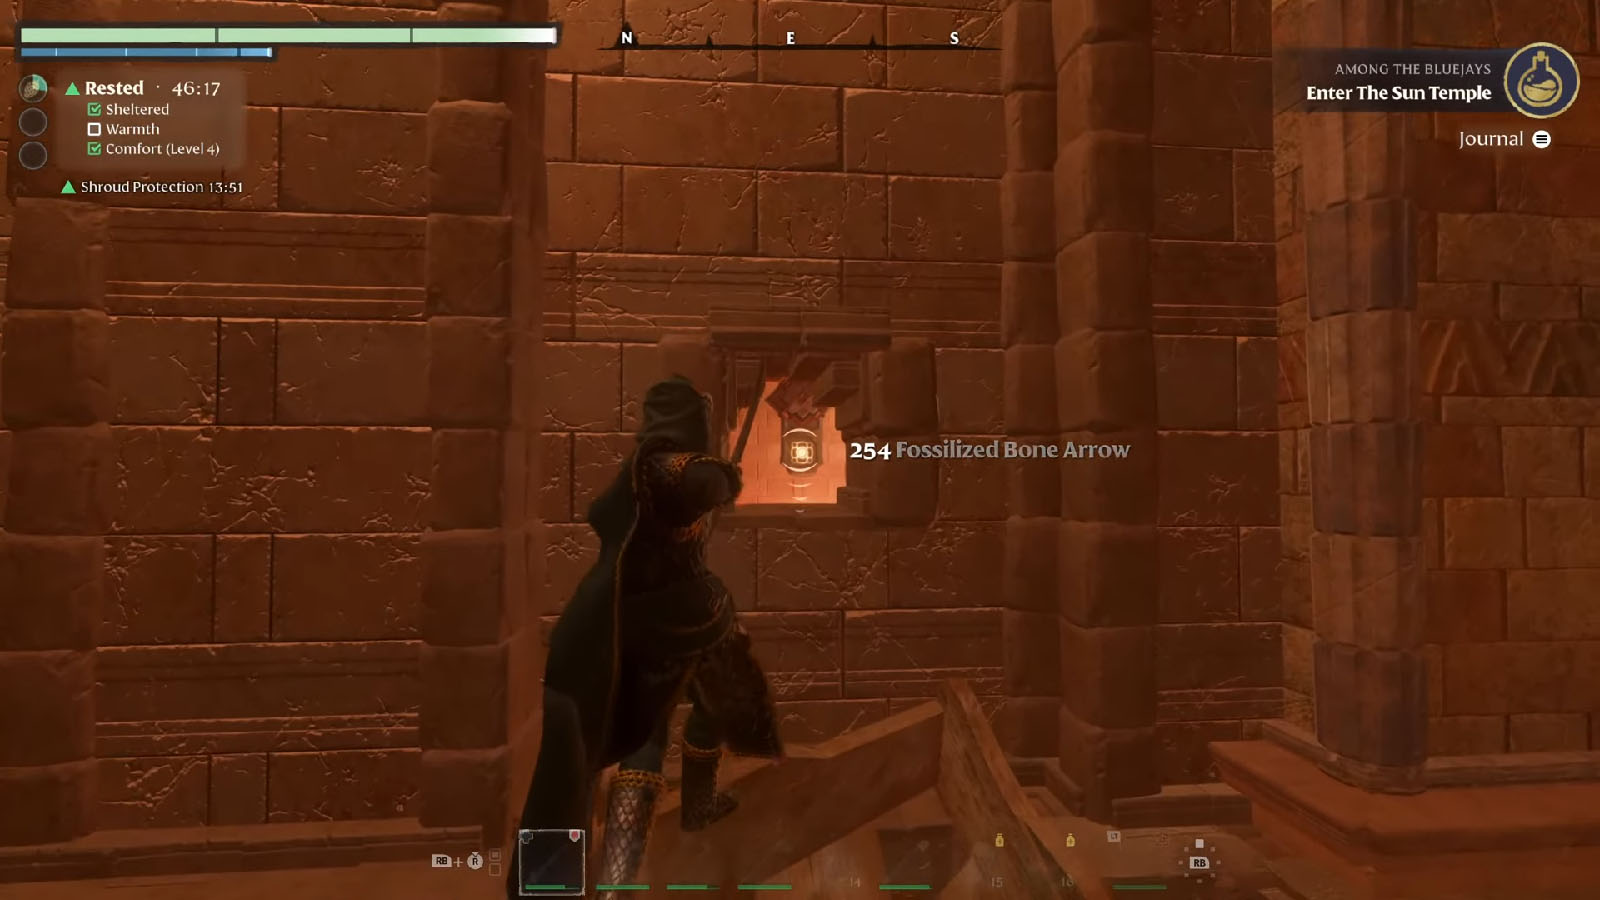
Continue going around from the lock door and look for a hole in the wall leading to the room behind the locked door. You can shoot an arrow through this hole to hit the switch inside the room.
Finally, from the third switch, take the exit to the balcony that is to the left of you to find the last switch.
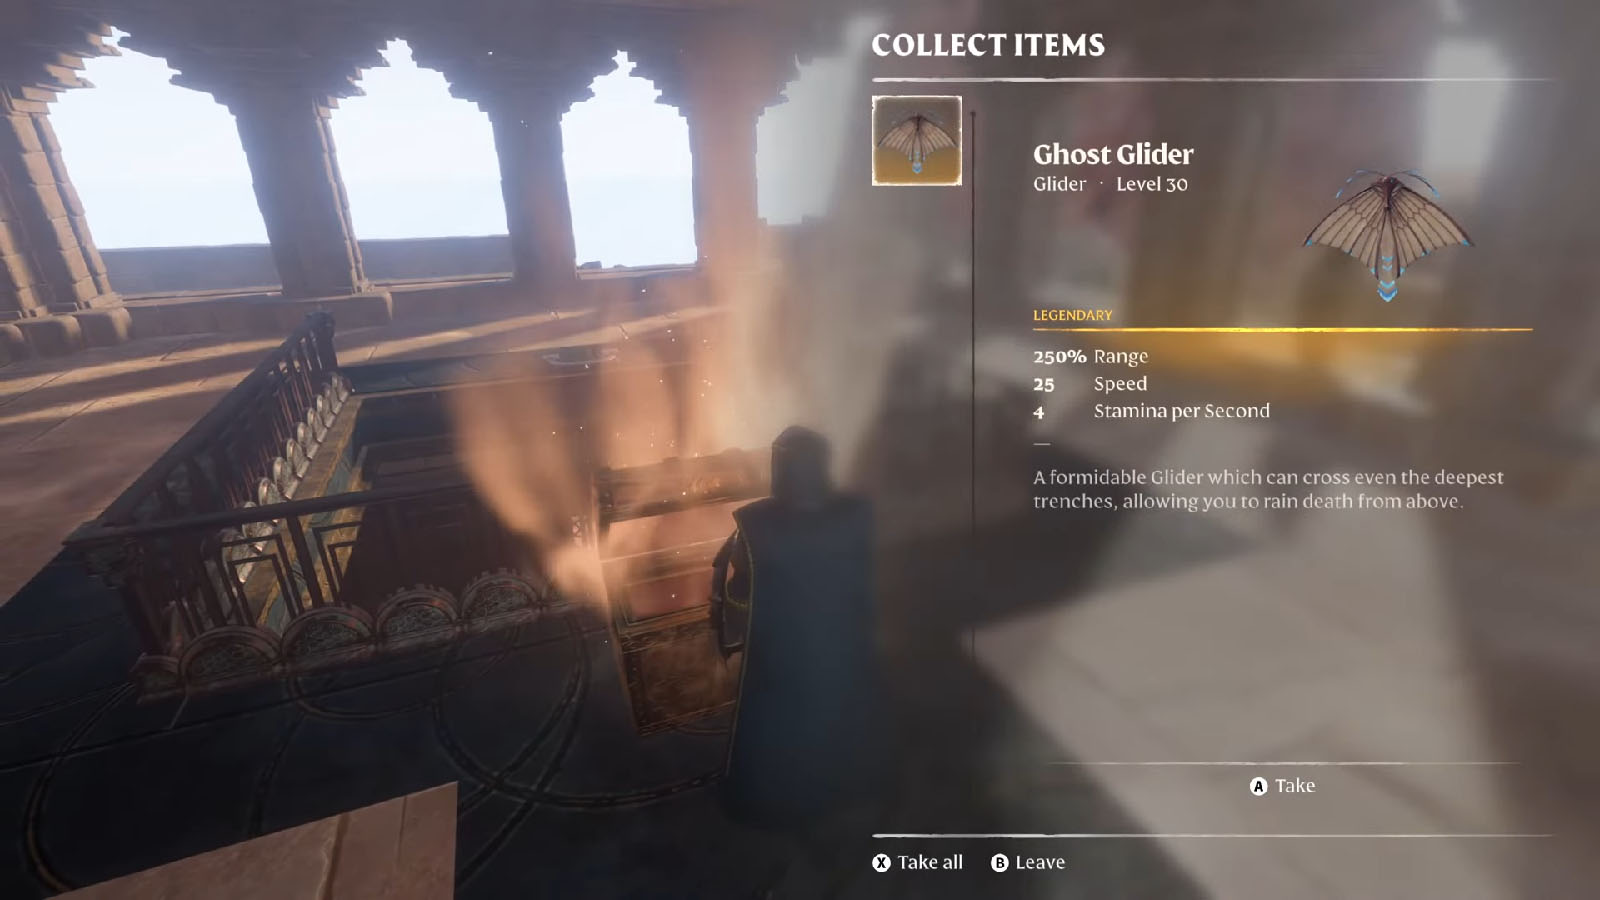
Head through the locked door and make it all the way to the very top of the temple. You will find a golden chest that contains the Legendary Ghost Glider which is the best glider in the game.
Southwestern Sun Temple
The Southwestern Sun Temple is divided into four smaller temples. The west temple has a door with three lights, and each lights’ switch can be found inside the other three temples.
North Temple
- Start from the north temple where you will be in a large room. There are four buttons hidden behind the walls of this room and you can push them by shooting an arrow through a tiny gap on the wall.
- As you enter the room, grapple up to the pillar on the right and you will get a view of the first button.
- Go down the pillar and look at the wall to the east to find the second button.
- Look towards the west to find the third button.
- Then climb the stairs on the west side and wait for the spike traps to go down to get a shot at the fourth button.
- The door up ahead will open up after the four buttons have been pressed to reveal one of the switches for the west temple.
East Temple
- The east temple has a long hallway that has buttons on the floor. You will need to step on the right buttons to cross safely to the other side.
- Near the entrance of this hallway, look to the right side and press the button to activate the lights on the ceiling. Use the lights as a guide and follow the path underneath the lights that are turned on. You will then be able to reach the final room to find one of the switches for the west temple.
South Temple
- You can simply go inside the south temple to find one of the switches for the west temple, but be careful of the traps that will be activated as soon as you activate the switch.
- Once all switches have been activated, head into the west temple to find a golden chest.


