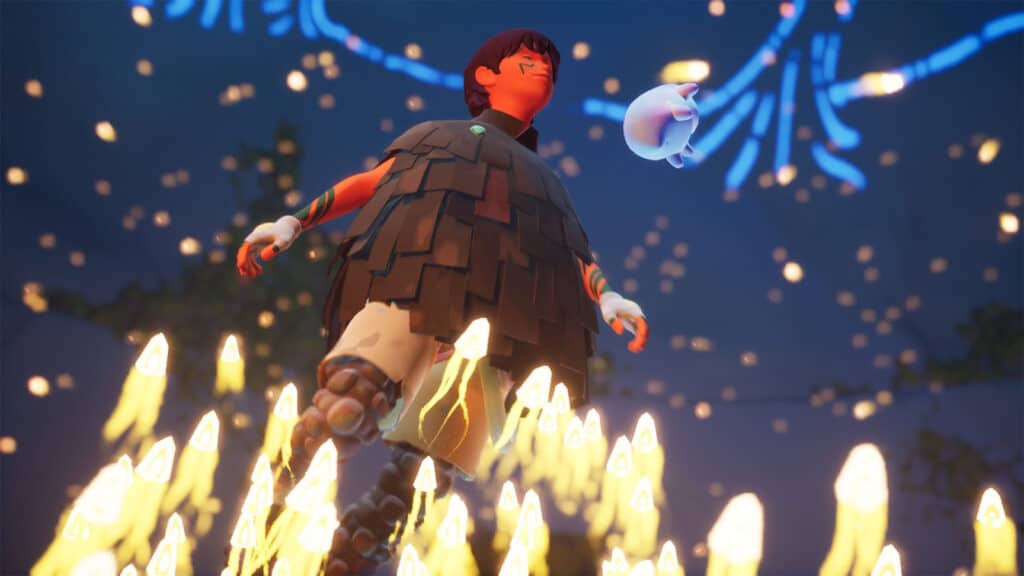
Migration is the second chapter of Jusant. Now with their companion awake, the kid continues to scale the rock formation to look for the next tower to activate. Read ahead as we walk you through the events of Migration in Jusant and share the locations of all the chapter’s collectibles to assist you in obtaining all the trophies in the game.
See previous: Daymark Walkthrough
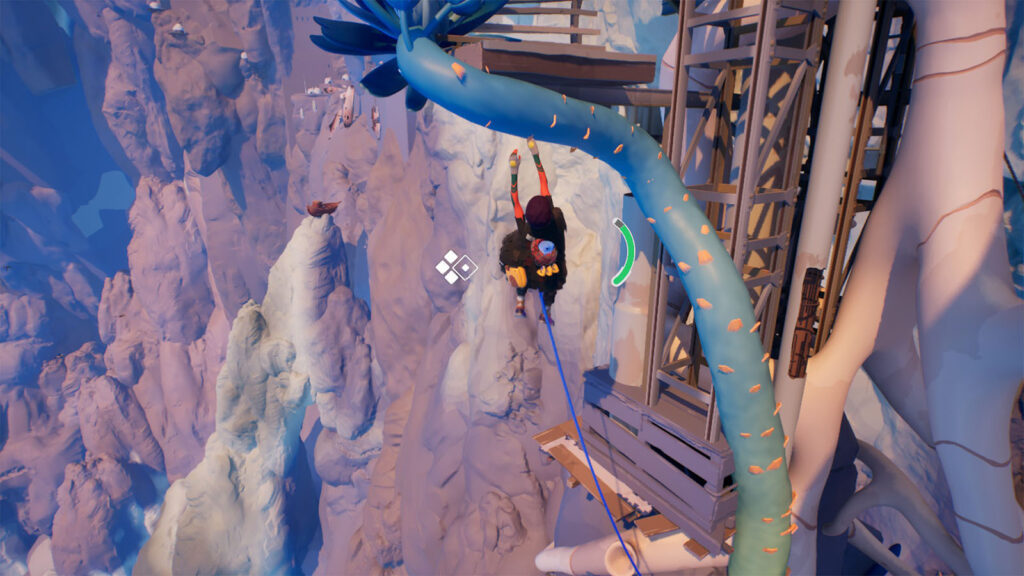
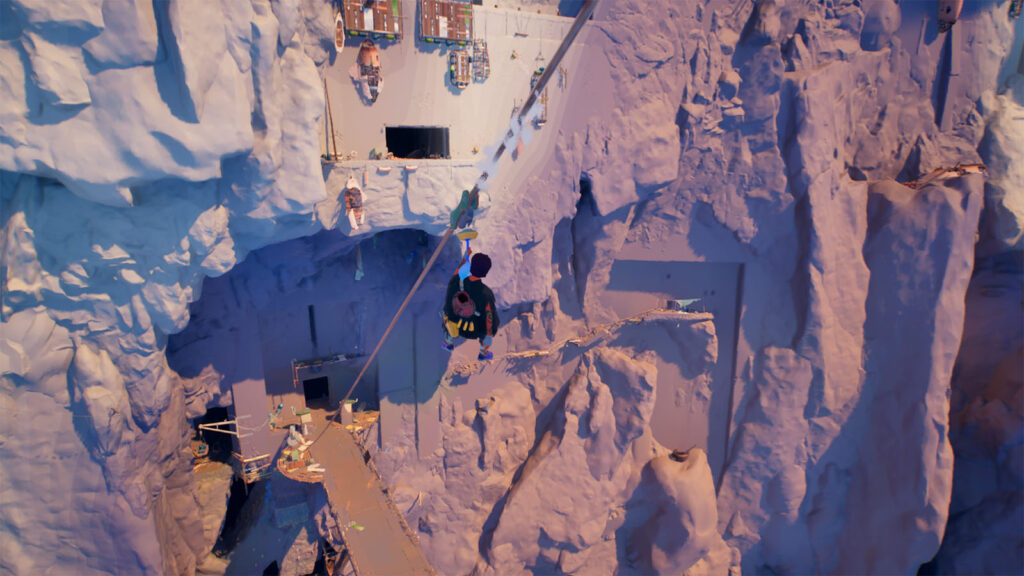
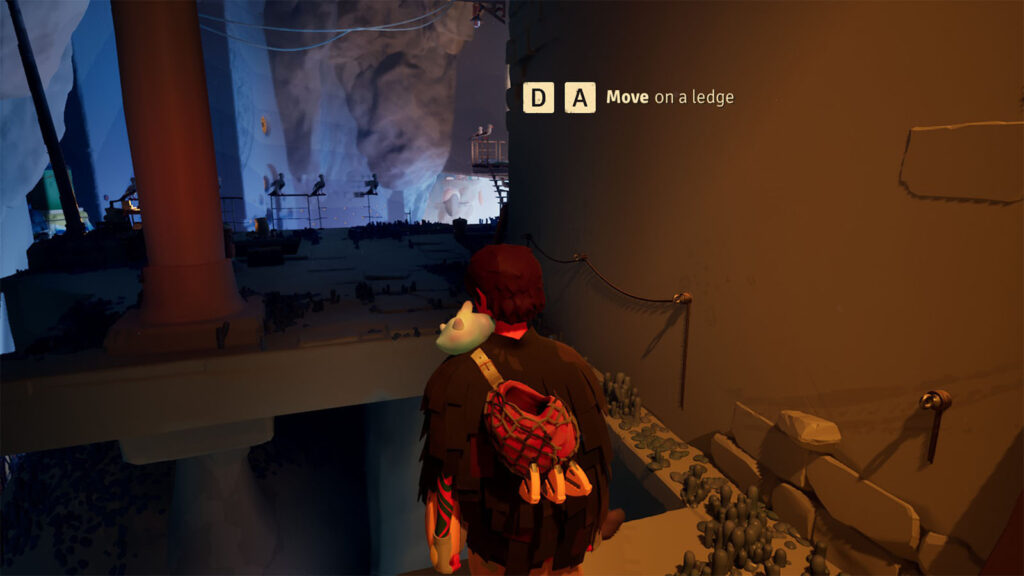
Starting off from the previous tower, climb the vine up to the top, then ride the zipline back down to the lower level.
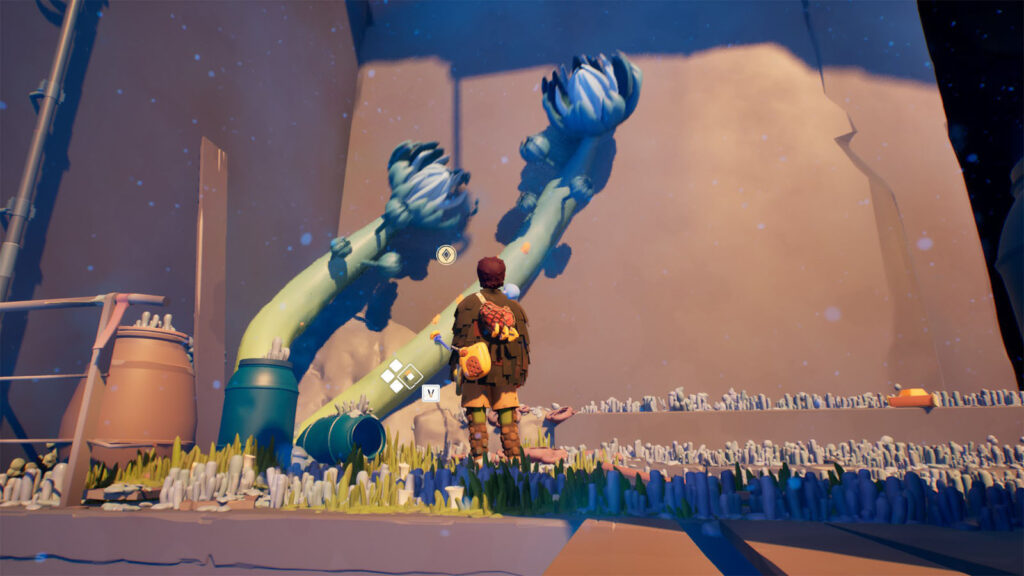
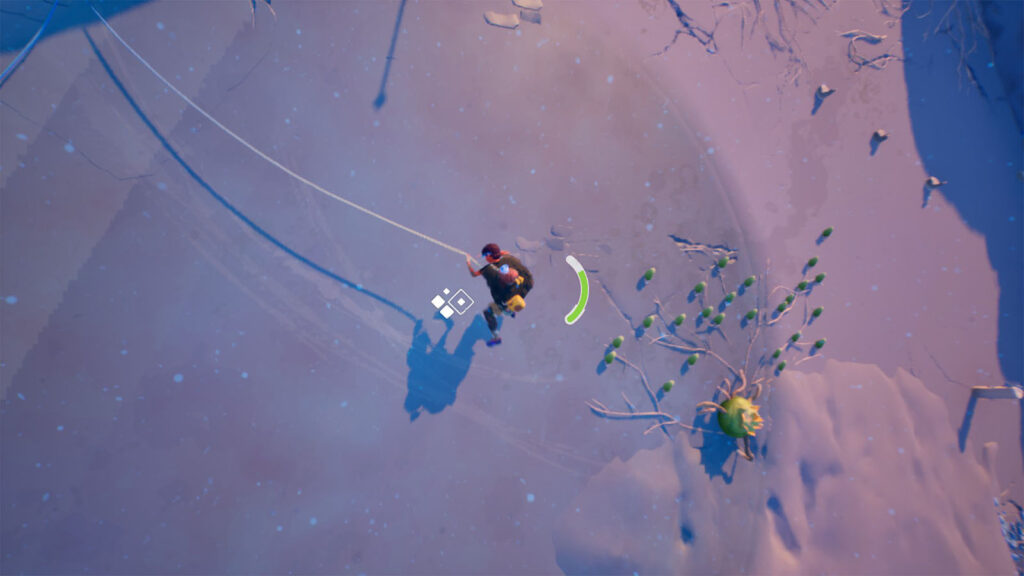
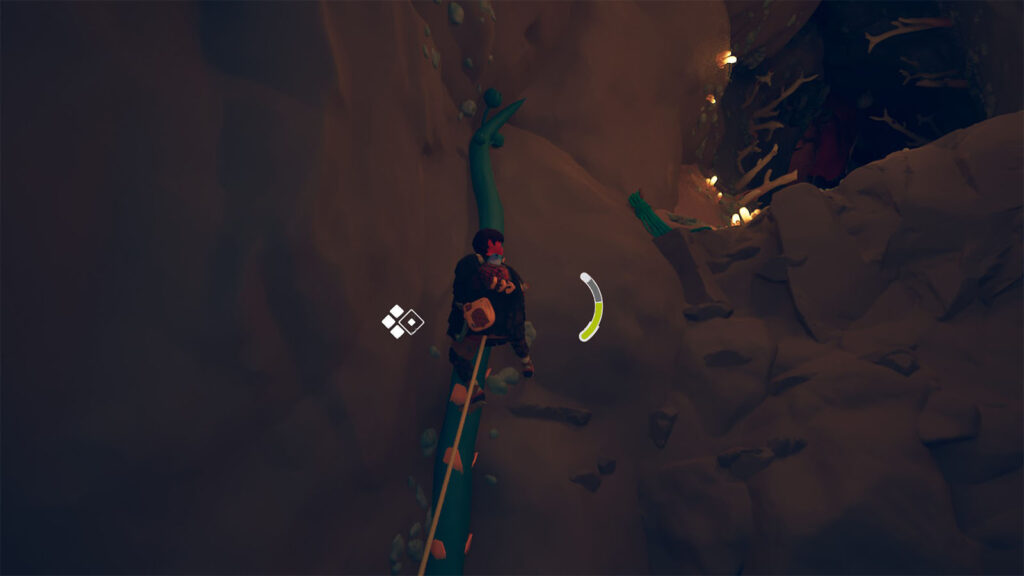
From here, approach the vine on the corner of the wall. You’ll then learn a new mechanic where your companion, known as the ballast, can sound off an echo which can make plants grow and bloom, opening up new paths that you can take. Do an echo to make the vine grow and give you a path to climb on.
Climb on to the ladder on top, then continue climbing up the rock face. You can still use your echo while grabbing on to something; do that to the nearby vine, then jump and grab towards it.
Your companion can also help you detect where the next objective is. Press the button to meditate and sense the next location and you’ll see the key areas marked on the screen. You’ll only be able to see the marked areas while meditating and you can’t move while doing so.
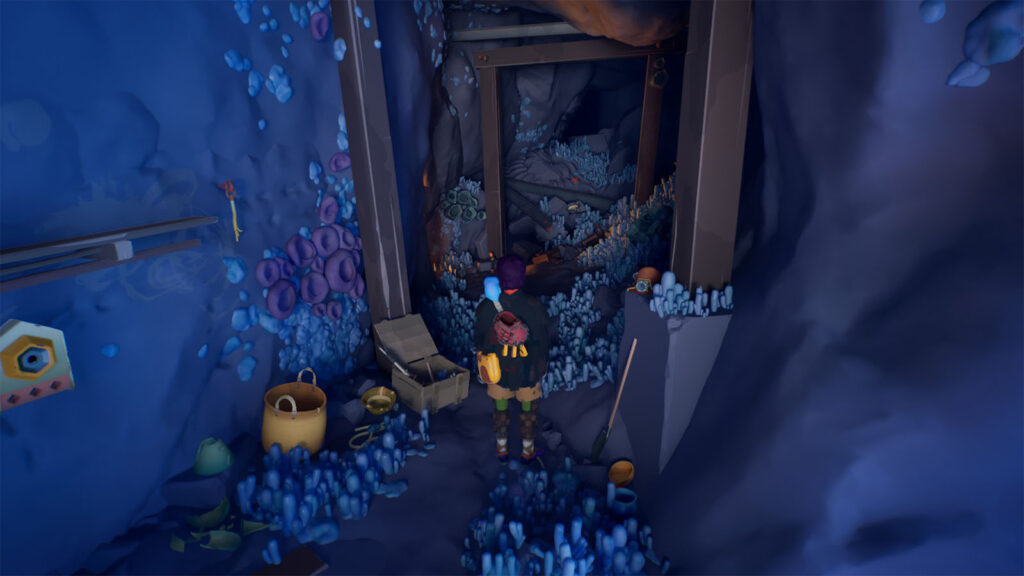
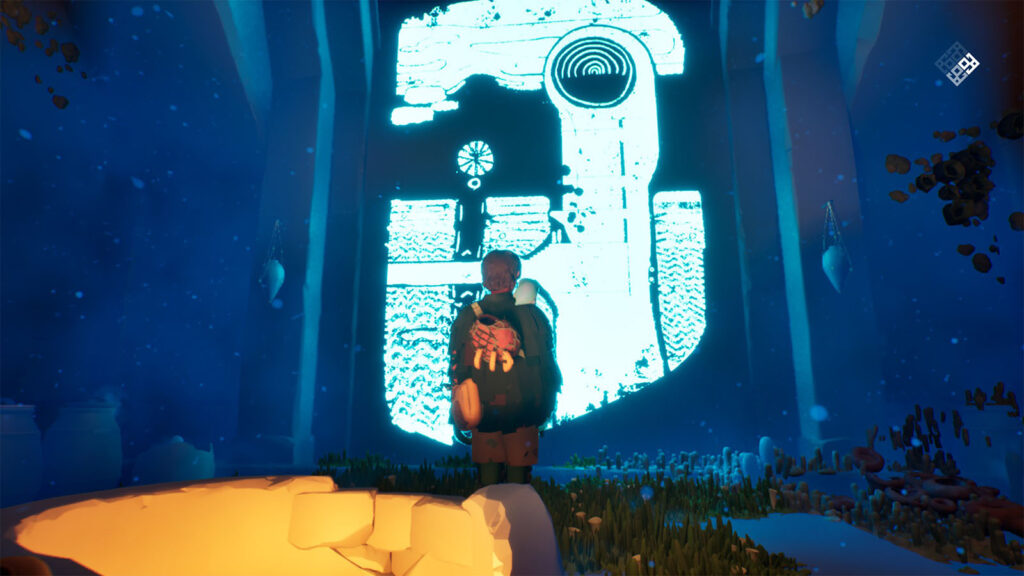
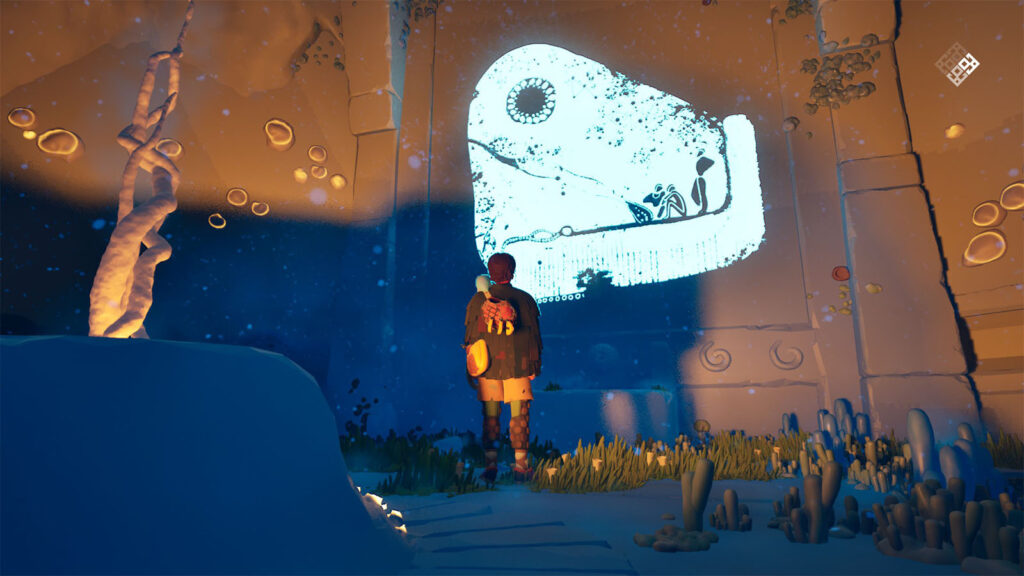
You’ll reach a mineshaft with a gap on the left wall. Squeeze through the gap and you’ll arrive at a room with a fresco on the wall, Fresco #1. Approach the fresco and sound off an echo to activate it.
Frescos are another type of collectible that are usually hidden in rooms. Activating your first one will unlock the Echo from the past achievement, while activating all of them will unlock the Antique gallery manager achievement. Activated frescos can be viewed from the Gallery menu.
Continue climbing up the wall, then do a double jump to reach the upper floor at the top.
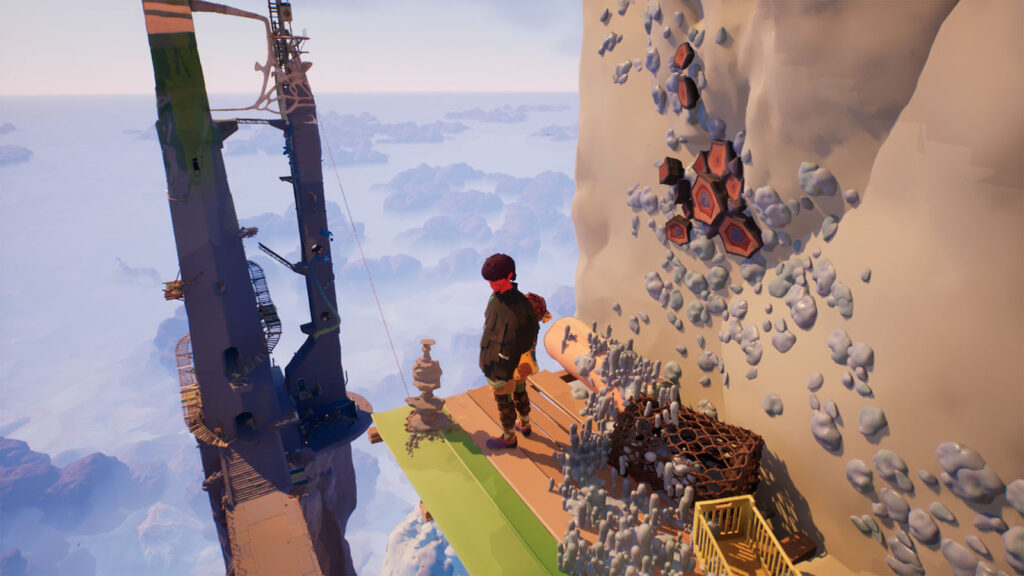
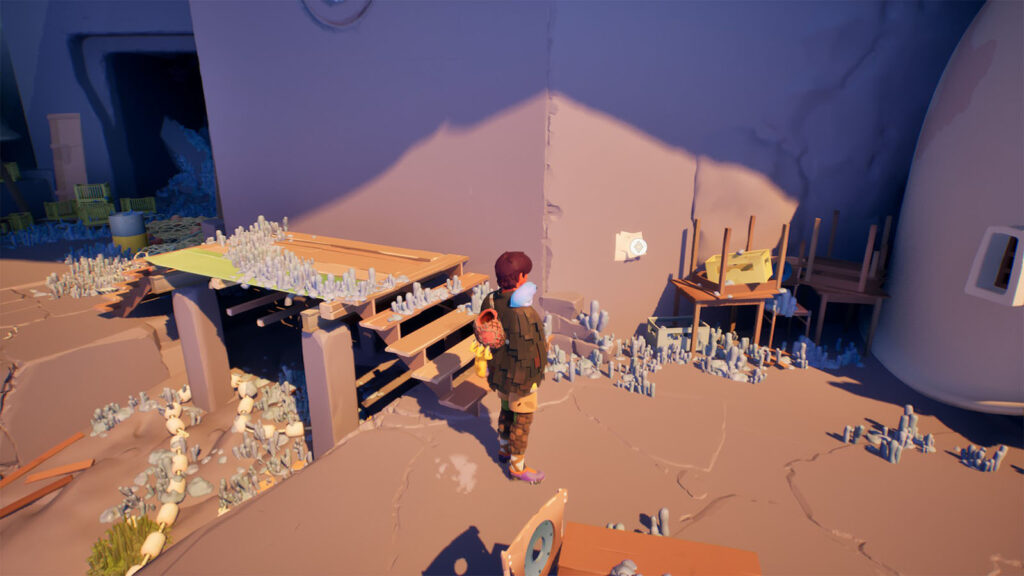
Head outside and turn right to find Cairn #3 by the edge of a platform.
On the left side is a bulb on the wall. Sound off an echo to make buds appear on the wall which you can grab on to. Make your way to the top until you reach the upper level.
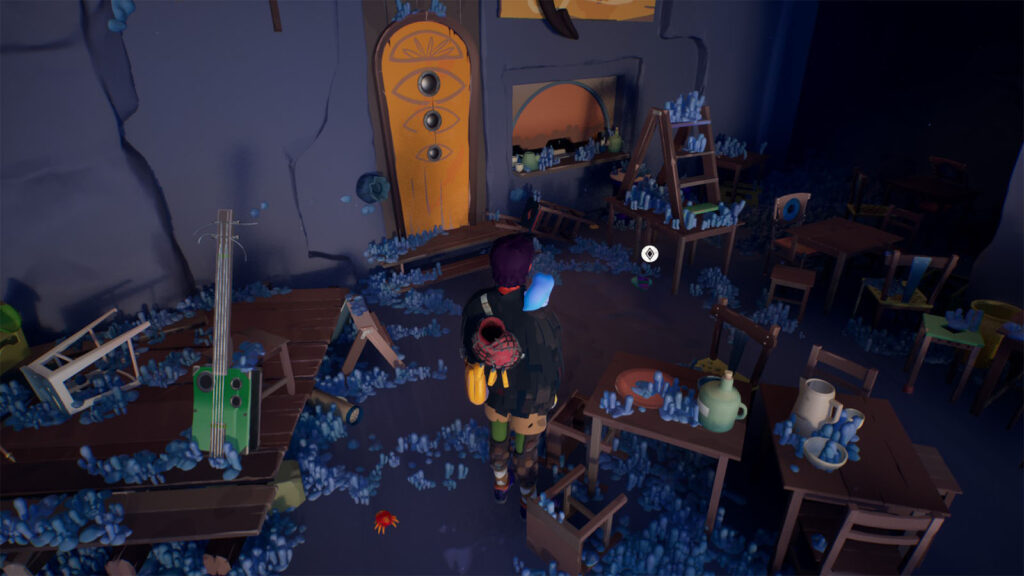
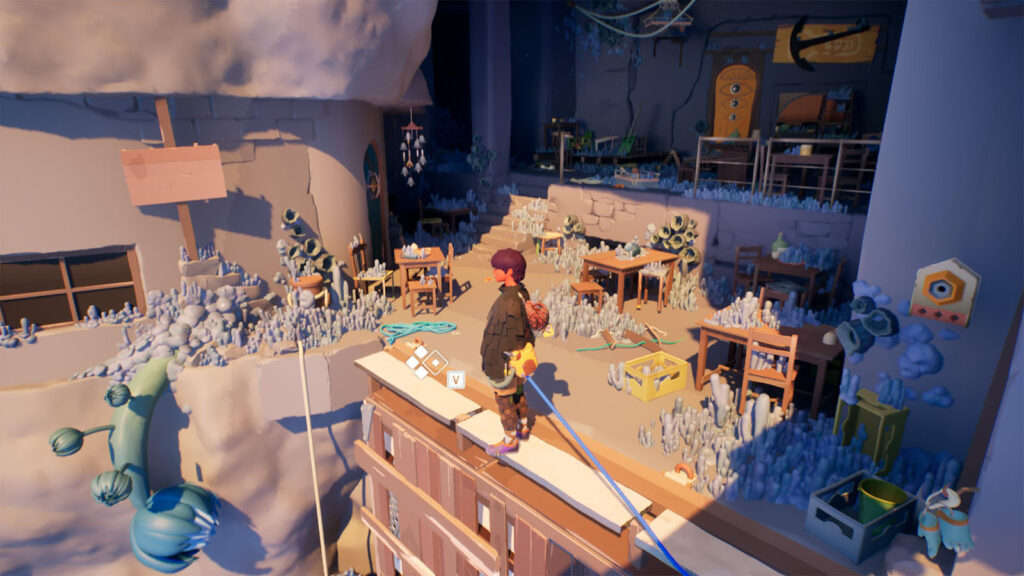
Go to the left side either by climbing on the ledge or by double jumping up the high ledge. You’ll then find Shell#2 within the bar area.
Head to the right side and make the vine grow. Keep climbing and then take the path to the left.
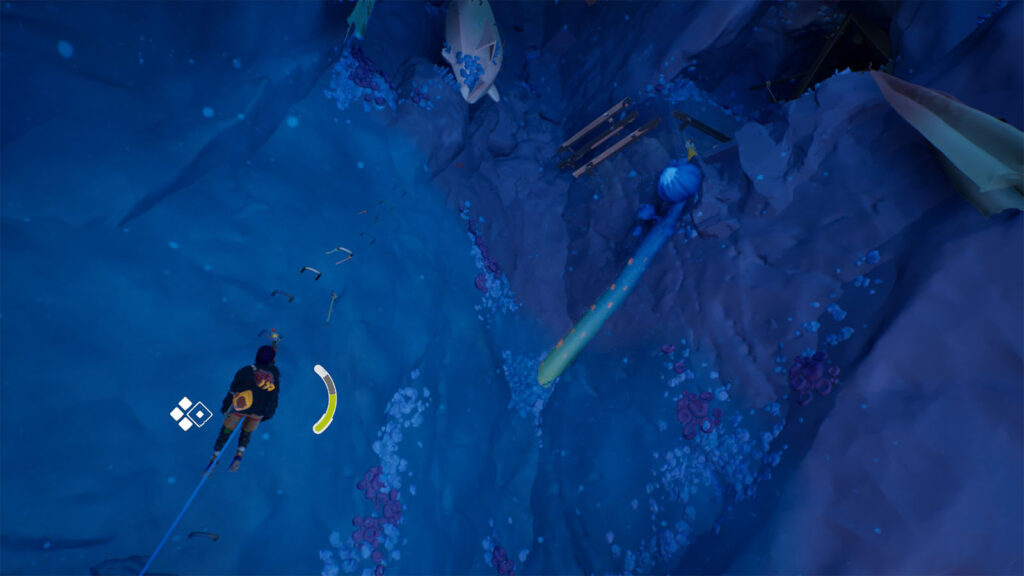
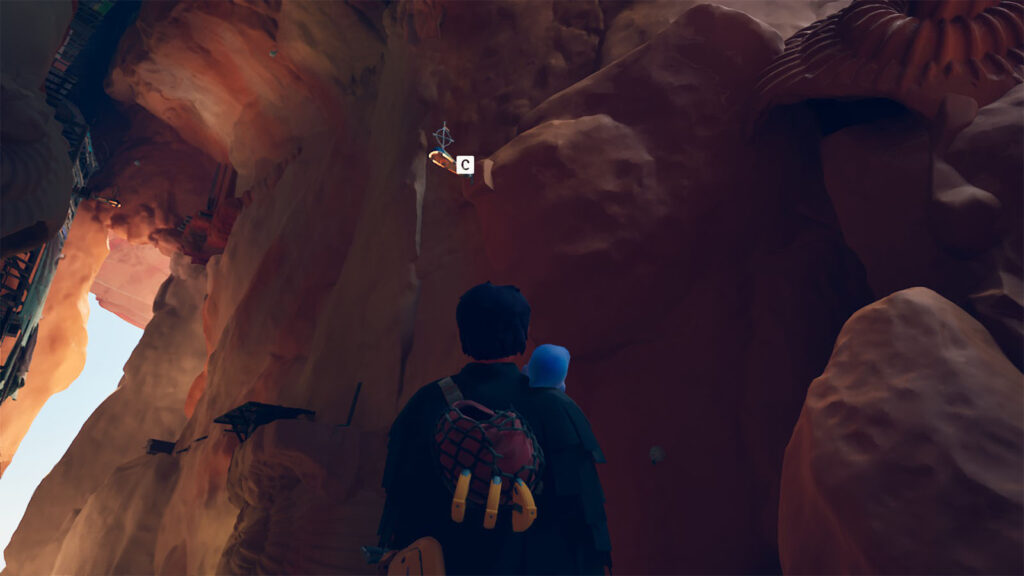
Go to the edge where you can freely attach a piton on to the wall. From here, rappel down long enough for you to be able to swing far.
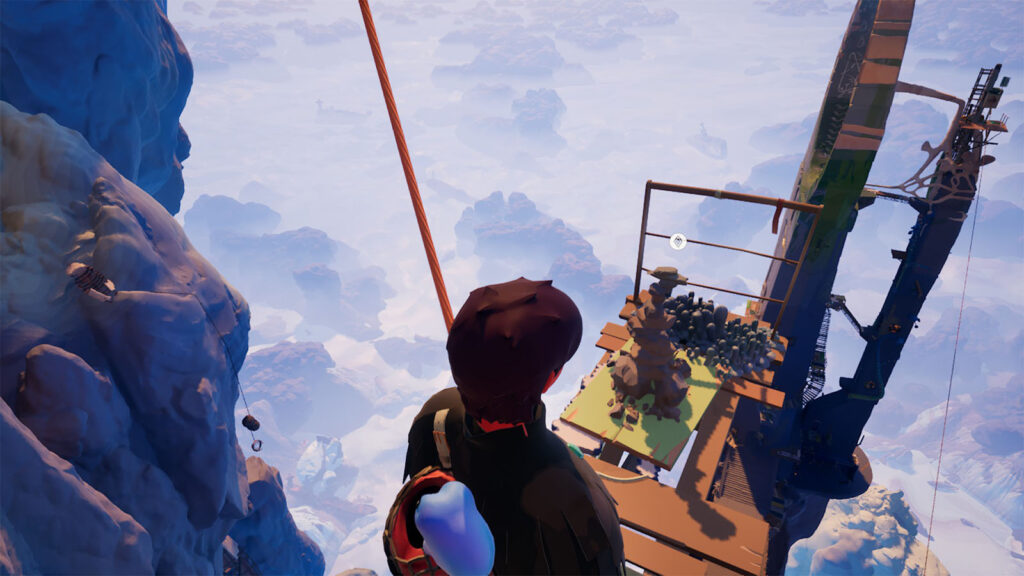
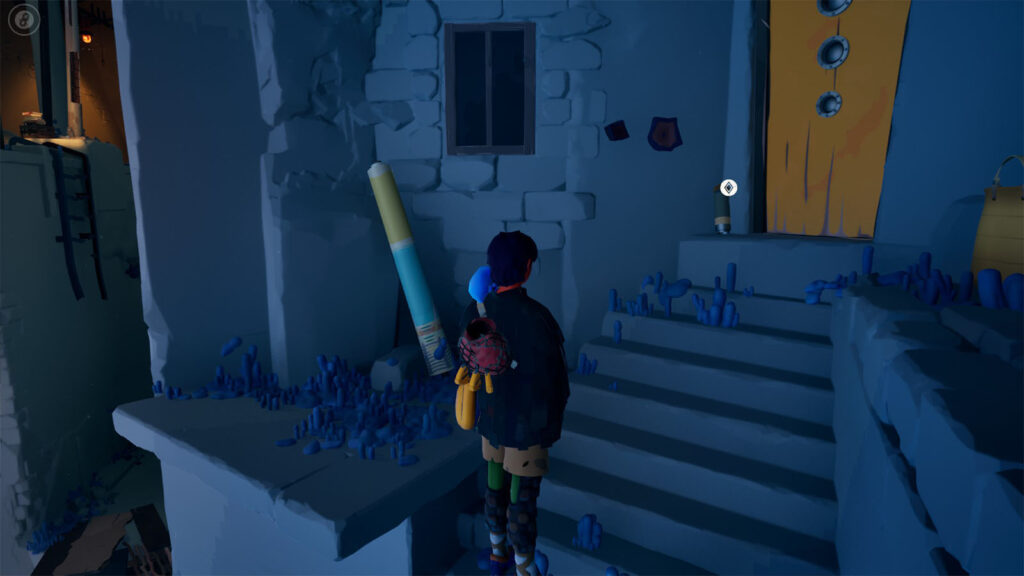
You’ll be aiming for a wooden plank near a blue door where you just came from. Swing and land on to it to reach Cairn #4.
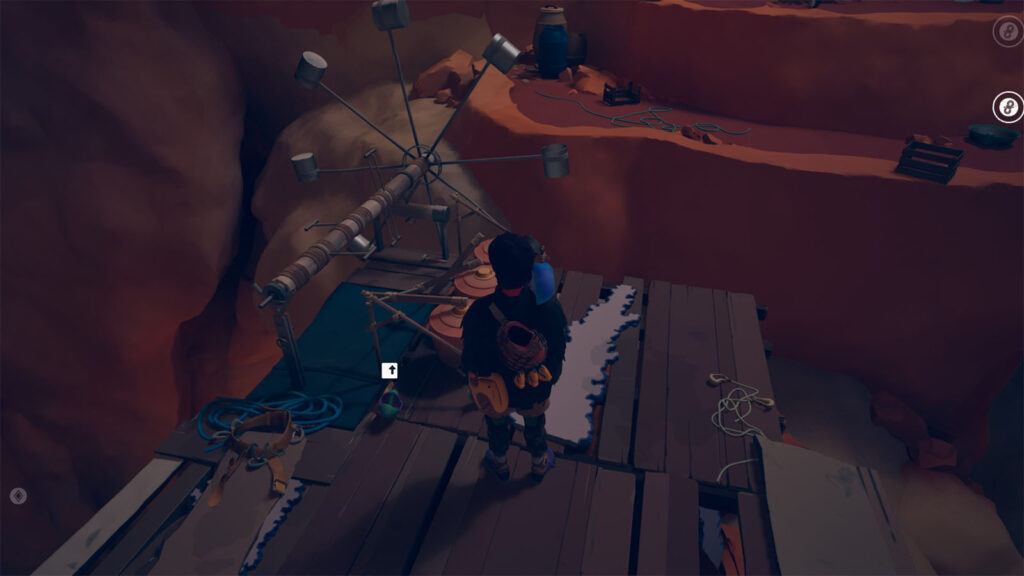
Make it back to the vine wall and climb to the very top with the use of the bulbs to reach the large settlement. There are a couple of collectibles to be found within this area.
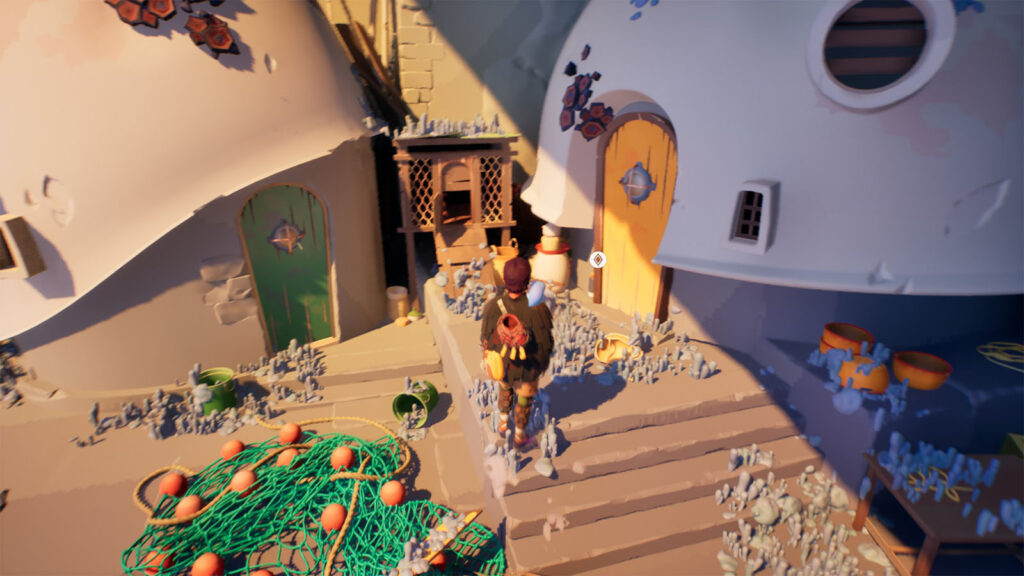
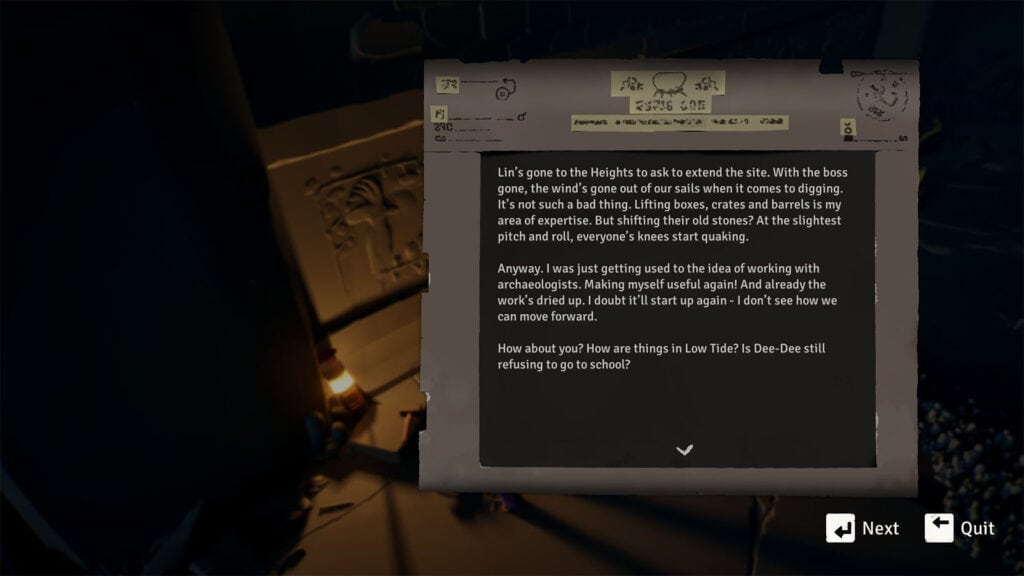
Go to the right side where you’ll find collectible Letter #8 posted on the wall.
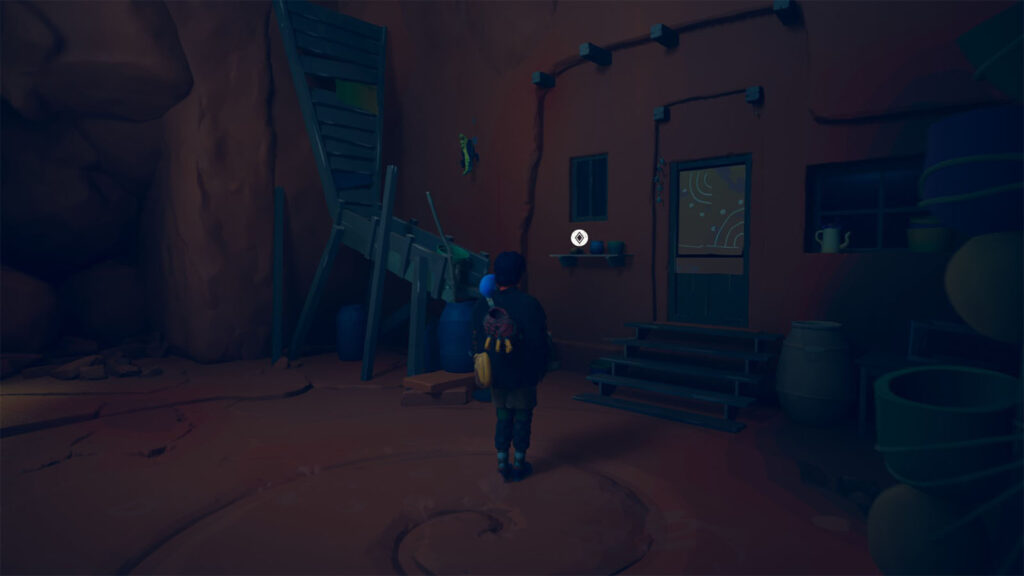
Head to the round house in the middle area where you’ll find collectible Letter #9.
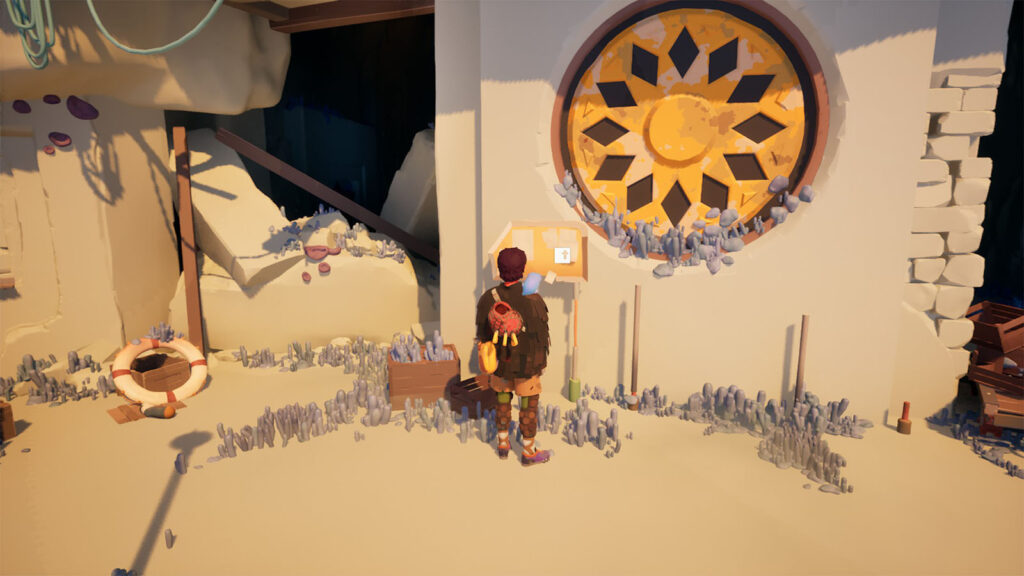
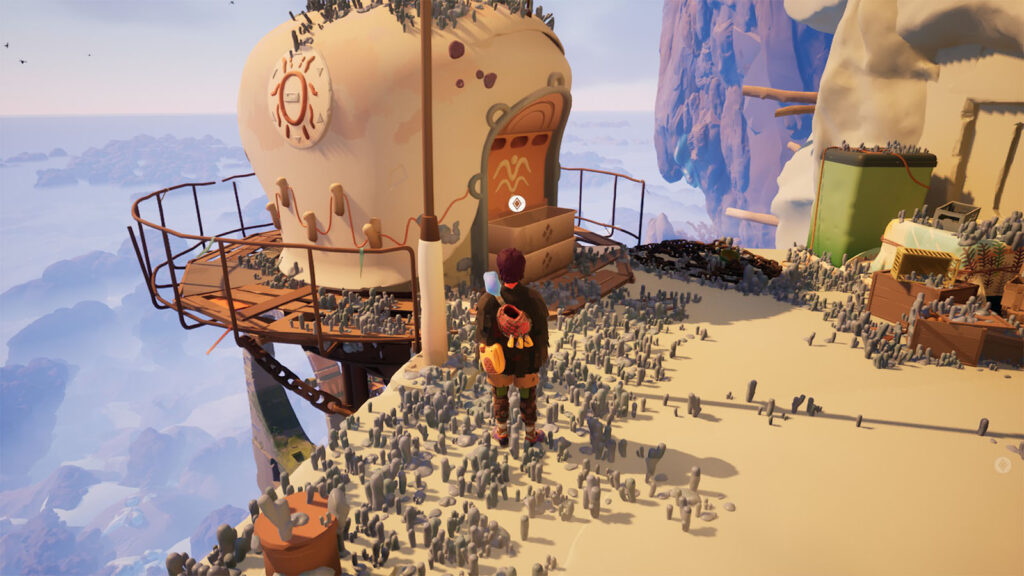
Go to the left side and take the elevator to the top. Check the bulletin board to get collectible Letter #10, then the crate just across of it to find Letter #11.
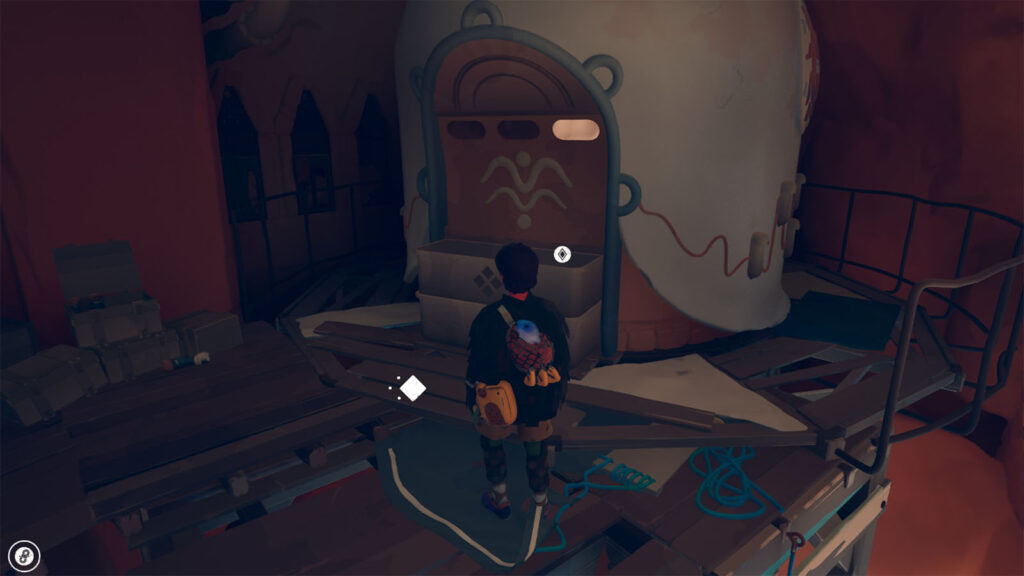
Go into the dark corridor near the elevator and turn to the left, then take a right towards the lit room. Inside it is where you’ll find Altar #1. Interact with it by grabbing its rail and giving it a tug to any side to make it turn. You only need to turn it once to make it count as activated.
Go back out and take a left into the open area, then climb the stairs on the left side to find collectible Letter #12 by the door.
Head back into the corridor and take the ladder nearby. Then cross the narrow ledge to to get to the other side.
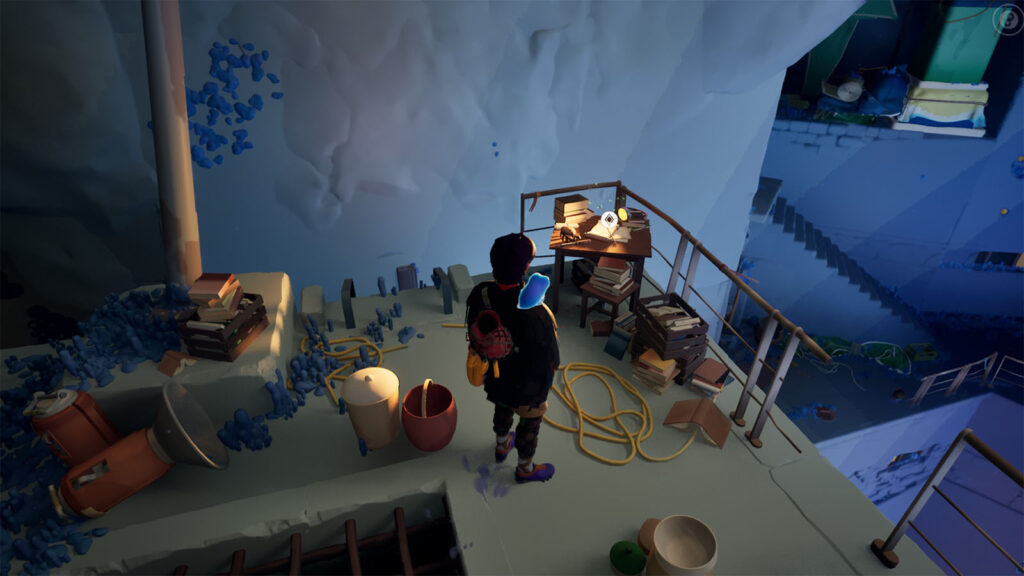
Go to the corner near the railings to find Bianca’s Journal #2 on top of the stacks of books.
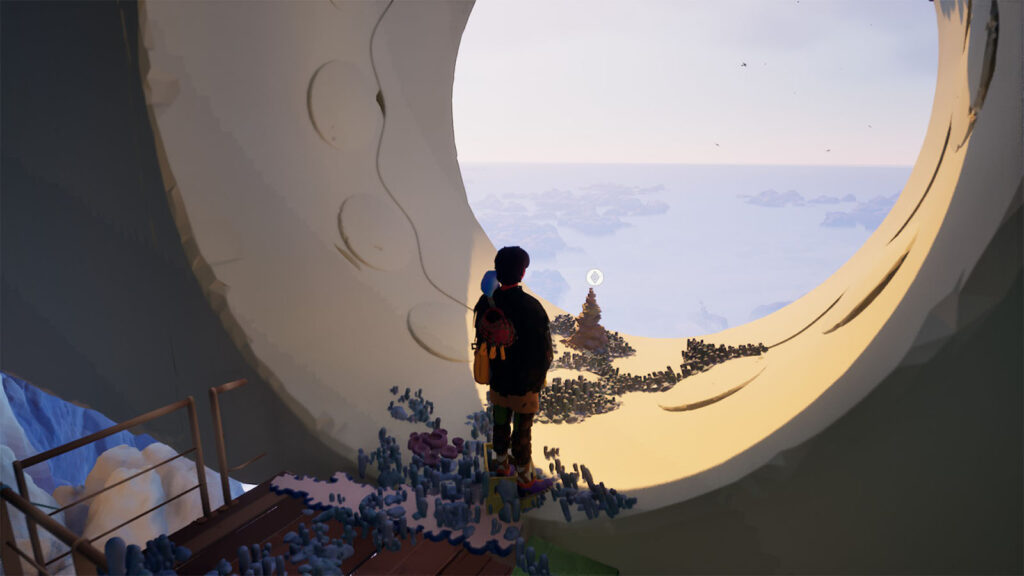
Take the ladder and go to the window on the wall to find Cairn #5.
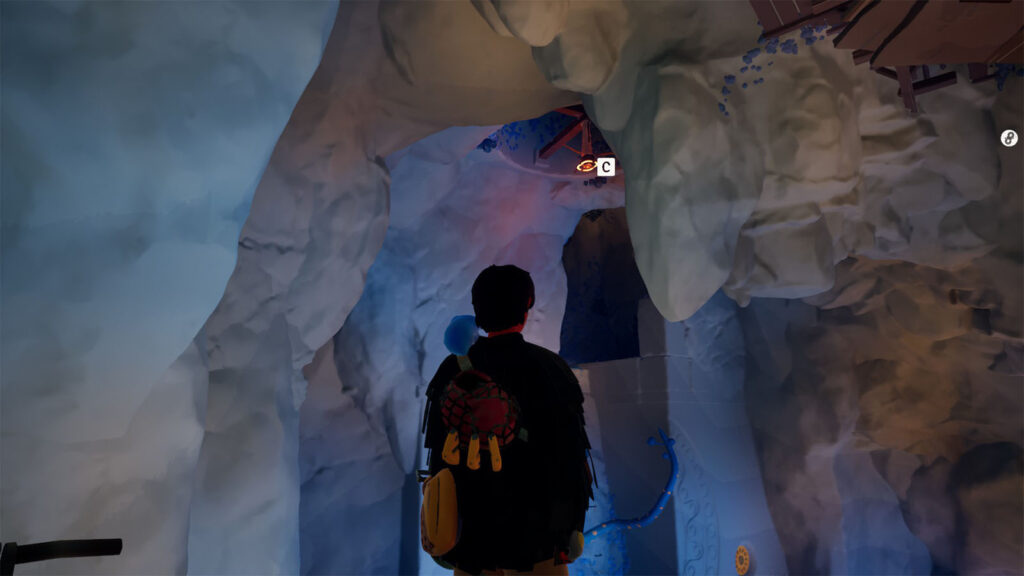
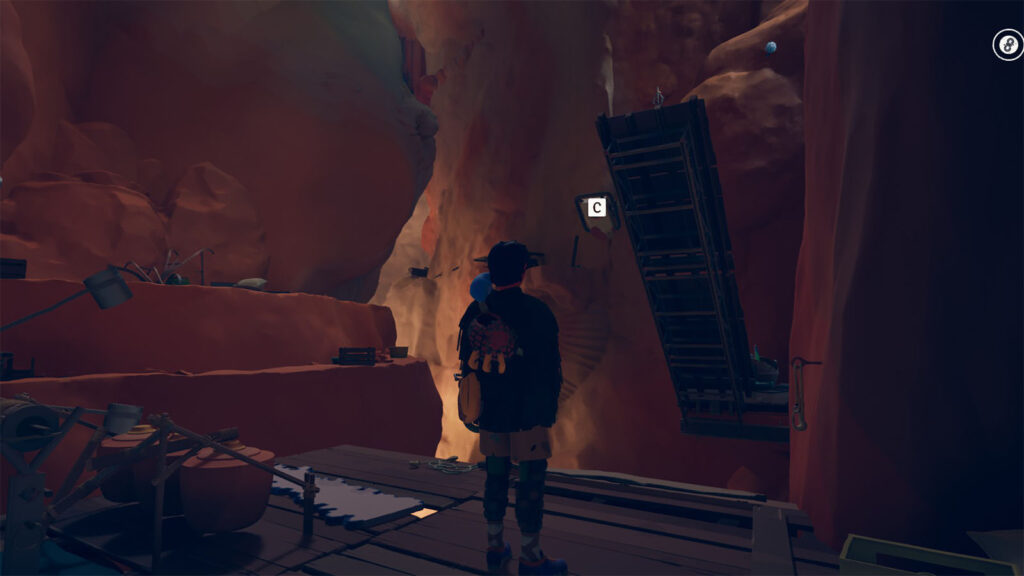
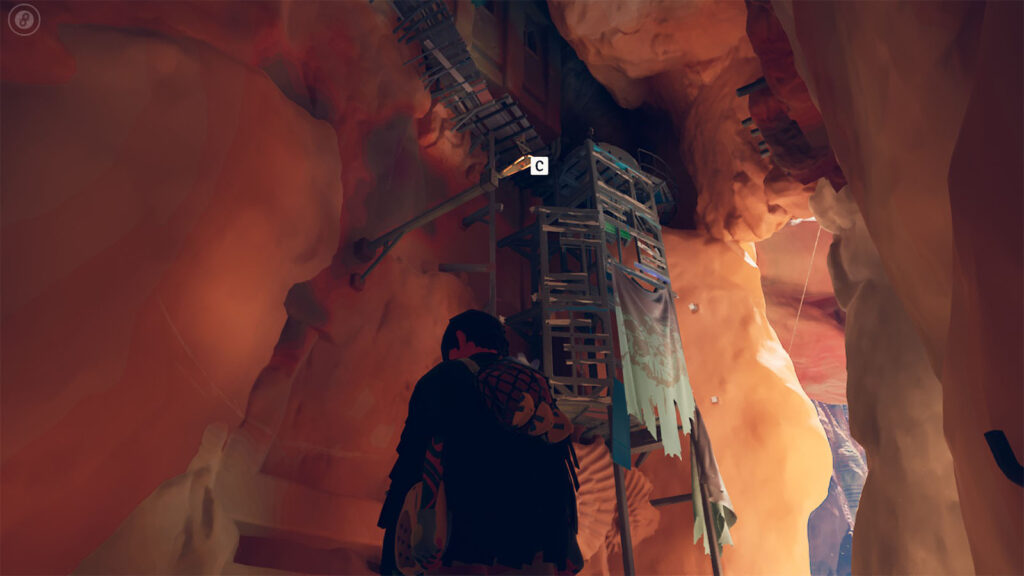
Take the elevator to the upper platform where you can find an anchor on the highest ceiling. Latch on to the anchor then swing towards the wall. Time your echo to make the vines on the other side grow, then grab on to the vines.
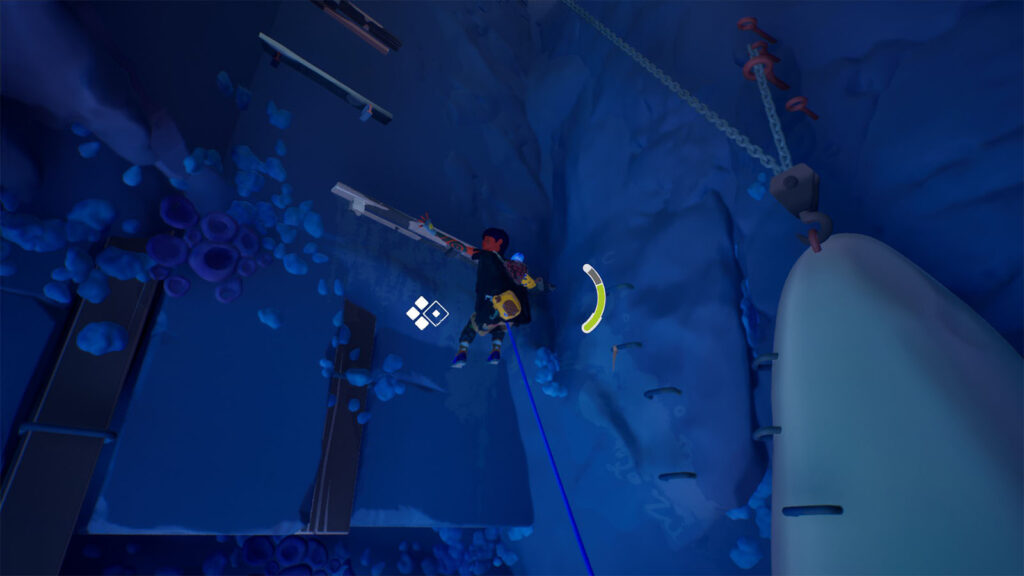
Make your way through the cave until you reach the end of the gap. Attach your rope on the anchor, then rappel down to the bottom to reach Fresco #2.
Go through the next path, them make your way through the next climbing area until you reach the next platform. Lower the hanging anchor to unlock another shortcut.
On this platform, you’ll find collectible Shell #3.
Afterwards, lower the bridge and cross it. Then turn right where you will find a gap in the wall.
Squeeze through the gap to reach the next room where you will find collectible Letter #13 on the shelves.
Go back out of the room and look up to find a hanging anchor. Latch on to it, but don’t head to the left yet.
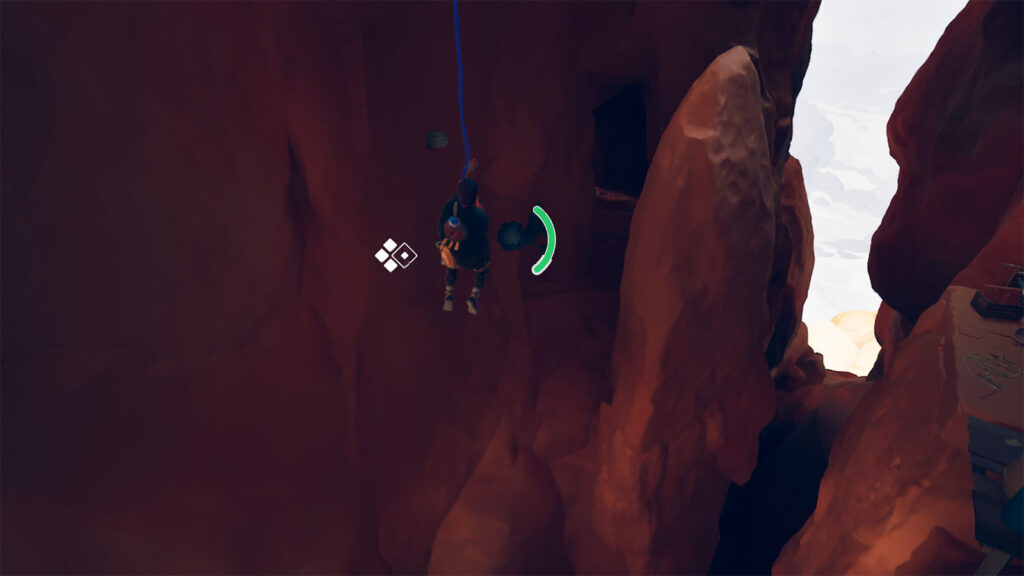
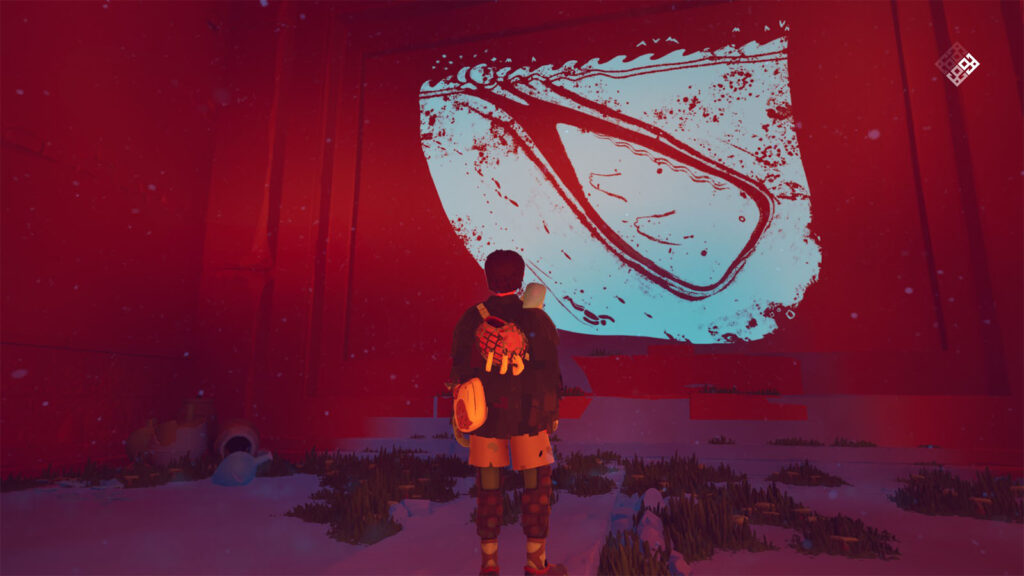
Turn around and you’ll find a ledge to land on. Follow the path all the way through until you see Fresco #3.
Head back out to the main path and latch on to the hanging anchor again. Land on the platform up ahead and look for the next hanging anchor.
Swing towards the boards on the right, then climb up to the top. Inside a crate nearby is collectible Letter #14.
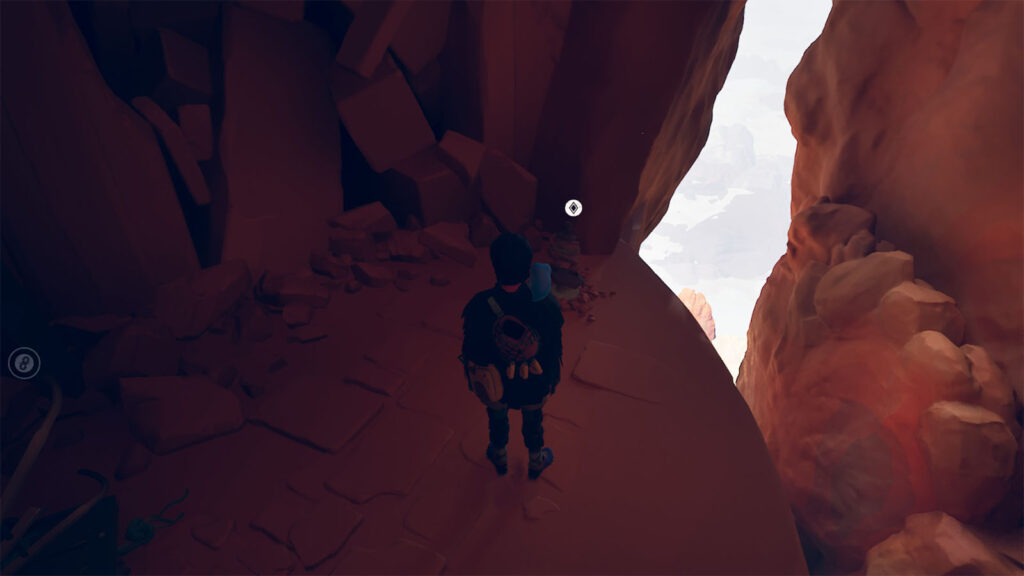
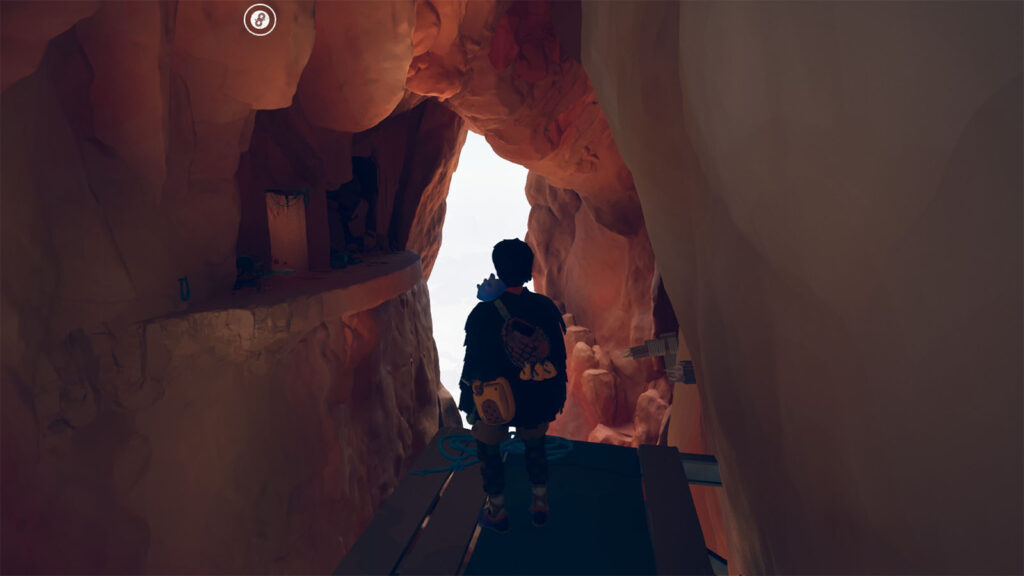
Latch on to the next anchor and swing towards the ledge up ahead. On the far edge is where you’ll find Cairn #6.
Finally, go through the passageway to get to the other side. Another cutscene will play which leads to the next chapter.
See next: Solstice Walkthrough


