
Lies of P is an action soulslike game that follows the story of a puppet that the great inventor Geppetto has created as a final resort to combat the other puppets that have gone mad. Inspired by the story of Pinocchio, players play as the puppet as they go through the overrun streets of the city of Krat in a desperate attempt to stop the city from falling and find the cause of the madness.
Read ahead as we go through the events of Chapter 1 Hotel Krat of Lies of P and share some tips and secrets that can be found along the way.
Lies of P: Chapter 1 Hotel Krat Full Walkthrough
Krat Central Station
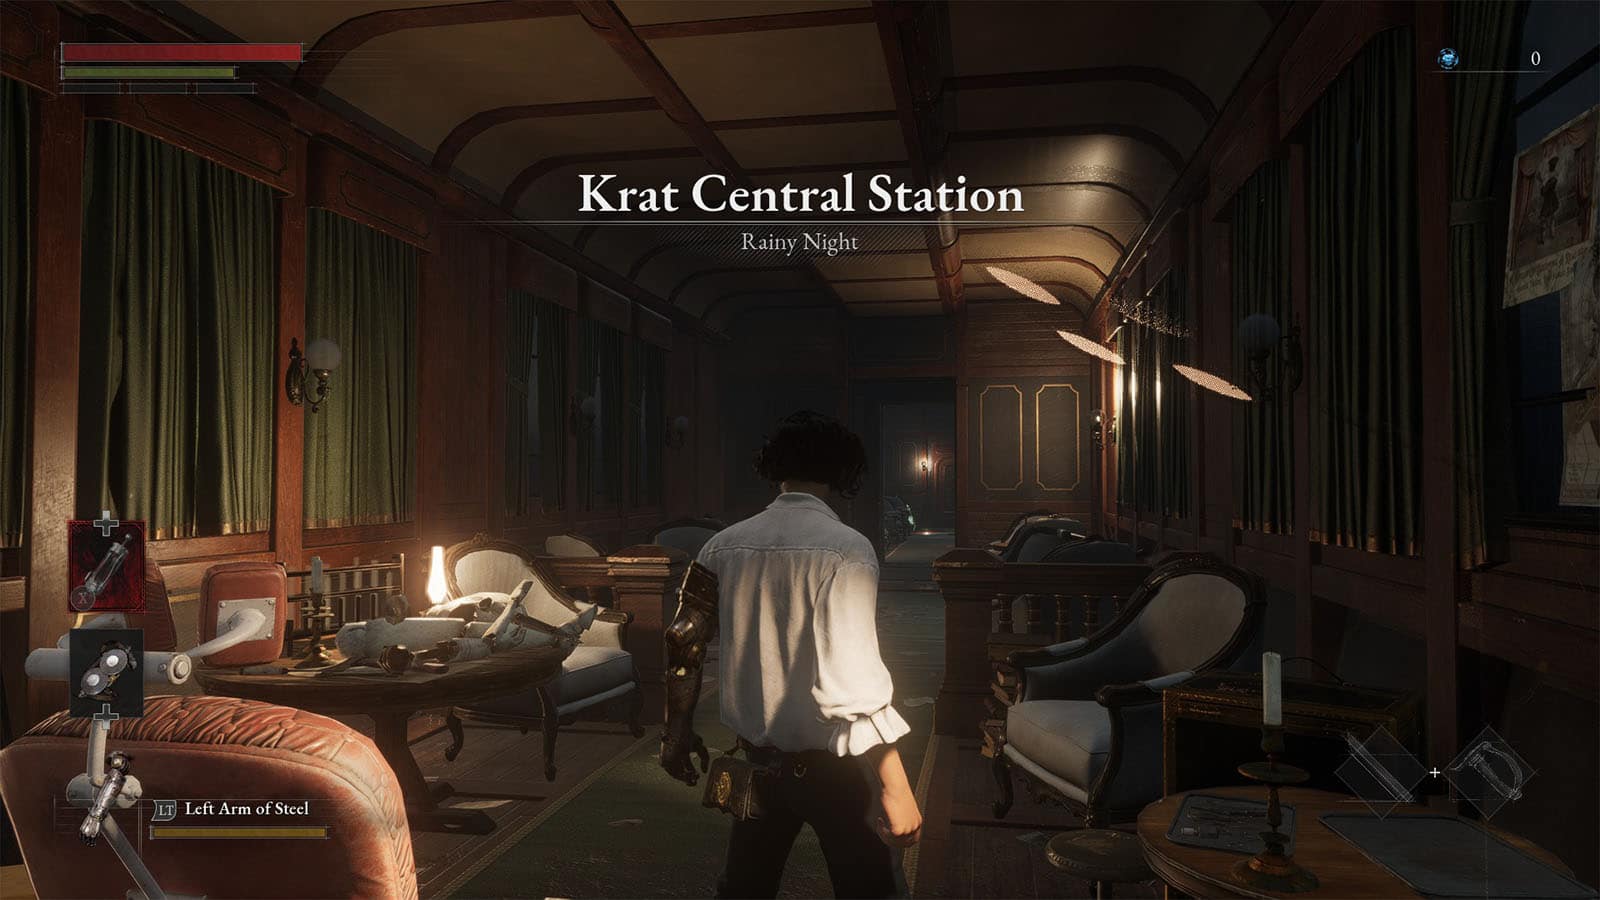
The story begins as we find the protagonist, P, awoken by a mysterious voice coming from a butterfly. We start inside an empty train coach within Krat Central Station.
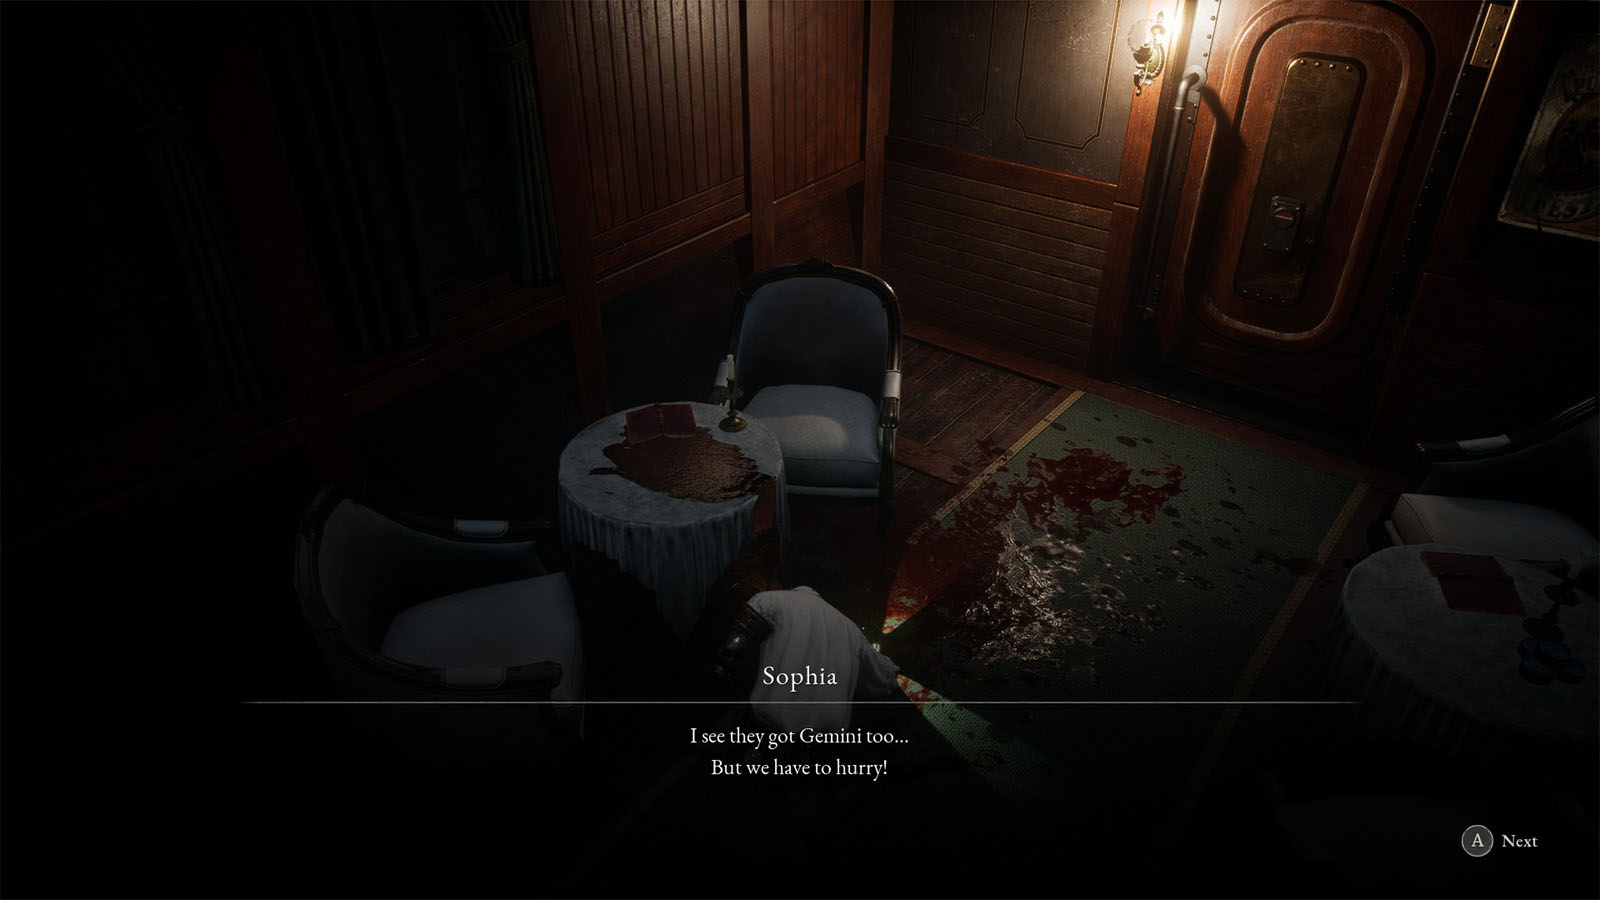
For now, continue moving through the other coaches until you find a lamp on the ground. Pick it up to add it to your inventory.
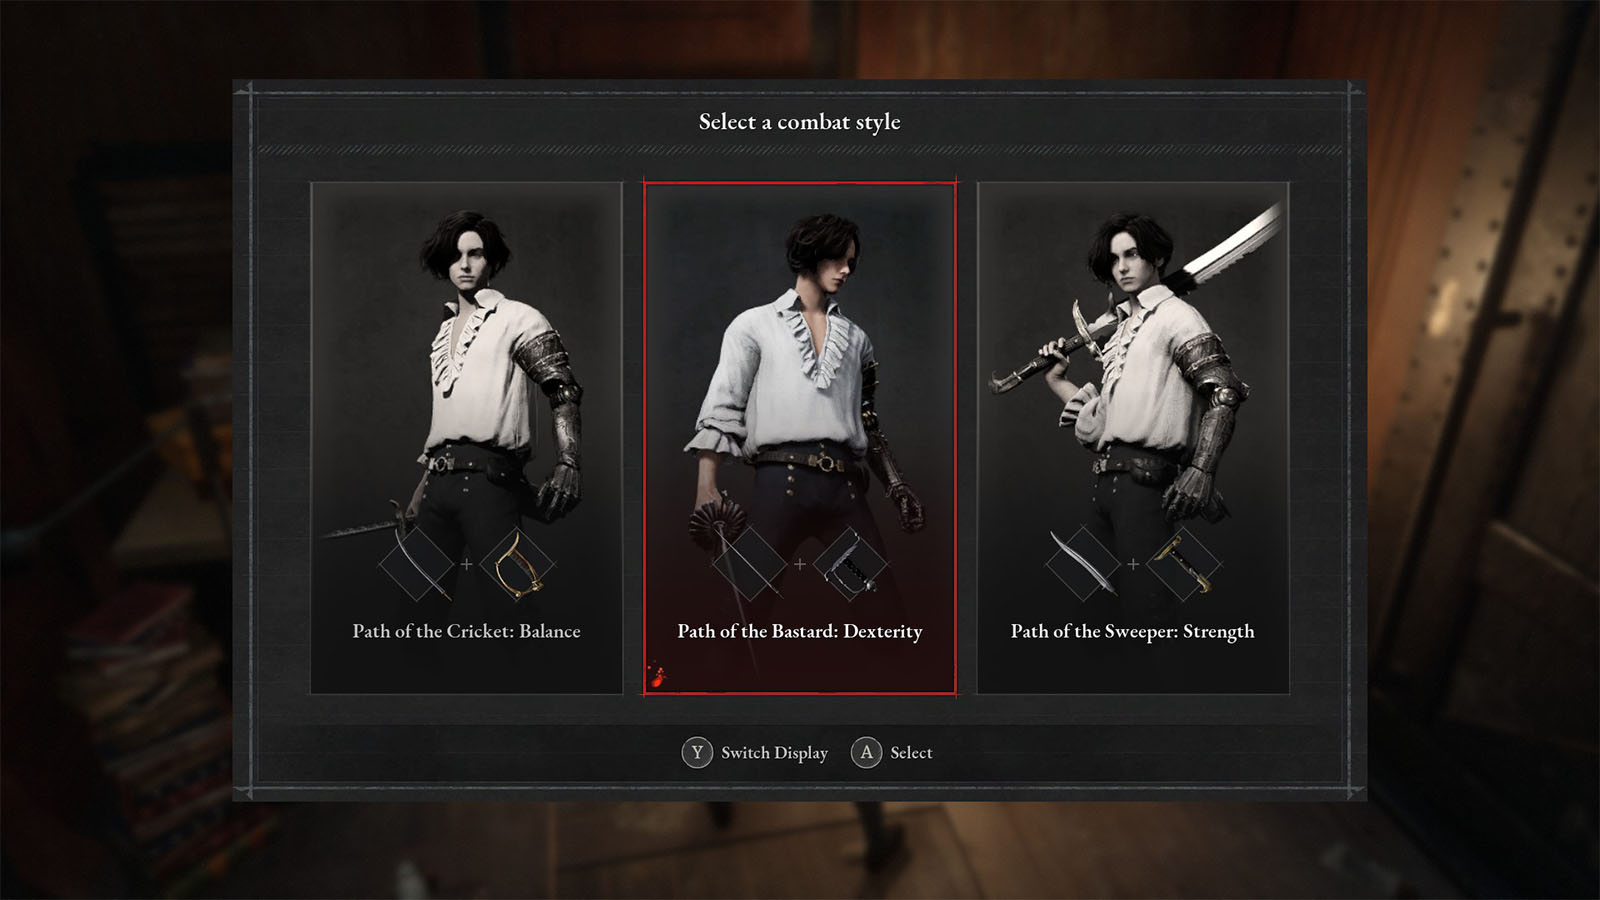
In the next train coach, you will find a desk with blades. Interact with them and you will get to choose between three combat styles:
- Path of the Cricket: Balance – Balanced offense and defense with quick slashing attacks.
- Path of the Bastard: Dexterity – Quick thrusts and jabs that provides mobility and evasion.
- Path of the Sweeper: Strength – Huge swings that deal devastating attacks that stagger enemies easily.
You can choose any of the starter paths based on what you are comfortable with. You can switch the display to show the stats that you will be starting with to learn more. Check out our Lies of P Stat Guide to get a more in-depth explanation on the different stats.
After selecting a path, you then get out of the train coach and get on to the platform. This is the initial spawn point for this chapter. Take this time to set your controls and keybindings based on your preference.
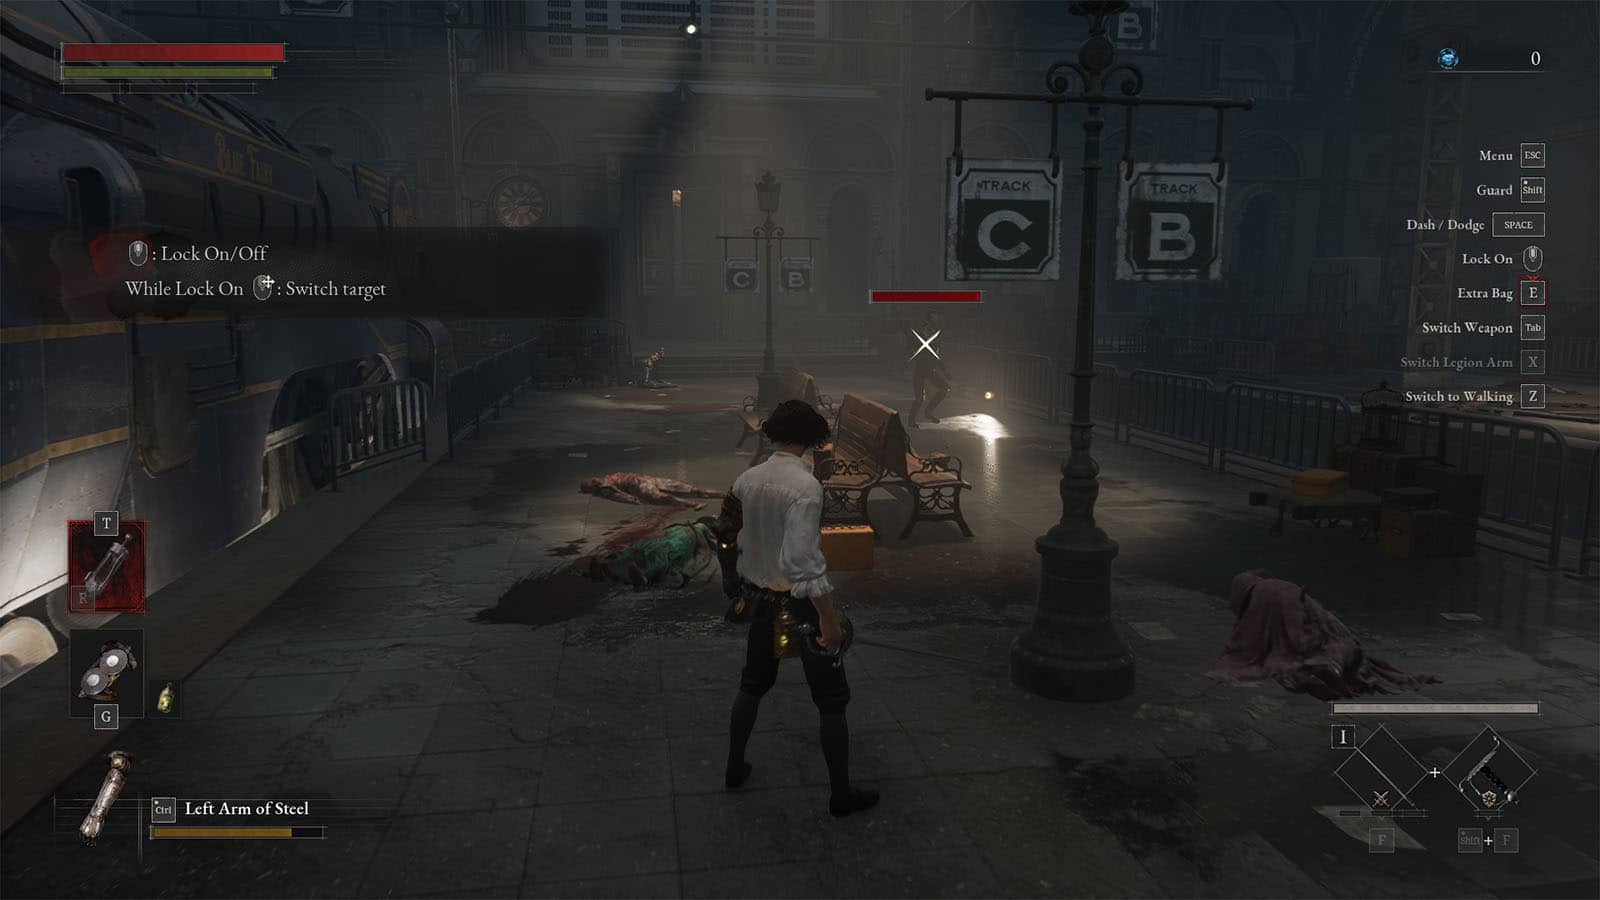
Up ahead are the first enemies that you will encounter. These puppets are easy to deal with and their attacks are telegraphed clearly Rushing them with attacks will usually be effective in eliminating them right away. As a tip, use the target focus to figure out which are the enemies as they sometime appear slumped or lying on the ground.
Ergo – Currency
When defeated, these enemies drop what is known as Ergo, the main currency of this game. It is used mainly to pay for leveling up P or to purchase consumables, weapons, and upgrades.
When you die, you will lose all of your collected Ergo and they will drop on the ground as a glowing blue orb. You can then go back to the same location you died to pick up this orb and get all of your Ergo back. However, if you die once more before picking up the orb, all of the Ergo it contains will be lost forever, so try to pick it up as soon as you can, and try to position yourself near an exit path as much as possible in case you find an untimely death; this will make the retrieval of the orb on your next try.
Glowing Blue Flowers – Loot
You will often see glowing blue flowers on the ground. These are items that you can pick up and they usually appear as static pickups or as dropped loot by defeated enemies. Static pickups can only be picked up once and they do not respawn even when using the save point. During this chapter, you will usually get consumables like Thermite (explosive throwable), Fable Catalyst (consumable Fable charge), and Ergo Fragments (consumable to earn Ergo).
Consumables can either be places on the top or bottom belt. Once equipped, it can be highlighted as the on hand item which can be used with the press of the quick use button.
Pulse Cell – Health Recovery
Head inside the station and you will find a glowing purple cell on a pedestal. This is Pulse Cell that can be used to recover HP. You will only have three charges of this at first which will heal roughly around half of your starting health bar. Once all charges have been spent, you can recharge one charge by attacking enemies. The Pulse Cell only starts charging up if it gets depleted.
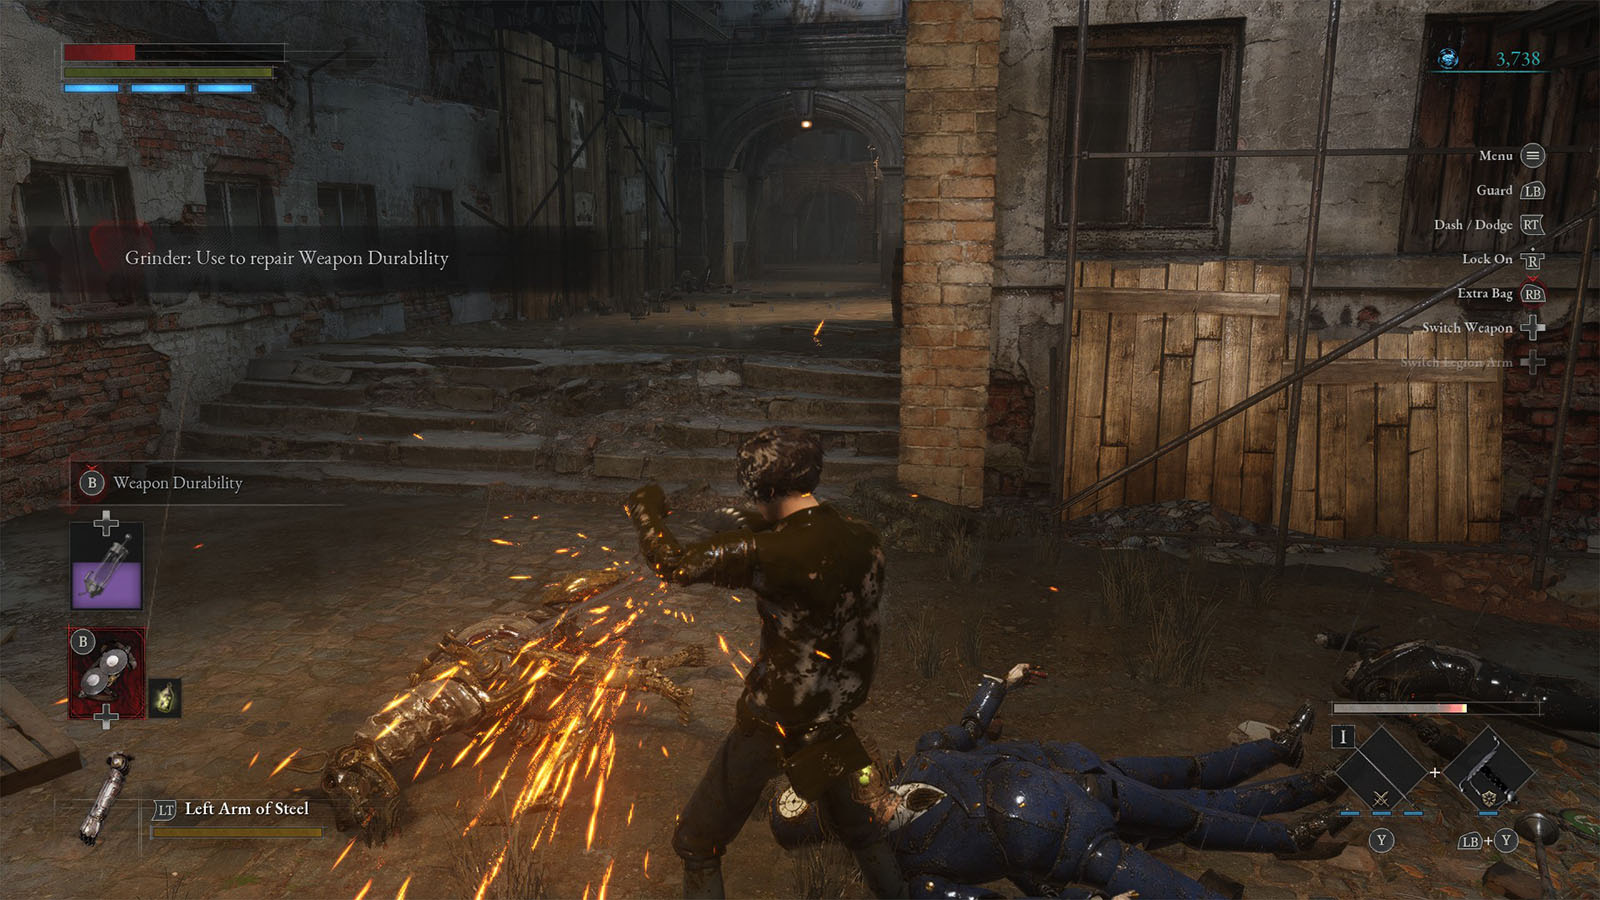
Grinder – Weapon Durability
Continue forward where you will find more puppets to destroy. At this point, on the lower right corner, you may notice that the bar on top of your blade and hilt has decreased. This meter shows your Weapon Durability which goes down as you hit more enemies. As long as the meter is not depleted, you will be able to do your attacks as usual. But once the meter has been depleted, you won’t be able to attack properly until the durability is replenished.
To replenish the durability, you can use the Grinder which is equipped on your bottom belt as default. Hold down the quick use function while having the Grinder highlighted and it will gradually refill or sharped your blade again. This can be done anytime and the weapon does not have to be polished up to max to reuse the weapon again.
As you make your way through the next hall, you will find another type of puppet that can shoot a gun at your direction. Rush this enemy while strafing slightly to one side to avoid getting shot.
After going up the stairs, you will find an enemy at the end of a hallway. Here, you will learn about the backstab mechanic. Approach the enemy’s back without hitting it, then do your basic attack to perform a fatal backstab that will deal heavy damage to the enemy.
Continue through the halls and enemies up ahead and you will find a small room where you can pick up the Collectible – Passenger’s Note.
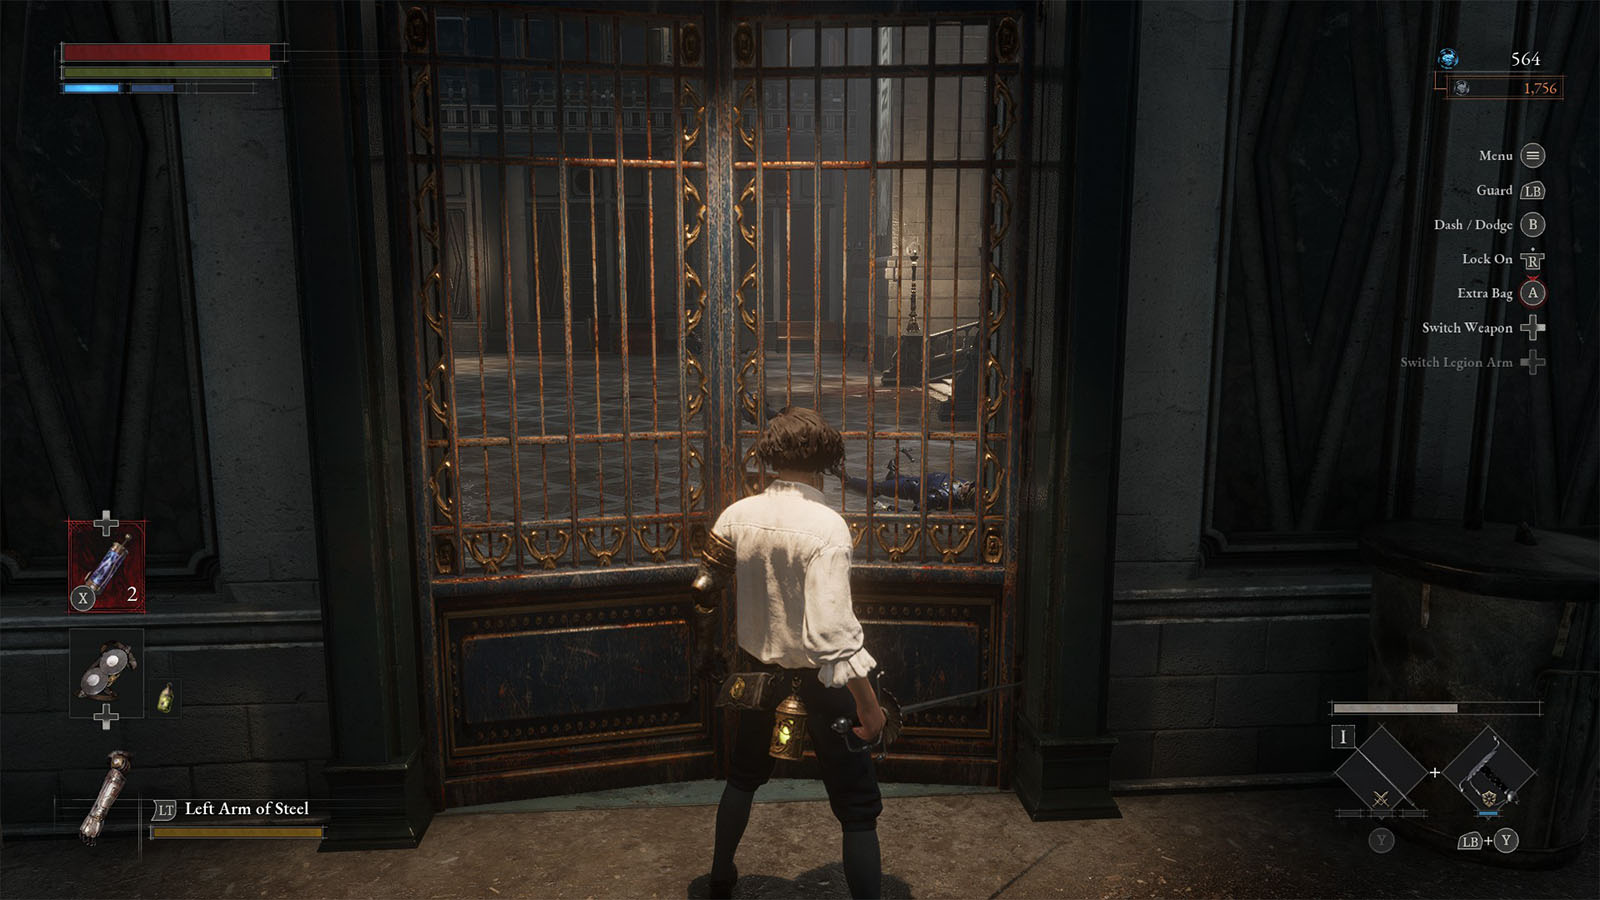
You will find yourself goin back down to the ground level where a huge puppet enemy is busy on a corpse. Before approaching the enemy, go to the gate nearby and open it to unlock a shortcut to the main lobby from earlier.
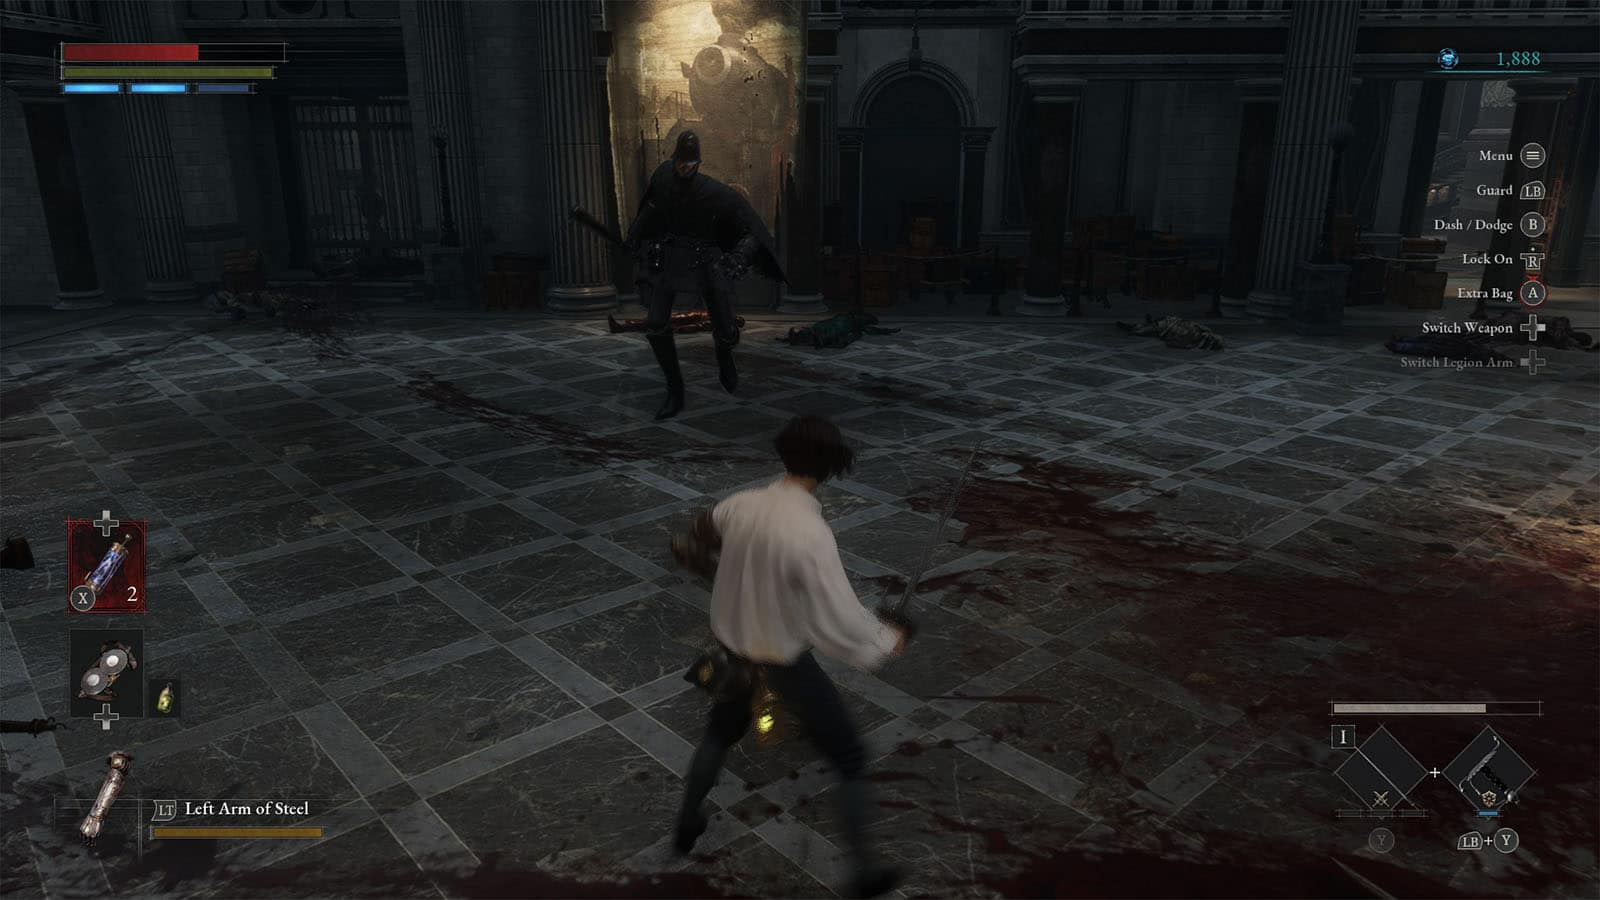
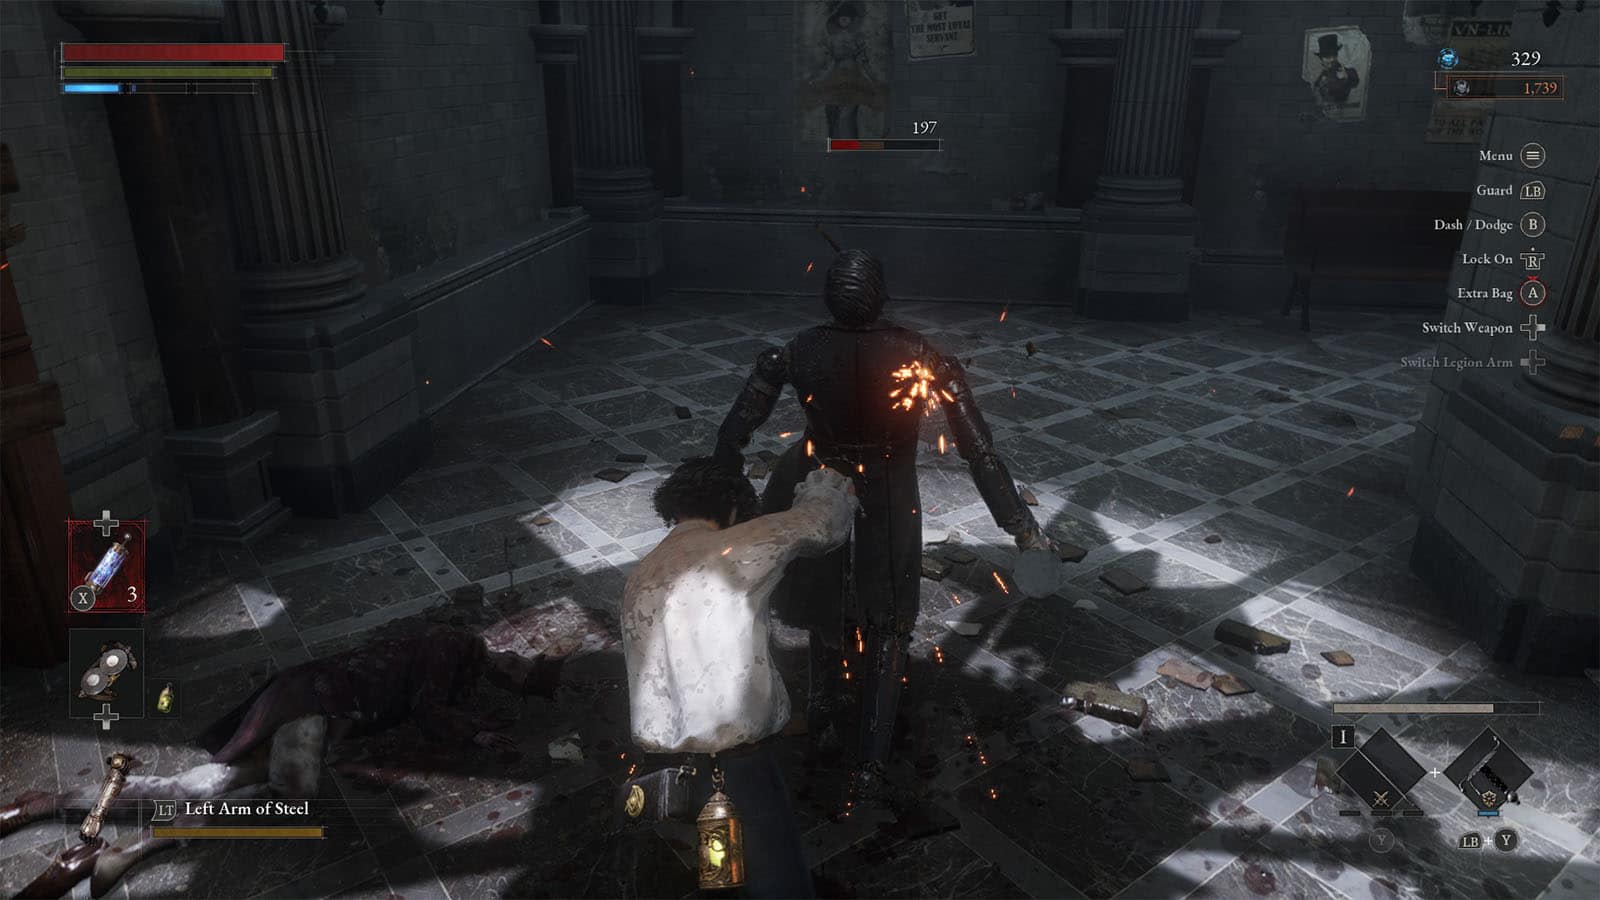
High Elite Fight: Watchman Puppet
This Watchman Puppet is the first high elite enemy that you will face in the game. This elite can be brutal with its baton swings which it can chain to up to three attacks. It’s very important to read its body to know if it will chain another attack or not before going for a counter attack.
To defeat this boss, you will either have to be perfect with your blocks to force openings, or take single potshots to slowly chip away its health. If you die against this enemy, you will have to go back to the starting spawn point as you won’t get access to any save points until later.
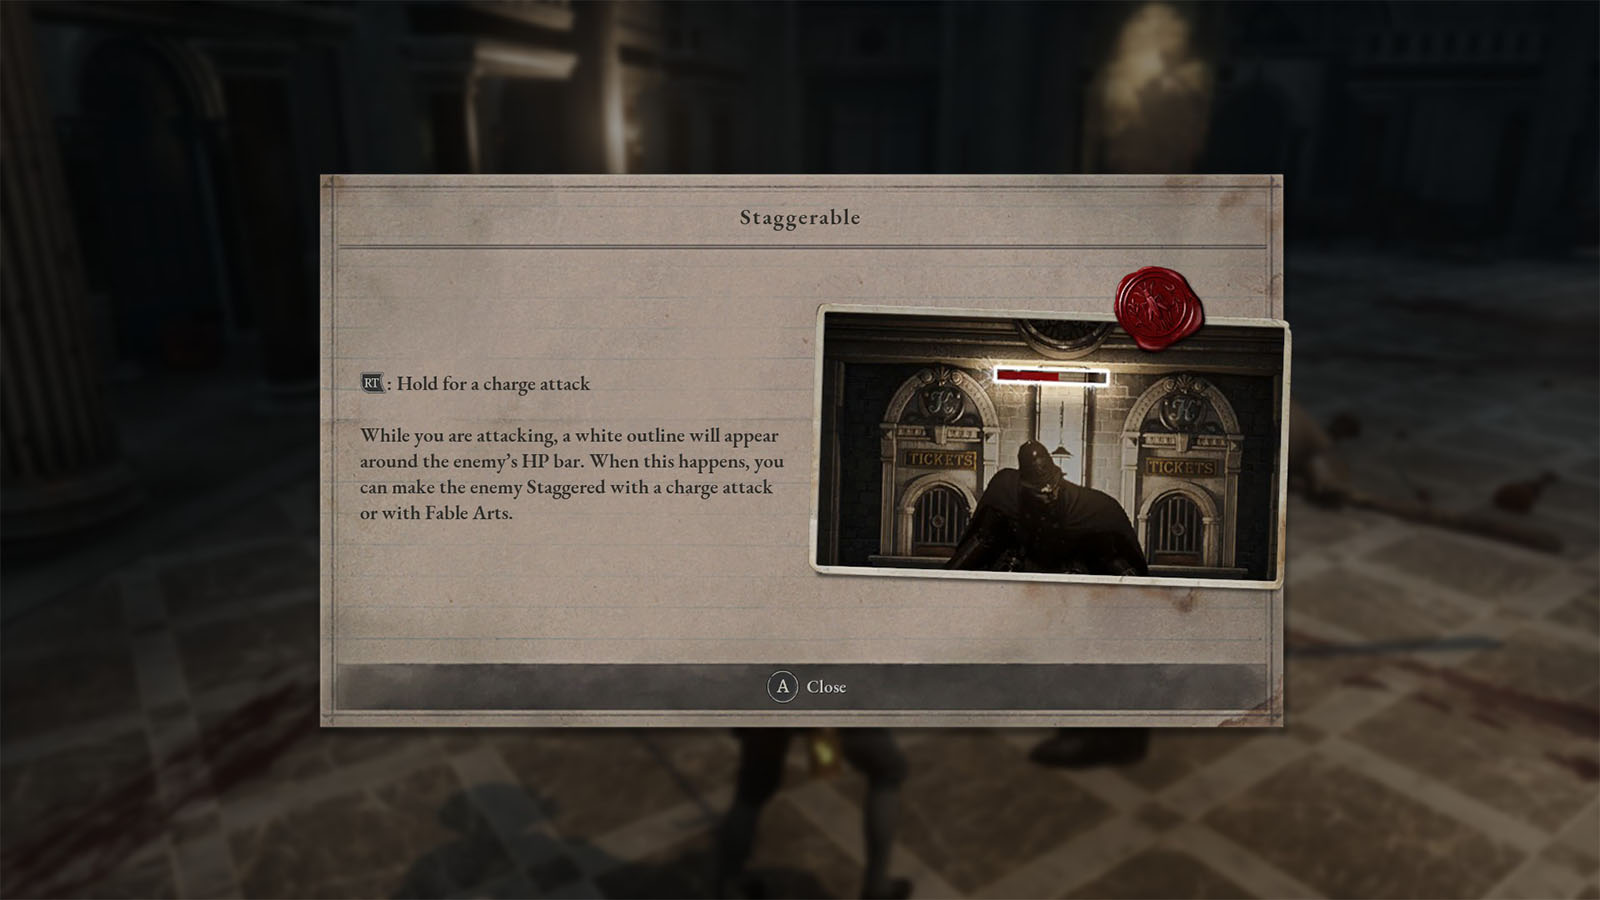
Stagger mechanic
Once you deal enough damage to the enemy, you will notice that its health bar will glow white. When this happens, do a charged special attack or a Fable Arts attack to stagger the enemy and get a good window to attack afterwards. Be careful as the enemy will still be aggressive until you manage to stagger it. Also, the bar will only glow for a few seconds and you will have to deal enough damage again to make it reglow.
Once the enemy has been defeated, it will drop the Krat Central Station Main Entrance Key and the Workshop Union Lightweight Frame. The frame can be equipped in the Equipment menu to modify P’s stats.
Head back to the main lobby and open the door up the stairs to exit the station.
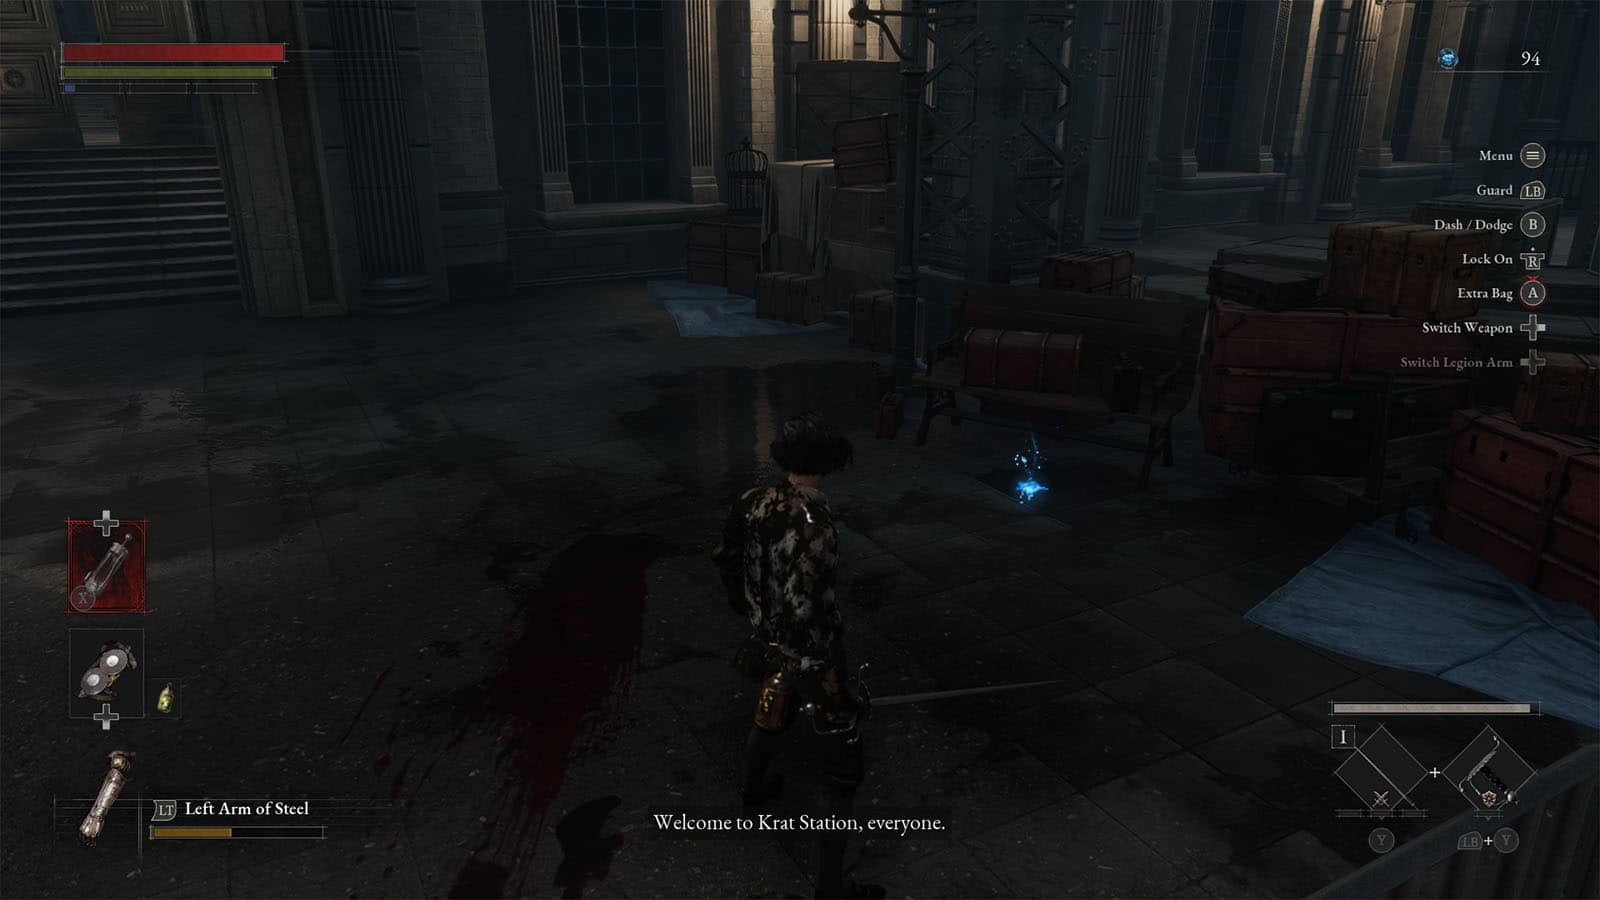
Krat Central Station Plaza
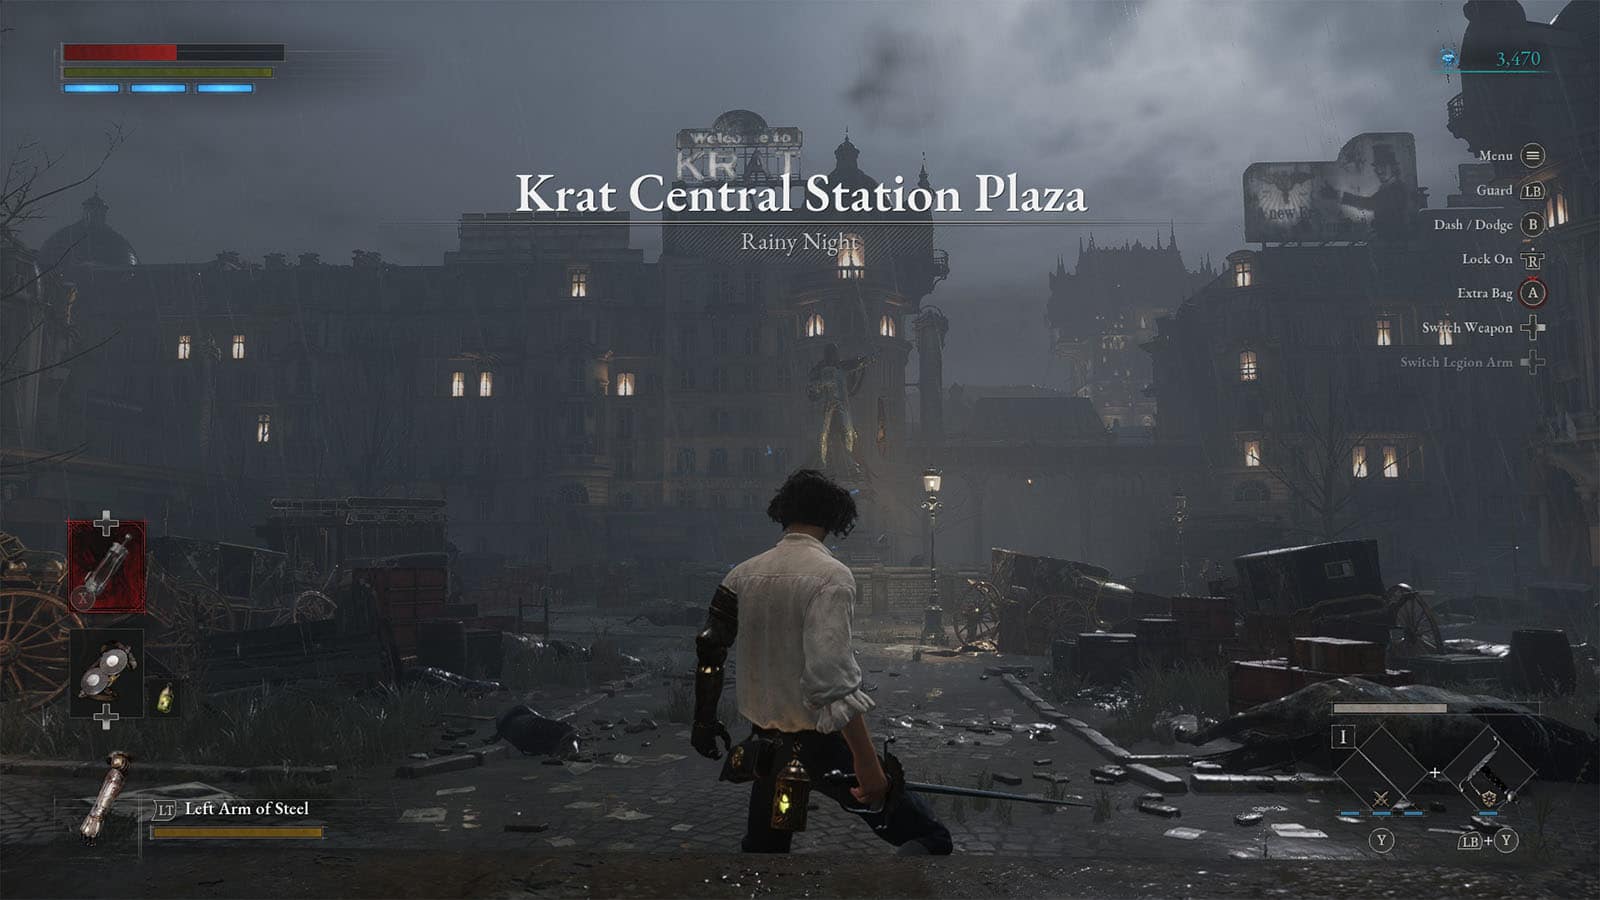
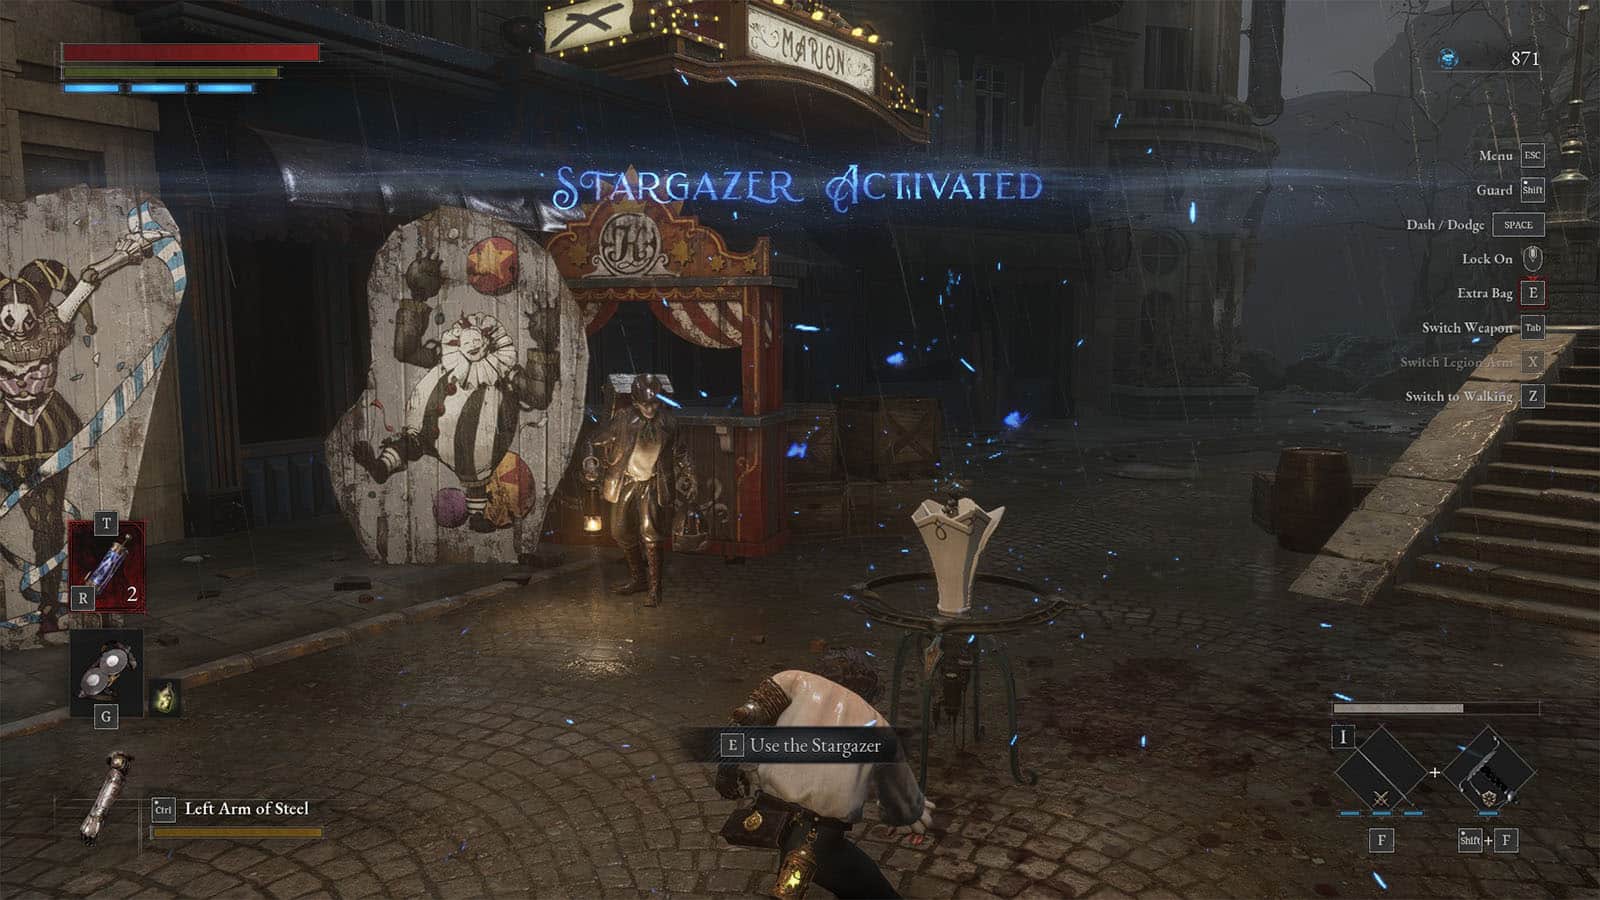
You will arrive at the Krat Central Station Plaza. Up ahead is a cloud of blue wisps where you will find your first Stargazer which serves as the save point in this game.
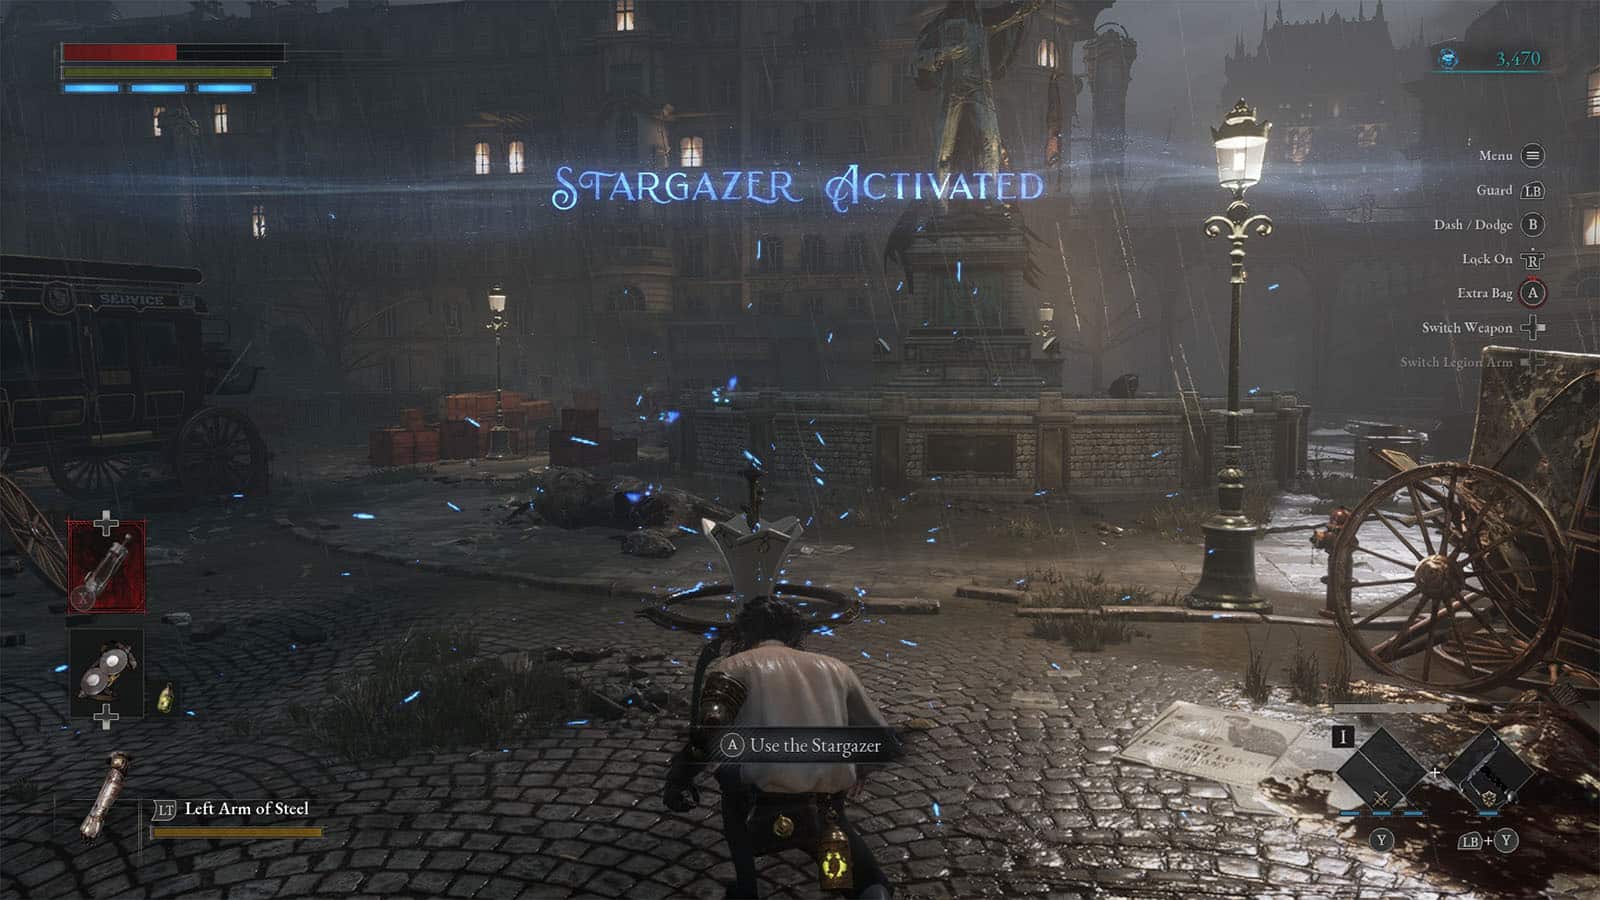
Stargazer – Save point
The Stargazer is a save point where you can do a bunch of things. For now, it serves as a place where you can spend your Ergo to level up P and gain stats. You can also use it to manage your equipment. Remember that using the Stargazer will also respawn the enemies that you have defeated. You can use this to your advantage and farm for more Ergo to increase your level.
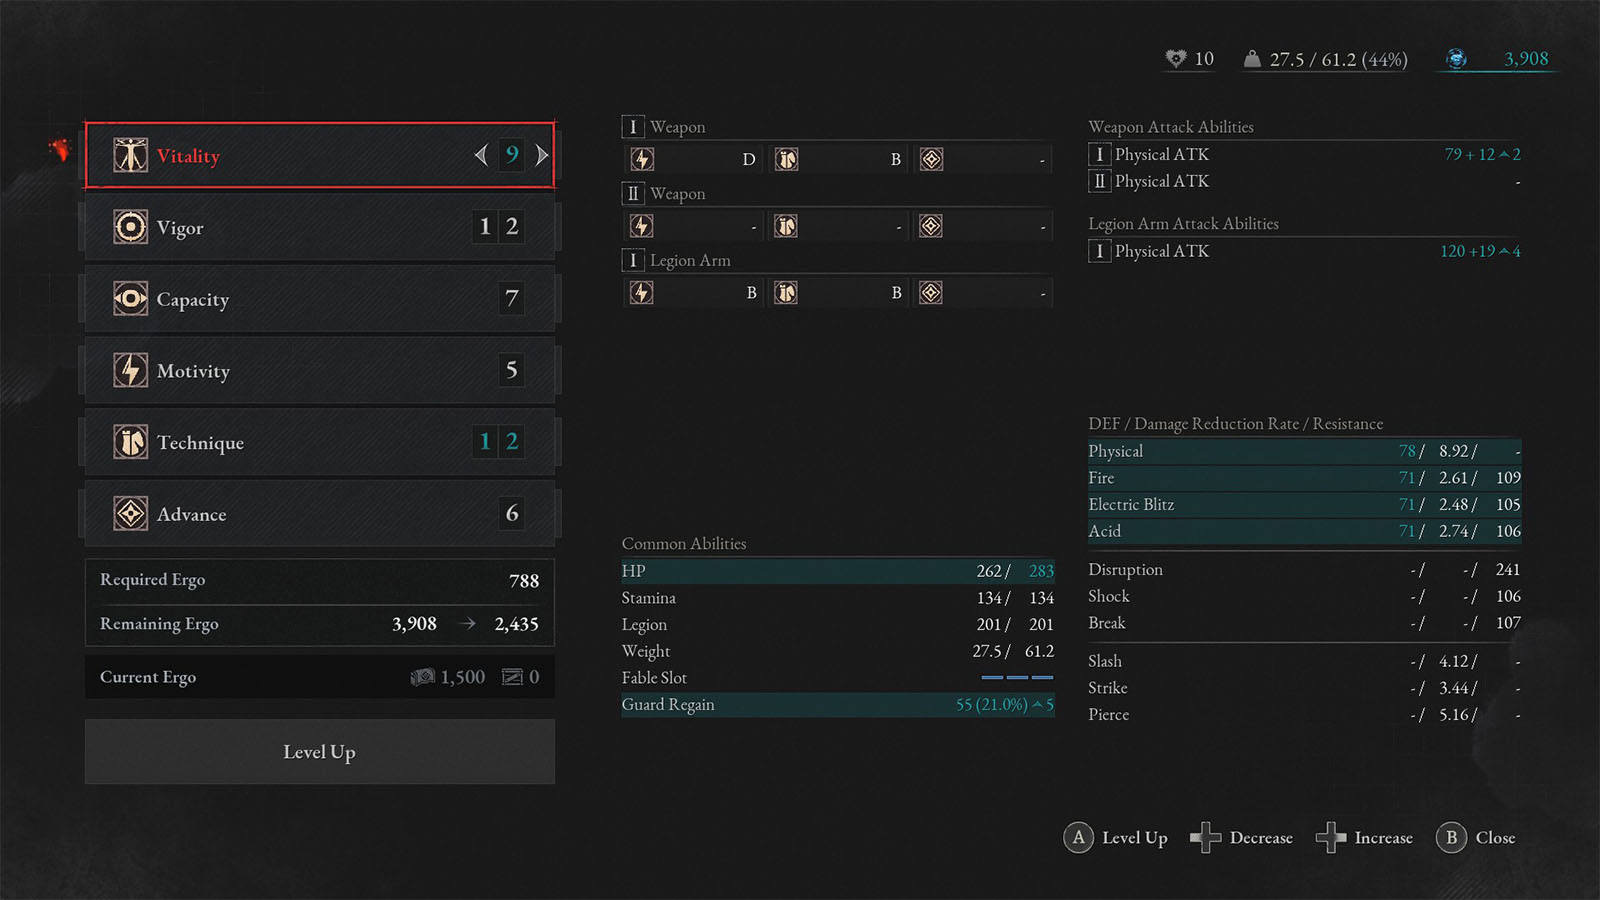
Leveling up
When leveling up, you will need to choose from one of P’s six stats to raise:
- Vitality – Increases HP, Guard Regain, and Phys/Elem DEF/Damage Reduction Rate/Resistance
- Vigor – Increases Stamina, and Phys/Elem DEF/Damage Reduction Rate/Resistance
- Capacity – Increases Legion, Weight (Capacity), and Phys/Elem DEF/Damage Reduction Rate/Resistance
- Motivity – Increases Weapon and Legion Arm Physical ATK, and Phys/Elem DEF/Damage Reduction Rate/Resistance; Scales with Strength weapons
- Technique – Increases Weapon and Legion Arm Physical ATK, and Phys/Elem DEF/Damage Reduction Rate/Resistance; Scales with Dexterity weapons
- Advance – Increases Legion and Elem/Status DEF/Damage Reduction Rate/Resistance
Each stat costs Ergo to raise, and the price increases as the stat goes higher.
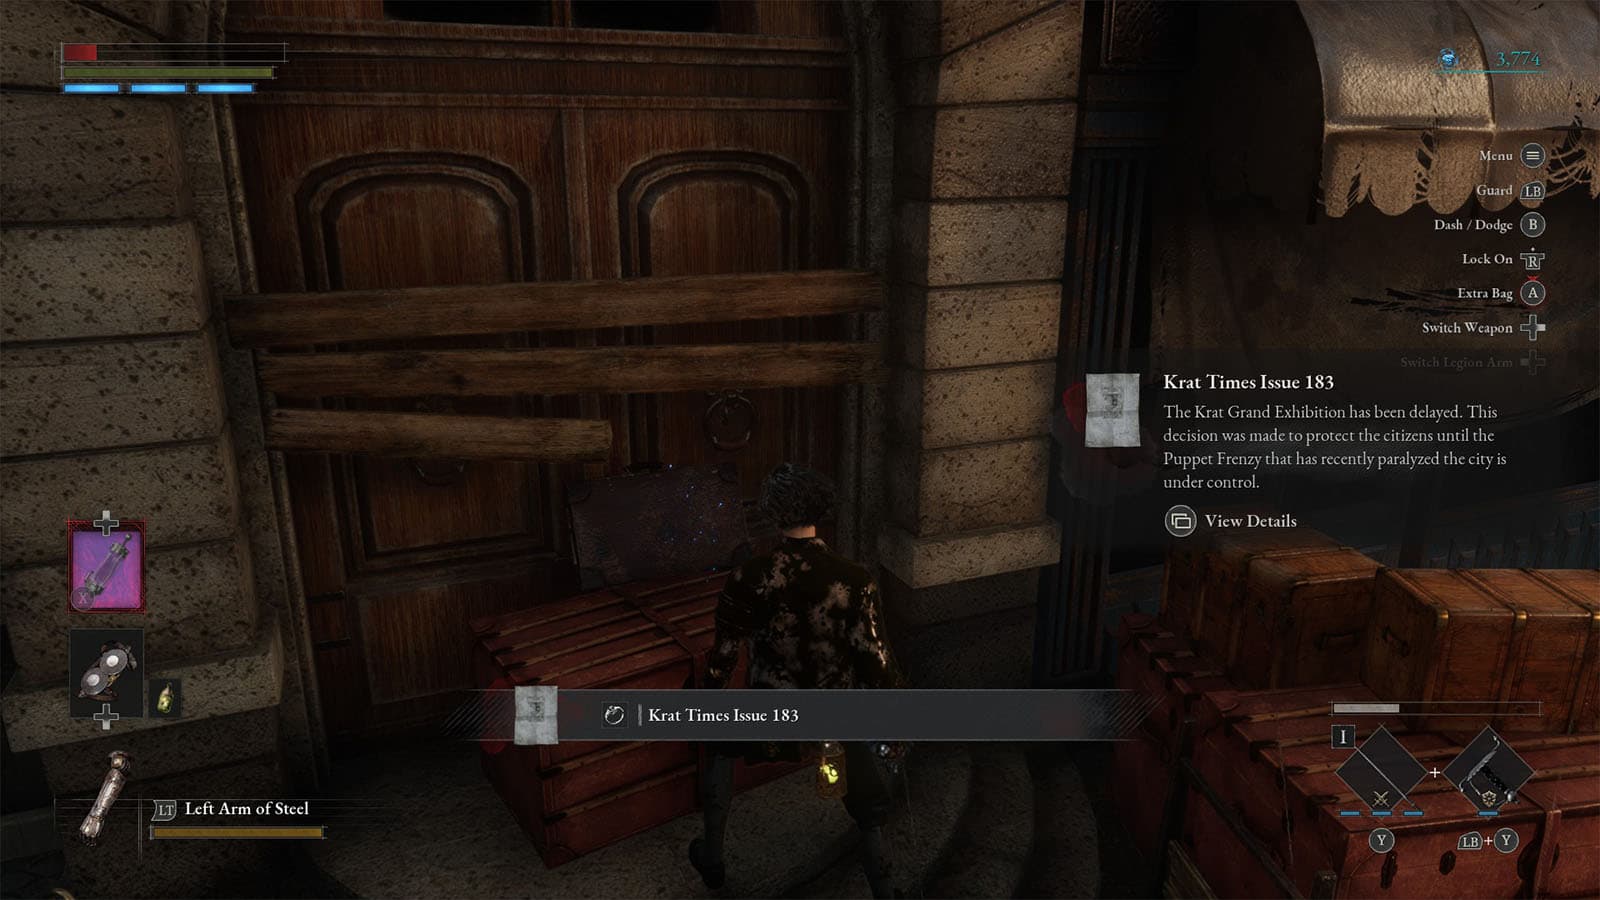
Back in the plaza, it is littered with a lot of enemies, including a new dog puppet that can chase you down quickly. While in the plaza, you will find a Collectible – Krat Times Issue 183 on top of a crate. There are also a Vivid Ergo Fragment, Dim Ergo Fragment and a Sawtoothed Wheel to be found in the connecting alleys.
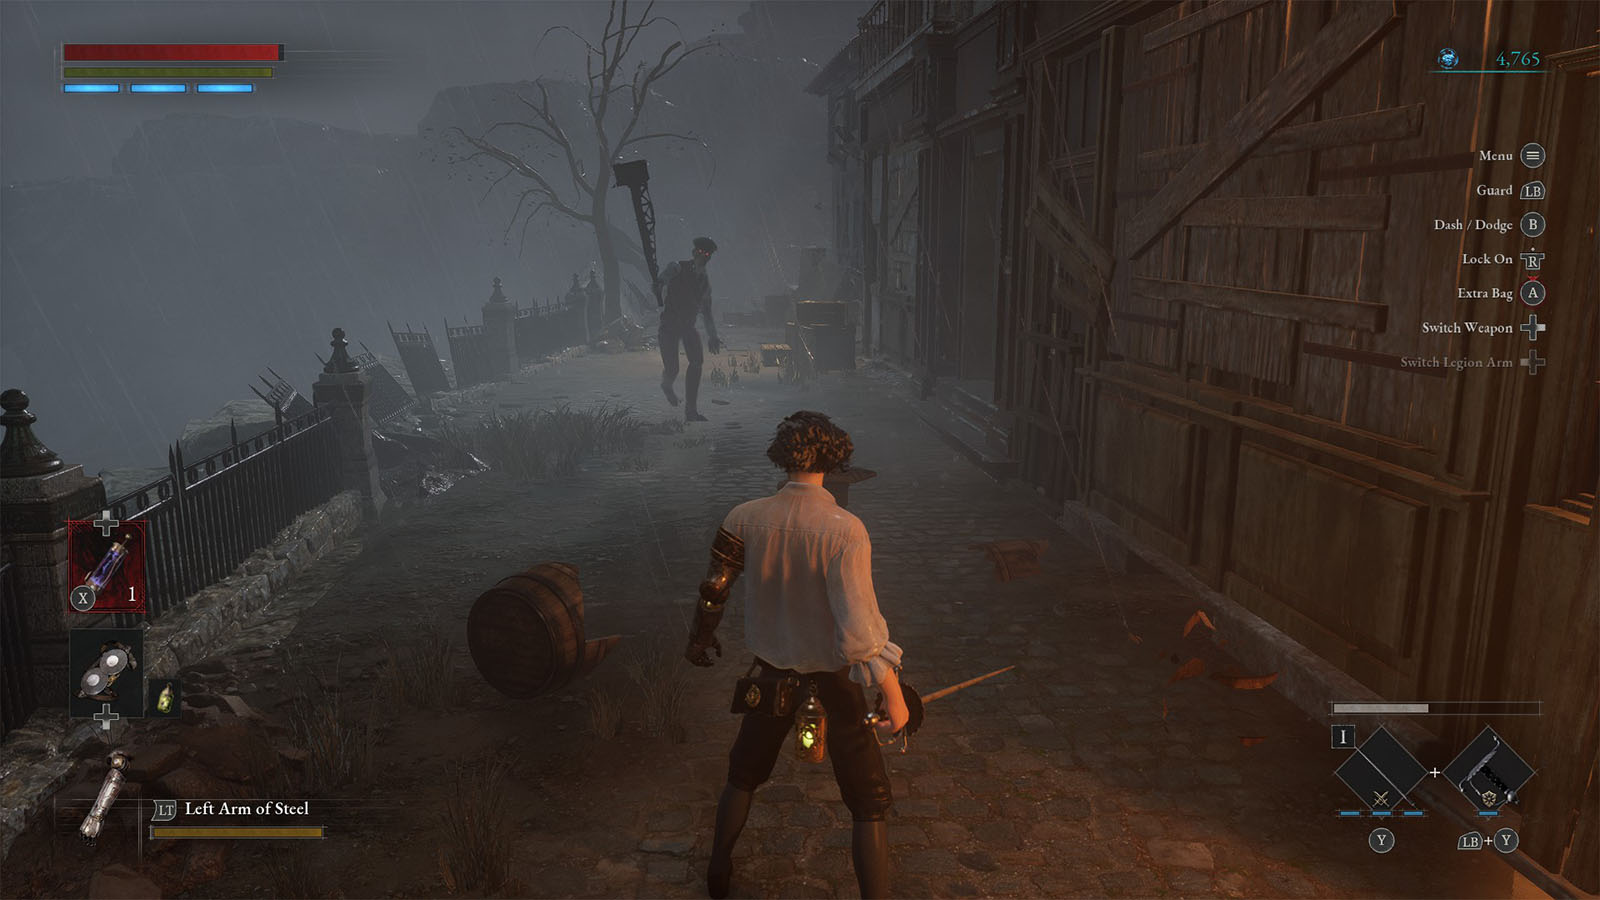
As you make your way through the streets and enemies once more, you will eventually encounter an elite enemy: the Milkman puppet. This enemy is tough, but its attacks are fairly readable. Don’t get too close as it can do a shove attack, followed by a downwards hammer smash. Punish it whenever it misses a hammer attack, which could get you around 1 to 2 hits.
Unavoidable Attack
You will see that these elites and bosses will sometimes glow red before an attack. This means that the incoming attack cannot be staggered or blocked, but it can be parried only with a perfect parry.
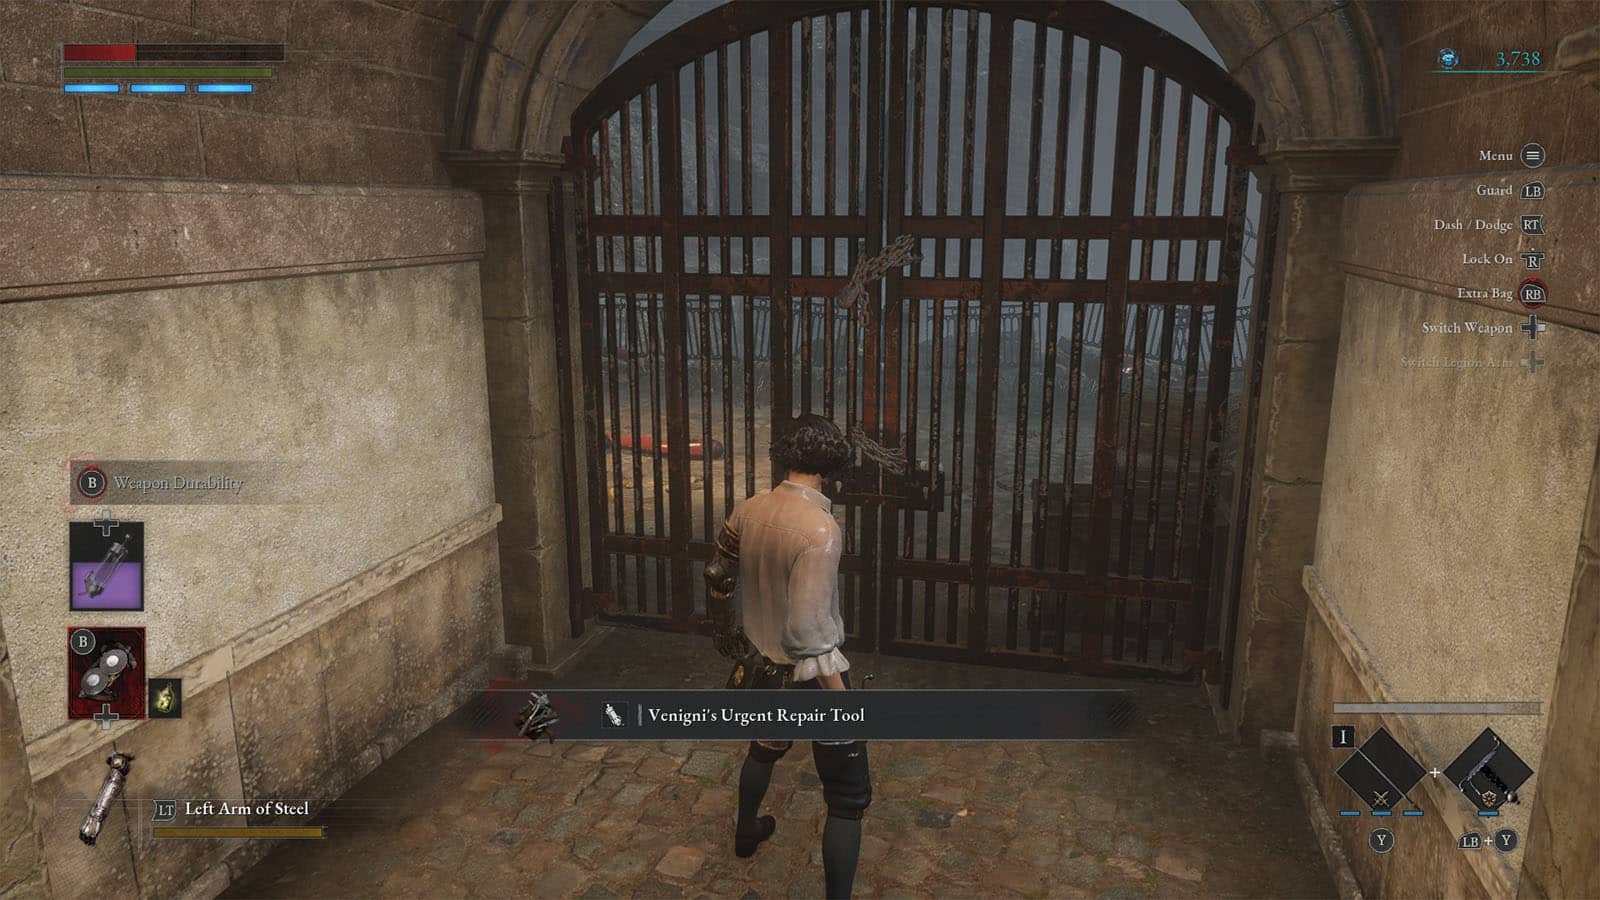
In one of the alleyways next to the chained gate, you will find Venigni’s Urgent Repair Tool which is a consumable that replenishes your weapon durability in a pinch.
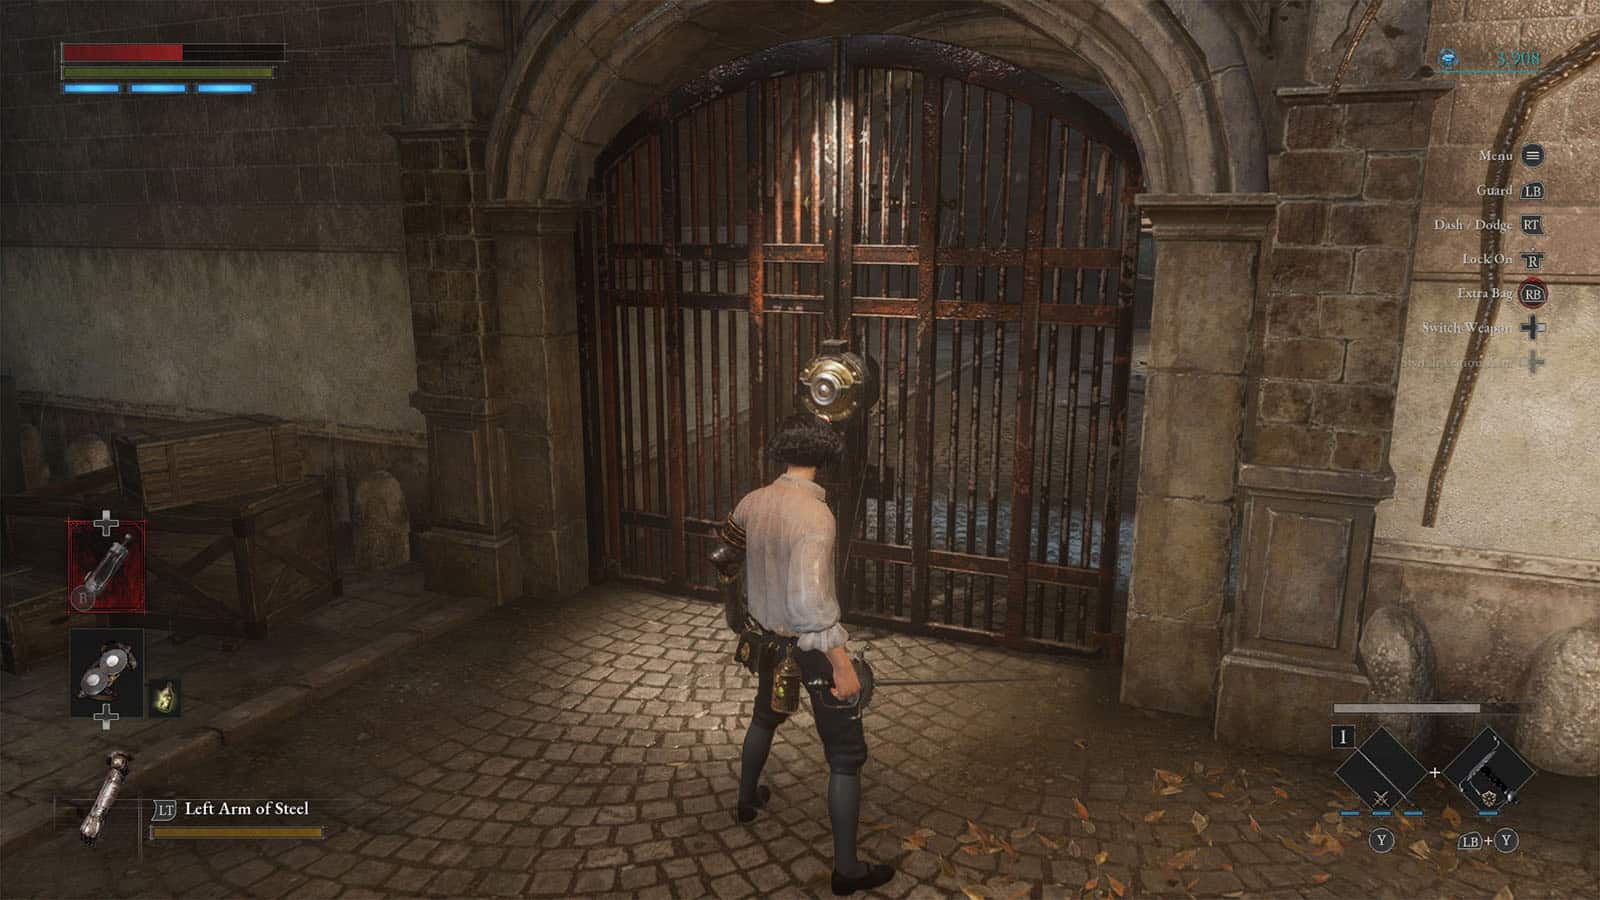
Keep an eye out for a gate up ahead to unlock another shortcut that goes back to the plaza. This will open up a quicker grinding route for you in case you need to level up some more.
Cerasani Alley
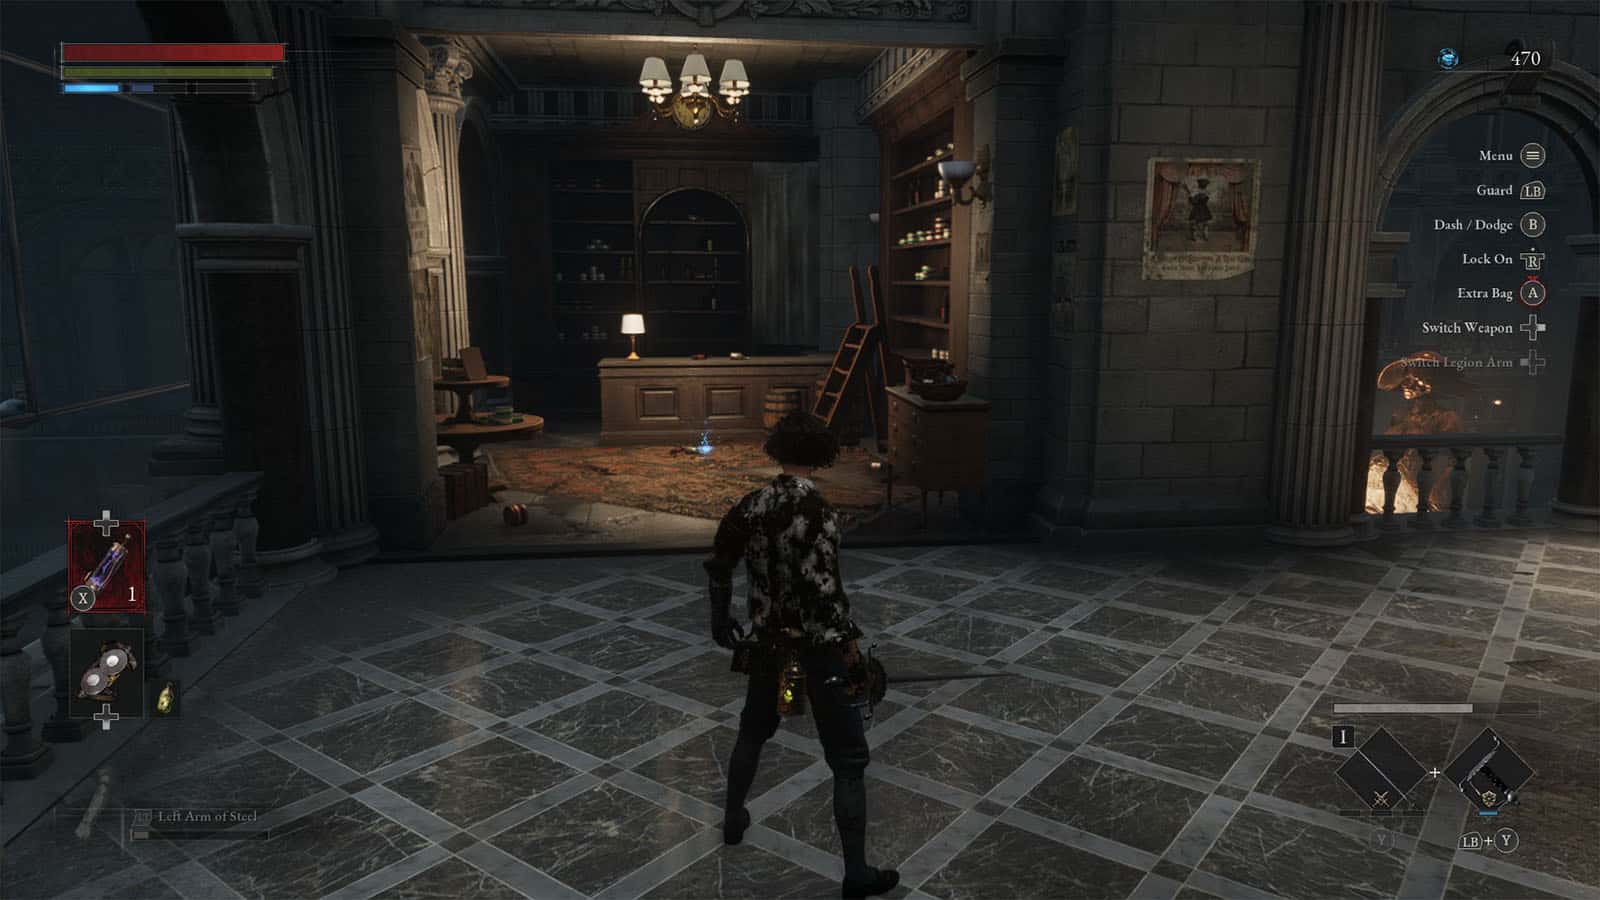
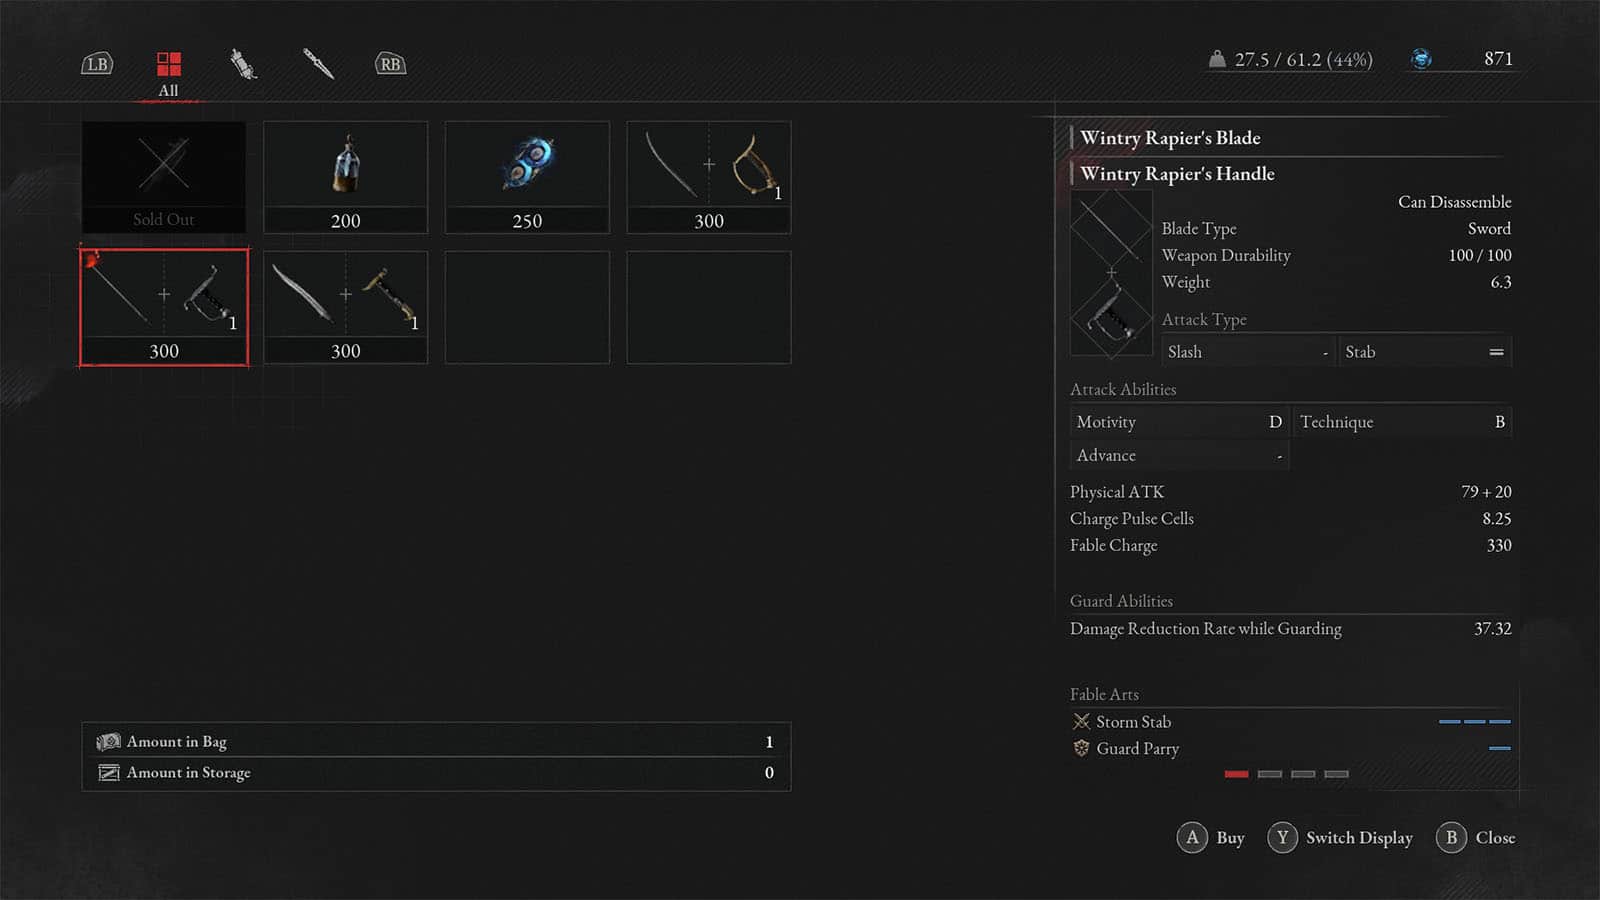
After going through the alleyways, you will find a wandering merchant near a training dummy. Nearby is another Stargazer you can activate. You can talk to the merchant to purchase some new weapons or consumables for later.
Before proceeding up the stairs, check the path behind the merchant to find the Collectible – Introducing the Parade Puppet!. There’s not much else to do in this section of the map, so take the time to grind for more levels to prepare for the boss fight ahead.
Boss Fight: Parade Master
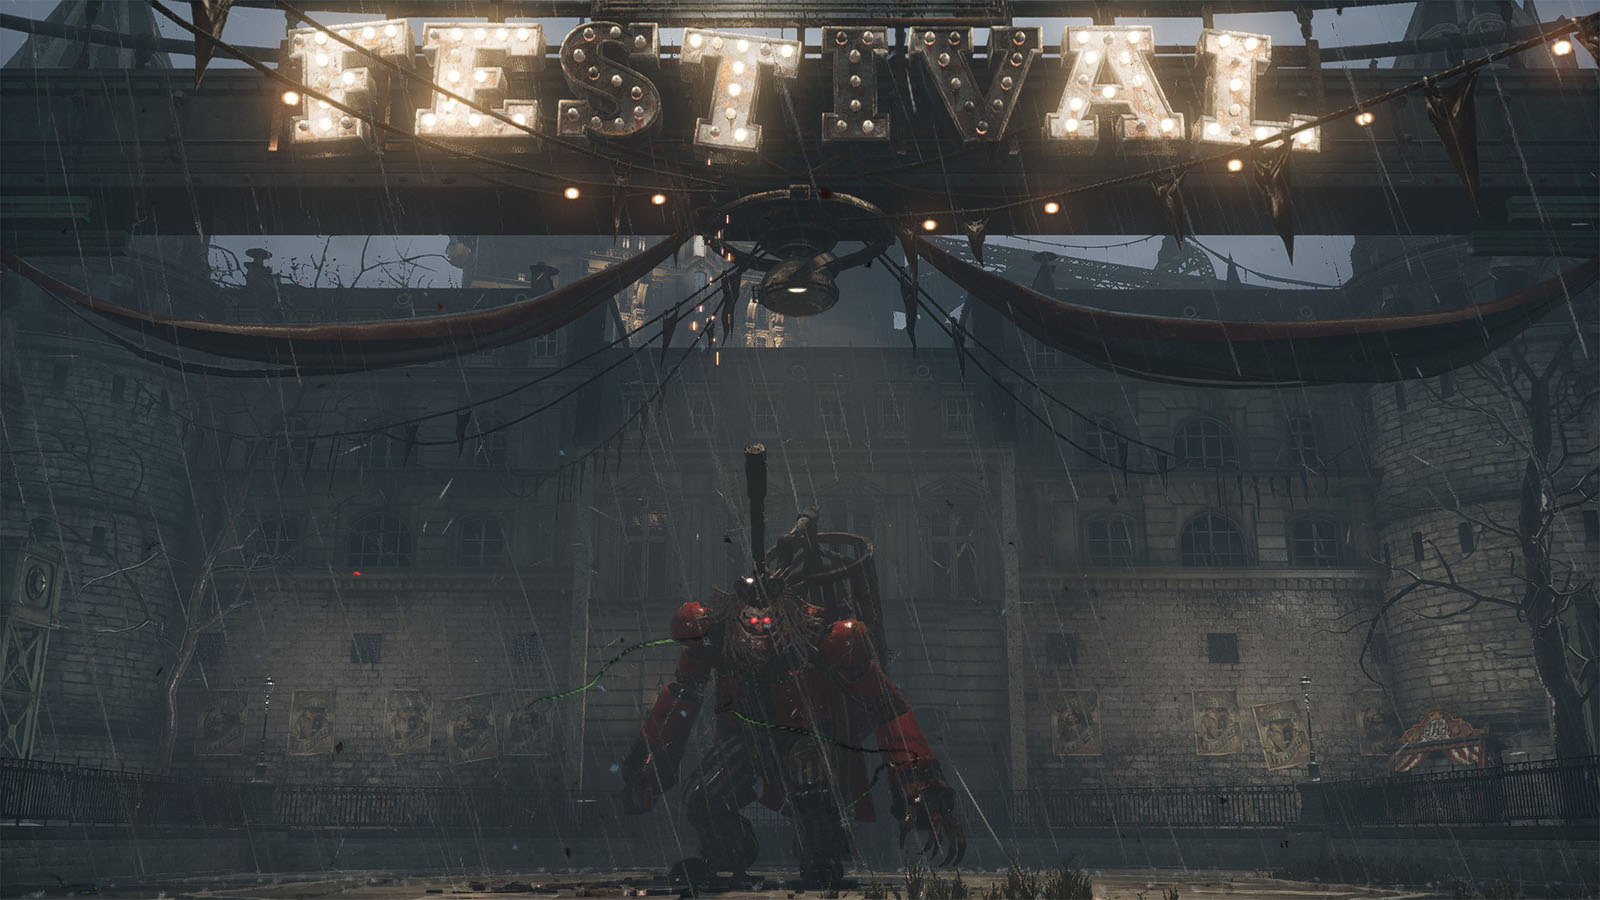
Continue up the stairs to enter the arena where you will fight Parade Master. It’s a huge ringmaster puppet that uses its arms and body to attack.
Parade Master is fairly fast enough to catch up to you, but you can still outrun or evade it once it winds up its attacks. You will need to pay attention to its arms which is uses to punch or swing an attack at you. It can also be staggered once its health bar glows white, and you will have to be near its head once it bows down to perform a fatal attack.
The boss also has a body slam attack which has an unavoidable version. You would want to stay in place once it does a body slam and time your parry instead as it almost always manages to hit you with how wide the following shockwave is.
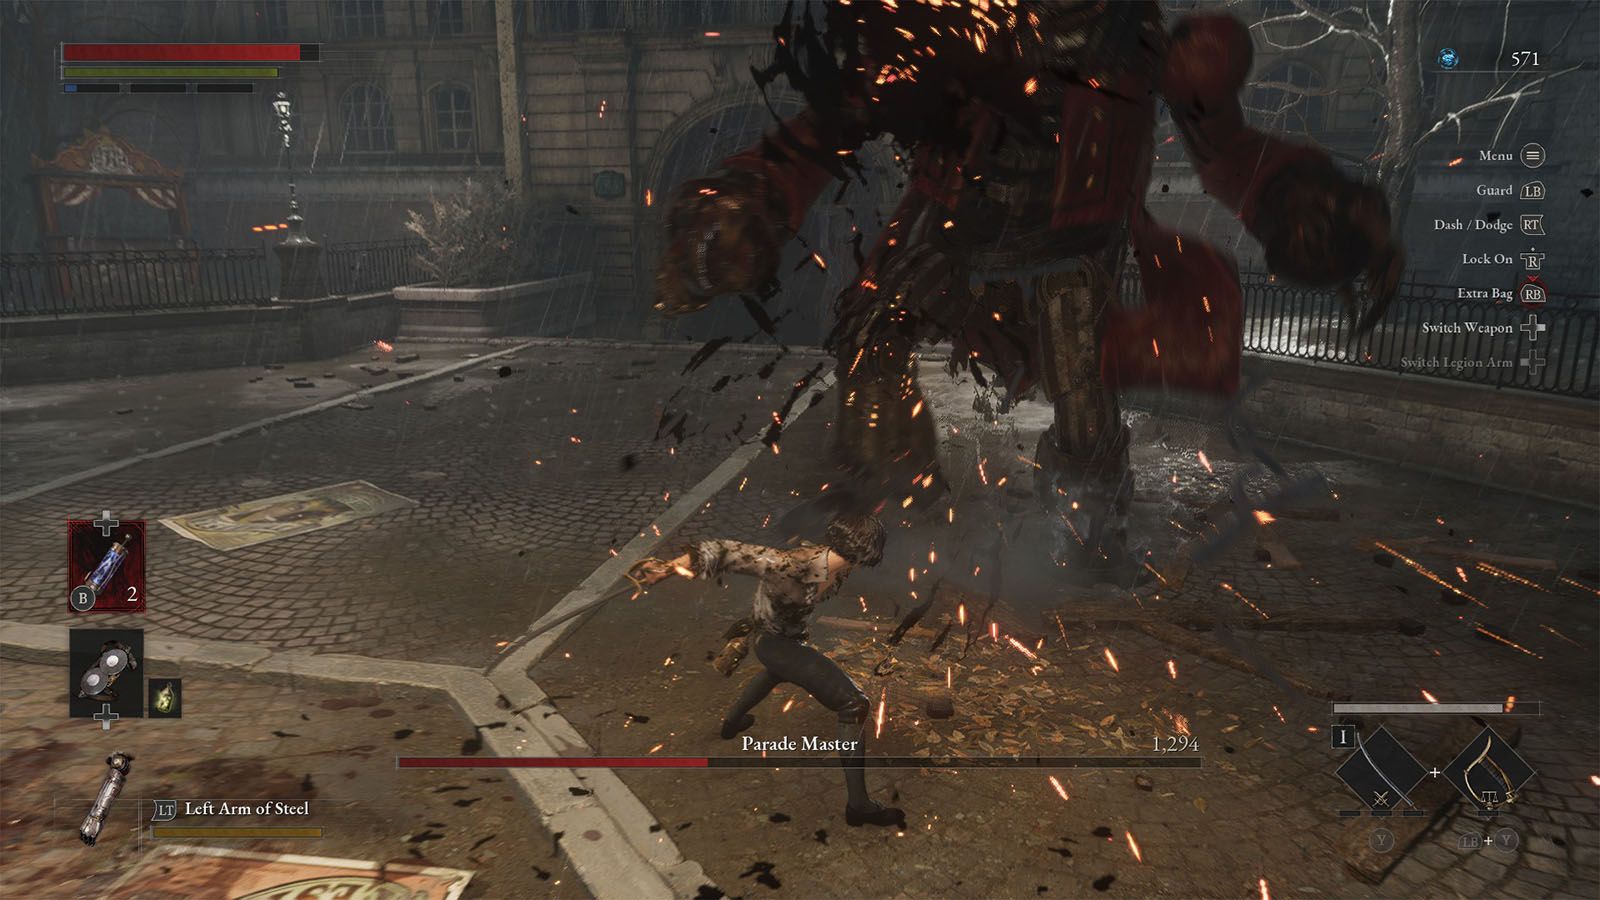
Once its health goes down to 50%, it will go into its second phase where it takes the cage on its back and smashes it to the ground, while it also uses its own head as a hammer. It gets more dangerous now as its hammer allows it to have a wider swing attack. After doing a body slam, it can do a spinning recovery which can hit you if you stay close. Keep hitting it and parrying its attacks and the boss should be down quickly.
Once the Parade Master is destroyed, it will drop a Parade Leader’s Ergo and Quartz, a special material used for upgrading. The Parade Leader’s Ergo can be used to gain 5,000 Ergo, though you can also save it for someone later.
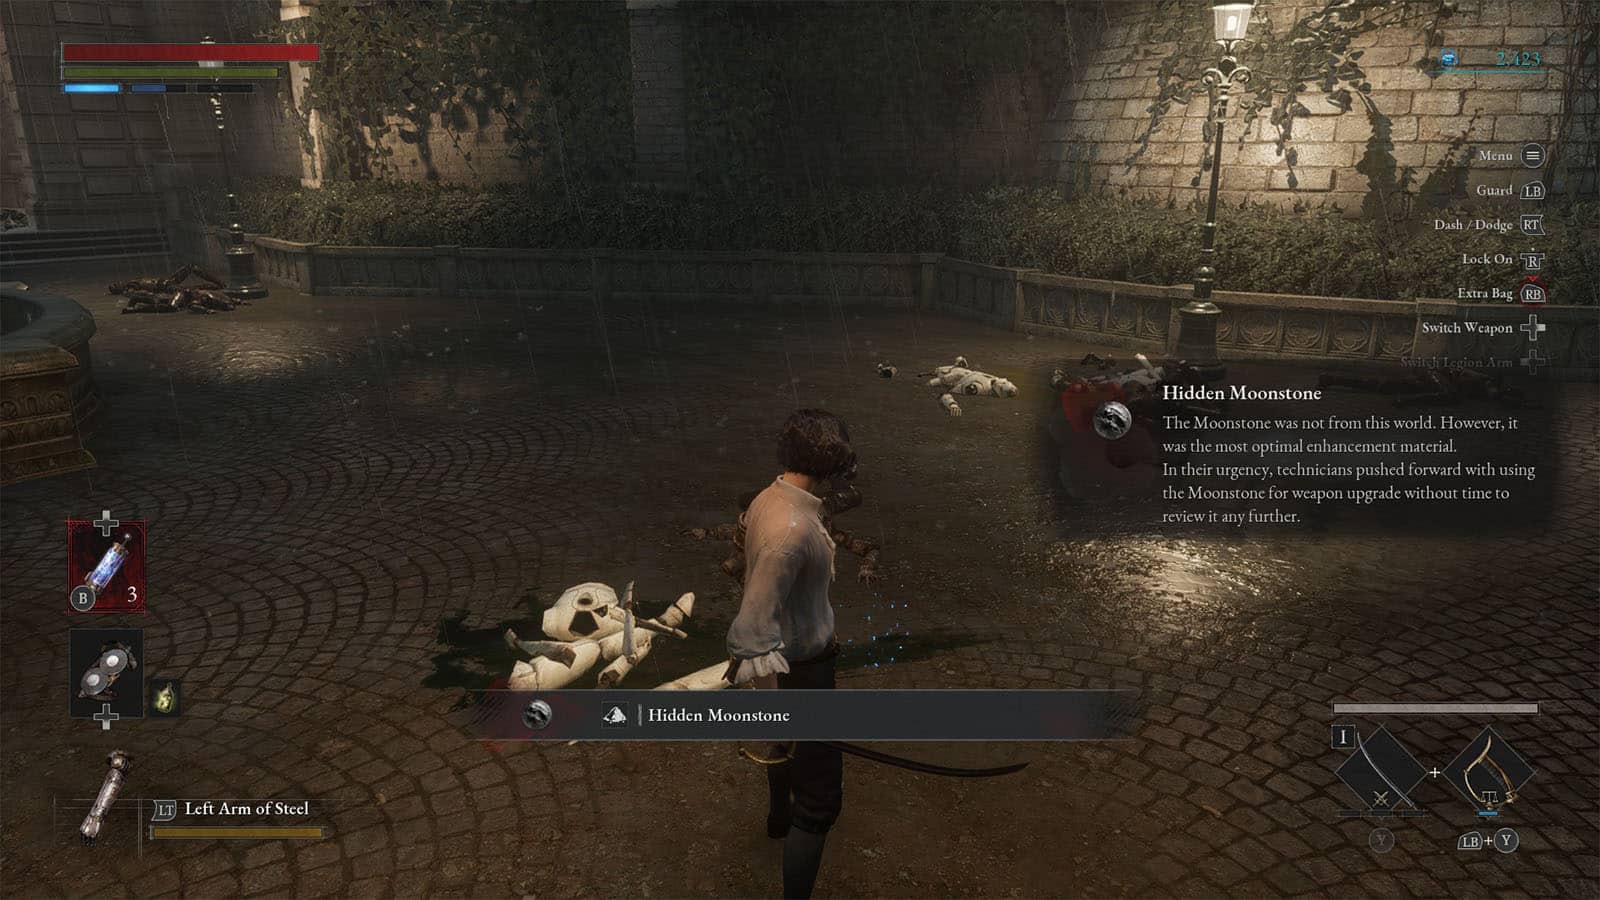
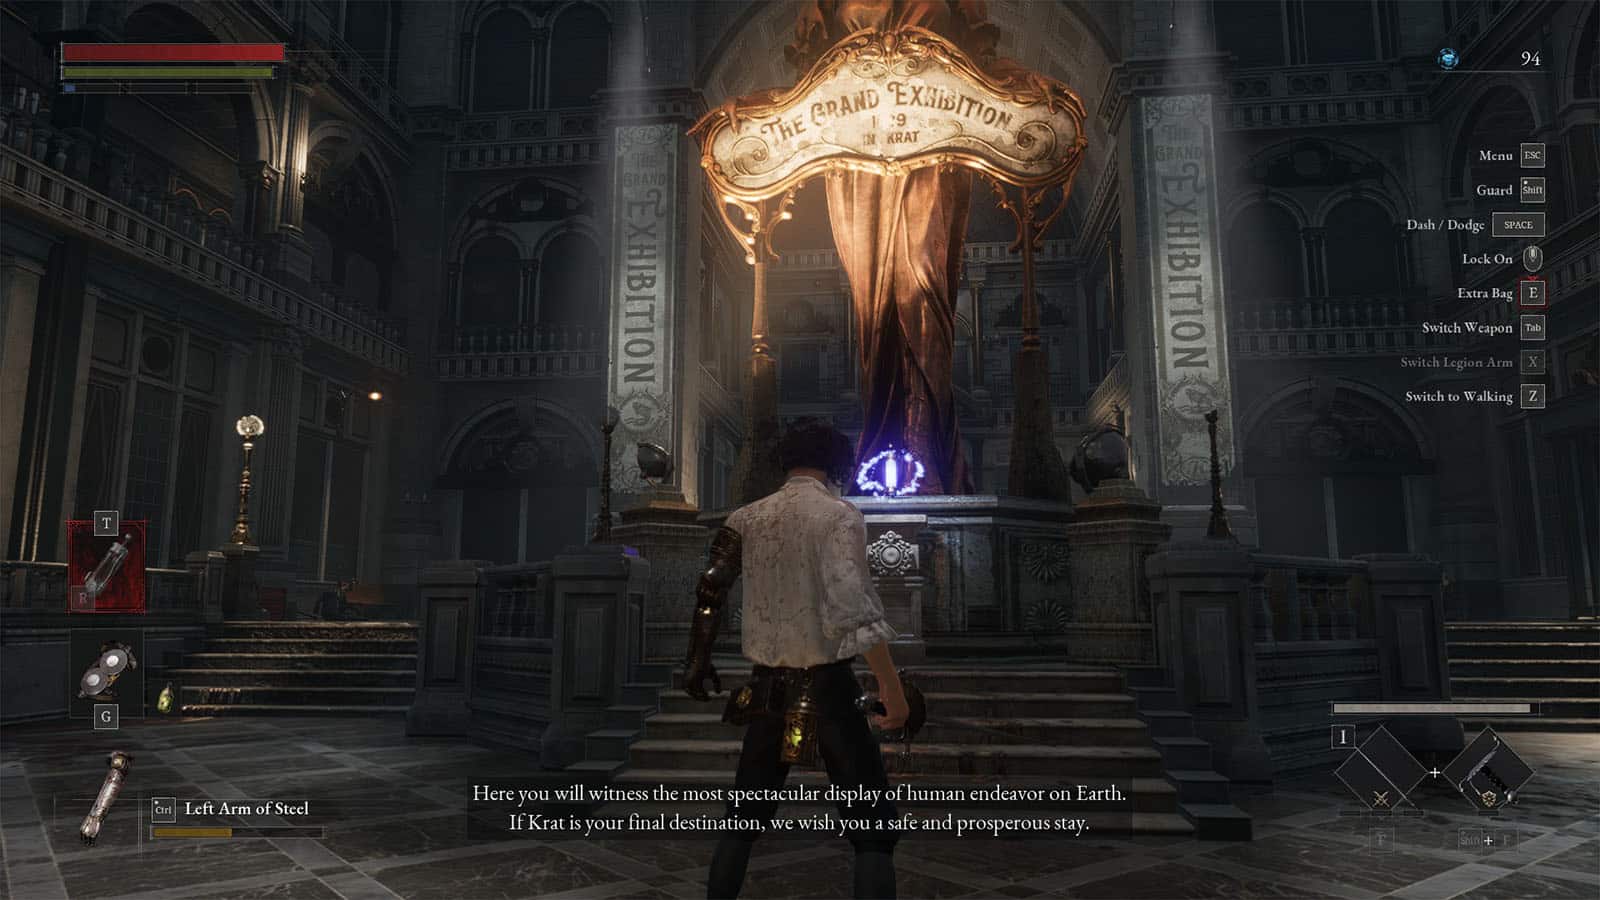
Continue moving up the path ahead to get closer to Hotel Krat. Once you reach the court area, take the time to check both sides to find some more fragments and a Hidden Moonstone.
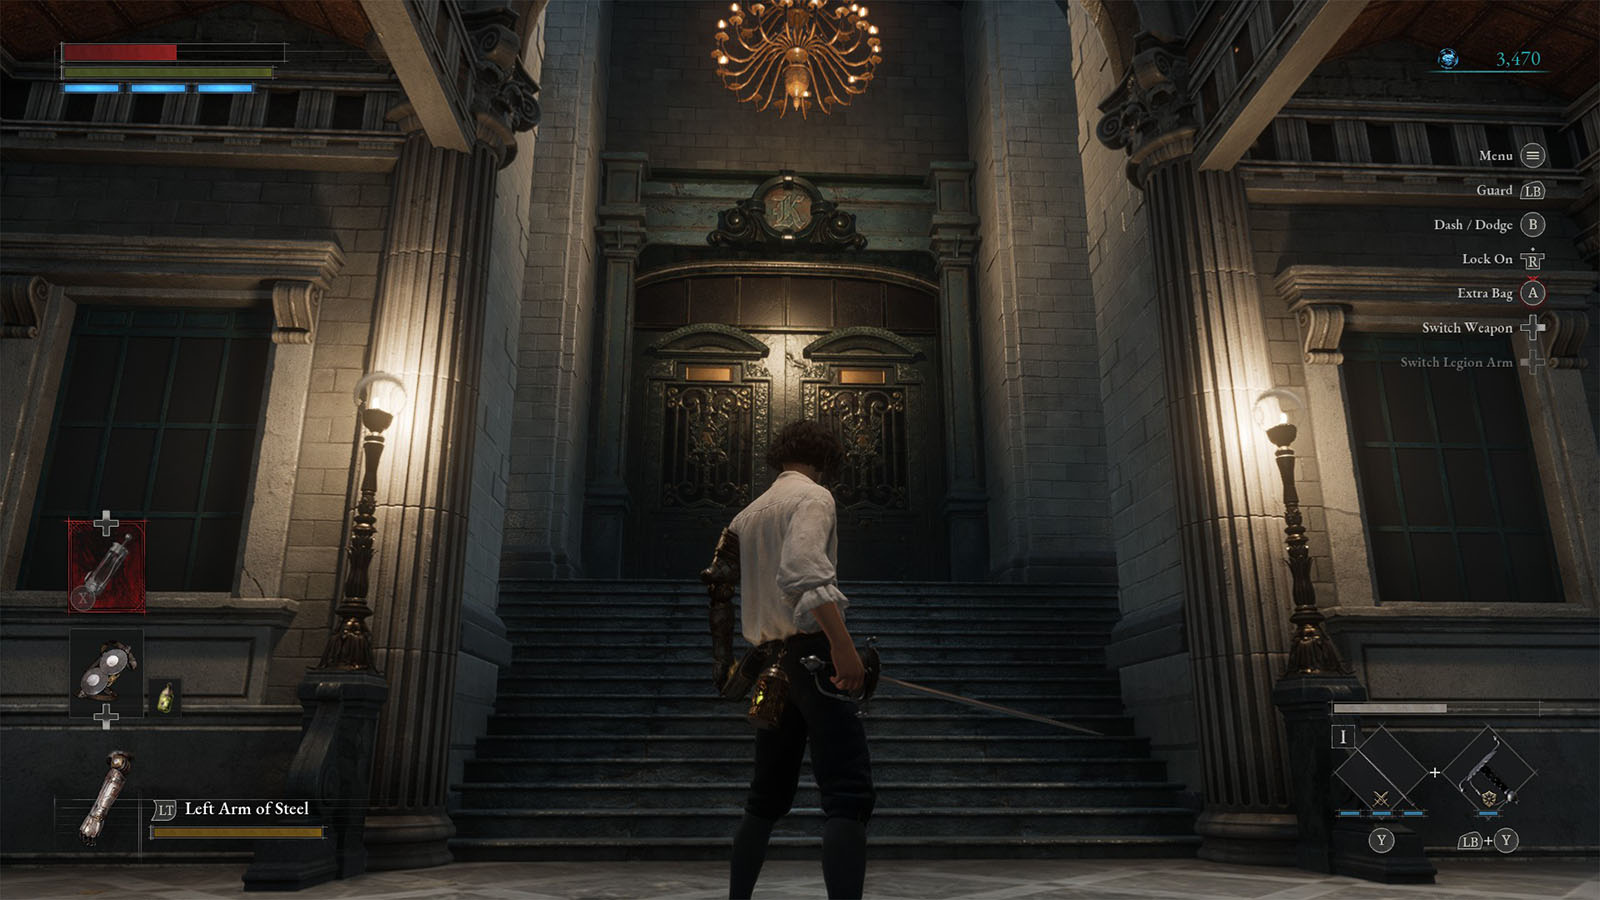
Hotel Defense System – Puppet or Human?
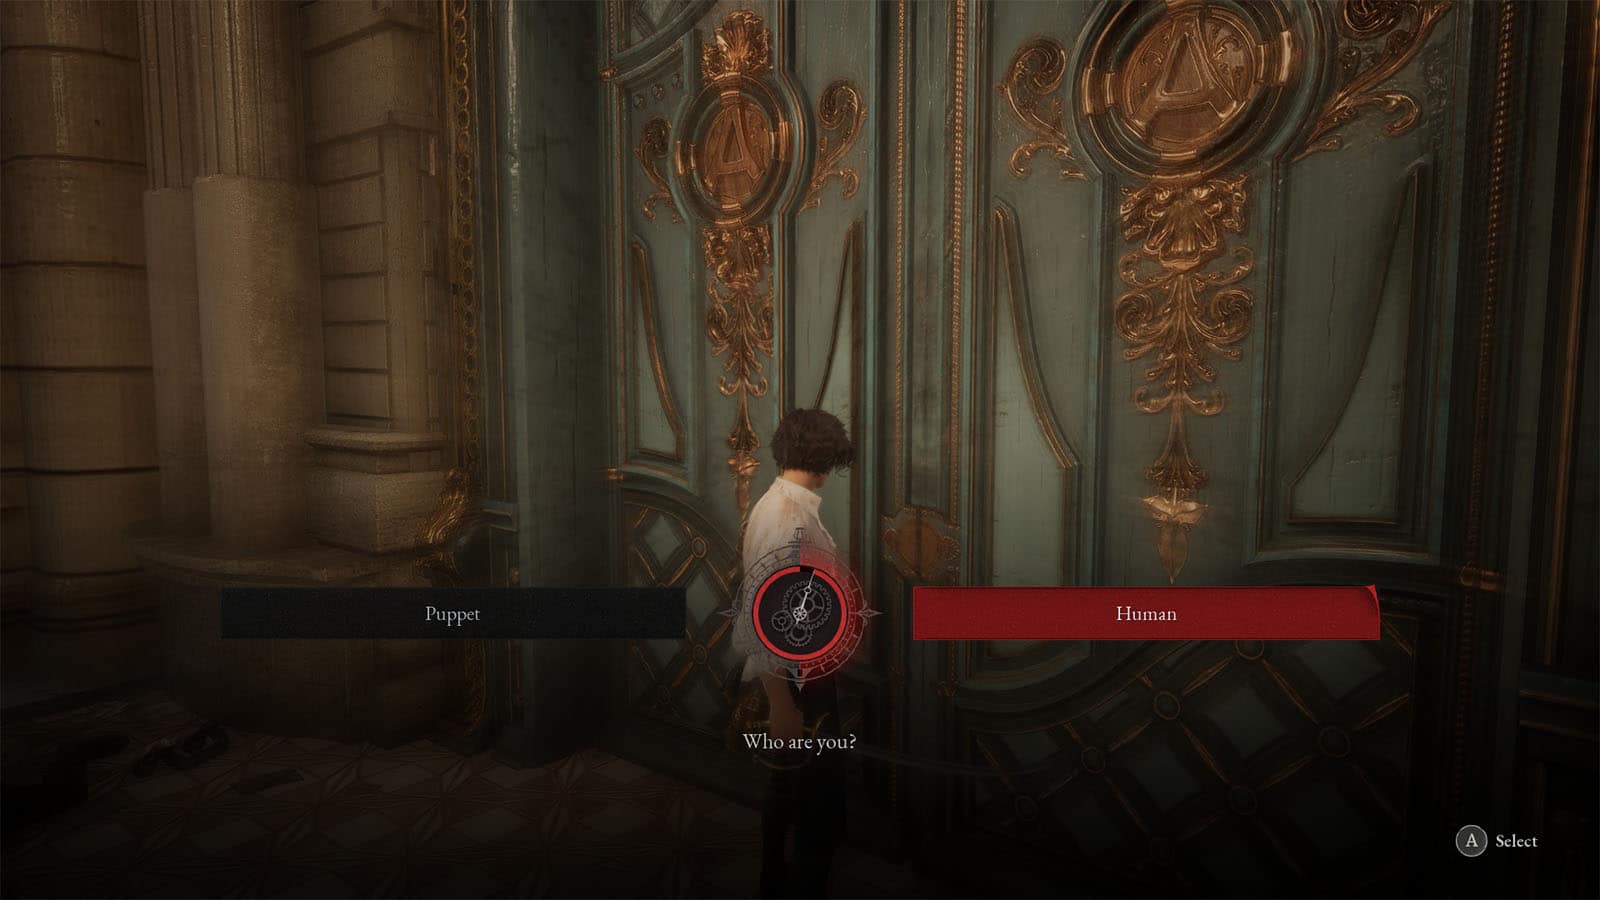
Once you reach the doors of the hotel, the voice that has been guiding you will tell you to lie and tell that you are not a puppet in order to get in the hotel. Knock on the door, and once you are made to choose, say that you are Human to gain entry. You now have reached the end of Chapter 1 and you get to see the opening credits of the game.


