
Lies of P is an action soulslike game that follows the story of P, a humanoid puppet created as the last hope against the puppets that have turned against everyone in the city of Krat. Within the hostile streets of the city, P found the Hotel Krat, the last bastion where he met some new allies.
Read ahead as we go through the events of Chapter 2 Krat City Hall of Lies of P and share some tips and secrets that can be found along the way.
See previous: Lies of P: Chapter 1 Hotel Krat Guide
Lies of P: Chapter 2 Krat City Hall Full Walkthrough
Upon reaching Hotel Krat, you will be introduced to some characters who will be your allies throughout the game.
Hotel Krat
Within the middle of the hotel lobby is where you will find the main Stargazer for the hotel. Like with other Stargazers, you can interact with it to use its menus, such as teleporting to other unlocked save points, accessing your storage, and a bunch of other menus that will be unlocked as you progress through the game. One of the things that you can no longer do in a Stargazer is to level up as the function will now be done by one of the NPCs.
Sophia

Sophia is the mysterious lady who has been guiding you from the start of the game. She has a unique power that lets her interact with the Ergo in many different ways, which is also how she was able to wake up and talk to P telepathically. Her main purpose in the game is to help P unlock his true potential. You will now have to talk to Sophia whenever you want to level up and improve one of your stats.
Eugénie
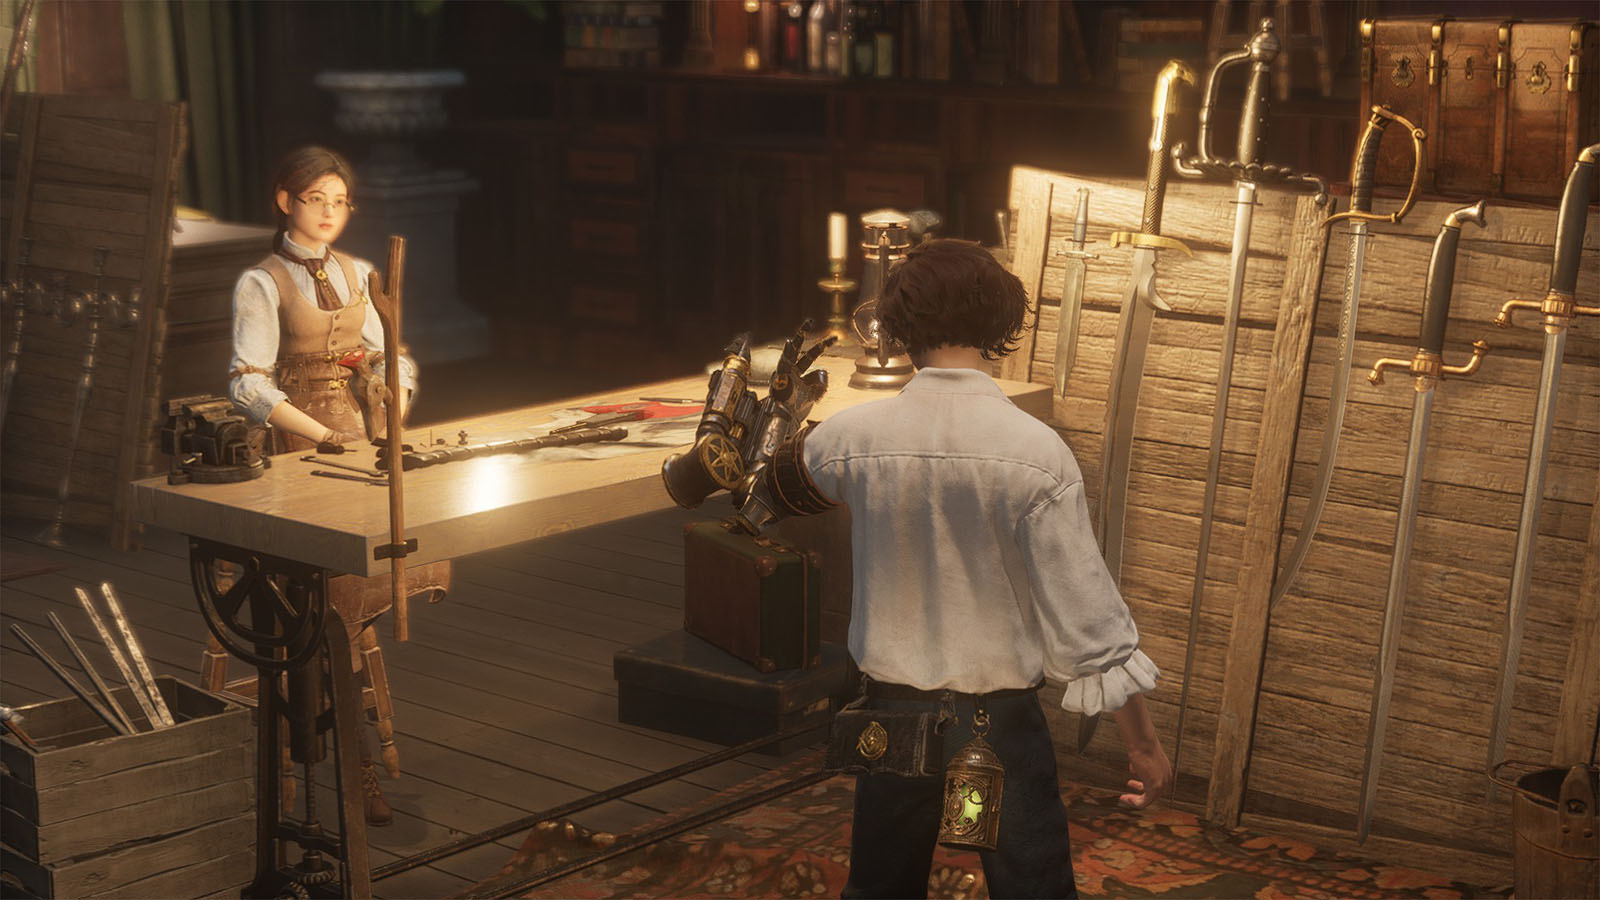
Eugénie is lady that runs the craft shop where you can upgrade your weapons to make them stronger. When you first meet her, she will give you a brand new Legion Arm called the Puppet String. This can then be equipped to replace your current Legion Arm into one that can shoot out a grappling rope to reel in enemies.
Eugénie helps up by upgrading the weapon heads that you have collected. Each upgrade will cost some amount of Ergo and special crafting materials; the cost and amount of material goes higher in every upgrade and weapons can only be upgraded up to a certain amount of times before a higher tier material is needed.
Polendina
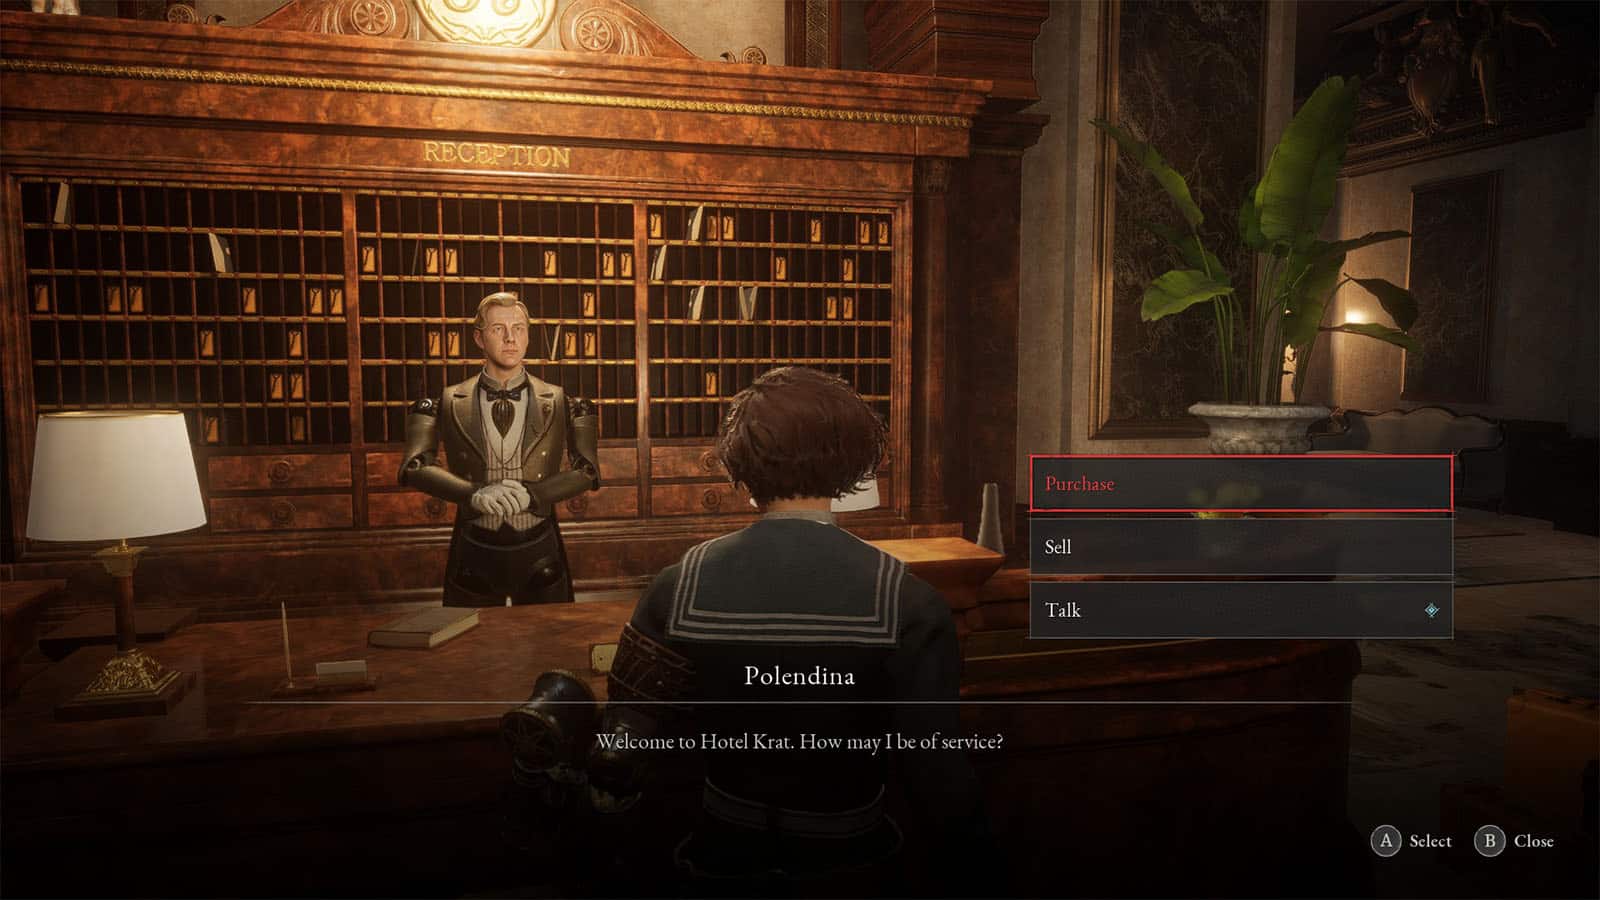
Polendina is the puppet that works at the reception area. It serves as a merchant that sells consumables.
Antonia
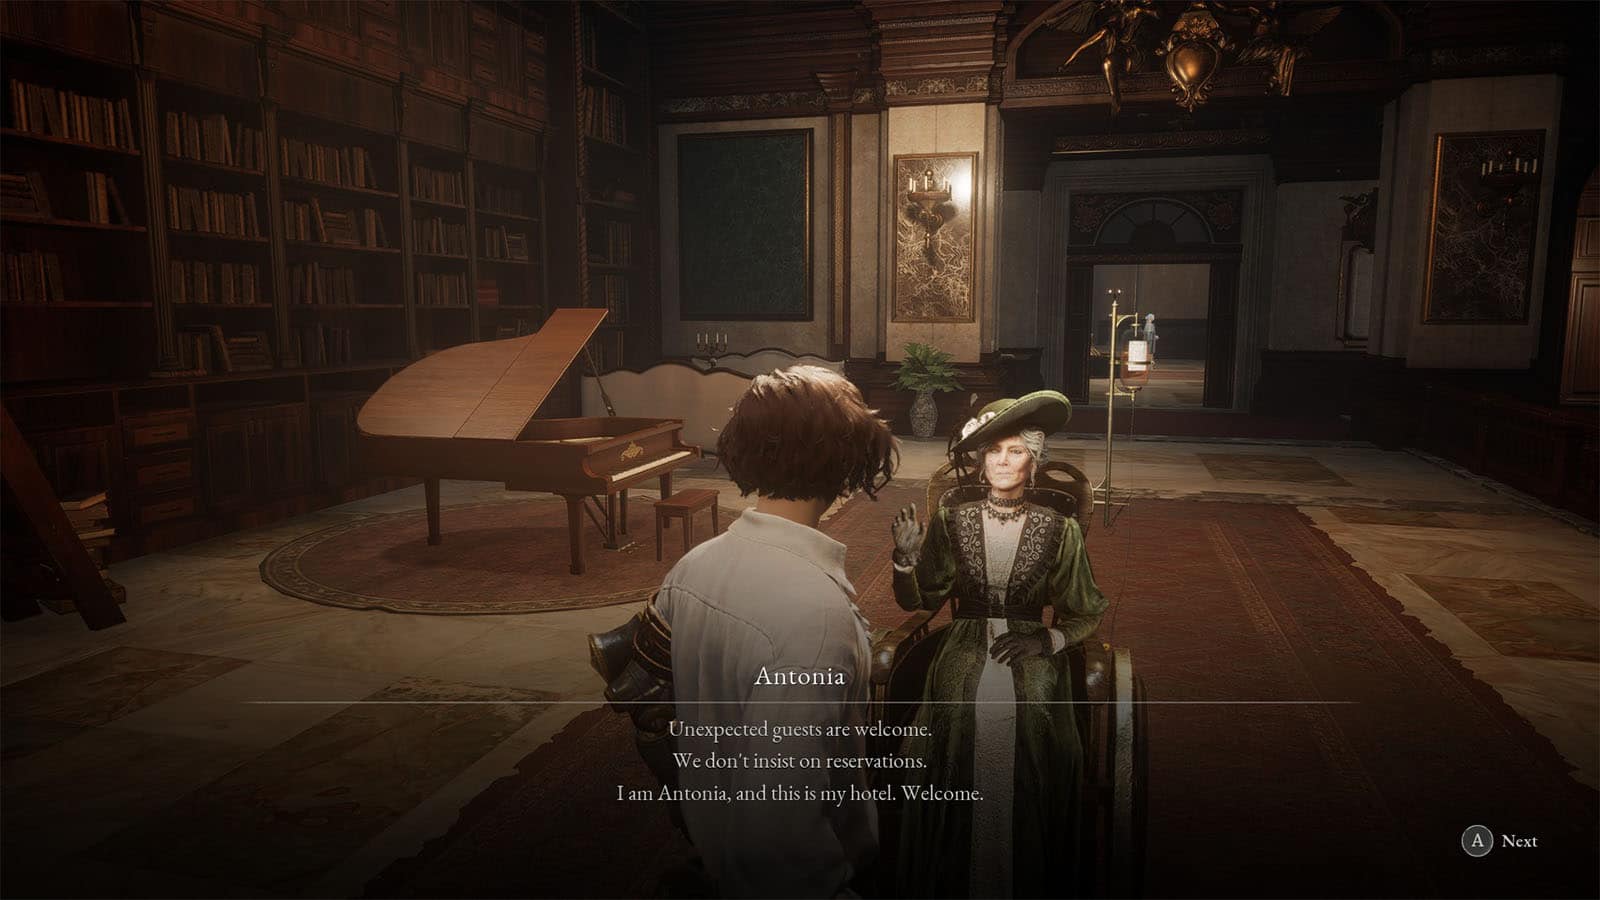
Antonia is the lady bound on a wheelchair who can be found in the room next to the lobby. She owns Hotel Krat and appears to be a long time friend of Geppetto. She will give you the Someone’s Memory outfit and the Show Off Clothes emote.
Training Area
Next to where Eugénie can be found is the door that leads to the courtyard where two dummies can be found. You can use the dummies to test out your weapons and your arm to get a feel on how they work.
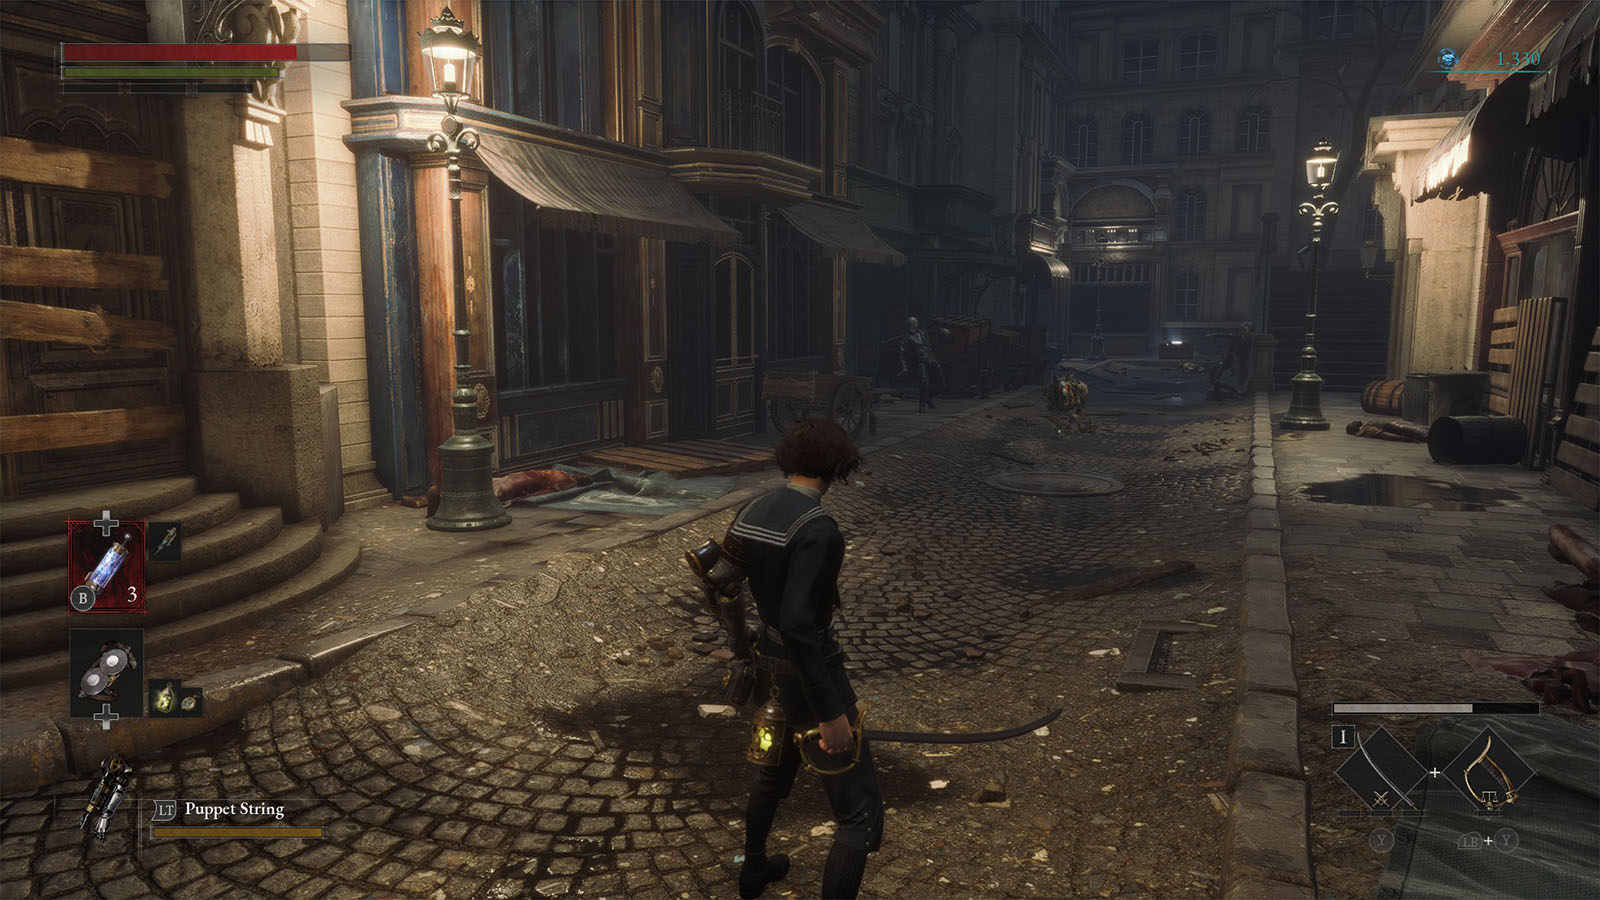
Elysion Boulevard Entrance

Once you’re ready to go, head towards the other end of the hotel and go through the other courtyard to reach the Elysion Boulevard Entrance.
Walk through the street and up ahead is where you will find the first Stargazer of the area. You will find more enemies in the next part of the street; take them down one by one with the help of your Puppet String and try to not get mobbed. Along the way, you’ll find Ergo Fragments from the blue flowers. The next save point will be deep into the city, so might as well take the time to farm Ergo and level up while you’re still close to a Stargazer.
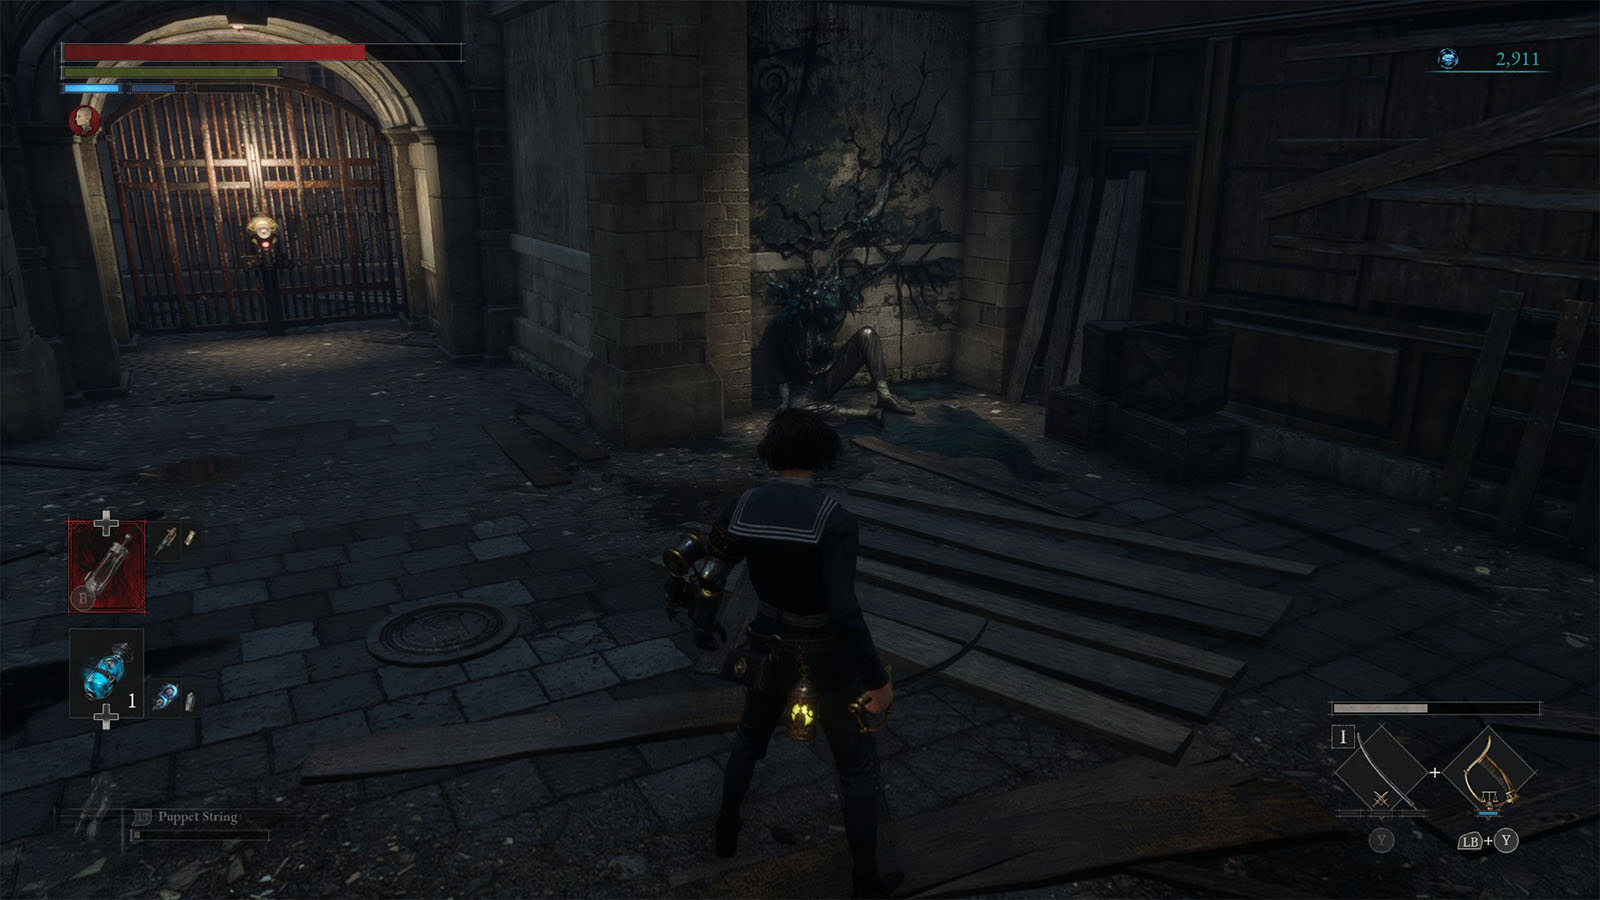
Going further even more, you will find a cart to the left, near a gate. Look out for another puppet that will jump from the cart. Take note of this gate as you will have to unlock it later from the other side for a shortcut.
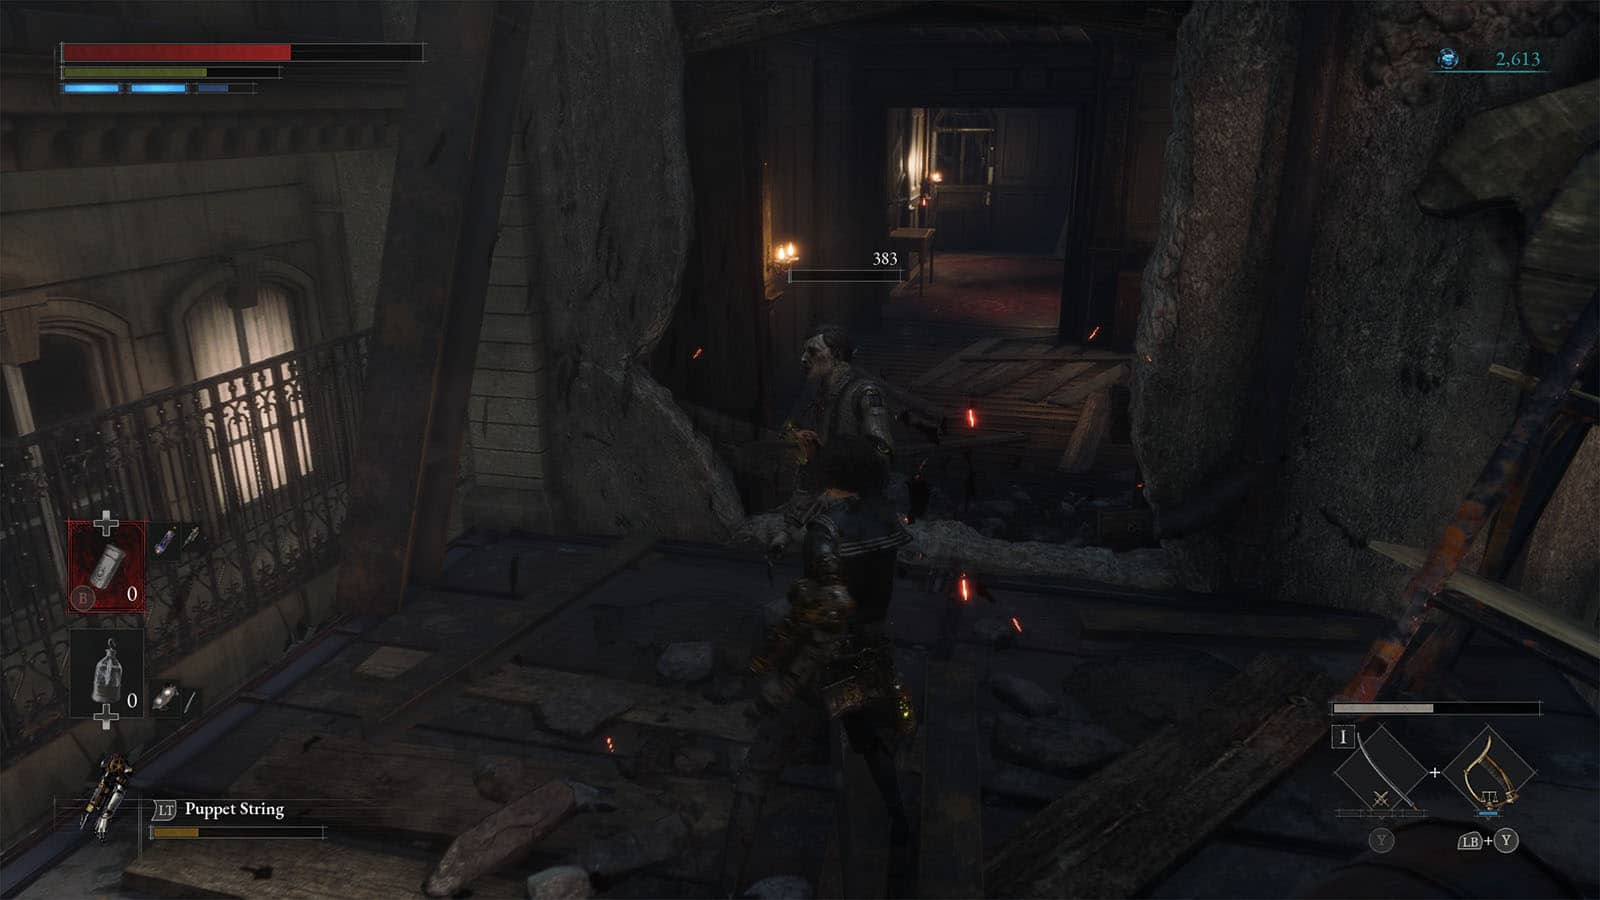
Up ahead is a long street that is filled with puppets. Try to lure out the dog first and back away until you reach the corner where the gunner puppet can’t hit you. Once the dog and the two other puppets have been dealt with, you can then go for the ranged puppet to clear this street.
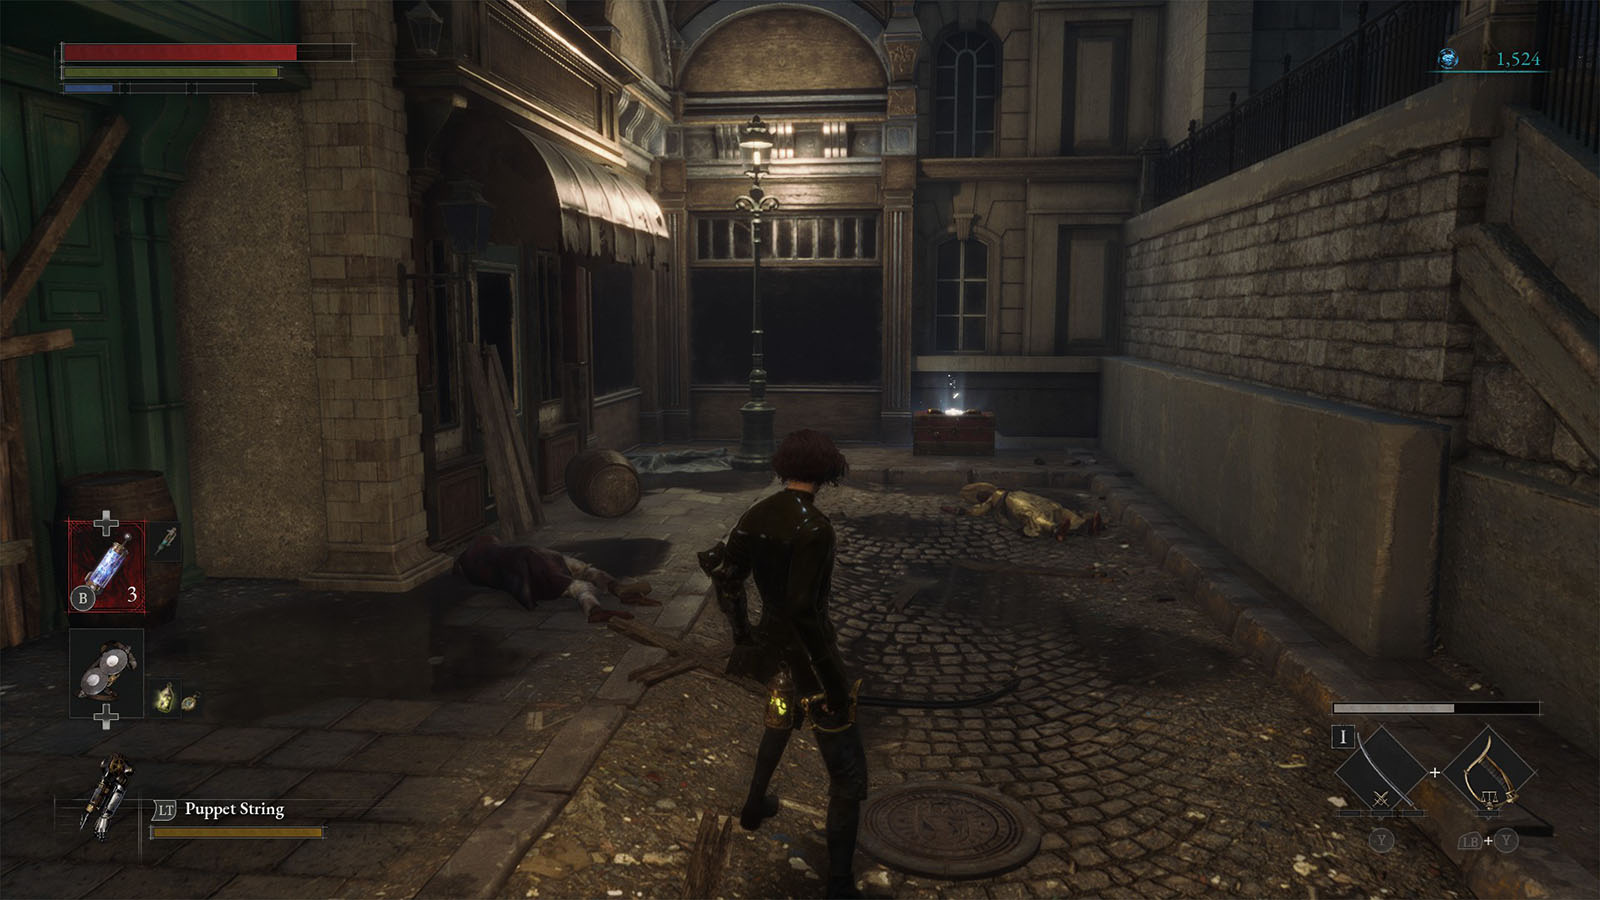
At the end of the street is a chest that contains the Frame – LADA F150 Frame.

Continue up the stairs to the right and you will find a spotlight pointed at a ladder up the wall. Climb the ladder and prepare for an ambush as you make a right turn. Pay attention as there’s also a gunner on the other side, plus another puppet on the ledge up ahead.
Clear the puppets, then continue towards the right until you reach the end to find a Gemini’s Emergency Protection. This is a consumable that allows you to keep your Ergo even when you die. It’s best consumed when you’re carrying a lot of Ergo and you’re far away from a Stargazer or you can’t go back to one.
Cross the roof to the other side and turn left. Push the button to make a ladder go down for another shortcut. There’s a Sawtoothed Wheel that you can pick up which is a throwable that’s mainly used as a way to call a puppet’s attention.
Turn around and go to the other side where there’s a signboard bridge. Before heading in, it’s best to use up your Ergo as there’s a strong white coat puppet that you will have to face. It’s going to be a difficult fight since there’s not much space to work with. Throwing Thermite at it is effective, and you can kite and lure it back across to the other side until it backs away.
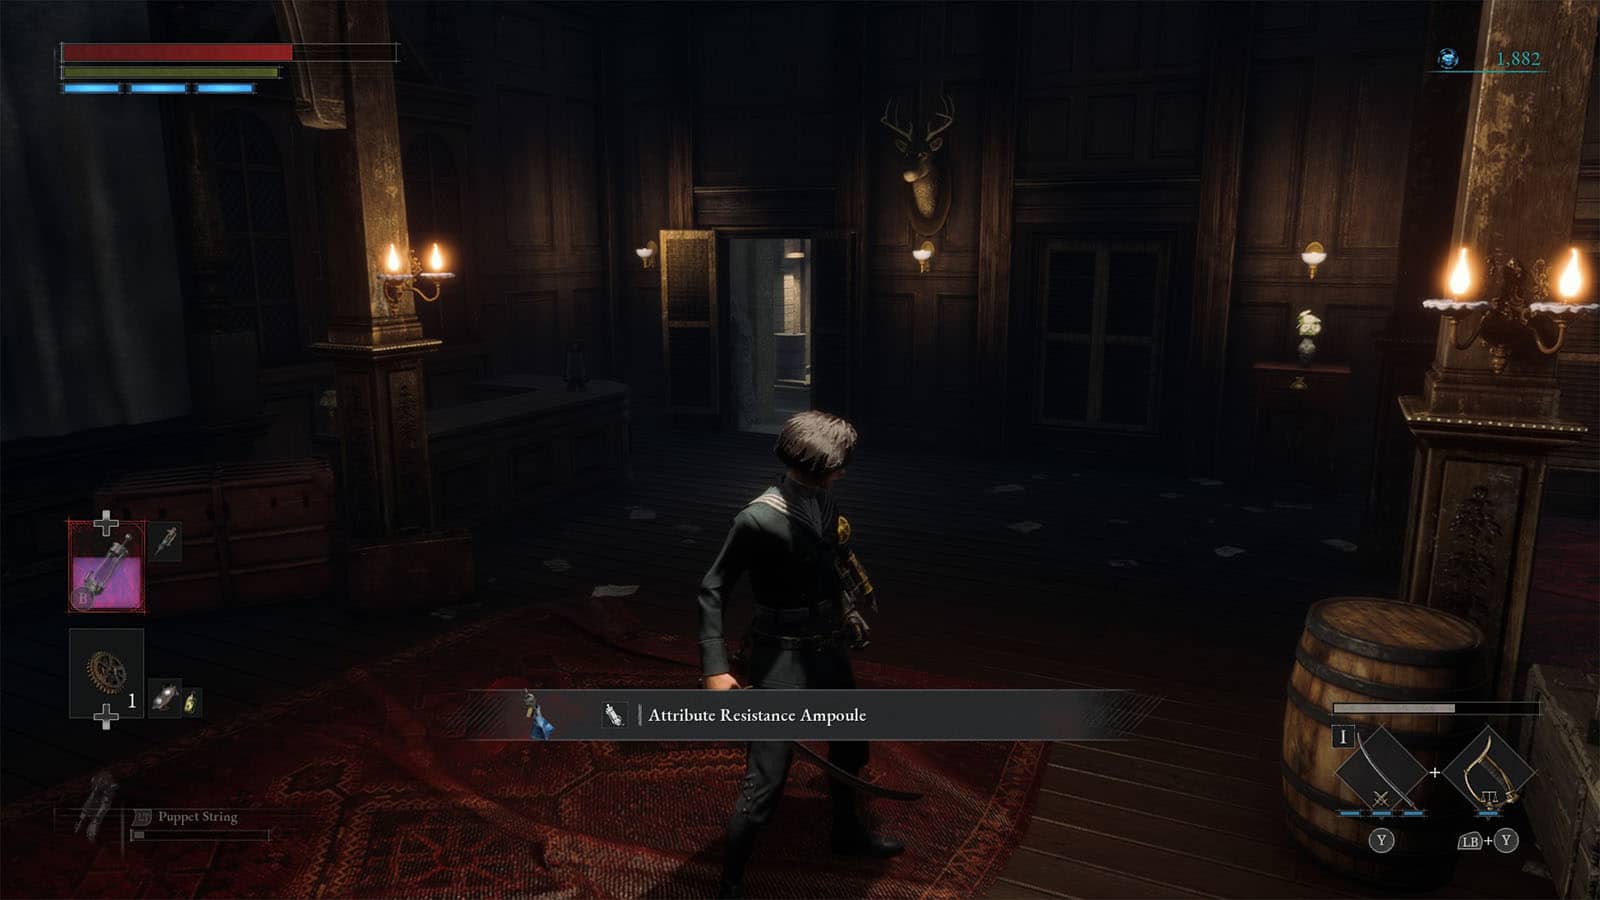
Once you’re through it, go to the building where the puppet came from. Prepare to face three more puppets upstairs, then loot the room for an Attribute Resistance Ampoule. This is a consumable that increases resistance against elemental effects.
There is another puppet that can charge by the next door, plus another gunner across. Lure the charger, then charge towards the gunner. Before crossing, walk the ledge to the right where you can find an Electric Blitz Abrasive. This is a consumable that can be used up to imbue certain weapons with the electric element temporarily.
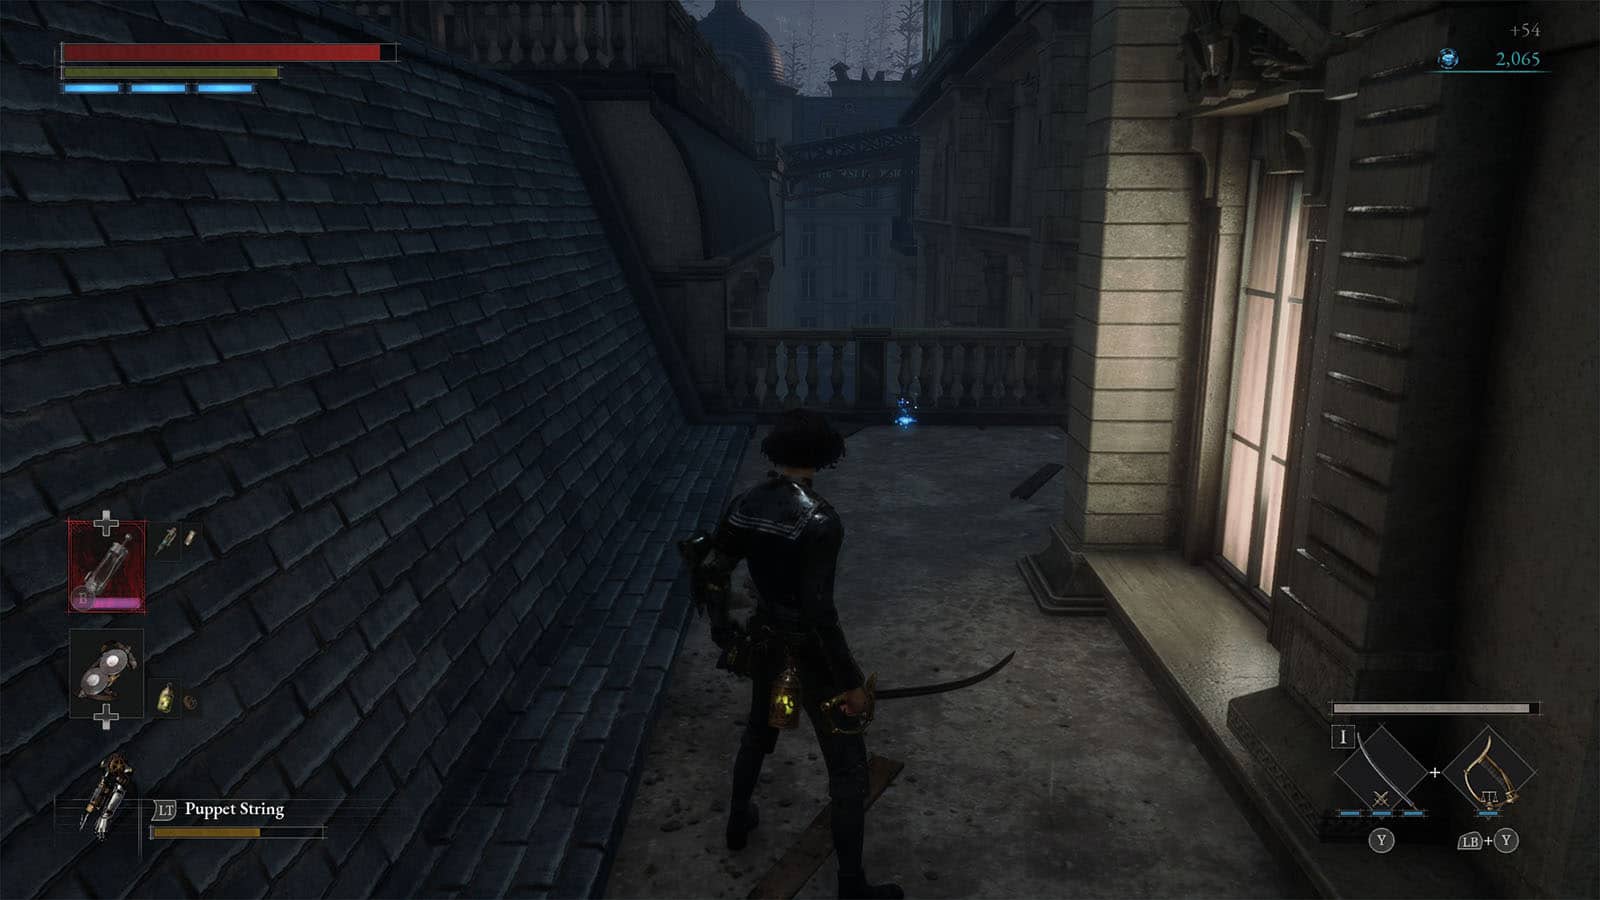
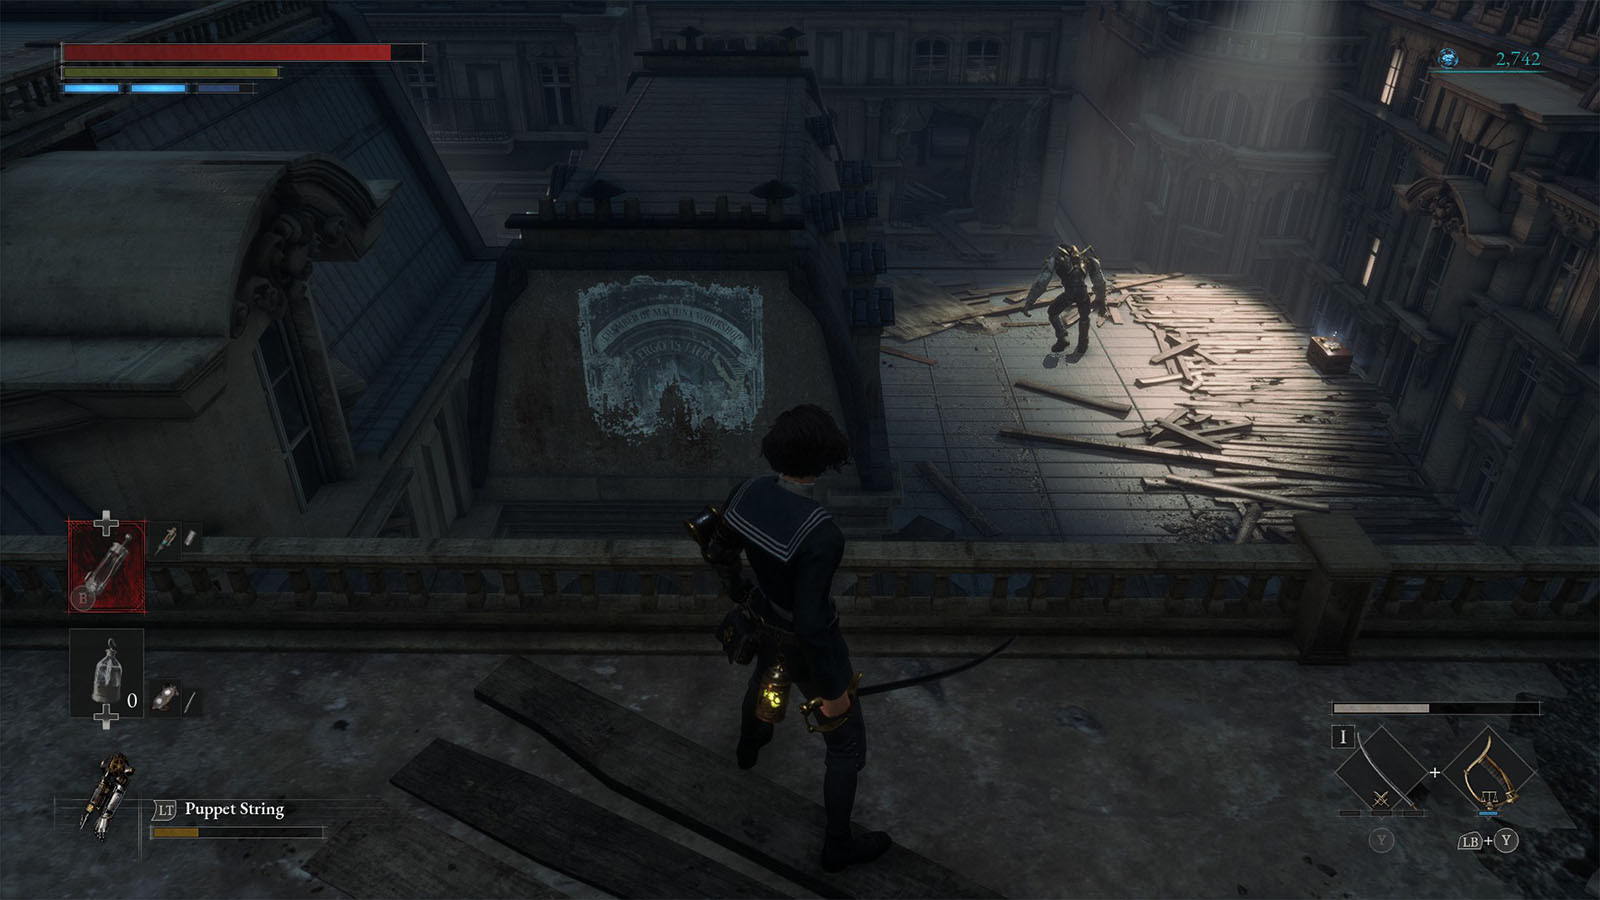
Cross over the plank to reach the next roof. To the left side is another flower, but beware of the puppet that’s hiding around the corner. You will get a Sharp Pipe that’s an uncommon throwable useful for later.
Head towards the right side and climb the ladder. Beware of the puppets on the rooftops as they throw thermite at you. They’re too far away for the Puppet String to reach, but you can use any Thermite or Sharp Pipe that you get to one shot them. There are two of these throwers at this roof top areas, so make them a priority to take out so that you can deal with the rest of the puppets easily.
From the roof tops, you should see another ladder that goes back down to street level. There are some puppets here as well; clear them and find the gate nearby. Open it to access the shortcut that gets you back to the first Stargazer.
Go back up to the rooftops and get through the rest of the puppets until you reach another hole leading back into the building. Inside one of the rooms is where you can find the Collectible – Frozen Man’s Letter. Follow the path and it will lead you back outside where you can see a brute on top of a roof guarding a chest.
This brute is a tough puppet to deal with, and there’s also the chance that you can fall off the roof. A cheesy tactic would be is to bait the brute to chase you back into the buildings (it can fit through doorways), then use the ladders and holes to try and get past it. Next, run back to where the brute was patrolling and cross to the other side where you will find a room with the next Stargazer.
Now, you can try and face the brute without having to run through the streets and rooftops again. If you’re fast enough, you can outrun the brute and open the chest to find the Amulet – Life Amulet. This amulet increases your health bar when equipped, but it will also add on some weight.
Elite Fight: Brute Puppet

The Brute Puppet is slow and have readable attacks, but it has relentless combos that can pin you to the ground. It’s best to anticipate its blows, and dodge at the last second, and before trying to counter, see if it’s preparing for a follow-up. If not, you can do your counterattack and repeat the process again until it’s destroyed. Perfect parrying also works, but there’s still a huge chance that it will link it up with two more punches.
You can still do the cheesy tactic of luring it into the buildings, but it will be hard to do on the other side where you came from if the puppets have already respawned. If you have saved up some throwables, now is also a good time to use some of them.
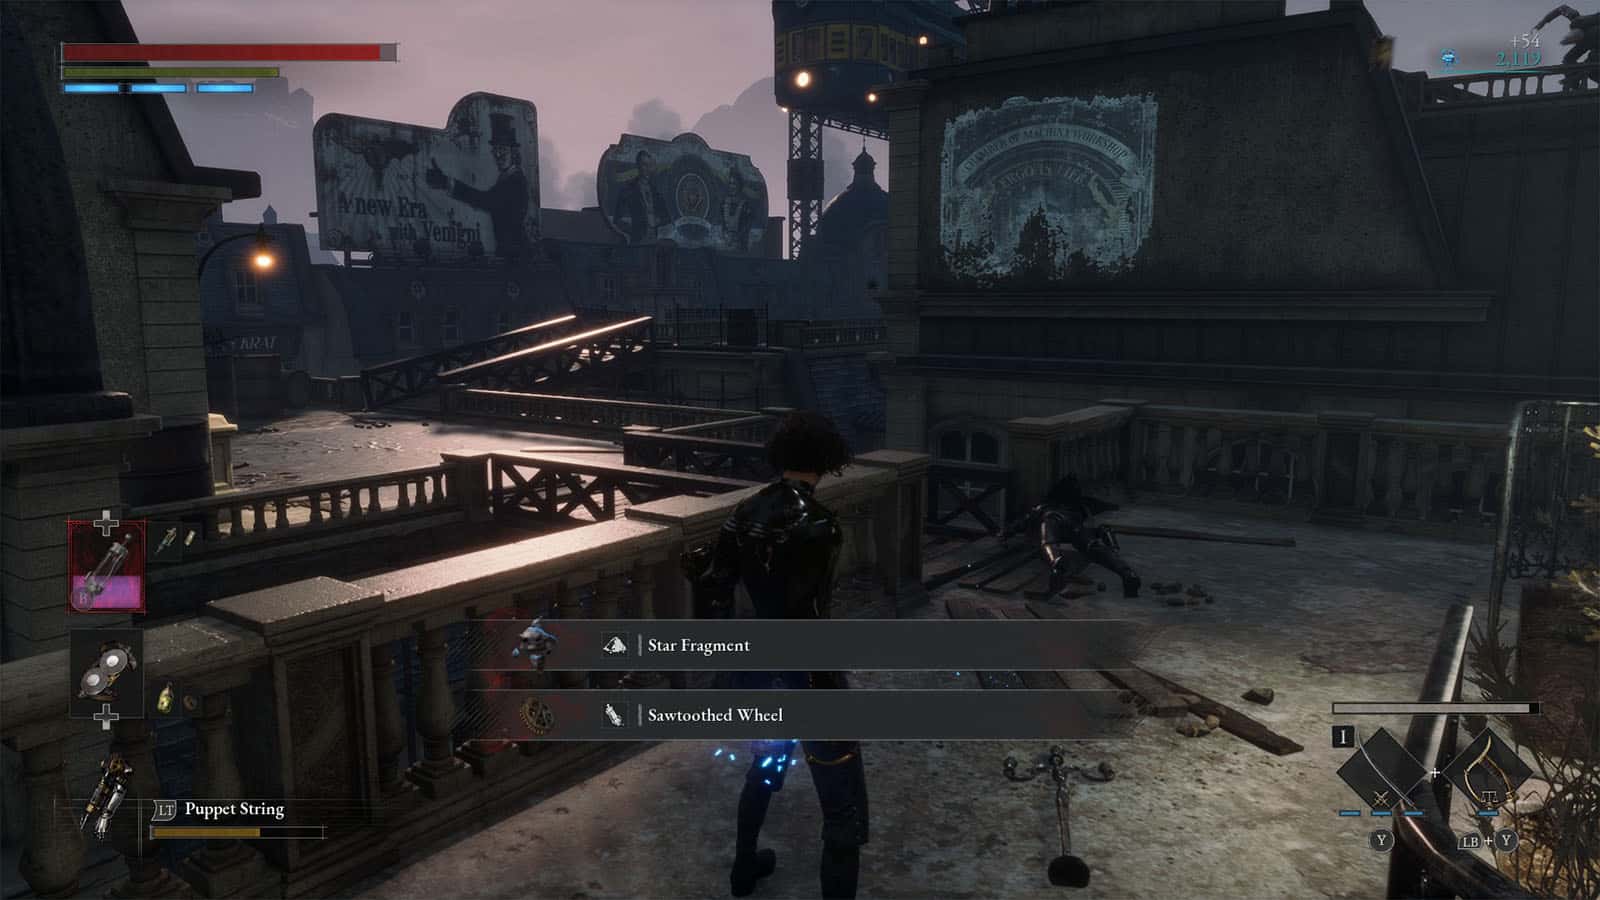
Once the Brute is killed, it will drop a Fable Catalyst and a Star Fragment.
Inside the House on Elysion Boulevard
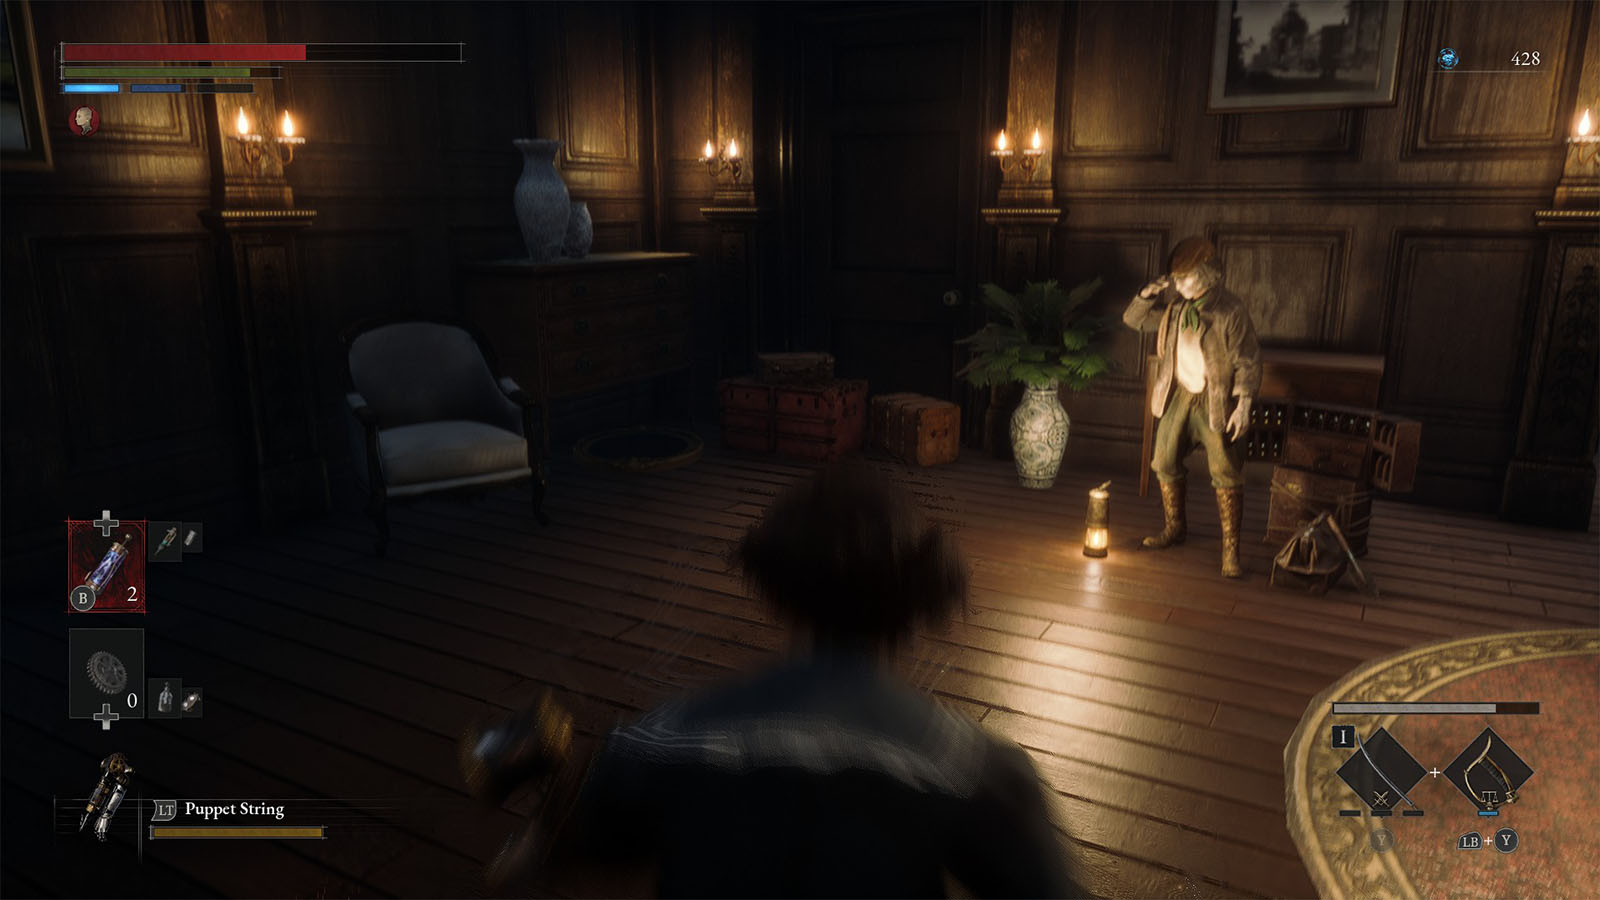
As you continue through the path ahead of the save point, you will find another room that has a wandering merchant in it. Check his wares for some consumables that you will need later on, including the Electric Coil that’s quite a useful weapon. Within the room that the merchant is in is an electrified elevator. You will have to get to the lower floor later on to fix it and make it as a usable shortcut.
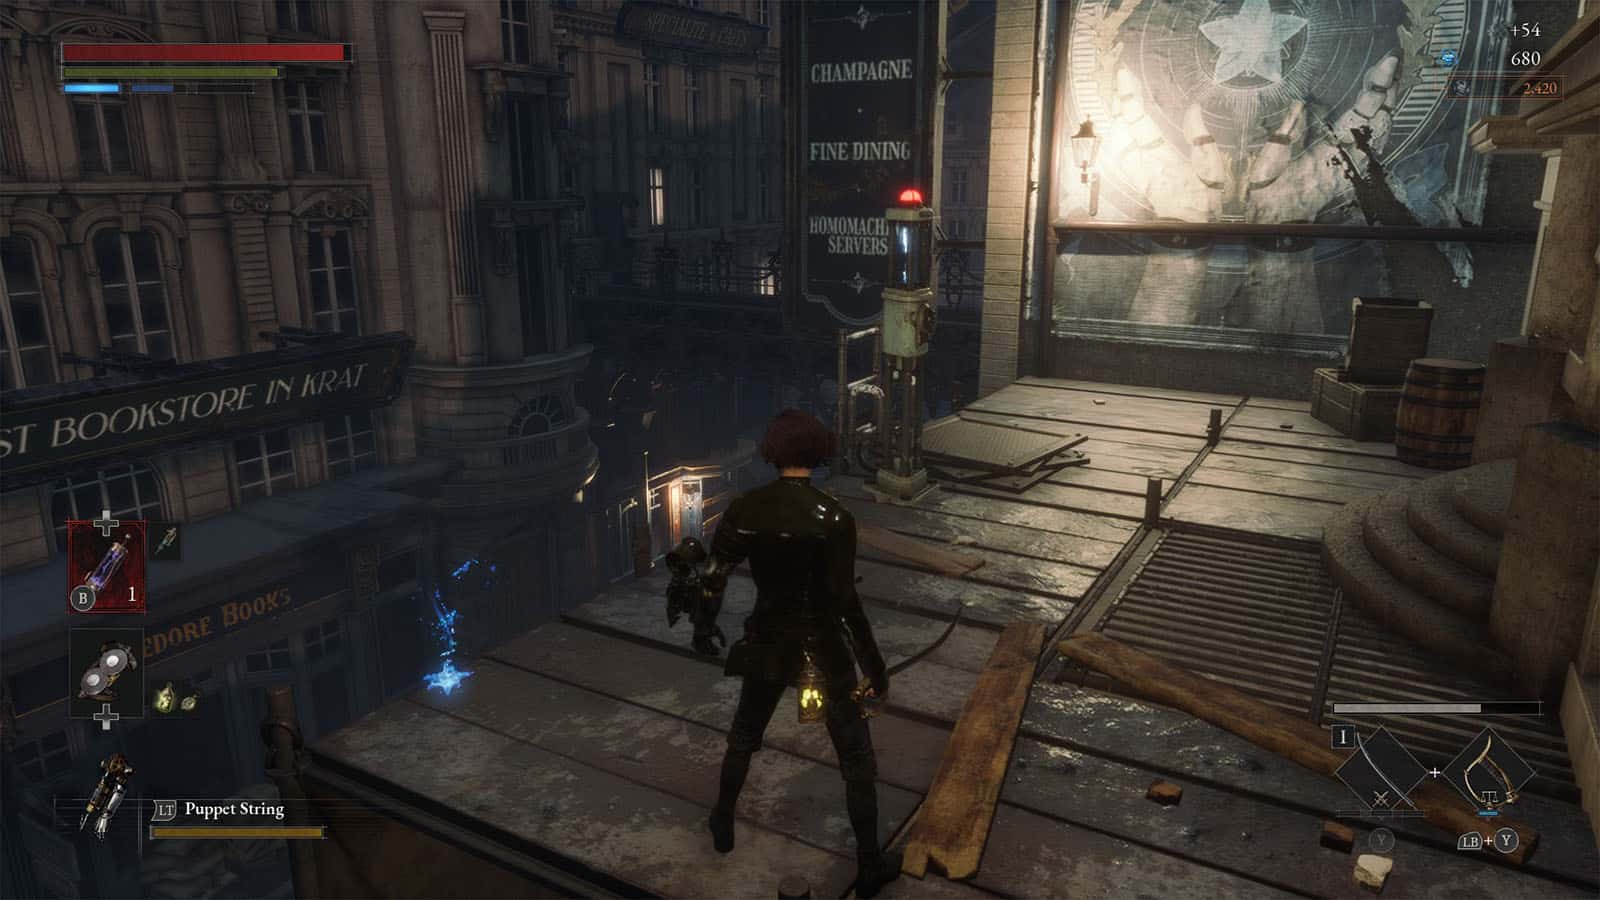
You’ll be moving through the edges of the rooftops and balconies once more. There is a door that you will pass by just where a thrower is looking at the balcony and an ambusher hidden by the wall to the right. Take note of this door as this is a part of a Costume Secret.
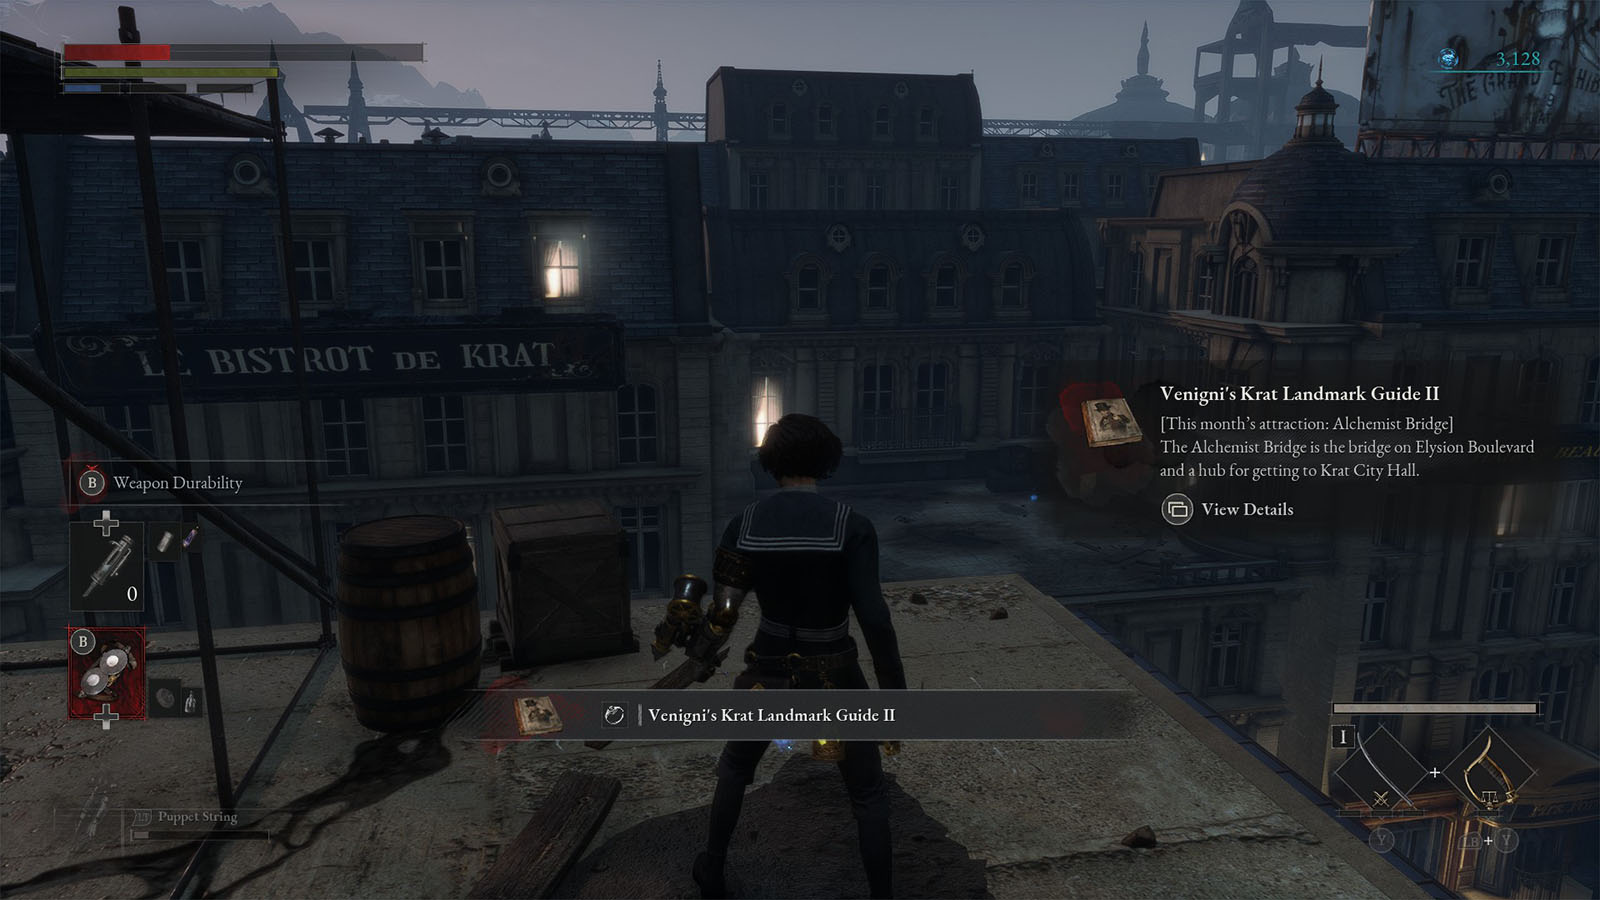
There’s also a part just up ahead where you can get to climb a higher rooftop to reach and destroy a thrower. Nearby is where you will find the Collectible – Vegnini’s Krat Landmark Guide II.
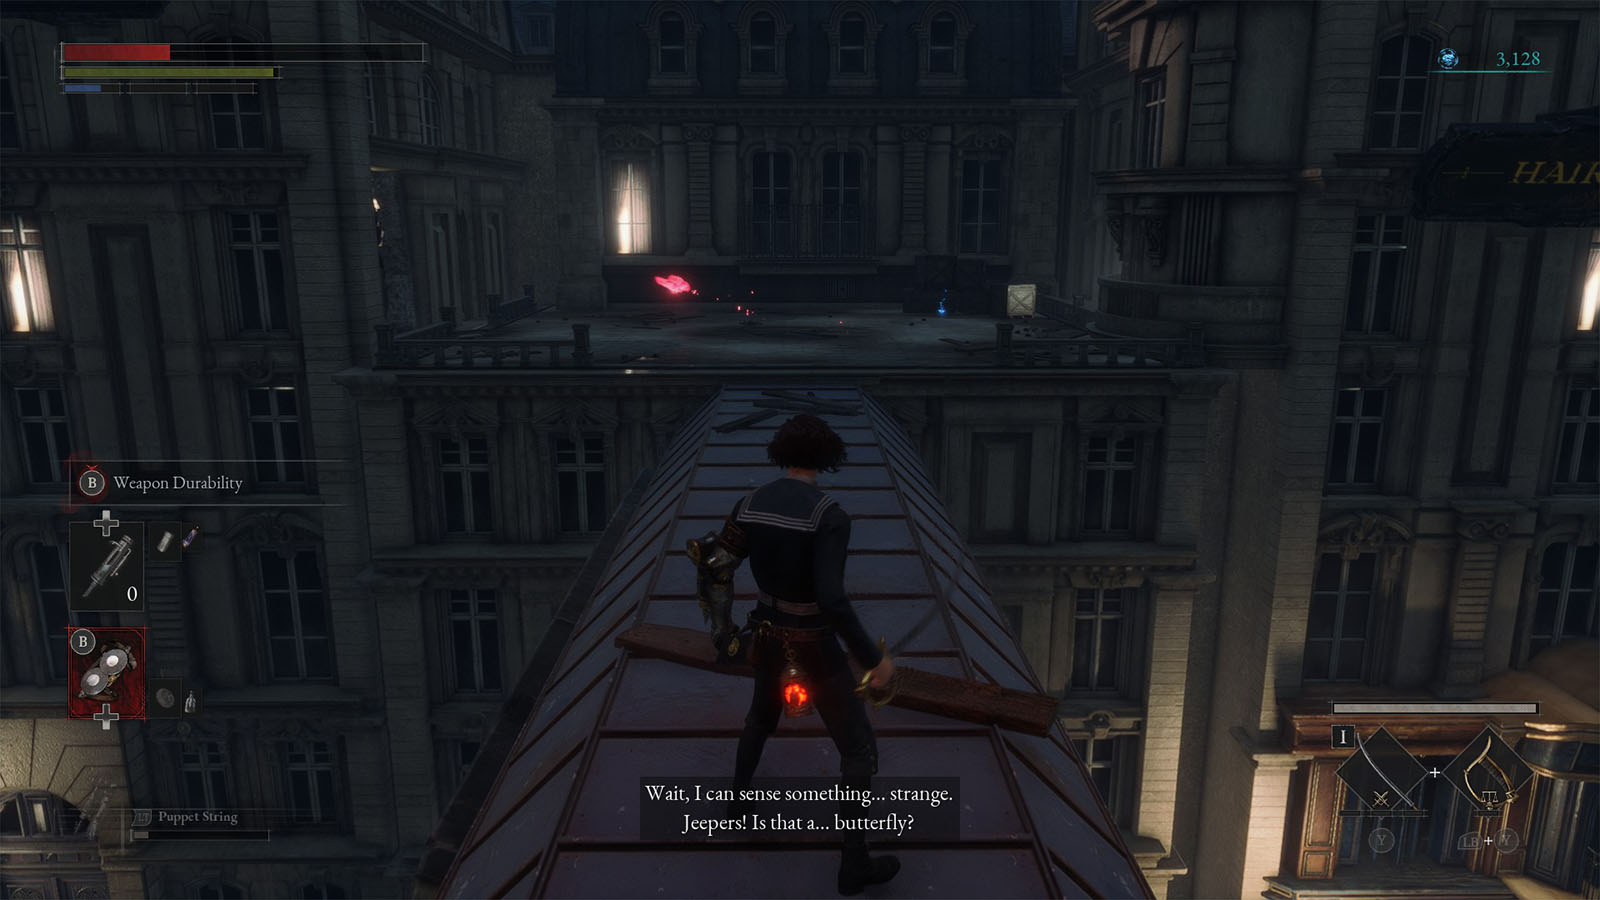
Back on the rooftop, you will encounter a red butterfly. Chase it down and attack it as it will usually drop useful crafting and upgrading materials.
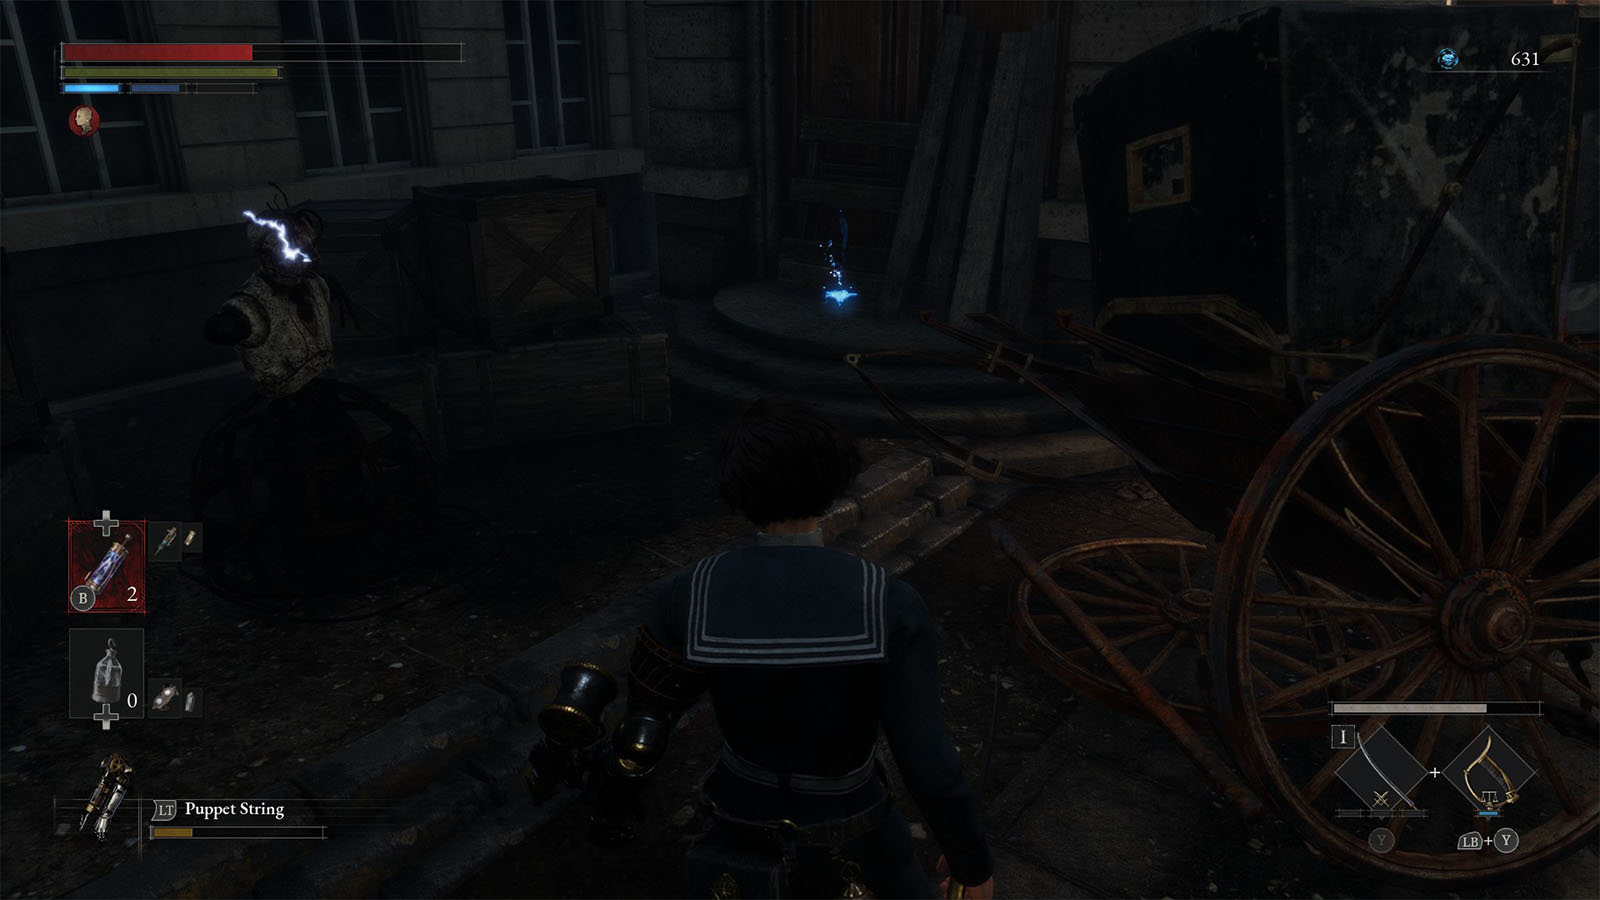
You will eventually have to go back down to the streets where a couple more puppets are littered across. There are also electrified dummies scattered on the streets; once they get hit, they will drop puddles of electricity that linger for a few seconds.
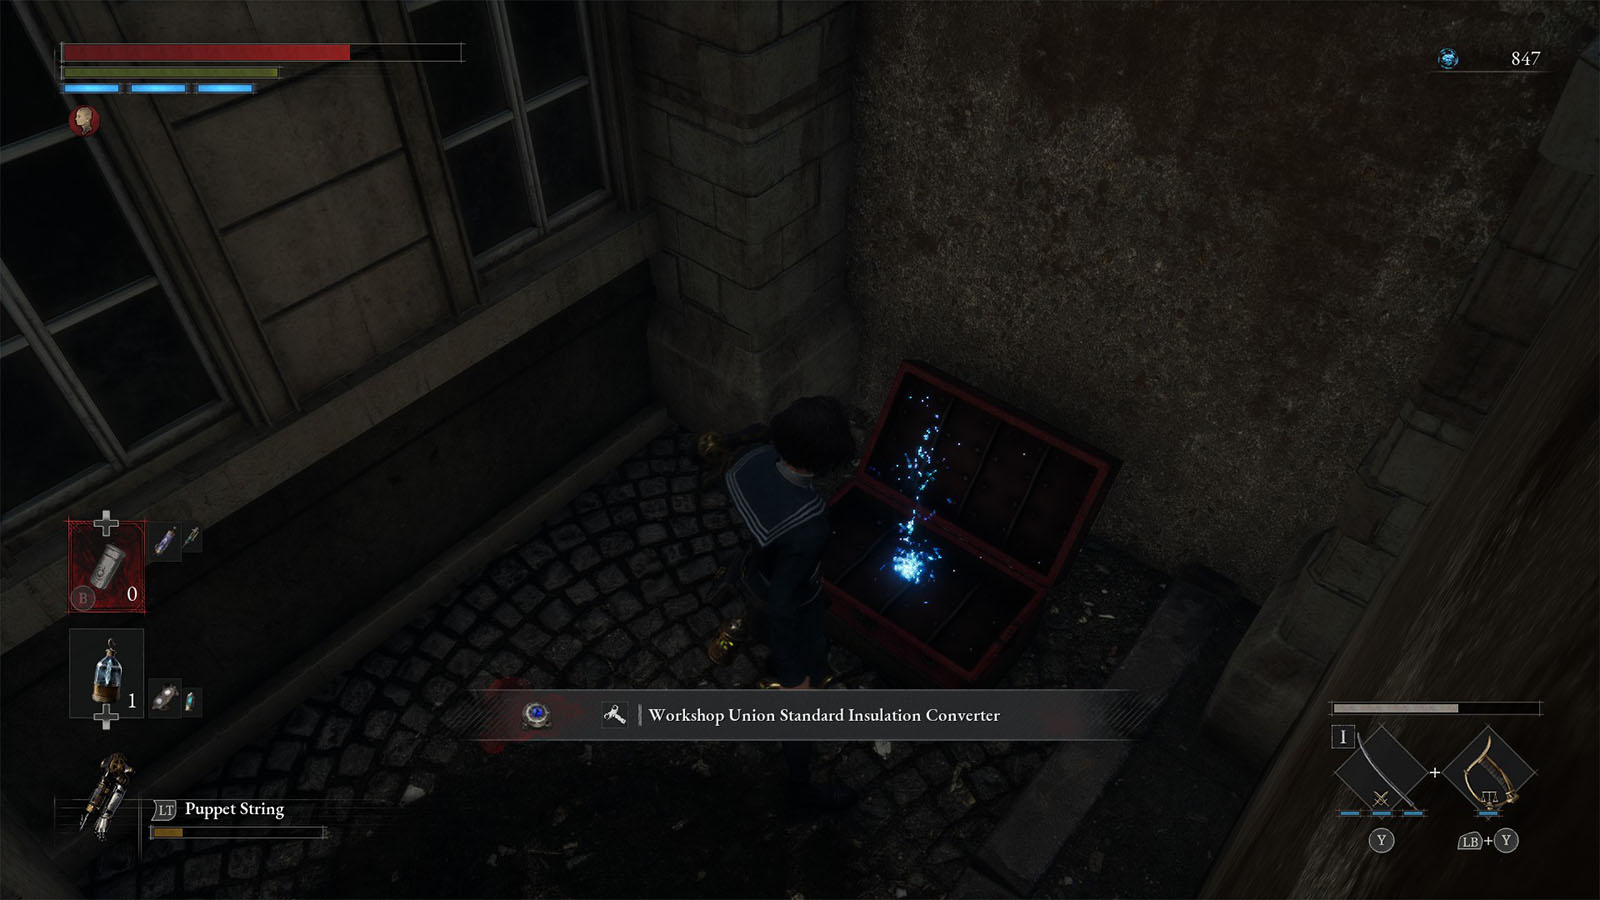
The main puppet to look out for on this part is another white coat puppet that is patrolling a corner street. Defeat it and you will be able to get to the corner where a chest is at. This chest contains the Converter – Workshop Union Standard Insulation Converter. This is one type of converter that alters your defense and resistances against damage types.
Continue down the path and back up again where you will arrive at some scaffolding that leads down to an open area. Once you go down, another Watchman Puppet will be charging at you.
High Elite Fight: Watchman Puppet

The Watchman Puppet is almost similar to the first one that you fought in the train station, albeit a bit more aggressive. Always pay attention to its combo attacks and its unblockable attack.
More often than not, it’s better to go in and try to do a perfect parry rather than run away; unless you have enough distance from the enemy, you will most likely get hit as it has the ability to chase you for a bit while going through its attack animation.
If you still have your throwables, you can use them at this point. Your Puppet String will not be able to pull the enemy closer to you, but it can chip a bit of damage off.
Should you wish to do the cheesy tactic, the place where you will be fighting the Watchman is connected to the next area that you need to go to (do not climb back up the ladder). You can run to the next street, but you will also have to deal with a new type of enemy up ahead. It is doable as long as you get enough distance that the enemy will start to back off.
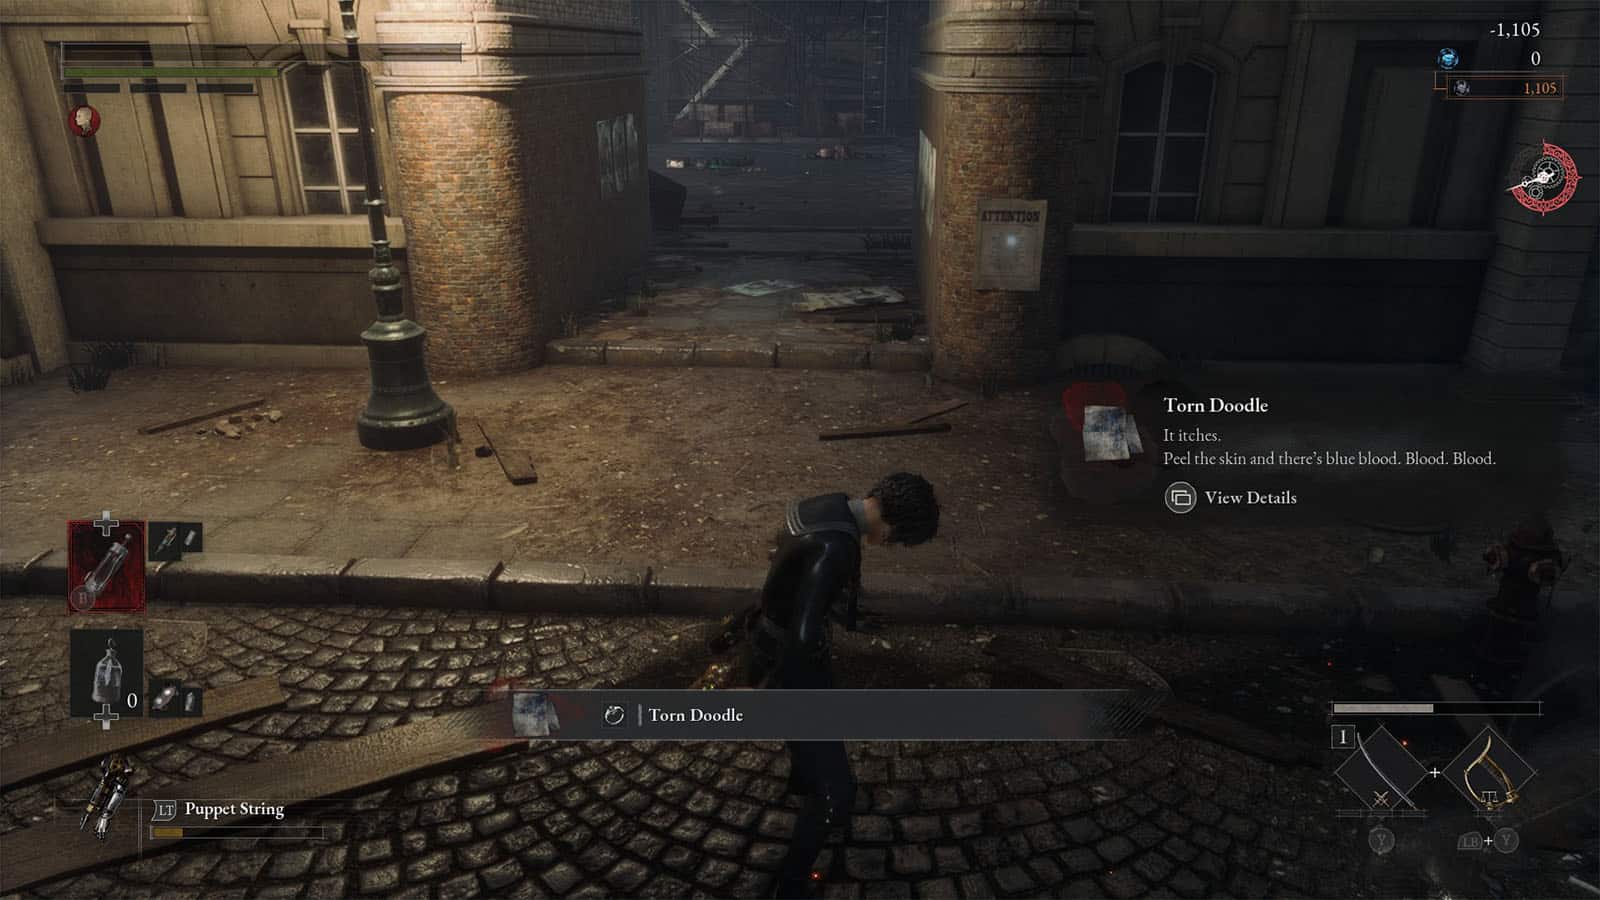
Once the enemy has been defeated, you will get the Krat Police Baton. There’s also the Collectible – Torn Doodle on the spot where the enemy was standing at the start of the fight.
Before leaving this area, go back up the scaffolding and follow the lady’s voice that you hear nearby. It will lead you to a window with the lady’s silhouette. Talk to the lady and she will ask you to help her look for her daughter. Her daughter was last found just outside the City Hall. Accept this request, then proceed with the path ahead.
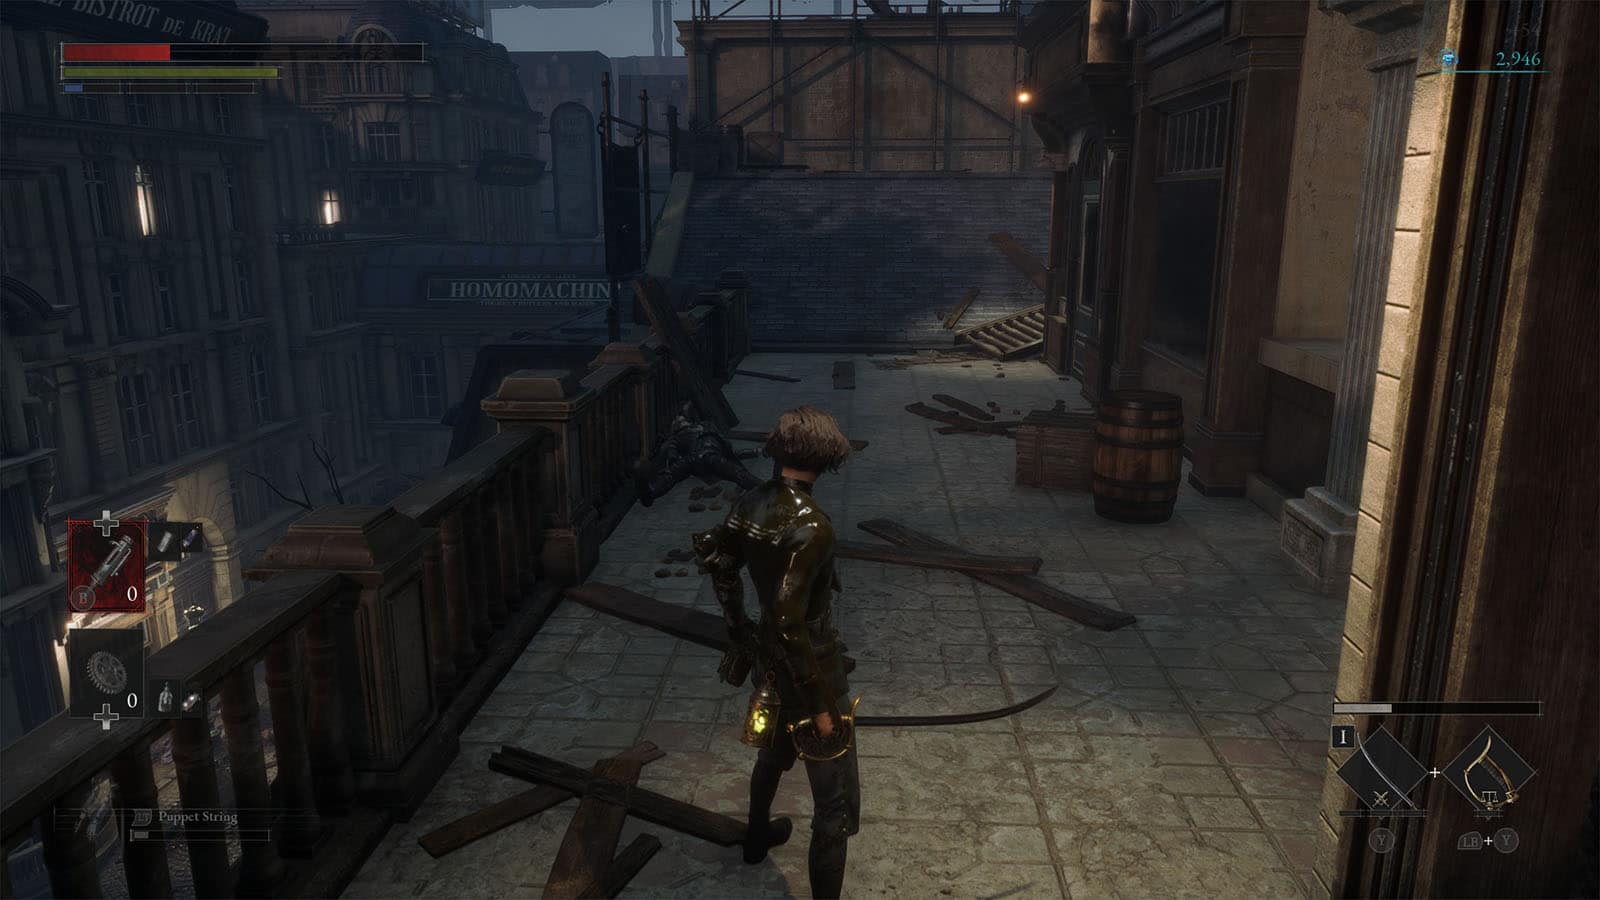
Continue on to the next street where you will encounter the heavy slasher puppets. These puppets wield a huge sword which they can use to block your attacks. They can be rushed and destroyed immediately, but your final strike will almost always get blocked. Once it drops its guard for an attack, do a quick attack to stagger them for an opening.
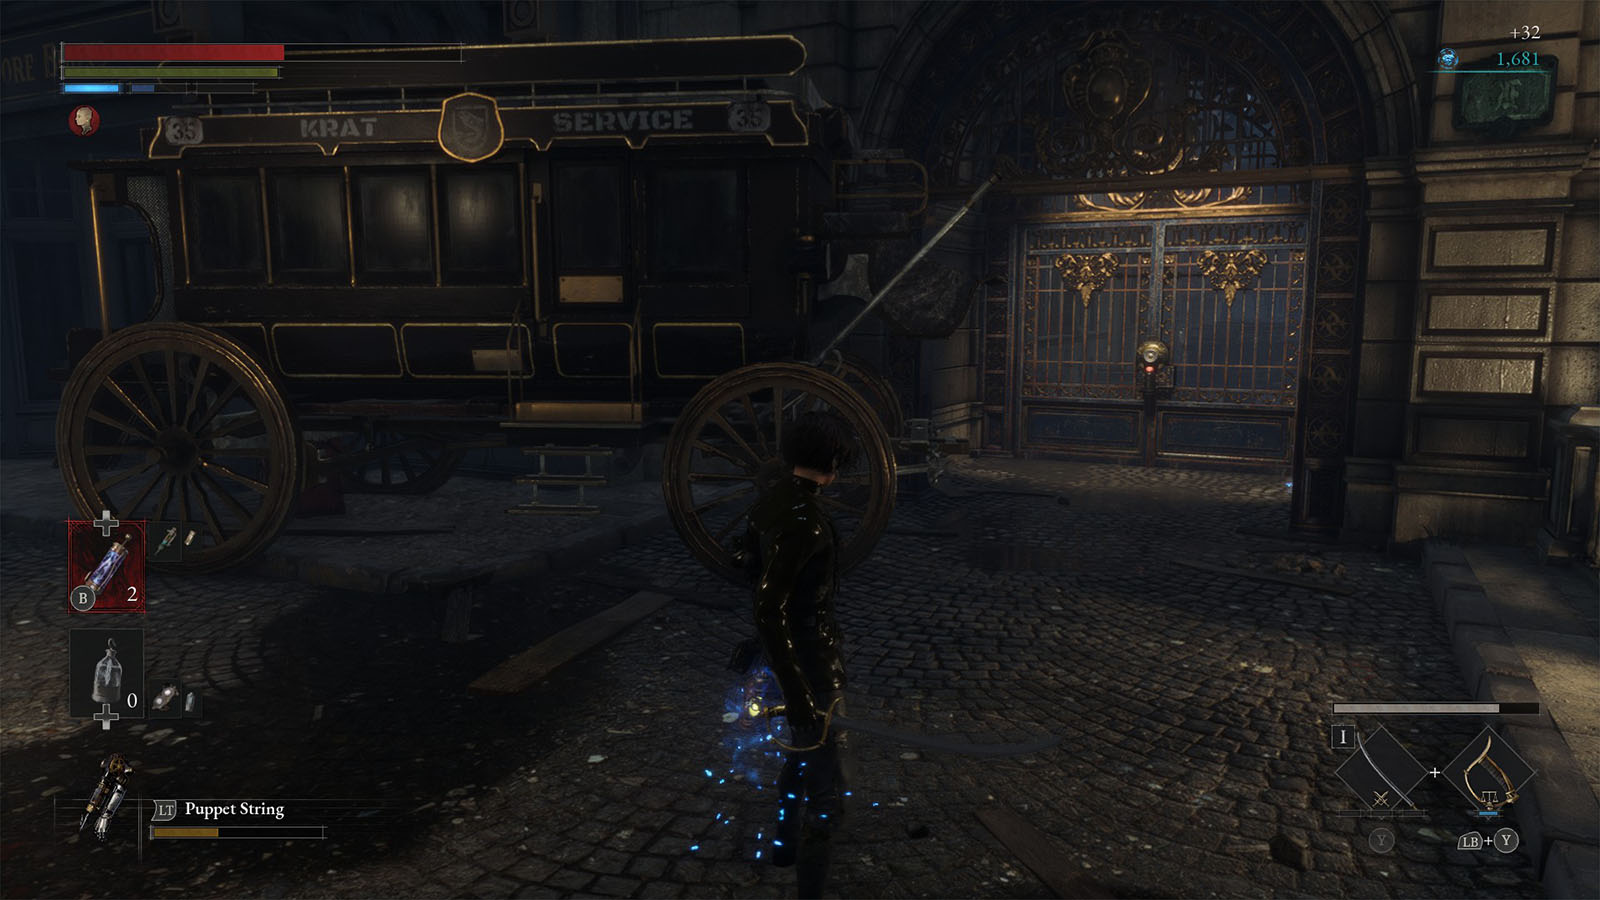
Just before the street turns to the right, look to the left behind the carriage to open another shortcut to the previous area. Then, up ahead is another building where a heavy slasher comes out. This is where you can also fix the elevator which allows you to get back to the merchant and the closest Stargazer easily. Do this as you will be facing another boss just up ahead.
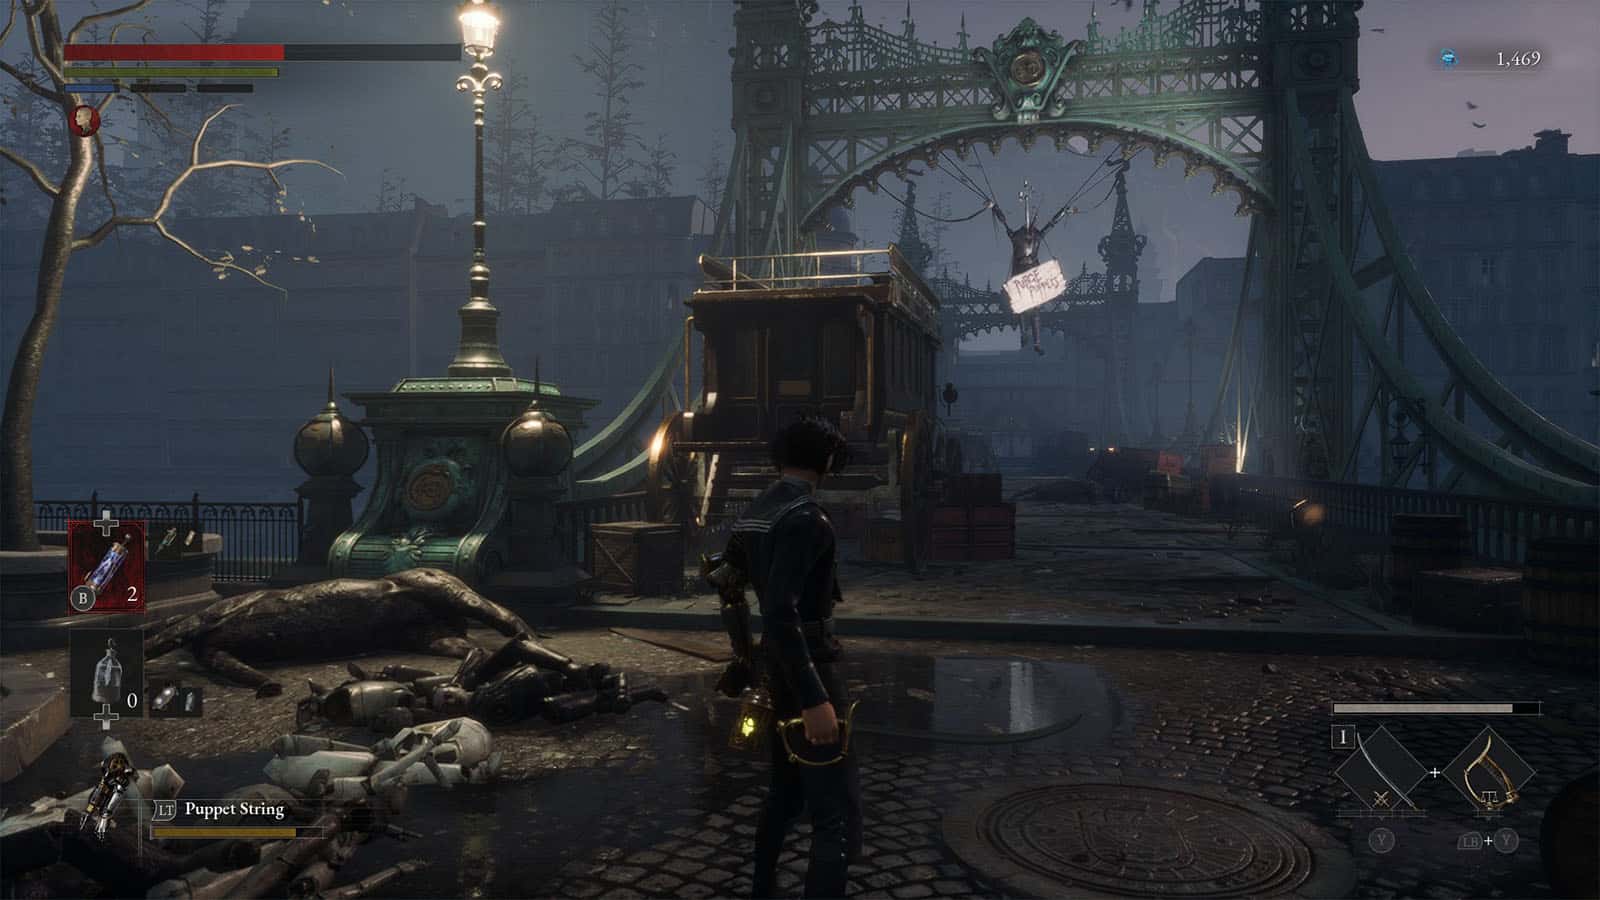
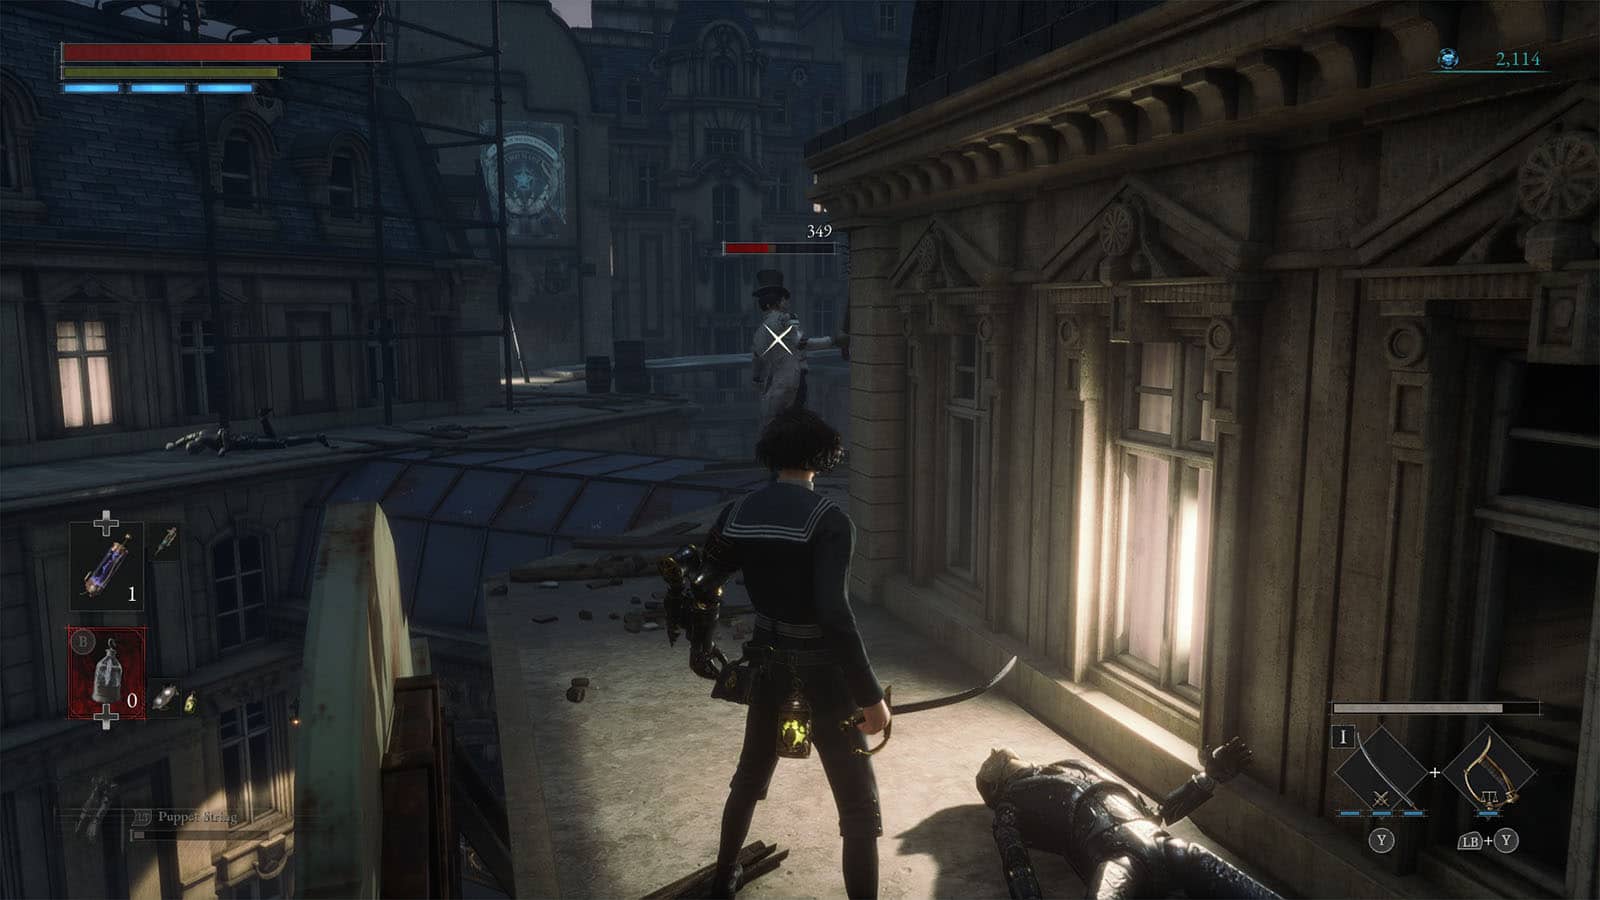
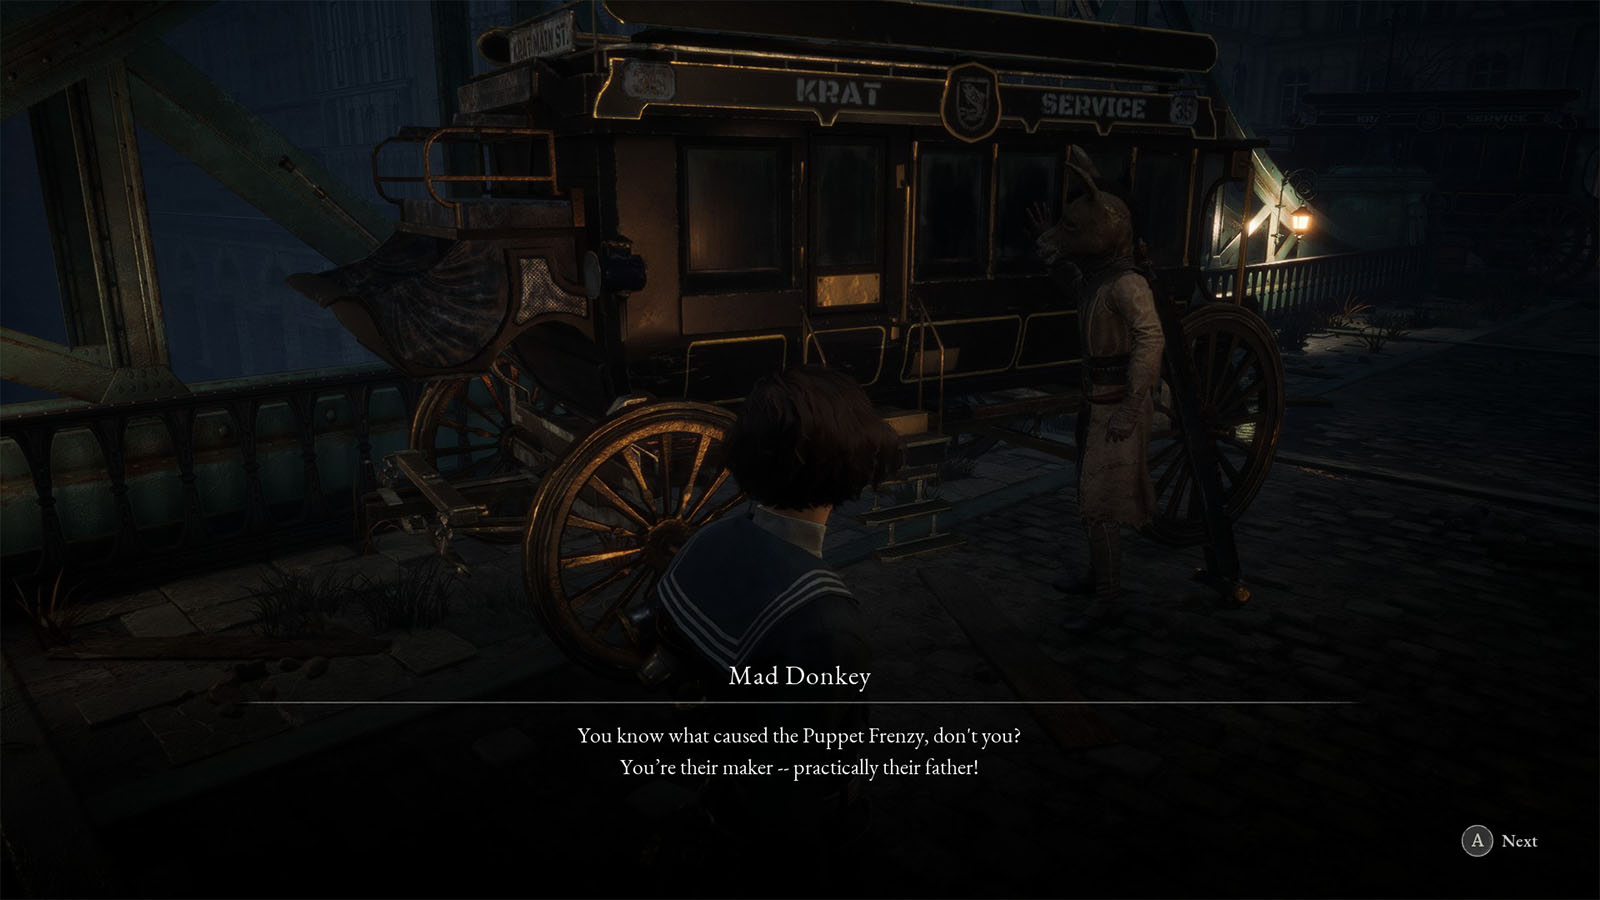
Up ahead is a bridge with a hanging puppet on one of the supports; take note of this puppet for now as it is part of a Costume Secret. You will also see a masked man banging on a carriage and threatening the person inside to come out. The masked man, known as Mad Donkey, is part of a renegade group known as the Stalkers that have been on the hunt to destroy the puppets that they encounter. After sensing that you are one, he will become hostile against you.
Boss Fight: Mad Donkey
The Mad Donkey wields a huge tree saw that he uses as a Greatsword. Because of his large swinging attacks, he can deal significant amounts of damage, but he will have open moments when preparing and recovering from a swing. Use these openings to reposition and deal damage to him.
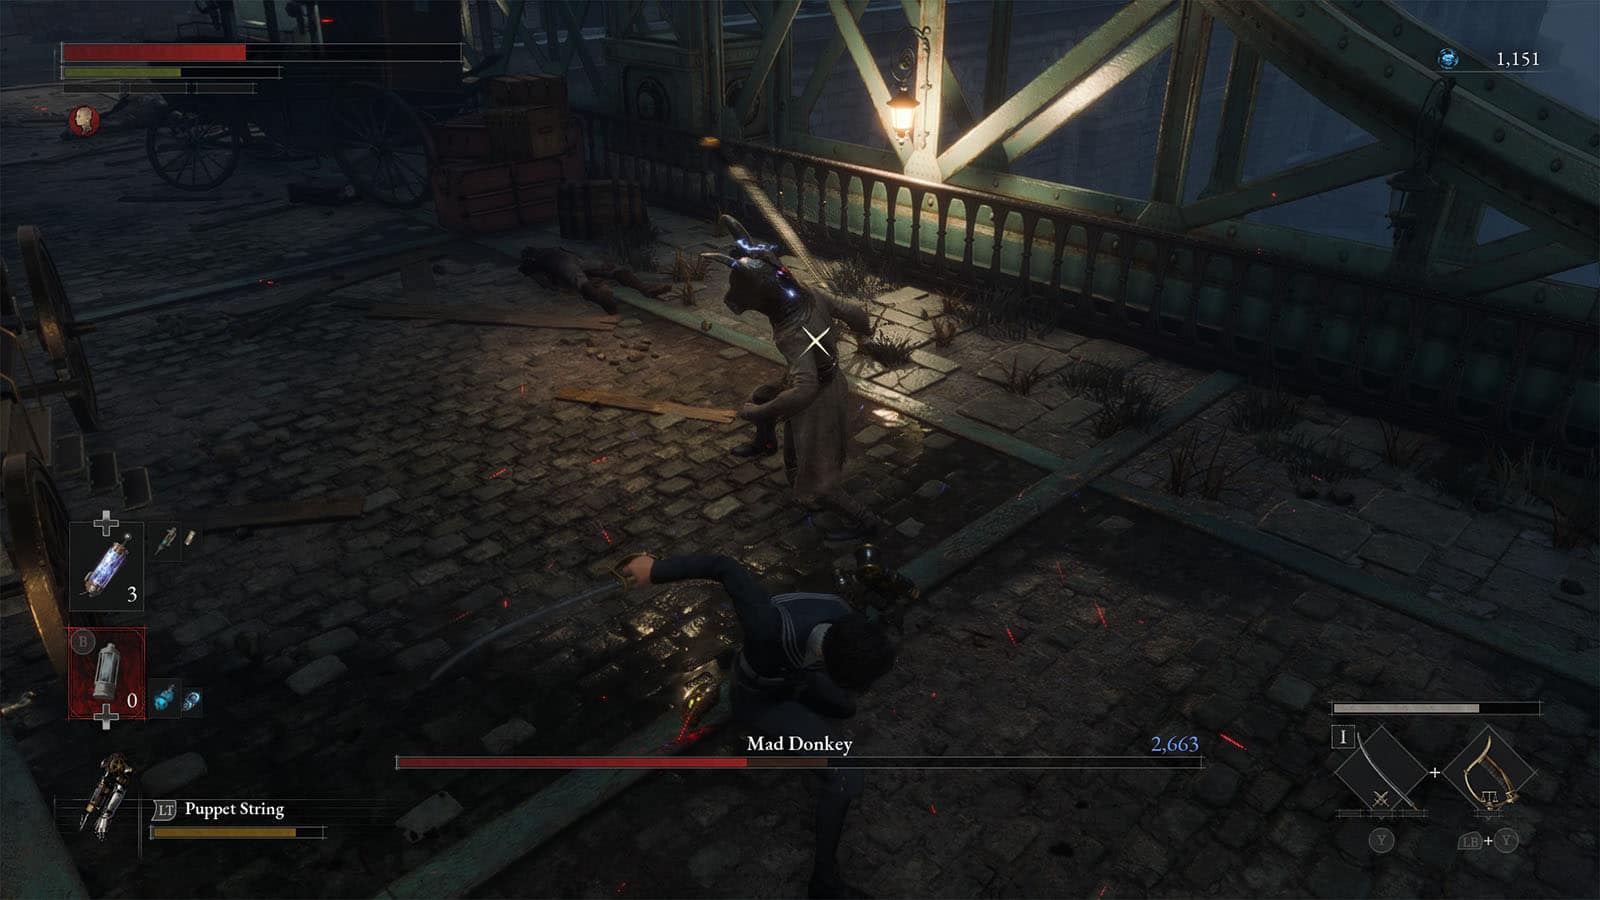
His charged attack allows him to swing his Greatsword for up to three times. It’s best to get some distance while repositioning yourself around him as he will leave his back open for you to be able to do your fatal strike.
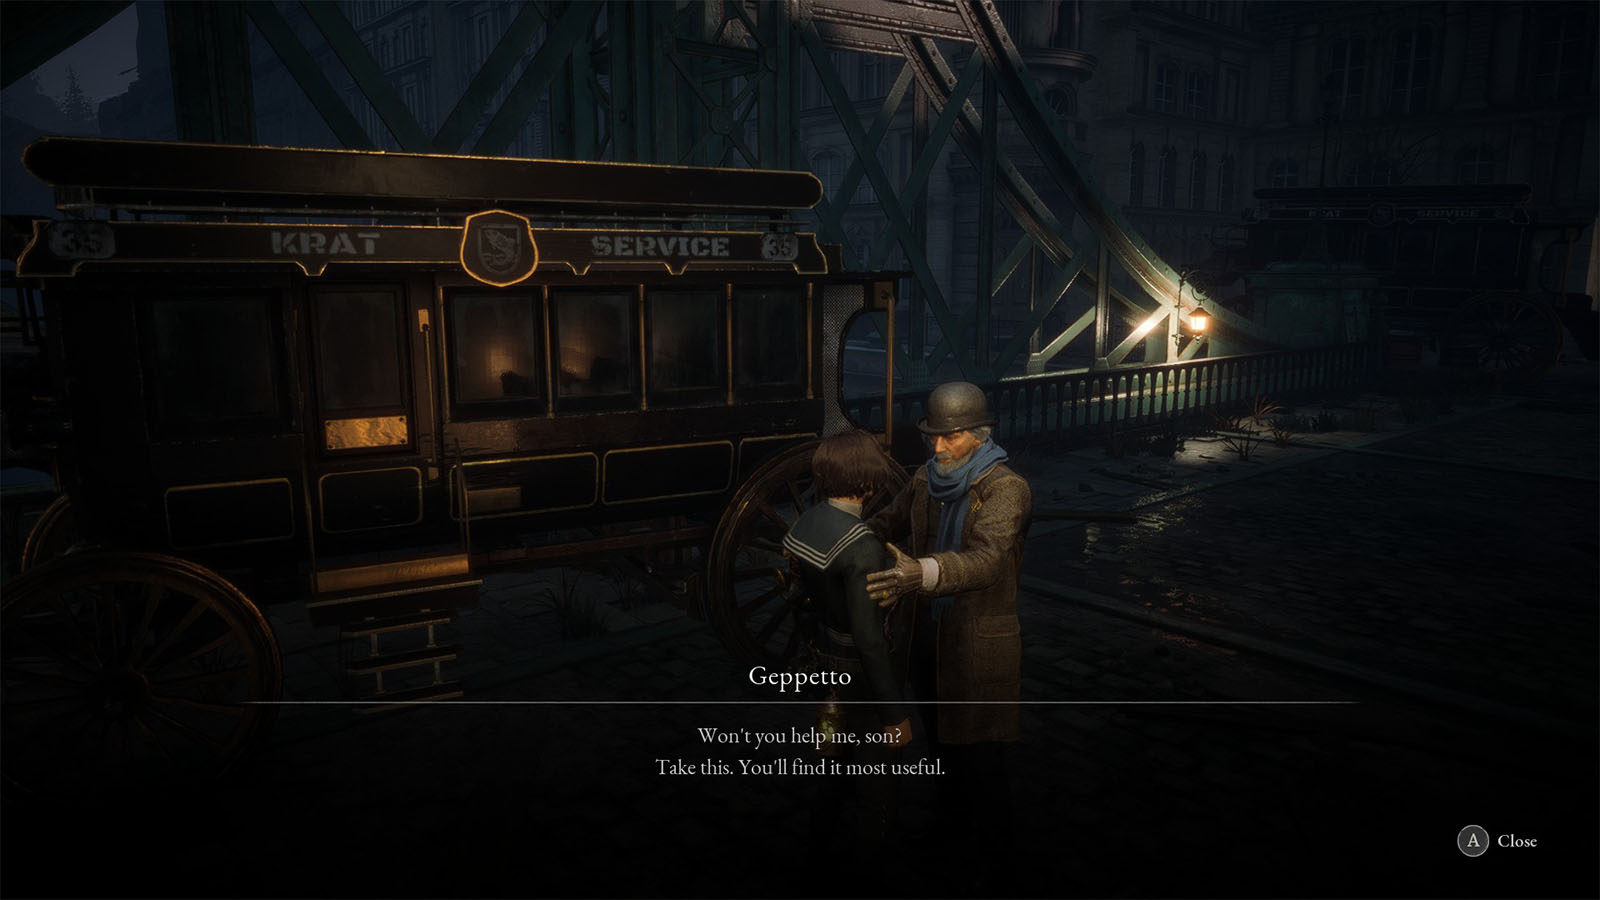
Once you defeat Mad Donkey, the person in the carriage will come out, revealing himself as Geppetto, P’s creator. After your dialogue, you will be given Mad Donkey’s Mask and Mad Donkey’s Apparel, as well as the Krat City Hall Key and the Enigma Assembly Tool. Your maximum number of Pulse Cell uses will also be increased.
At this point, you can proceed to the third part of the chapter by using the key to open the gate up ahead. Use the Krat City Hall Stargazer, and before continuing, it’s best to take Geppetto’s advice and head back to the hotel to make some preparations.
Weapon Assembly
The Enigma Assembly Tool will allow you to access the Weapon Assembly feature in the game through any Stargazer. With this feature, you can mix and match different blades and handles to mix up their stats and be able to pair special skills into one weapon.
Weapon assembly does not cost anything, so you can assemble and disassemble weapons as you see fit. Some traits, like the overall major damage and damage type, are attached to the blade or head parts, while other traits like attack animation, speed, and attack patterns are intrinsic to the handle.
Geppetto
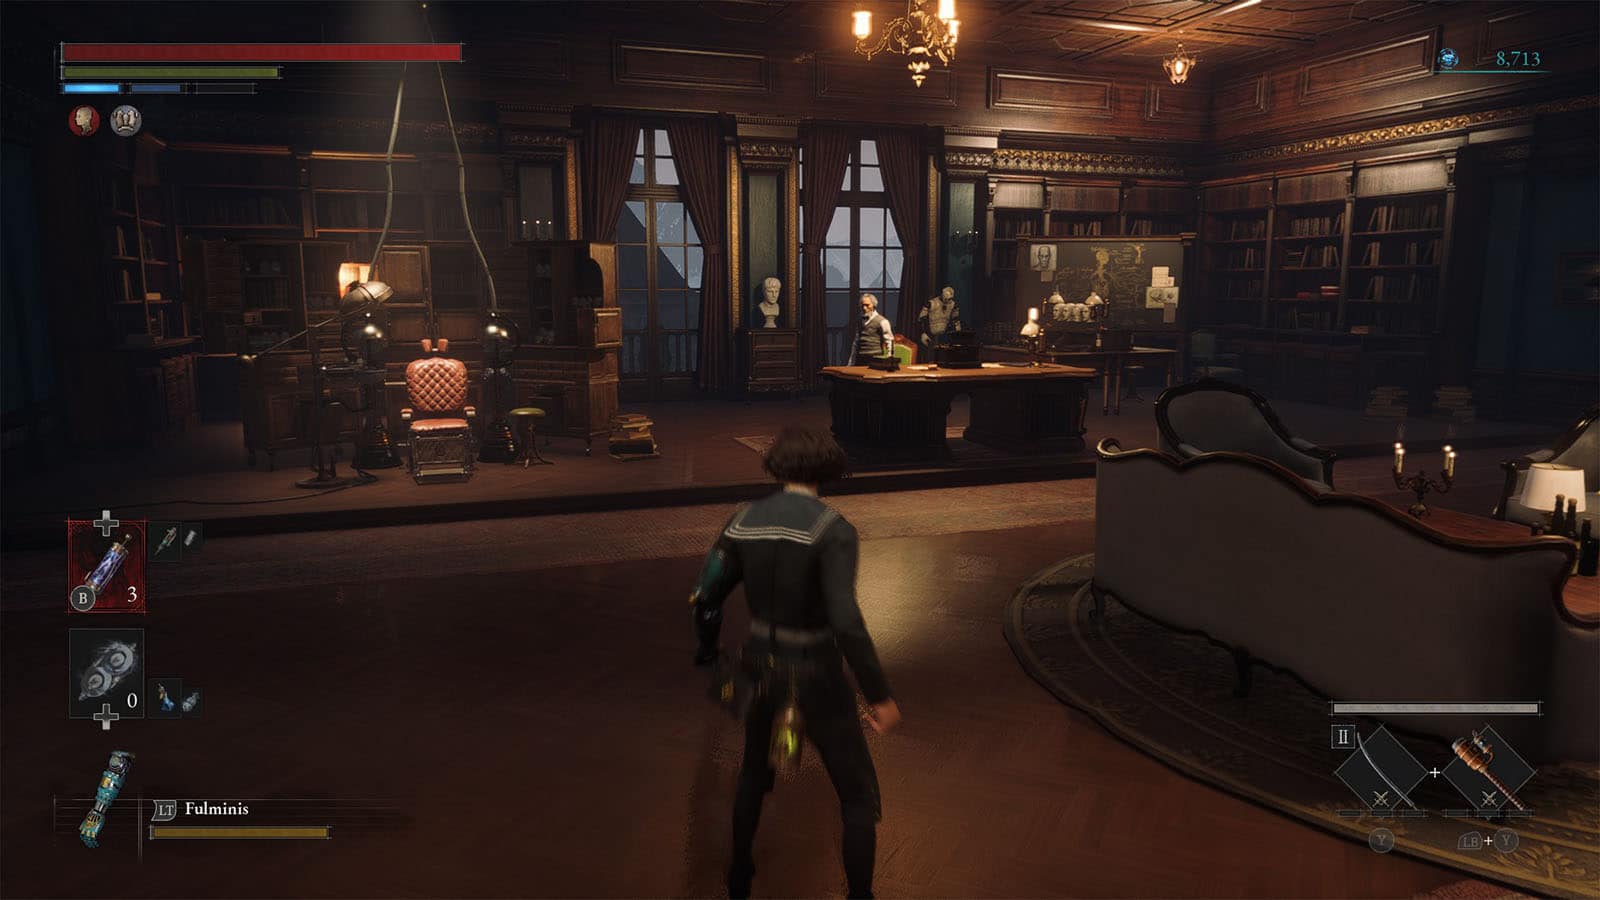
If you want to visit Geppetto, head to the second floor of the hotel and enter the central room. In here, you will get to talk to Geppetto and learn a bit more about him. There’s also a chair nearby similar to the one at the start of the game. This chair is used to modify your P-Organ slots, but you won’t be able to use it just yet.
Krat City Hall
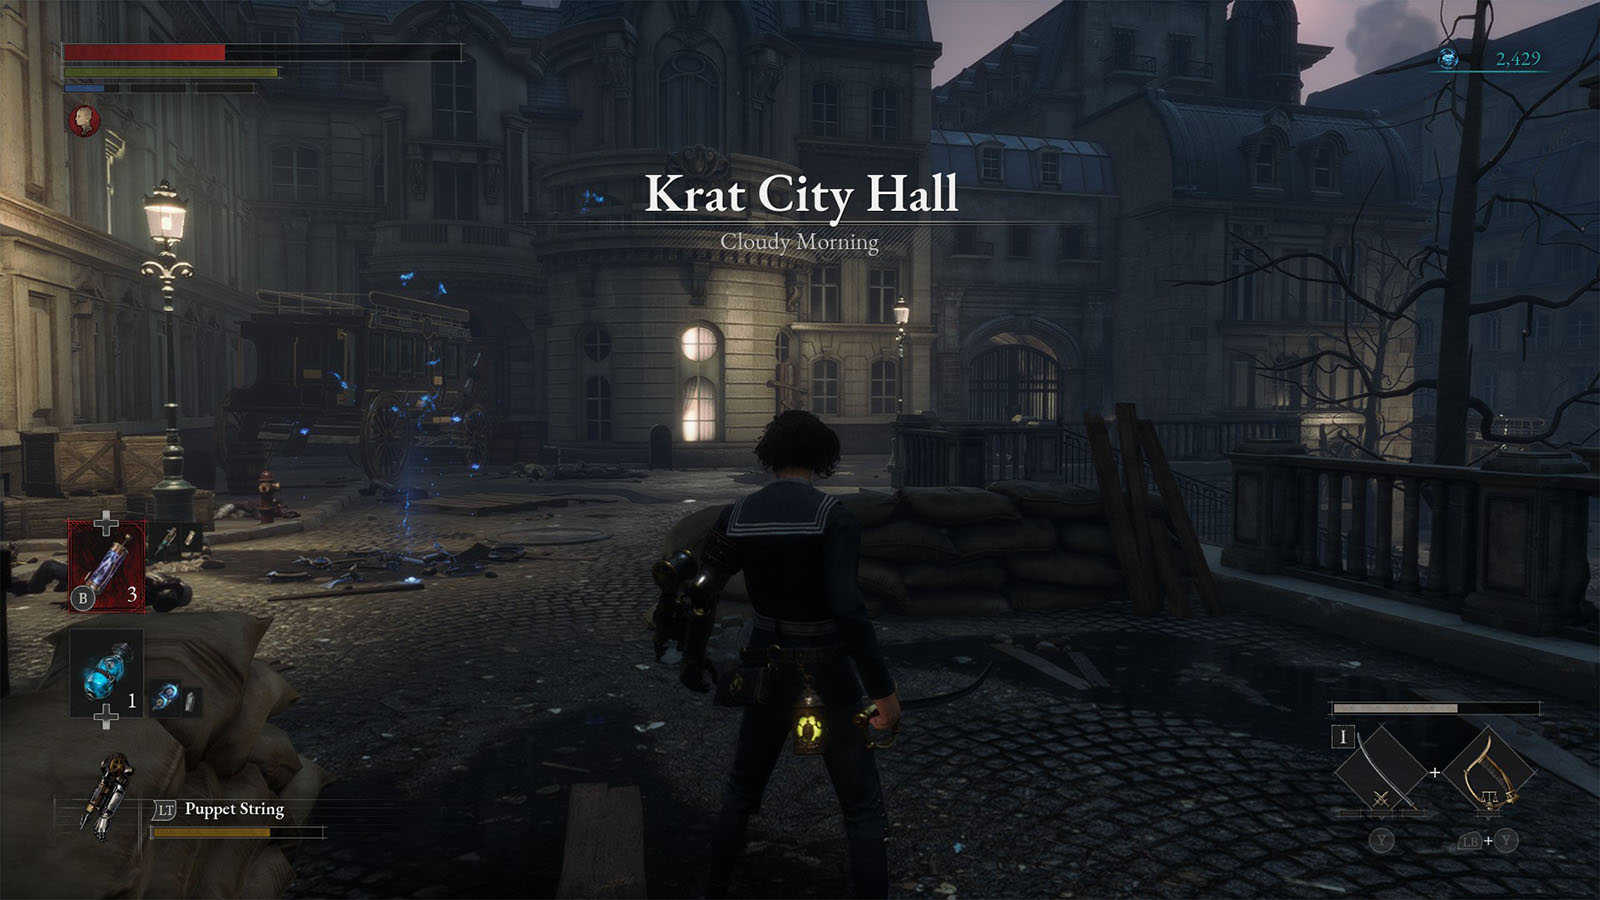
After doing your preparations in the hotel, teleport back to the save point at Krat City Hall. This section of the chapter is just short, and by the end of it, you will be fighting against the chapter’s main boss, so use this leg to grind for your levels.

Continuing down the path, you will encounter several heavy swingers. They are relatively easy to deal with, as long as you catch them when they’re not blocking your attacks.
Once you climb up the stairs after dealing with the two heavy swingers, check the path to the left. You will see a corpse of some sort of an infected person, foreshadowing of what is to come in the next chapters. There’s also a Vivid Ergo Fragment nearby, as well as a gate that you can open as a shortcut.
Back on the main route, you will arrive just at the entrance of the City Hall. To the left is where you will find the Collectible – Krat New Issue 1124. To the right is another brute that you can fight. This particular brute is busy so slipping through is easy, but it can respawn which you can take advantage of by grinding it for more Ergo and materials.
Past this brute, if you accepted the Weeping Woman’s request from earlier, is another blue flower. Pick it up to get the Broken Baby Puppet, then bring this back to the Weeping Woman. Once she accepts it, she will ask you if you think her baby is adorable. You can lie and tell her that the baby is cute, or tell her the truth that it’s a puppet. Lying will reward you with the Record – Feel and a Vivid Ergo Fragment, while telling her the truth will only reward you with a Clear Ergo Fragment.
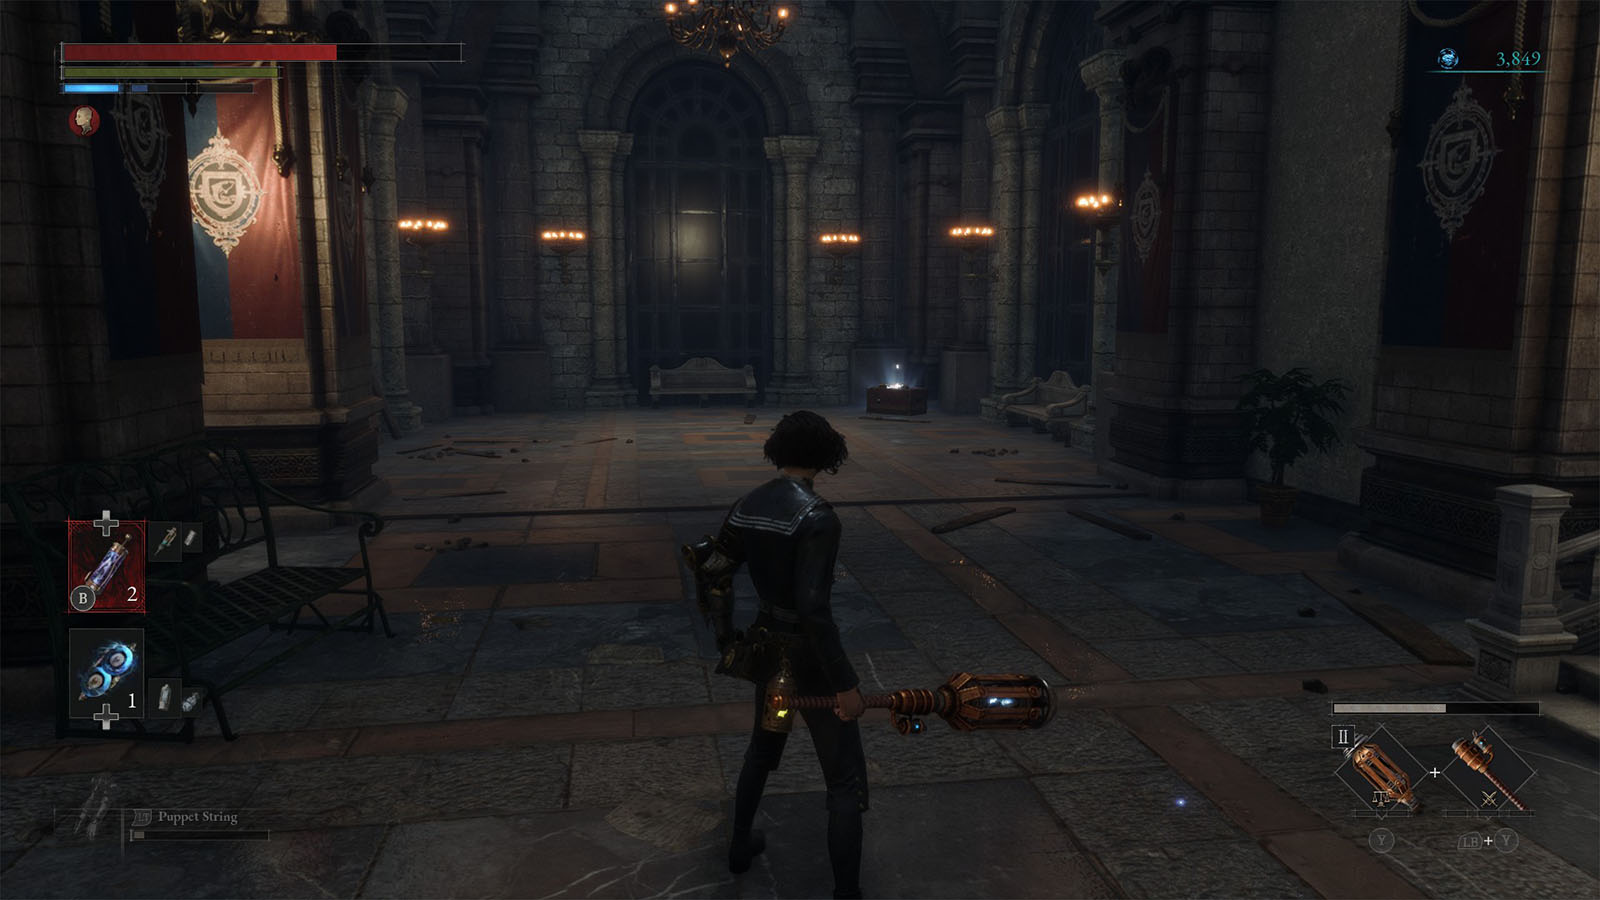
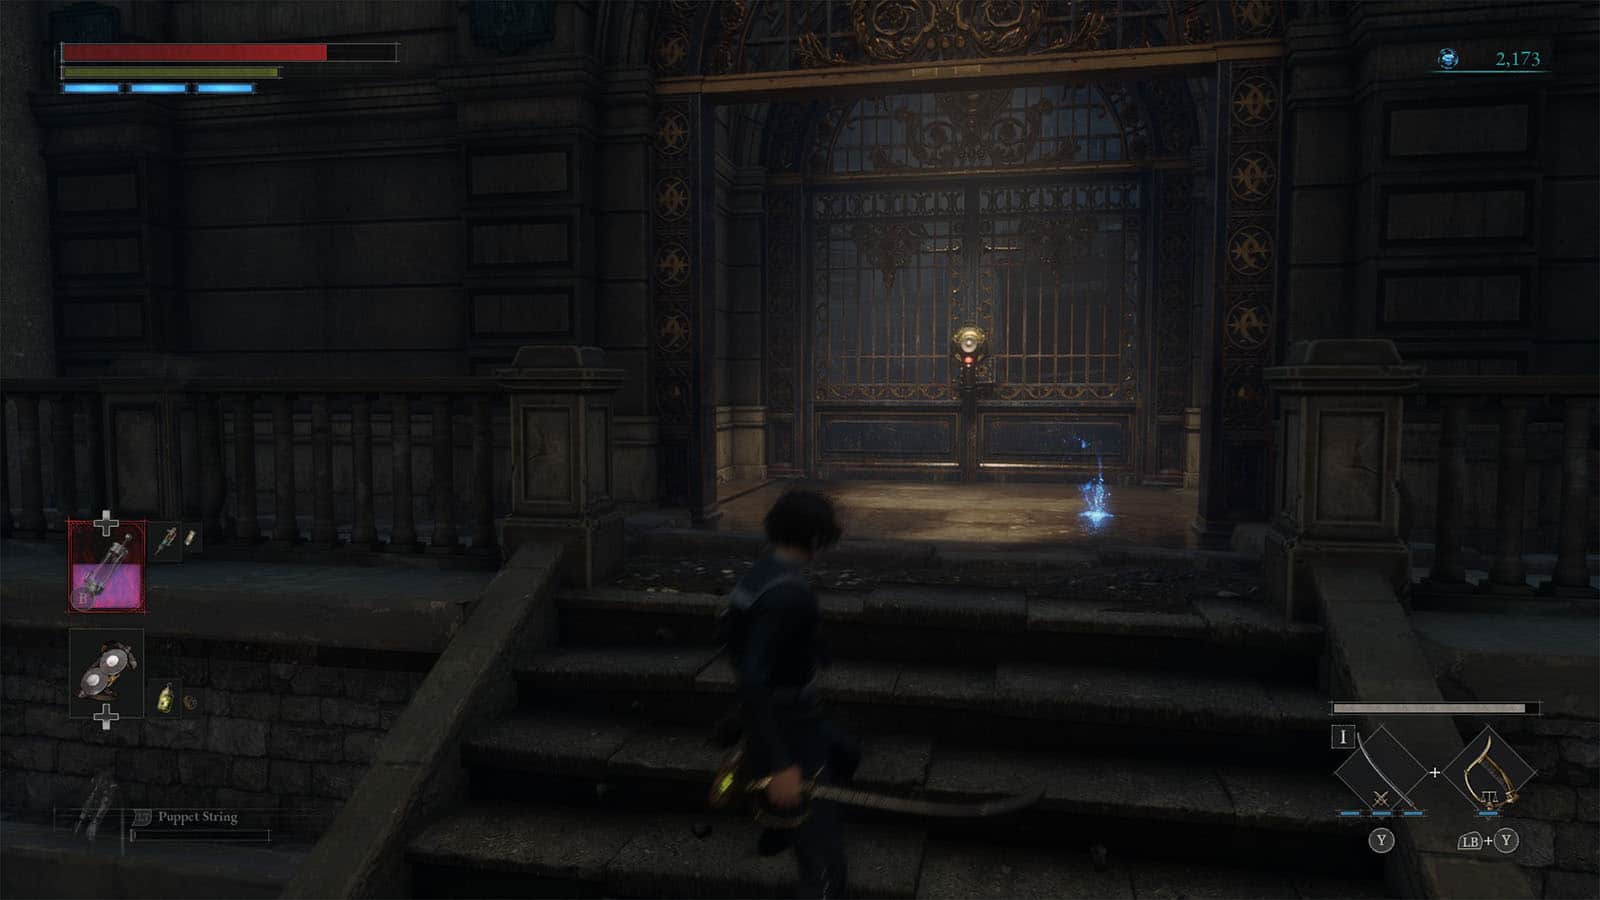
Inside the City Hall, you will encounter just a few more heavy swingers. To the left is a chest that contains the Amulet – Puppet Destroyer’s Amulet, and at the end of the hall is a huge door with a bowl on the side.
Behind this door is the final boss fight of the chapter. Before entering it, you have the option to call upon Specter that can help you in the fight.
Specter
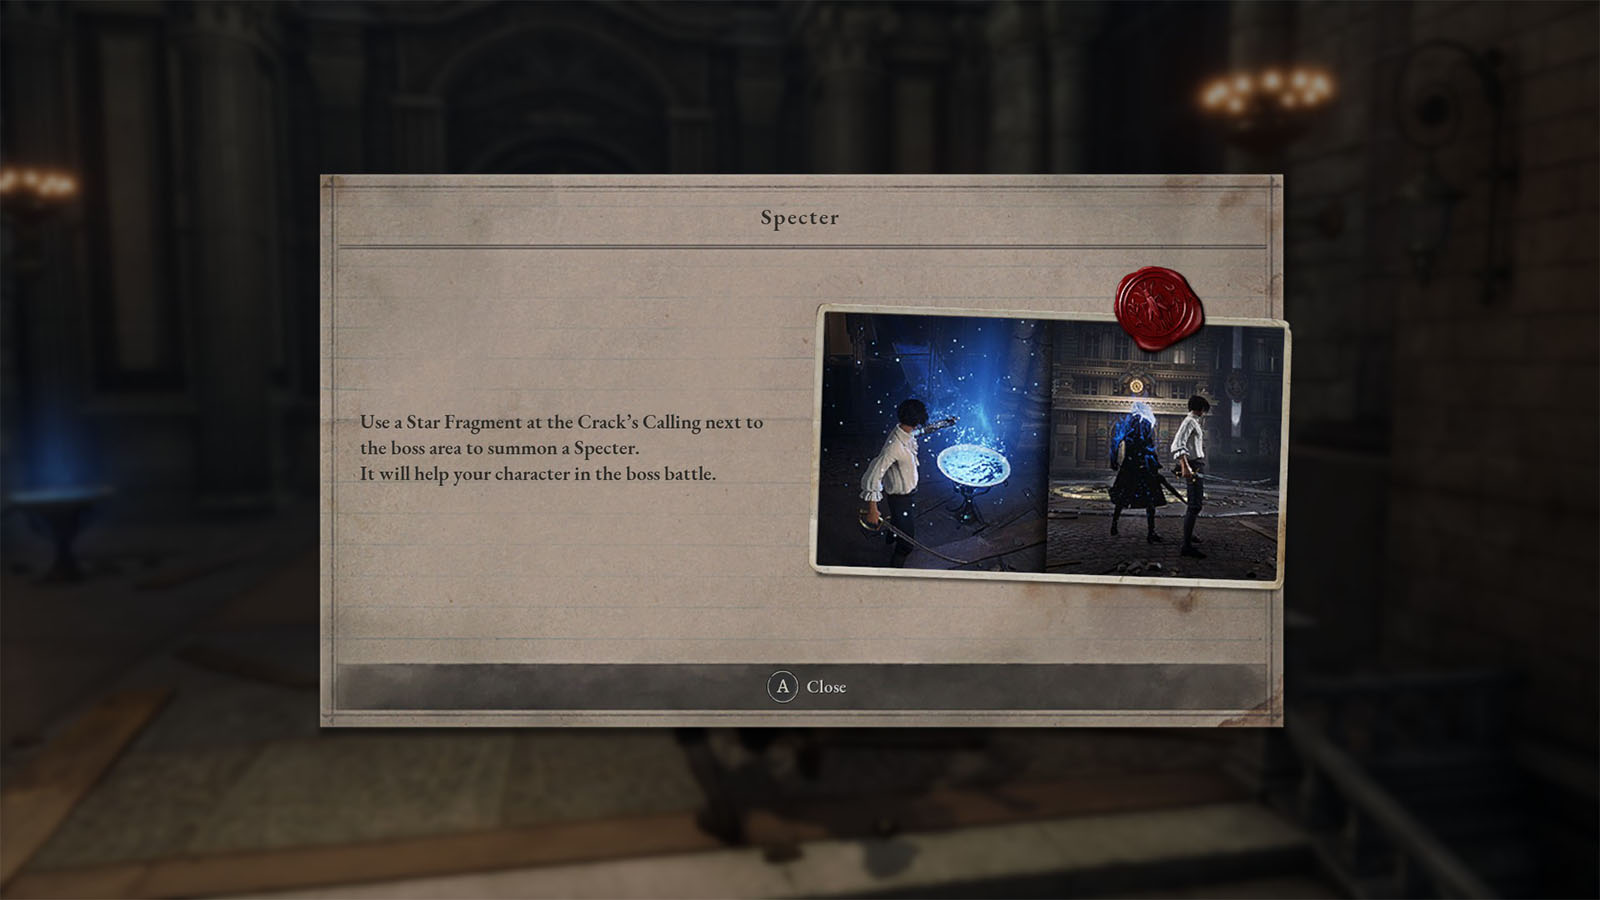
The bowls of Ergo are used to summon an AI-controlled Specter that becomes your temporary ally for the boss fight. Each summon costs a Star Fragment which is an uncommon drop from enemies. A summoned Specter will not show up until you proceed to the arena.
Once the fight begins, the Specter will show up at your side and do its attacks on its own. It has average damage stats and can get dispelled easily by bosses if its health bar runs out. Despite this, Specters can take the boss’ aggro away from you, allowing you to proceed with your attacks freely and making the fight a bit more manageable.
If a Specter dies within the battle, then it won’t respawn again unless you summon it just as you enter the arena once more. If a Specter survives a fight, it will simply fall on its knees and give you a bow before it dissipates.
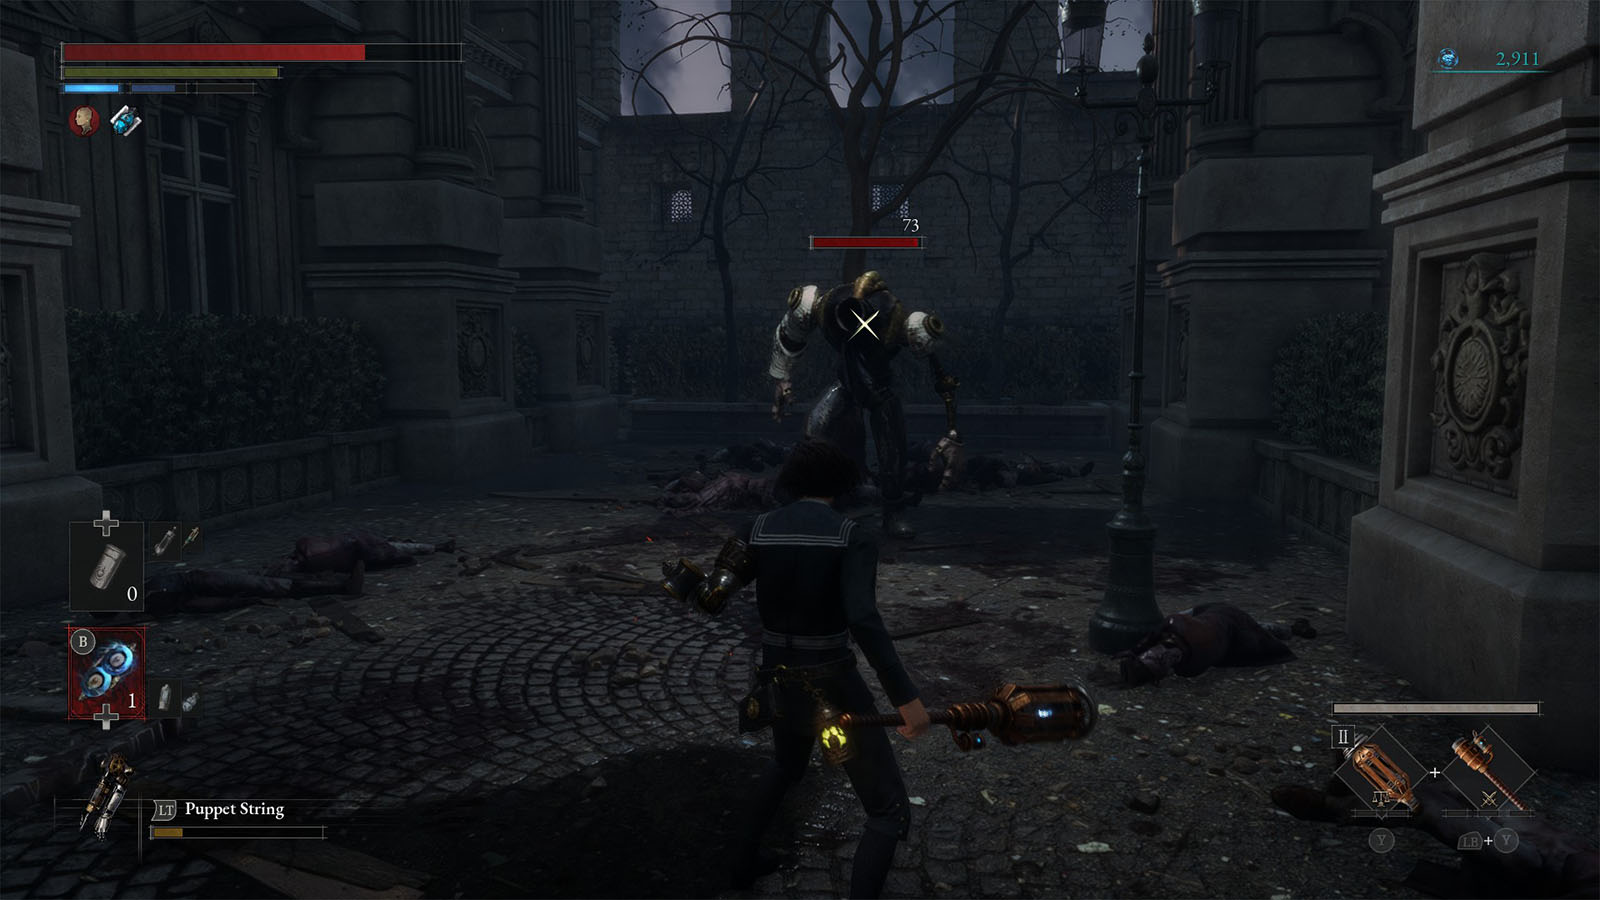
Boss Fight: Scrapped Watchman
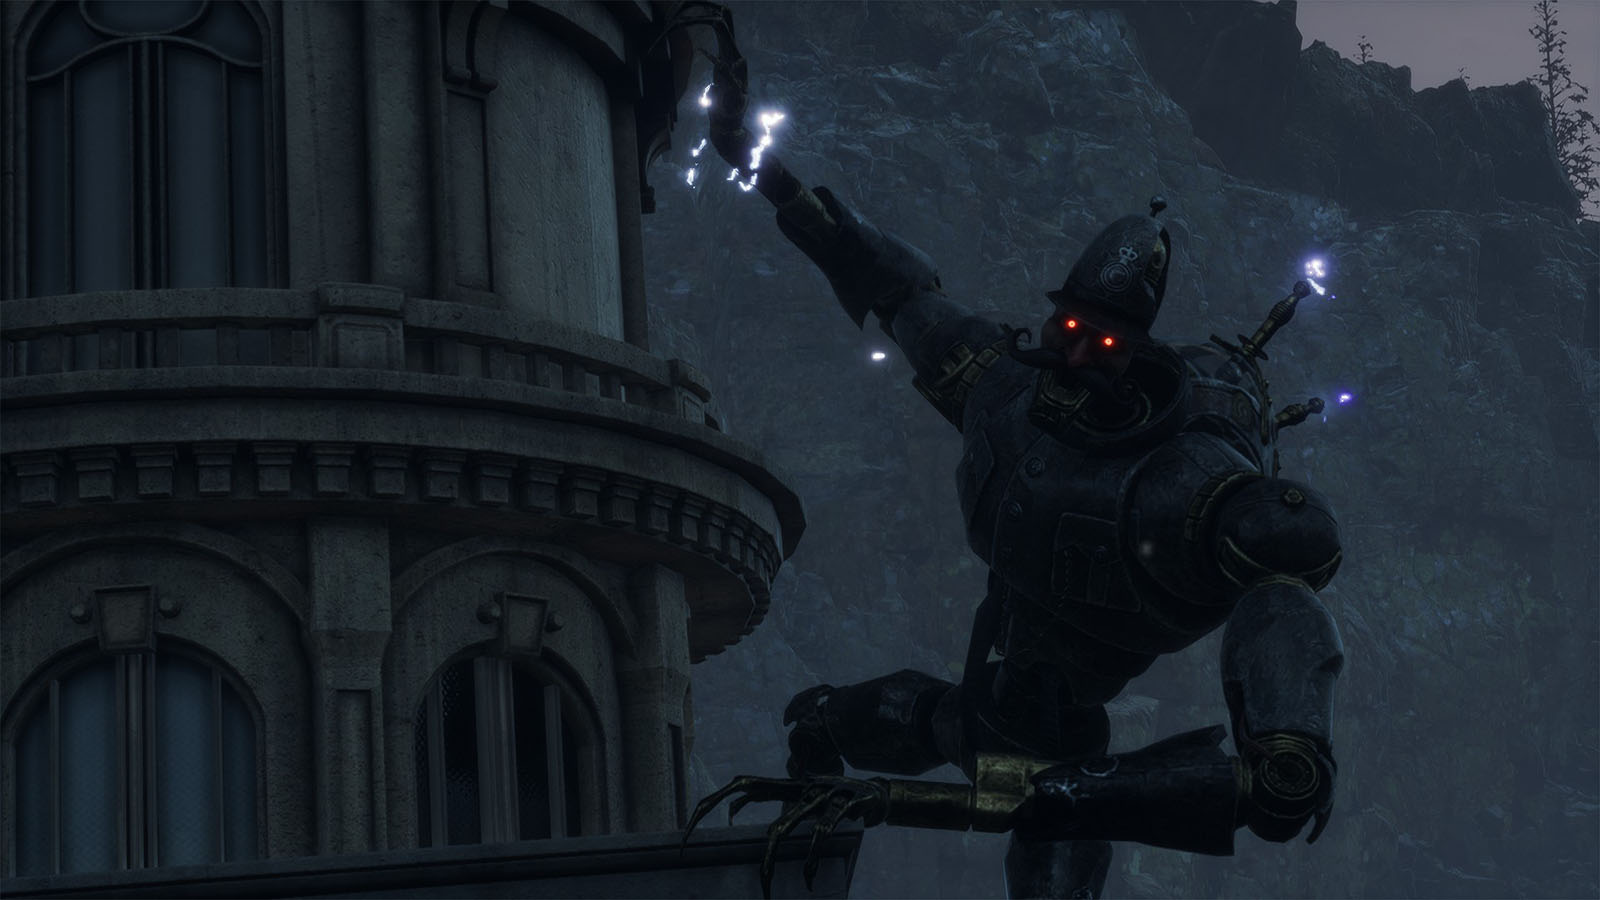
The Scrapped Watchman is an amped up and larger version of the Watchman puppet. It has the ability of sending out bolts of electricity on top of its huge arm swings and smashes.
Its main attacks consists of arm swings and arm punches. It can also swing its arms as it leaps back, then lunges at your position for another swiped. These can be strung into a combo that usually ends with an unblockable arm slam.
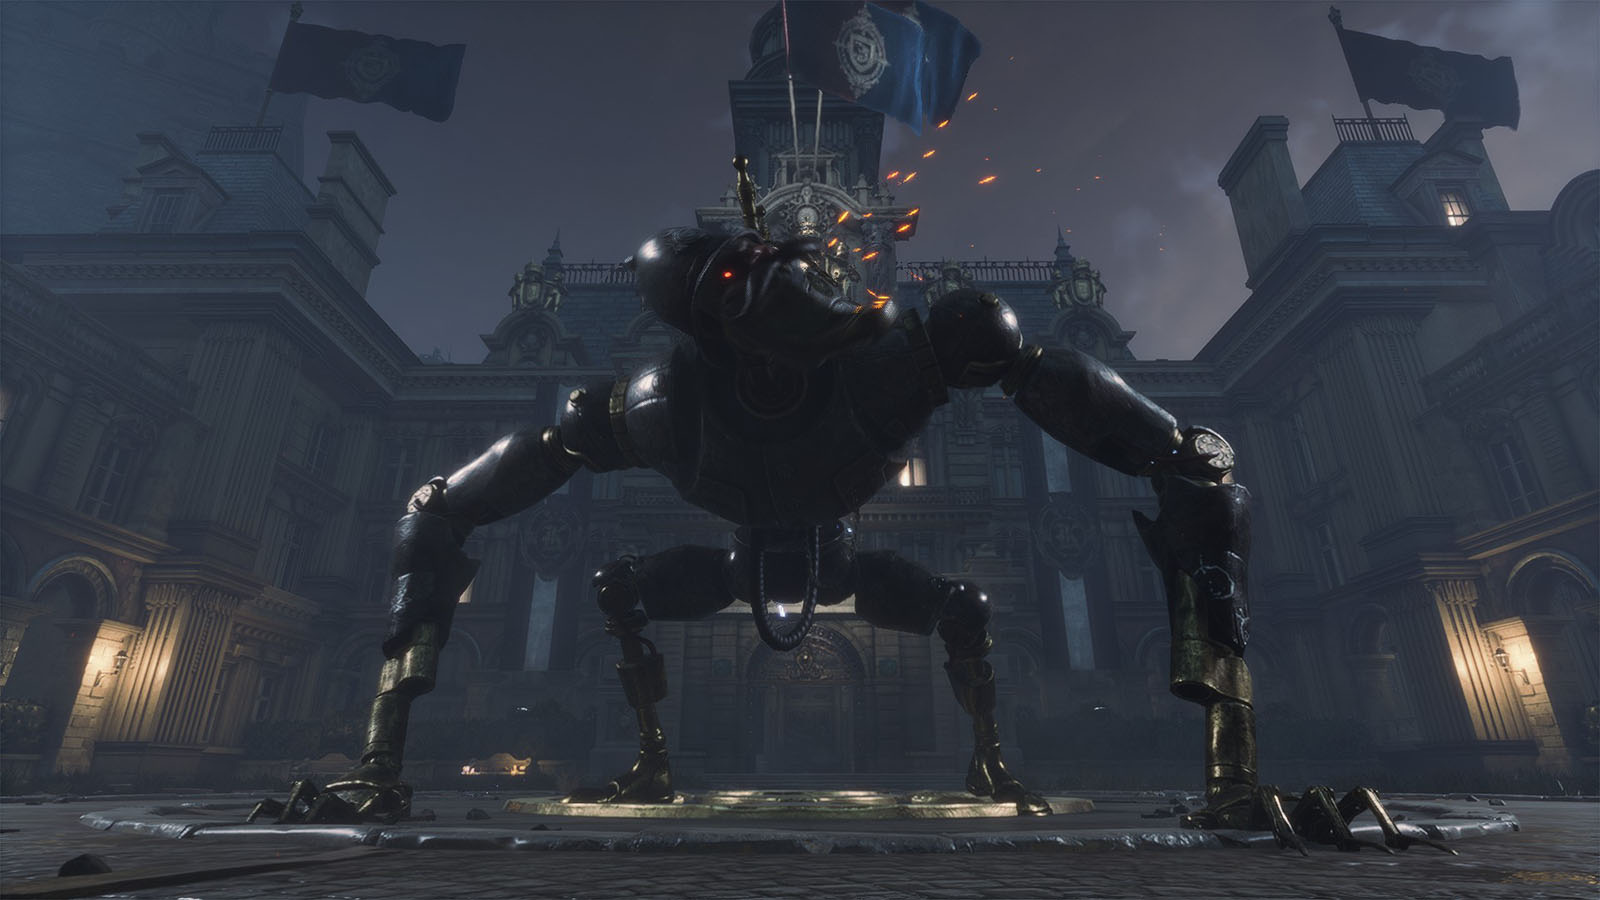
Once its health goes down by half, the boss gets supercharged and gains another attack combo. In this combo, it will jump high and home on your direction to slam its whole body. It then follows up this attack with an electric discharge where bolts of lightning appear around its body.
Because of the Scrapped Watchman’s reach, be prepared to have your parry game tested as it’s better to get into its close range and just keep on parrying its attacks. Its pounces and high jumps can easily close the gap between you. As for its special combo, stay alert and look for white glows on the ground as this will tell where the lightning bolts will hit. You can still get close to its face and deal some attacks while the bolts are shooting down.
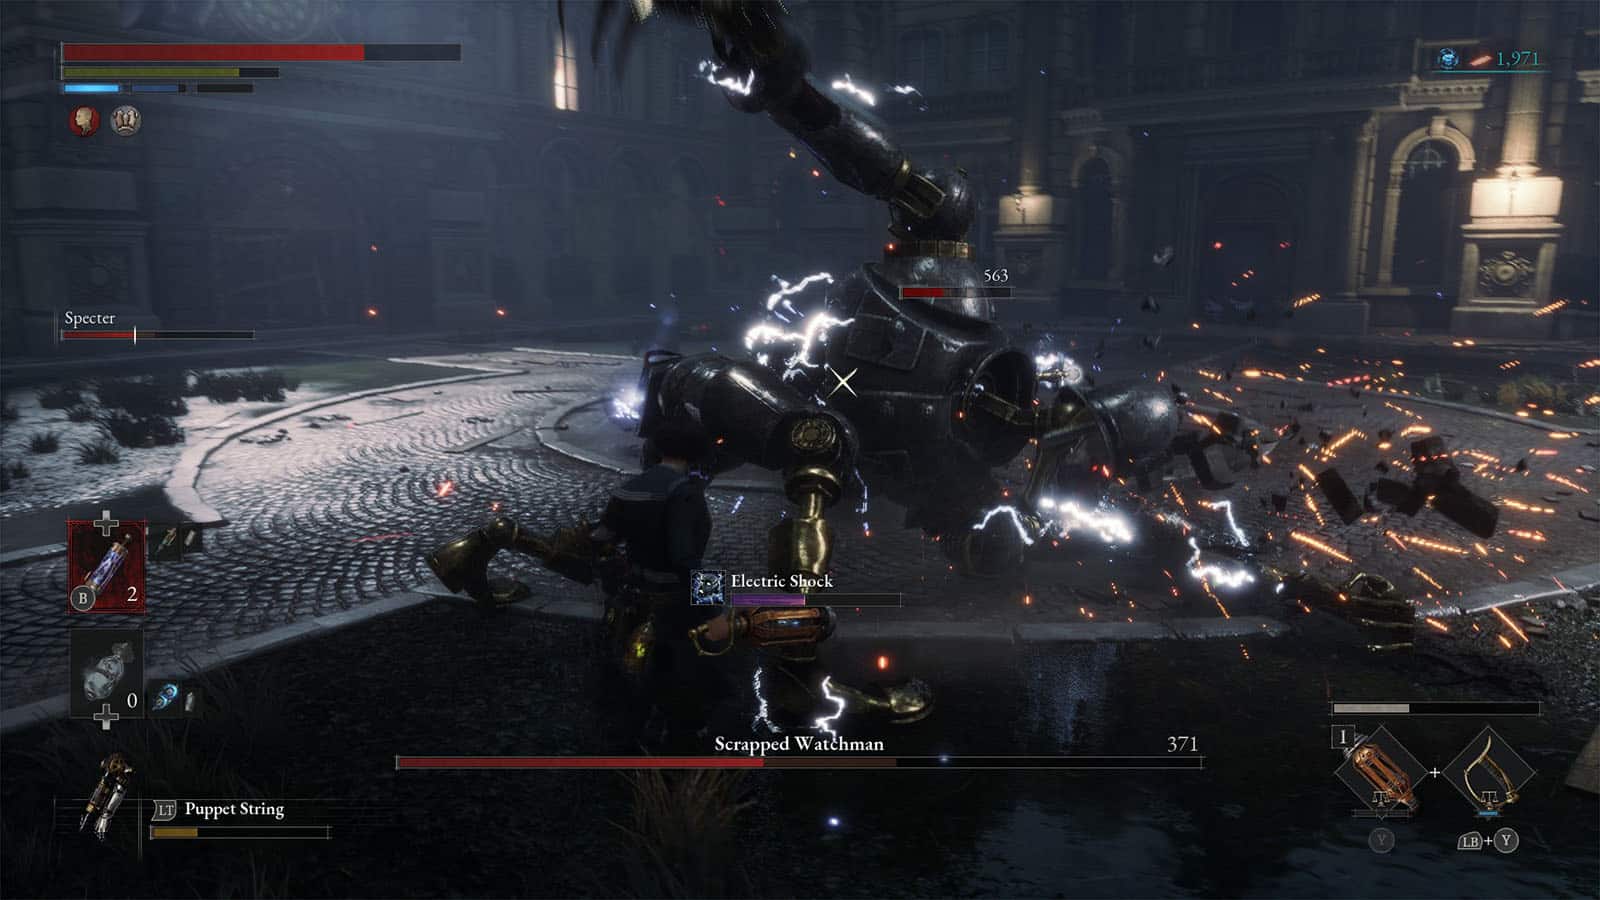
Once the boss has been defeated, you will be rewarded with the Overcharged Storage Battery, Broken Hero’s Ergo, Core, and Quartz. You will also be able to activate the Stargazer for the Krat City Hall Courtyard. Check the hall up ahead to find the Collectible – Vegnini’s Guide.
Make your way back to Hotel Krat where you will be using most of these loot.
Legion Arm – Fulminis
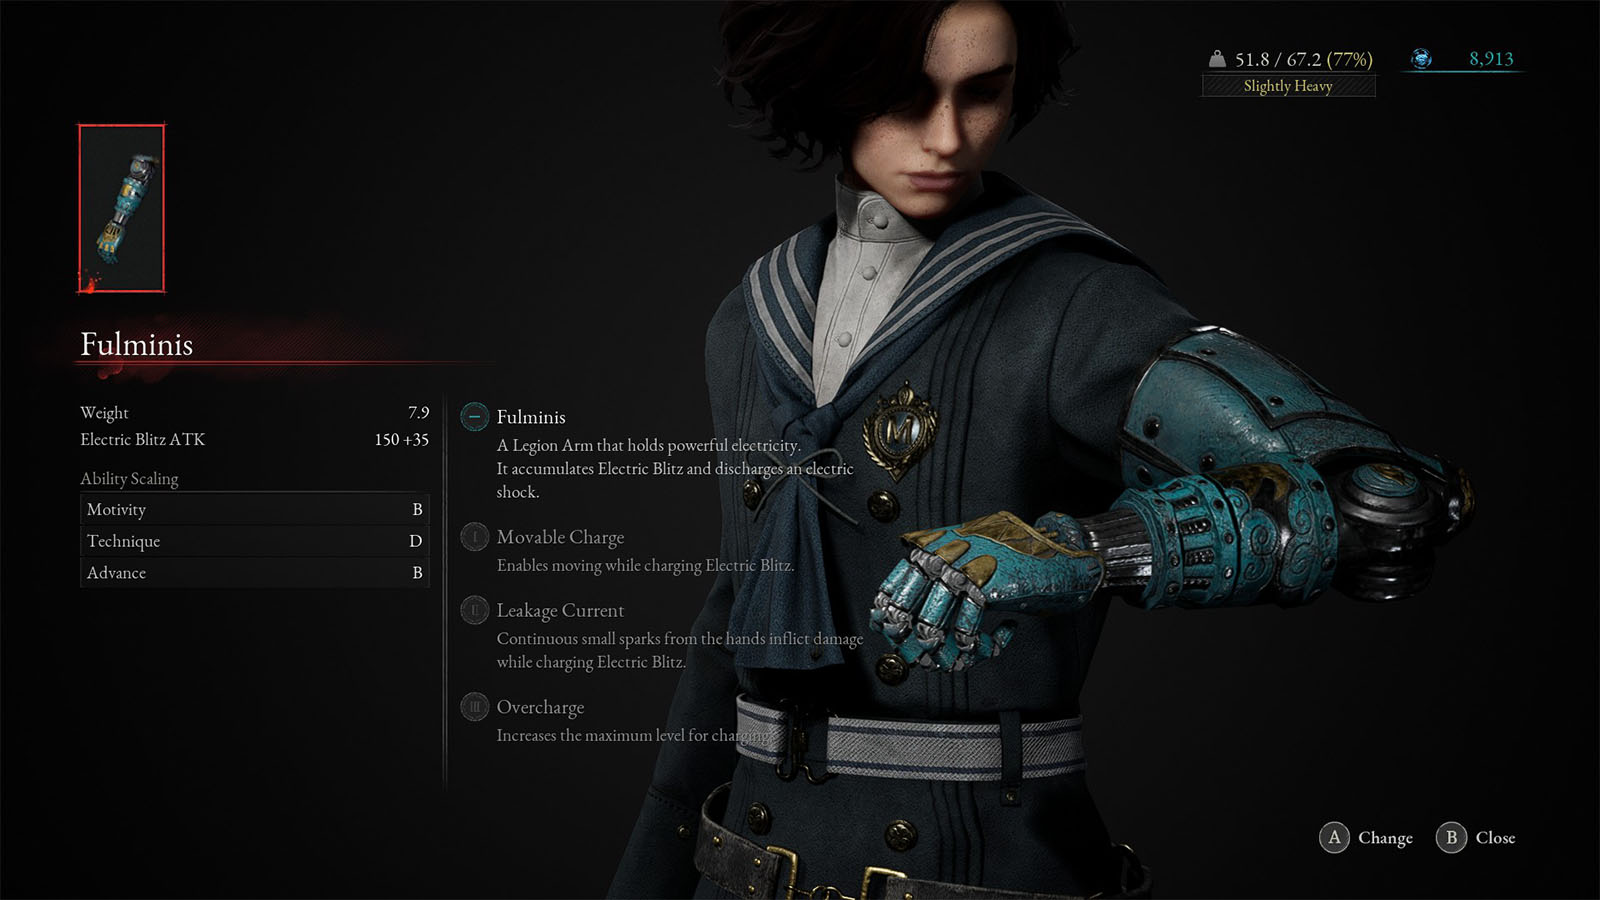
First, go to Eugénie and she will make you a new Legion Arm called the Fulminis using the Overcharged Storage Battery. This arm allows you to discharge a bolt of electricity if shot up close to a target.
P-Organ Upgrades
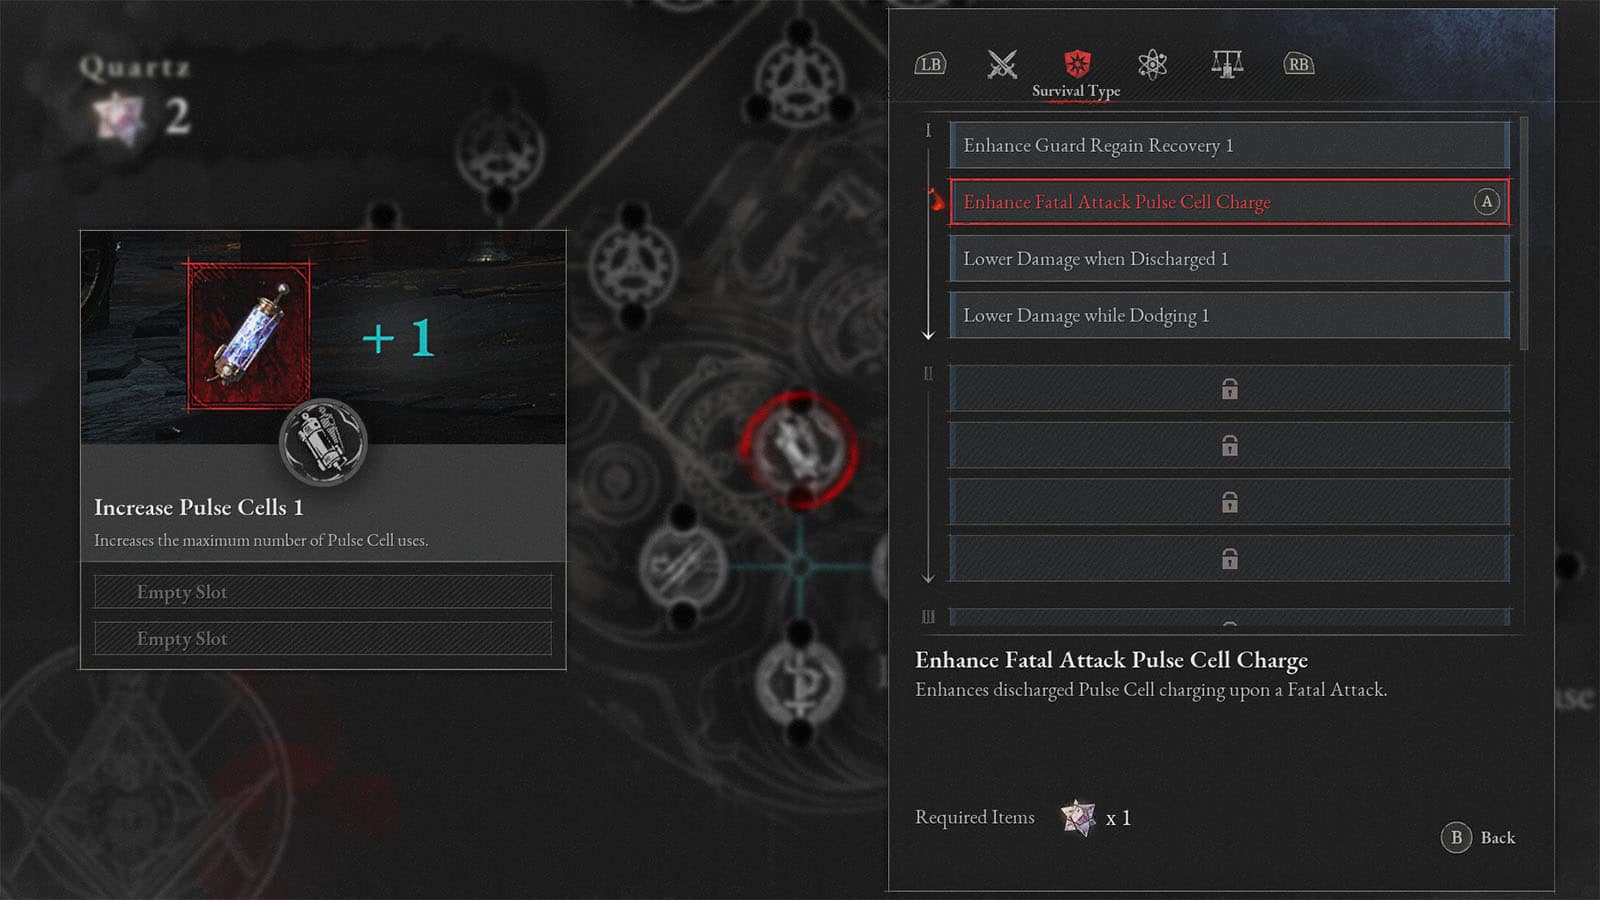
Next, go up to Geppetto’s office and talk to him. He will then use the Core to unlock the P-Organ mechanic. Sit on the special seat to access the P-Organ screen where you can get upgrades for P.
In the P-Organ screen, you can spend Quartz and place them in P-Organ slots to activate latent abilities ranging from offensive and defensive buffs. Each group have different amounts of slots which increase as you reach the higher P-Organ phases. At Phase 1, you must pick two different effects from two different categories to put into any of the slots.
Once an effect is slotted, it will be applied right away. However, if a group’s slot is filled in, you will activate the additional effect of the group.
After talking to Geppetto, he will also give you the Krat City Hall Courtyard Key that you can use to open the gate back in the courtyard that leads to the next chapter.
See next: Lies of P: Chapter 3 Venigni Works Guide


