
Lies of P is an action soulslike game that follows the story of P, a humanoid puppet created as the last hope against the puppets that have turned against everyone in the city of Krat. After taking the special vehicle that Venigni prepared, P finds himself on the Isle of Alchemists, where Geppetto was taken.
Read on for a full walkthrough of the events in Lies of P Chapter 11: Arche Abbey.
See previous: Lies of P: Chapter 10 Relic of Trismegistus Guide
Lies of P: Chapter 11 Arche Abbey Full Walkthrough
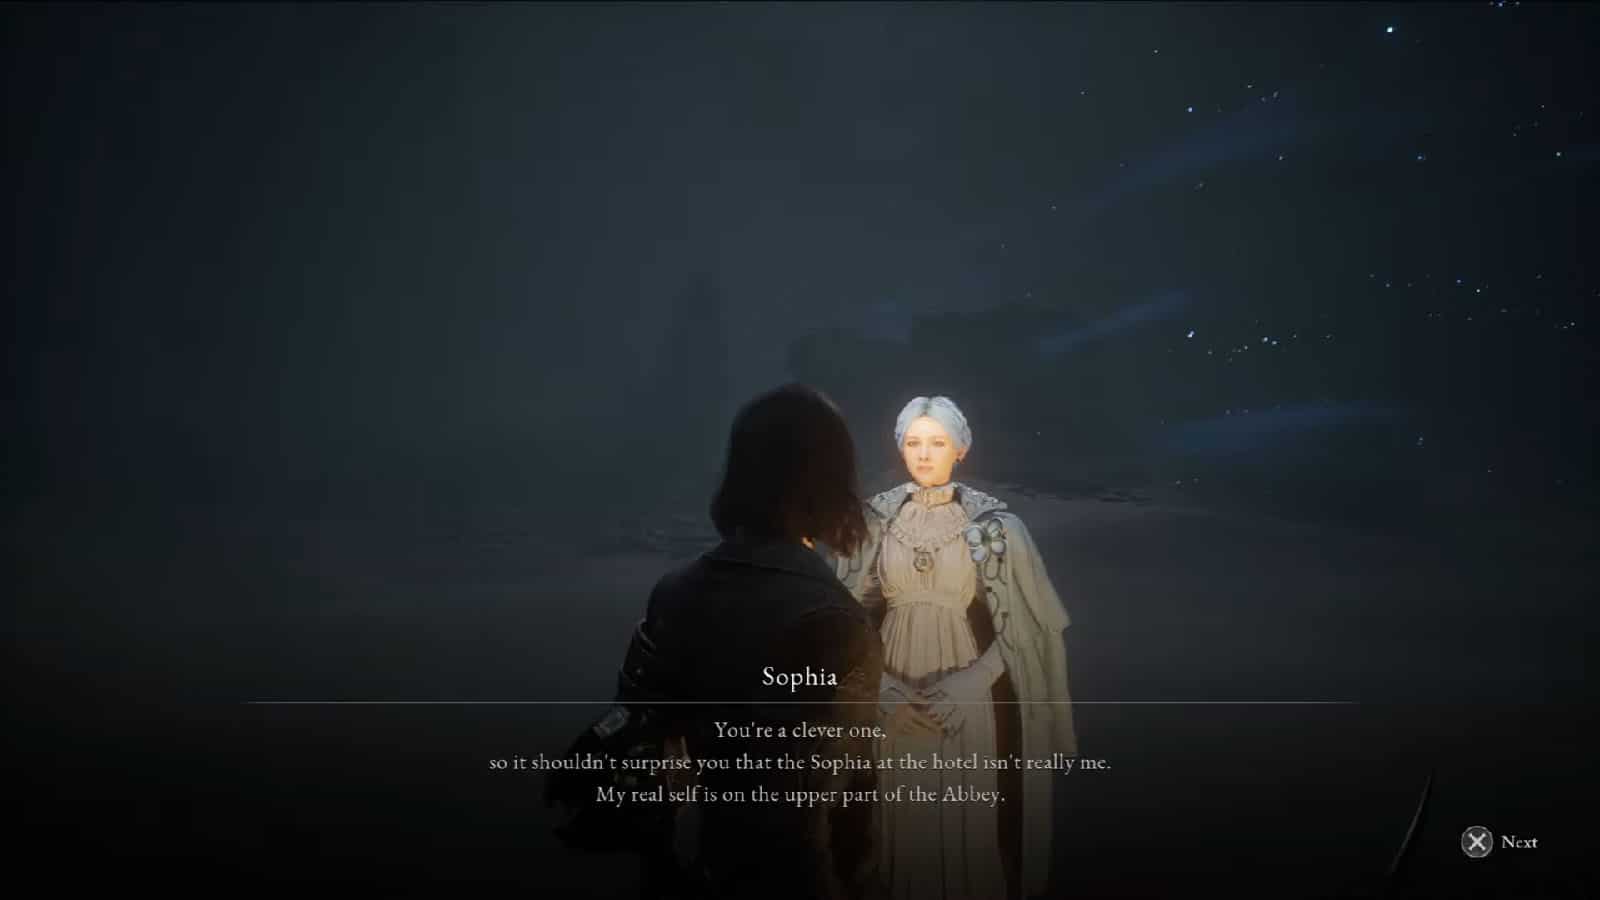
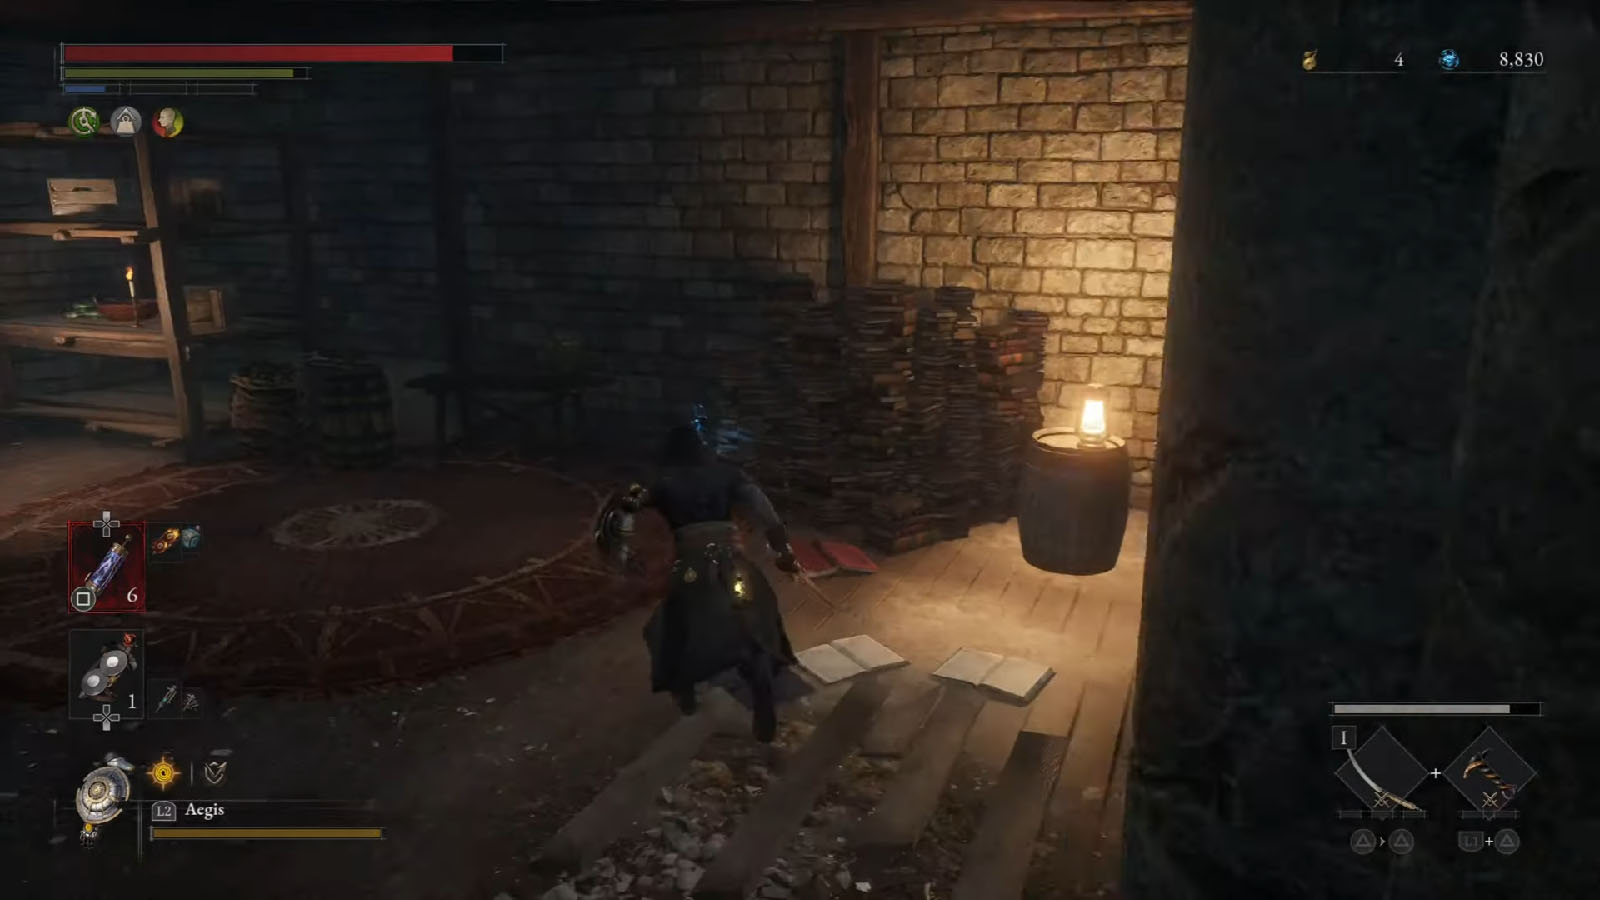
As you arrive on the Isle of Alchemists, you will see Sophia once again. She then reveals that the Sophia you’ve been seeing so far and you’re seeing now is her spirit, and her body is somewhere in the abbey up ahead. She then requests that you help her get the rest that she has wanted for a long time.
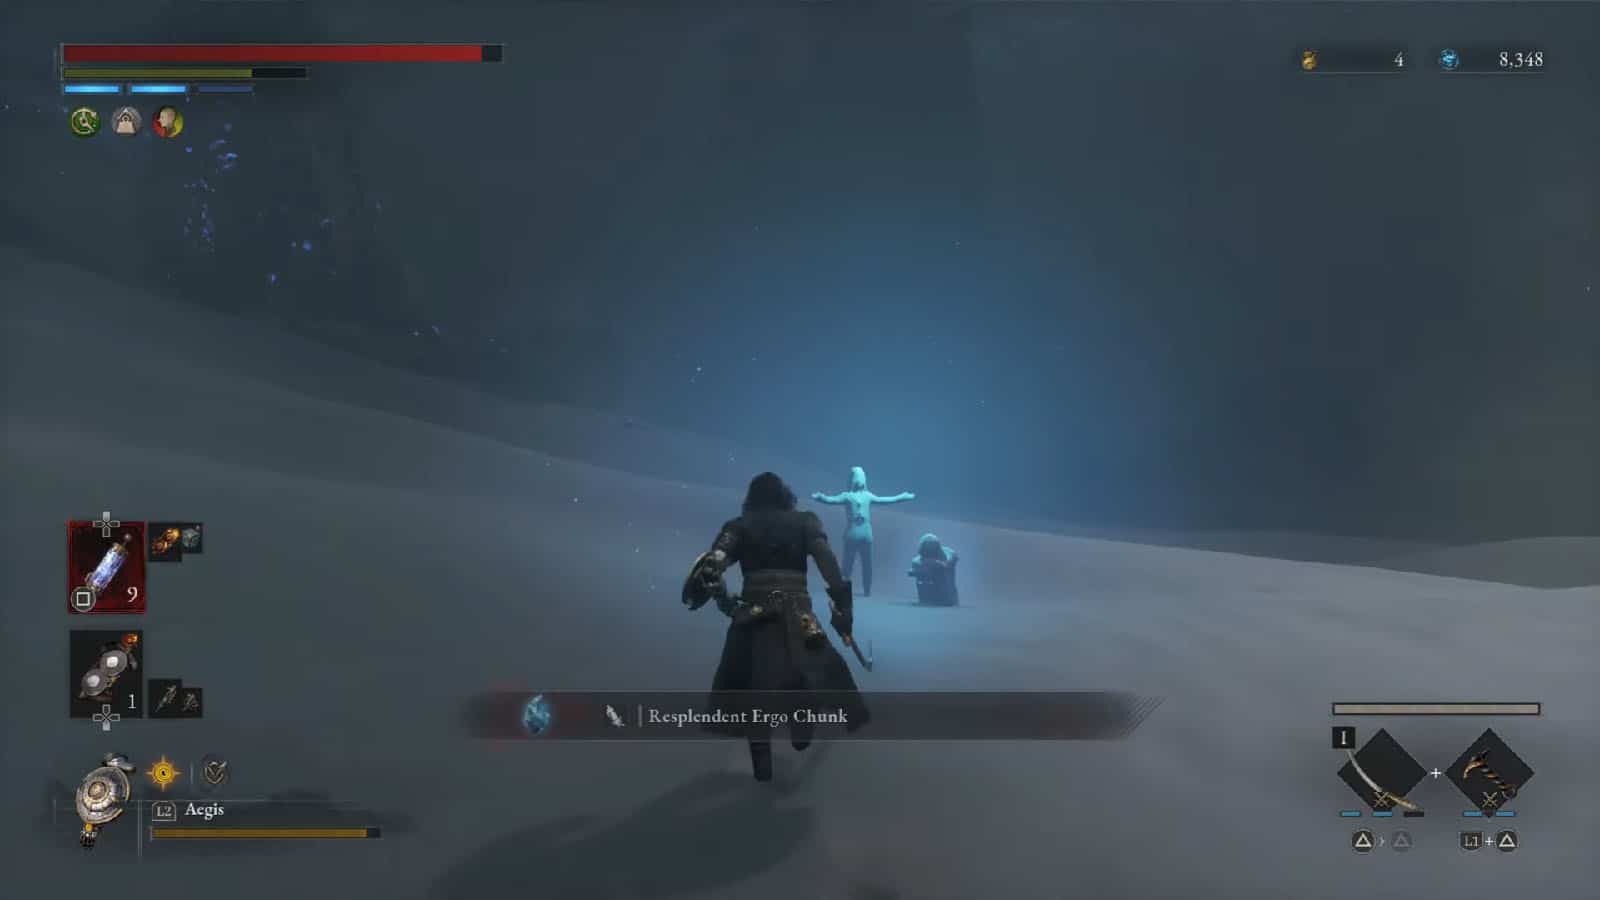
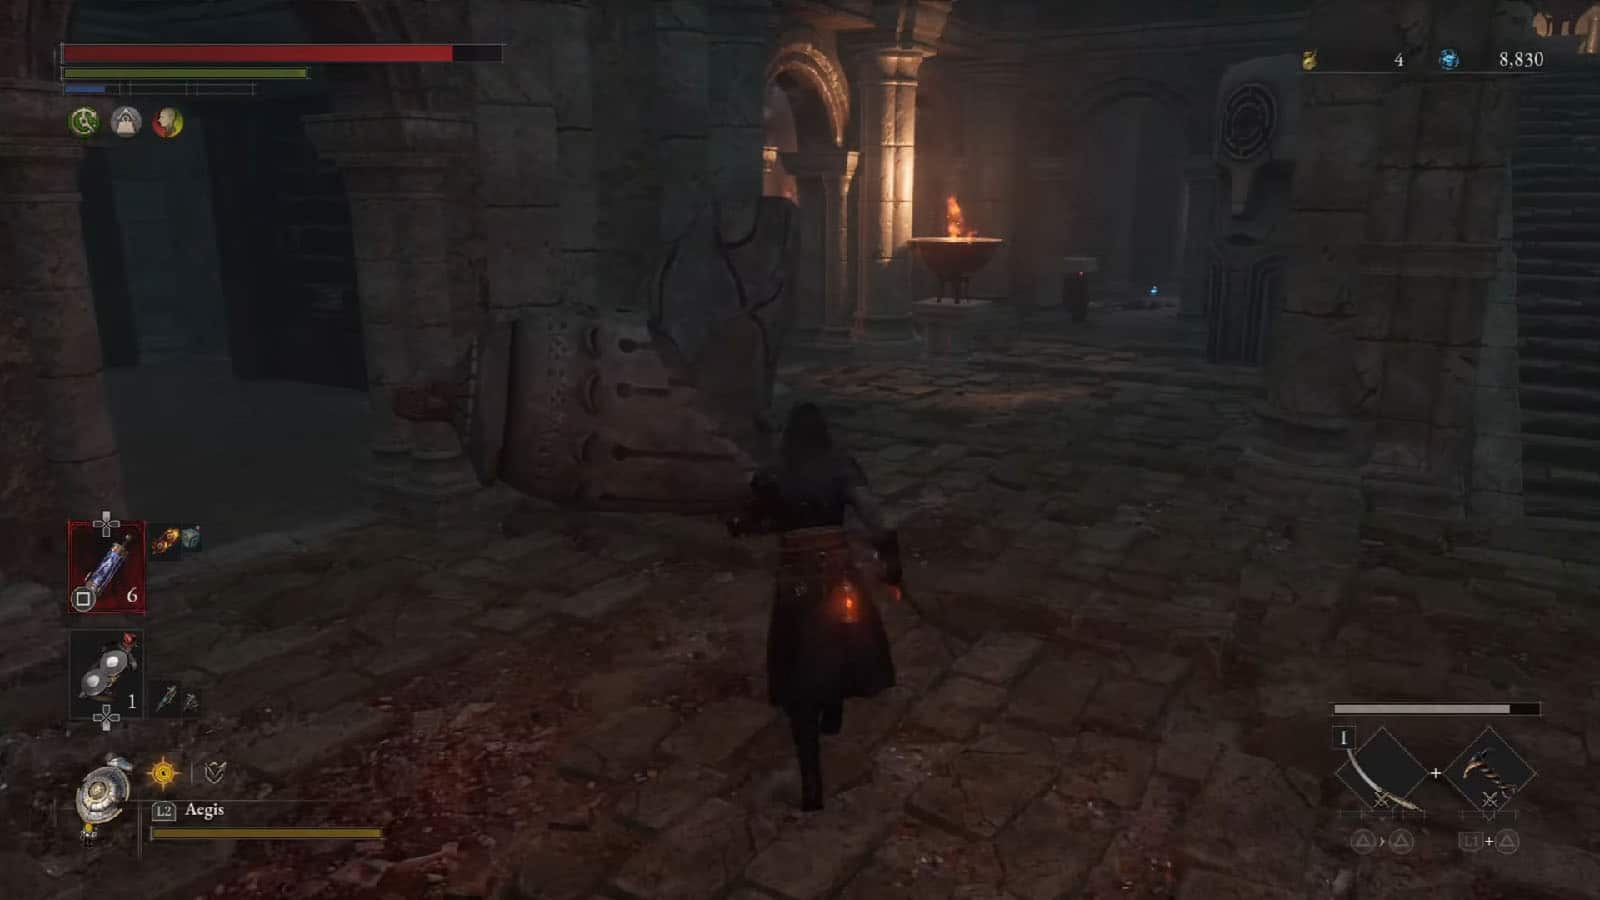
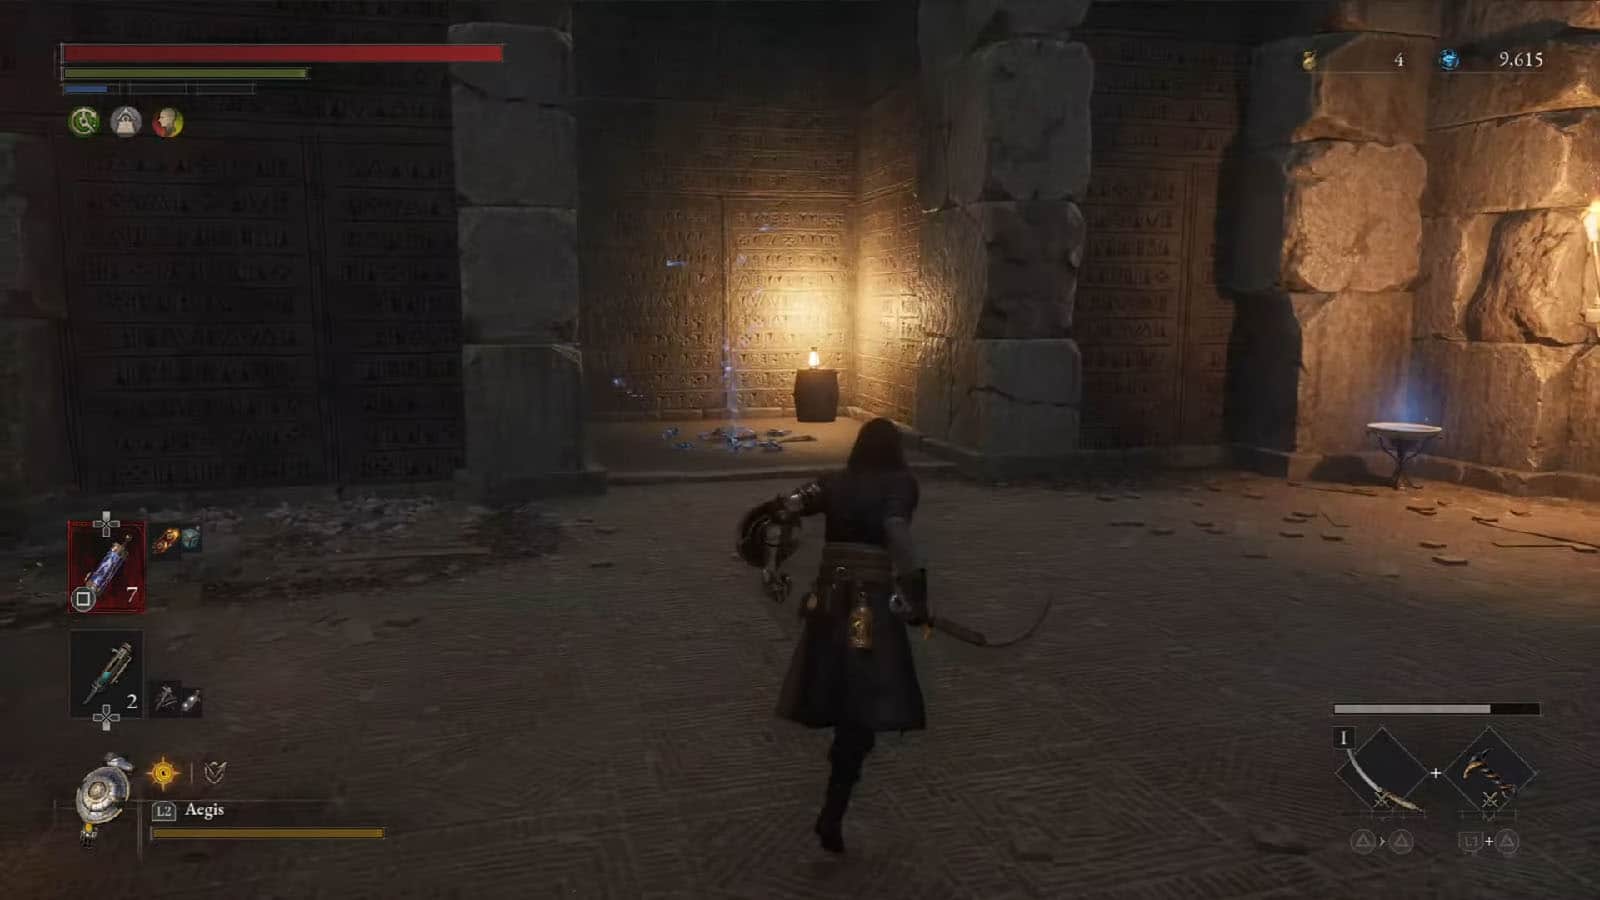
From the beach, follow the source of the Ergo in the air and make your way to the silhouette of the abbey in the distance. As you take the path, you’ll see statues that you can interact with to learn more stories along the way. There are also a bunch of items that you can pick up on top of the destroyed puppets.
You’ll find a red-hued set of statues up ahead, along with a Stargazer nearby. Activate the Stargazer, then move on.
Arche Abbey Entrance
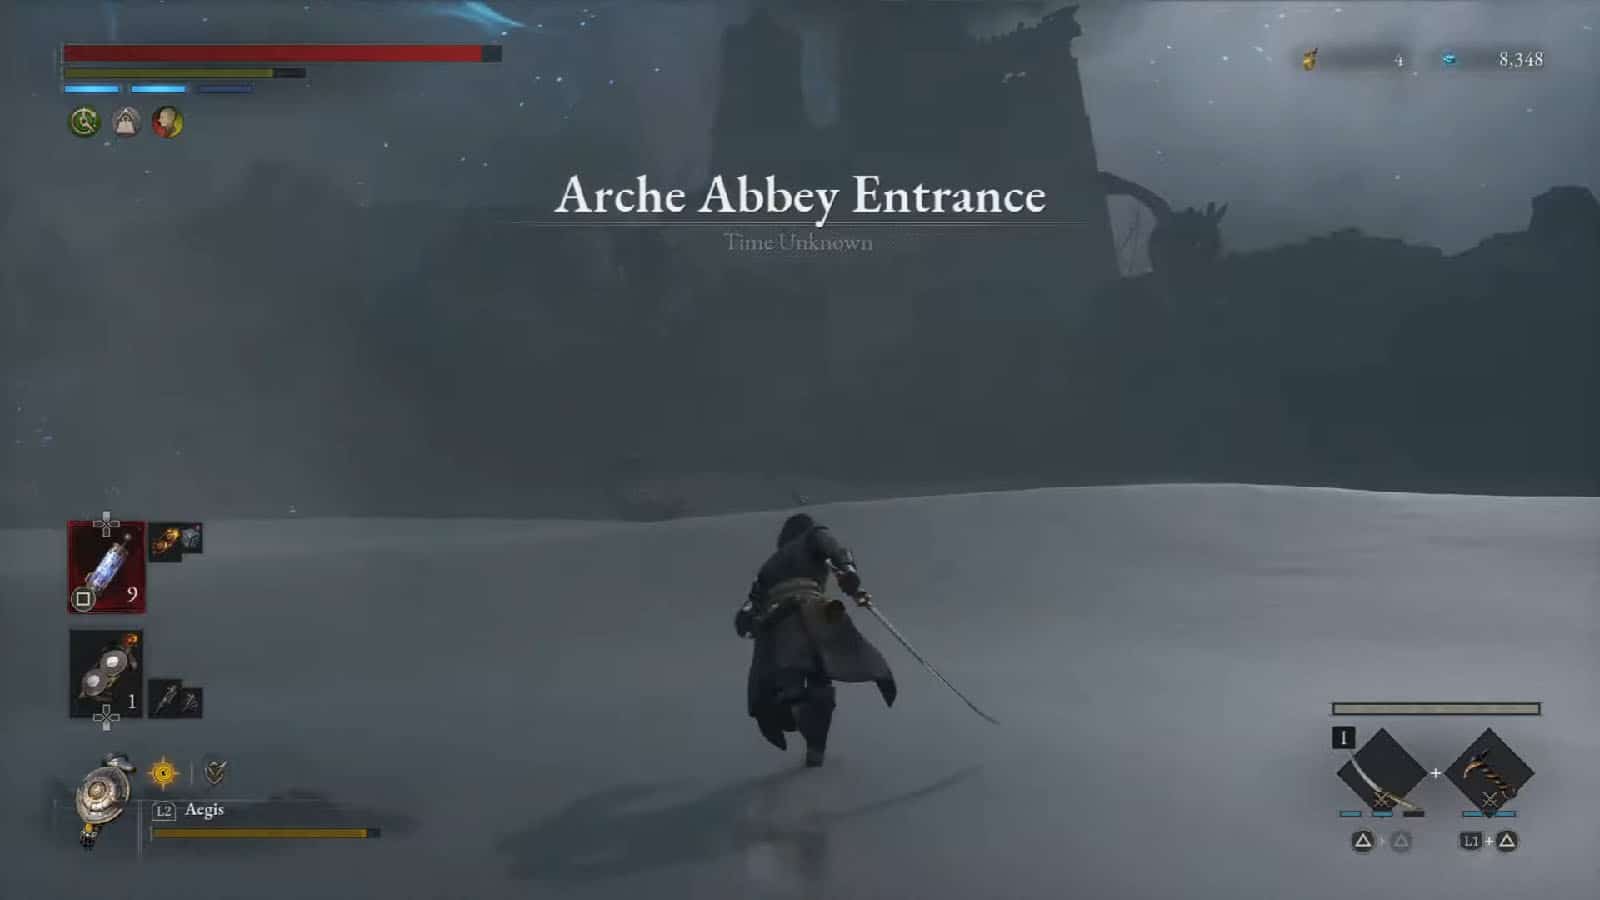
The entrance of the abbey is full of enemies, and there are also cannons on top of the walls that will be shooting in your direction. Instead of taking on the enemies, make a beeline towards the wall and up the stairs while avoiding all the shots and enemies to get to the area where the cannons are. You can then take out the puppets and destroy the cannons to make it easier to clear the enemies below, should you wish to.
Go to the middle area up the first flight of stairs, where you will find the Collectible – So Said Pistris II on a table.
Make your way to the top, where you have to go through an entryway guarded by a mutant brute.
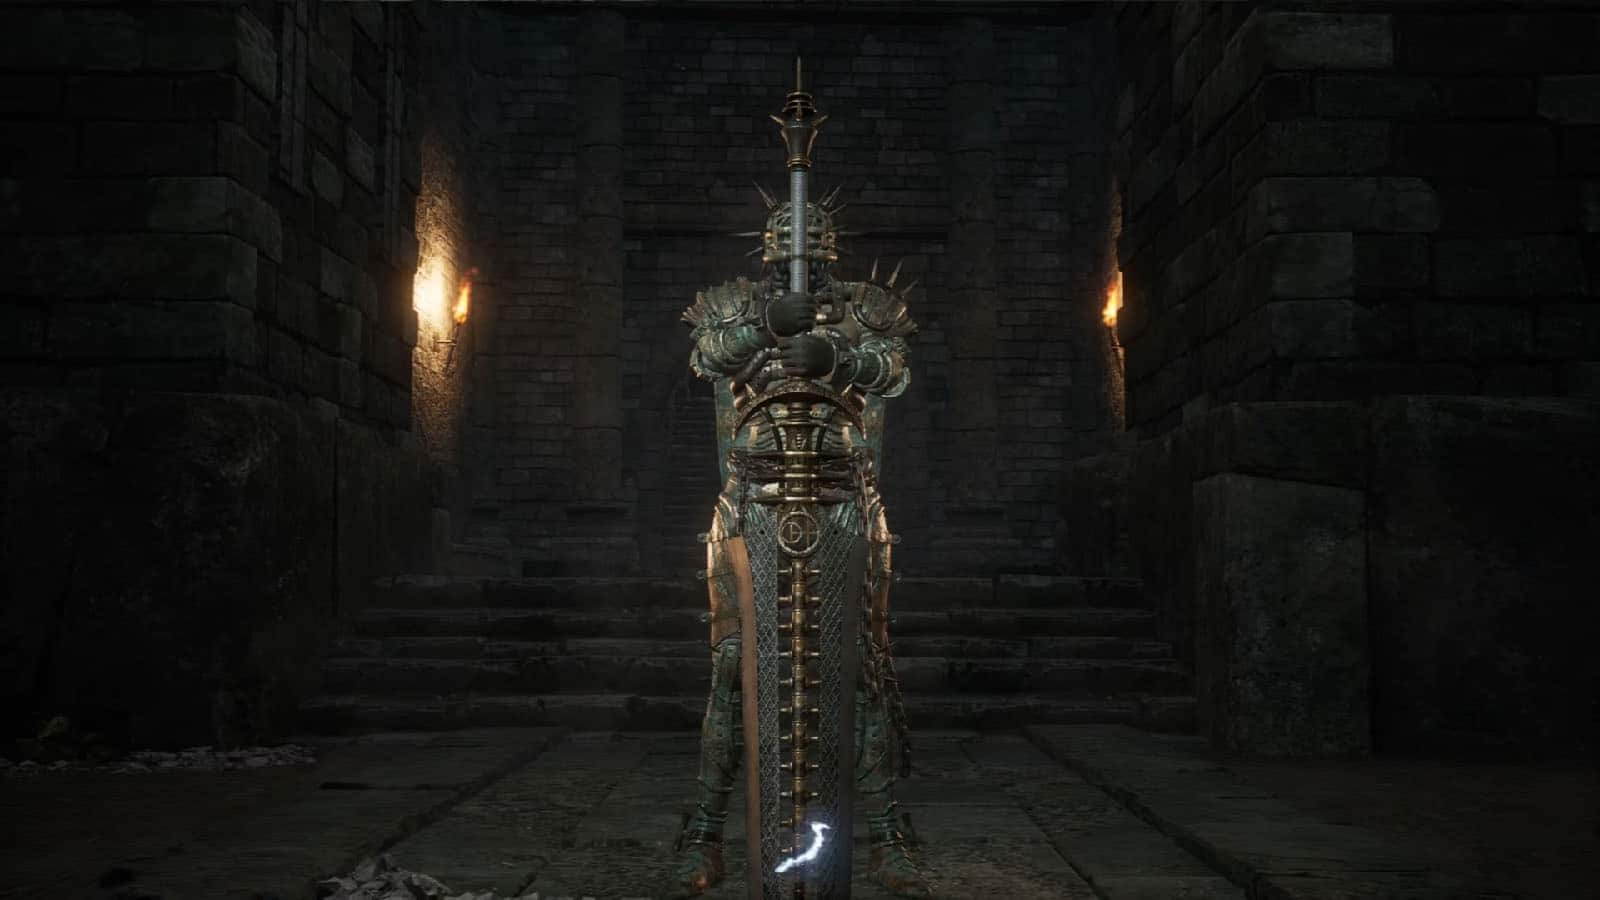
Boss Fight: Door Guardian
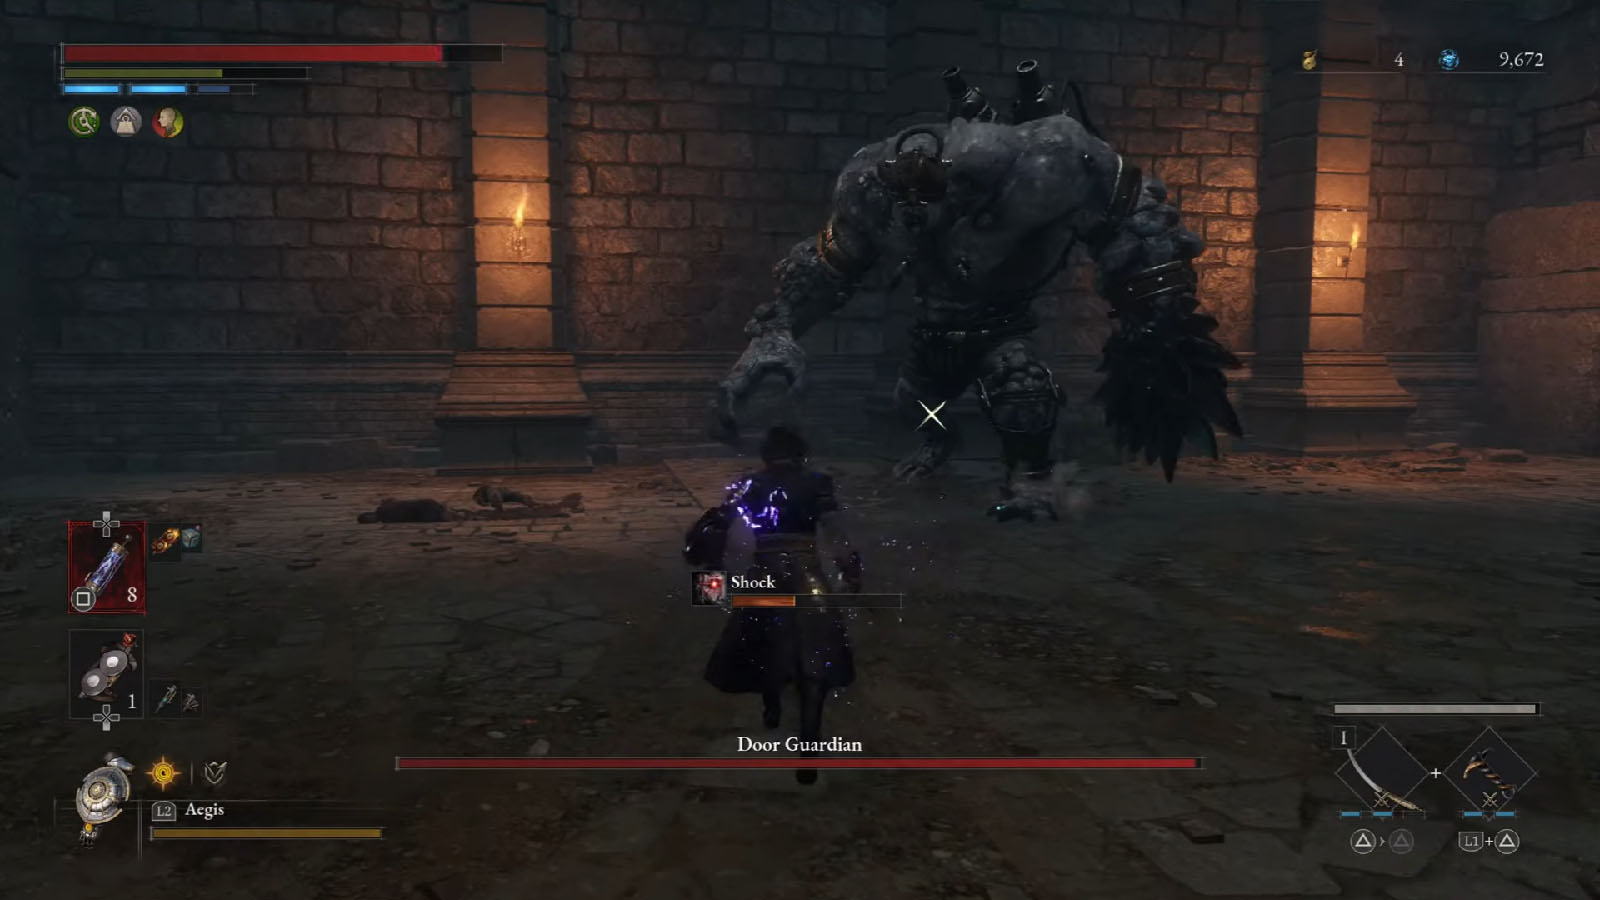
The Door Guardian is a hulking mutant that is quite tough. Because of its stature, the only vulnerable part that you can reach is its right leg, and it even takes minimal damage; its left leg and arms are tough enough to reflect your attacks.
Its main attacks are from its arms which can cause shock to accumulate. It can also raise its right leg to stomp on you. The attacks to look out for is its rolling attack where it curls into a ball and rolls at you, and its unblockable elbow drop.
Though it looks like the fight can take a while, successive hits to its right leg will cause it to stumble and fall, allowing you to deal a fatal attack to its torso, which deals a ton of damage. Be careful when it’s about to drop as its toppling body can fall on you and deal damage.
Once the Door Guardian has been defeated, you will be rewarded with the Collectible – High-level Alchemist Badge.
After the fight, step on to the plate near the door to open the door using the badge. You’ll find the next Stargazer just by the door.
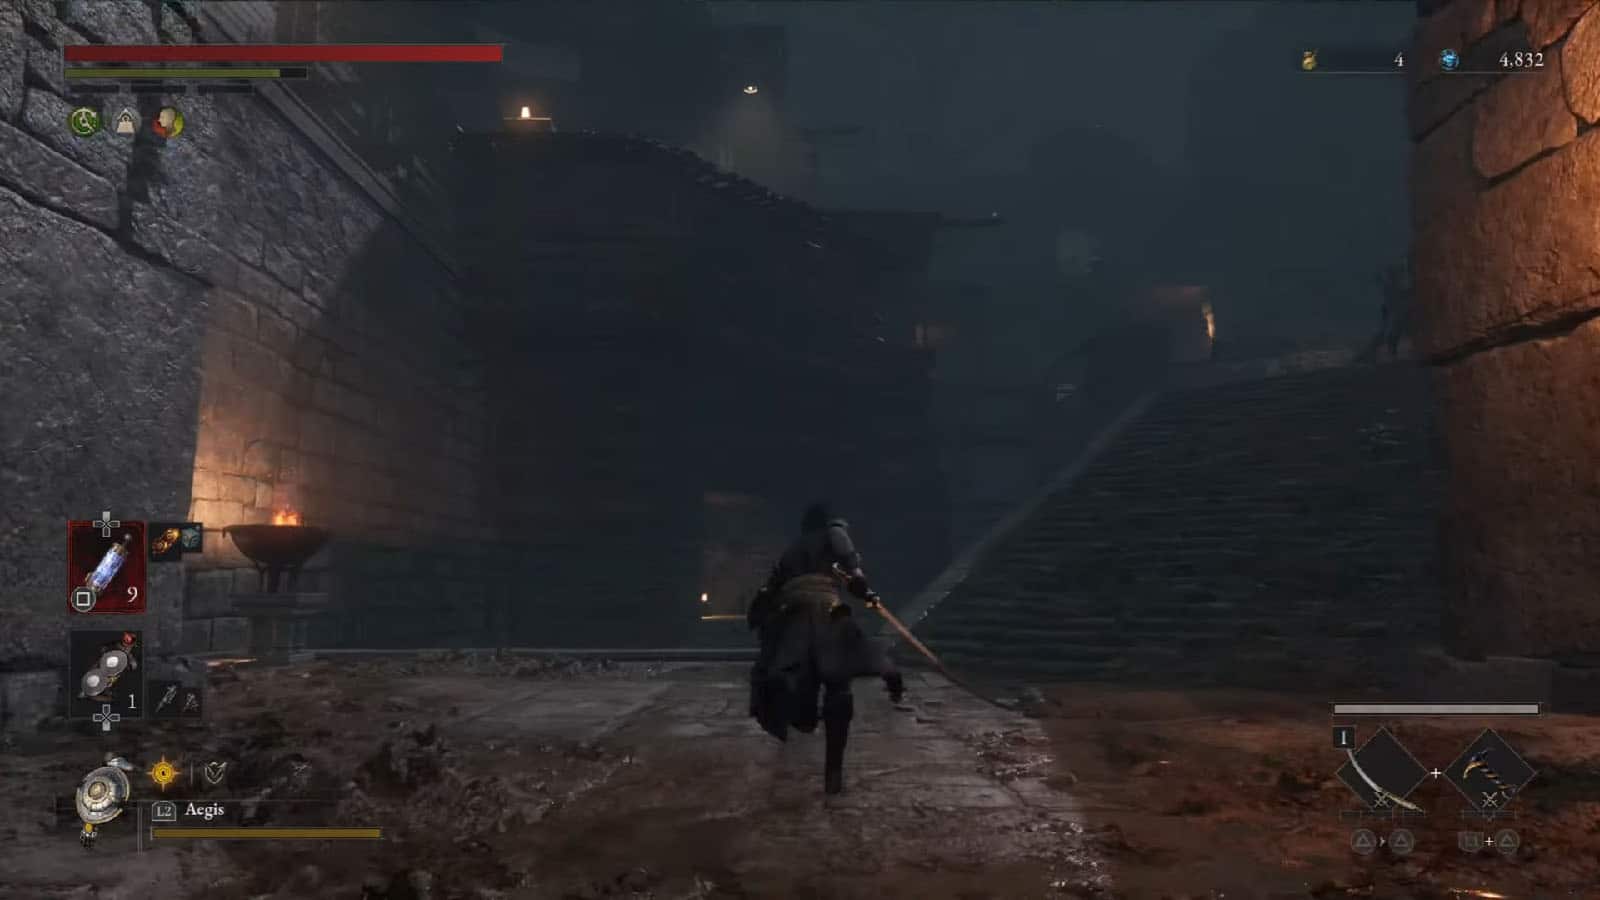
Up ahead is a set of stairs patrolled by enemies. To the left is a tower that has a cannon up the top that can make your climb more dangerous. To make it worse, there’s another elite at the end of the staircase. The best way to deal with this path is to try and avoid everything and just make your way to the next plate and activate it which will make bridges rise from the bottom.

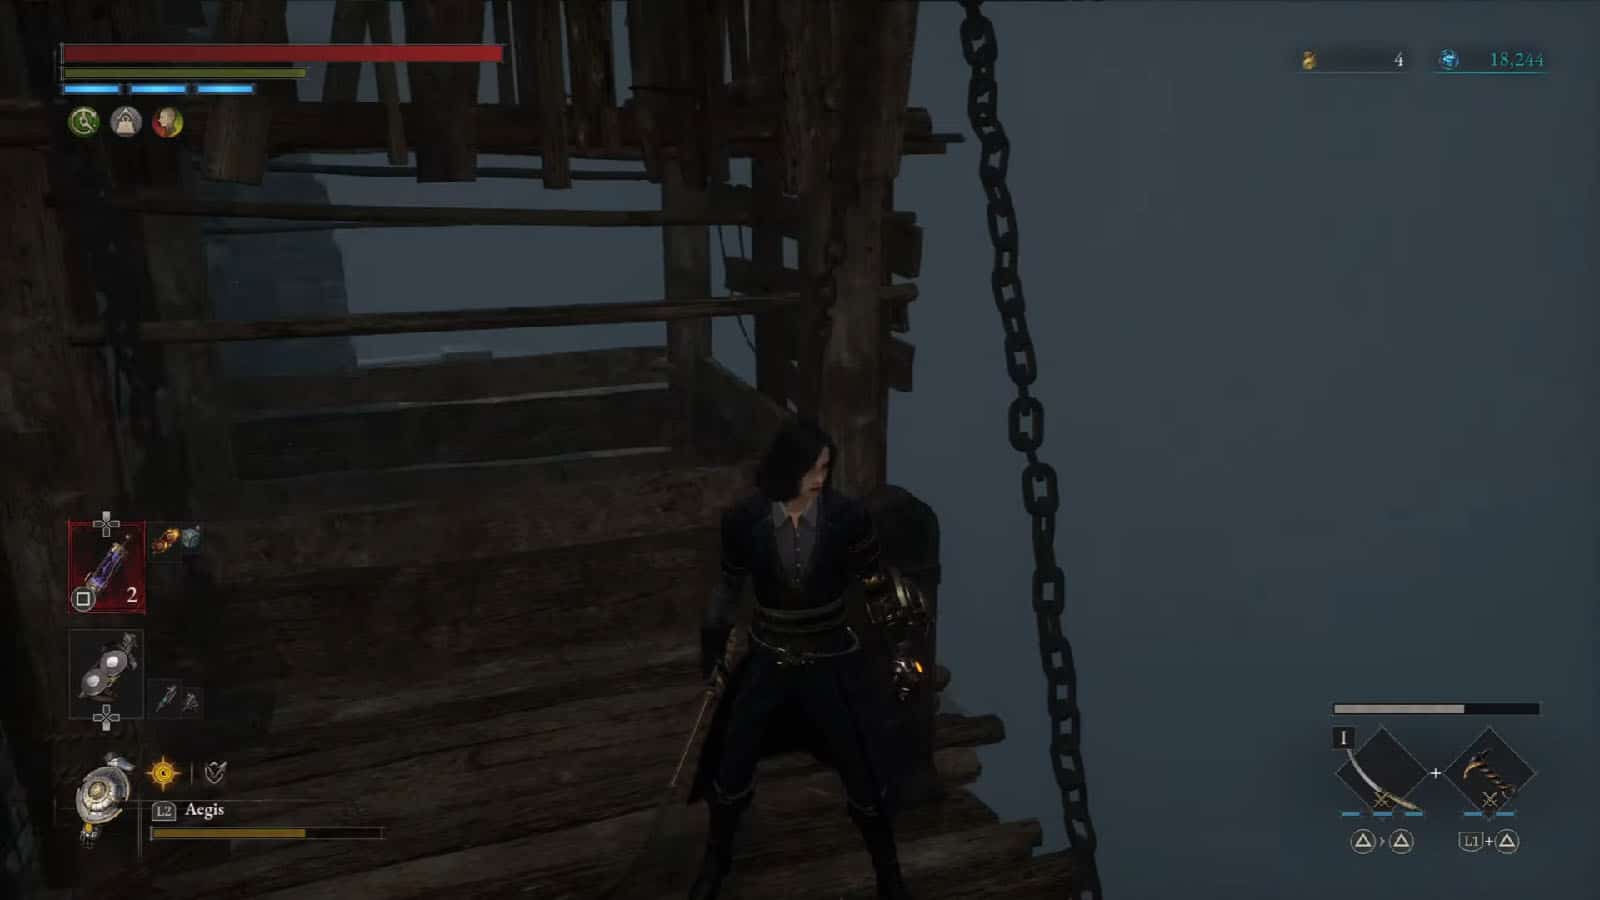
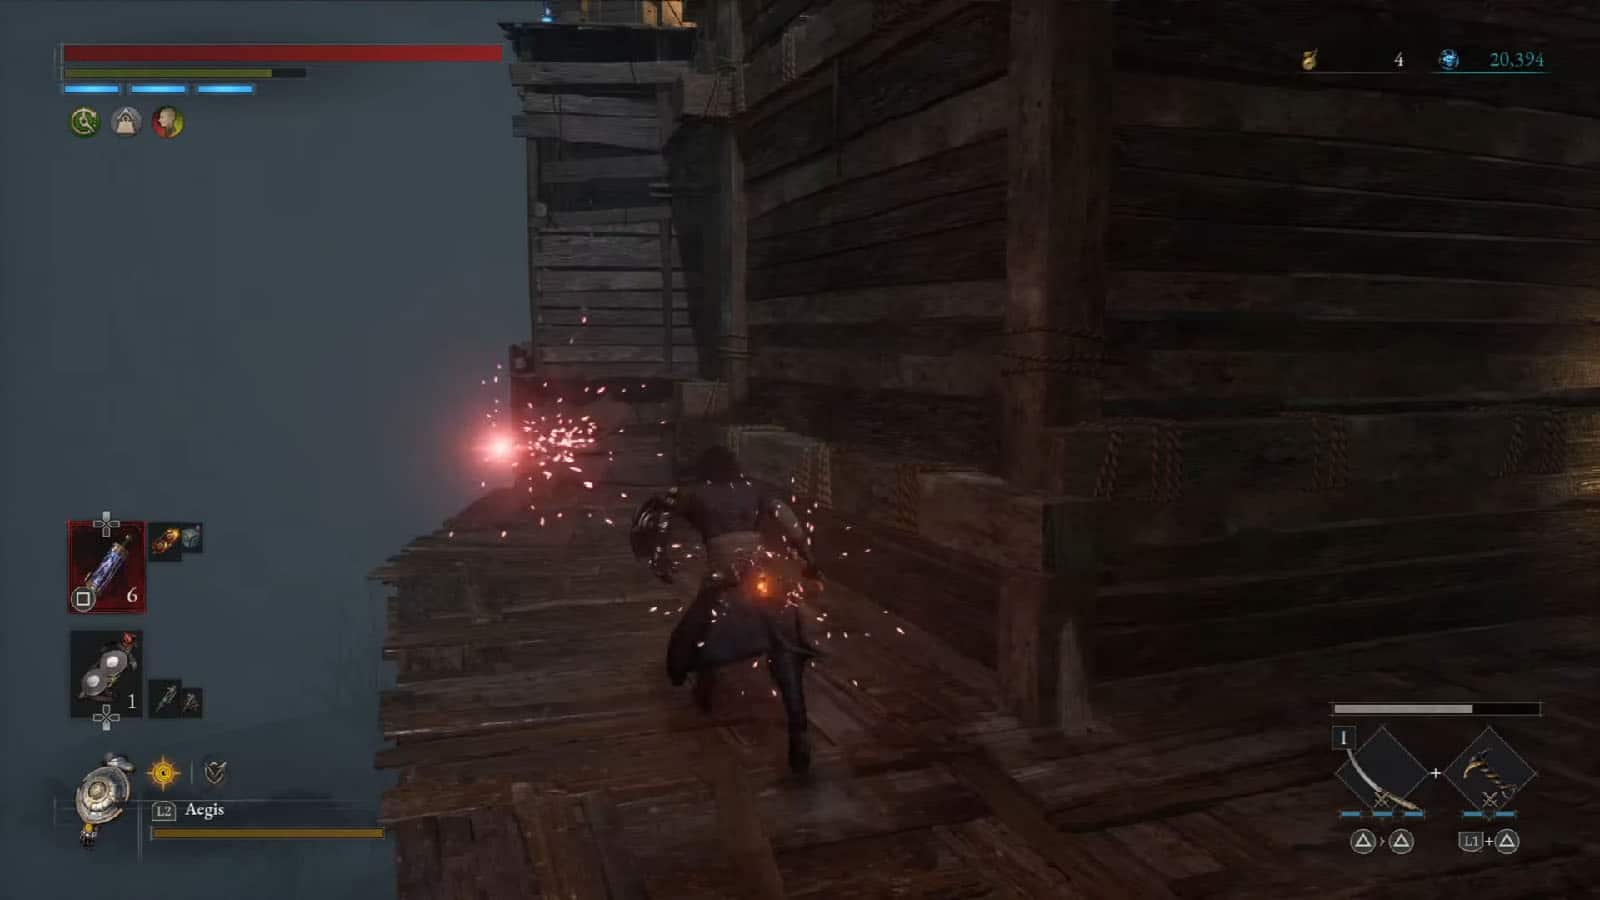
Go back down to the base level and cross the bridge to the shacks. Then, make your way to the top, but be aware once you reach the wooden bridge as you will be on the line of sight of one of the cannons. Once you reach the top, take the path to the left first where you can bring down a ladder as a shortcut back to the base level.
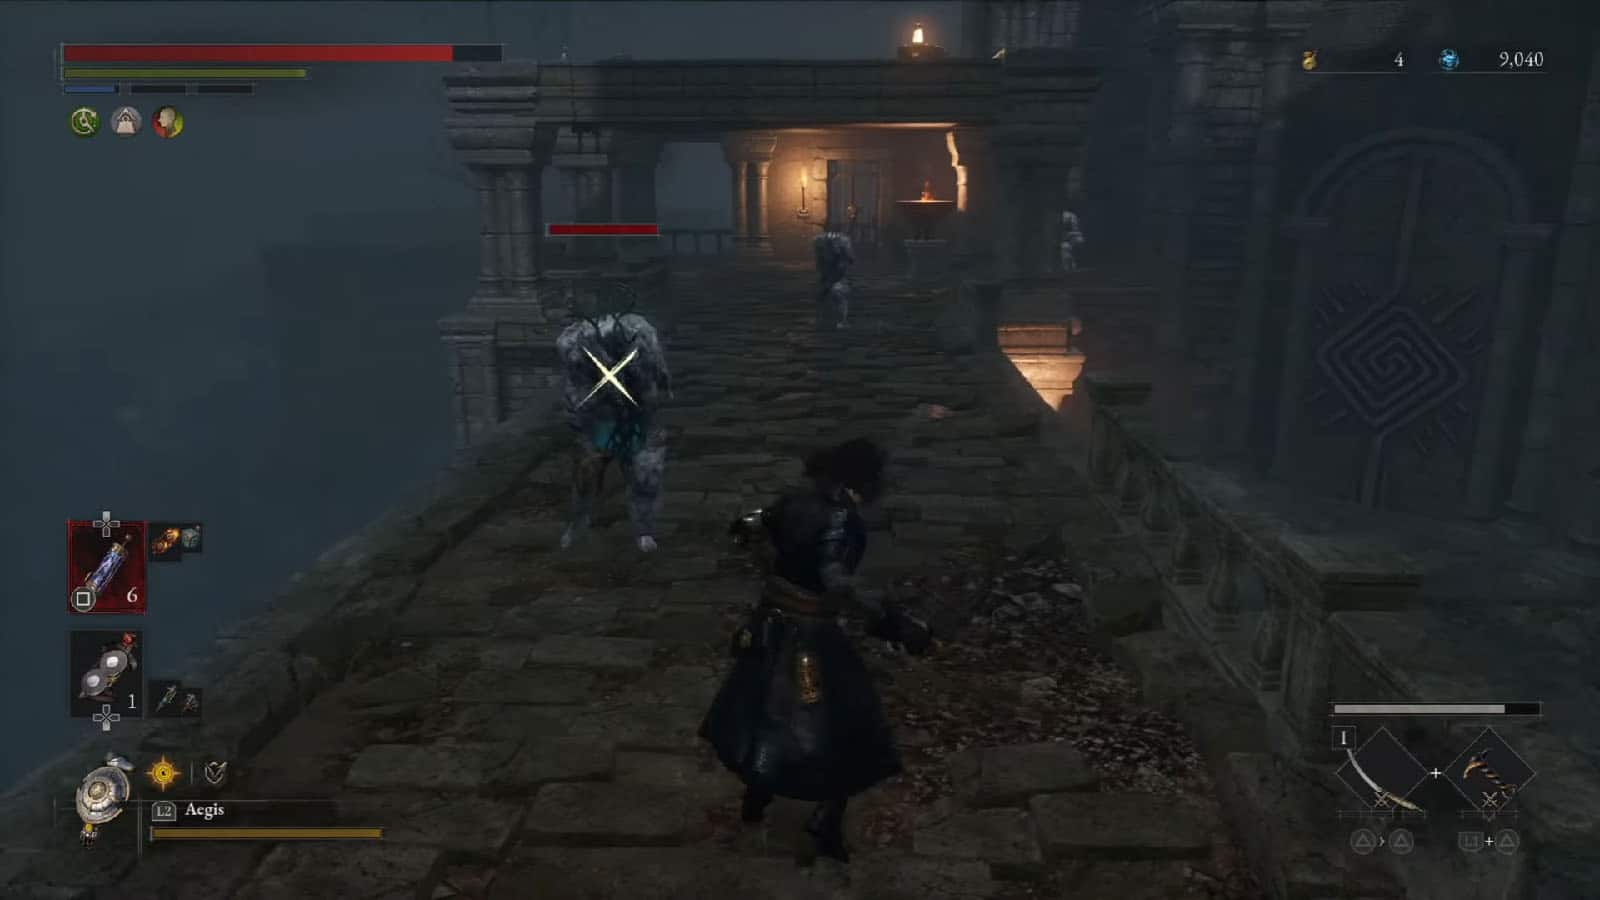
Once you’ve destroyed the cannon and cleared the area, you can proceed to the next set of stairs up top. There are more manticore enemies guarding the bridge to the abbey. There’s also a chest on the bridge that contains the Amulet – Veteran’s Amulet. If you wish to take down the manticores, it’s best to run to the end of the bridge and then climb up the ladder to the right. Up top is the next Stargazer that you can activate.
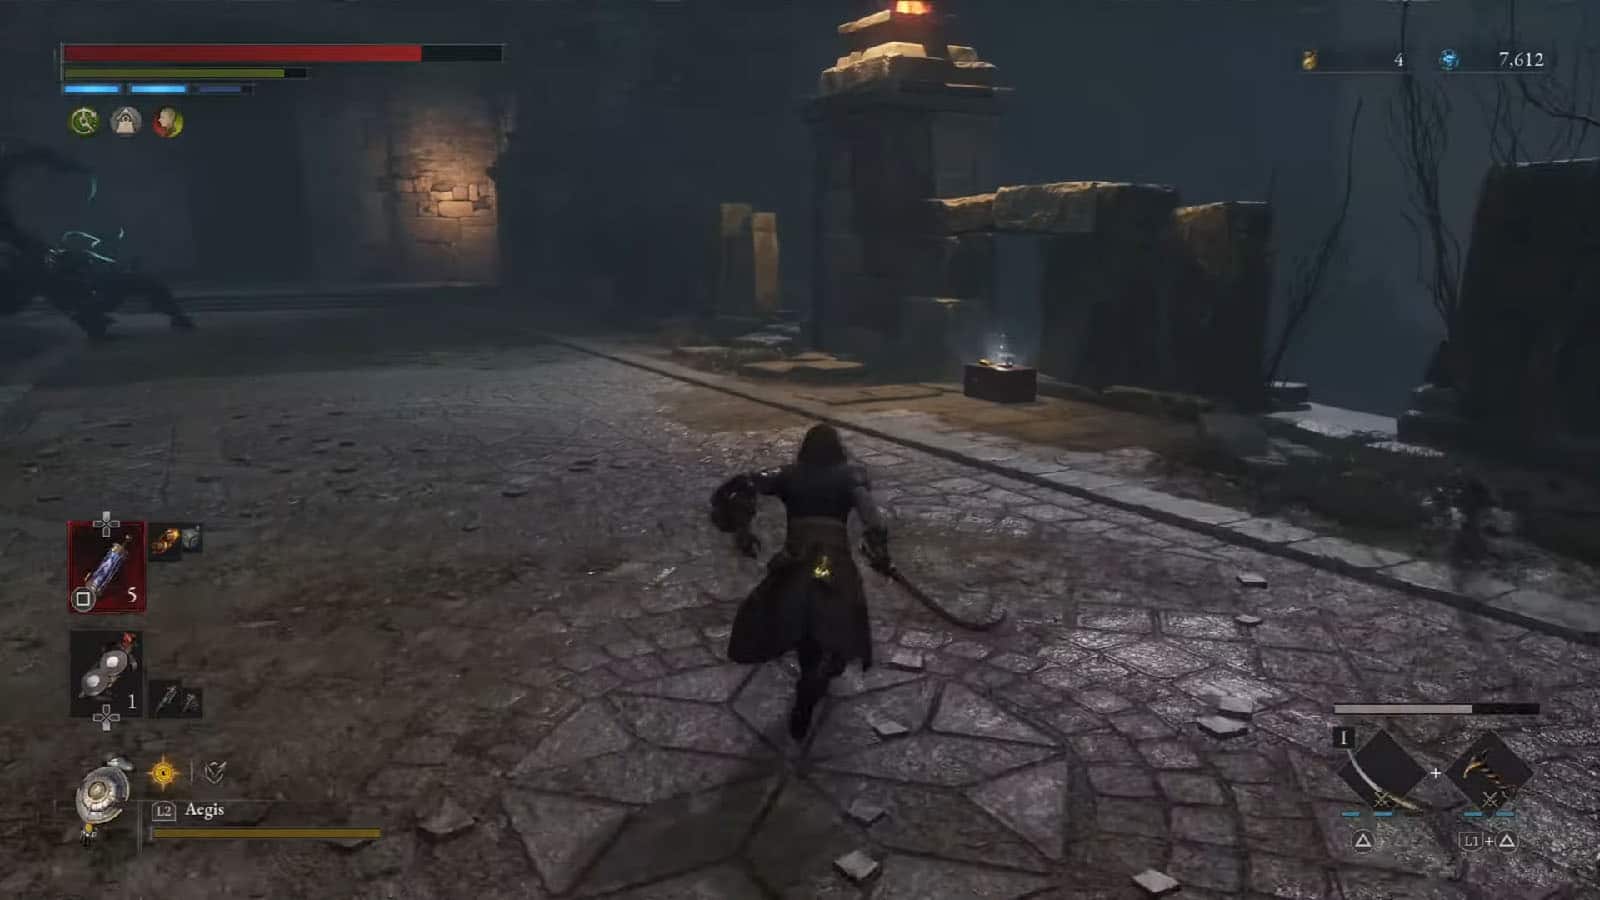
Arche Abbey Outer Wall
From the latest Stargazer, follow the path up ahead and you’ll find a fork by the hole in the wall. To the right is a ledge that leads to a Dark moon Moonstone of the Covenant, but beware of the enemy that hides by the corner. To the left is a path that leads to a locked gate.
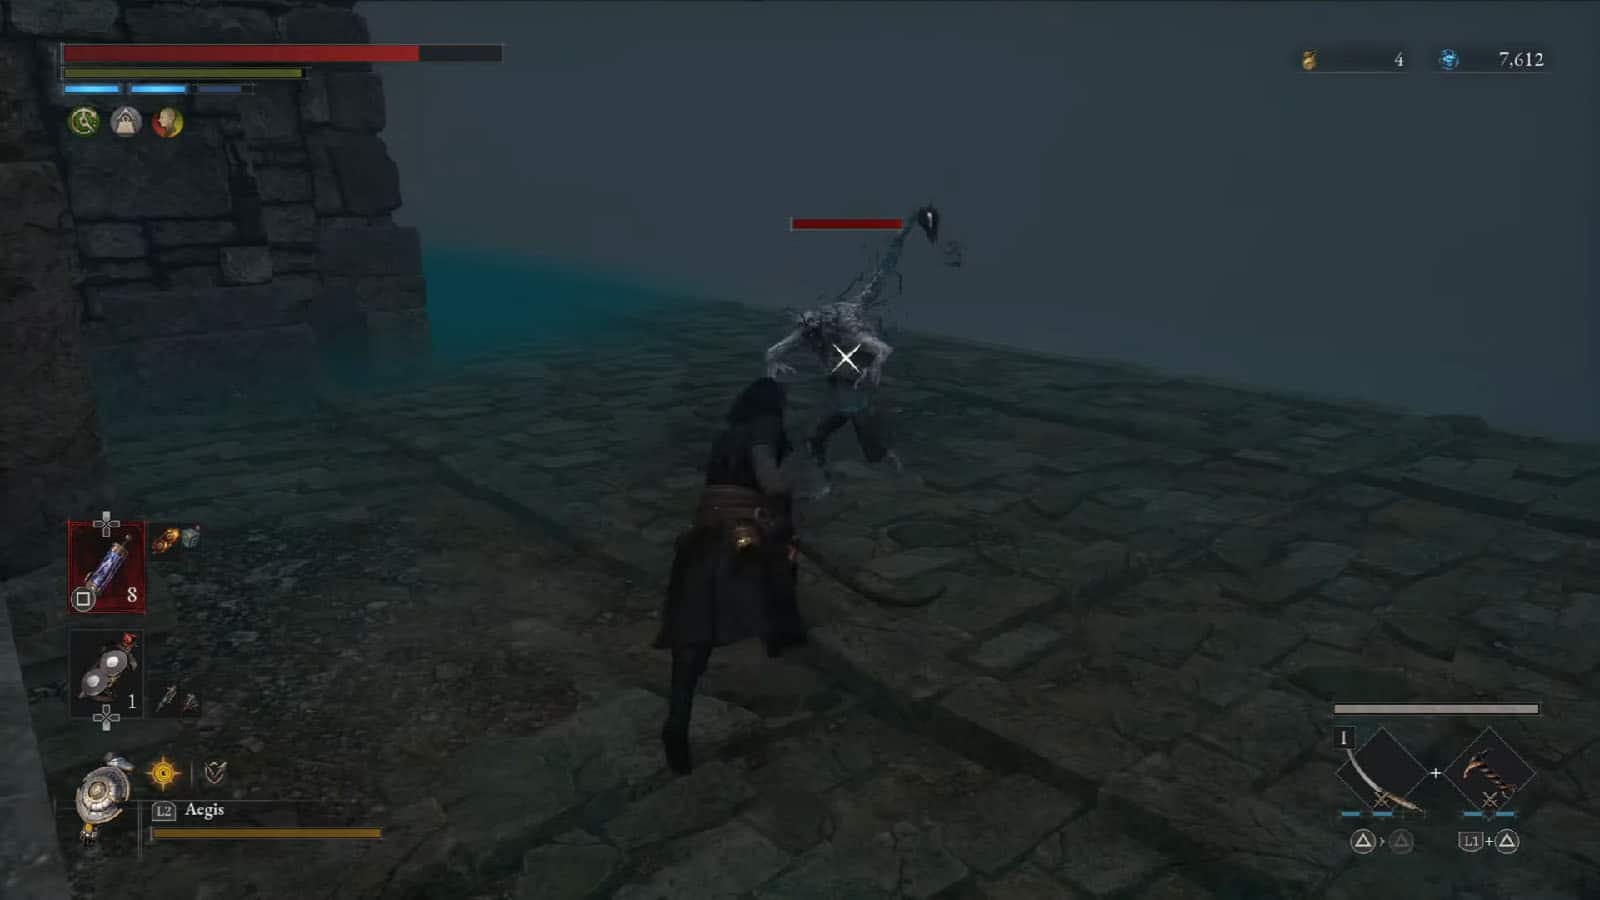
You’ll have to jump down to the next closest ledge until you reach the floor that is covered by decay smoke. On this level is a new kind of enemy which is a scorpion hound. It has the ability to stab you with its tail to thrash you around. Clear the enemies, and on the other end of this floor is ladder that you can climb to progress.
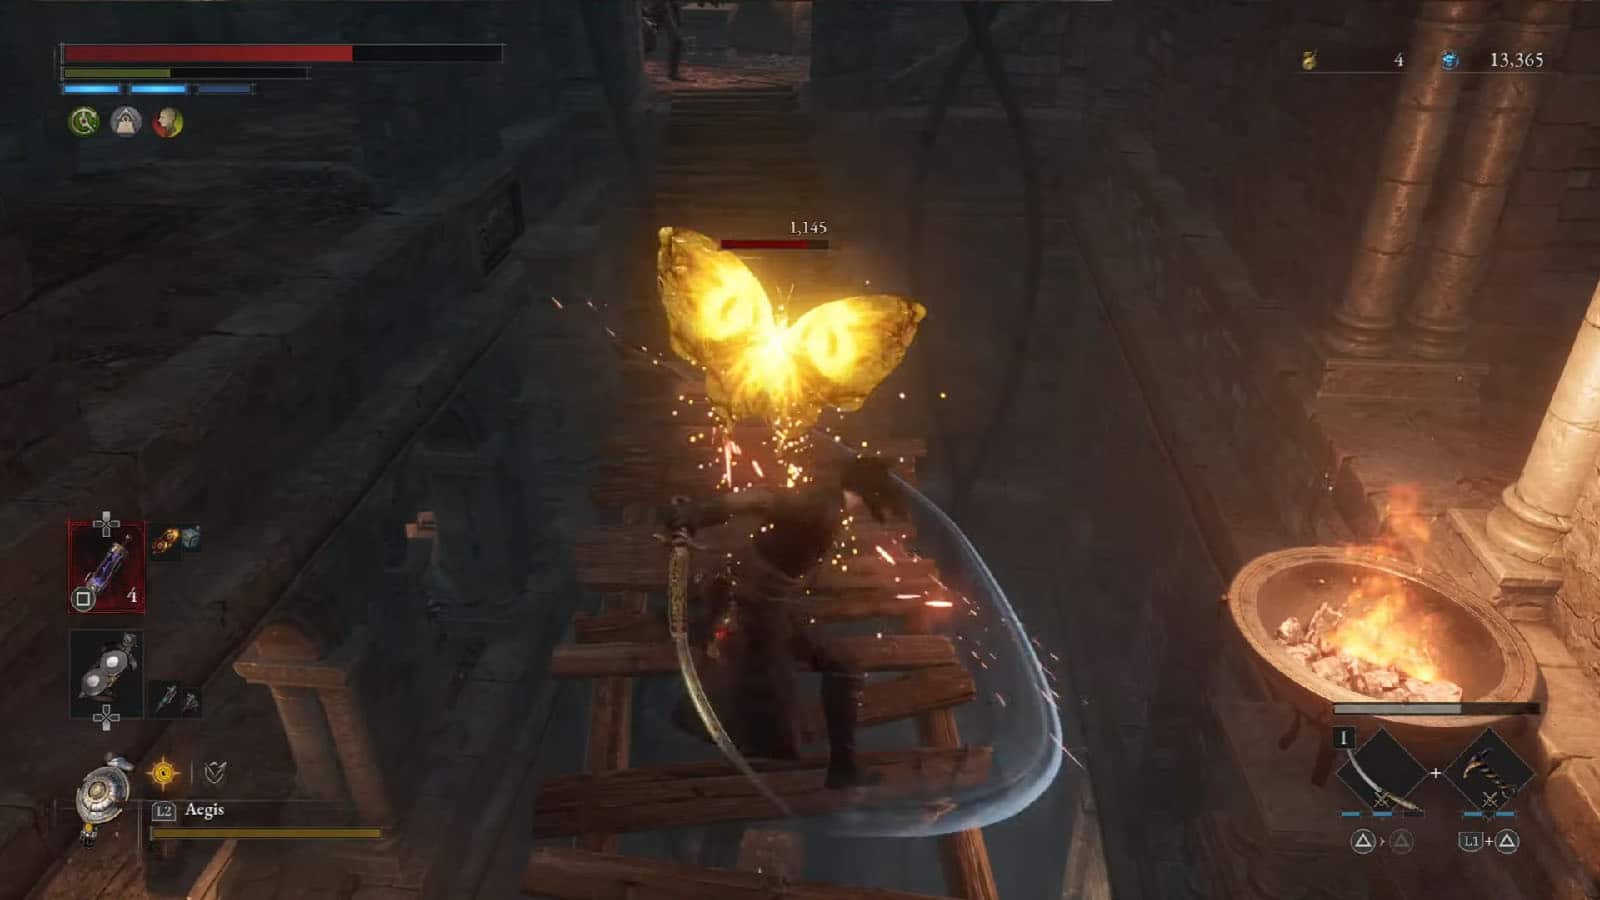
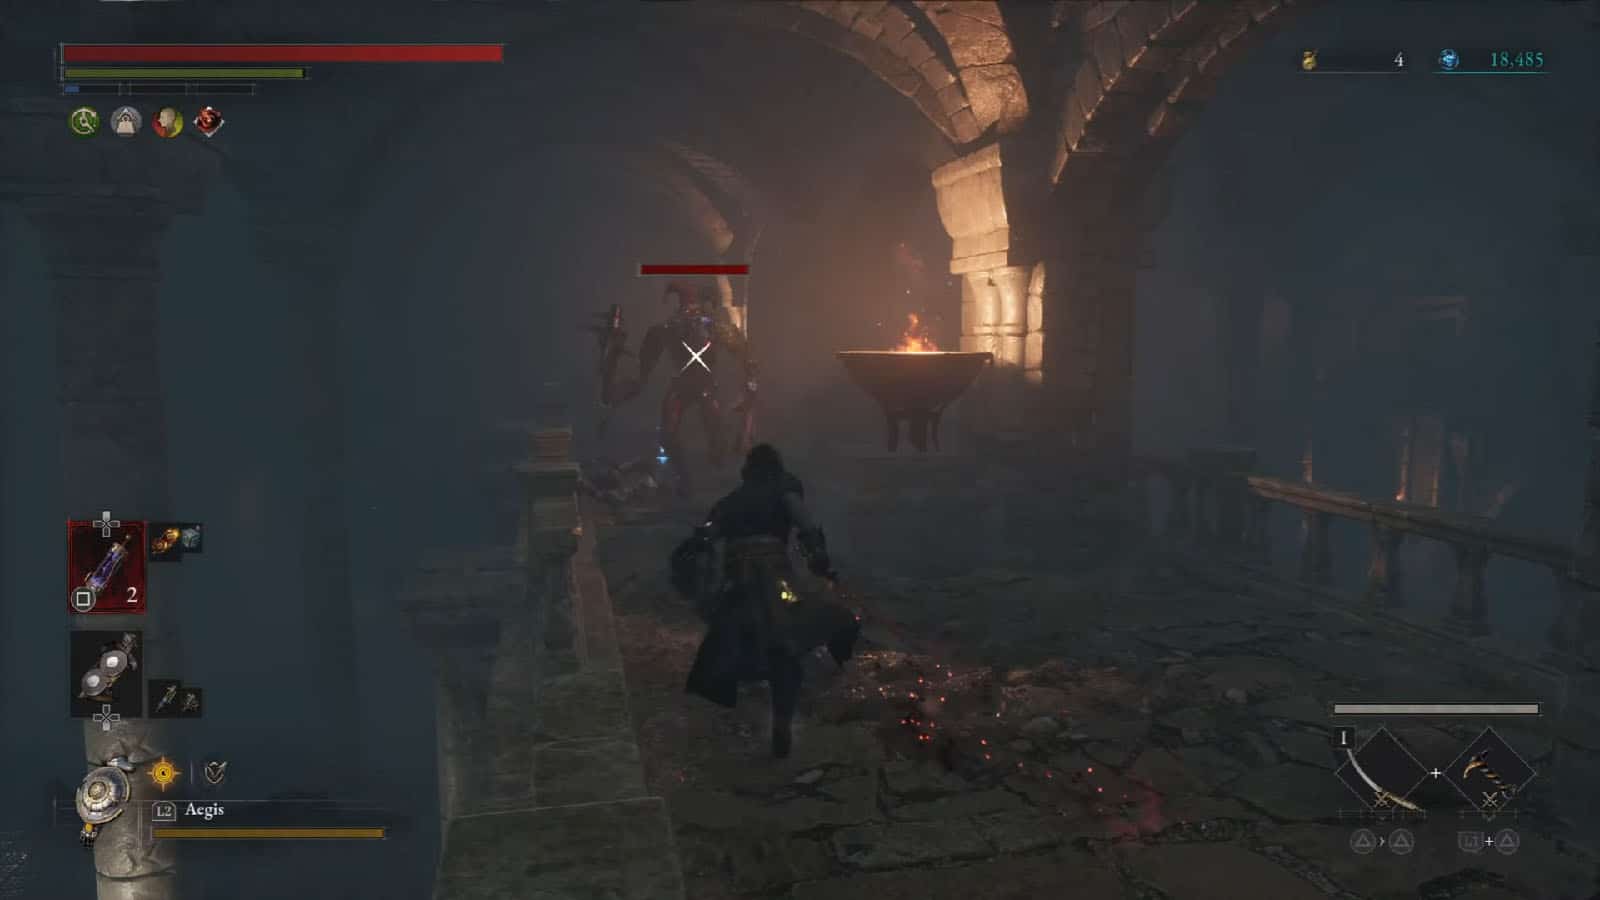
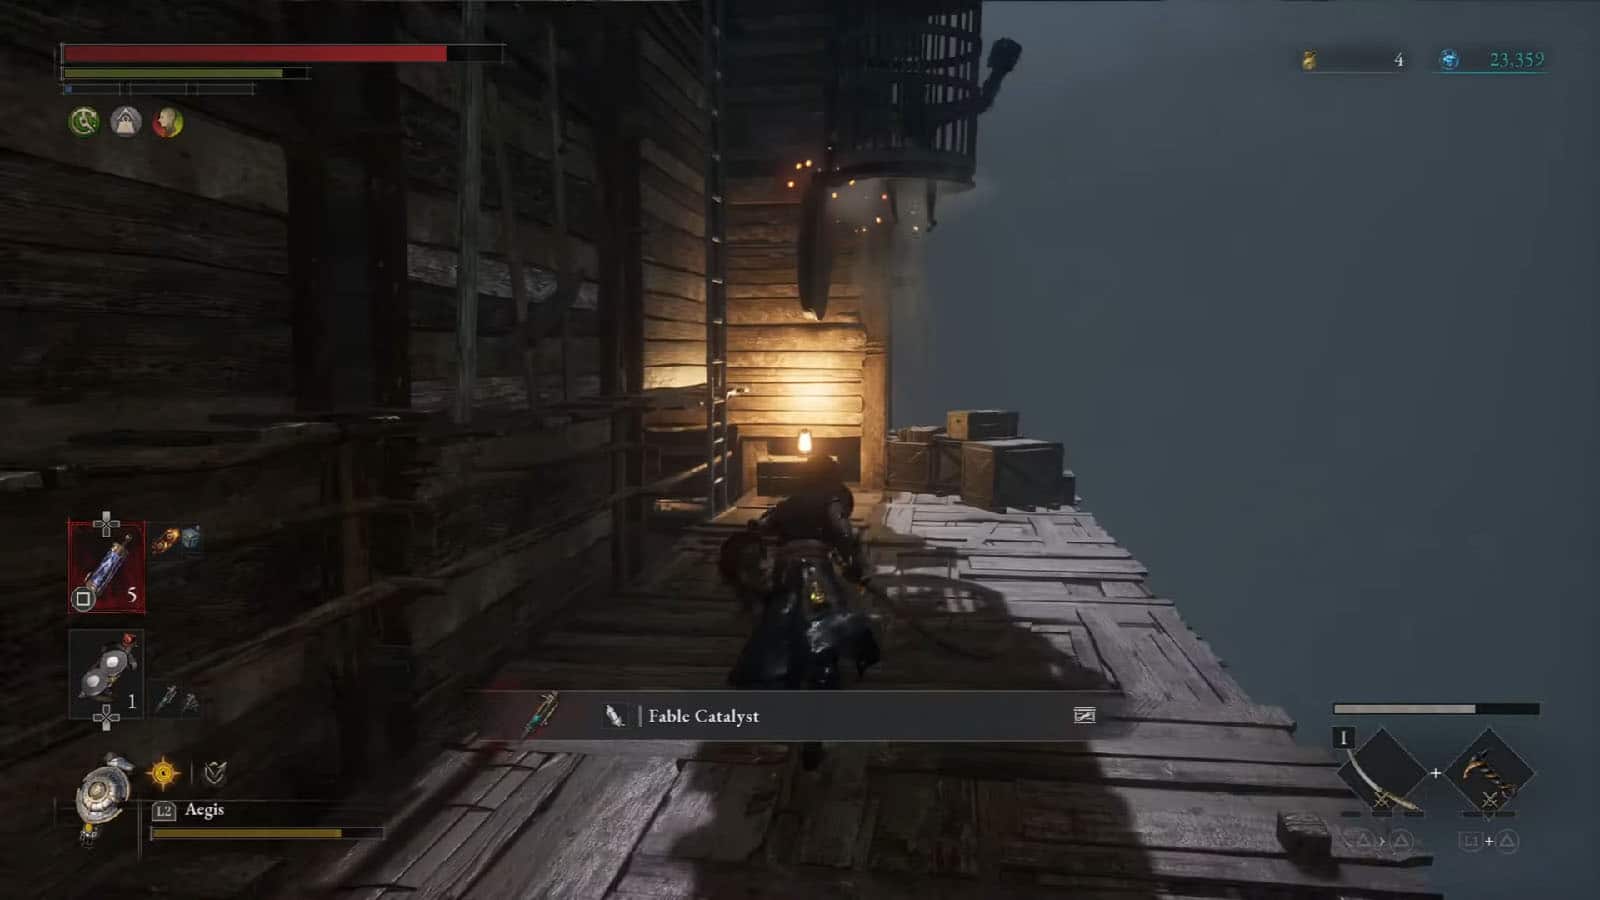
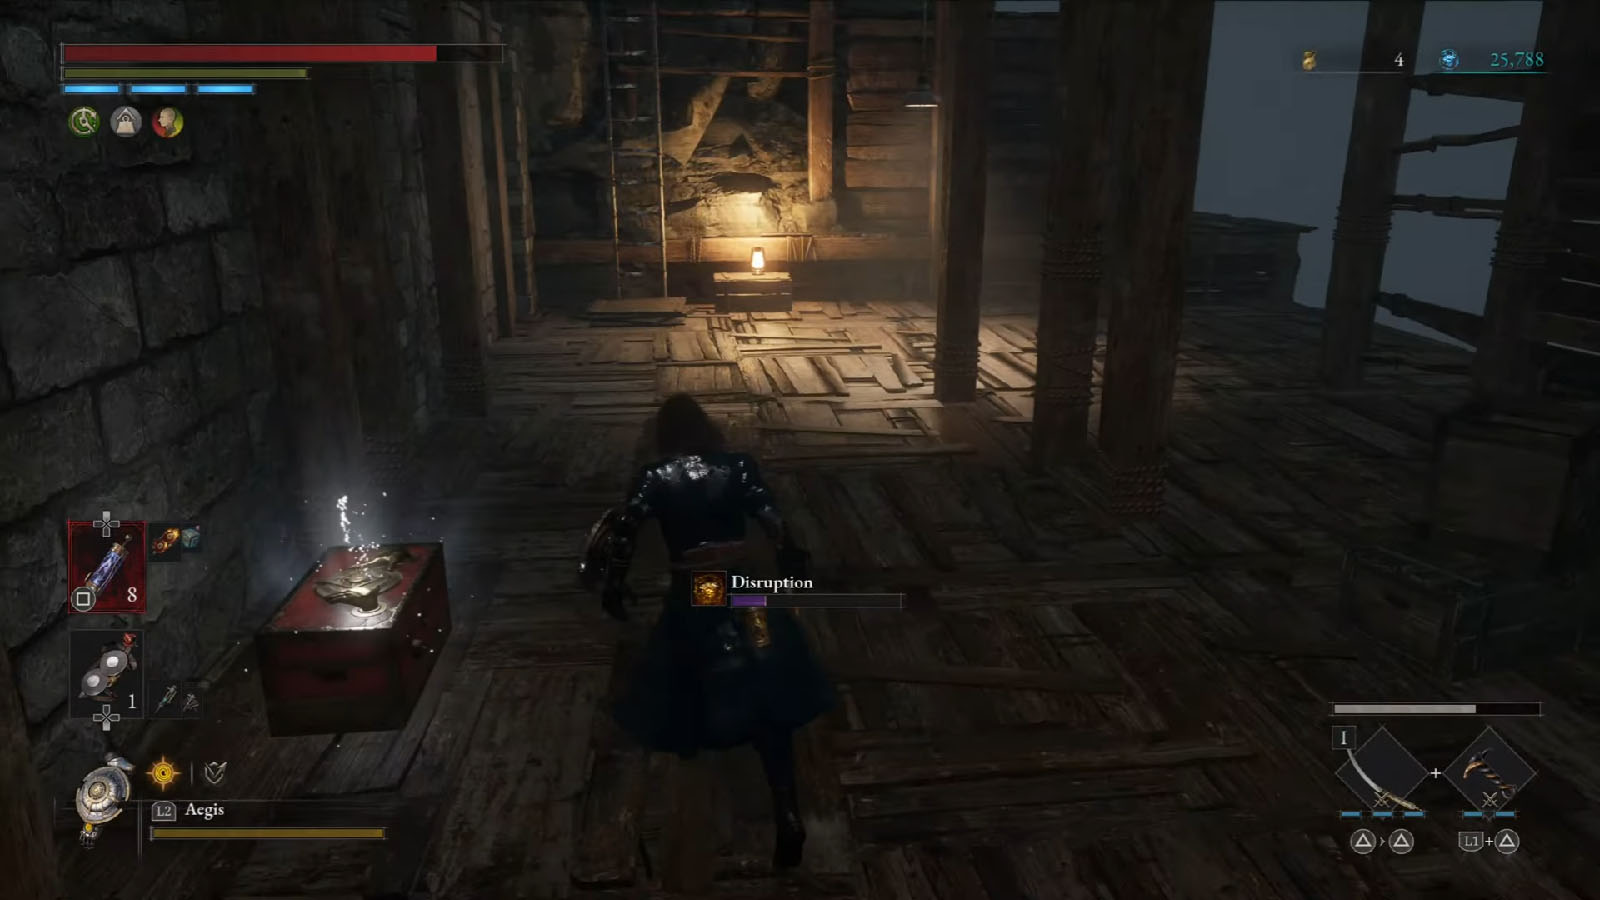
On the next room, you will find the Collectible – Bundle of Old Letters to the right. Up ahead, to the room on the left with the brazier is is a Venigni’s Urgent Repair Tool; beware of the frog mutant that spreads disruption that will fall from the ceiling. Out in the hallway is a pink butterfly that can give you a Full Moonstone of the Covenant. There’s also a Half Moonstone on the floor nearby.
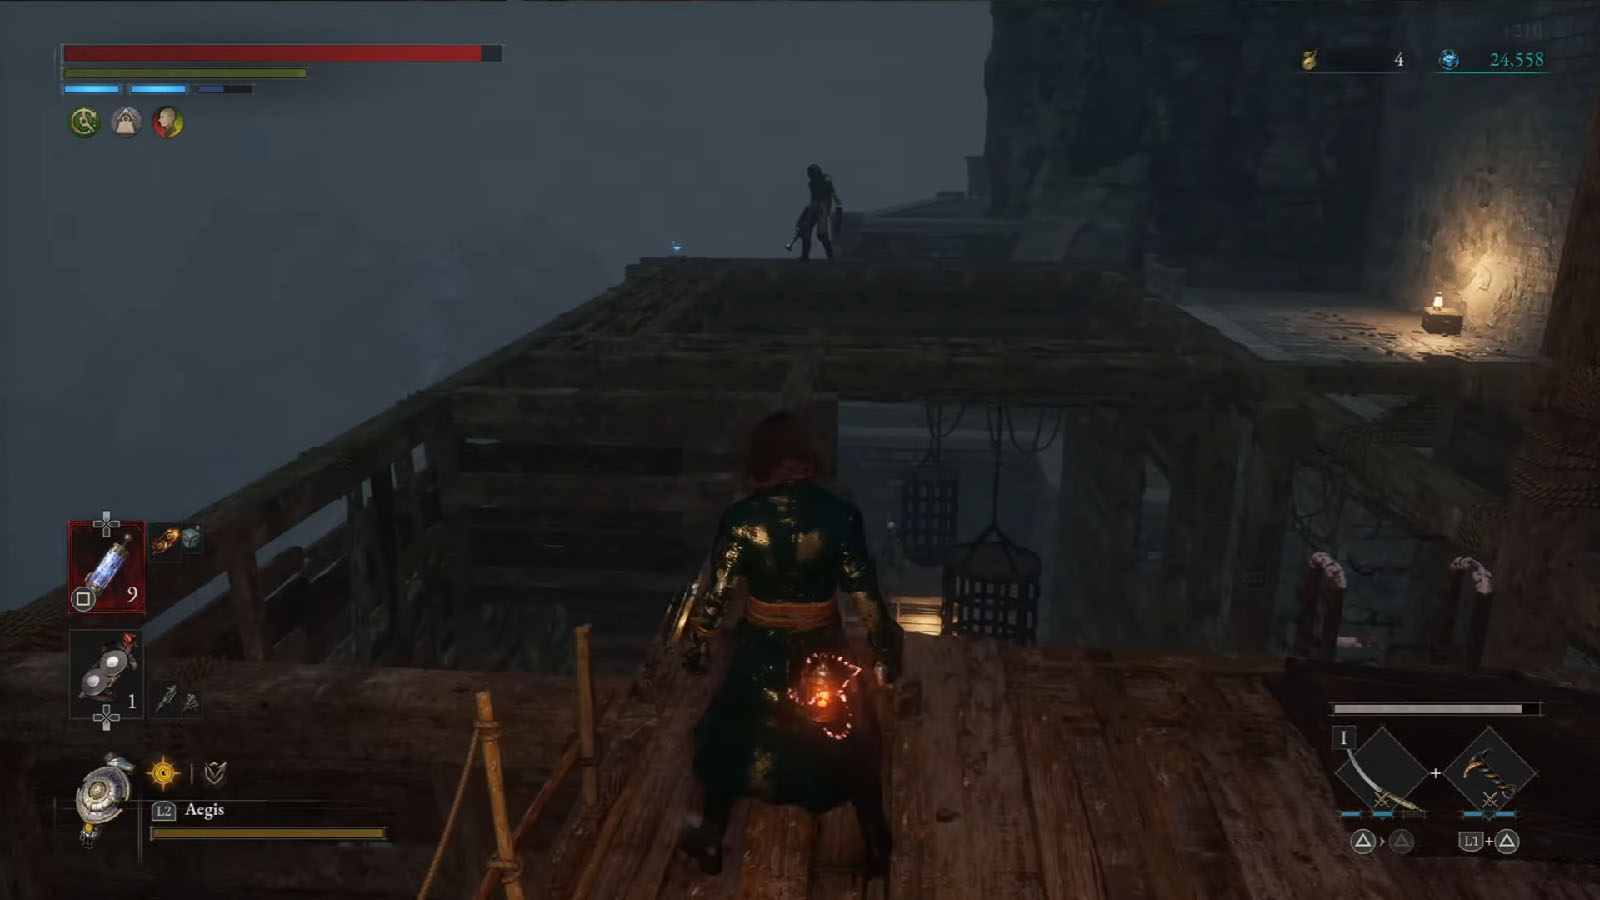
Take the stairs and take the path up ahead first; take note as we’ll return to this area later on. You’ll be facing against more frog mutants inside the next room; try not to get mobbed and smoked. Climb the next stairs and head out to find a shooter that you can kill by the ledge.
Carry on to the next hallway and check on the left room to find a Special Purification Ampoule. Then, at the end of the hallway into the next room, you will find the Collectible – First Discovery, Camille.
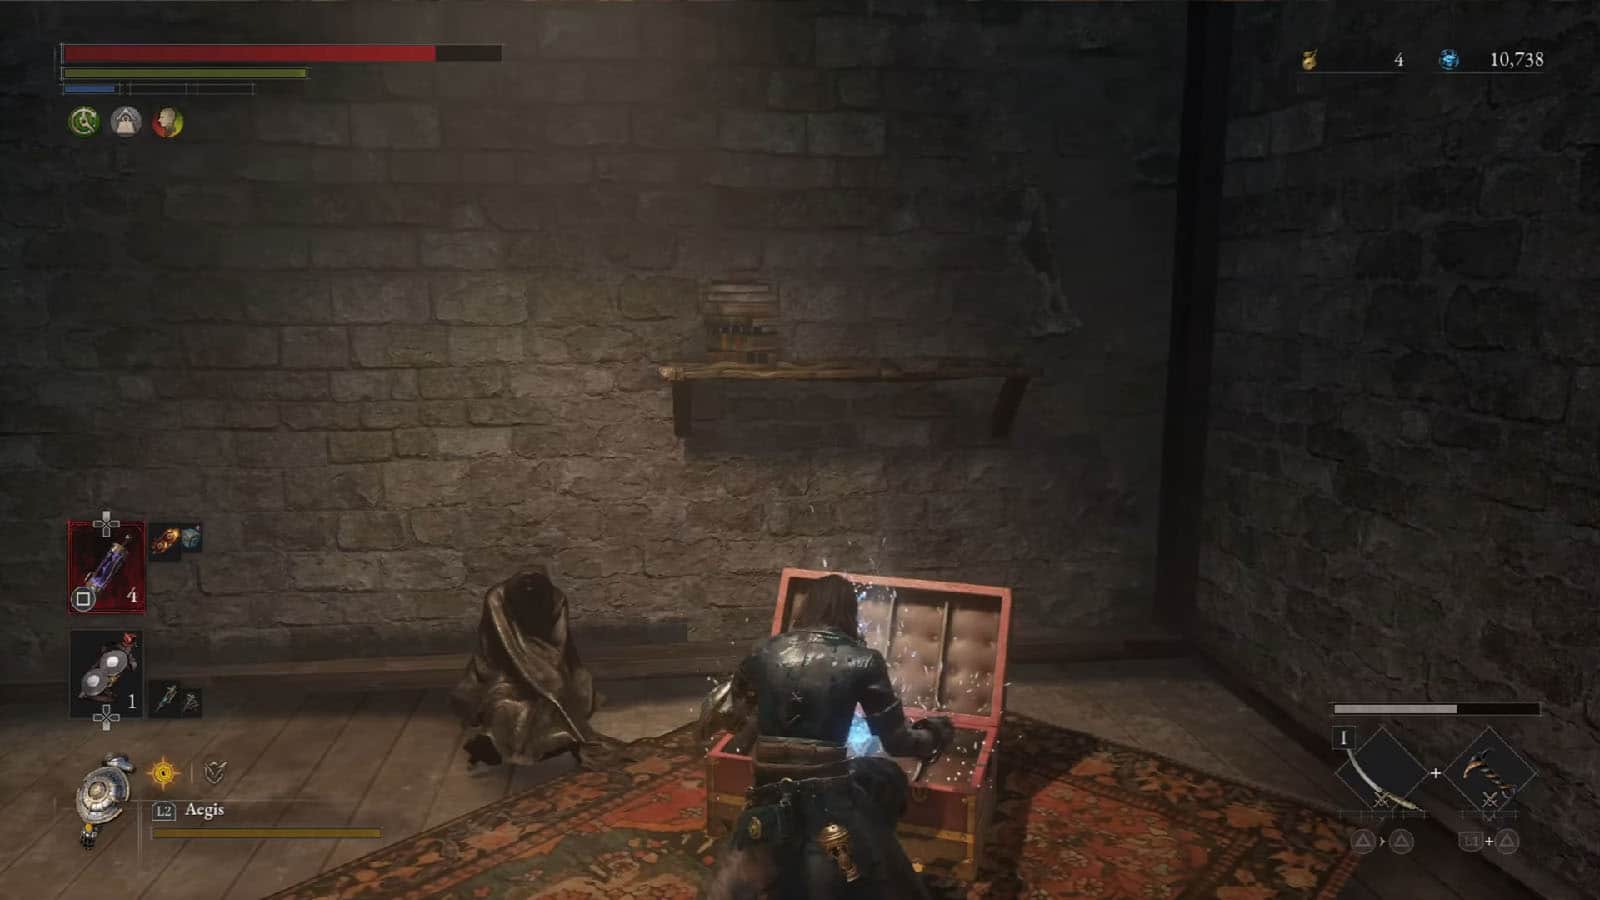
Up on the stairs, in the next room, is another scorpion hound that you can kill. In the next room nearby is a chest that contains the Acidic Great Curved Sword weapon.
Back at the stairs from earlier, go to the side path where you can see a shortcut gate that you can open leading back to the ledge area and the Stargazer. Head back up to the ledge where the shooter was and you’ll see the roof near the shortcut gate. You can jump on the nearby ledges to get to the roof safely. One of the items on this room is a Full Moonstone of the Covenant.
From the shooter’s ledge again, follow the stairs going up the side of the wall. Immediately head inside the room to the right to avoid cannon fire.
Inside this tower is another staircase. Look out for the pusher traps on the wall which can push you off the stairs; these are circular and get triggered as you get close to them.
At the top is another plate that you can stand on to activate a bridge outside of the tower. Go back down the tower and cross the bridge. Try to slip by the scorpion hound and some of the enemies and run through the building until you reach the other side. Turn left to take the stairs and reach the puppet and the cannon, then destroy them. You can head back down to clear out the enemies you just passed. Make sure to check the chest which contains the Frame – LADA F350 Frame.
Continue down the stairs until you reach the ladder that you can bring down back to the Stargazer. The item at the corner ledge across is an Electric Blitz Abrasive.
Back at the area where the latest cannon was, climb the ladder on the side of the wall. As soon as you reach the top, check the ledge to the right where you will find a Balance Crank.
Take the stairs until you reach a large room. Turn towards the left first, go past the push trap, then defeat the gunner ahead and grab the Full Moonstone.
Head back to the entrance to the room and take the other path which leads down to the lower floor. Lure the enemy first, then cross the plank bridge to the other side, then climb down the ladder at the end. Keep following the path and ladders until you reach the ground floor.
At the very bottom of the room is a mutant brute that you will have to kill. Once done, you can find the Trinity Sanctum just close by, and an elevator that you can take to progress through the abbey.
Inside the Trinity Sanctum is where you will find Arlecchino. He will ask you if you are a human (lie) or a puppet (truth). You can answer depending on the playthrough that you’re running and you will get the Alchemist’s Cape and a Quartz as a reward. There is another quest line that you can complete with Arlecchino that involves Venigni.
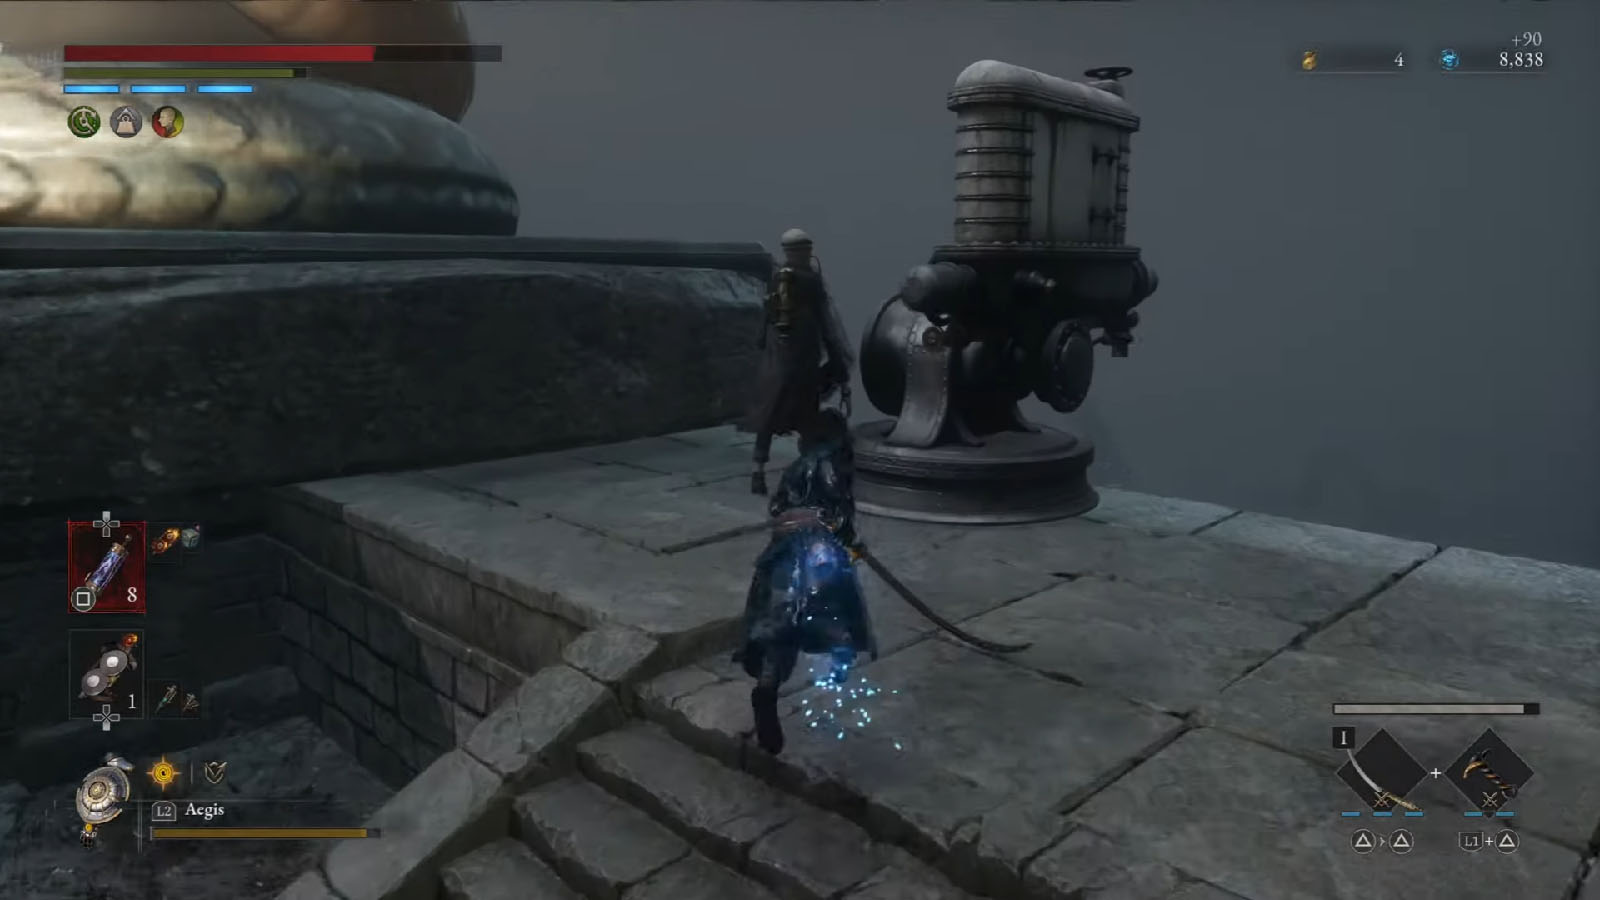
The elevator will take you to a higher area where you need to go to progress, but there is a hole that you can pass through as the elevator moves up. Go through this hole then go to the left to find a Resplendent Ergo Chunk, then head to the right side and jump down the hole. You will find a chest that contains a Legion Caliber.
Go back down to the ground floor and take the hallway; try not to step on the pressure plates to avoid getting shot by the traps. Take the elevator at the end of the hallways which will take you to the lower sections of the abbey.
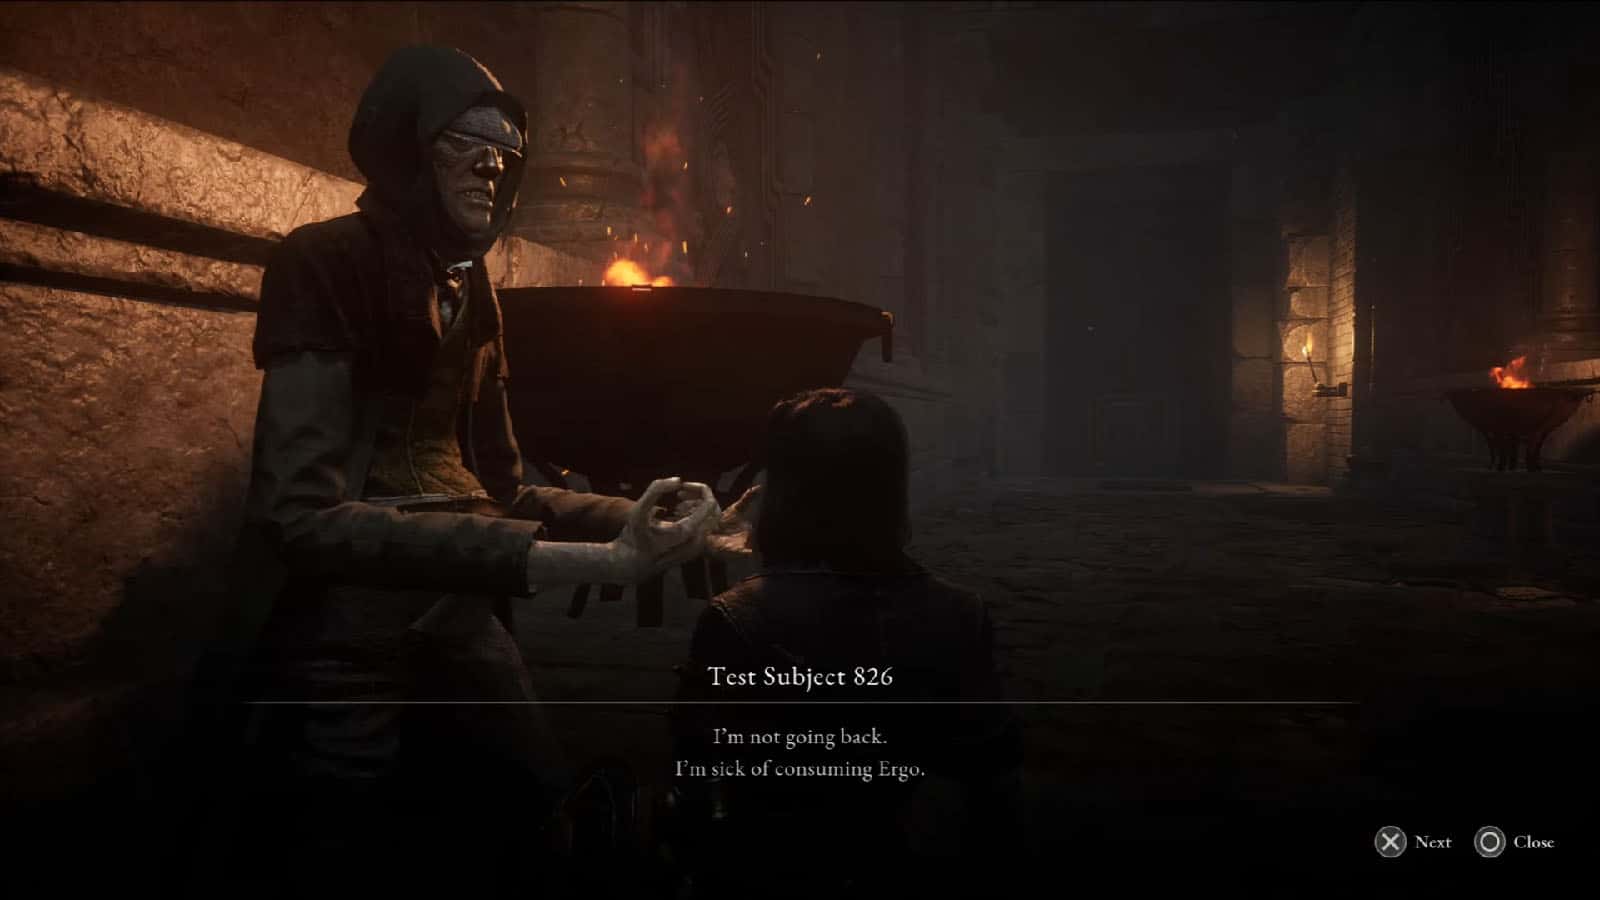
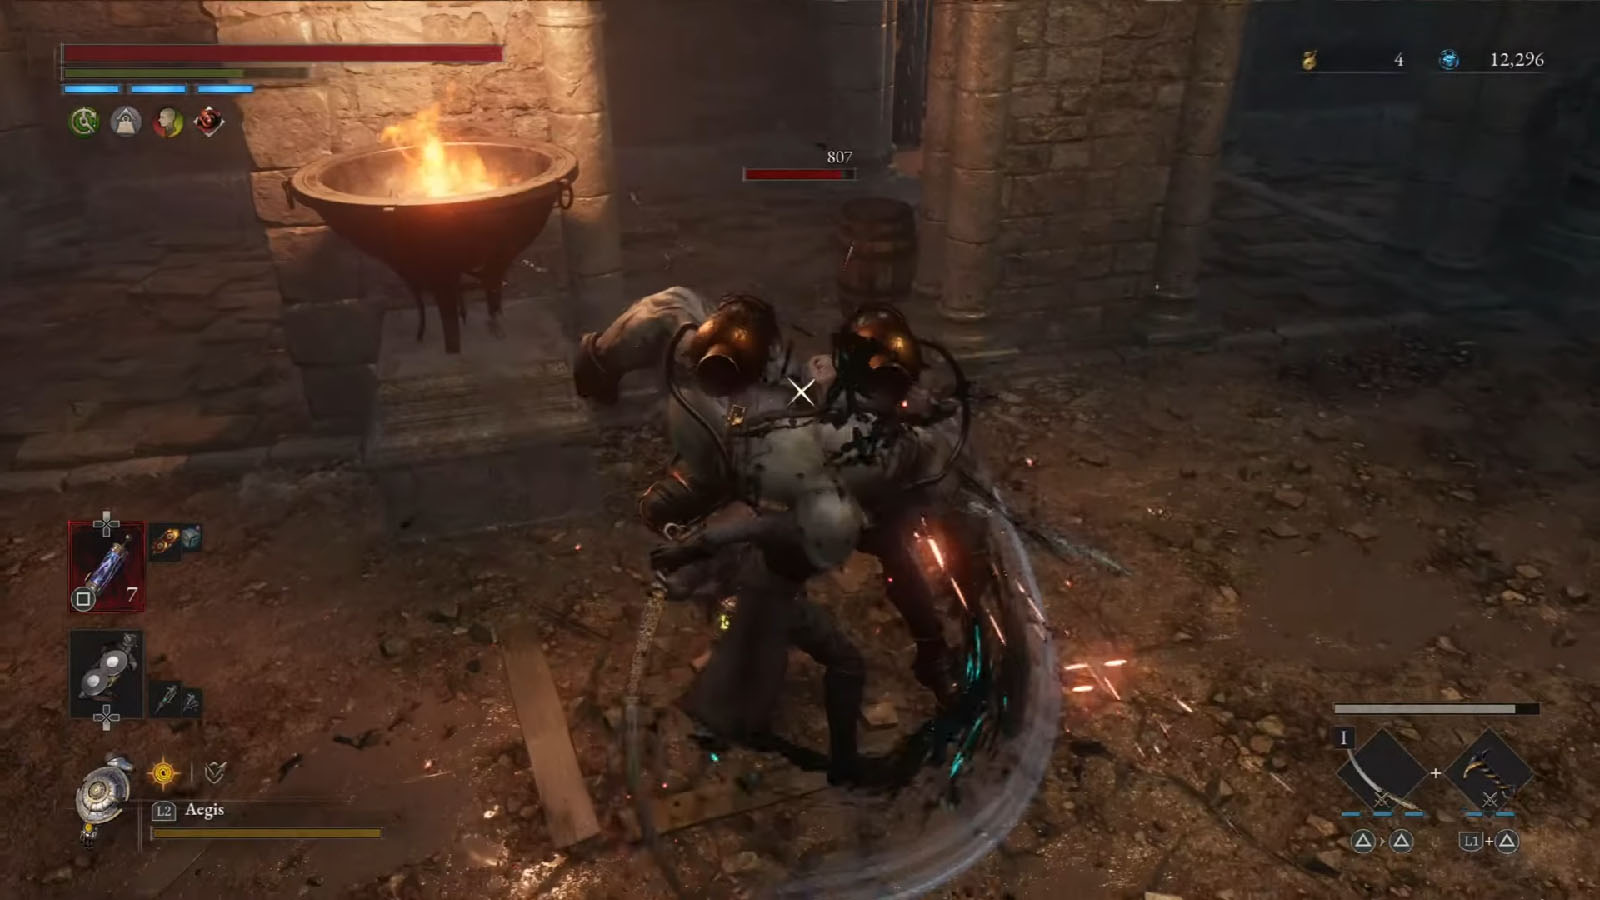
Down in the next area is another large hallway. To the left side is where you will meet Test Subject 826 and receive the Gesture – Happy. If you’re running on a New Game+, he has a quest line that you can follow that leads to an exclusive Record.
Activate the plate up ahead to open up the door leading back to the stone bridge from earlier.
Go back to the elevator and ride it back to the room. Then, take the other elevator and ride it all the way up this time.
Head out the elevator and defeat the general on the left side. Cross the wooden bridge where a gold butterfly will appear, but try to rush the disruption fumigator that is on the other side first. Go for the butterfly next which will give you a Full Moonstone.
On the other side of this floor is a ladder that you can bring down as a shortcut to reach the lower level. Then, head back to the end of the wooden bridge and take the staircase up ahead. Follow the path until you reach a huge chamber where the next boss fight will happen.
Boss Fight: Black Cat
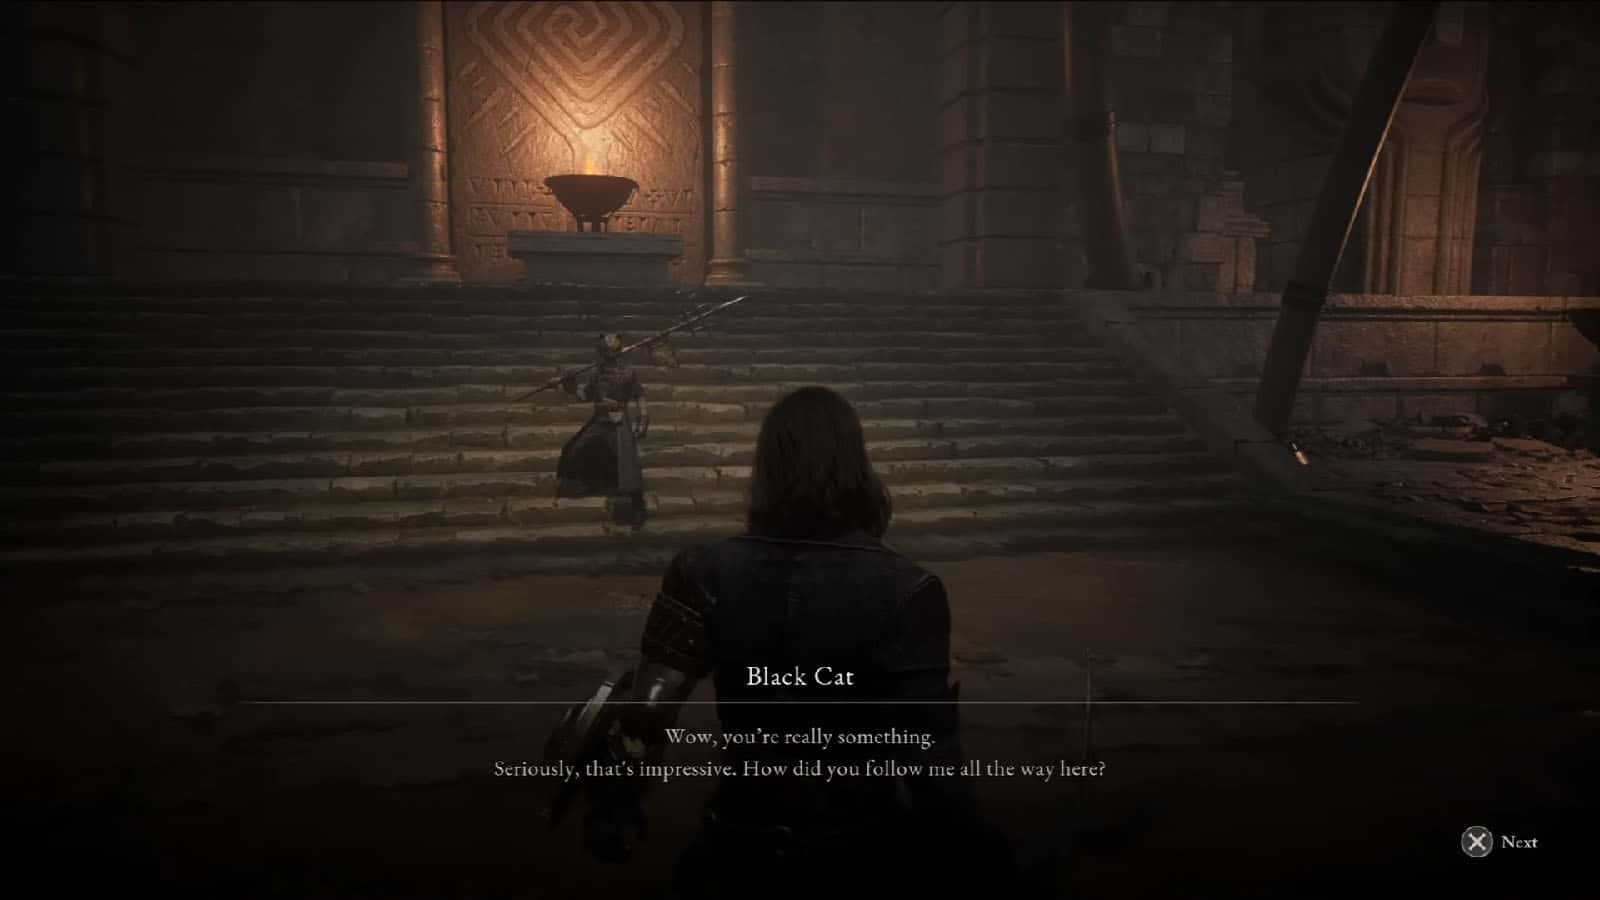
The Black Cat will be guarding the way deeper into the abbey. Depending on whether you gave them a gold coin fruit or not in Chapter 7, you will either have to fight him right away or go for a peaceful negotiation.
If you gave the Stalkers the fruit at the end of Chapter 7, you will get to talk to Black Cat once more in the chamber where he will ask you for another fruit. If you give him one again, you will skip the fight and you still get to receive the Accessory – Black Cat’s Mask, but without the Ergo.
If you declined to give Black Cat a fruit back in Chapter 7, you will immediately be fighting against him; the same goes if you decline his second request for the fruit.
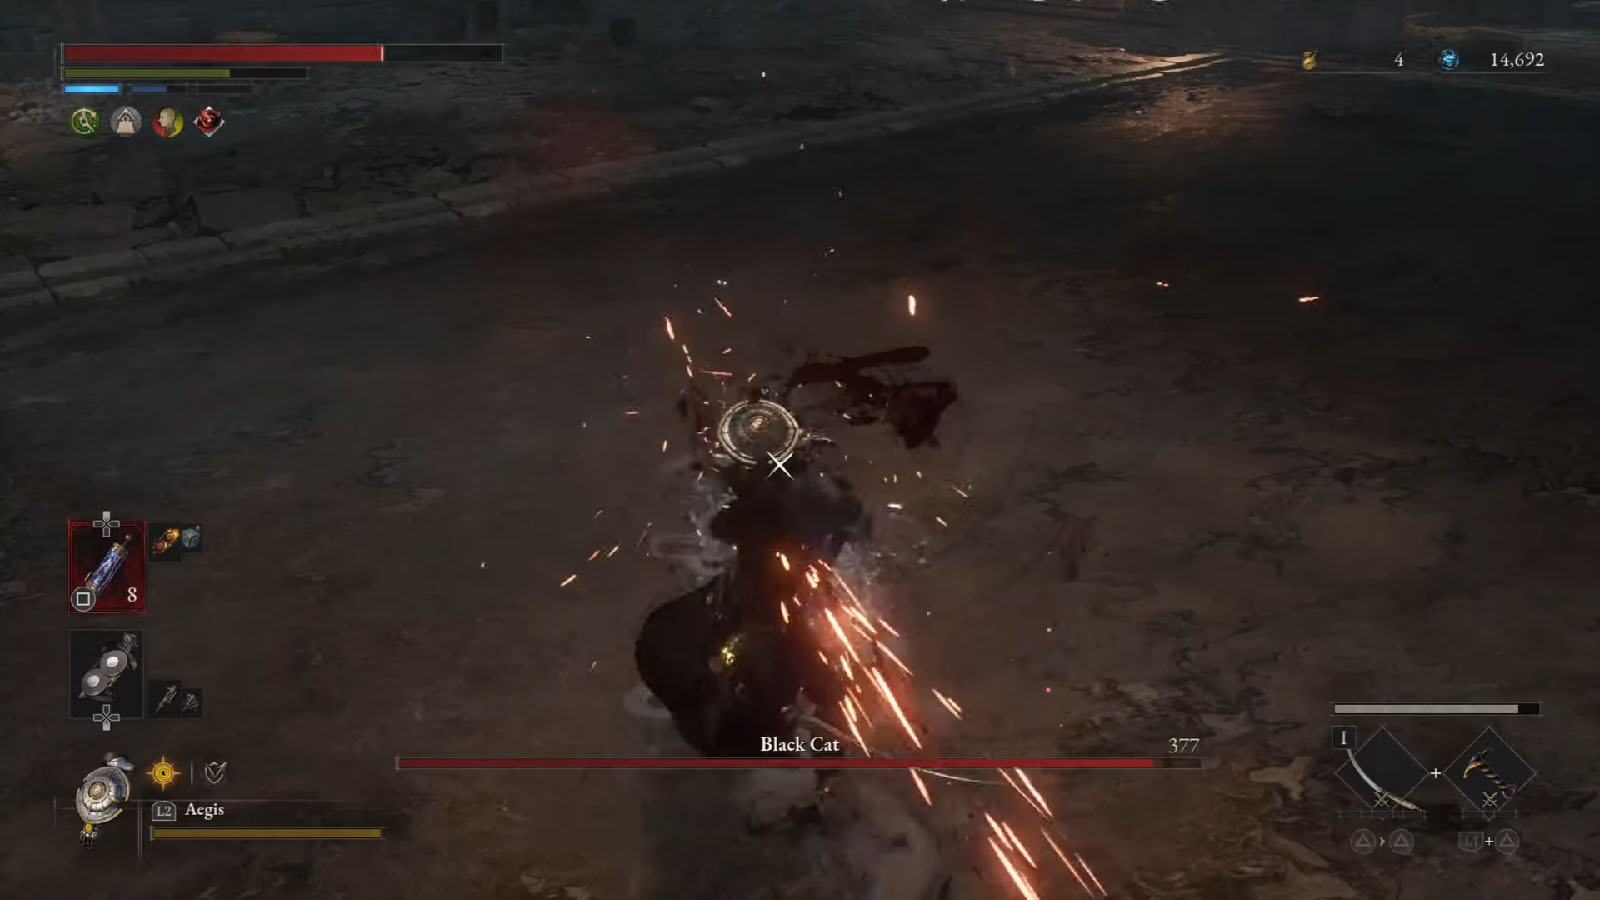
The Black Cat wields his signpost weapon that he uses as a lance. Because of the range of his weapon, he can do lunges from a good distance away from you. He is also quick and nimble, and often repositions or backs away, so you will be constantly trying to close the gap and chase him down.
His basic attacks are stabs and lunges. The stabs can be dodged with a timed sidestep. As for the lunges, it’s best to sidestep and look out for the swirl as he backs away in case you want to do a counter attack.
The strategy to defeat Black Cat is to constantly avoid his stab combos by sidestepping and repositioning until you get to his back side and be able to do a fatal strike. Perfect blocking his attacks will also help in breaking his weapon and reducing its damage and range. Using the Puppet String upgraded with the ability to trace will help in closing the gap and in becoming more aggressive towards him.
Once the boss has been defeated, you will also receive the Black Cat’s Mask and some Ergo for the trouble.
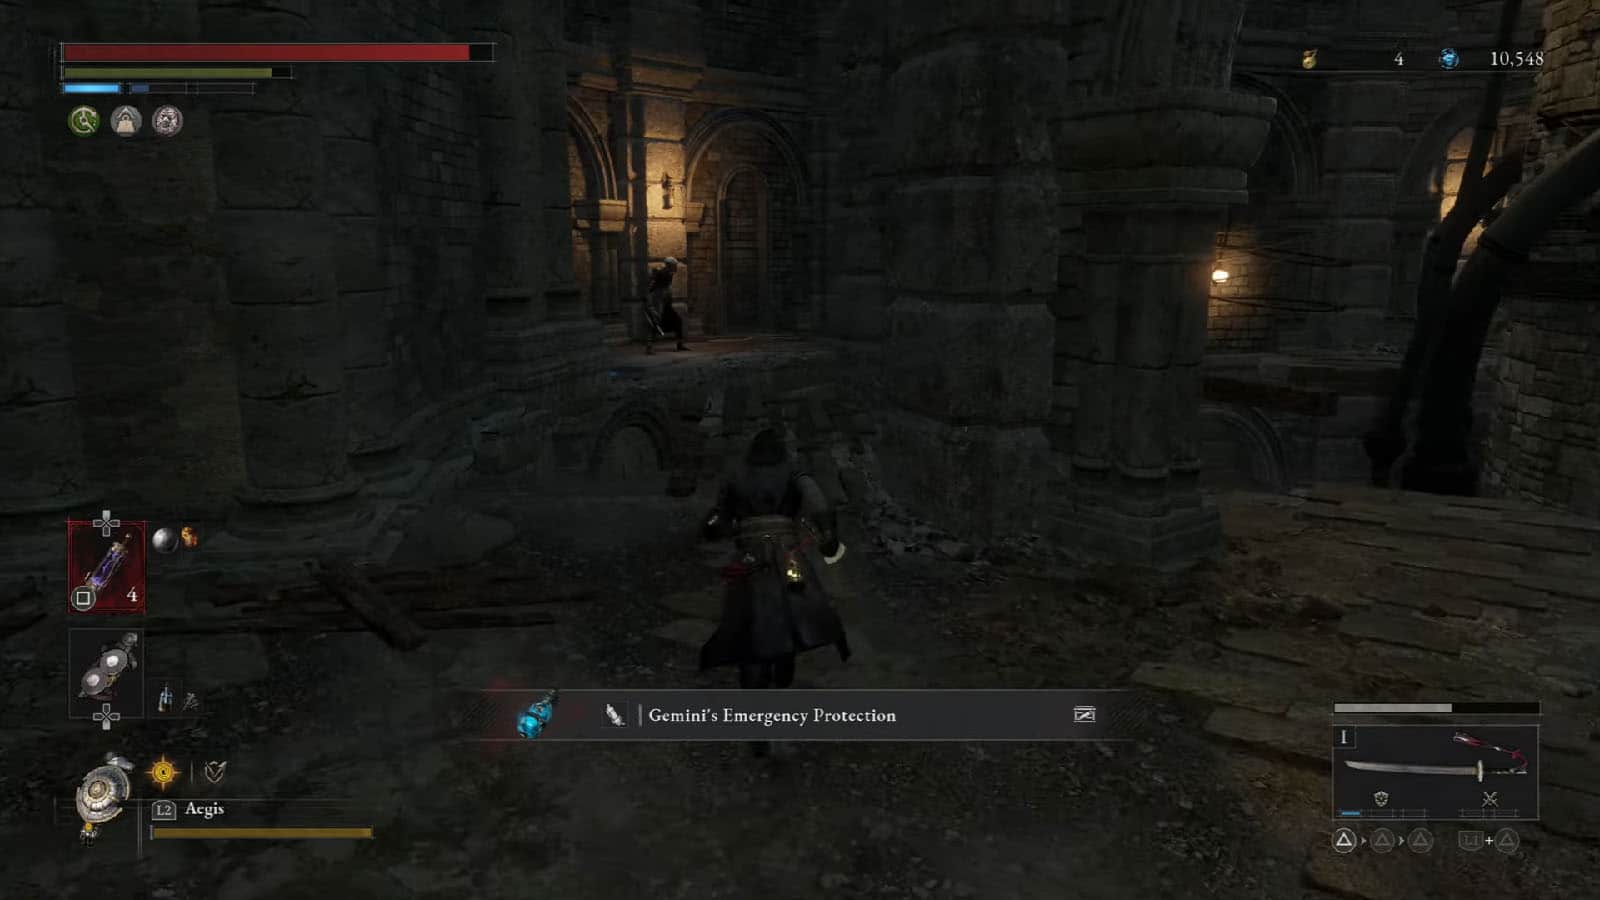
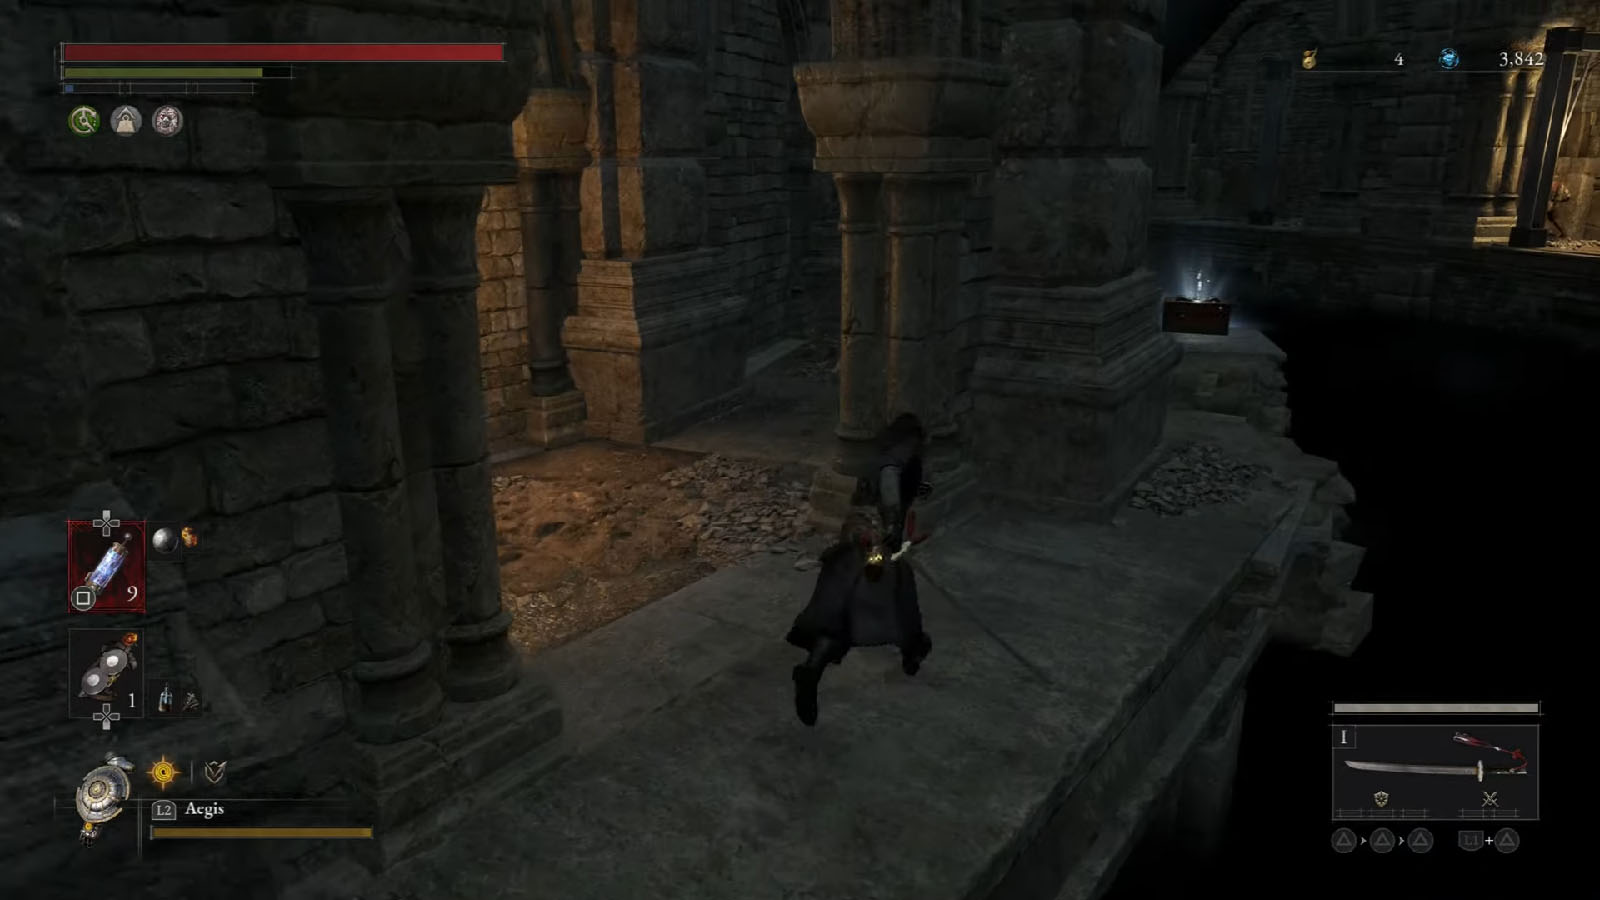
Proceed through the next hallway until you reach the huge opening overlooking the outdoor area. To the side is an elevator, and past it is a ladder that leads to a lower level where there is a Gemini’s Emergency Protection. Ride the elevator up until you reach the top where the next Stargazer can be seen.
Arche Abbey Broken Rift
Enter the next chamber that you see and stick to the left side. Go inside the small room and avoid the pressure plate; you will find a Dark moon Moonstone of the Covenant inside. You can then engage the tentacled brute that will be jumping from above, then head downstairs to the next area.
The lower area will have lots of enemies, plus another tentacled brute. There is a new type of hybrid mutant puppet that has the ability to whip out a tentacle from its head. Try to take them down one by one without getting mobbed, or you can just slip past. On to the left side is a connecting room and across is another tunnel that has a Half Moonstone.
In the connecting room, take the path to the right and you will find a ladder on the far corner. Climb the ladder, then follow the path up ahead where you can bring down a shortcut ladder.
Continue exploring these upper pathways; the path on the farthest left has a chest that contains the Mechanical Cryptic Vessel, and the middle path has a jester puppet guarding it. Take the farther path first, then head to the middle.
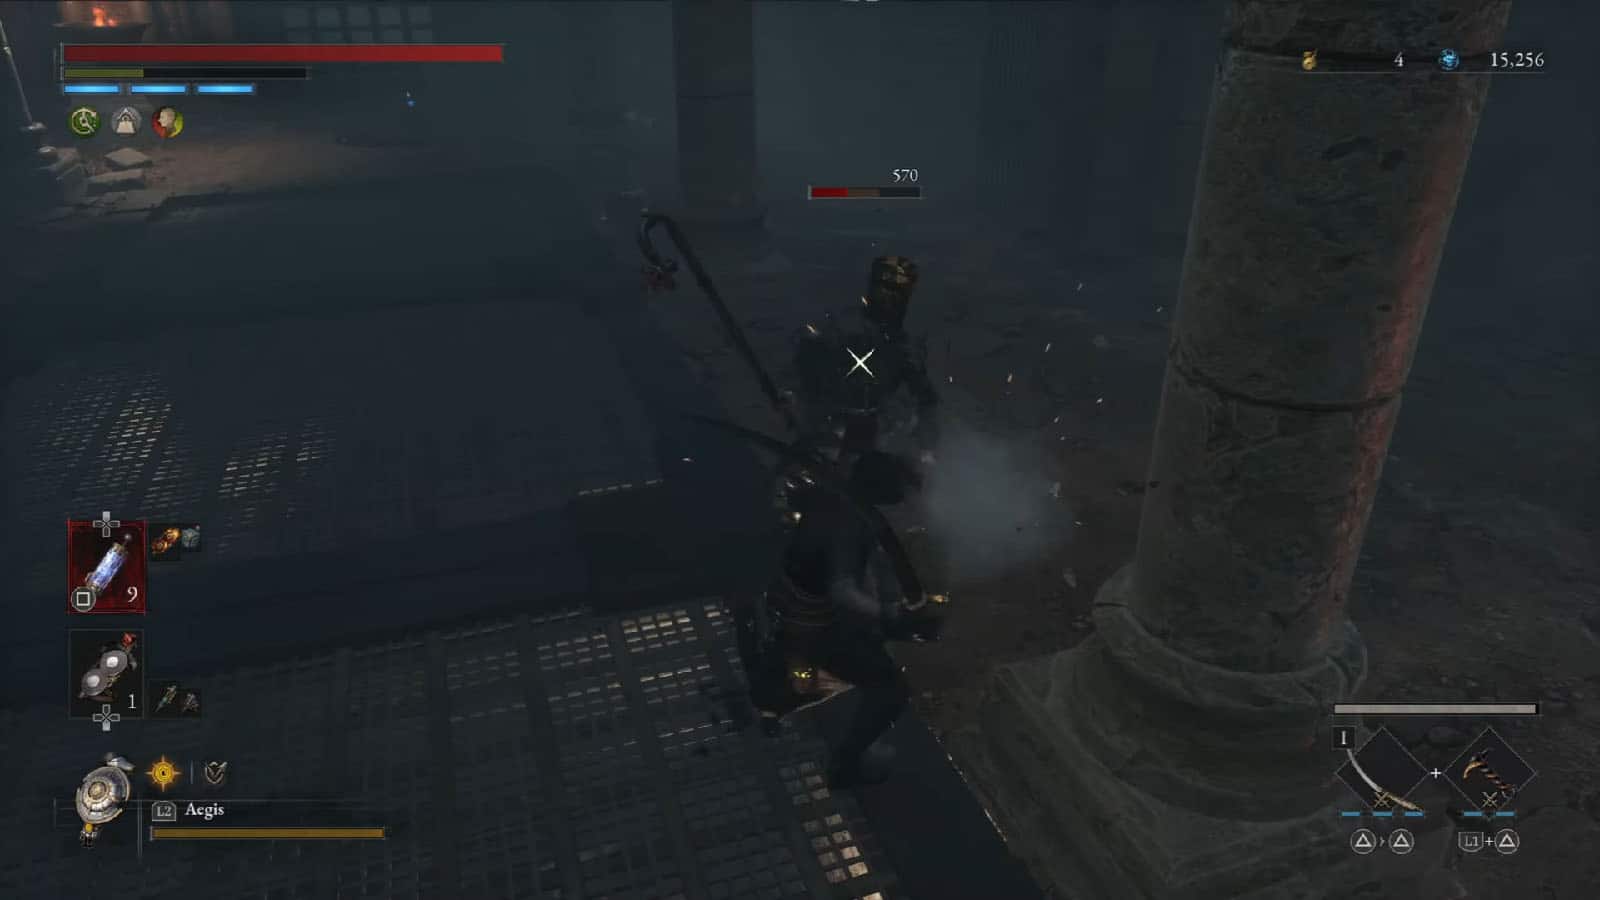
This jester puppet is much more deadly than the previous one in the cellars as it now has two weapons, and it also has a grapple hook to pull you in closer to it.
Move down the middle path and climb up the stairs. To the left is a niche where you can pull a lever that opens up a gate near the first ladder that you climbed. Behind this gate is a huge boy puppet that you can defeat to get a Quartz.
Climb up the stairs to reach another outdoor area. To the right, you will find a red butterfly that can give a Balance Crank. Then, follow the tunnel ahead to reach the next open area.
In here, you will face against more enemies, including a general that has the power to shoot lightning from its cane sword. Defeat it, then go to the edge where you can get a Half Moonstone next to a ladder.
Continue up the ladder and through the wooden path; you will find another Half Moonstone along the way. You’ll eventually get into the wall again where there’s a room that has stairs leading up and down. On the farther left path is a hidden general puppet that you can fight or avoid.
Take the stairs going down first where you can find a ladder shortcut leading back to the previous Stargazer. There is a Resplendent Ergo Chunk on a beam that’s sticking out, but skip this for now as there are enemies above that will shoot down at you as soon as you get on the beam.
Move to the stairs going up where you can find the shooters on the ledge, as well as some caged exploders on the path to the right. One of the exploders drops a Half Moonstone.
Up ahead are more ranged shooters, but you can only cross over narrow beams to get to the other side. The safest path to take is the beam on the outer edge as this puts you out of range from the enemy that is out of sight. Then, rush the one on the far end and then go towards the hidden one near the wall. There will be a butterfly that spawns in the middle of the beams that can drop another Half Moonstone.
You can then choose to jump from the ledge down to the enemies below, or take the ladder nearby. There are ranged enemies in the platforms below and some disruption frogs as well. Clear them out, then open the chest near the ladder to find the Amulet – Red Fox’s Amulet.
Follow the platform on the side of the wall and you will see another general up the stairs ahead. Be careful when fighting it as its lunge can send you off the platform. There are two of them patrolling the area, so lure one away first.
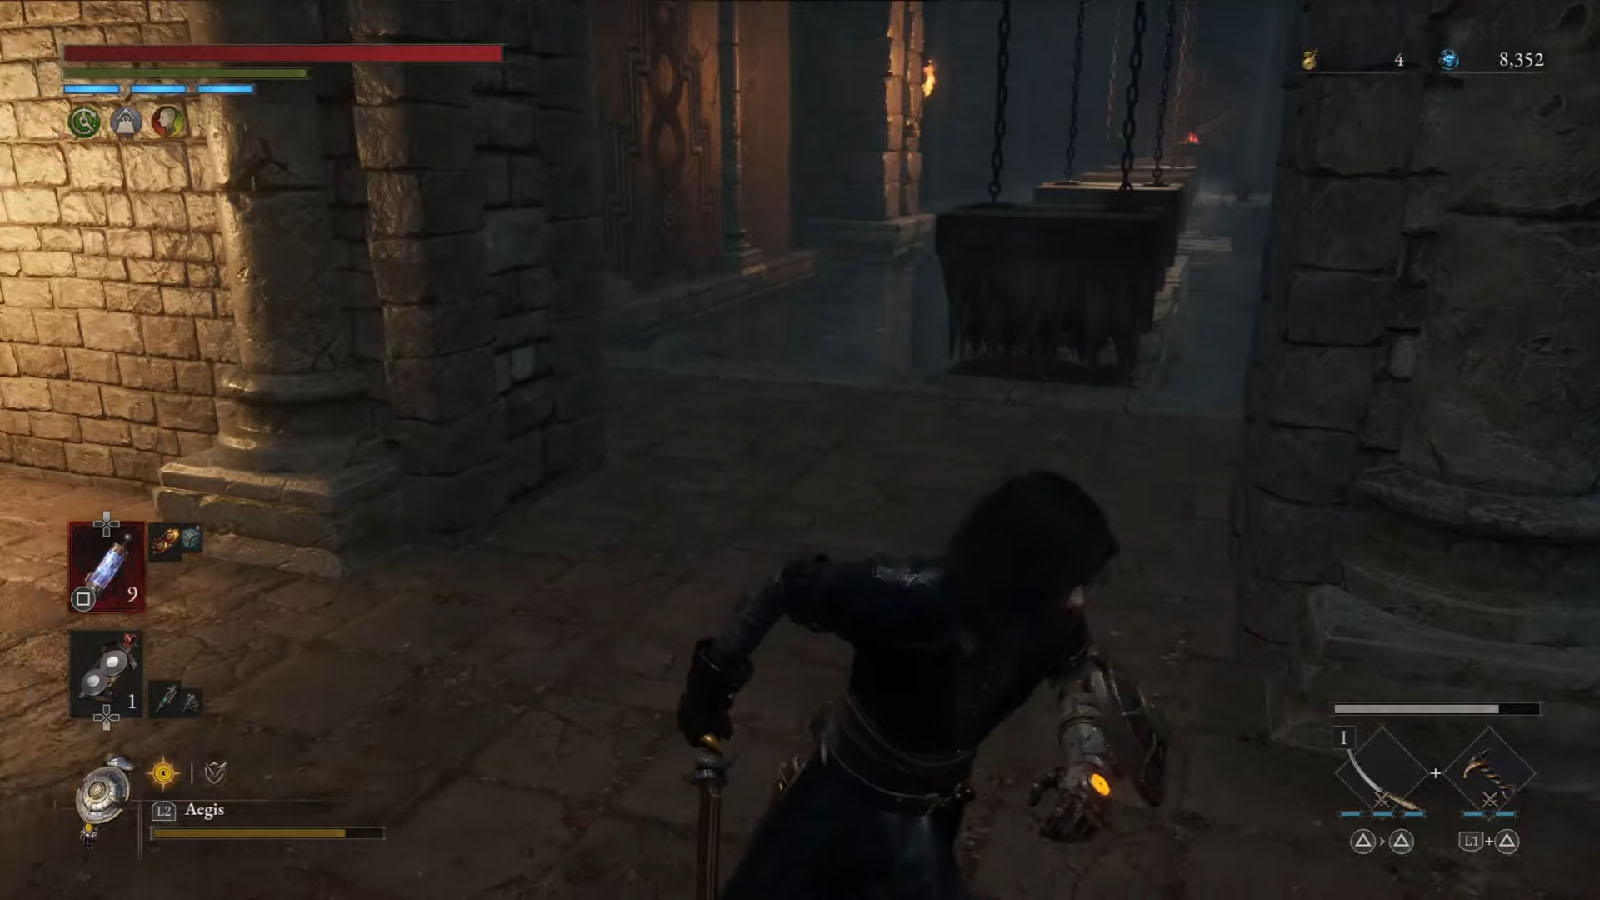
Climb down the next ladder that you see and look for a Full Moonstone by the edge of the wall. There is a room leading back into the wall that is lined up of crusher traps. Try to lure out the enemy up ahead first to make navigating through the traps easier. You will then get a Quartz at the end of the trap room.

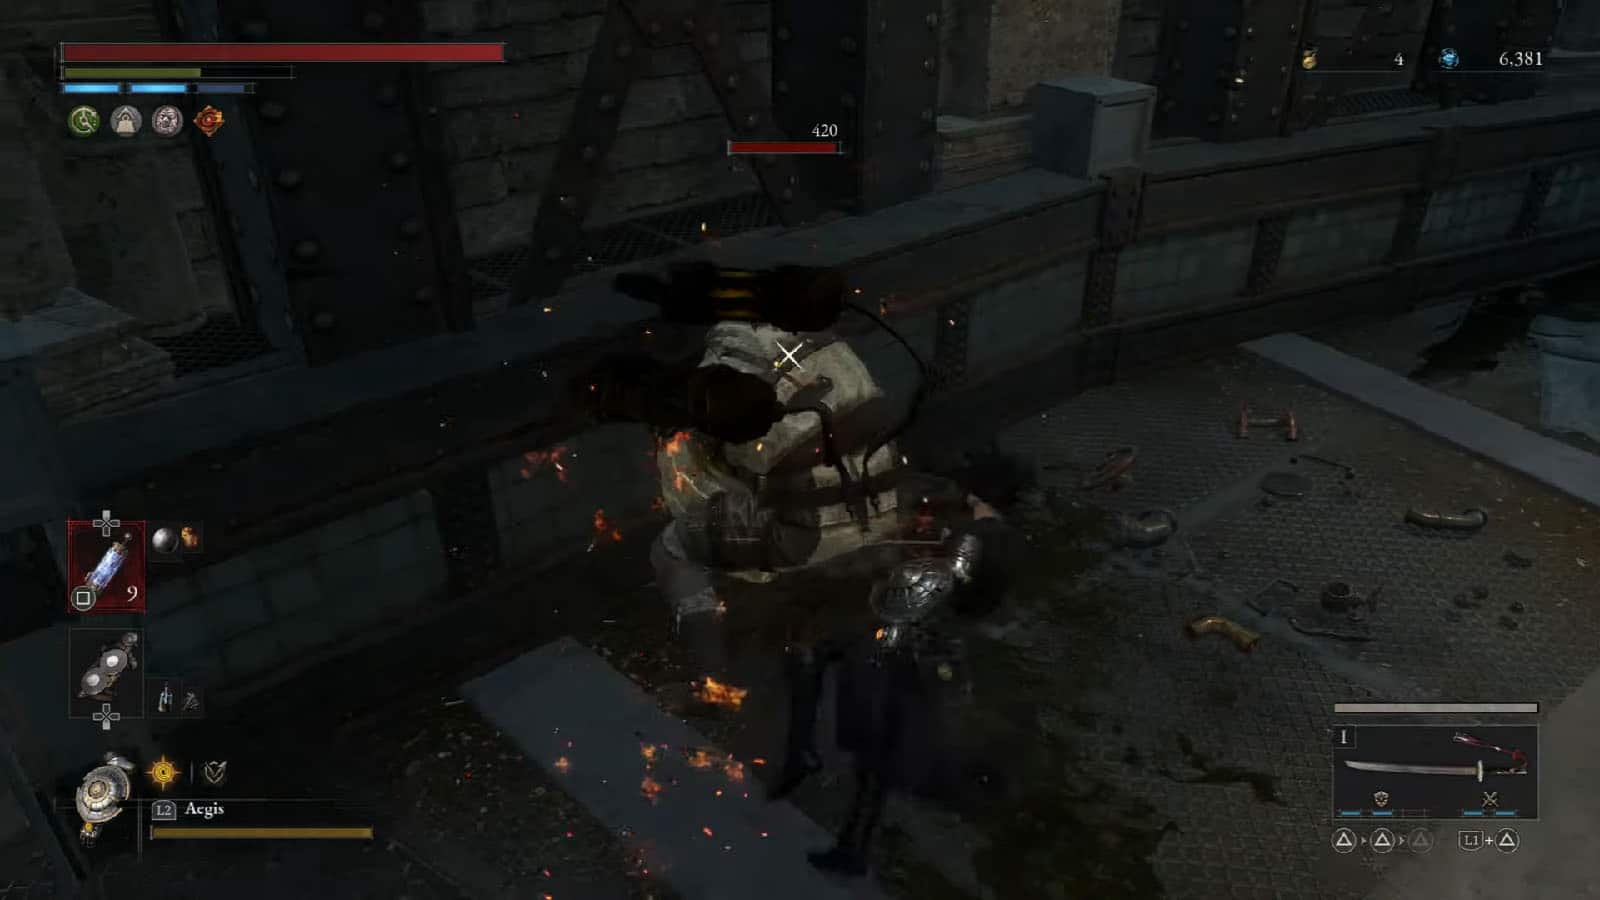
Go back out to the wooden platforms and continue through the path that leads up to another open platform. Prepare to fight another elite that will be bursting out of the wall. This elite is a burly mutant that uses a puppet’s torso as a weapon. Defeat it to get a Legion Caliber, then climb up the ladder on the side.
Climb the next ladder higher up and you will arrive at another hall. Take the elevator up to the very top where you will find the next Stargazer and the entrance to the next boss fight.
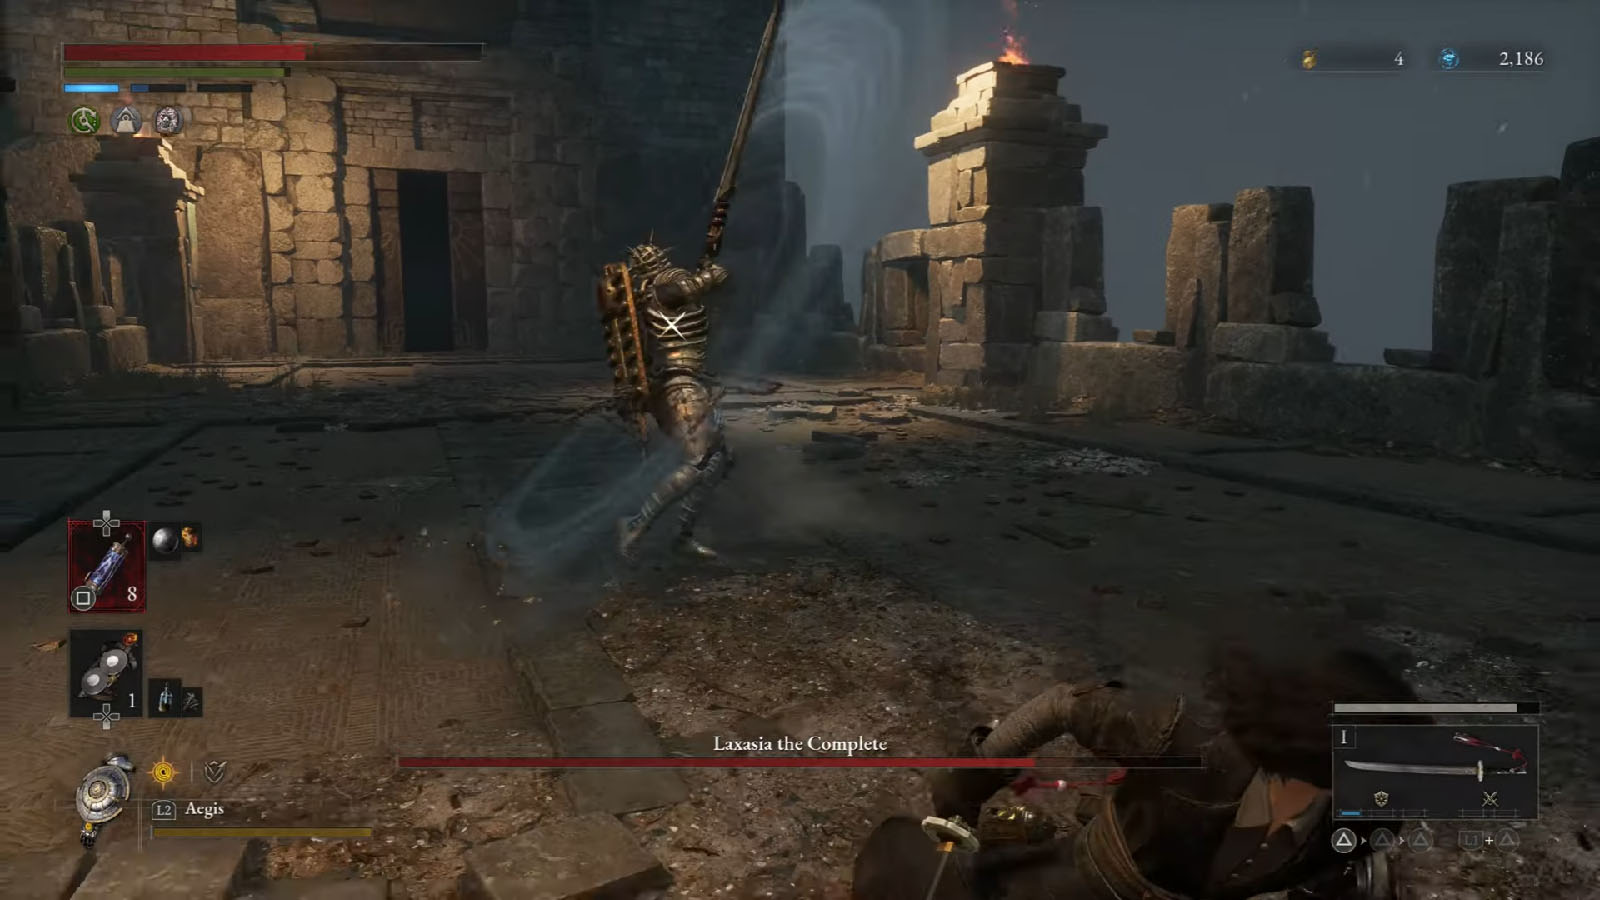
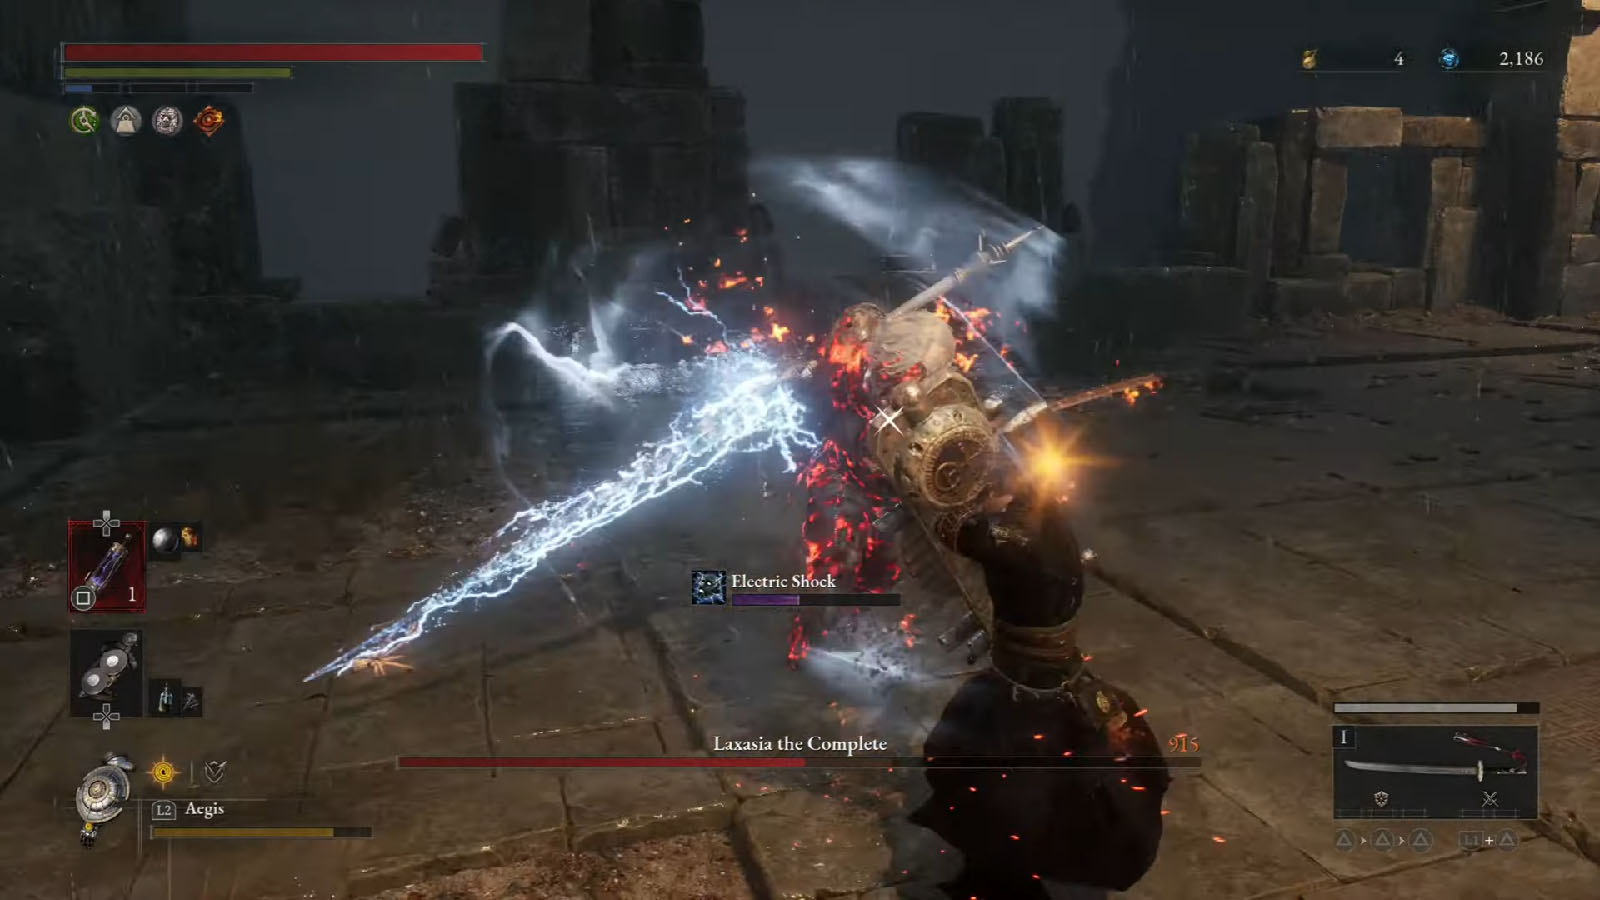
Boss Fight: Laxasia the Complete – Arche Abbey Prayer Room
You will be facing against Laxasia the Complete, the same augmented knight that took down Champion Victor. She wields a huge greatsword that she swings with massive force. She also has the ability to cause electric blitz in some of her attacks. There are two phases to the Laxasia the Complete boss fight.
Laxasia the Complete First Phase
During the first phase, Laxasia has several attacks that are mostly sword strikes and swings. One notable thing about the boss is that she has a shield on her back that can deflect attacks, even when struck on the side. This shield can break after sustaining enough damage.
Another thing to be aware of is that Laxasia’s stagger animation is different from the rest. Once successfully staggered, the boss will do one last downward slash before she goes down on her knees and be open for a fatal attack.
The attacks to look out for is its Electric Sword attack and its Upward Swing Combo.
During its Electric Sword attack, the boss will drag her sword to the ground, leaving spots of electricity, as she runs in an arc pattern. She then stops and does as sword swing that can track your position quite a lot as it is being swung.
The Upward Swing Combo will have the boss run and chase you as she swings her sword upwards multiple times. She then finishes up this combo with a wide round swing. It is best to run away from the boss until the combo ends, then you can go in for two to three swings at the boss as she recovers.
Laxasia the Complete Second Phase
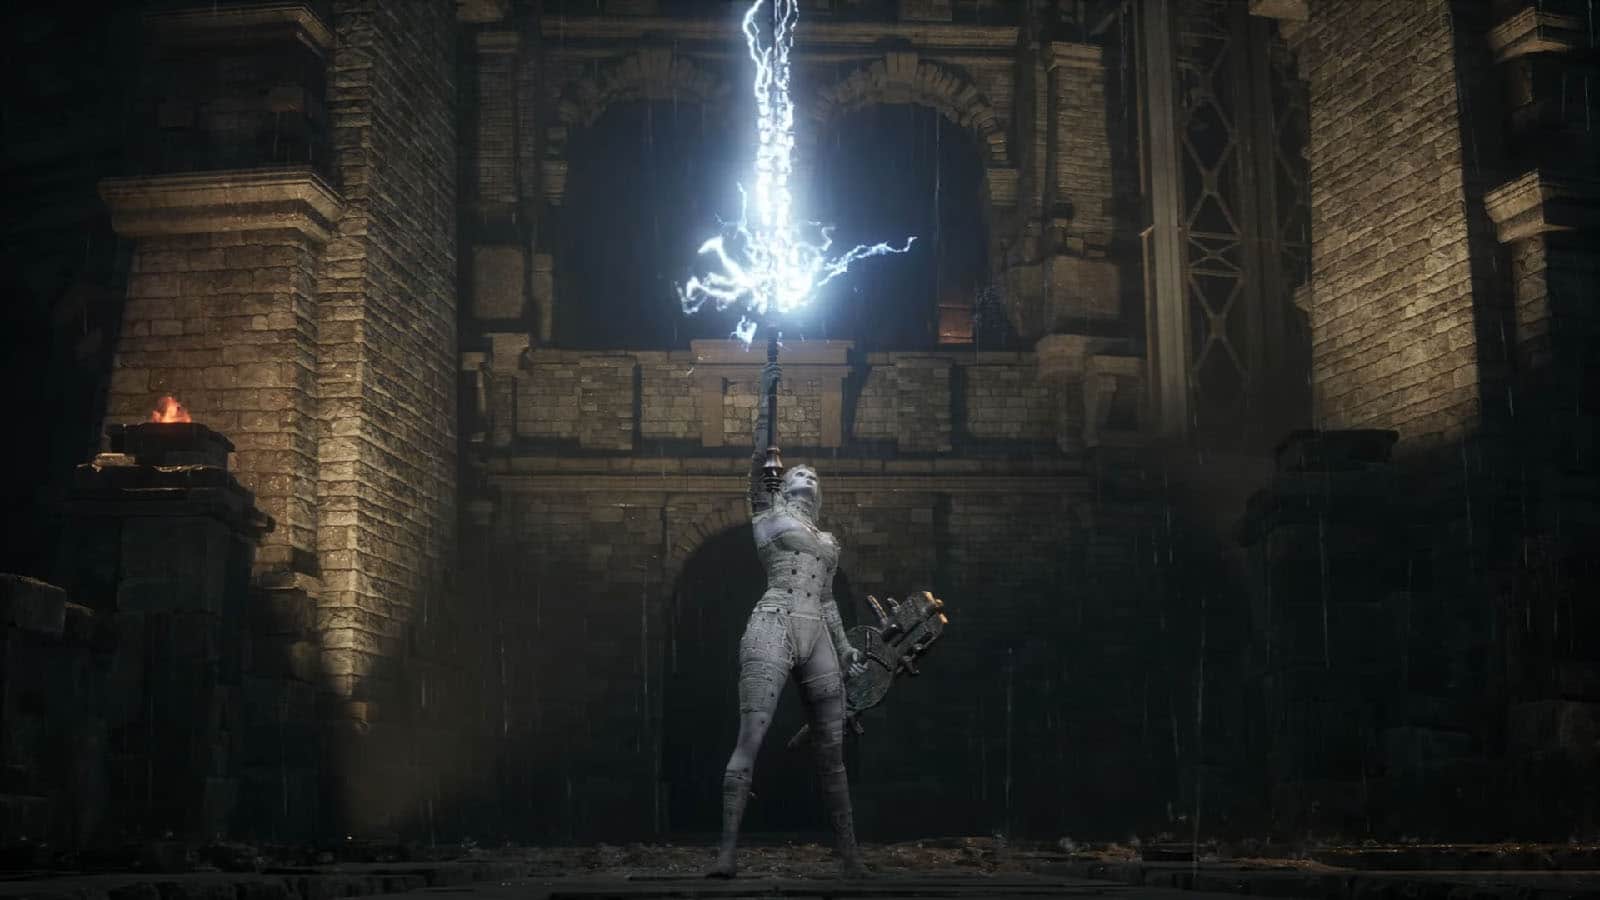
Once the boss’ health is depleted, she will enter its second phase and take off most of her body armor, making her more agile than before. She will take the shield off her back and wields it. She will also use the power of lightning to supercharge her attacks and she gains the ability to shoot out electric projectiles at you.
Laxasia keeps her ability to fight back before staggering. After a successful stagger, the boss will do two more slashes, followed by a lightning discharge before she becomes open for a fatal strike.
The attack to look out for is her opening Lightning Charge, and the Lightning Bolts.
Once the second phase starts, Laxasia will be levitating on the air as she charges up. During this time, electric projectiles will be shot towards you. These projectiles can be blocked and reflected back to the boss to cause damage. Right after the projectiles, she will charge towards your direction at lightning speed. If you have managed to reflect the final projectile back at her, block the soonest that the projectile hits her to block the charge.
When the boss is doing her Lightning Bolt attack, she will jump high into the air and shoot down electric projectiles at you. Same as before, you can reflect these projectiles back to the boss.
It’s recommended to really polish your perfect blocks at this point as Laxasia’s attacks are so strong that it can only take around 2-4 hits to die from them. It’s also recommended to stay as light as possible to keep up with her speed, but also wear your best equipment against slash damage and electric damage.
Once Laxasia has been defeated, you will be rewarded with the Sad Zealot’s Ergo. You can also activate the next Stargazer just nearby.
Ascension Bridge

Head through the door on the other side of the bridge to finally arrive in Sophia’s bedroom. In here is where Sophia’s body has been kept for a long time. You will then be given a choice to give her peace or let her live; each choice will determine the type of ending that you will experience later on. After choosing, you will be rewarded with the Gesture – Entreat. On Sophia’s chair, you can also get the Record – Shadow Flower.
From the bedroom, go to the right side to reach the dining area, then go to the pantry to find a Half Moonstone.
Continue out through the left doorway and up the stairs. Go through the path up ahead, but watch out for enemies that are hiding behind the pillars. On the end of the path, to the right is a Full Moonstone of the Covenant. Proceed to the inner hall and you will find the next Stargazer and a shortcut door that is locked on the other side.
Arche Abbey Upper Part – Inside

Go up the spiral staircase, then check on the room up ahead to find a Dark moon Moonstone of the Covenant. Proceed to the next staircase and prepare to fight two more generals. There is also a Half Moonstone nearby.
In the next area, defeat the general and the fire breather and you can pick up another Dark moon Moonstone of the Covenant.
Up ahead is another room with a screaming swordsman; defeat it and open the chest to get a Quartz.
Go to the next staircase leading down and kill the patrolling generals. Into the next area, look beside the stairs to find a Half Moonstone. Up ahead are two more flame breathers that you can kill, plus an electric general up the next stairs.
Afterwards, follow the path ahead and climb up the ladder to the left. You can get another Full Moonstone of the Covenant before crossing the plank bridge. Go up the spiral staircase, then turn right to find another wooden path; run as fast as you can over the path and beam to reach the shooter or use a throwable to kill the shooter first.
After making it through the beams and planks, climb up the next ladder and continue up the stairs to another general. You’ll find a small room with the elevator; ride it down and open the shortcut back to the Stargazer.
Back from the elevator, continue moving up the stairs and you will eventually bump into the Red Fox.
Boss Fight: Red Fox
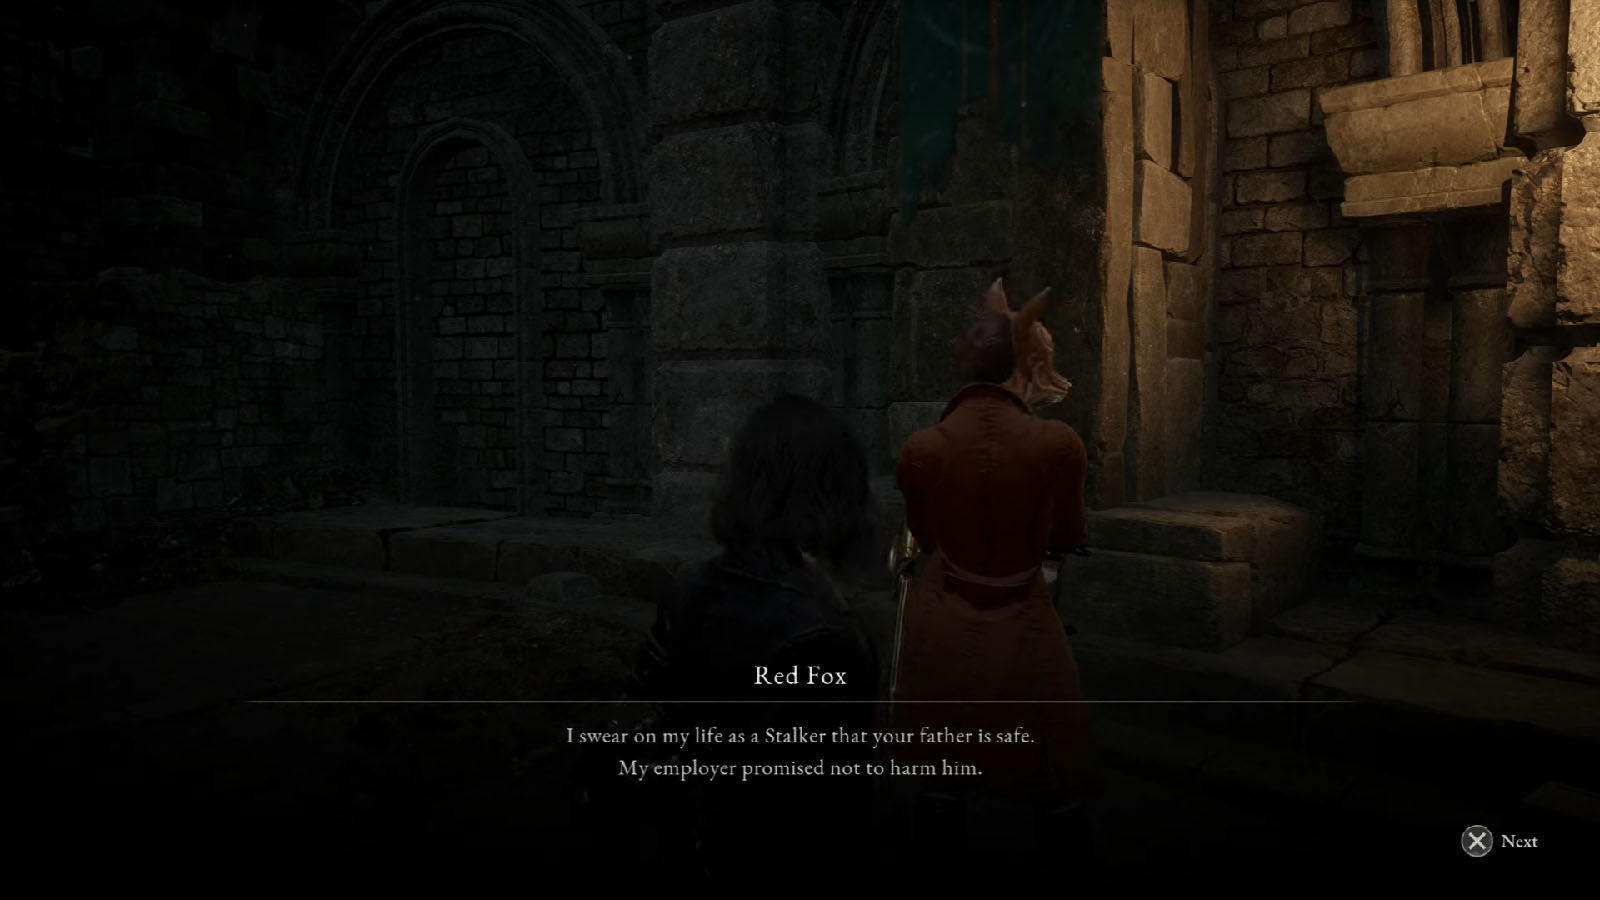
Similar to the Black Cat, this fight can be optional only if you have given them a gold coin fruit in Chapter 7, another fruit to Black Cat earlier, and give her another fruit during this encounter as well. You won’t have the option to give her a fruit if one of those conditions are not met.
The Red Fox uses the saber as her weapon which she swings in wide arcs. Because of the weight of the blade, she’s not as fast as Black cat, but she is still capable of dealing heavy combos. It’s recommended to light her up on fire with your weapon or throwable to make the fight much faster.

Once Red Fox has been defeated, you will be rewarded with the Red Fox’s Mask; this will also be the case if you chose the peaceful route.
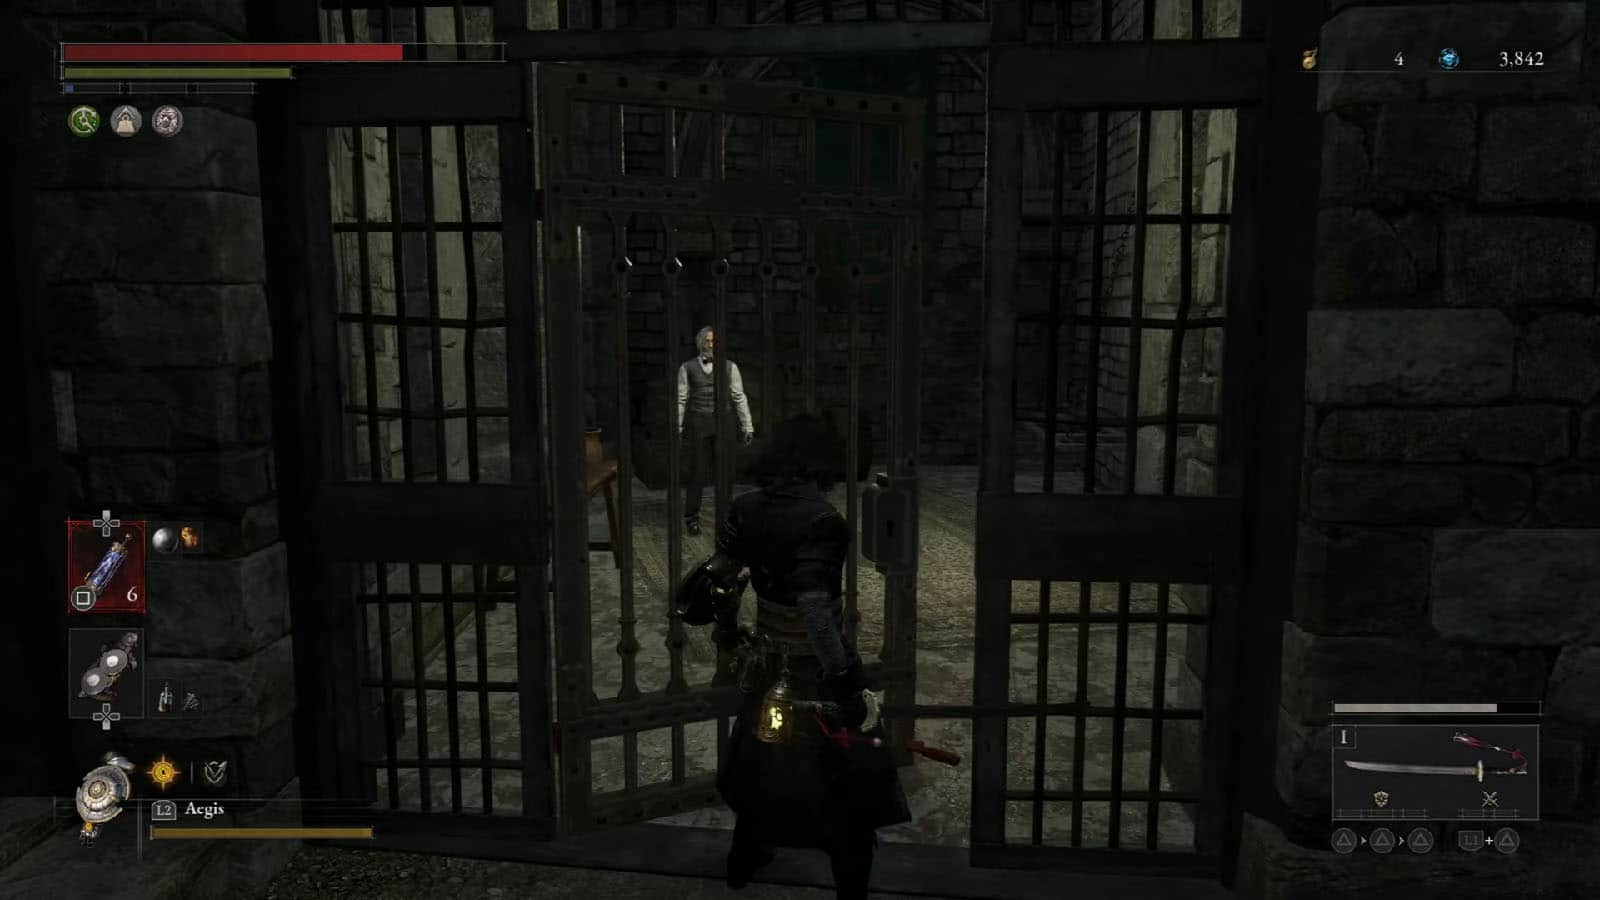
Proceed to the next area which is lined up with cells. In the farthest cell is where Geppetto is kept. Open the cell then talk to Geppetto and he will ask you if he has been a trustworthy father (lie) or not (truth). Choose the answer based on your playthrough and you will be given the Arche Abbey Passageway Key regardless of your answer.
Use the key on the door nearby to open it, then climb up the ladder where you will find the next Stargazer.
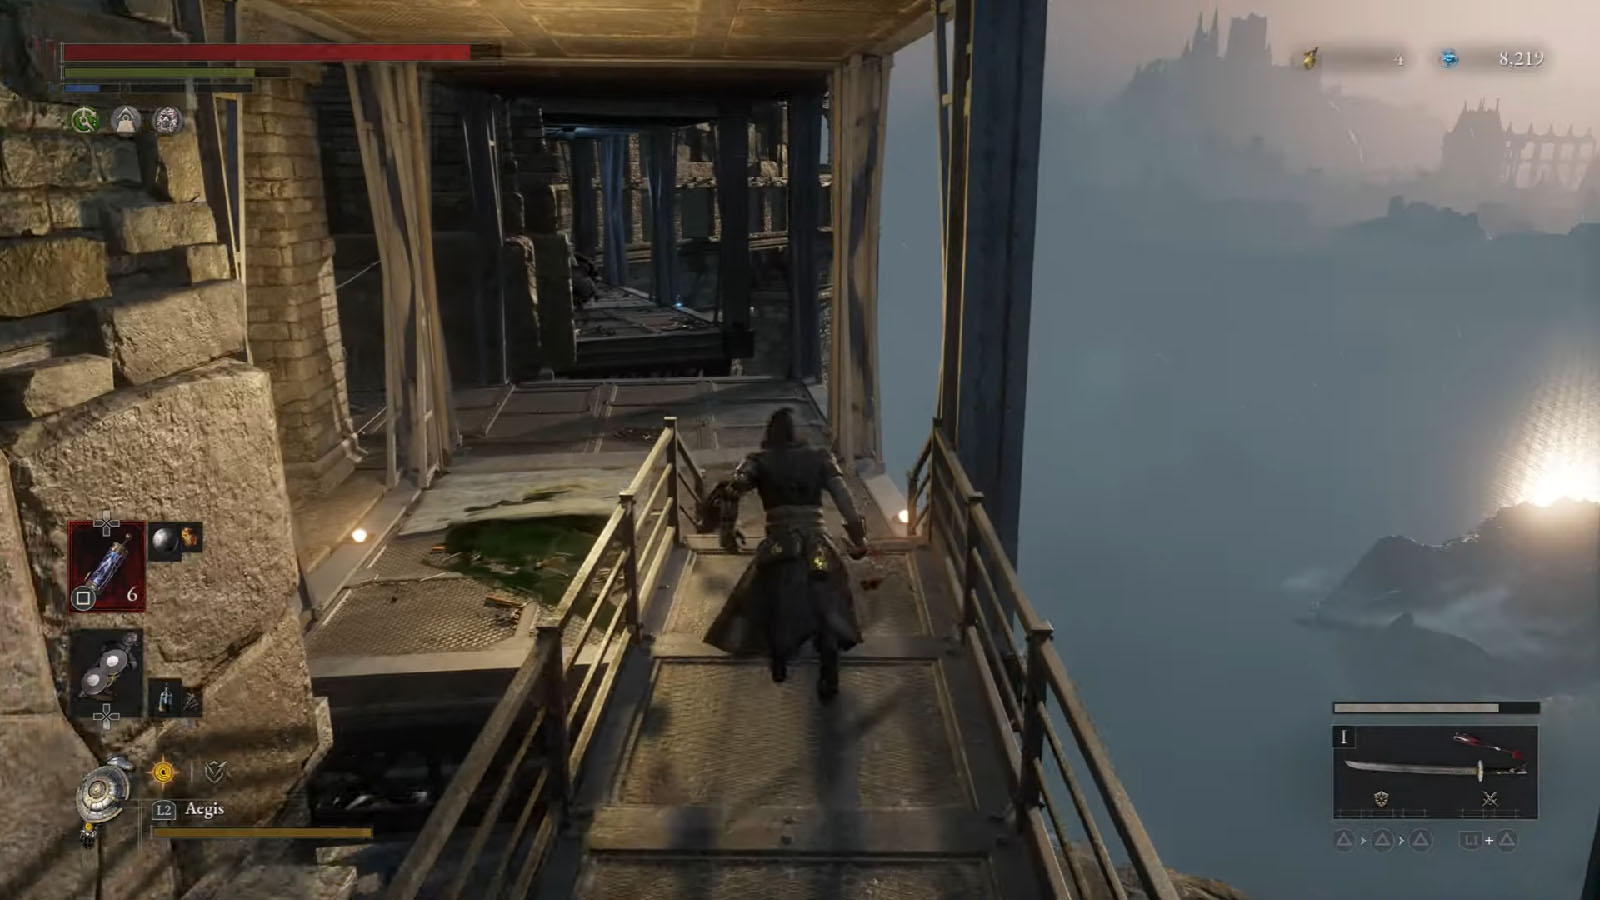
Arche Abbey Upper Part – Internal Bridge
Starting from the Stargazer, follow the ledge to the left all the way to the end and you will find a chest that contains the Amulet – Assassin’s Amulet.
Continue through the corridor where you will face a screamer and some generals by the bridge. Cross the bridge, then take the left ledge to reach another chest, but be careful of the hiding general that can push you off. This chest contains the Amulet – Leaping Amulet +1.
Go back on the main path and through some more enemies up ahead. Once you see the outdoors again, look to the right to find a shortcut ladder. Then continue up ahead and look at the edge before turning left to the bridge to find an Advance Crank.
Climb up the next spiral staircase and you will be faced against another brute. This brute has the ability to grab you and suck Ergo out of you. Defeat it and you will get a Quartz.
Cross the narrow beams and the next set of bridges; beware of another general hiding behind the pillar as soon as you spot a chest in the distance. Open the chest to get a Legion Caliber.
Cross the next metal platforms on the outer side of the abbey. After dealing with the shooter enemy, head out into the edge and look right to find a Balance Crank.
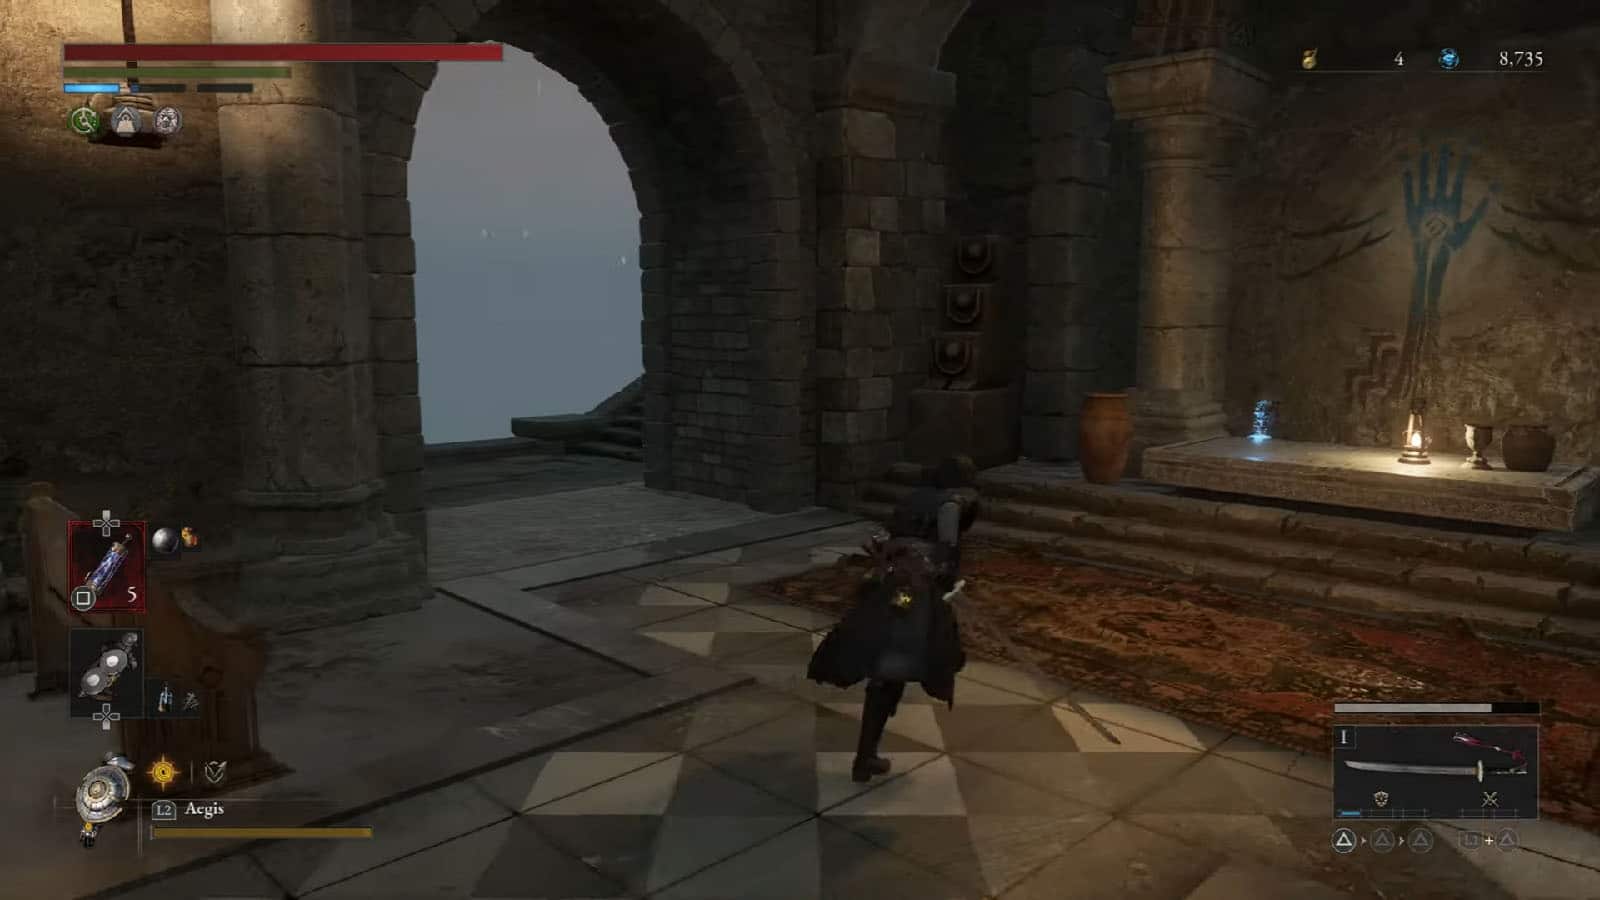
You’ll arrive at a small chapel. Look out to the other doorway to find a Vivid Ergo Crystal, then head to the altar to get the Collectible – So Said Pistris III.
Up the next set of stairs is the next Stargazer. Check the balcony to the left to find the Collectible – Simon Manus’s Confession. Be prepared as you will be facing another boss up ahead.
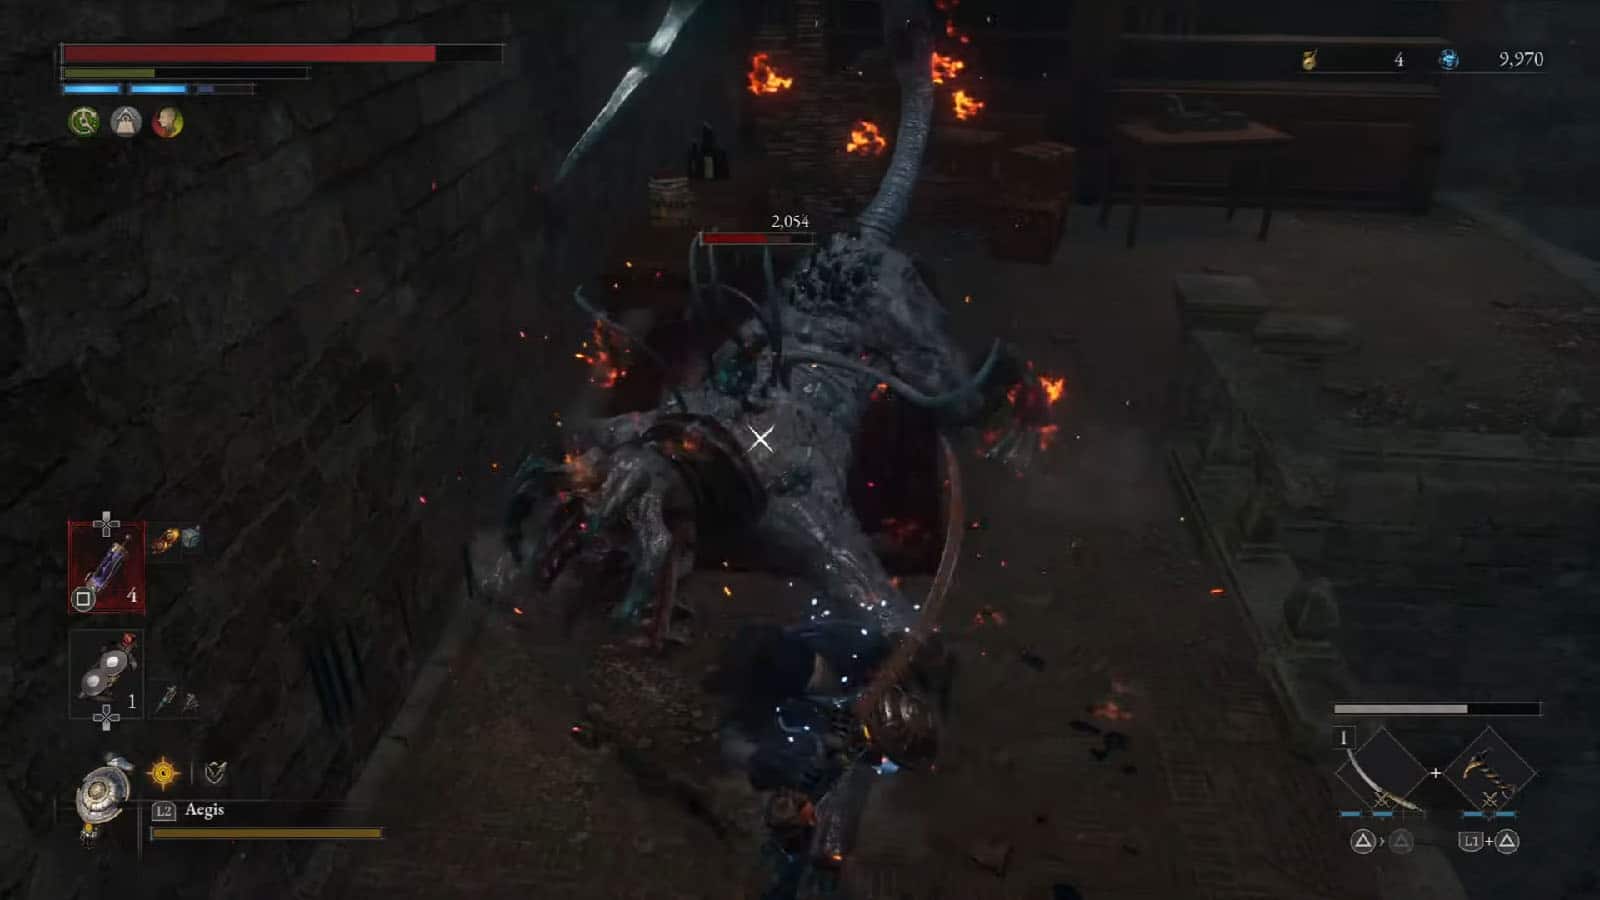
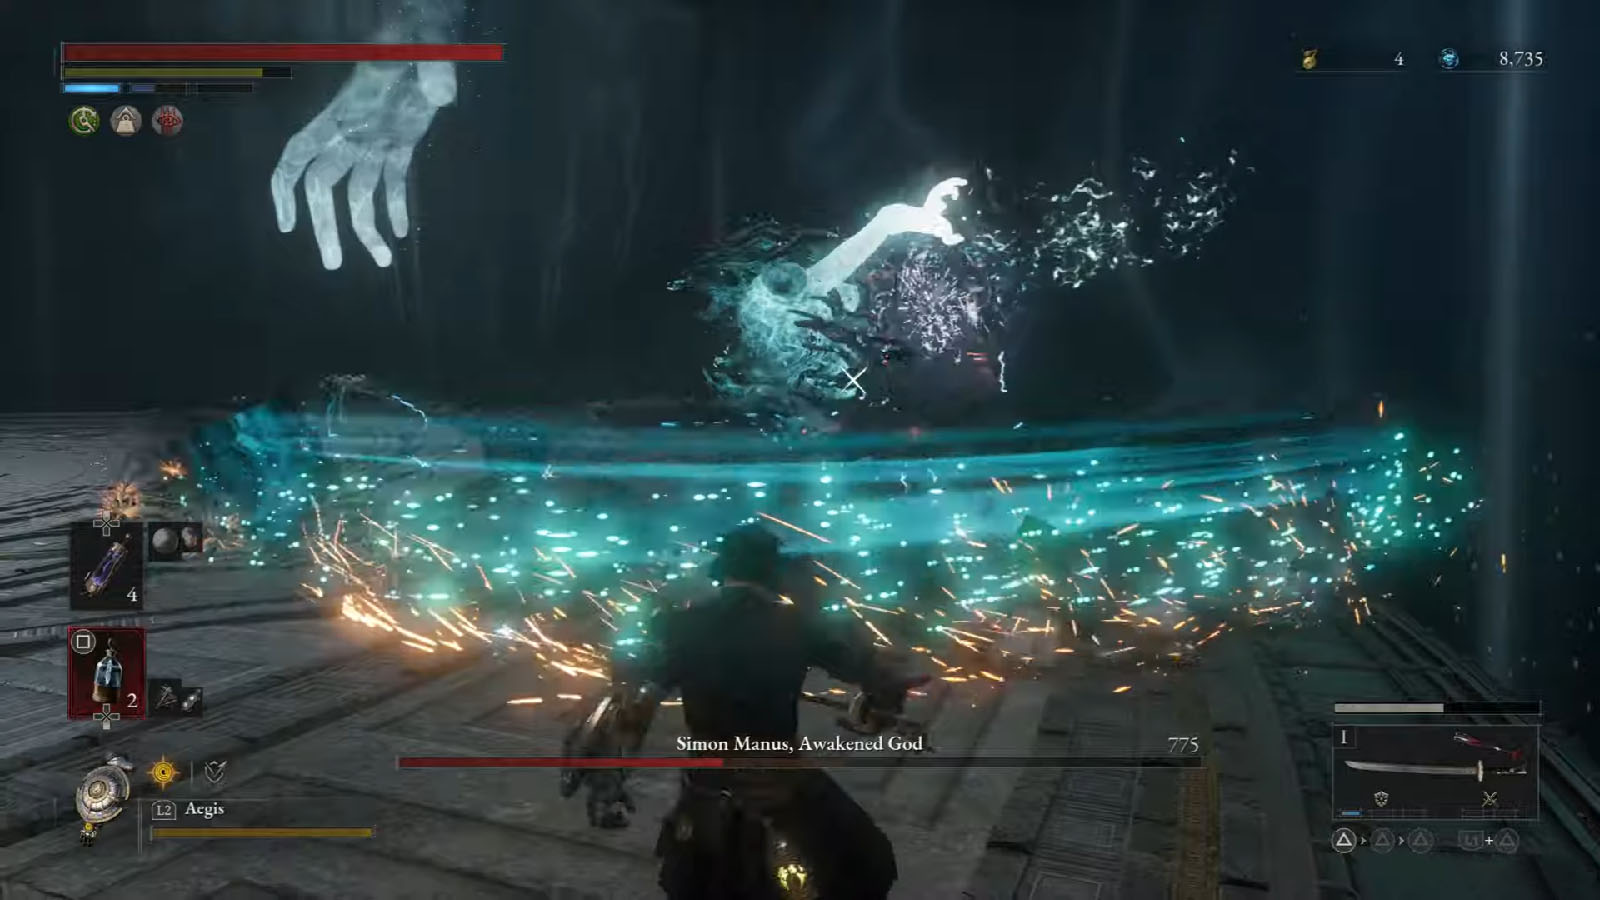
Boss Fight: Simon Manus, Arm of God – Arche Abbey Cradle of the Gods
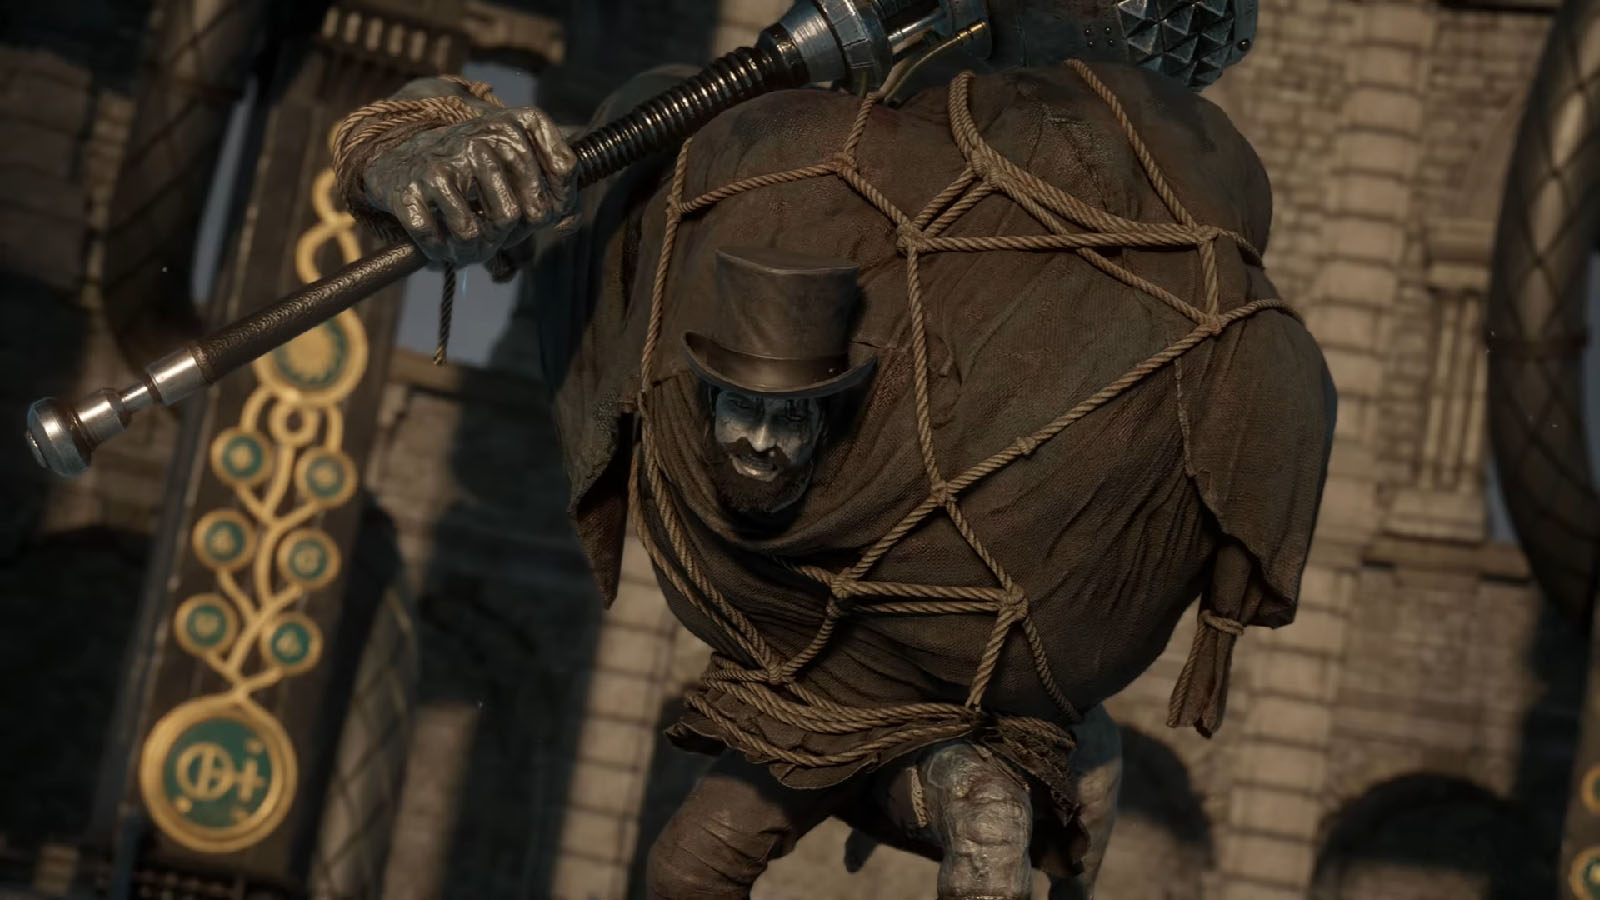
Simon Manus has consumed a lot of Ergo and has now transformed into a hulking monstrosity. He uses a hammer that is capable of channeling Ergo and turning it into pure power. This boss fight has two phases.
Simon Manus, Arm of God First Phase
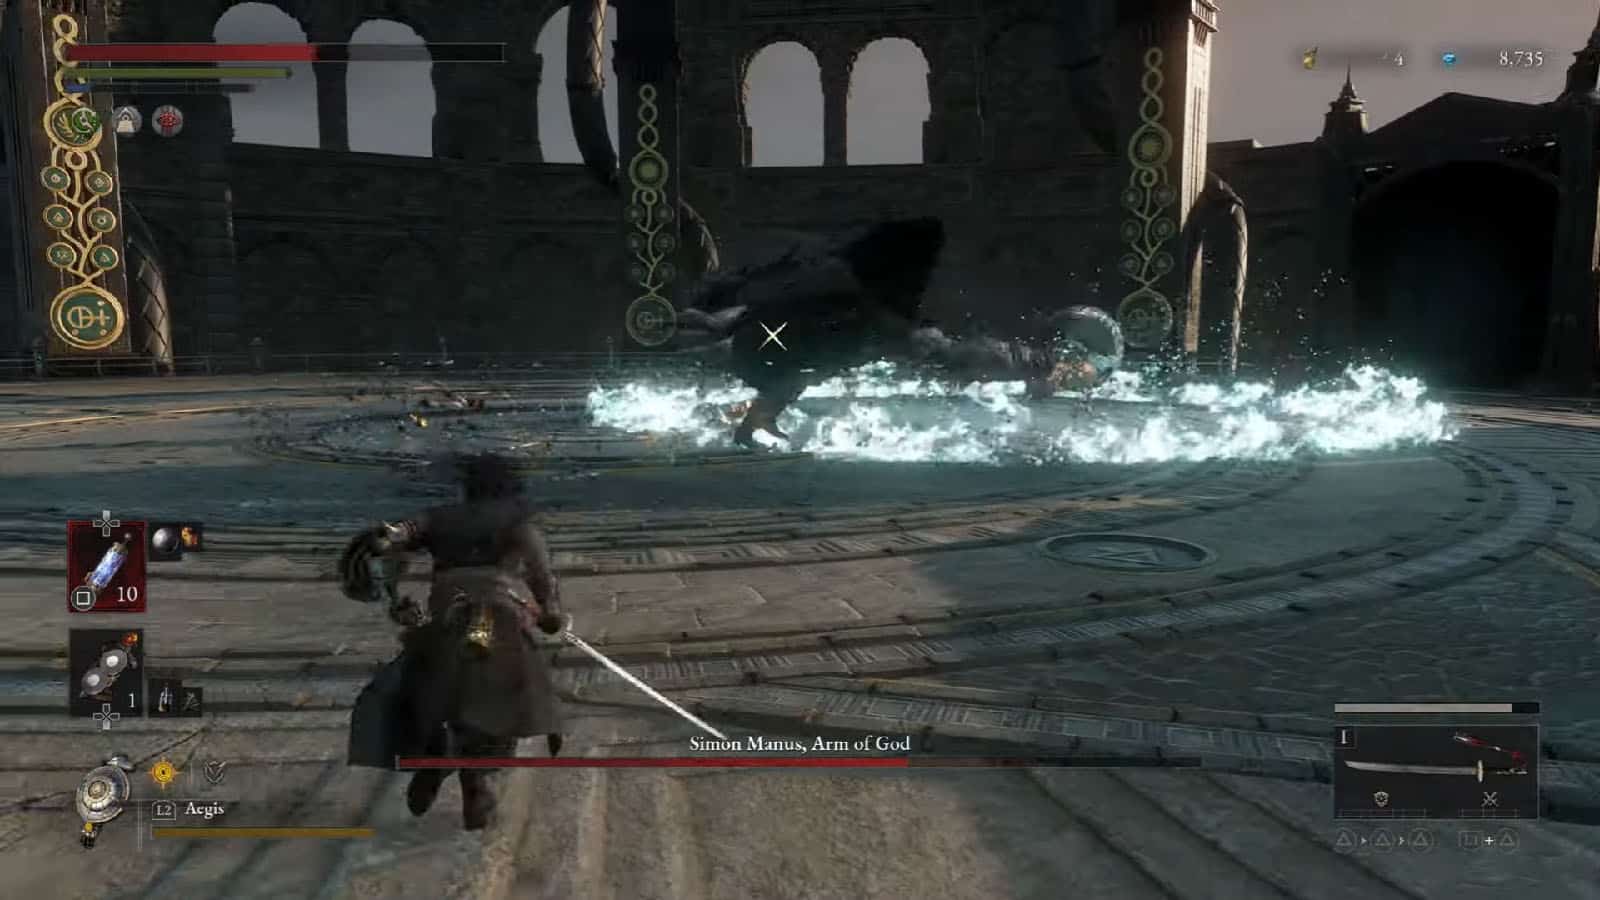
During the first phase, Simon will be using his hammer to deal smash and swinging attacks. It can also plant the hammer to the ground and release a patch of white flame around it that gradually grows and then disappears after a few seconds. He has a super attack where he launches himself up in the air and slams the ground.
Because of how long the shaft is and how far away the hitbox of the hammerhead is, you can dodge into his attacks and still be safe standing close to him. Going aggressive and closing the gap often in the first phase will prevent you from getting hit by the wide swings.
Once Simon’s health goes down to zero, he will enter his second phase.
Simon Manus, Awakened God Second Phase
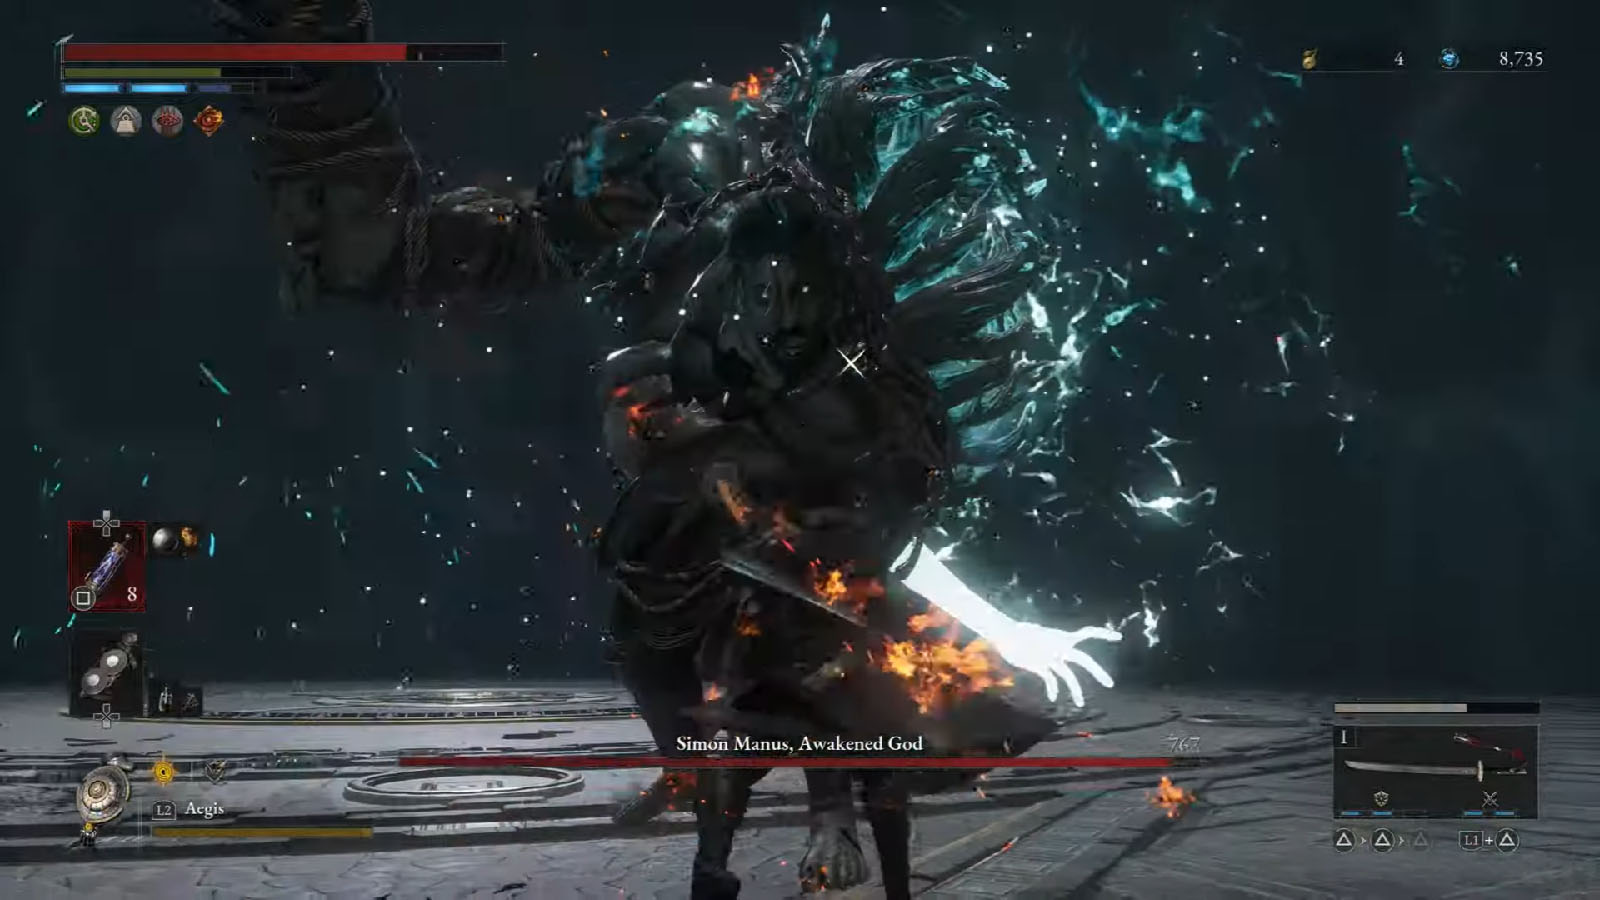
On his second phase, Simon will discard his cloak, revealing his entire mutated body. Where his left arm was grows another body that is powered up by Ergo. In this form, Simon now has gained more powers with the Ergo he has accumulated in his body.
There are several attacks to look out for, such as:
- Jump and Smash – Simon uses his hammer to launch himself into the air and land into a super attack. Time a perfect block or dodge away from your last location.
- Energy Orbs – Simon sends out energy orbs that spread in the arena and later shoot out homing energy bolts. Keep running towards one side to avoid getting hit.
- Gust – The boss ends out a gust of wind that can knock you back and leave you open. Move away from the attack to avoid getting hit.
- Touch of Death – Simon sends out Ergo particles in the air which periodically sends down a pillar of light then a hand into the arena on your last location. Move away from this location as far as you can as the hand will explode and release a blast of wind in all directions.
Because of how busy the arena can get, it’s best to still maintain some aggression to try and stagger the boss as much as possible and create openings for attacks. Simon is weak to fire, so blazing him up with your weapon or throwables as soon as possible will help whittle down his health faster.
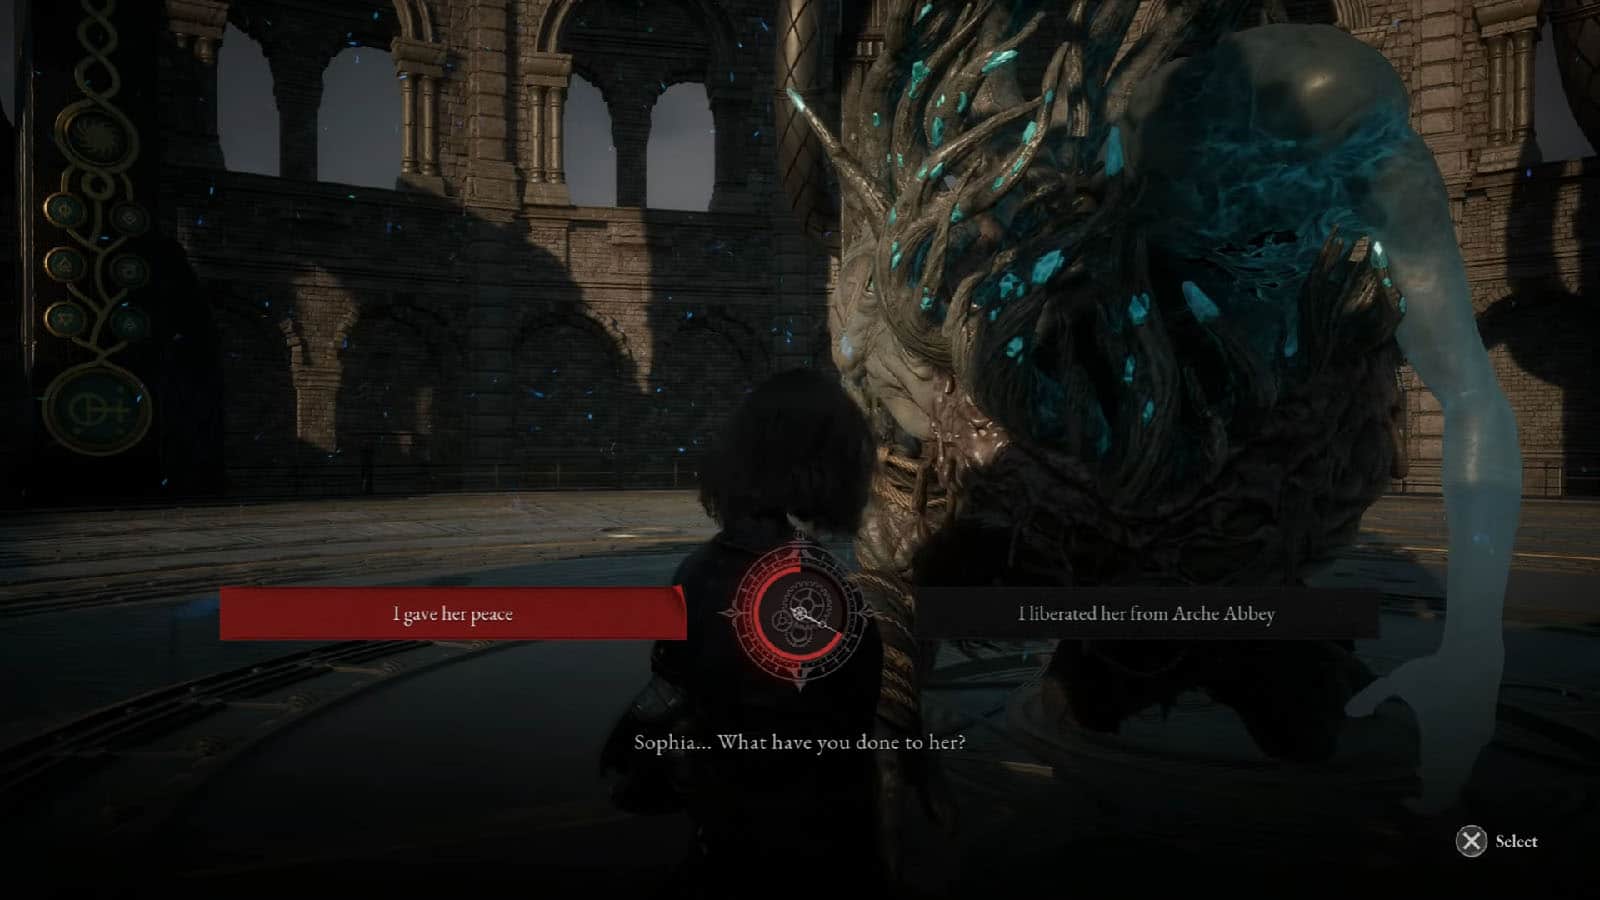
Once Simon has been defeated, he will talk to you and ask you what you’ve done to Sophia; answer accordingly to what you did to Sophia in her room. He will also warn you about Geppetto before vanishing into the air. You will then be rewarded with the Fallen One’s Ergo and the Collectible – Arm of God.
Under the Abyss
Go to the middle of the arena and take the elevator to go down. Before heading to Geppetto, use the Stargazer on the right.
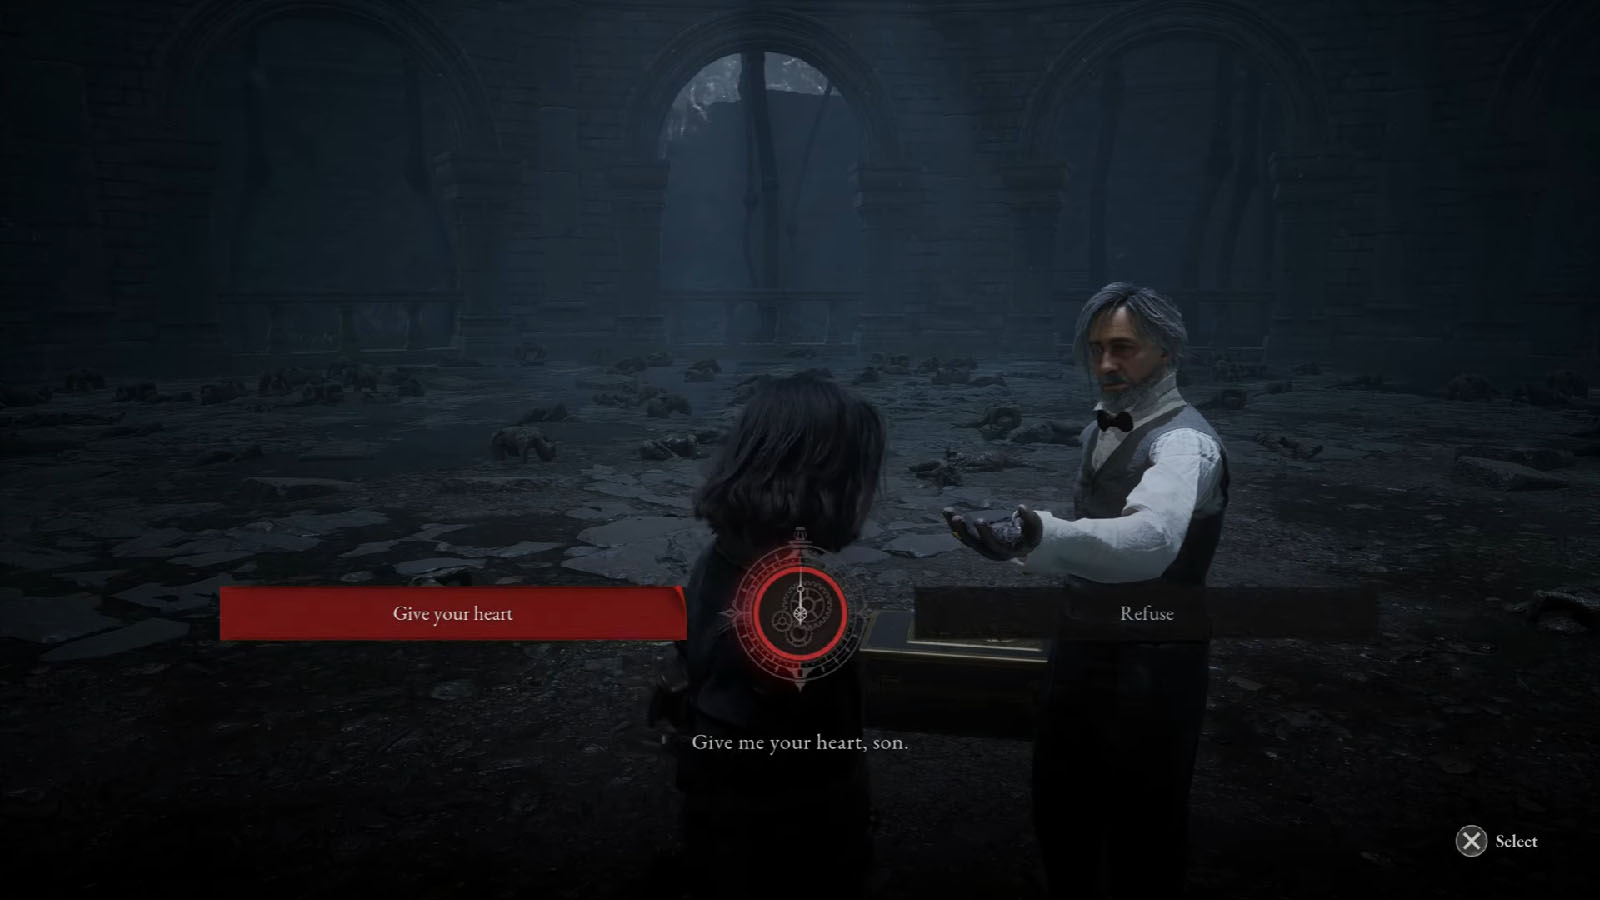
Depending on which run you are or what ending you are going for, the next events will differ. Geppetto will then ask you to give up your heart. If you agree, then the final scene will play for what is considered as the lies ending. If you refuse, Geppetto will be disappointed and you will have to fight the Nameless Puppet.
Boss Fight: Nameless Puppet
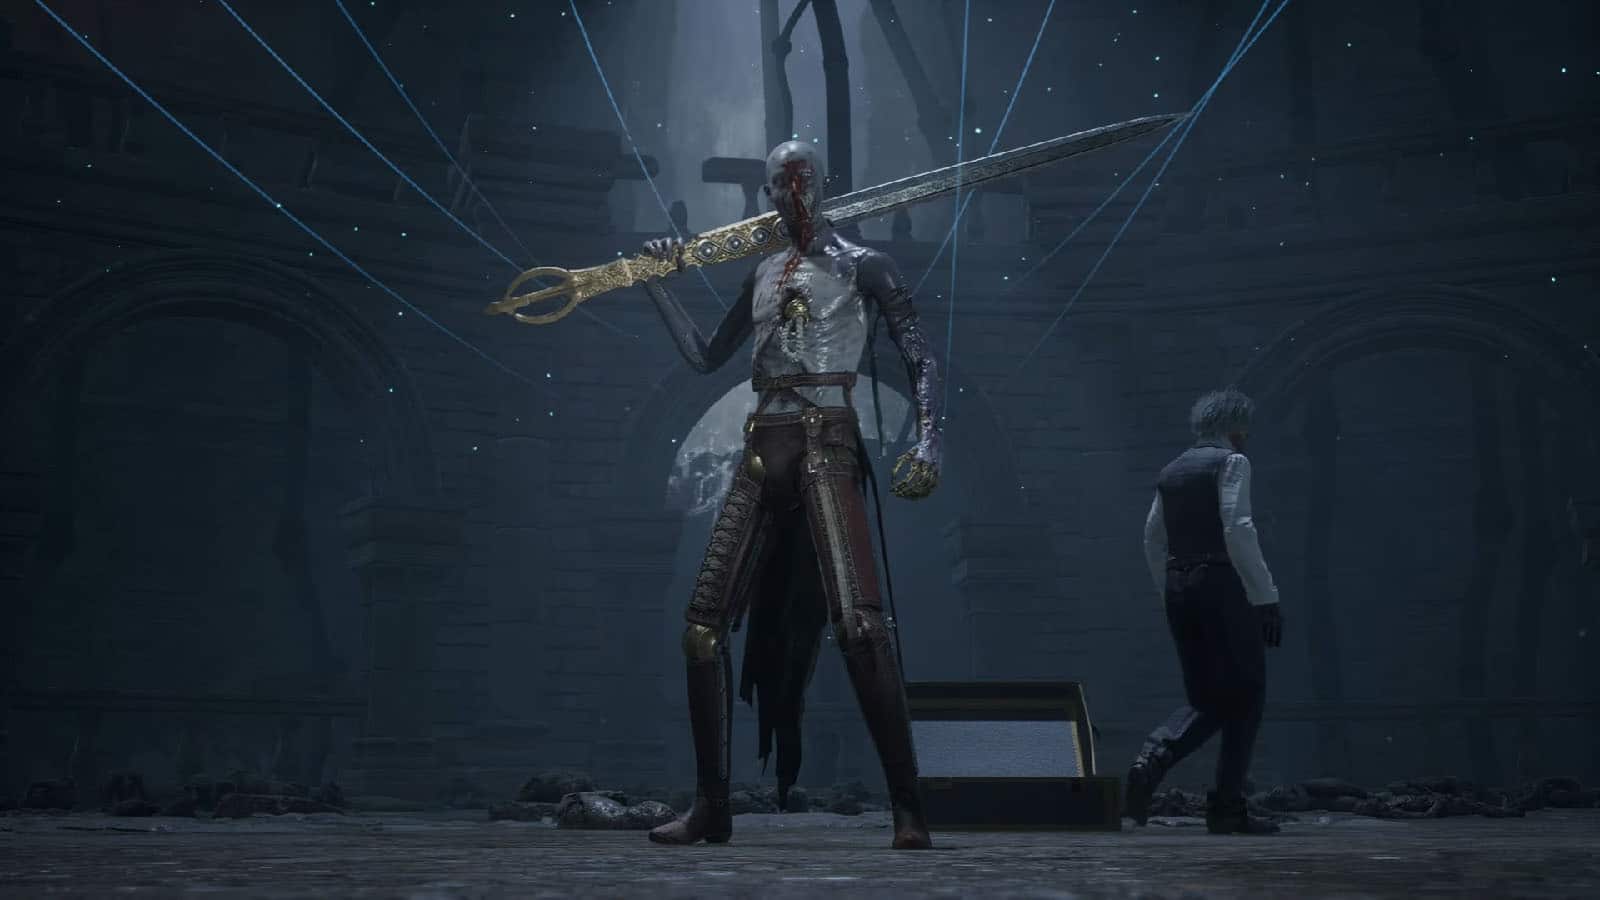
The Nameless Puppet is Geppetto’s work and is the amalgamation of his dead son Carlo and Geppetto’s puppetry. It wields a greatsword that is uses to slash and swing around. There are two phases for the fight against the Nameless Puppet.
Nameless Puppet First Phase
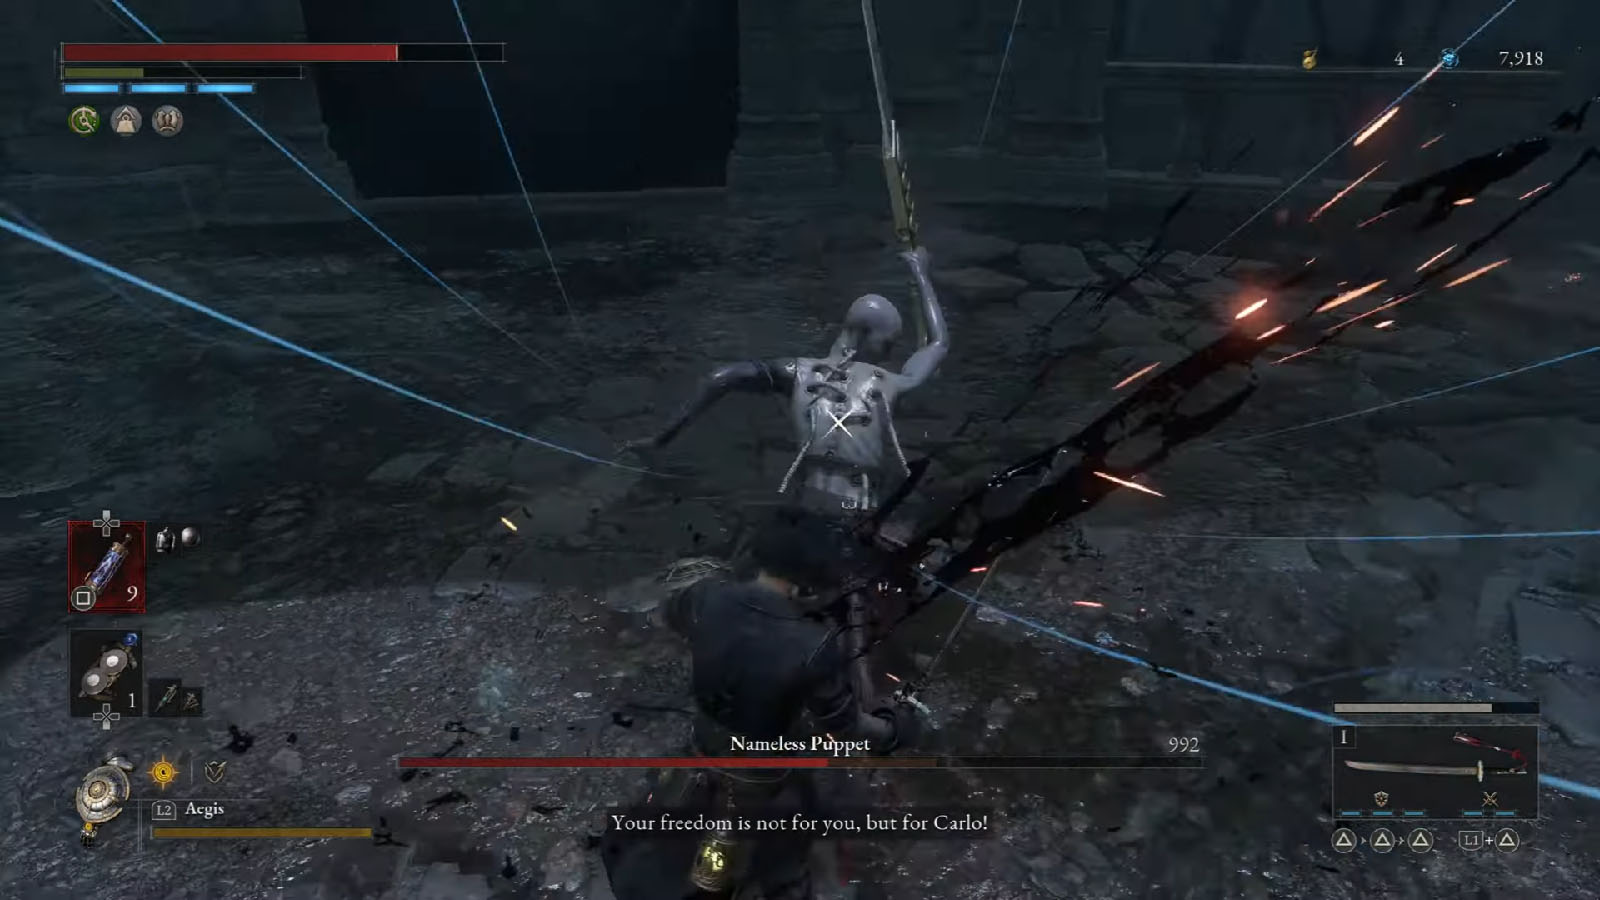
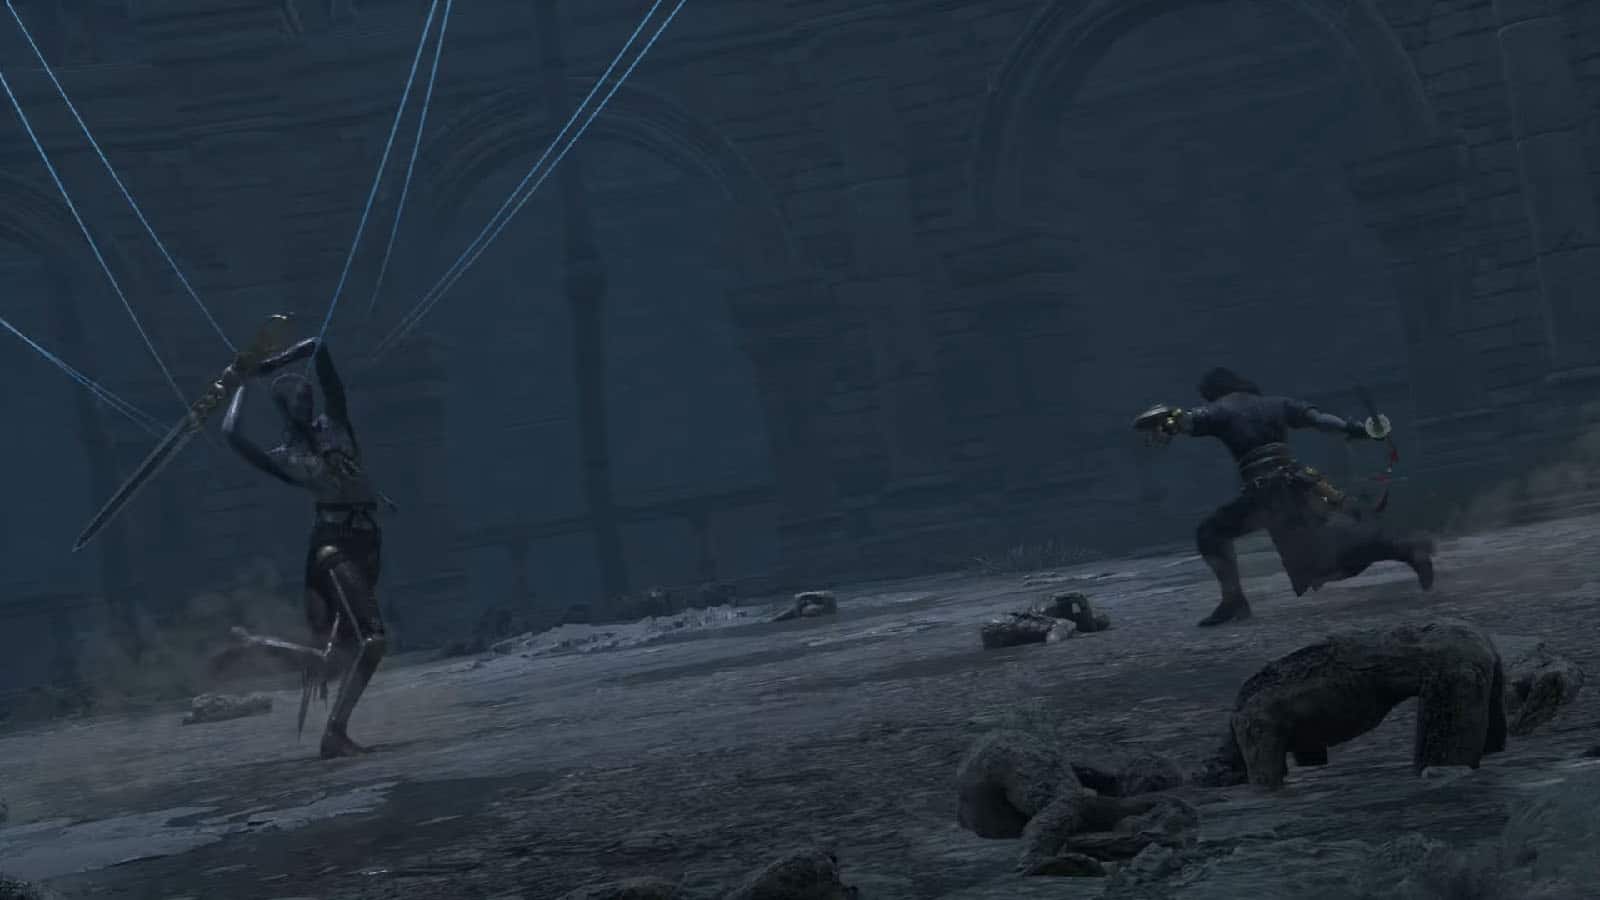
Because of the weight of its weapons, it can deal a lot of damage, but in turn, it will have long recovery times and openings in between combos. Take advantage of these openings and try to concentrate on blocking its slashes to keep your distance close to it; the boss is still nimble with the sword and it often repositions away from you.
Once it health is down to zero, a cutscene will play and the second phase begins.
Nameless Puppet Second Phase
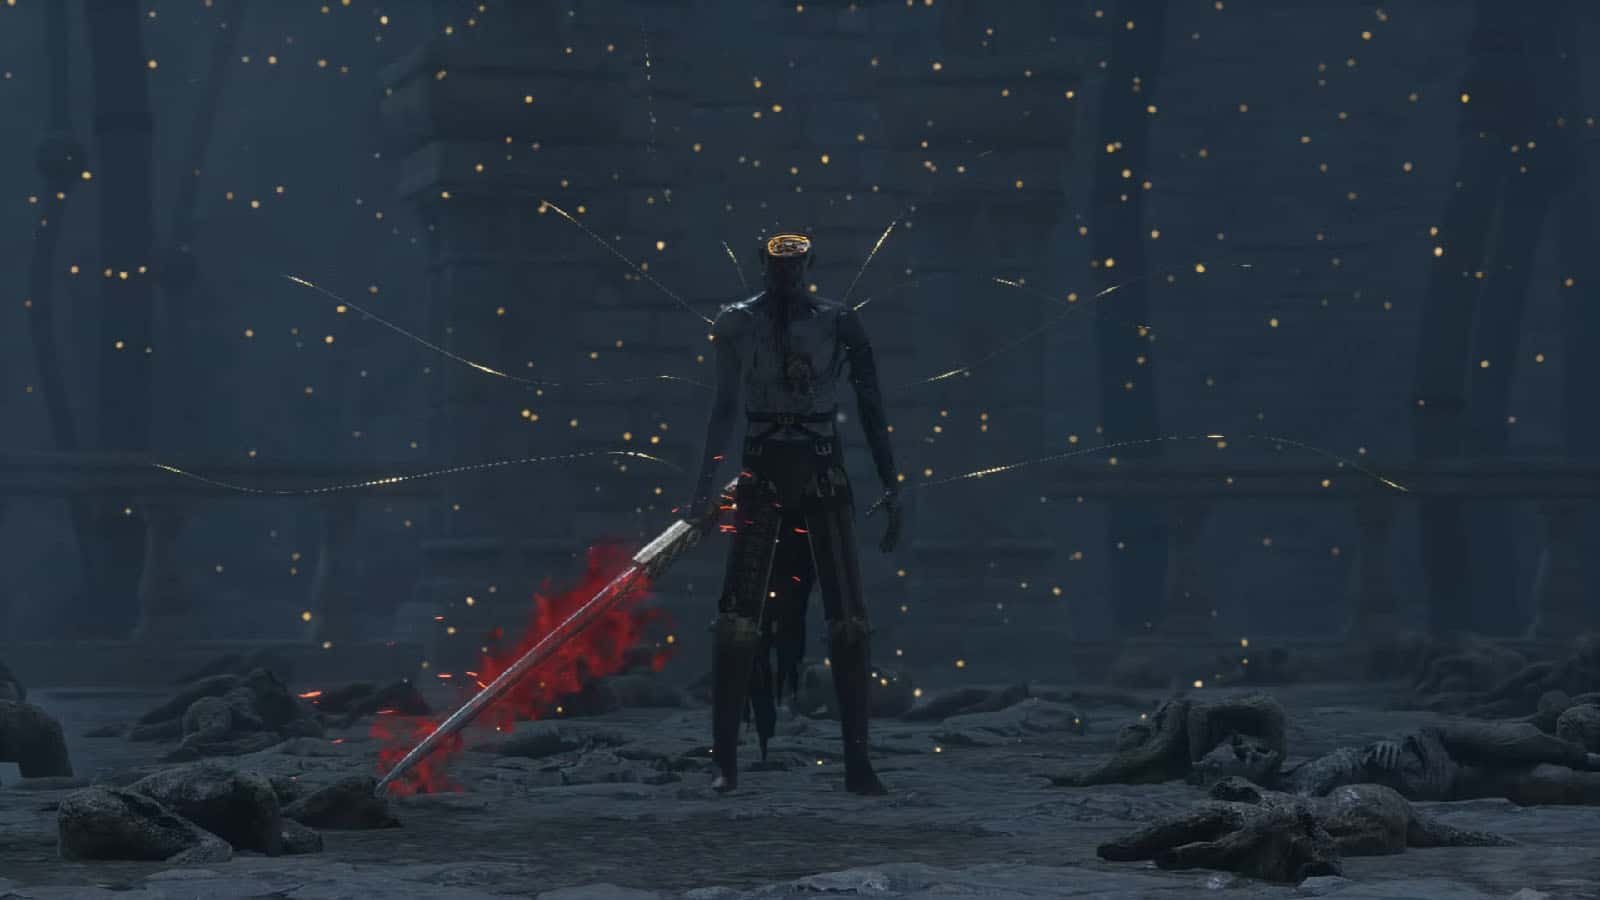
Now with its puppet strings cut, the Nameless Puppet unleashes its power and becomes untethered. It splits its weapon into two and wields them in each hand. It also gains a significant amount of speed and agility, plus its strikes have become more relentless.
The boss’ weakness at this point has now been more emphasized as it takes a lot more time to recover from its combos than before. Its attacks are also locked to your last position, allowing you to reposition yourself behind it easier. When it does get staggered, immediately back away after dealing a fatal attack as the boss will send out an explosion within its near range.
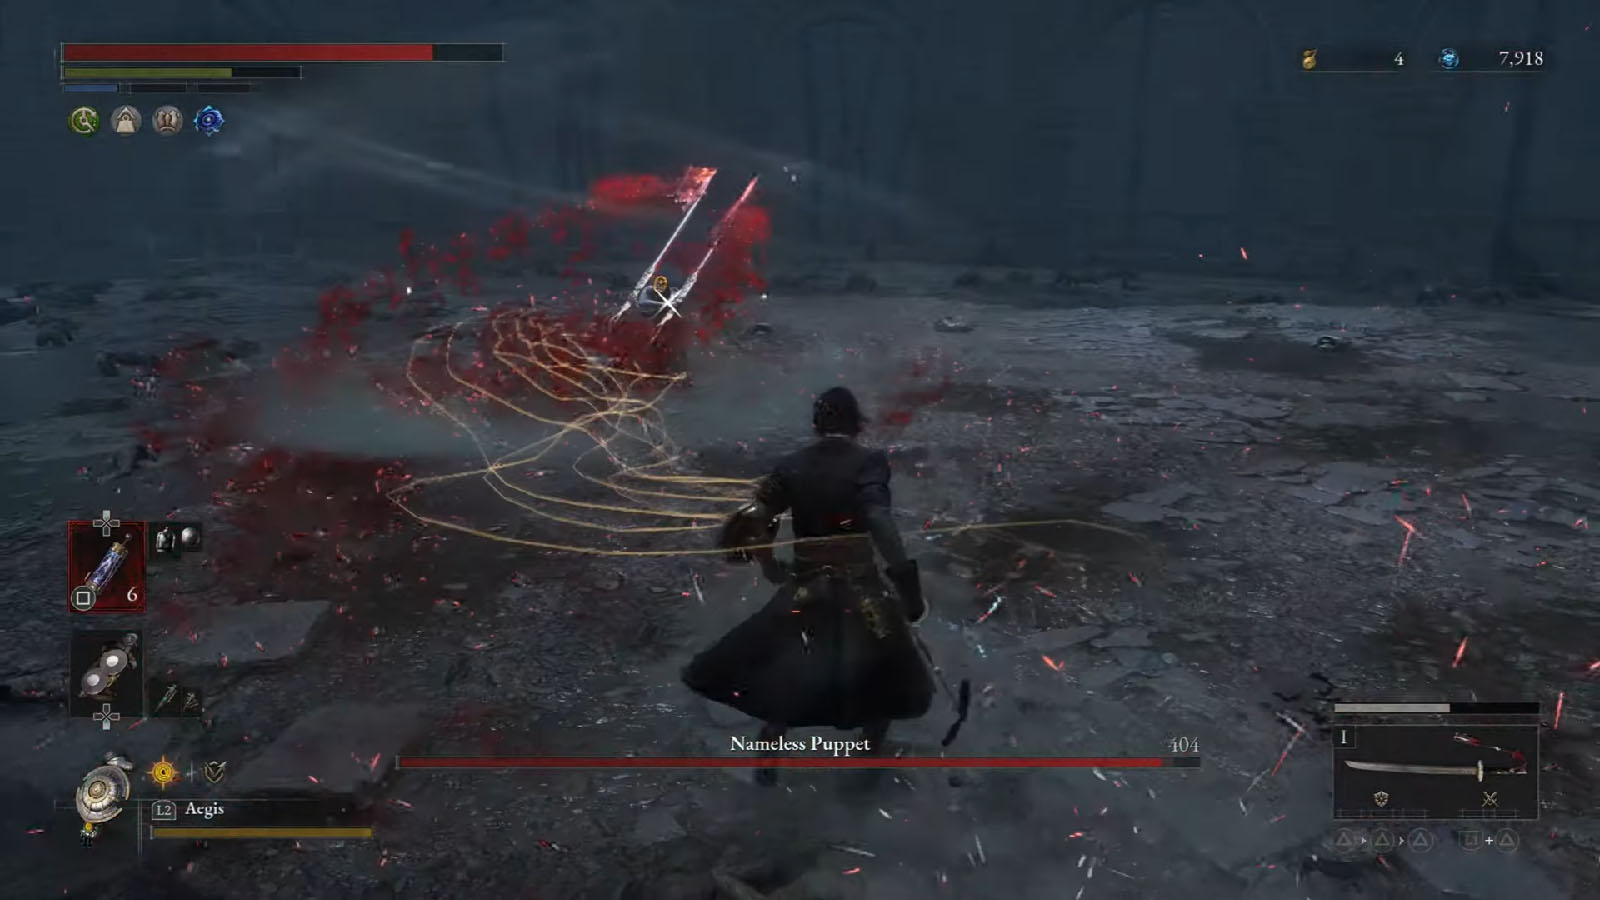
The attacks to look out for are the ones where it backs away and winds up for a dash, and its spin attacks. The dashes are blockable as long as the timing is right, while the slash combos hit multiple times and are best evaded if you don’t have enough stamina to deal with them. The boss also has an attack where it reattaches its weapon together and lunges with it, dealing a massive amount of damage.
Be on the look out for the long combos and the jump attacks as after these attacks are the best times to send in your counterattacks.
Once the Nameless Puppet has been defeated, another cutscene will play depending on whether you went for the truths ending or the true ending. You will also be rewarded with the Nameless Puppet’s Ergo.
At this point, you can then decide to start a New Game+ which will allow you to replay the game with all of your unlocked weapons, as well as try out the other endings that you have yet to see.


