
Lies of P is an action soulslike game that follows the story of P, a humanoid puppet created as the last hope against the puppets that have turned against everyone in the city of Krat. With the King of Puppets now defeated, P now has to press on to the Grand Exhibition to search for a way that would help make the cure for petrification before it’s too late.
Read ahead as we go through the events of Chapter 7: Grand Exhibition of Lies of P and share some tips and secrets that can be found along the way.
See previous: Lies of P: Chapter 6 Estella Opera House Guide
Lies of P: Chapter 7 Grand Exhibition Full Walkthrough
Charity Market Path
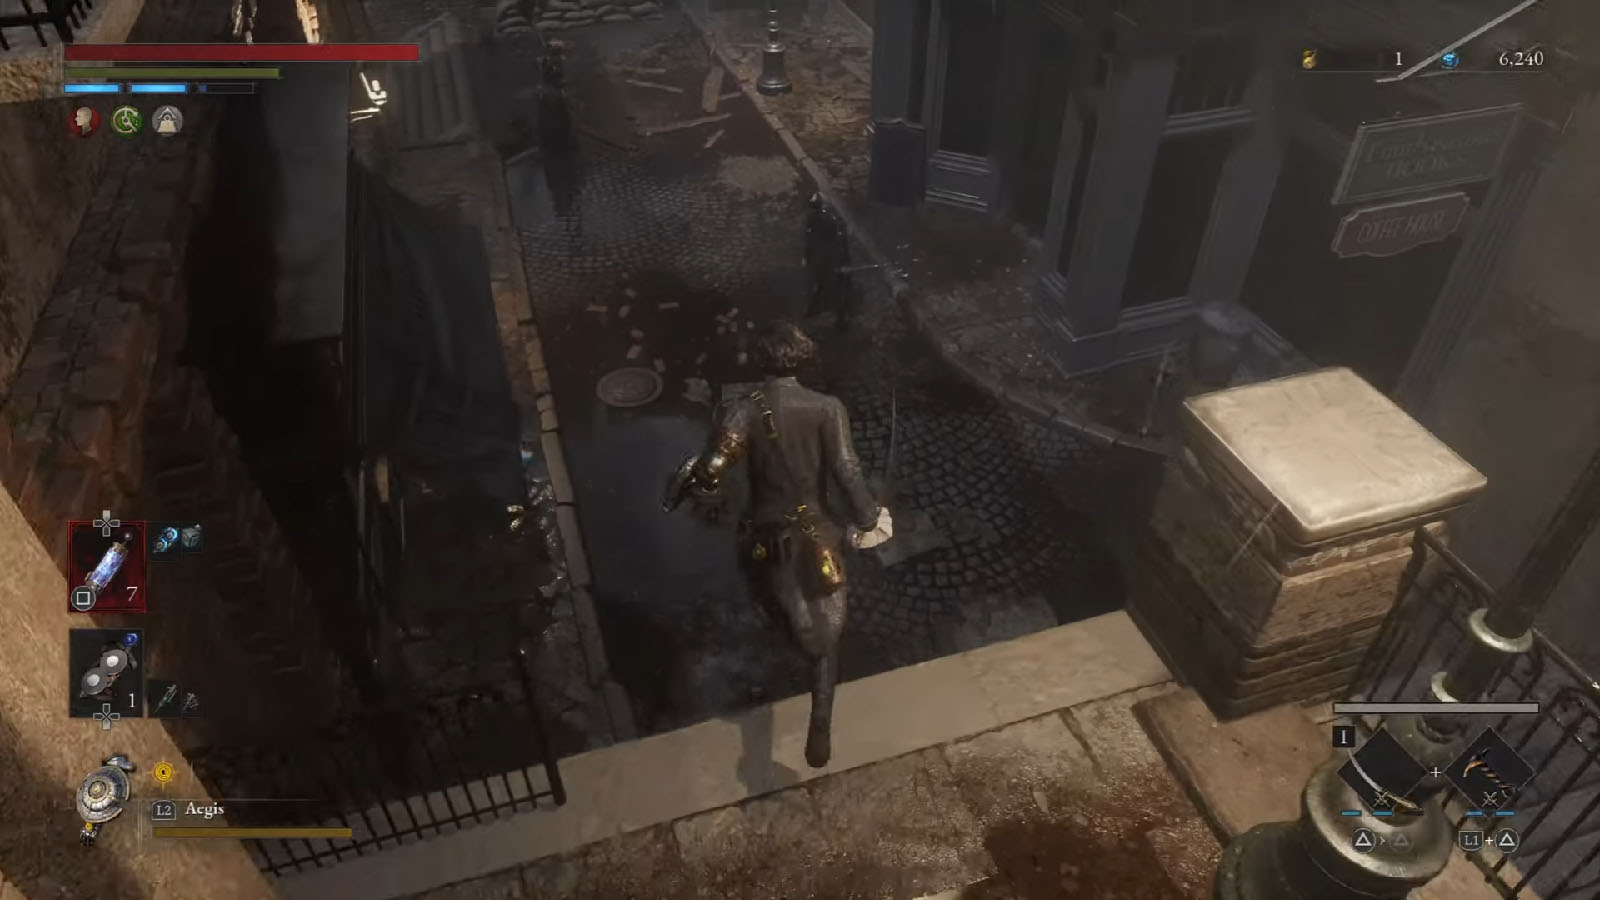
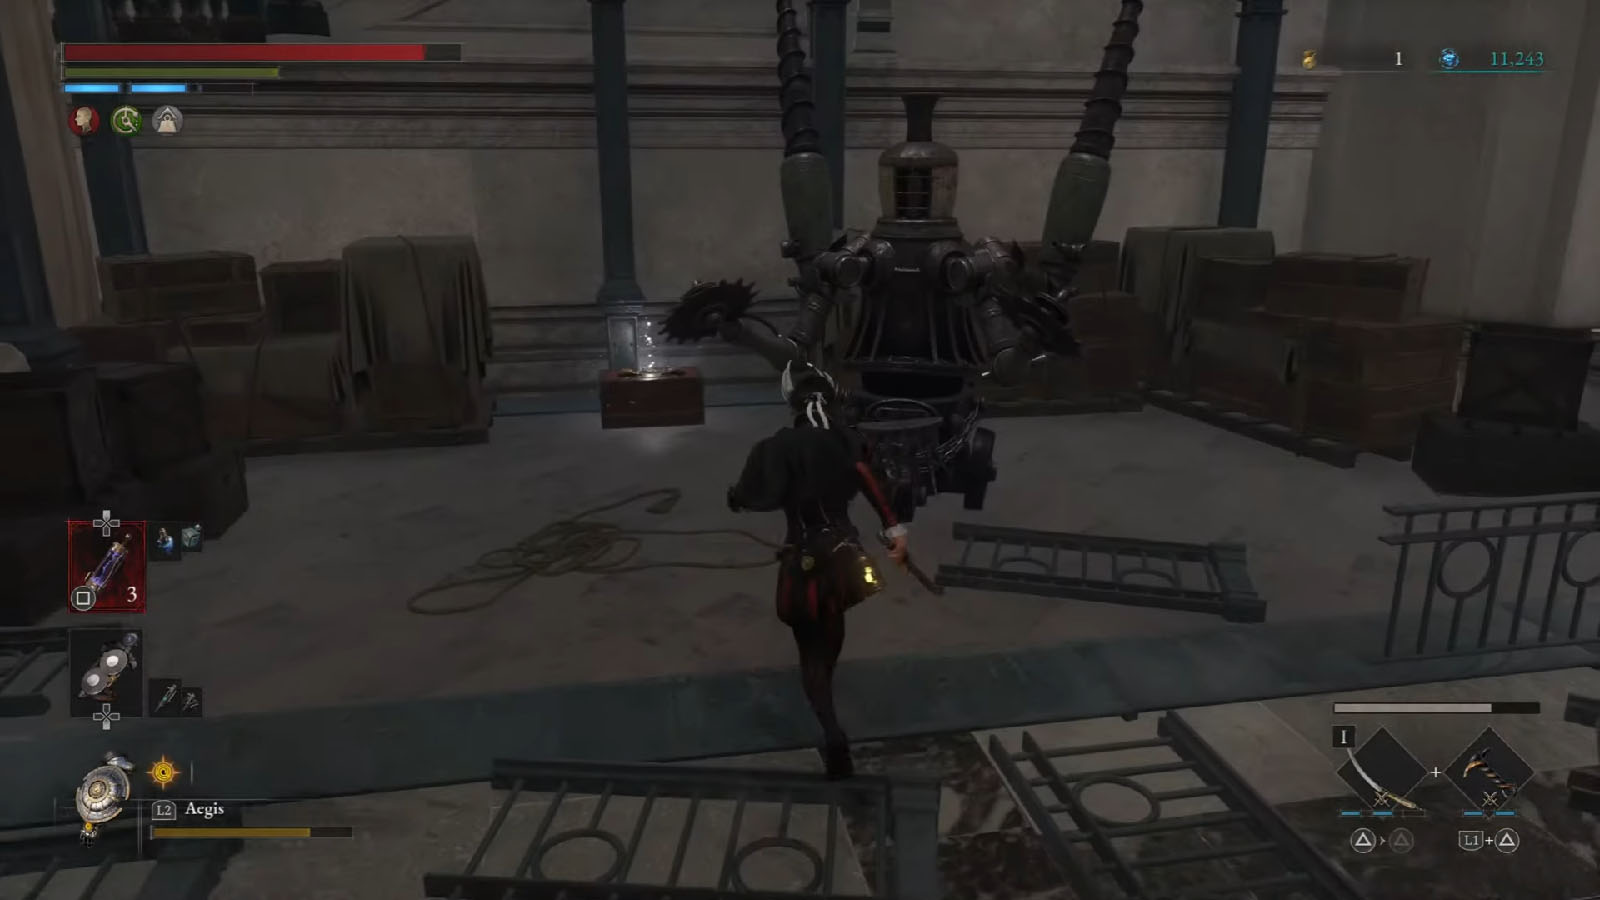
From the area where you met with Geppetto, follow the streets down the market path and clear out the enemies along the way. You will encounter a new type of a dog enemy that has a sawblade for a head. There are also some Ergo Fragments and throwables to pick up from the ground.
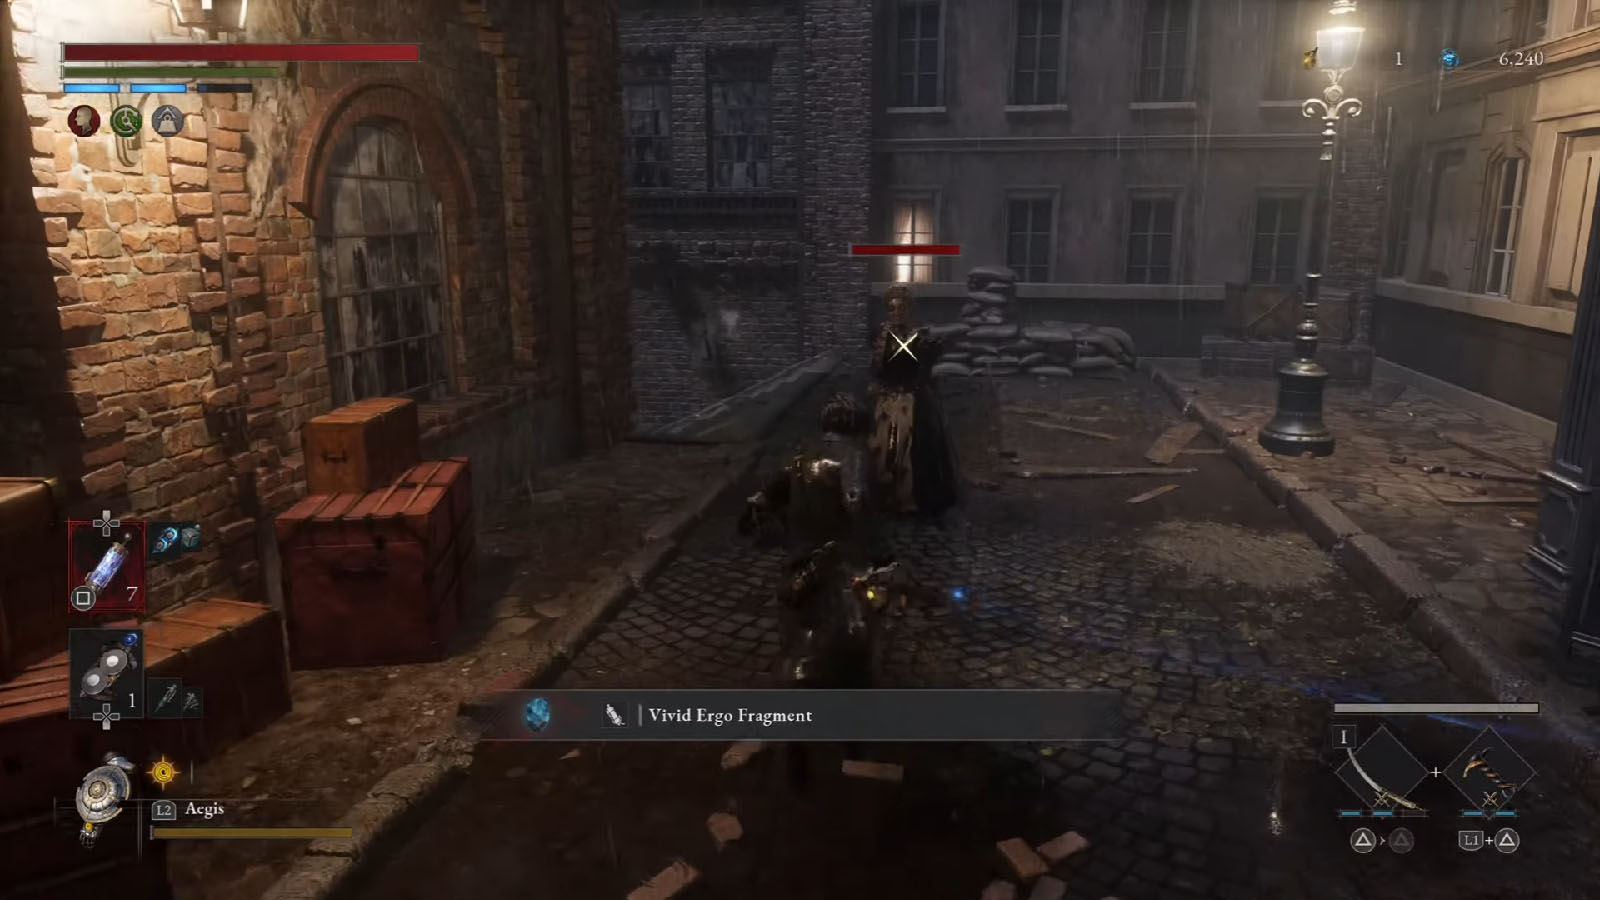
Go down the stairs and check on the right side to find a maid enemy and a Crescent Moonstone on the ground.
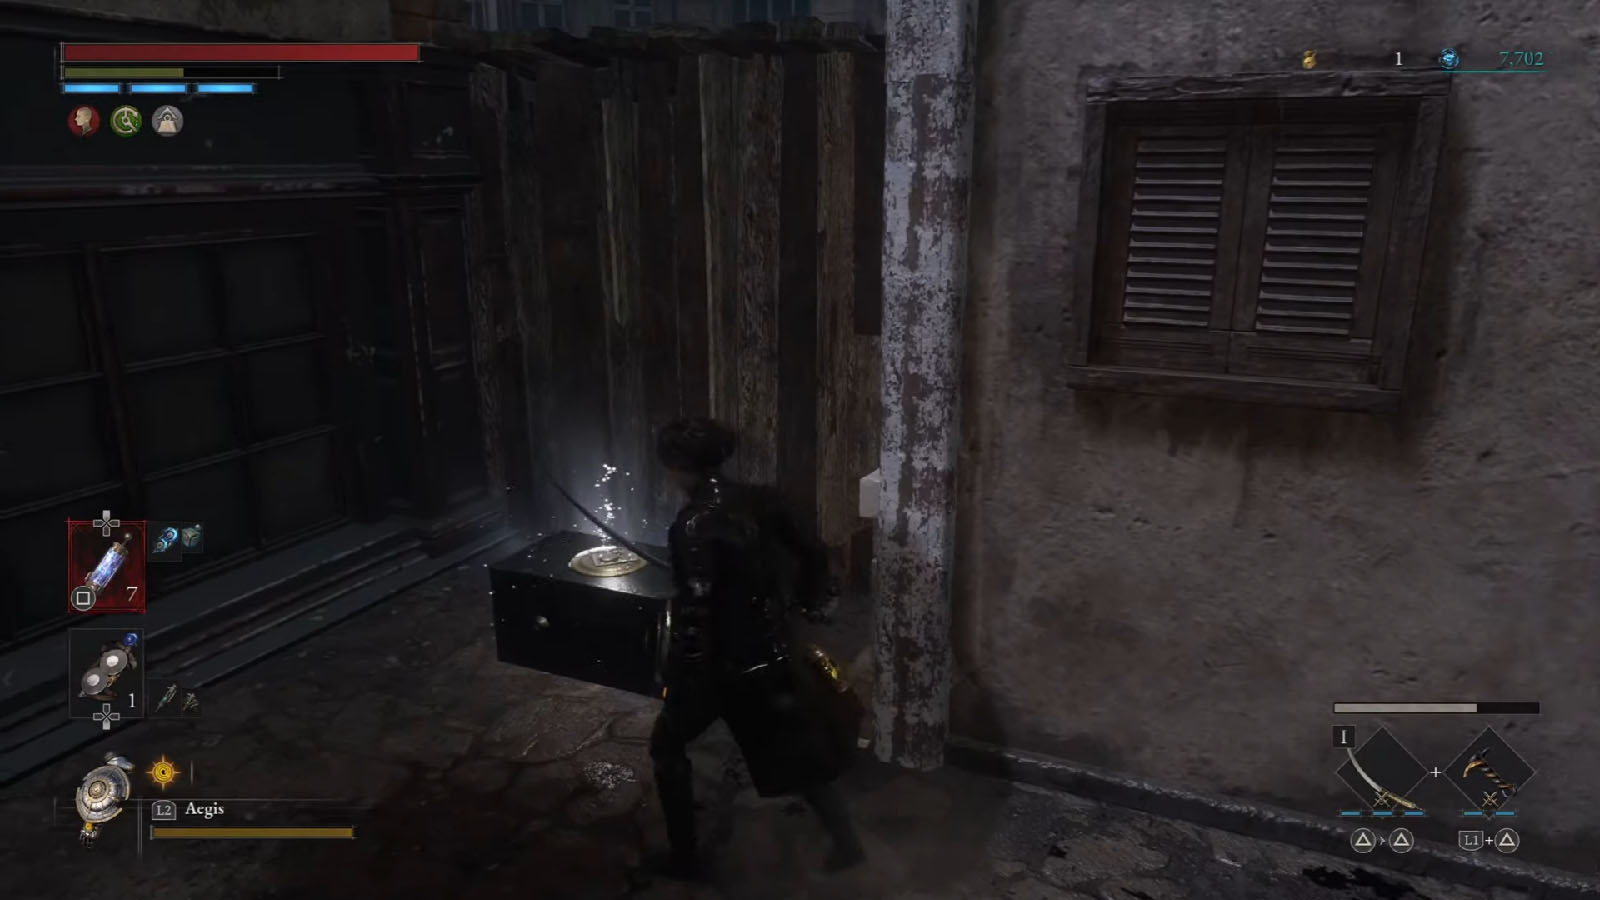
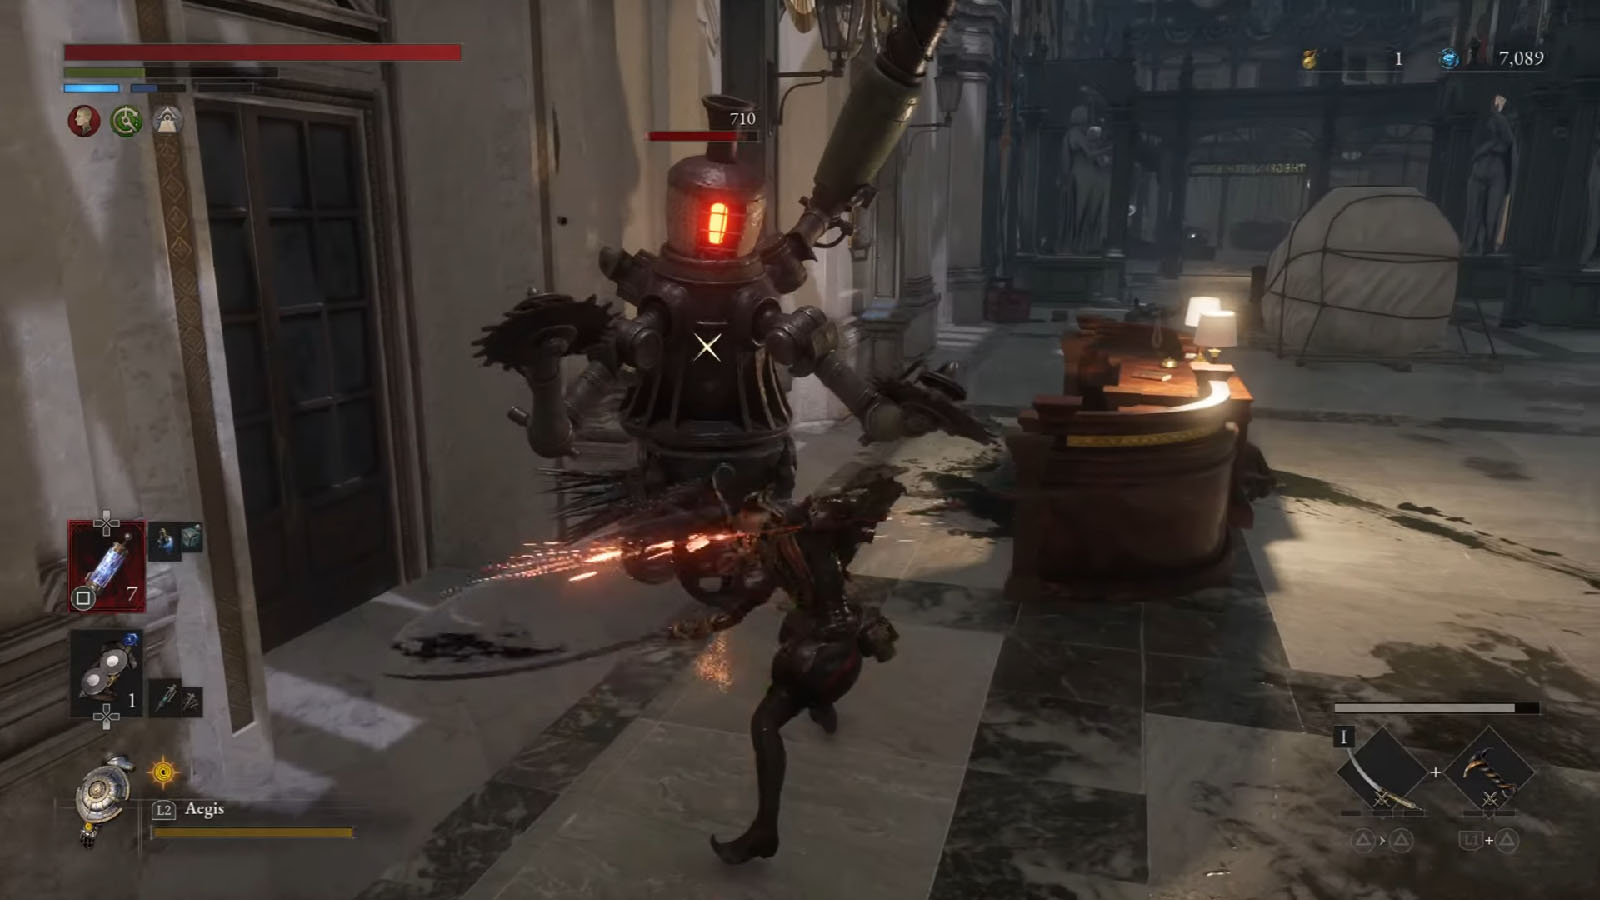
Once you reach the tunnel, climb up the ladder on the side first to get to the top level. Clear out the enemies, then open the chest to get the Clock Sword weapon.

Go back down then enter the tunnel to fight against a tough dummy puppet.
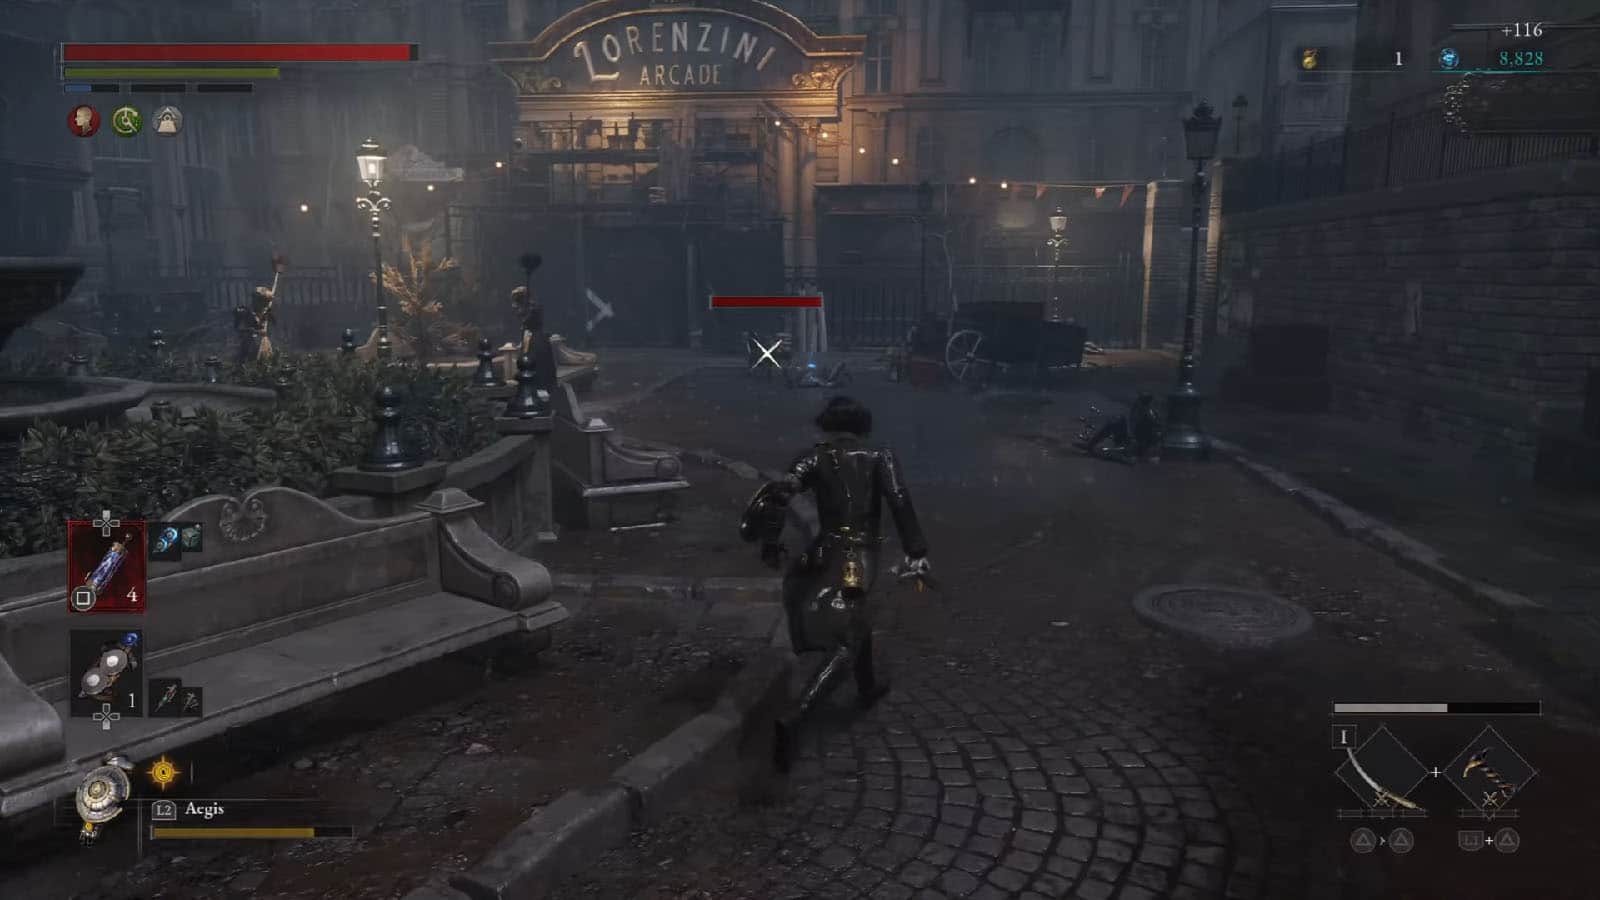
You will then arrive at the square just outside of Lorenzini Arcade. Clear out the enemies in the area, then open the marked gate to get into the arcade.
Lorenzini Arcade
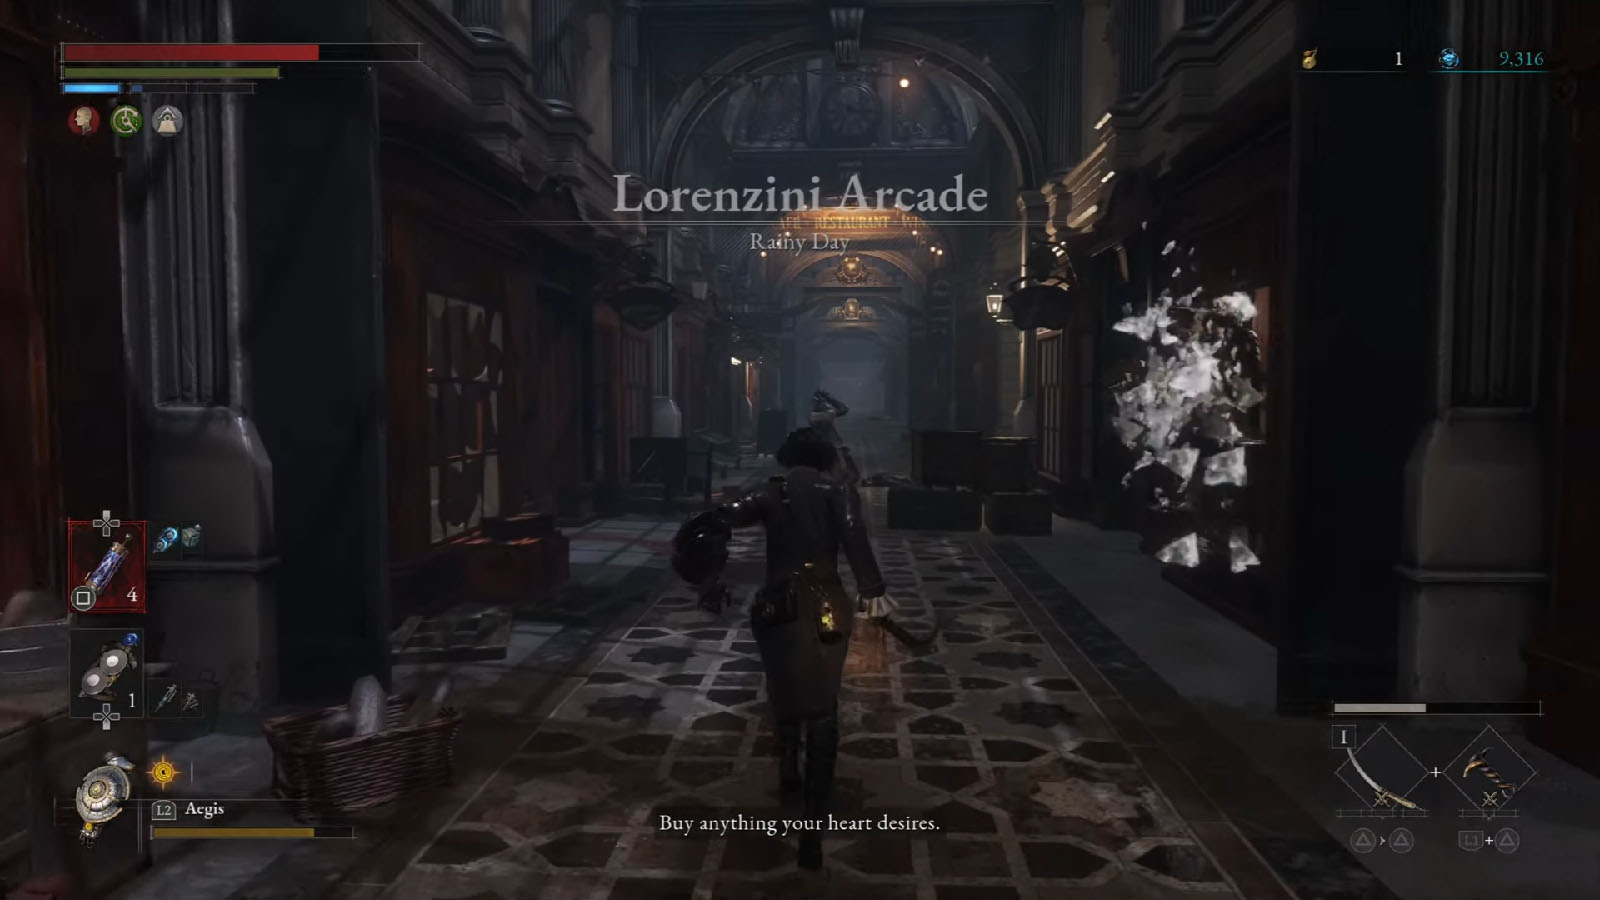
Some of the enemies within the Lorenzini Arcade will be mutants once again. Be aware of enemies that will ambush you from the shop windows. Just up ahead is the Stargazer for the area.

You will have two paths open for now, up ahead and to the right. Take the path up ahead first. You’ll notice a locked shortcut to the right for you to open later.
Up ahead, prepare to be ambushed from above with another mutant that can grow long spikes. Once it’s dead, take the item on the floor to get the Lorenzini Arcade 1st Floor Key.
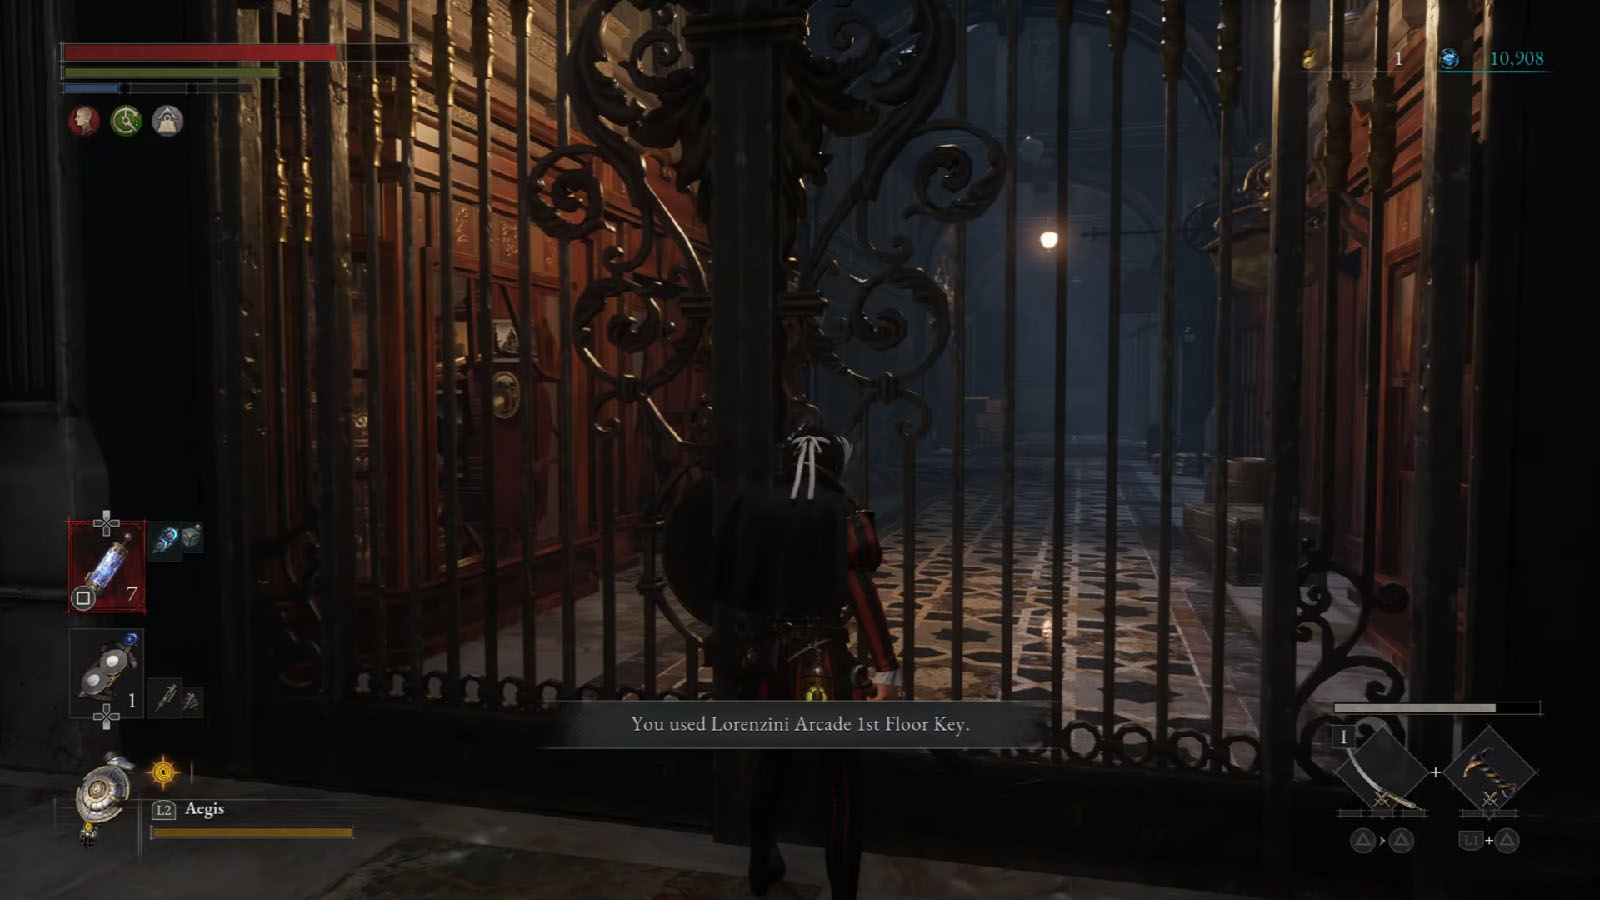
Go back to the Stargazer and take the other path. Defeat the enemies up ahead, then use the key to open the gate to the next area.

In the next area, you will encounter a new enemy that has a scorpion tail. There is a hole on the ground up ahead, and another hole on the wall to the left. A scorpion enemy will be coming out of the left wall.
Go down the stairs to the left and look out for the decay sacs that are hanging above. Another new enemy will be showing up soon which is an exploder. These enemies are resistant to stagger and once they die, their corpses explode, causing decay damage in a small area.
Up ahead is a ramp that goes down a level, and a thrower enemy. Rush over to the thrower enemy and kill it, then move ahead and turn right.
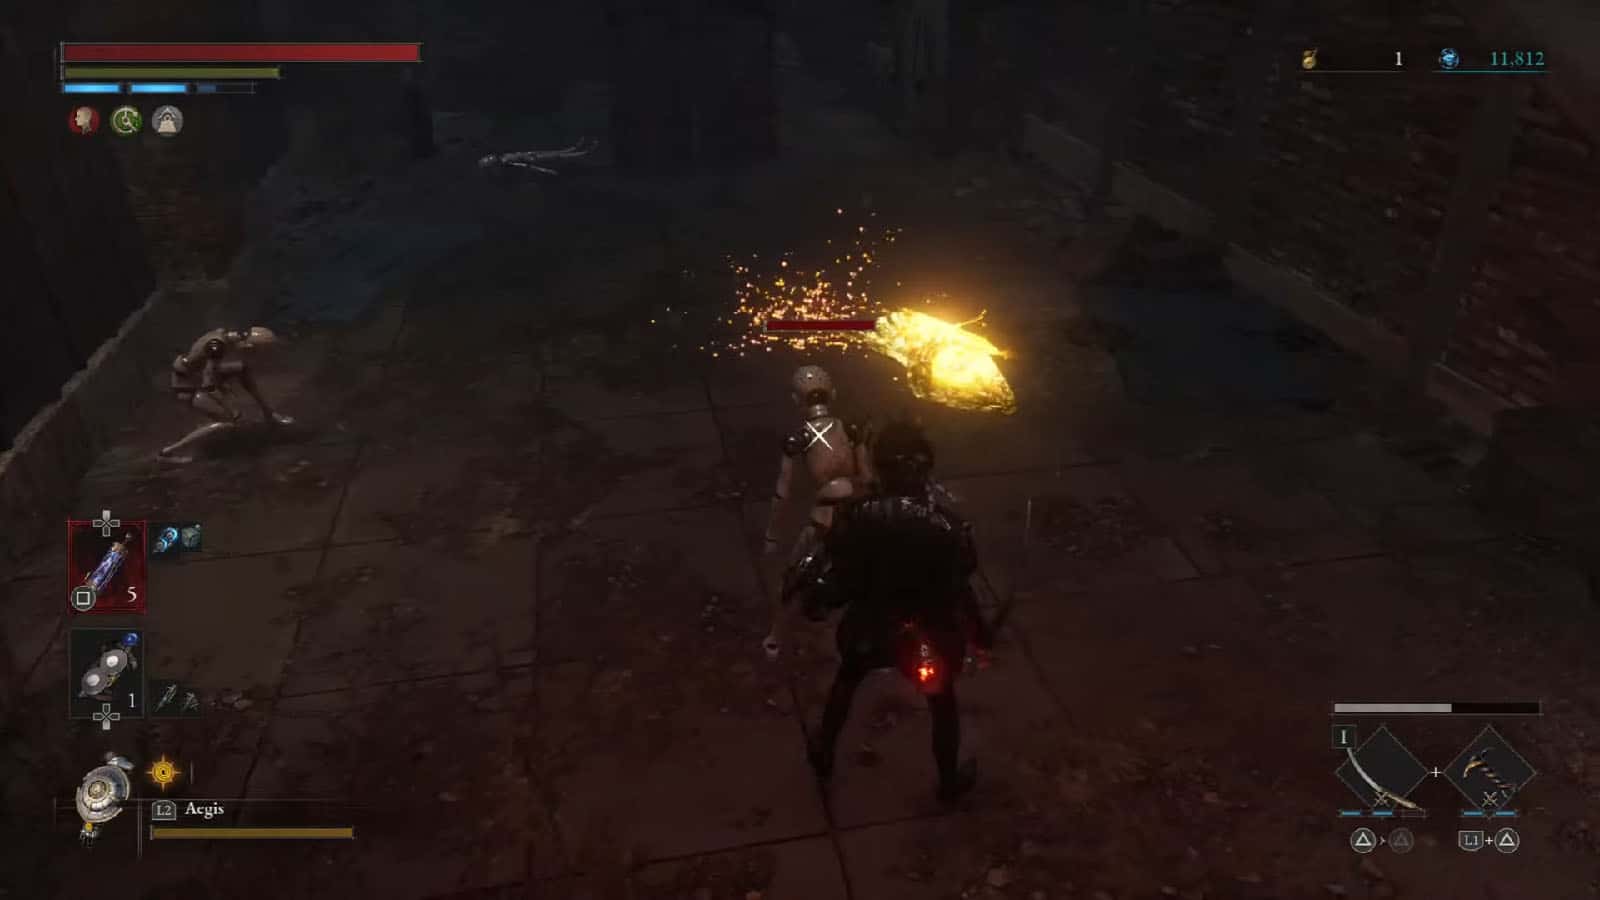
There are some doll puppets in this next room, and a gold butterfly will spawn in the middle. This butterfly is tough and it can send out a blast that can deal some damage. Once killed, the butterfly will give you a Half Moonstone, another upgrading material that is of a higher tier.
Continue up the stairs and you will arrive at the other side of the hole from earlier. Take the Star Fragment on the edge, then jump back down.
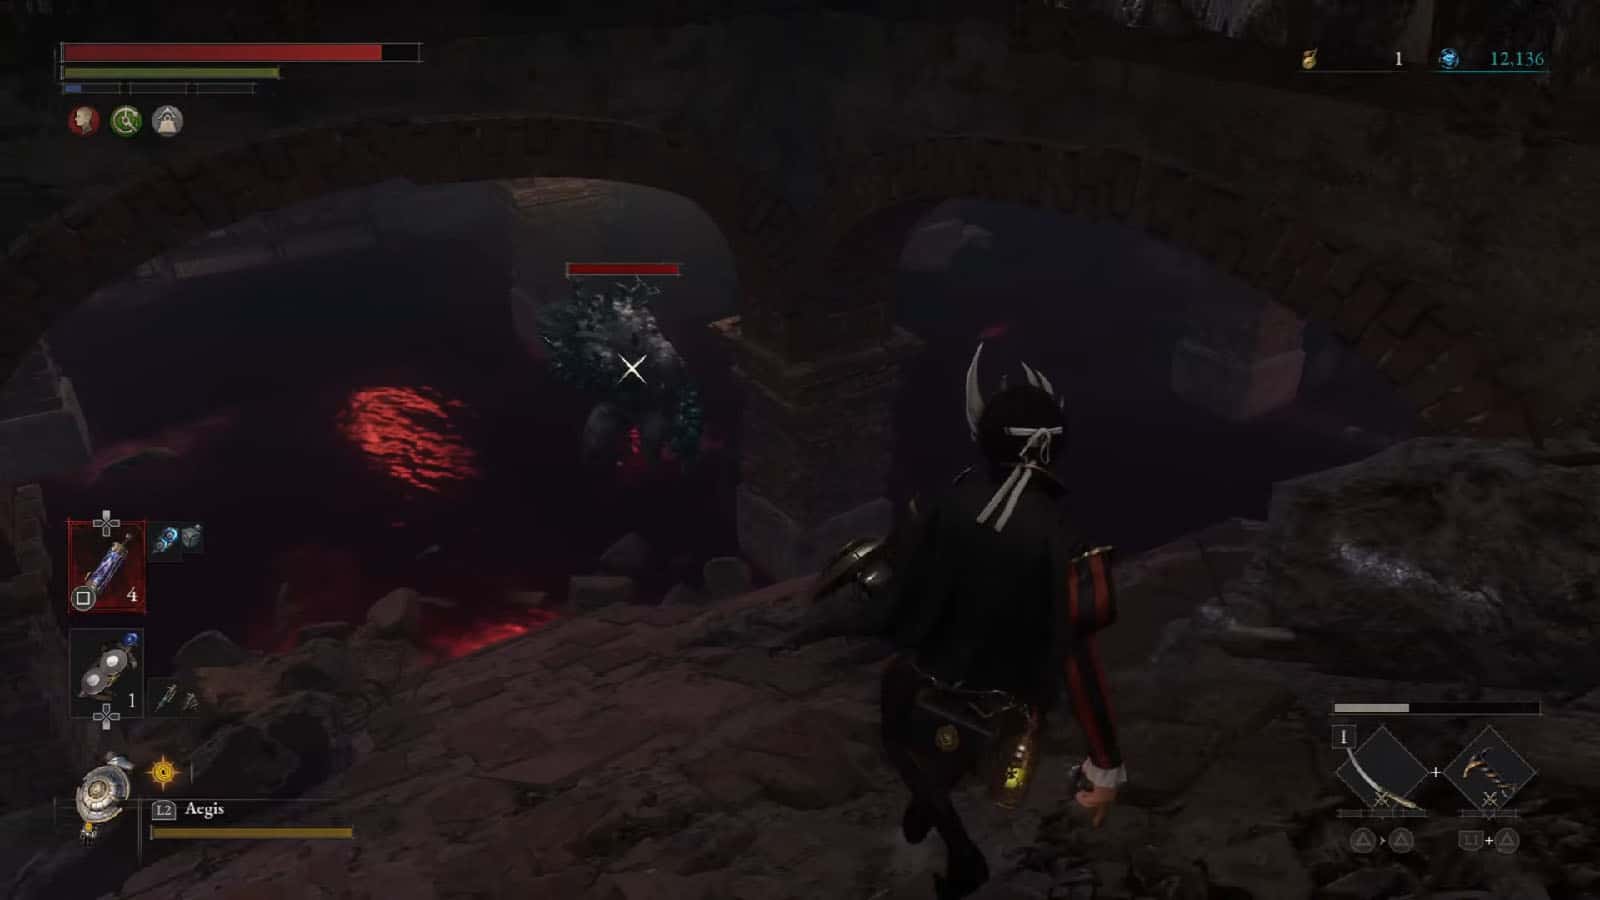
Go down to the cellar where you will fight the mutant brute. You can try and lure it out of the cellar to use the stairs as a way to get a jump strike at it. Once it’s defeated, you will get the Frame – LADA 520 Frame.
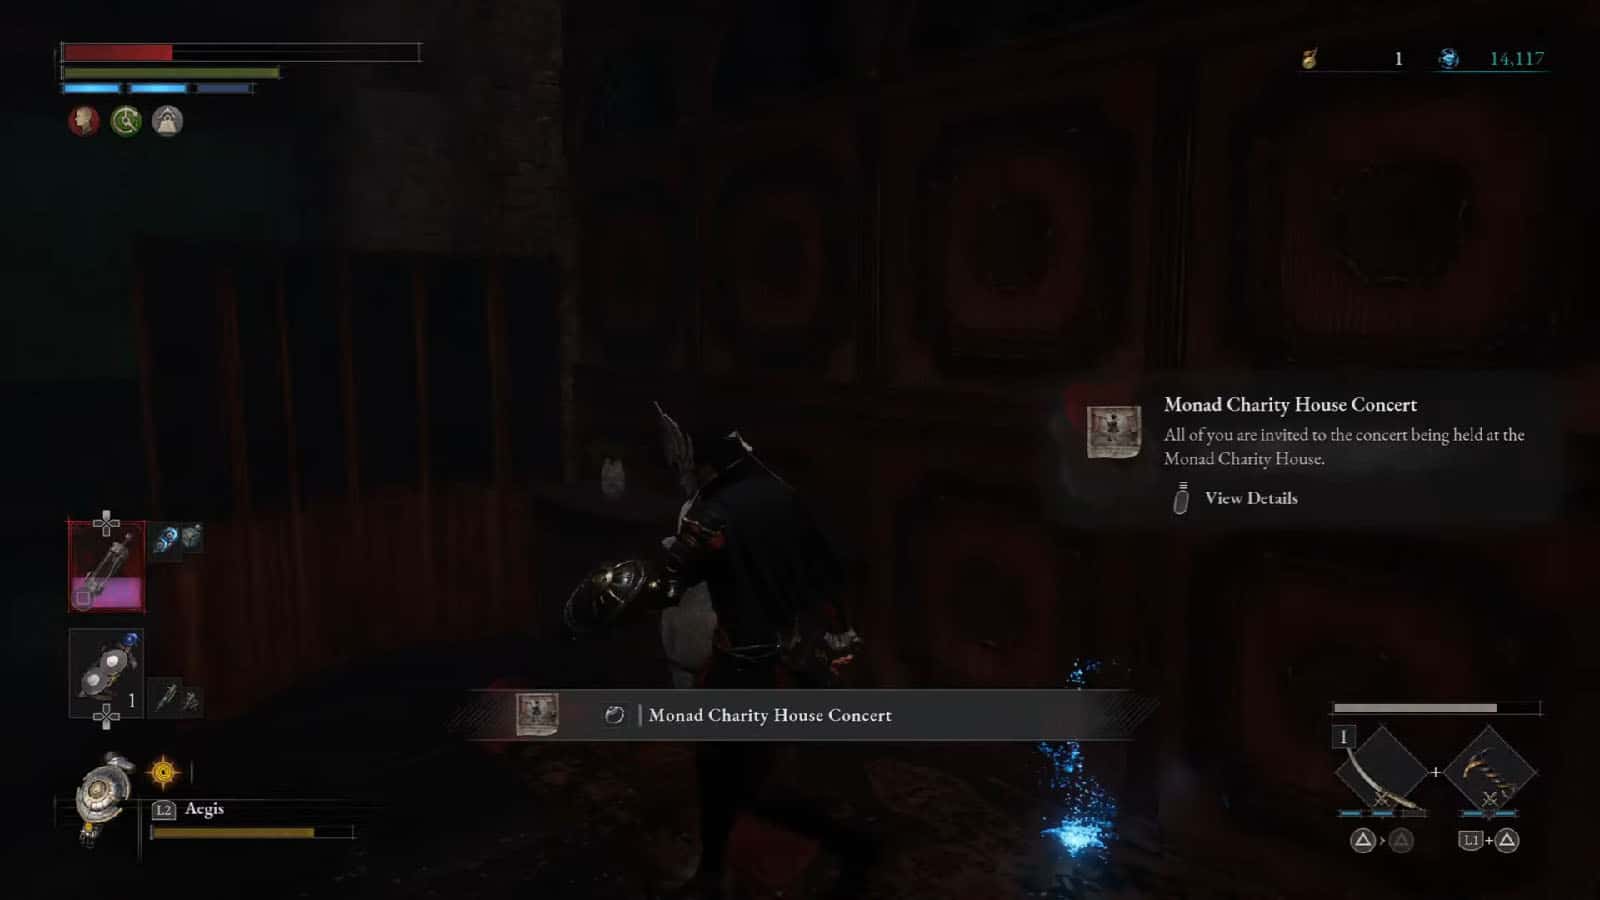
Proceed to the next door to exit the cellar, climb up the stairs and you will arrive at a room. Look behind the divider to find the Collectible – Monad Charity House Concert.
Once you get out of the room, to your left is a gate that you’ll need to open with a key. Proceed to the right path then kill the enemy patrolling in it. You will find another fork in the path, with a locked gate to the left that is covered in green smoke. Being in this smoke will raise your decay meter and the gate has to be opened from the other side.
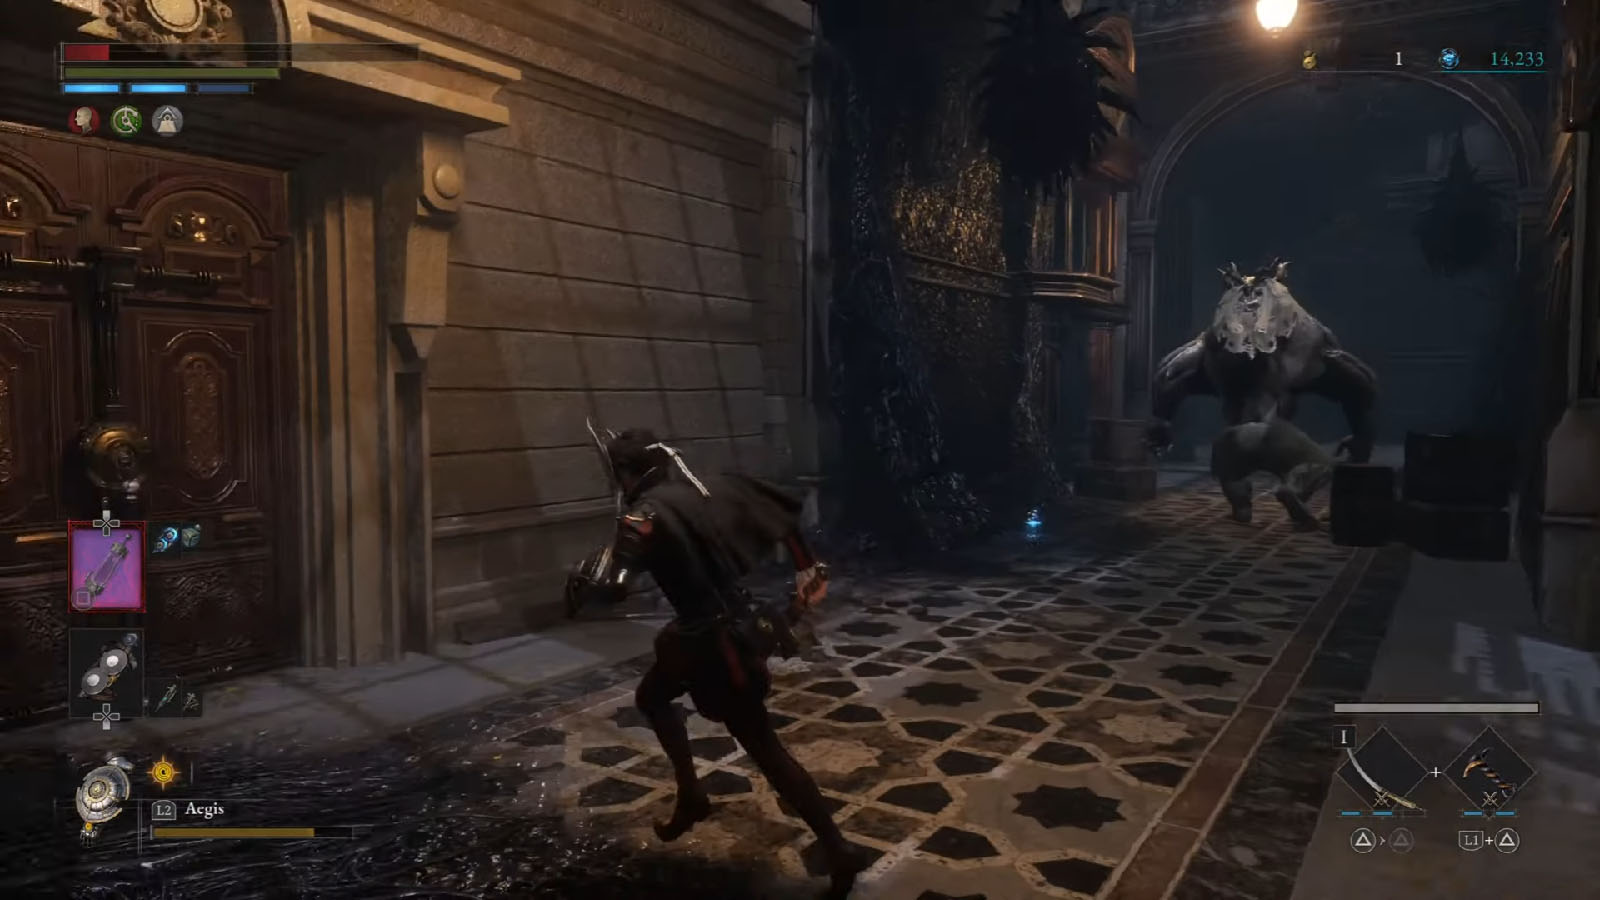
Go up to the path ahead and climb the stairs for now. Once you reach the top, you will see much larger mutant brutes patrolling the hallway. It’s best to lure the brutes one by one back down to the lower level to make the fight easier. You can also just slip past them and run to the next hall. Then, enter the door to the left and run towards the next area. You will find the shortcut door from before that will take you back to the first Stargazer.

Inside Clemence, near the shortcut, head inside the restroom where you will find the Collectible – Scandal! V, the Tragedy Behind the Flamboyance inside the last stall.

Head towards the fountain area where you will find the Wandering Merchant and the Arcade Underground Passage Key. The merchant is selling the Circular Electric Chainsaw weapon and the Amulet – Indomitable Amulet.
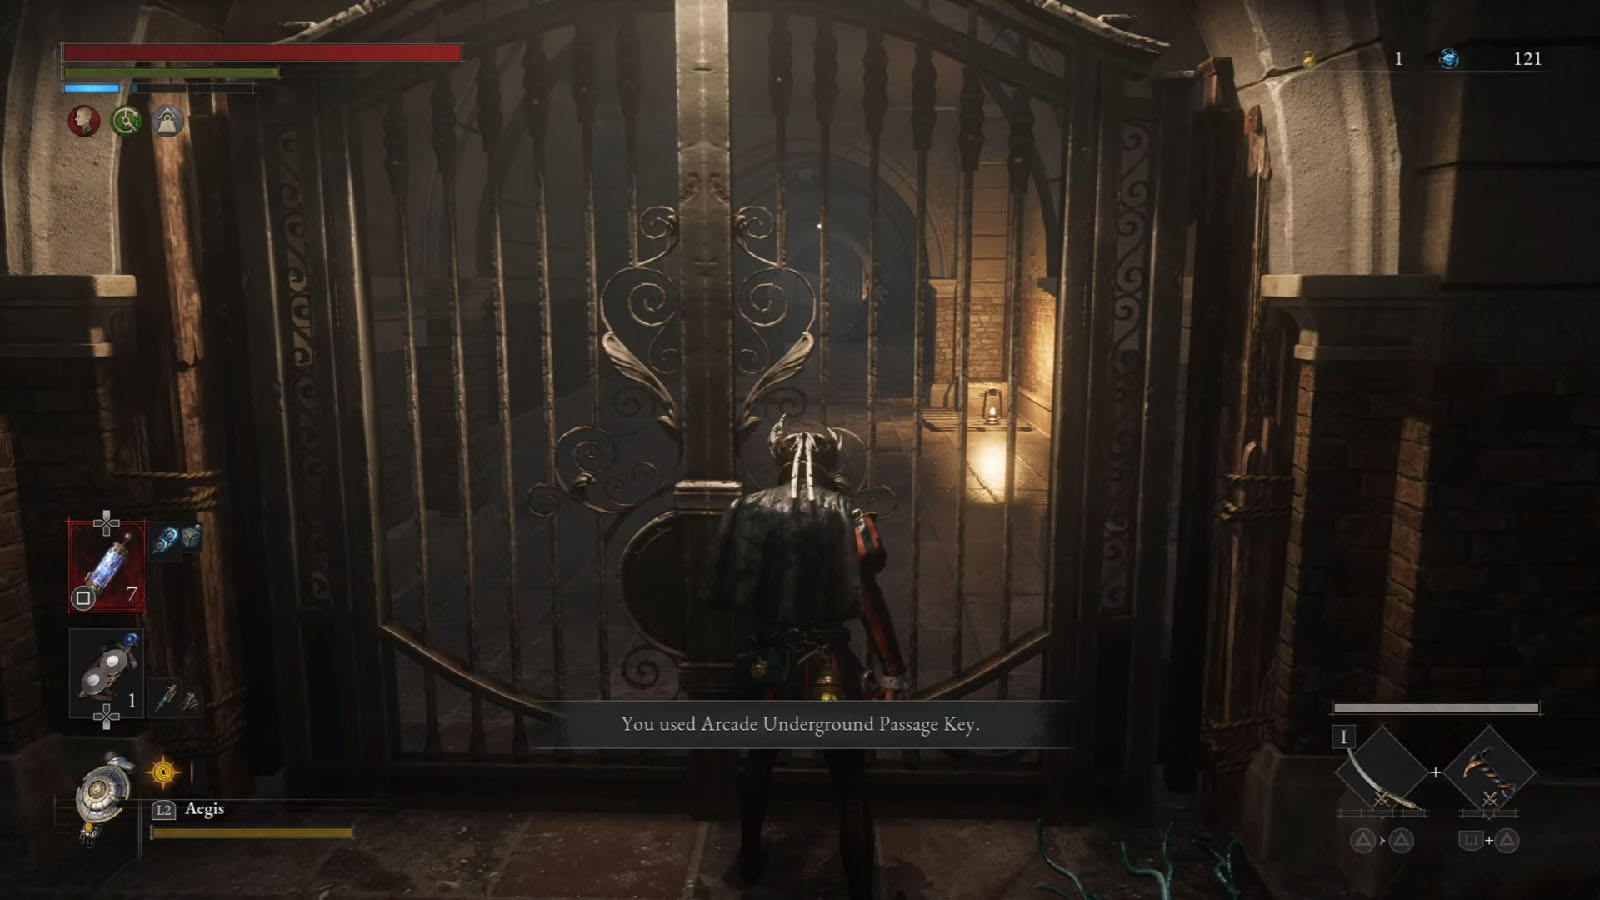
You can then open another shortcut up ahead which loops back to the hallway patrolled by the brutes. Trace your steps to get back to the locked gate so that you can use the key to open it.
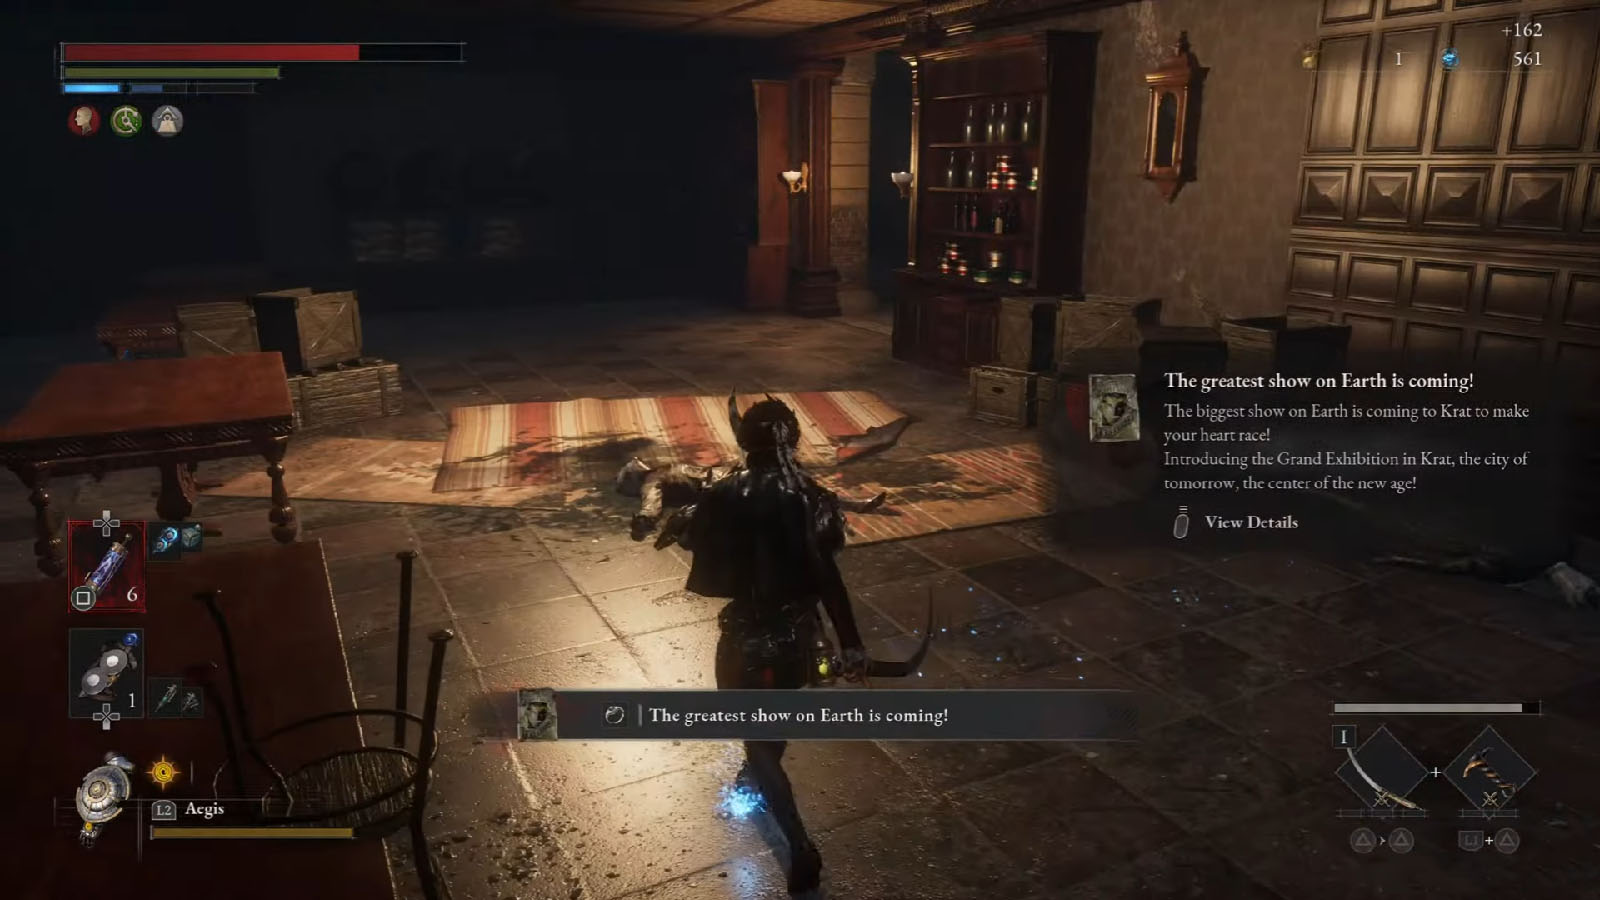
In this new area, there’s another thrower up ahead. You’ll be in another fork, with the right path covered with decay smoke. Take the left path first, Then climb up the stairs onthe left side to open another shortcut. Go back down and go inside the bar to the right. In here, you will find the Collectible – The greatest show on earth is coming!.
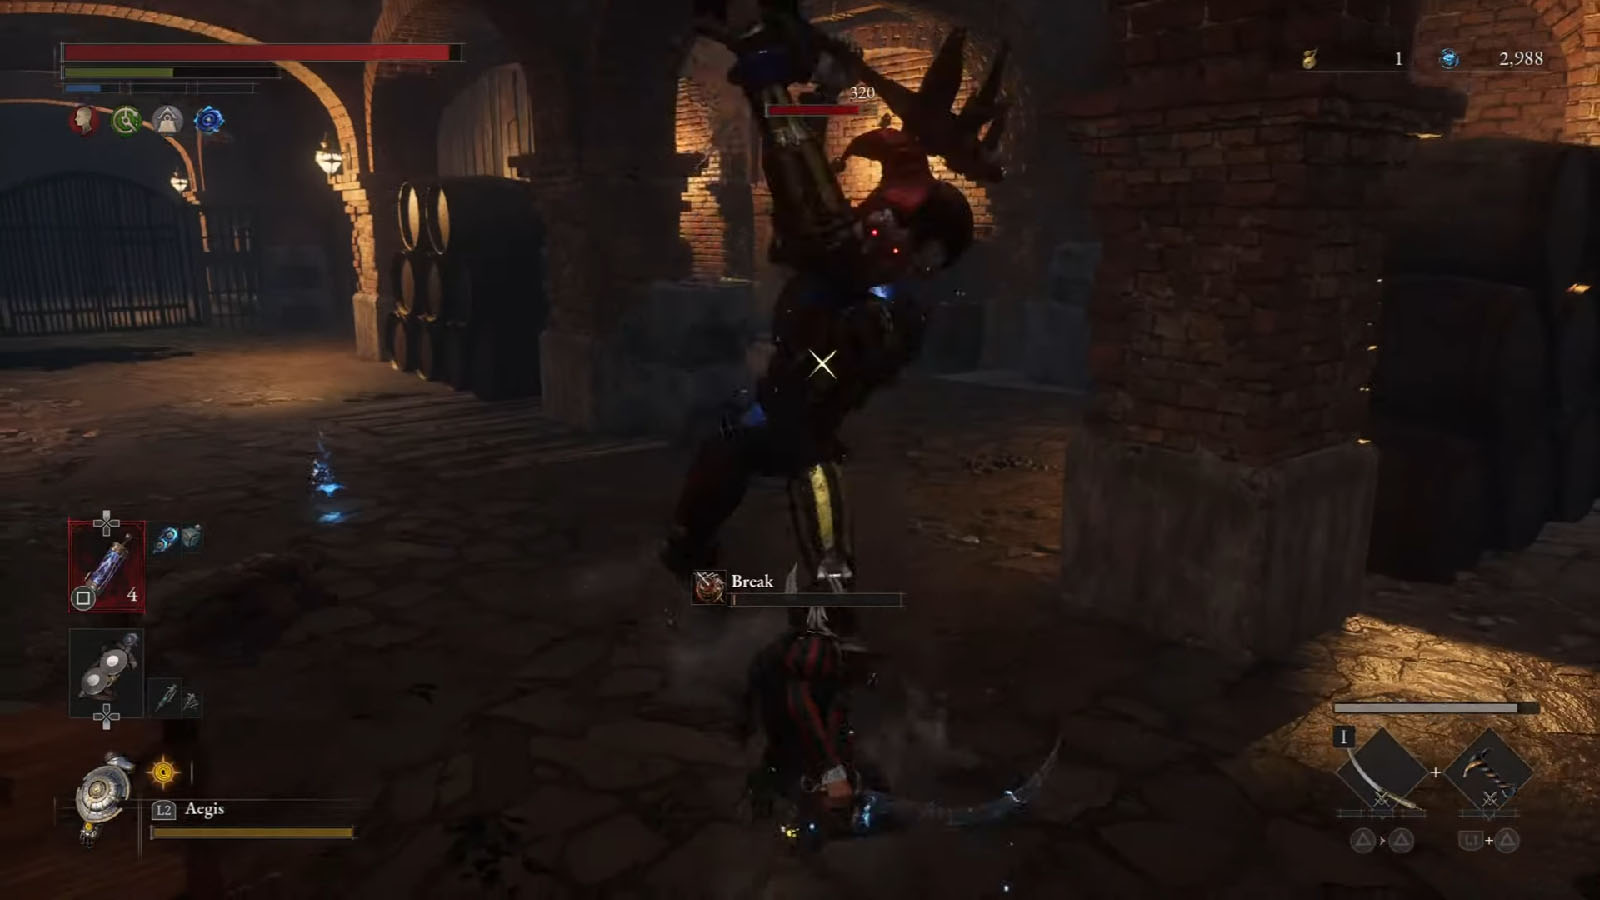
Go through the other passage in the bar and go own the stairs to reach another cellar. Be prepared to fight an elite clown with sickles. Its sickles cause Break damage, so try to avoid getting hit. Later on during the fight, the gates in the cellar will break, causing the trapped mutants to be set free. Try not to kill the mutants right away as they can help in dealing damage to the puppet and taking the aggro from you. Once defeated, you will be rewarded with the Amulet – Hunter’s Amulet.
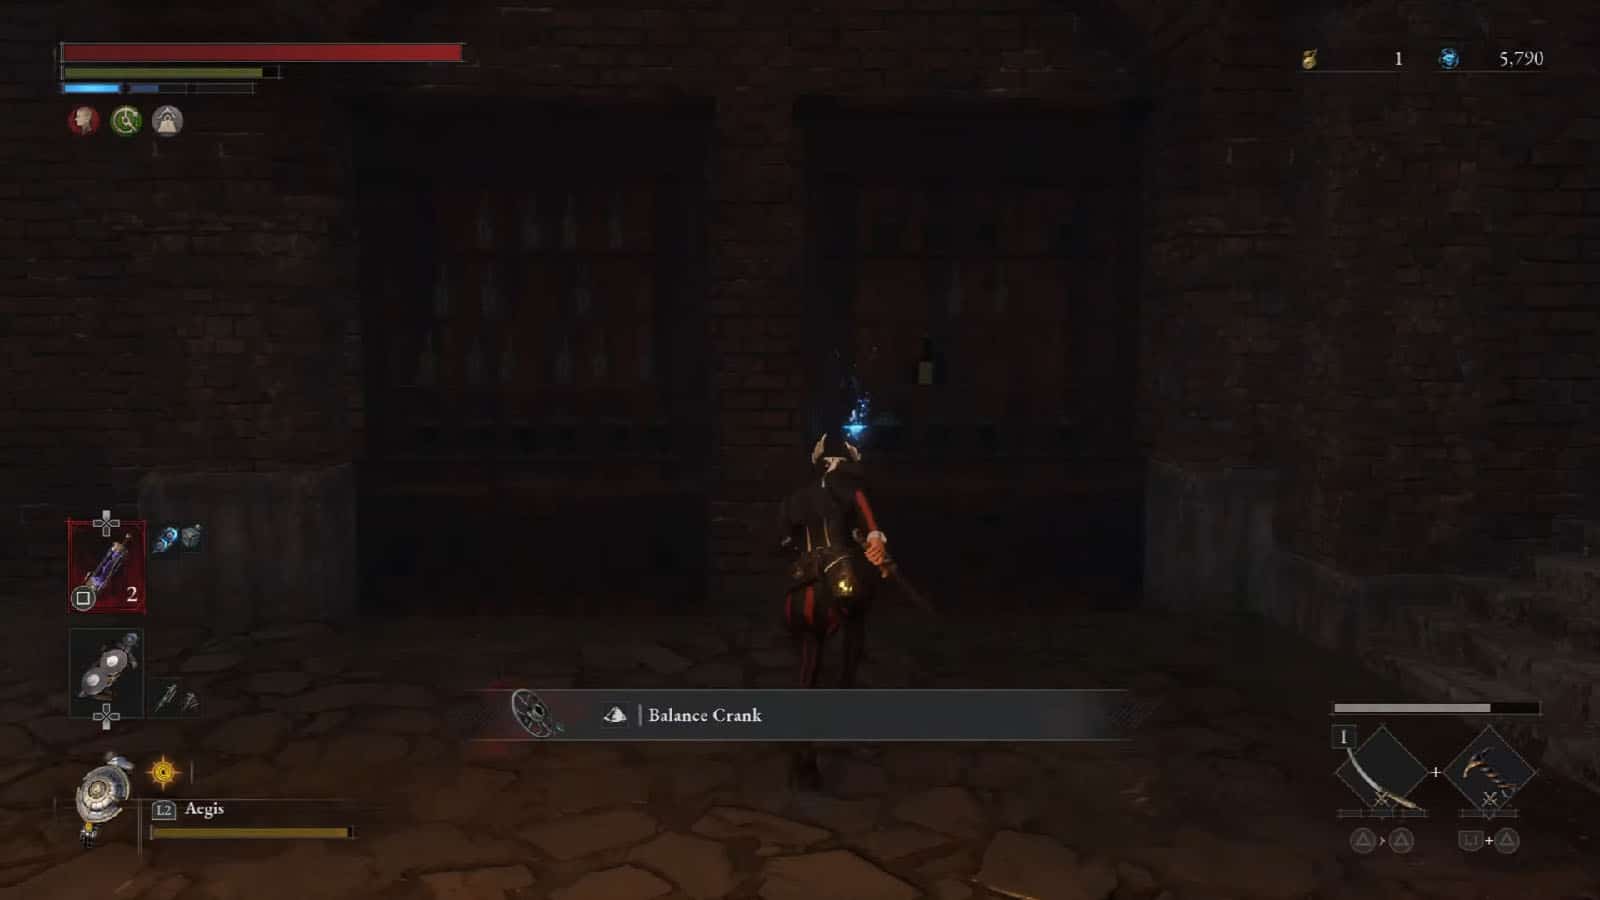
Continue on to the other side of the cellar where you will find a Balance Crank and the La Bleiwies bottle that the old lady from the previous chapter needed. Then make it up the stairs and through the rest of the enemies until you get back to the gate that leads back to the Stargazer. For now, head back to the cloudy areas to clear them.
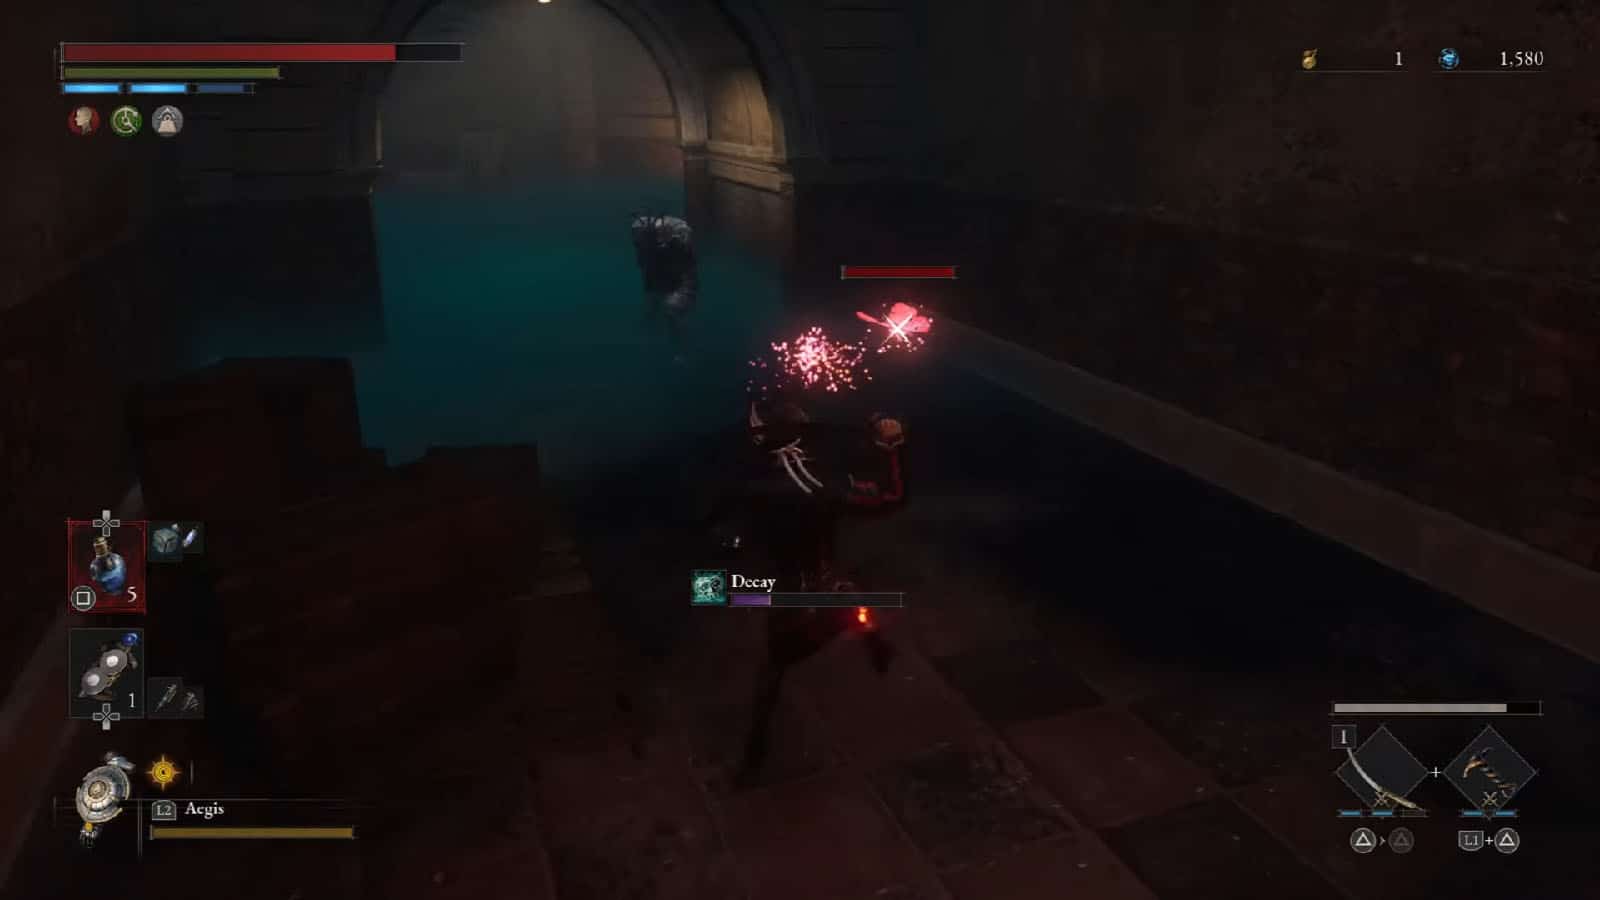
Starting back at the fountain area where the merchant is, go through the gate and cross the hall to get to the other side down back to the underground area. You will have to go through the decay clouds at this point, so make sure that you got the Belford Superior Corrosion Resistance Converter from Chapter 5 so that your Decay meter will not get filled as fast.
There are pods within the clouds that explode if you attack them, but they make the clouds disappear once they blow up. You can use throwables or your ranged arm attacks to blow them up. These pods respawn after a few seconds, bringing back the cloud along with them.
You can first head back to the bar area underground where you can get an Electric Blitz Canister. Then you can go across the other hallway where there are more spreader enemies amongst the clouds. In the middle of the path is a red butterfly that can give you a Dark moon Moonstone of the Covenant. There are only a few safe spots in this hallway, so try to lure the enemies away from the clouds, or bring some ampoules if it can’t be helped.
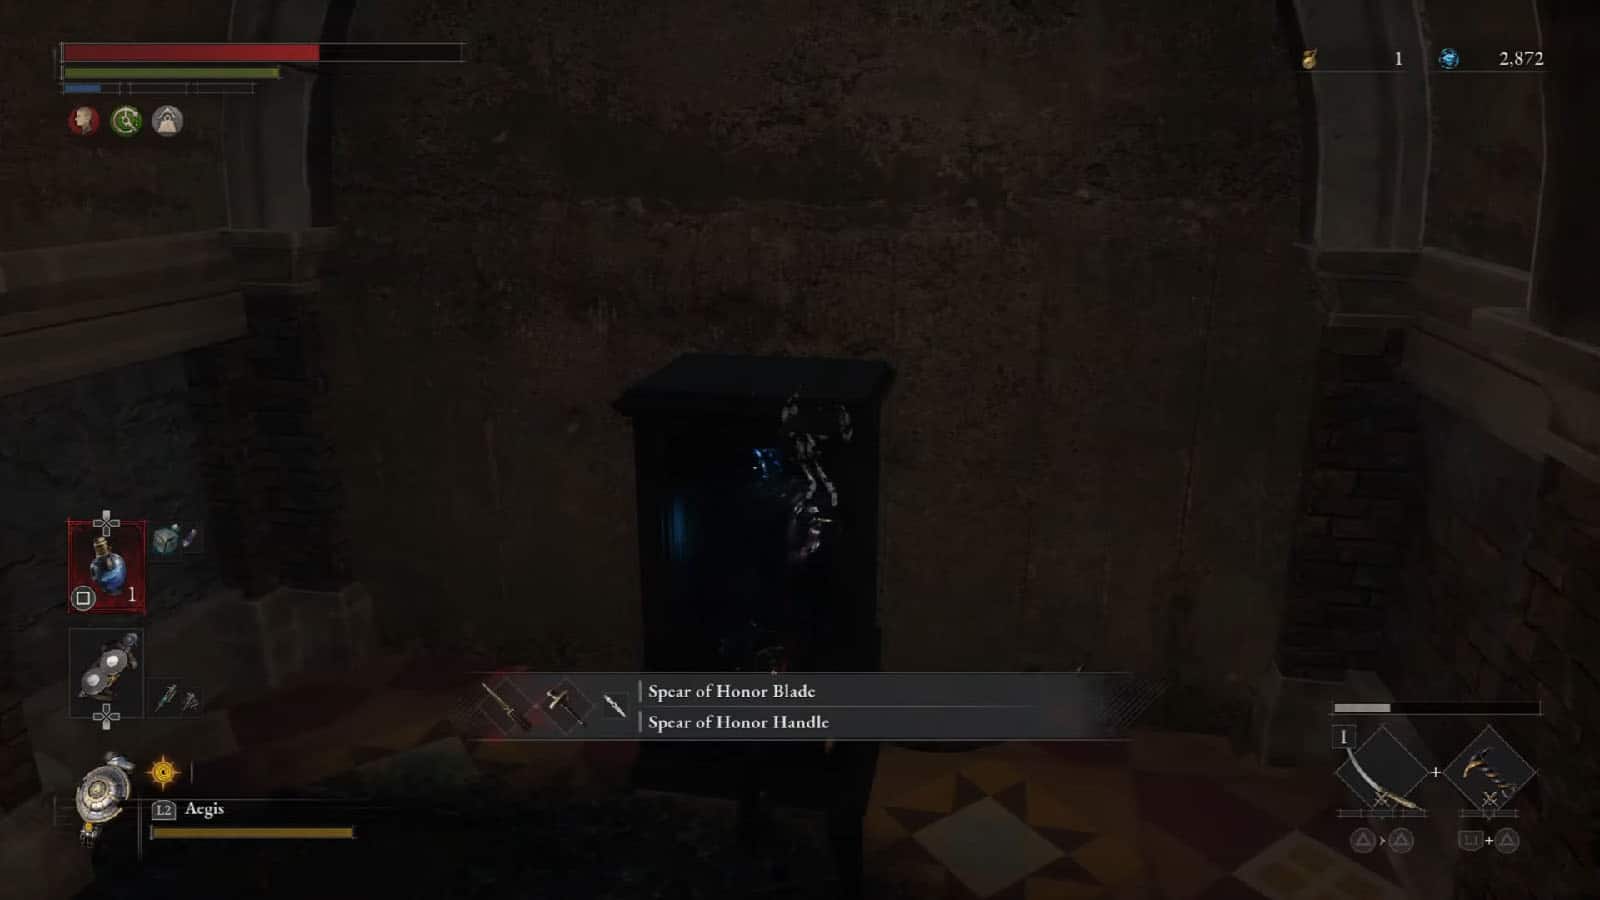
Prioritize going around and all the way to the end of the path where you will find the gate from earlier as a shortcut. Then, work backwards from the shortcut and take out the enemies and pods on the paths. In a niche along the path is a safe that contains the Spear of Honor weapon.
You’ll start hearing someone calling out from the Stargazer. Approach the Stargazer and you will be able to talk to Venigni. The door leading to the next area will also be open, so if you’re done preparing and grinding, proceed through the stairs and open the gate to get back outside.
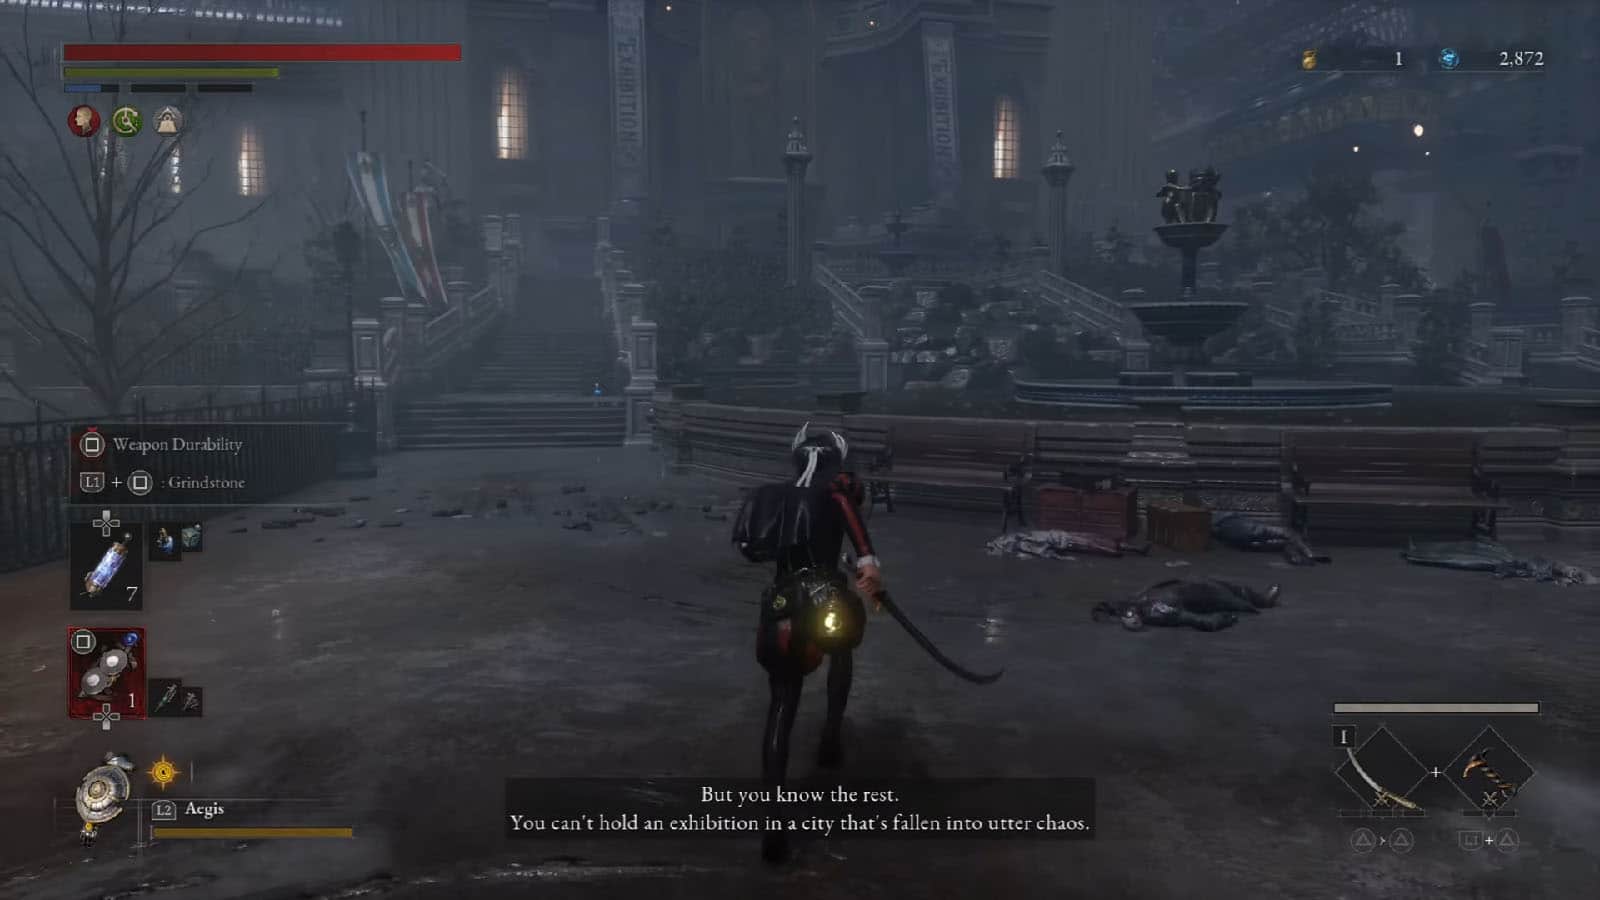
Grand Exhibition Plaza
Once you reach the plaza, go up the staircase on the left to get a Dark moon Moonstone of the Covenant. You can also go to the garden to the right to find a Crescent Moonstone and some tougher puppets.
Elite Fight: Soldier Puppet
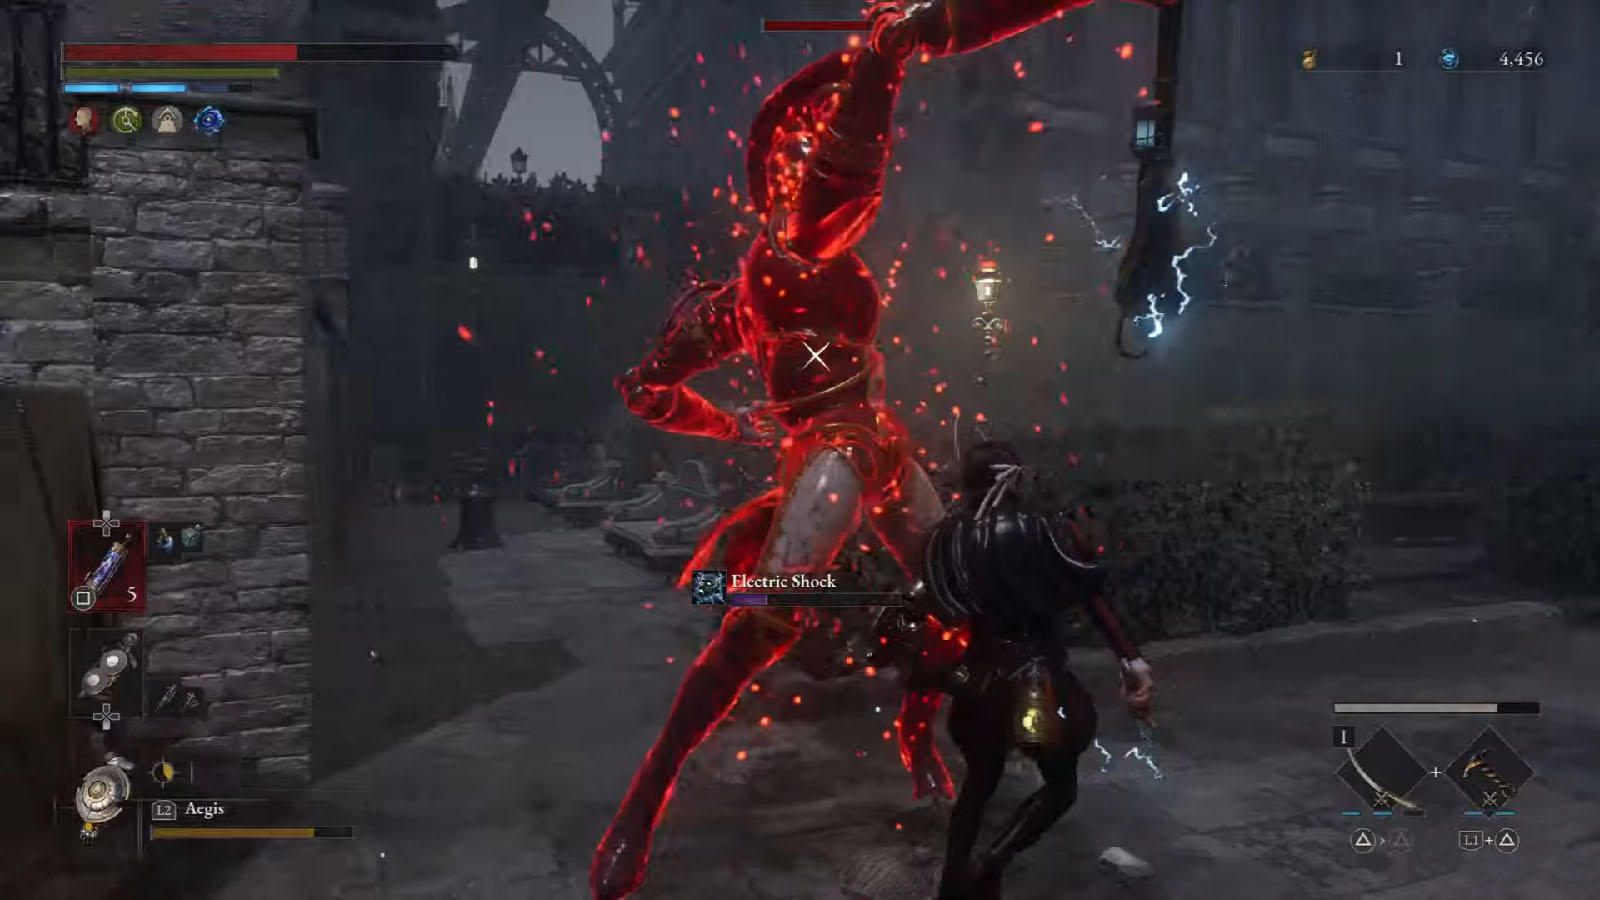
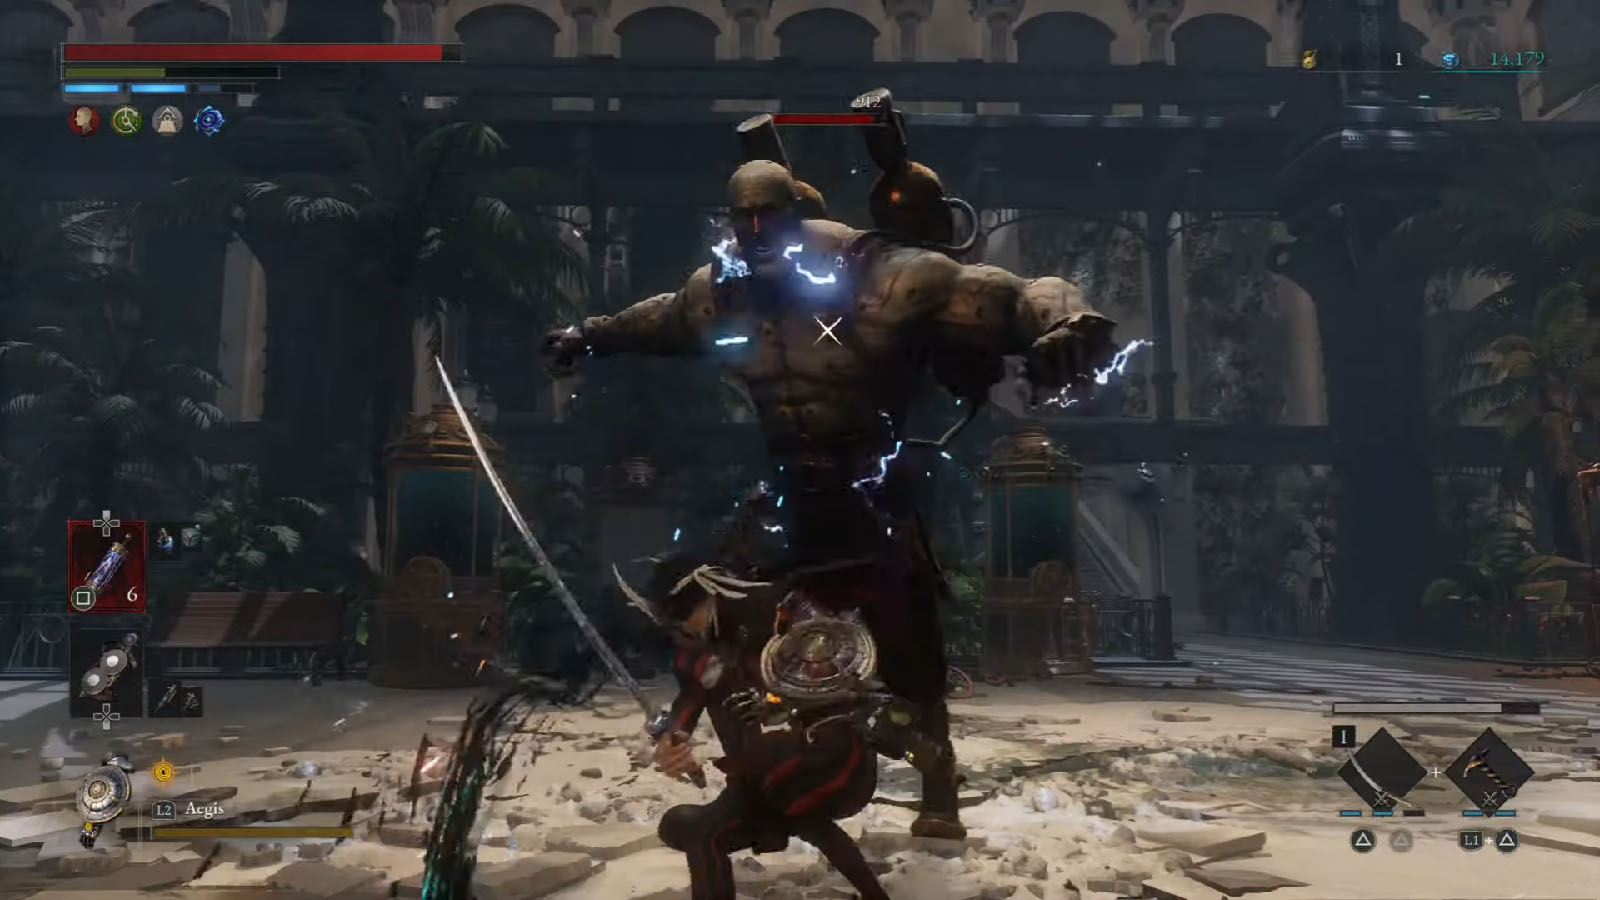
In the garden, continue on the side path and you will encounter the Soldier Puppet. It’s a tough elite that uses an electric mace. Its attacks are mostly wide swings that hit hard, but they have enough wind up to react to for a block.
It’s recommended to use an electric attack and also equip a an insulation converter to mitigate the damage. Using the Aegis for additional block opportunities is also preferred to make the fight more manageable.
Once the enemy has been defeated, you will receive the Cartridge – LADA Shock Cartridge.
After the fight, climb the stairs on the side of the building to reach the cable car that you need to ride to get to the next area.
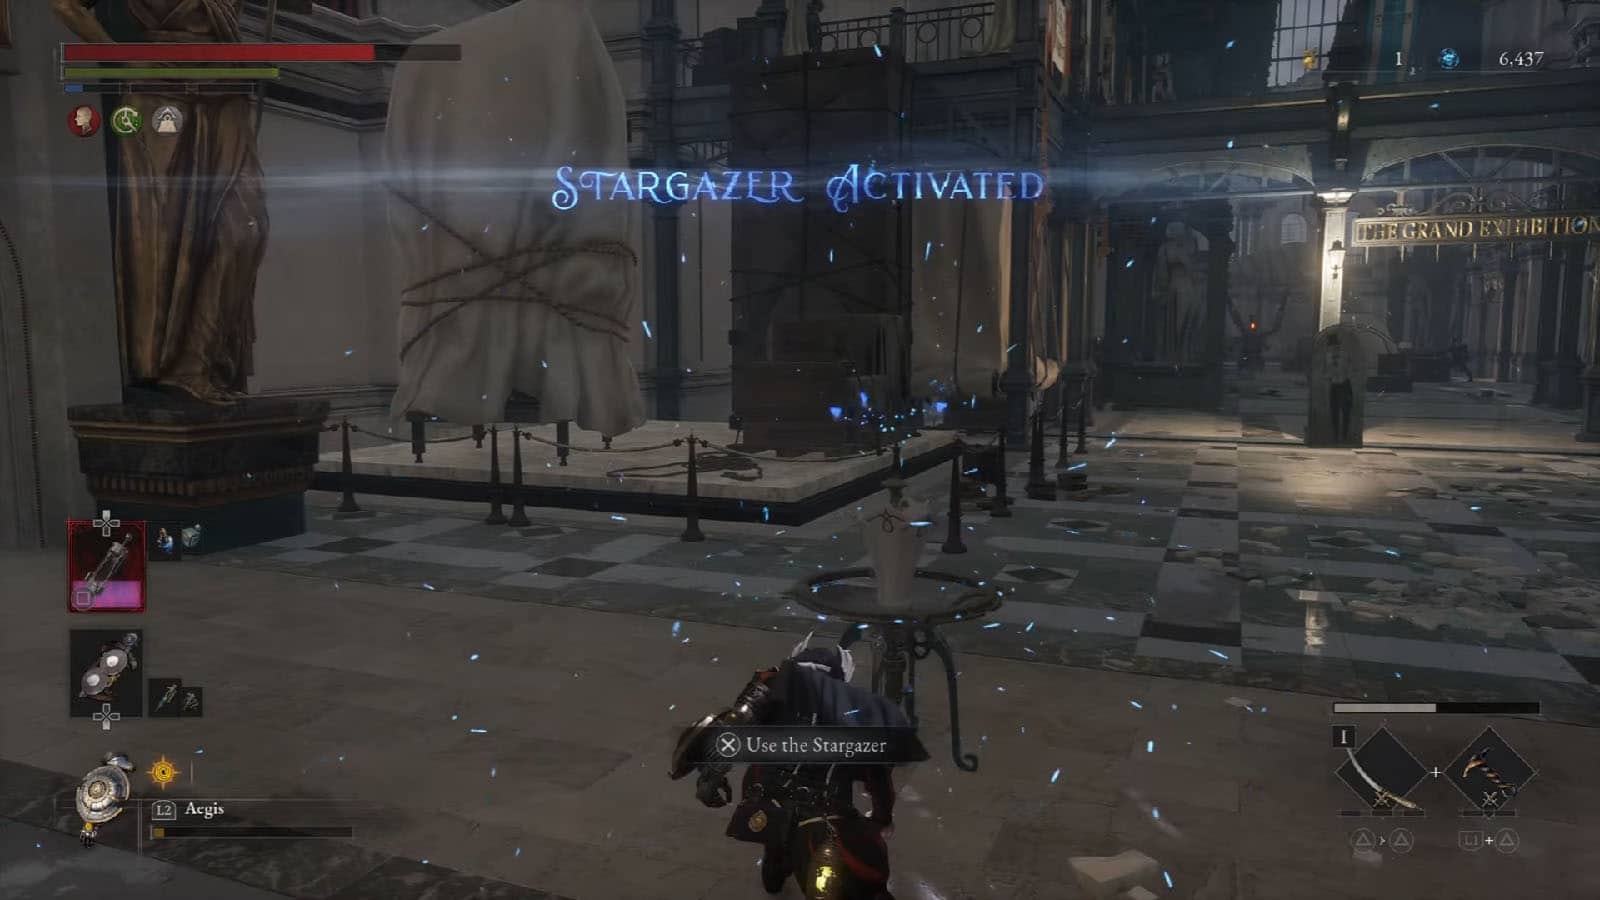
Once you arrive, go inside the building and lower the ladder to get to the lower level. From there, activate the Stargazer up ahead.
Grand Exhibition Gallery
From the Stargazer, take the room to the left to find a Dark moon Moonstone of the Covenant. You can then open the huge green door which will take you back to the outside area of the building. To the right is a locked gate that has to be opened on the other side.
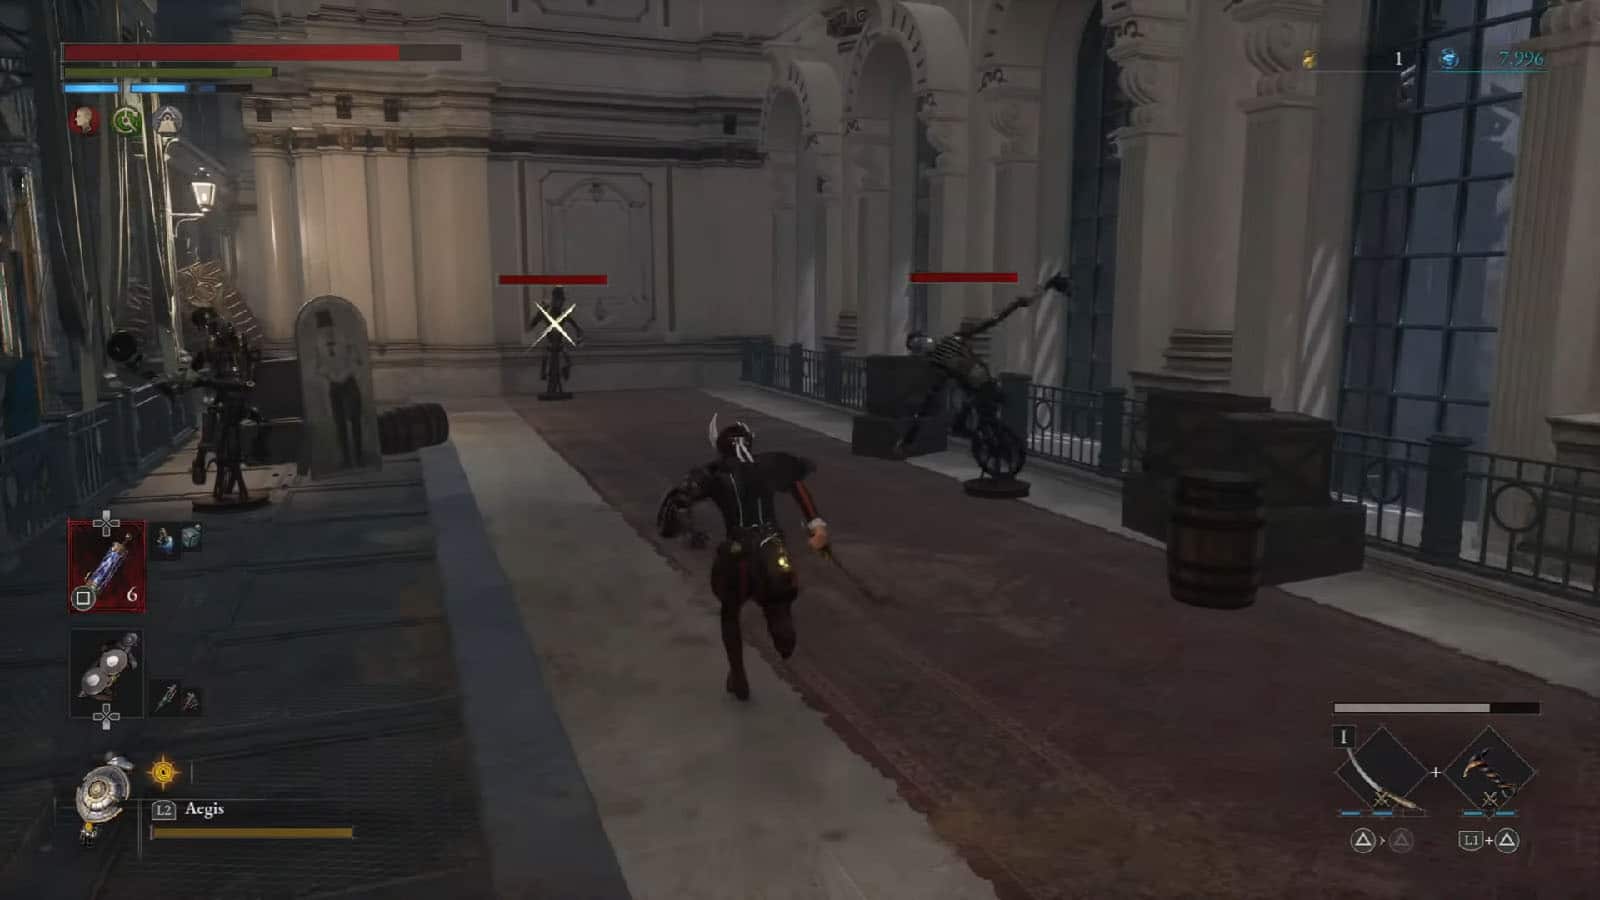
Back to the Stargazer, take the path to the left where there are more sword puppets. There’s a new kind of multi arm puppet that has several drills and blades on its body. Look out for its lance attack and its blade spin attack. Check the spaces behind the tarps and you can find items including a Half Moonstone.
Continue up ahead and then climb up the stairs to reach the upper floor. There are a bunch of bomb throwers and a Shielder Puppet up ahead. Try to lure the shielder away from the bombers by slipping past all of them, then heading into the outdoor platform area to the right. There’s also a pink butterfly in this outdoor area that can give you a Technique Crank.

On the side of the platform is a ladder that you can climb down. There’s another soldier puppet that is patrolling the area, plus a gate that you can open going back to the main entrance. If you defeat the soldier, you will get the Amulet – Strength Amulet.
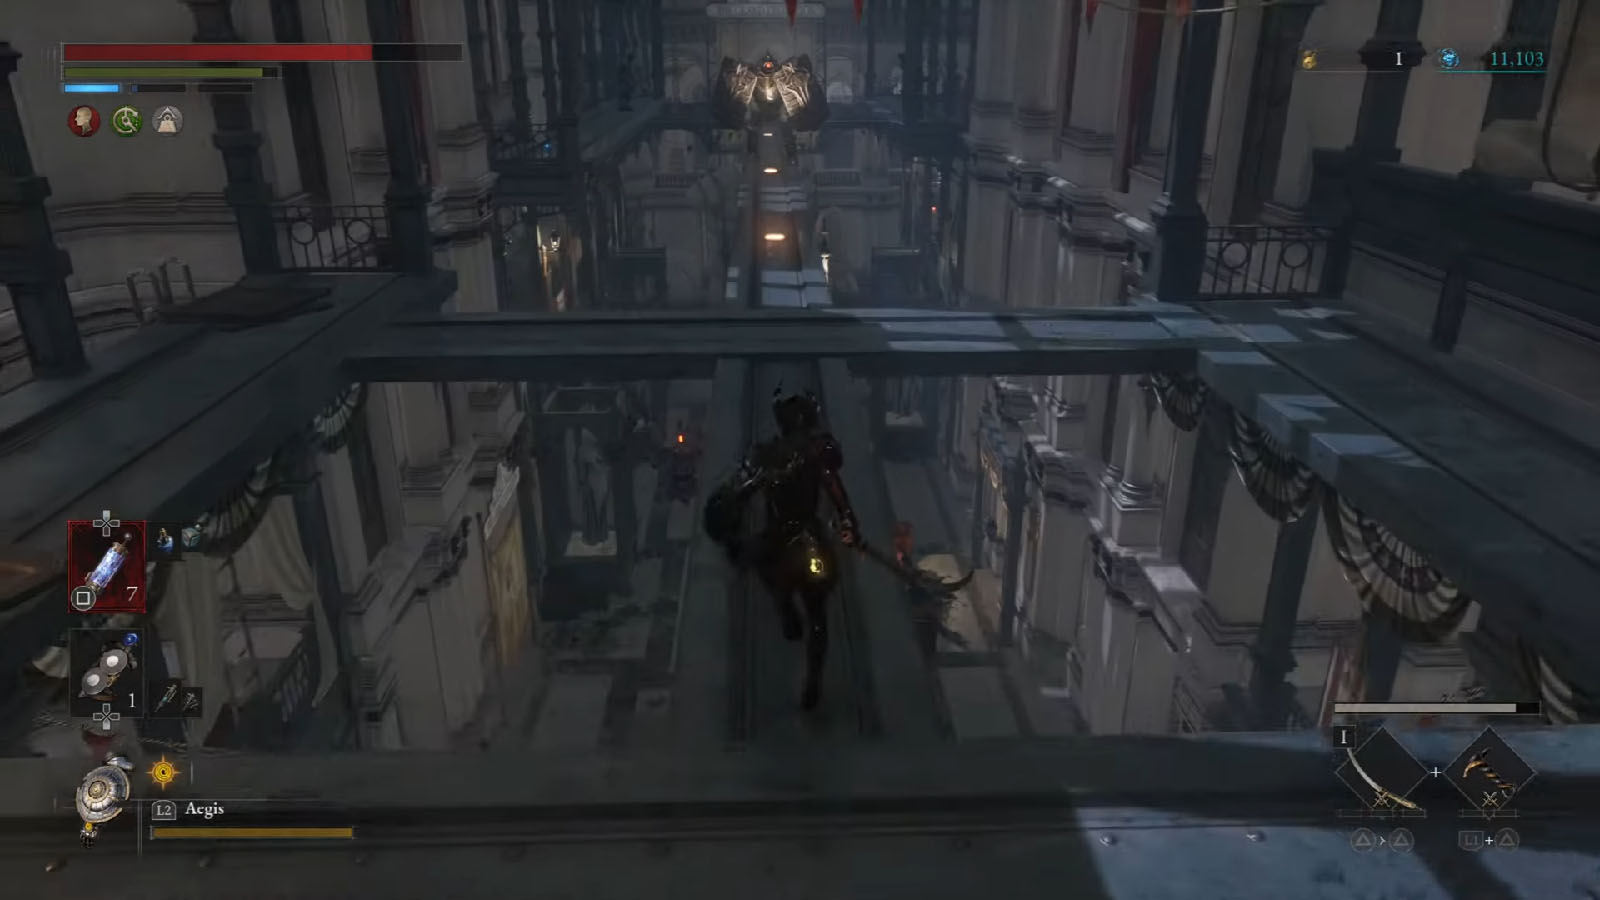
Climb back up the platform, then take the other ladder going up. You will arrive at the upper catwalks where there are more enemies such as the Bomb Throwers. Be careful as the throwers can knock you back to the lower floor, and the shielder puppet will also respawn on these catwalks.
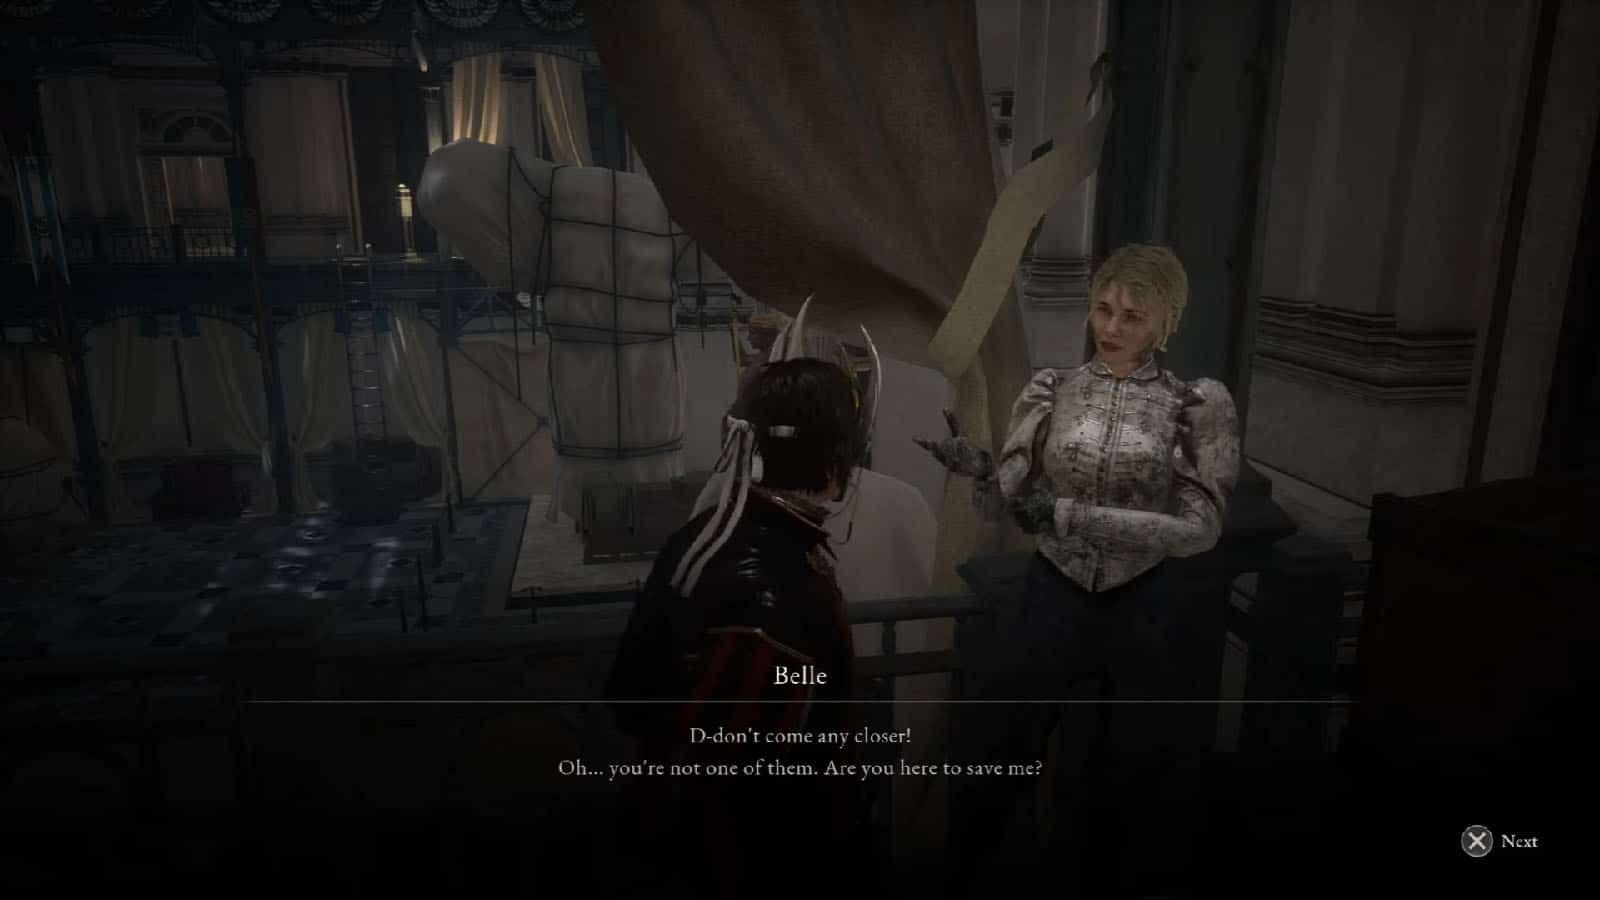
Defeat the shielder puppet or slip past it, then cross the bridge holding the poster to get to the other side. Take the ladder down, and then push the button nearby to lower down the bridge to your level as a shortcut. Cross the bridge, then take a left turn and you will find Belle at the end of the path. Talk to her for now and she will be in the hotel once you defeat the boss.
Turn left from the button to find an Acid abrasive, then go to the next doorway to reach the area where they keep the elite puppets on display. You can find the Collectible – Resurrection! Champion Victor has returned!.
Take the stairs up ahead and turn left. The multi-arm enemy will activate and wake up; defeat it and open the chest that it’s guarding to get a Legion Caliber. Clear out the rest of the enemies on the floor, then proceed through the next door.
Up the stairs, you will arrive at a sort of makeshift infirmary. Go on the catwalk, and you will find another telephone in the next area. Pick up the call to talk to Arlecchino as he gives you one of his riddles. Give the answer “Egg” and you will get a Trinity Key, or a hint to where the Trinity Key is if you haven’t obtained a previous key yet.
Proceed to the next area to the right and go down the stairs. You will see statues to the right; you will have to rotate the right statue so that it mirrors the one on the left. Doing so will open a secret compartment where you can get the Trinity Key if you got a hint for it earlier. Be careful of the new type of puppet that can fire semi-auto shots.

Go down another level, and you will find a carriage with more of the semi-auto shooters. Go inside the carriage to find a Crescent Moonstone.
From this carriage room, go to the next area that has many plants, where you can find a door that needs a certain key (Saintess of Mercy Statue Gallery Key). In the connecting room, you will be encountering another elite enemy.
Elite Fight: Muscle Puppet
The Muscle Puppet is a puppet that uses its fists to attack. It has a super attack where it jumps up and does a drop kick. Make sure to use an electric weapon against this elite and try to perfect guard against its punches to wear it out quickly.
Once the Muscle Puppet is destroyed, you will get a Legion Caliber.
Continue up the next flight of stairs, and you will see a ladder that can be brought down to access the main lobby once more. There’s also the Sturdy Krat Supply Box that you can get from the chest nearby. Take this to Polendina to expand the store some more.
Just up ahead is the room where the boss fight will be. Do your preparations for now or grind for more levels before taking on the boss.
Boss Fight: Champion Victor
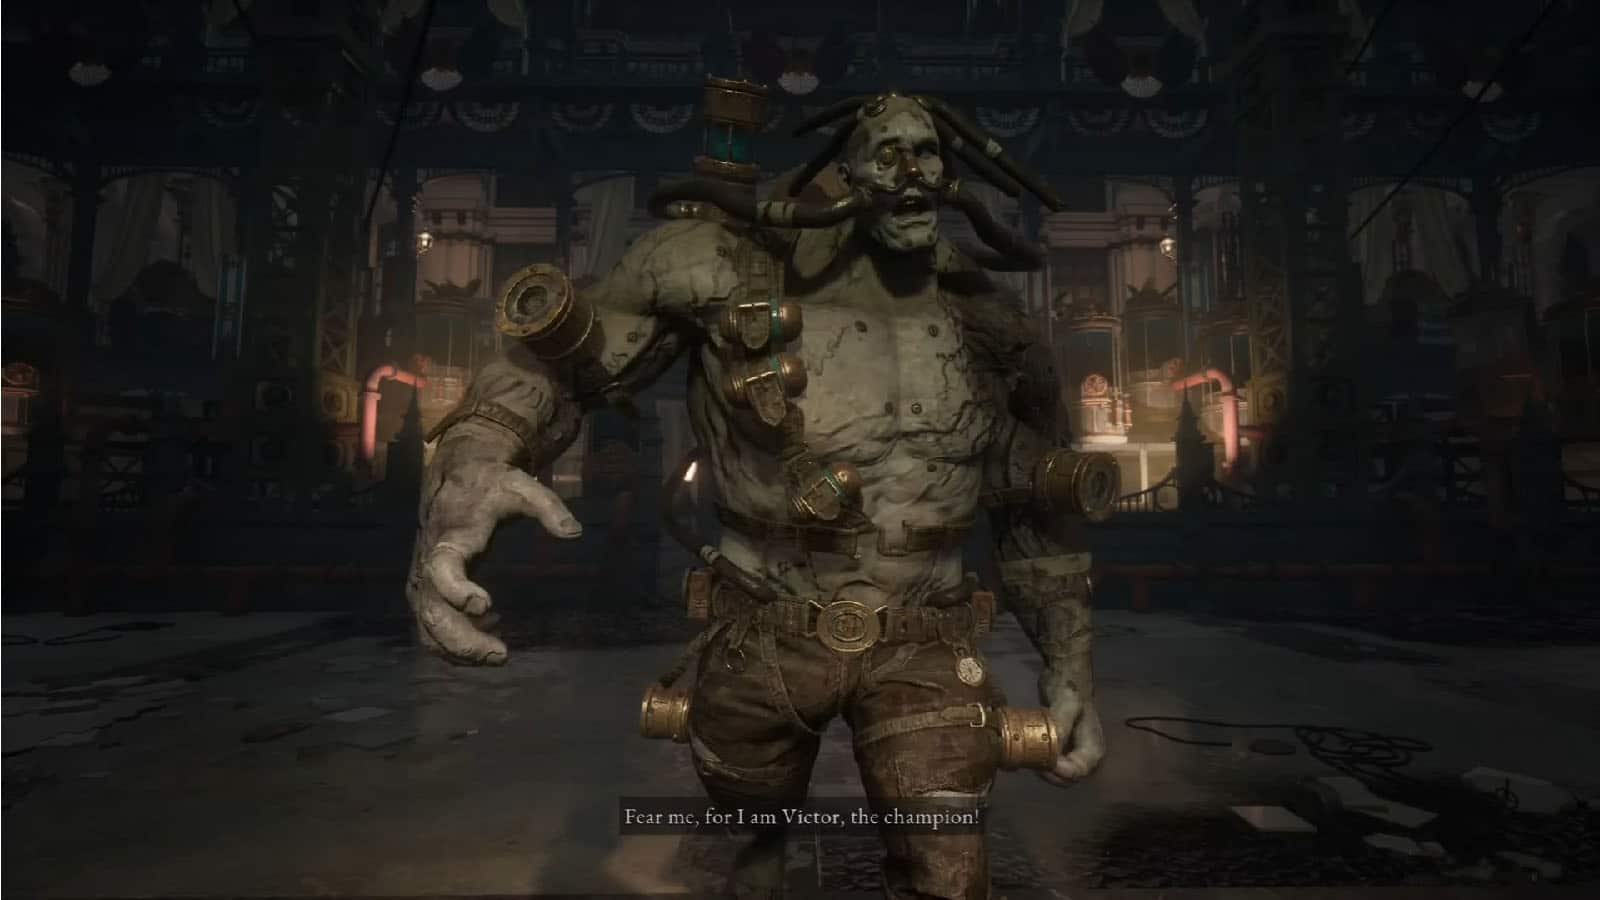
Champion Victor is an alchemist who used his own body for his experiments to enhance and push evolution. He’s a huge brute who uses his fists to throw strong punches. He can also charge and cover a large distance really quickly. It’s super move is a flurry of jabs and punches, ended by an unblockable attack.
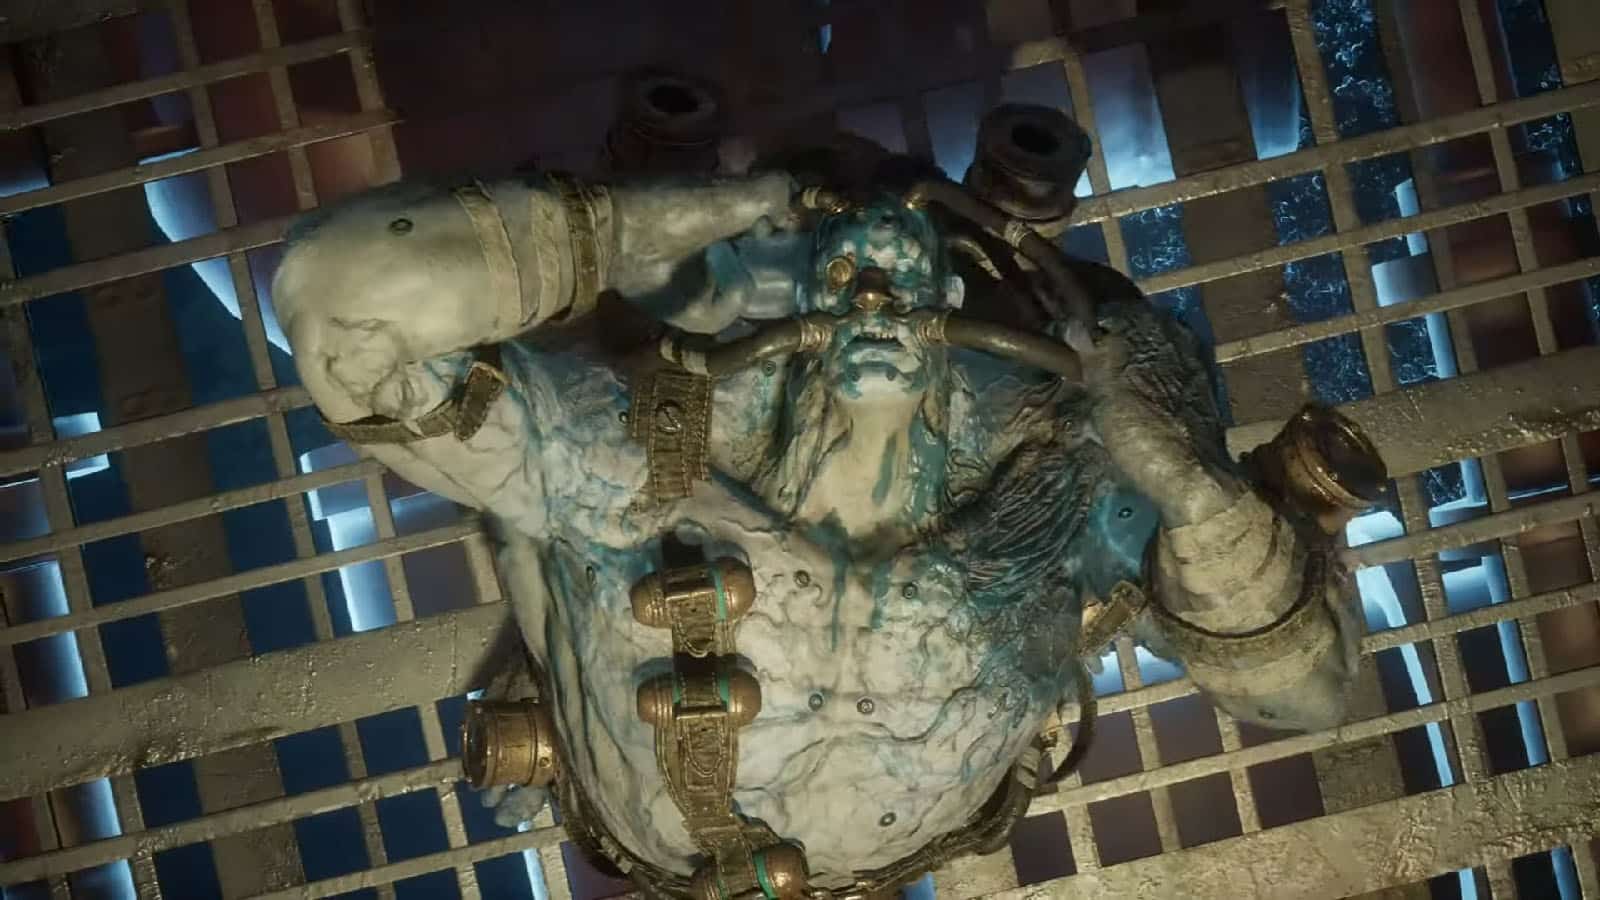
This boss fight has two phases, with the second phase starting once the boss’ health goes down to 50%. In the second phase, he will drop all of his gear and become more aggressive and quick.

Champion Victor’s weakness is its long recovery between attacks. Look at his attack pattern and anticipate his punches to block them properly. As soon as you see that he isn’t winding up for another punch, let out your counterattack. If you manage to stagger and pull a fatal attack, he has a second of invincibility, so use the time to resharpen or heal up.

Once you get Victor’s health down to 0, a cutscene will play where he gets finished off by a mysterious armored fighter. Another man named Simon Manus will also show up and reveals that he’s the one behind the petrification disease, believing that it’s a step to take to reach the next evolutionary step of humanity. He will then ask you on what his “cure” has created; you can answer “Hope of a cure” (lie) or “Monsters” (truth).
After his dialogue, he will give you the Saintess Mercy Statue Gallery Key. You will also be rewarded with the Reborn Champion’s Ergo for defeating Victor.
Before leaving the area, make sure to activate the Stargazer. Then, go back to the locked door and use the key to open it. You will then receive the Respect Emote. You will also see Sophia in the room, and another Stargazer that you can activate.
Saintess of Mercy Statue
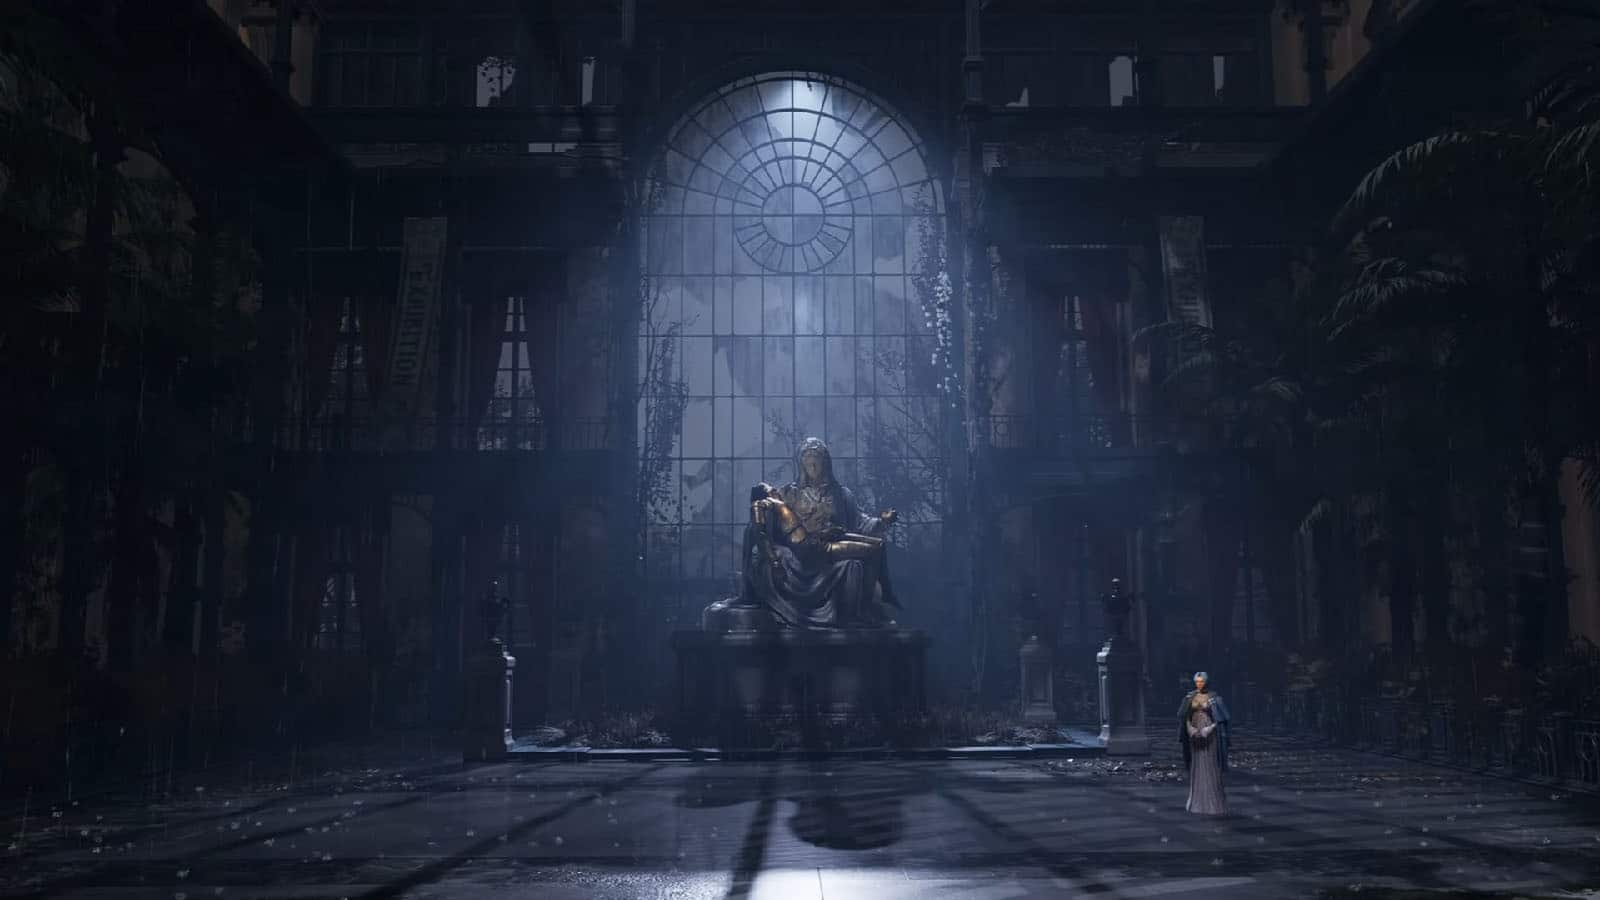
Interacting with these statues will allow you to reset your level, P-Organs, and even Legion Arms in exchange for Gold Coin Fruit. The more resets that you do, the higher the cost will be. This is how P’s stats can be respecced to a different configuration.
Once you’re done, head back to the Grand Exhibition Conference Room Stargazer, then take the next door. Before proceeding: Take the time to go back to the hotel and bring some gold coin fruits with you.
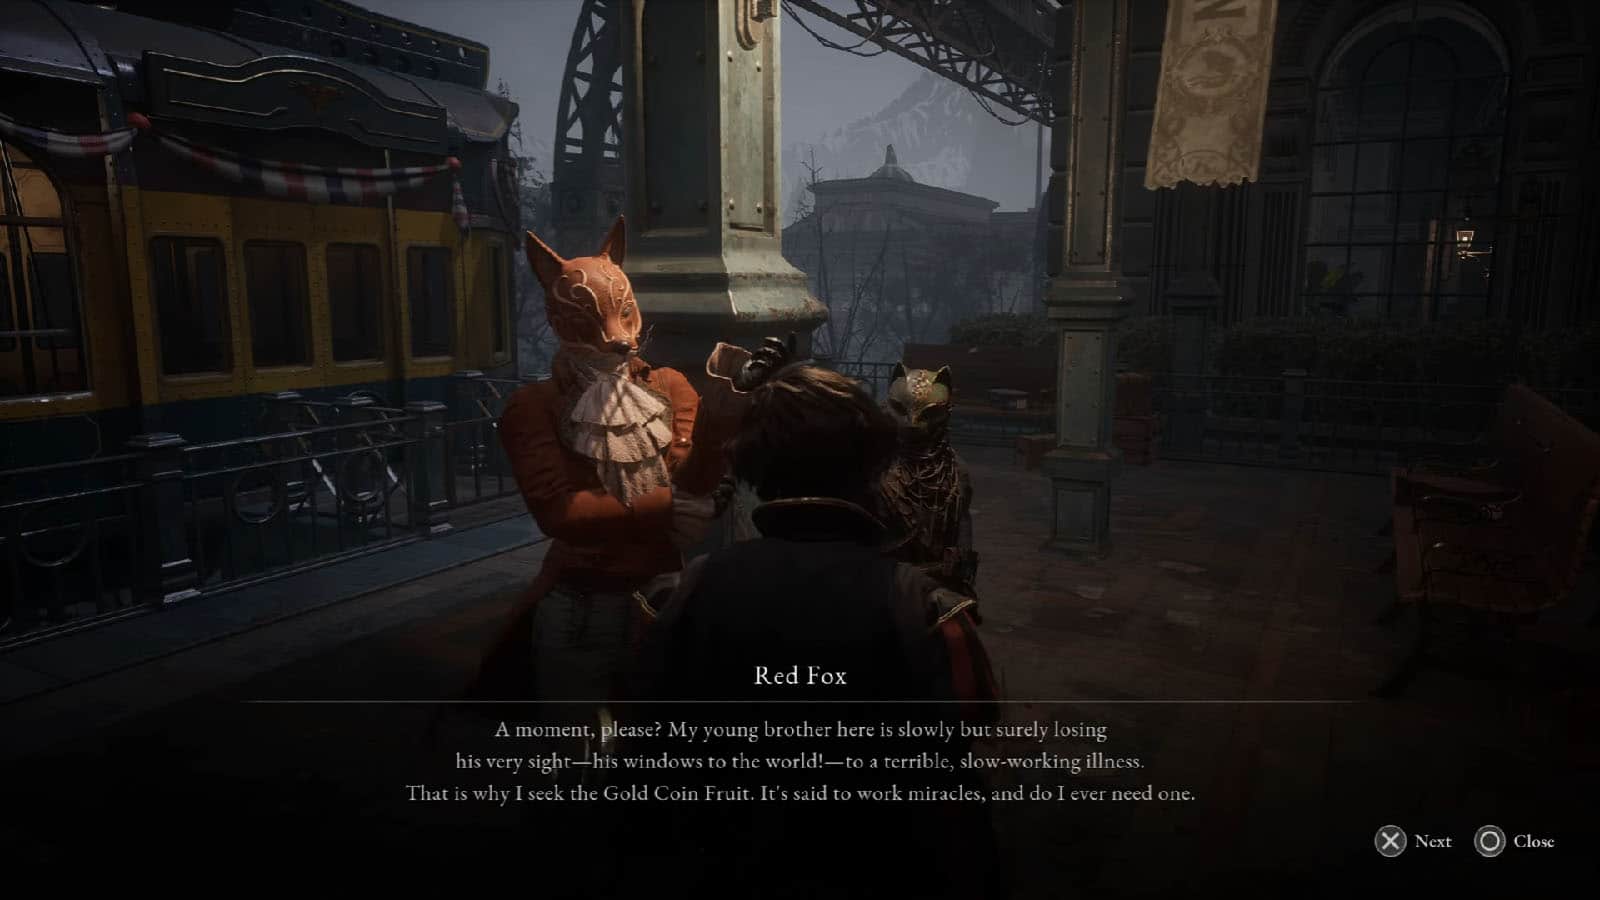
Follow the path until you arrive at another platform where you meet the two Stalkers once again. They will ask for you to spare some Gold Coin Fruit, and you can choose to give one to them or not. If you give them one, you will receive the Gesture – Beg and the Record – Quixotic.
Additionally, if you give them a gold coin fruit now, you will have an opportunity to make their boss fights optional in Chapter 11. Otherwise, missing out on giving them the fruit at this point will lock you in to a fight against each of them in the abbey.
You can then approach the tram and go through Venigni’s dialogue with you. Afterwards, you can head back to the hotel, or take the tram to the next chapter.
Someone’s Necklace
With the Someone’s Necklace that you got from the King of Puppets, talk to Sophia at the hotel after completing this chapter and it will trigger a cutscene showing that P is starting to turn into a real boy. P’s hair also changes from being slightly puffy to a more relaxed lock.
See next: Lies of P: Chapter 8 Barren Swamp Guide


