
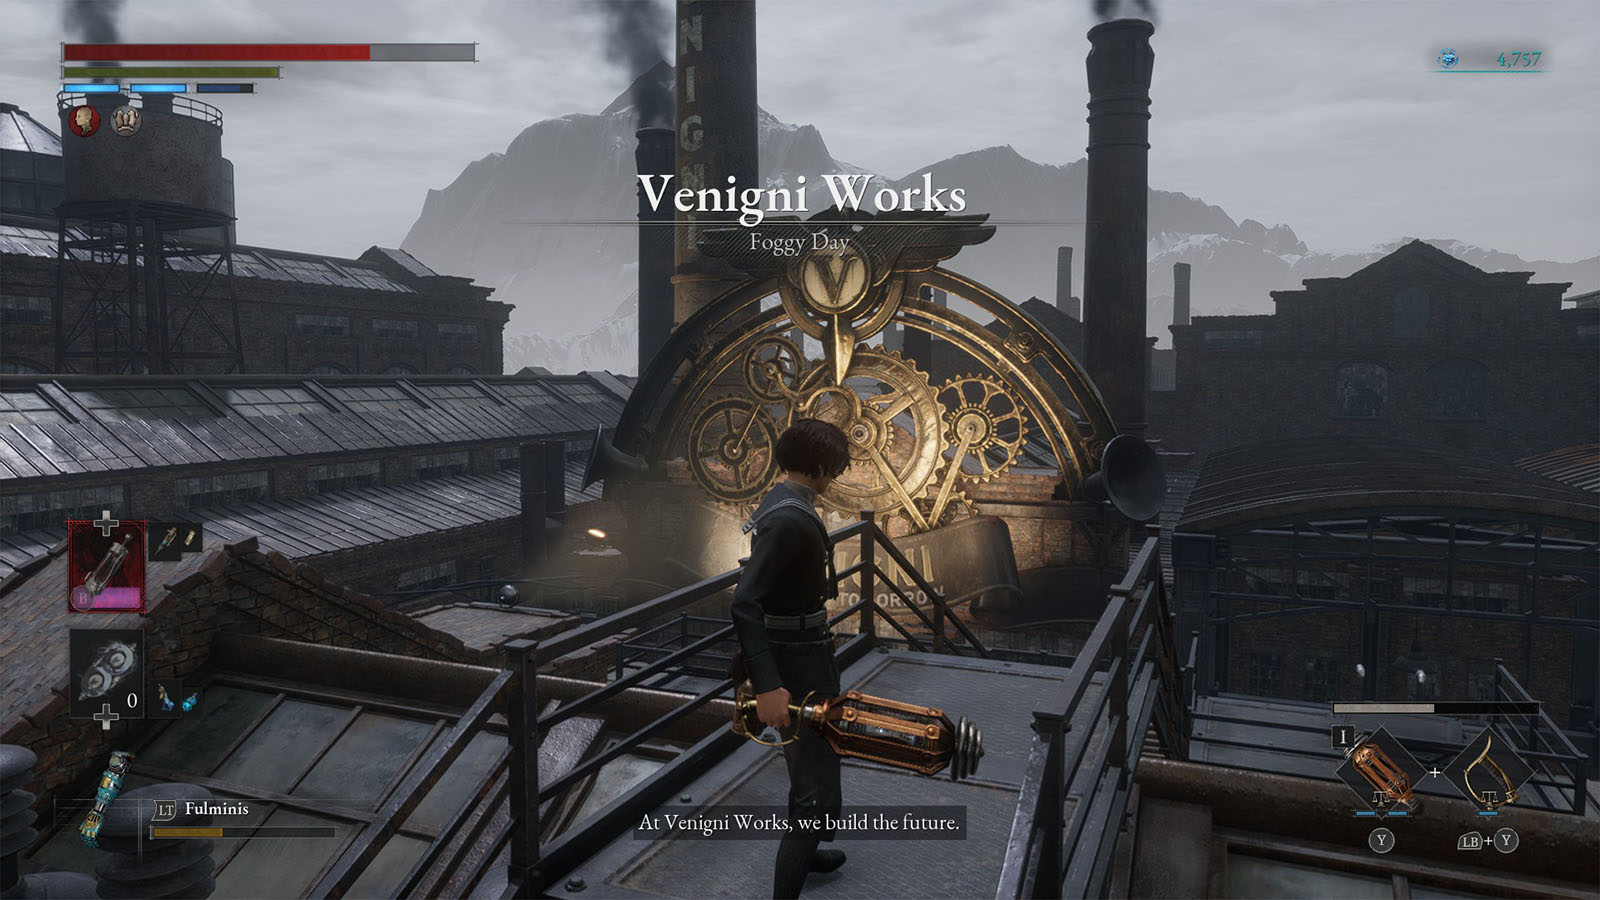
Lies of P is an action soulslike game that follows the story of P, a humanoid puppet created as the last hope against the puppets that have turned against everyone in the city of Krat. After being reunited with Geppetto once more, P now needs to venture into the overtaken workshop to rescue another great inventor.
Read ahead as we go through the events of Chapter 3 Venigni Works of Lies of P and share some tips and secrets that can be found along the way.
See previous: Lies of P: Chapter 2 Krat City Hall Guide
Lies of P: Chapter 3 Venigni Works Full Walkthrough
After opening the gate from the Krat City Hall Courtyard, you will then reach the first areas you need to go through to reach the Venigni Works workshop, where you need to rescue Venigni.
Workshop Union Entrance
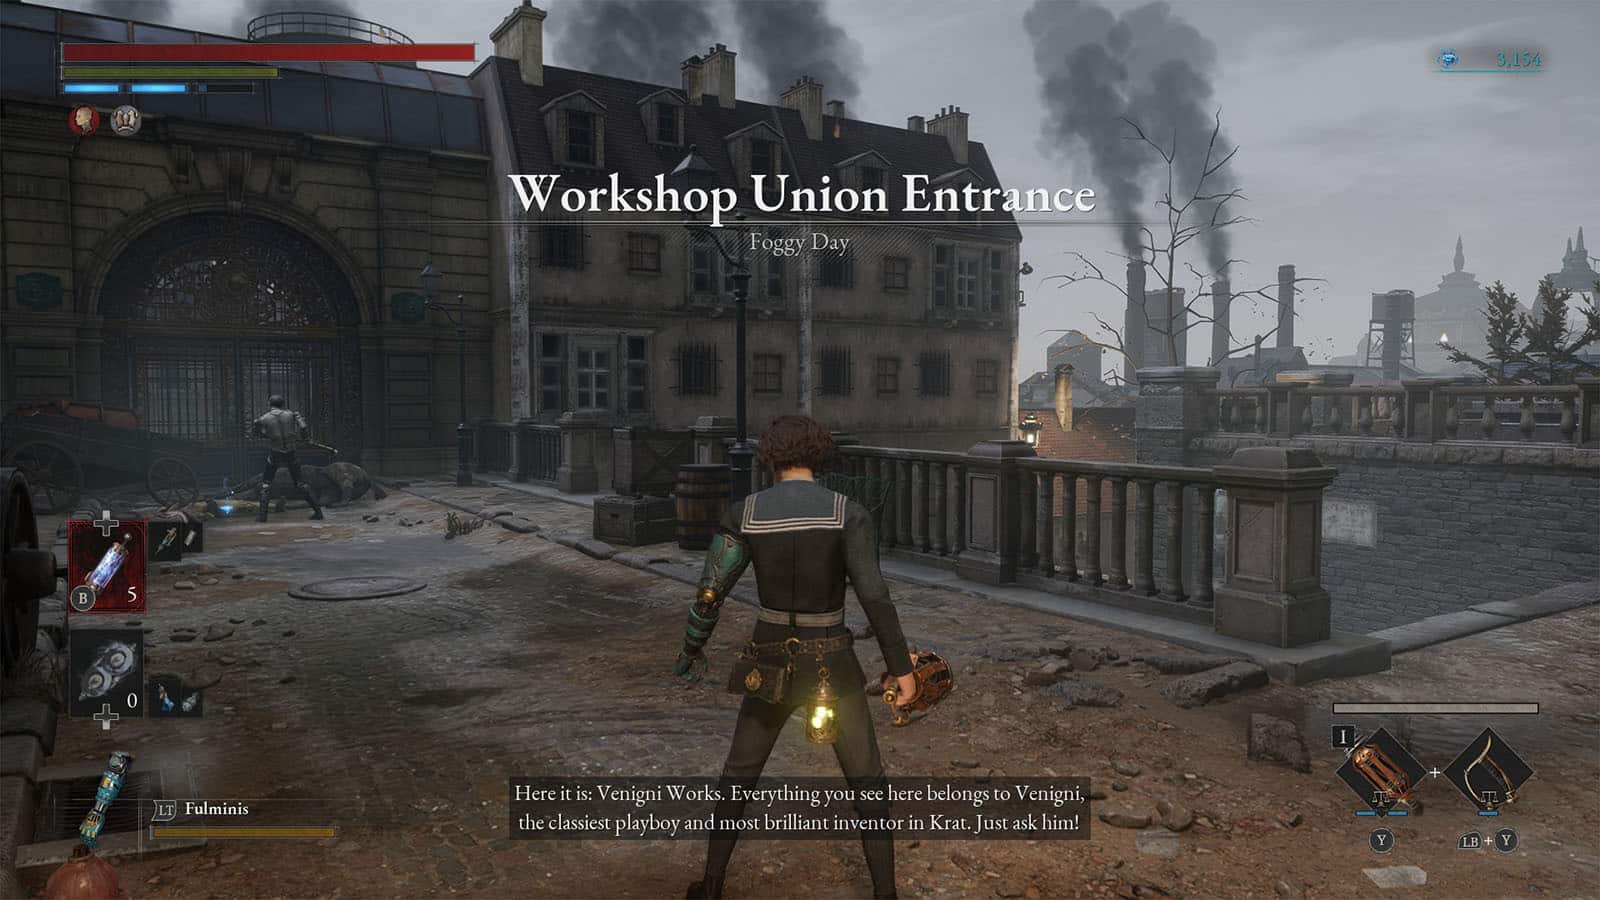
As you get to the entrance, there are different areas to go to. First, head to the left where a puppet is at, then head to the right to get to the balcony to find the Collectible – Miracle Cure. Then, get to the rooftops.

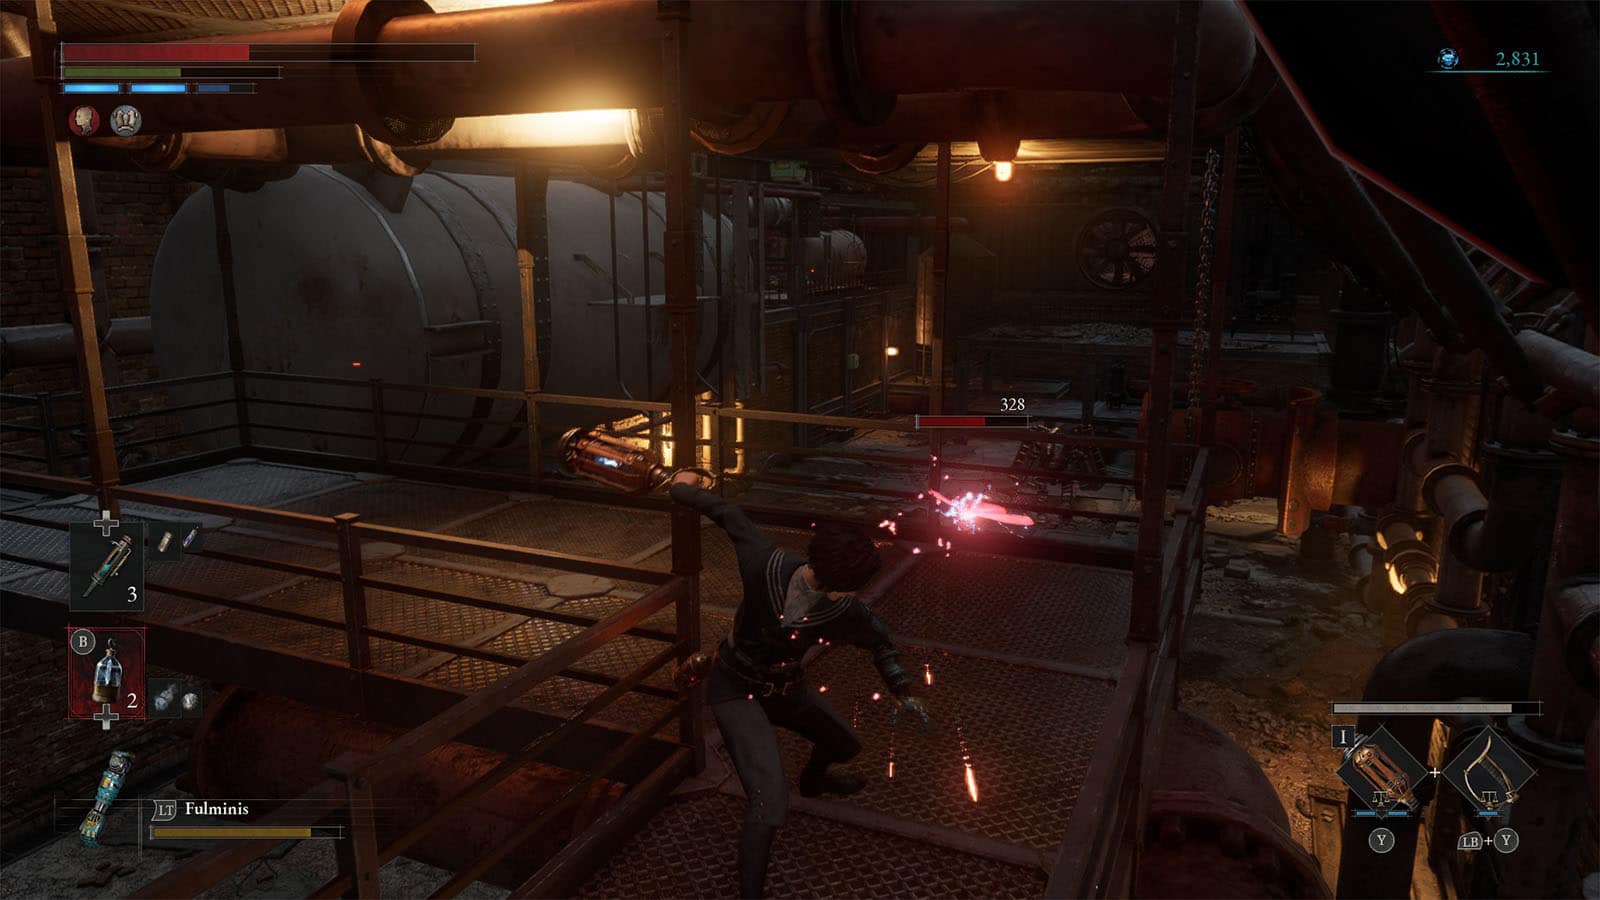
You will encounter a new type of puppet, the spitter. These enemies spit out acid that can cause your weapons to decay. It’s best to deal with them right away and try to avoid their projectiles.
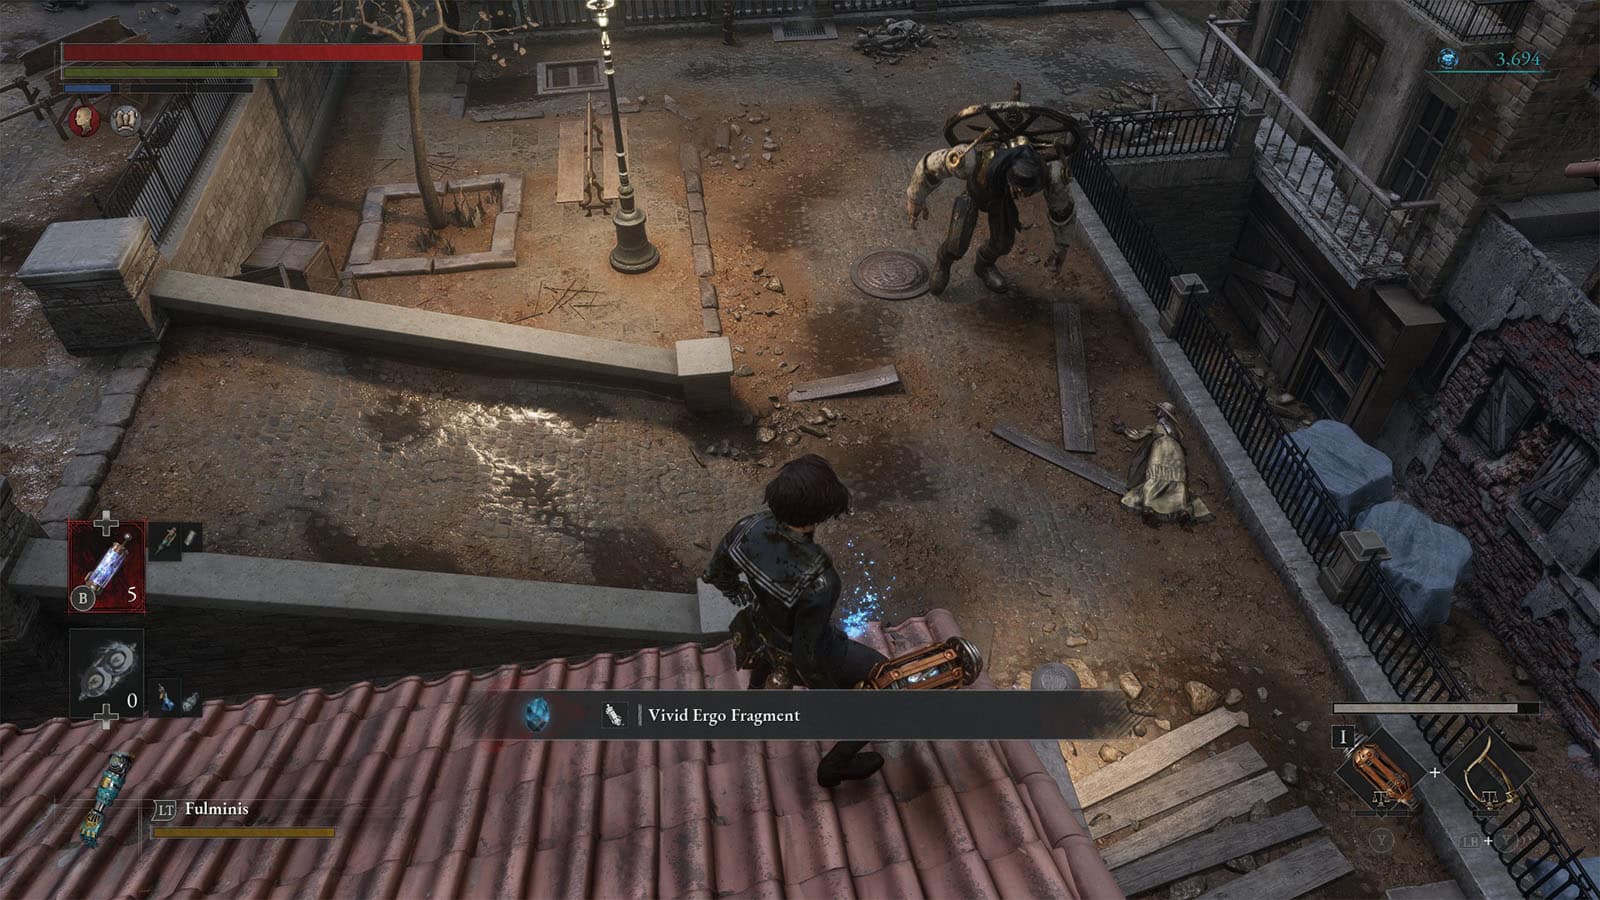
As you step on the wooden planks, you will crash down back to the ground level where more puppets are at. There is a ladder nearby that you can climb to get to the other rooftop where you get to take a look at the nearby brute. From here, if you have any throwables, now is the time to take potshots at it before you decide to confront it.
Once the brute has been defeated, proceed to head towards the workshop and you will find a bridge that leads to it. Check both sides of it before crossing to find consumables like Gemini’s Emergency Protection, and a Radiant Ergo Fragment.
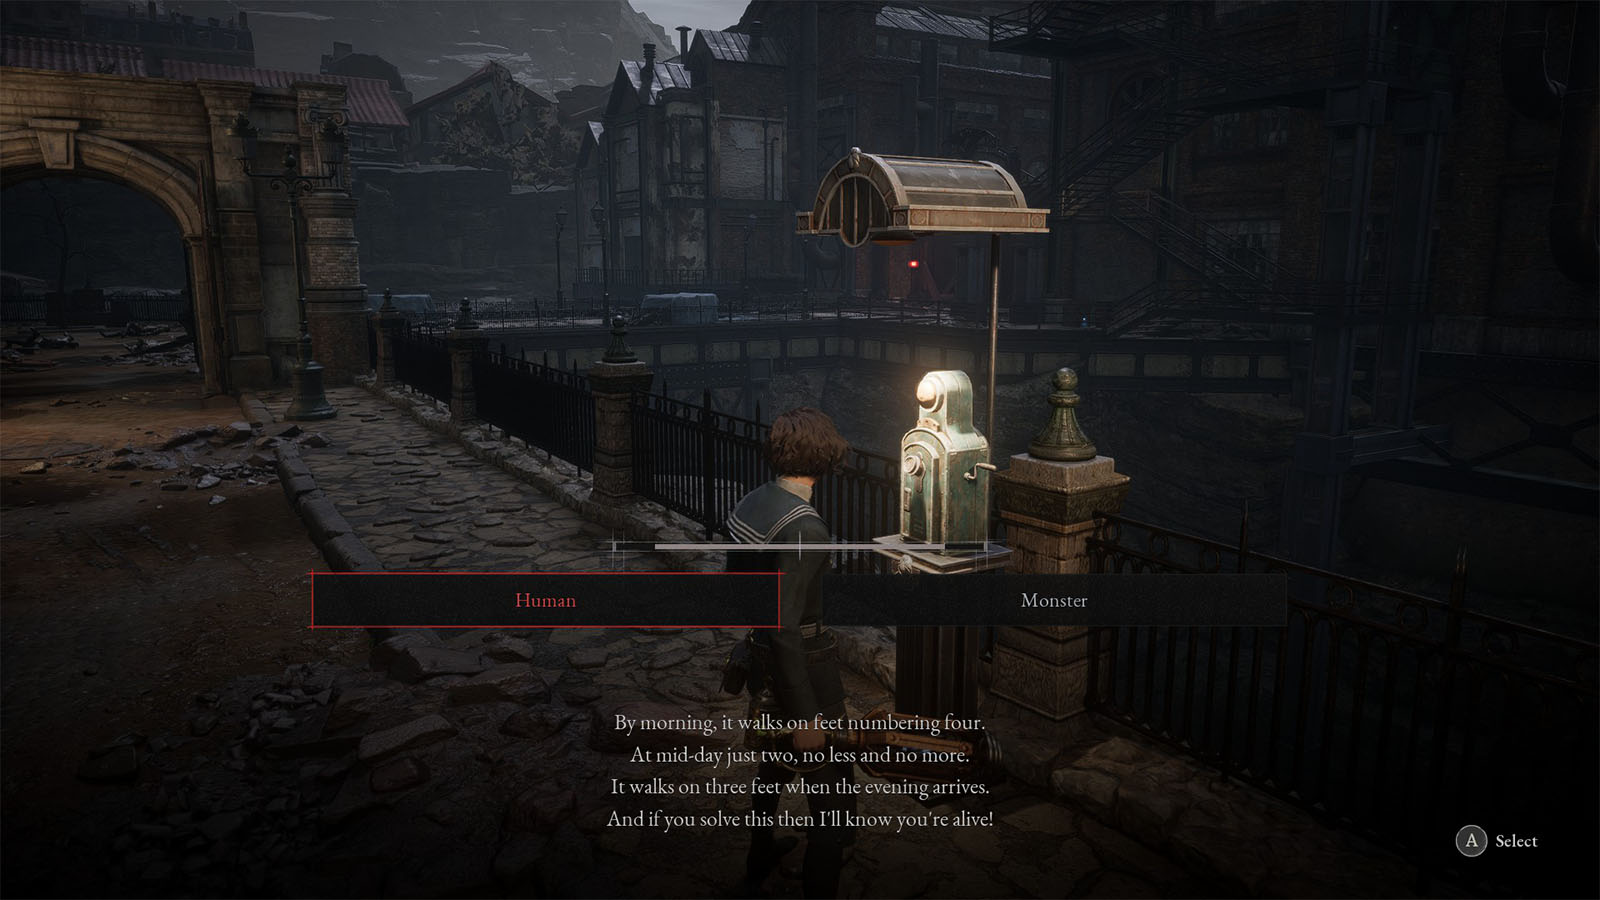
Also, on the right side where you got a fragment, you will hear the phone ringing. Answer the phone and you will get a phone call from Arlecchino, self-proclaimed King of All Riddles. He will give you a riddle that you will need to answer to get a special prize. The riddle is a common one and the answer to it is “Human”. After answering the prize, you will get the Trinity Key which opens a special room somewhere in the workshop.
Go to the gate of the workshop and climb the scaffolding stairs to the side to go over the wall.

After going over the wall, head back down where you will see the first Stargazer for the Workshop Union Entrance. There are two ways to go from here. For now, head up to the stairs on the right to enter the workshop.
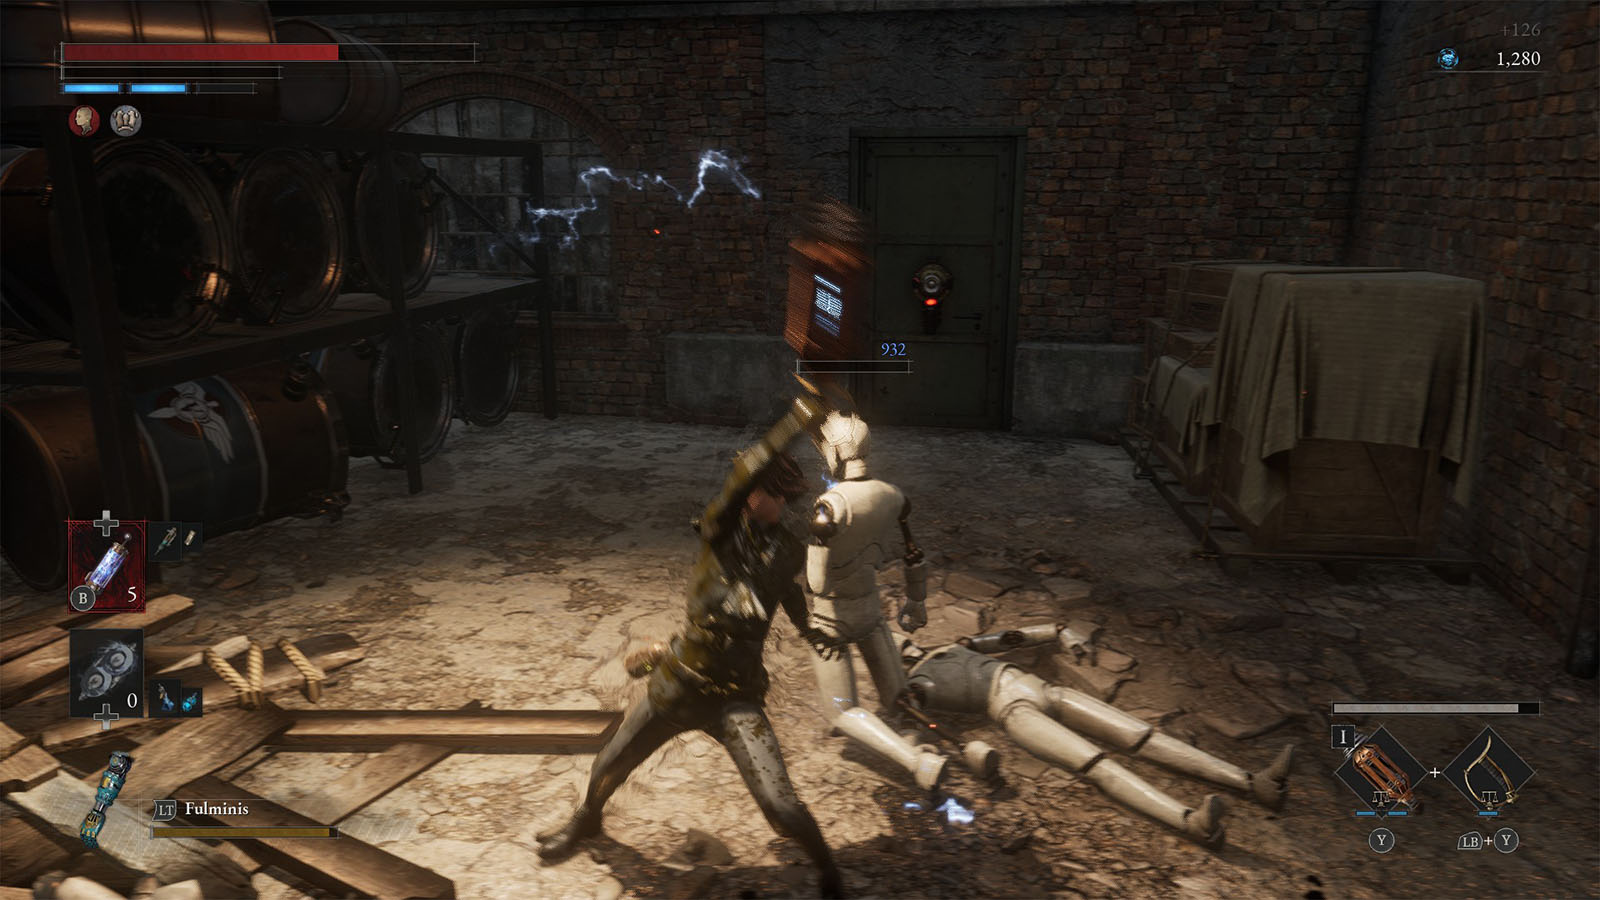
Navigate through the room to the left and you will find a hole in the floor underneath some crates. As you jump in, prepare to get mobbed on by dummy puppets. These dummies are stagger resistant and can take a beating before they get interrupted, so most of their attacks can get through. Try to take them one by one, keeping a safe distance where you can evade their attacks.
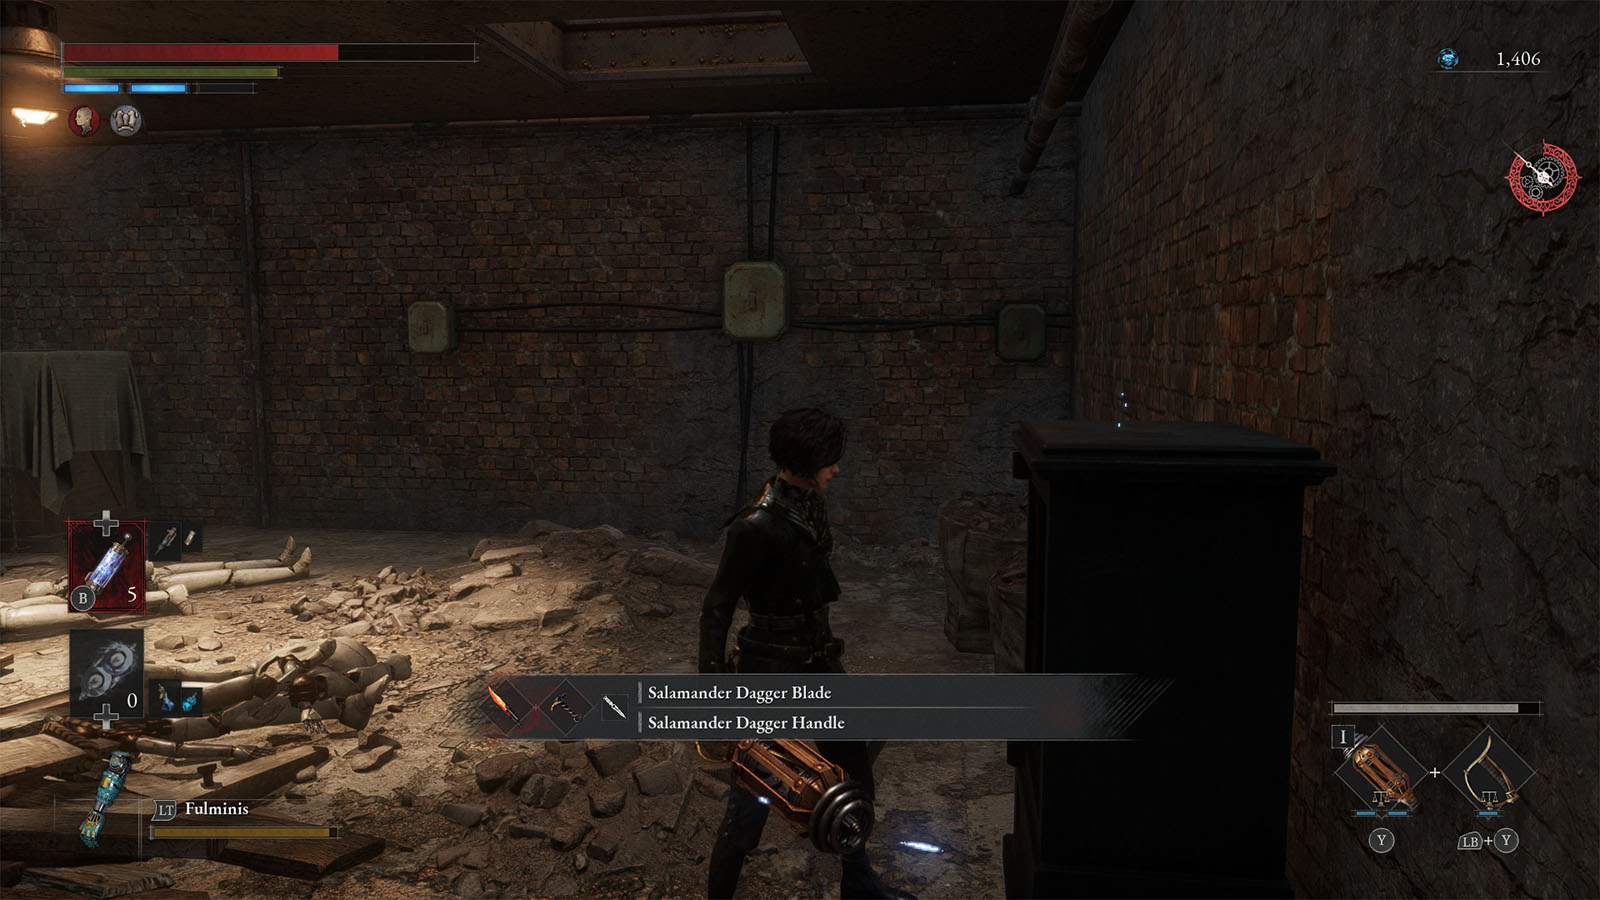
After clearing all the dummies, open the safe nearby and you will get the Salamander Dagger weapon. Unlock the door to exit the room and get back to the Stargazer.
Continue up the stairs once more and explore the rest of the workshop where more dummies and regular puppets are patrolling. There are also upper levels that are connected with beams; use these beams to walk across and reach the other side.

There is also another chest at the end of the factory which contains a Belford Shock Cartridge. There’s also the Collectible – Factory Manager’s Report tucked between a niche in the factory.
Elite Fight: Shield Automaton
Deeper in the factory, you will find a box hung up in chains. Approaching this box will make it fall and reveal its content which is the Shield Automaton.
This enemy wield two impenetrable shields that it uses to block your attacks, as well as to charge and bash right at you. Once it has been defeated, it will drop a Legion Caliber which is a crafting material needed to upgrade Legion Arms.
After the fight, continue up the stairs to reach the catwalks. You will find another red butterfly; killing it will reward you with the Motivity Crank which you can use to modify your weapon handle’s stats.
Keep pushing ahead until you reach the next area which is the culvert.
Workshop Union Culvert
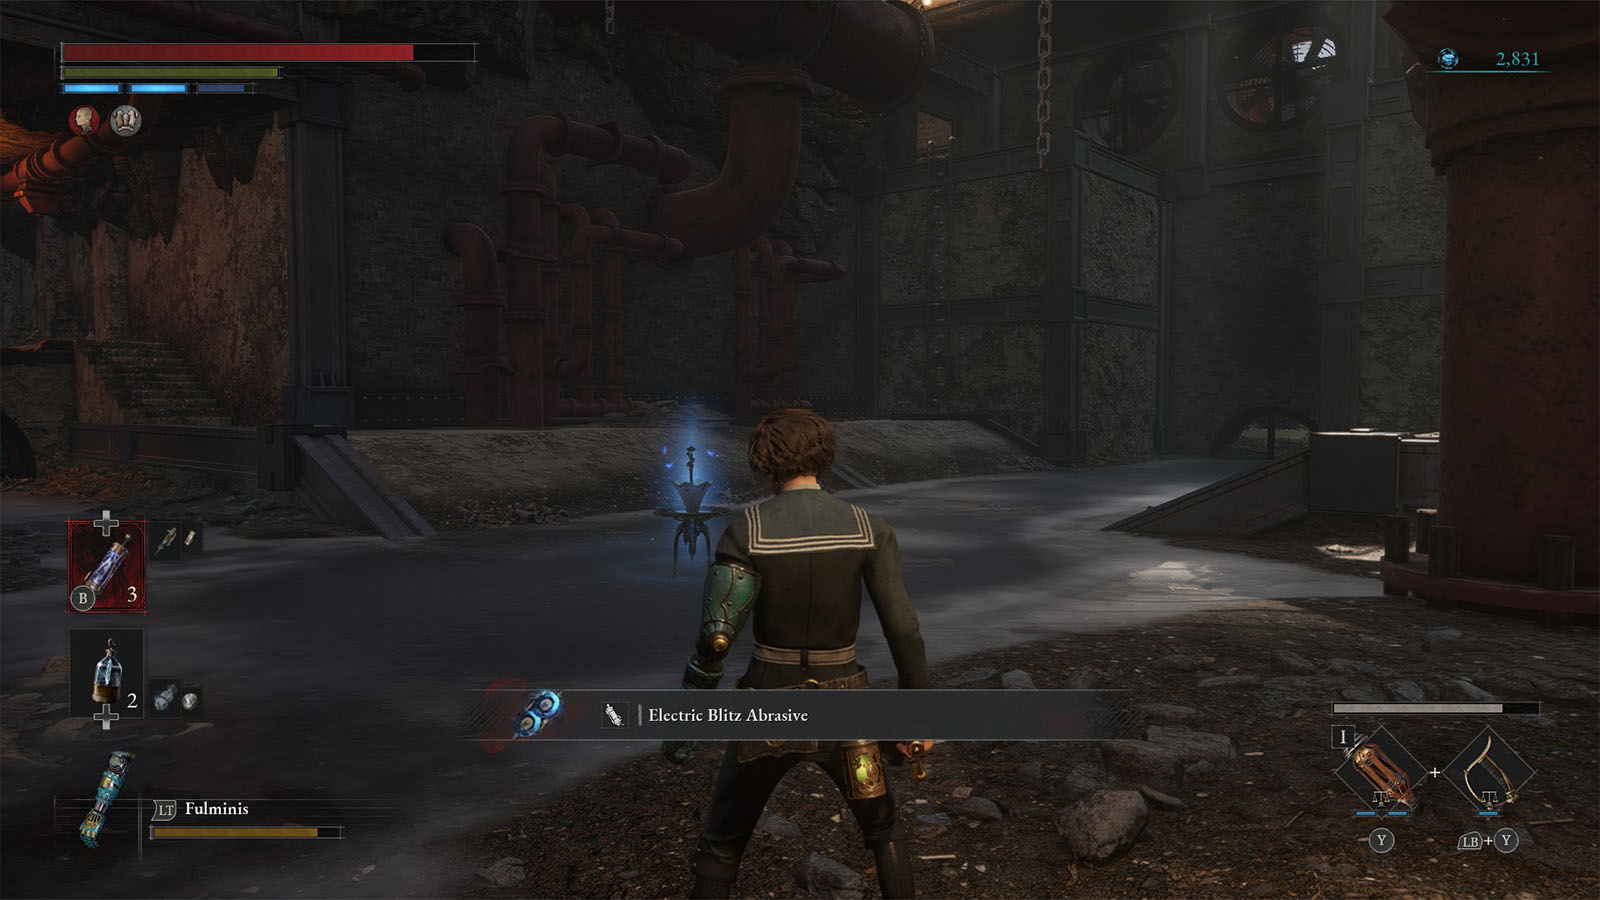
After activating the save point, you will see a tunnel nearby where a dummy is sitting at the end of it. Be careful when approaching it as there will be flaming boulders running from the right side.
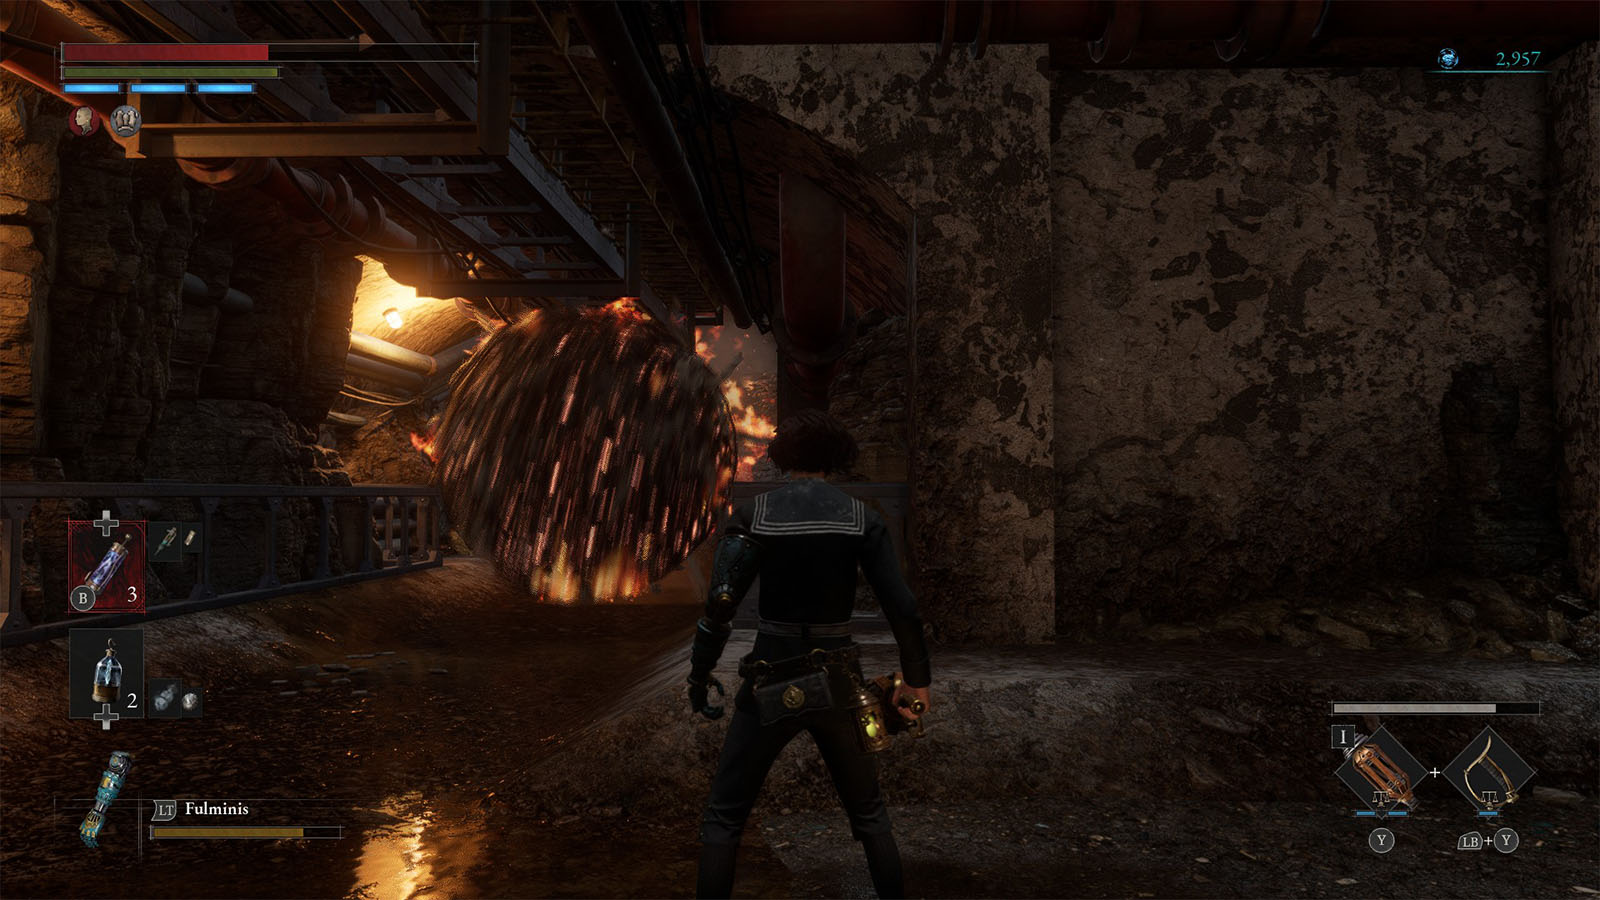
These boulders come in an interval, so time your crossing and hug the wall once you see a boulder. These boulders can also hurt enemies and set them on fire.
Inside the boulder tunnel, head to the left first to get a Dim Ergo Fragment. Then, head towards the right where the boulders are coming from. The sides of this tunnel are lined with dummies, so take them down one by one.
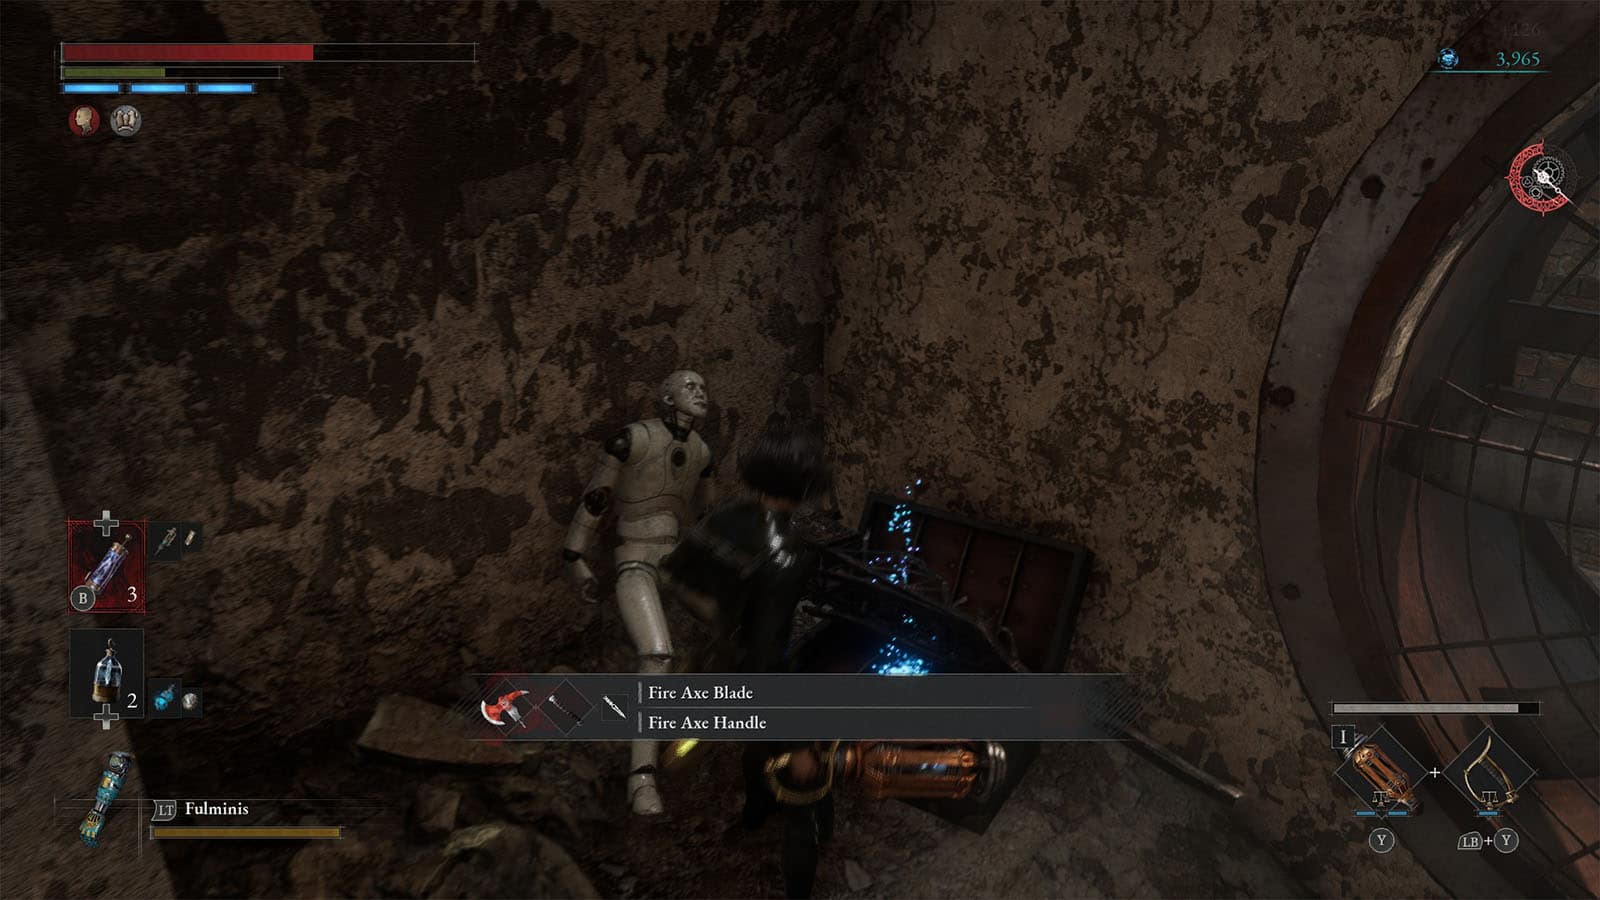
You will pass by several corridors along the way, but for now, try to get to the very end of the main tunnel first (beware of the jump scare on the right just before the end). The chest at the end of this tunnel contains the Fire Axe weapon.
Head back to the first corridor you passed to get to the upper area where the Shield Automaton was. Press the button to release the ladder down as a shortcut.
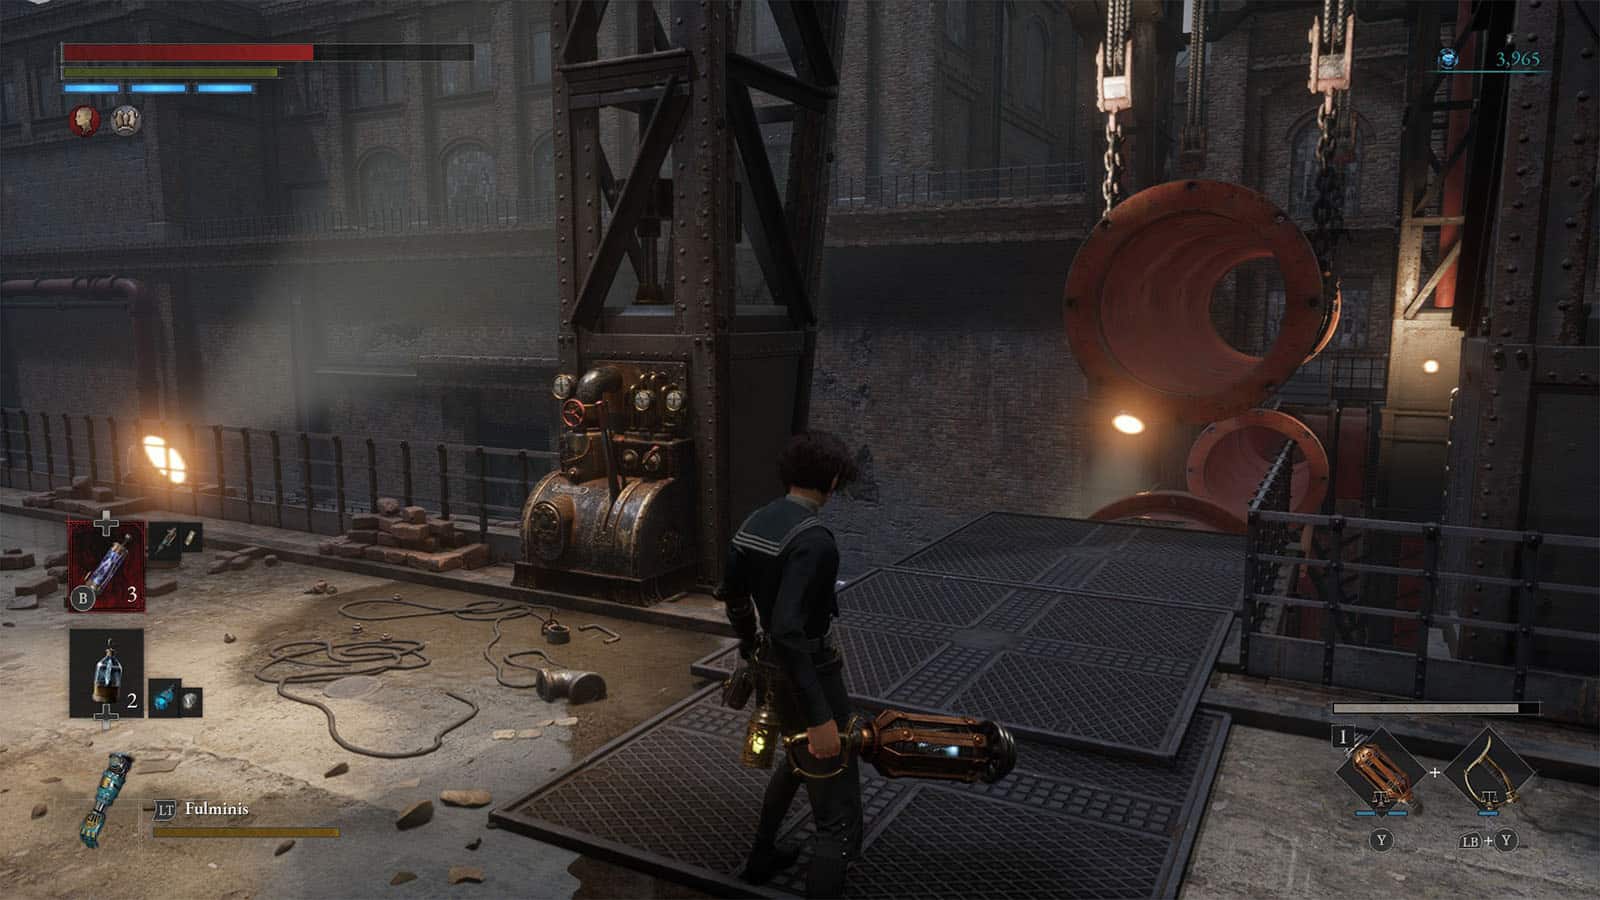
Next, go to the corridor where a dummy busted out from. You can find a Vivid Ergo Fragment along the way, and at the end of the corridor if another open area. Head to the right first and approach the crane controls by the pipes. Activate the crane to lower down the pipe and unlock a shortcut back to the first save point by the entrance.
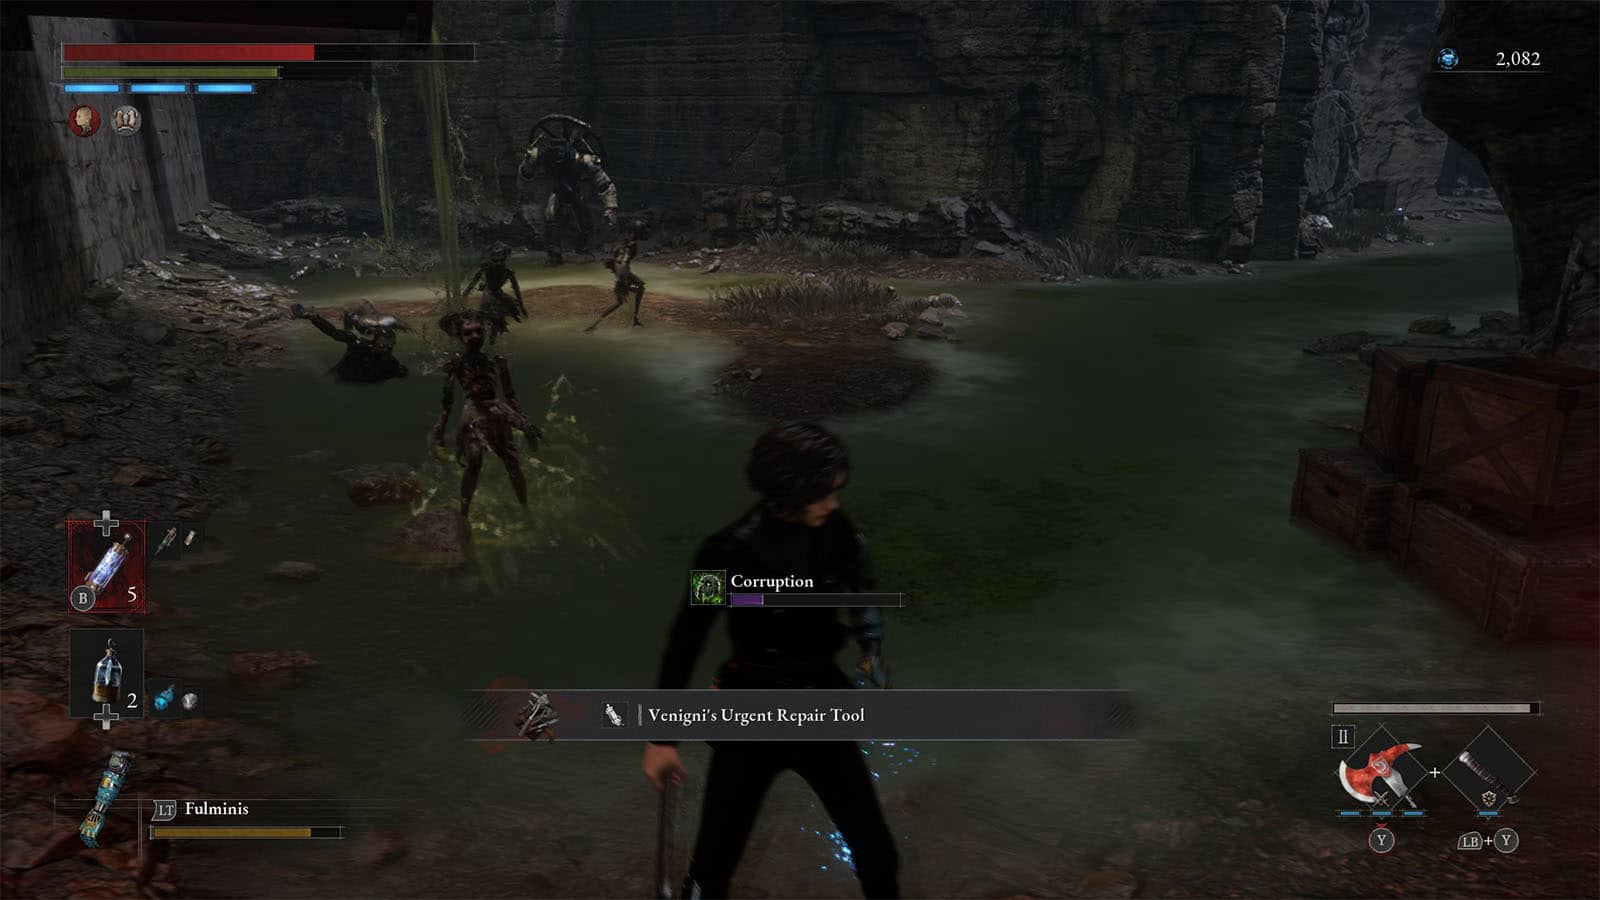
Before heading to the left side where two Stalkers can be seen, go back to the sewer Stargazer and go through the pipe where you will reach a flooded area. The water is caustic and will cause corruption to build up on you, so try to stay along the edges. There is also a brute patrolling this area, plus several Spitters. This area is optional, but there are some Ergo Fragments and Repair Kits at the end, plus another red butterfly that gives a Hidden Moonstone.
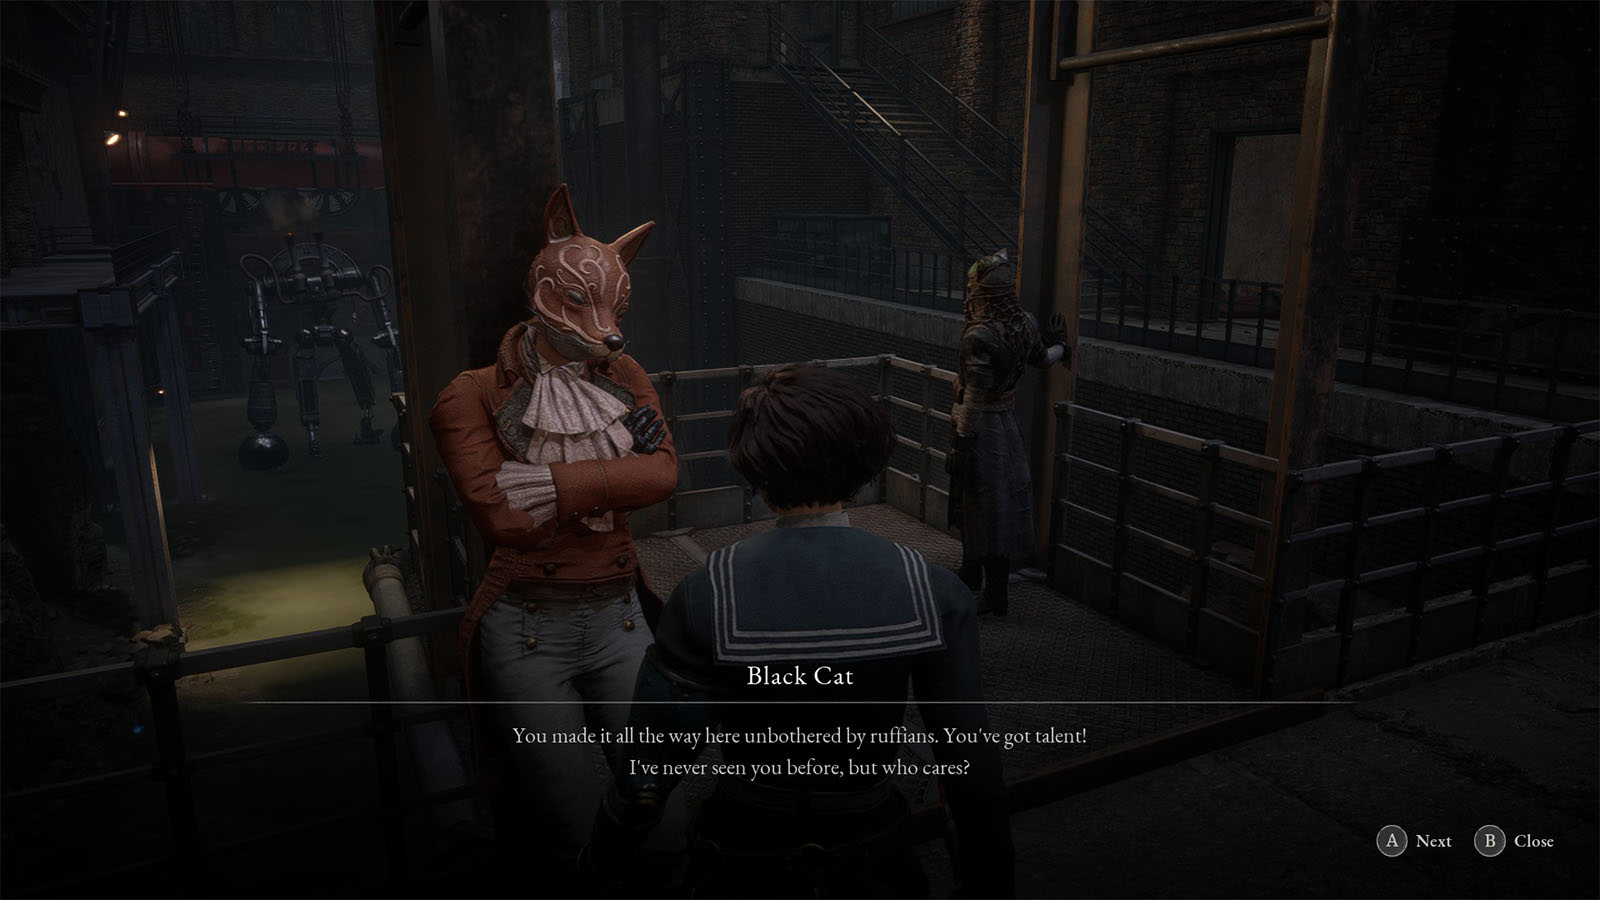
Head back to the area where the Stalkers are. These Stalkers are friendly, for now at least, so talk to them to get more details. Talk to the Black Cat twice and he will sell the Collectible – Ripped Venigni’s Krat Landmark Guide III for 500 Ergo.
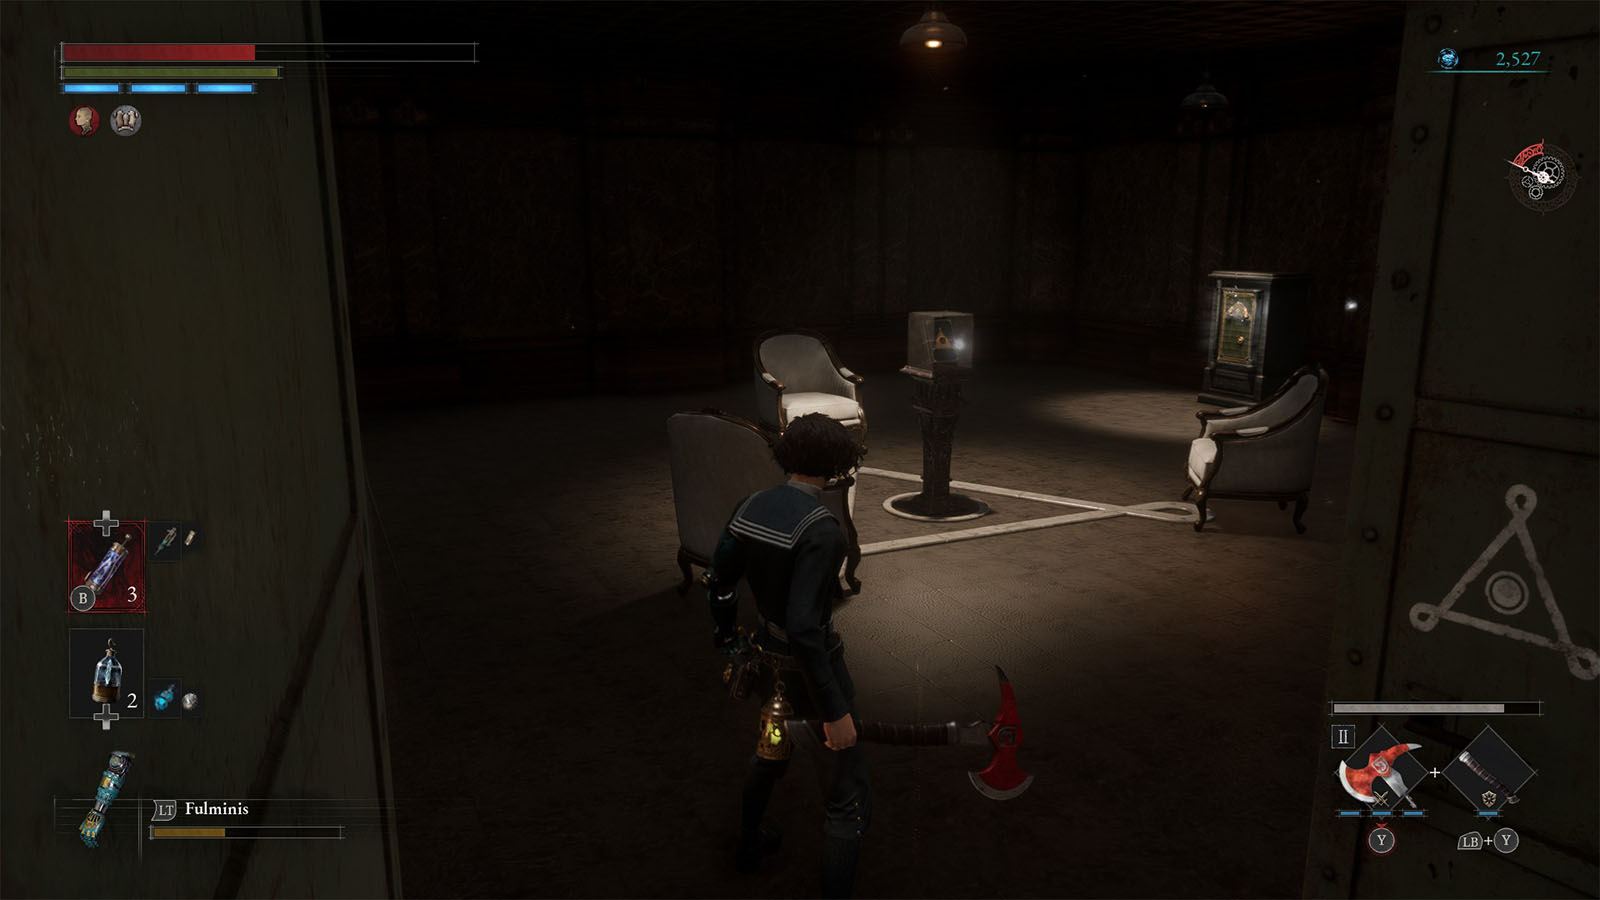

Go to the next corridor nearby. This is where you will find a green door with a triangle marking on it. If you have the Trinity Key, you can open this door to access a secret area. Open the safe to find the Costume – Blue Blood’s Tailcoat and a Quartz.

Go back to the corridors and head into the pipes. There will be dummies in here that only have lost their legs. Despite that, they can actually crawl faster. There are several within the pipes, try not to get mobbed.

Another enemy that you will find is the Shovel Automaton which is a tough enemy. This enemy patrols the pipes and charges at you on sight. You can engage with it, or you can outrun it. Once it has been defeated, you will get the Amulet – Swordsmanship Master’s Amulet. Behind the automaton is a valve handle that you can turn to drain the corruption puddle below the area where the Stalkers are. There is also another gate here that you can unlock for a shortcut later on.
Now that the puddle is drained, you can head back to the open area and go against the giant Puppet of the Future.
Boss Fight: Puppet of the Future
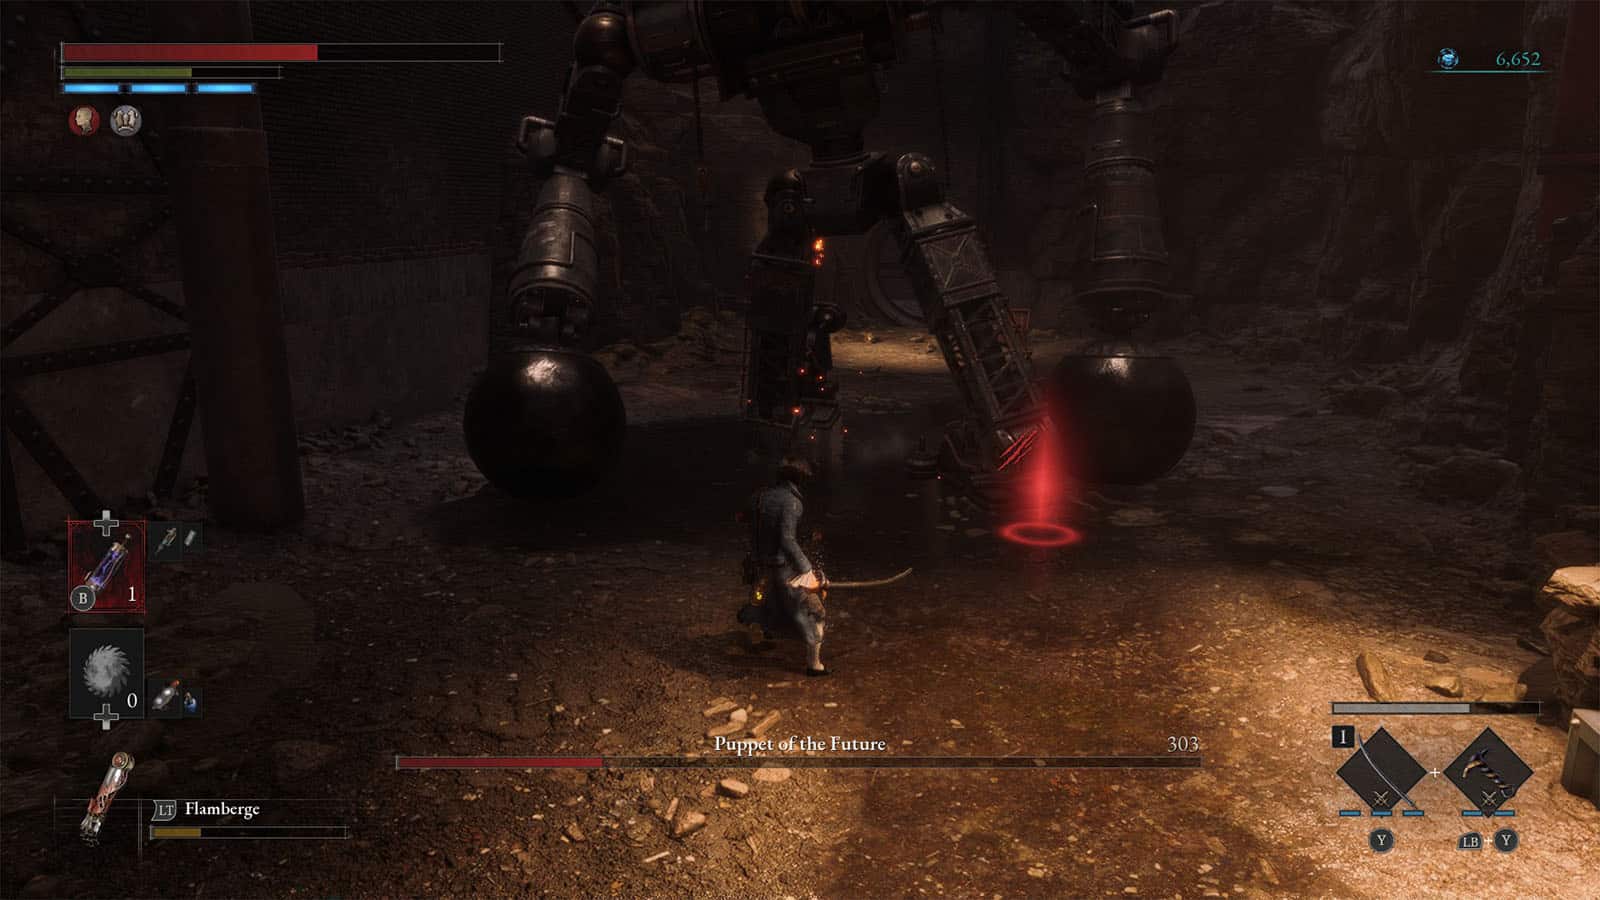
The Puppet of the Future is a towering automaton that is pacing back and forth in the pit within the factory. It wields two metal balls as its fists, though it also uses its legs to stomp the ground whenever anyone approaches it.
This boss is relatively easy to defeat since it moves so slow and its attacks wind up with a clear window to react. The attacks to look out for are its fist smashes, its double leg stomp, and the spinning swing which can cover a large area around it.
Its weakness is its legs as its metal fists are way too hard that it can reflect attacks. It’s also easy to slip past through it in case you get cornered at one end of the pit.
Once the Puppet of the Future has been defeated, it will reward a Quartz, and a Radiant Ergo Chunk. Make sure to check the blue flowers in the pit as they also give Ergo Fragments and a Hidden Moonstone. The chest at the very end of the pit contains the Booster Glaive weapon.
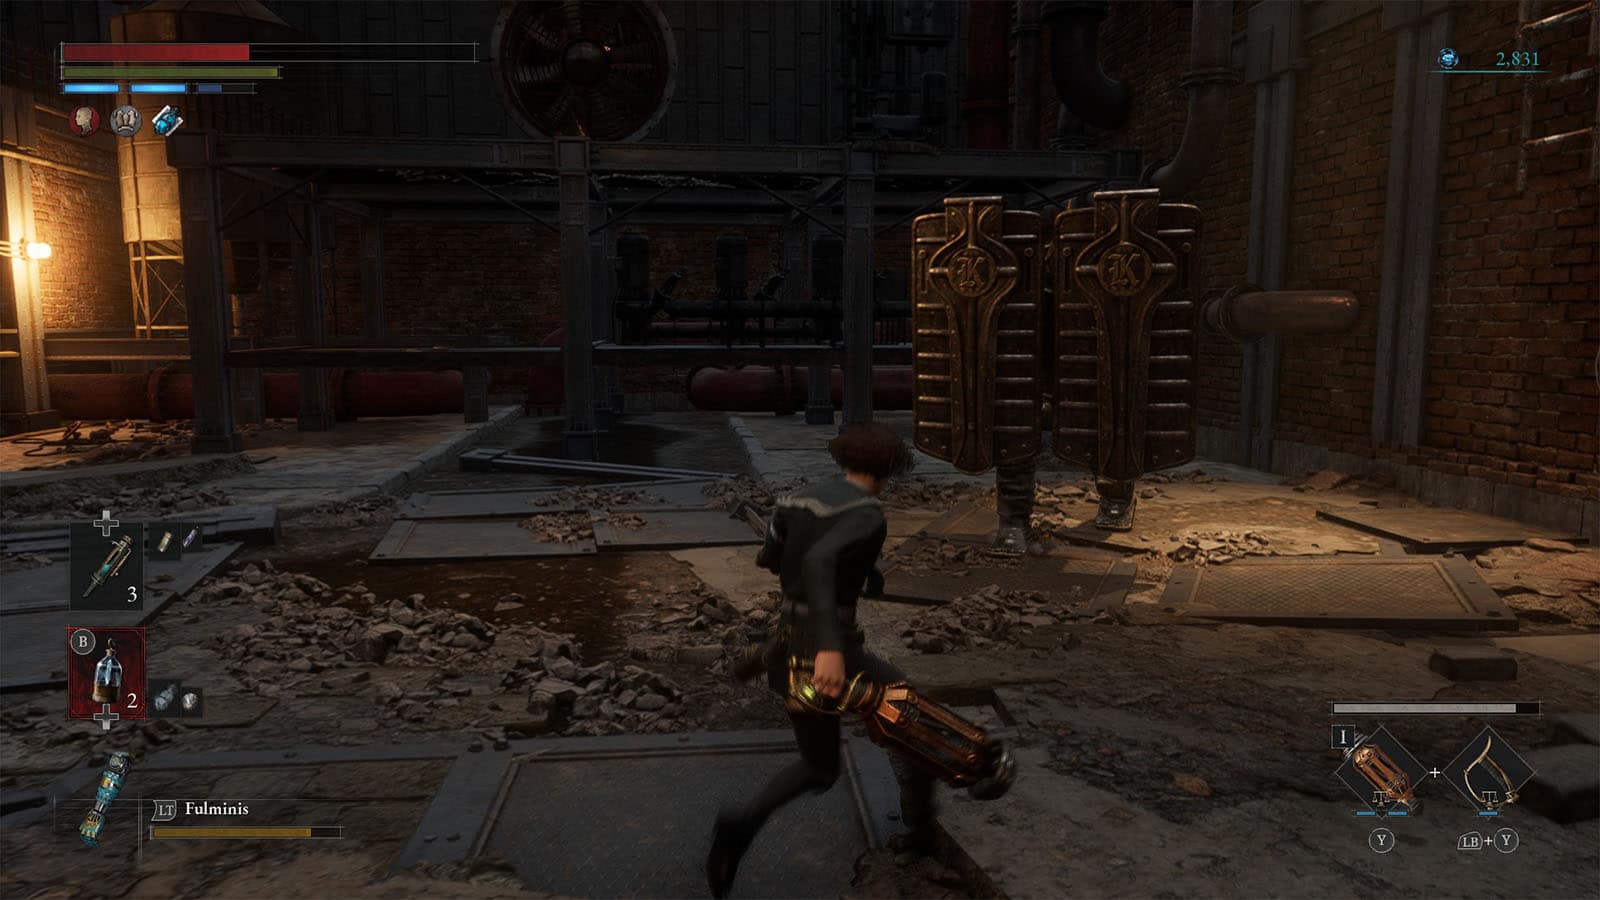
After going through the pipes, you will reach the control room of the factory. There is a vat in the middle of the control room that is being patrolled by another enemy.
The first thing that you need to do is to go up the stairs to the left. You will find Venigni at the top close to another Stargazer.
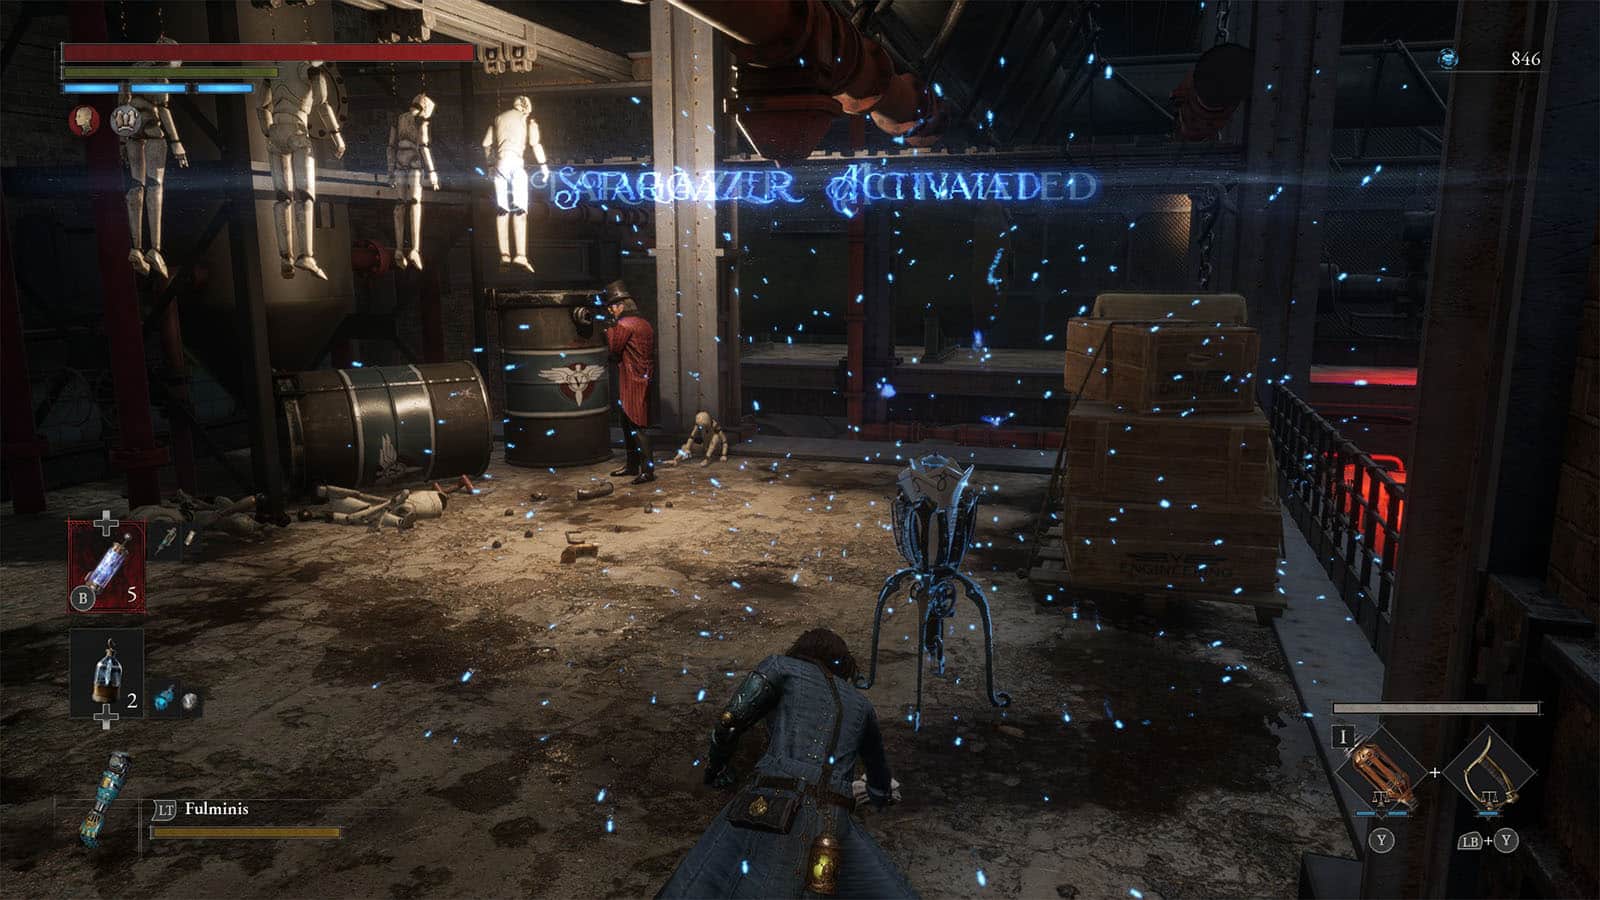
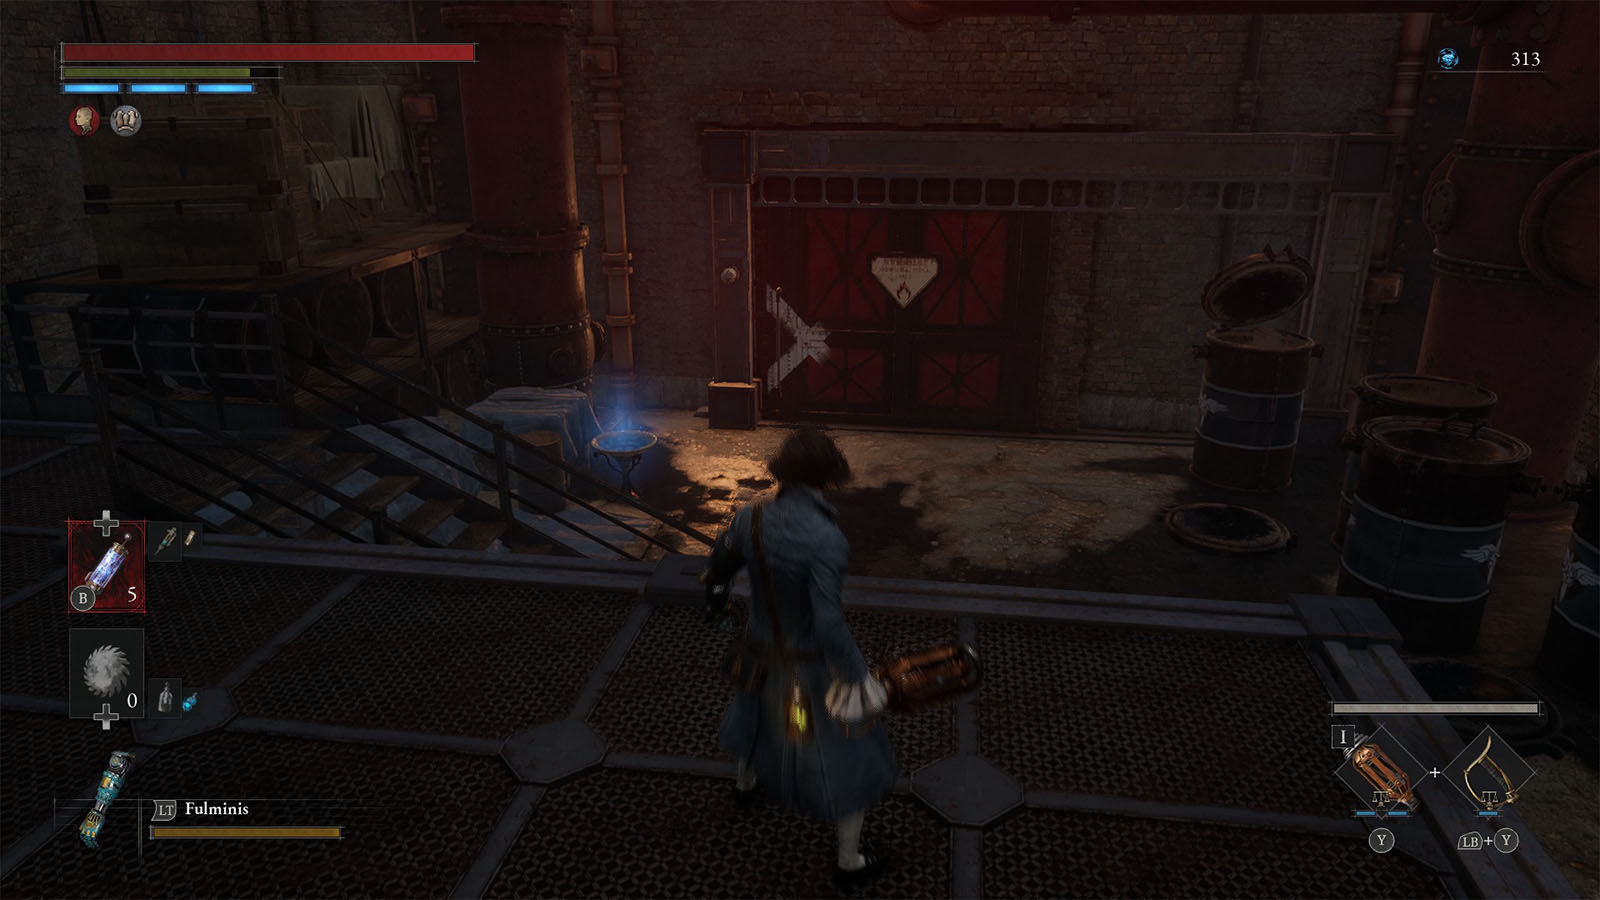
Venigni Works Control Room

Venigni will ask for your help in rescuing his puppet butler Pulcinella deeper inside the control room.
Head back down only until the first platform. From here, you can cross the central area high above the vat by crossing the beams. Be careful as there are enemies that can see you from below. These enemies are throwers that can throw explosives at you to knock you down.
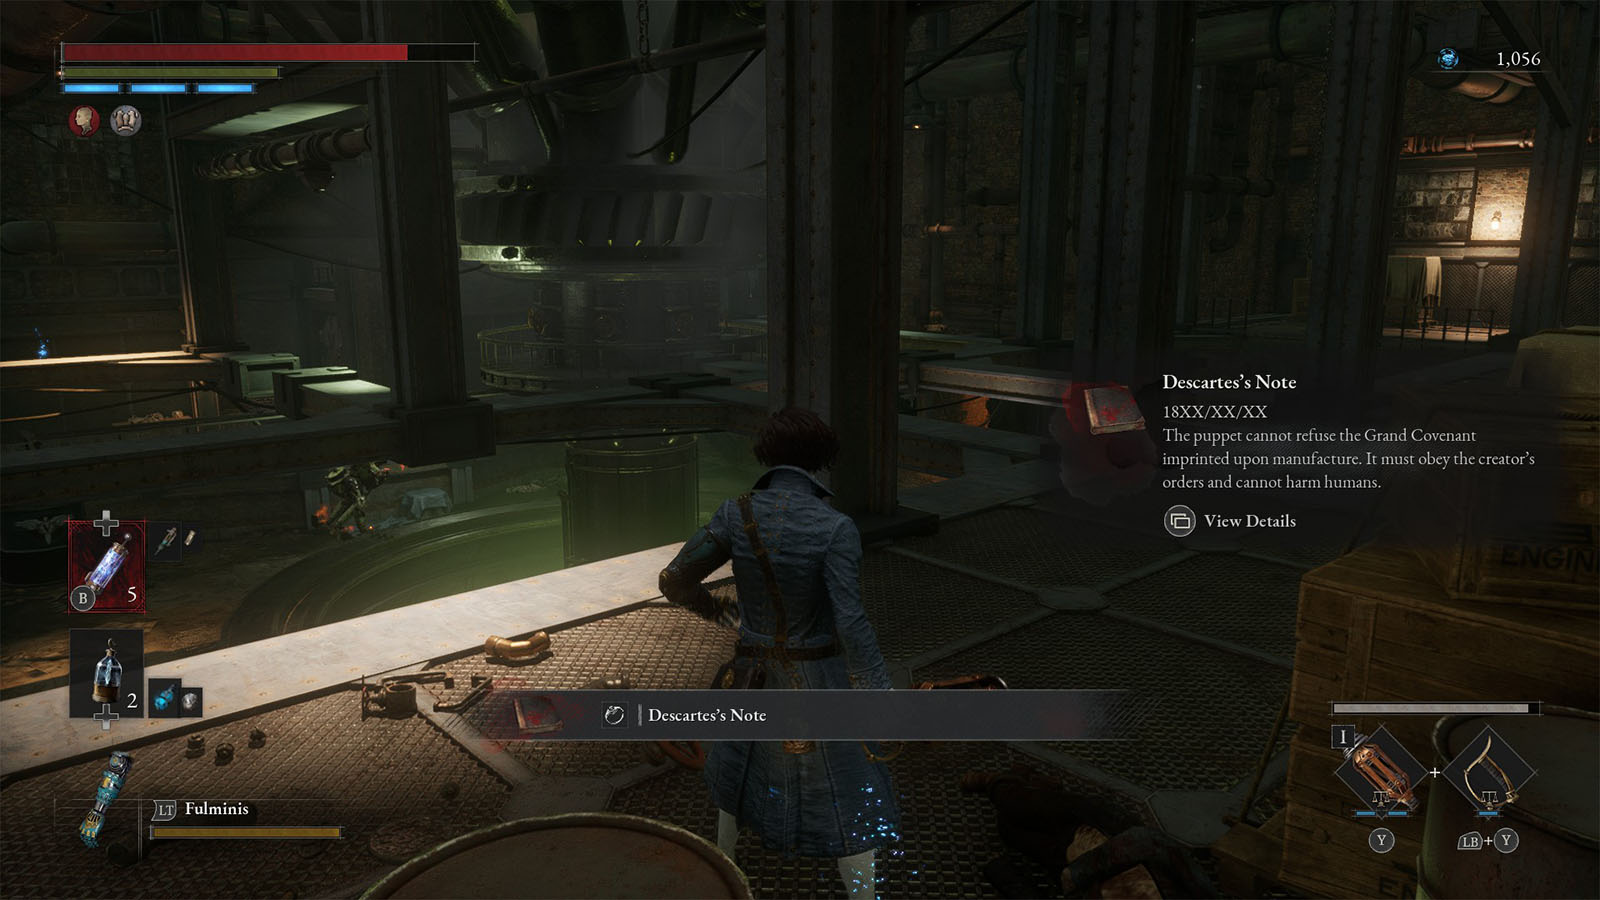
Try to clear out the enemies on the upper platforms so that you can reach the loot such as the Technique Crank and the Collectible – Descarte’s Note.
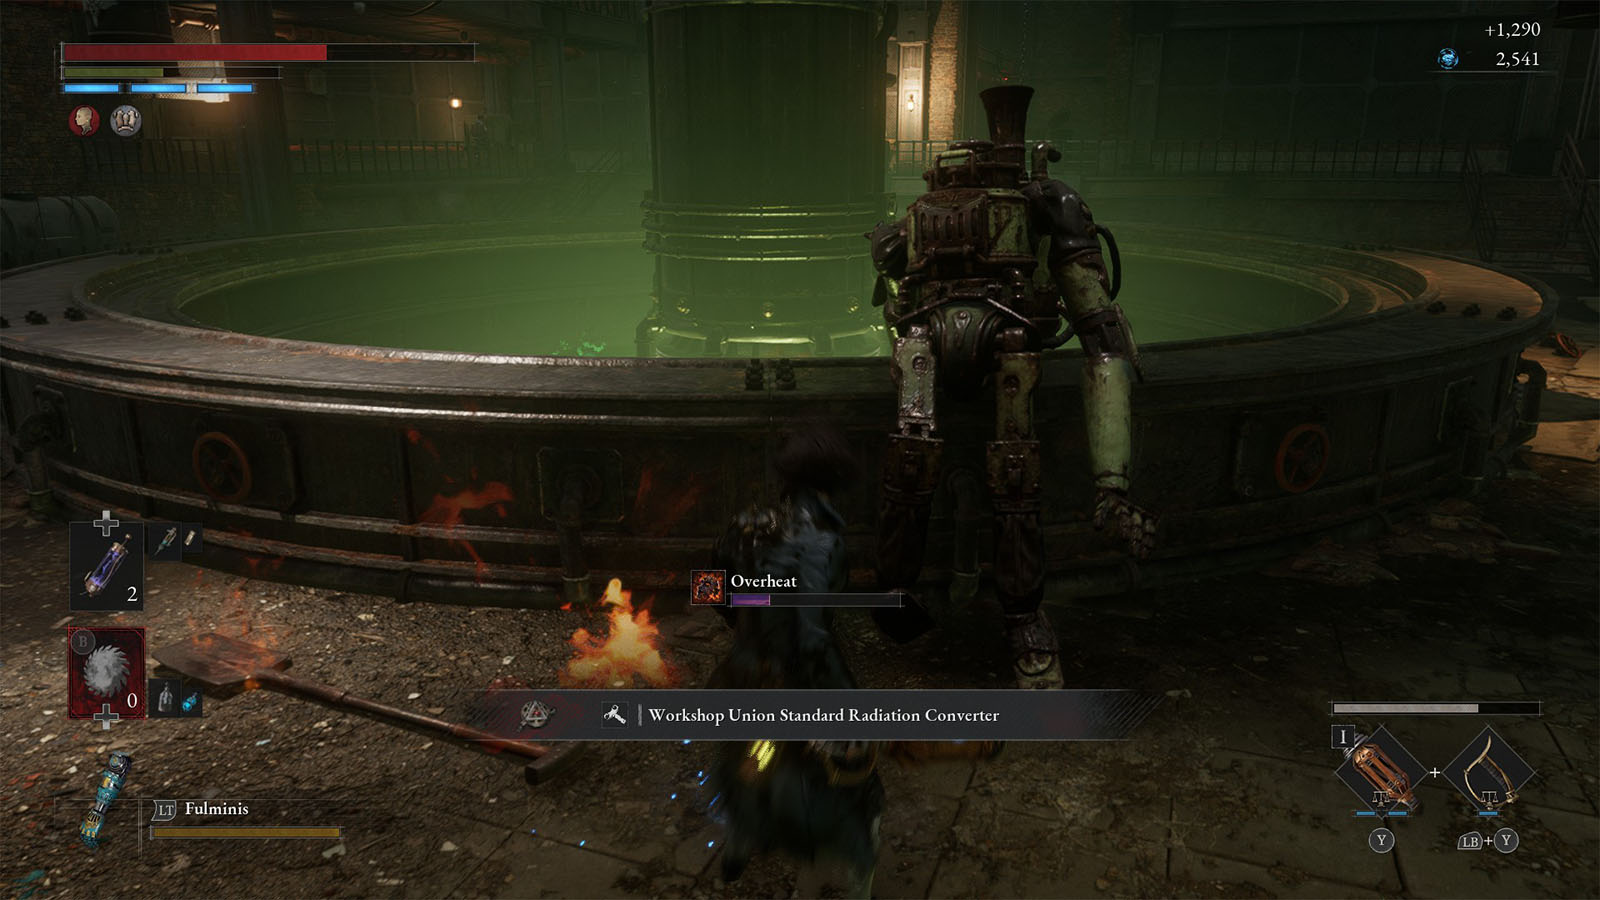
Once you’ve cleared the top part, you may also want to take care of the Shovel Automaton as it drops a Converter – Workshop Union Standard Radiation Converter that increases your resistance against acid.
When you have cleared the area, the next area that you need to go to is the conveyor line that leads down into the furnaces. Before doing so, you may want to head back to the Hotel to prepare or grind some more levels as the next area will be another boss fight.
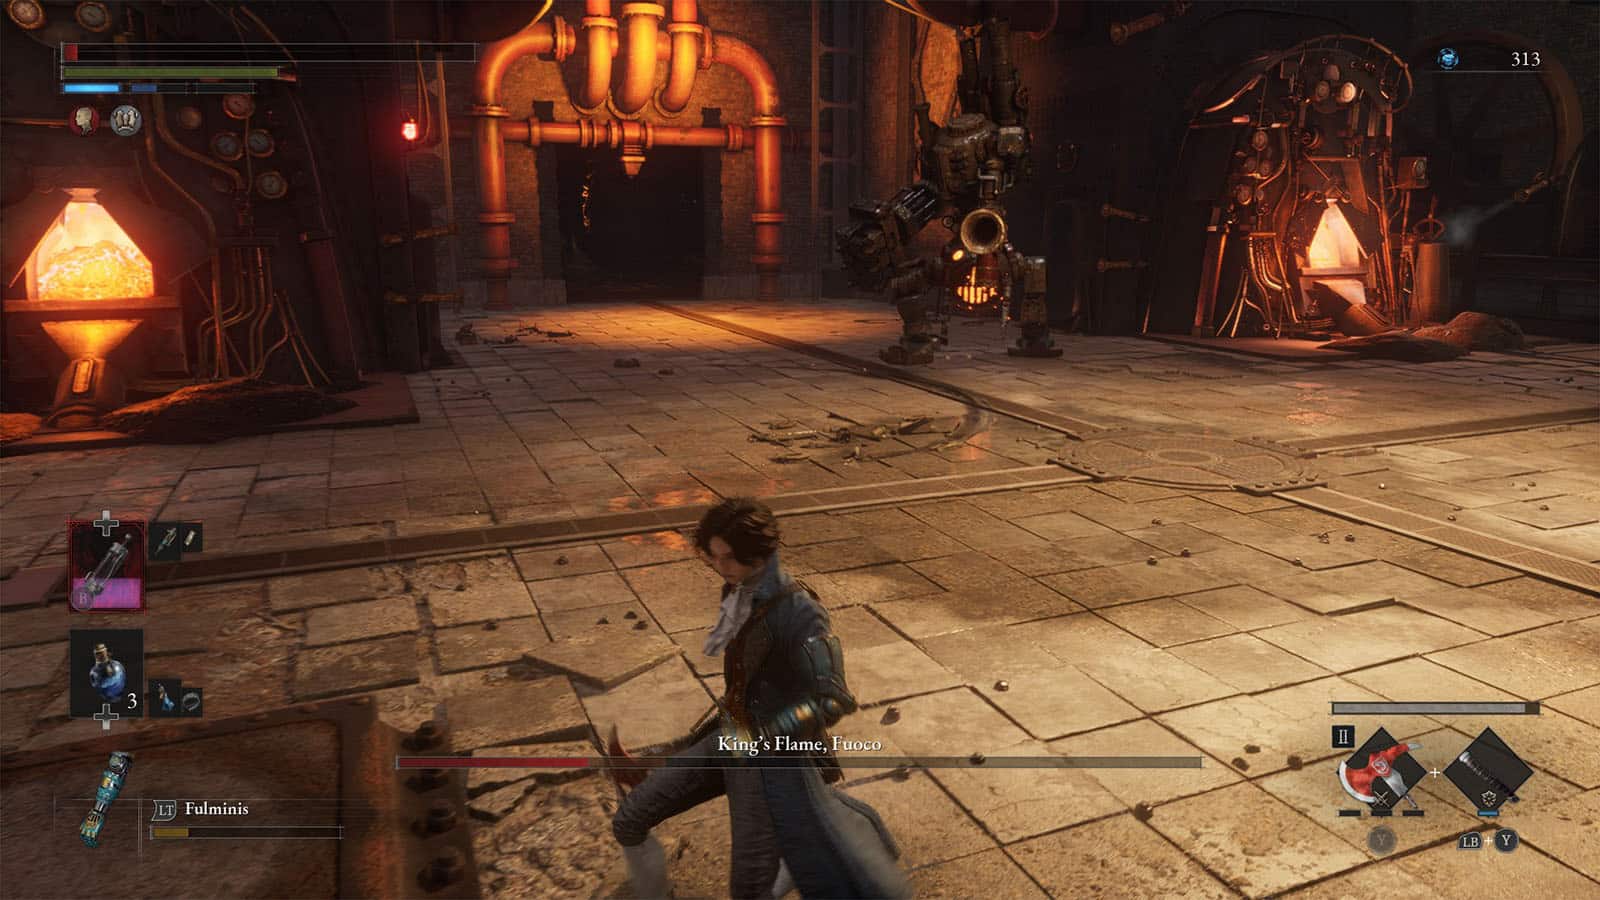
Boss Fight: King’s Flame, Fuoco

Once you are ready, you can the furnaces to fight against King’s Flame, Fuoco. Like before, you have the option to bring along a Specter to help you in the fight.
Fuoco can shoot our fireballs and tar from its gun, as well as do arm smashes and swings when you get close enough. Try not to get you overheat meter full as this will quickly sap your health. If you are in flames, you cannot douse the flame unless you drink a Purification Ampoule or wait for the meter to run out.
When the boss’ health goes down to half, it will start spreading out flames across a large area on the floor. This is almost an unavoidable attack, so it’s best to have a good flame resist equipped.
Its unblockable attack is a charge punch where it will charge towards your last location leading with its fist. This is powerful enough to break the huge pipes around the area, so don’t try to take cover behind them with this attack.
Once the boss has been defeated, you will be rewarded with the High-powered Flame Amplifier, King’s Flame Ergo, and the Flame Grindstone. You can also activate the Stargazer for the area for later.
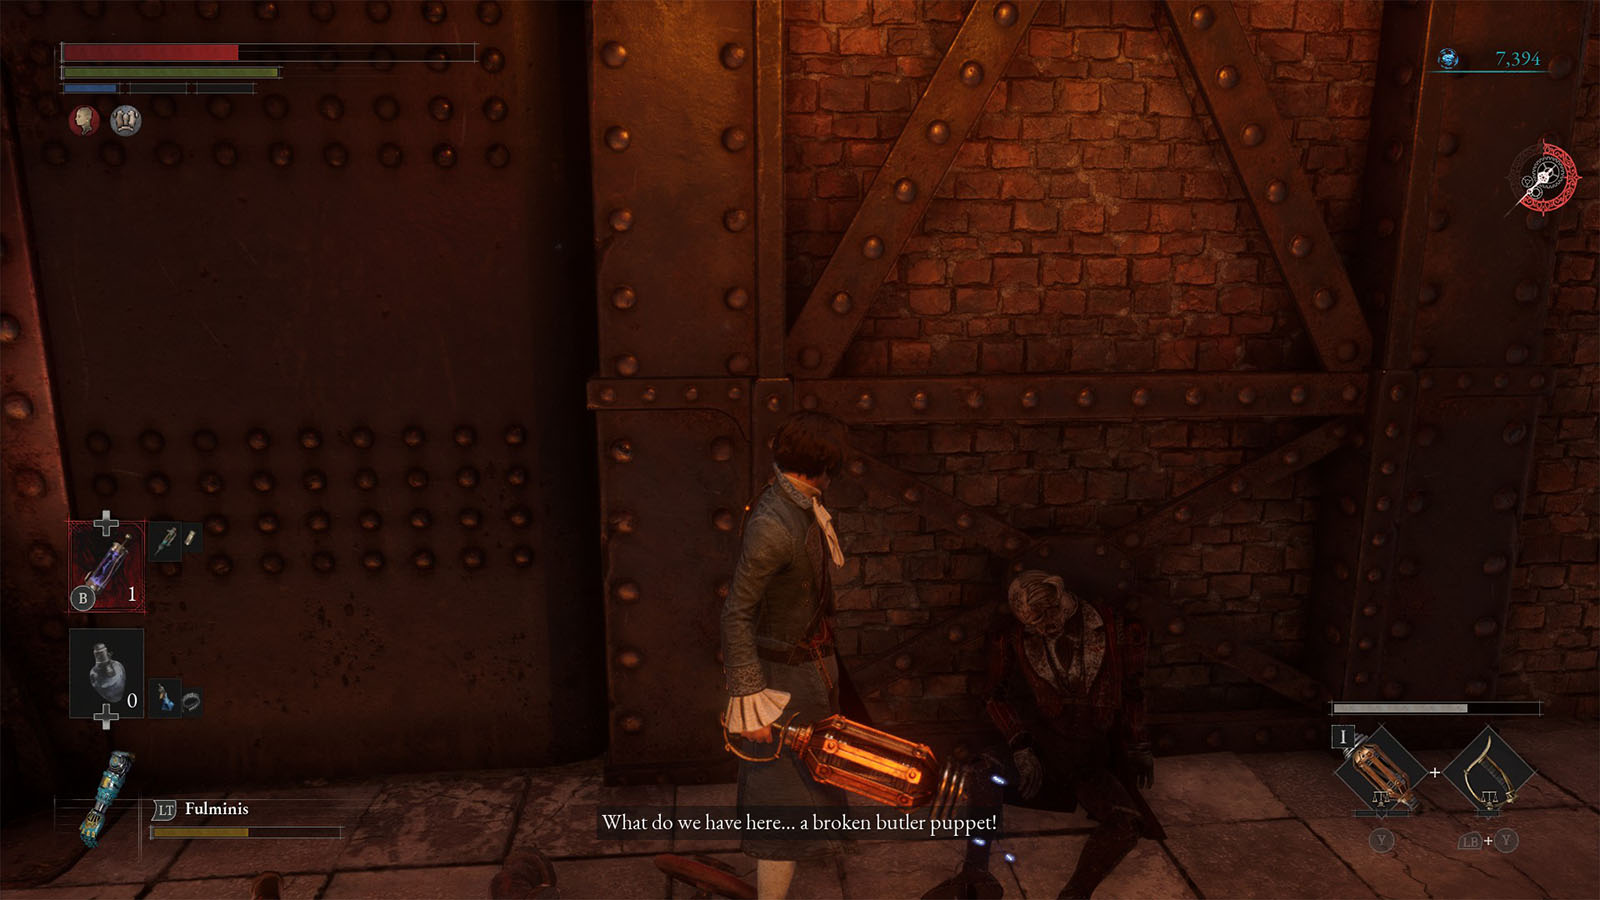
After the fight, approach the puppet near the furnace to find out that it’s Pulcinella. Head back to Venigni and he will thank you for finding his butler puppet. This concludes the chapter and the path up ahead has been opened, but for now, head back to Hotel Krat to find out more about the new features you have unlocked.
Legion Arm – Flamberge
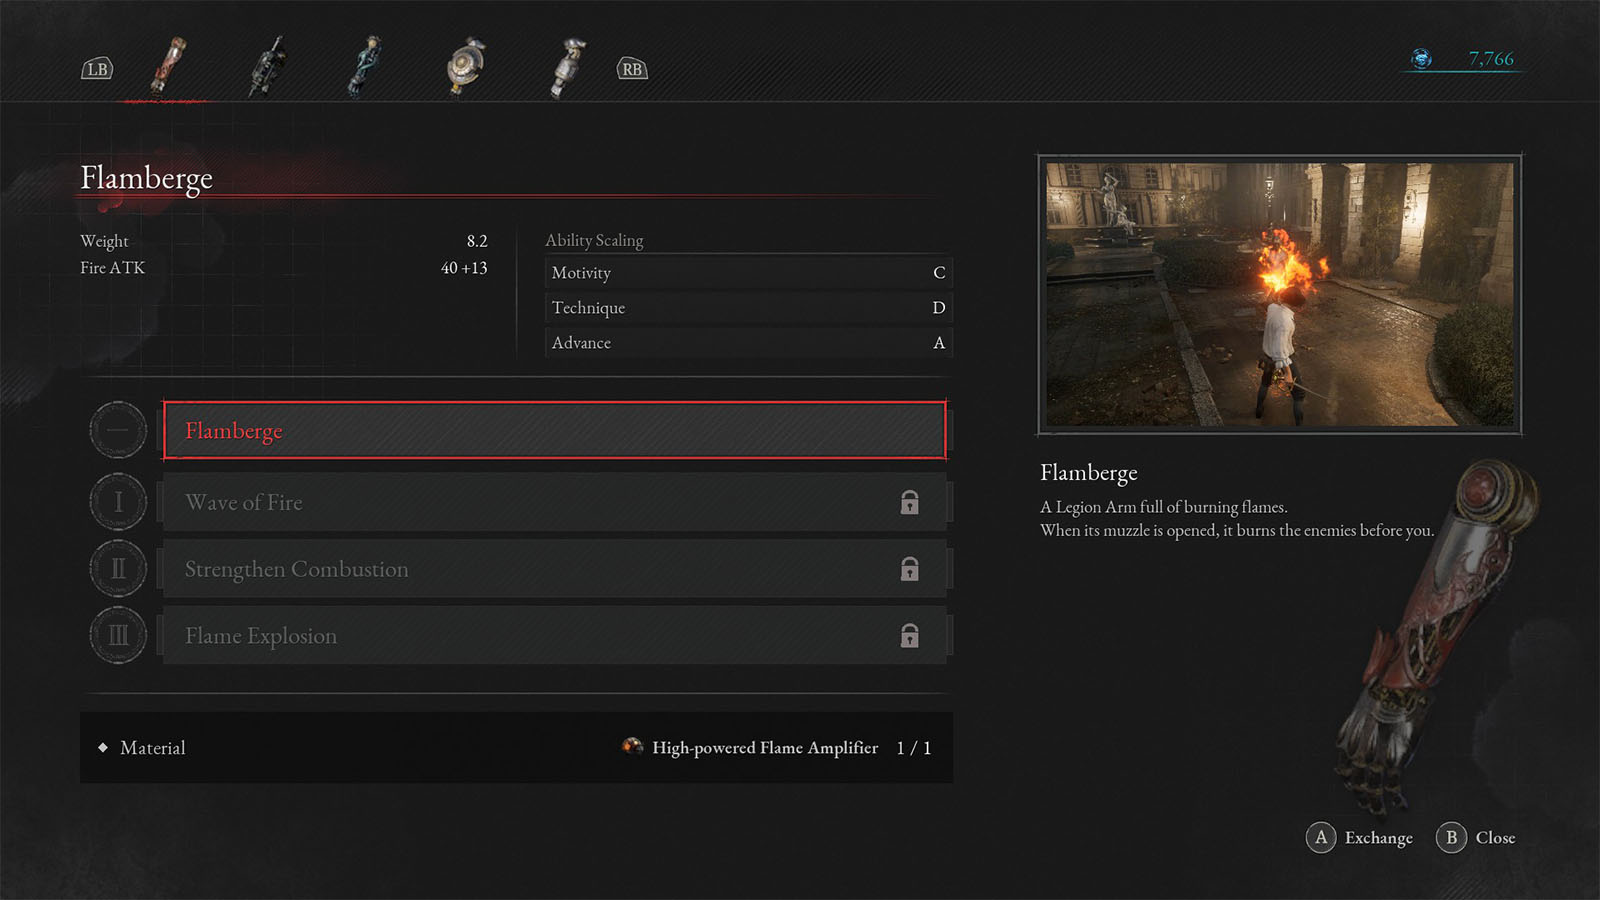
Go to Eugénie and she will make you a new Legion Arm called the Flamberge using the High-powered Flame Amplifier. This arm allows you to shoot out flames to burn enemies from a short distance.
Venigni Craft Machine
You will now find Venigni just right across Eugénie’s station. You can talk to him and then use the machine next to the furnace nearby to access the Legion Arm crafting screen.
With this machine, you can create new Legion Arms and upgrade unlocked ones using various materials.
You can also talk to Pulcinella who serves as another vendor that sells cranks and other items that can be used to modify P’s stats.
See next: Lies of P: Chapter 4 St. Frangelico Cathedral Guide


