
Lies of P is an action soulslike game that follows the story of P, a humanoid puppet created as the last hope against the puppets that have turned against everyone in the city of Krat. As P ventures further into the cathedral to save the Archbishop, things start to look worse as puppets aren’t the only problem anymore.
Read ahead as we go through the events of Chapter 4 St. Frangelico Cathedral of Lies of P and share some tips and secrets that can be found along the way.
See previous: Lies of P: Chapter 3 Venigni Works Guide
Lies of P: Chapter 4 St. Frangelico Cathedral Full Walkthrough
After coming back from the hotel, teleport back to the Center of Venigni Works and go through the open door ahead which will lead back to another path outside of the factory.
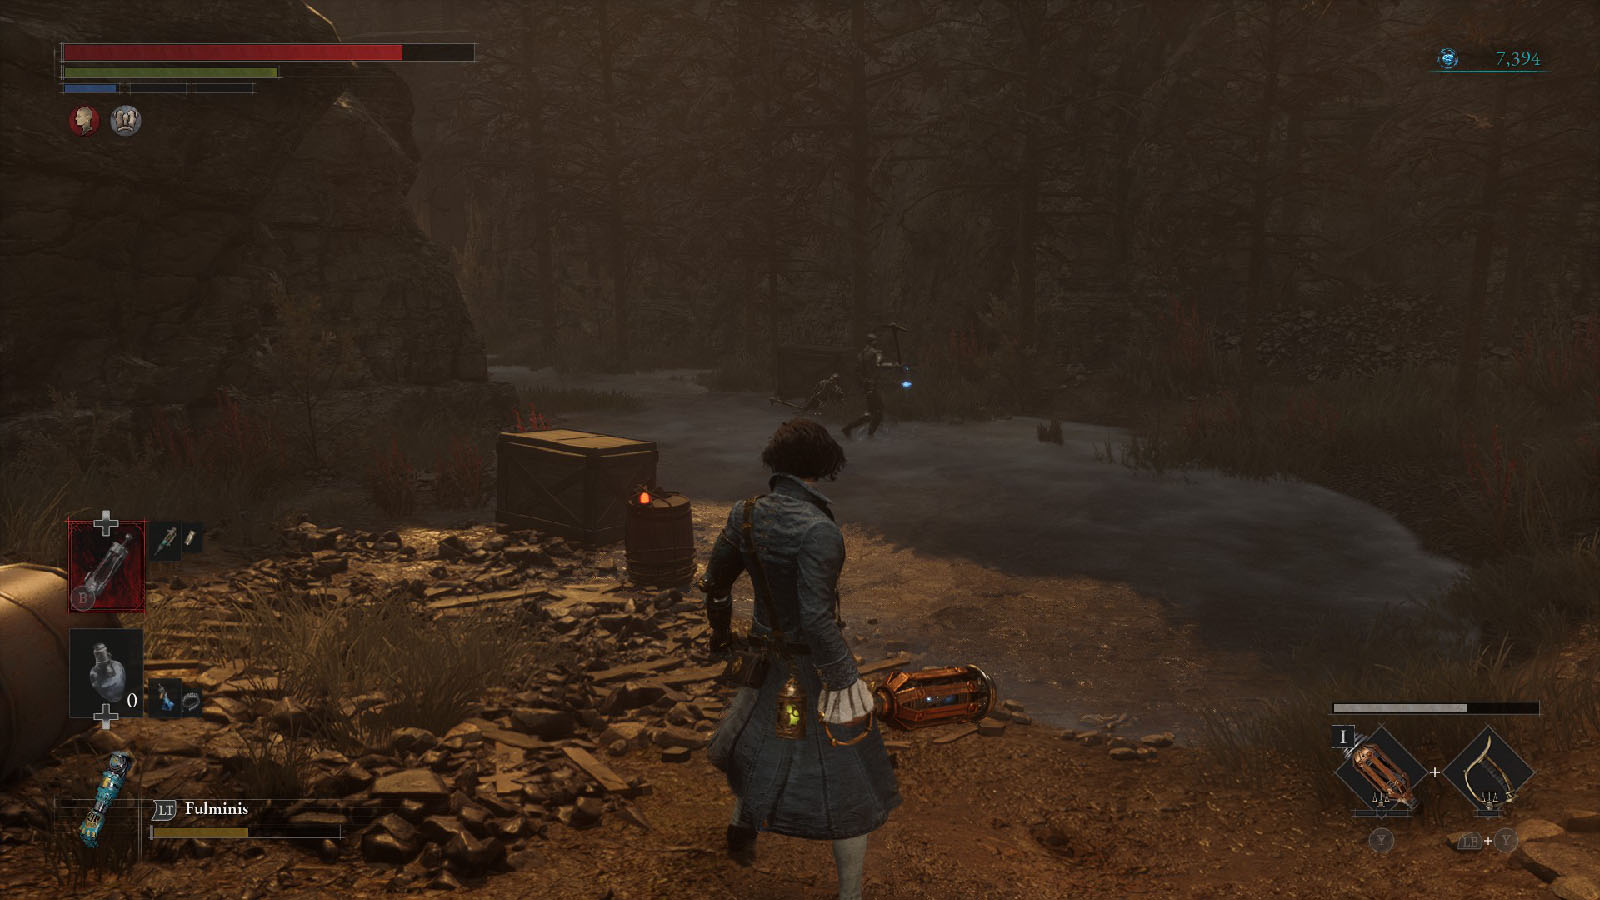
Continue heading towards the mineshaft, but be careful as there will be plenty of barrels that will explode if they get hit. You can either detonate these barrels with your ranged arm, or use a throwable like a sawtooth grill. Some barrels are positioned in such a way that enemies could hit them, which could get helpful in clearing them out.
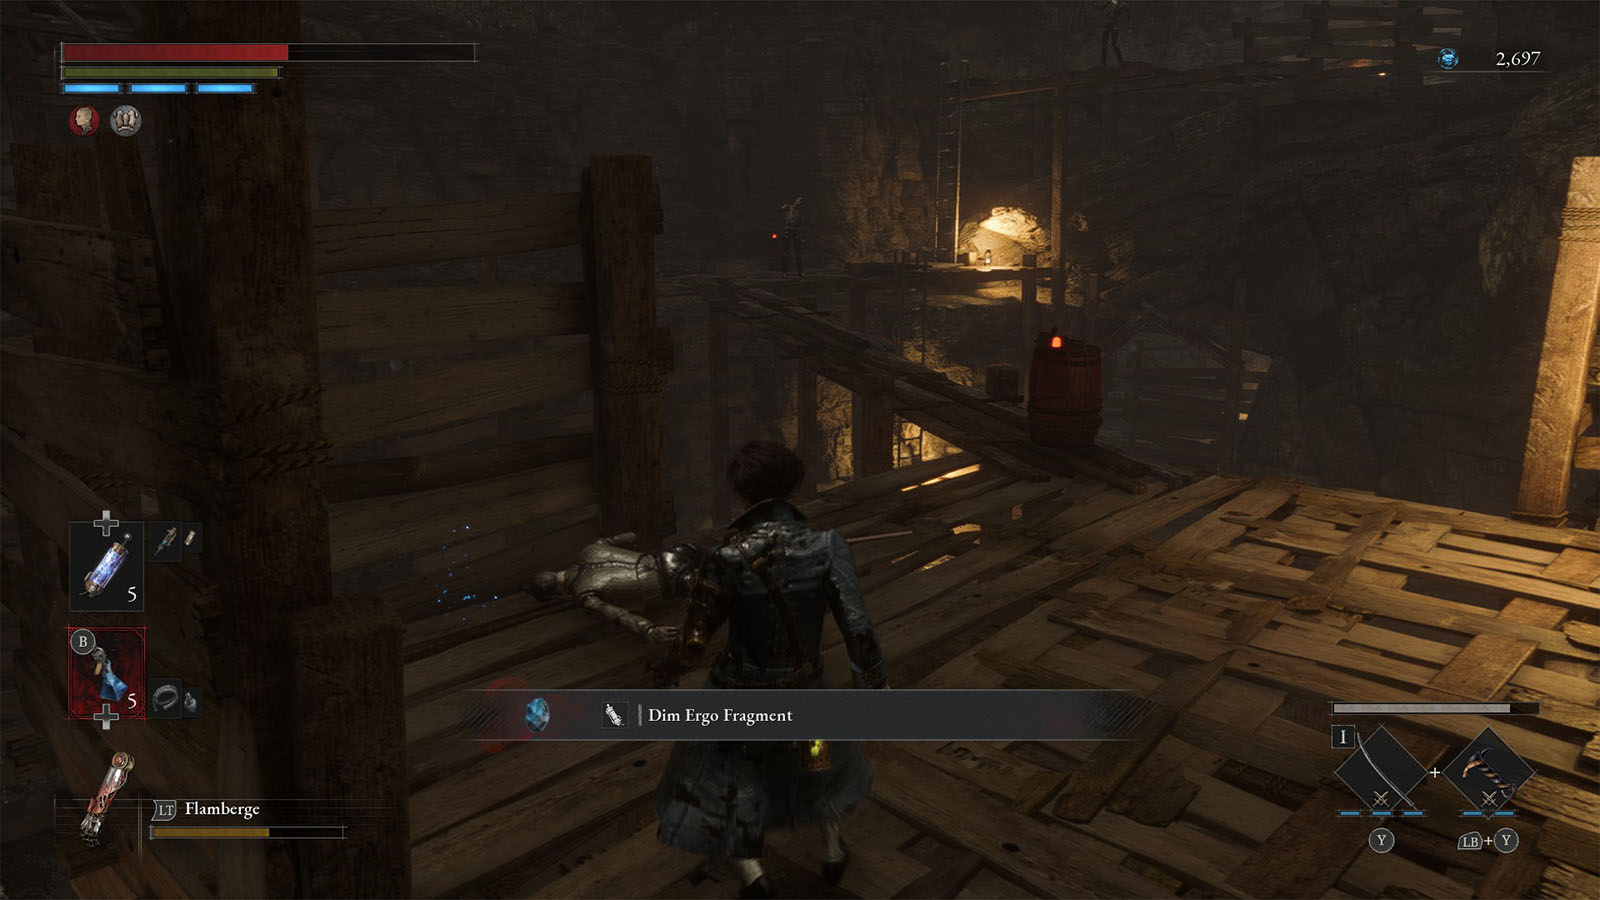
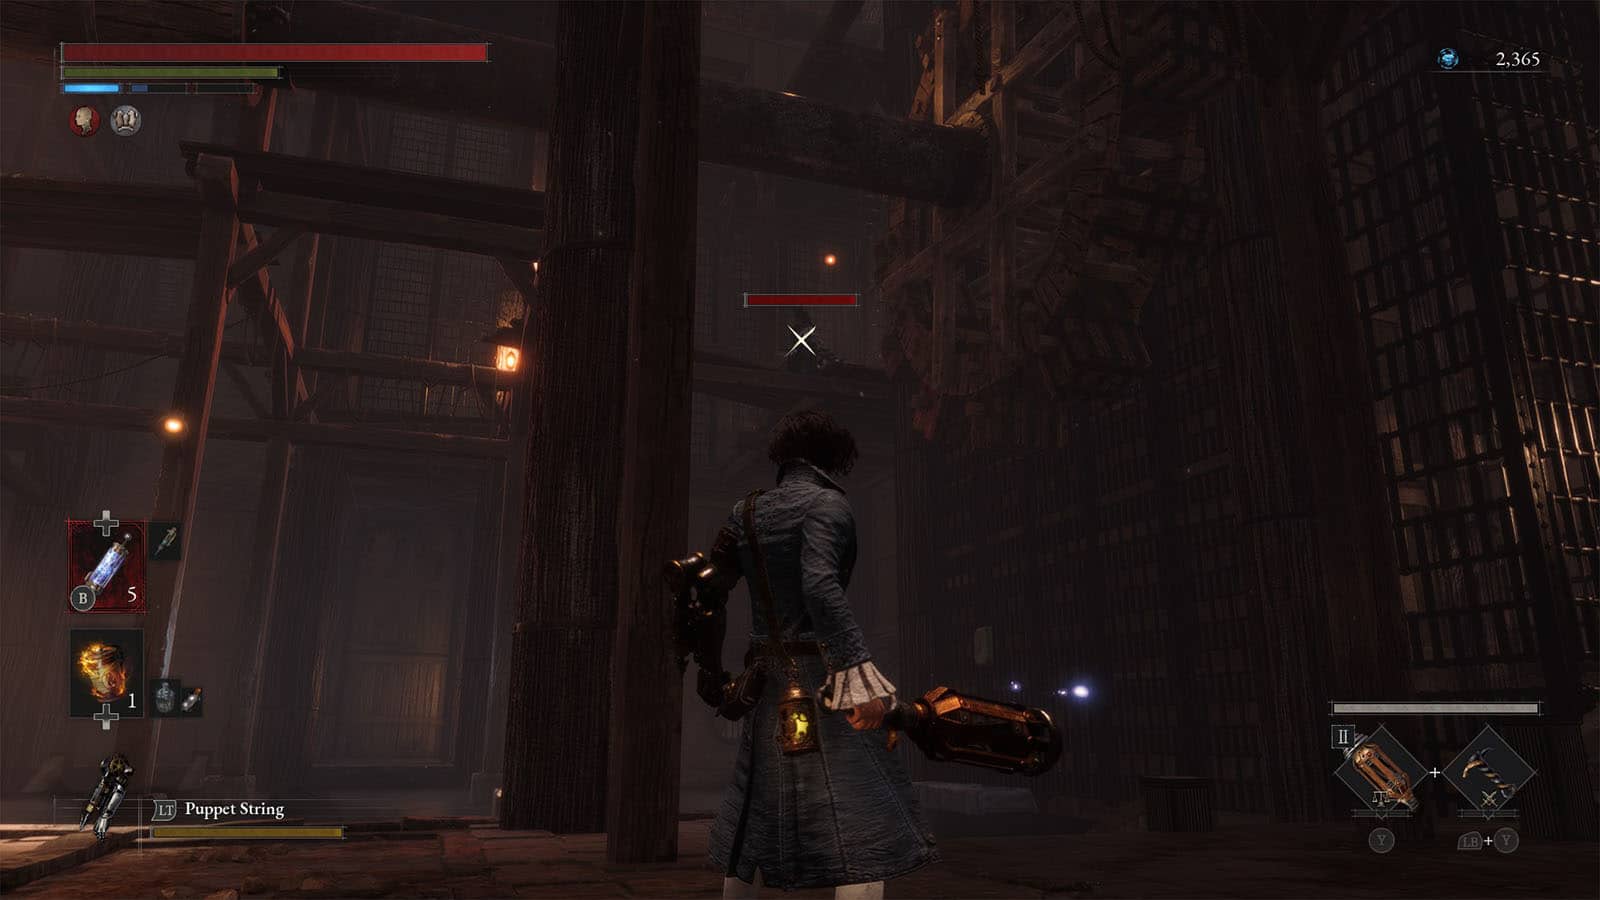
As you venture further into the mines, you will arrive at the large chamber. There are several puppets below and more on the upper platforms. Be on the look out for the throwers that could easily snipe you with their explosives; it’s best to take them out as soon as possible.
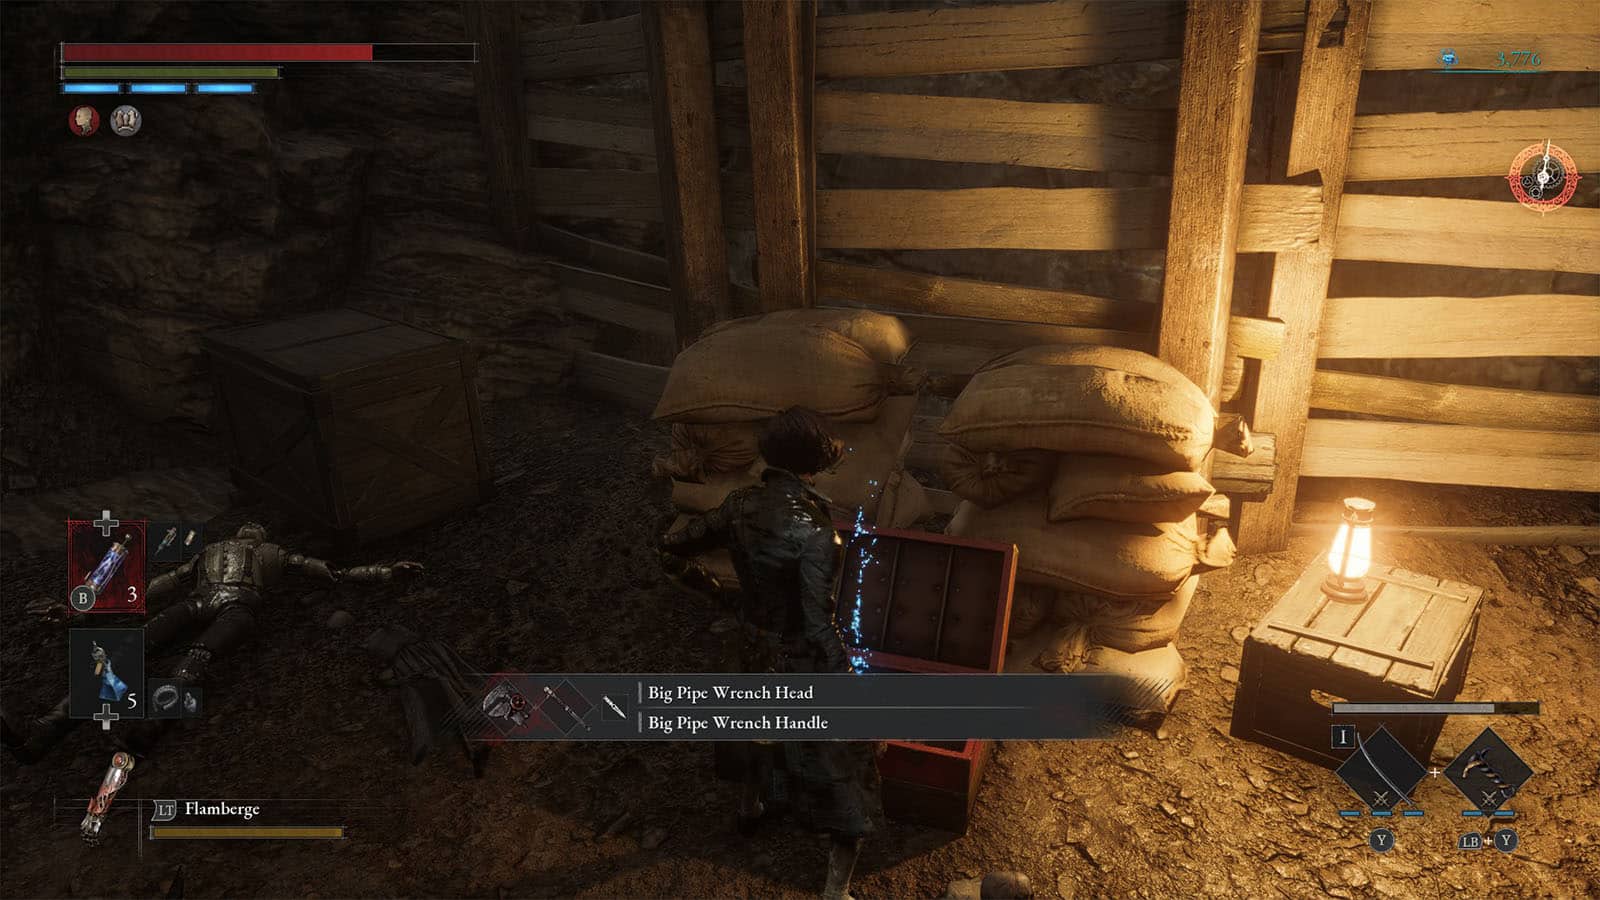
Take the path to the right first as you make your way to the top. At the very top platform is a chest that contains the Big Pipe Wrench weapon.
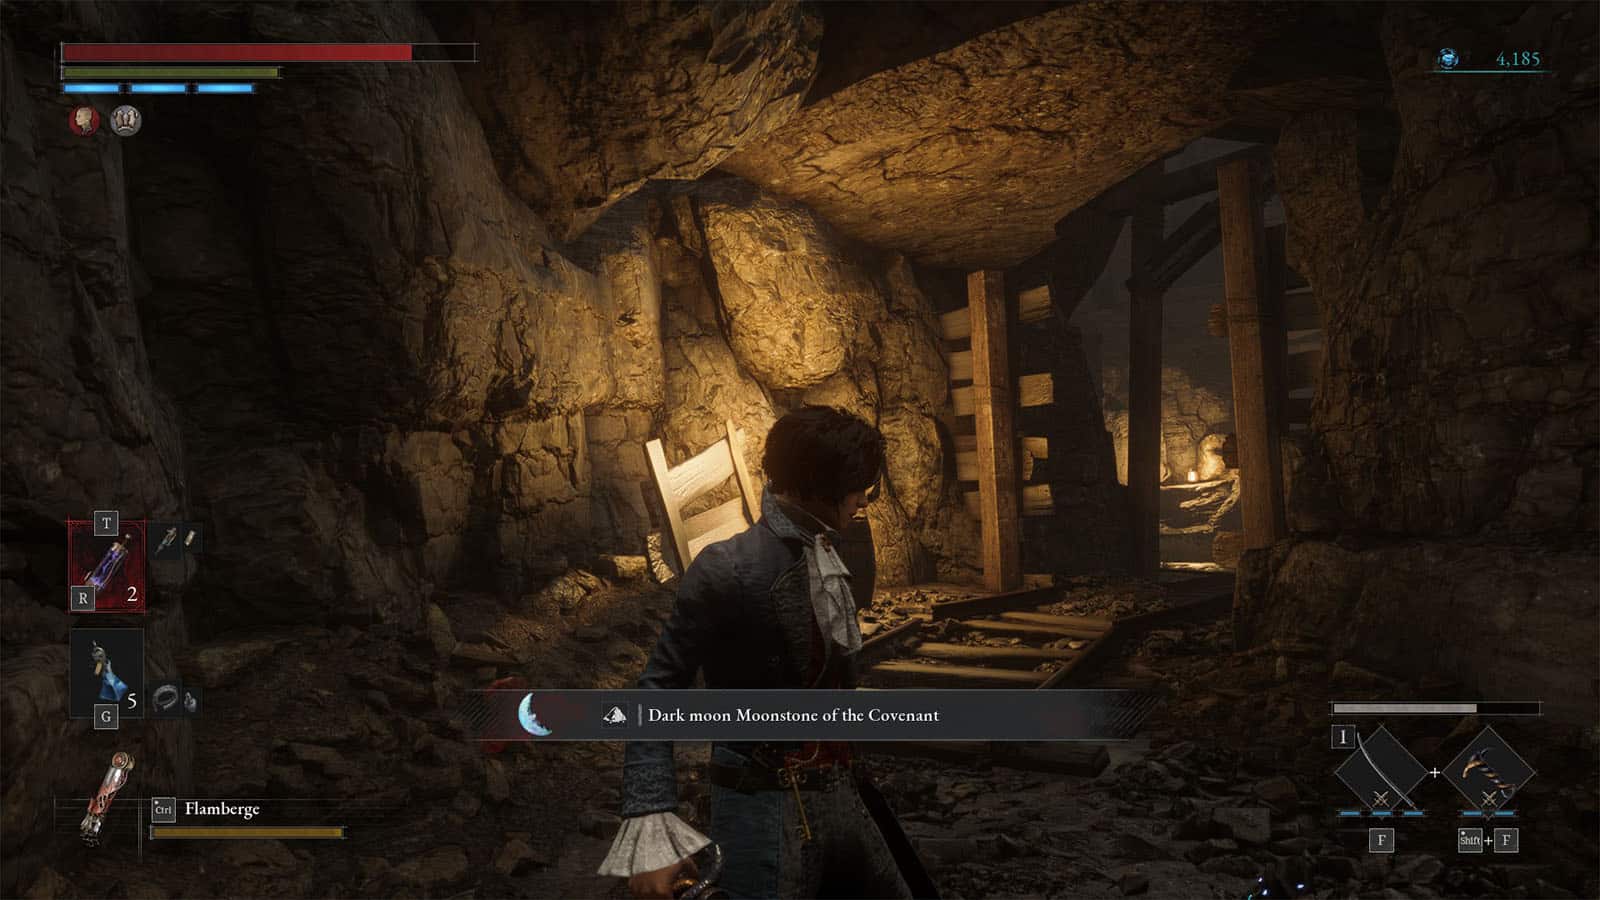
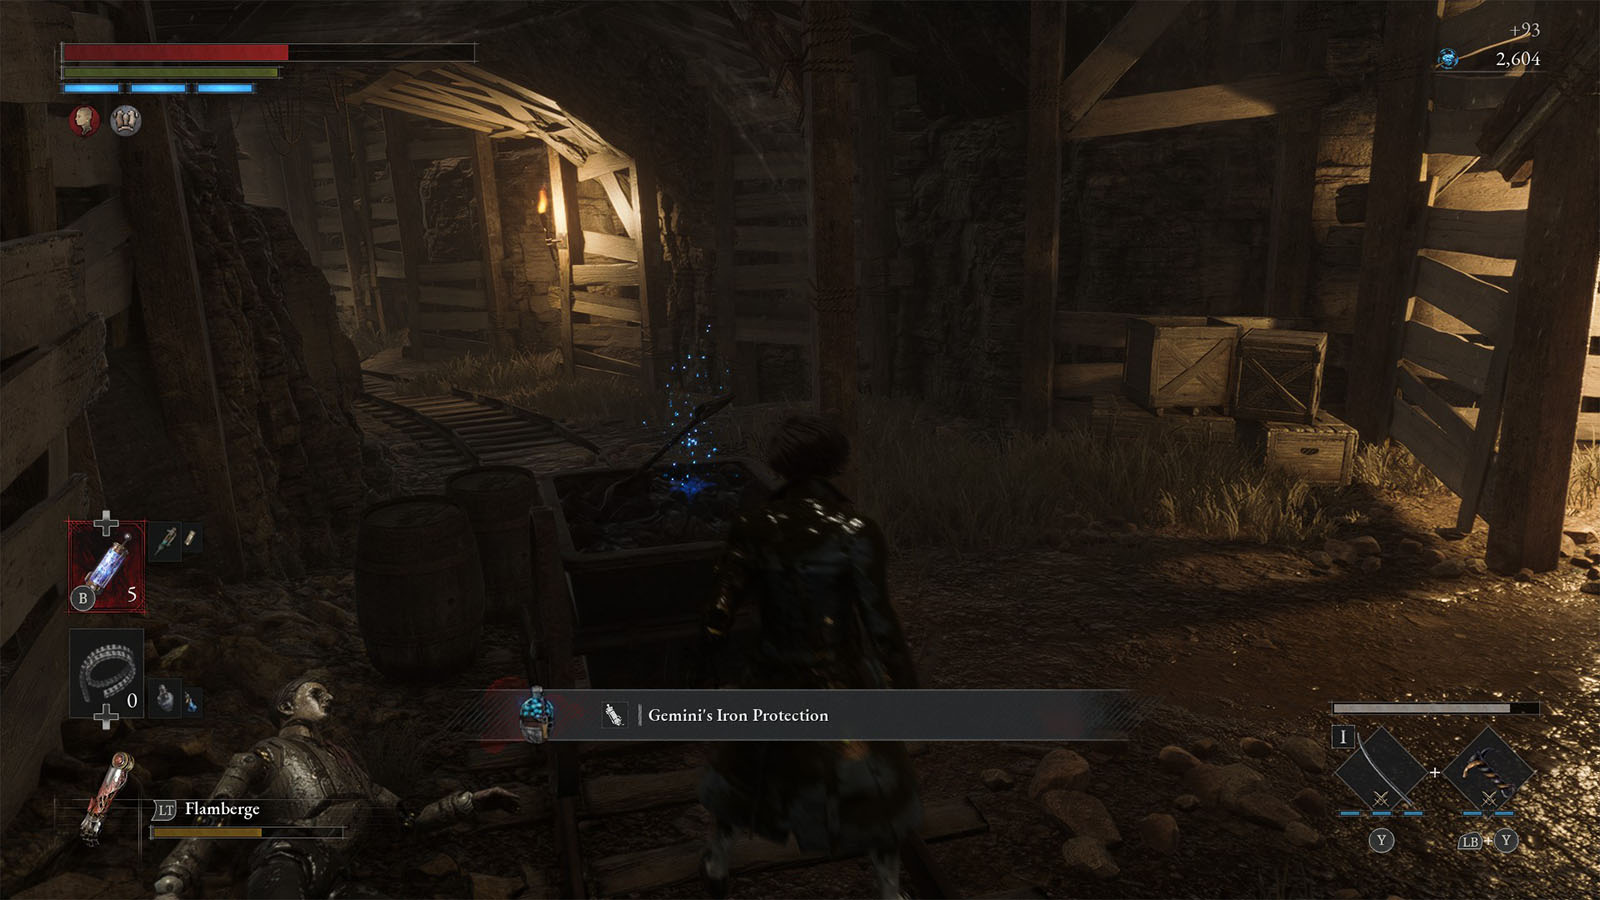
Go back down to the lowest level and clear out the enemies there. Look out for the boarded up path to the left as a puppet will burst out of it; inside the boarded up tunnel is where you can find a Dark moon Moonstone of the Covenant.
Next, head through the tunnel to the right where a Shovel Automaton is patrolling. You can either take this automaton down right away, or you can kite it back into the chamber, then go around it to run through the tunnel. Once you exit the tunnel is where you will find the first Stargazer for the area.
Moonlight Town
You will arrive at Moonlight Town which is now overrun by puppets. You can clear out all of the enemies in the first part of the town before crossing the bridge.
There will be more enemies by the bridge, but try to coax them to come over to you instead. Once the bridge is clear, you can step on it to fall down into the chasm below.
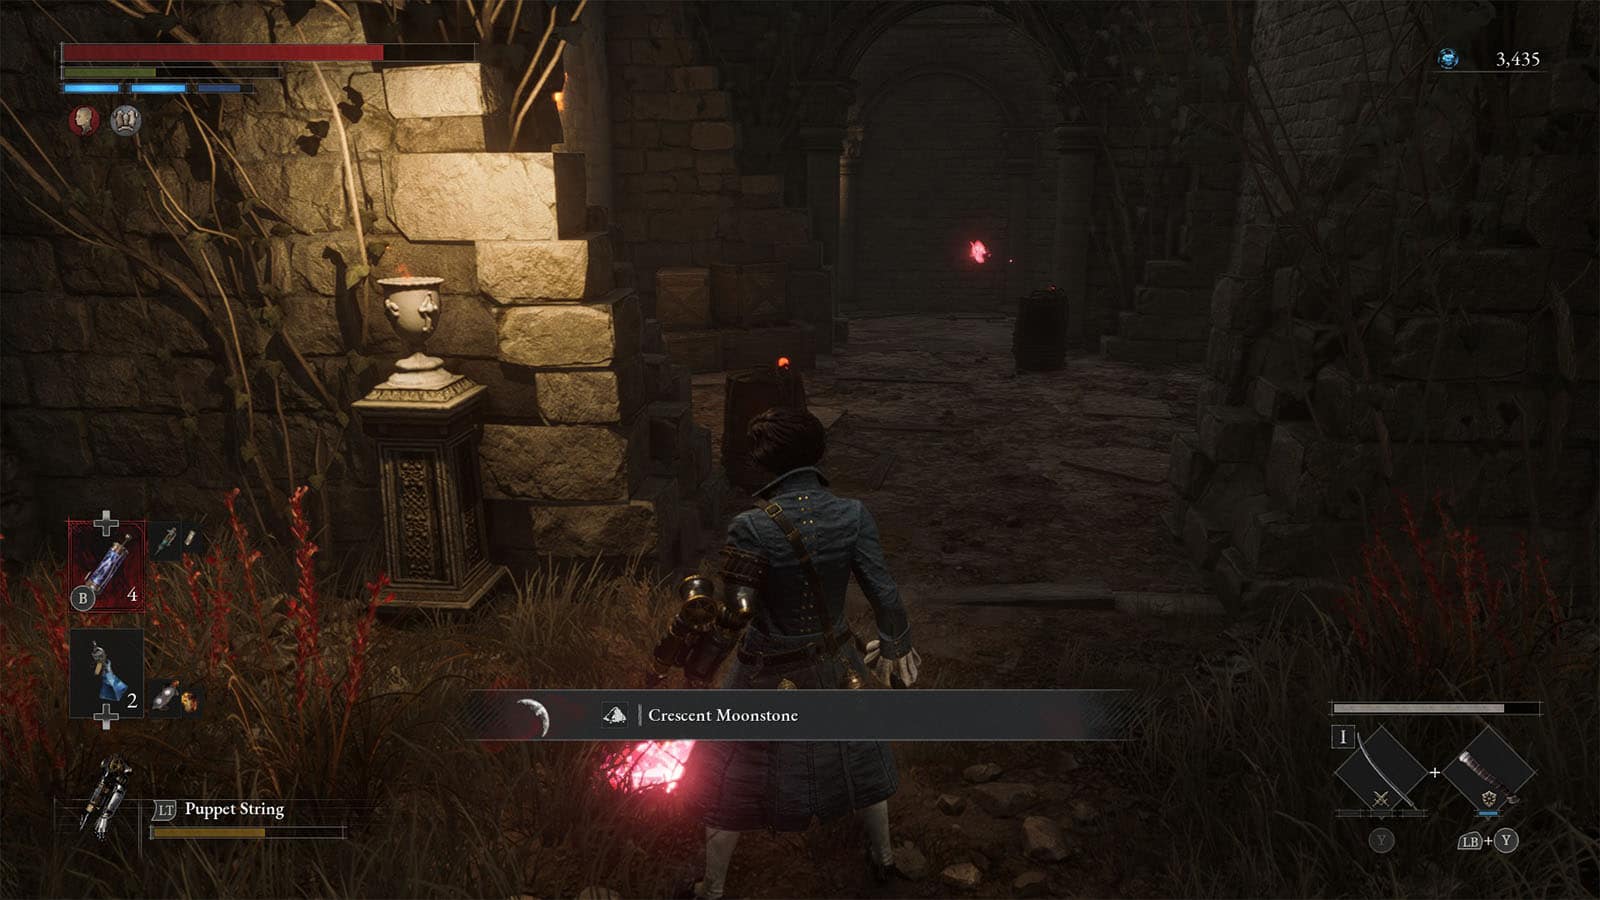
This chasm is full of barrels, and you will find two red butterflies that will appear in the area. Each of these butterflies will give you a Crescent Moonstone.
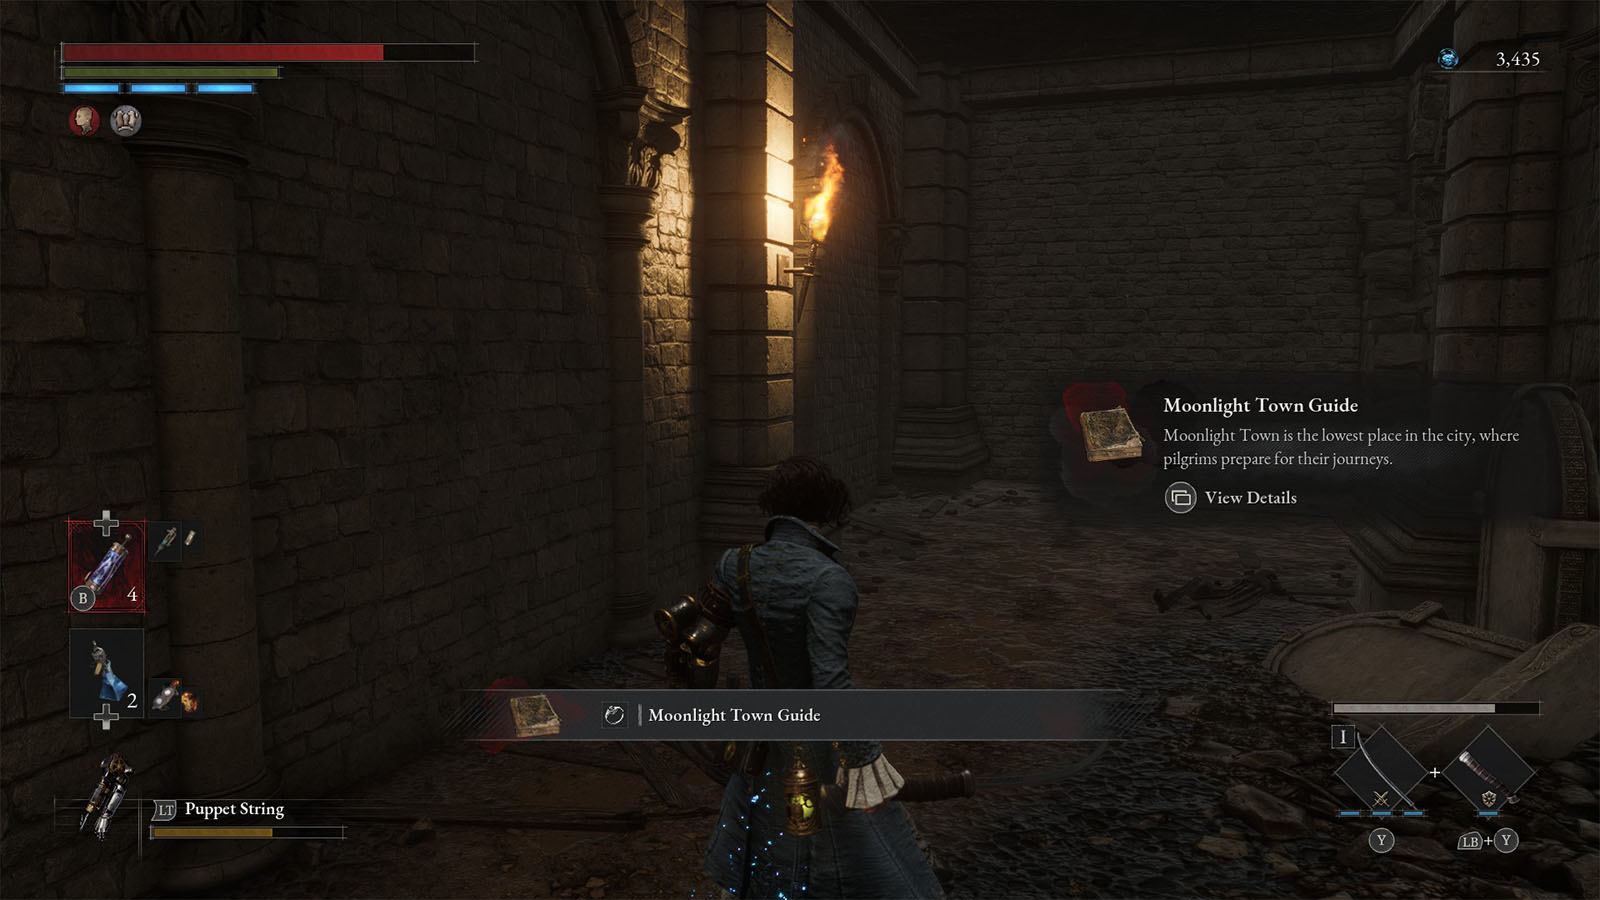
Inside the crypt at the end of the chasm is the Collectible – Moonlight Town Guide.

Head back to the other end of the chasm where you will find a ladder to climb up on. You will then arrive at the other end of the chasm.
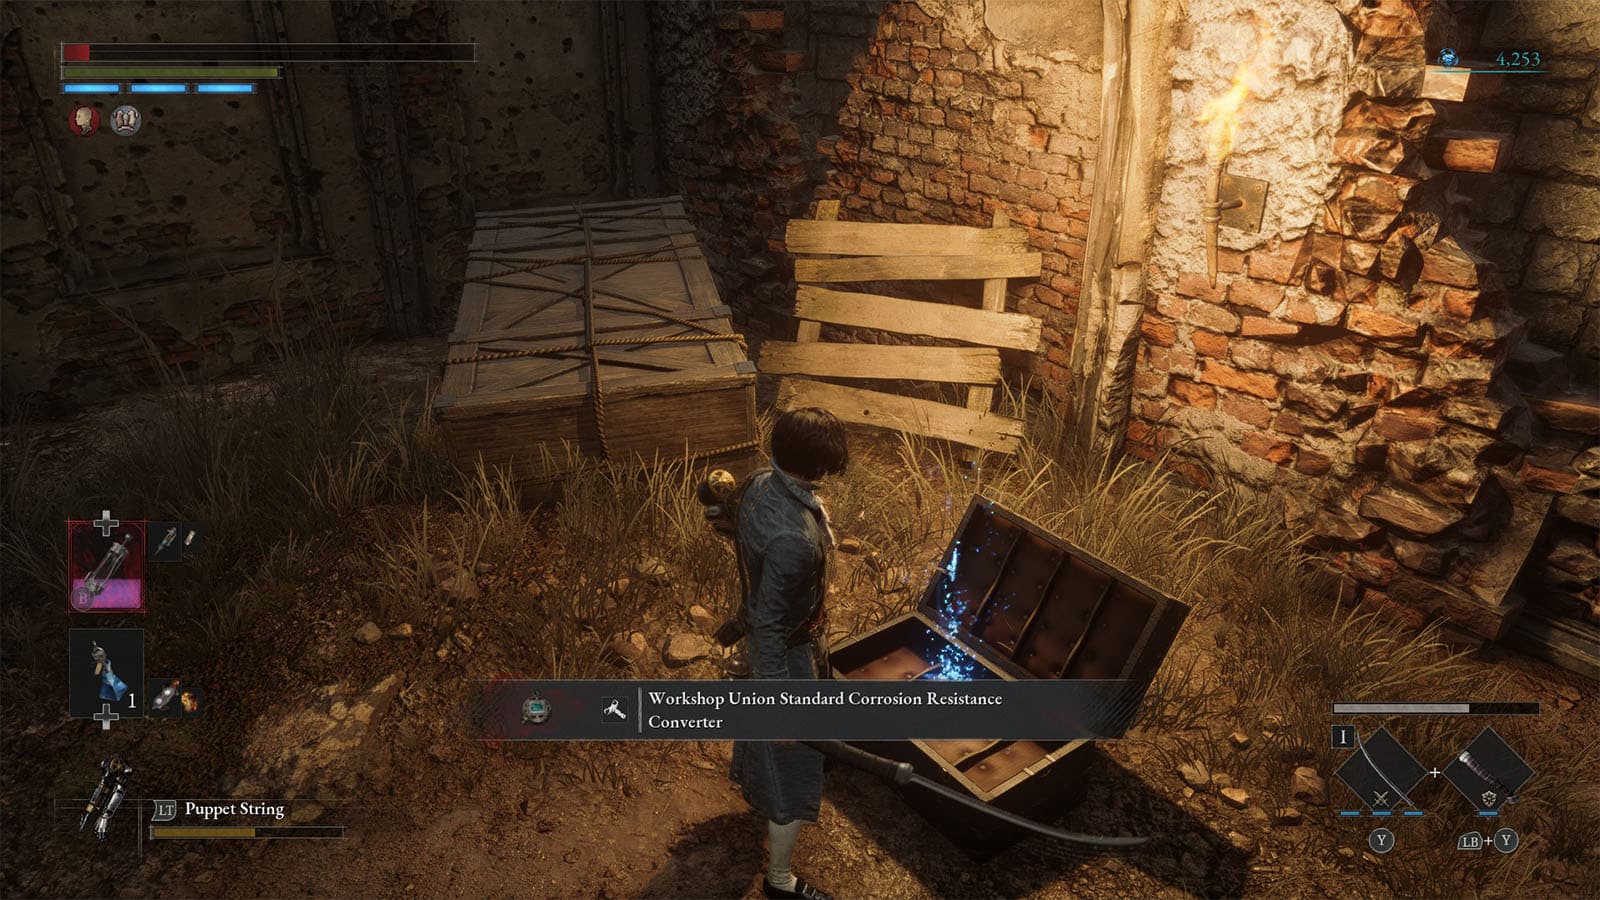
Continue deeper into the town, but be careful with the building to the left side up ahead as it is a trap. Once you get in, the gate behind you will close, and all of the puppets inside will wake up. If you manage to clear all of them, you can loot the chest to find the Converter – Workshop Union Standard Corrosion Resistance which will be helpful in the upcoming boss fight.
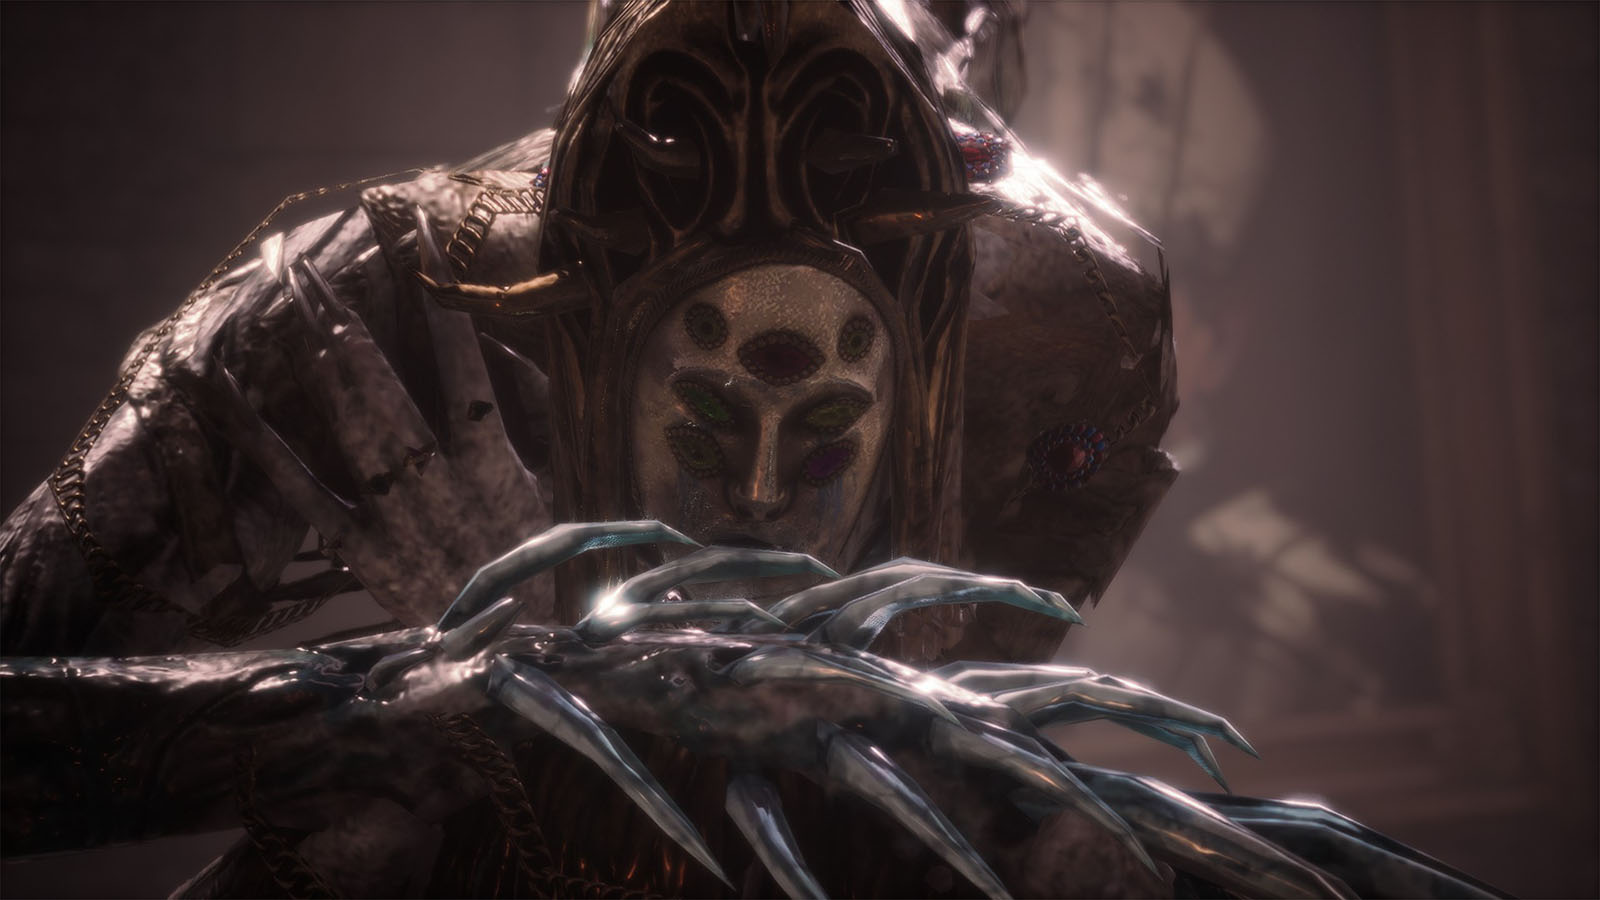
Boss Fight: The Atoned

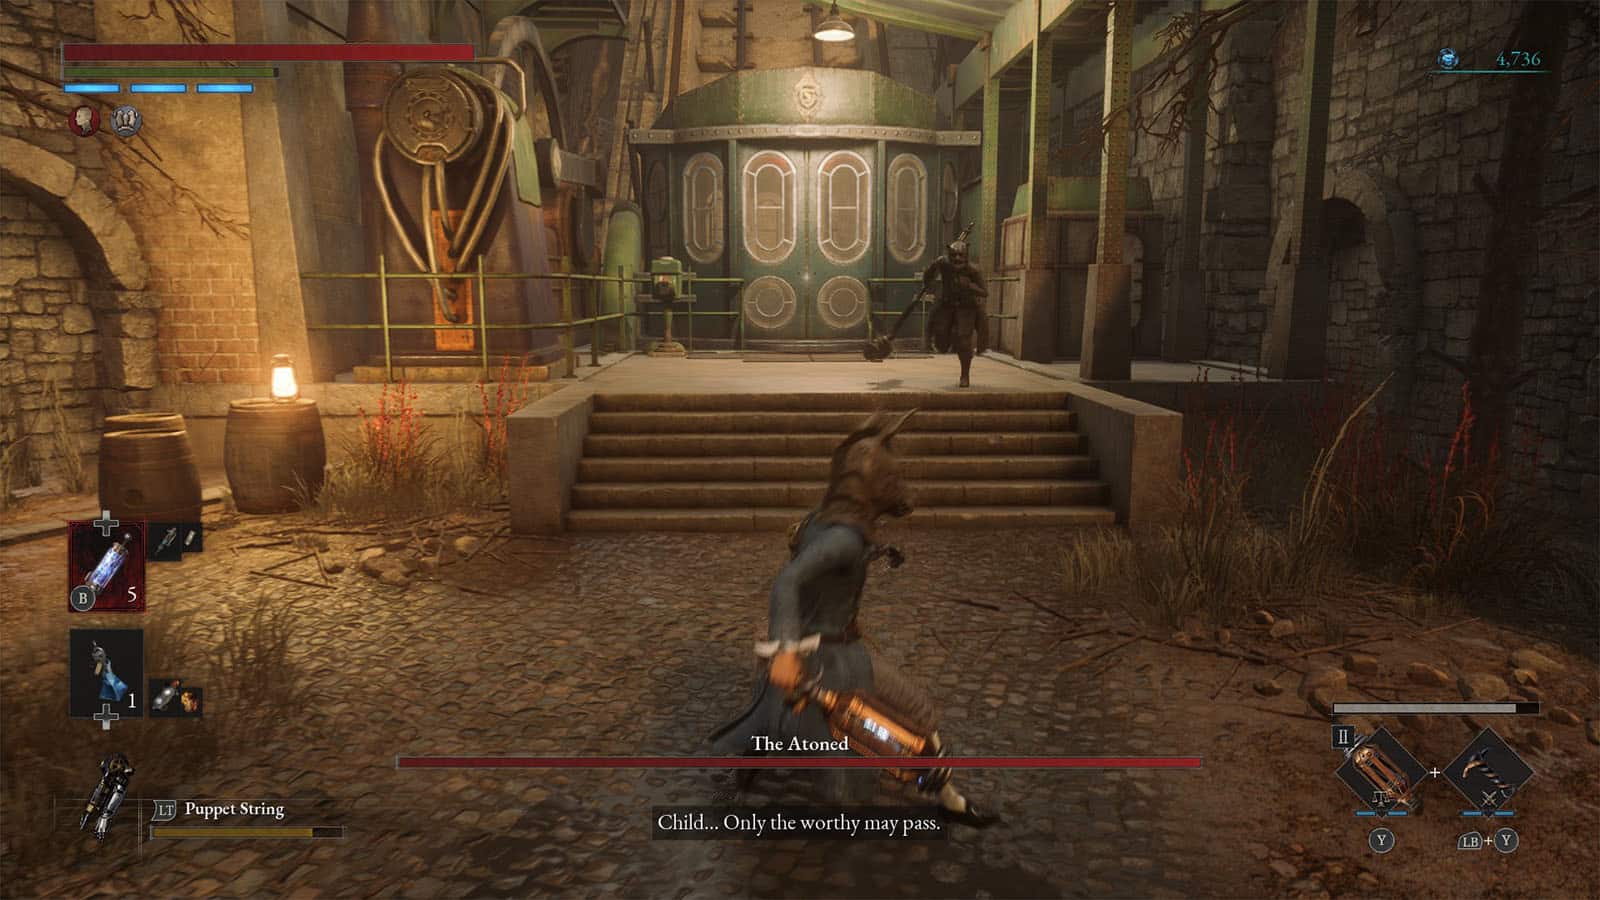
As you progress further, you will find a cable car that is being guarded by a Stalker. *** Mad Donkey’s Mask
Approach the Stalker and talk to her. She will warn you of not pushing through any further for your own sake. She will then ask you what you are. You will only have one option available, and choosing it will make her hostile against you.
The Atoned is quite an agile Stalker that has the ability to spread acid that can cause your decay meter to rise up. If the decay meter is maxed up, your weapon will lose durability even faster.
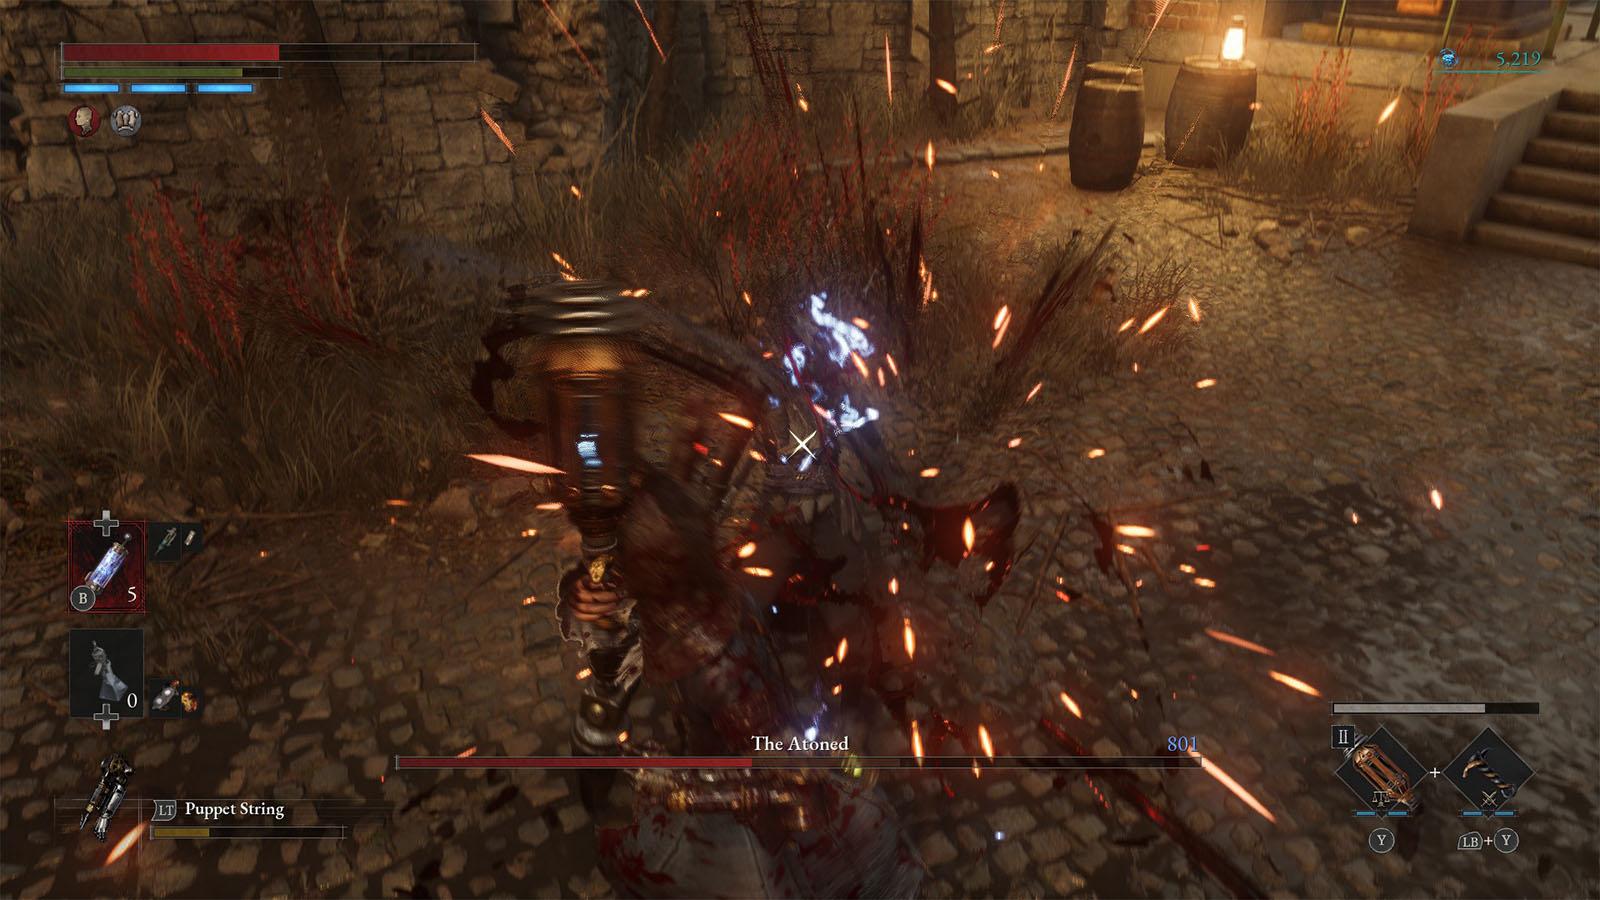
Using a weapon that is fast enough to deal strikes can possibly interrupt the boss from attacking quick enough that it puts her into a short stunlock. If you have the Puppet String equipped, you can use it against her to drag her closer to you, but use it only after she does an attack, otherwise she can dodge out of the way of the hook.
Once the boss is defeated, you will be rewarded with the Cable Railway Key and The Atoned’s Mask.
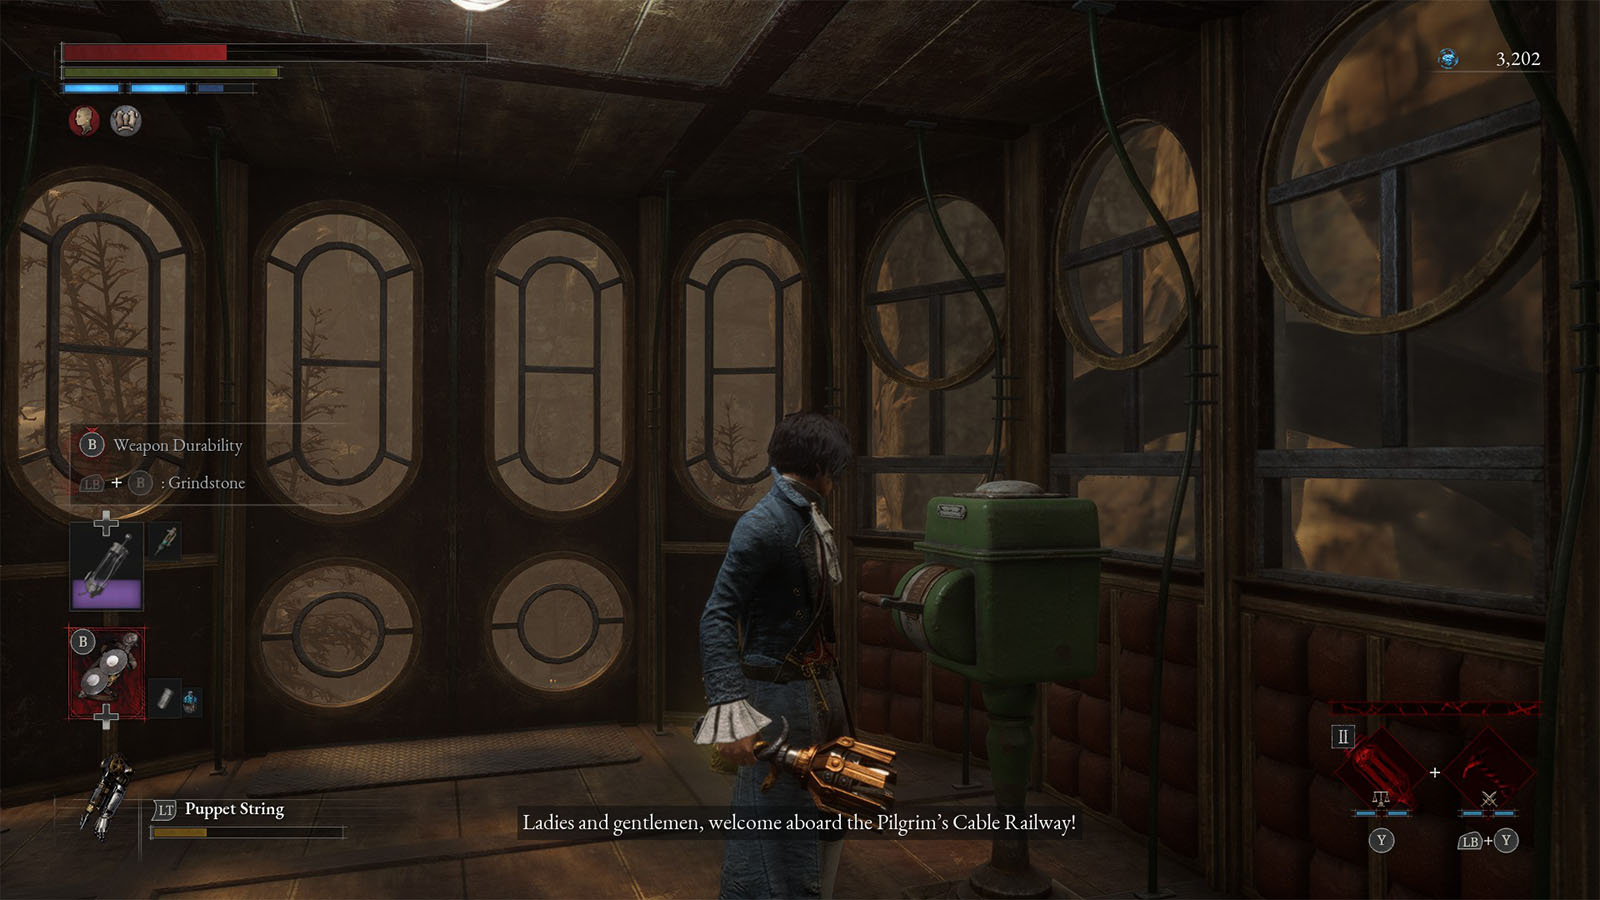
Ride the cable car to get to the next destination.
Path of Misery
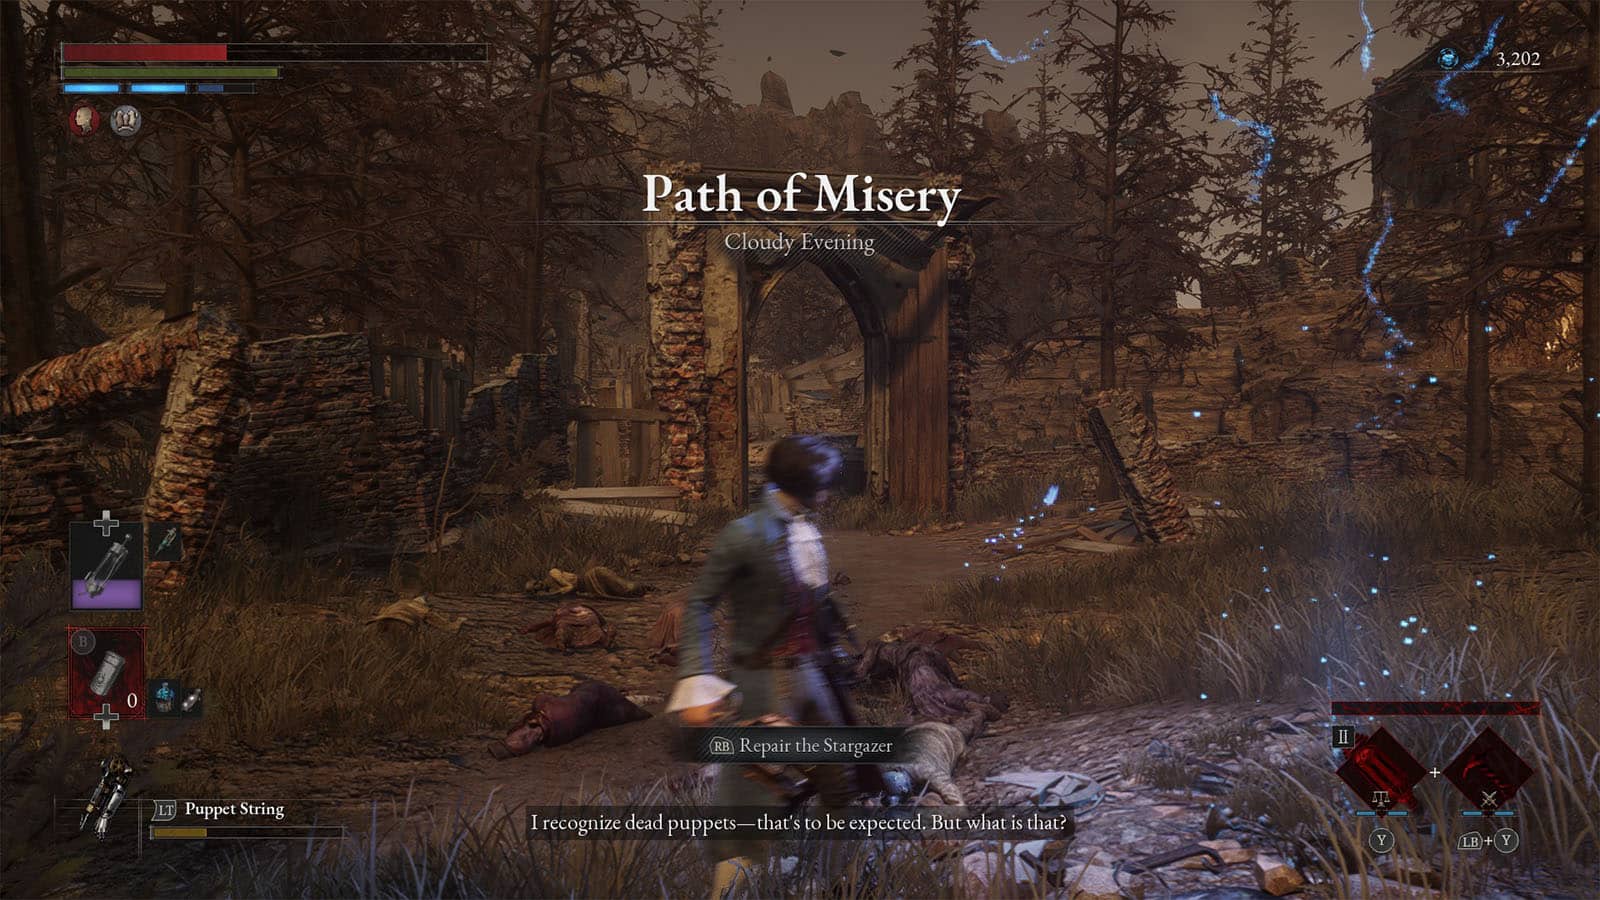
As you walk through the Path of Misery, you will see different types of enemies which are the previous residents who have turned into zombie-like creatures. These enemies are weak to fire, so it’s best to switch to your fire weapons. These enemies can charge at you once they spot you.
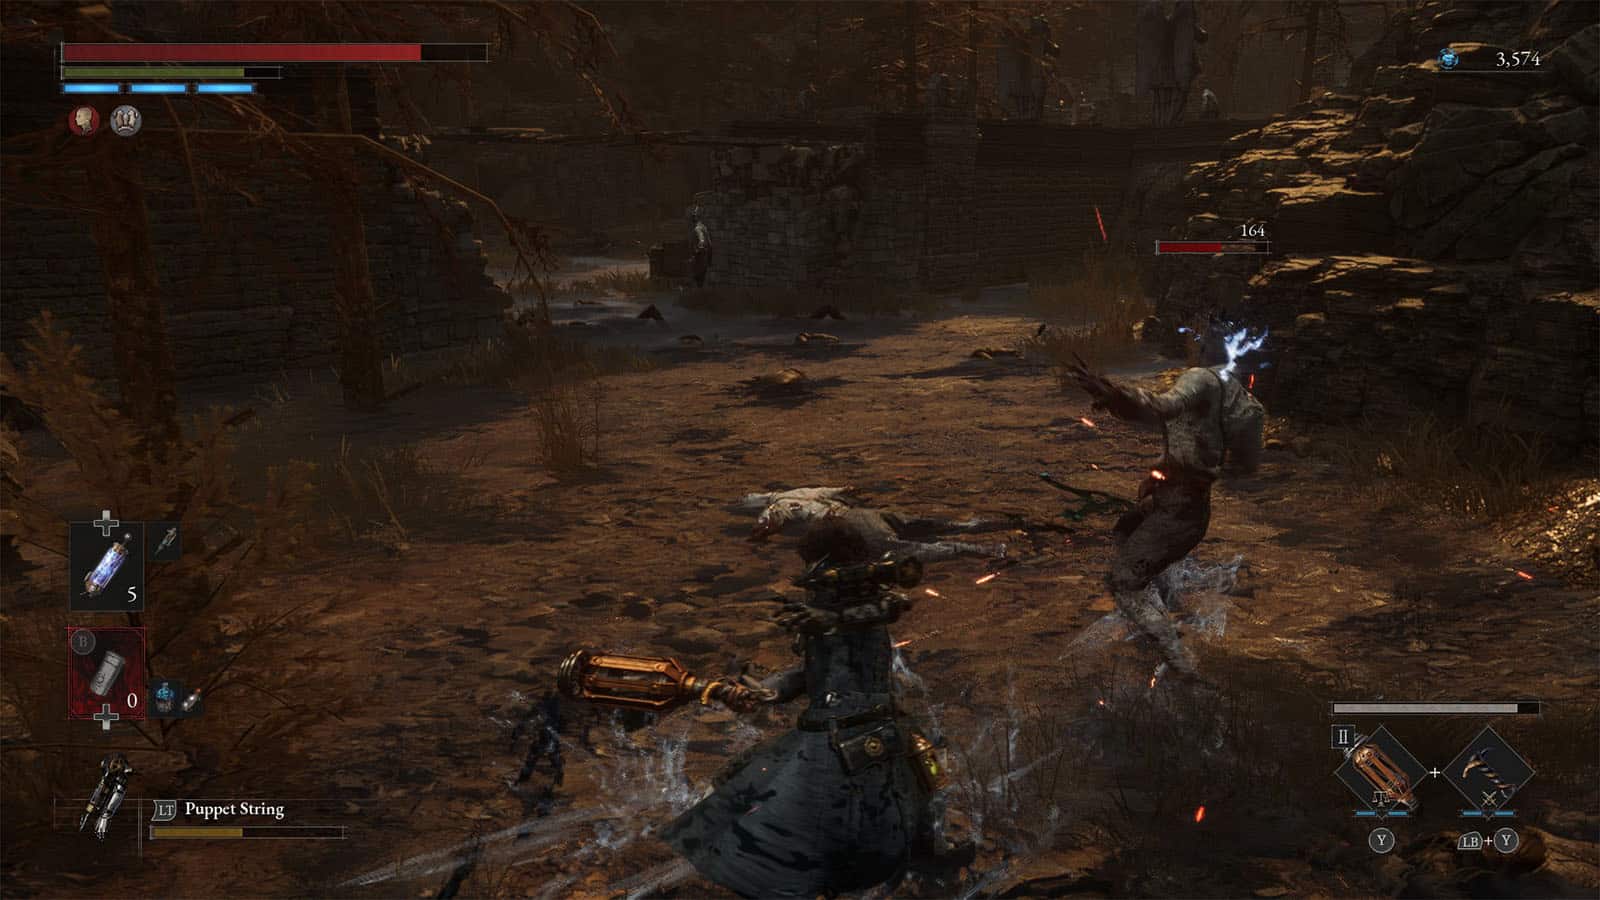
Explore the area around which is littered with enemies. You’ll soon arrive at another bridge, which you can expect to break as soon as you step on them. It’s best to clear the enemies out one by one before crossing to avoid getting mobbed, and you can deliberately go down the lower level to clear the remaining enemies; there is a path that you can take to climb back up.
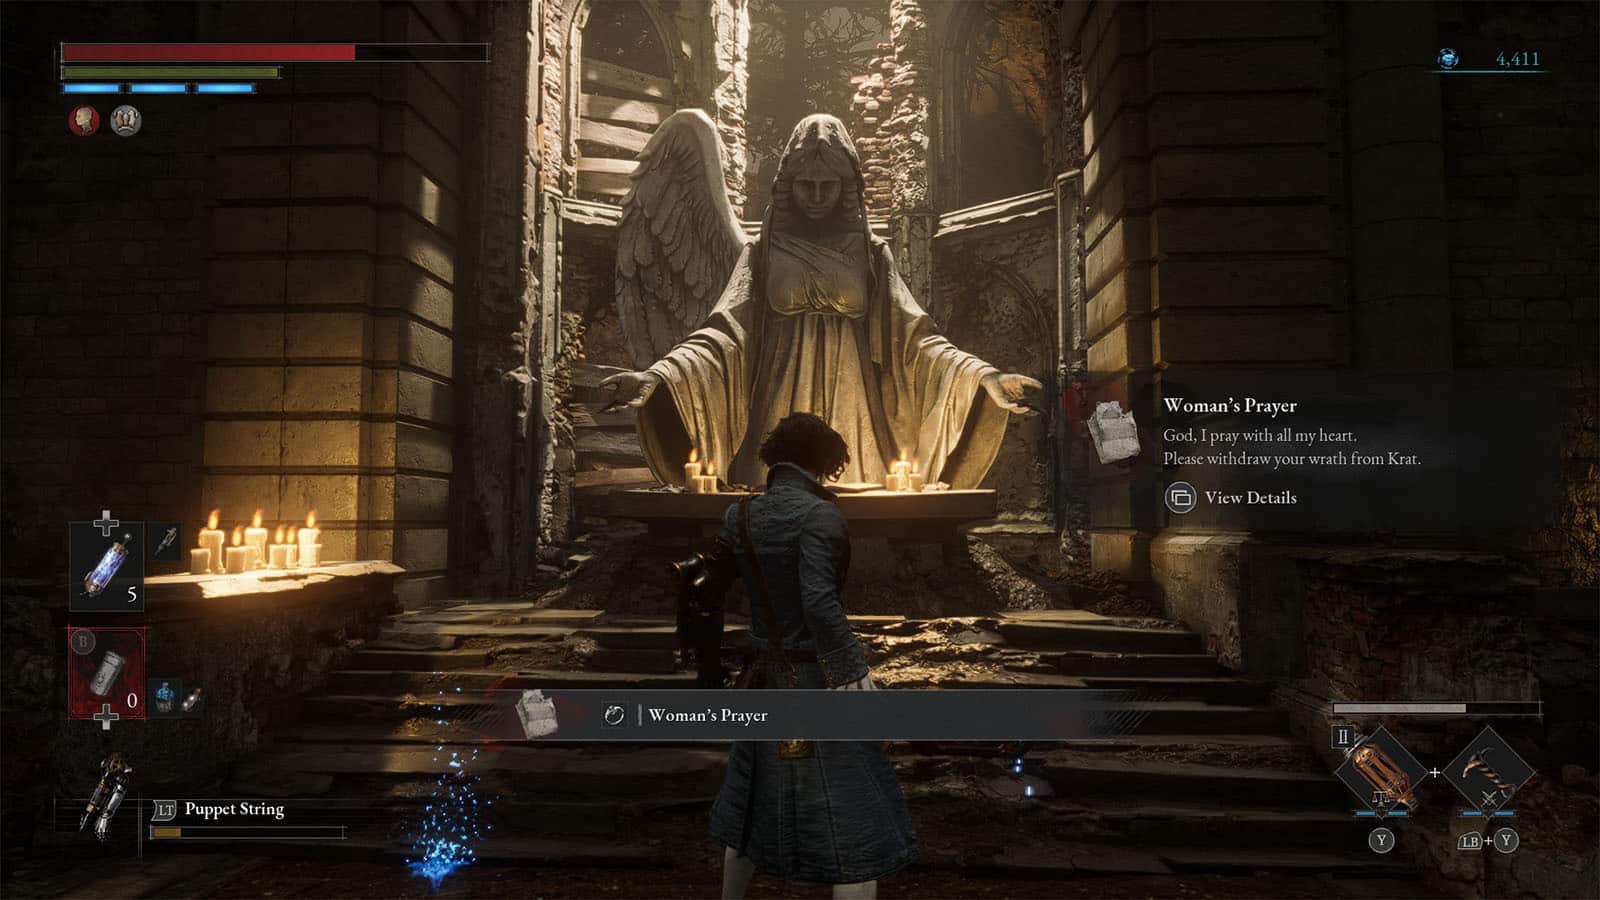
Once you arrive at the chapel, you will find the Collectible – Woman’s Prayer.

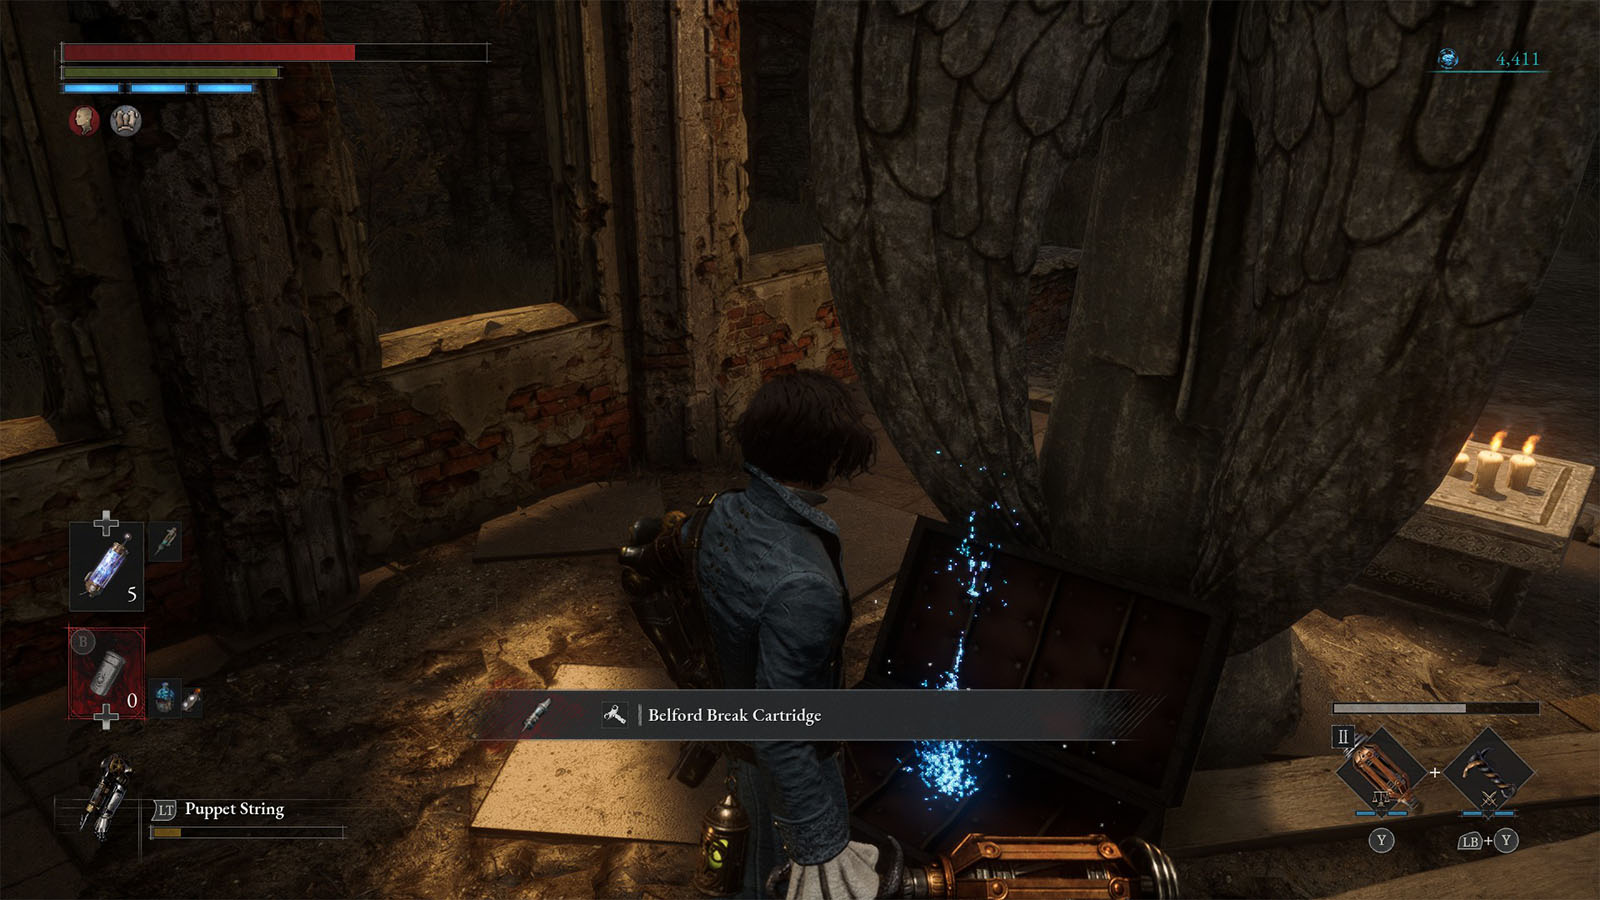
You can also find a man named Giangio at a dead end. Talk to him and he will ask you to look for the legendary Gold Coin Fruit for the cure that he’s making. For now, he will also give you the Collectible – Guillaume’s Ballad. You can also check the statue behind him to find a chest that contains the Cartridge – Belford Break Cartridge.
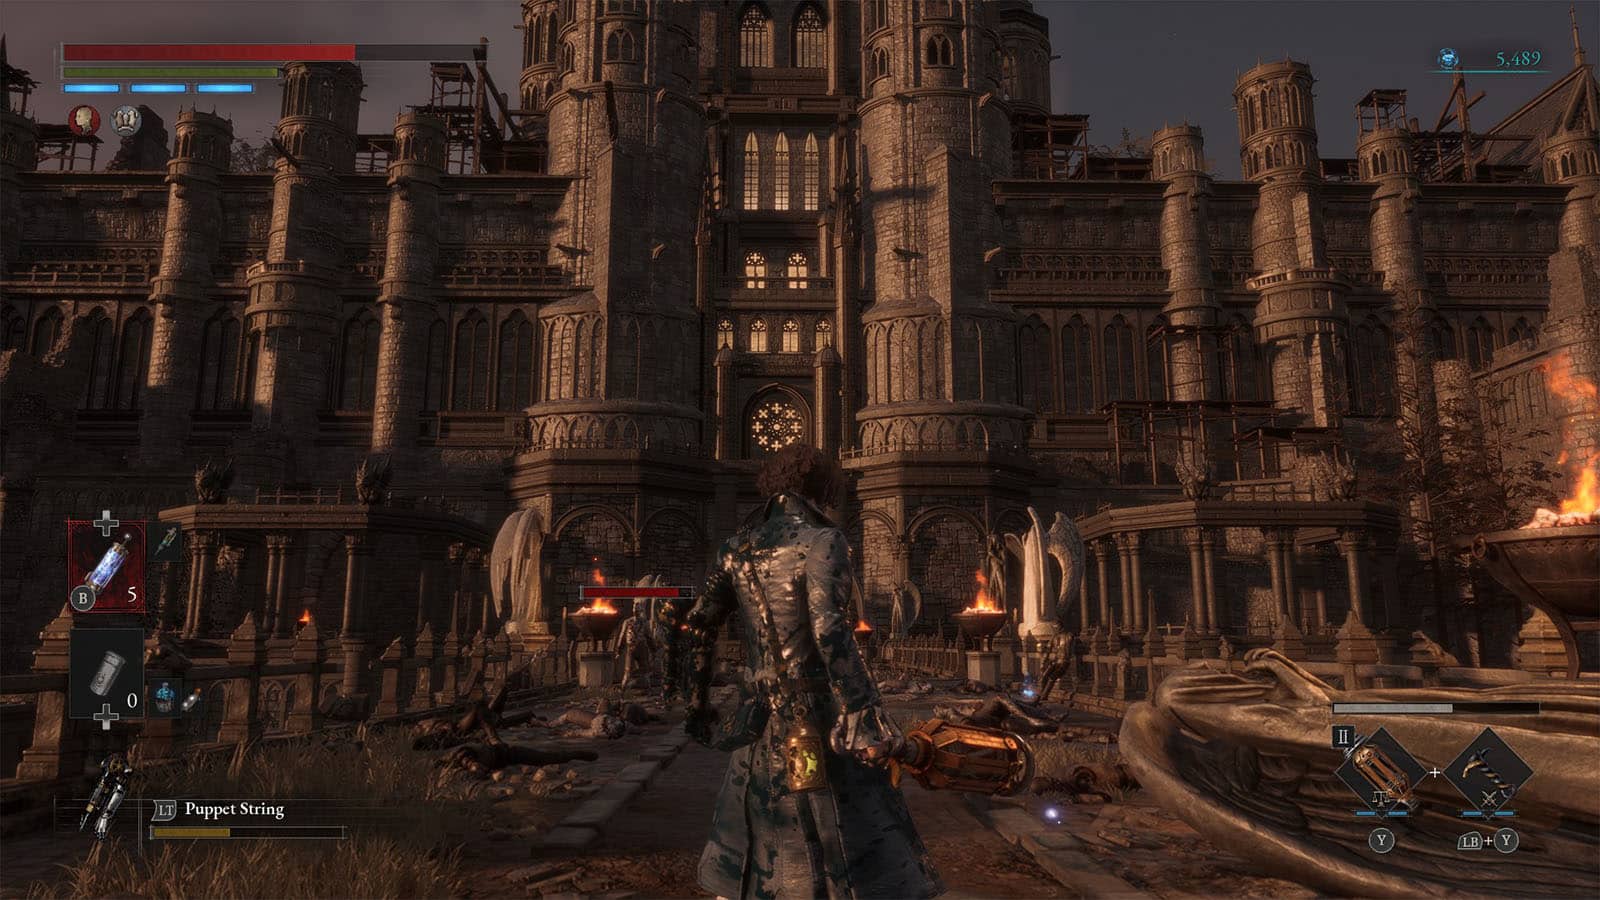
Continue on to the main path and open the door to reach the bridge that leads to the cathedral.
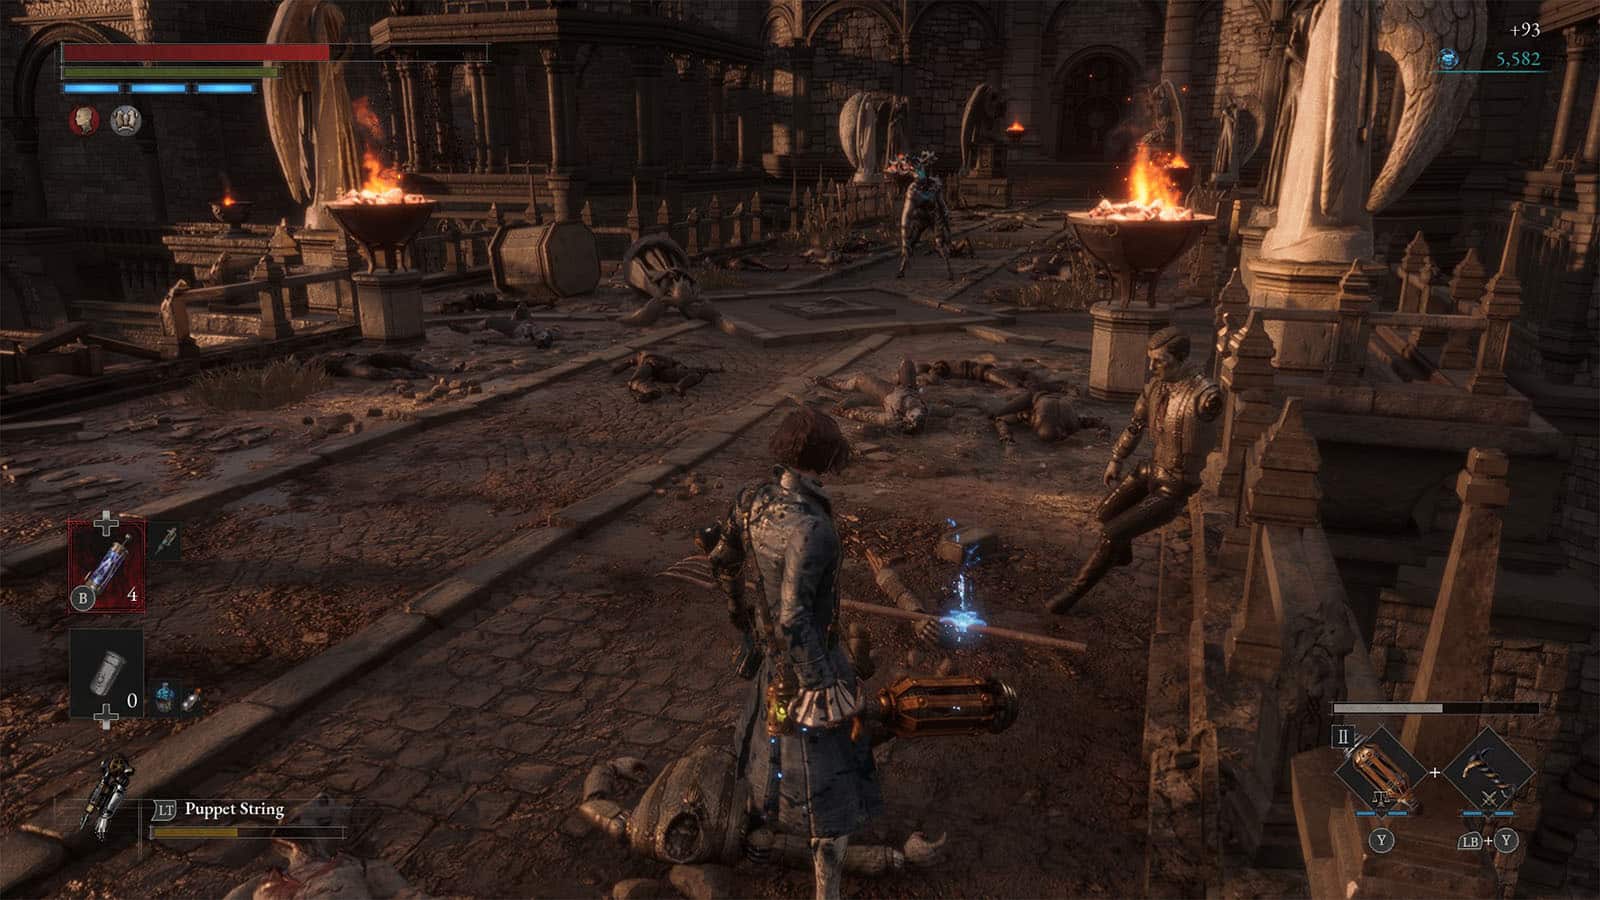
On this bridge, puppets and zombies are fighting. You can wait for them to settle first or try to help out the puppet in thinning out the zombies first. There is an elite enemy within the mob that you have to be careful with, so it’s best to clear out the rest of the weaker enemies.
Elite Fight: Fungi Head
When fighting the Fungi Head, it’s best to practice caution when going in for an attack. It has a relentless combo that uses its arm to constantly flail at you which can lock you in place once hit. This combo often ends up with an unblockable move, and by the time it comes up, you would have most likely ran out of stamina.
The best strat against this elite is to take an evasive stance and go for punishes and counterattacks. As long as you have a fire weapon or a fire coated weapon, you will be able to make quick work against this boss. After defeating the boss, you will be rewarded with a Thermite, and a Star Fragment.
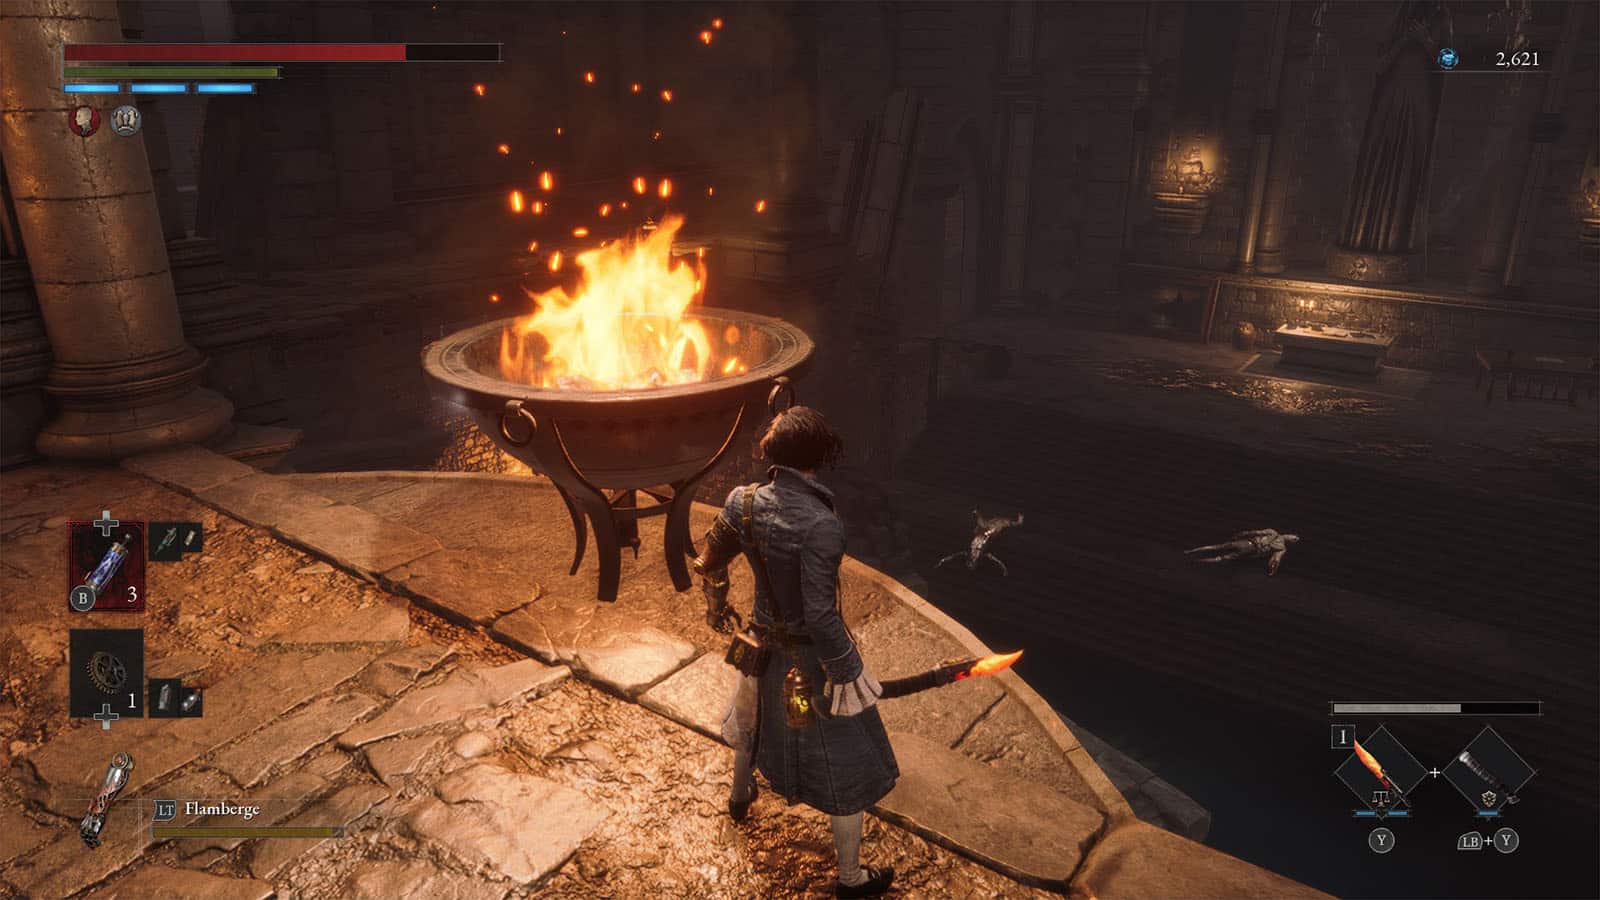
St. Frangelico Cathedral Chapel
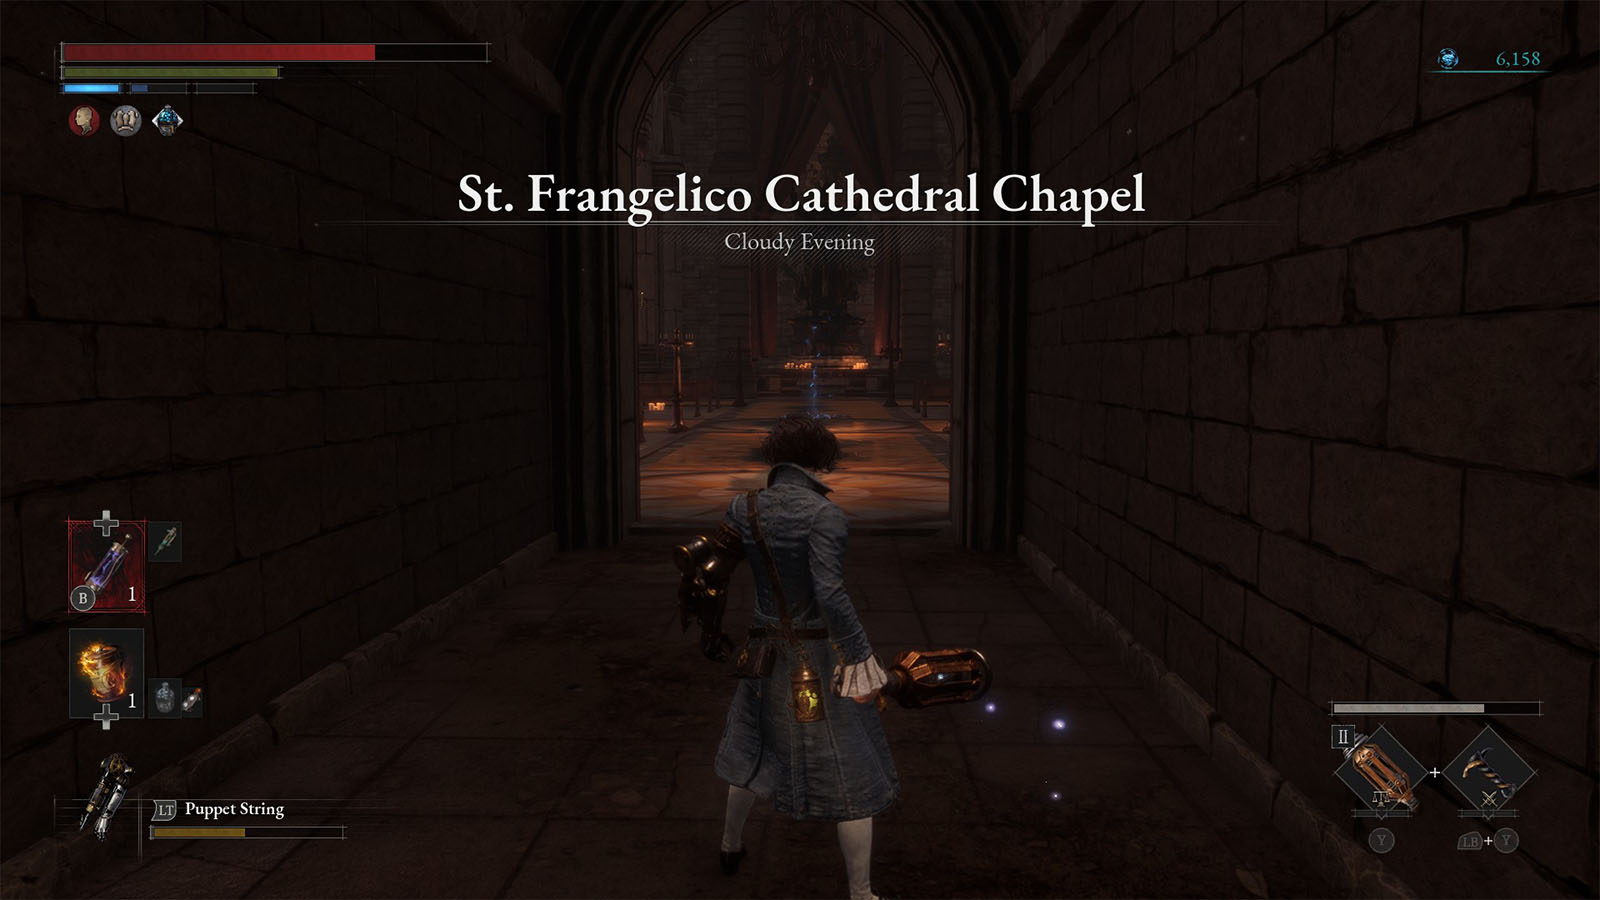
Once you cross the bridge and get to the other side, you will arrive at the cathedral door. Go inside and you will find the next Stargazer.
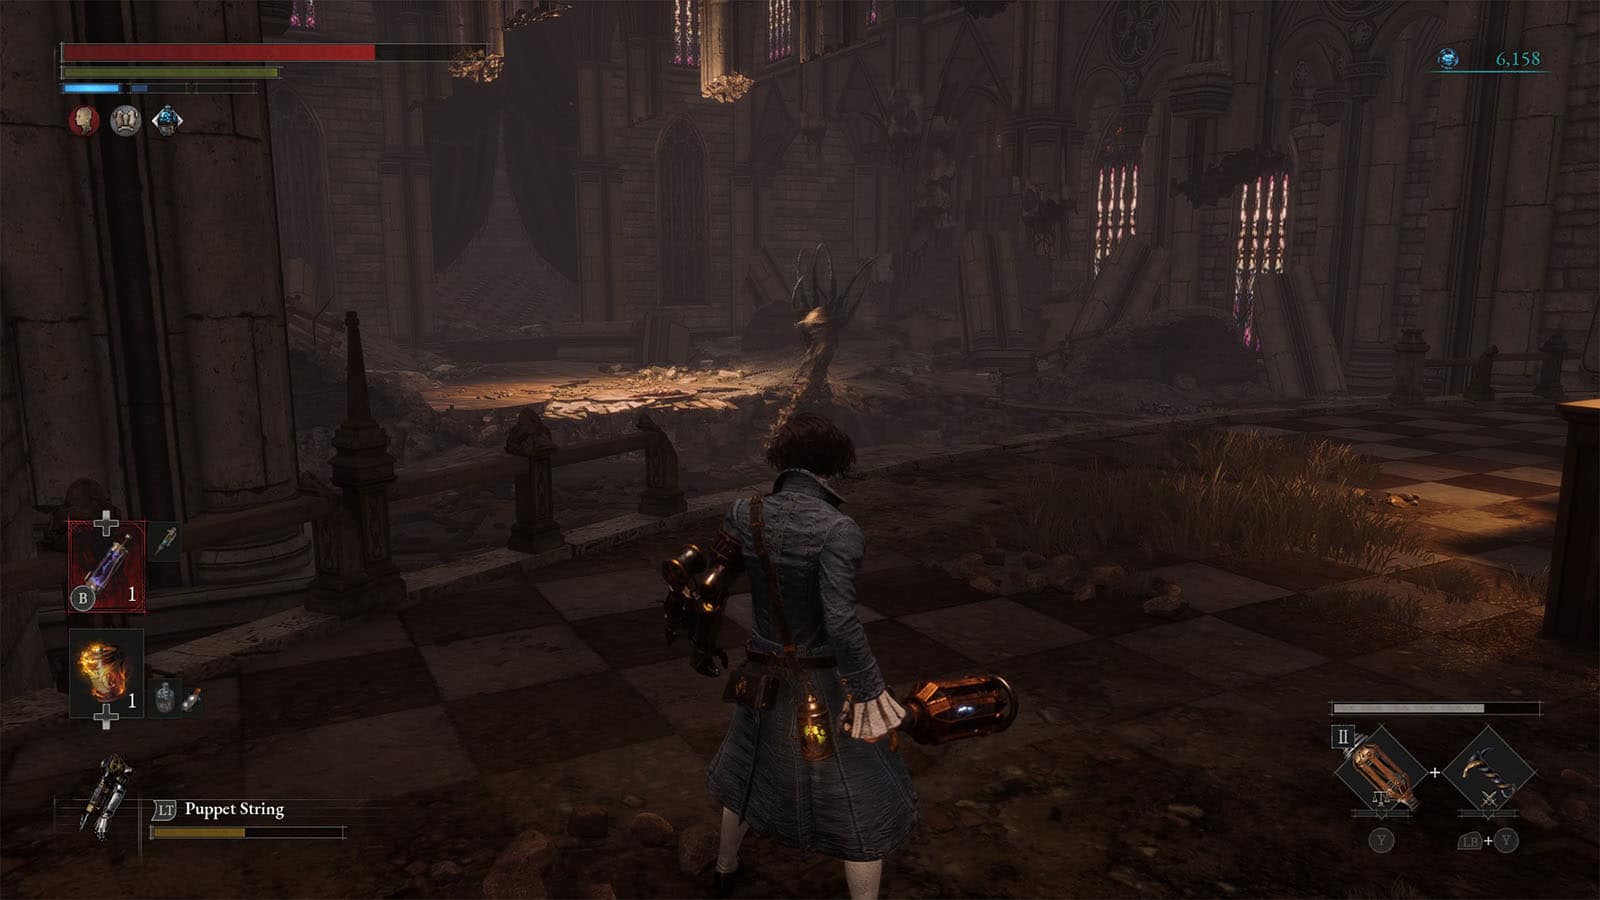

Follow the blood trail that leads to the door to the left. You will have your first sighting of this chapter’s boss, but you won’t fight it yet. Turn around and you will find the pipe organ where you can get the Collectible – Stained Choir Sheet Music. Continue down into the hole and follow the path into the hallway (don’t jump straight into the hole).
Go down the ladder that you find in the hallway and it will lead you to the lower chambers. This area is full of enemies, and part of the floor is flooded with acid. Be careful as there are also enemies hiding underneath the puddle. You will notice to the right is a rudimentary elevator, but its platforms are moving down.
For now, make sure that you have equipped the converter to protect yourself from the acid, then lure the enemies out of the puddle first. Once it’s safe, cross the puddle as quick as you can to reach the dry floor that has a ladder on it.
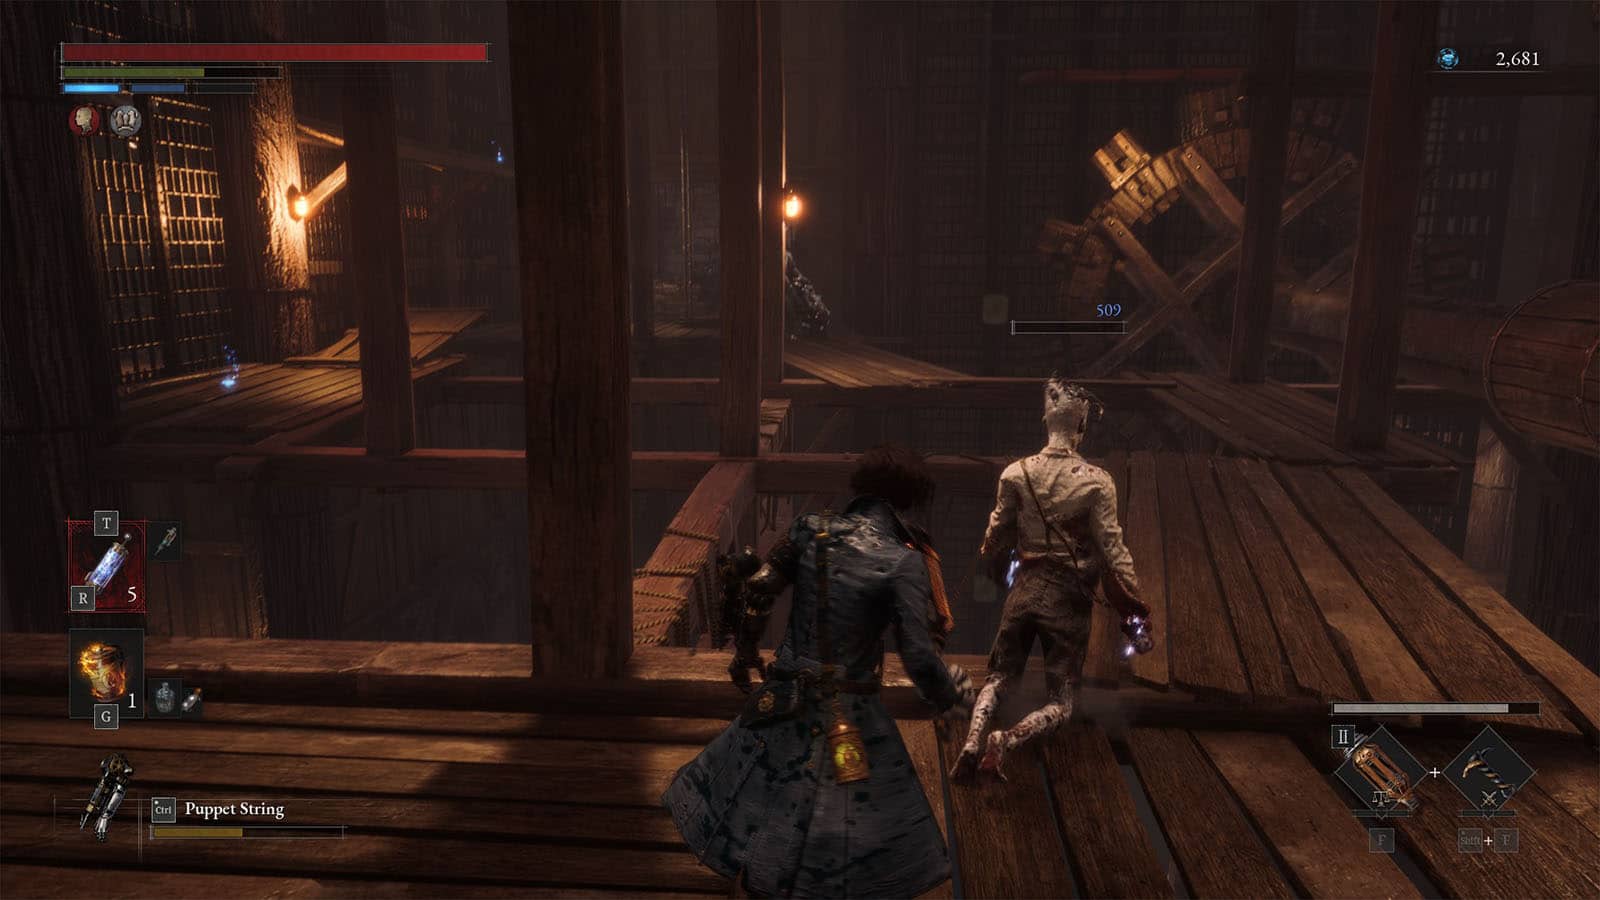
Climb the ladder to reach the wooden platforms above. There are more enemies up here, including ones that are just hanging by the edge of the platform. There are also the new thrower enemies that can cause some decay damage with their projectiles, not to mention they can also knock you back and make you fall back down to the lower level.
When facing against these throwers, it’s best to anticipate and block their projectiles while on the wider platforms, then immediately cross the narrower planks while it’s recovering for another attack. Make sure to rush these enemies down as soon as you can.
You will find some blue flowers near the first thrower which you can reach by climbing up the ladder, then breaking the crates above to reveal the ledge that you can jump down from.
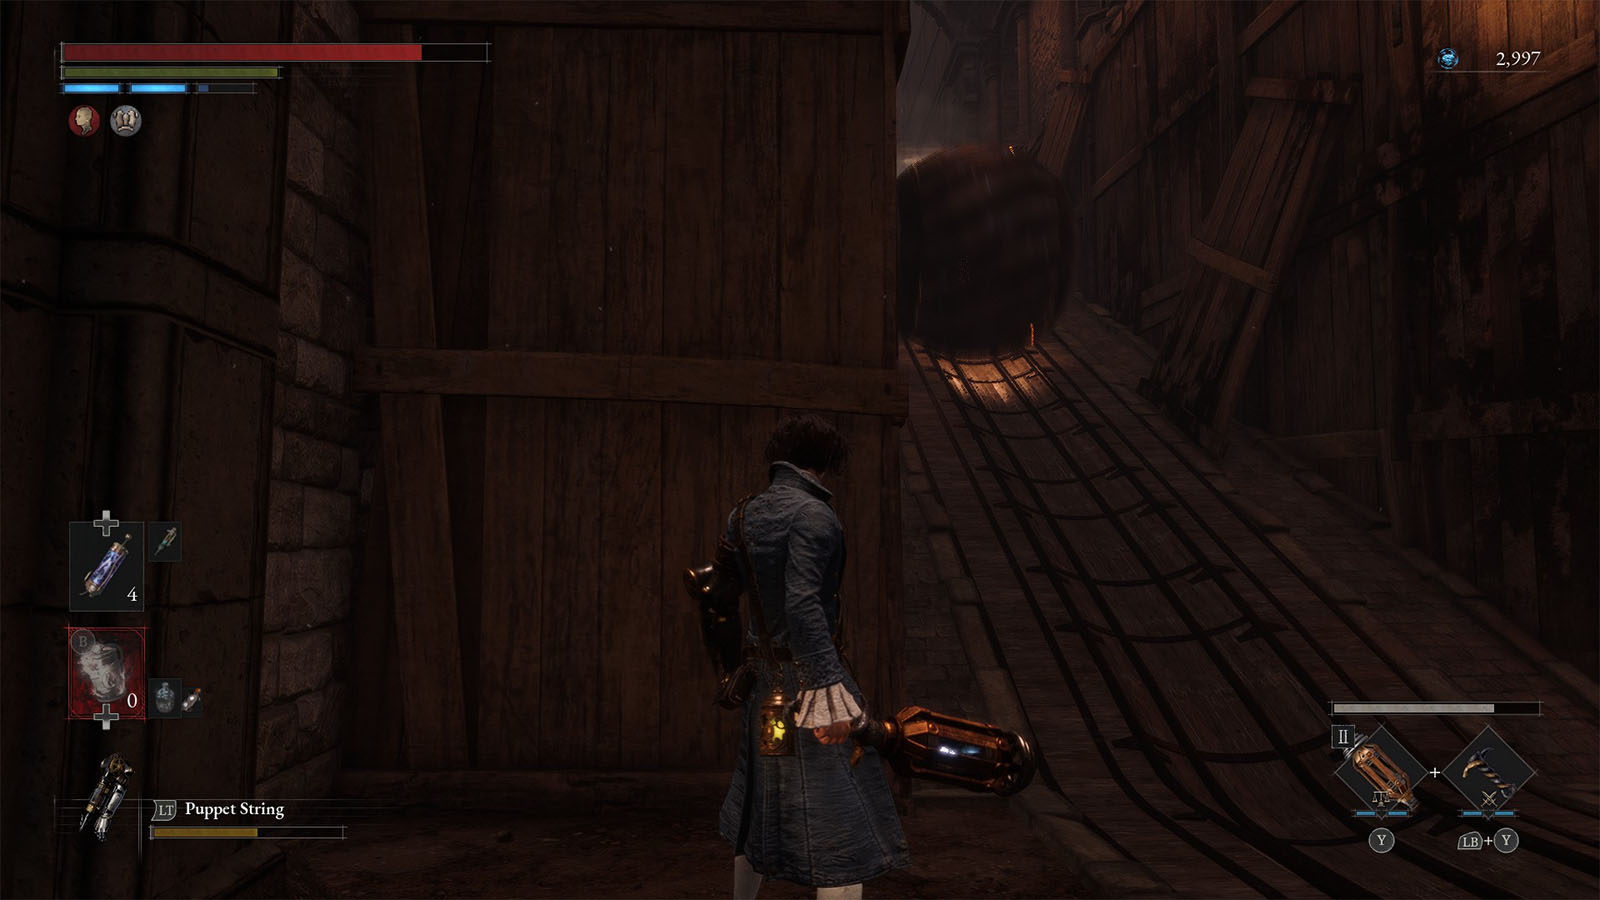
Defeat the next thrower on the next platform, then go further up where you will find another ramp with huge rolling balls on them. Time your crossings just as soon as the balls pass and hug the wall to avoid getting hit. Once you reach the top of the first ramp, prepare to get ambushed by a zombie that’s hiding behind the wall.
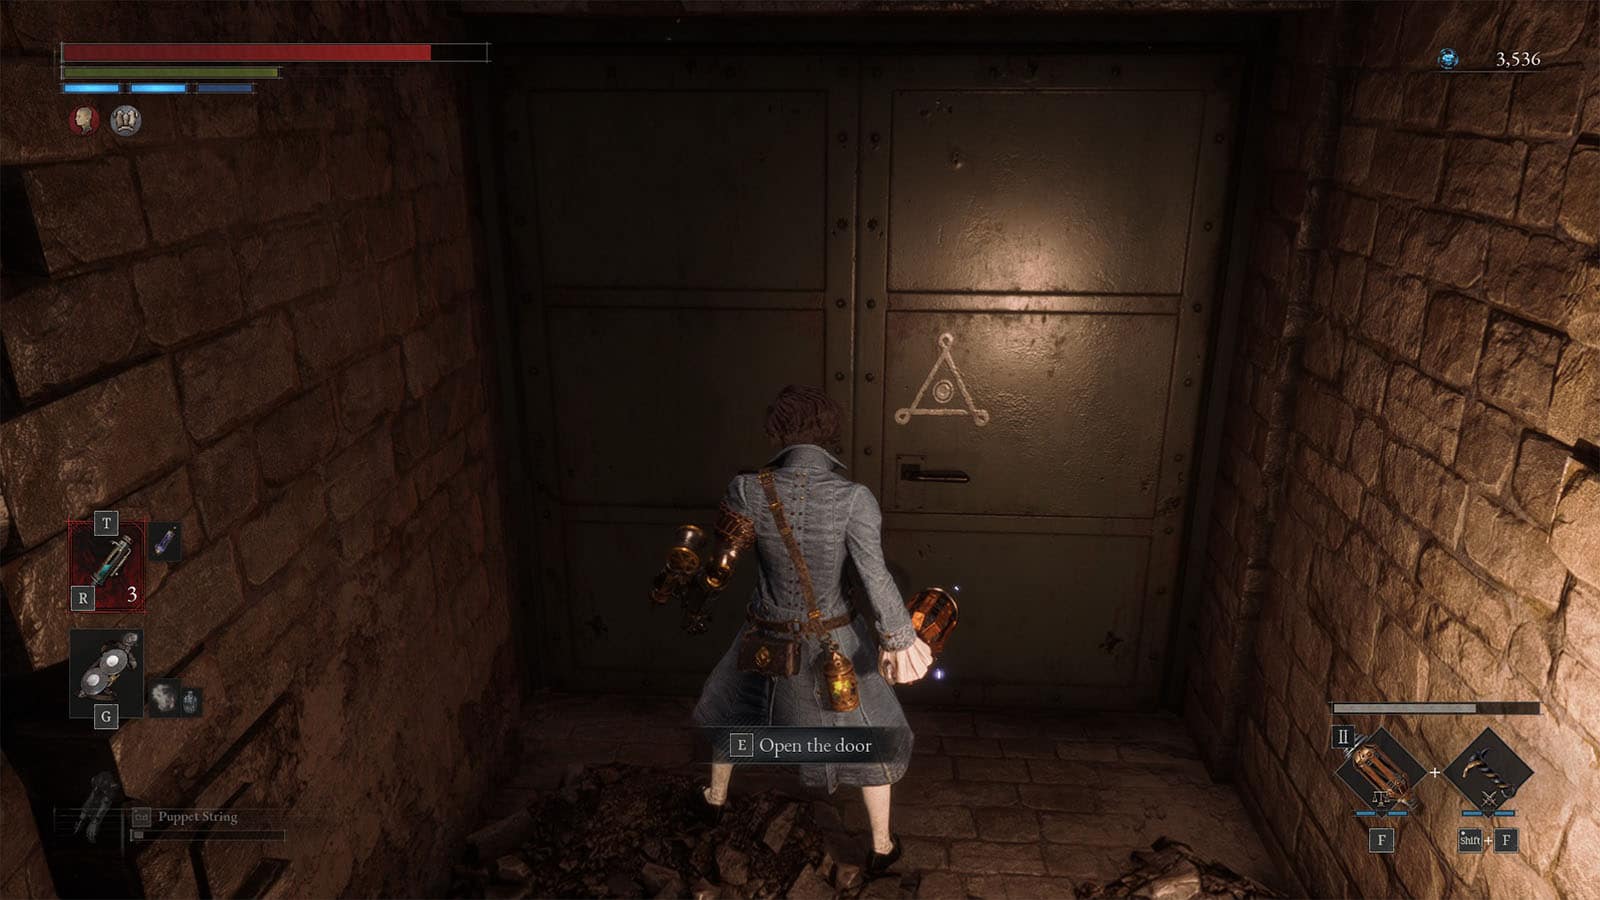
There is another ladder going up that leads to a second ramp. Along the walls of this ramp is another door that requires a new Trinity Key.

Go back to the top of the first ramp, then follow the path going back to the center of the room. From here, you will have to jump from platform to platform while avoiding the teeth of the gears in between the gaps.
The first platform that you’ll jump to will have a brazier that you can push down to the bottom. Doing so will clear out all of the acid puddle that you crossed earlier, which also reveals another door that leads to the basement.
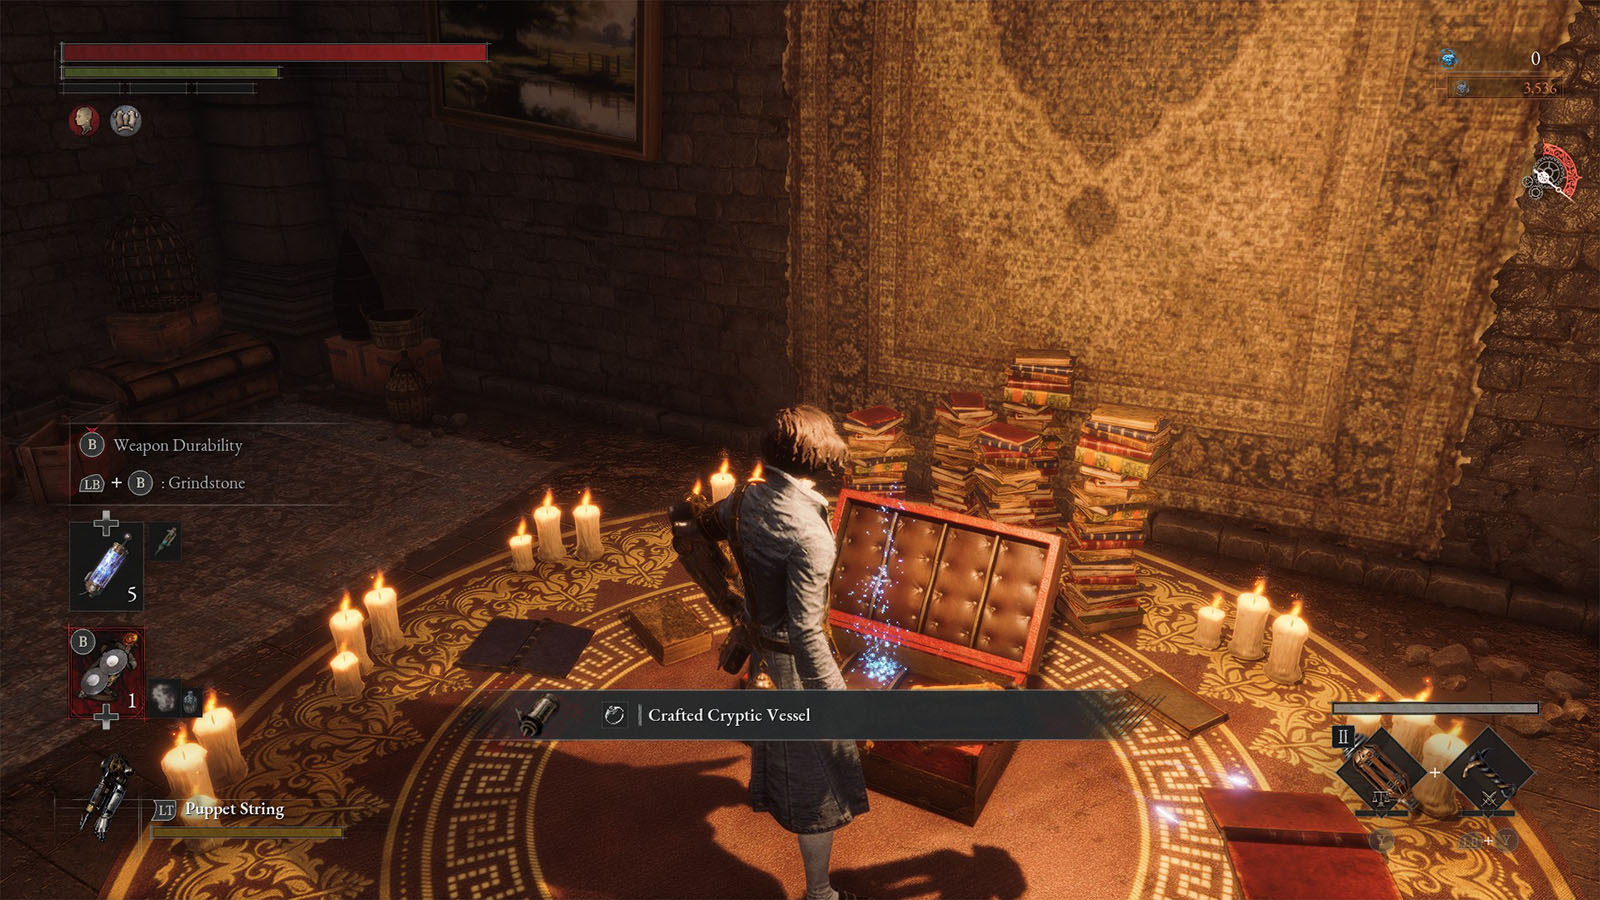
If you go back down to check on this basement door, you will find a chest that contains the Crafted Cryptic Vessel, which is the first part of the Costume Puzzle leading back to Elysion Boulevard. Take this vessel back to Venigni when you have the time to do so.
Back to the top part of the chamber, clear out the next set of enemies that you’ll encounter, then look for a lever. Pull the lever to make the elevator go the opposite way and you will get a shortcut from the base level to the higher levels.
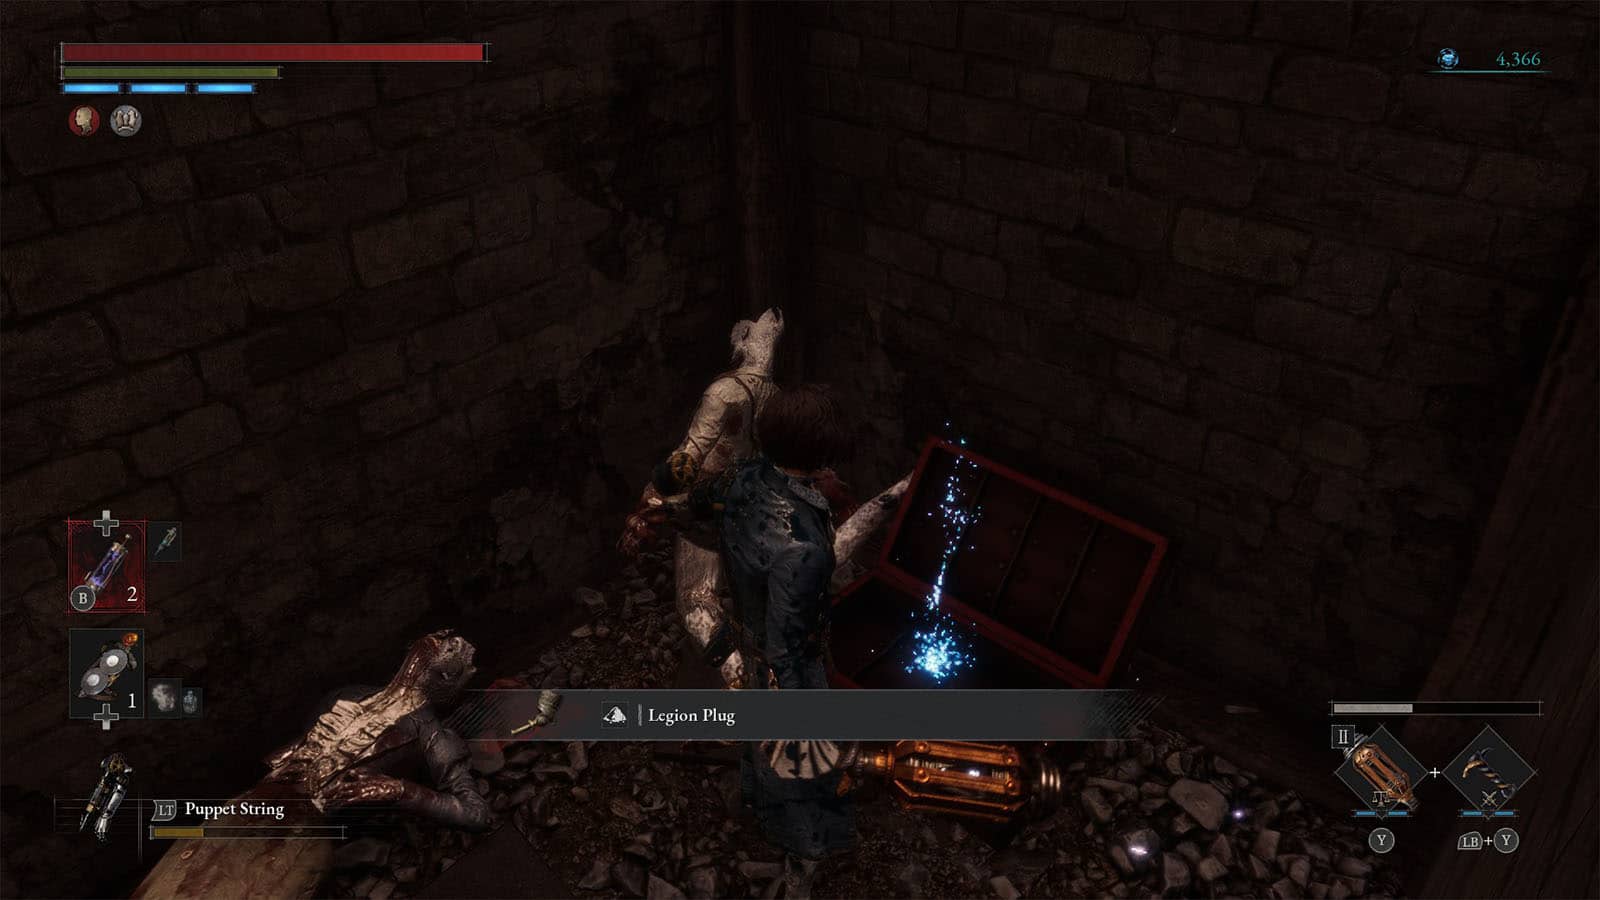
Before proceeding through the gate, you can take the time to ride the elevator first to explore other platforms that you can now reach. There’s a Crescent Moonstone that can be found on one of the platforms near the gears. There is also a niche that the elevator passes through that have two enemies inside; in it is a chest that contains a Legion Plug, a crafting material necessary to create the other types of Legion Arms.
High Elite Fight: Shielder Zombie

Once you’re ready, go through the gate to face against another elite enemy, the Shielder Zombie. This enemy has an enlarged limb that acts as a shield. It uses this shield to deflect attacks and to bash on to you.
Look out for its charge bash as it has two parts: it dashes at you with its shield up, stops for a bit, then resumes its charge at you. A bash can hit twice in one charge. If the boss has you in its melee range, it often follows this charge where it raises its shield for another blow.
It’s recommended to avoid the charges, and then go defensive with your parries with its regular shield bashes. It is weak against fire, so use your dagger, or coat your blades using the fire grinder.
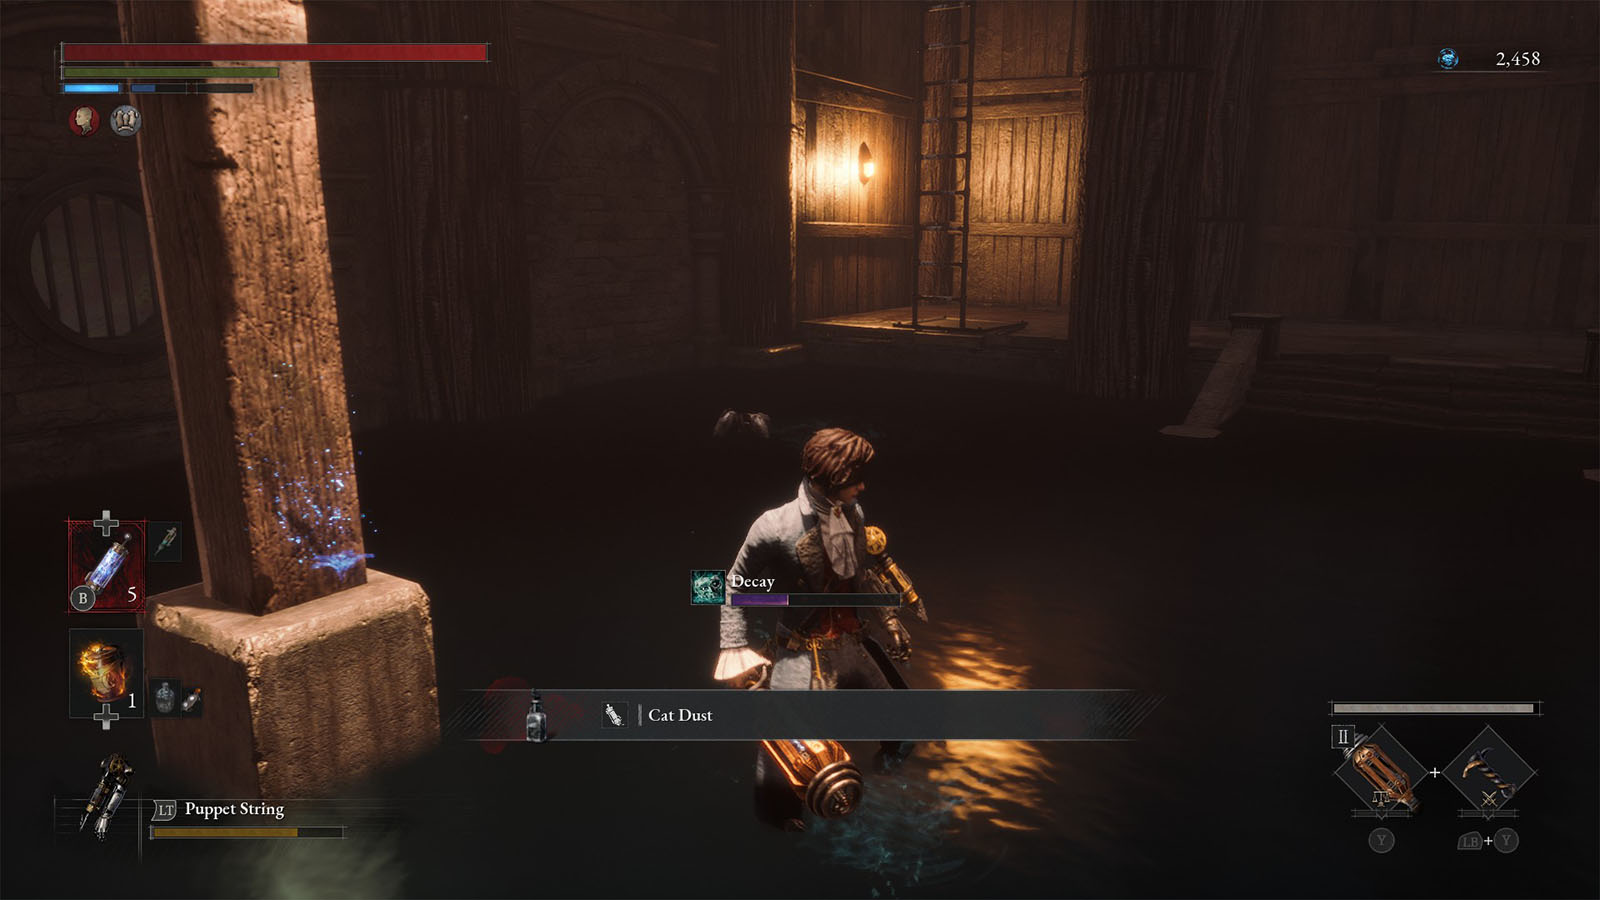
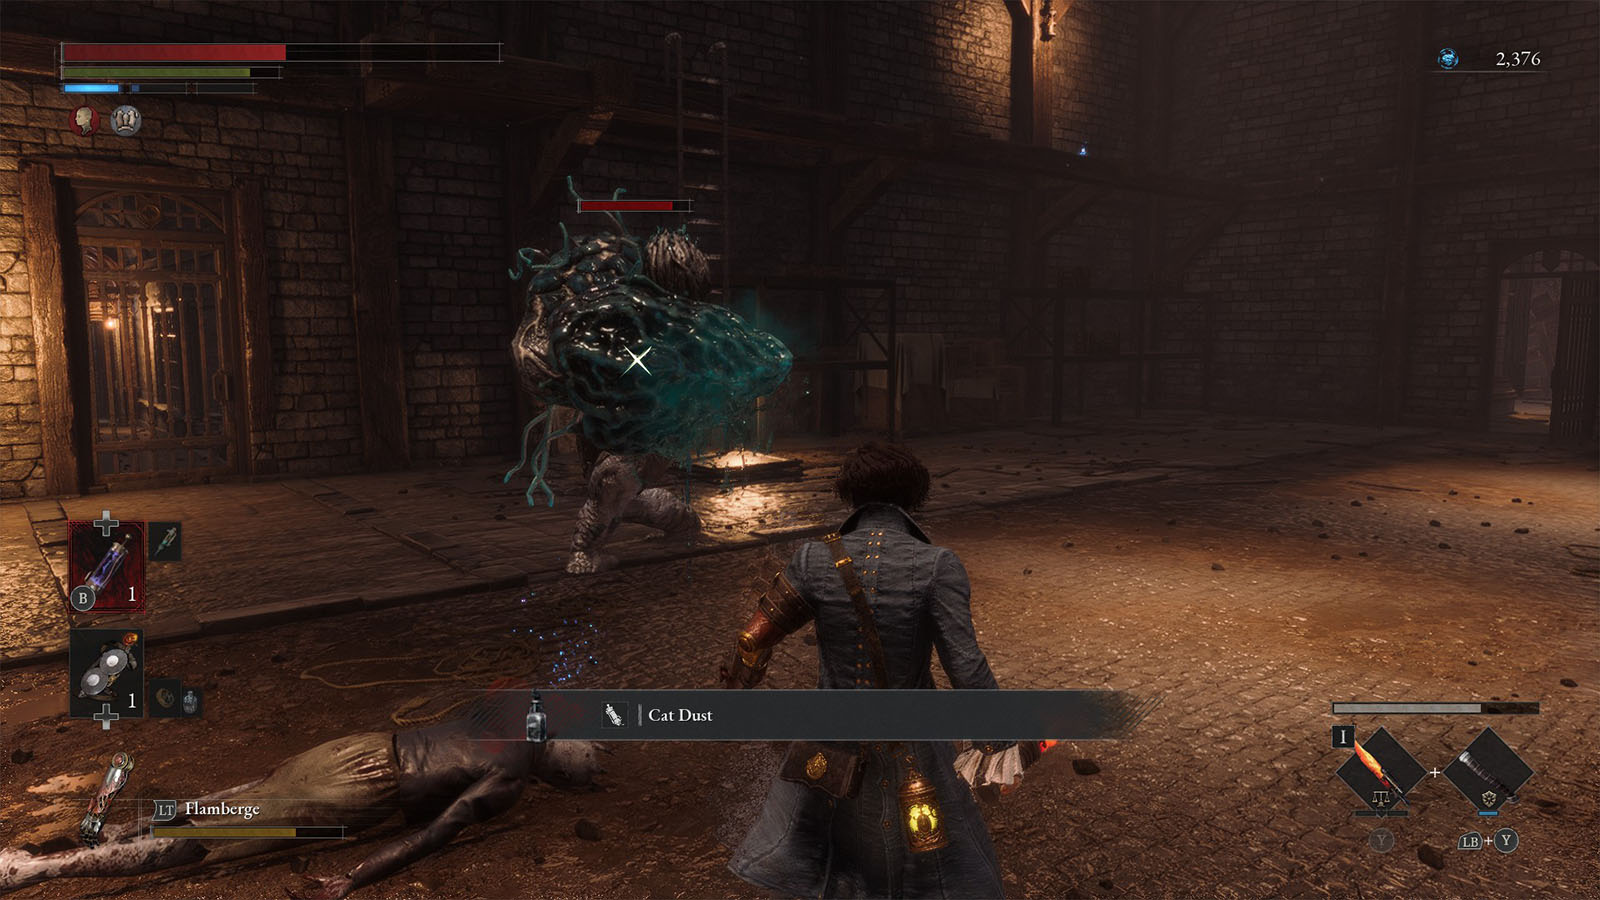
Once the enemy has been defeated, it will drop a Quartz and the next door will open up. You can also loot the blue flower in the room to find Cat Dust.
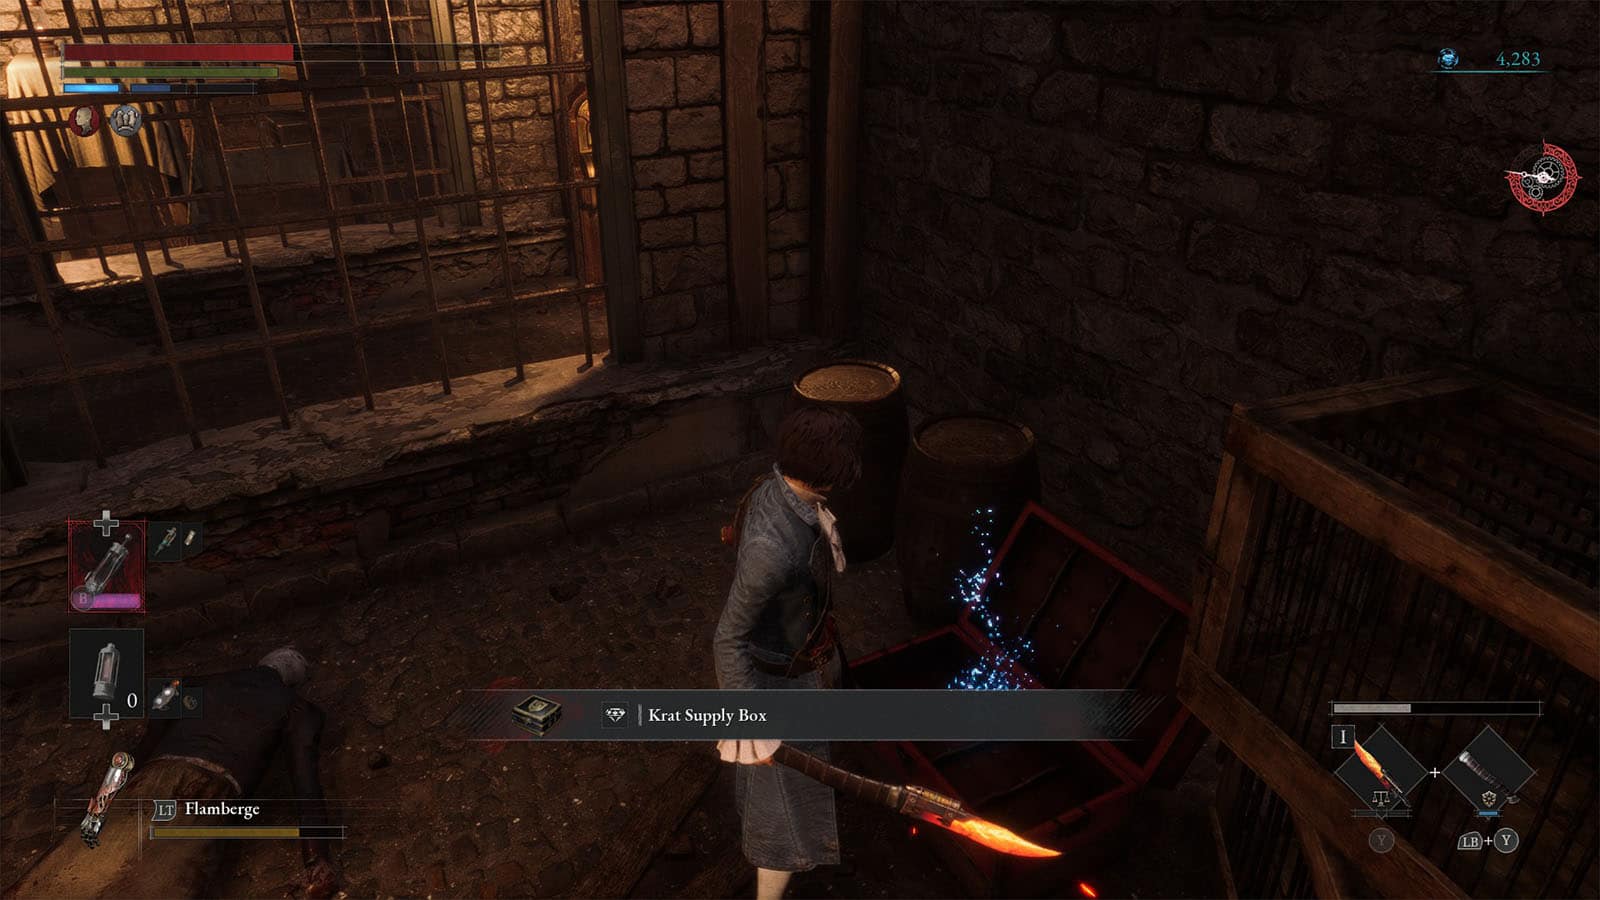
Through the tunnel past the opened gate, you will find a side room that has a chest containing a Krat Supply Box. Take this supply box back to the hotel and Polendina and the shop will have new wares to sell.
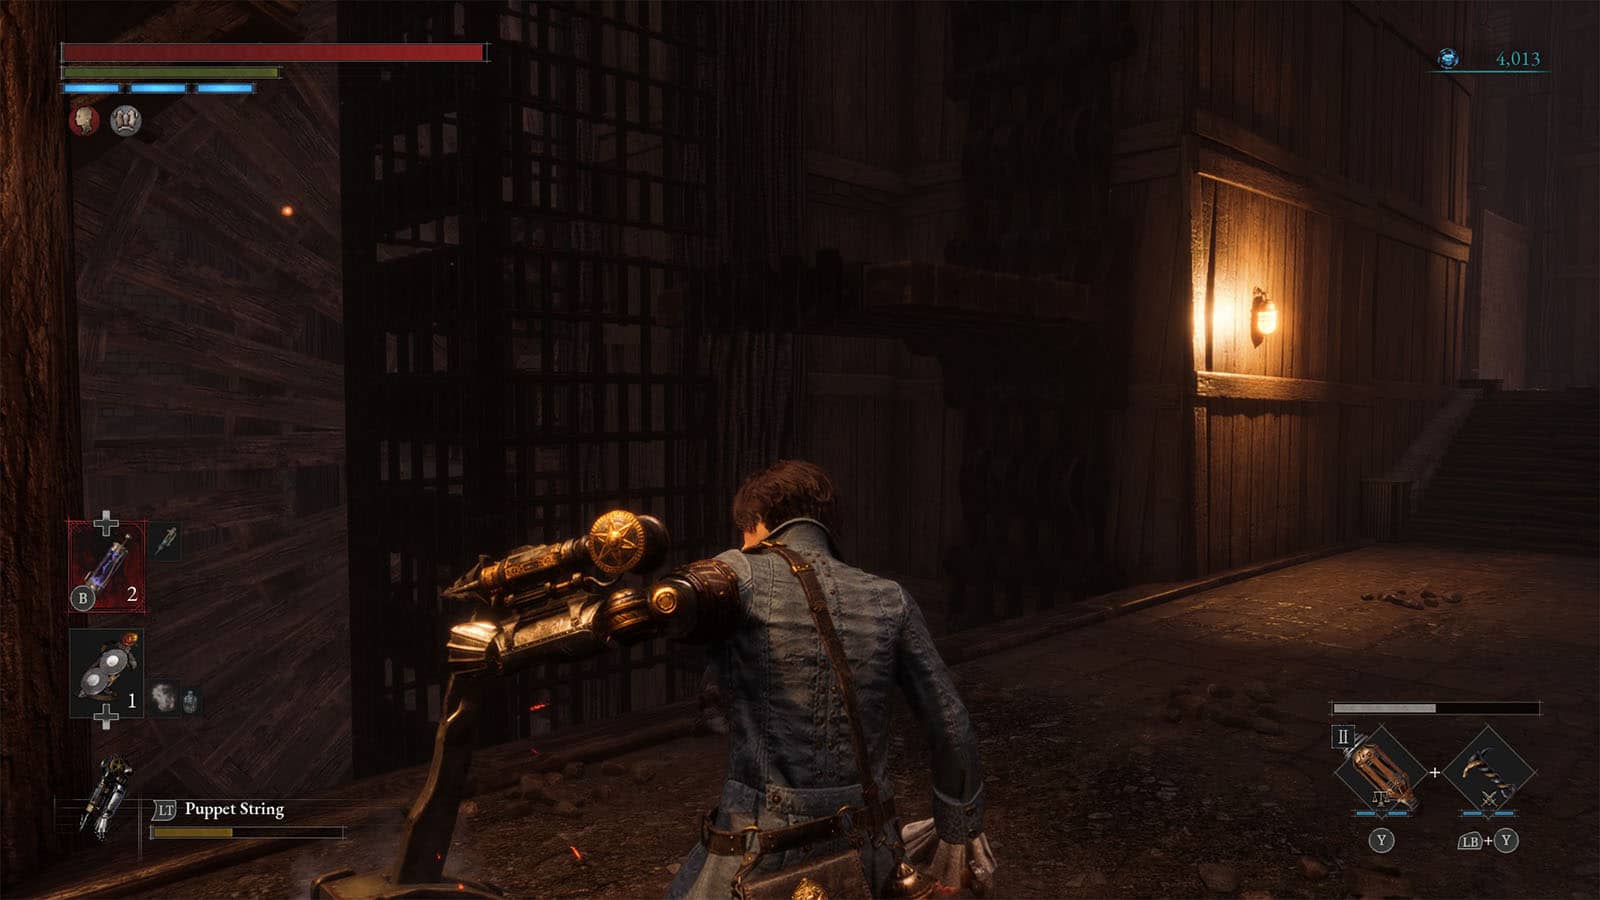
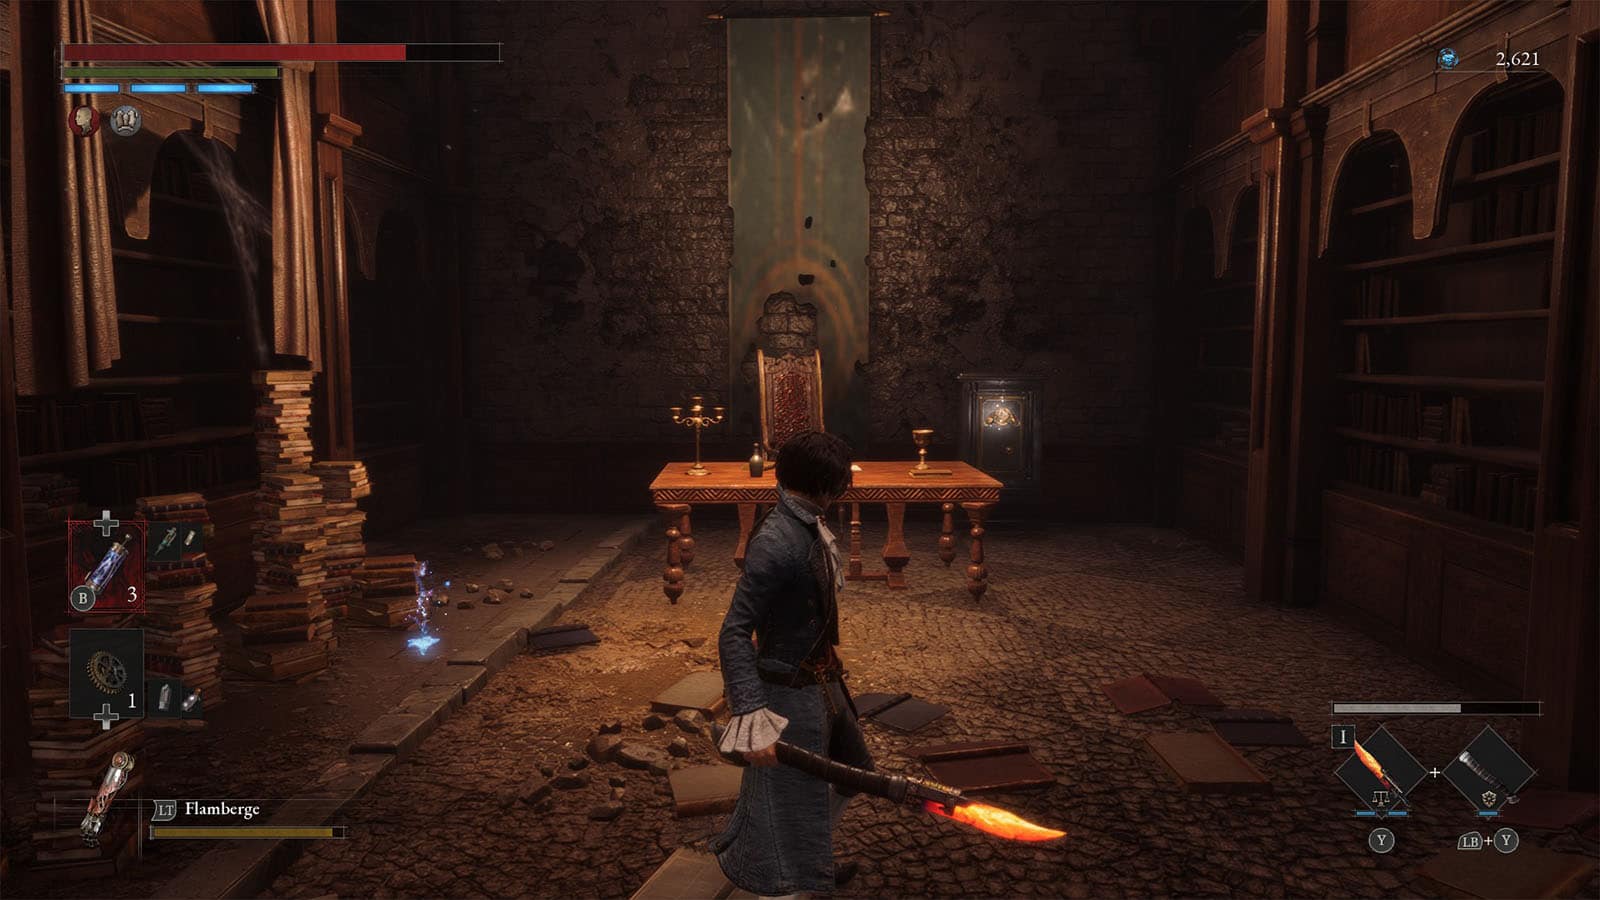
St. Frangelico Cathedral Library
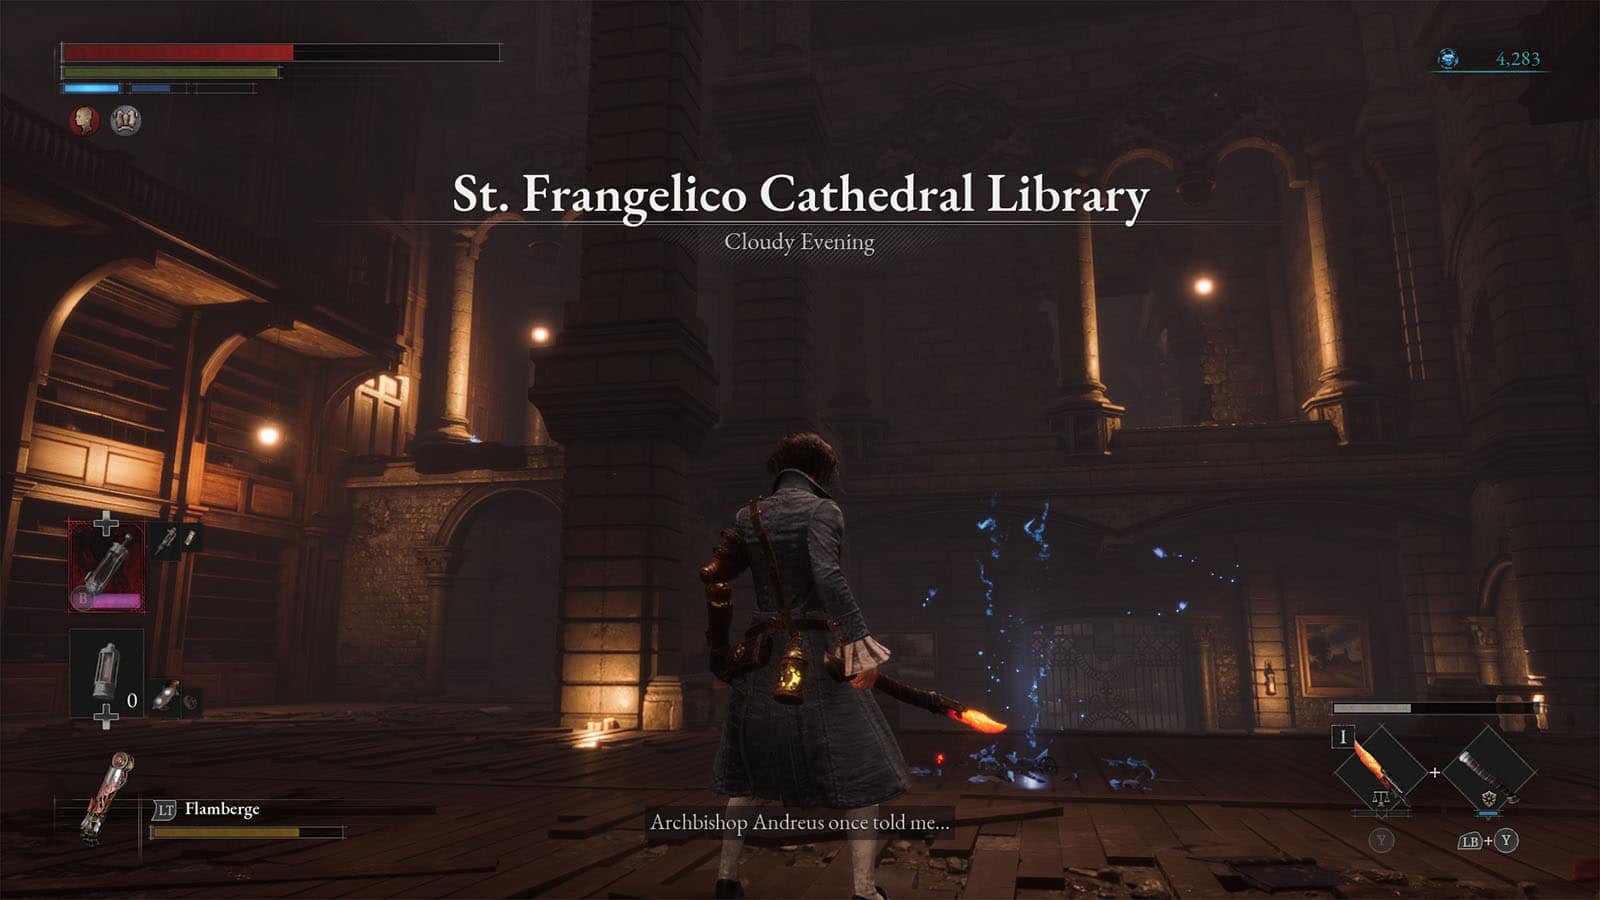
You will eventually reach the library where you can find the next Stargazer.
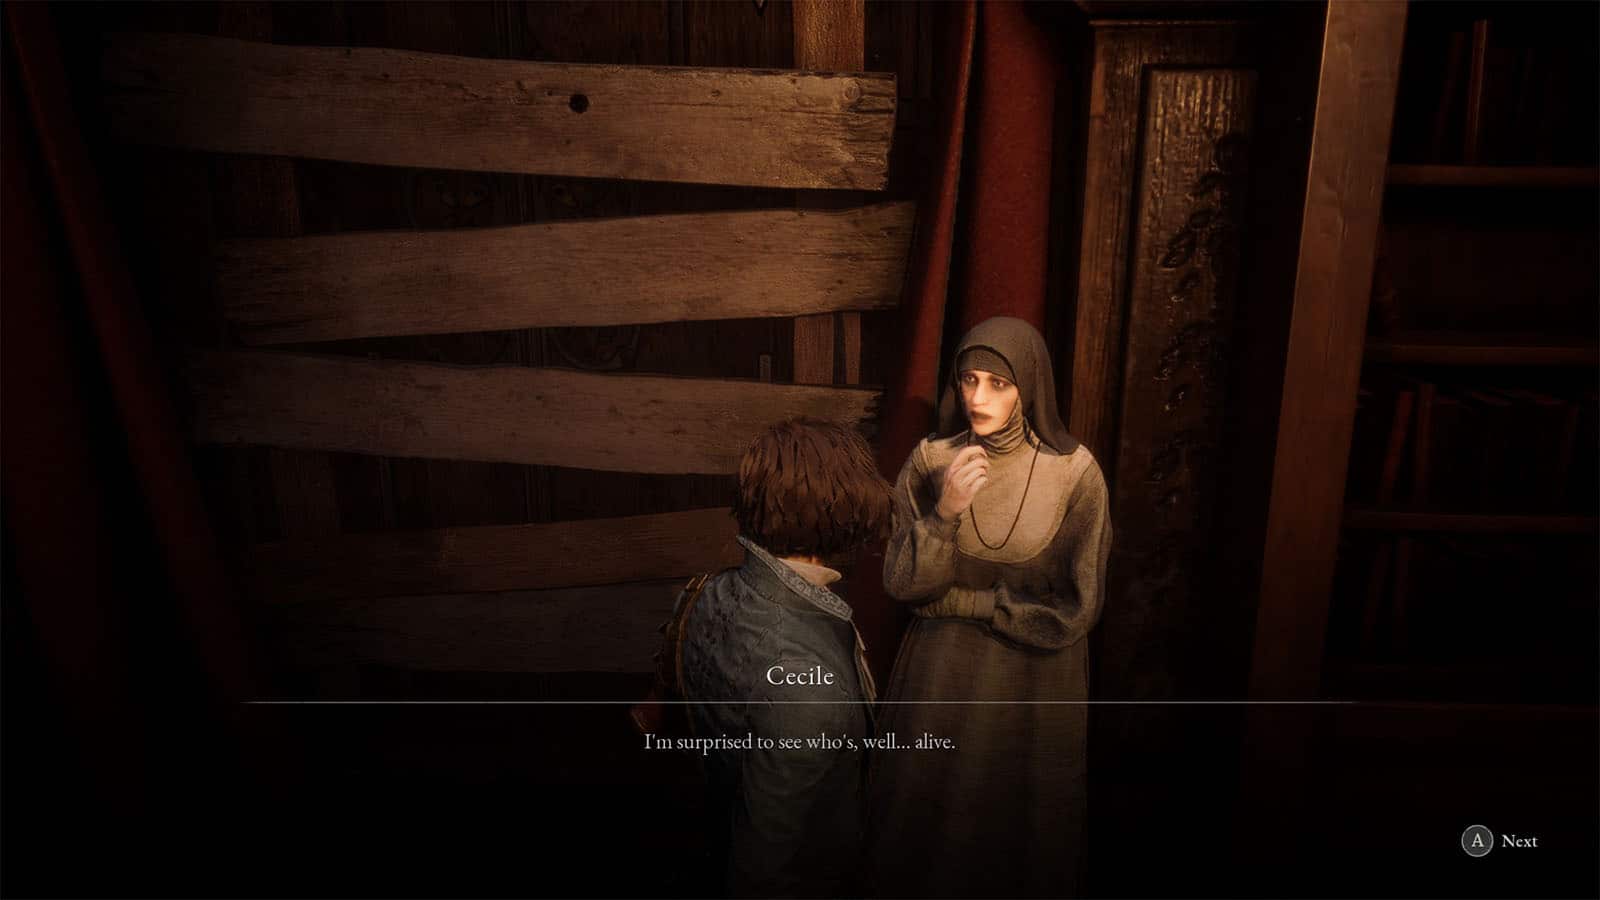
From here, you can check the blue flower nearby to get a Thermite. On the opposite side is a nun named Cecile. She is the only survivor in the cathedral and she asks of you to bring back the archbishop’s holy mark.
Moving forward to the next corridor, stay close to the right side of the wall to avoid triggering the arrow trap that is on the end of the path. There will be more of these traps in this area, so pay attention to the holes that are on the walls.
Turn right and you will find enemies and a thrower on the top bridge. You also have to be aware of the hanging sacs that burst open when you stand under them. They drop sludge that can cause decay.
At this part, make sure that you have more than half health as you will need to fall down in one of the holes that you see to reach a lower room.
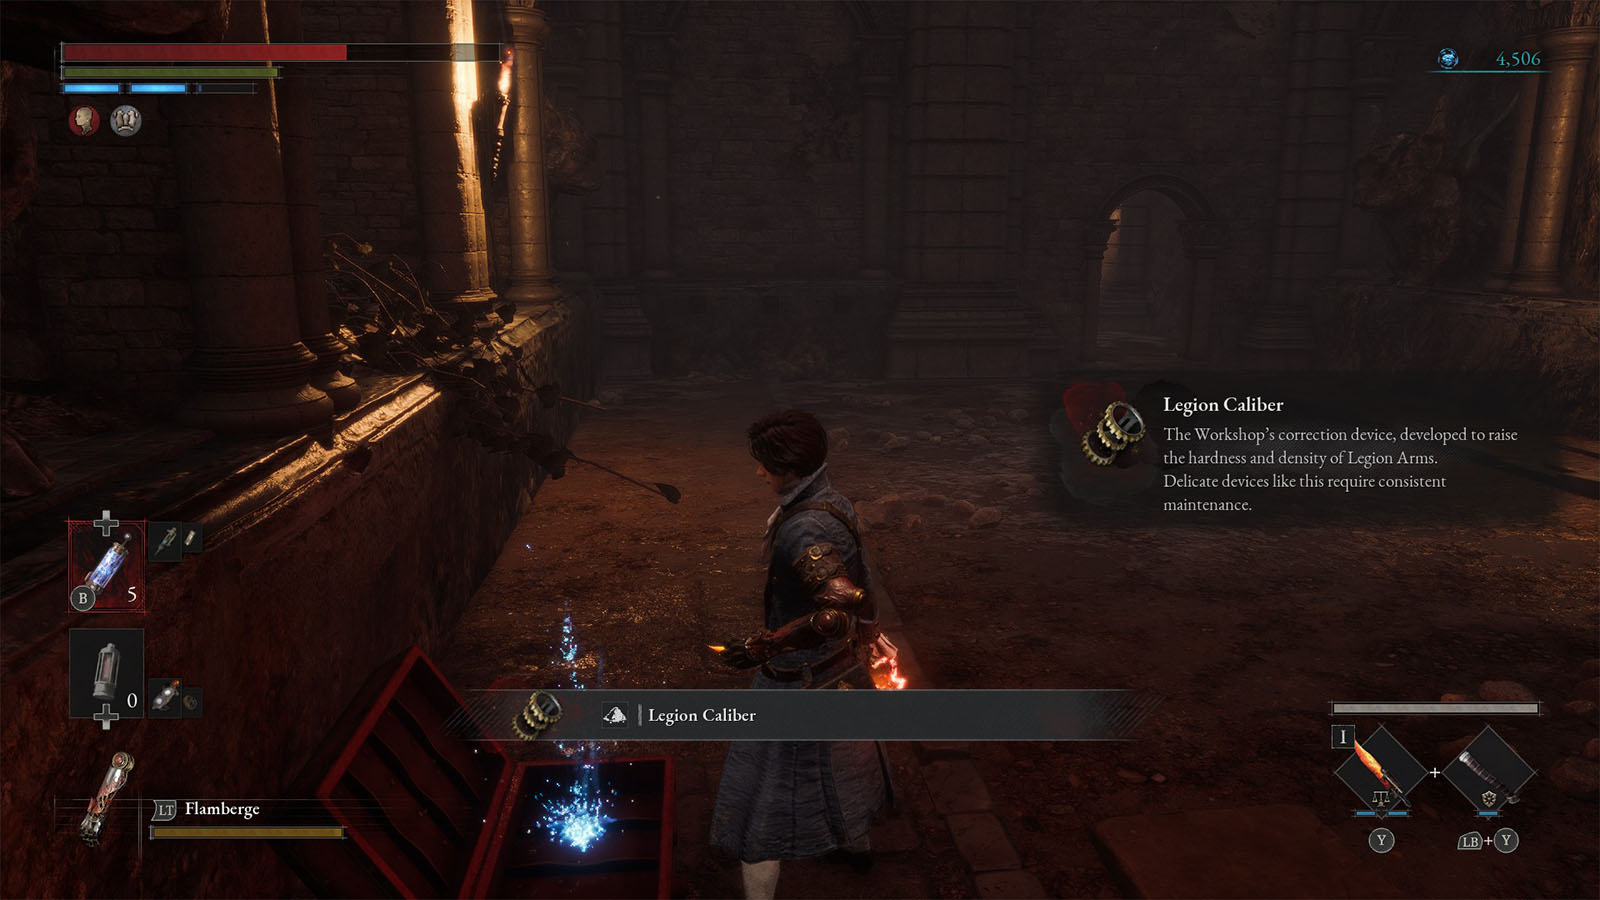
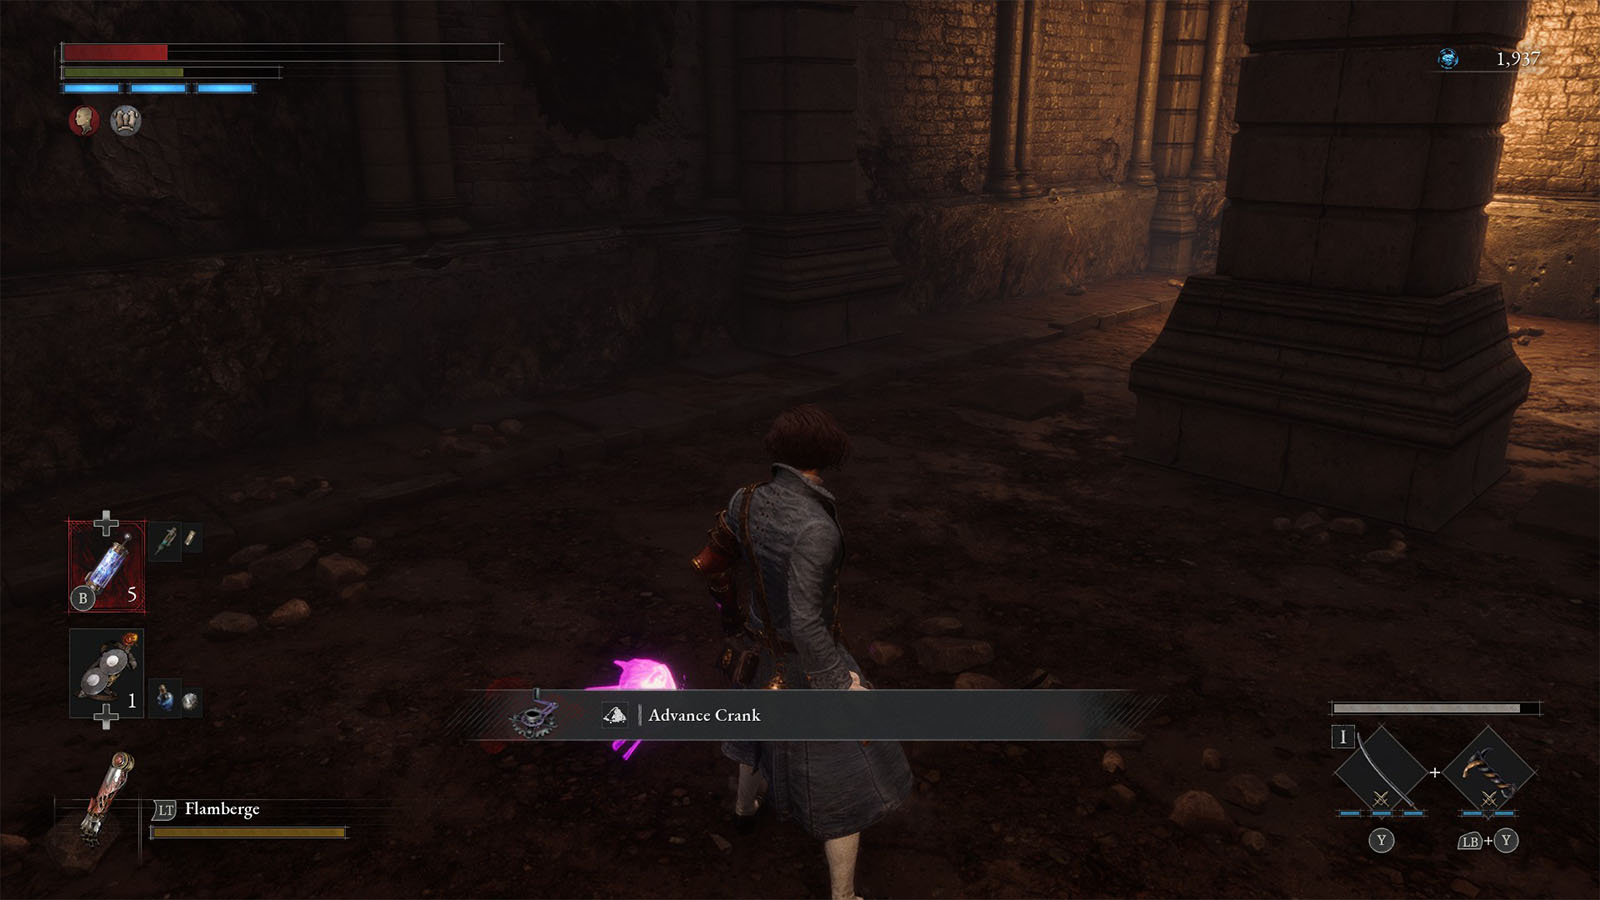
Within this room, stay within the middle area as there are arrow traps on opposite ends of the room. There is a chest nearby that contains another Legion Caliber, plus a red butterfly which gives an Advance Crank.
Go to the only opening in this room and climb the stairs, then open the gate to get back to the area from before you jumped into the hole. Clear the enemies on the ground, then go up the stairs, look out for the ambush from the left, and then kill the thrower on the bridge. Go down the next set of stairs to reach the next area.
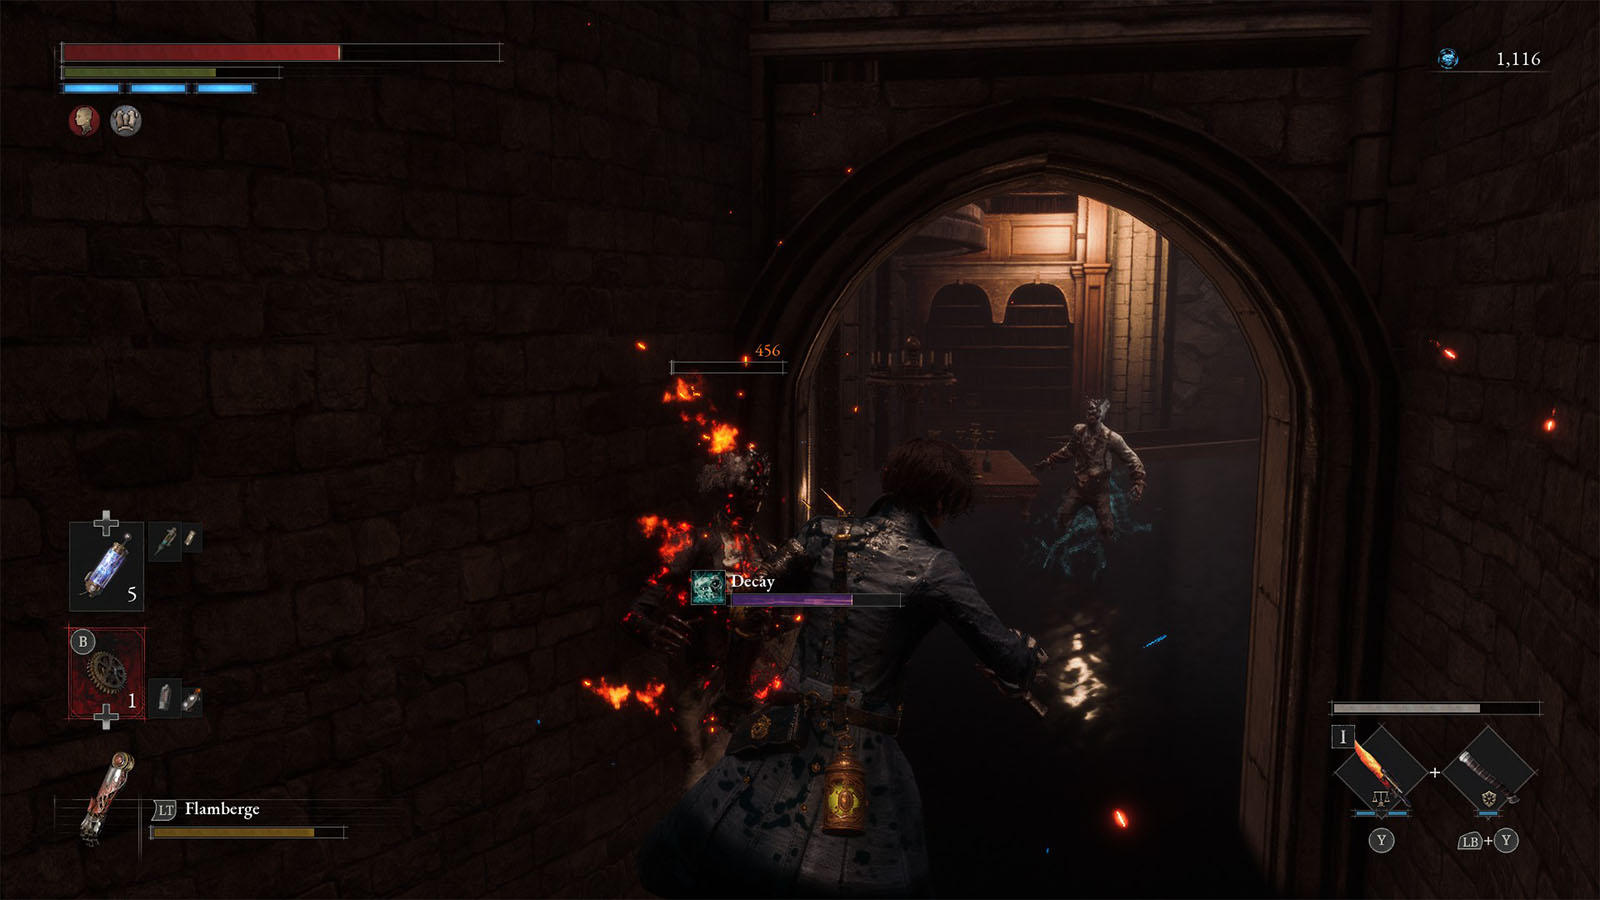
The floor on the next area is flooded with acid. Be careful as there are enemies within the puddle. Lure these enemies out first, then you will have to wade through the acid to the next area where there are more enemies. Immediately get to dry land as soon as you can.
Go back up the next set of stairs where you will find a patrolling Fungi Head. Just like before, take the evasive stance on this enemy and try not to get caught by its combo bashes. Once it has been defeated, you will receive an Acid Abrasive, a Hidden Moonstone, and a Star Fragment.
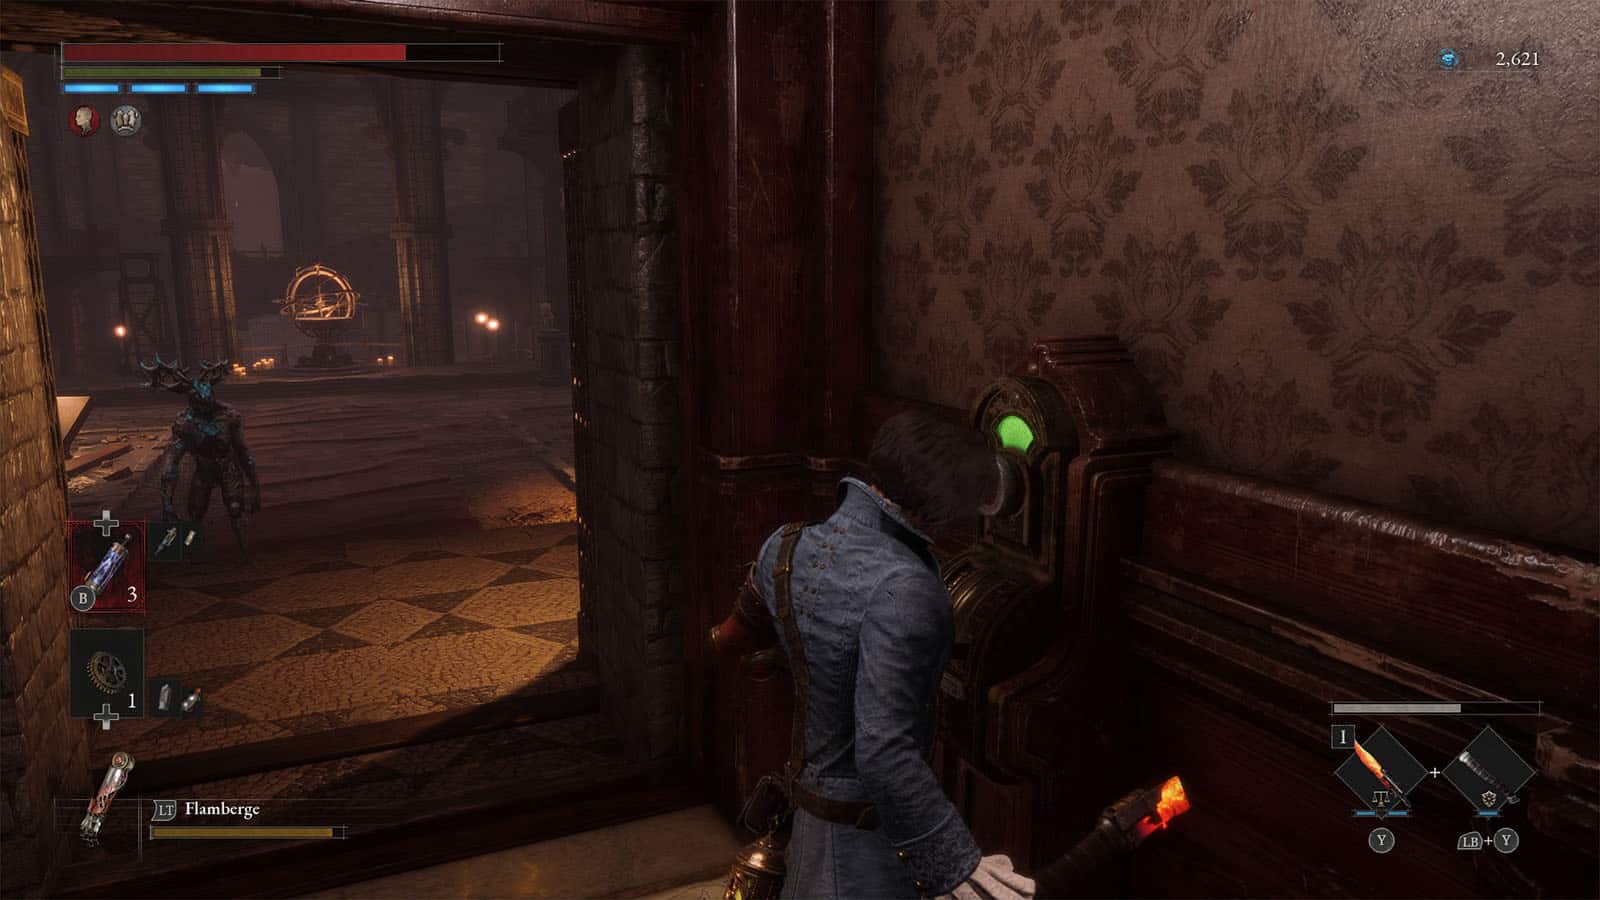
There is an elevator that you can ride on nearby which takes you to the upper balcony of the cathedral.
Alidoro – Is Alidoro a friend or a foe?
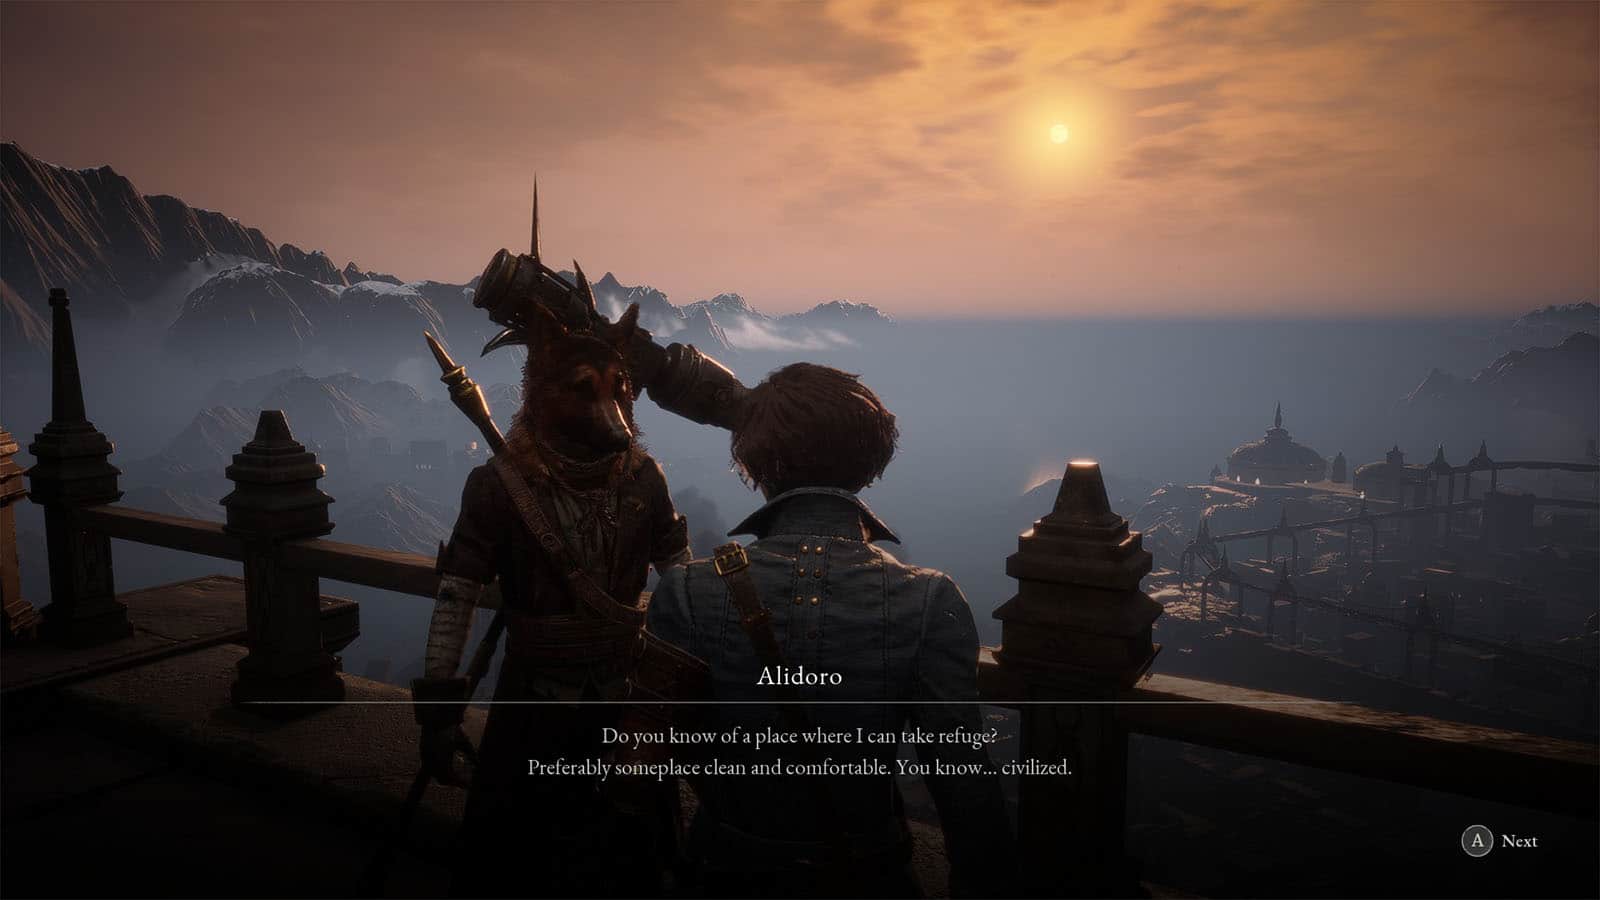
On the balcony, you will meet another Stalker named Alidoro, a treasure hunter. He is looking for a place where he could find some respite, so he will ask you where is the best place to go. You will have two options to choose from: Venigni Works or Hotel Krat.
Say Venigni Works
Following the instruction given to you by the people at the hotel, picking Venigni Works will send Alidoro to the room where you first drop in to find the Salamander Dagger, near the Workshop Union Entrance Stargazer, but only after you complete this chapter. While this chapter’s boss is still undefeated, he will stay at the balcony. He will give you the Fire Abrasive as a gift.
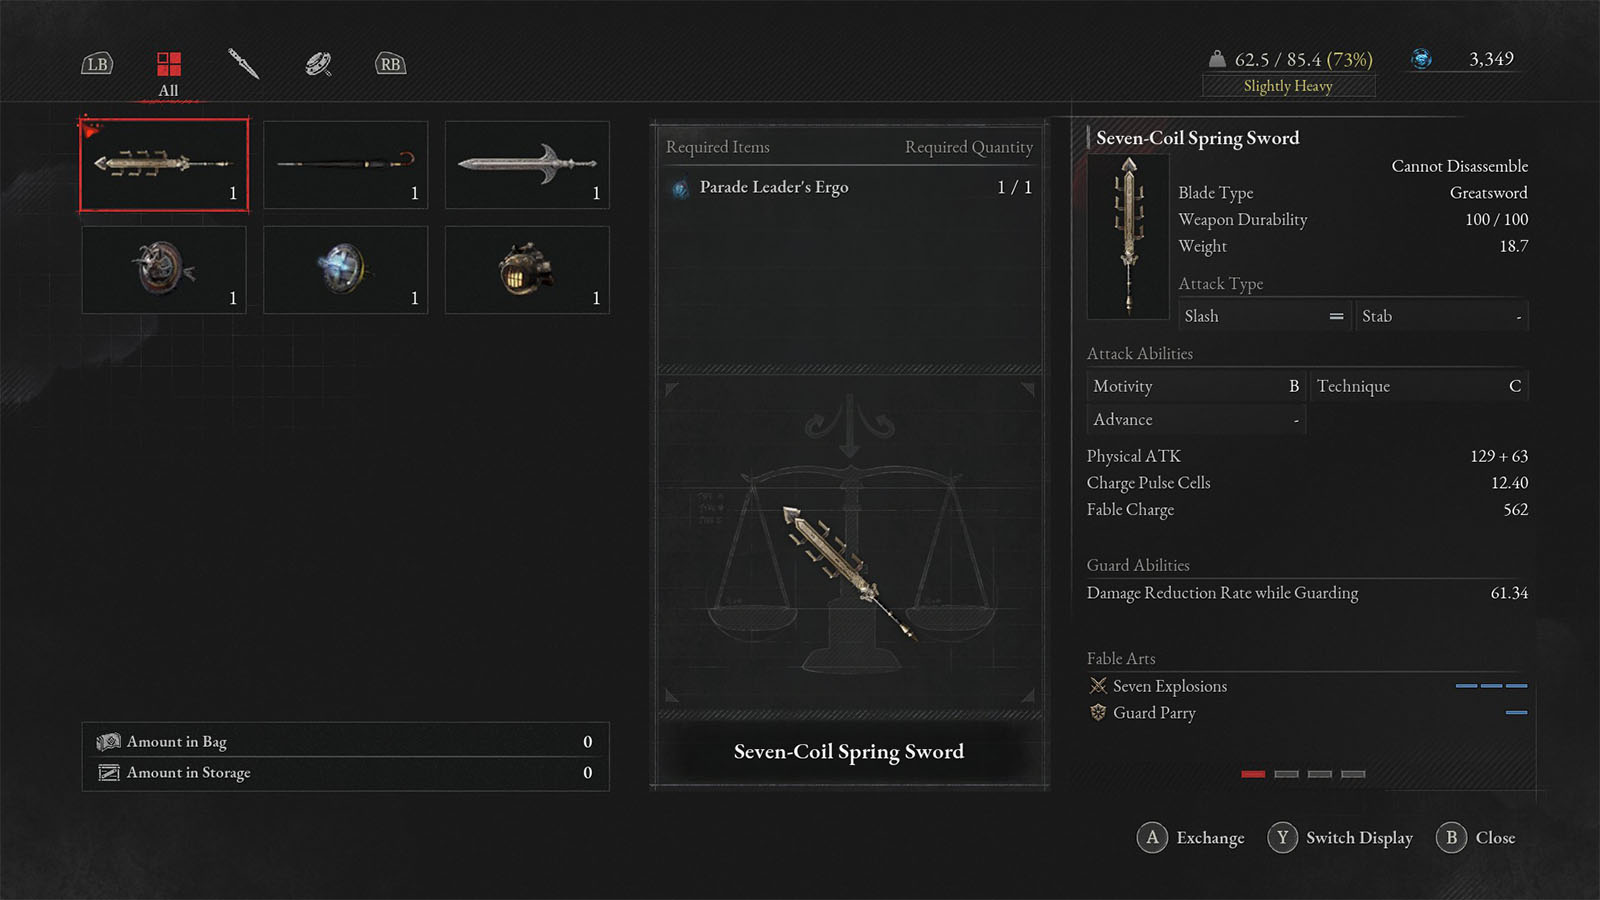
Alidoro will also be thankful to you and will sell you rare weapons and amulets, like:
- Seven-Coil Spring Sword
- Etiquette
- Holy Sword of the Ark
- Conquering Amulet
- Extreme Modification Amulet
- Dancing One’s Amulet
Each item in the shop costs one of the special Ergos that the bosses from the previous chapters drop. So if you held on to those special Ergos, you can use them to purchase these gear.
After completing the current chapter, you can head to Venigni Works where you will hear Alidoro cursing you for tricking him. You can still talk to him and he will ask you again for a good place to stay: Elysion Boulevard or Hotel Krat.
Saying Elysion Boulevard at this point won’t do much as Alidoro will say that he has already checked the place. He then decides that the only place to go next is the hotel. He won’t turn hostile against you, but he will be disappointed at you.
Head back to the hotel and you will find Alidoro in the corner of the room where Antonia is located. He will still be a bit mad at you, but he will still allow you to purchase from his collection.
Say Hotel Krat
Saying Hotel Krat will just make Alidoro go directly to the hotel.
Head back down to the previous level, then proceed to the next staircase; beware of another ambush at the top of the stairs. Head to the other end of the path and then go past the arch to the left for now. On the other side of the path is the archbishop’s room where you will find the Archbishop’s Holy Mark, plus the Frame – Workshop Union Strengthening Frame inside the safe. You can also find the Collectible – Archbishop’s Diary just outside of the room.
Go back to the arch you just passed and then push the brazier down to the lower floor to remove the puddles of acid below. Then, head to the nearest ladder up ahead and go down. Pull the chains near the gate to open the gate for your shortcut later on. Pick up the loot nearby to get the Resplendent Ergo Fragment.
Go back to the Cecile and give her the holy mark, then prepare to face the boss for now.
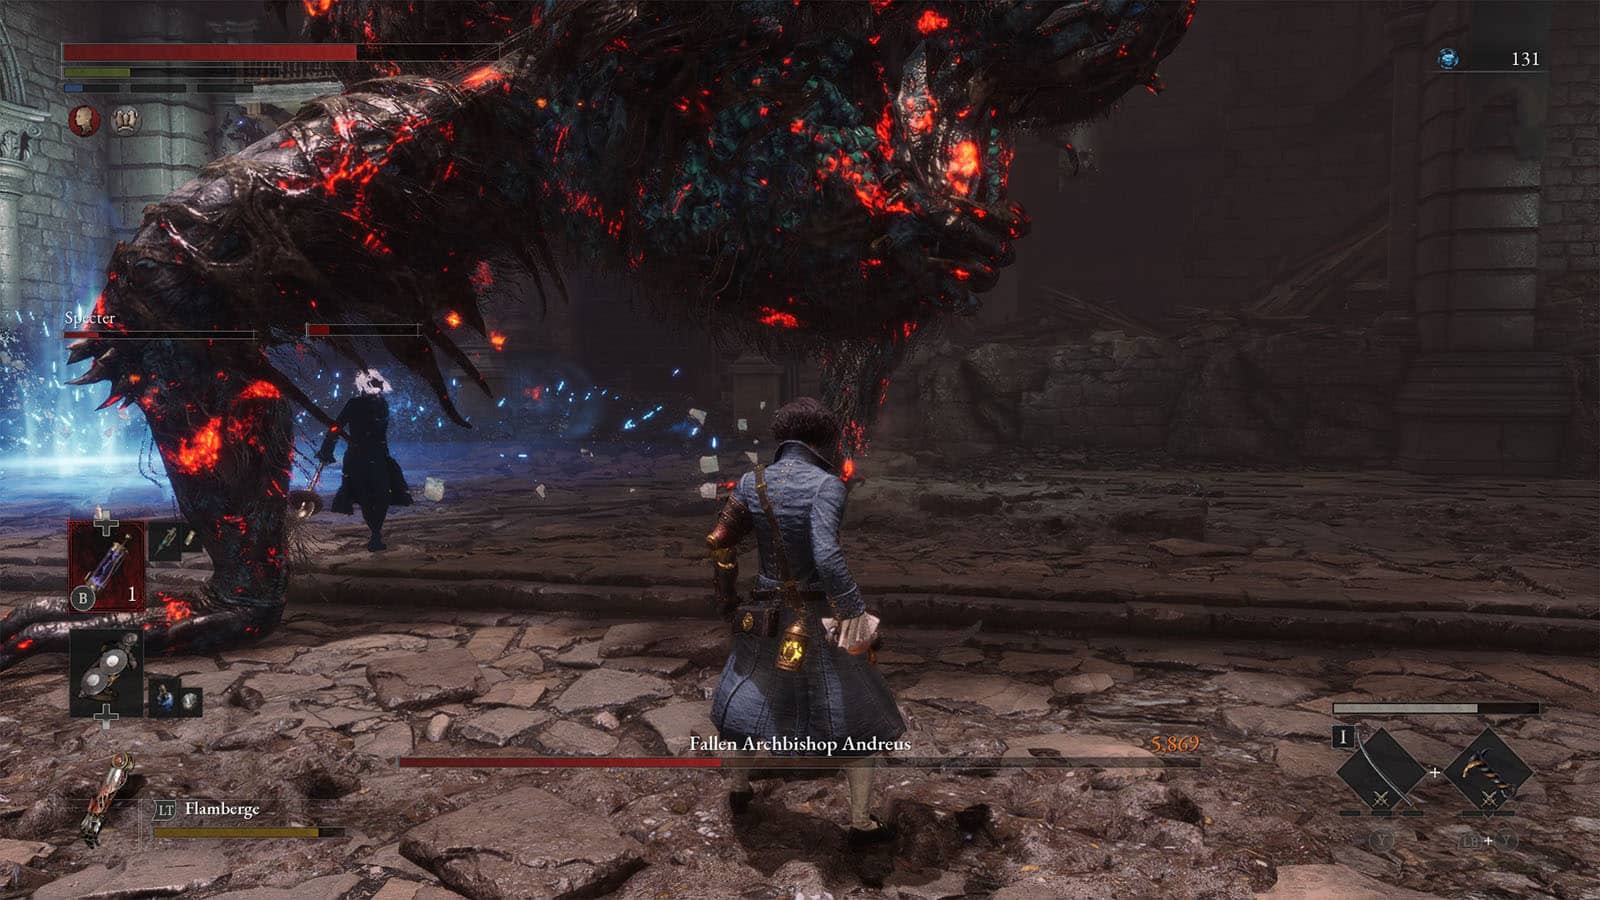
Boss Fight: Fallen Archbishop Andreus
Go through the hallway next to the gate you just opened and you will find another Ergo Basin where you can summon a Specter. Go through the door ahead to face the boss.
You will be fighting against the Fallen Archbishop Andreus who has turned into a monster. This fight has two phases, and the boss enters its second phase when its health bar is fully depleted.
Fallen Archbishop Andreus – First Phase
This boss has two limbs which it uses to move as well as to attack. It can also unleash its tongue that can slam forwards or whip from side to side. It can also do a hip check from time to time. Its weak point is anywhere except for its back which has a hard shell.
An attack to look out for is its unblockable attack where the boss stands up and then drops its body to the floor. When this happens, it is best to evade towards it and under its legs; running away as it chases you will still put you at ricks of getting hit.
During this phase, it’s recommended to keep being defensive and wait for its limb attacks to finish, usually around the second or third combo. Then, punish it using your flame attacks or fatal attacks; its critical point is on the left side of its head. Try to keep as many pulse cells as you can to prepare for the second phase.
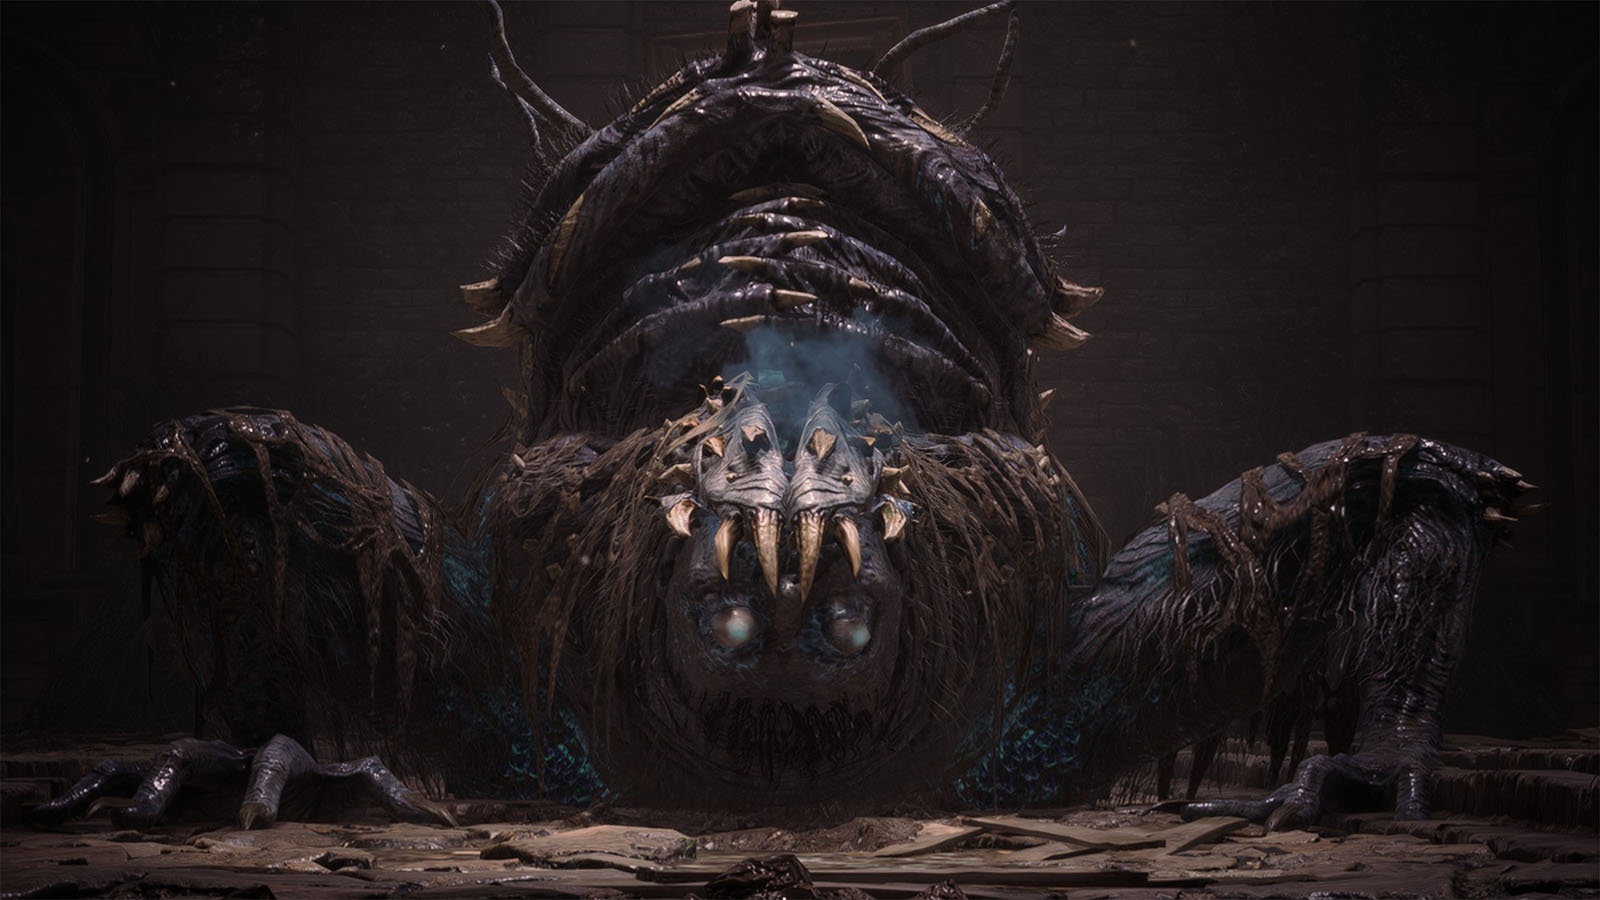
Fallen Archbishop Andreus – Second Phase
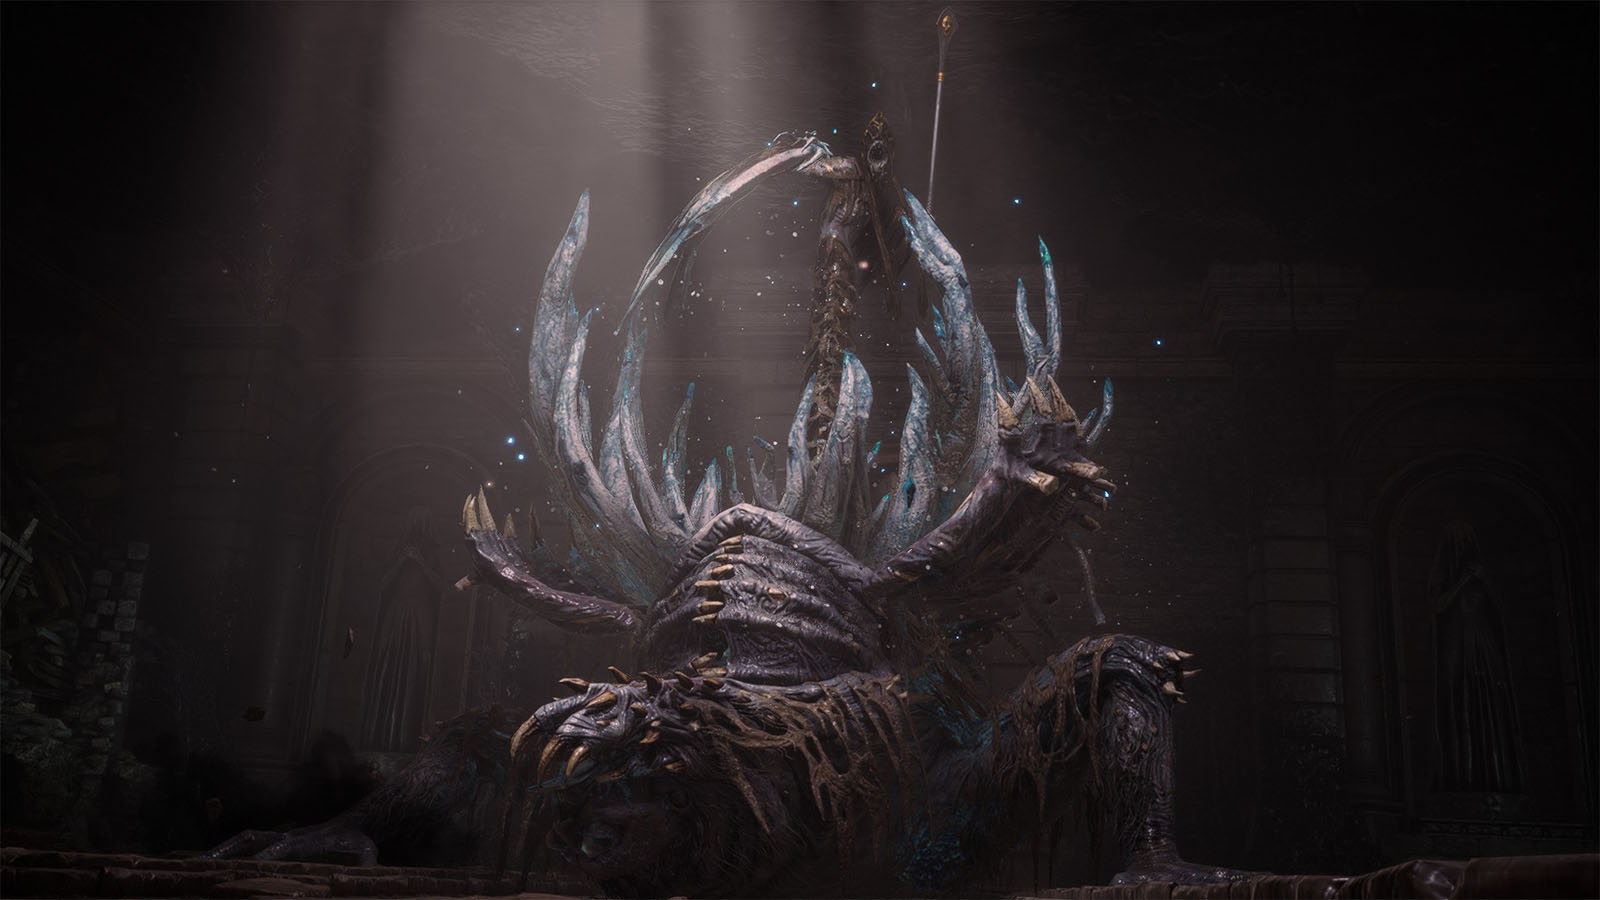
On the second phase, the boss will transform and reveal the main centipede-body, but it can still attack from its previous head. The long body has a very wide range and can reach you from almost 2/3rds of the room. It can also swipe a large area around its body. The previous head, now the back side, maintains most of its attacks from before, including the unblockable attack.
Once the boss’s health reaches below 50%, it will charge up a laser from both of its head. Depending on how close you are to the boss, either its front head (far) or back head (near) will fire the laser at your direction. Standing underneath the boss during this attack is risky as well since the boss will drop its body after firing the laser, unless you can time a dodge right before the body drops.

Another attack to look out for during its low health is its rampaging attack. It will continuously charge at you for around three times. This can be a fatal attack unless you are at full health when it happens (with decent defense) and you manage to block a good amount of its charges.
If you have Thermite, a charge of the fire grinder, or a fire weapon, now is the time to use them to get this fight over as quick as possible. Using your Fable Arts while doing fire damage will also take a significant chunk out of its health, making it worth to save up enough Fable or have a build that can regenerate Fable quickly.
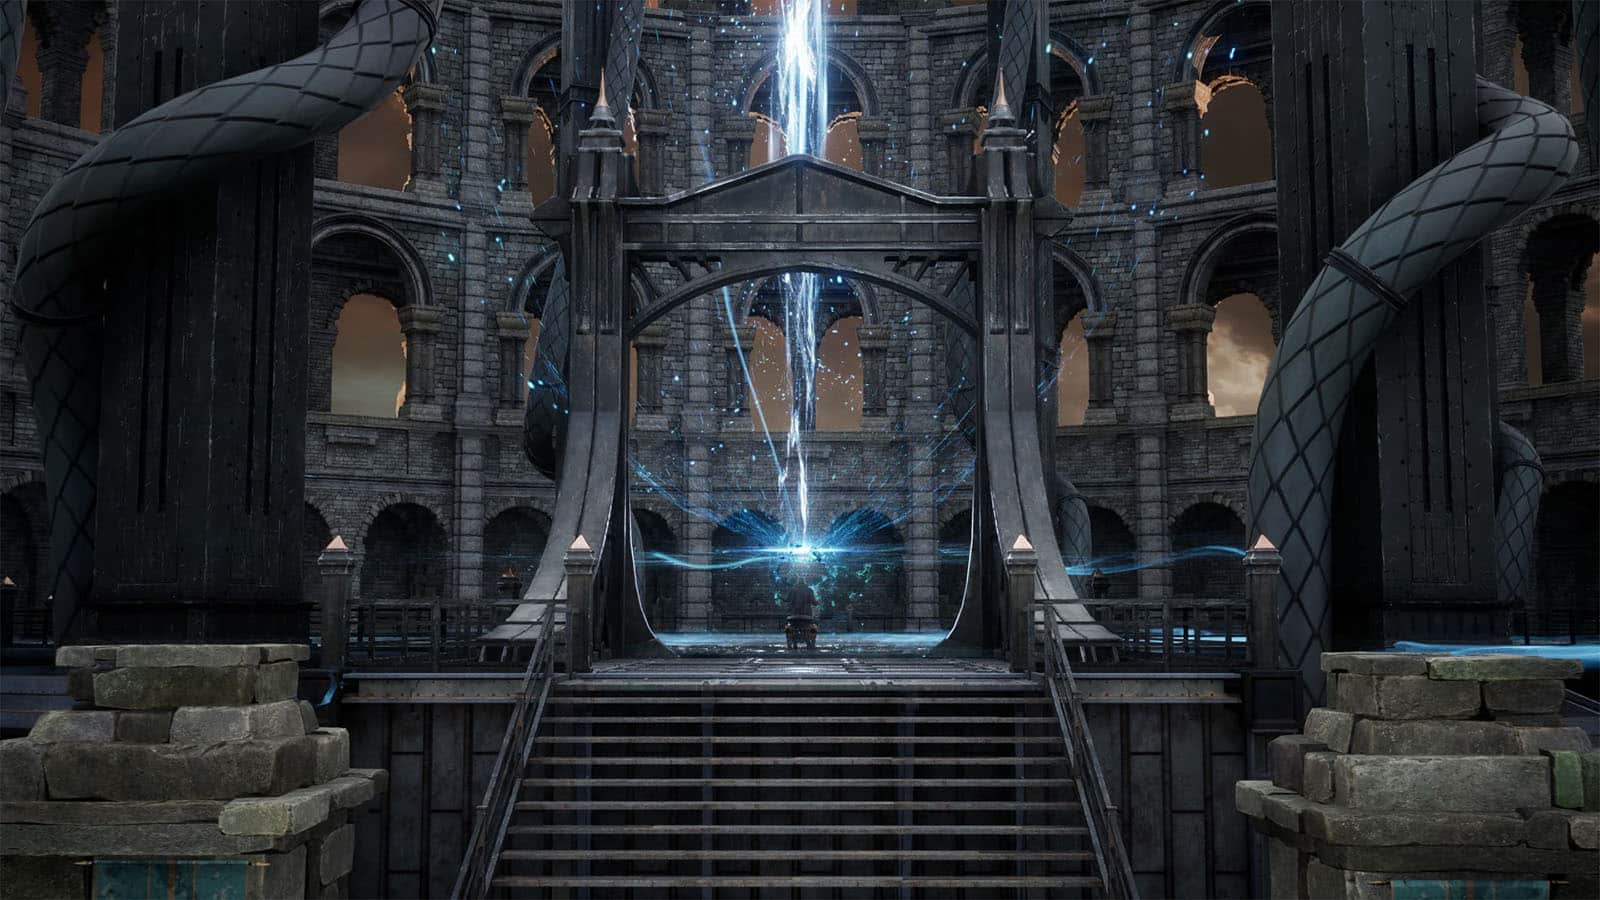
Once the boss is dead, a cinematic will play, showing the back side of a person who appears to be the mastermind of it all, and a machine that sucks the remaining Ergo from the bosses that you have defeated so far. You will be rewarded with the Twisted Angel’s Ergo after the fight which can be used to unlock and purchase the new items from Alidoro.
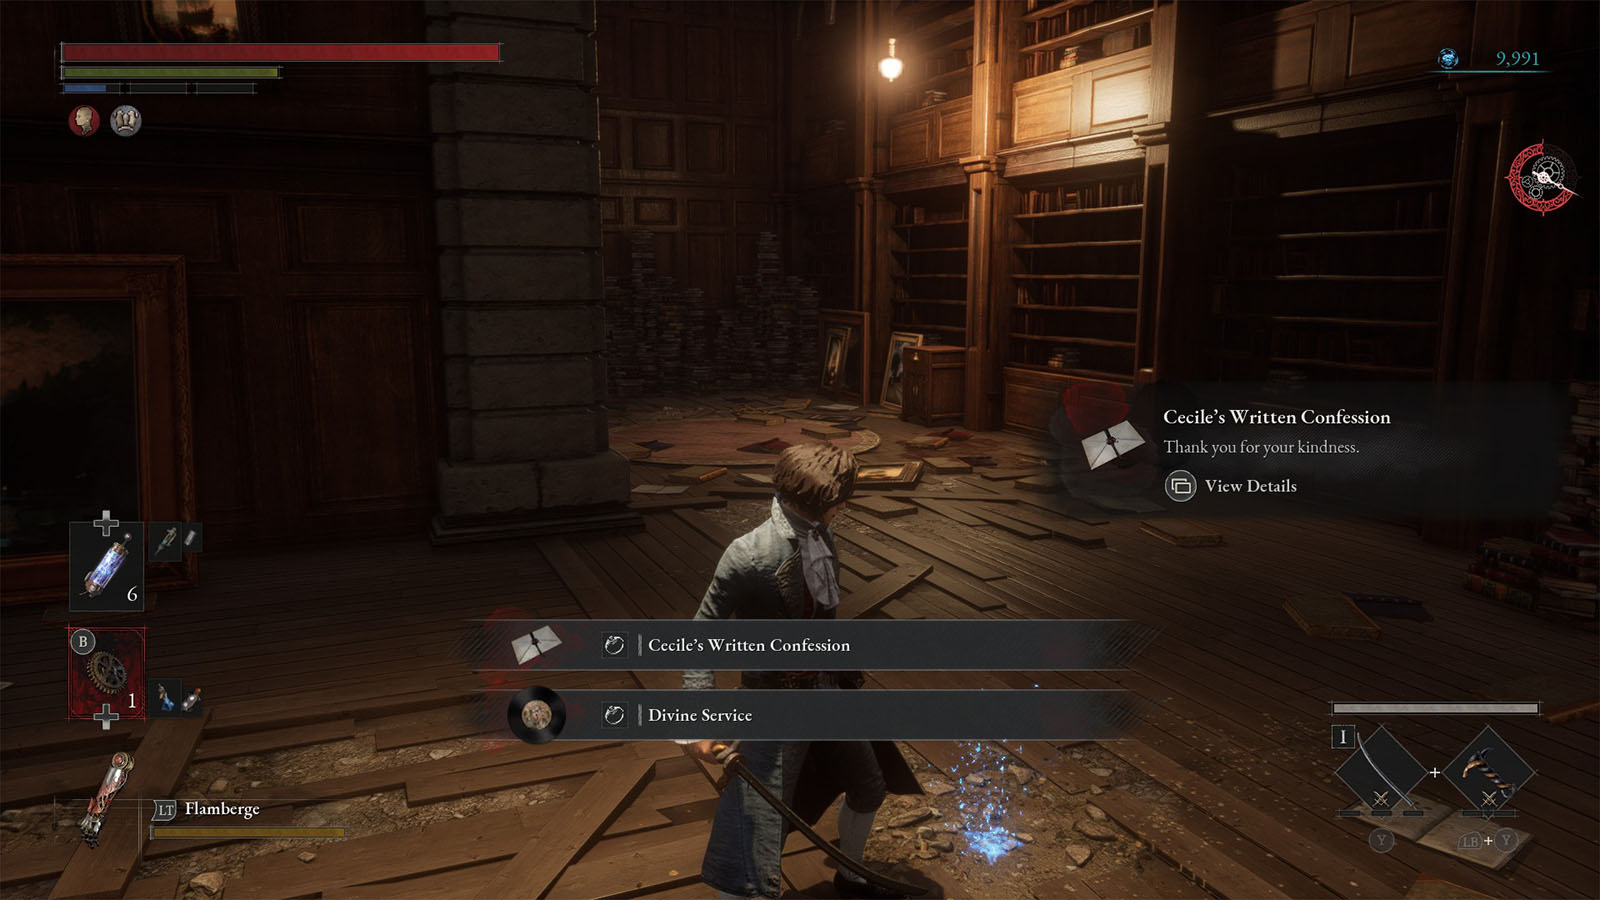
If you return to where Cecile was at, she will not be there anymore, but you will find a blue flower that will give you the Collectible – Cecile’s Written Confession and the Record – Divine Service. For now, activate the Archbishop’s Altar Stargazer that appears and head back to the hotel to prepare for the next chapter.


