
My Friendly Neighborhood is the newest survival horror game that follows the story of a handyman named Gordon who was sent to disable the antenna of a shut-down studio after it mysteriously started broadcasting again. Gordon now finds himself within the depths of the studio’s basement which is also known for being Ray’s lair.
Read ahead as we go through the steps on how to complete Part 2: Ray’s Basement of My Friendly Neighborhood and share the locations of the collectibles that can be found in this segment.
See previous: My Friendly Neighborhood Part 1: Stage 4 Guide
My Friendly Neighborhood Part 2: Ray’s Basement Objectives
My Friendly Neighborhood Part 2: Ray’s Basement Walkthrough
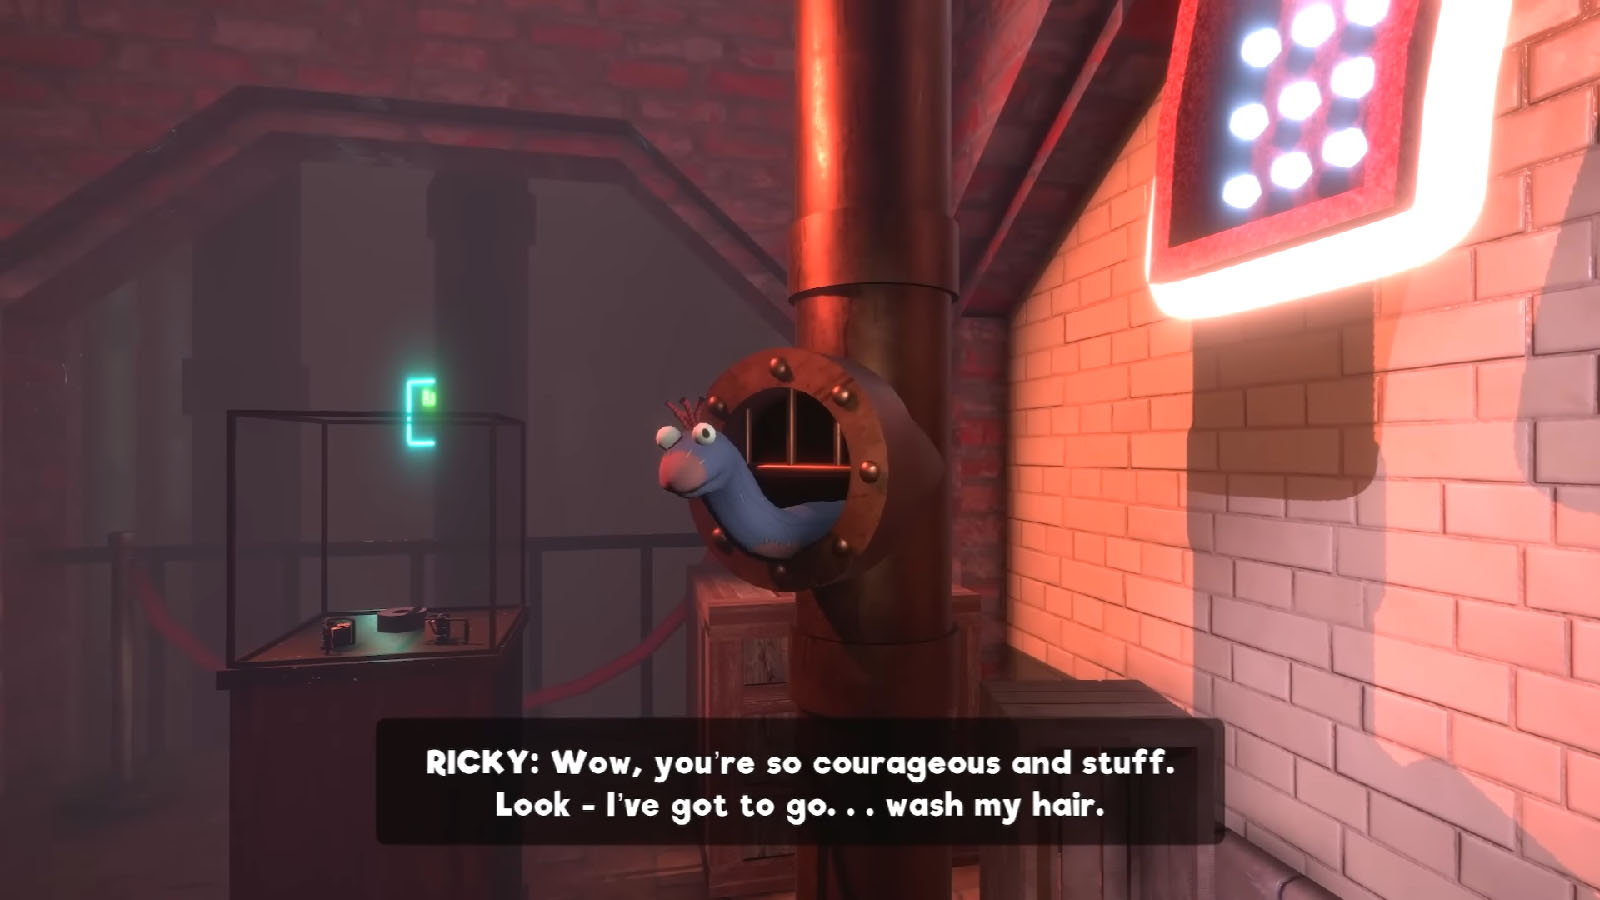
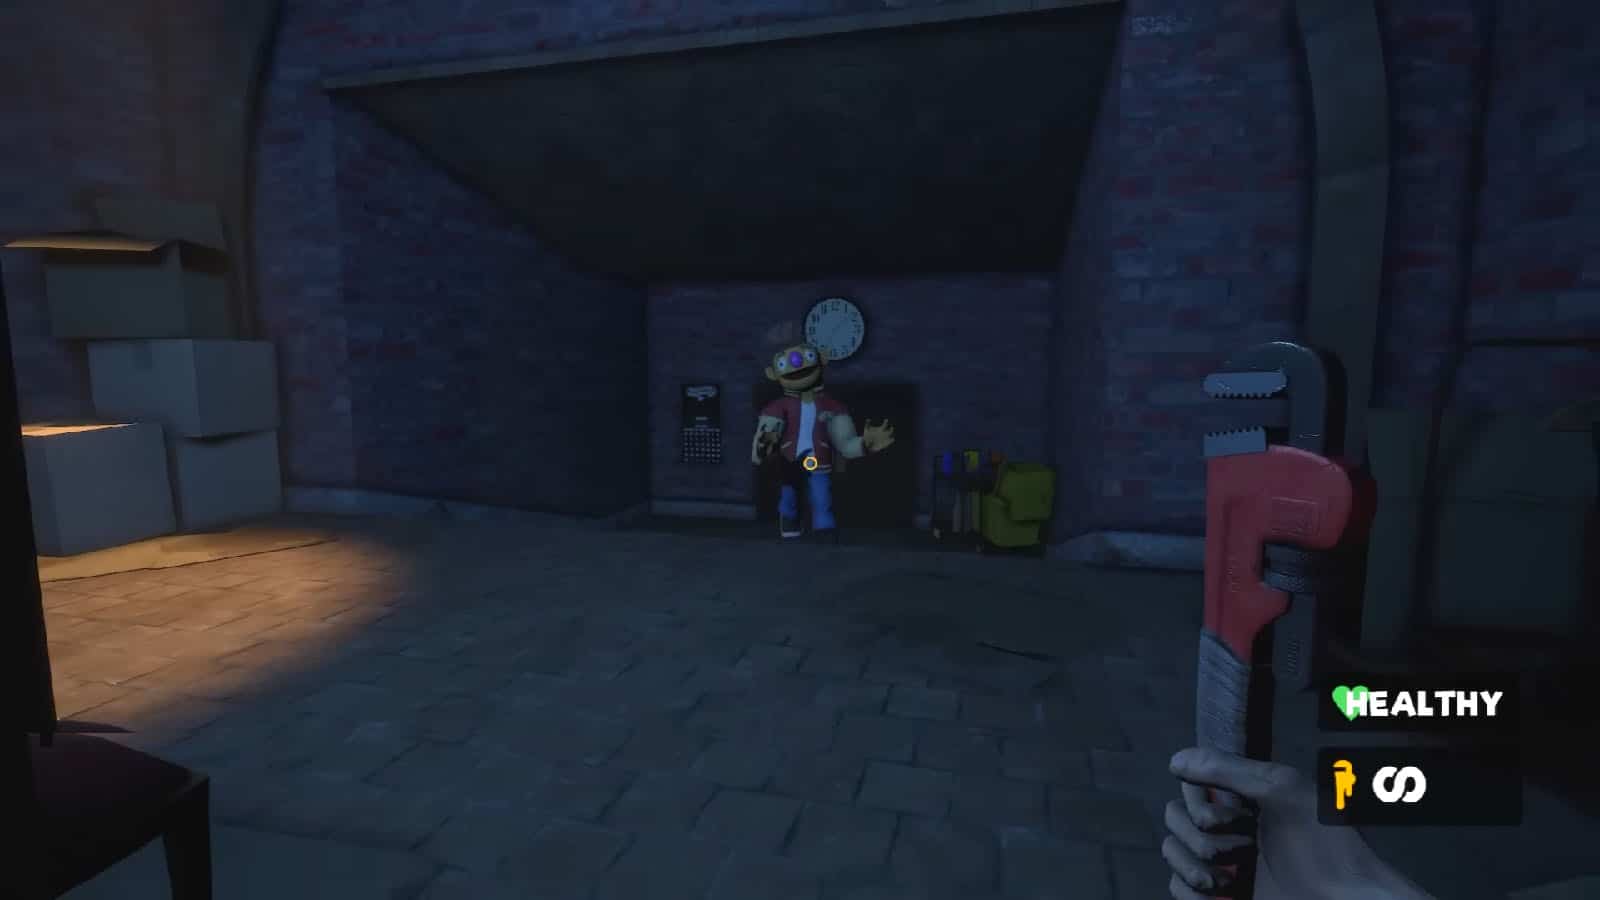
After falling down the manhole, you will arrive at Ray’s Basement. Approach the door to trigger the cutscene with Ricky who then tells you about Ray and why he is sent down to the basement. After the conversation, you will be able to take a look at the other pipe to see the Note – War is Over, plus some ammo in a glass case.
Once you’re ready, we’ll go through the door next to the slide to reach the next room for now and save the middle door for later. You will arrive through a short corridor. There’s nothing much in here, so continue on to the next door to reach the Office Basement.
Get The Novelist Shotgun
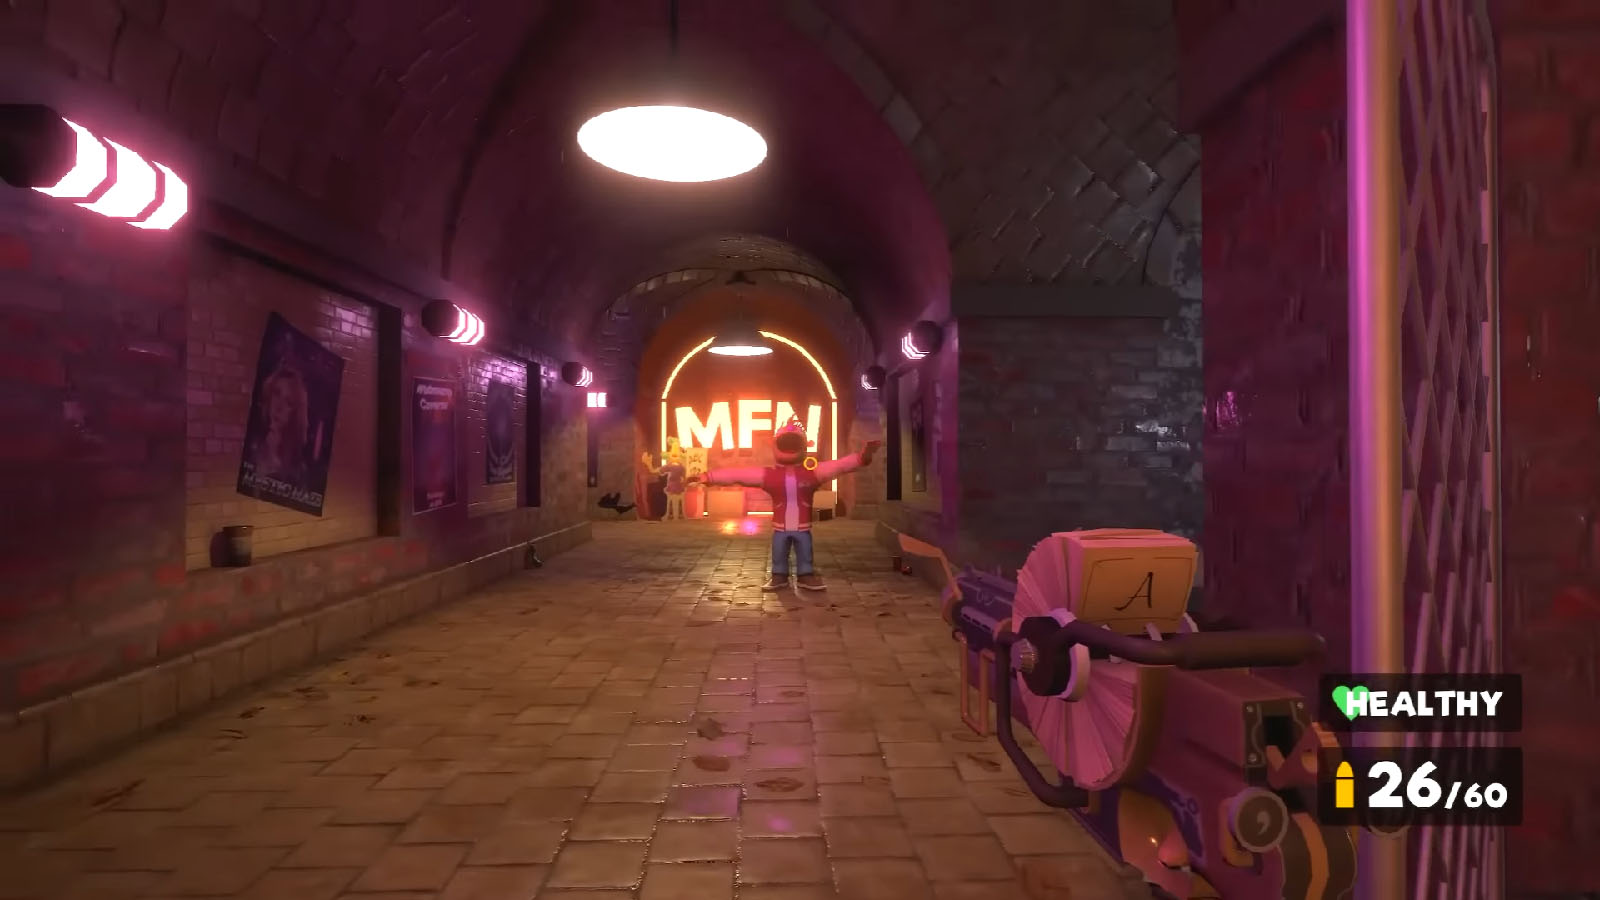
You will then reach a hallway with several paths to take. Up ahead is a metal fence, to the left is a red diamond door, and to the right is another hallway that has another puppet. Take the hallway for now and sneak towards the door to your right which leads to a corridor.
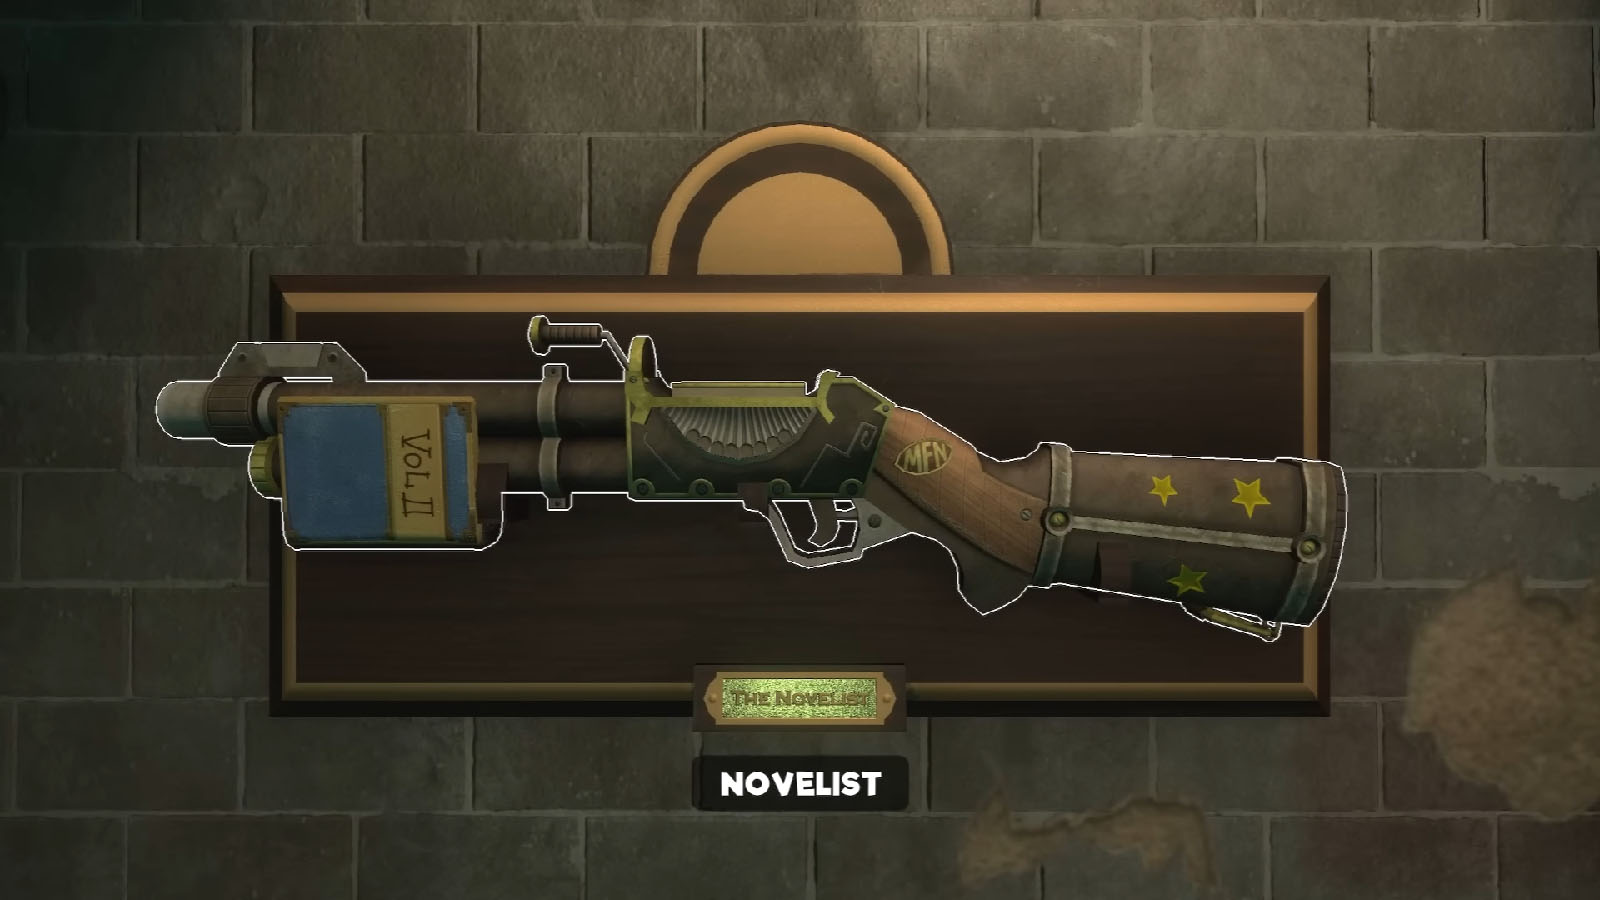
In this corridor is a door to the left and a door at the other end which is locked. Go to the door on the left to find The Novelist Shotgun hanging by the wall. You can also see the Note – The Novelist by the desk near the typewriter. Take the time to check each file drawer to find some ammo, tokens, and tape.
Find the Metal Piece

Go back to the hallway and either sneak past the puppet banging its head again or subdue it with tape. The other path past this hall has another puppet; subdue it with tape as it is blocking a path to clear it for later.
Go through the small door near the puppet first to reach the Locker Room. On the bench is the Note – Pirate’s Cover Review.
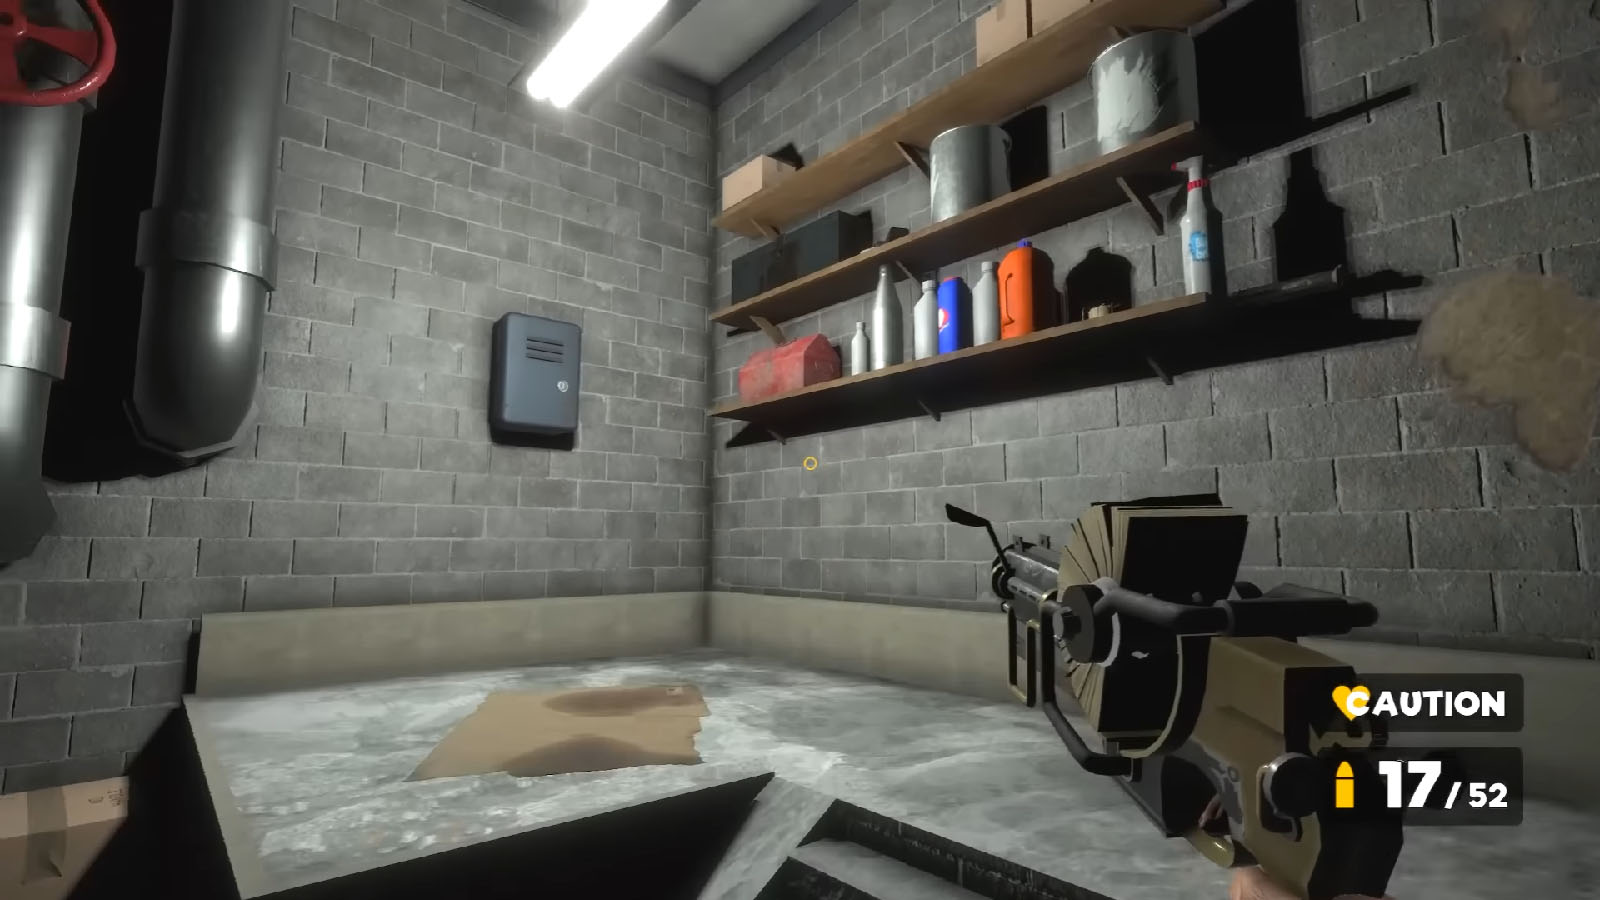
Check the lockers to find some potion and ammo, especially the one marked by paint to find a Metal Piece. Be careful as there will be a puppet falling from the ceiling, but it won’t be moving. There’s another lockbox on the wall inside this room, but it cannot be opened yet.
Go to Ray’s Workshop
Once you’re ready, go through the door under the Ray sign. You will find a well-lit hallway an a puppet up ahead, plus another one at the corner; subdue them and tape them up. You can find a briefcase that has some ammo and candy bar inside.
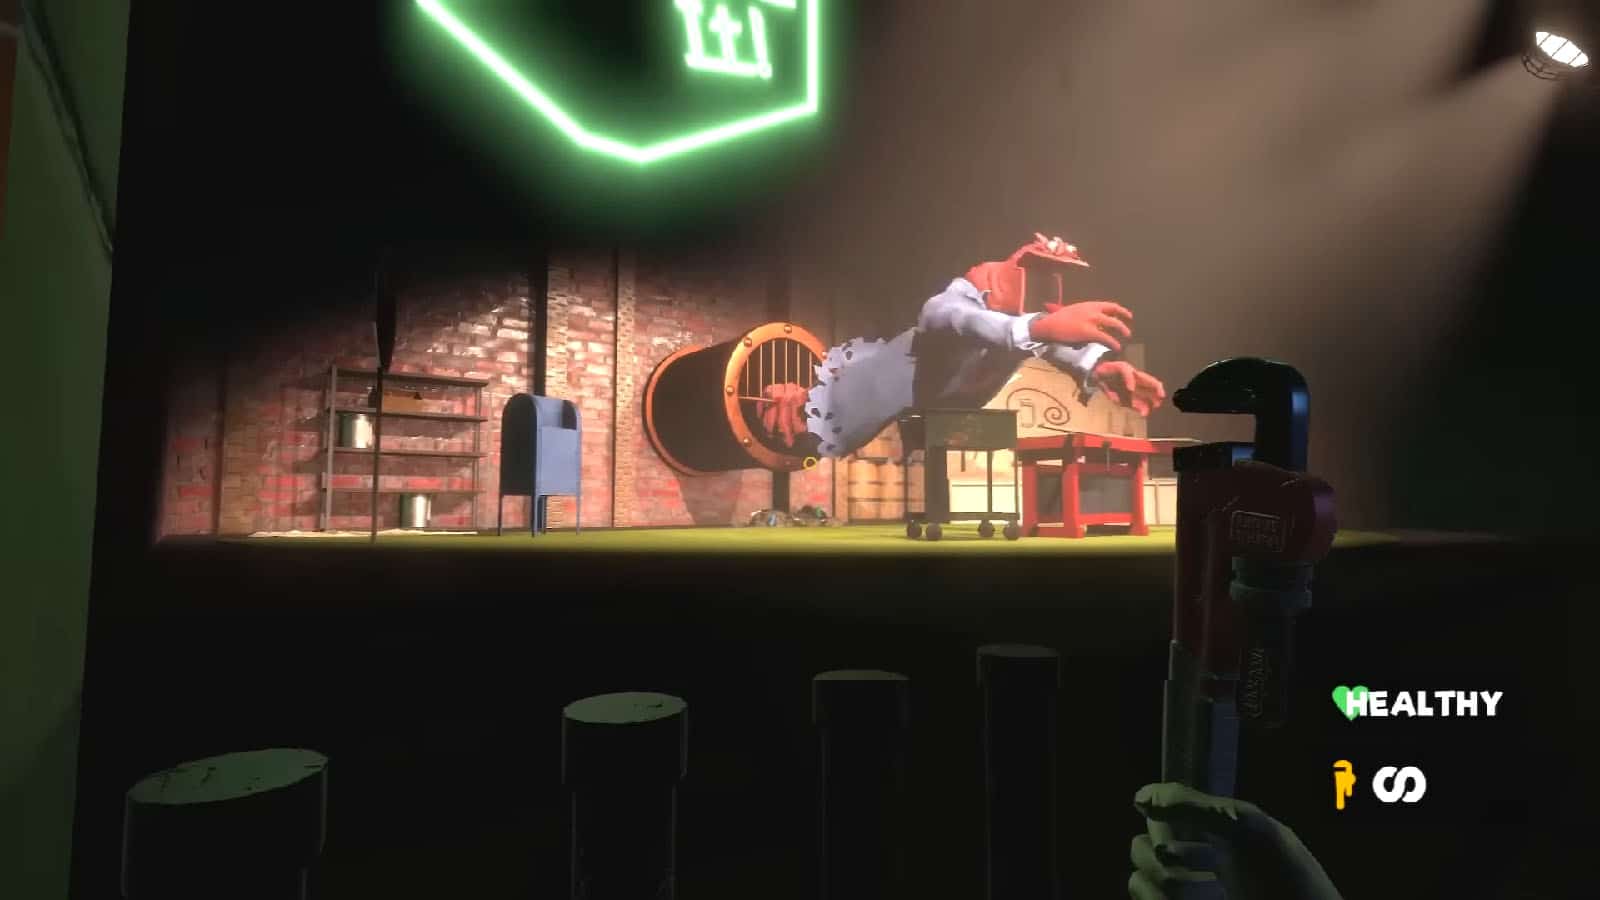
Take the path to the right first and enter the door at the end. Go through the next set of doors to arrive at Ray’s Workshop. It will be dark inside, so head to the far left wall and pull the lever to turn on the lights. This will make Ray retreat into his pipe. Check the desk nearby to see the Note – Episode Script.
Get the Power Source
Go up the stage and look at Ray’s worktable to see a rectangular box. You can insert the Metal Piece that you found earlier into this box to create a Power Source. Take the Power Source with you.
You will then hear a puppet by the doors you just went through. As you check, you will see that it’s Norman who will chase you down the moment he sees you. If you shoot Norman, he will explode into multiple copies of himself. The best way to deal with him is to just run away and try to evade him so that you can conserve ammo.
Power up the Punch Card Printer
Head back to the main hallway then take the other path up ahead. You will see Ray peeking through the pipe next to the door; you can shoot him to make him retreat. Head inside the door to get to the next room.
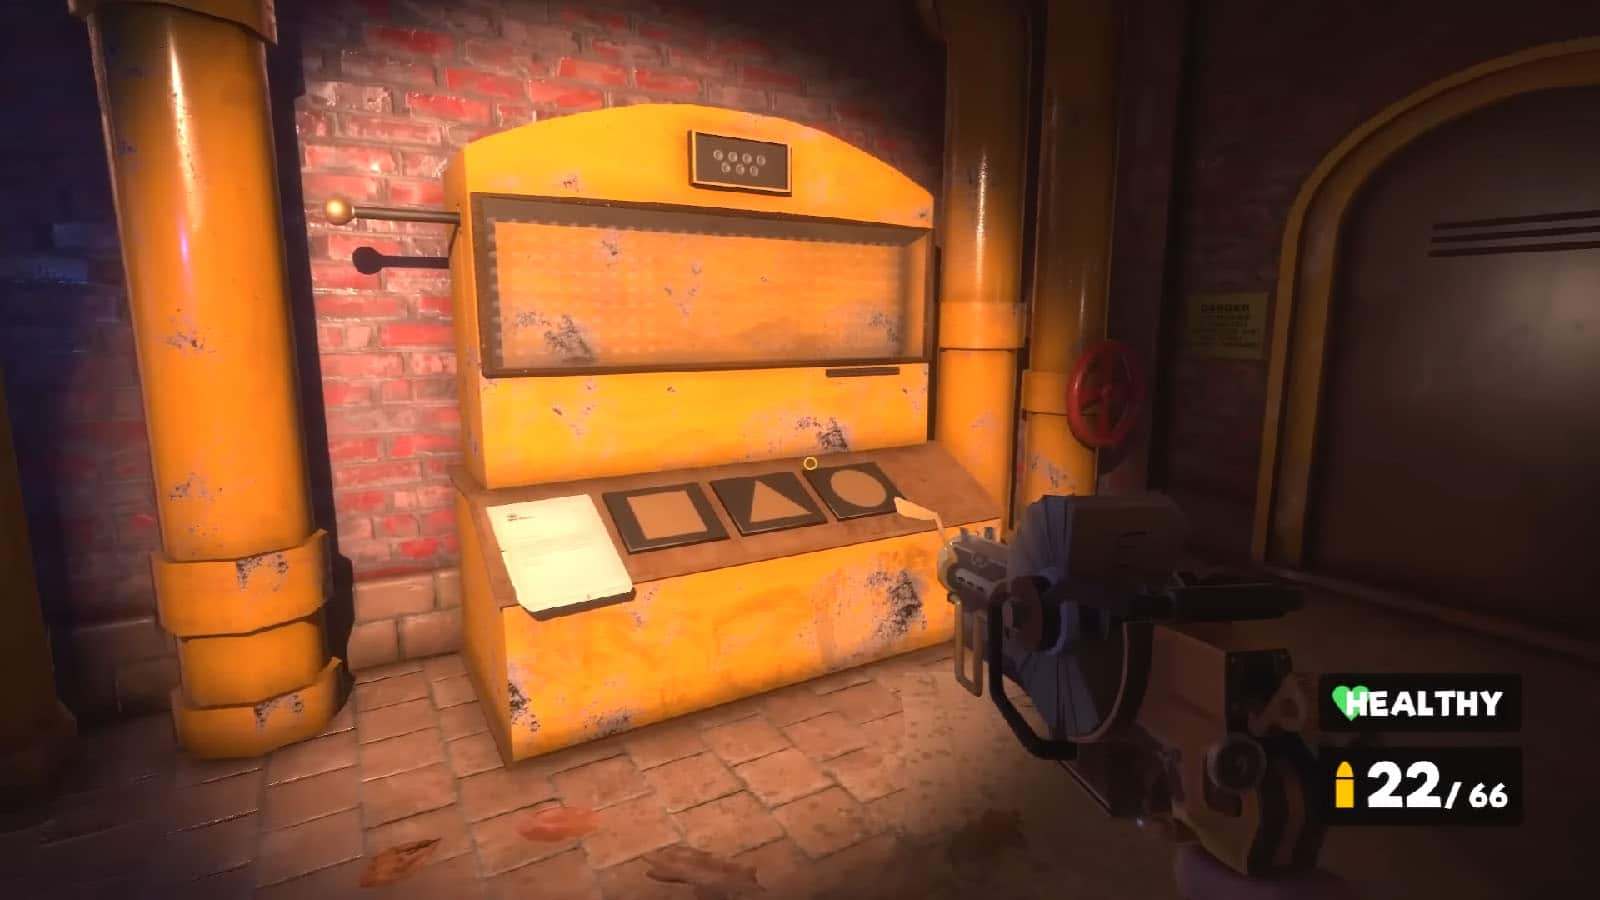
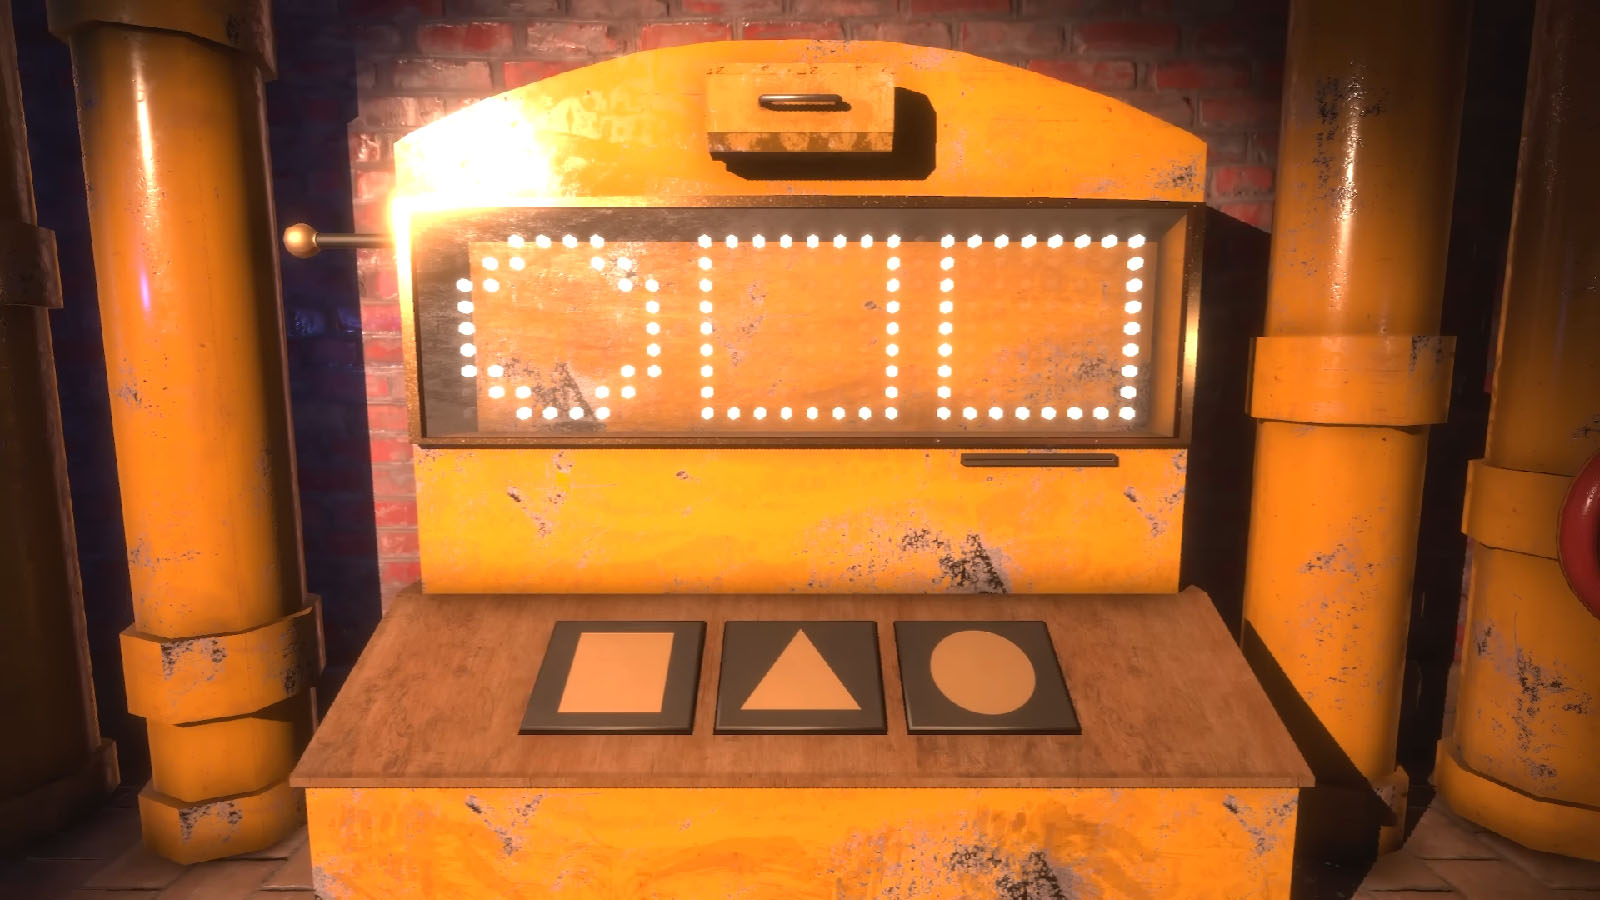
Inside this room is a punch card printer, and on it is the Note – Punch Card Memo. You can insert the Power Source on this machine to power it up. Since you don’t have the code for now, you can revisit the machine later. Take note of the three other boxes near the walls beside the blast door and pay attention to the Roman numerals noted on each lever, as well as the clocks above them.
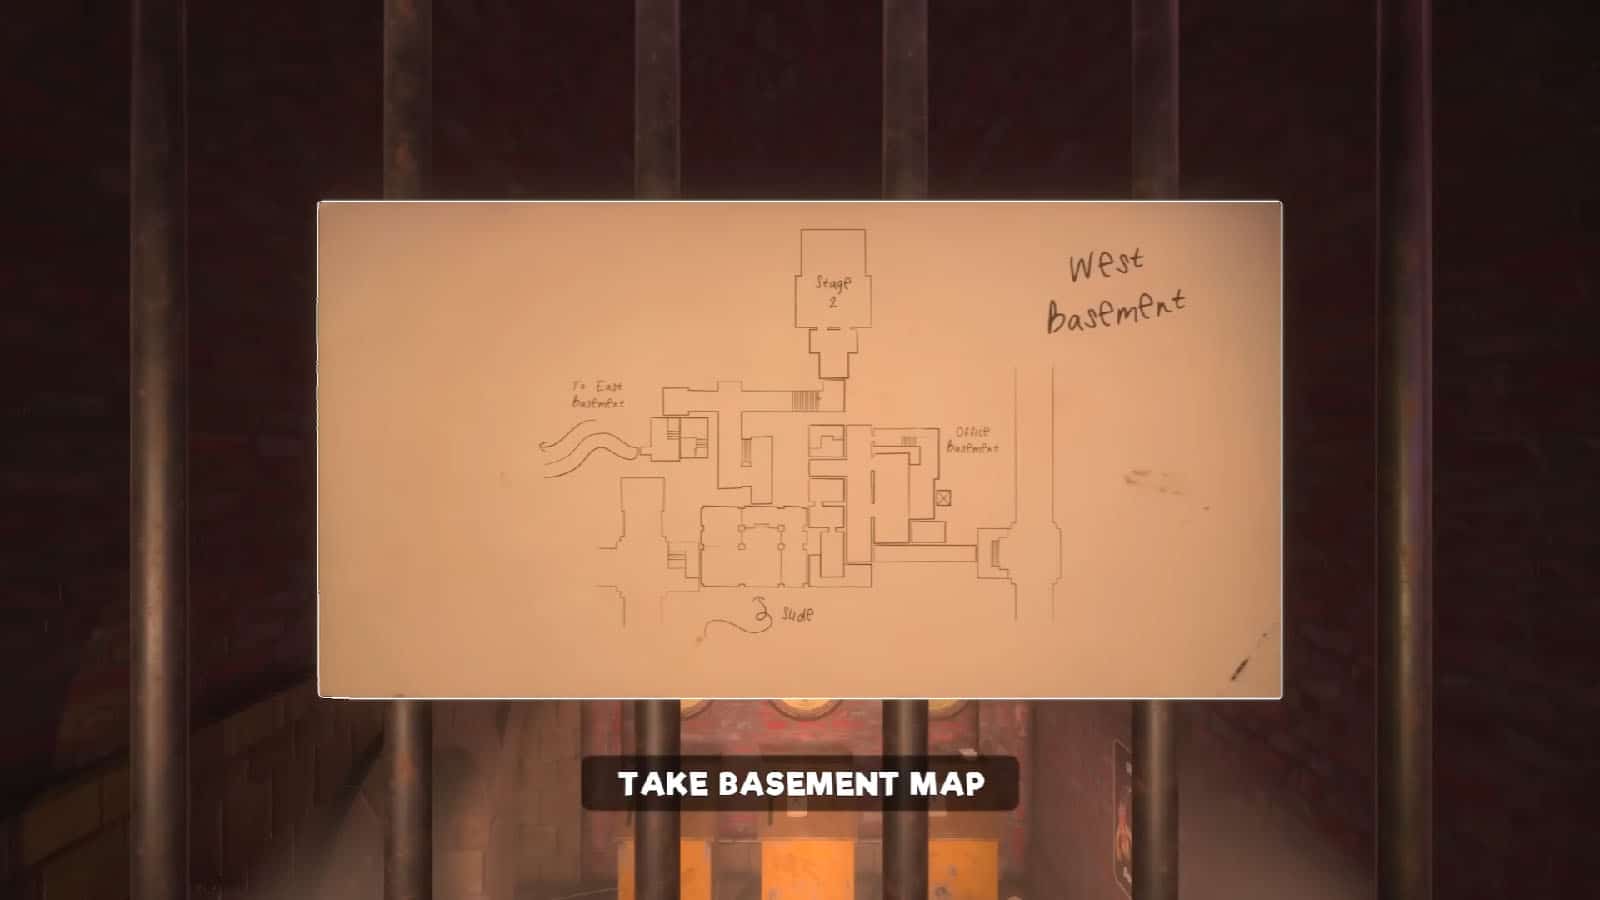
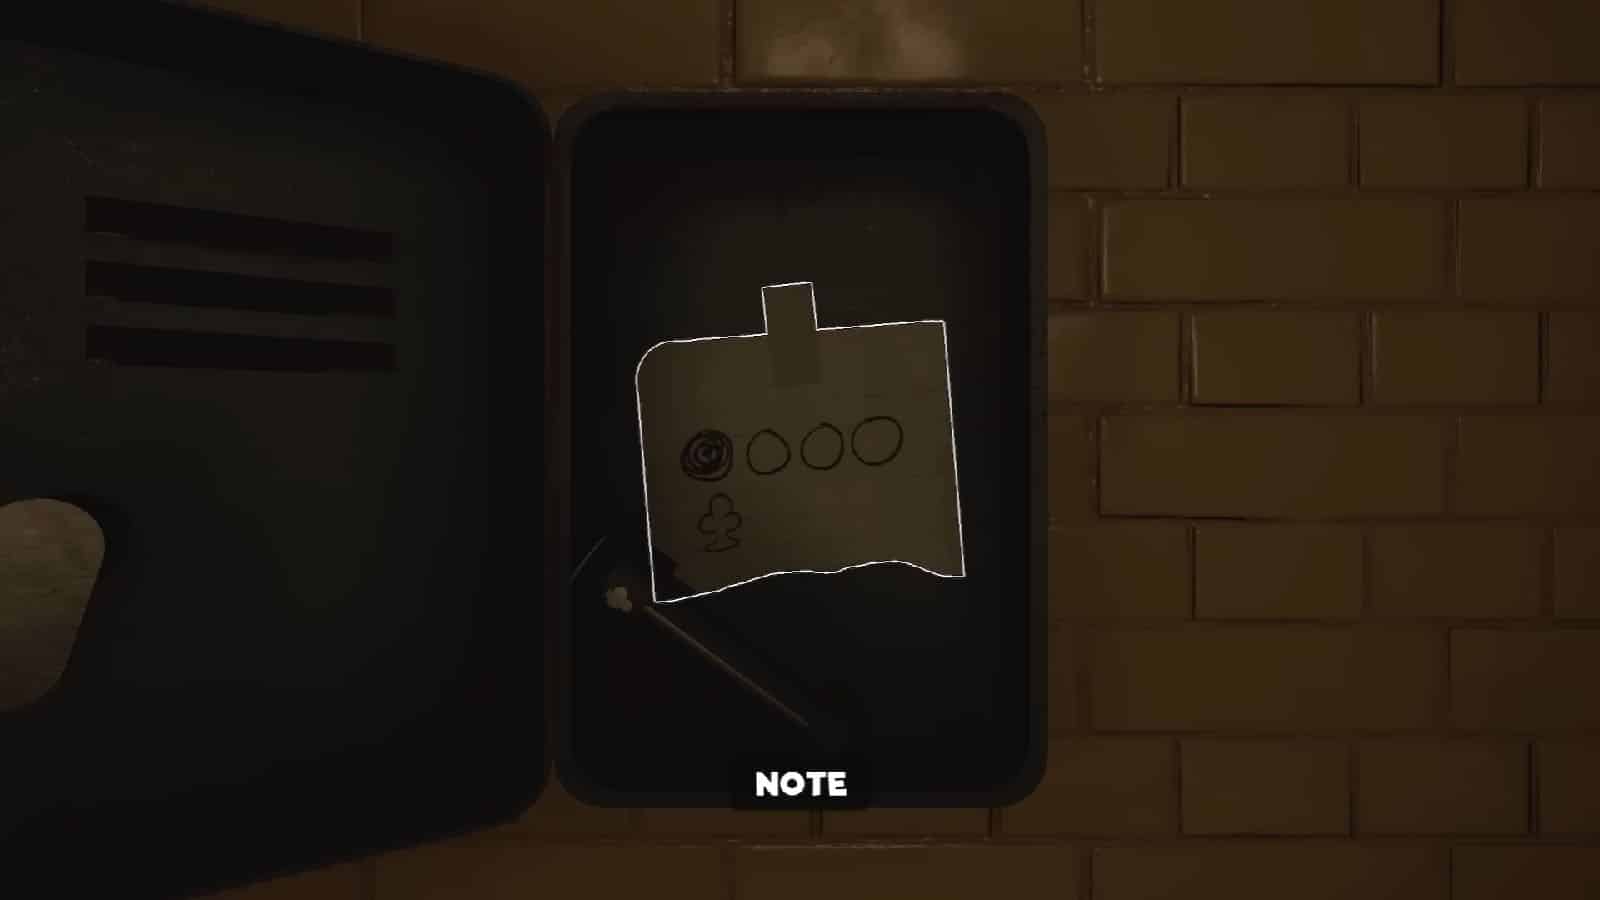
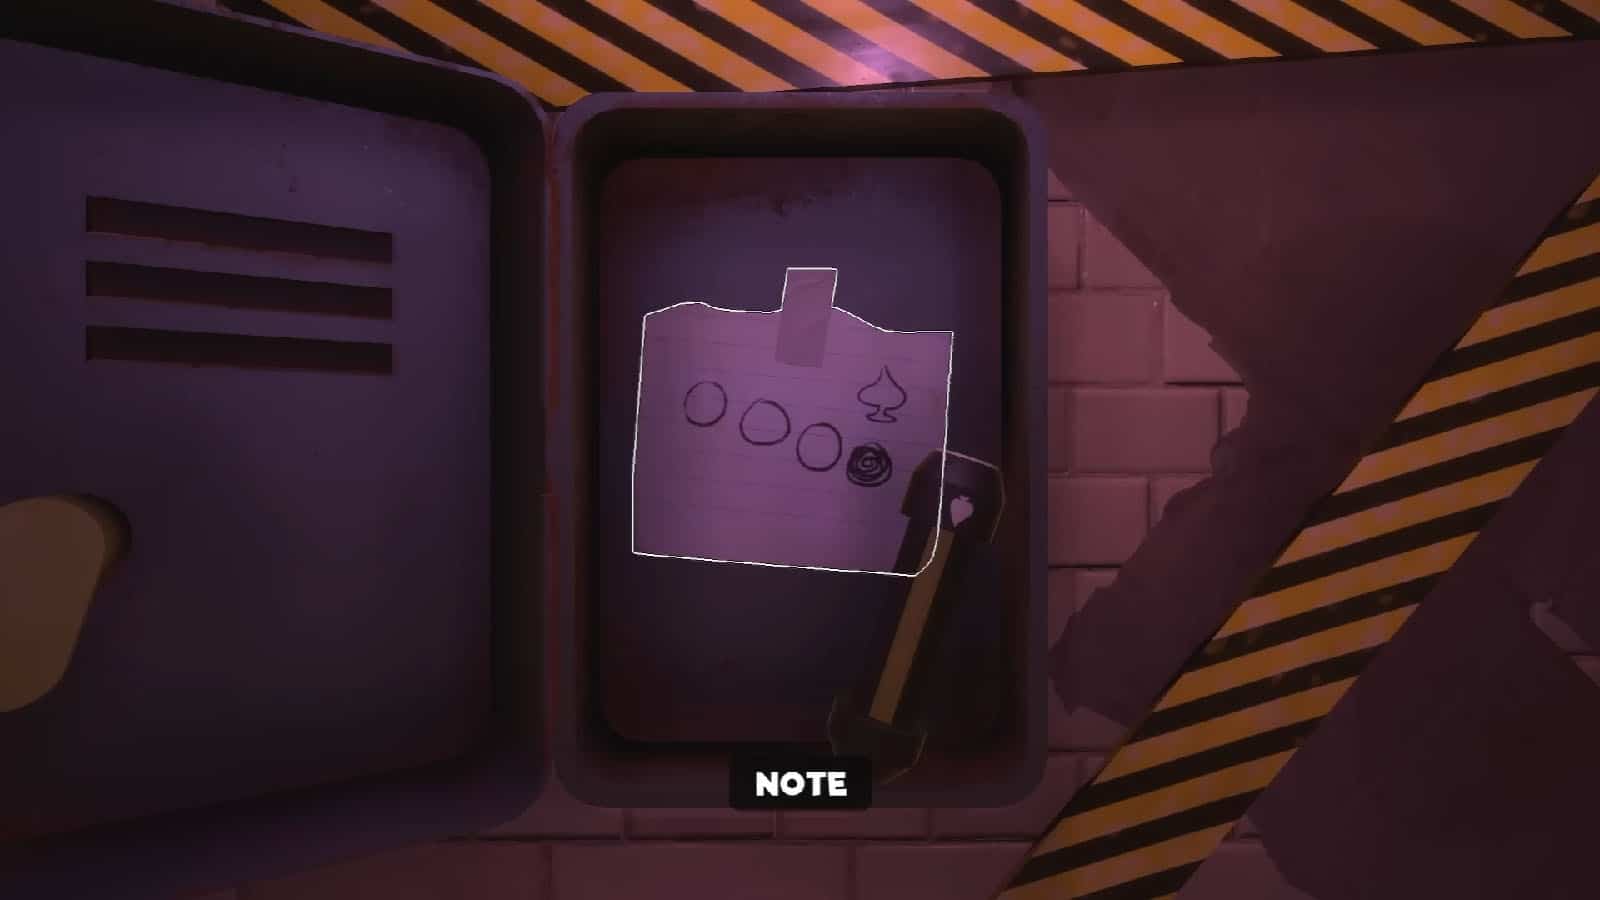
For now, go to the other door to reach a safe room where you will find the West Basement Map. There is also a note on the side that has shapes and numbers which will serve as a code for the punch card puzzle.
Solve the Punch Card Puzzle
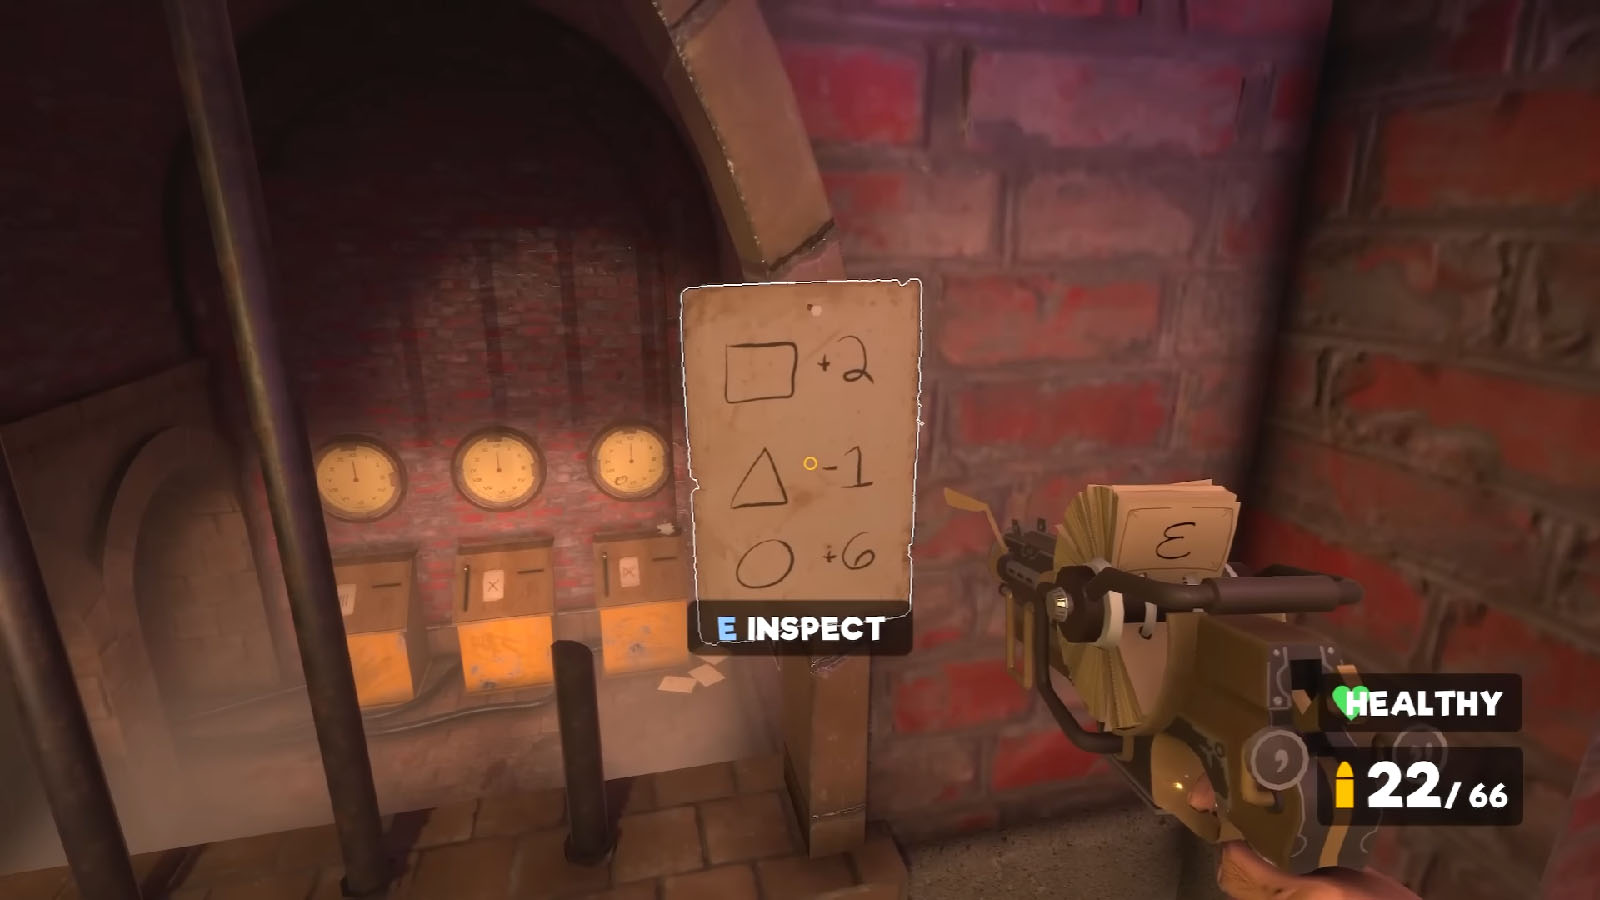
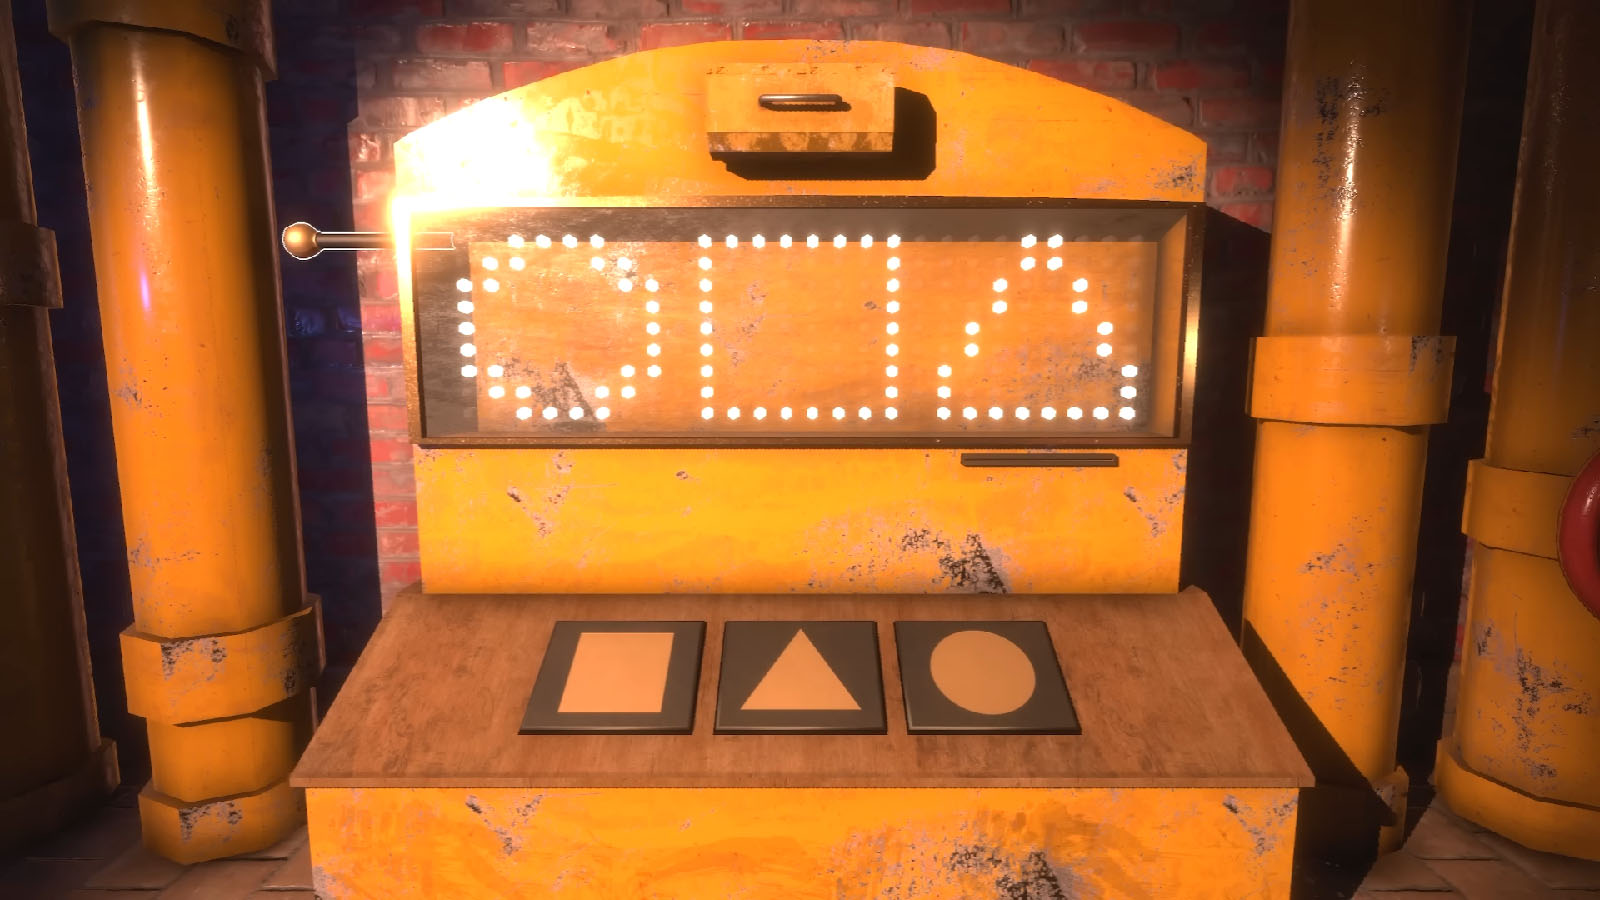
To solve the punch card puzzle, you will have to refer to the note and use the shapes and their equivalent values to create a specific punch card that will match the number noted on them. The printer can only accept up to three shapes, so you will have to put in the right combination of shapes so that their result, when added, will be a specific number.

For the first box marked III or 3, you will need to press Square (+2), Square (+2), Triangle (-1) to get a punch card that has a value of 3.
For the second box marked X or 10, you will need to press Circle (+6), Square (+2), Square (+2) to get a punch card that has a value of 10.
For the third box, instead of IX or 9, you will need to follow the number circled on the clock above it which is VII or 7. For this, you will need to press Circle (+6), Square (+2), Triangle (-1) to get a punch card that has a value of 7.
Once you have punched in the right cards on the boxes, the blast door will open and you can access the door that leads to the Mines.
Find the Breaker Box
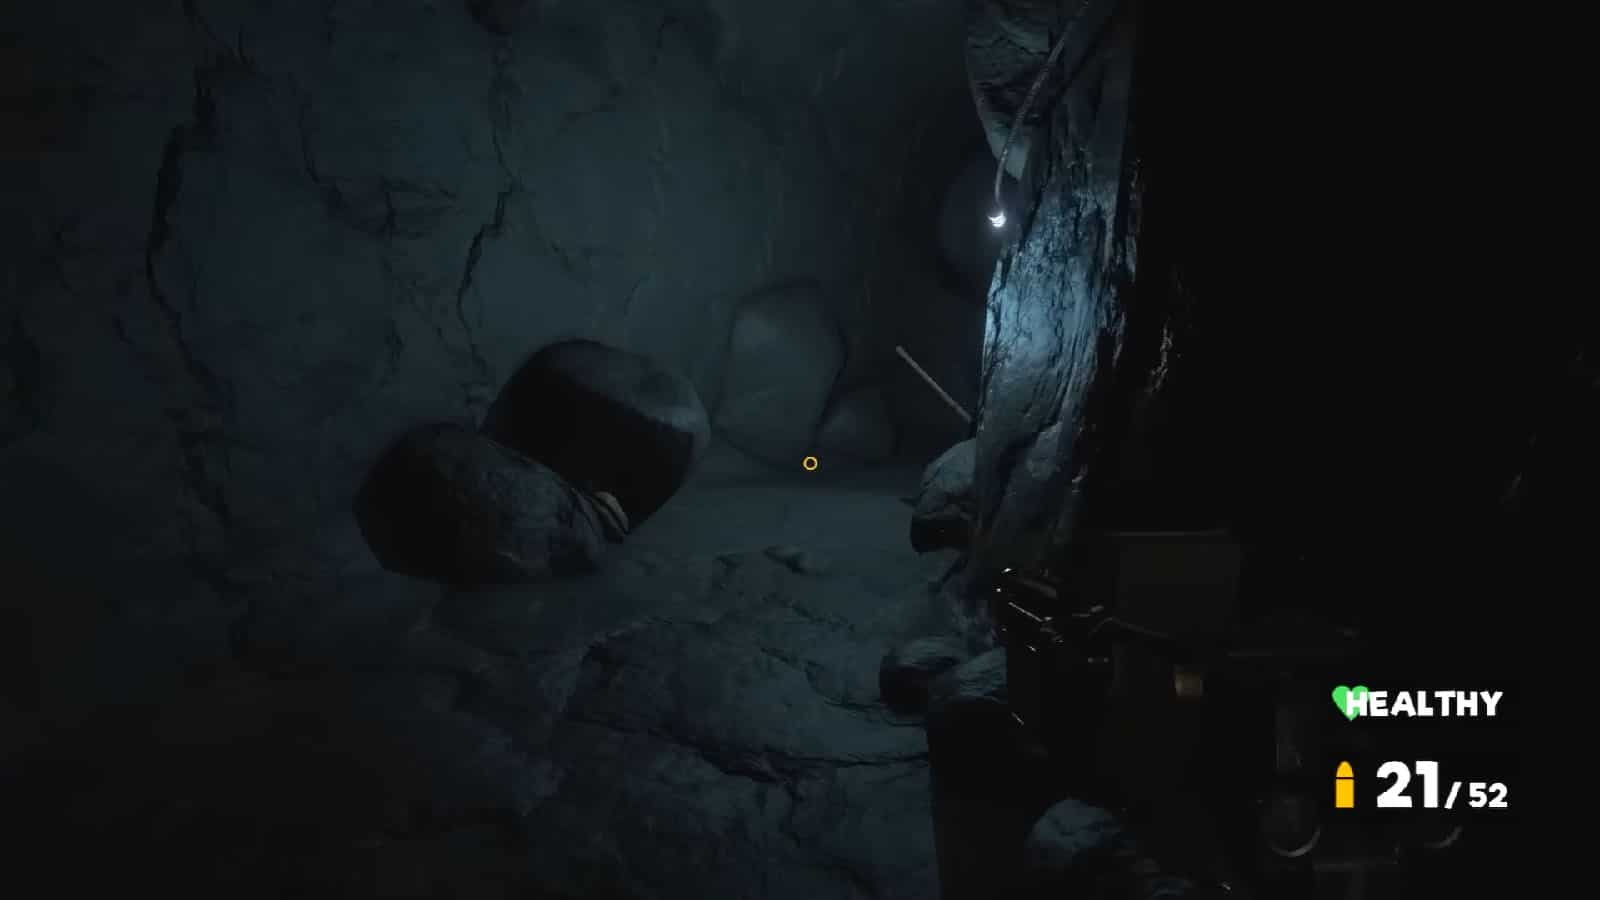
Follow the tunnel until you reach a door. Behind the door is a large room with a couple of puppets. Subdue the one on the left first and best to tape it as you’ll be passing by here again later. Then, knock down the other by the stairs on the left path. Take the stairs up and enter the next room.
You will arrive at a storage room with another lockbox on the wall; take note of it for now. Check the shelves for some ammo and tokens. Then, head towards the next room that is lit red, there is a green triangle lockbox that you can open later.
Go through the door that says exit first to enter a safe room. You will find the Note – Letter to the Editor by the chair. Check the drawer for some ammo. Afterwards, don’t head through the next door just yet, but head back through the door you came through and take the door to your right.
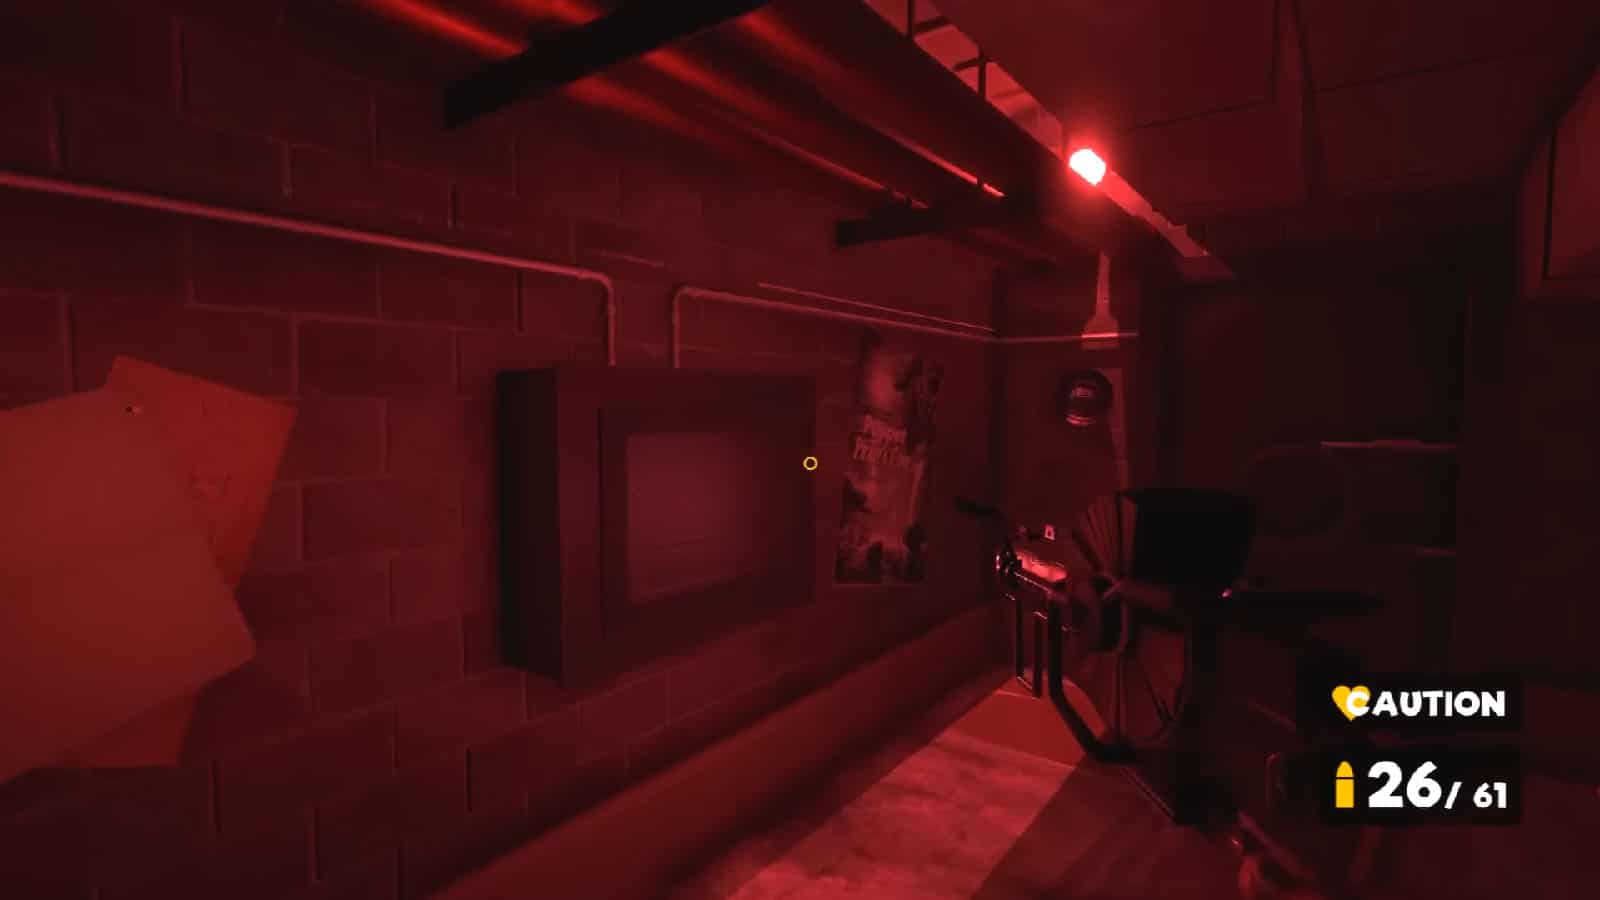
You will be in another red-lit corridor that has some doors that have electronic locks. There is also a Breaker Box that is missing its four fuses. You will need to find all four of them to deactivate the locks on the doors.
Find the Fuses

Check the note beside the box as it will tell you that the breakers have been stored inside those lockboxes you saw earlier. Take the Lockbox Key and the Lockbox Map that you will get to find where these lockboxes are.
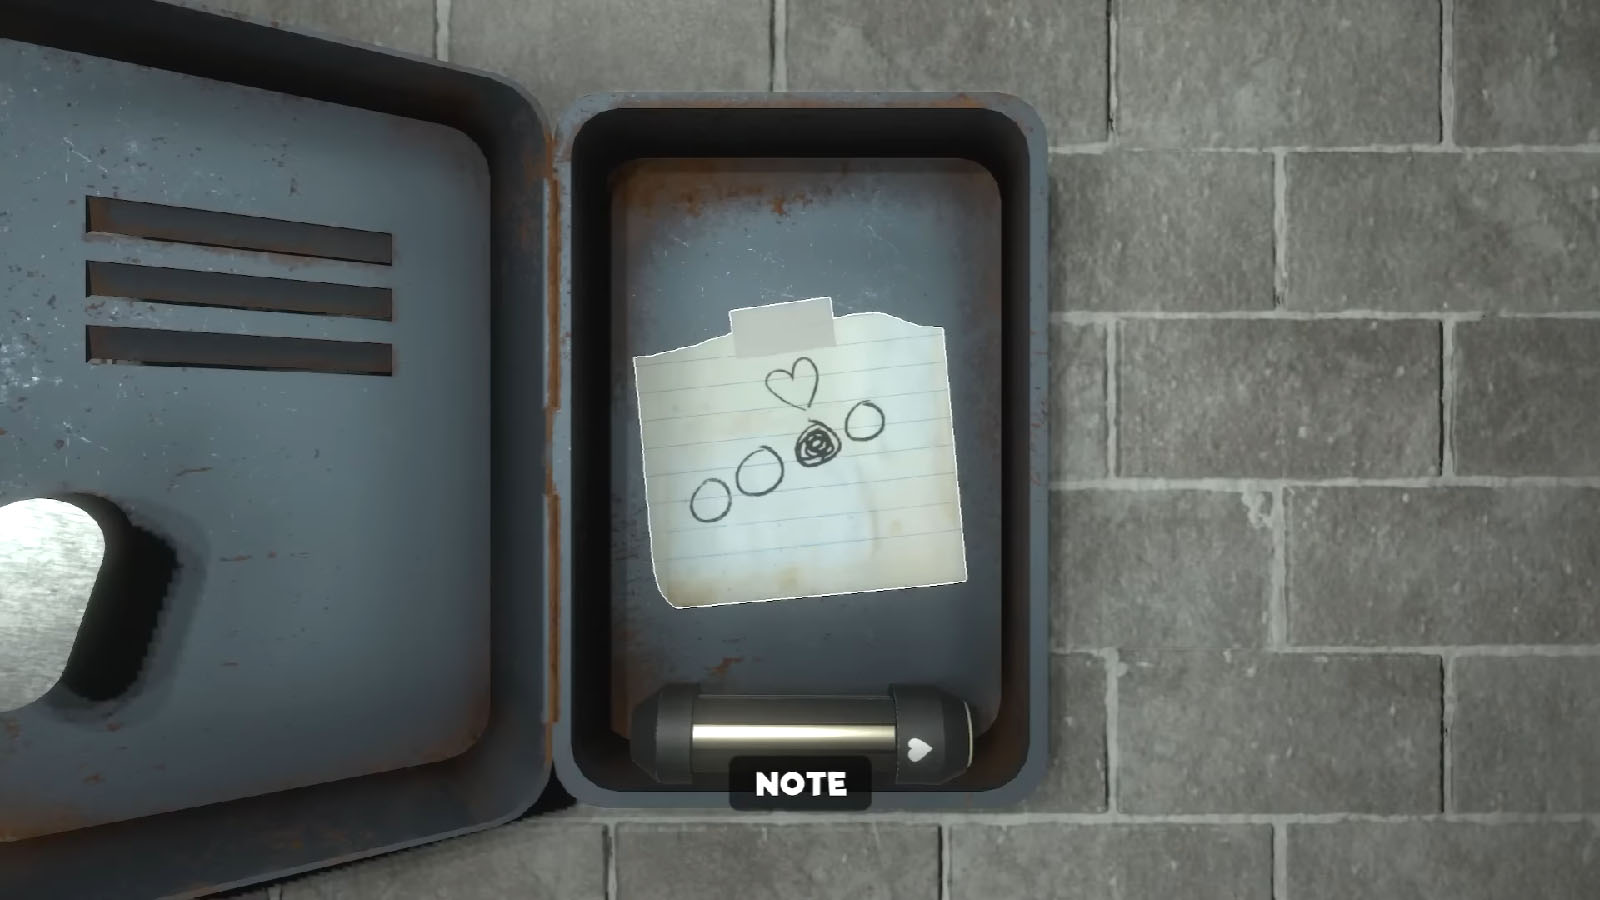
Head back to the storage room to open the lockbox that is in there. Take the Heart Fuse which goes to the middle right slot; take the note with you for reference later. Go back to the safe room and get through the other exit door.
You will then arrive at the Sewer Room where there are a couple of puppets standing on the catwalks. Take the left path first and subdue the puppet, then make your way to the door to the right.
Now in another corridor, just follow the path until you need to turn right; look towards the left to find the lockbox that contains the Clover Fuse and it goes to the leftmost slot.
Continue moving through the corridor until you reach the next door. Behind it is where you can ride a boat that goes back to the corridor at the Office Basement.

Make your way back to the locker room from earlier, but be careful as the puppet that fell through the vent will come back to life. No need to tape the puppet up as you just need to get the Diamond Fuse which goes to the middle left slot.
Finally, make your way back to the punch card printer by going through the Ray door, then check the door to the left to find the room that has the lockbox. This lockbox contains the Spade Fuse which goes to the rightmost slot.
Get the Cutters
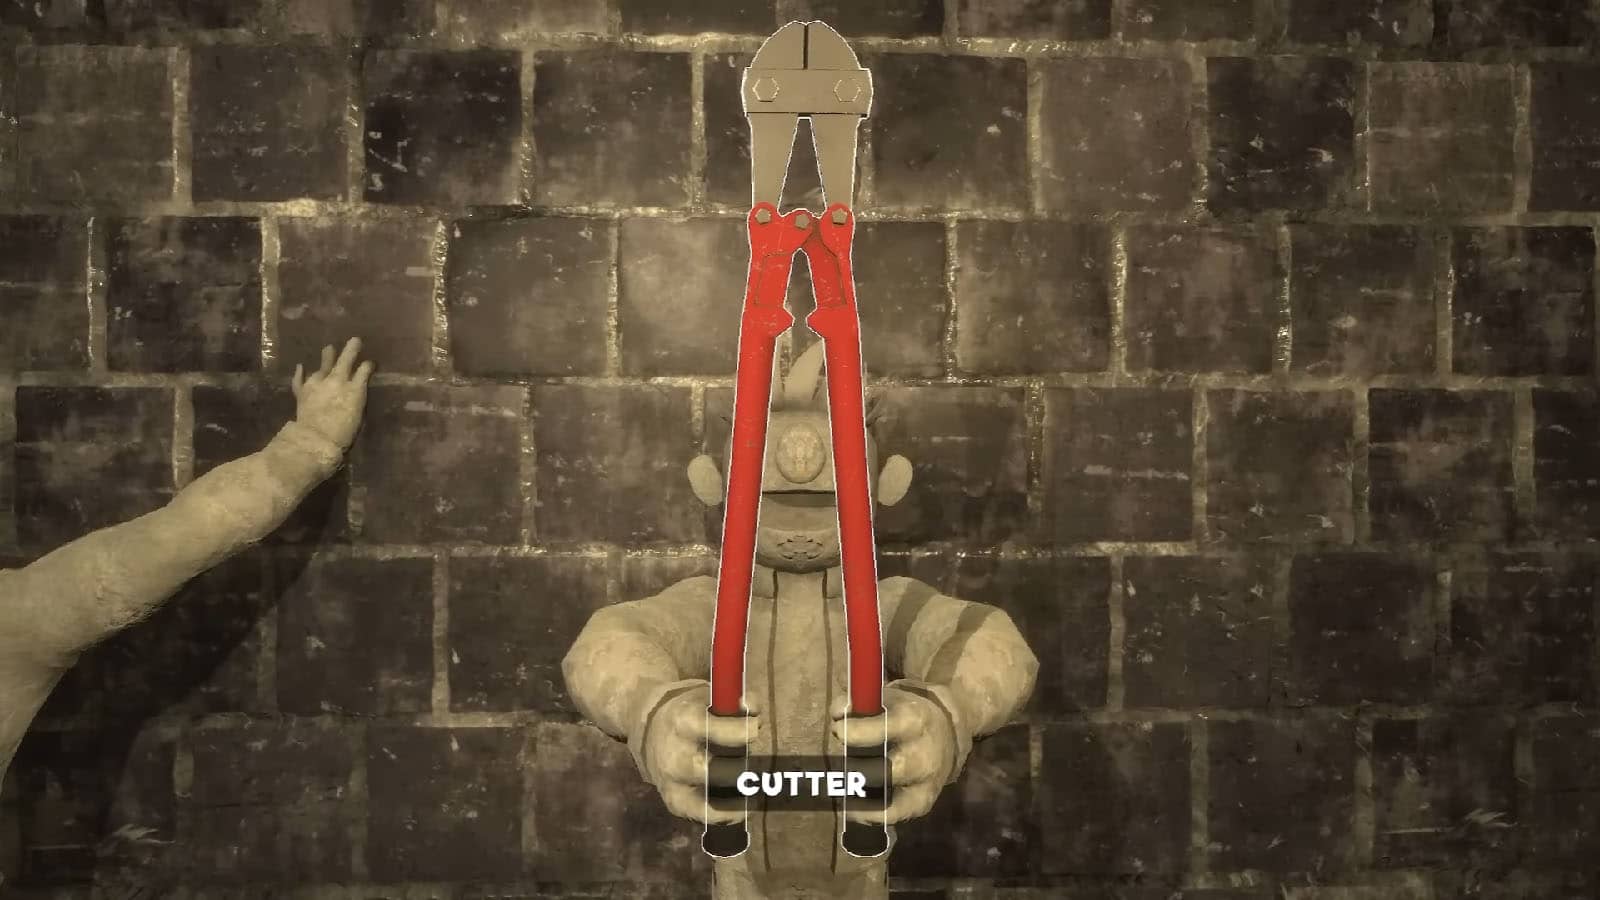
Once you have all the fuses in the right order, you will be able to open the door to your right. In here, there are several Norman statues, with the one in the middle holding a pair of Cutters. Grab the Cutters to add it to your tools, then check the table for a potion and some ammo. The other locked door will need a different fuse and unlocking it will lead to the secret Stage 5.
Using the Cutters, break the chain on the other door to access another boat dock. This boat will take you back to the starting area of the basement.
Reach the Elevator
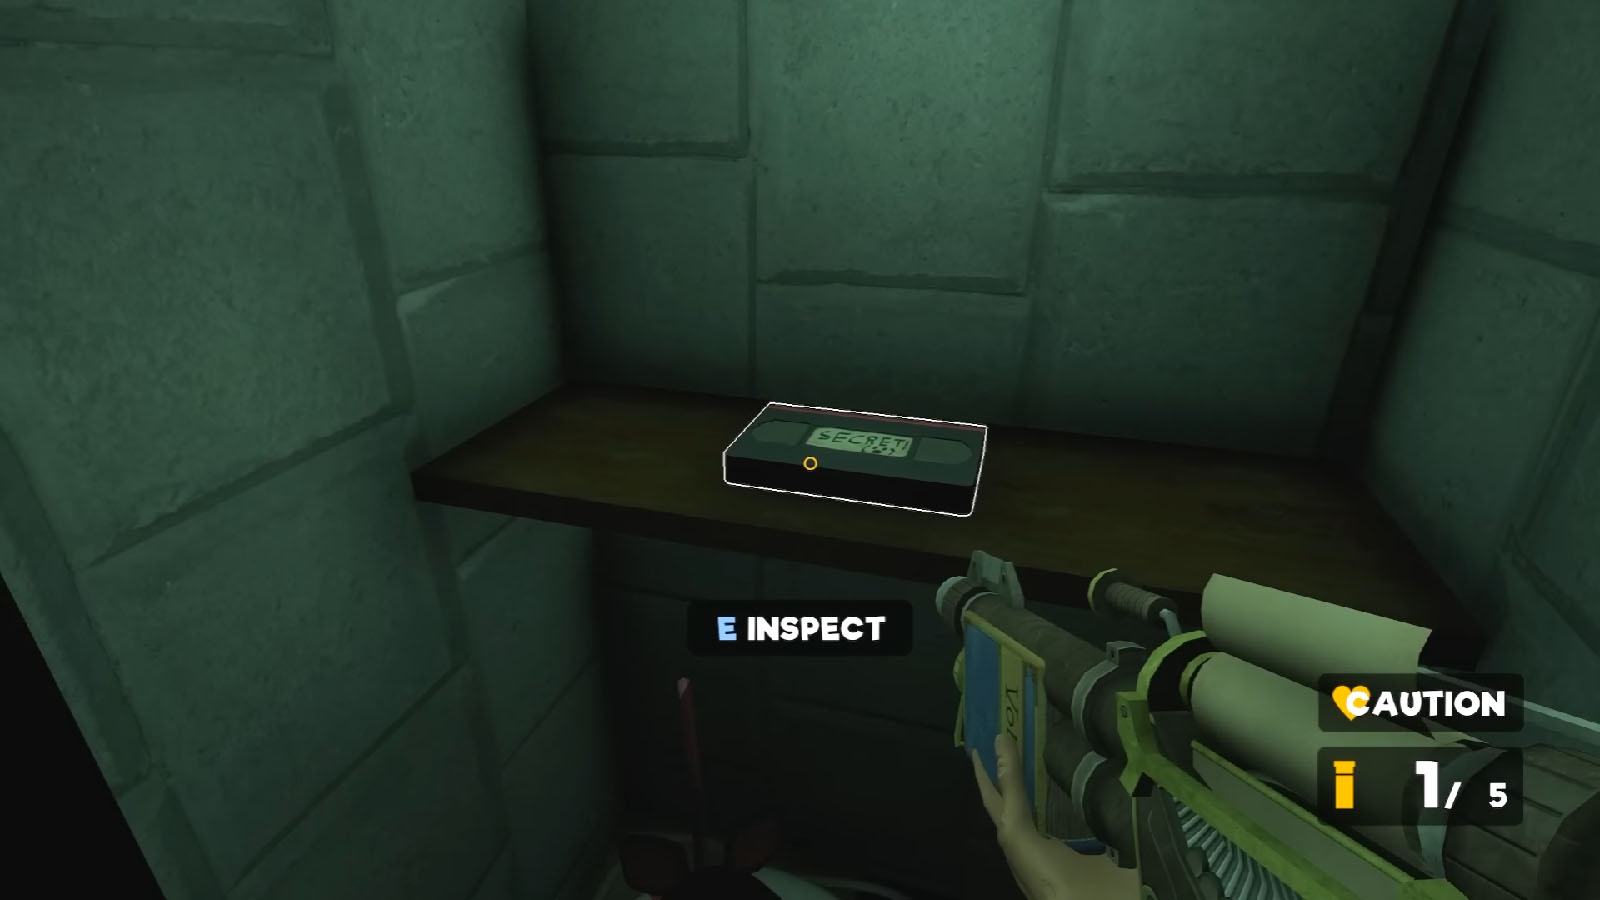
Make your way back to the Office Basement area and go to the end of the first hallway where you will find a chained door. Break the chain and head inside to find a staircase. Before climbing up, check the niche underneath the stairs to find Cheat Tape #2.
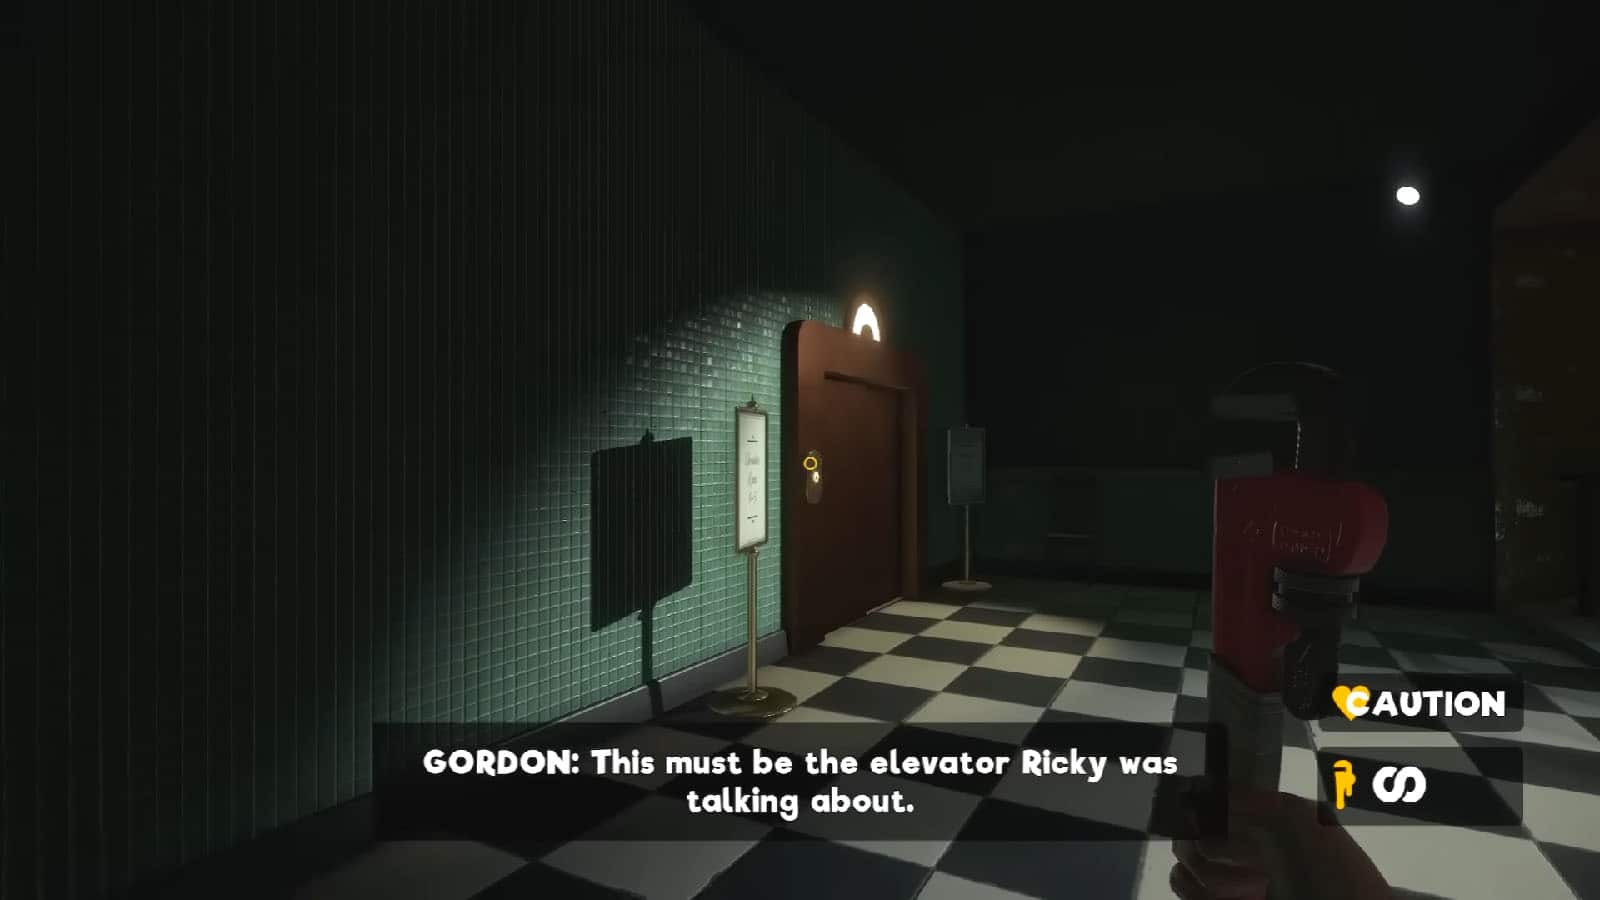
Afterwards, climb the stairs where you will find the elevator that will take you to the MFN Studios.
See next: My Friendly Neighborhood Part 3: MFN Studios Offices Guide


