
Oxenfree 2: Lost Signals follows the story of Riley Poverly as she stumbles upon a strange phenomenon that has been creeping over her hometown. Riley and Jacob now set to the top of Tootega Falls to plant one of the transmitters, but they meet some resistance along the way.
Read ahead as we go through the steps on how to install the Tootega Falls Transmitter in Oxenfree 2: Lost Signals and share some tips on how to complete the chapters and find the collectibles.
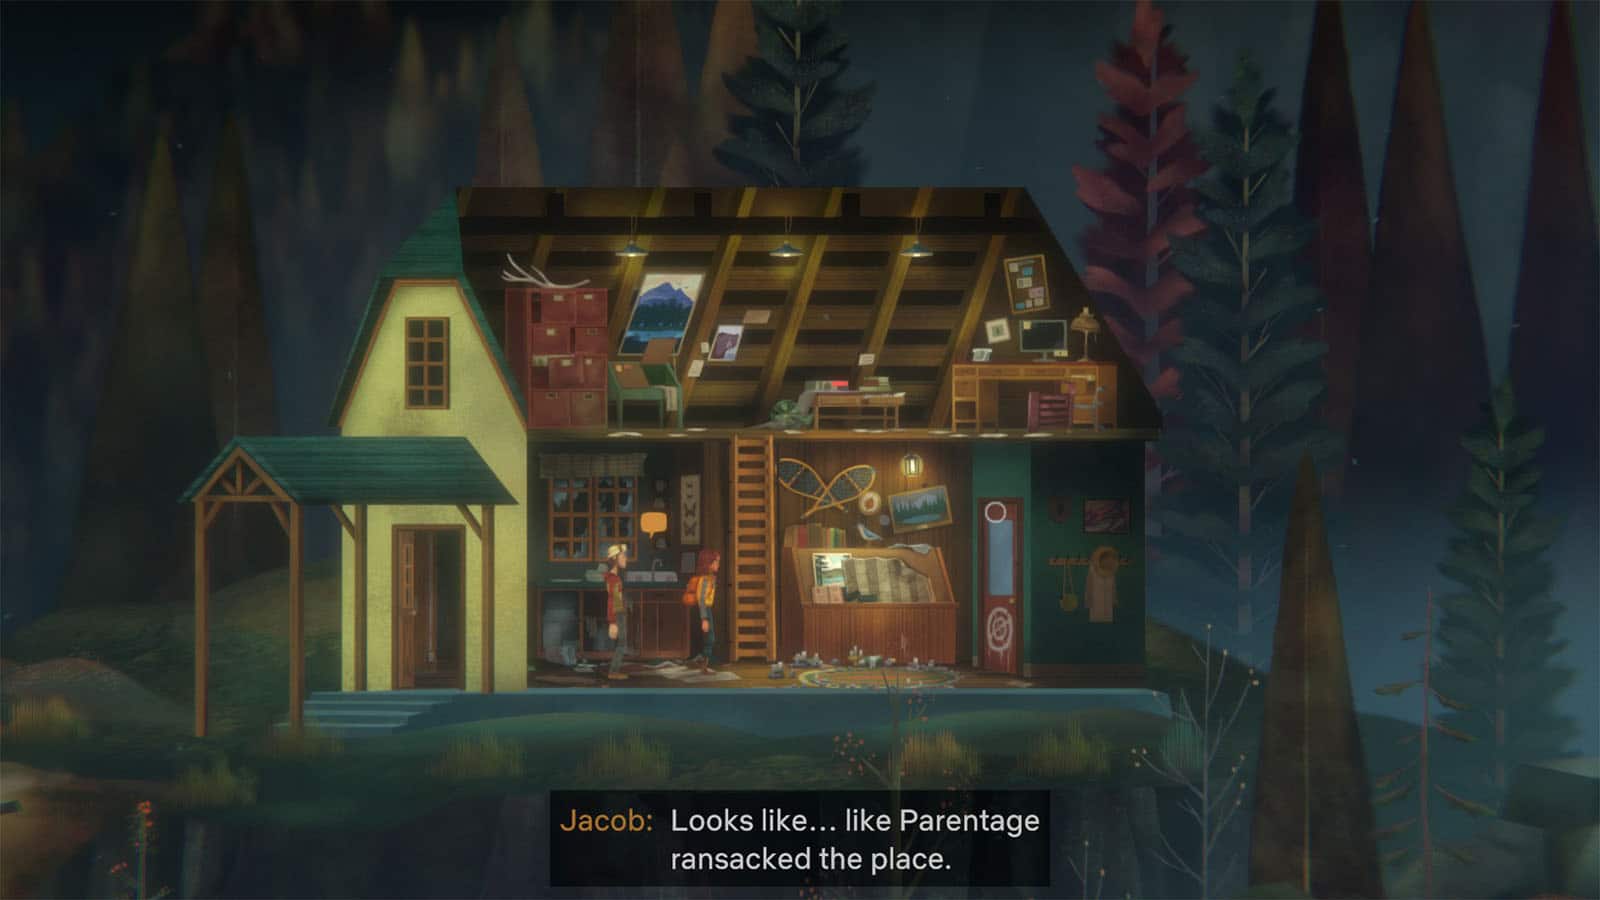
See previous: Oxenfree 2: Lost Signals 11 PM – Go to Jacob’s House Guide
Oxenfree 2: Lost Signals Tootega Falls Transmitter Walkthrough
Starting from Copper Creek Trail, make your way back to Jacob’s house at Berenson Creek, then continue towards the east to reach Point Tilla.
Point Tilla
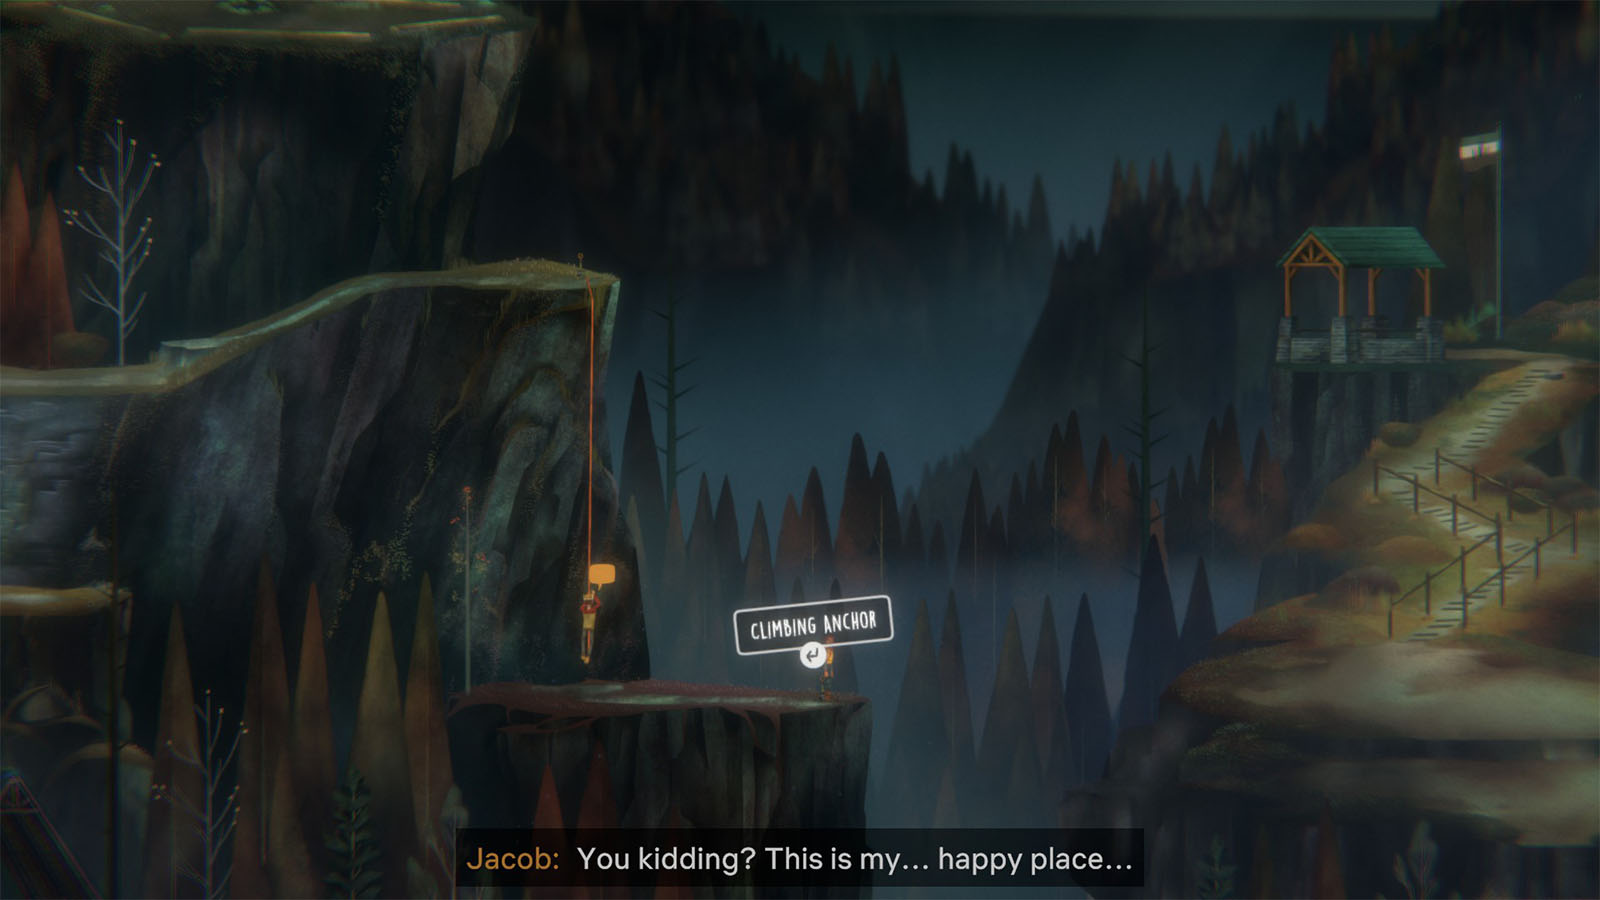
Follow the path and jump across the gaps and you will eventually see a cliff that has a climbing anchor. Use the rope anchor to slide down to the very bottom of the cliff and back to the path.
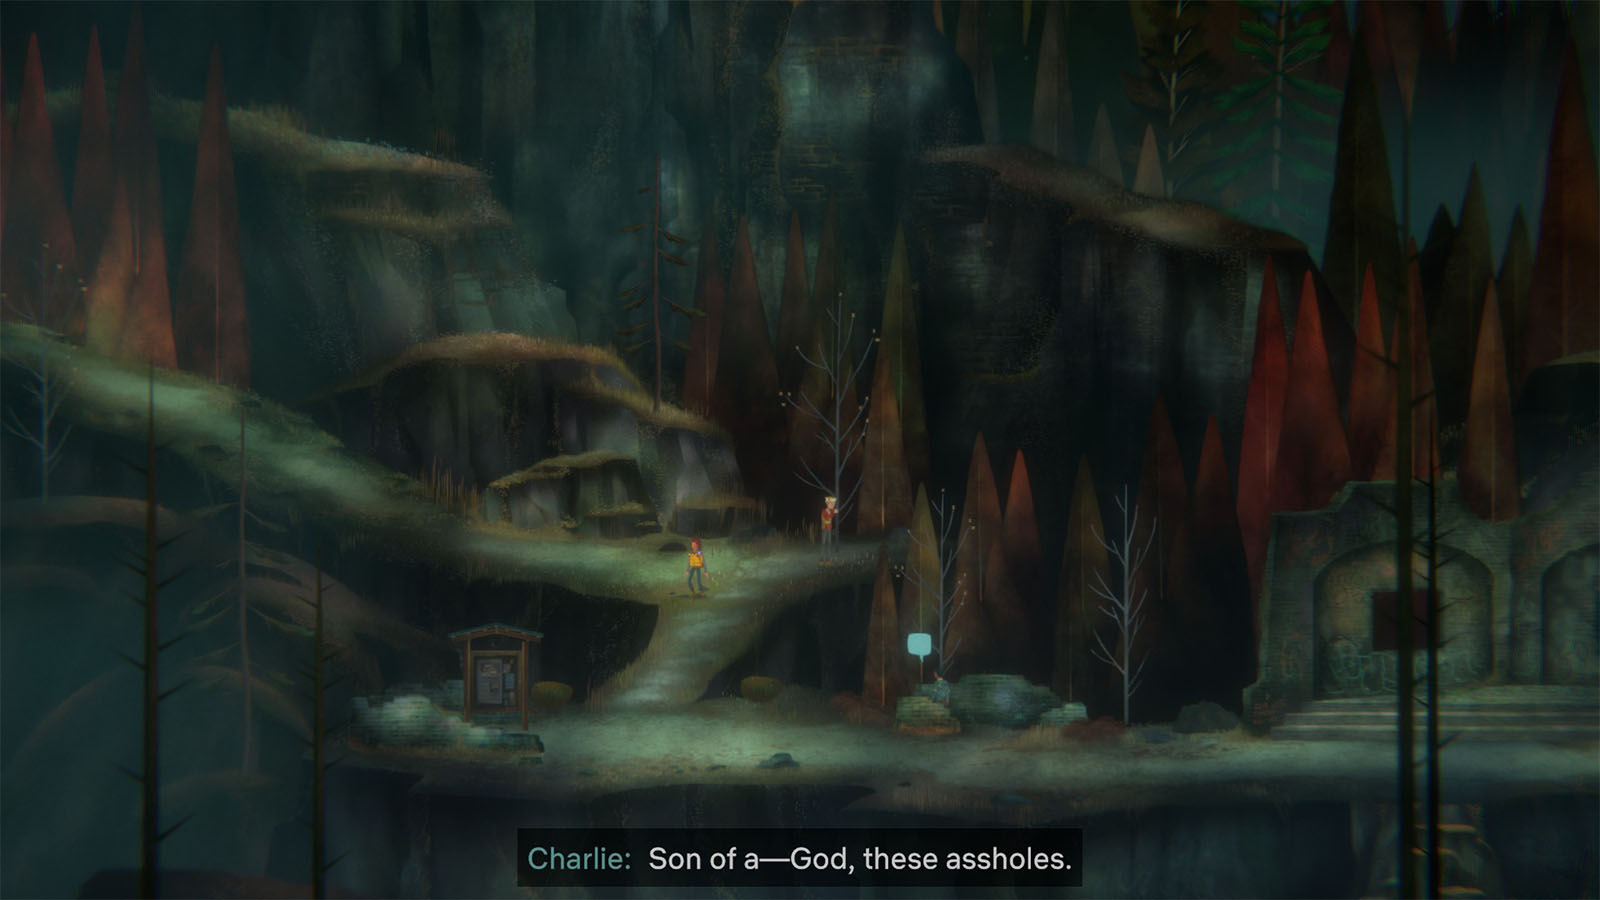
You will then see one of the kids, Charlie, running away from the Ranger’s Station. Jacob will then give chase, but Charlie is too fast and manages to lock the gate that leads to the Horseshoe Beach. Jacob reckons that he can find a spare key inside the Ranger’s Station to open the gate.
Before heading to the station, you can check with your walkie-talkie to gather more information from either Evelyn or Maria, especially about Charlie.
Take some time to explore the west side of Point Tilla as you can get another call from Maria about Olivia’s group. She shares that the kids have been planning to go to Edwards Island for some time and suspects that Olivia is behind all of this.
You can also find Collectible – J.B. #3 in the southwest corner just past the box with the hatchet.
Ranger’s Station – Finding the Gate Key
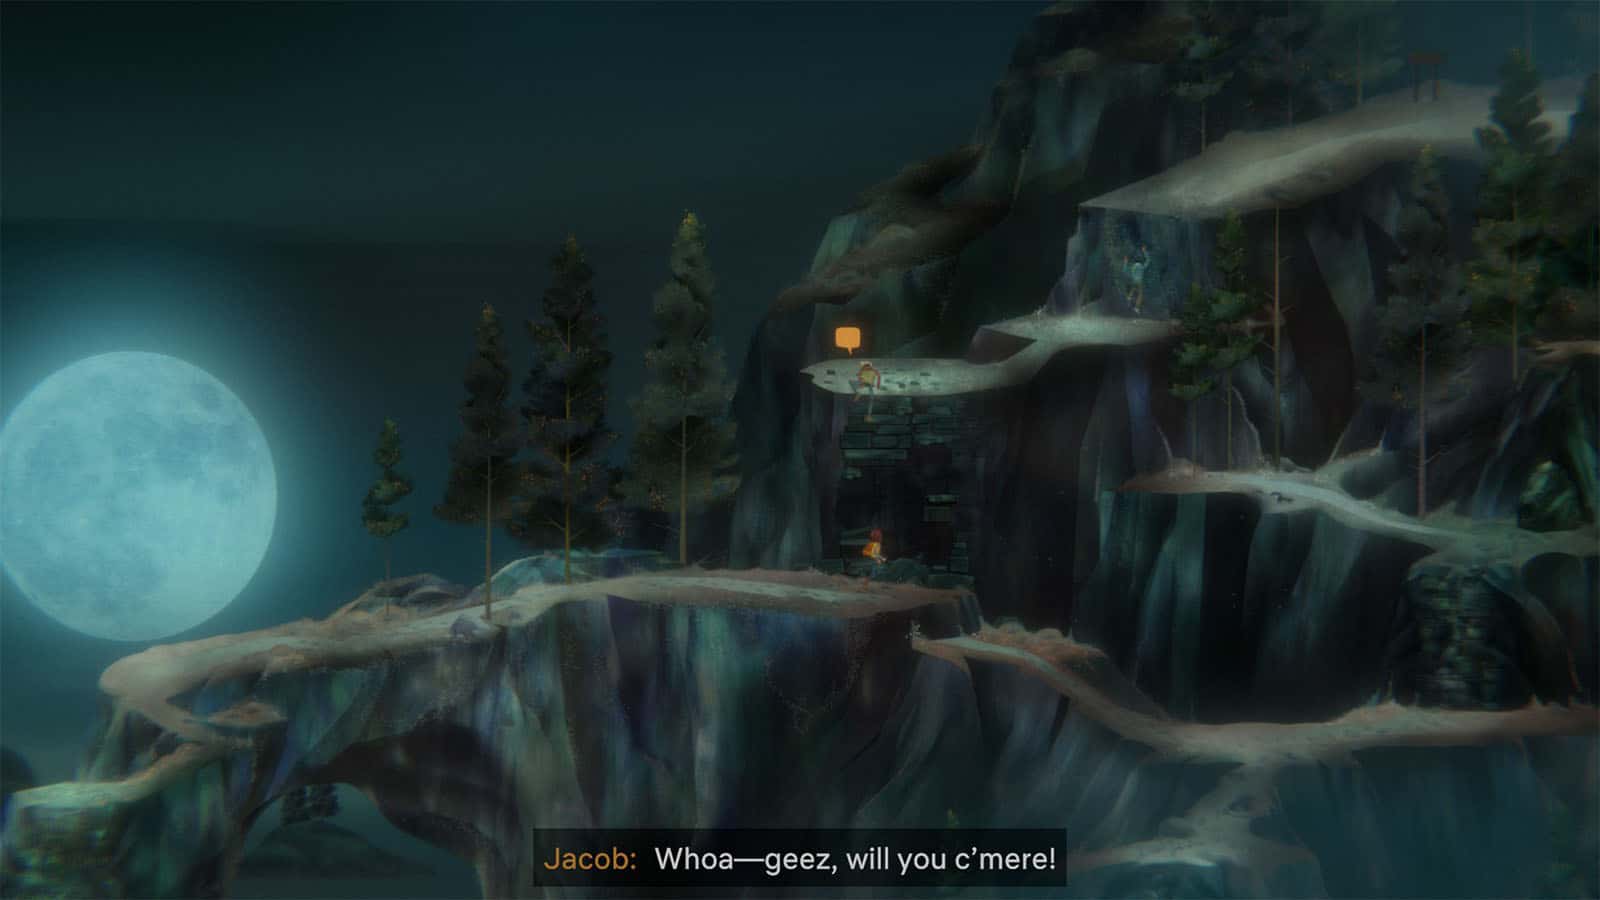
Make your way to the north and climb the rope Charlie used earlier to reach the Ranger’s Station. In here, you can find several objects that you can check. Go to the upper level and interact with the phone first, then call the last person who called the line.
The person on the other line will pick up and introduce themselves as Shelley. She is also a park ranger working at another station and called this station to check about the strange weather readings that they have been getting, too. She is also willing to lend some help and offers Channel 1 as a way to reach her.
Shelley then says that you should check the bulletin board nearby to find the spare key for the gate. Grab the key, then head back down, but before heading to the gate, go to the path east of the nearby bulletin board outside of the station to find Collectible – Ingrid White #3.
Horseshoe Beach – Solving the Riddle
Once you reach the beach, take the ropes to go down the cliff, then follow Jacob through the beach to the other side.
You will spot Charlie again who flees once more. Jacob gives chase yet again, but you won’t be able to catch up as the rock face on the cliff crumbles.
Explore the lower section of the area and you will eventually get a call from a mysterious person. They won’t reveal who they are, but they start speaking in riddles, followed by an ominous countdown.
At this point, you’ll be playing a hot and cold game with this mysterious caller where you must locate the answer for their riddle before the time runs out, otherwise you will have to do it again. As you move to search for the item, the mysterious caller will give a hint if you are getting hotter or closer to the answer, or colder if you are straying farther away. Another clue that can help out is by looking at the faint footprints on the ground which will lead you to the answers.
For the first riddle, the answer is a lamp which you can find on top of the stone arch that you just climbed after crossing the beach. Interact with it to get the second riddle.
For the second riddle, head back to the area you were just at where you first got the call, and head down to the beach near the rock arch to find a brick chimney.
For the third riddle, head back to the same spot from earlier and go northeast up a rock face to find a boulder that appears to be covering a cave.
Once you find the boulder, push it away to reveal the cave entrance, head inside the entrance and follow the path inside until you find a shoe at the end.
Interacting with this shoe will throw Riley back into another jump which shows a version of her standing unmoving on the beach. Pressing the directional button will change the scenery to other versions as if you’re flipping through channels.
Eventually, you will arrive at a different scene showing another kid with Riley. This is the same kid that you saw from earlier back in Charity Point named Rex. He is preparing his dead pet gecko for a send off on a small boat that will drift to the sea. Throughout your exchange, Rex grows sadder for his dead pet.
You will then have an option to console Rex, and doing so will confirm that Rex really is Riley’s child in a future version of her. If you wait long enough before consoling Rex, your chance will lapse and Rex will get more frustrated as he will end up throwing rocks at the small boat and make it sink.
Riley then snaps back to her reality on the beach after getting called by Jacob. He wasn’t able to catch up to Charlie so he went back to fetch you. You can then continue eastwards, but go back into the cave first (Jacob will tag along) and you can grab the shoe as evidence this time.
Tootega Falls
As you finally arrive at Tootega Falls, you will spot Charlie once more. He doesn’t get away too far this time as he trips and loses his mask into the water.
Jacob then confronts Charlie who is still being stubborn about giving answers to Jacob’s questions. There will be several dialogue lines throughout this confrontation and an option to stop Jacob from getting too heated.
The best way to go through this is to choose responses that would convince Charlie to give you information while keeping Jacob from getting too hostile, but also without stopping Jacob. This way, you get to get as much information as you can from Charlie.
Out of nowhere, Charlie will get possessed and reality gets warped, showing Charlie teleporting to the upper path for a split second.
Talking to Possessed Charlie
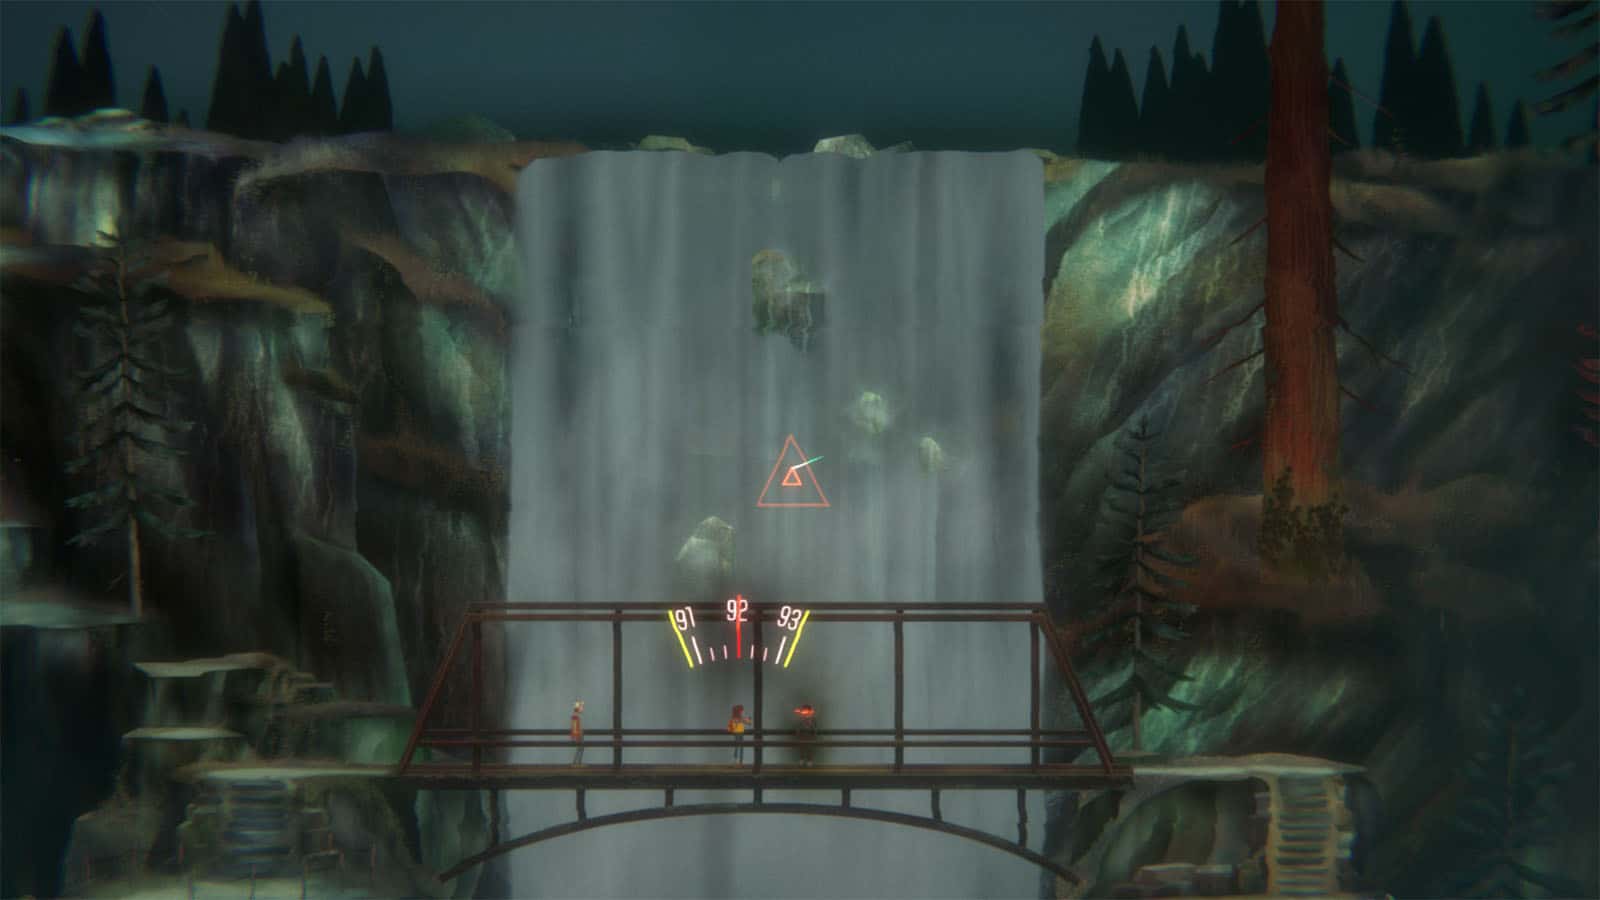
Go up to the bridge and approach Charlie. You won’t be able to talk to him, but Jacob suggests to use your radio. Take your radio out, then adjust the frequency to these following stations in this order: 92.0, 100.5, 107.5. Every time you tune in to the right frequency, a small triangle will appear which will link up with each other, opening a gate.
The ghosts will then get in contact with Riley once more, but this time, it’s a more direct contact as they recognize her and started to tell details about her parents. Your dialogue options for this encounter will mostly be asking who this entity is, but they don’t answer and instead they say that they have control over Riley’s and everyone else’s future.
The encounter ends and Charlie falls back to the ground, knocking him unconscious. Check on Charlie first, then make your way to the top west side to plant the transmitter.
Just like before, you will have to adjust the position of the dish of the transmitter. Move the reticle to the right position by following the beeps or looking at the yellow light as it shines brighter; the light will turn blue once you find the right spot.
Another jump will happen and Riley will find herself again with Rex, fishing at the bottom of the waterfall. As Rex convinces you to get take away for dinner instead, he gets a nibble on his line and manages to catch a fish. The scene then skips showing that the fish is dead before it skips again where everything turned red and fish starts raining from the sky.
Riley gets back to her reality afterwards. Head back to the east side of the bridge where you will find Jacob who also had a strange vision where he got covered by bugs. Follow him as you skip over rocks back to the main path, but check one of the rocks in the middle to find Collectible – J.B. #1.
Spend some time checking on the people on your walkie talkie to gather new information, such as details about the origins of Parentage from Shelley and especially with Evelyn who asked you to update her whenever a transmitter is up. The objective for this section is done at this point, but as you make your way to either Charity Point or Garland, you will still see some events along the way.
Make your way back to Horsehoe Beach and take a quick detour over to the beach where you saw the brick chimney from earlier. You will find Collectible – Kenneth Young #3.
Channel 1 – Shelley: Sightings
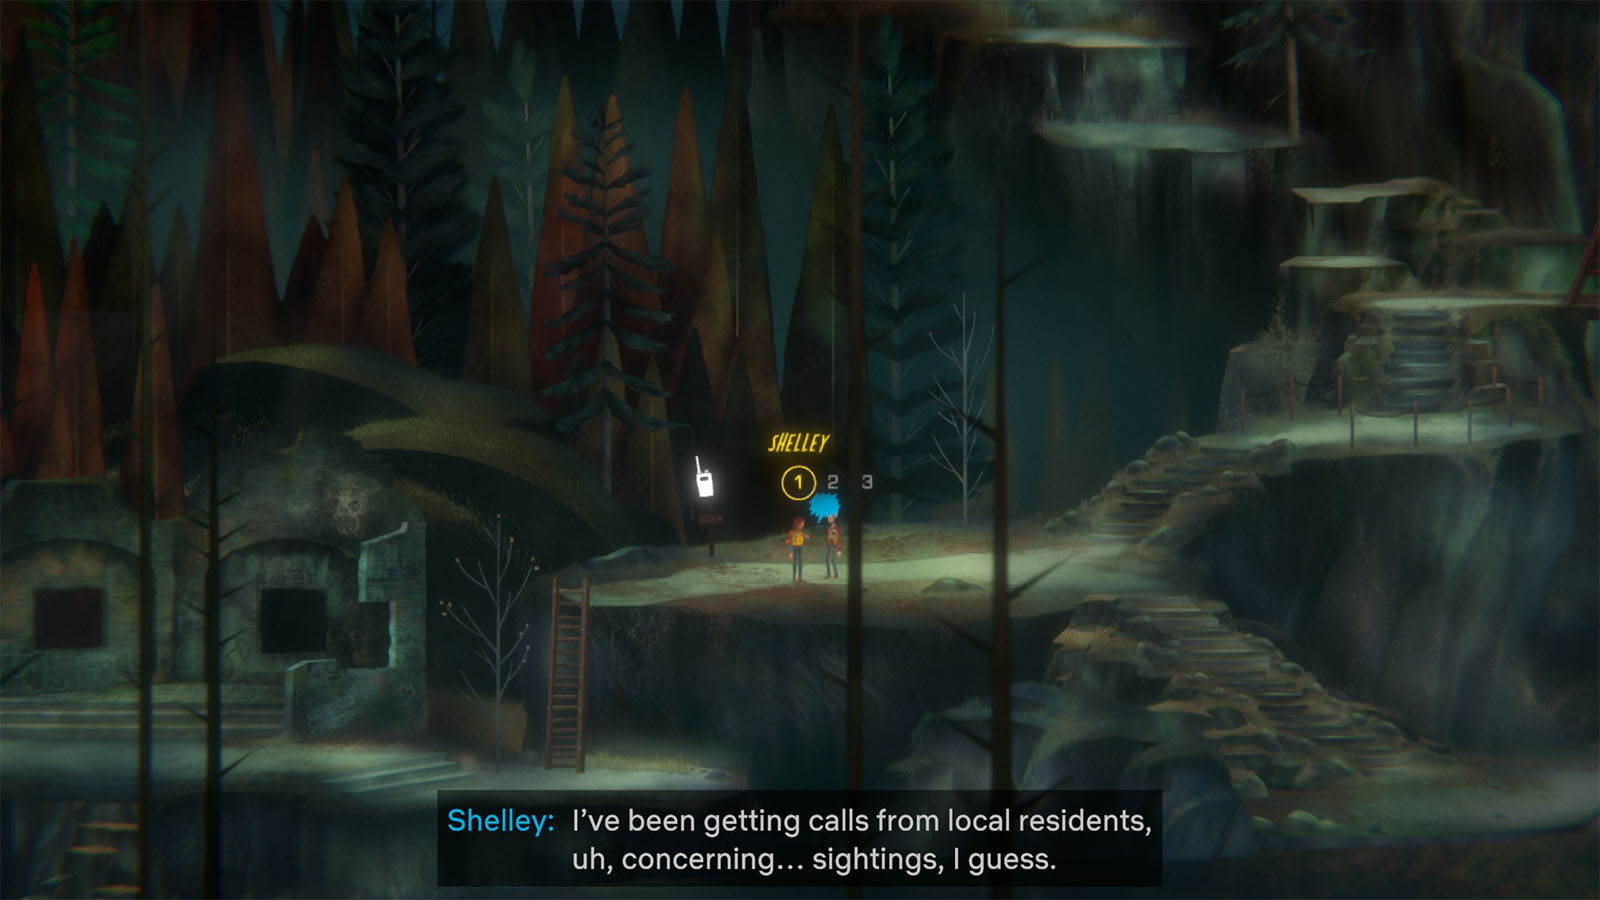
You will get an additional call from Shelley asking you for any strange sightings. You can tell her about the portals that you’ve been seeing.
Channel ???: Rendezvous
As you make your way through Berenson Creek back to Jacob’s house, you’ll intercept another call between Charlie and Violet. Charlie says that he got blipped to somewhere, most likely after the recent vision that Riley and Jacob had.
Olivia’s Parents
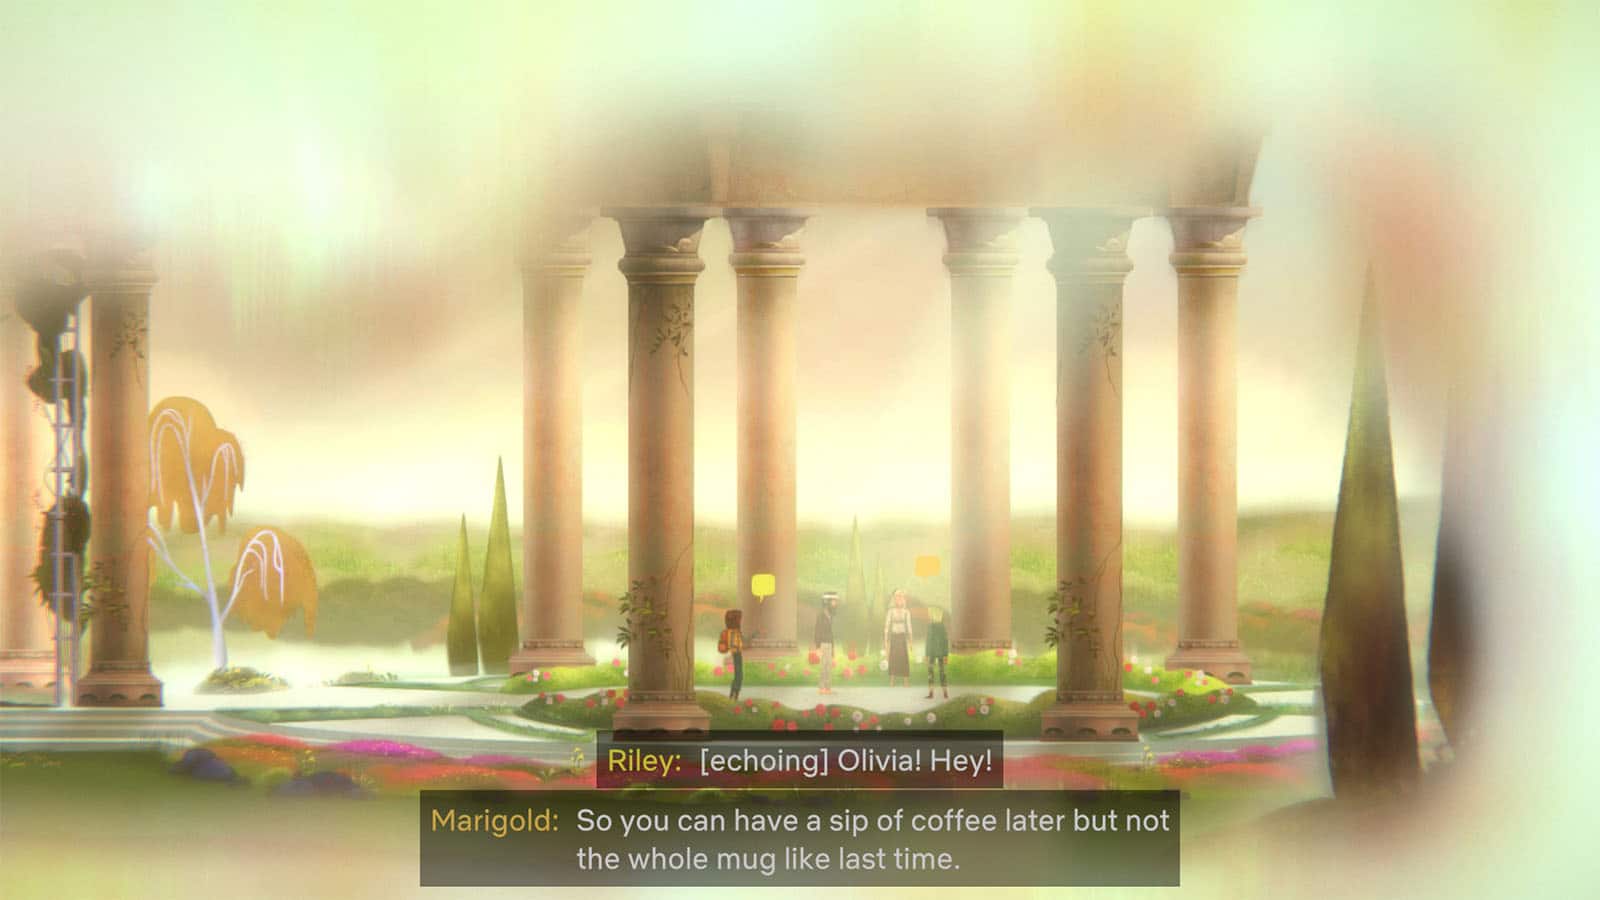
Once you reach Jacob’s house, Jacob will make a comment saying that the light seemed strange. The light then flashes and Riley jumps into another world where she sees Olivia with her two parents, Cyan and Marigold. Riley tries to get their attention, but it fails. At the end of their walk, the world shatters, leaving only Olivia in it. Only then does Riley get noticed by an angry Olivia, and then Riley jumps back to her world.


