
Oxenfree 2: Lost Signals follows the story of Riley Poverly as she stumbles upon a strange phenomenon that has been creeping over her hometown. After experiencing an inexplicable event, Riley tries to make sense of what she has just gone through and also find a way to make it out of the mess.
Read ahead as we go through the events of 10 PM – Back to the Transmitter of Oxenfree 2: Lost Signals and share some tips on how to complete the chapters and find the collectibles.
See previous: Oxenfree 2: Lost Signals 9 PM – Placing the Transmitter Guide
Oxenfree 2: Lost Signals 10 PM – Go back to the Transmitter Walkthrough
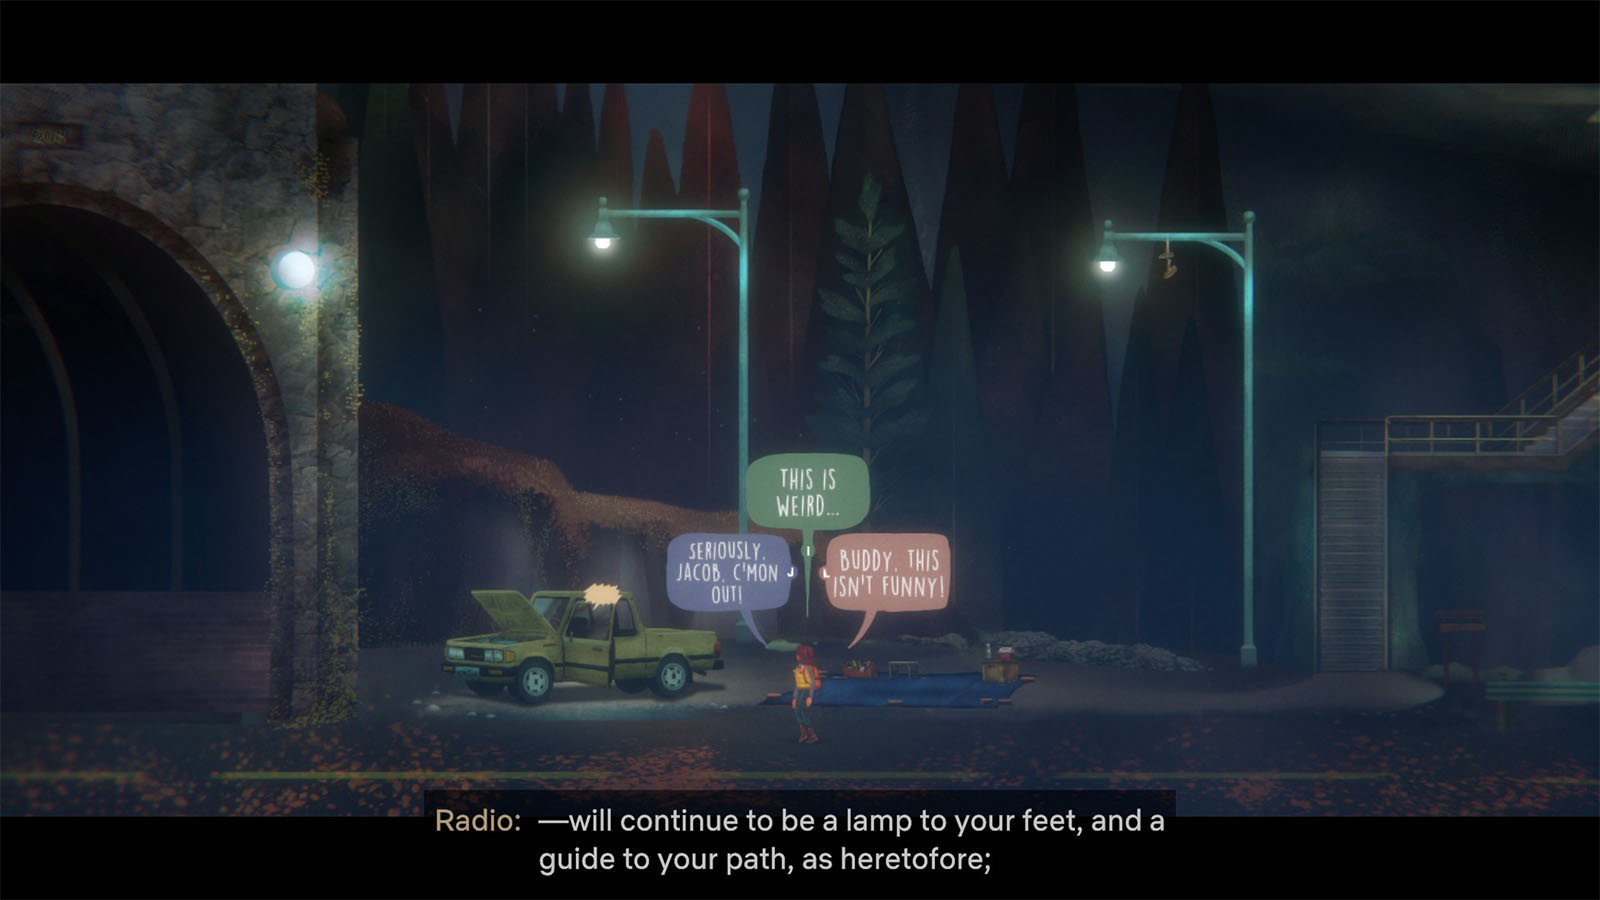
Once you get back to Jacob’s car, you will meet Jacob once again, who, luckily, has recollections of what happened, at least until the transmitter went out. You call back to Evelyn to find out what happened, but all she says is that something went wrong with the readings.
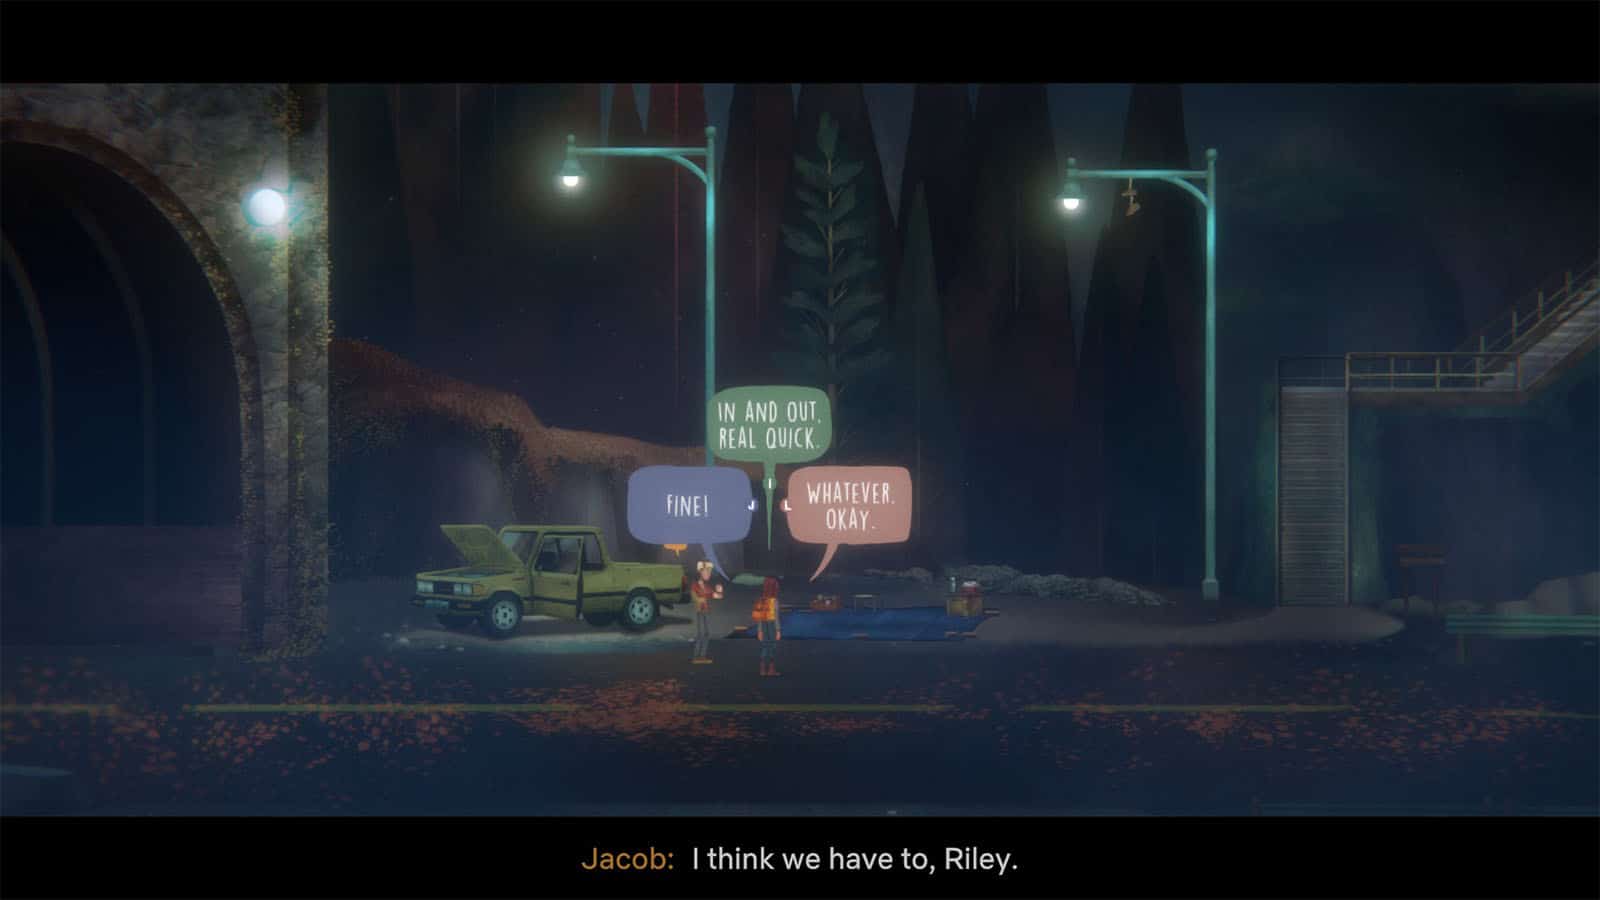
You will get to choose through several dialogue options, but no matter which you choose, agreeing to go back or not, Evelyn will still beg you to go back and convince you to do so. Before heading back, Jacob will give you a new walkie-talkie.
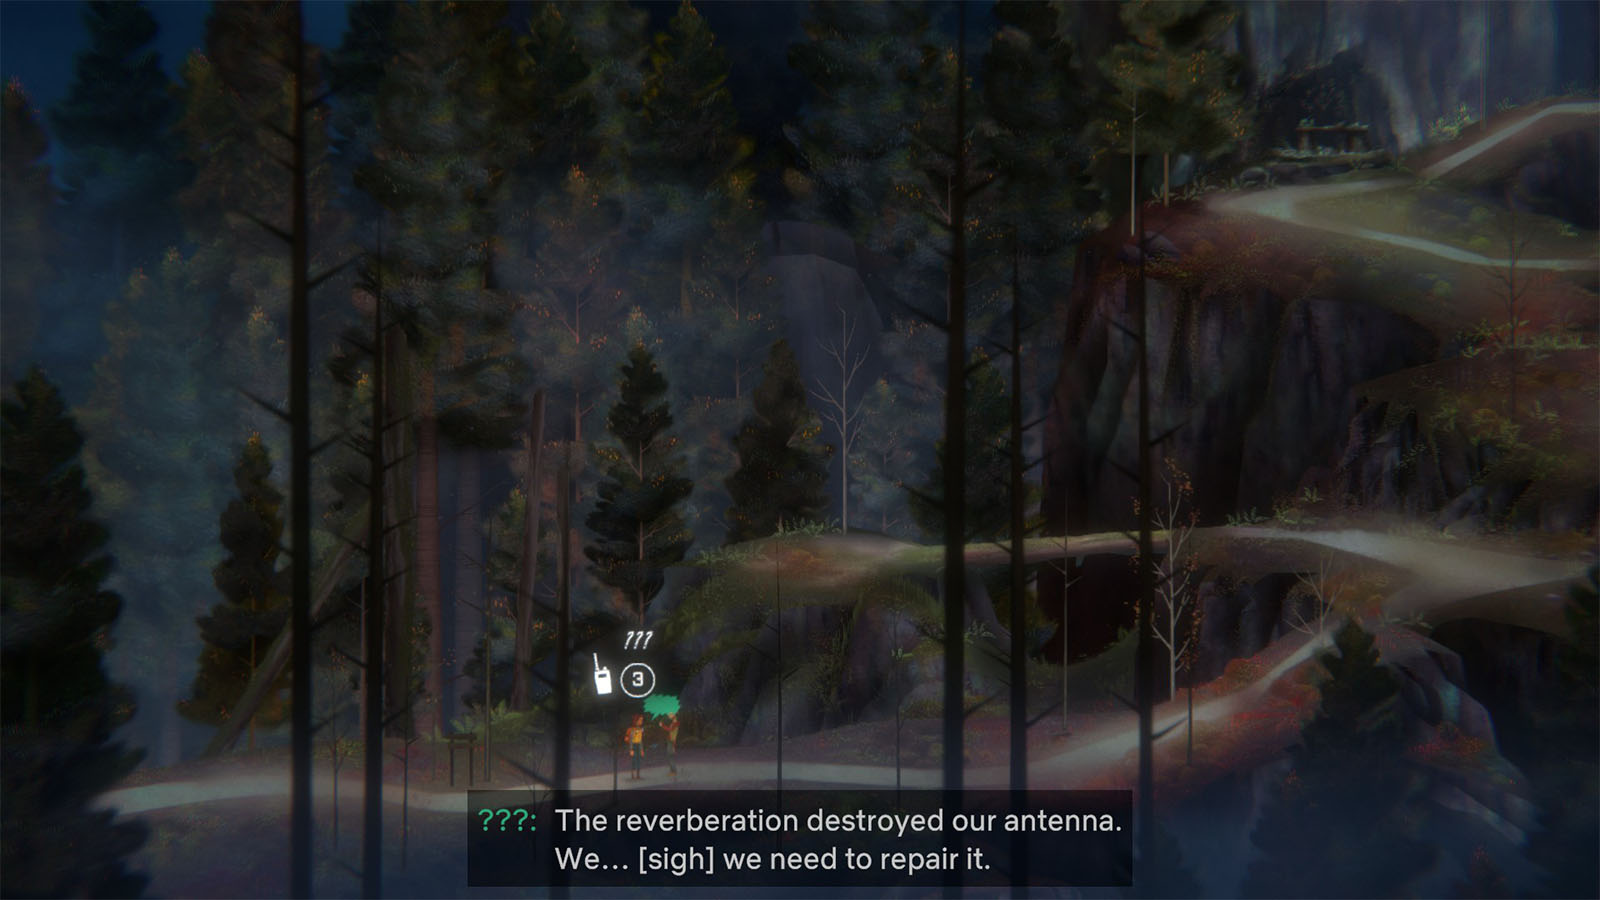
As you make your way back up, take the long path, this time towards the Pemmican Trailhead. Open up your radio, and you will get to listen in on people who sound like the same masked people you met earlier. Choose to listen in so that you can gain information on their locations and their names, Charlie and Violet; you won’t have the name of the masked person that you met a couple of times yet.
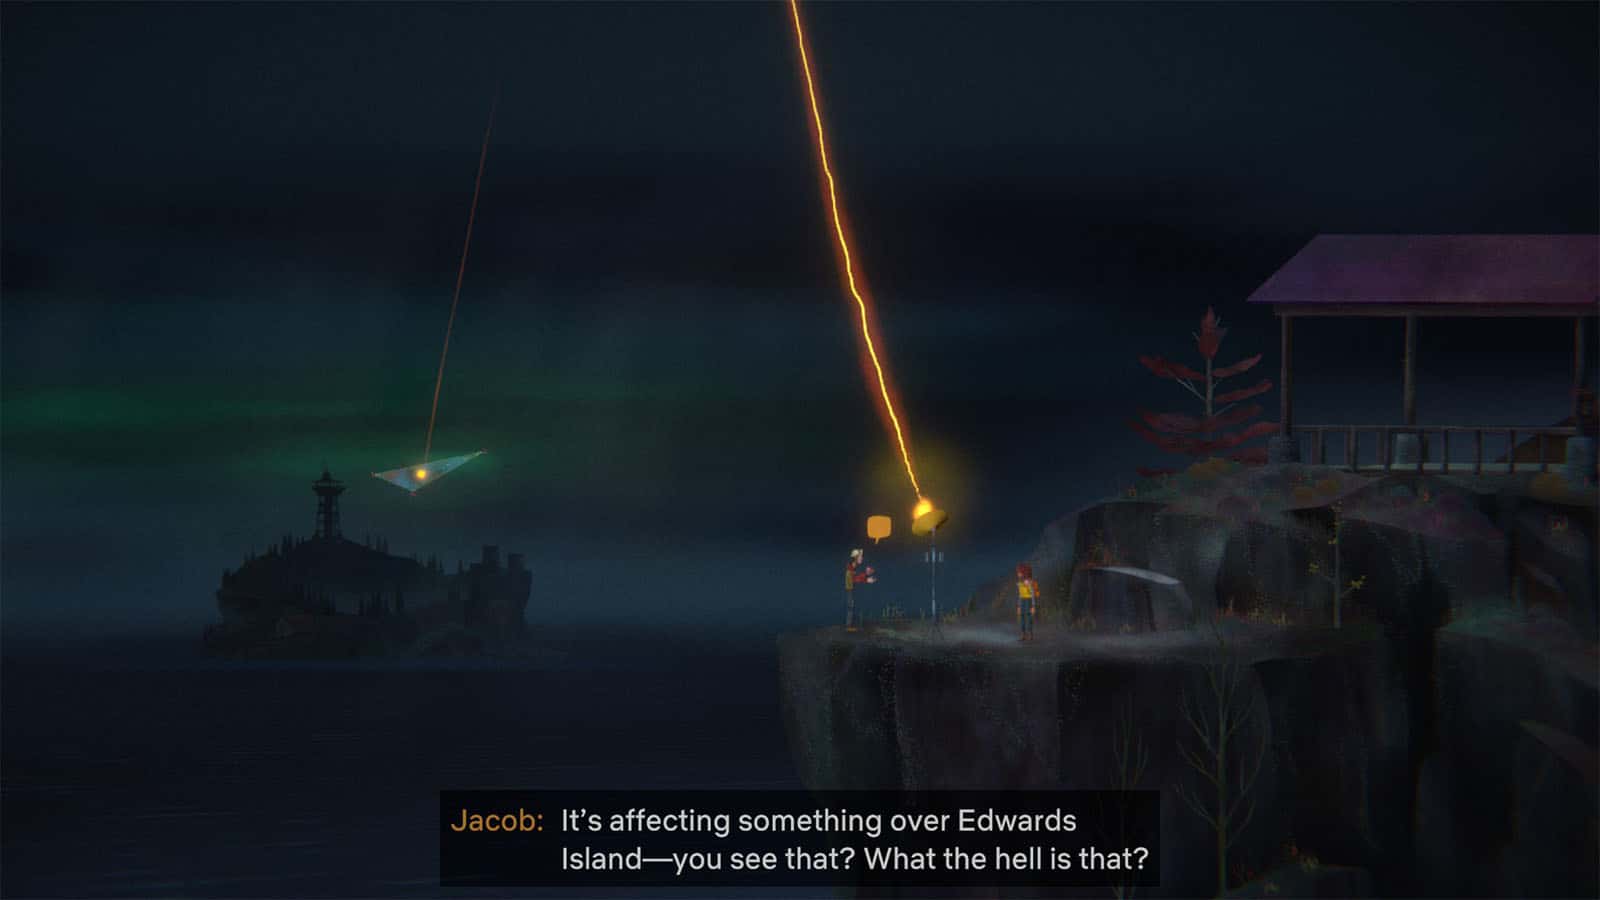
Once you get back to the transmitter, you will get a short dialogue with Jacob, who is expressing something he knows might be connected to all these things. When he was about to say something, he heard a sound that only he could hear. He then gets possessed by something and teleports back into the viewing deck before walking away.
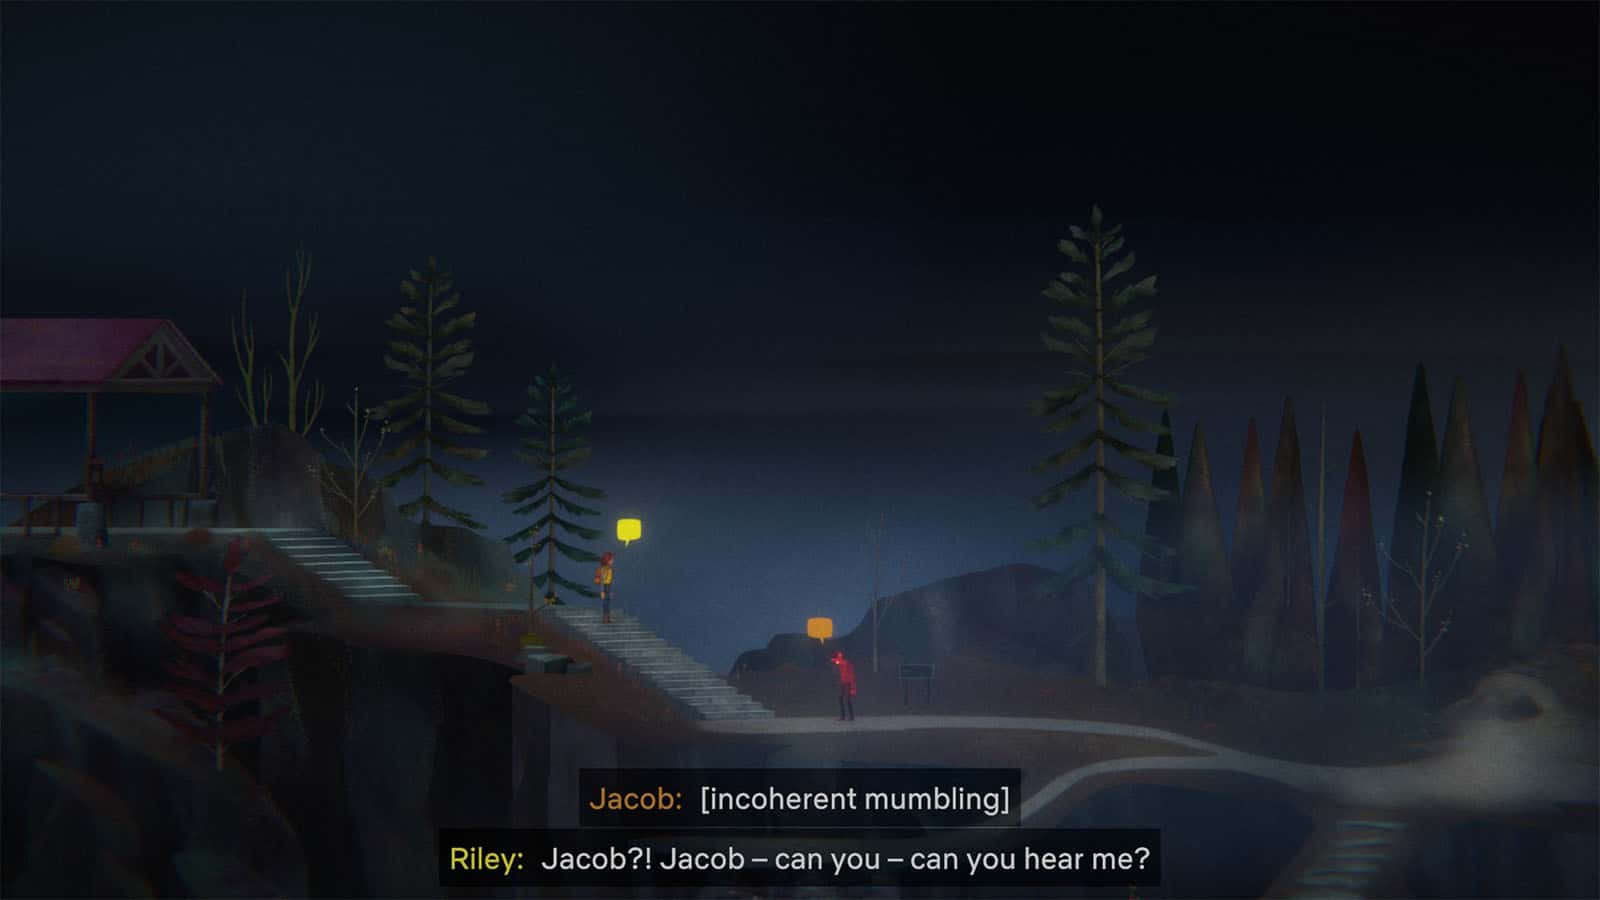
Go back to the trail, where you’ll see Jacob standing and just mumbling incoherently. At this point, whip out your radio and then adjust your dial to try and catch some signal.

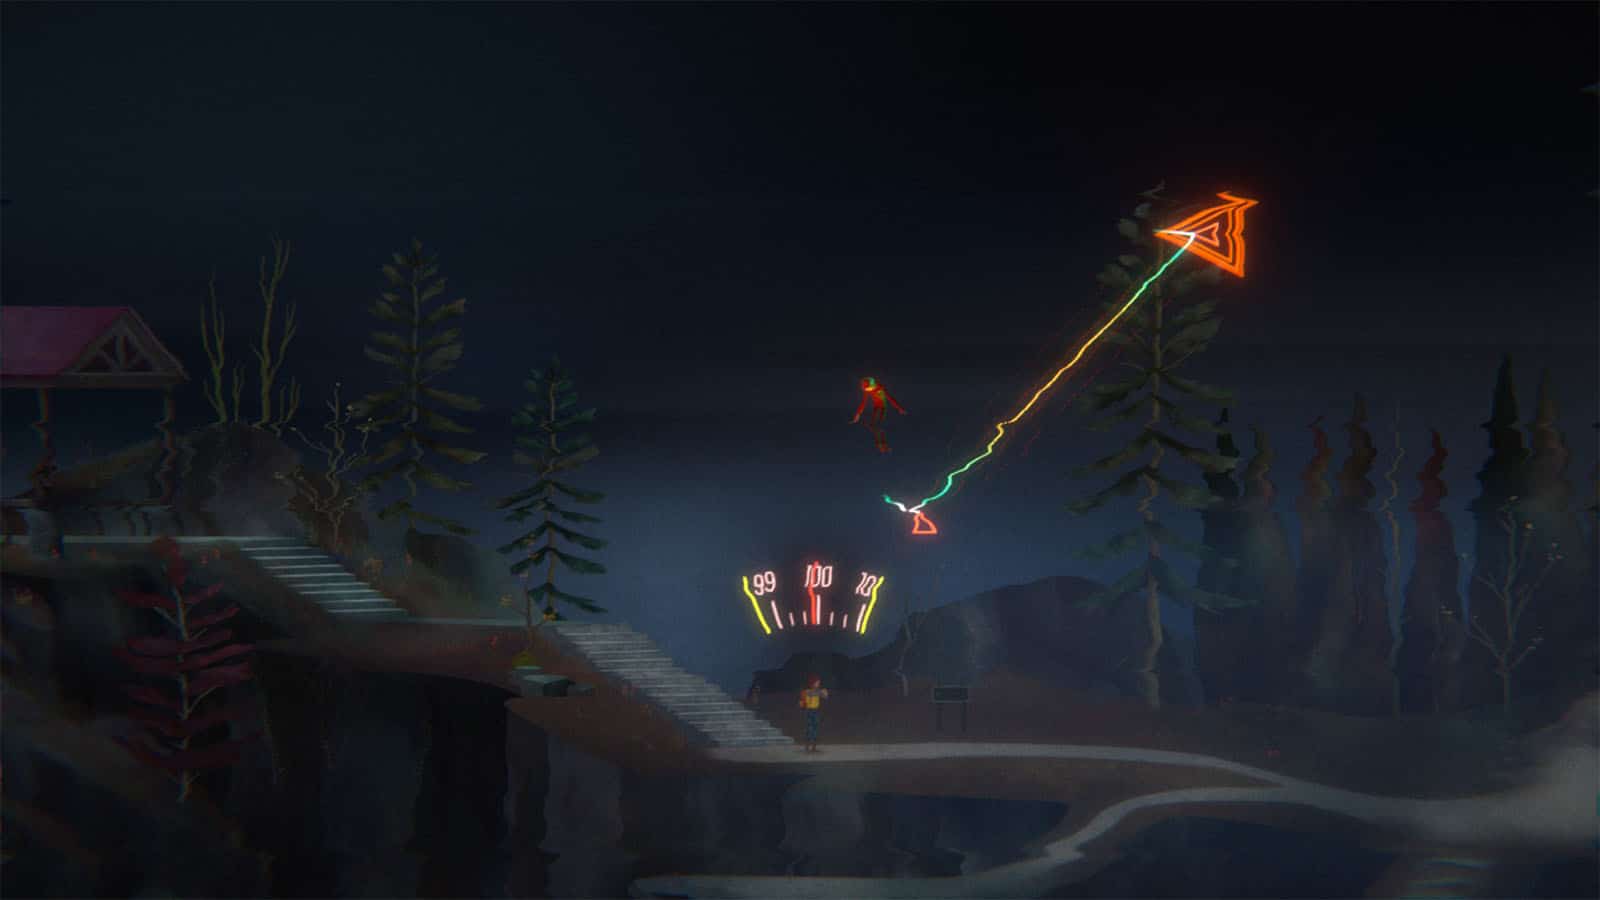
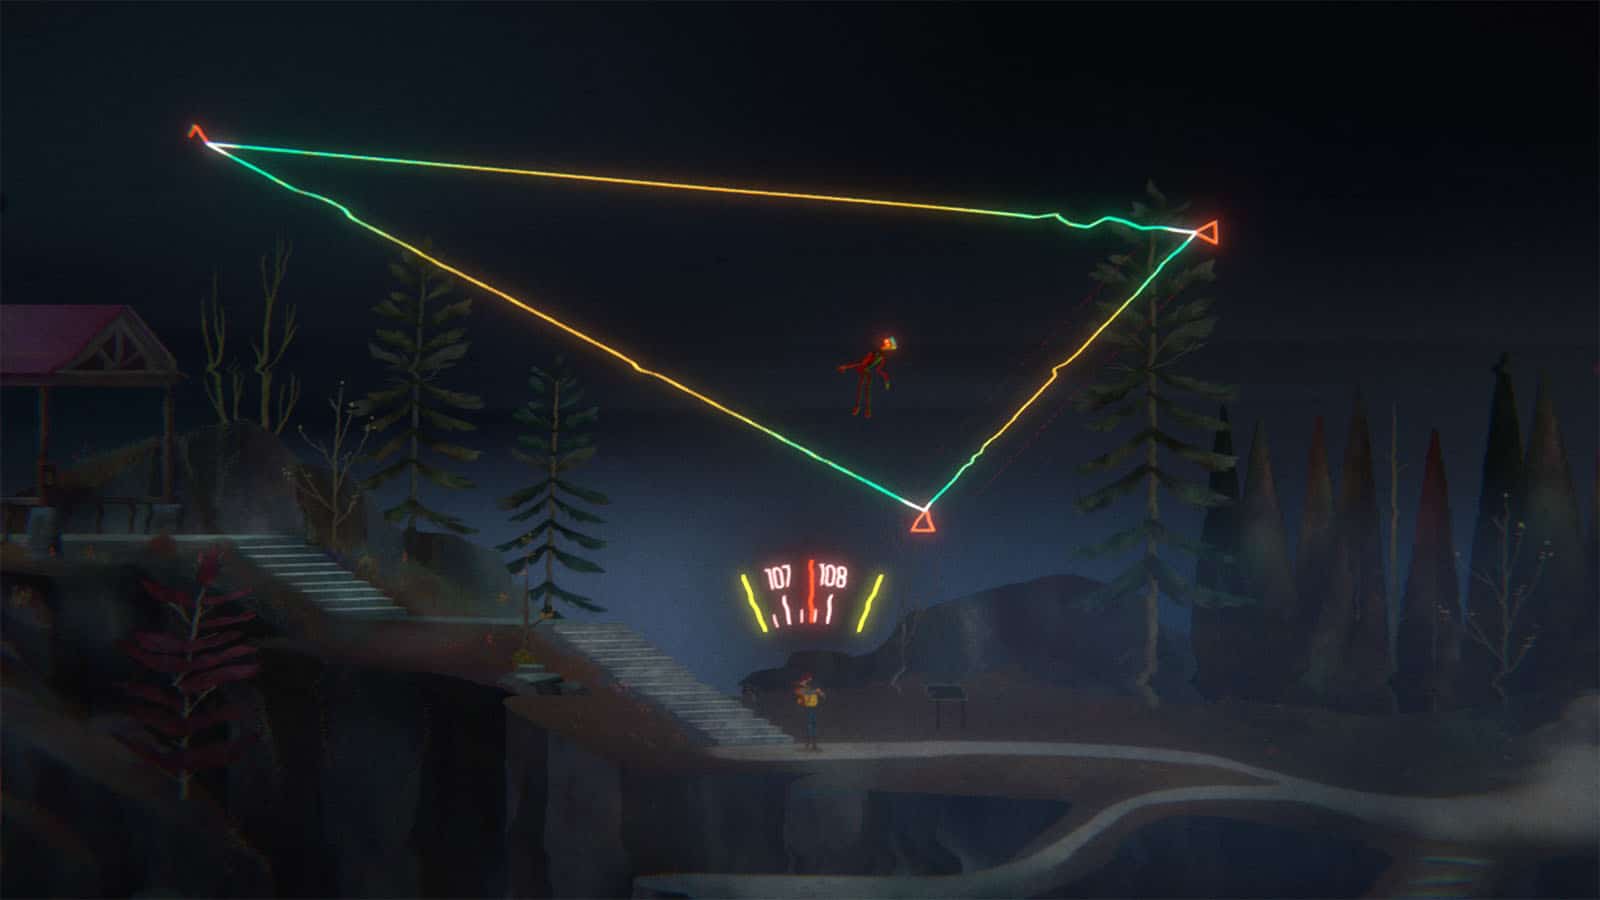
It helps to dial the radio back to the lower 90s first until you see the first triangle appear in the sky. As you move up, the second triangle will appear, and then the third. Jacob will be floating once the complete, larger triangle appears, and then Riley jumps again.
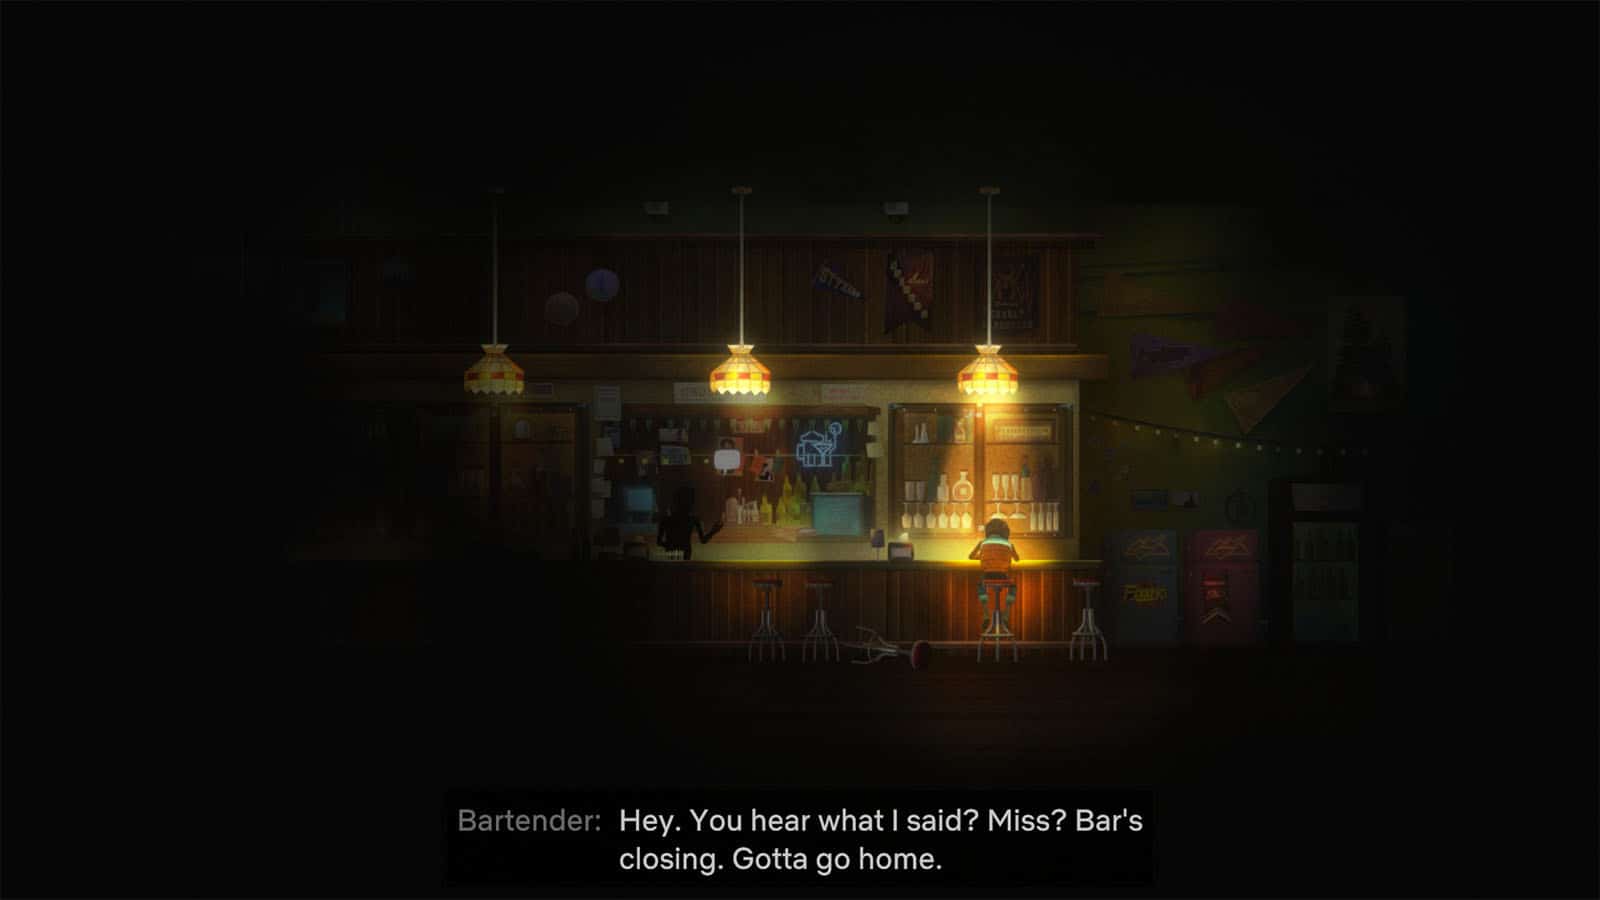
In this iteration, Riley finds herself drunk inside a bar as the bartender tries to wake her up and send her home.
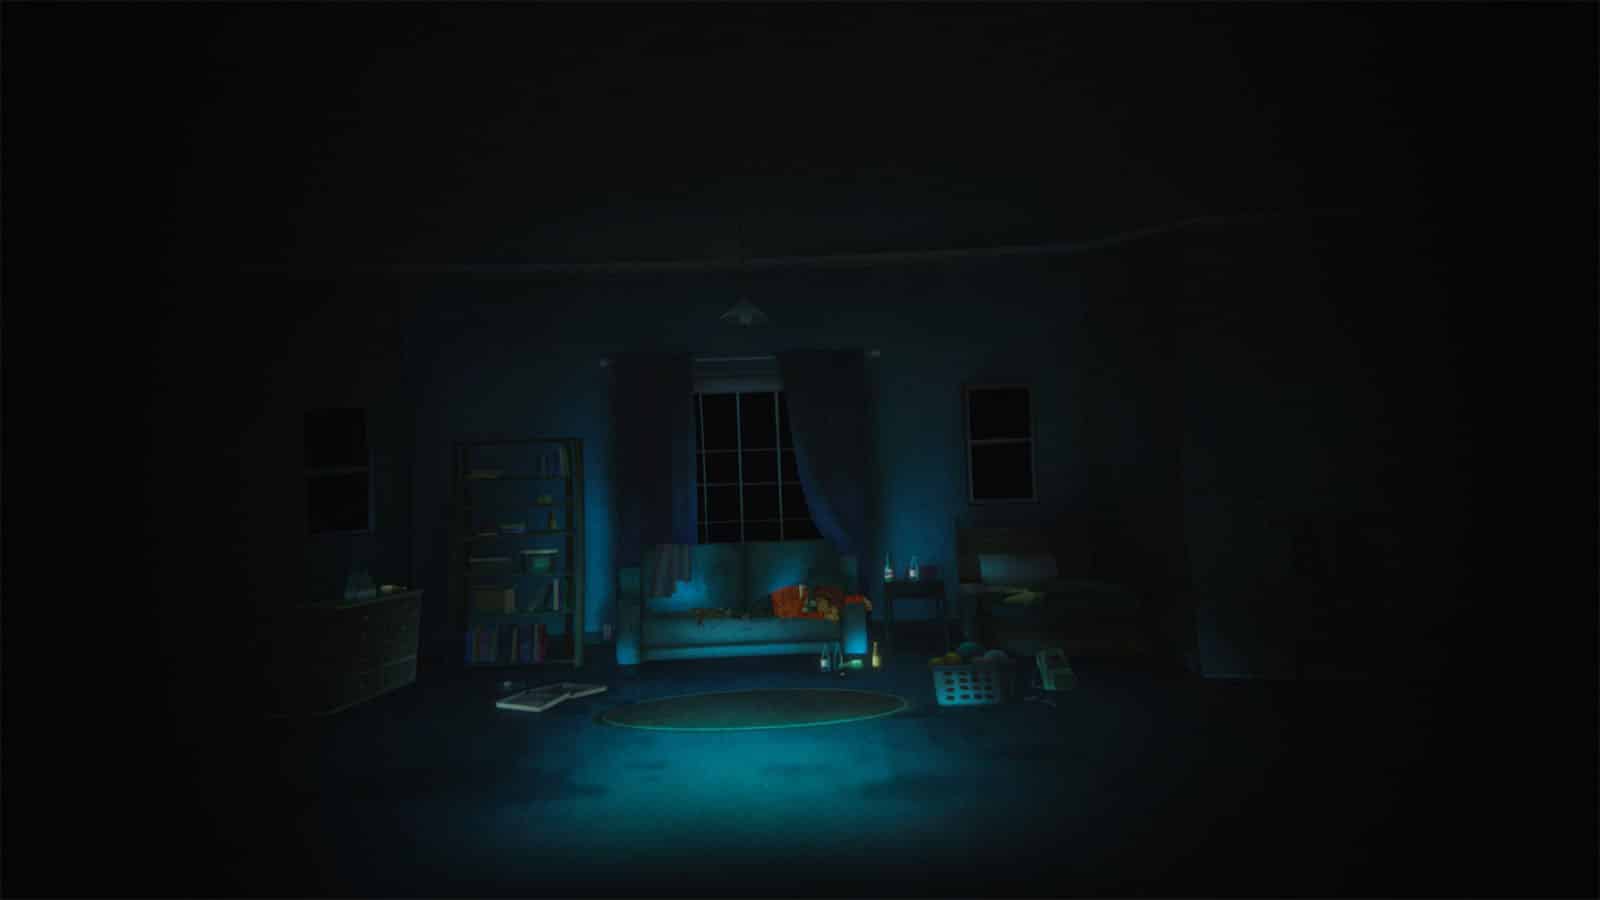
Then she jumps again, this time in a room, sleeping on a bed.
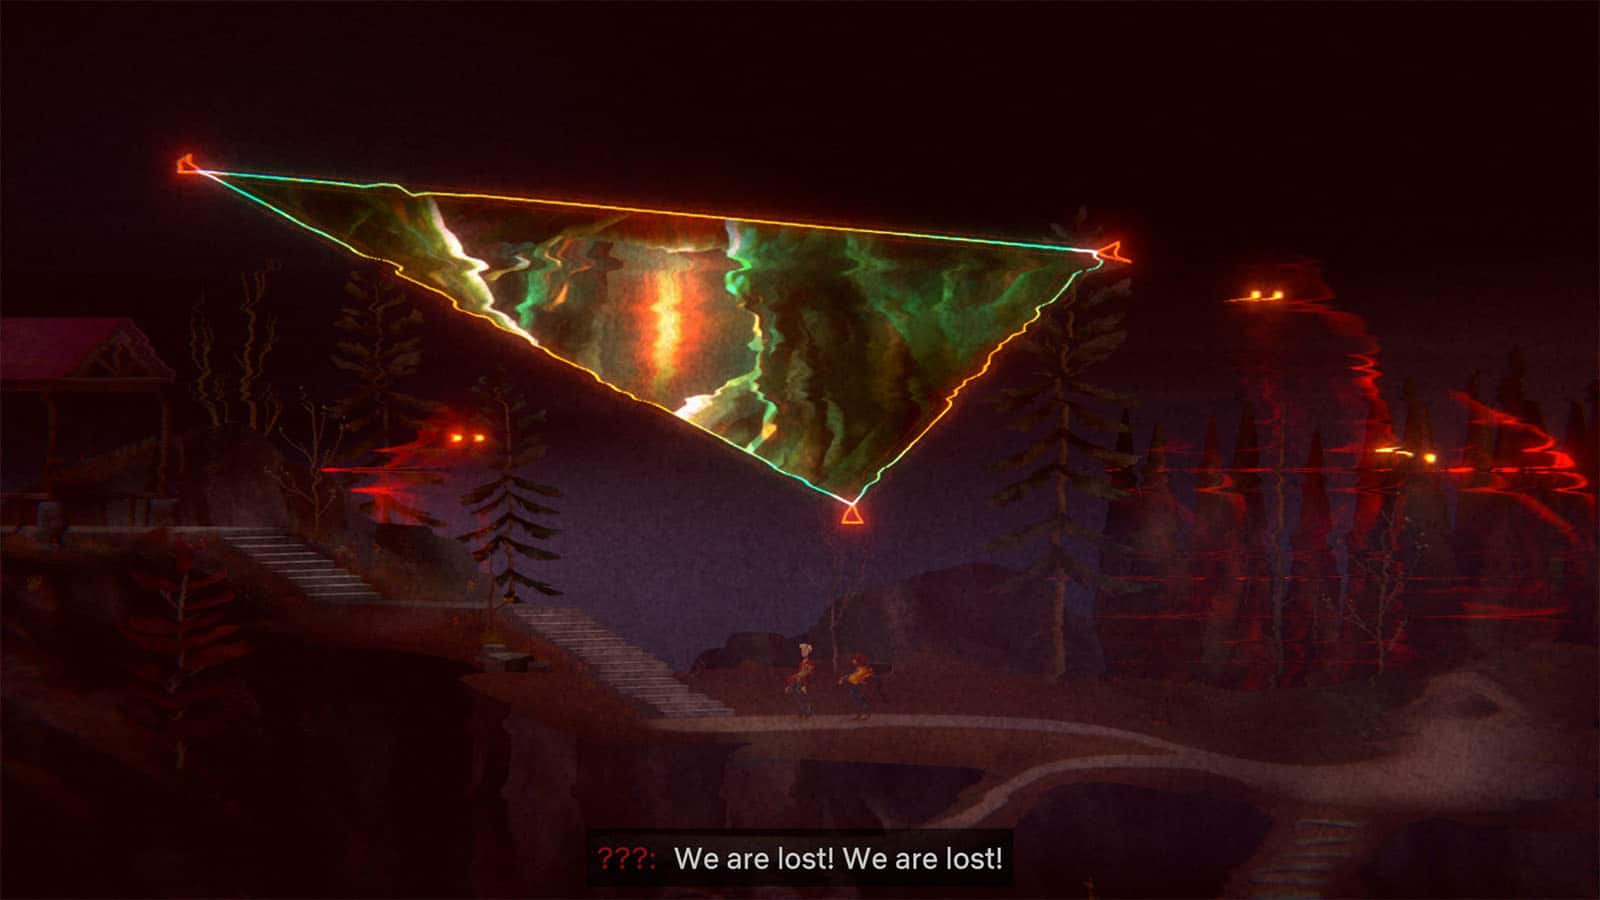
Riley jumps back into the time when the triangle appeared. She will then have her first encounter with the ghosts, who will try to talk to her.
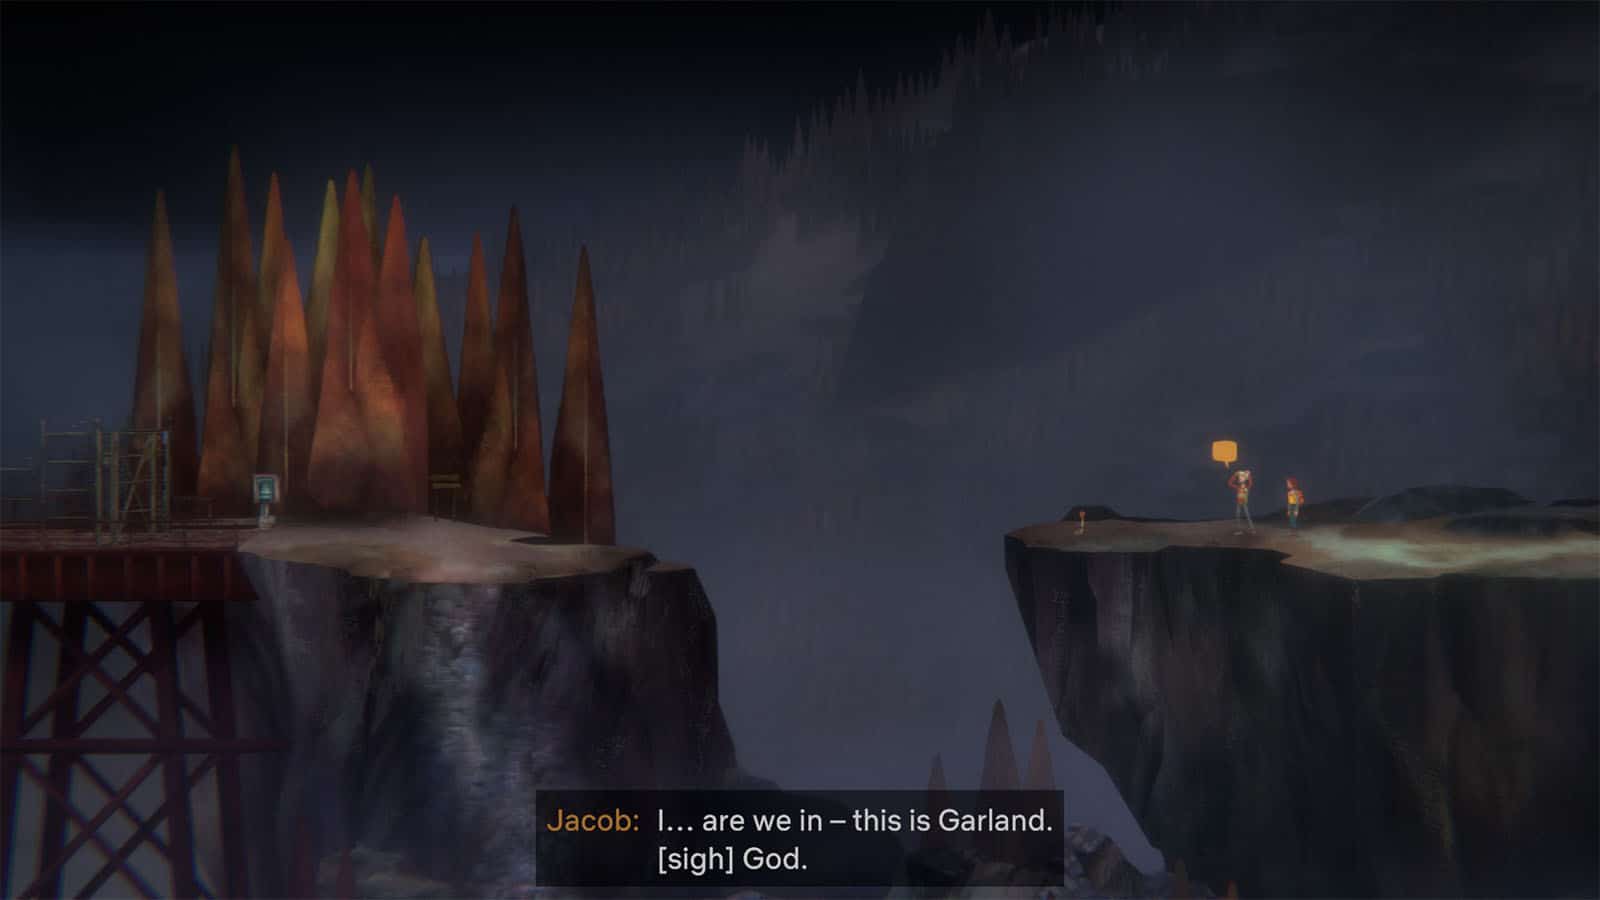
After the dialogue, both Riley and Jacob jump back to the cliff at Garland, just near the location where Jacob’s car is. Jacob appears to not remember what happened to him. For now, he suggests heading back to the General Store to pick up the climbing gear to get across the cliff.


