
Oxenfree 2: Lost Signals follows the story of Riley Poverly as she stumbles upon a strange phenomenon that has been creeping over her hometown. As Riley and Jacob set up the transmitter in its place, strange occurrences started happening, and some mysterious triangle appeared over the neighboring island.
Read ahead as we go through the events of 9 PM – Placing the Transmitter of Oxenfree 2: Lost Signals and share some tips on how to complete the chapters and find the collectibles.
See previous: Oxenfree 2: Lost Signals 8 PM – Reaching Camber Cape Guide
Oxenfree 2: Lost Signals 9 PM – Placing the Transmitter Walkthrough

As you get to the top, you will see a gate on the right side. Jacob tries to open it, but it’s locked from the other side. You will then have to climb the rock wall and traverse across the cliffside to get to the other side.

You then have the option to carry on with placing the transmitter yourself or head back down and open the gate for Jacob. For now, head down and open the gate, as you will get more dialogue with Jacob talking about stories about the USS Kanaloa and the ghosts of its crew.

Once you get to the top and reach the viewing deck, follow Jacob over the rails, and you will get to see a view of Edwards Island, the setting of the events in the first game. You can then set up the transmitter, which you will then have to adjust to the right angle.
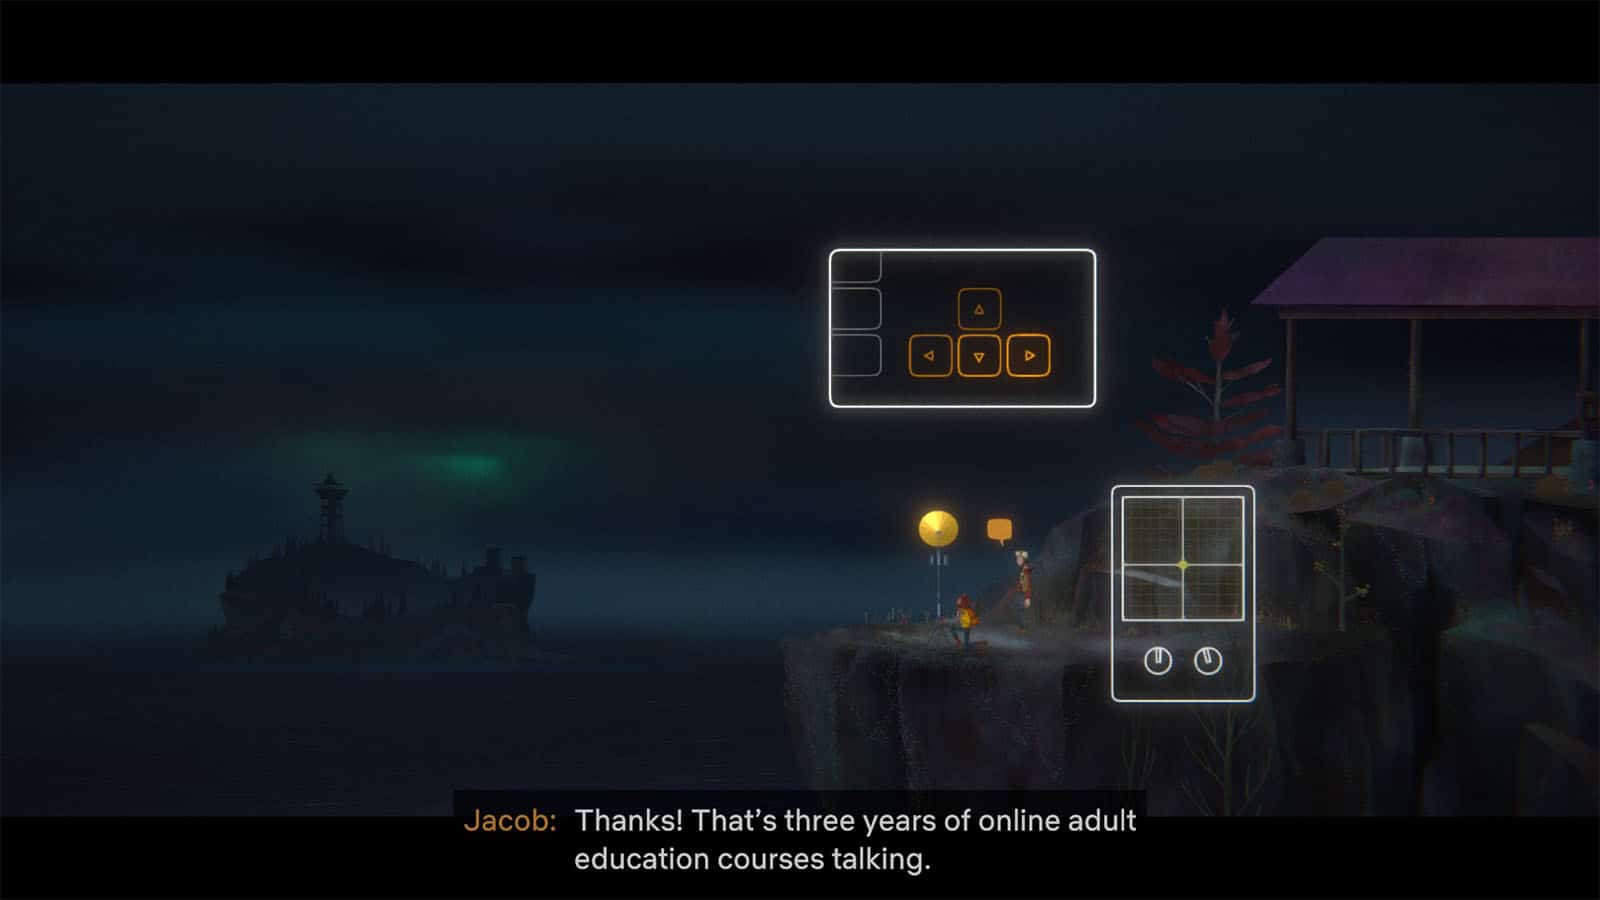
To adjust the transmitter, pay attention to the small grid screen and then use the arrow keys or D-pad to move the crosshair to the right location. You can tell if you are getting to the right position by looking at the transmitter’s light or listening to its pings; the lights and pings will go faster the closer you get to the target. You are locked in once you get to the right position and once the transmitter’s light turns blue.
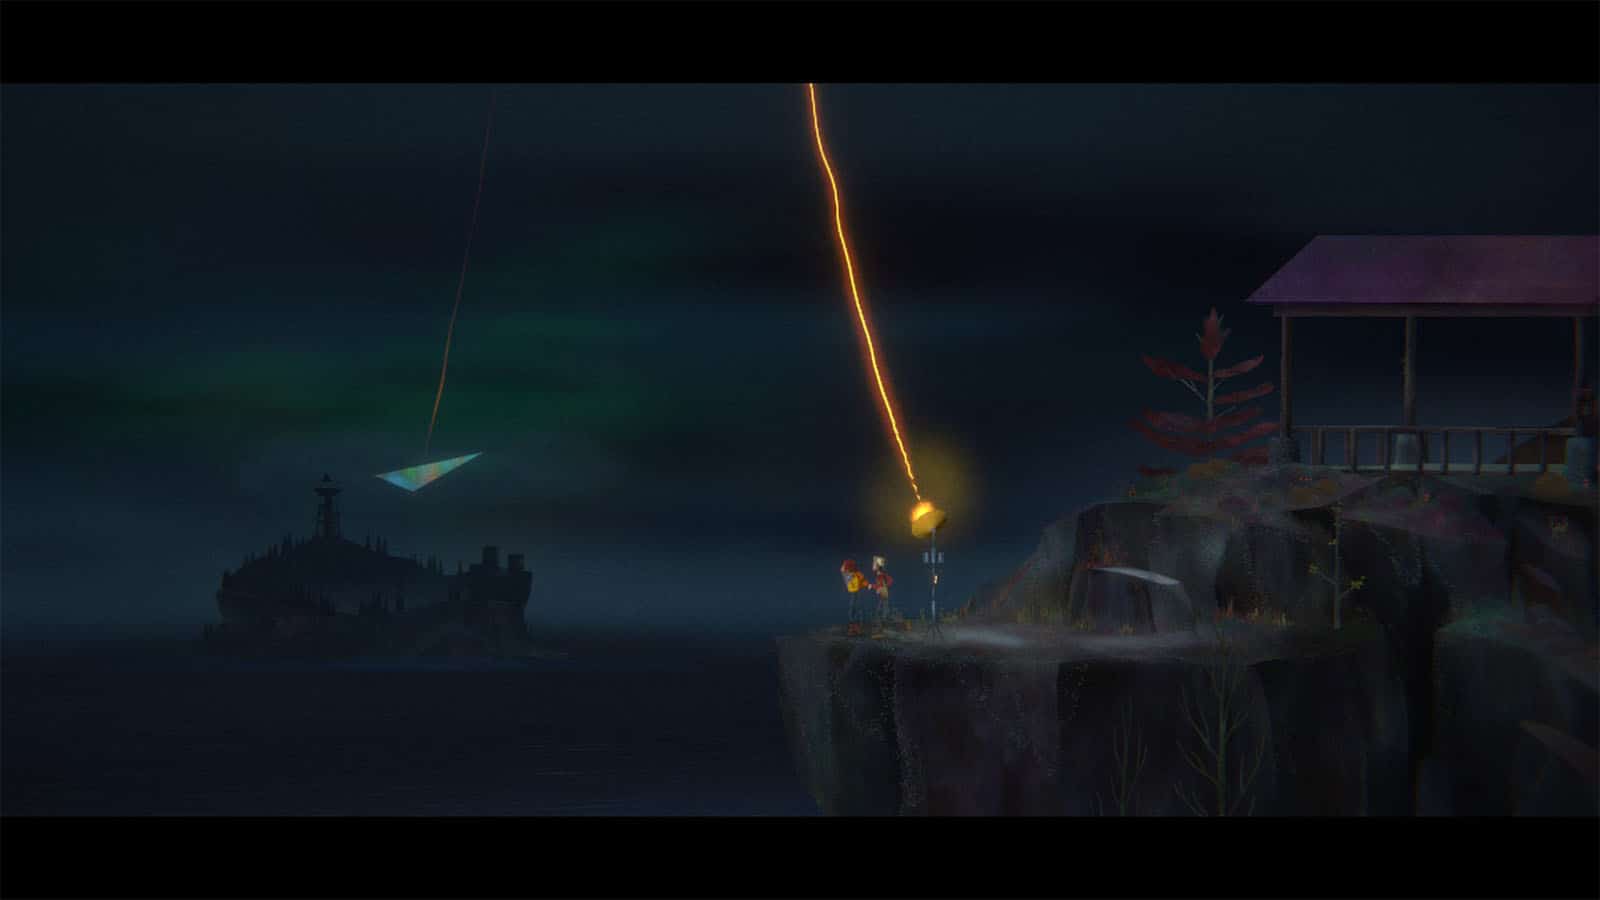
Call Evelyn once more to report your progress. As she looks into the signal, the transmitter goes haywire. It then sends out a beam towards the sky, which then lands on a triangle above Edwards Island. Evelyn then shouts to shut off the transmitter, but you get to it too late.

Reality warps and sends Riley to the beach at Edwards Island, where she meets the masked people from an earlier vision. She then gets confronted by one of them, but it gets cut short as reality warps again.
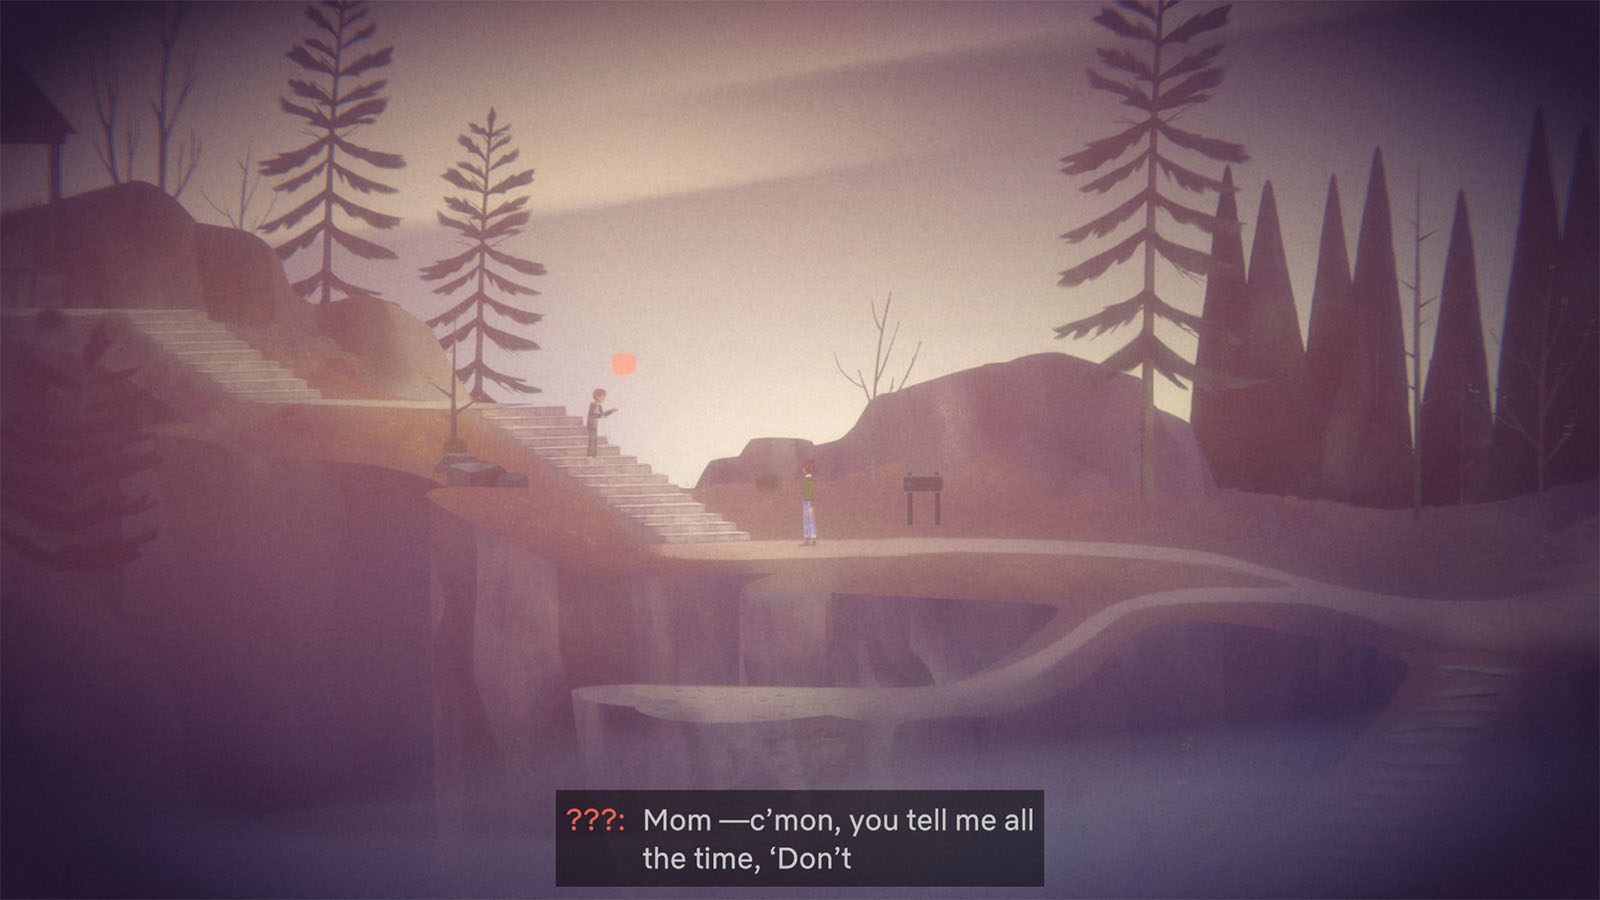
This time, it appears as if Riley jumps into the future, walking the same trail up to the viewing deck but with someone who calls her mom.
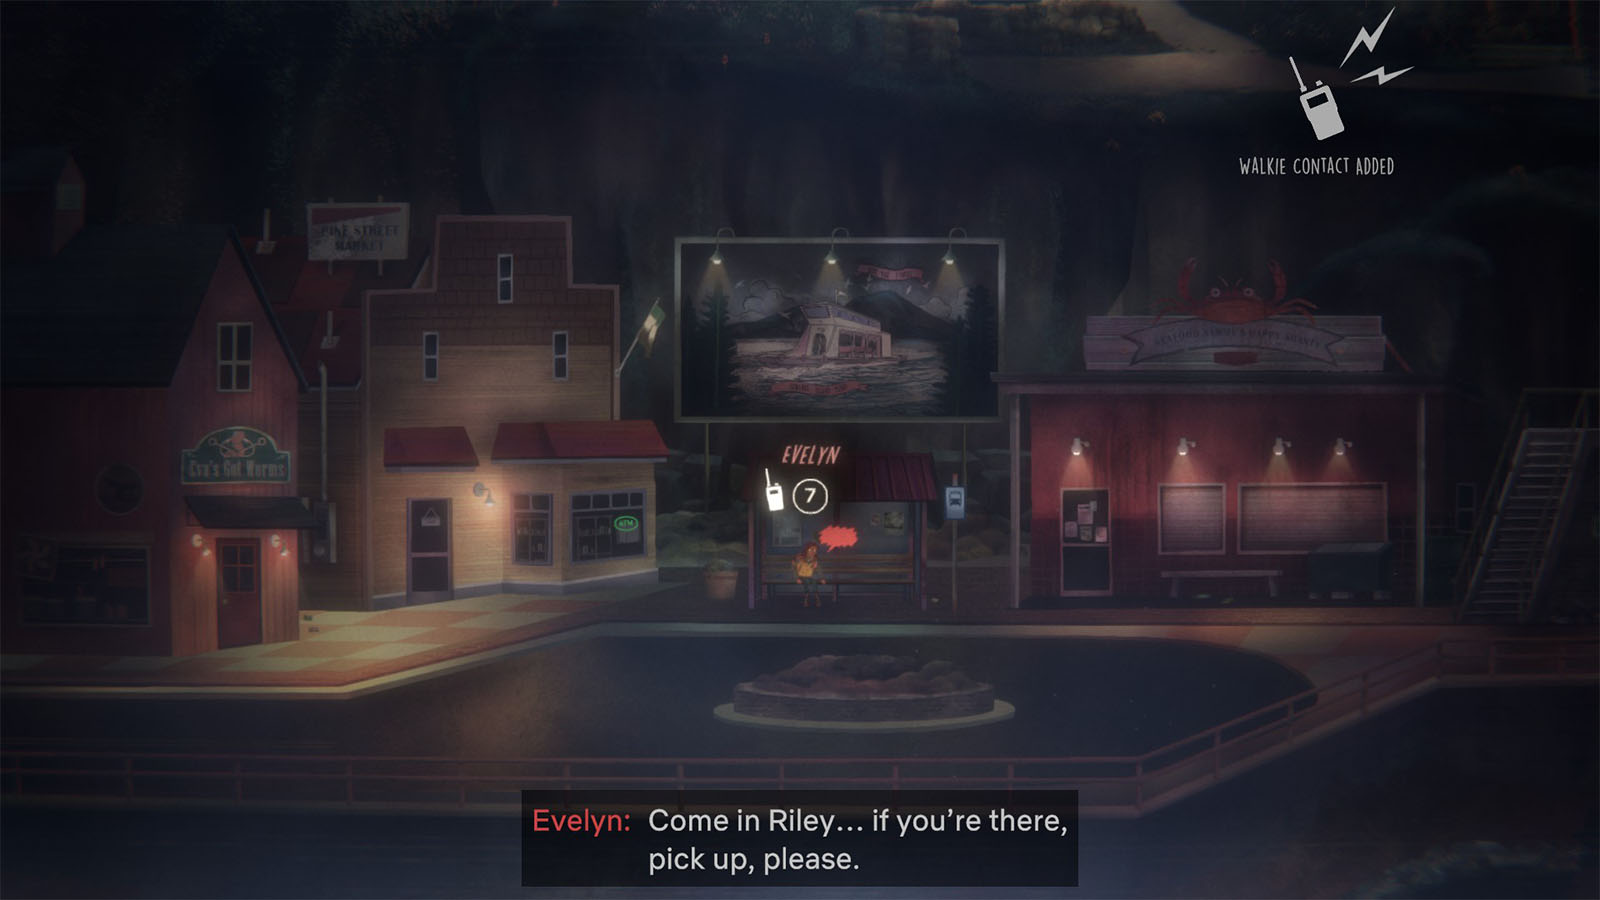
Riley jumps once again, but this time she’s back at the bus station at the time when Evelyn was trying to call her for the first time. You will get slightly different dialogue options this time; some of them refer to the strange phenomena or loops that just happened. Despite using these dialogues, Riley won’t be able to convince Evelyn of what happened. If you try to go to places you’re not supposed to, you will jump back to the bus station.
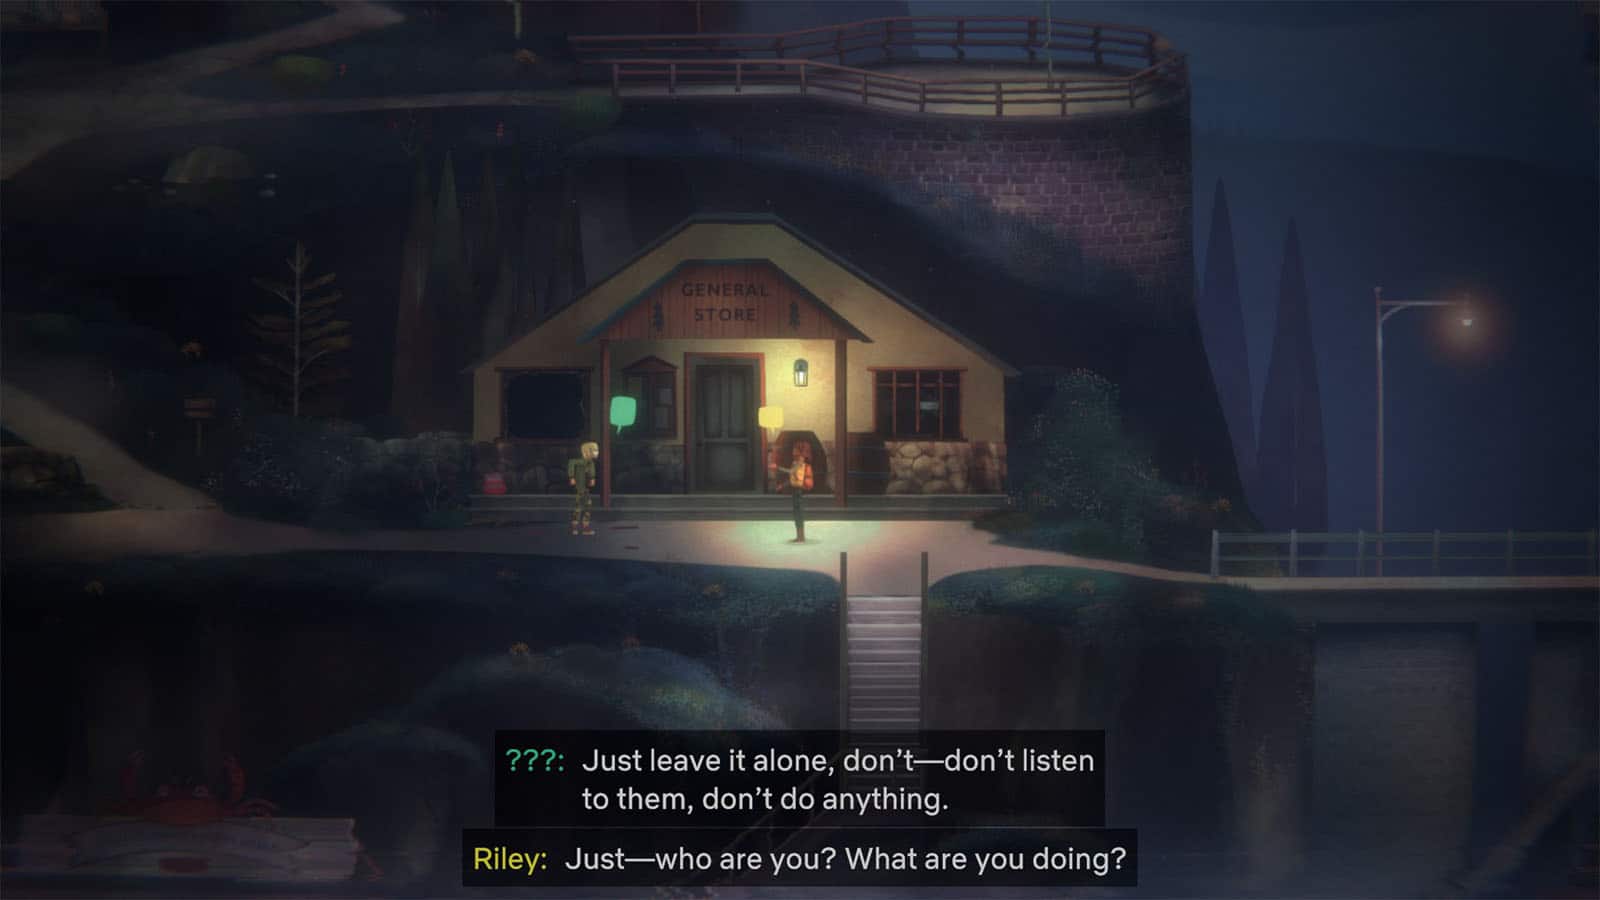
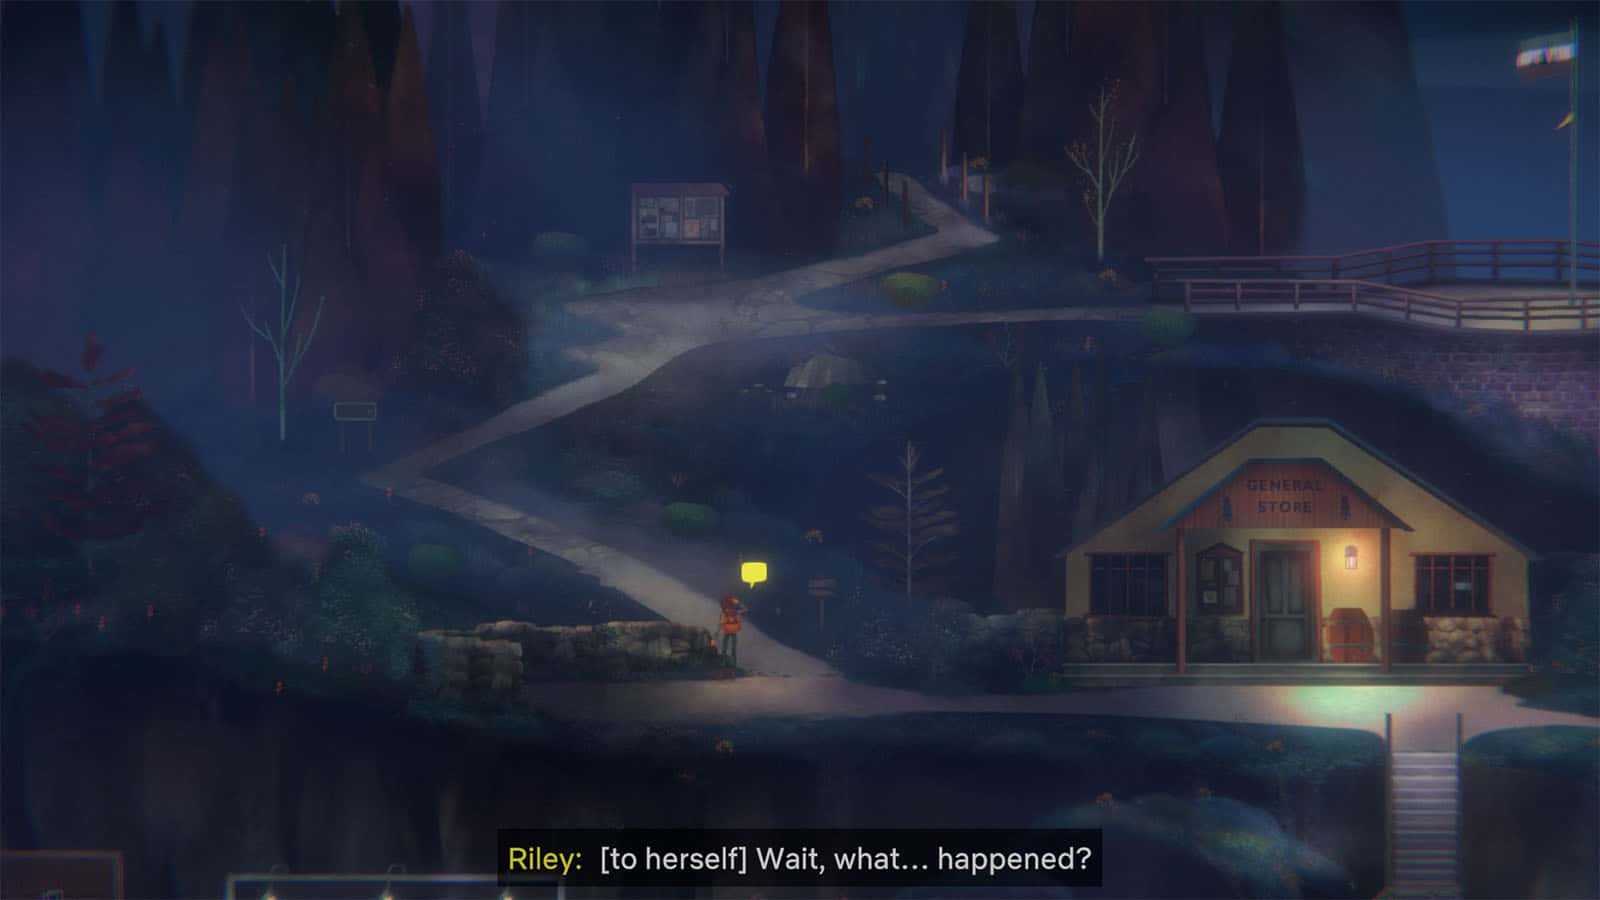
The events have also slightly changed. This time, Riley has the transmitters with her, but her camping gear is still inside the General Store. As you make it back up to the store, the window breaks, and you see the same marked person that tried to confront you earlier. You try to talk to her, but she just tells you to not listen to “them” and don’t do anything that “they” ask you to do before running away.
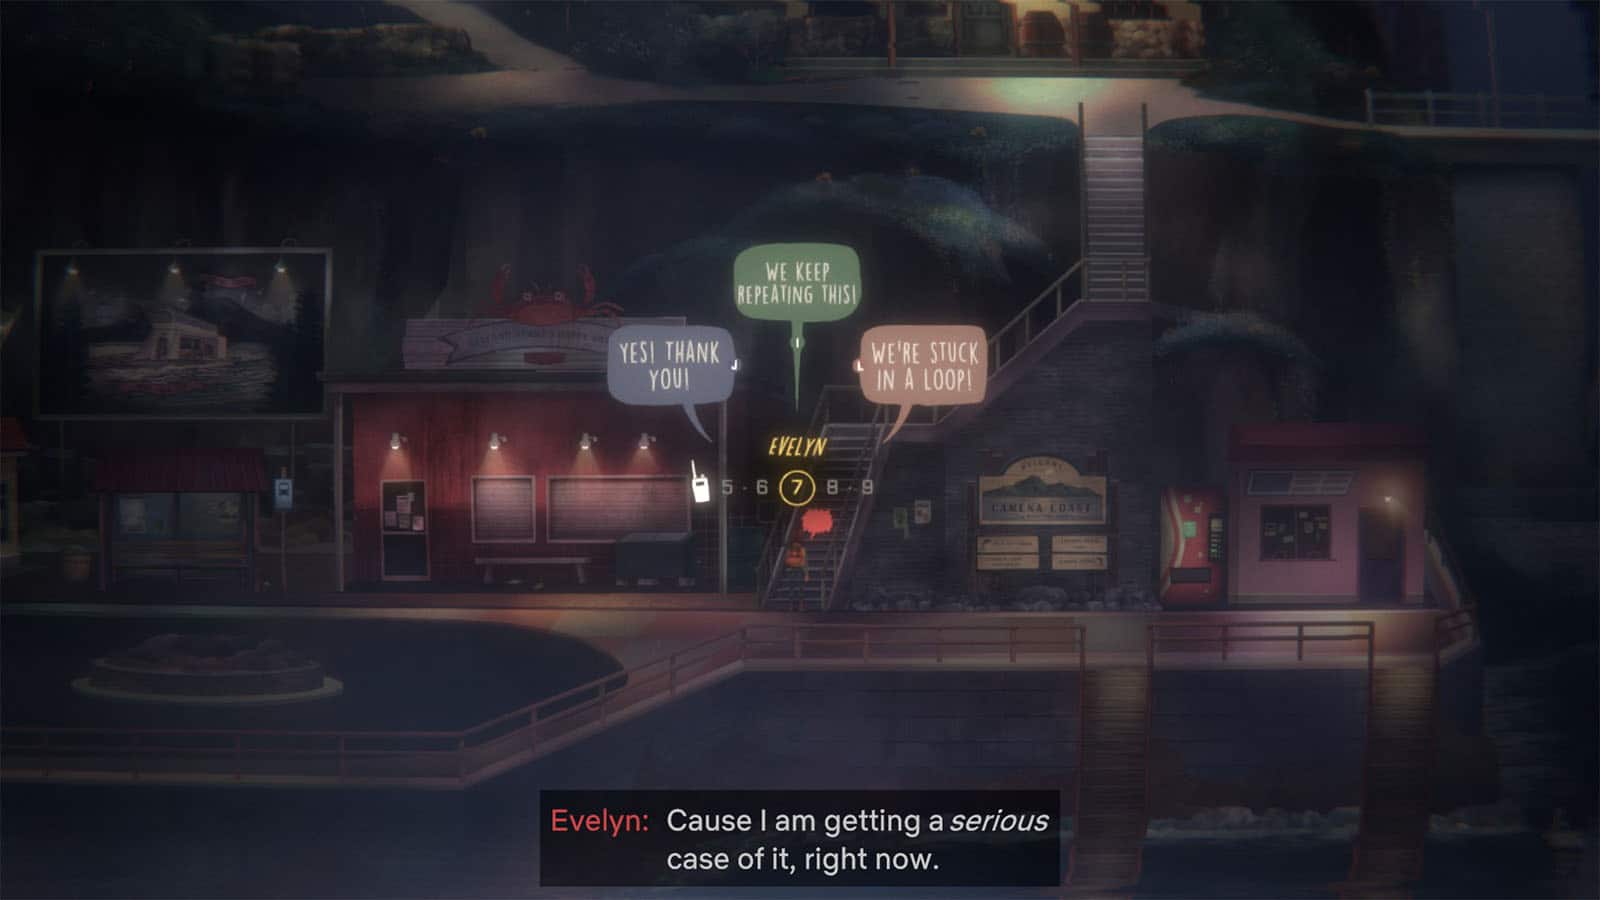
Riley jumps back to the bus station, but this time, Evelyn hints that she’s having episodes of deja vu, but she still does not have any recollection of the previous incident.

You go up to the General store, and it’s now burning. You see the same masked person speaking to some ethereal being, but you’ll jump back to the bus station again before you can talk to her.
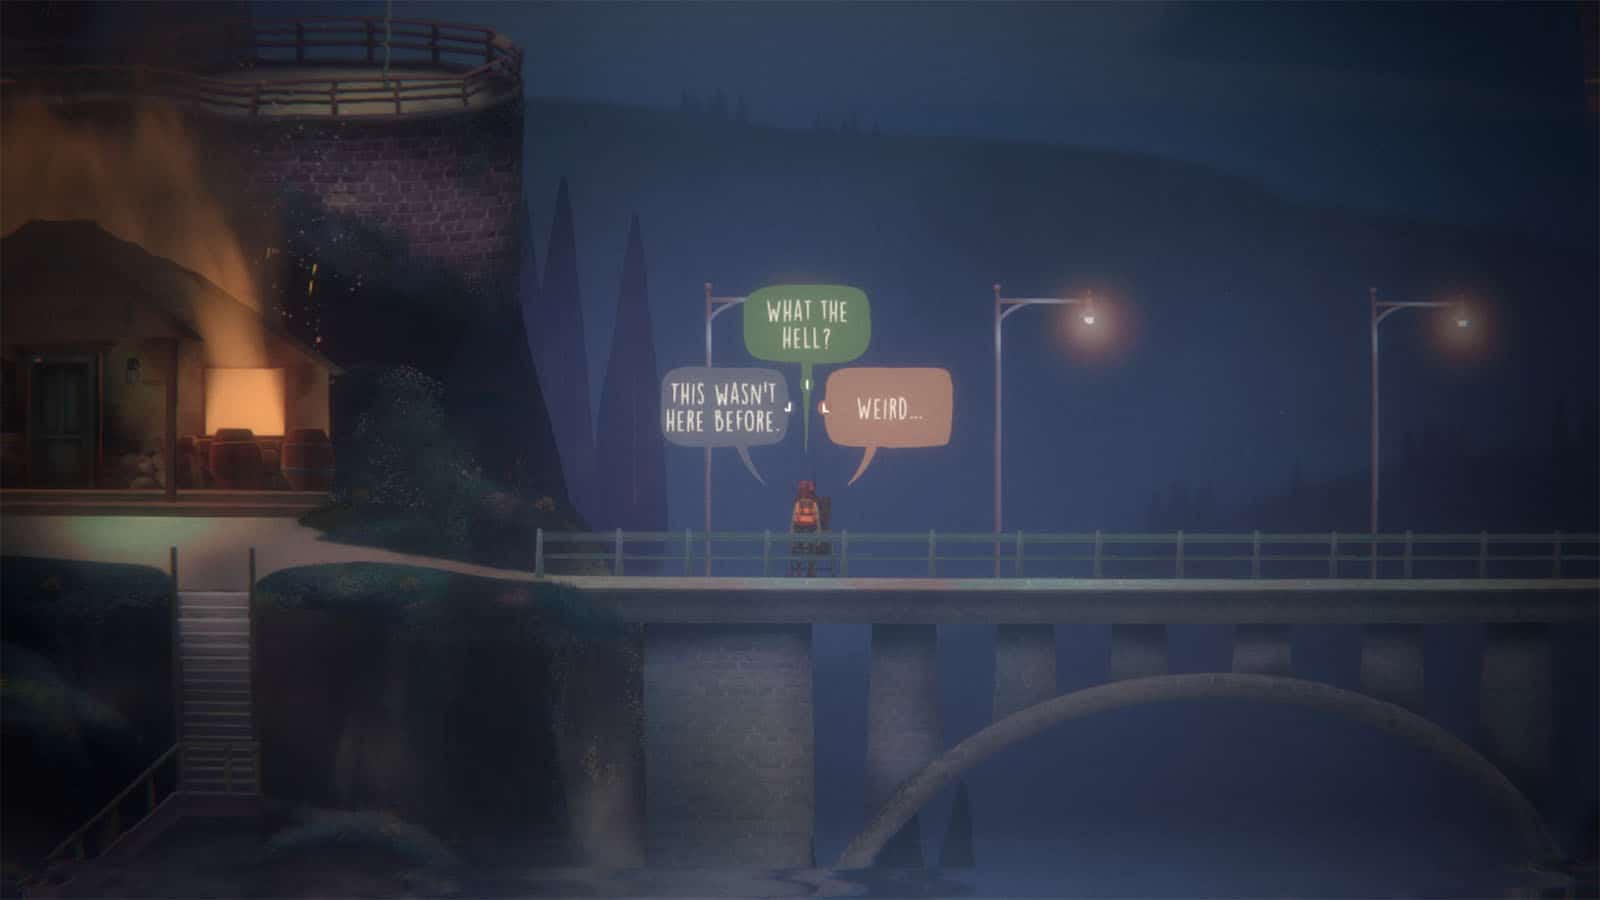
Head back up to the General store, which would still be burning at this point. Now, you will see strange machines nearby that were not there in the previous iterations. Interacting with them will open a screen that has different figures. You will need to move the dials using the arrow keys to make the images line up in one figure.
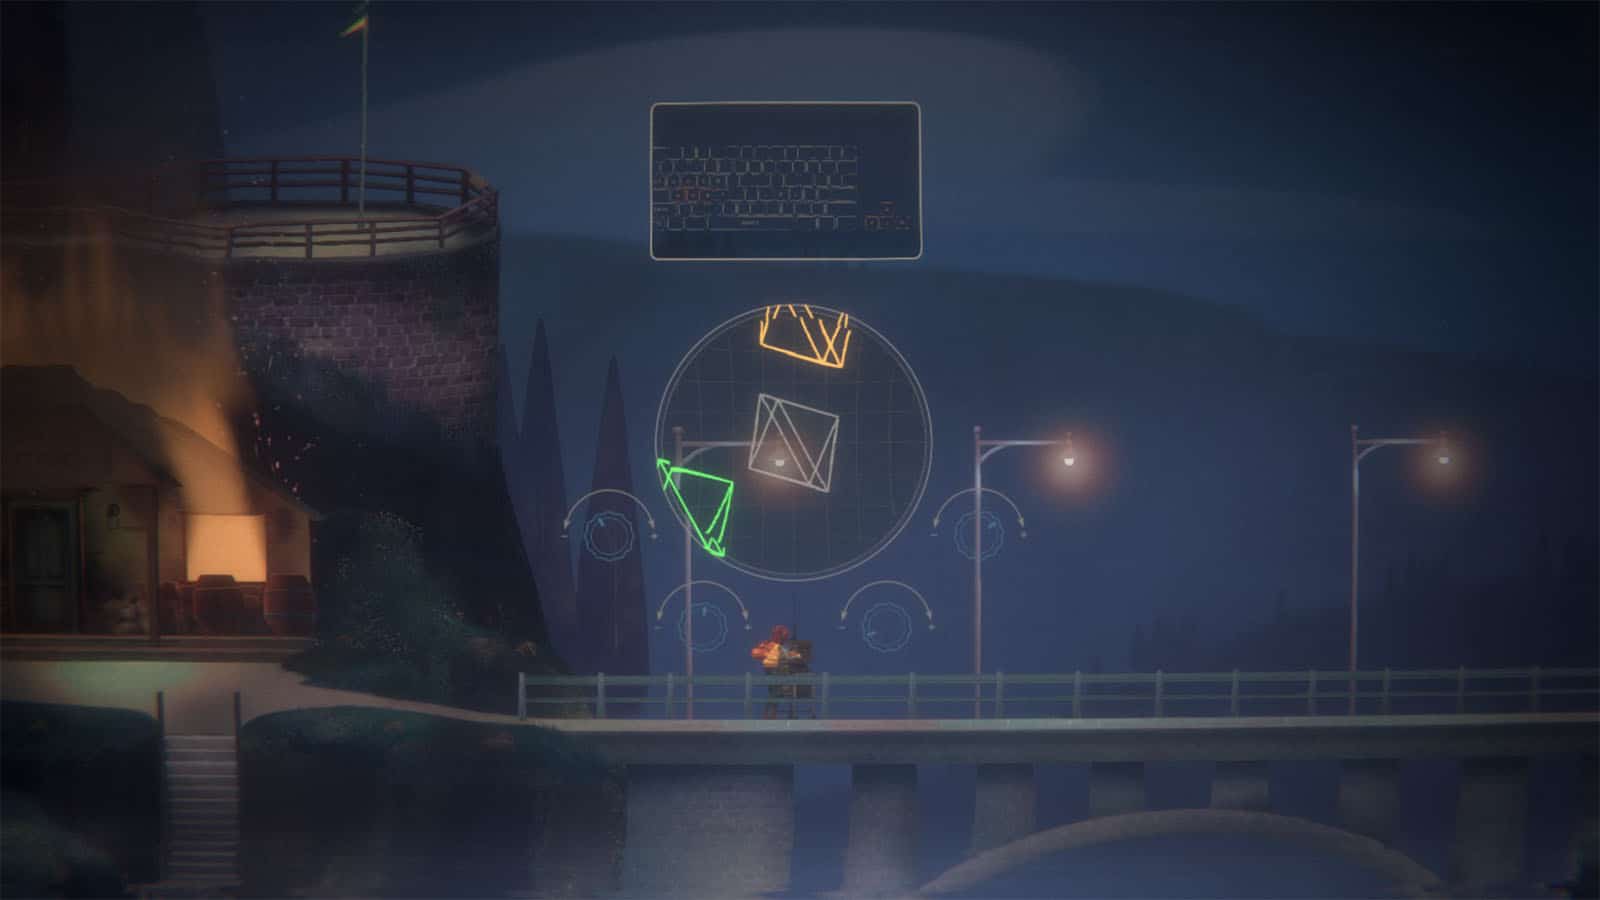
For the machine towards the right, you simply have to merge the other two figures into the figure in the center.
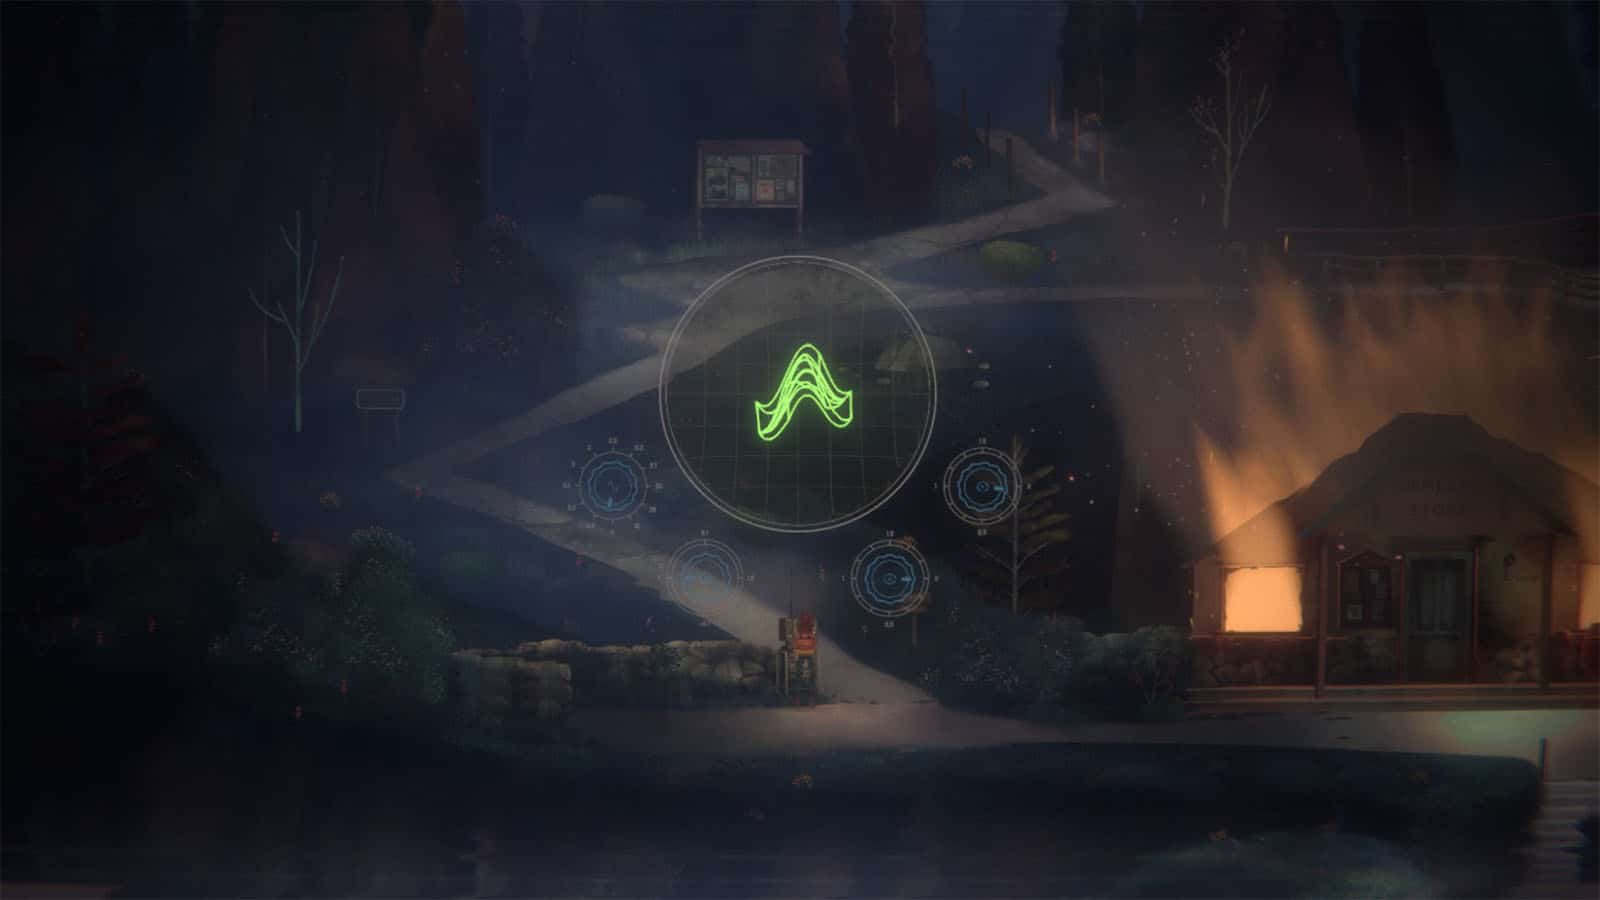
For the machine towards the left, you will first have to adjust the dials to make the image clearer, and then you will have to rotate the image so that the figure lines up with the red outline.
After lining up both images, the machines will disappear, and Riley will seem to be out of the loop but still back in the moment before she met Jacob. Make your way back to the Camber Cape trail and head towards the point where Jacob’s car is.
See next: Oxenfree 2: Lost Signals 10 PM – Back to the Transmitter Guide


