


The Phasmophobia Ascension update has given paranormal investigators brand new equipment. While identifying ghosts has never been an easy job, the proper use of these tools will help make the work a lot simpler. If you’re an old-school ghost investigator returning after a long time, you’ll find that much of the equipment has been renamed.
Each piece of equipment in the new Phasmophobia has its own specific tier now. The higher the tier, the better its function. However, you’ll have to unlock these first before you can gain access to the better tools. Since it can be hard to understand all of that, I made this guide that breaks down all the equipment available and their separate tiers, so you’ll have no questions by the end.
How to Upgrade Equipment in Phasmophobia
You can upgrade equipment in Phasmophobia to different tiers once you reach a specific level. Each equipment will cost the same as before no matter what tier they are. However you must first purchase the upgrade from the equipment store back in the lobby.
Here’s how much each tier costs for each equipment per upgrade:
Phasmophobia Equipment Tiers Cost | |||
Equipment | Tier I | Tier II | Tier III |
Flashlight | Default | Reach Level 19 Upgrade Cost: $3,000 | Reach Level 35 Upgrade Cost: $3,000 |
EMF Reader | Default | Reach Level 20 Upgrade Cost: $3,000 | Reach Level 52 Upgrade Cost: $4,500 |
D.O.T.S. Projector | Default | Reach Level 29 Upgrade Cost: $3,000 | Reach Level 60 Upgrade Cost: $3,000 |
Ghost Writing Book | Default | Reach Level 23 Upgrade Cost: $3,000 | Reach Level 63 Upgrade Cost: $3,000 |
Spirit Box | Default | Reach Level 27 Upgrade Cost: $3,000 | Reach Level 54 Upgrade Cost: $3,000 |
Thermometer | Default | Reach Level 36 Upgrade Cost: $3,000 | Reach Level 64 Upgrade Cost: $3,000 |
UV Light | Default | Reach Level 21 Upgrade Cost: $3,000 | Reach Level 56 Upgrade Cost: $2,000 |
Video Camera | Default | Reach Level 33 Upgrade Cost: $3,000 | Reach Level 61 Upgrade Cost: $3,000 |
Crucifix | Reach Level 8 | Reach Level 37 Upgrade Cost: $4,000 | Reach Level: 90 Upgrade Cost: $20,000 |
Firelight | Reach Level 12 | Reach Level 47 Upgrade Cost: $3,000 | Reach Level 79 Upgrade Cost: $10,000 |
Head Gear | Reach Level 13 | Reach Level 49 Upgrade Cost: $10,000 | Reach Level 82 Upgrade Cost: $10,000 |
Igniter | Reach Level 12 | Reach Level 41 Upgrade Cost: $500 | Reach Level 57 |
Incense | Reach Level 14 | Reach Level 42 Upgrade Cost: $3,500 | Reach Level 85 Upgrade Cost: $15,000 |
Motion Sensor | Reach Level 5 | Reach Level 45 Upgrade Cost: $2,500 | Reach Level 74 Upgrade Cost: $8,000 |
Parabolic Microphone | Reach Level 7 | Reach Level 31 Upgrade Cost: $3,000 | Reach Level 72 Upgrade Cost: $5,000 |
Photo Camera | Reach Level 3 | Reach Level 25 Upgrade Cost: $3,000 | Reach Level 70
Upgrade Cost: $5,000 |
Salt | Reach Level 9 | Reach Level 43 Upgrade Cost: $2,500 | Reach Level 68 Upgrade Cost: $5,000 |
Sanity Medication | Reach Level 16 | Reach Level 39 Upgrade Cost: $2,000 | Reach Level 77 Upgrade Cost: $5,000 |
Sound Sensor | Reach Level 11 | Reach Level 32 Upgrade Cost: $3,000 | Reach Level 58 Upgrade Cost: $1,500 |
Tripod | Reach Level 10 | Reach Level 34 Upgrade Cost: $5,000 | Reach Level 62 Upgrade Cost: $3,000 |
You can switch between any tier once you’ve unlocked them. So if you’ve unlocked Tier III for a certain item but prefer Tier II, you can select that from the Equipment Store by clicking on the item and then selecting the tier of your choice.
You can only bring one tier of each equipment per investigation. The only way to mix-and-match multiple tiers togethers in one playthrough is through multiplayer by having everyone bring their own equipment.
Because of Phasmophobia Ascension’s new Prestige system, you will lose any tiers you’ve unlocked if you choose to Prestige. You’ll have to unlock them all again.
All Equipment and Tiers in Phasmophobia
Here are all the equipment in Phasmophobia and what they do:
Many of these items can be reused for another investigation, provided that you don’t lose them by dying. However, there are some that are marked as “consumables,” meaning once they’ve been used, you’ll have to buy another one from the store.
There are ghosts out there that are also sensitive to electronic devices. Be careful when these are turned on during a ghost hunt because the ghost will be able to detect your location.
Flashlight

One of the most basic equipment in Phasmophobia that illuminates the darkness. The flashlight costs $30 to buy per piece. And it is considered an electronic so using it near ghosts who are angered by electronics may have an effect.
Tier I
- Unlock Requirement: Unlocked by default
- Spotlight: Narrow
- Intensity: Low
- Electronic
Tier II
- Unlock Requirement: Level 19
- Spotlight: Narrow
- Intensity: Medium
- Electronic
Tier III
- Unlock Requirement: Level 35
- Spotlight: Wide
- Intensity: High
- Electronic
EMF Reader

Used to detect electromagnetic activity around the environment. The EMF Reader costs $45 and is primarily used to gather evidence of EMF Level 5 to help identify the ghost type.
Tier I
Uses a dial to detect EMF levels. The dial will move roughly according to the EMF source’s value. However due to its age it will sway up and down a bit.
- Unlock Requirement: Unlocked by default
- Name: GhostField Meter
- Range: 1.7 meters
- Electronic
Tier II
A small black box with different colored LED lights. This was the old school EMF Reader from before the Ascension update. The color will change according to the highest EMF level that’s been detected.
- Unlock Requirement: Level 20
- Name: K2 Meter
- Range: 2 meters
- Electronic
Tier III
The best EMF Reader which bears similarities to a PDA. It’s entirely capable of reading up to three ghost interactions at once. This is indicated by dashes on the device, with each dash indicating how far away in meters that the interaction happened as well as its direction.
- Unlock Requirement: Level 52
- Name: EMF ParaMeter
- Range: 3.5 meters
- Electronic
D.O.T.S. Projector
It’s kind of like a motion sensor but for ghosts! The D.O.T.S. Projector costs $65 per piece and is mainly used for gather its own kind of evidence.
Tier I
A small laser pen that only projects a small beam of light toward the environment. One of its primary benefits is that it can be used while moving around.
- Unlock Requirement: Unlocked by default
- Range: 5 meters
- Spotlight: Narrow
- Can be placeable
- Can be used while handheld
- Electronic
Tier II
The old school D.O.T.S. Projector that old Phasmophobia players are used to. Set it on the ground and see if the ghost can be detected by it.
- Unlock Requirement: Level 29
- Range: 2.5 meter (radius)
- Can be placeable
- Electronic
Tier III
The best D.O.T.S. Projector around that has three lenses, allowing it to cover a wider area. Unlike the previous tier, this one scans the environment via a sweeping pattern which makes it easier to gather evidence.
- Unlock Requirement: Level 60
- Range: 7 meters
- Spotlight: Wide
- Scans the environment
- Can be placeable
- Electronic
Ghost Writing Book

The equipment used to communicate in written form from those in the other side. The Ghost Writing Book costs $40 per piece and is primarily used to gather its own type of evidence.
Tier I
A simple notepad and a pencil. Not really an effective way of communicating with the ghost so it might take some time before you see any kind of interaction.
- Unlock Requirement: Unlocked by default.
- Range: 3 meters
- Interaction Rate: Low
Tier II
Its design is more elaborate than the previous which entices ghosts to interact with it more. You may remember it from the old Phasmophobia pre-Ascension.
- Unlock Requirement: Level 23
- Range: 4 meters
- Interaction Rate: Medium
Tier III
An actual grimoire with some history behind it. It’s got a heavy design that makes ghosts more interested to interact with it.
- Unlock Requirement: Level 63
- Range: 5 meters
- Interaction Rate: High
Spirit Box
The equipment you use when talking to the ghost. The Spirit Box costs $50 per piece and is primarily used to gather evidence. However whether spirits choose to respond depend on whether they prefer you being alone or not.
Tier I
Just and old FM/AM radio. You’re lucky if you can get the ghost to talk back to you using this one.
- Unlock Requirement: Unlocked by default
- Range: 3 meters
- Audio Quality: Low
- Response Rate: Low
- Electronic
Tier II
The old P-SB7T Spirit Box from before which uses a higher quality speaker and better frequency detection. You’ll actually know if your question has been heard by the identifying black “X” flashing on the screen.
- Unlock Requirement: Level 27
- Range: 4 meters
- Audio Quality: Medium
- Response Rate: Medium
- Has a display screen
- Electronic
Tier III
The new SB11-Z is a bigger version of the regular Spirit Box. It scans two channels at the same time, increasing the chances of getting a response.
- Unlock Requirement: Level 54
- Range: 5 meters
- Audio Quality: High
- Response Rate: High
- Electronic
Thermometer

Used to measure the temperatures of each room. The Thermometer costs $30 per piece and can be switched from Celsius to Fahrenheit in the settings depending on your preference.
Tier I
A regular old wall mounted thermometer. The red liquid will rise when it’s hotter and fall when it’s colder. Its biggest advantage over the advanced tiers is that it can read both Celsius and Fahrenheit simultaneously and it’s not electronic.
- Unlock Requirement: Unlocked by default
- Accuracy: Medium
- Sample Speed: Low
Tier II
A thermometer that’s normally used by medical professionals and now being used to investigate ghosts. The reading is slightly inaccurate but it’s a small price to pay for its speed, allowing you to investigate rooms more quickly.
- Unlock Requirement: Level 36
- Accuracy: High
- Sample Speed: Medium
- Electronic
Tier III
The best thermometer in a ghost hunter’s arsenal. This one gives away more accurate readings in a pinch, allowing you to clear rooms instantly.
- Unlock Requirement: Level 64
- Accuracy: High
- Sample Speed: High
- Electronic
UV Light

Can be used to detect fingerprints and footprints left behind by ghosts. The UV Light costs $35 per piece and is used to gain evidence. Once you use the UV Light on a fingerprint or footprint long enough, they’ll stay behind for a few seconds allowing you to take photos.
Tier I
A glowstick UV Light. It’s not really a new addition to Phasmophobia but it does detect fingerprints and footprints albeit at a smaller range. Unlike the more advance tiers, this one eventually dims. Once it starts to dim, you can give it a shake to replenish some of its glow. Its only advantage is that it’s not considered electronic.
- Unlock Requirements: Unlocked by default
- Duration: 60 seconds
- UV Charge Time: 10 seconds
Tier II
This UV Light functions much like a flashlight where you shine it on objects allowing for better focus. You’ll also be able to charge prints faster than the glowstick.
- Unlock Requirements: Level 21
- UV Charge Time: 5 seconds
- Spotlight: Narrow
- Electronic
Tier III
Similar to the previous tier but has a much wider range allowing you to scan bigger portions of any room. Has a much faster charge time for prints.
- Unlock Requirements: Level 56
- UV Charge Time: 1.5 seconds
- Spotlight: Wide
- Electronic
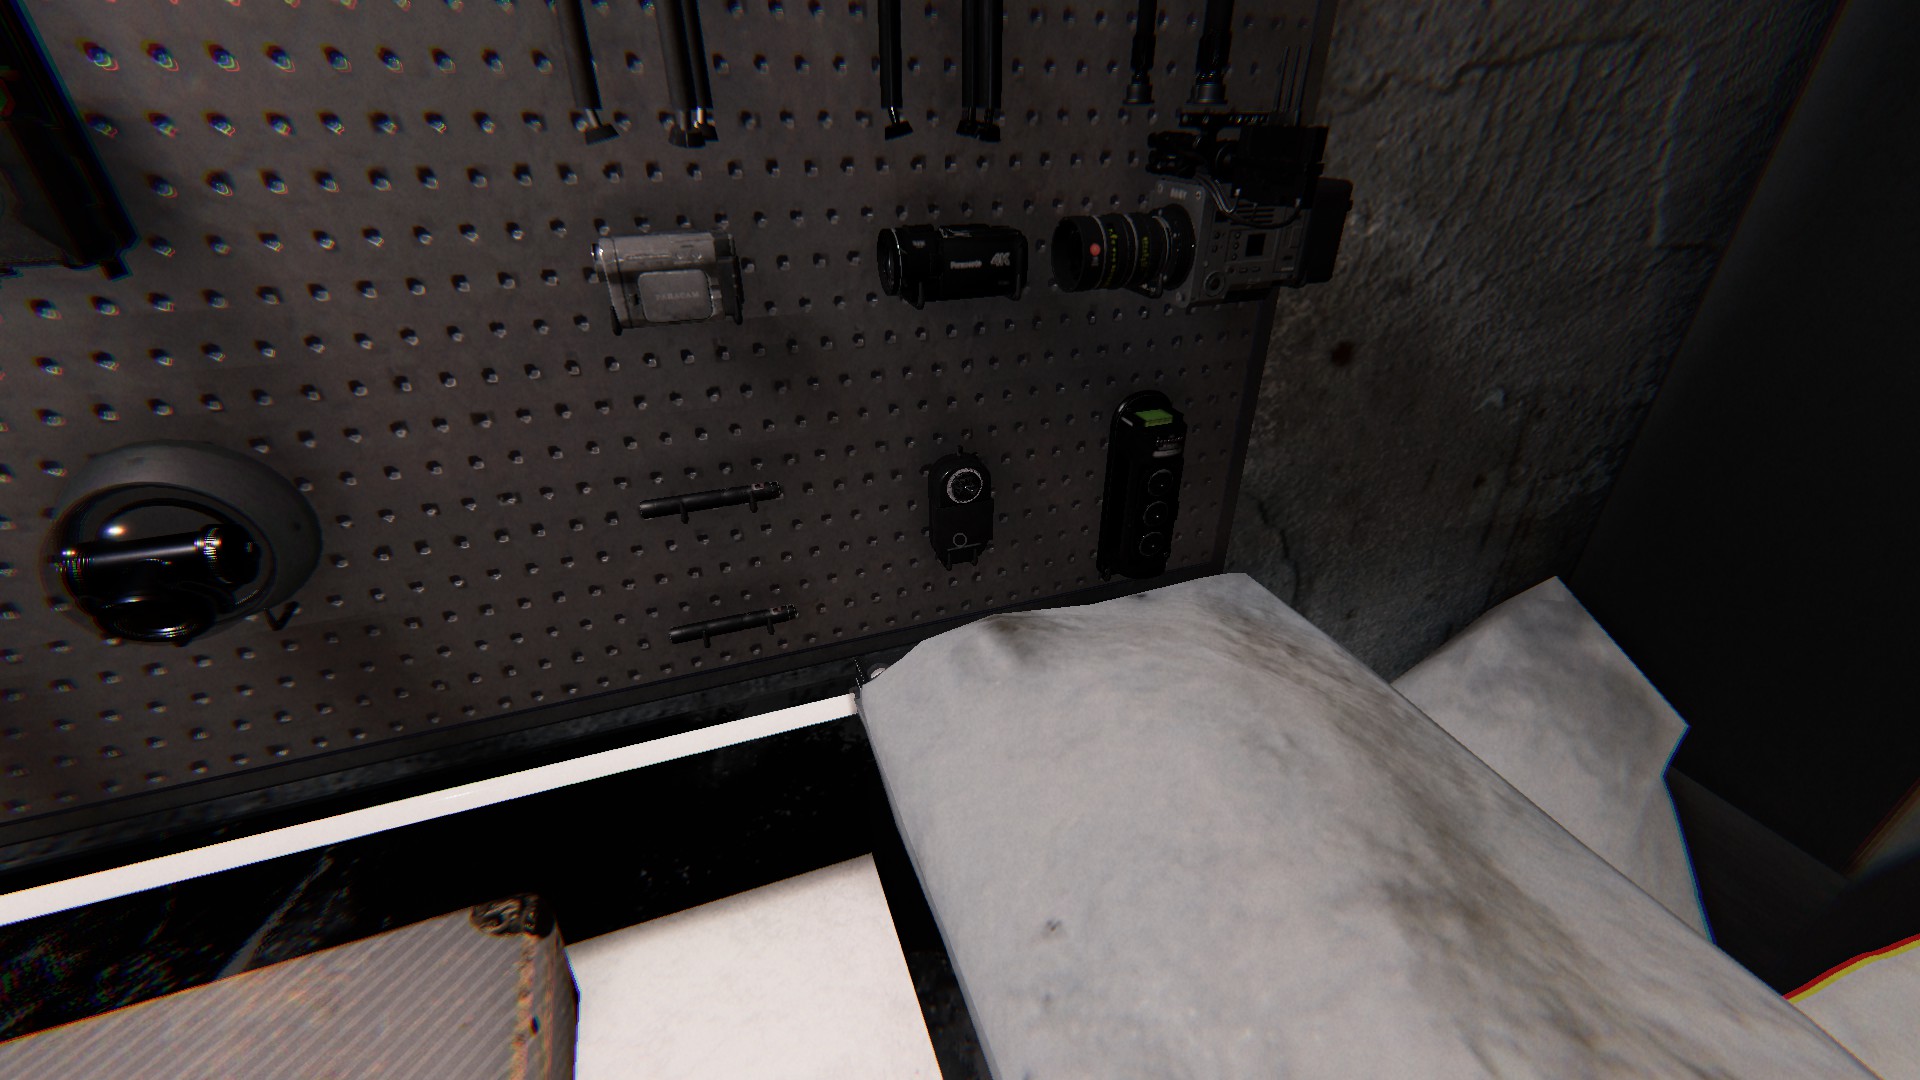
Video Camera

This equipment can’t actually record anything but you can use it to remotely view a location from the safety of the truck. The Video Camera costs $50 per piece and is primarily used for identifying Ghost Orbs.
Tier I
An old camera that they dug out of the old office boxes. Has poor quality and the feed heavily becomes distorted when a ghost hunts.
- Unlock Requirements: Unlocked by default
- Image Quality: Low
- Paranormal Interference: High
- Knockdown Chance: High
- Electronic
Tier II
A better quality camera that’s more reliable. The night vision is better making it a more suitable pick for finding Ghost Orbs.
- Unlock Requirement: Level 33
- Image Quality: Medium
- Paranormal Interference: Medium
- Knockdown Chance: High
- Electronic
Tier III
A state-of-the-art camera that can actually be used for filming movies. As you can imagine, this is way more reliable.
- Unlock Requirement: Level 61
- Image Quality: High
- Paranormal Interference: Low
- Knockdown Change: High
- Electronic
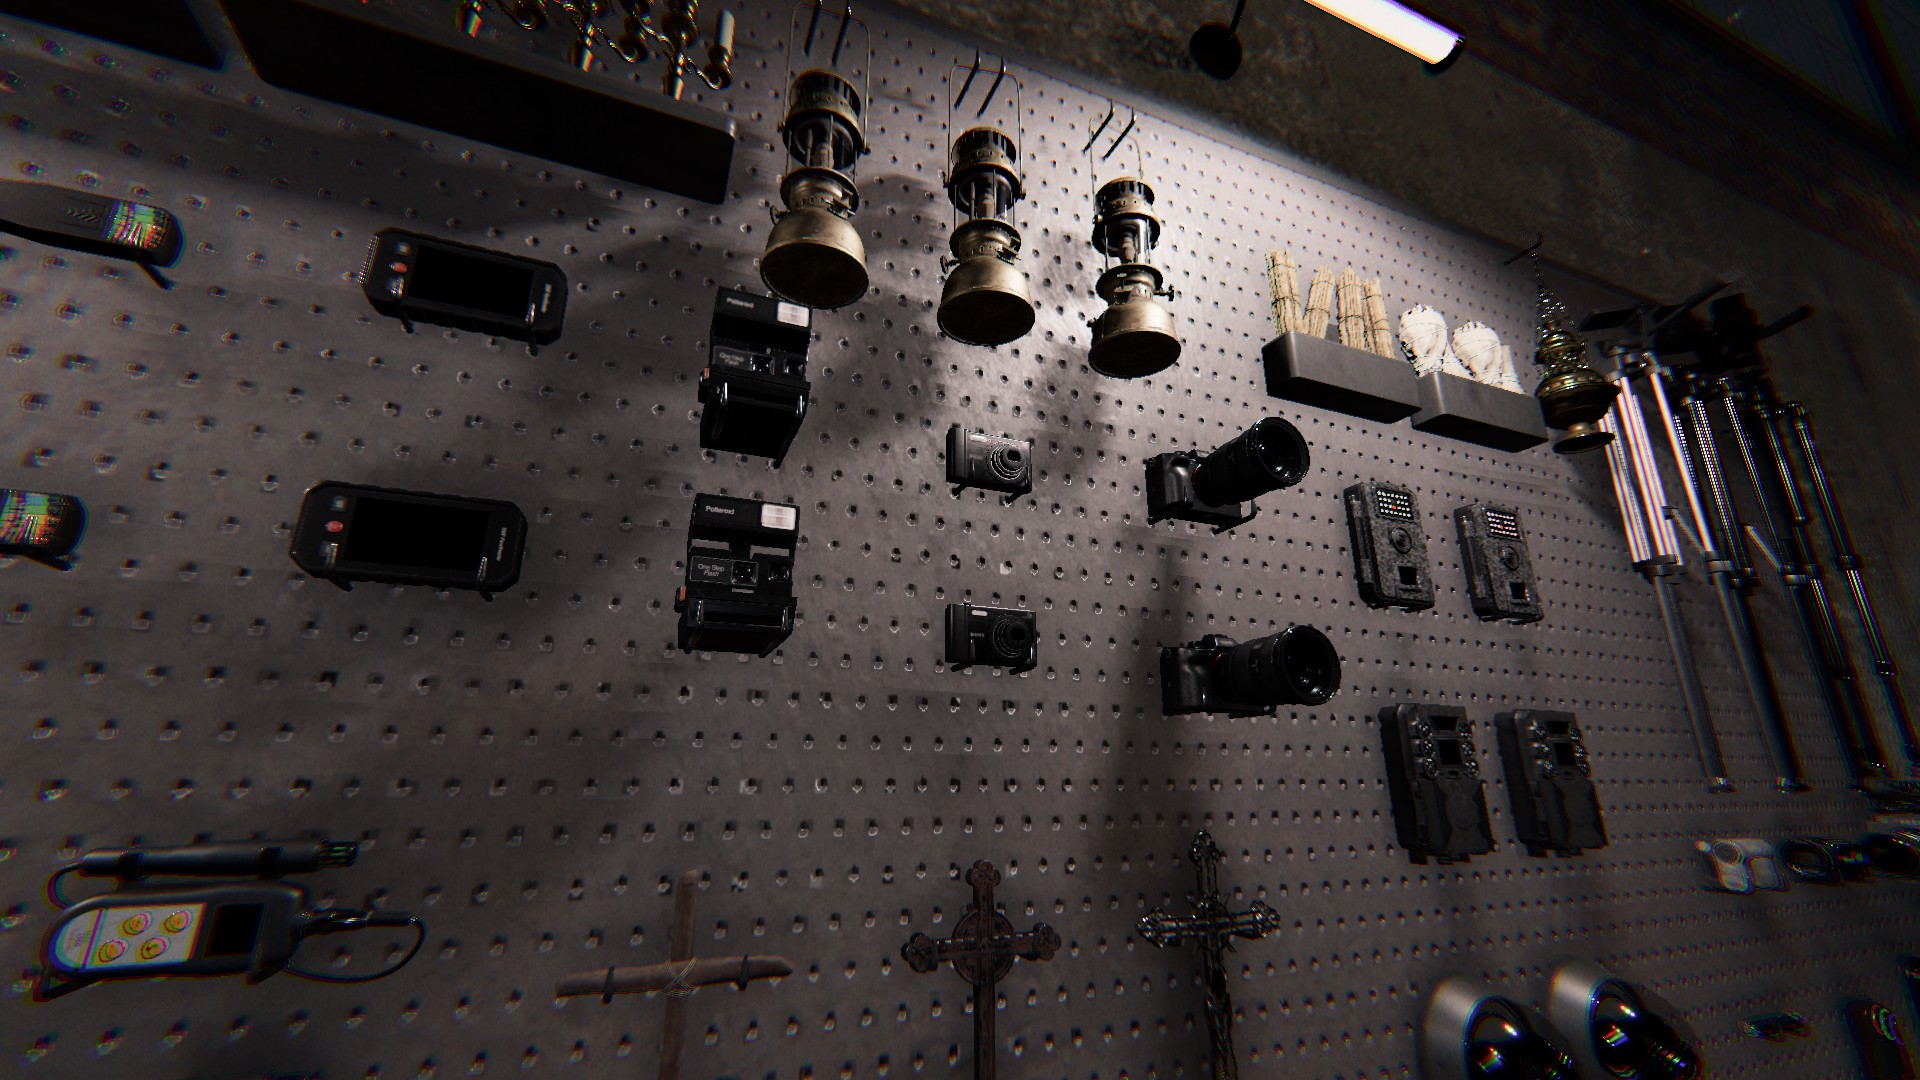
Crucifix

When a ghost starts hunting, only this piece of equipment can stop it. A Crucifix costs $30 per piece and is used to deter ghosts from attacking. The Demon especially is weak towards it. Place it on an area you think the ghost will attack. You can press and hold F to see its effective range.
Tier I
Just a bundle of sticks tapped together to make a makeshift cross. The shape alone seems enough to deter some ghosts.
- Unlock Requirements: Level 8
- Uses: 1
- Range: 3 meters (increased to 4.5 meters for Demons)
- Can be placeable
- Consumable
Tier II
Uses cast iron instead of wood. It proves to be more reliable to ward away evil spirits and can even be used more than once.
- Unlock Requirements: Level 37
- Uses: 2
- Range: 4 meters (increased to 6 meters for Demons)
- Can be placeable
- Consumable
Tier III
A fancier Crucifix made out of gold and silver linings. Unlike the previous tiers, this one can prevent Ghost Hunts which is done when you’ve wrongly interacted with a Cursed Possession object.
- Unlock Requirement: Level 90
- Can prevent cursed hunts which is deadlier than regular ghost hunts
- Range: 5 meters (increased to 7.5 meters for Demons)
- Uses: 2
- Can be placeable
- Consumable
Firelight

Used to illuminate areas without having to use electronics. The Firelight costs $15 and is primarily used to fulfill bonus objectives such as getting the ghost to blow out a candle. Firelights can also be used to prevent your sanity from being drained however they will stop working when exposed to rain. You’ll also need igniters or already lit Firelights to use them.
Tier I
A regular wax candle that won’t last long.
- Unlock Requirement: Level 12
- Range: 2 meters
- Duration: 3 minutes
- Sanity Drain Reduction: 33%
- Can be placeable
- Consumable
Tier II
A candelabra with three tall candles. Its higher quality wax makes it last longer.
- Unlock Requirement: Level 47
- Range: 2 meters
- Duration: 5 minutes
- Sanity Drain Reduction: 50%
- Can be placeable
- Consumable
Tier III
Probably the main reason why Kinetic Games couldn’t call it just candles anymore. The highest tier isn’t so much of a candle as its a gasoline powered lantern. Unlike its predecessors this one is waterproof and it’ll last long until after the investigation is over.
- Unlock Requirements: Level 79
- Range: 2 meters
- Sanity Drain Reduction: 66%
- Waterproof
- Can be placeable
Head Gear

This piece of equipment has multiple different uses depending on its tier. Each tier of the Head Gear has a different function and costs $60 per piece. You can toggle them on and off with T which is a special key designed for it. Turn it off during ghost hunts for your own safety.
Tier I
A simple Head Gear with a camera attached to it. You can watch your teammates from the safety of your truck.
- Unlock Requirement: Level 13
- Paranormal Interference: Medium
- Doesn’t take up inventory space
- Electronic
Tier II
This one no longer has a camera but has a simple LED flashlight that can help illuminate areas. Helpful if you don’t want to take up an inventory slot using a flashlight.
- Unlock Requirement: Level 49
- Intensity: Low
- Spotlight: Narrow
- Electronic
Tier III
Head Gear used by the military allowing you to see things that the naked eye cannot. However the night vision itself can become blurry during a ghost hunt.
- Unlock Requirements: Level 49
- Paranormal Interference: Medium
- Uses night vision
- Electronic
Igniter
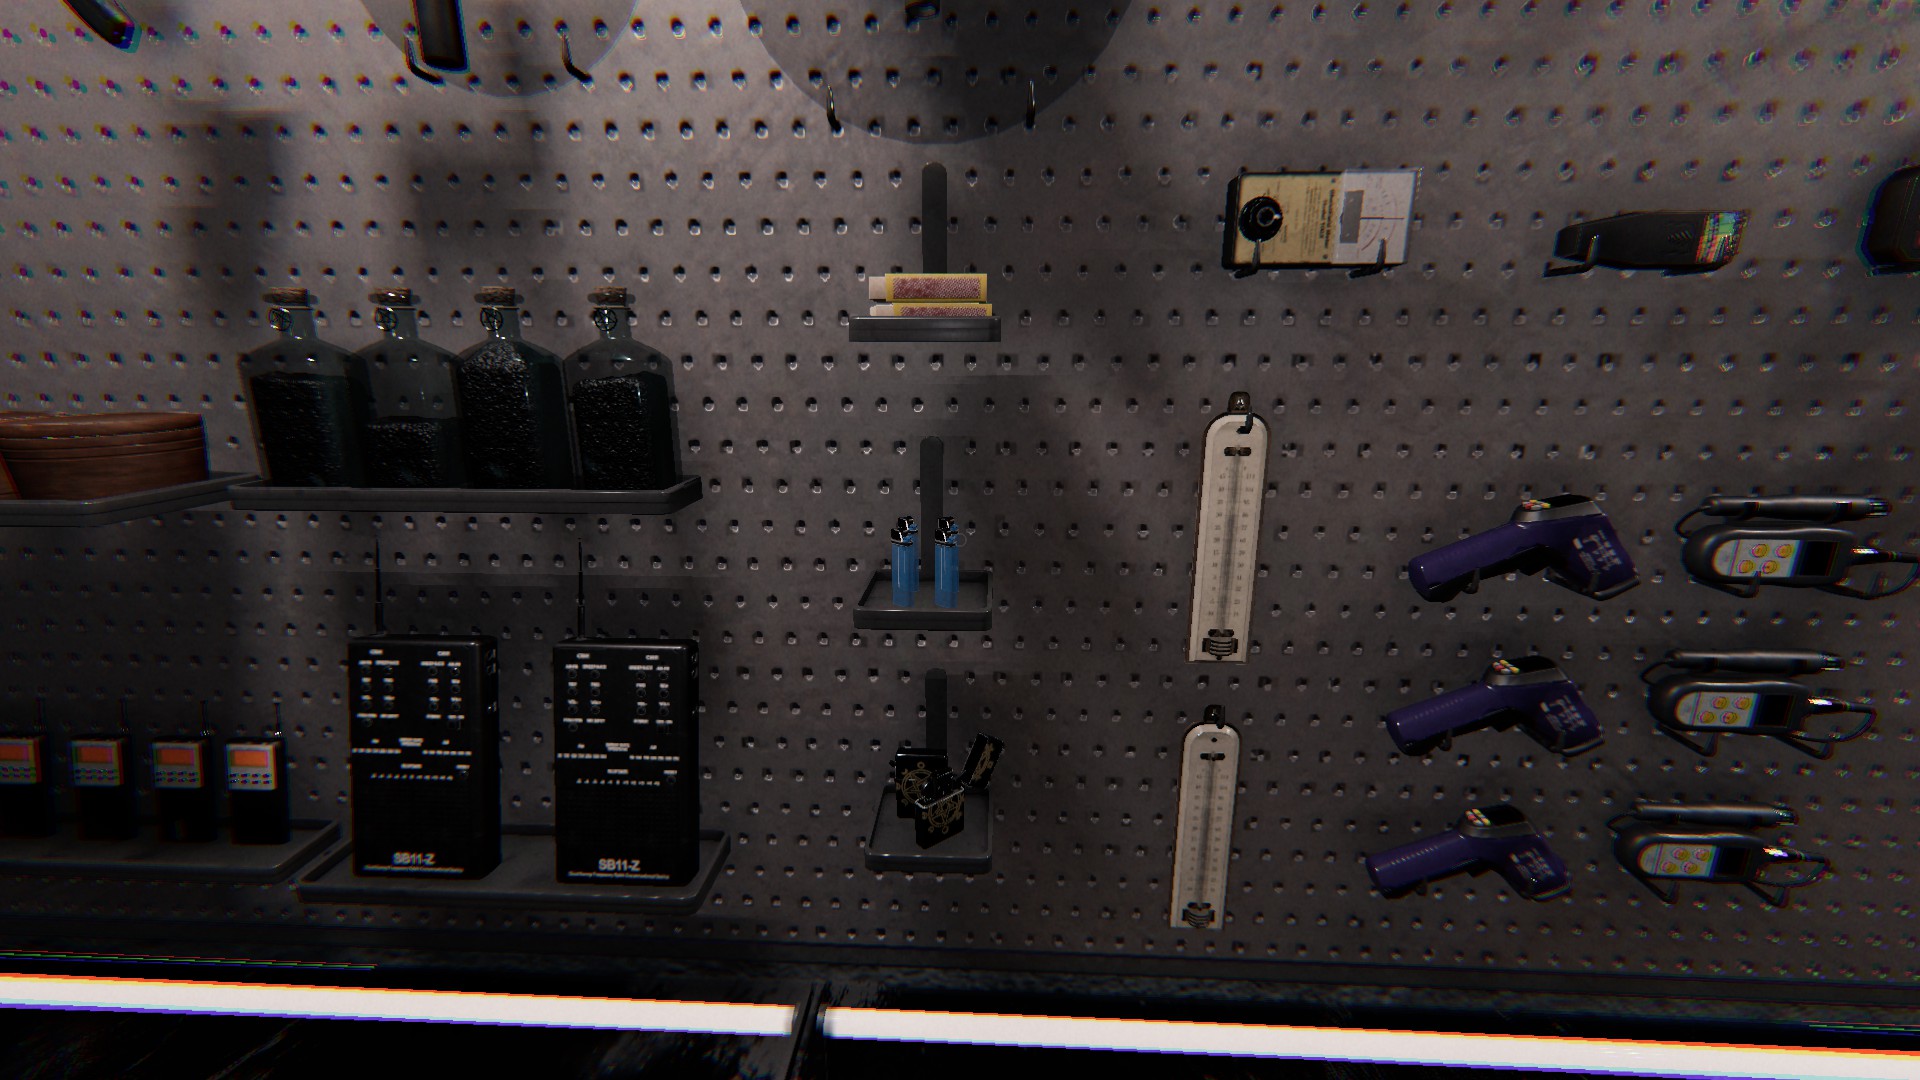
The equipment you need when you need to light things. The Igniter costs $10 per piece and is used for lighting Firelights, Summoning Circles, and Incense by aiming at it and pressing F when it’s lit. You can lit the Igniter by right clicking on your mouse.
Tier I
A regular matchbox made by the Ghost Huntin’ Distribution themselves. There are only limited charges until you run out.
- Unlock Requirement: Level 12
- Duration: 10 seconds (per match)
- Uses: 10
- Consumable
Tier II
A small and compact lighter. Its fueled by the liquid inside which will last you five minutes.
- Unlock Requirement: Level 41
- Duration: 5 minutes
- Consumable
Tier III
A lighter that’s meant to be used by military professionals. It has a brighter light and lasts a lot longer. Its flames aren’t affected by heavy rain.
- Unlock Requirement: Level 57
- Duration 10 minutes
- Waterproof
- Consumable
Incense

This equipment can be used to prevent a ghost from hunting momentarily. The Incense costs $15 per piece and is used to provide some protection against evil spirits. Using it in a room with the ghost nearby will prevent it from going to a hunt whilst using it during a hunt will prevent the ghost from seeing you. You’ll need an Igniter in your inventory to light it.
Tier I
Just a small bundle of black sage put together.
- Unlock Requirement: Level 14
- Range: 3 meters
- Duration: 5 seconds
- Consumable
Tier II
A big bundle of white sage that’s nearly tied together. It will burn longer and even slow down the ghost during a hunt.
- Unlock Requirement: Level 42
- Range: 4 meters
- Duration: 6 seconds
- Slows Down Ghost During Hunts: 5 seconds
- Consumable
Tier III
A holy incense burner that’s specifically designed for warding off the paranormal. It will put a halt to the ghost during a hunt.
- Unlock Requirement: Level 85
- Range: 5 meters
- Duration: 7 seconds
- Halts Ghost During Hunts: 5 seconds
Motion Sensor

The equipment you place around the building when you want to keep track of the ghost’s movements. The Motion Sensor costs $100 per piece and is capable of detecting both your friends and any paranormal movement.
Tier I
A modified camera that was formerly used to capture wildlife activity is now designed to track the paranormal.
- Unlock Requirement: Level 5
- Sensor Shape: Line
- Can be placeable
- Electronic
Tier II
The Ghost Huntin’ Distrubution have made some customizations from modifying the previous version allowing for a wider sensor range. You can switch sensor shape modes by clicking on the left mouse button. It now has an audible beep once it detects movement.
- Unlock Requirement: Level 45
- Sensor Shapes: Line, Cone
- Light Indicator
- Audio Indicator
- Can be placeable
- Electronic
Tier III
A motion sensor camera that was torn down and built back from the ground up into a paranormal sensor. This one only tracks the ghost so you and your team can’t set it off.
- Unlock Requirement: Level 74
- Sensor Shape: Circle
- Scans the environment
- Light Indicator
- Audio Indicator
- Can be placeable
- Electronic
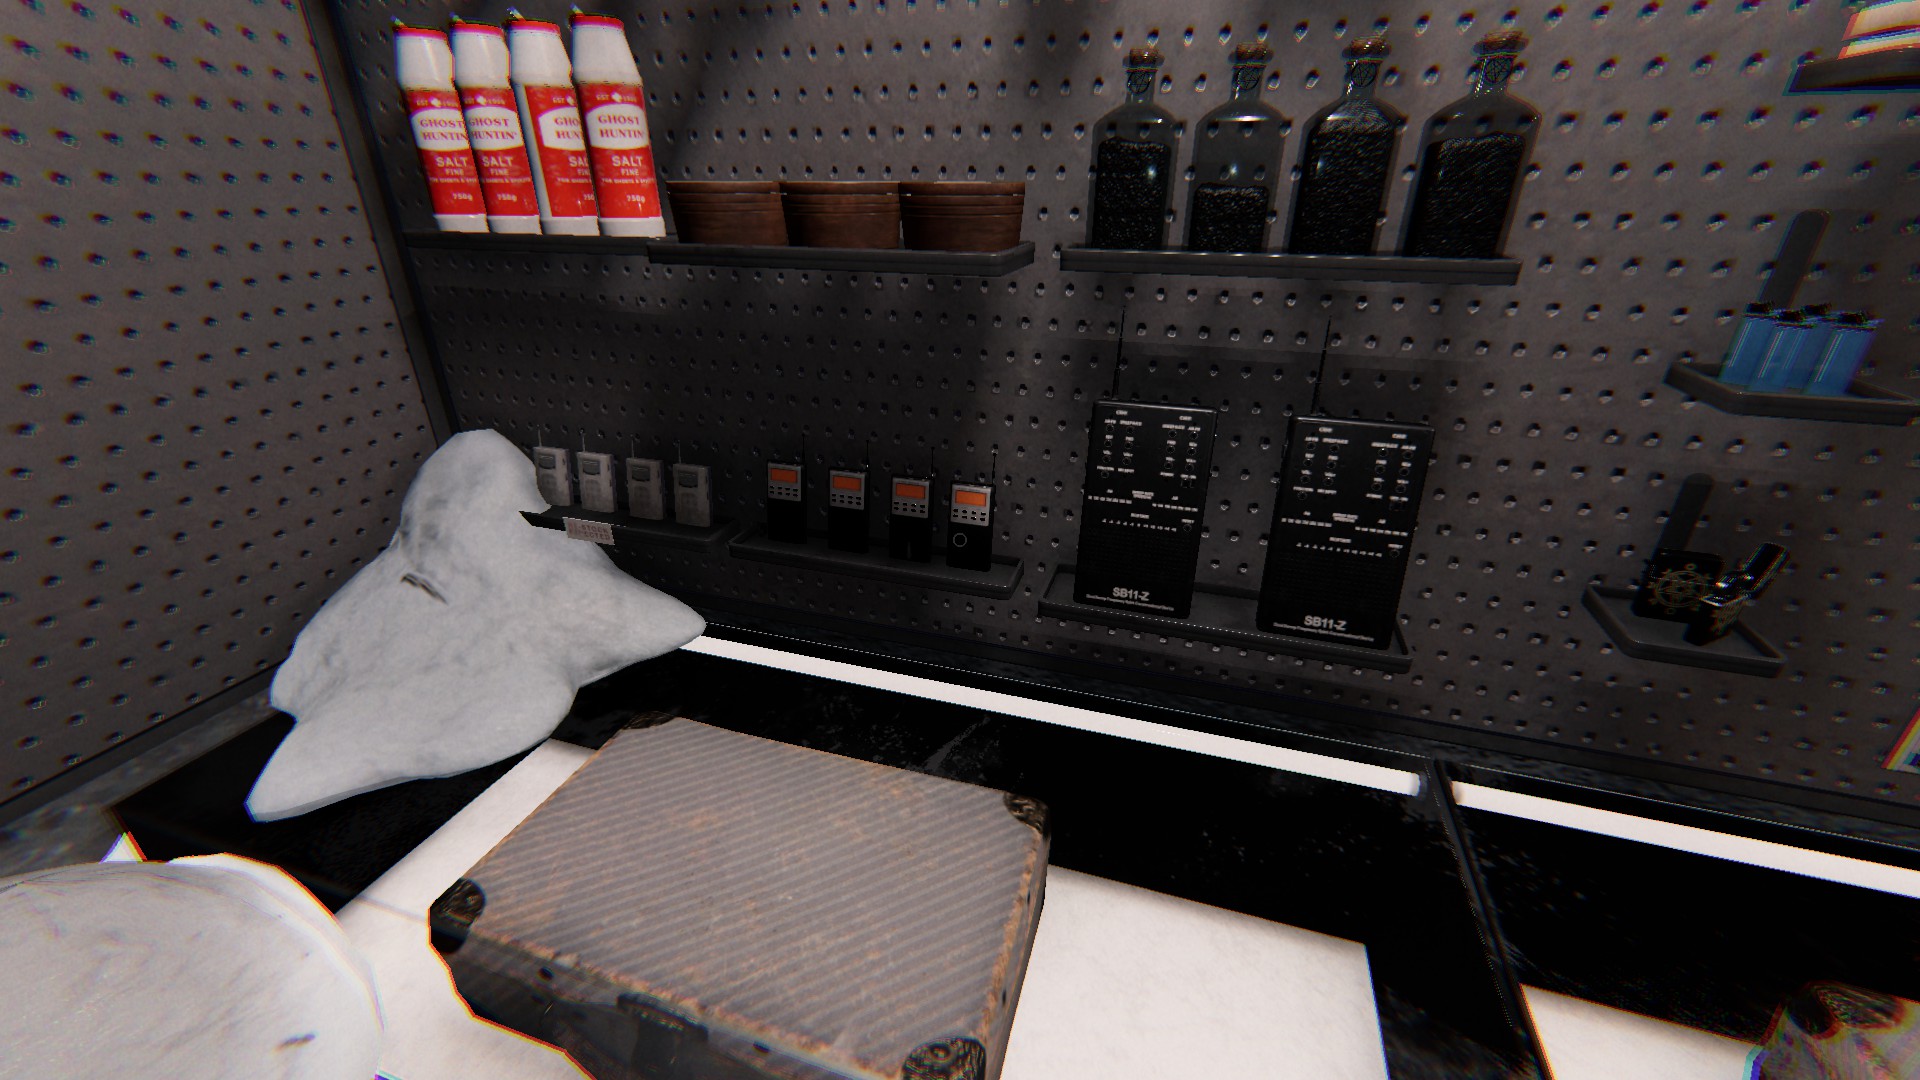
Parabolic Microphone

This equipment can be used to hear the ghost from far away making it useful for large maps. The Parabolic Microphone costs $50 per piece and can be used to complete bonus objectives.
Tier I
A simple 8×21 Parabolic Microphone that amplifies sounds more than the naked ear hears. It doesn’t have much range so it’s not as suitable for larger maps like Sunny Meadows.
- Unlock Requirements: Level 7
- Range: 20 meters
- Electronic
Tier II
An upgraded Parabolic Microphone that’s better than the previous one. This one comes with increased range and a screen that shows how loud that sound is.
- Unlock Requirements: Level 31
- Range: 30 meters
- Has a display screen
- Electronic
Tier III
A high quality Parabolic Microphone that has even more upgrades. Its display screen now has a customized UI that shows you how far and how loud that sound is, making tracking the ghost’s location easier.
- Unlock Requirements: Level 72
- Range: 30 meters
- Has a display screen
- Distance Indicator
- Directional Indicator
- Electronic
Photo Camera
This piece of equipment is used for getting additional rewards in investigation. The Photo Camera costs $40 per piece and isn’t used for acquiring evidence or helping identify the ghost. However you do get additional money and XP rewards if you photograph anything involving paranormal activity.
Tier I
An old camera where you have to wait for the picture to print before taking another one. You’ll really need to time your shots right if you don’t want to miss it. The only advantage is that it isn’t considered electronic.
- Unlock Requirements: Level 3
- Time Between Photos: High
Tier II
A compact camera that’s a familiar sight for old Phasmophobia players. It can take multiple shots in a short time which is perfect when you want to quickly take photos before running for your life.
- Unlock Requirements: Level 25
- Time Between Photos: Medium
- Paranormal Interference: Medium
- Has a display screen
- Electronic
Tier III
A state-of-the-art camera that can take multiple snapshots in an instant.
- Unlock Requirement: Level 70
- Time Between Photos: Low
- Paranormal Interference: Medium
- Has a display screen
- Electronic
Salt

This can be used to obtain ultraviolet evidence and photo rewards. Salt can be purchased for $15 per piece and can be placed on the ground with the F key for the ghost to step on.
Tier I
A brand of Salt made by the Ghost Huntin’ Distribution which is said to note taste very good. Though it does work on ghosts.
- Unlock Requirements: Level 9
- Uses: 2
- Consumable
Tier II
Himalayan Salt that has more quantity than the previous tier. You can spread this in a long line to block passage.
- Unlock Requirements: Level 43
- Uses: 3
- Consumable
Tier III
A glass of bottle that contains blessed black salt. It can prevent roaming ghosts from leaving their rooms and even slowing them down during ghost hunts.
- Unlock Requirements: Level 68
- Uses: 3
- Slows Down Ghosts During Hunts: 2 seconds
- Consumable
Sanity Medication

Due to ghosts having a tendency of targeting players with the least amount of Sanity, taking these can save your life. Sanity Medication costs $20 per piece and is used to restore some Sanity percentage back. The amount of Sanity restored depends on the difficulty you’re playing on.
Tier I
A vintage bottle of snake oil that only restores a small portion of your Sanity back. It’ll take a while before the Sanity restoration to complete.
- Unlock Requirements: Level 16
- Sanity Restoration Speed: 30 seconds
- Consumable
Tier II
A more modern medicine that’s distributed by the Ghost Huntin’ Distribution. Restores your Sanity faster.
- Unlock Requirements: Level 39
- Sanity Restoration Speed: 20 seconds
- Consumable
Tier III
An adrenaline shot that quickly restores your Sanity back faster than the previous tiers. It also gives you unlimited stamina while its Sanity restoration effects are ongoing.
- Unlock Requirements: Level 16
- Sanity Restoration Speed: 10 seconds
- Sprint Boost: 10 seconds
- Consumable
Sound Sensor
The piece of equipment that is used for detecting sounds in a large area around it. The Sound Sensor costs $80 per piece and is used for helping you track the ghost early in the game by carefully placing it around areas in the map. You’ll see the level of sounds made for each individual area on the Site Map back in your truck.
Tier I
A small microphone on a tripod that detects sounds. It doesn’t have much range but it’s perfect for small maps.
- Unlock Requirement: Level 11
- Ranges: 5 meters, 10 meters
- Sensor Shape: Circle
- Can be placeable
- Electronic
Tier II
Two microphones that are attached to a custom-made mount. There are three different range settings on this one which you can toggle on the Sound Sensor screen back at the truck.
- Unlock Requirement: Level 32
- Ranges: 5 meters, 10 meters, 15 meters
- Sensor Shape: Circle
- Can be placeable
- Electronic
Tier III
Two shotgun microphones that is attached to a receiver which streams high quality audio back to the truck. This Sound Sensor as multiple Sensor Shapes to toggle between allowing for more control.
- Unlock Requirement: Level 32
- Ranges: 5 meters, 10 meters, 15 meters
- Sensor Shape: Circle, Cones, Sides
- Can be placeable
- Electronic
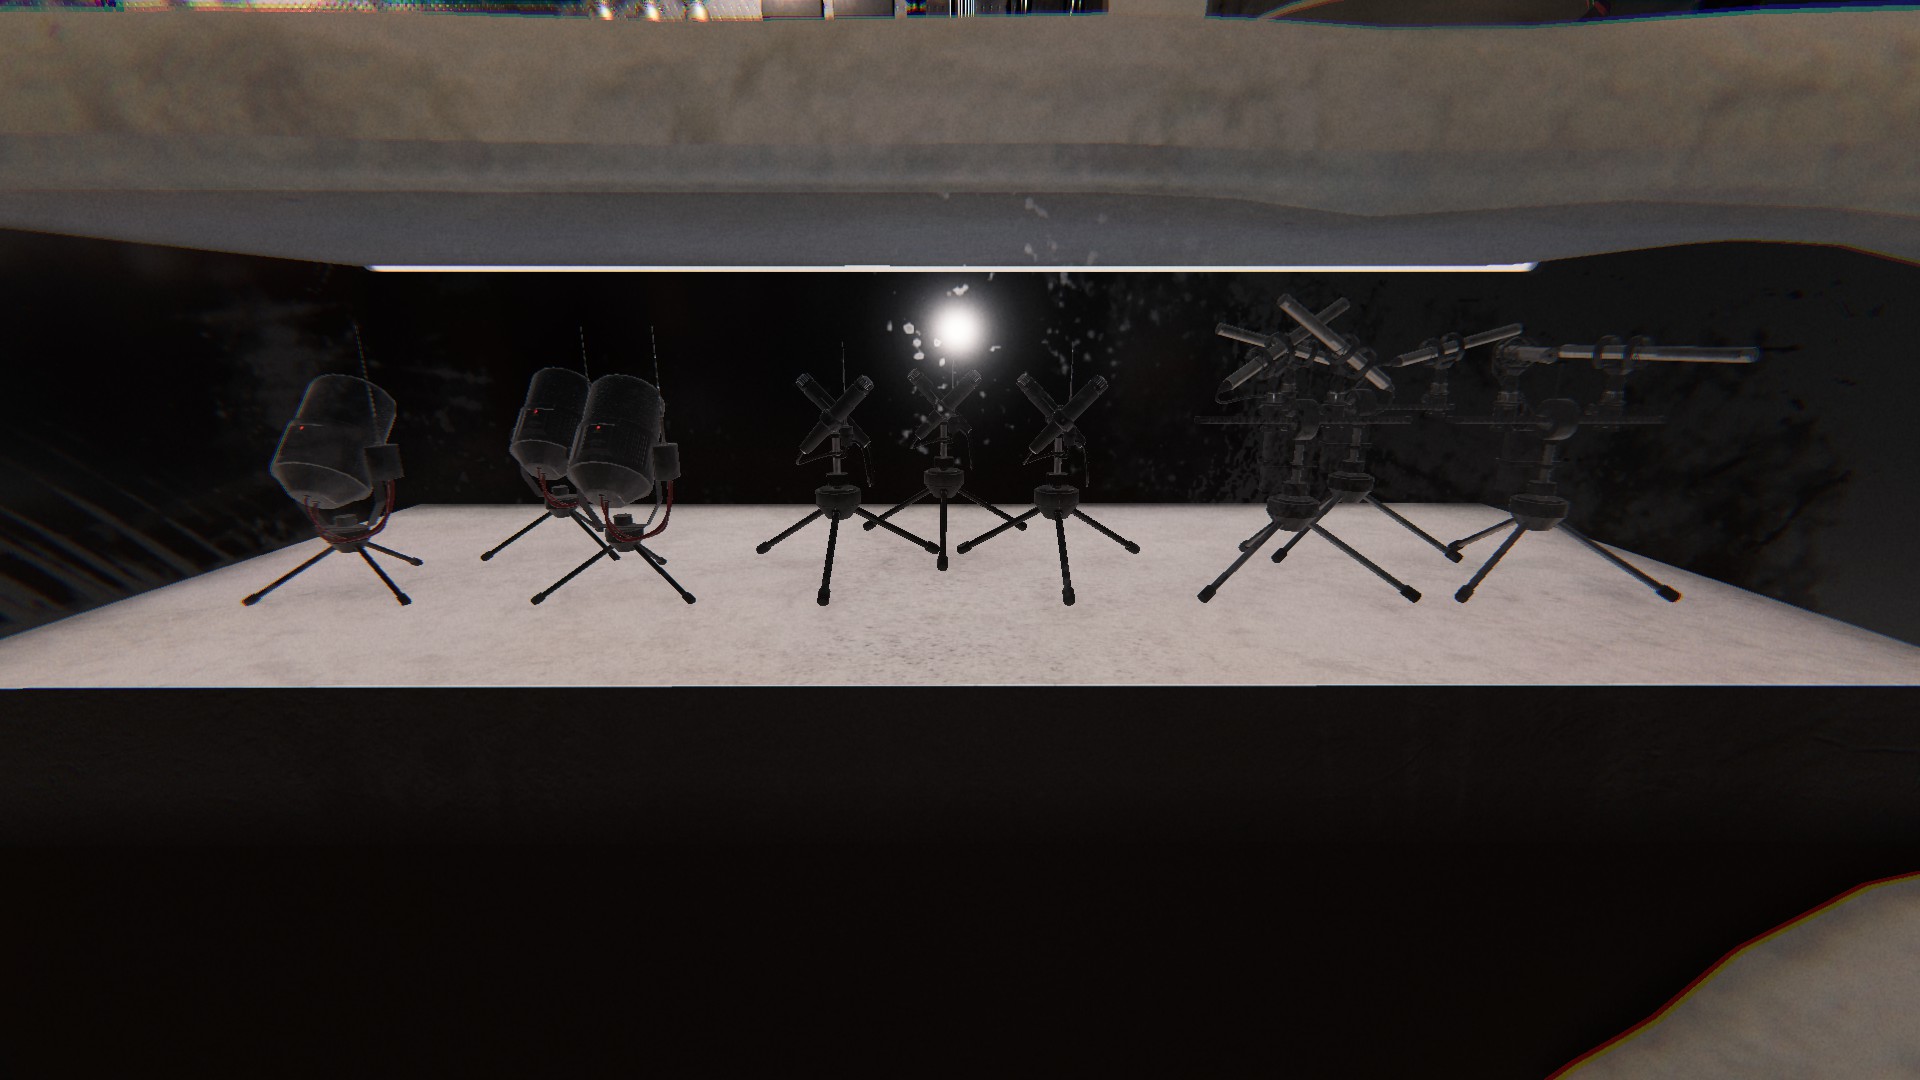
Tripod

This is more of a support equipment for the Video Camera. The Tripod costs $25 per piece and is used as a mount to place Video Cameras around the scene for you to monitor remotely. Press G to drop the Tripod on the location you want to place it and F while holding a Video Camera to mount it on the Tripod.
Tier I
A cheap tripod that can easily fall on its own.
- Unlock Requirements: Level 10
- Can be placeable
- Knockdown Chance: Medium
Tier II
A more advanced tripod that has rotation control.
- Unlock Requirements: Level 34
- Can be placeable
- Rotation Control
- Knockdown Chance: Medium
Tier III
A sturdier tripod that comes with rotation control.
- Unlock Requirements: Level 62
- Can be placeable
- Rotation Control
- Knockdown Chance: Low


