
The Abducted Prince is the second chapter of Prince of Persia: The Lost Crown. Sargon and the Immortals continue their search for the Prince inside Mount Qaf, all while trying to traverse the time-altering phenomena that has engulfed the place. Read ahead as we go through the events of The Abducted Prince in Prince of Persia: The Lost Crown and share some tips, locations of collectibles, and other helpful tricks to complete the chapter.
See previous: Chapter 1 – Lost in Mount Qaf
Chapter Objectives:
Head west to join forces with Vahram
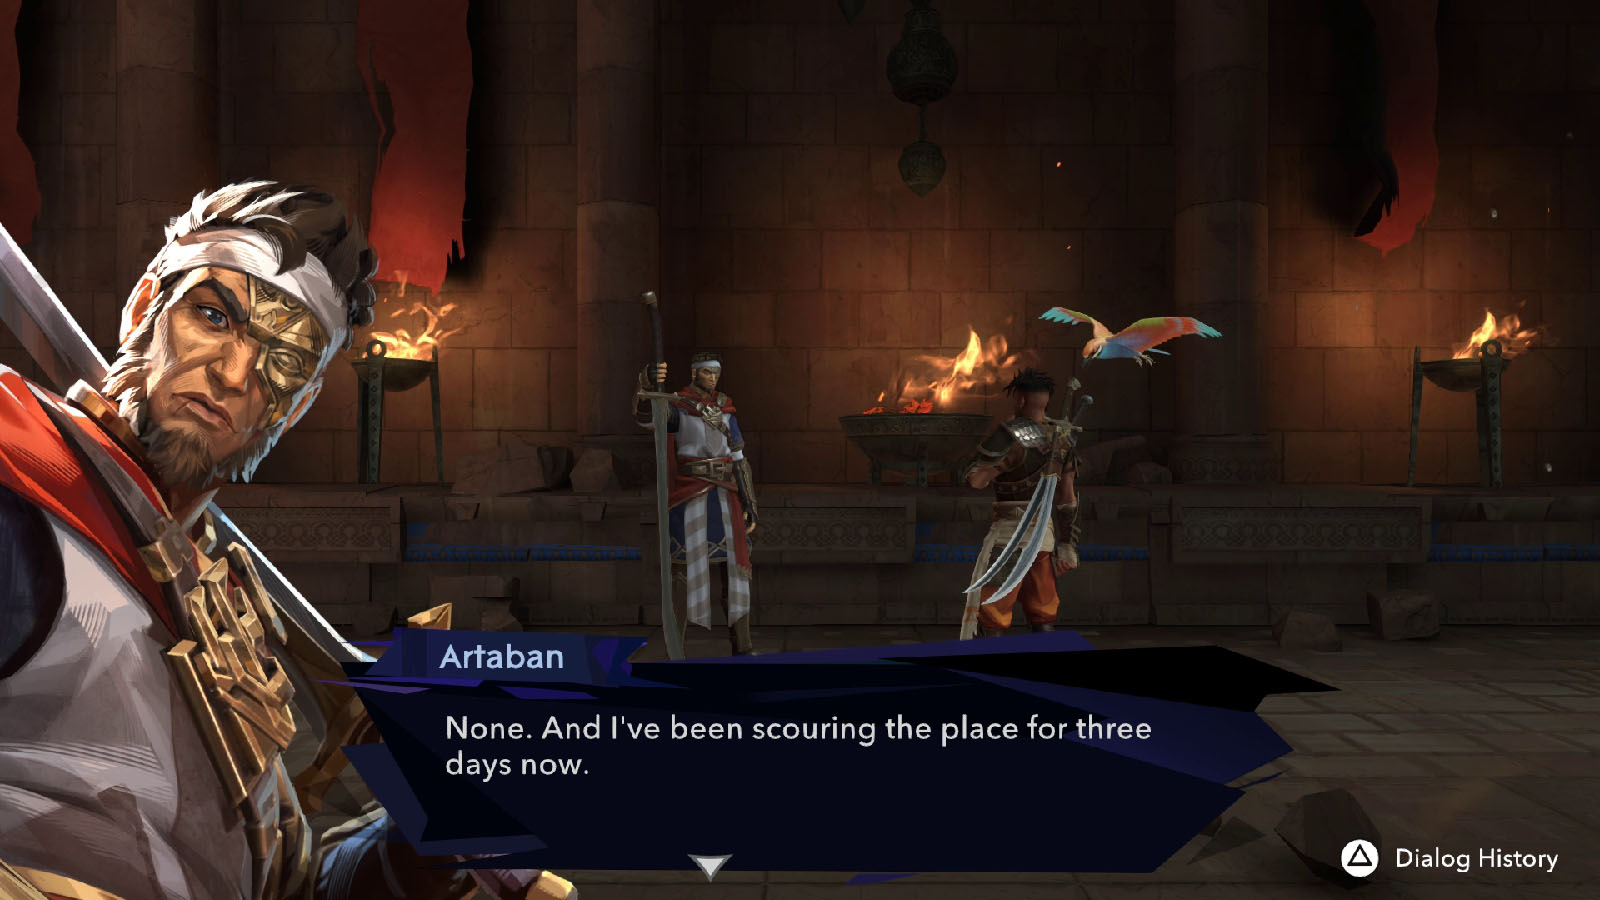
After defeating Jahandar and obtaining the new Simurgh power, continue moving east and down to meet up with Artaban.
Then, head east back to the statue area and take a detour east to meet up with Fariba who will sell you the map of the Lower City for 50 crystals. This will help you navigate towards the next objective.
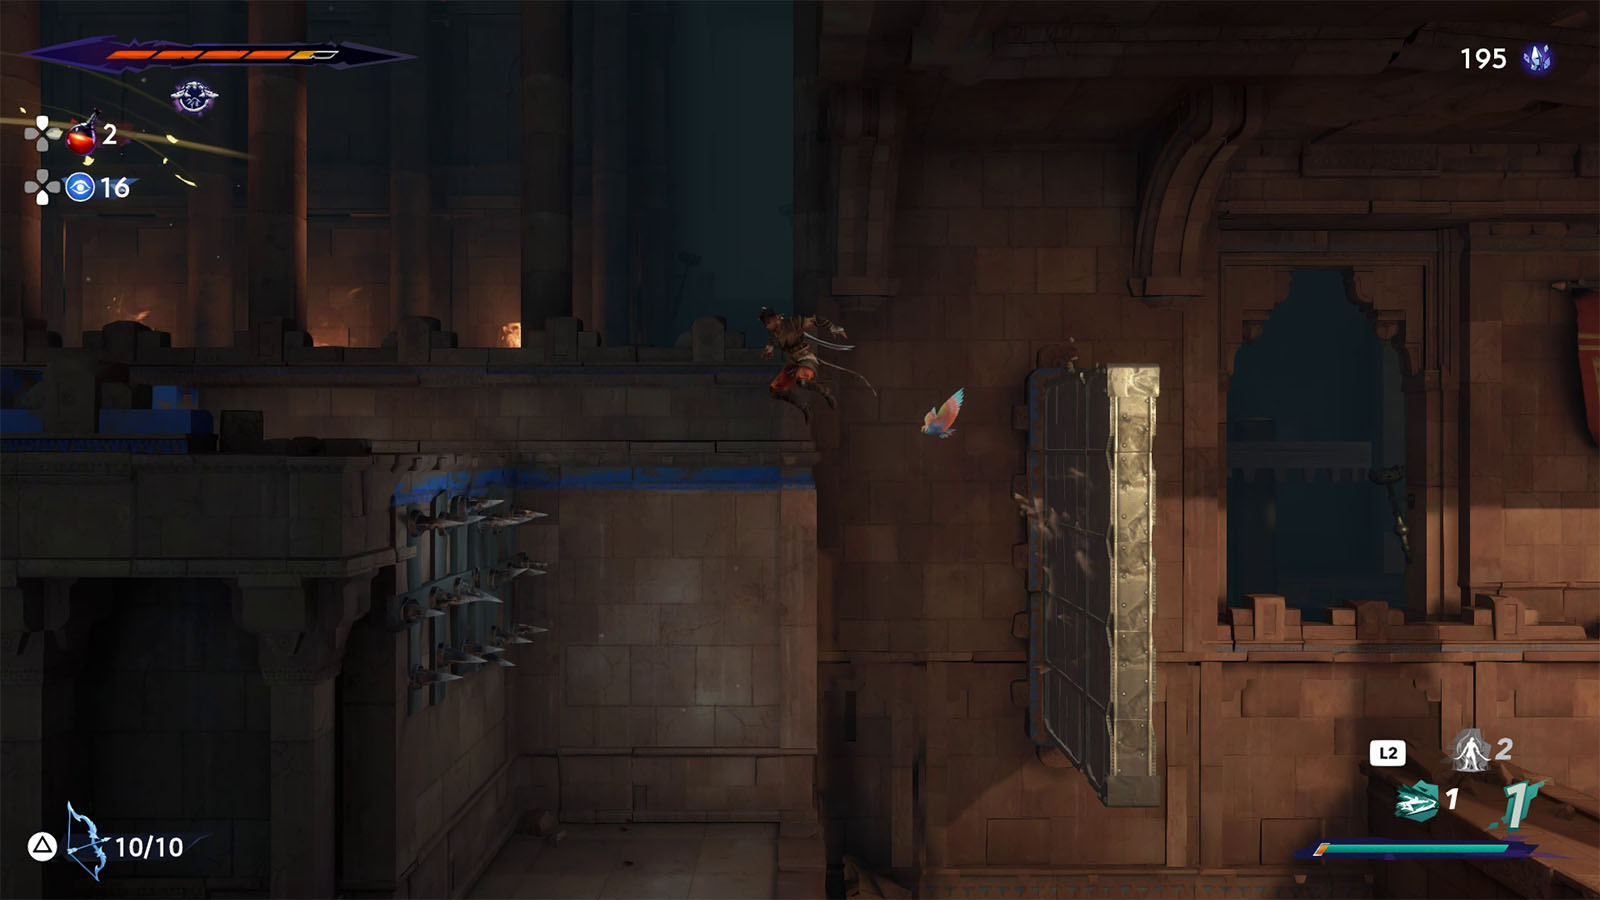
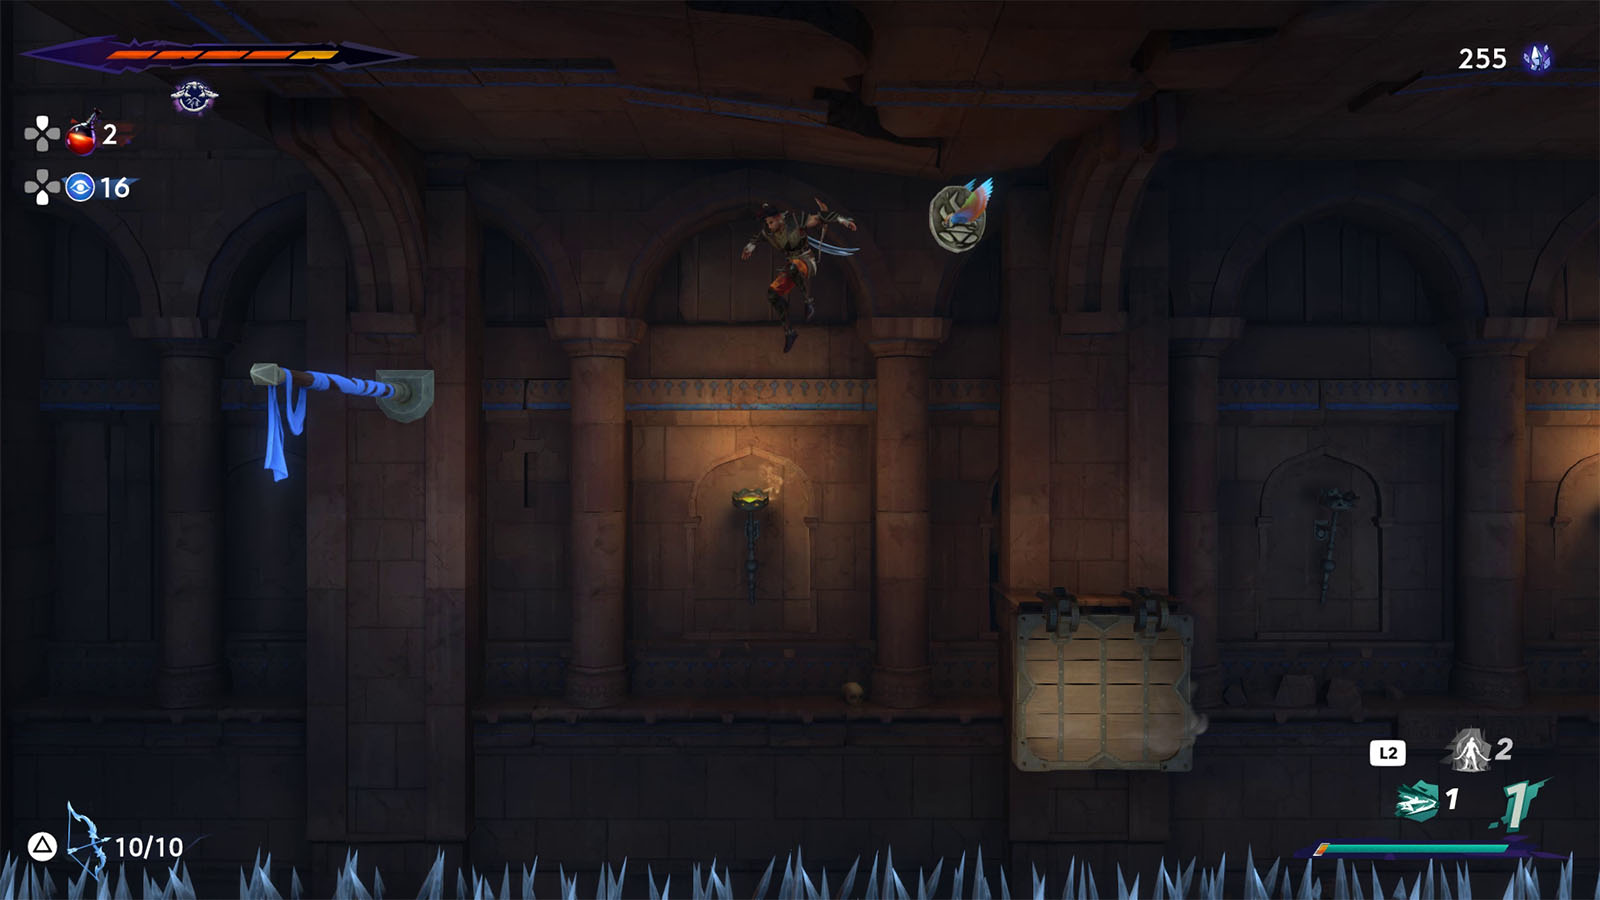
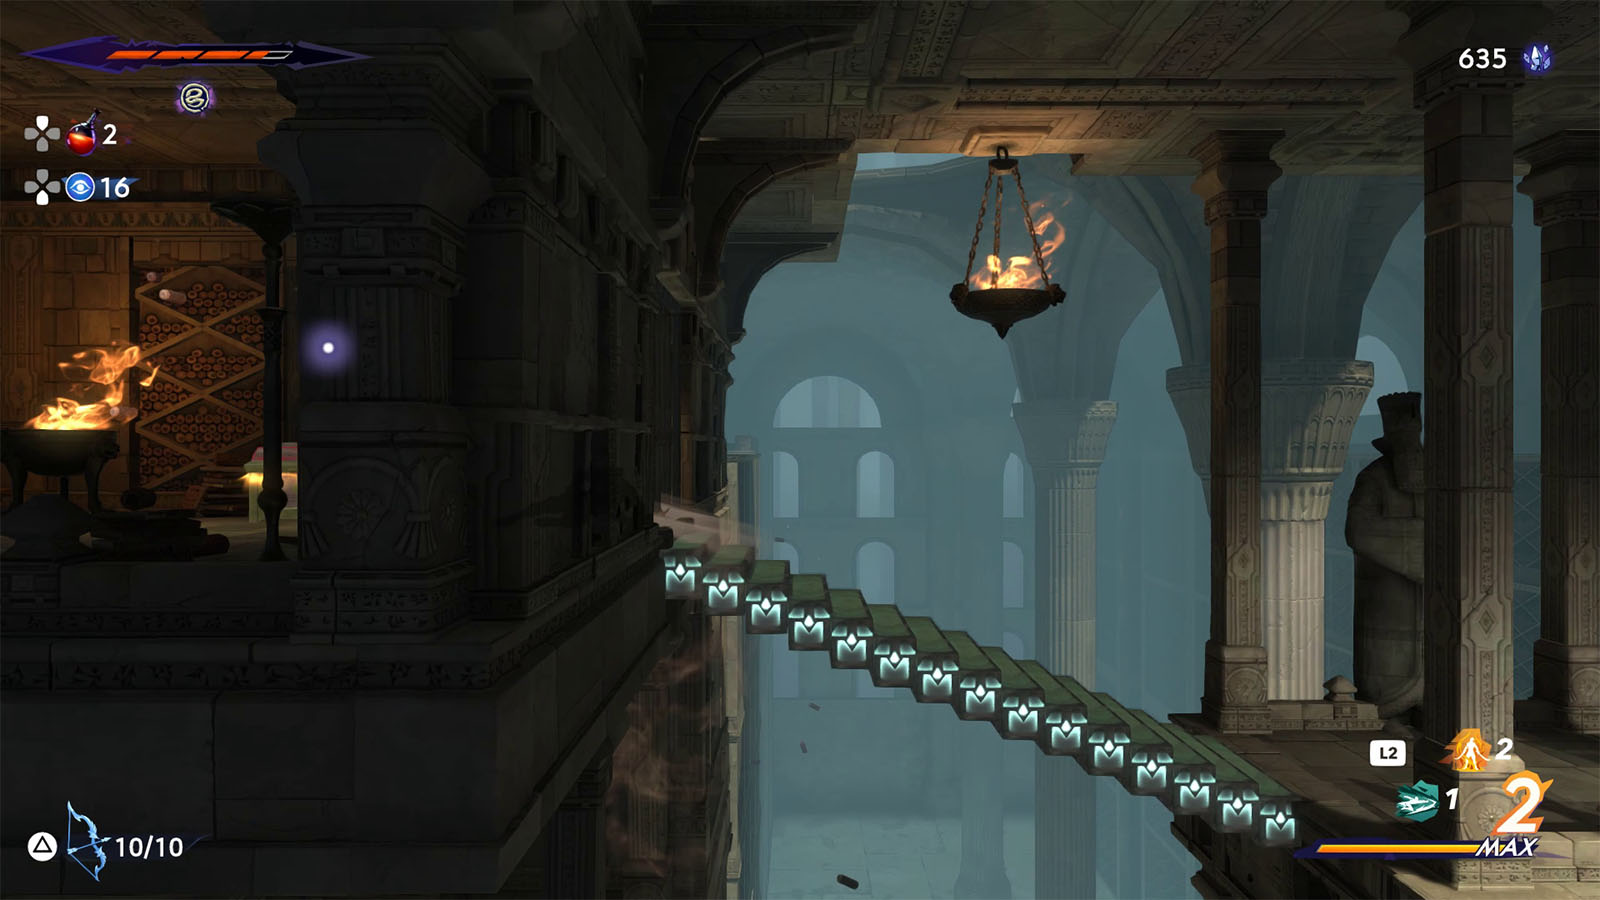
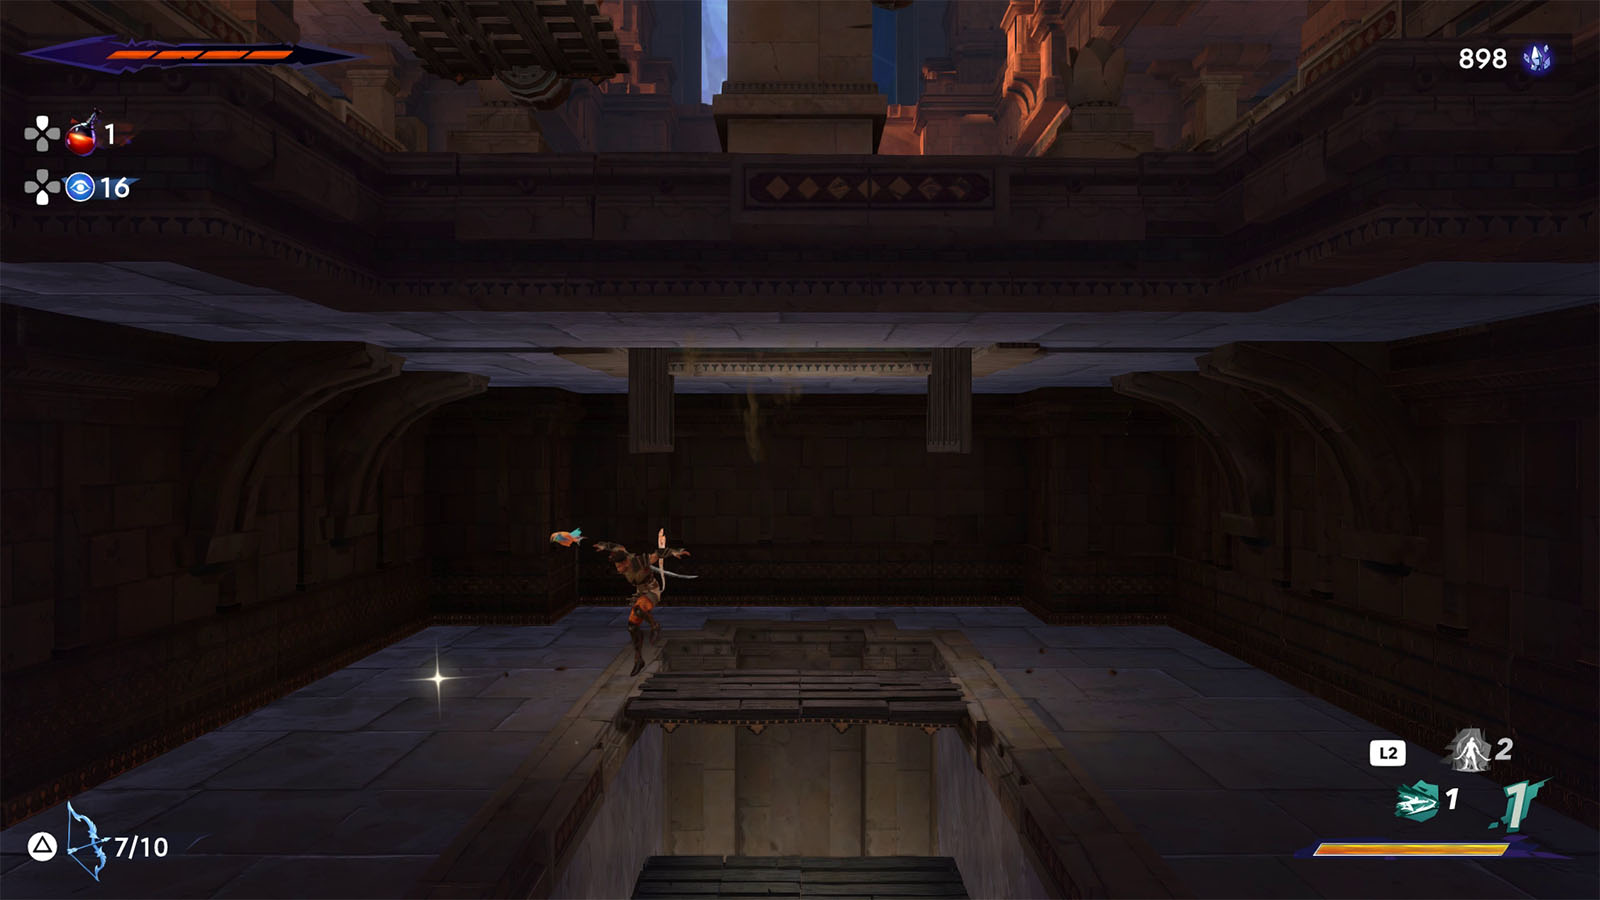
Head towards the unlocked gate to the west. With the help of your dash, you should be able to clear the spike traps.
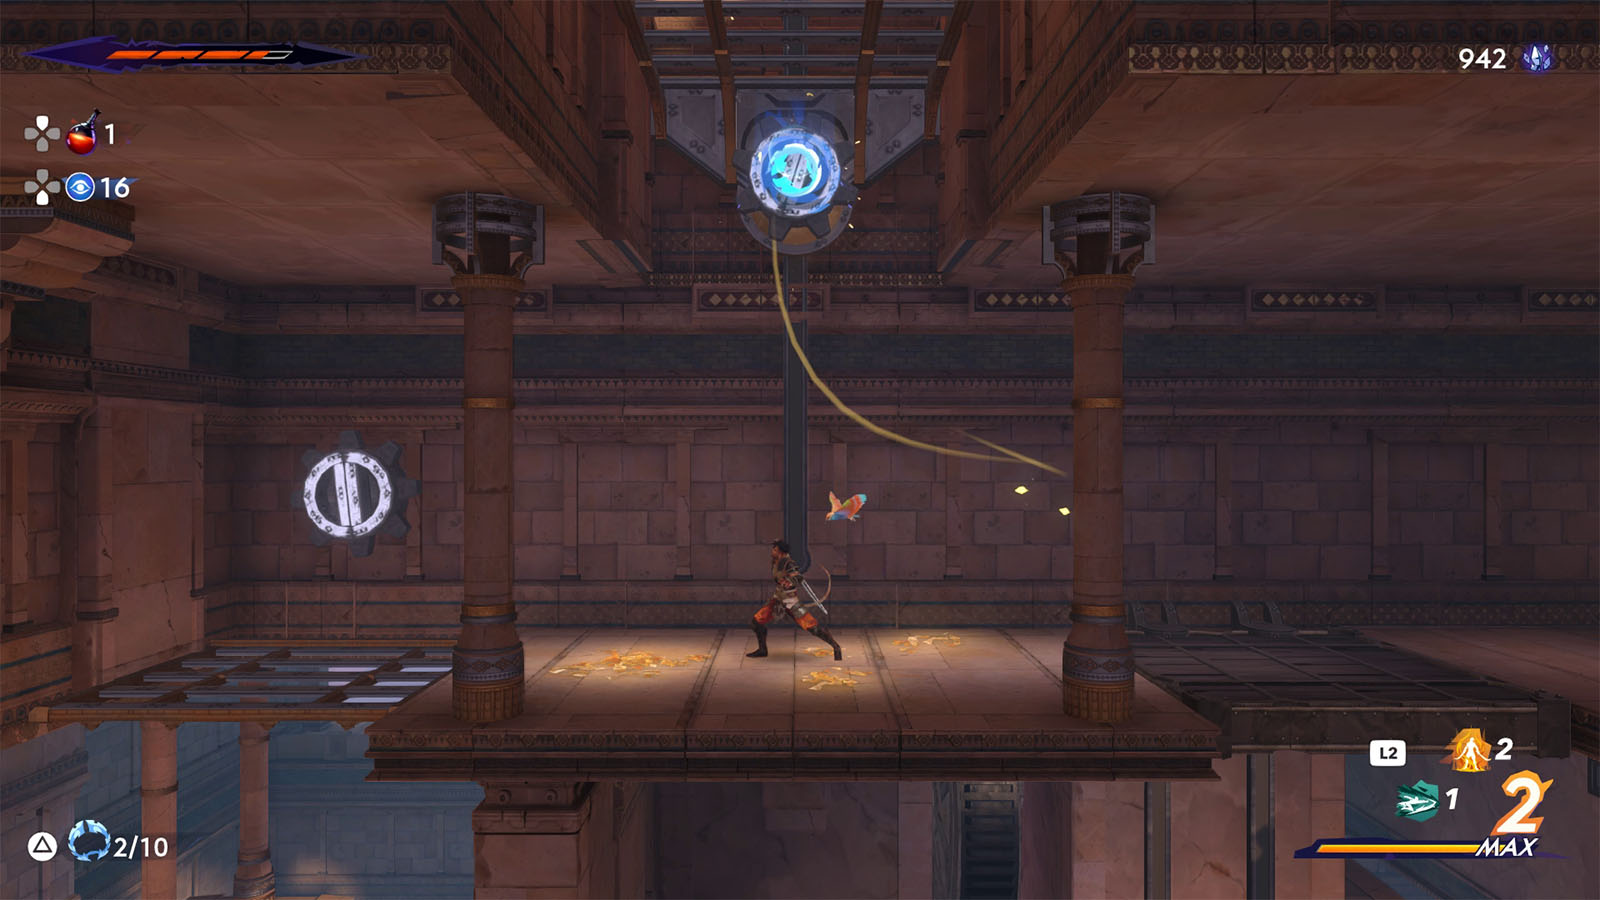
Once you get to the next area with the poles, check the glint to find the Collectible – Missive 1.
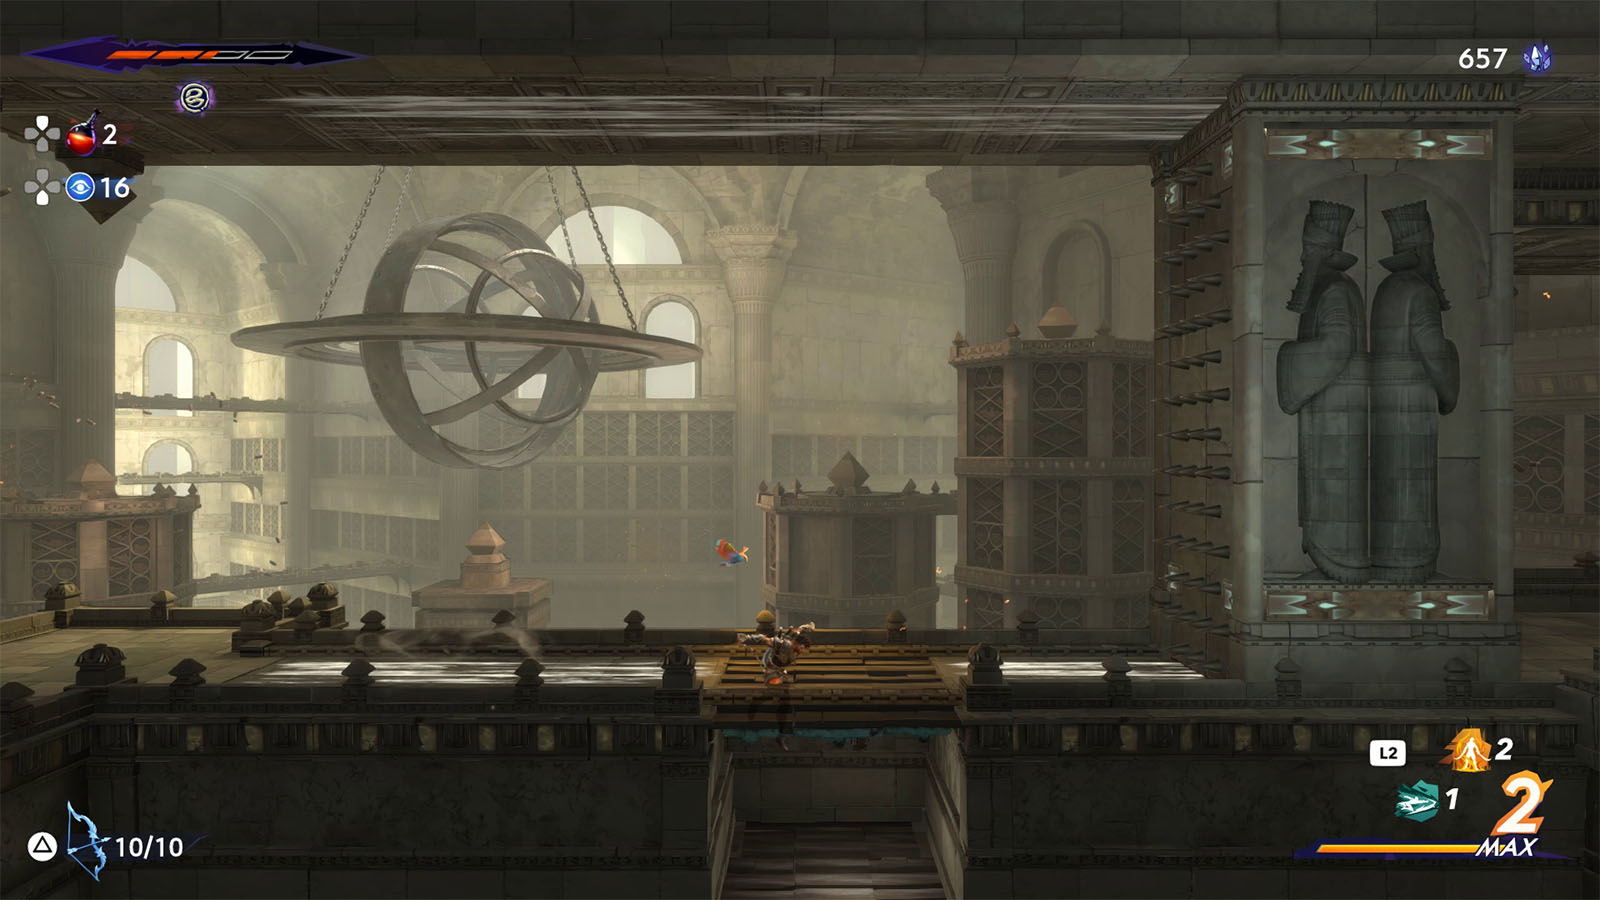
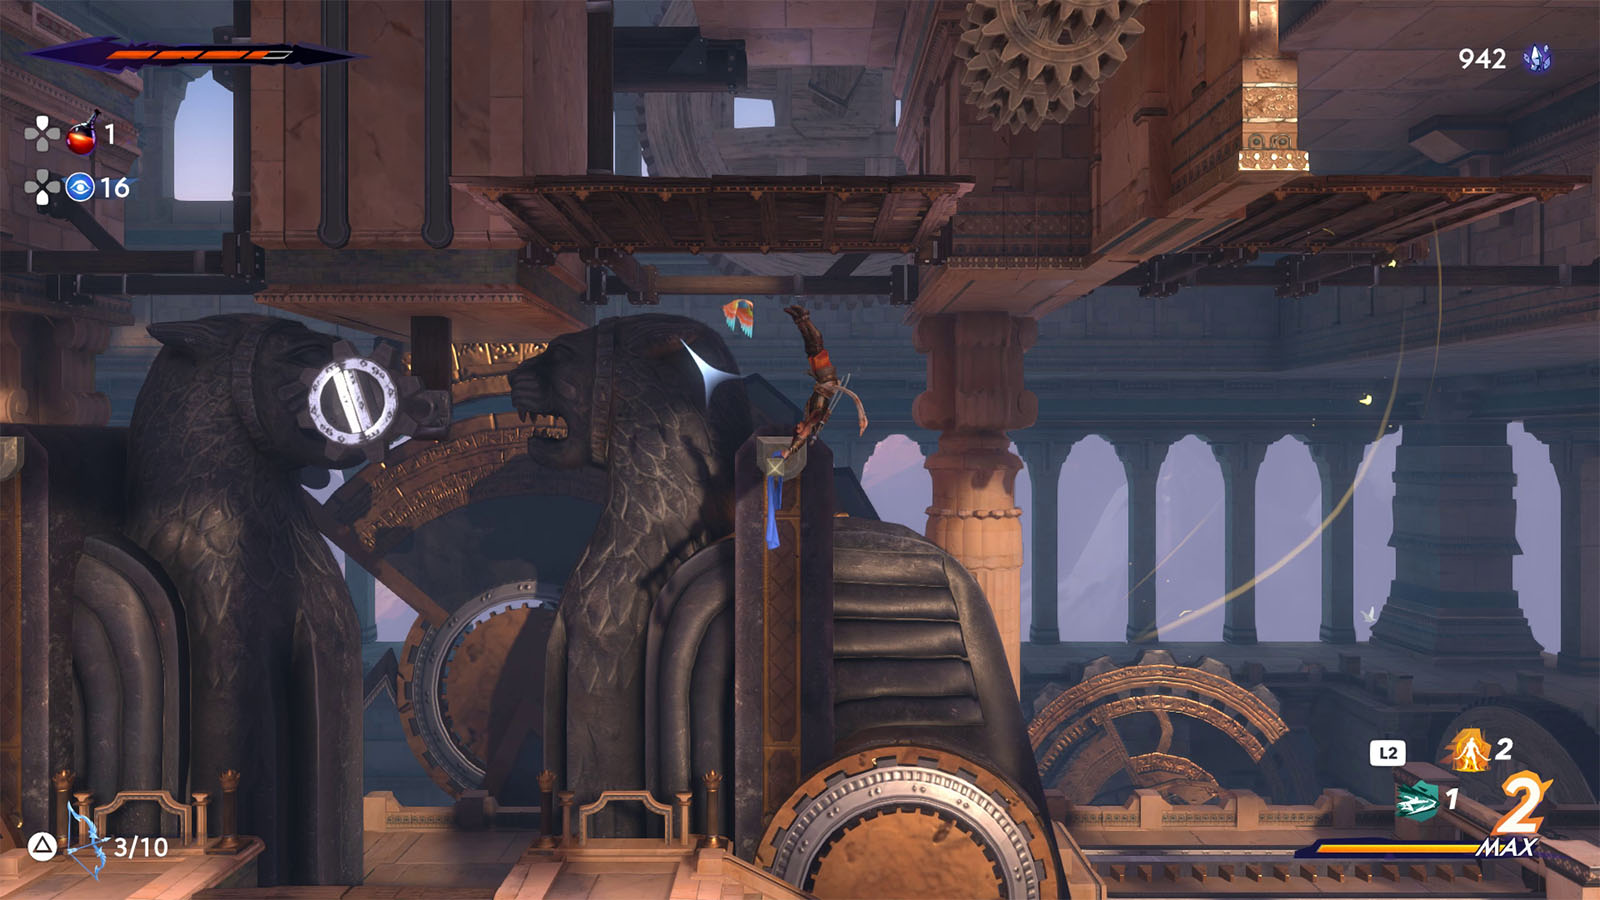
Then, continue to the west to find another Wak-Wak Tree and a Homa Statue. This will then allow you to fast travel to other unlocked statues, including the one in The Haven.

Before heading to the upper floor, head to the lower floor first and slide through the gap on the wall to the west to find a room full of crystals.
Then, head further west and hit the secret wall to find a Xerxes challenge room.
These rooms are gauntlets full of traps and obstacles, and your objective is to retrieve the Xerxes coin at the end of the gauntlet. Any time that you hit a trap, you will be sent back to the starting point. If you manage to get the Xerxes coin, you will still have to make your way back to the starting point without hitting any traps, otherwise you will have to restart and retrieve the coin again. The coin will only be truly yours once you land on a safe spot at the starting point.
Xerxes coins serve as a currency needed for certain upgrades from the Mage’s shop or in the Forge.
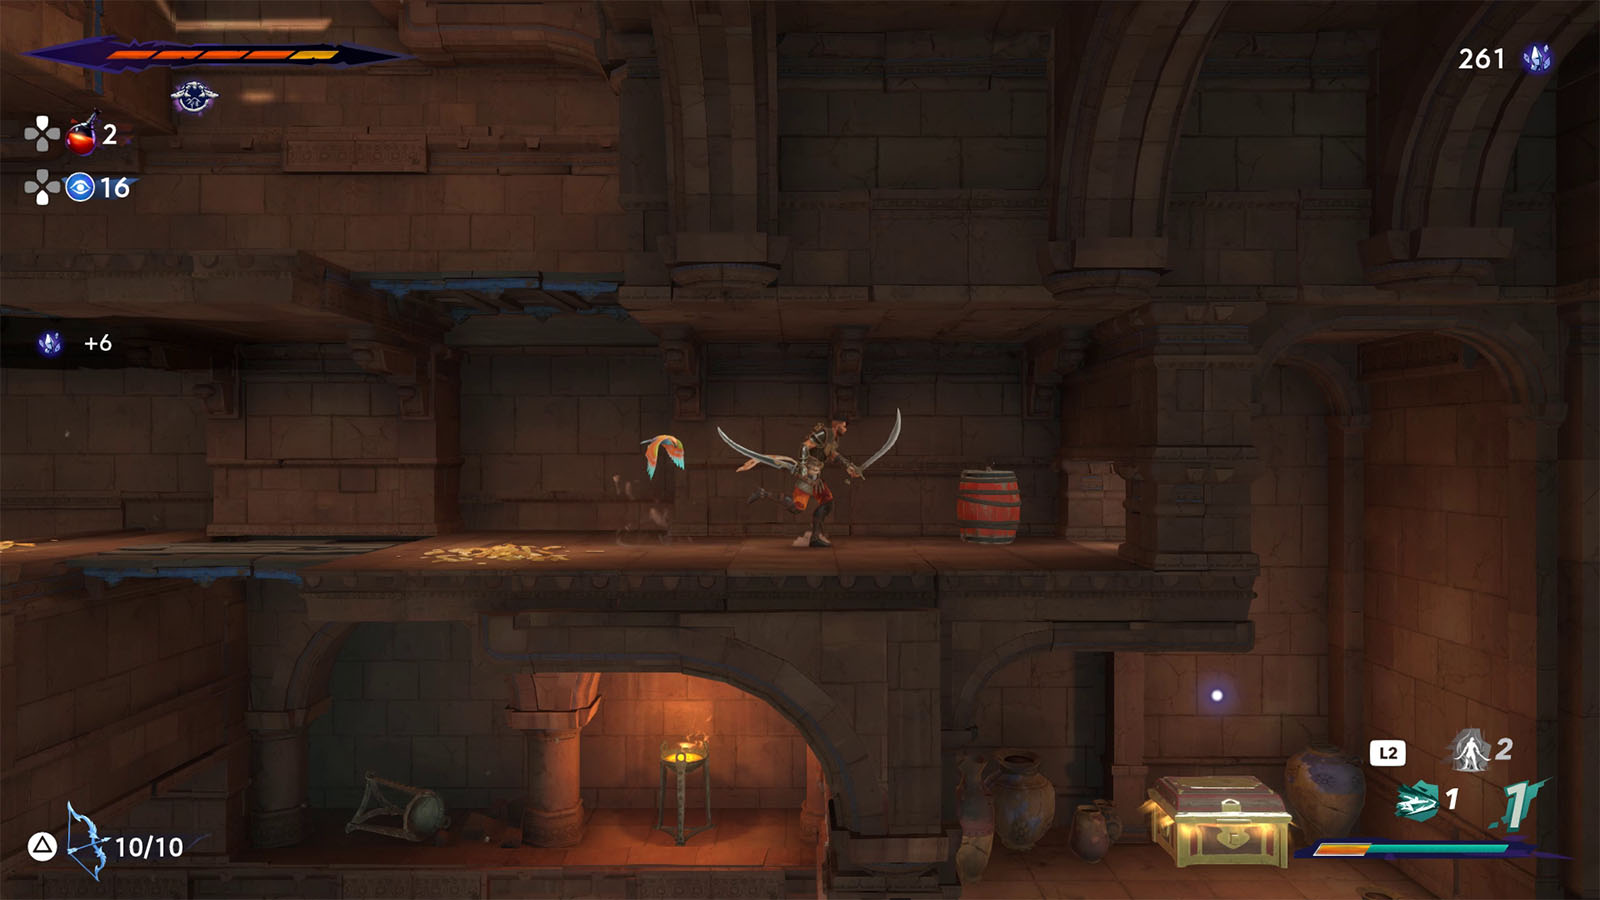
Head back to the main route and continue moving down to find a chest that contains the Rukhsana’s Gift Amulet. This amulet lets you restore some health after a successful parry.
Continue down to where the path meets with a previously discovered path to find the Collectible – Artisan Tools – Carpet Weavers. Pull the nearby lever to open up a shortcut.
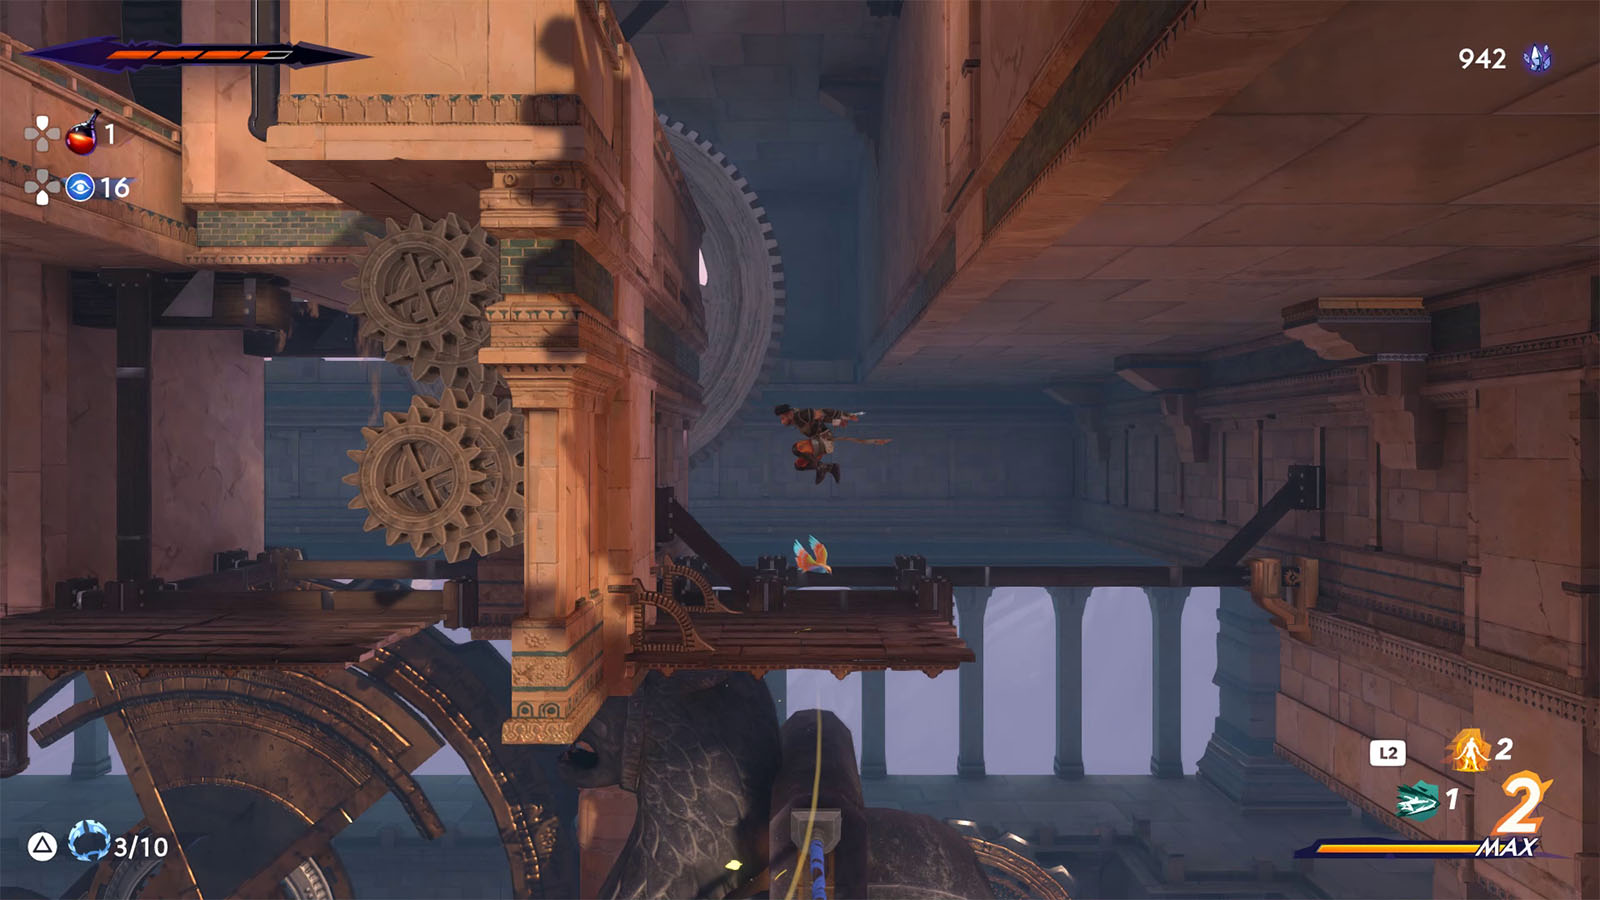
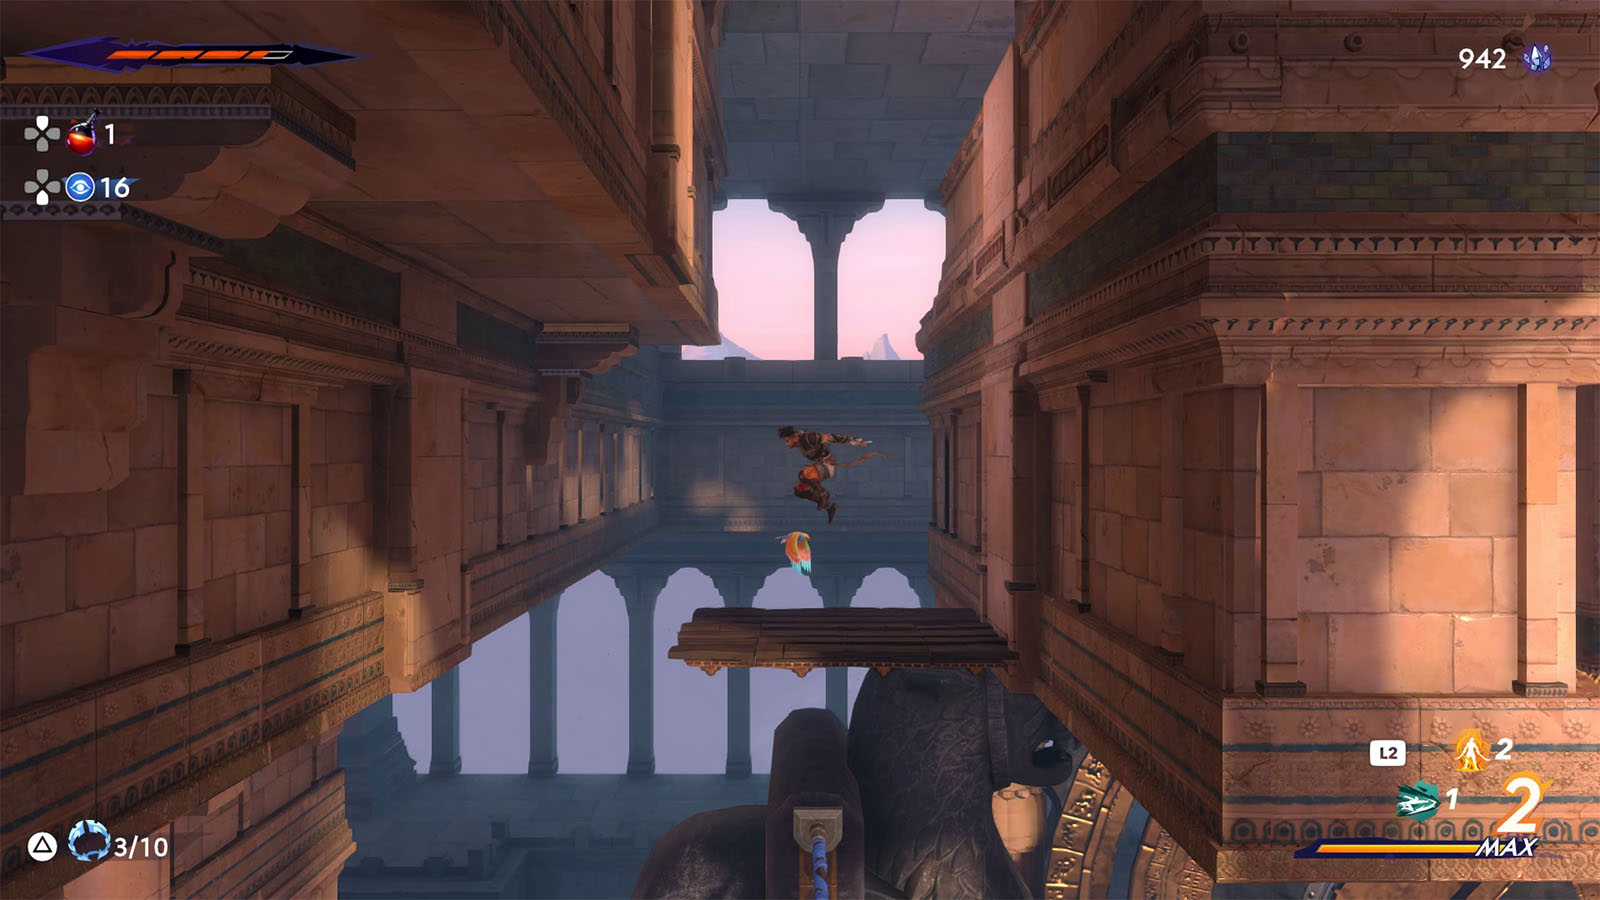
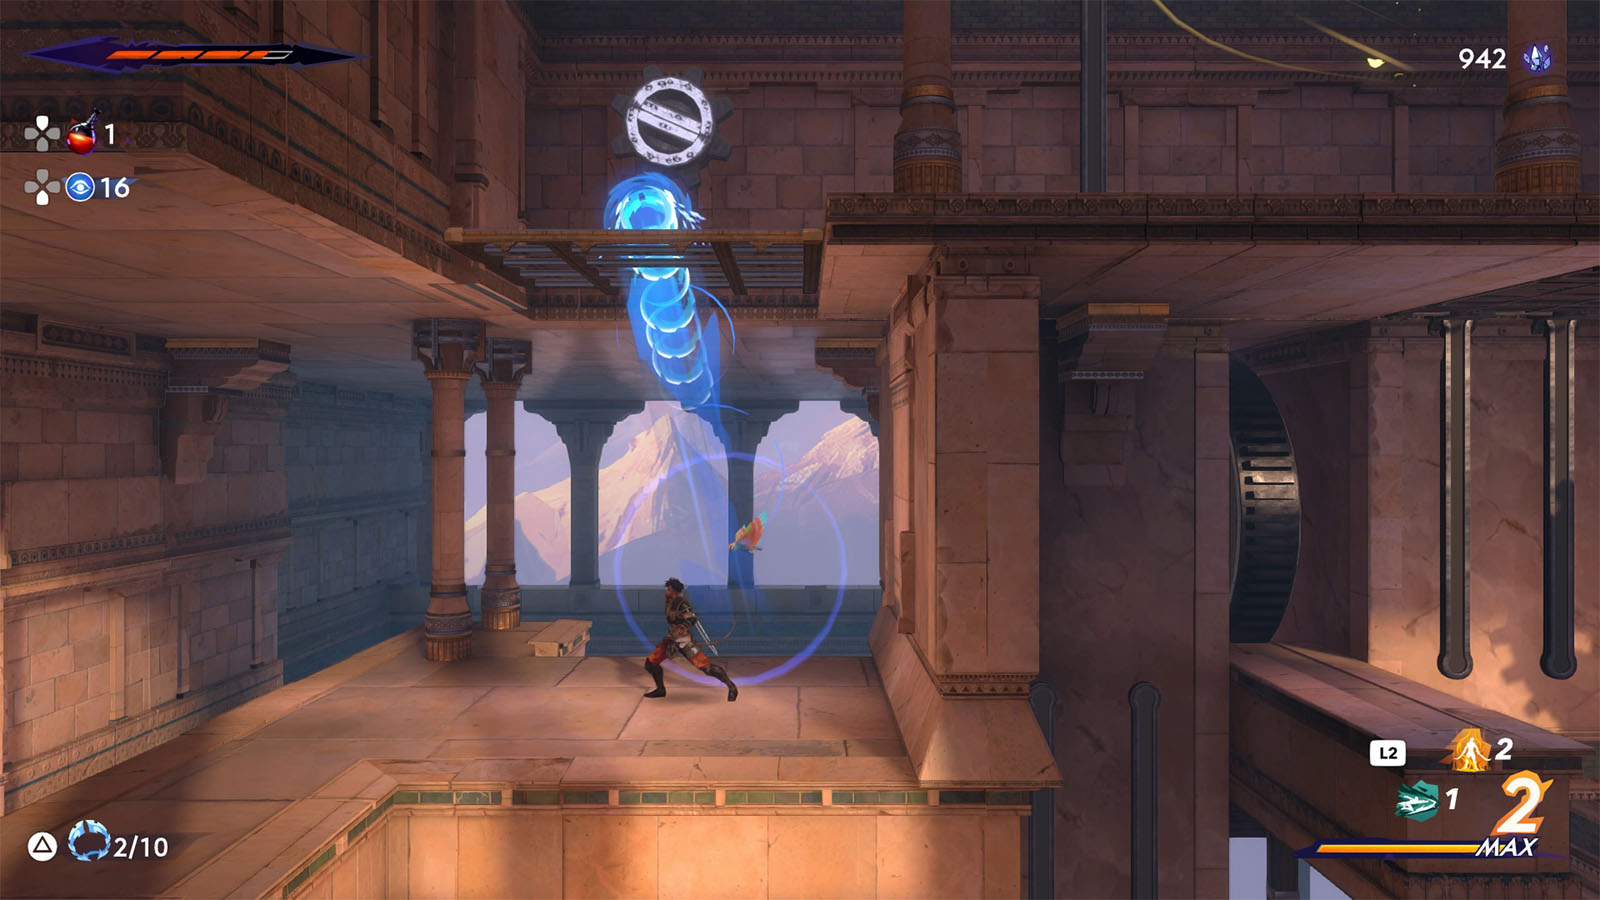
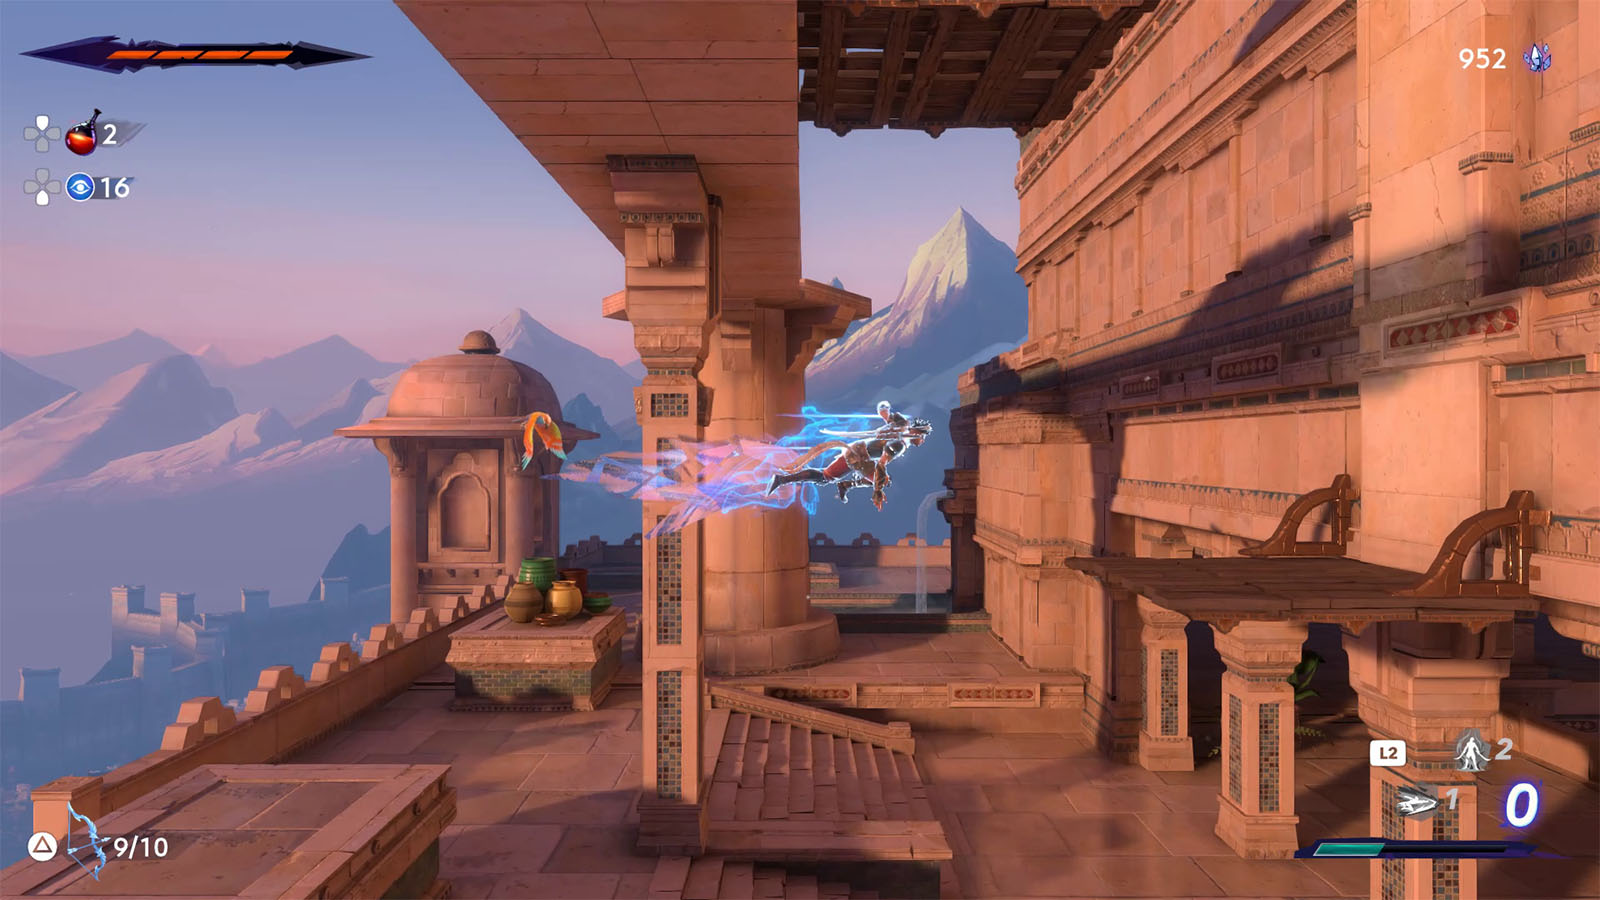
Retrace your steps back up to the main path towards the objective and make your way up through the poles. Remember that you can launch yourself from the pole and towards a safe wall, from which you can launch yourself higher.
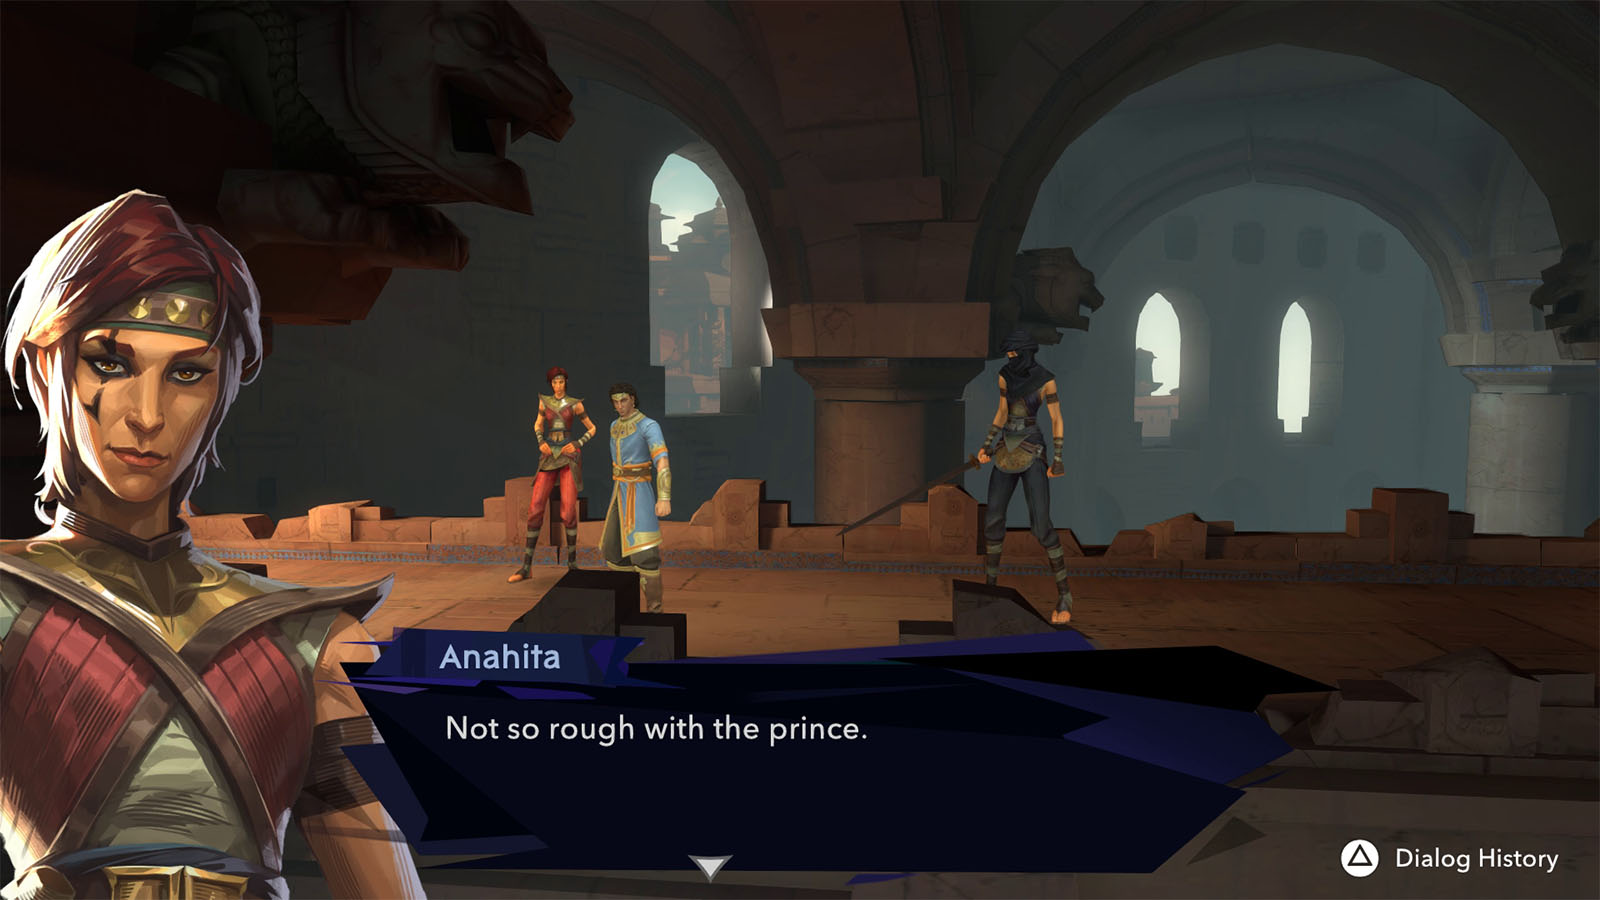
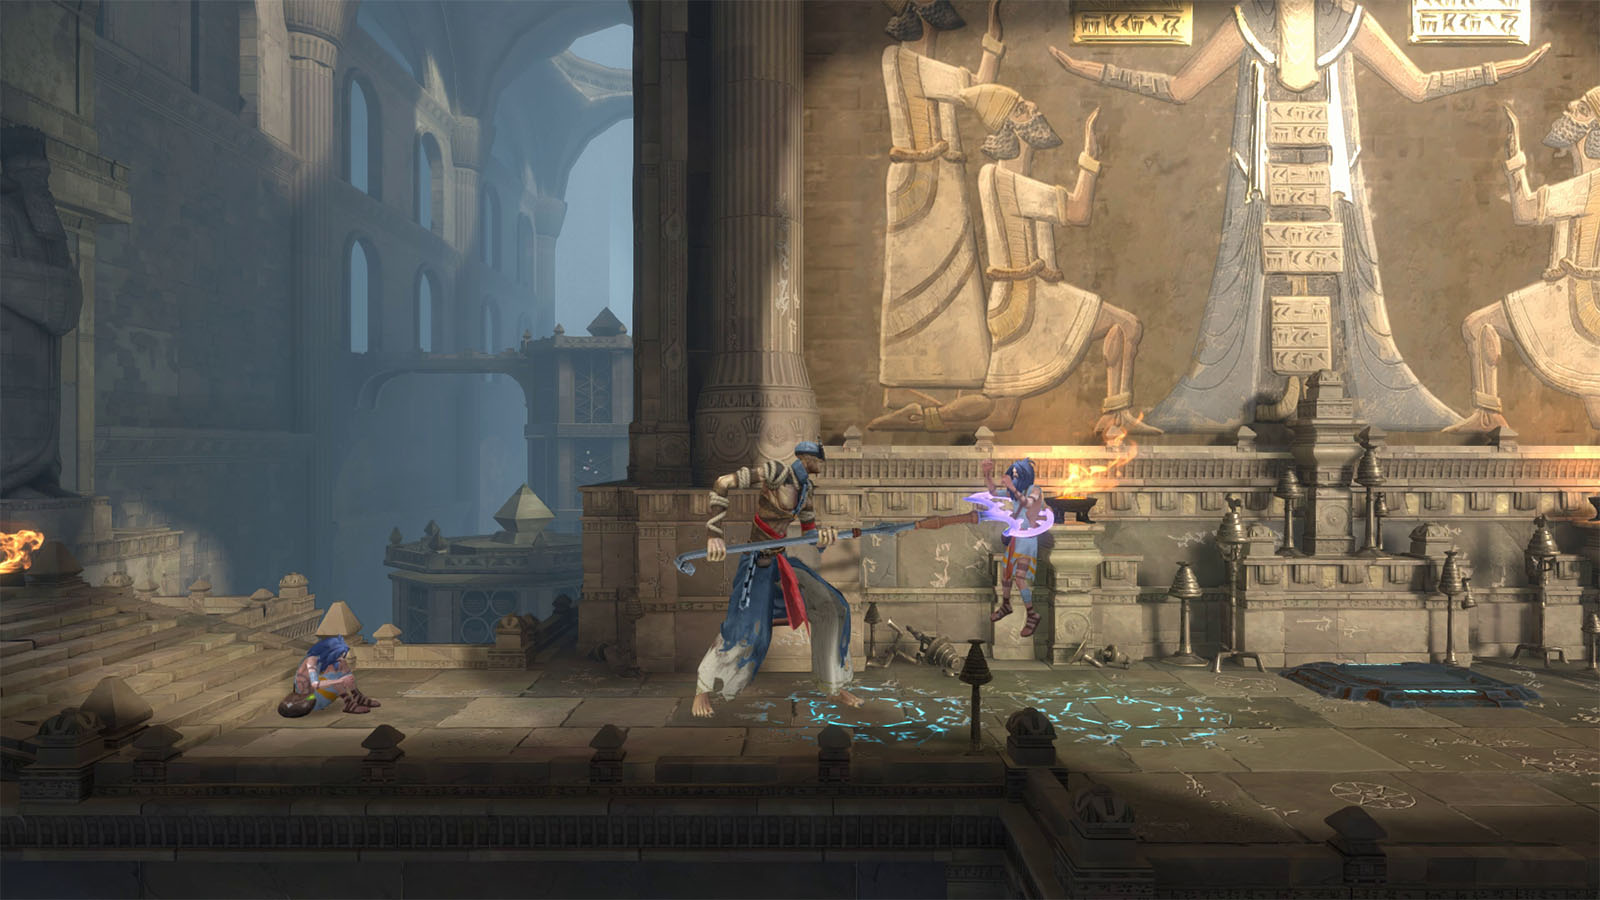
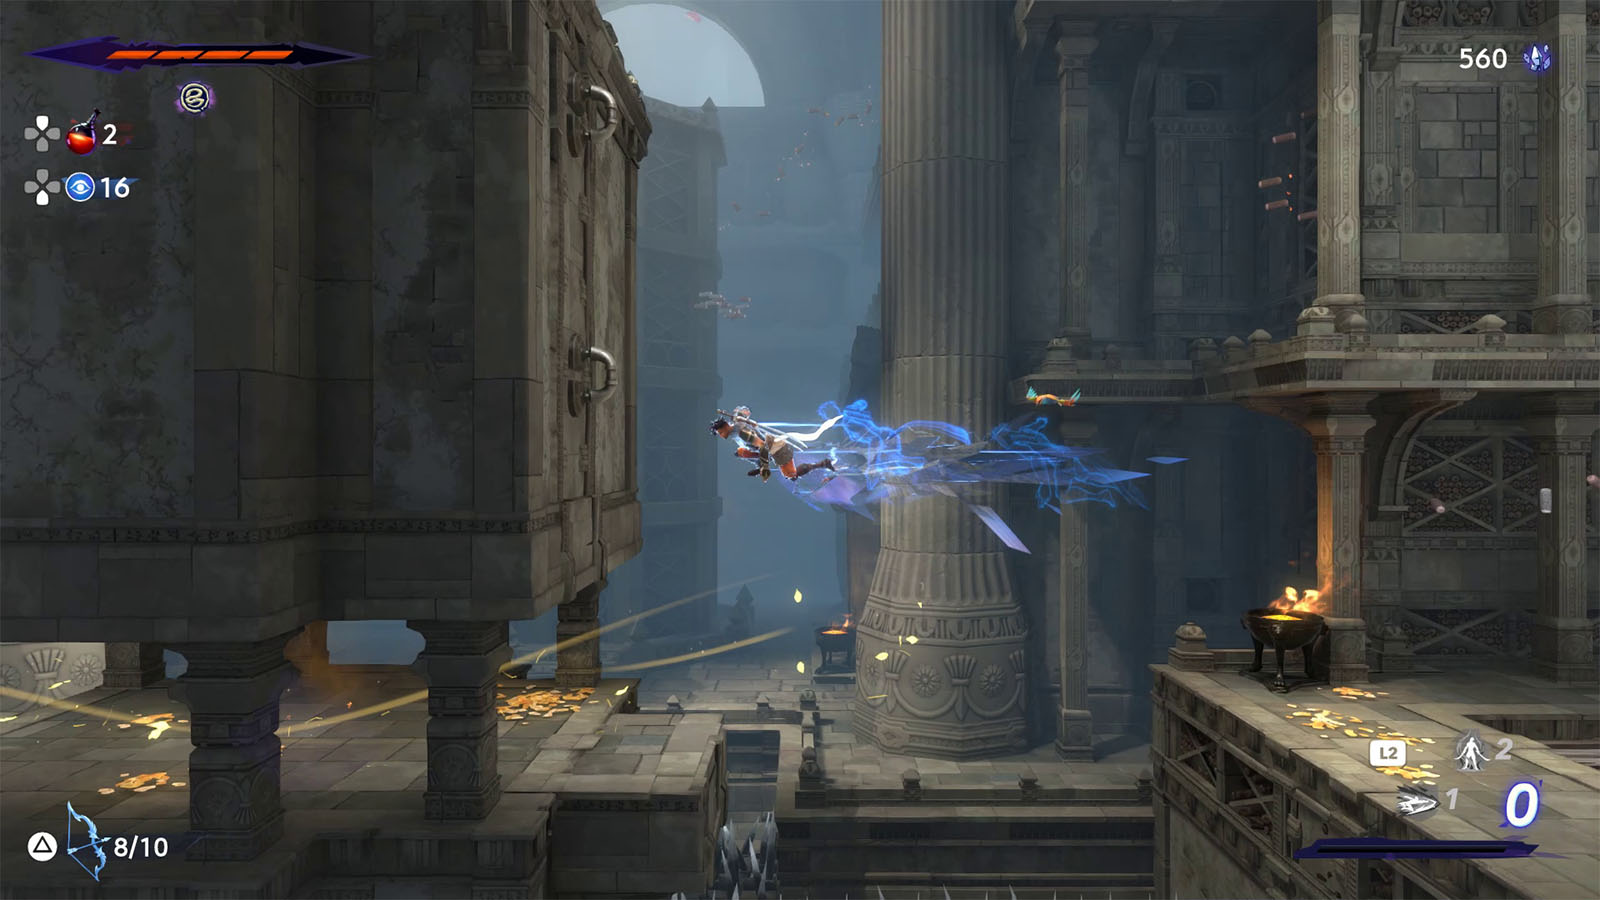
Once at the top, you will see Anahita and the Prince from a distance. Anahita then sends her soldiers to stop you. During the fight, Vahram will join you to clear the rest of the soldiers. After the fight, he gives you the Blade Dancer Amulet which adds an additional slash to your combo.
Go through the Sacred Archives to reach the Upper Citadel
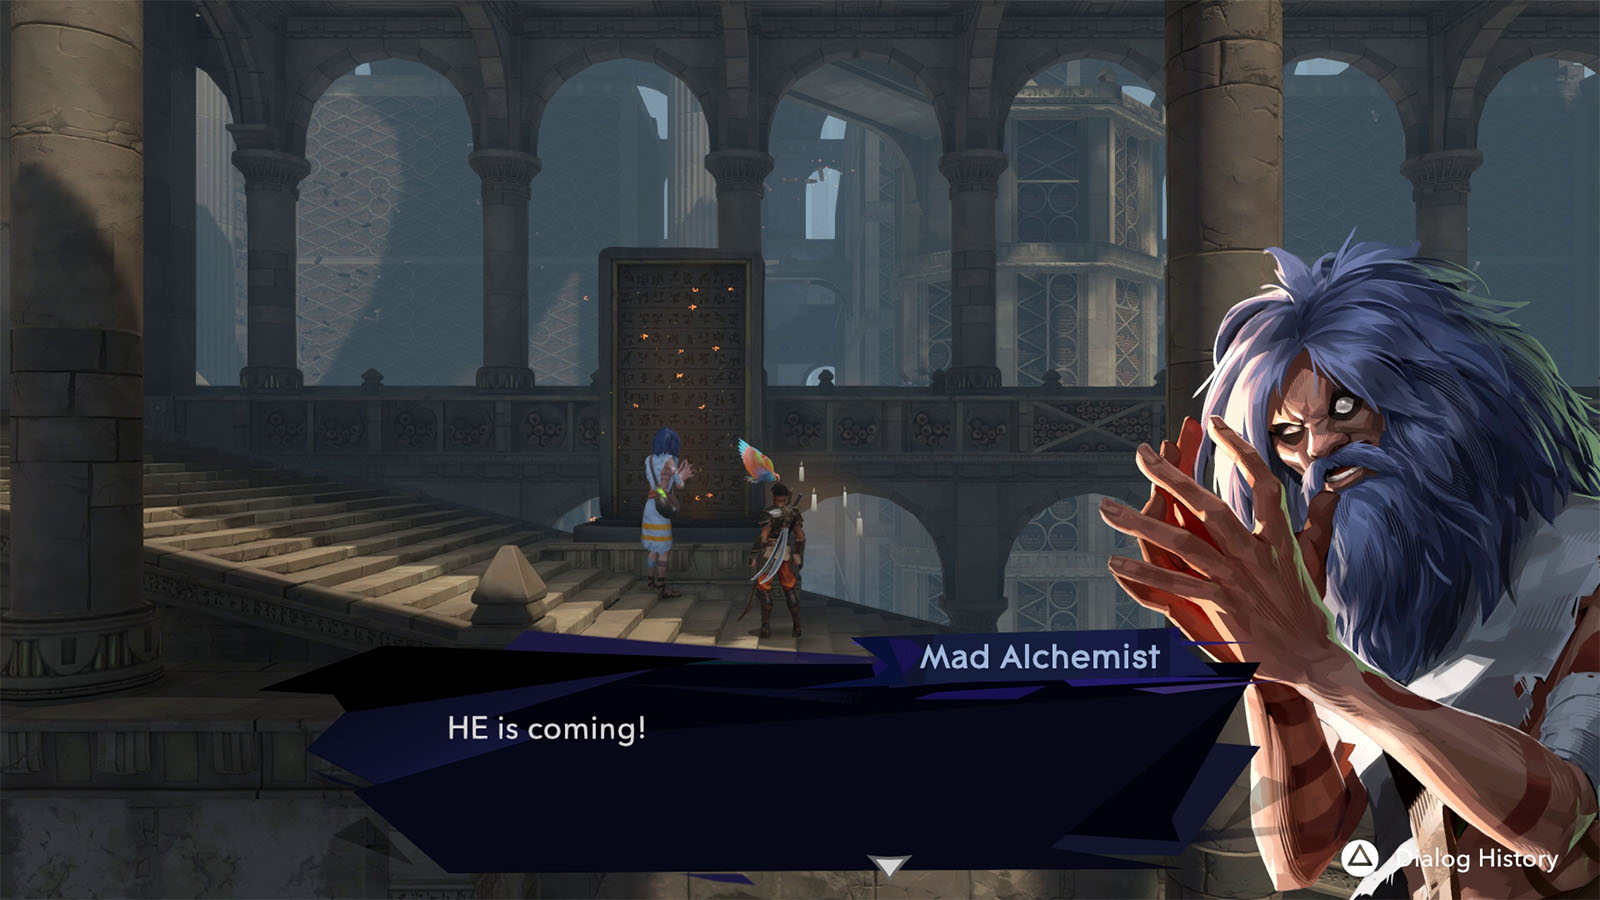
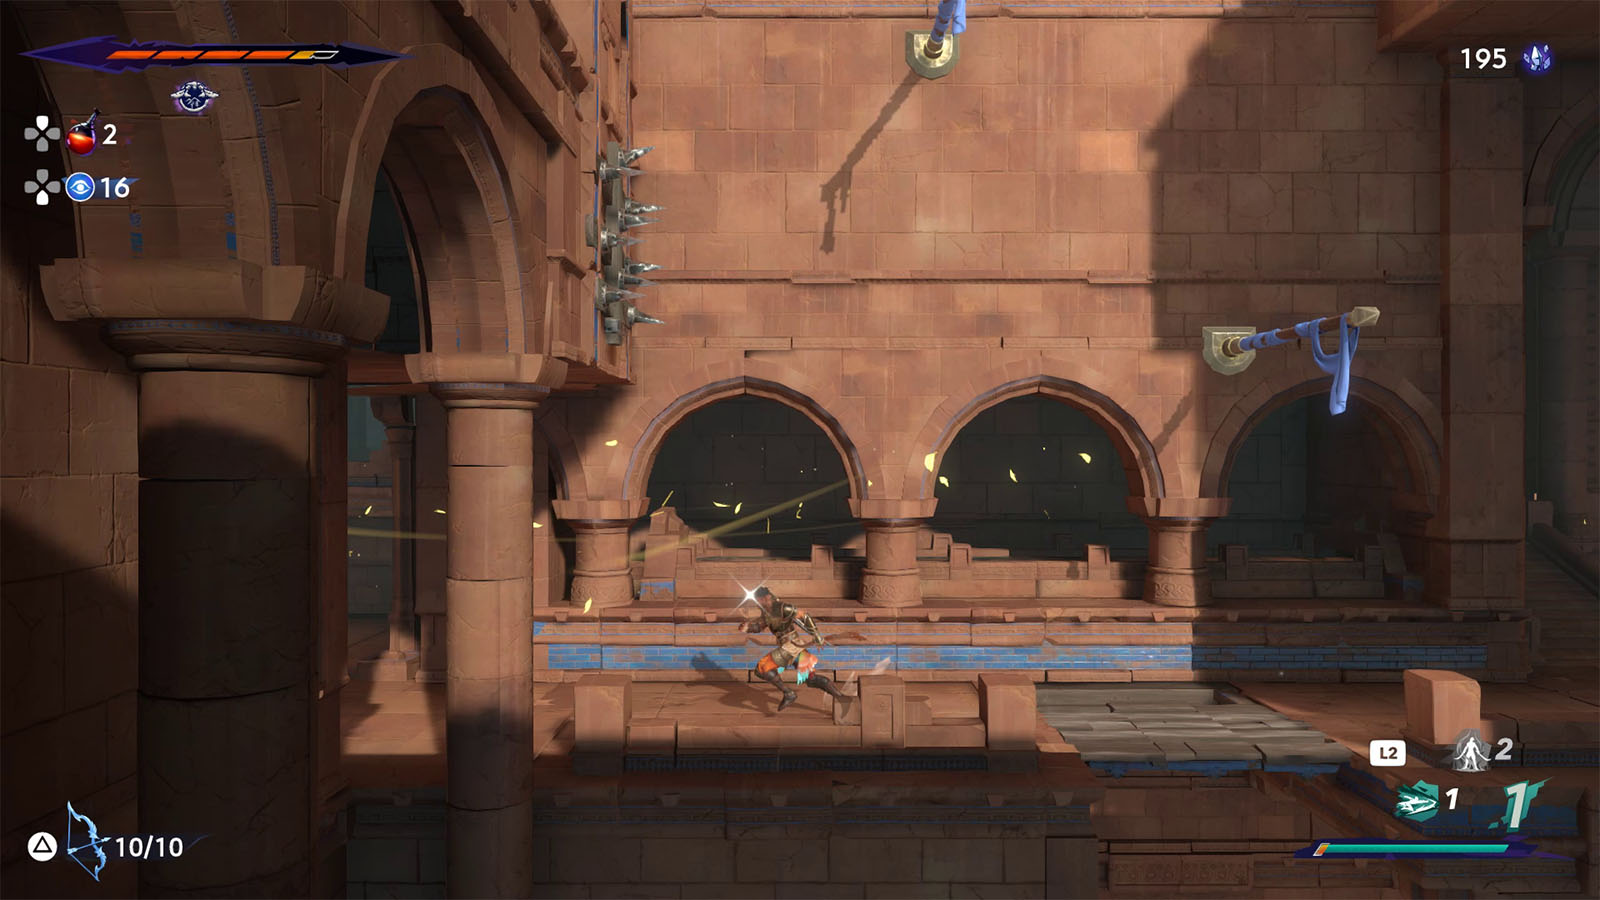
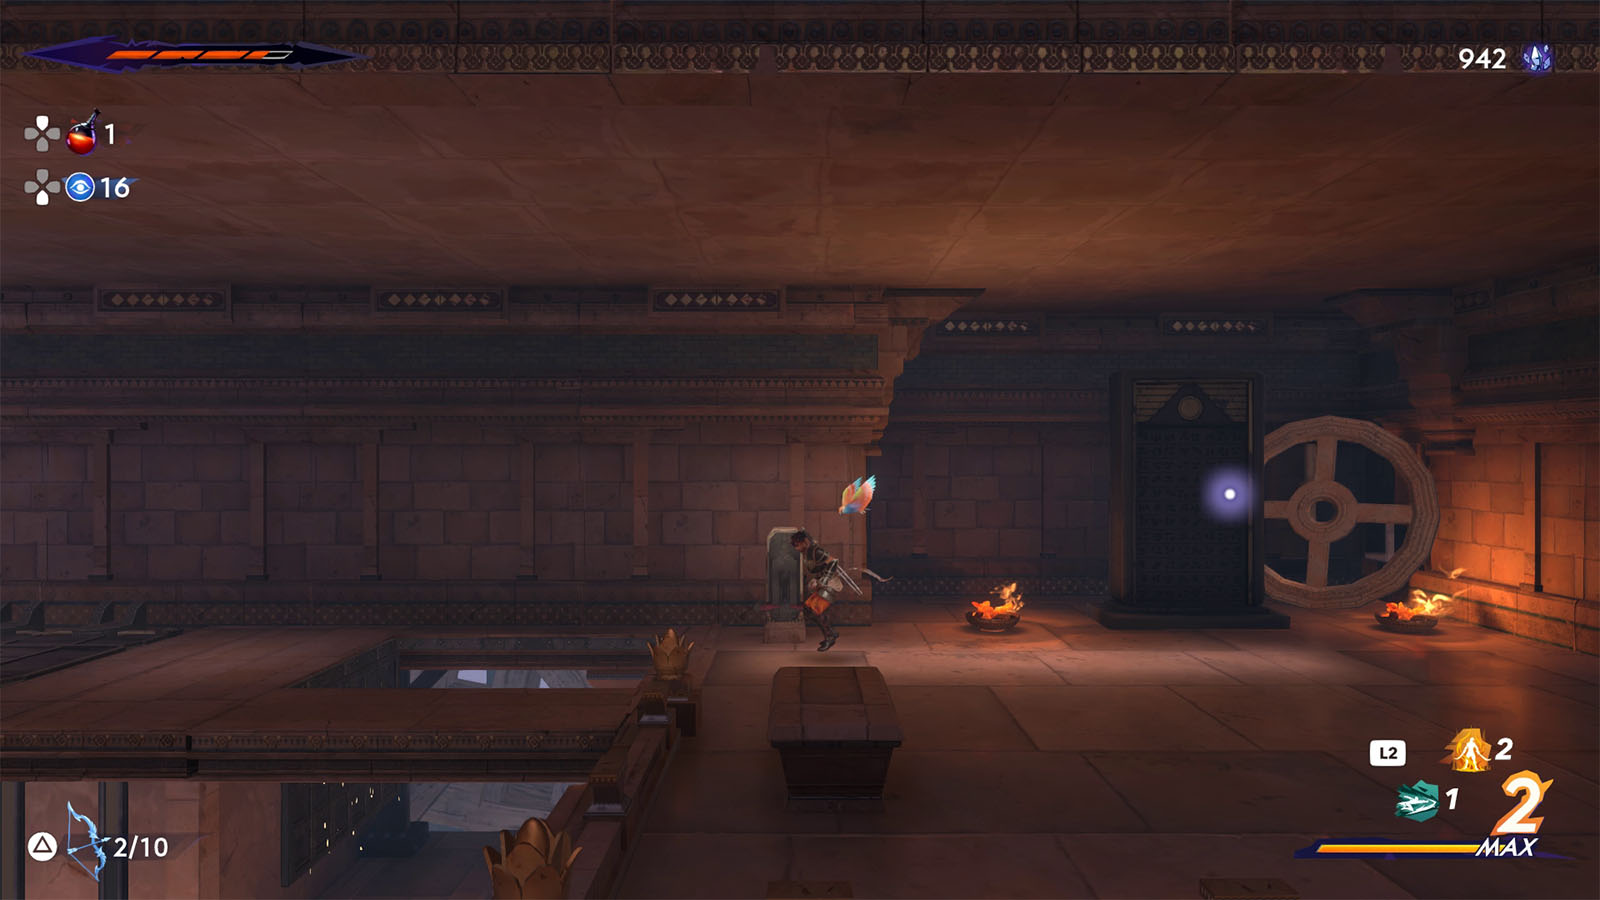
Make your way to the west to reach the Sacred Archives. You will start seeing Mad Alchemists roam around the area. They are not hostile at first, but they will turn aggressive as you go deeper into the archives.
You will also come across stairs that shift depending on the direction that you are facing. Learn their timing to be able to use the stairs and get where you want to go.
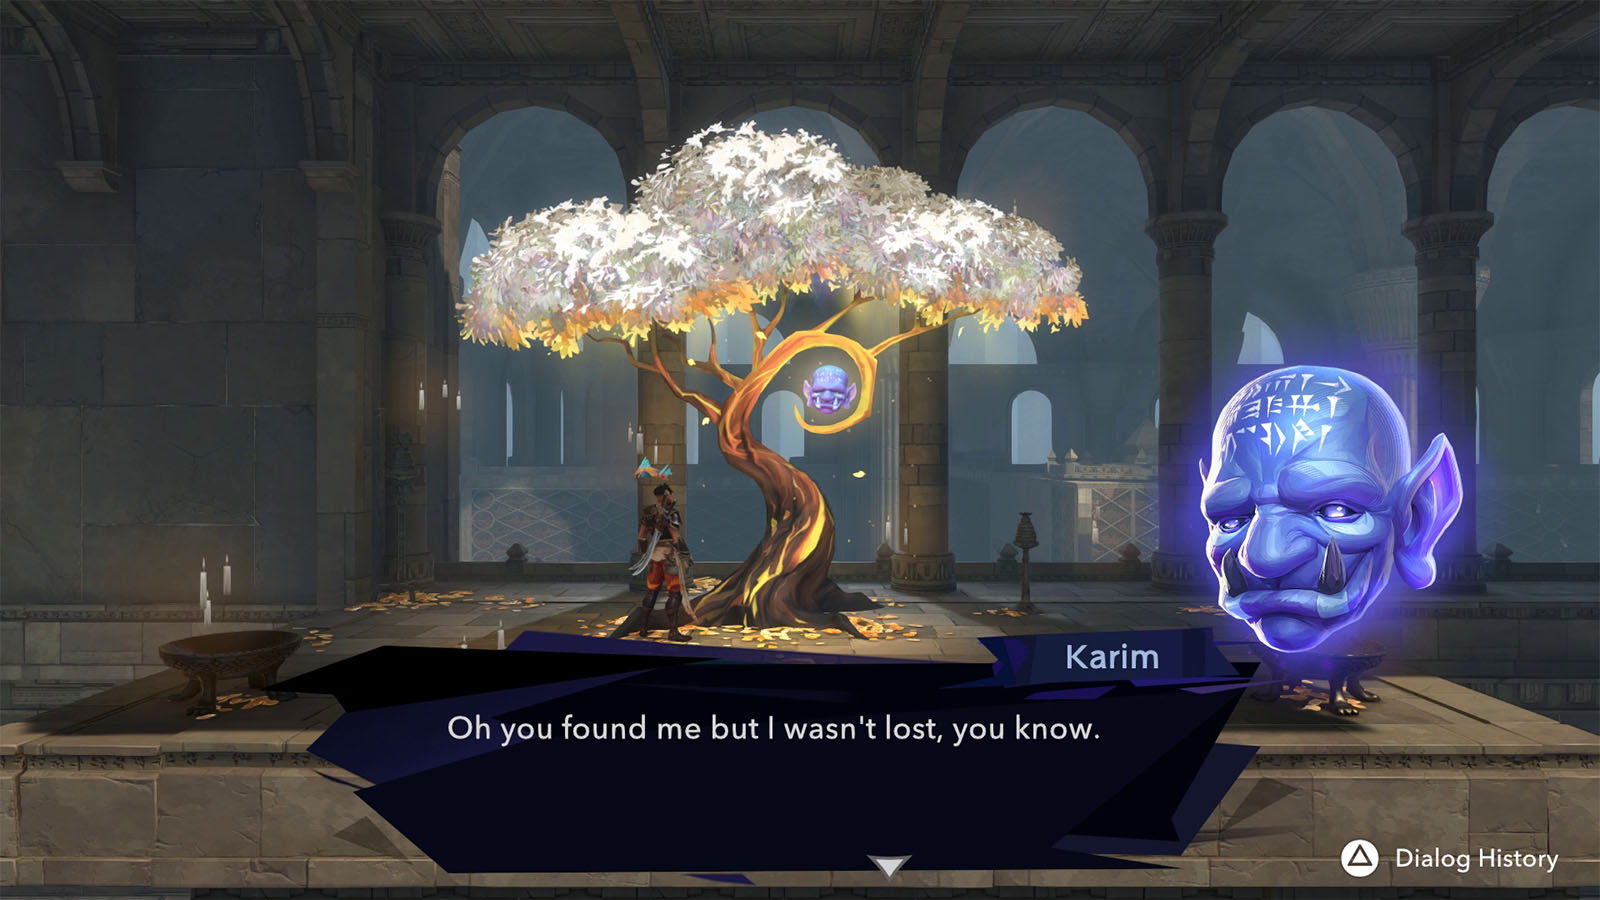
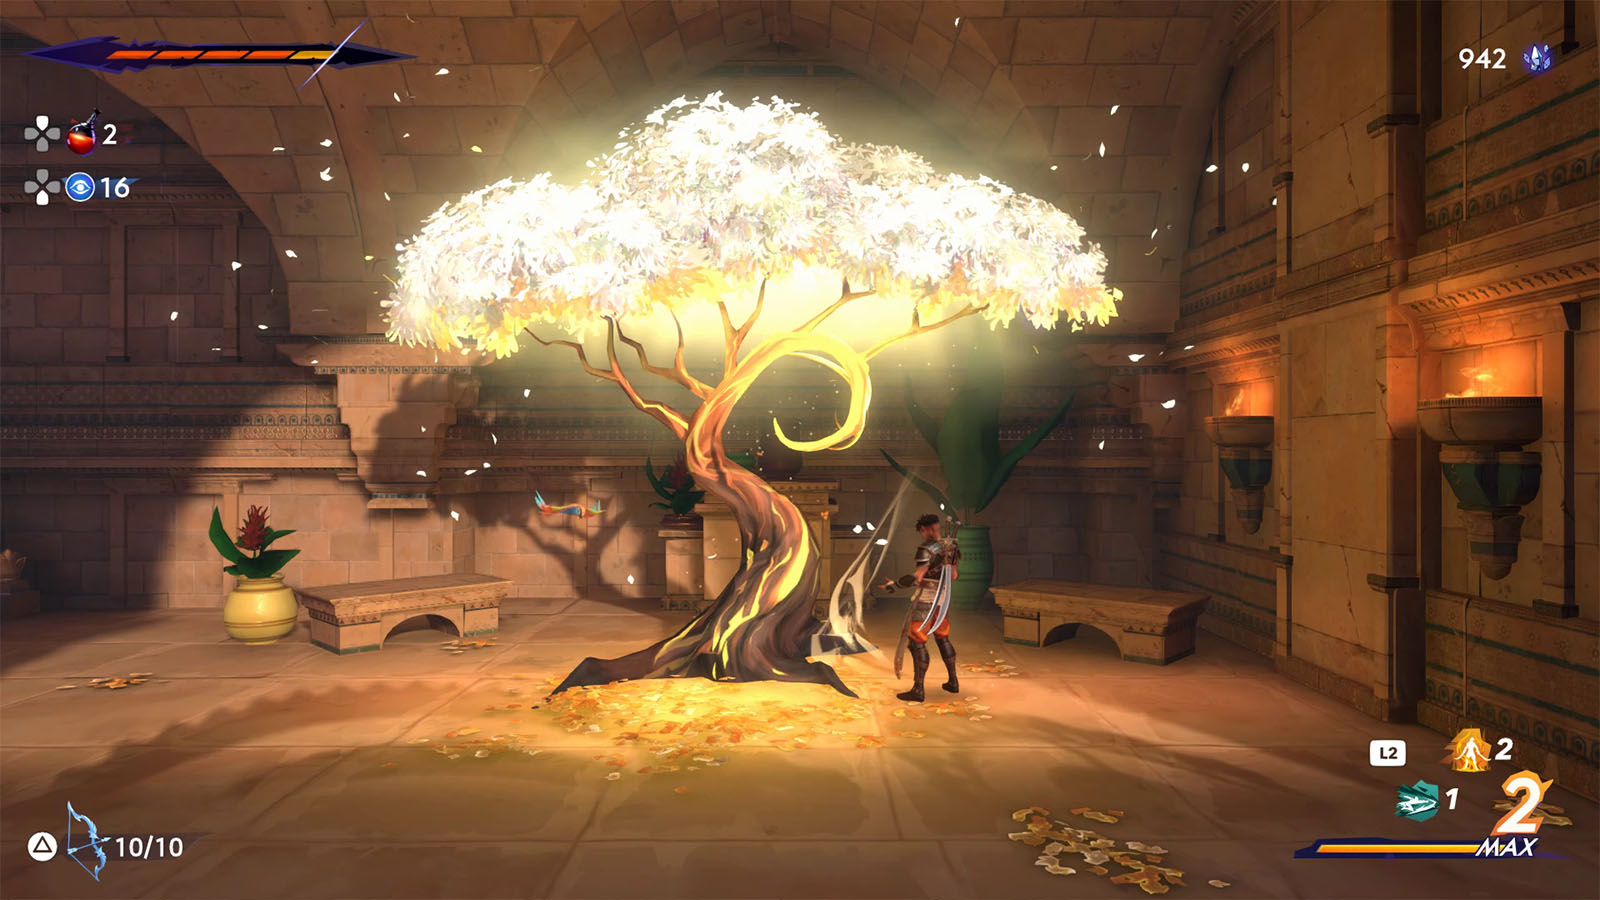
Follow the golden breeze for now to reach a tree and meet Karim, the inhabitant of this tree.
Towards the east of the tree, hit the wall to reveal a secret room full of crystals.
Make your way to the west and follow the path to the objective. In the next room, you will find more alchemists including a Warden. These wardens use their sense of hearing to find their targets and you will encounter more of them deep in the archives.
Additionally, this room has a secret that you can unlock later; mark it for now. Talking to the all of the alchemists will make them mad and they will start to attack you.

On to the next room, you will have many paths to take. Find the path that has the crescent moon symbol first and head west.
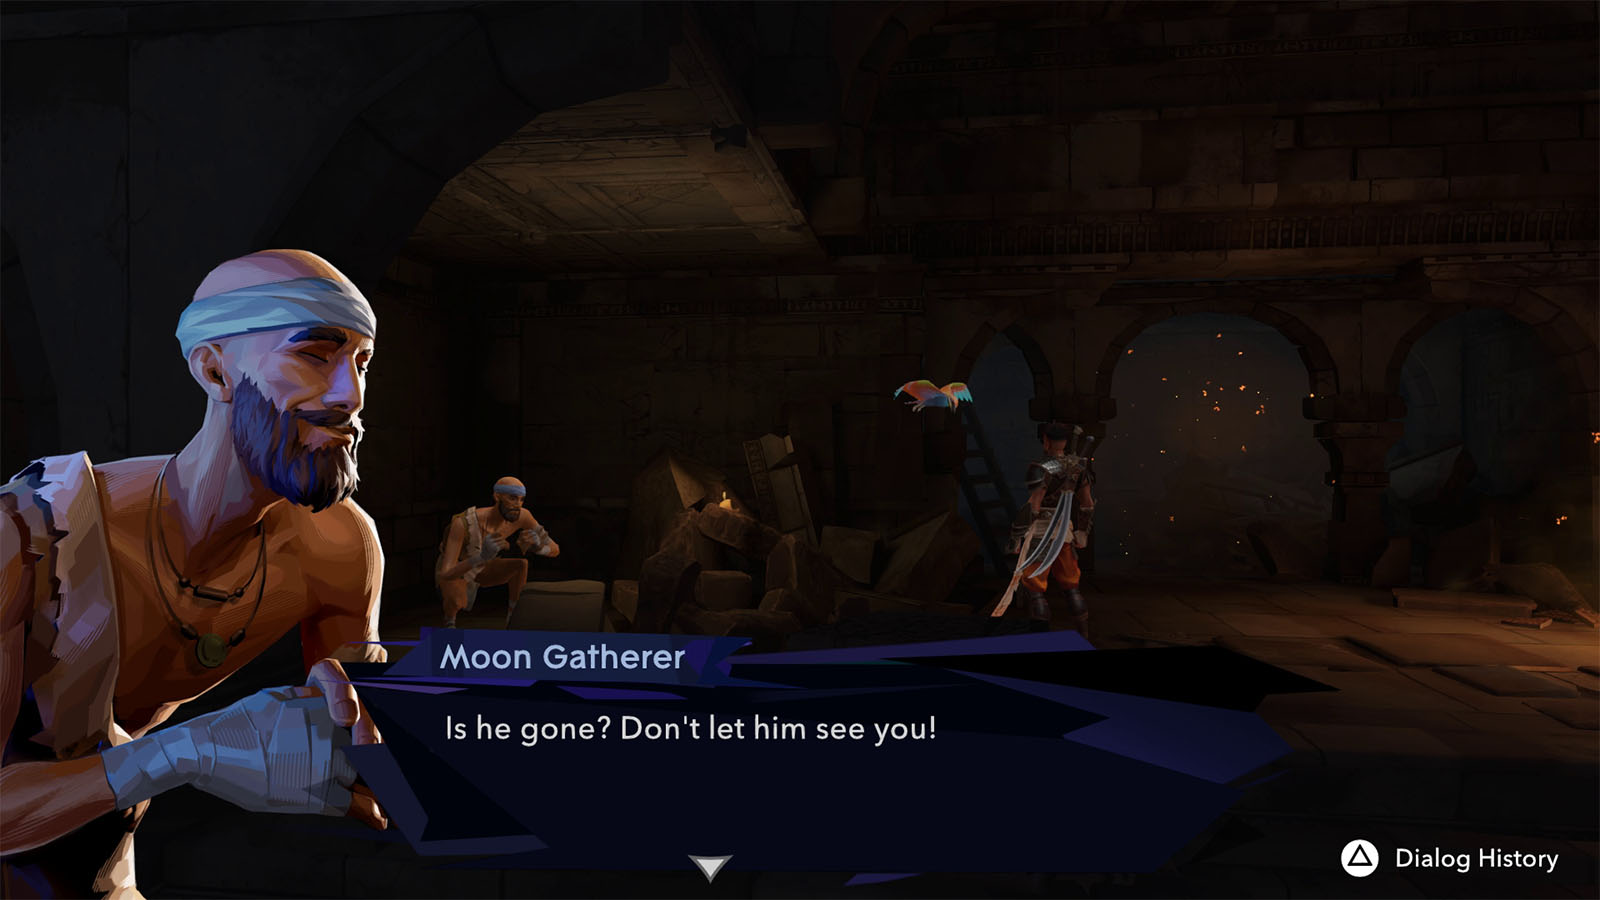
Go through the corridor and break the door to find the Moon Gatherer. Talk to him and he will give you the Dragon King Amulet that protects you from a killing blow. This will also start The Moon Gatherer Side Quest.
Go back to the fork room. The path to the south leads to an encounter, but you will need a special key to access it. For now head to the upper levels and make your way to the next tree. Look for the Homa Statue which is at an upper floor.
Head back to the fork room and take the path to the east. In the next room, you will encounter the wardens. Pay attention to their sphere as this will show their range of hearing. You can slip past it by sliding underneath or jumping over. If you’re caught by the sphere, the warden will turn aggressive and chase you down.

Follow the stairs leading to the elevator room, then take the elevator to the top. In the next room with the shifting stairs, make your way to the upper left corner where there is a room that has a chest. Time your movement right so that you can get past the gate of the room. Inside the chest is an Azure Damascus Ingot.
Continue to the west room and make it past the enemies to reach the lever that opens a shortcut to a previous tree. Then climb the wall to the west to get to the upper floor.
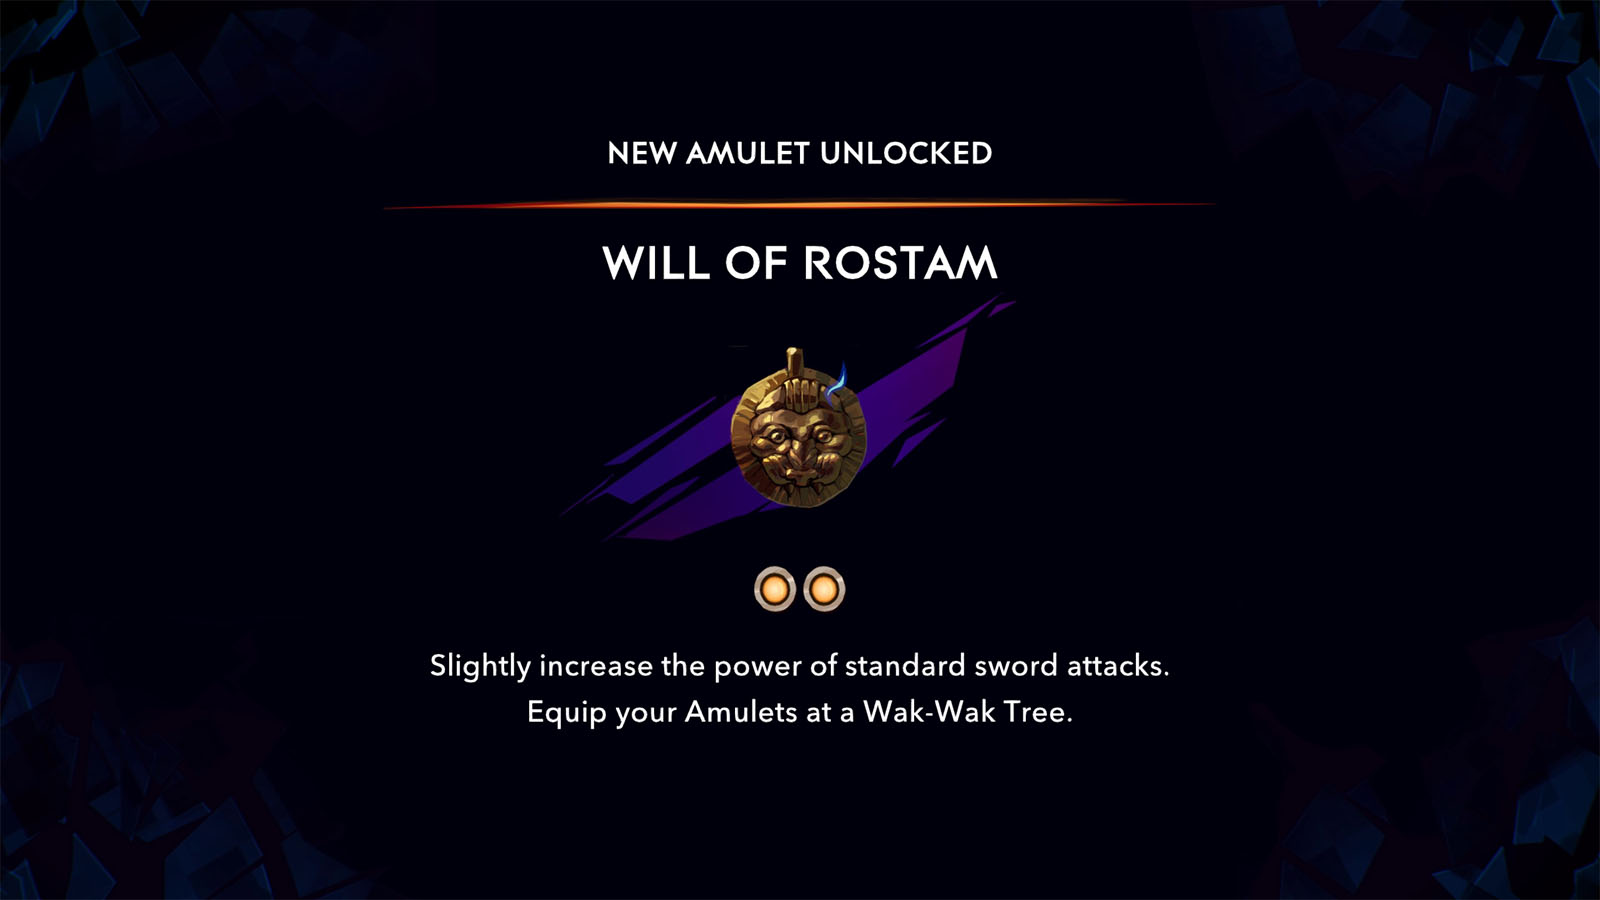
Go past the next platforms and continue to the east to find a chest that contains the Will of Rostam Amulet. This amulet increases the damage of your standard sword attacks.
Back on the main path, be aware that the warden can also move up and down the platforms. Make your way to the upper left path to proceed.
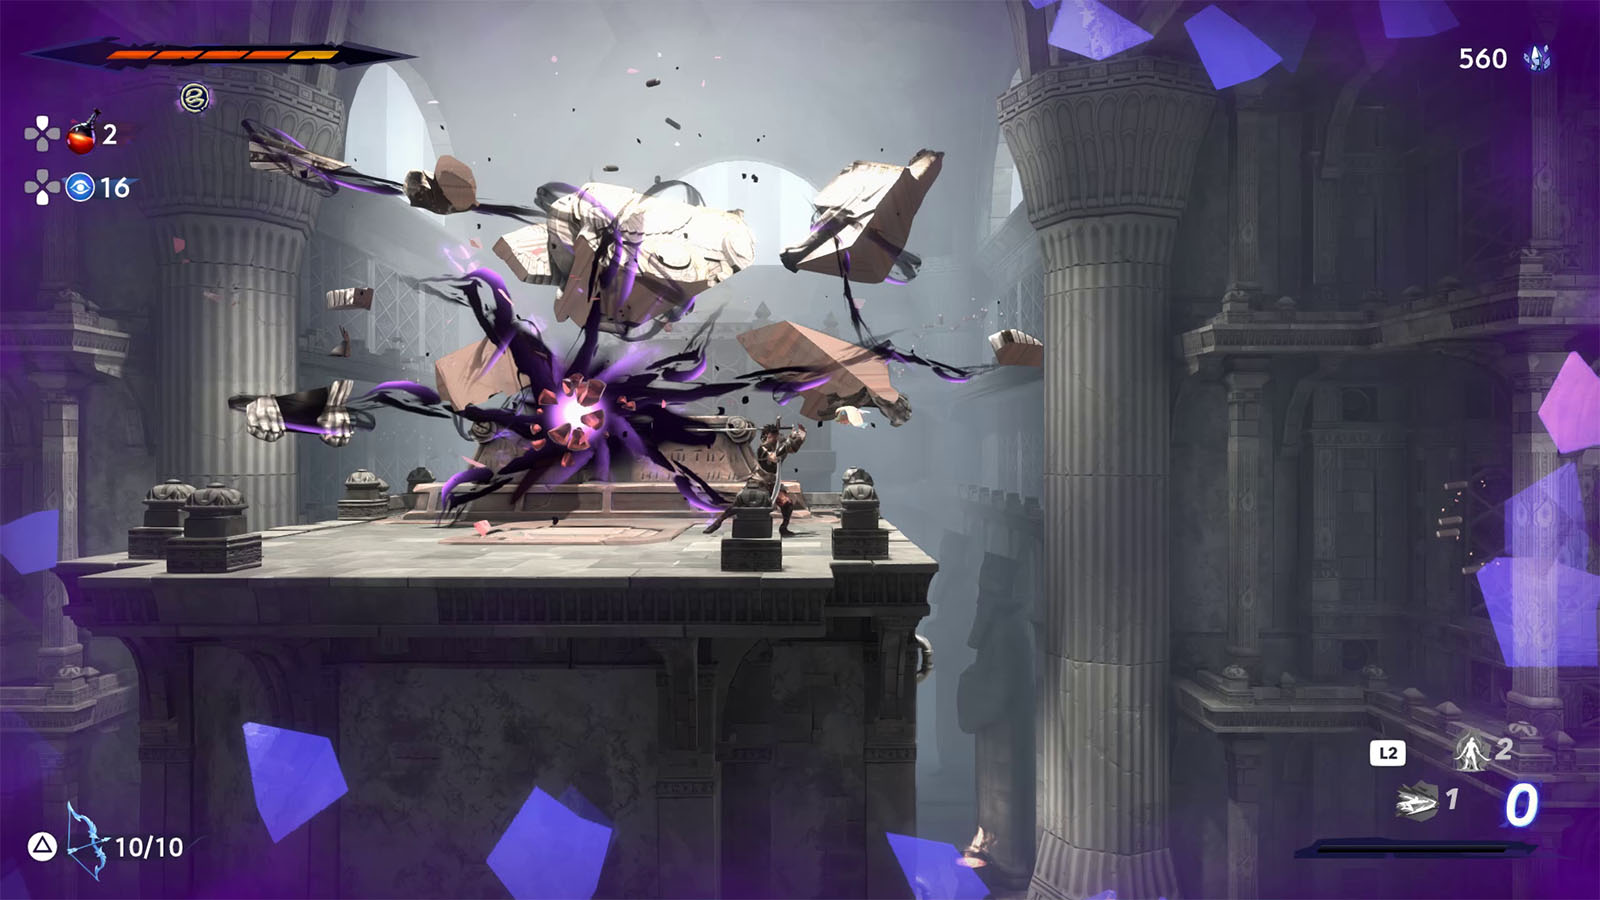
You will then reach a room that has moving spiked walls. These walls move depending on where you face so you can control when they move. Head towards the right side and hide underneath the platform. Make the wall pass through and then you can proceed to the east.
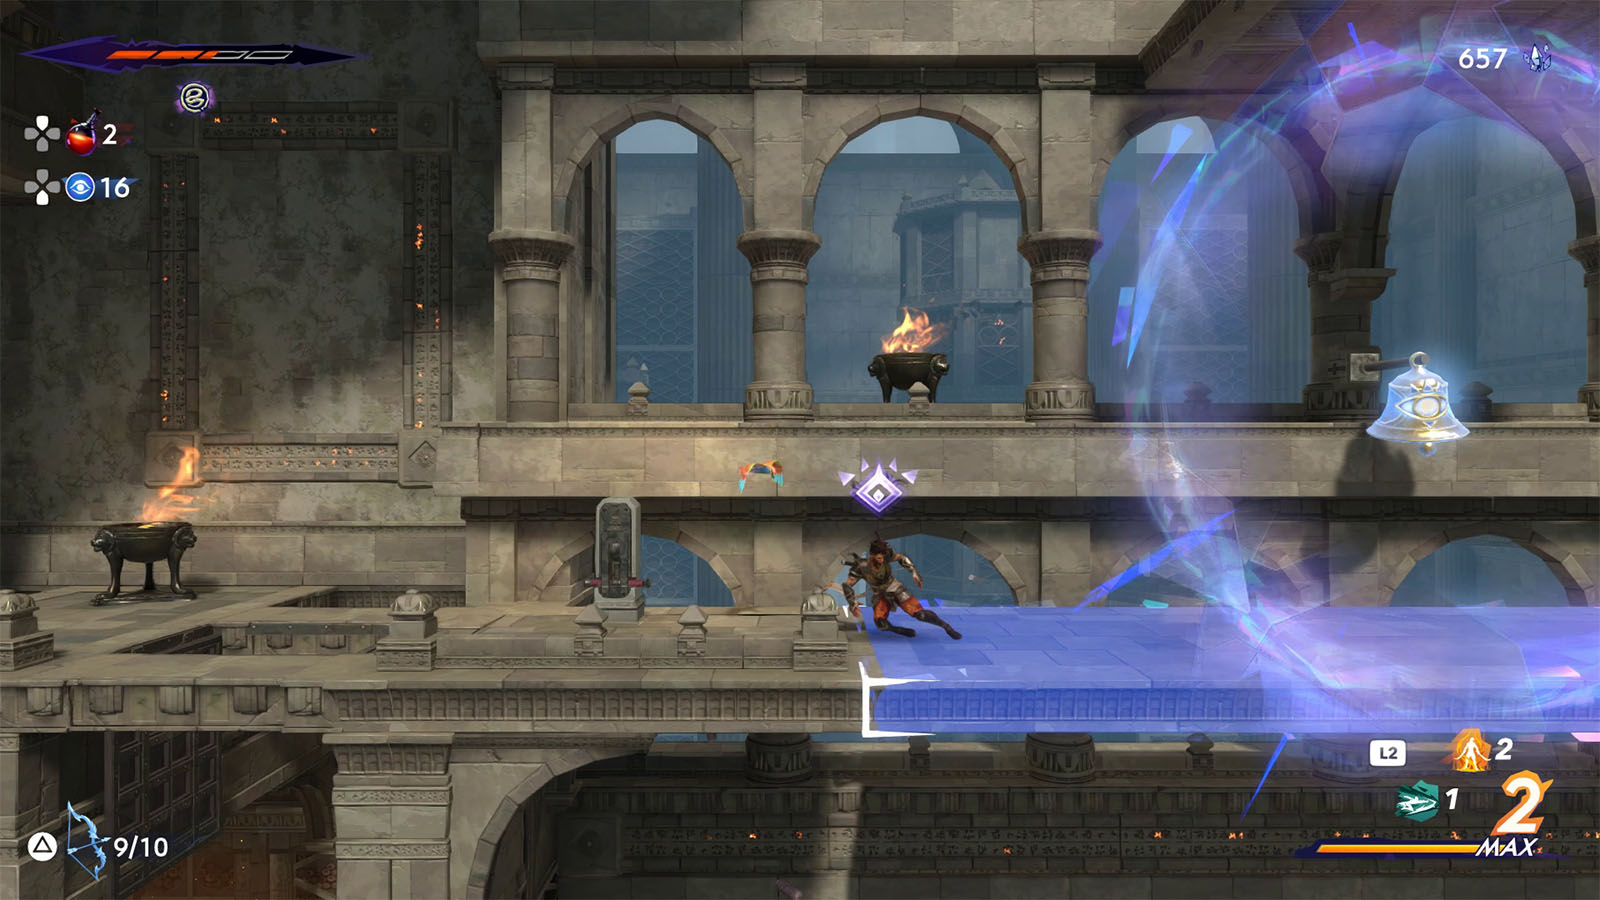
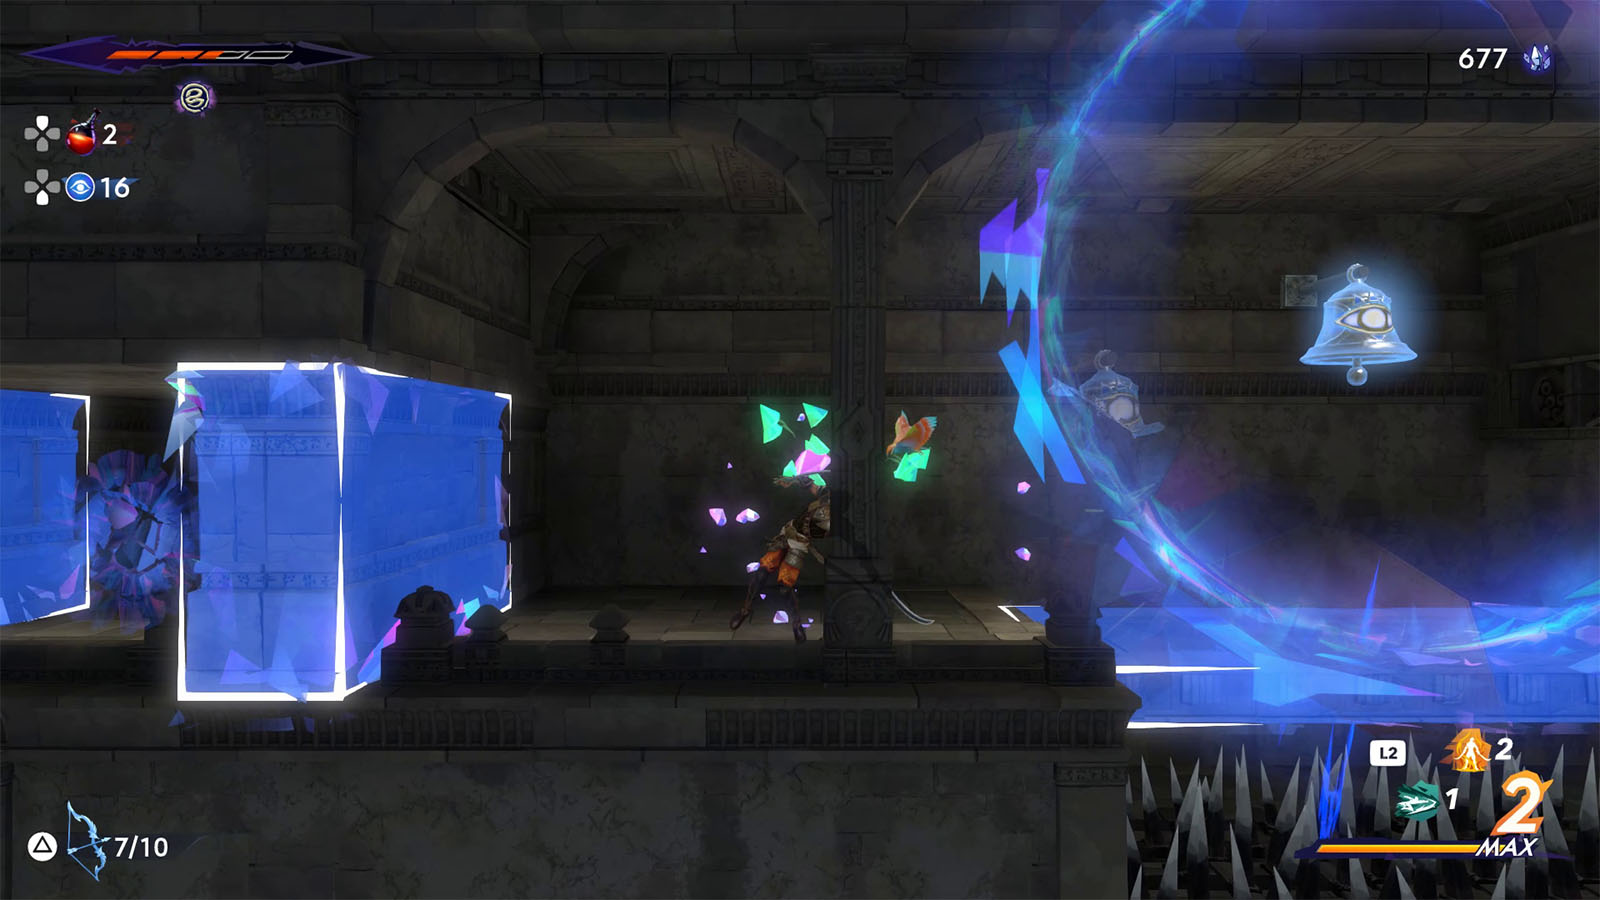
The next path will require proper timing. Hit the bell so that the crystal floor becomes solid. Then pass through quickly before the floor disappears again. Make it all the way to the top until you reach the upper right path.
In this path, you will encounter Wisps which will follow you around slowly. You can shoot them with an arrow to dispel them.

At the fork, follow the path straight to the east for now to reach the next tree.
Back at the fork, the lower path will take you to a puzzle room with crystal floors and walls. You can revisit this floor past Chapter 4.
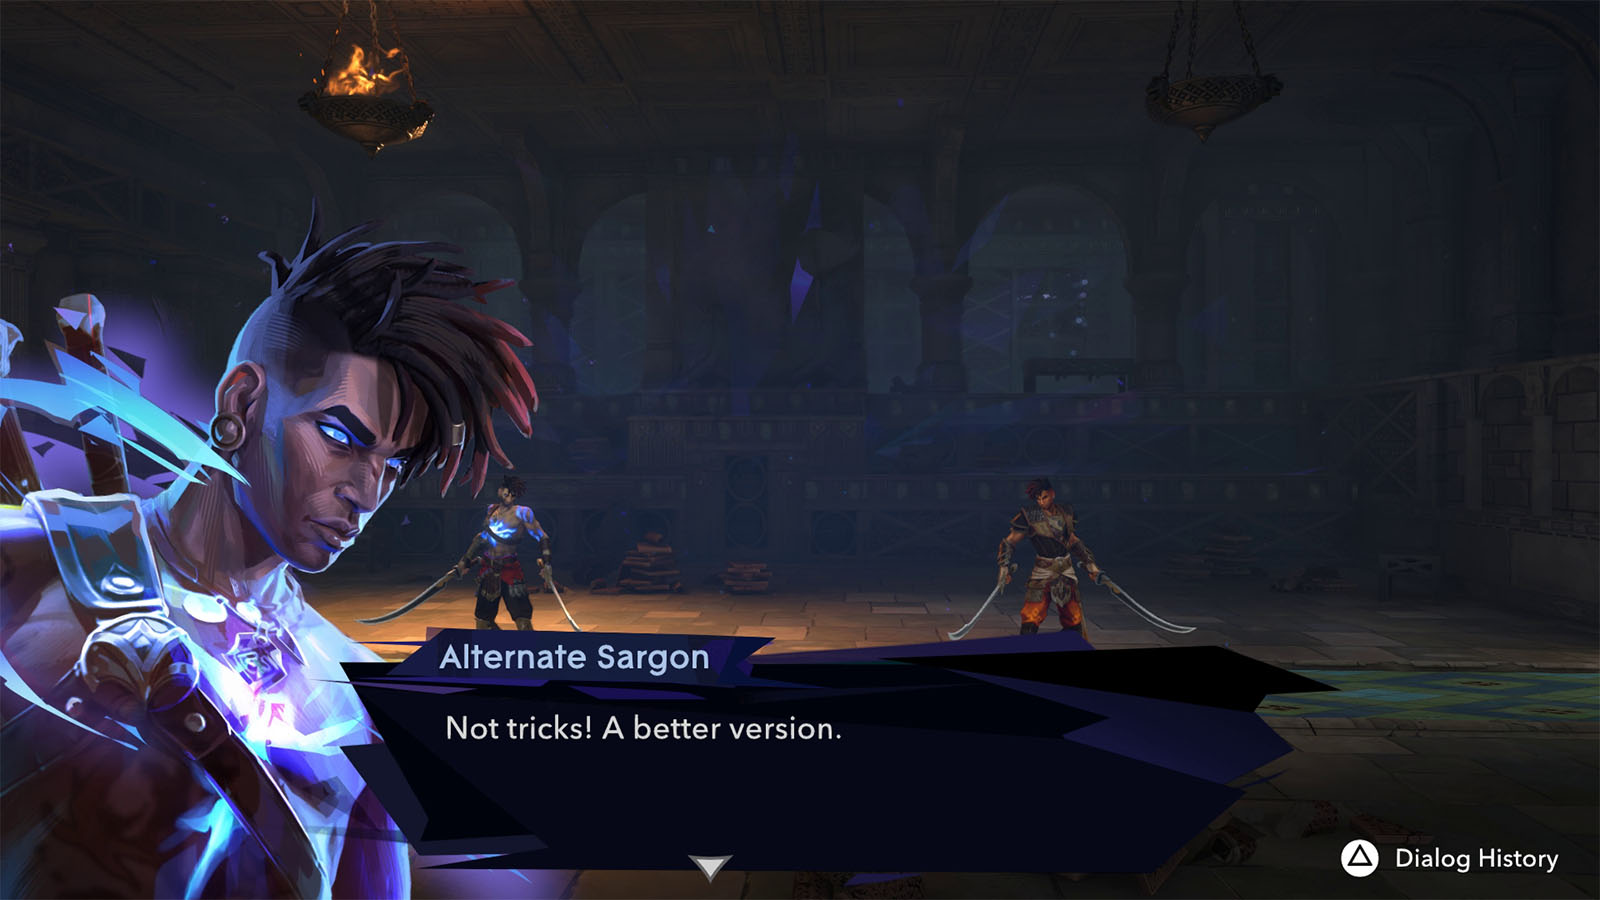
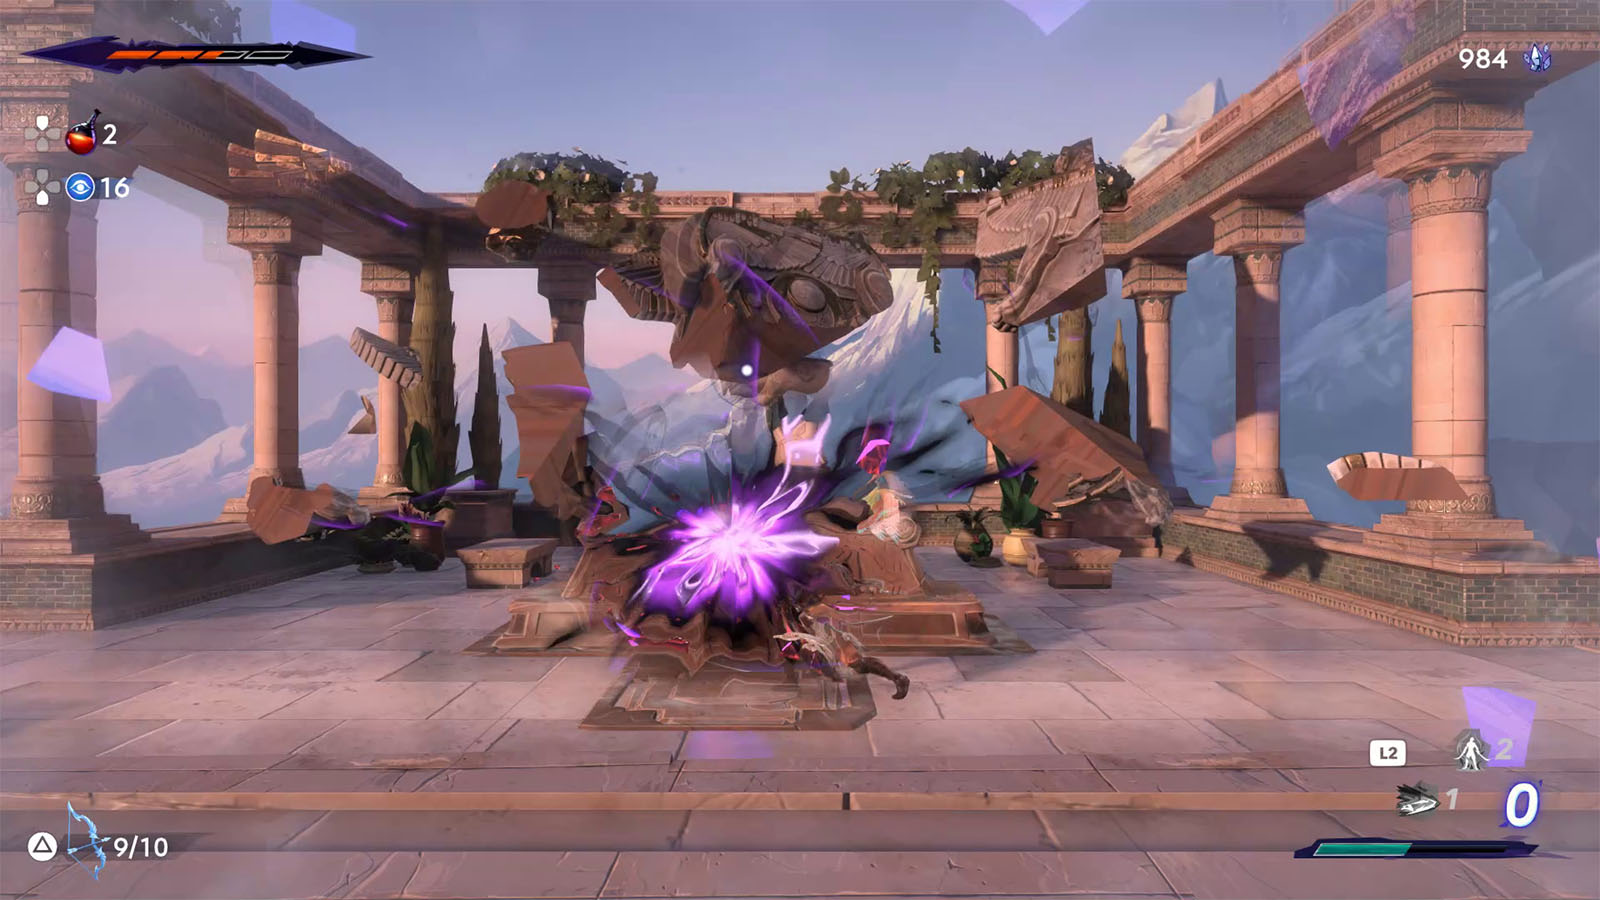
Take the upper path for now and follow the stairs to the west. You will then end up in a room where you will encounter an alternate version of yourself.
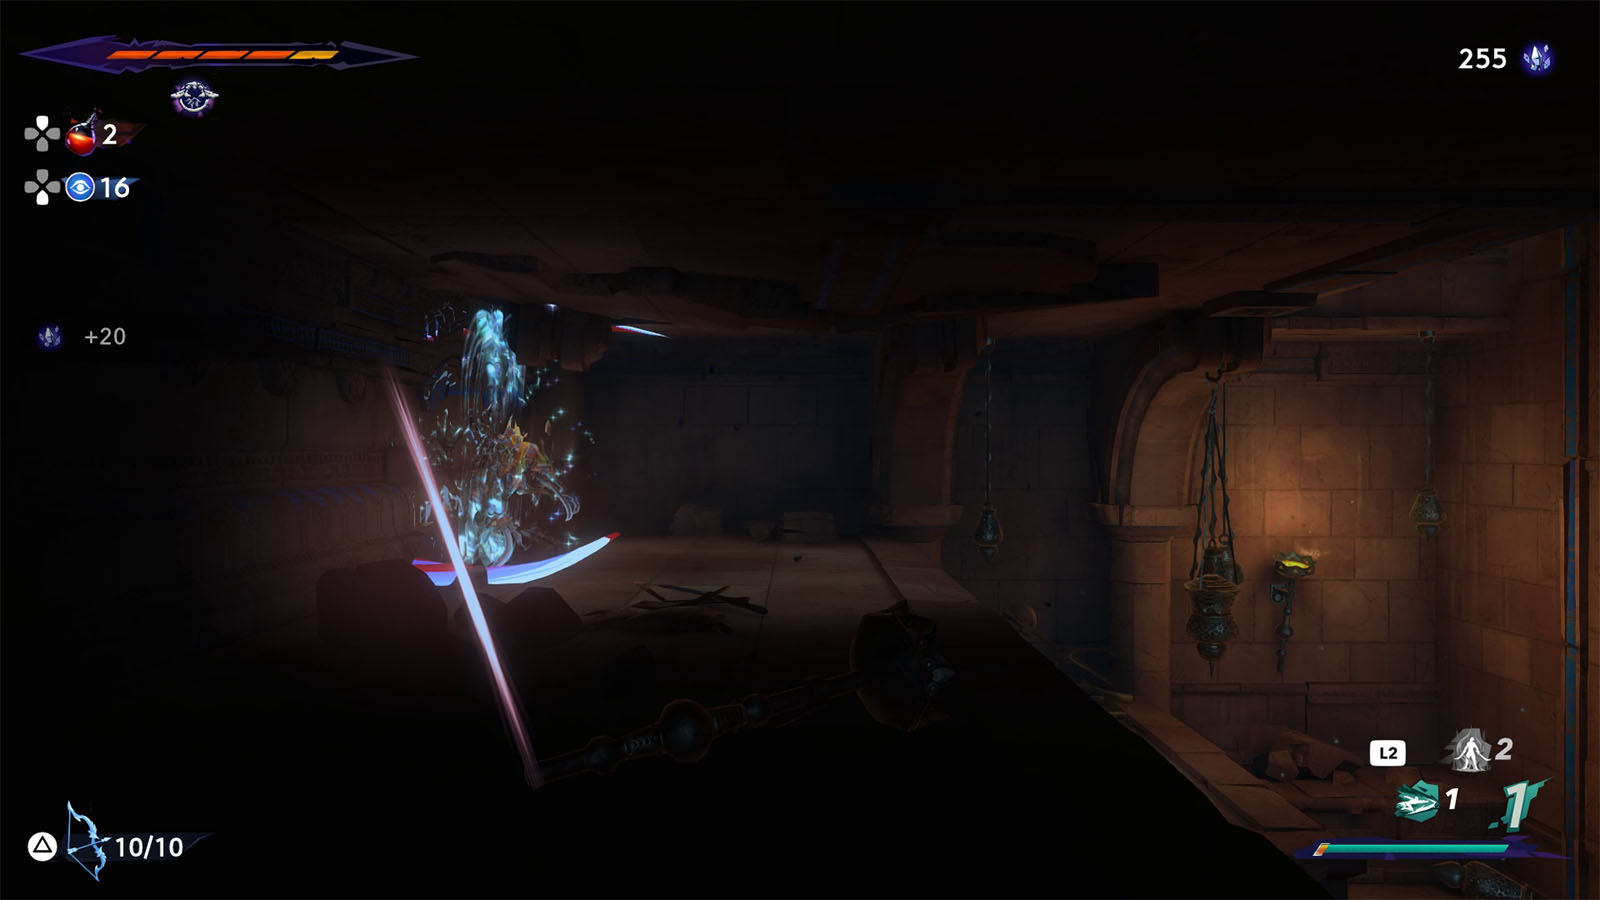
How to defeat Alternate Sargon #1
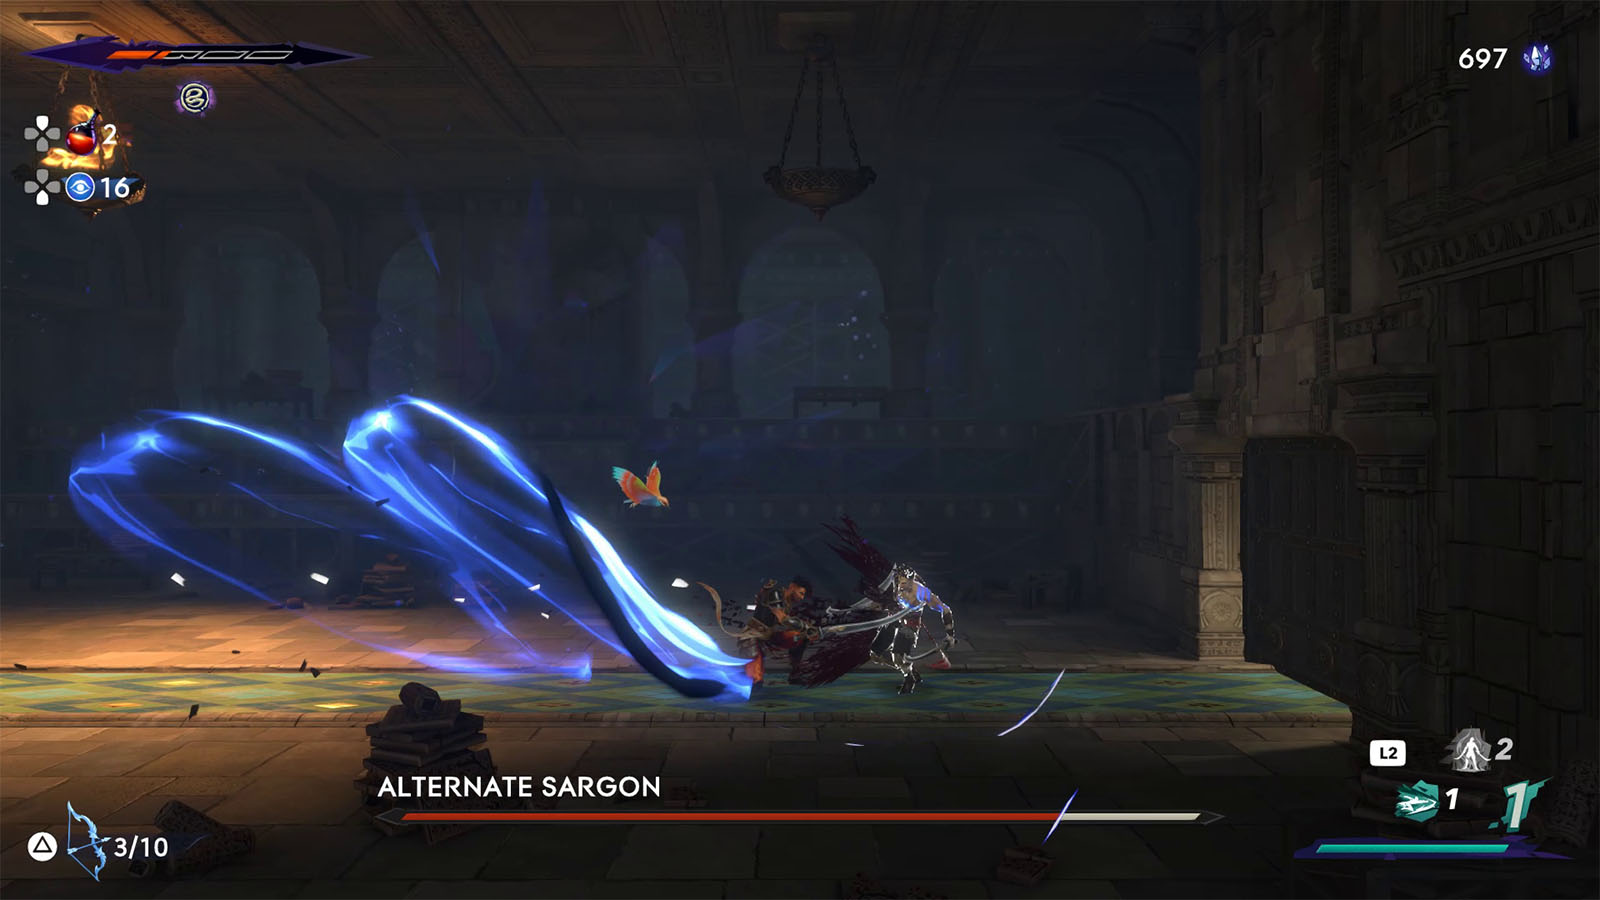
You will be fighting against an Alternate Sargon who has an ability that you have yet to learn. It may be challenging to know who is who in the middle of the fight, but simply take note that the alternate version has a blue glow.
Focus on evading and parrying its attacks until you get an opening to strike. Since this version of Sargon is just better by you by a single ability, you are pretty much on par with it and know how it moves. Try not to go way too far from it as it can also shoot out arrows to continue attacking.
If the fight is proving to be too challenging, consider upgrading your swords at the Forge or equipping the amulets that could give you a better survivability and damage.
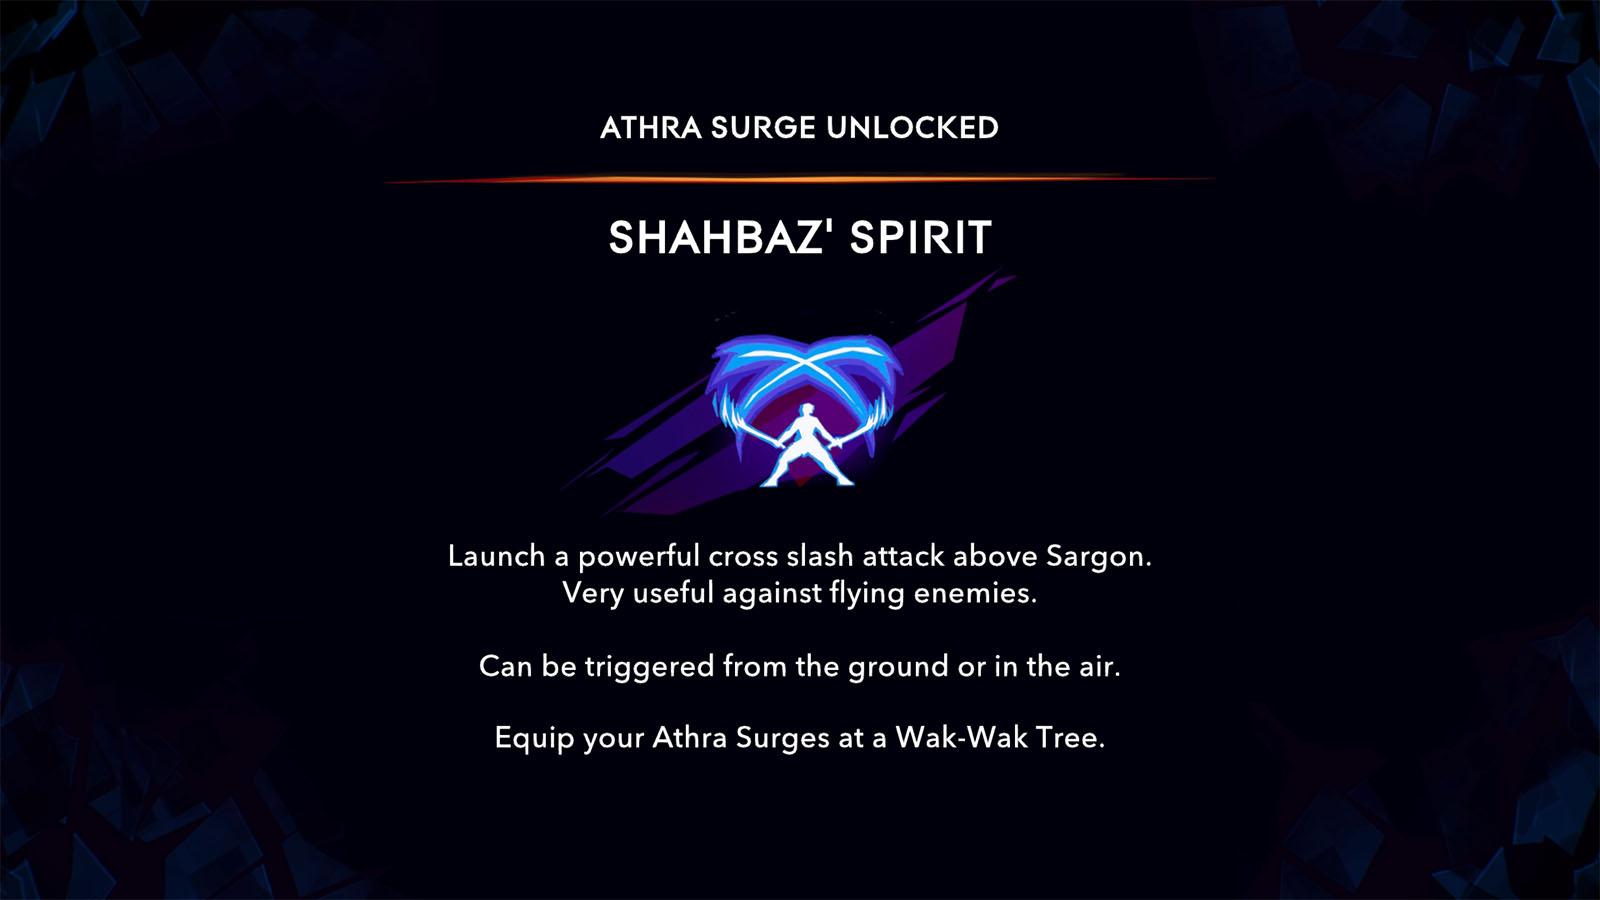
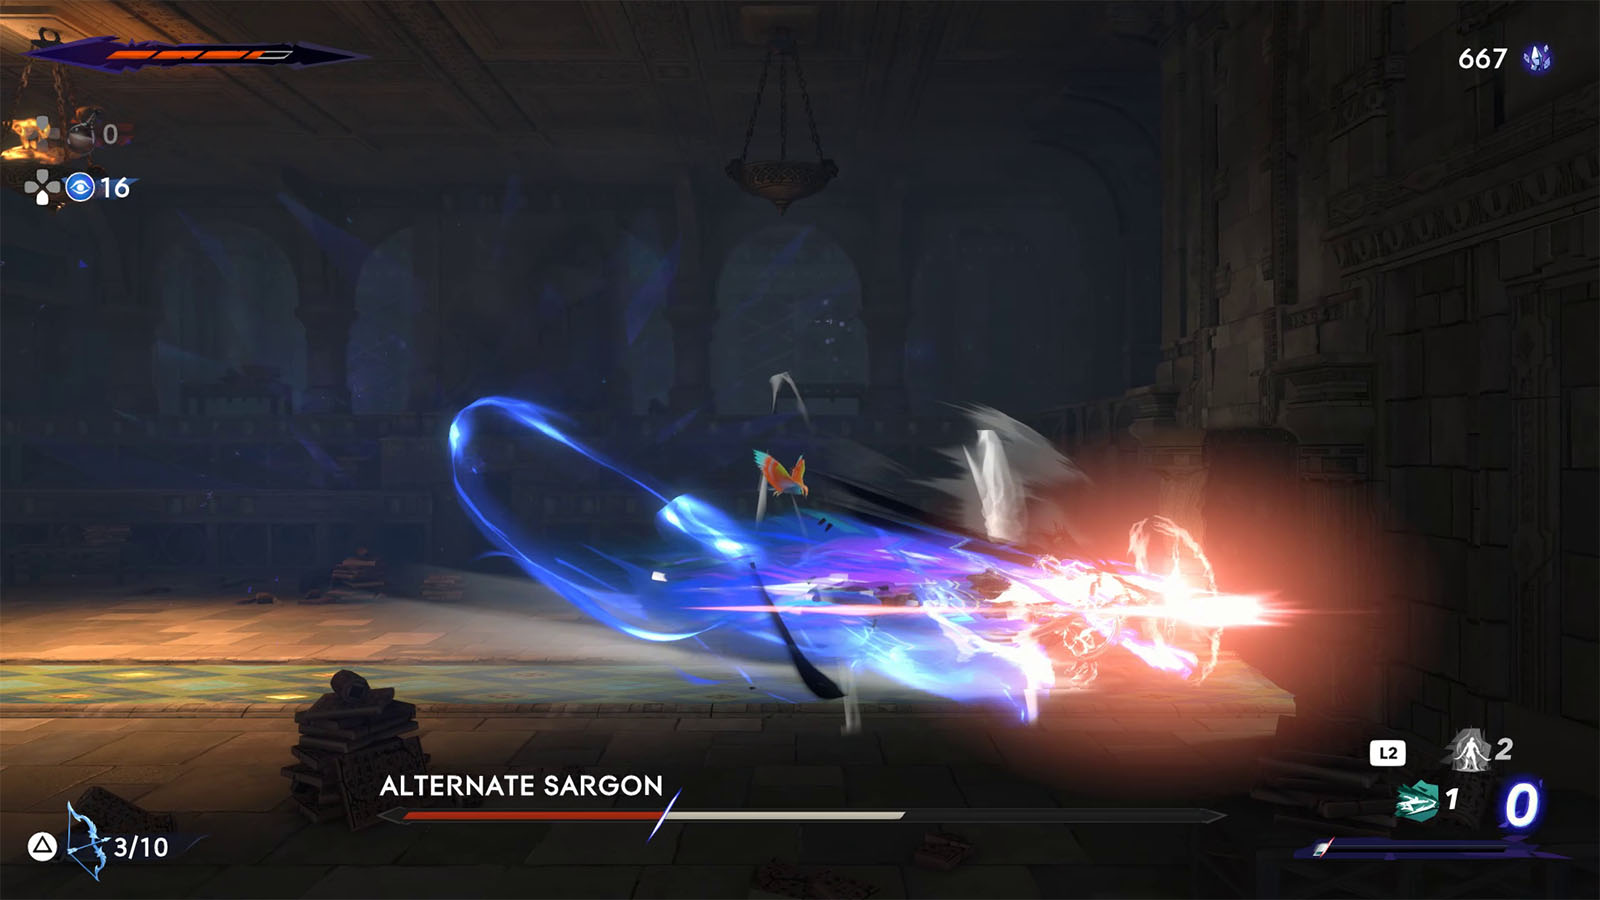
Once the Alternate Sargon has been defeated, you will be rewarded with 100 crystals and you can absorb the Shahbaz’ Spirit Athra Surge. This ability is quite helpful in dealing with enemies that are beside or above you.
Explore the Upper Citadel to find Anahita
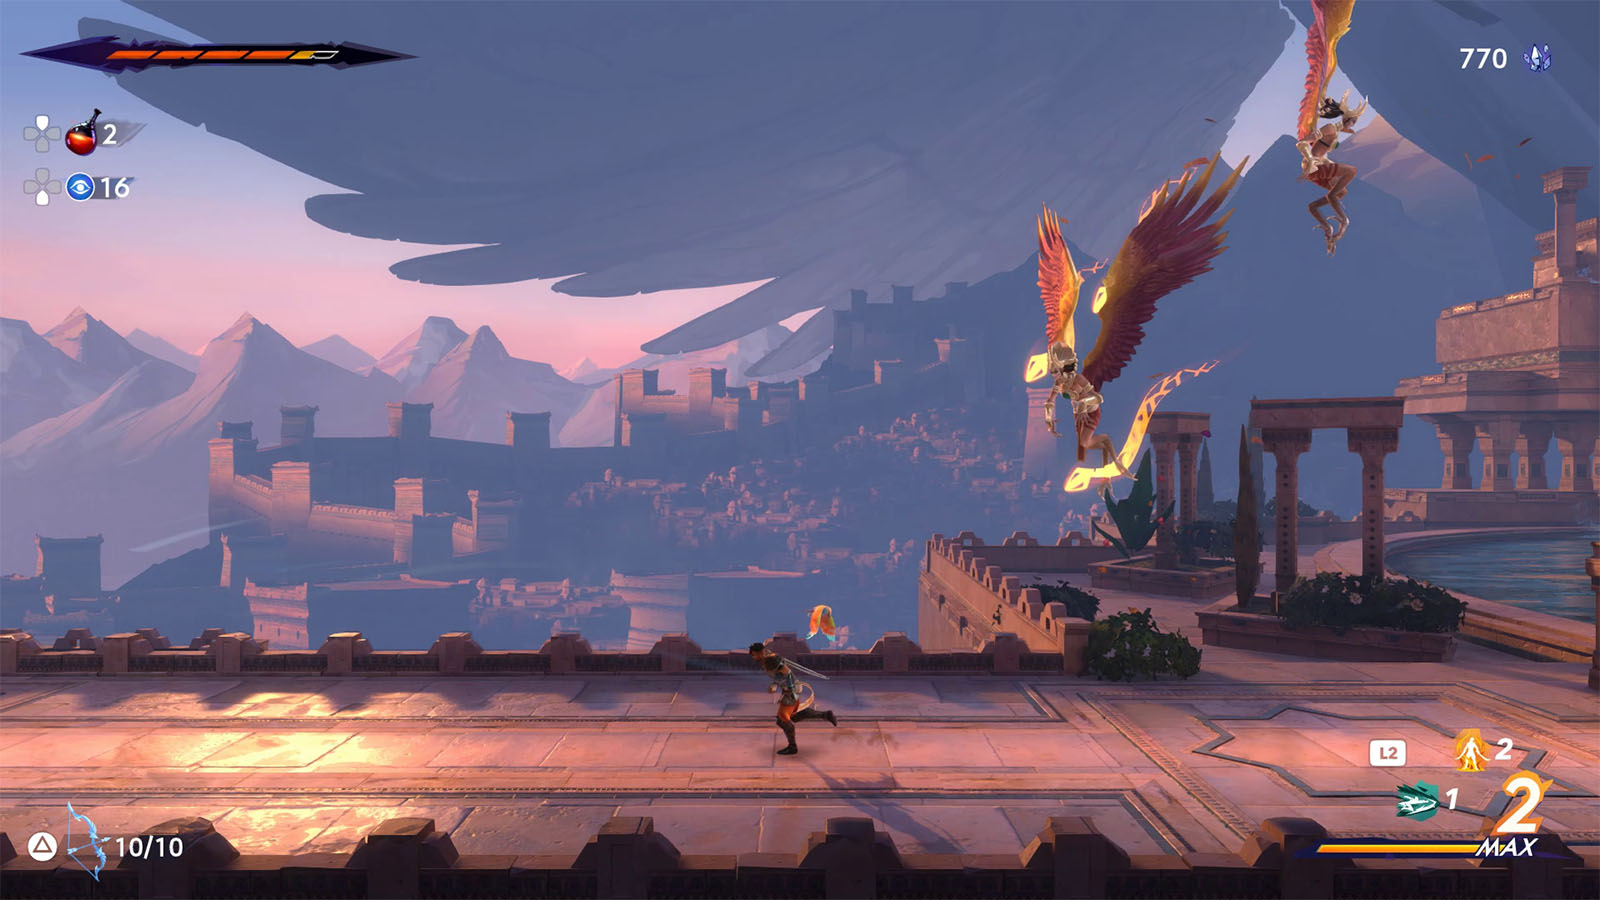
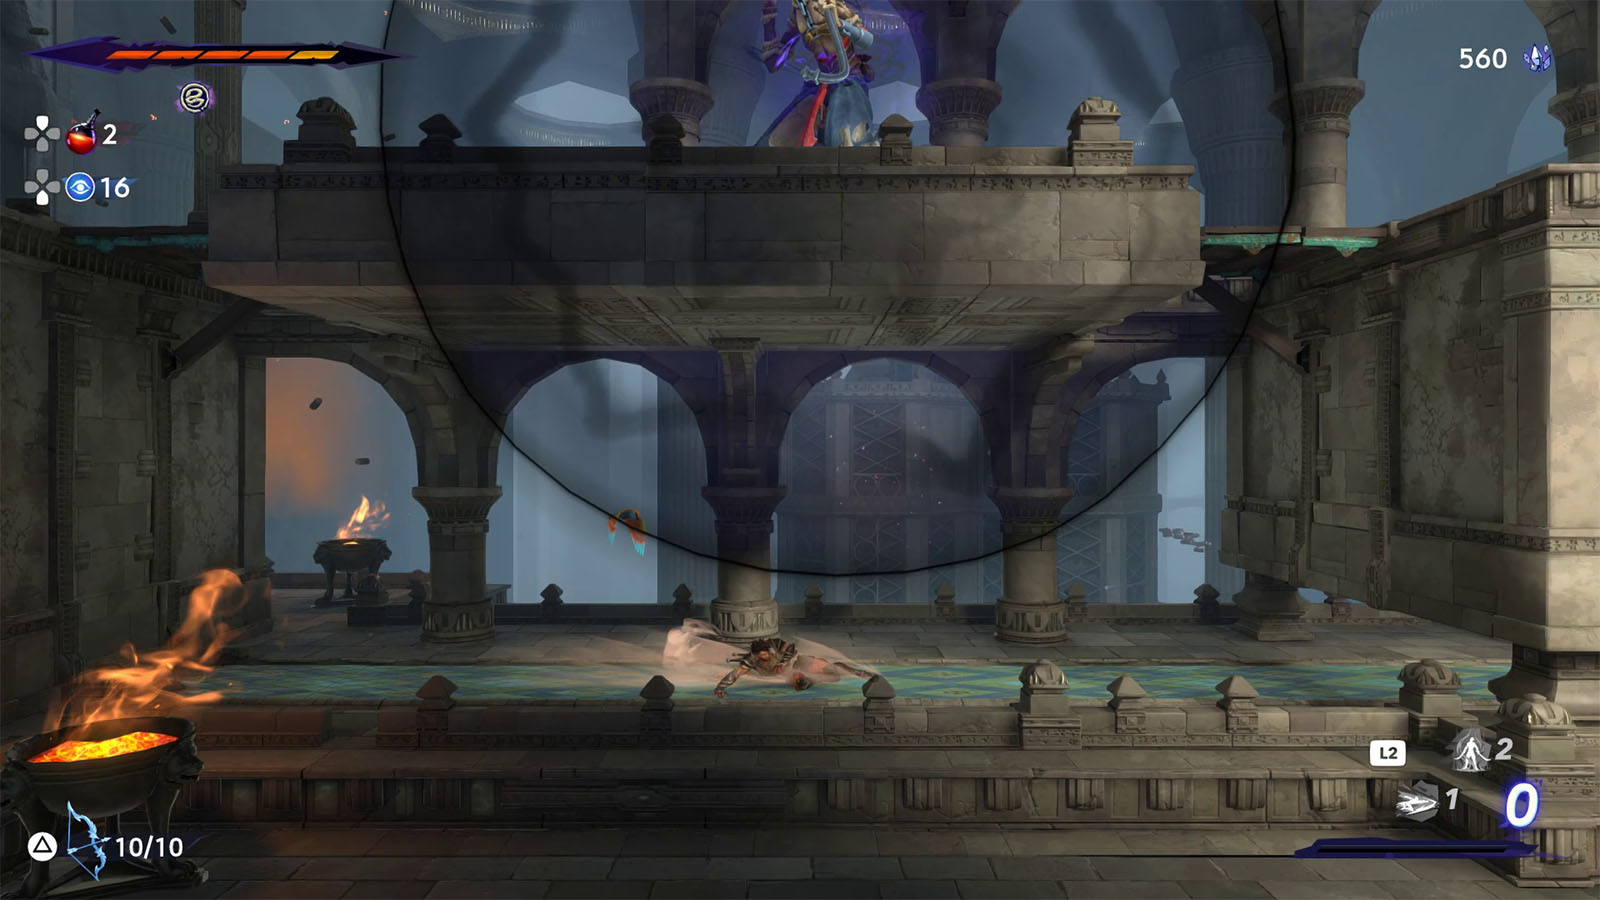
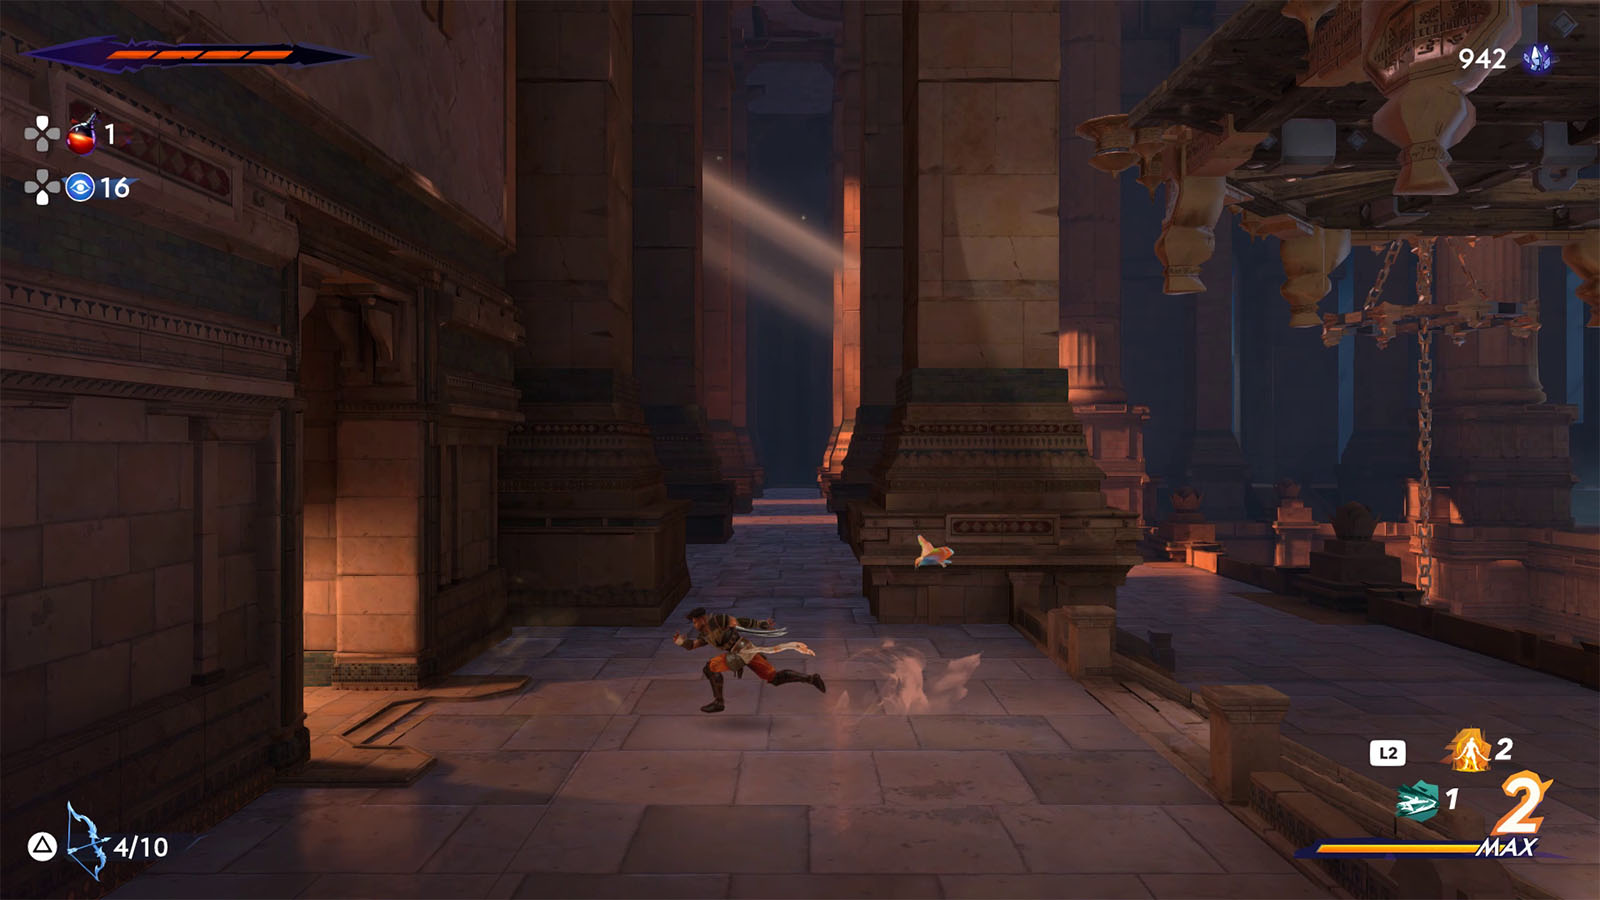
Head back to the tree and make your way to the east path to reach the Upper City – West. In this open area, you will be facing against harpies that can attack you from the skies.
In the middle section, you will find a Xerxes coin under a grate; take note of this for now as you will be able to get this past Chapter 6.
Continue heading west and you will reach another obstacle hall. Time your movements to get past the swinging blades to reach the other side safely.
In the next area, you will find the citadel elevator. Open the grate on the floor below the platforms for now to find the Collectible – Architectural Drawings.

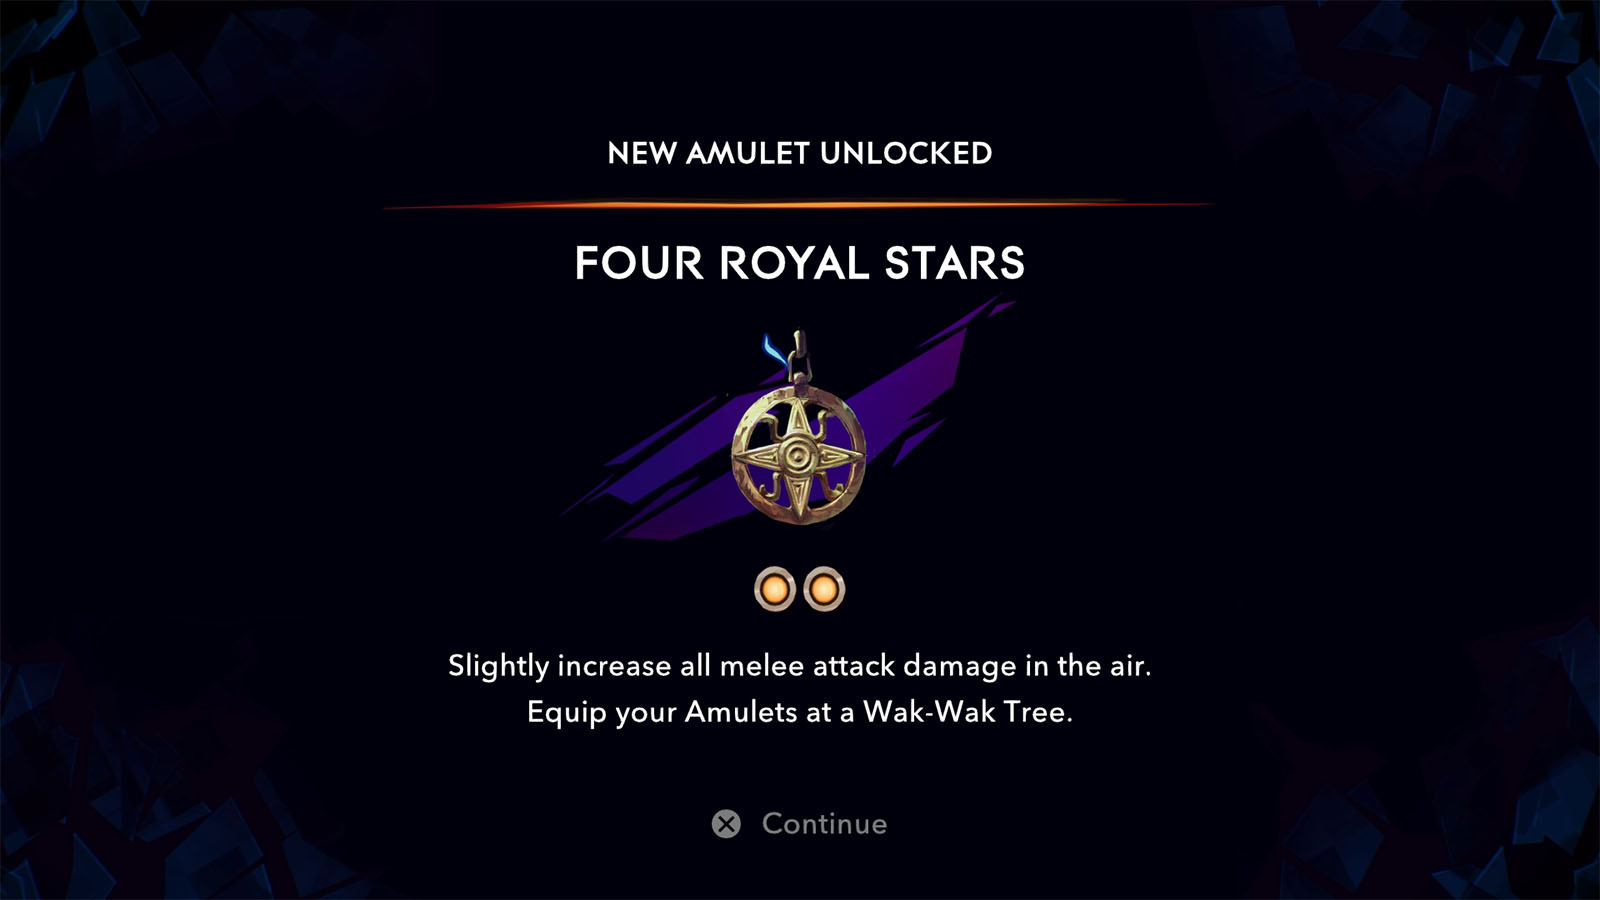
Go down even further and take the path to the left to find the Four Royal Stars Amulet.

Take the path further down and you’ll find shortcut door that leads back to the main elevator.
Make your way back up to the citadel elevator and ride it to get to the top. Then, take the path to the left.

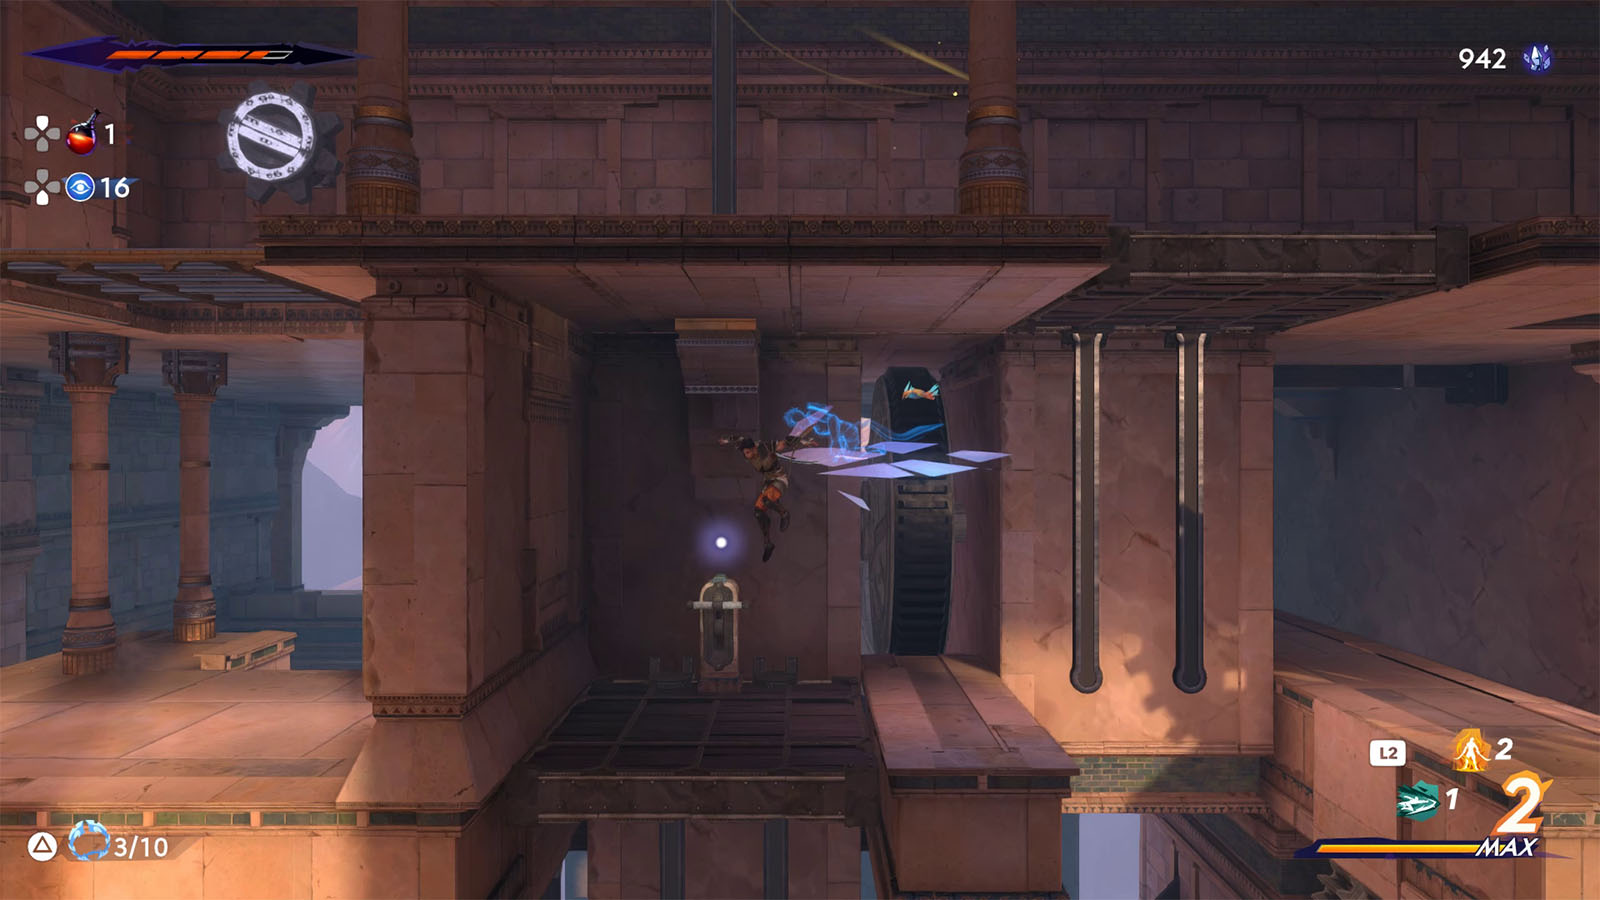
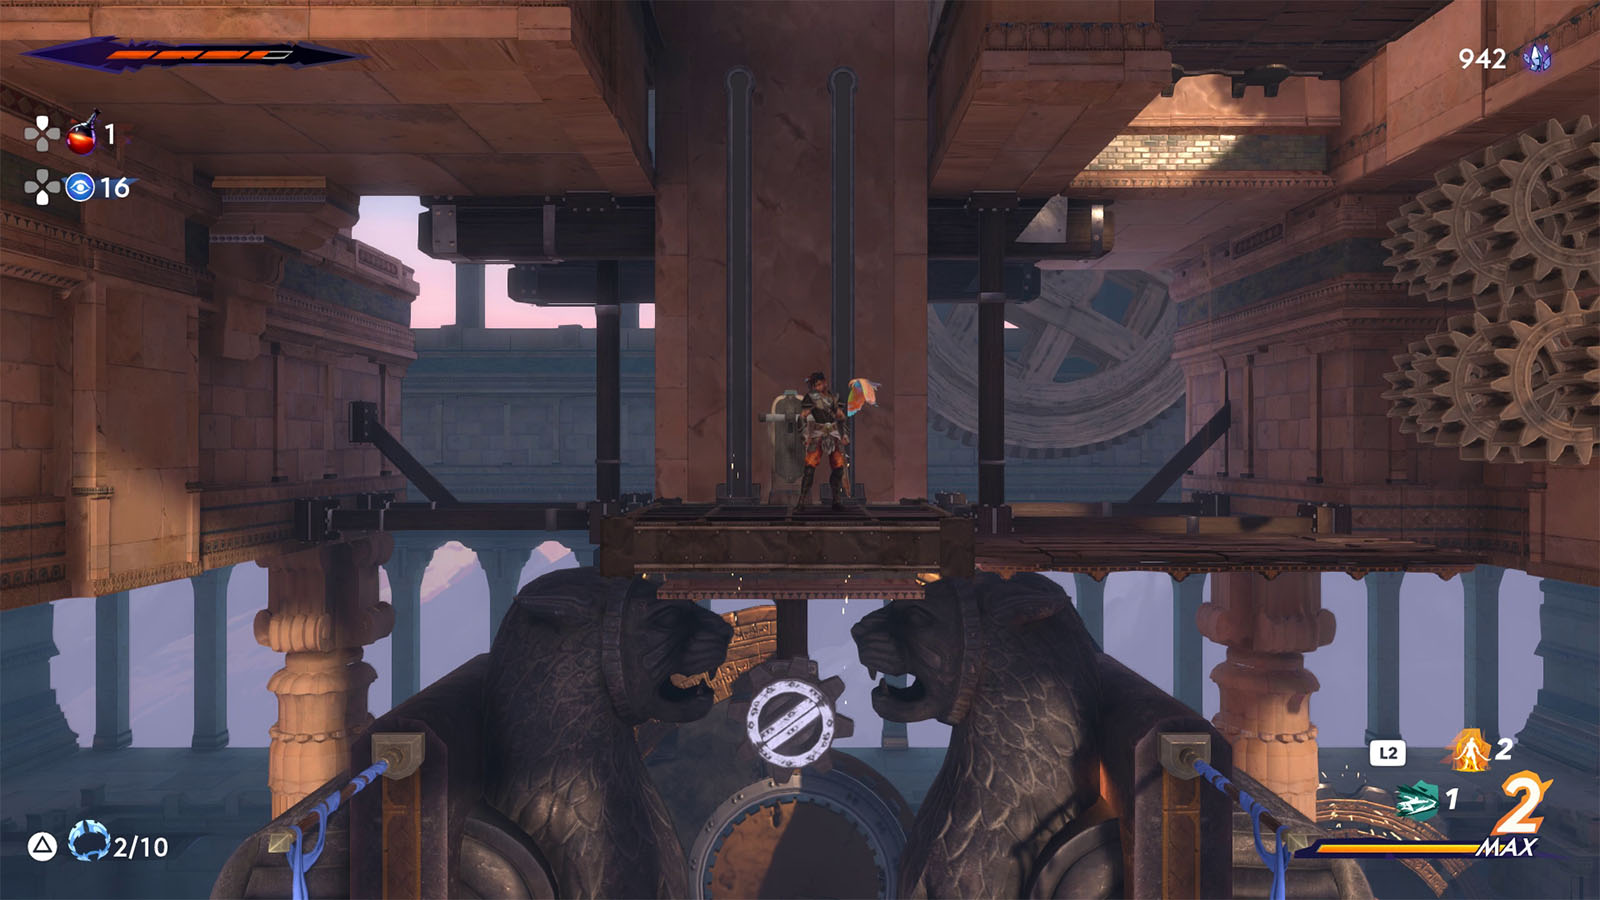
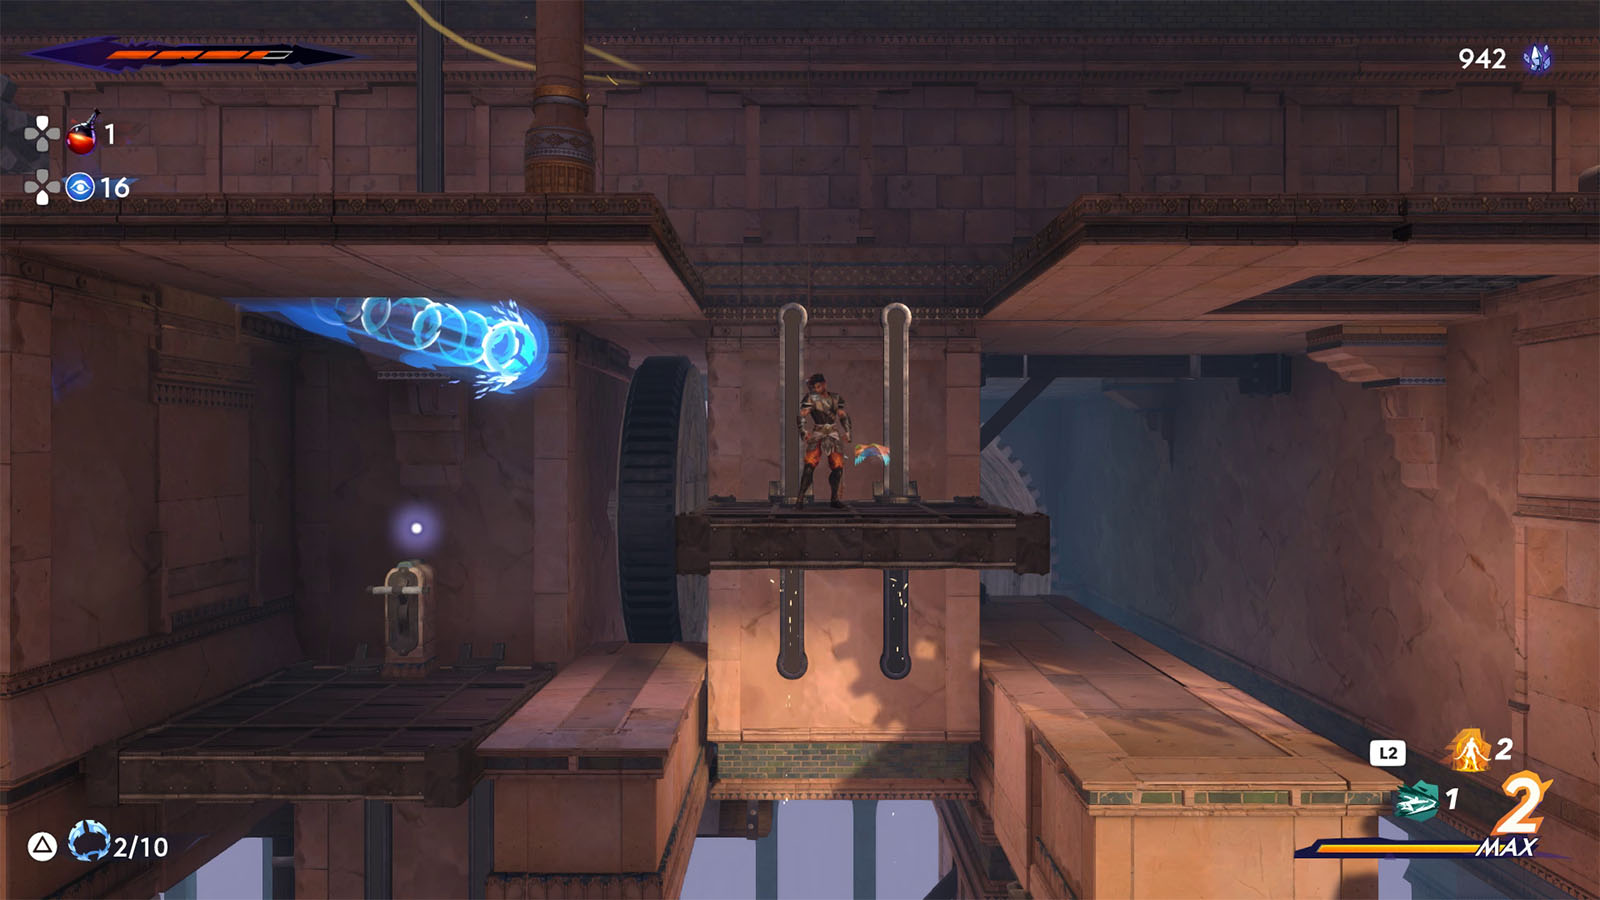
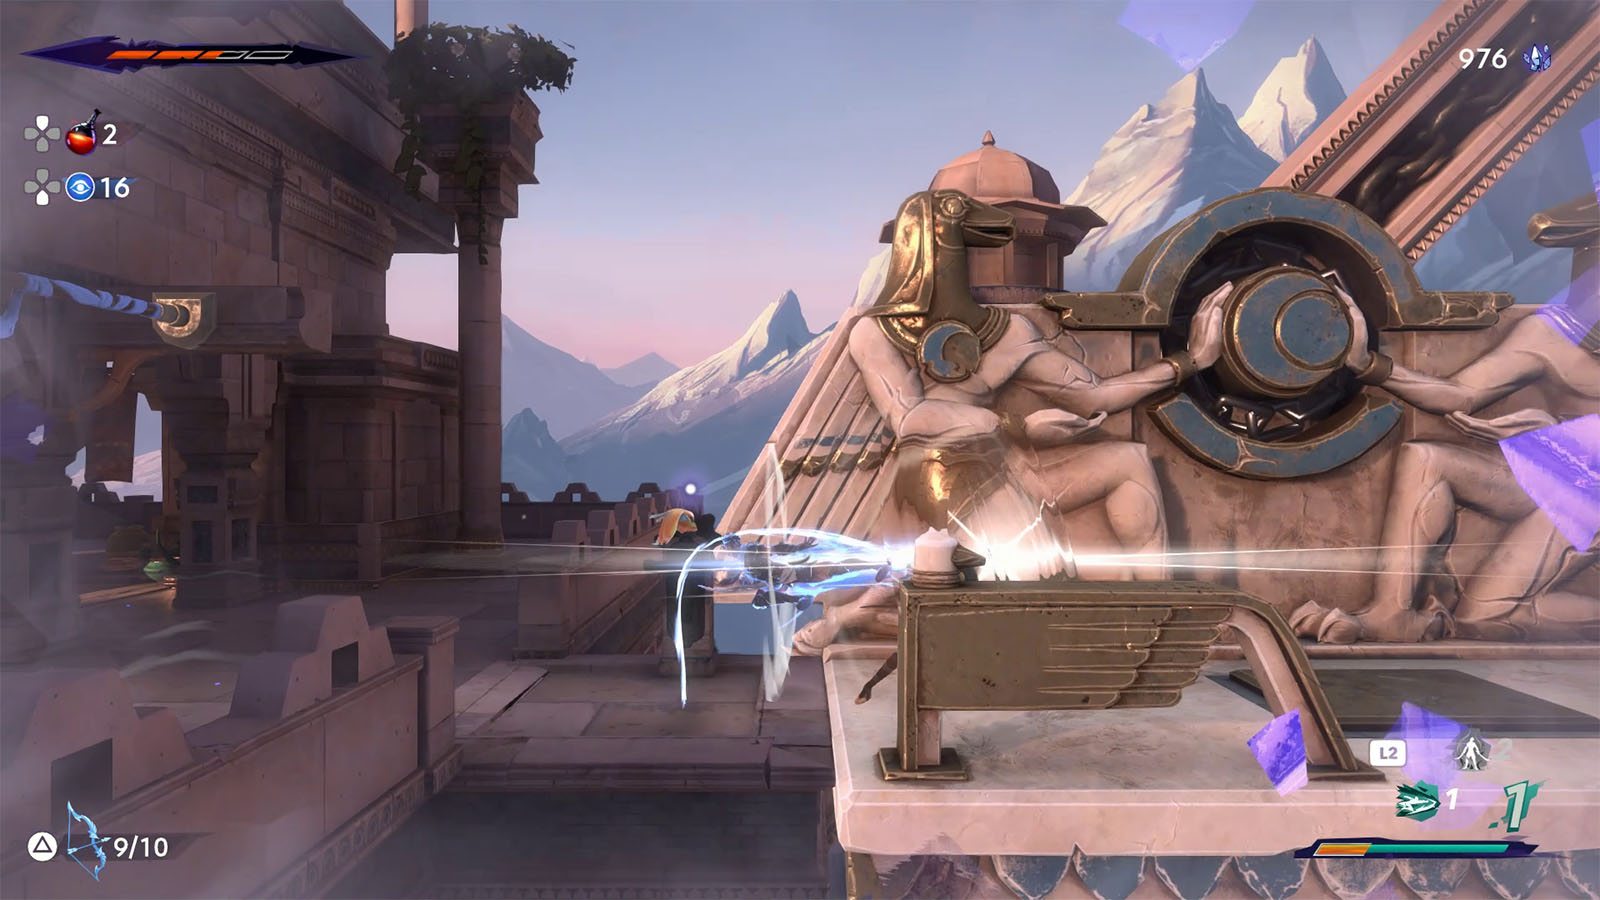
Navigate through the obstacles while trying to avoid the spinning gears until you make it to the top. Then, use your chakram to activate the lift and reach the upper floor.
Two Statues Puzzle Room
This next room will be another puzzle room where you will have to follow specific moves to get through.
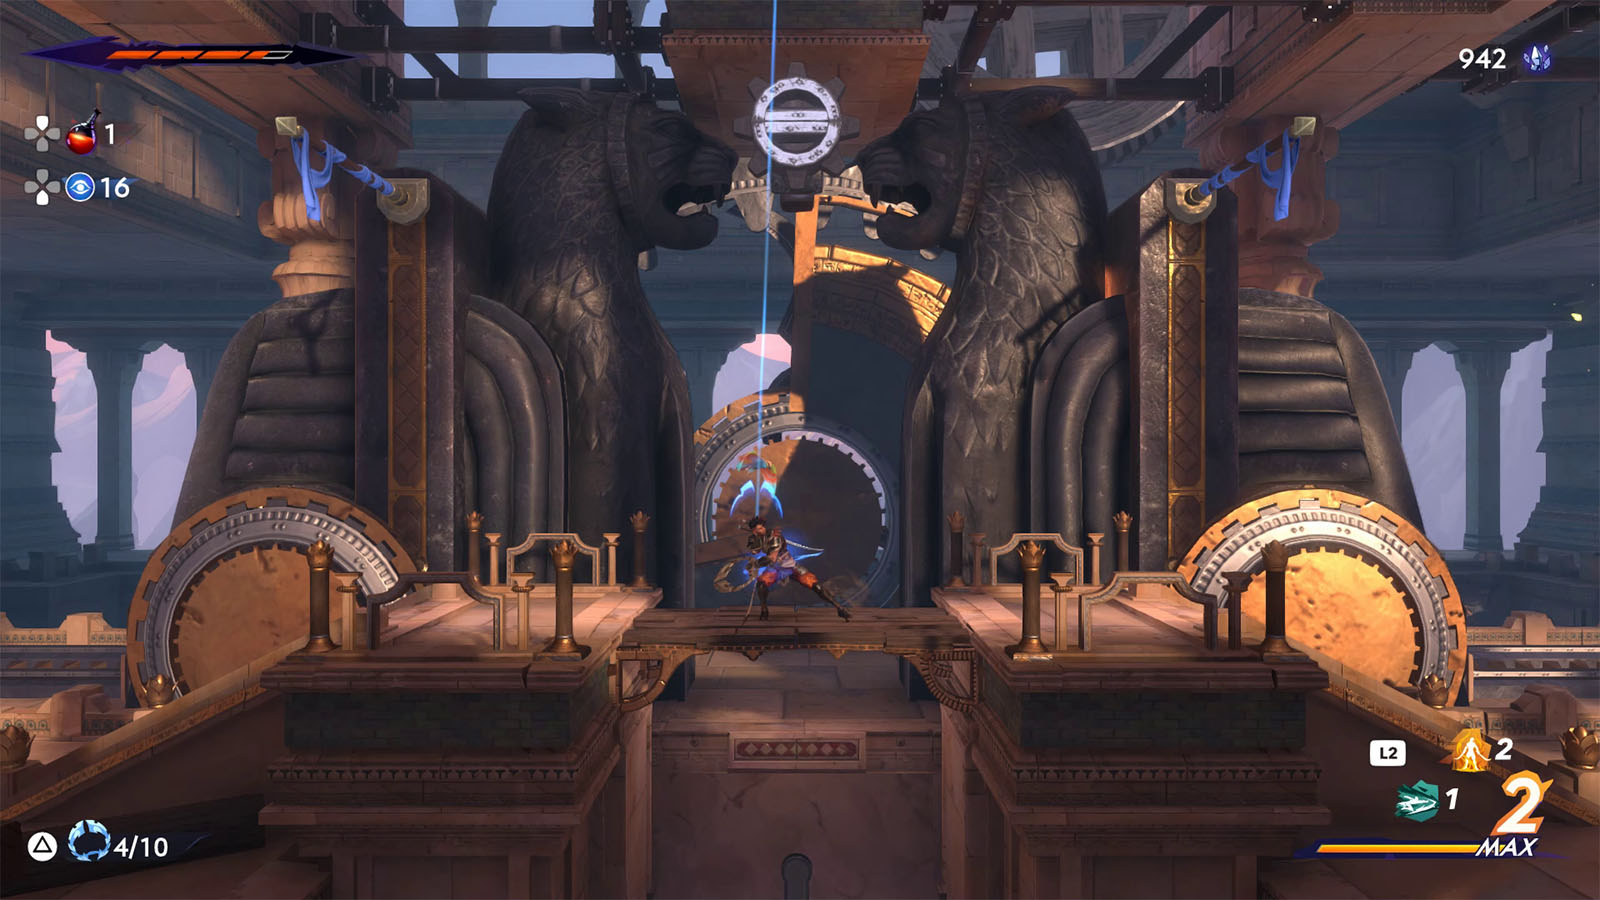
First, throw your chakram at the upper gear to make the two statues separate.

Then, take the statue on the left and swing on to the pole. While swinging, retrieve your chakram to make the statues move closer to each other.
Swing towards the pole on the other statue then jump up to the platform above.
Throw your chakram at the gear once more and quickly jump down to reach the pole below. Once the statue has moved back to the right, jump up to the next platform above.
Make your way up and get to the lever on the other side to lower another platform.
Make the statues move away once more and climb the left statue to get to the platform above it.
Throw your chakram on to the next gear to make another platform go down next to the one with the lever from earlier.
Make your way back to the middle and on to the platform with the lever, then push the lever to go up.
Lastly, stand on to the other platform and then retrieve your chakram to go up.
Head to the right side to open a shortcut hatch, then move back to the middle and throw your chakram on to the top gear to lower a lift.
Go to the right side to find the next tree, then head to the left path to proceed.
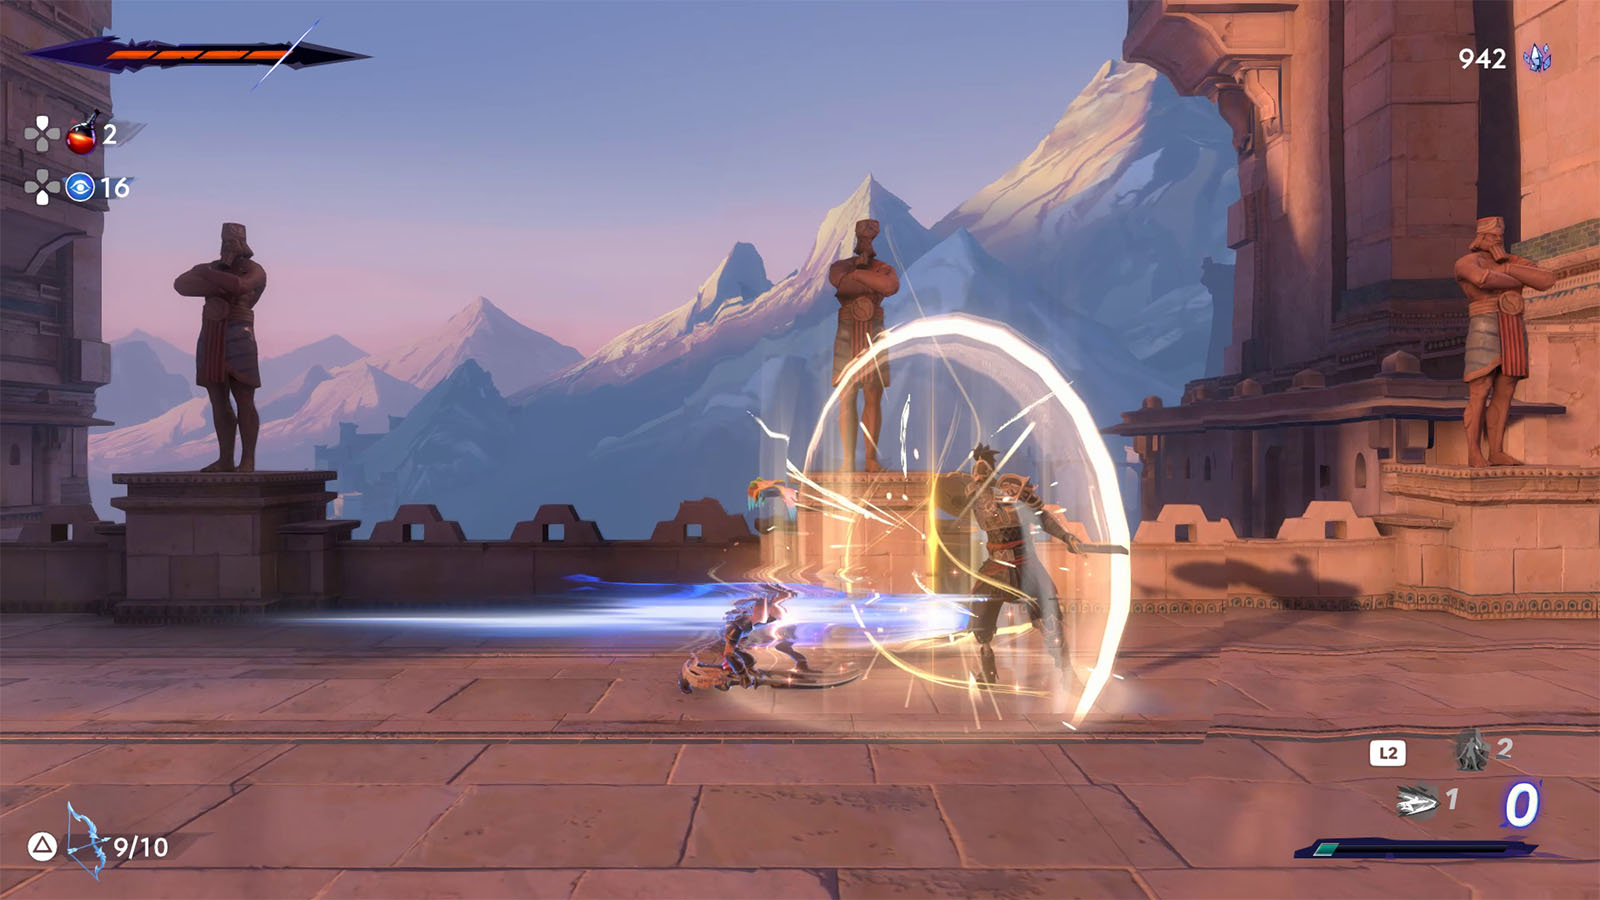
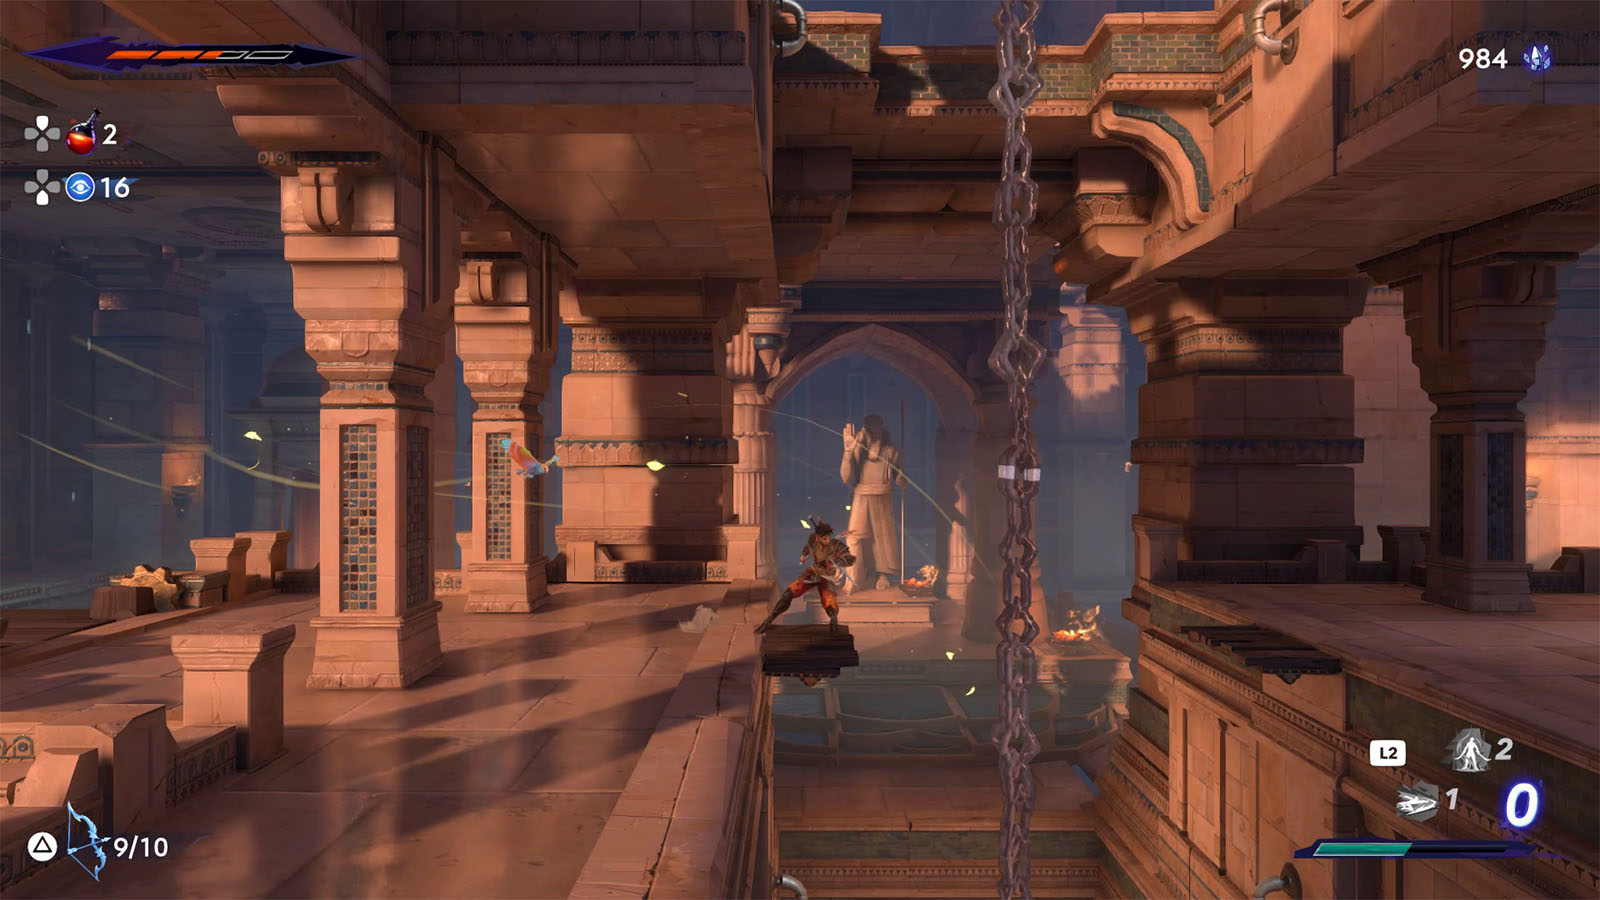
On the bridge path, you’ll encounter an armored soldier; defeat it and continue to the building on the left.
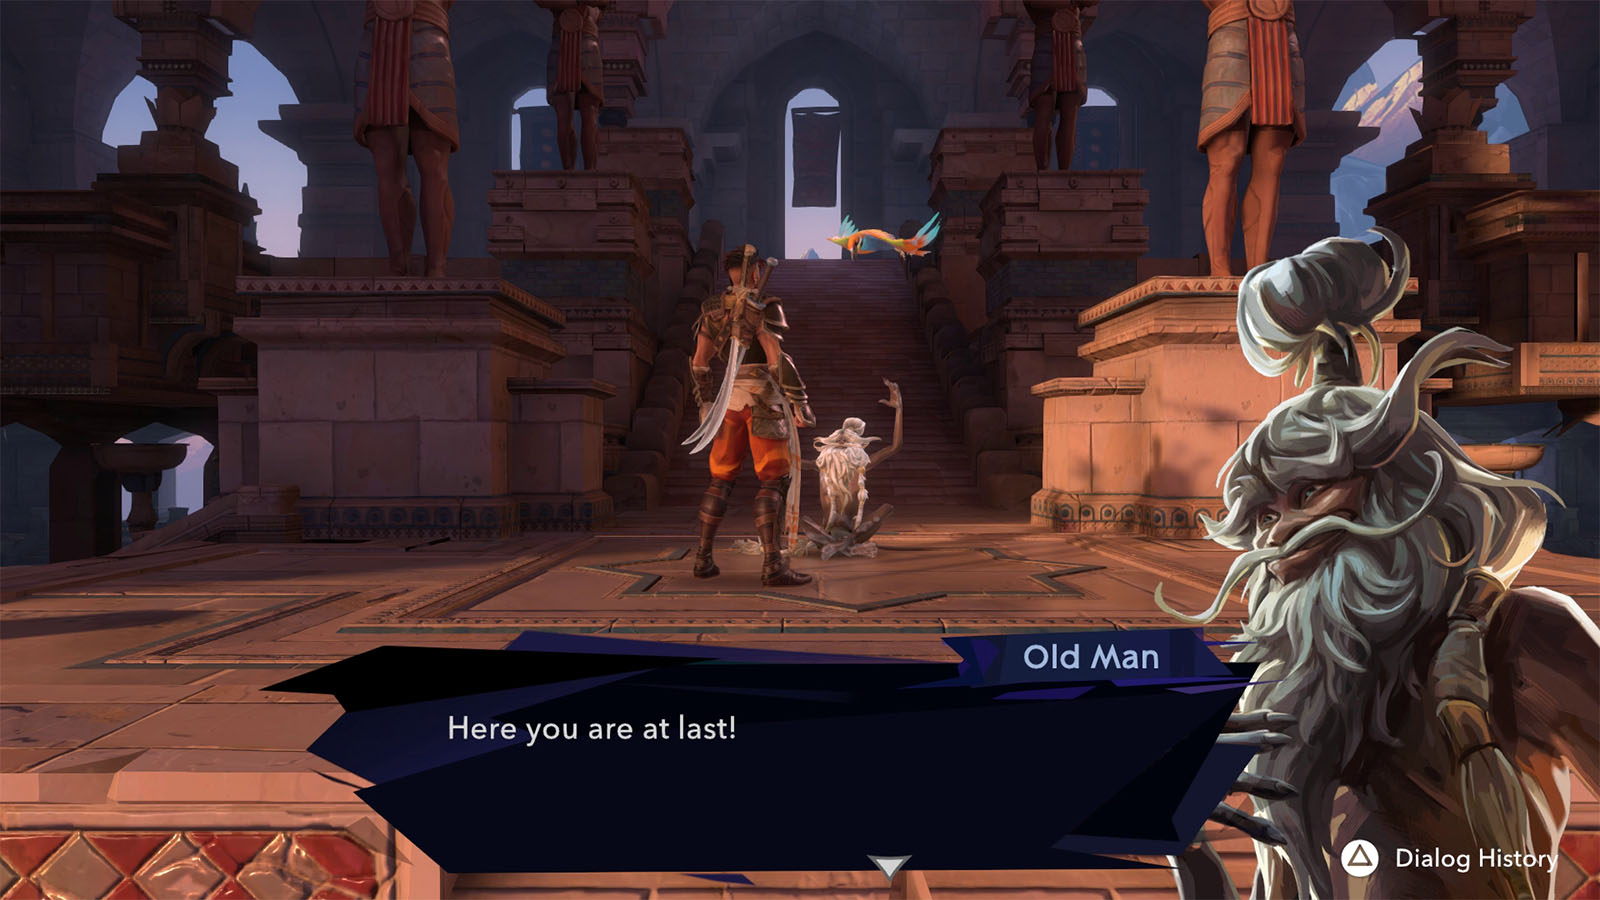
Inside the building, you will meet an Old Man. Talk to him as he will play a big role in the next chapter.

After your talk, go to the left side and climb up the platforms into the upper levels. The left side on the upper levels have platforms that you can use to get higher.
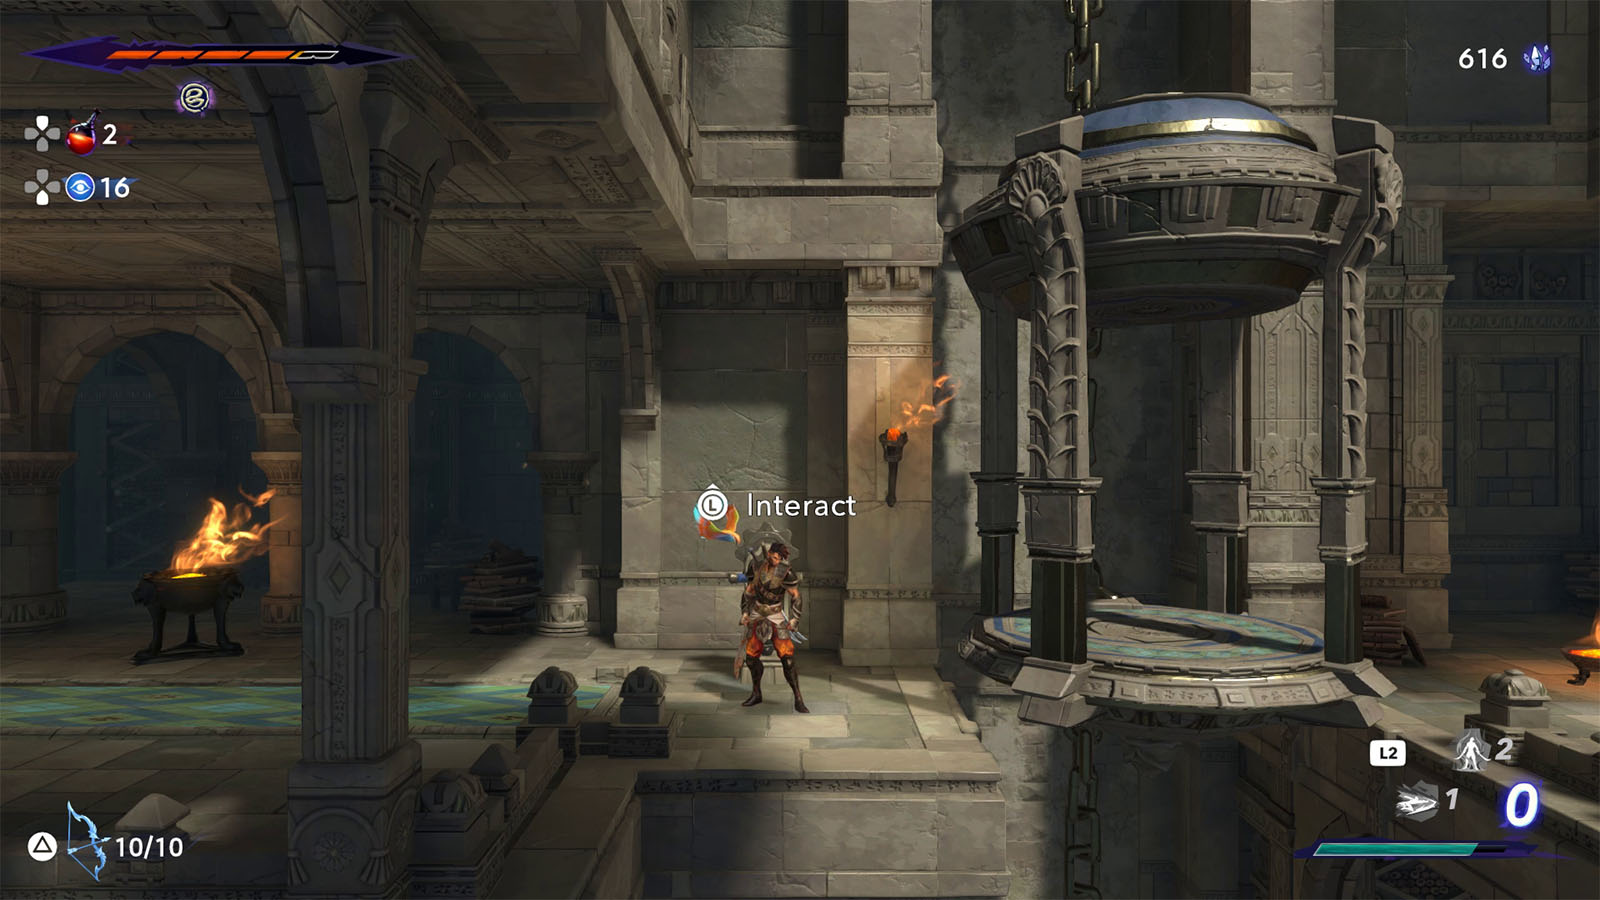
On the right side of the building is a lift that will take you to the next area, but don’t take it yet. Continue climbing up and you will find another Homa Statue. Activate the statue, then you can ride the lift.
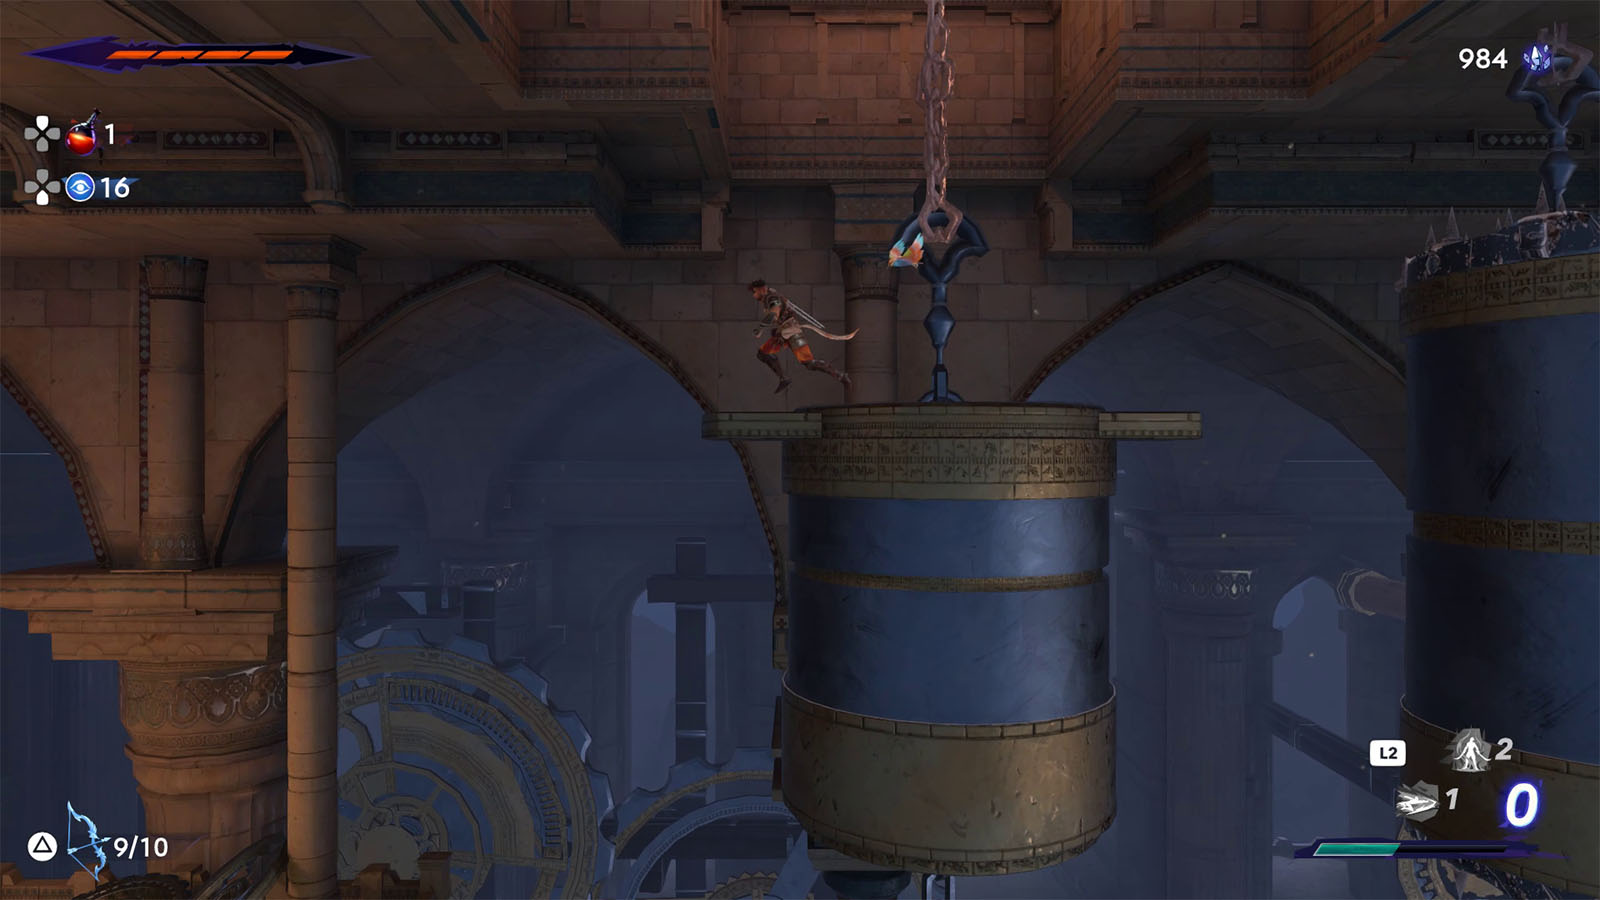

In the next area, follow the golden breeze down to the shaft below where you will land on a barrel weight. Jump towards the left side to find the tree.
Wall jump back up using the barrel weights until you reach the point from earlier, then head to the right where you will find a door.
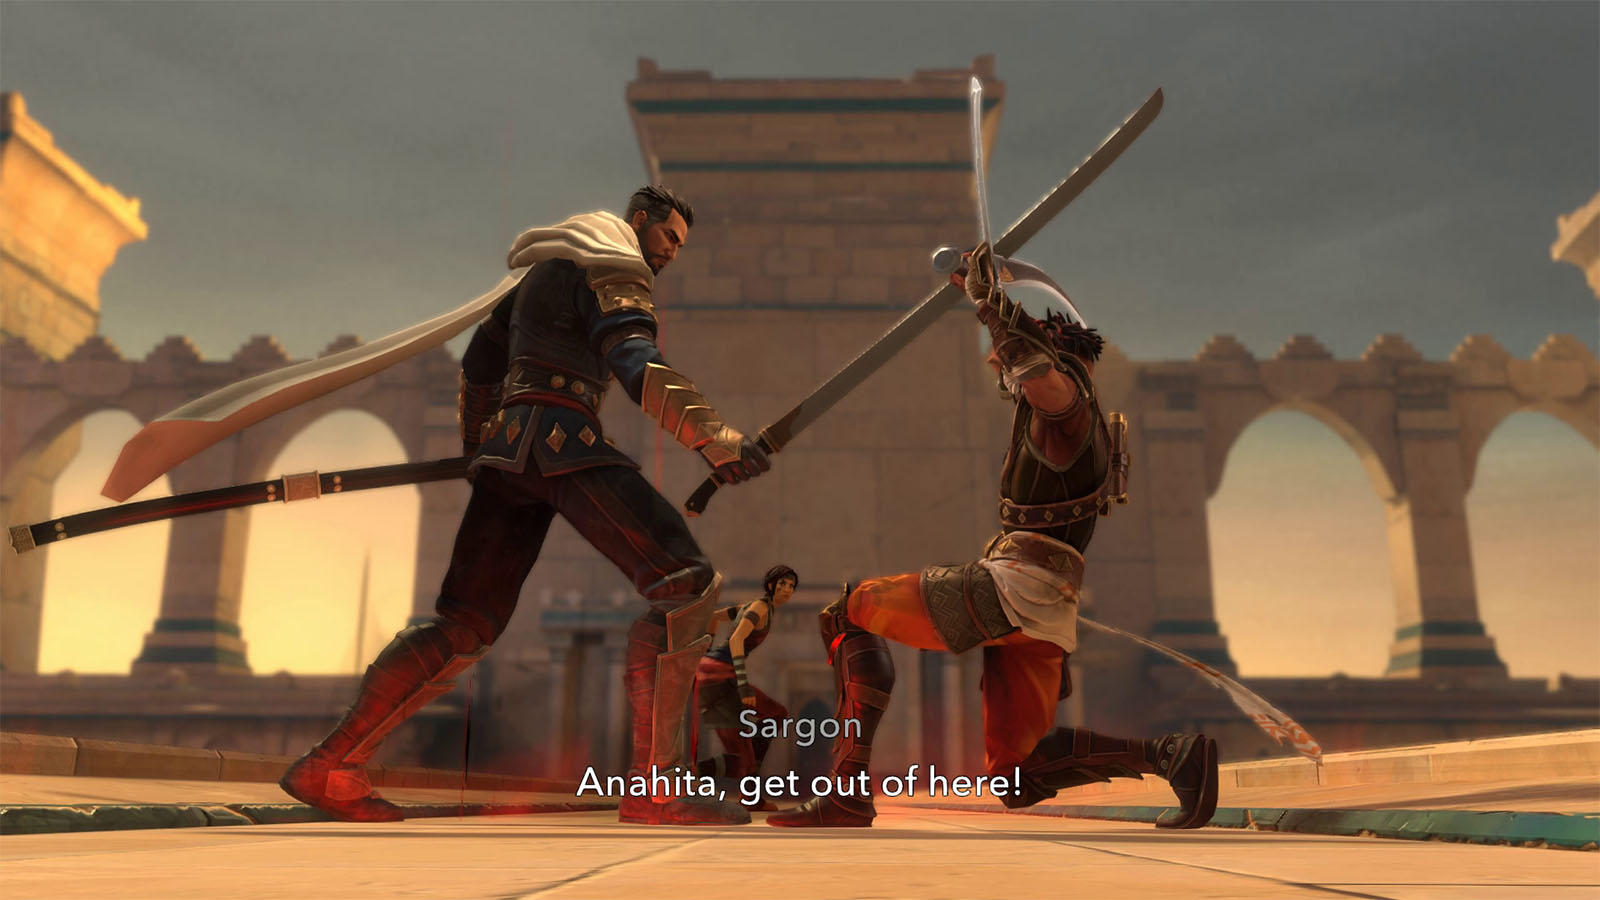
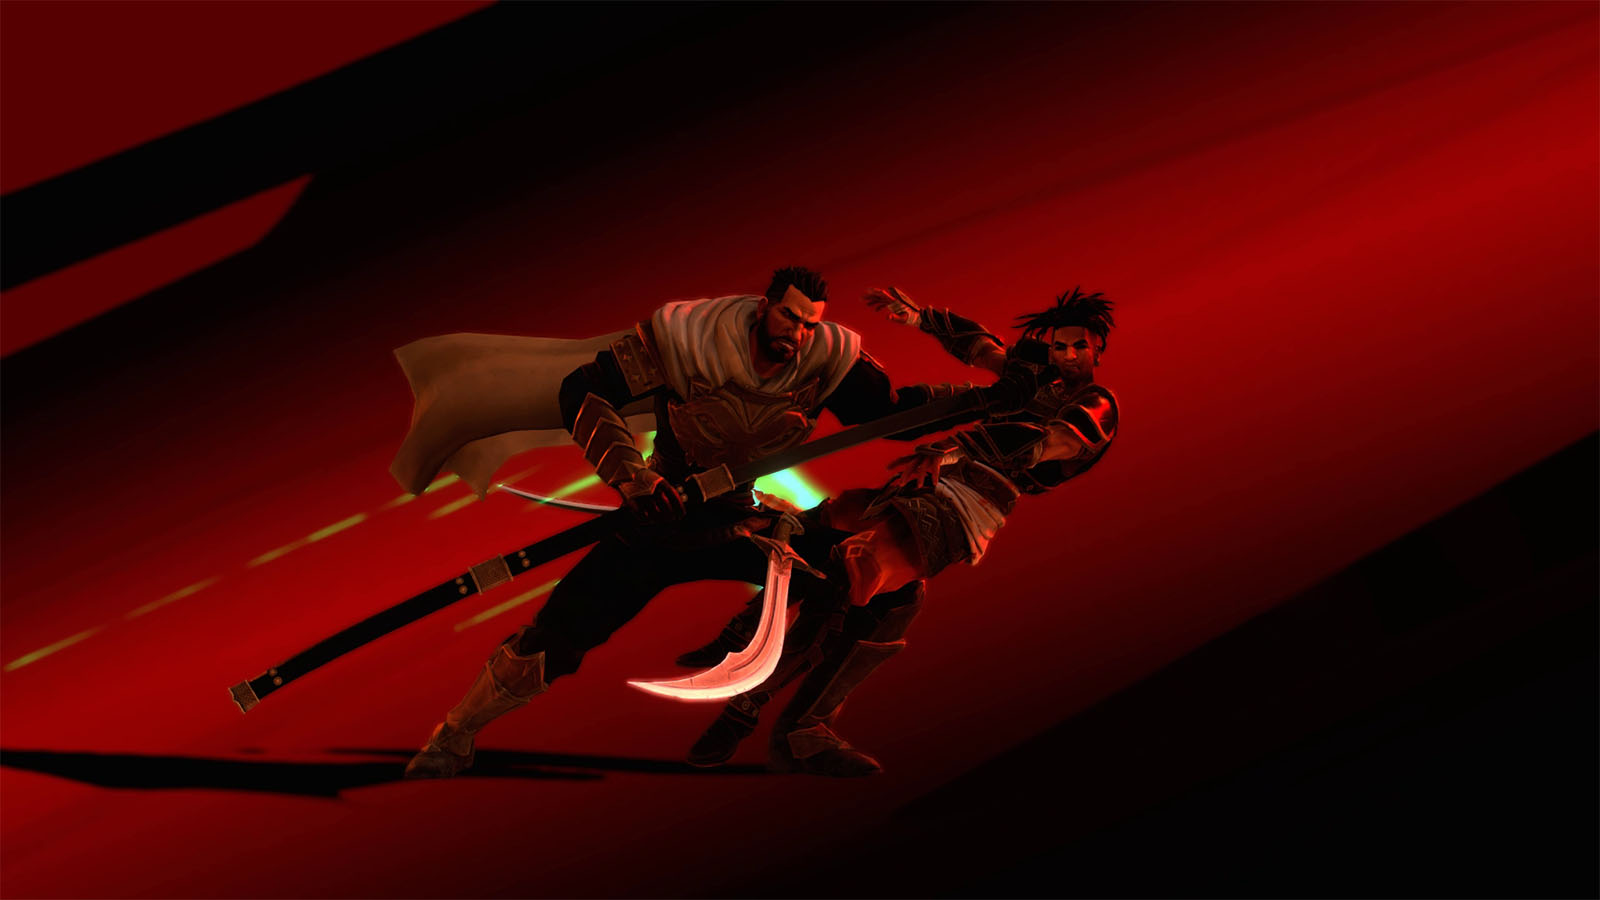
A cutscene will then play where Sargon finally manage to catch up to Anahita and Prince Ghassan. Vahram shows up and approaches the Prince, but in a turn of events, he stabs the Prince and tosses him off the bridge. Anahita then tries to attack Vahram who has now revealed his true intentions, but she gets overpowered. Sargon manages to block the attack and tells Anahita to flee.
Neutralize Vahram
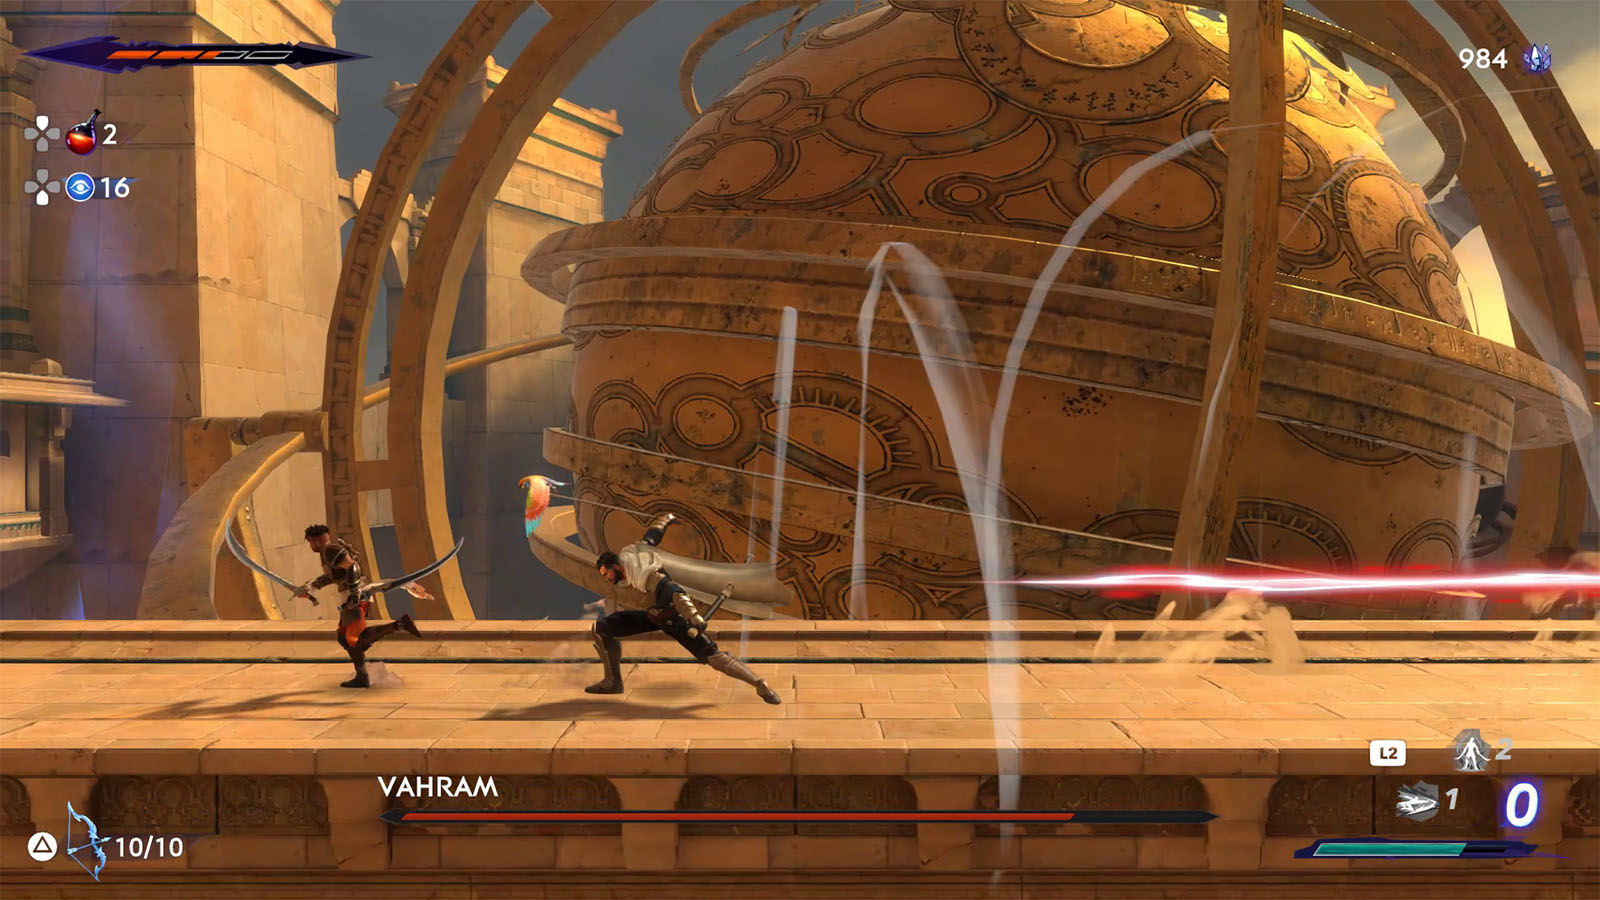
You will then be facing off against Vahram. To start, in this encounter, you’re bound to lose as Vahram will be too strong for your current skills. After dealing enough damage at the first part of the fight, he then powers up and starts dealing attacks that are too quick to evade.
Vahram then performs his finisher which leads to another cutscene where he almost finishes off Sargon. He then reveals that he has power over time as he rewinds it back to a minute ago. With ahis final strength, Sargon tries to attack Vahram again, but Vahram proves too strong and quick. Vahram then throws Sargon over the bridge.
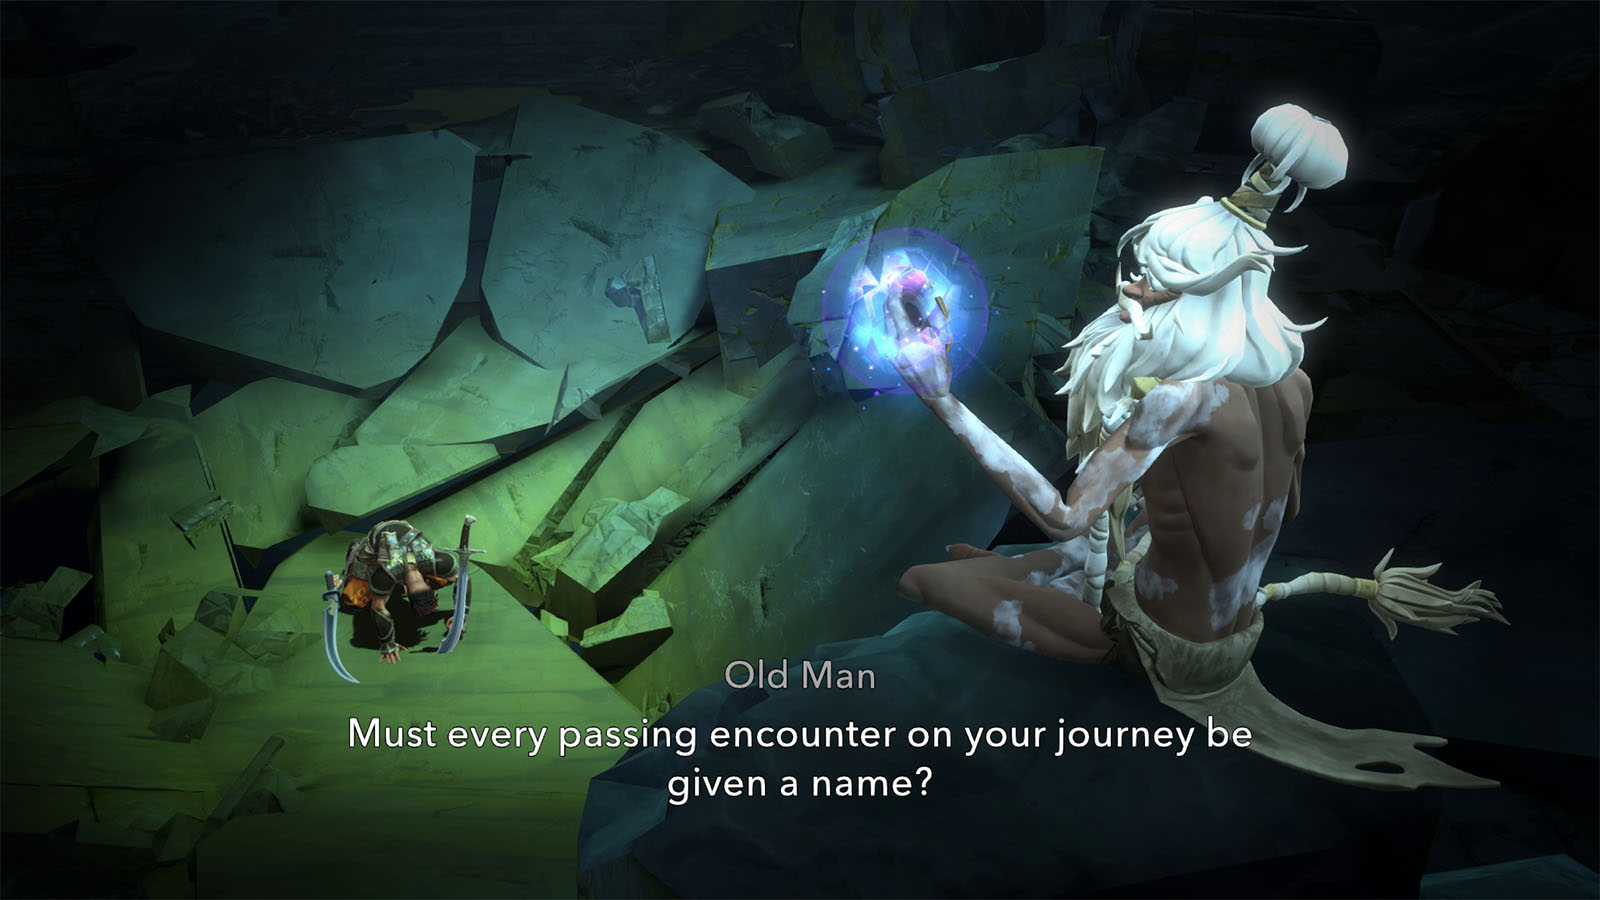
Another cutscene plays which shows the time Sargon joined the Immortals. Sargon then wakes up at the bottom of the pit where he is met with the Old Man from before. The Old Man reveals that he took the Eye of the Wanderer before setting off. The chapter then ends with Sargon left in the dark and determined to chase down the Old Man.


