
Lost in Mount Qaf is the first chapter of Prince of Persia: The Lost Crown. After Prince Ghassan has been abducted by Anahita, the seven Immortals head over to Mount Qaf to rescue the Prince. However, they will soon find out that the mountain has been turned into a time-altering prison. Read ahead as we go through the events of Lost in Mount Qaf in Prince of Persia: The Lost Crown and share some tips, locations of collectibles, and other helpful tricks to complete the chapter.
See previous: Prologue
Chapter Objectives:
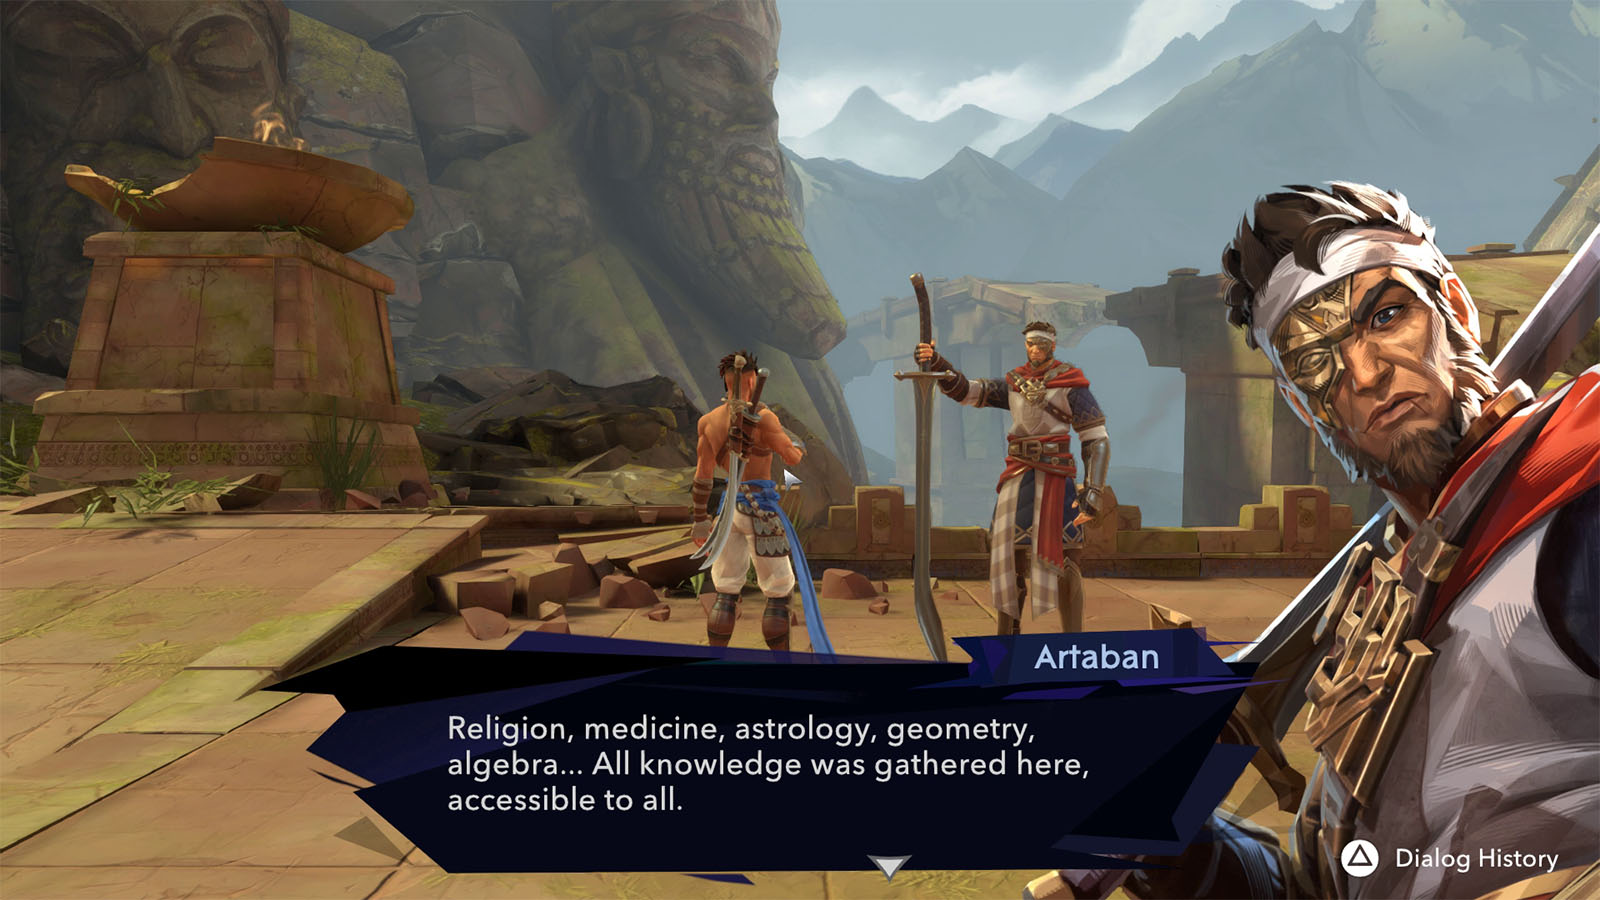
The Immortals arrive at the base of Mount Qaf, a place where a prosperous citadel once existed. Make your way towards the right to reach the Old Royal Road and talk to Artaban. He will talk about Mount Qaf and what it was before it came to ruin.
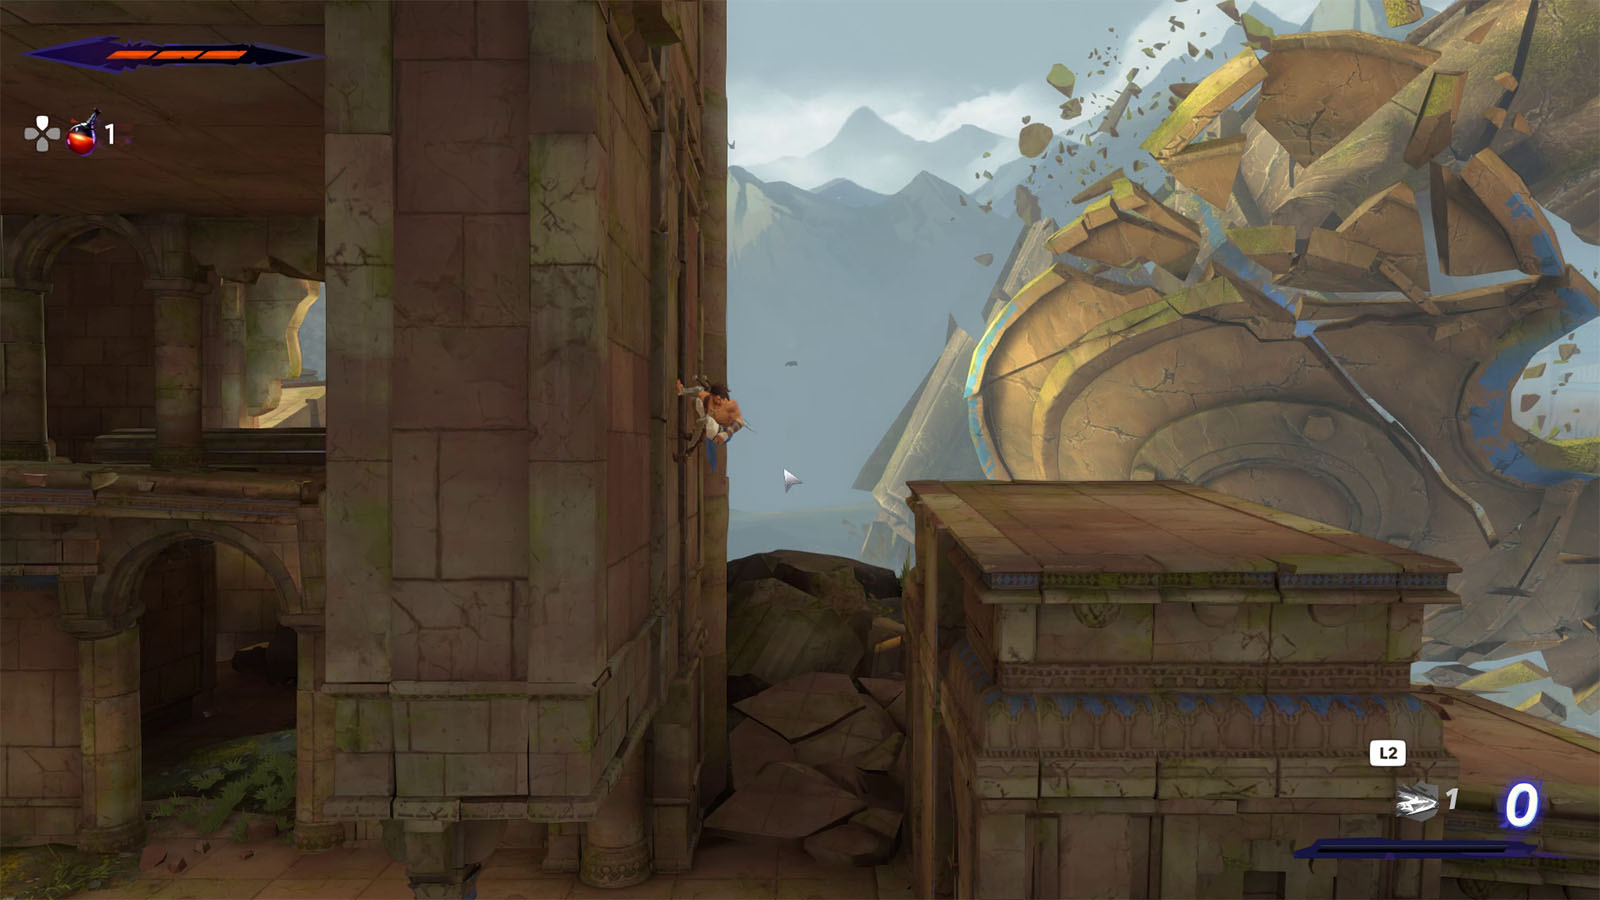
Continue over to the right and traverse through the buildings using your wall jumping skill. There will be routes that you currently won’t be able to access during the first few parts of the game. You will be able to revisit these parts once you gain abilities that will help you traverse the obstacles.
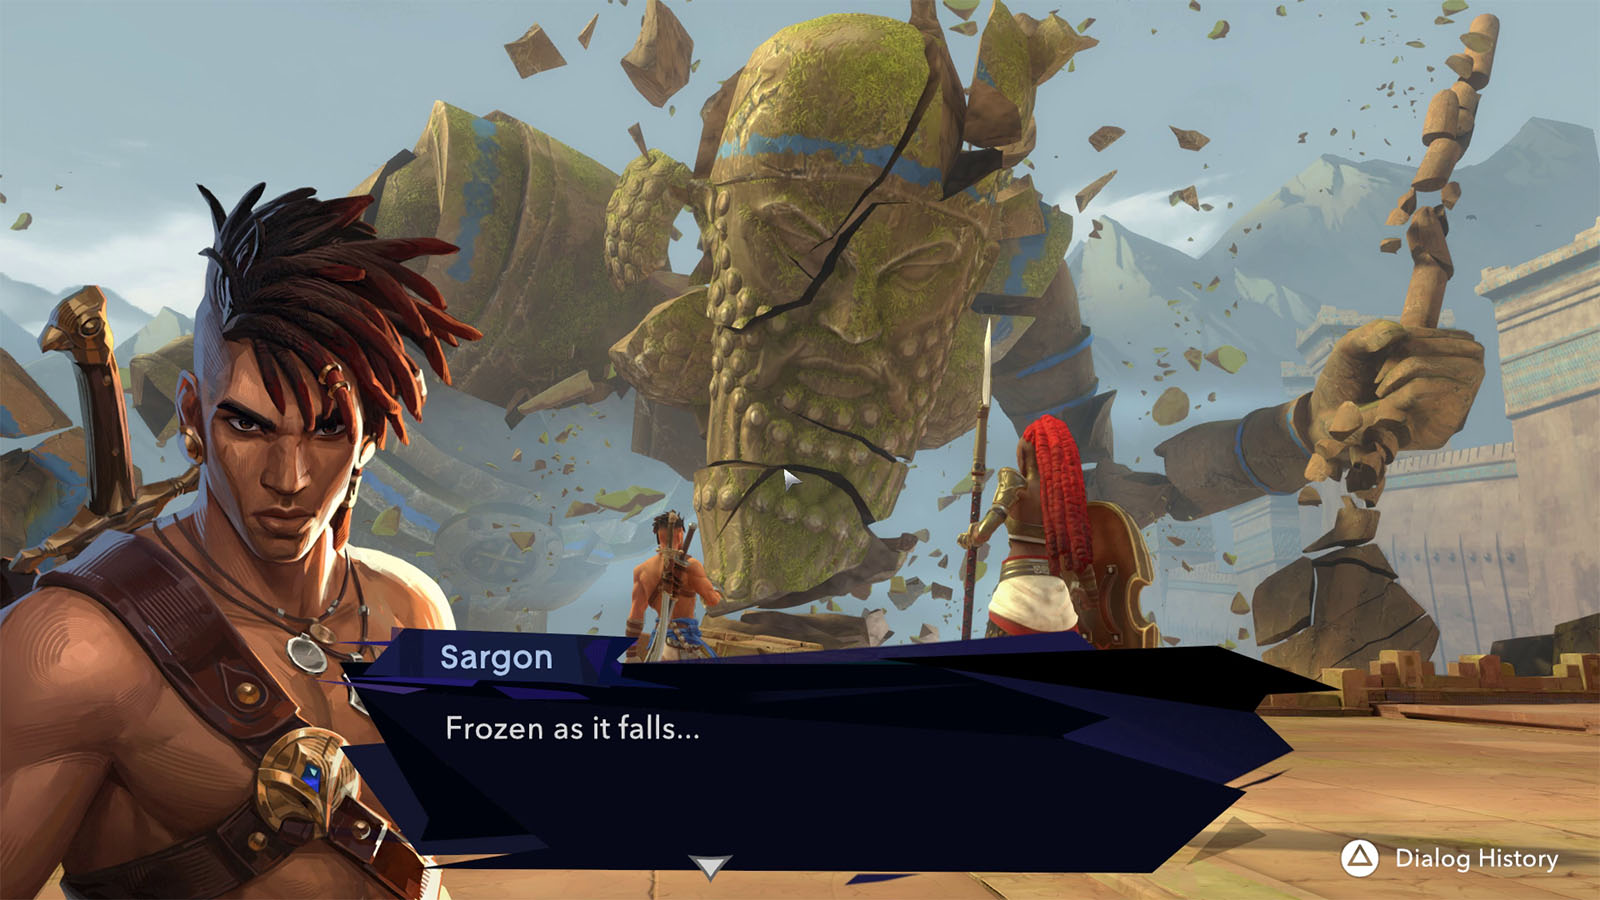
You will eventually meet up with Neith who is standing in front of a shattered statue that appears to have been frozen in time. Continue through the gate to reach the Lower City. Pass by the platform on the floor for now and and enter the building to the right.
Enter the Citadel with the Immortals
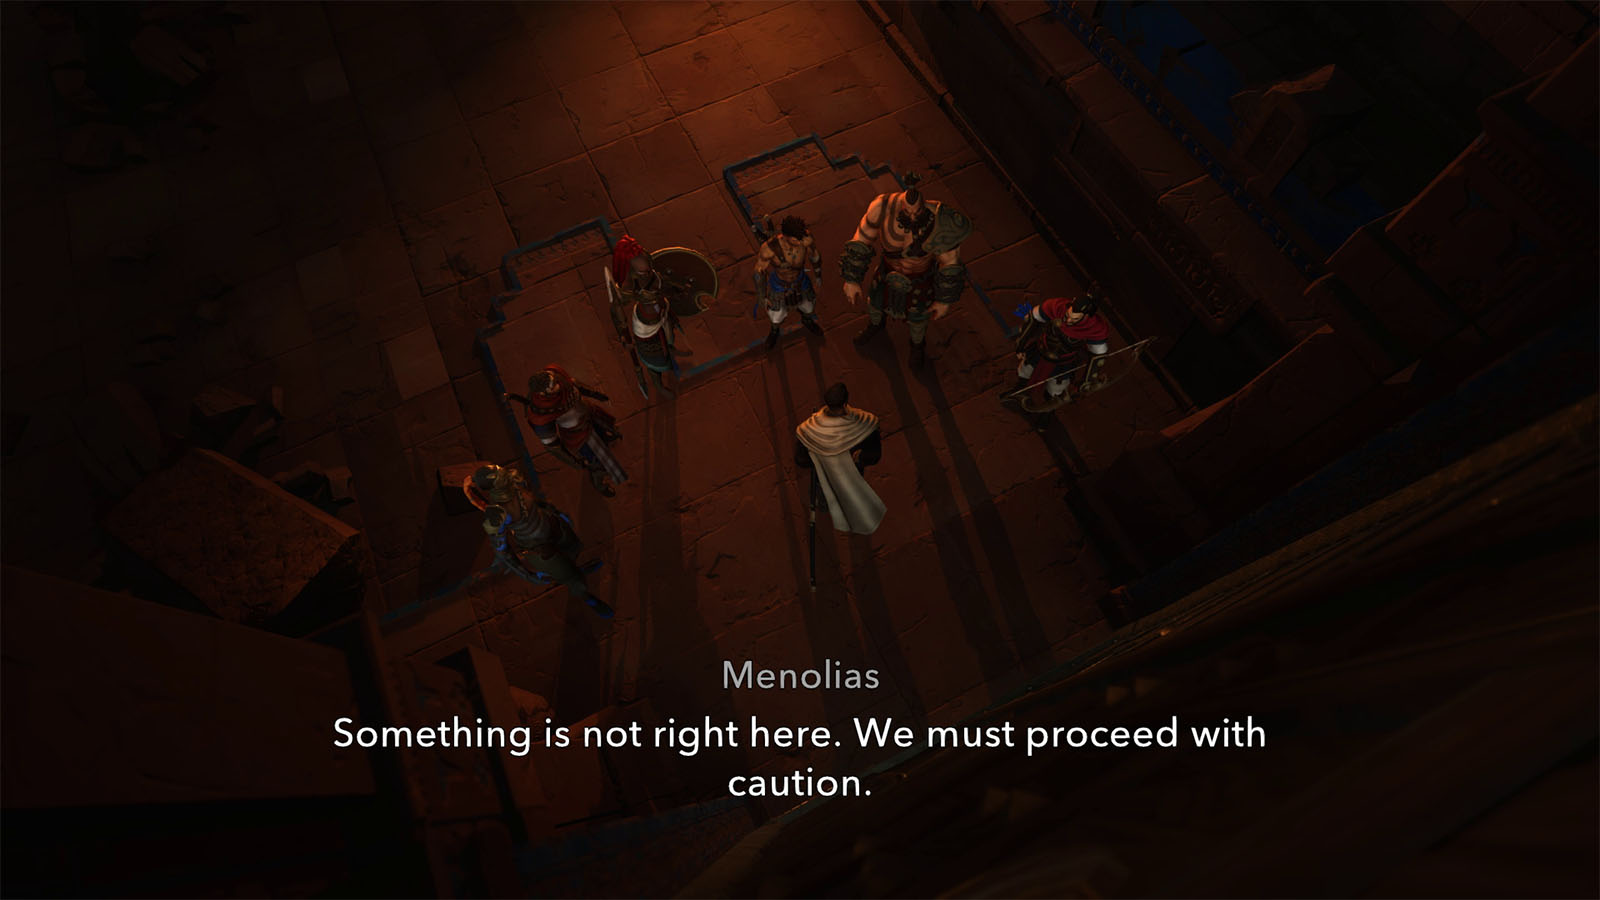
You will meet up with the rest of the Immortals who are preparing to go through a large gate leading to the inner parts of the city. Here they discover corpses, including someone who they knew. However, it appears that he has died a long time ago despite reaching the city just hours ago.
A strange power then consumes the surrounding area and closes the gate behind the Immortals. They then decide to split up to find the Prince and Anahita.
Explore the Ancient City to Find Prince Ghassan
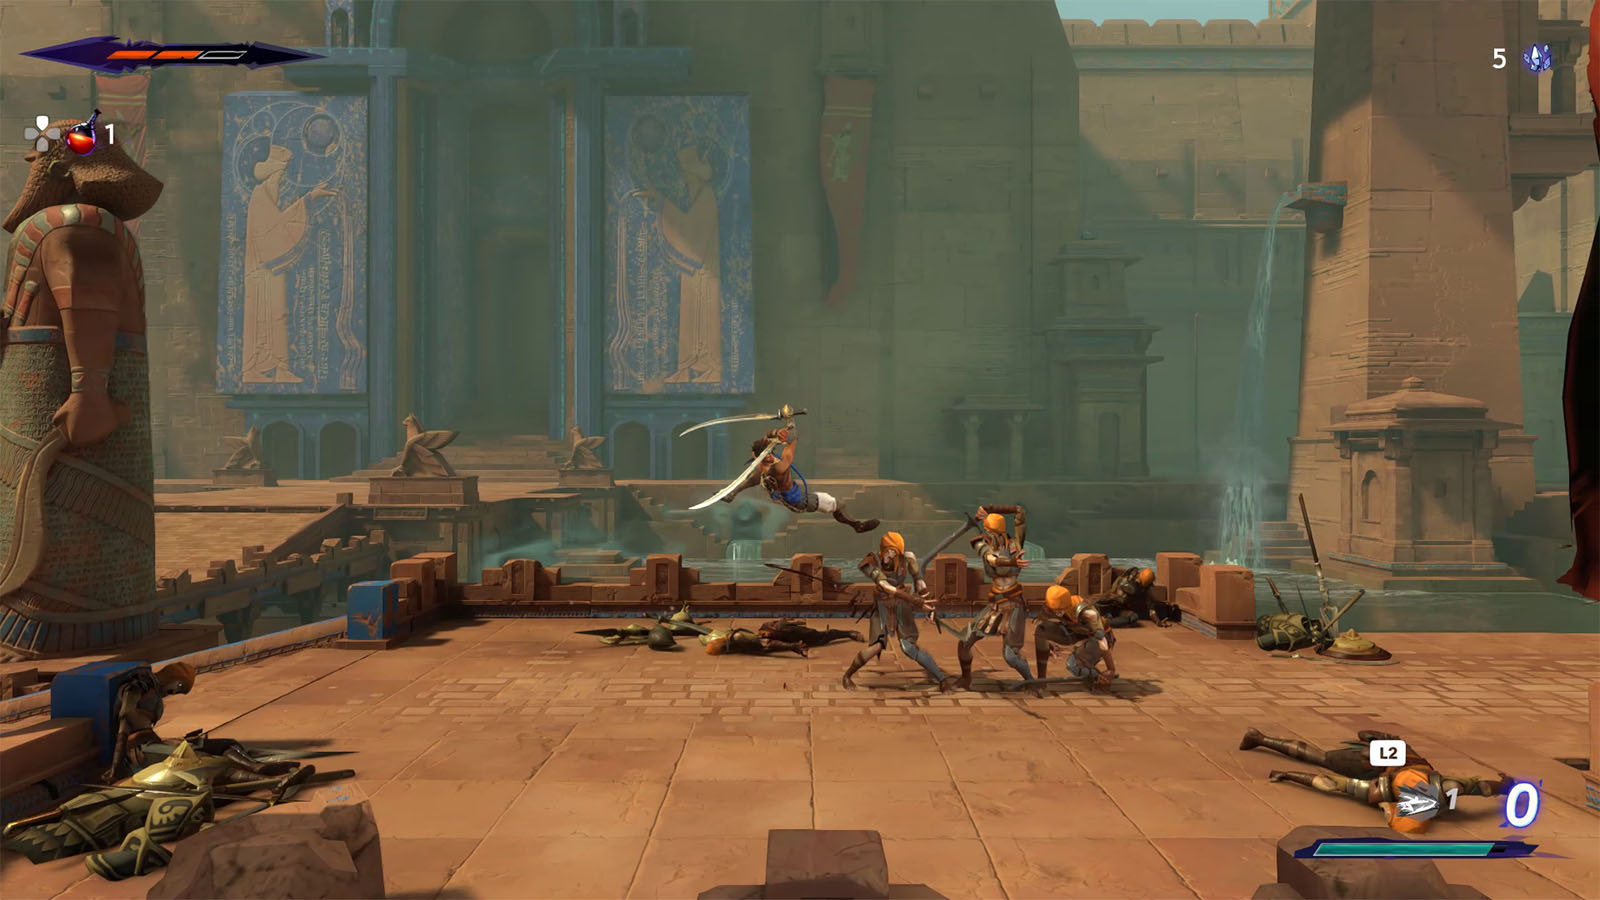
Shortly after, the corpses reanimate and attack Sargon. Clear them all out as you make your way to the east.
Take note of a glowing wall for now to revisit it later in Chapter 4.
At the room with a stele, go over and around it, then lower the bridge to be able to inspect the stele.
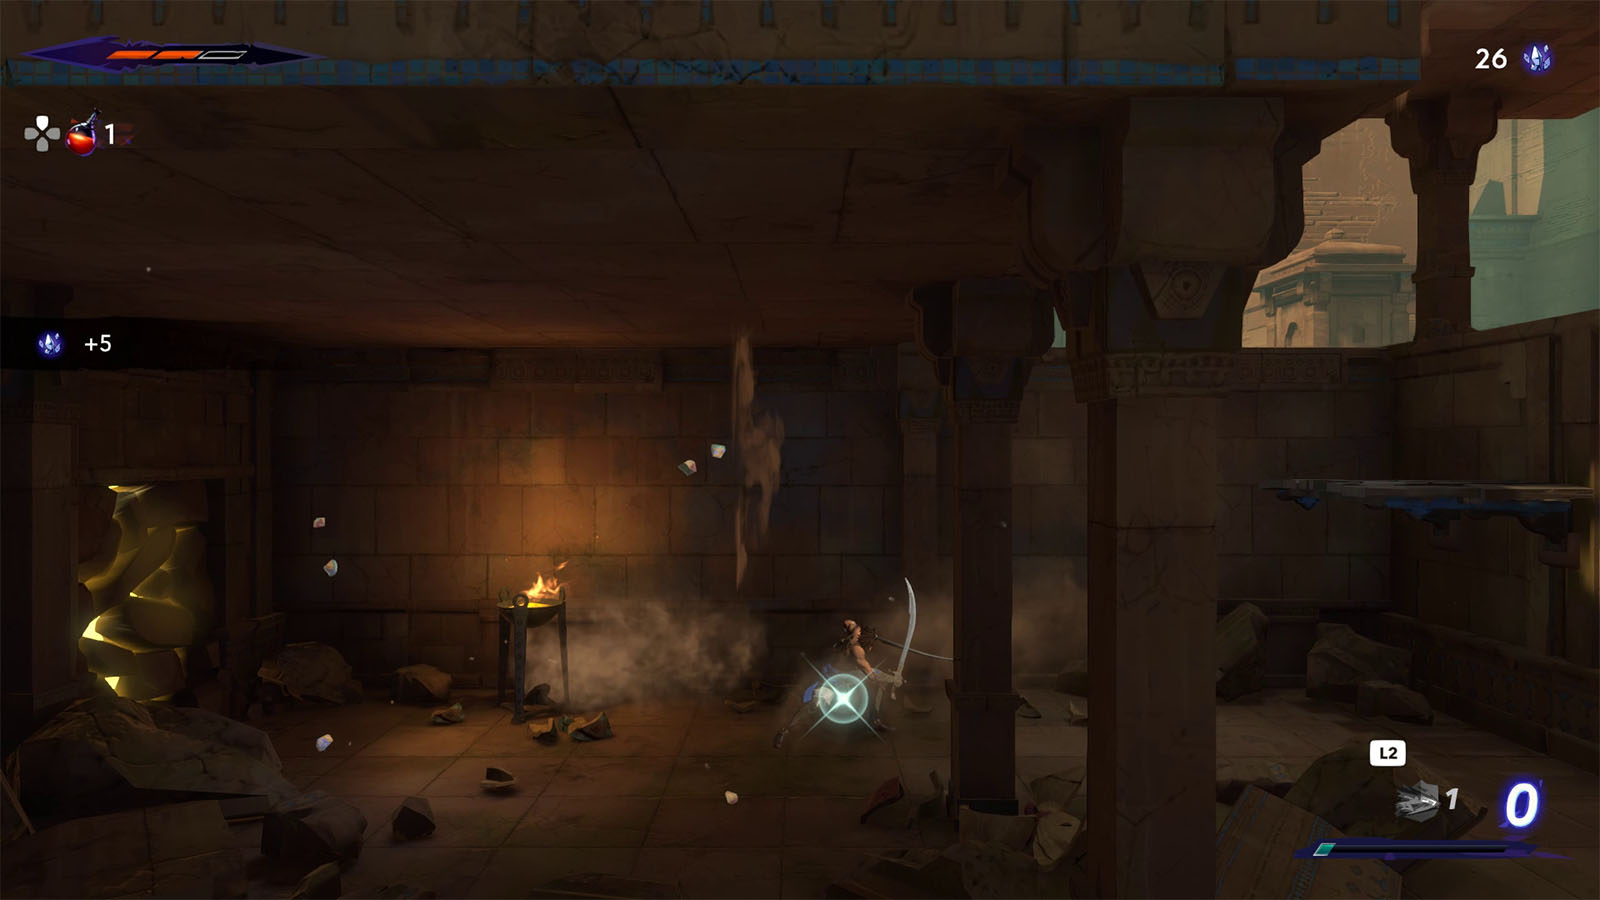
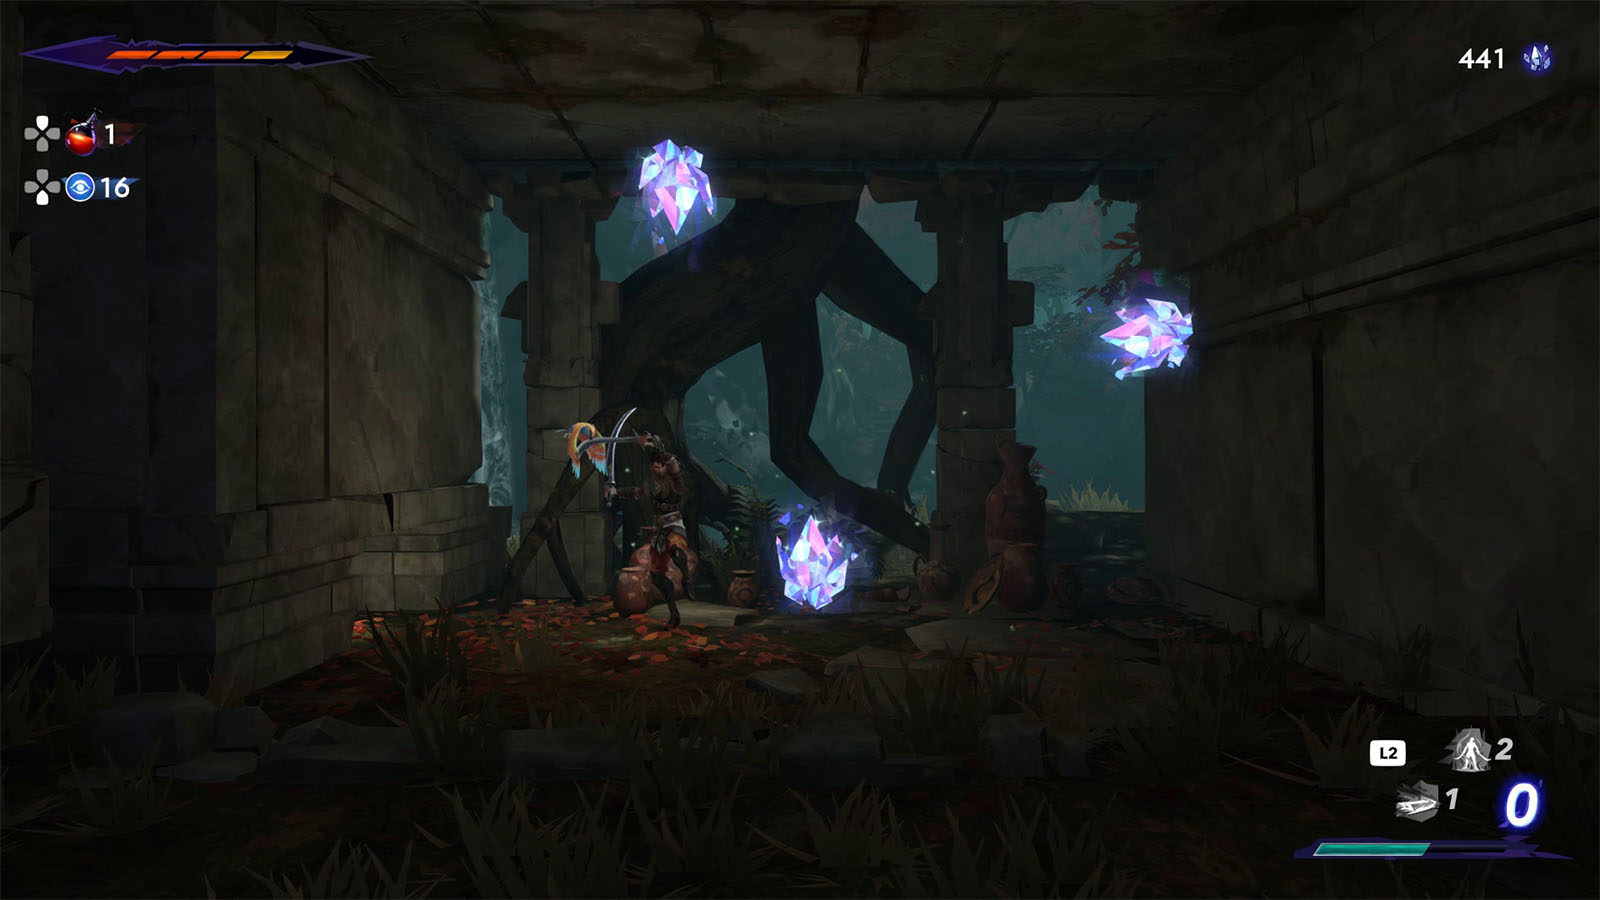
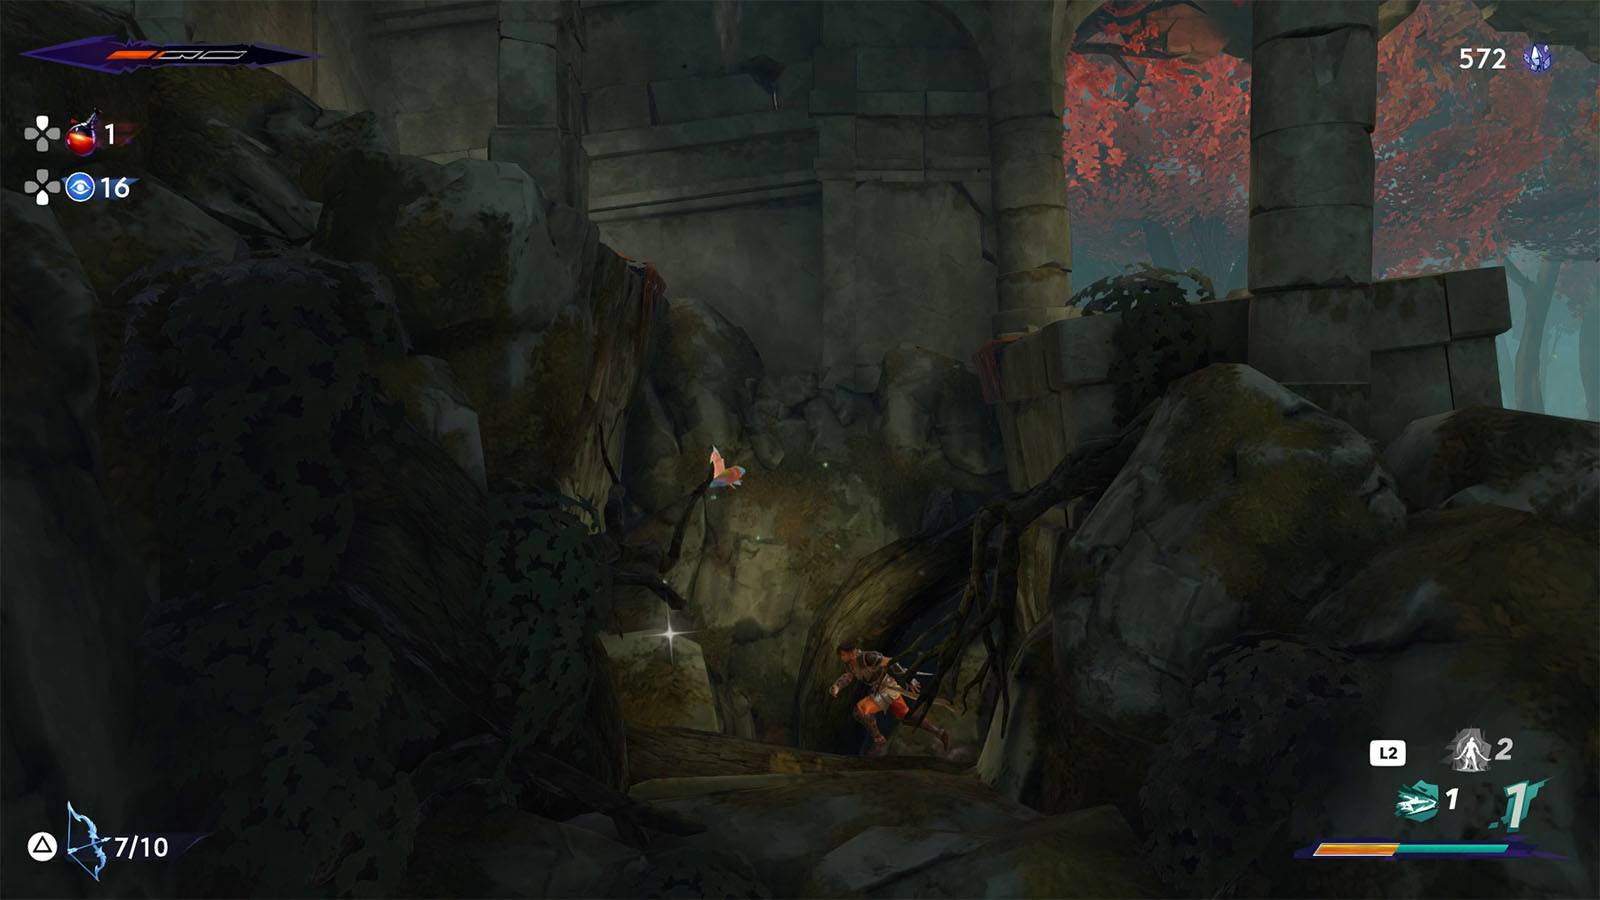
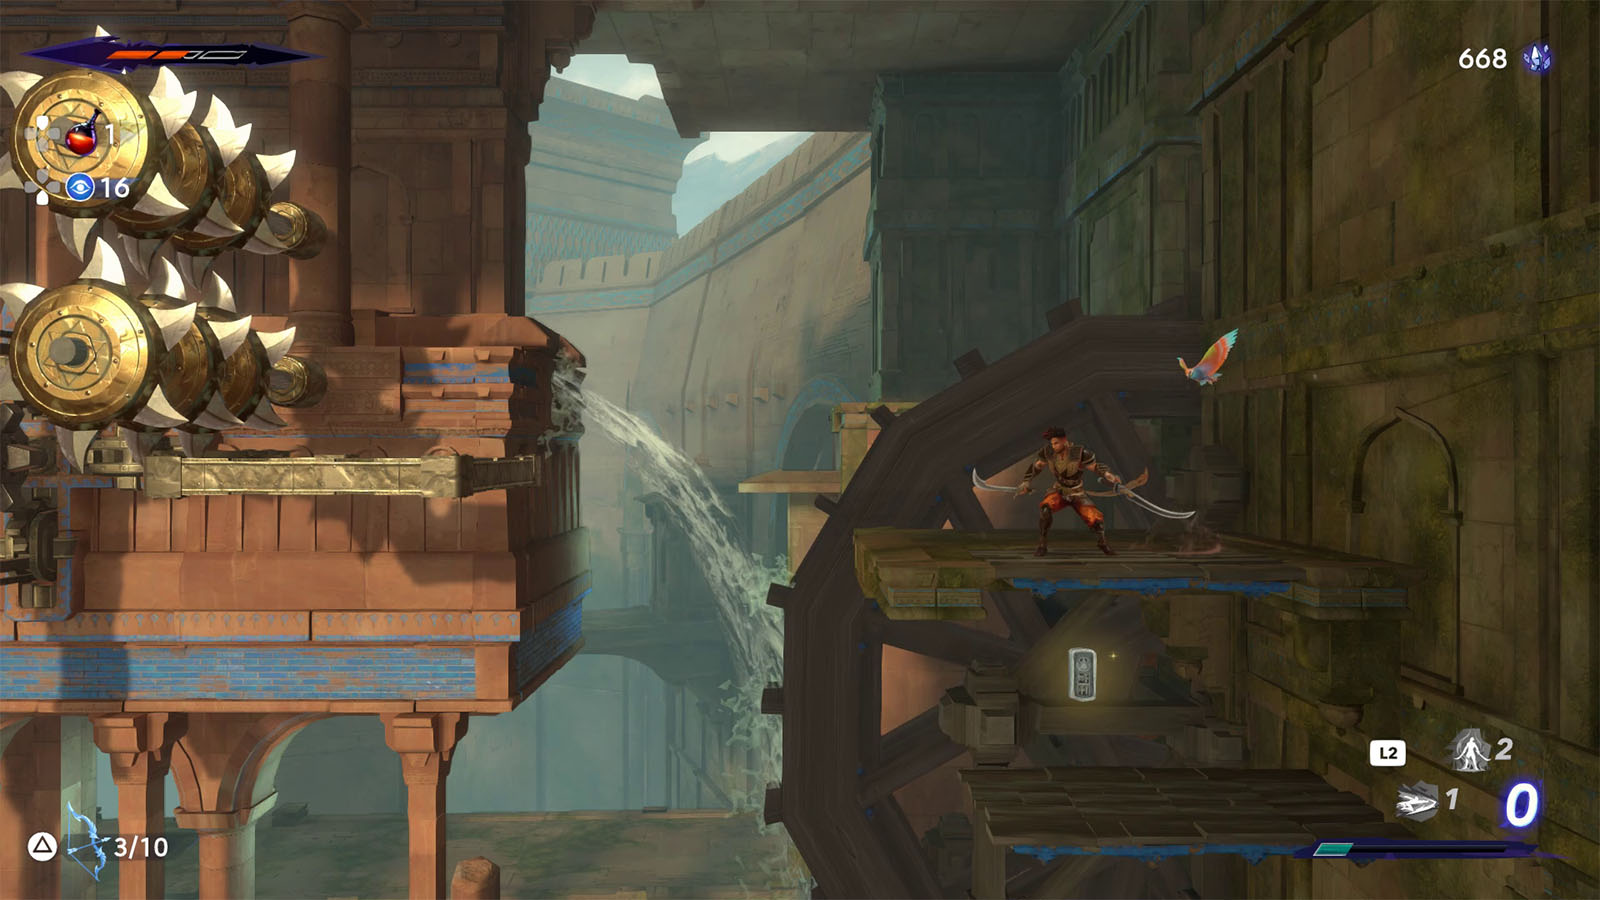
Continue to the east and traverse through the platforms and poles. Look out for crystals that you can break which drop Time Crystals. These crystals are the main currency of the game which also drop from defeated enemies.
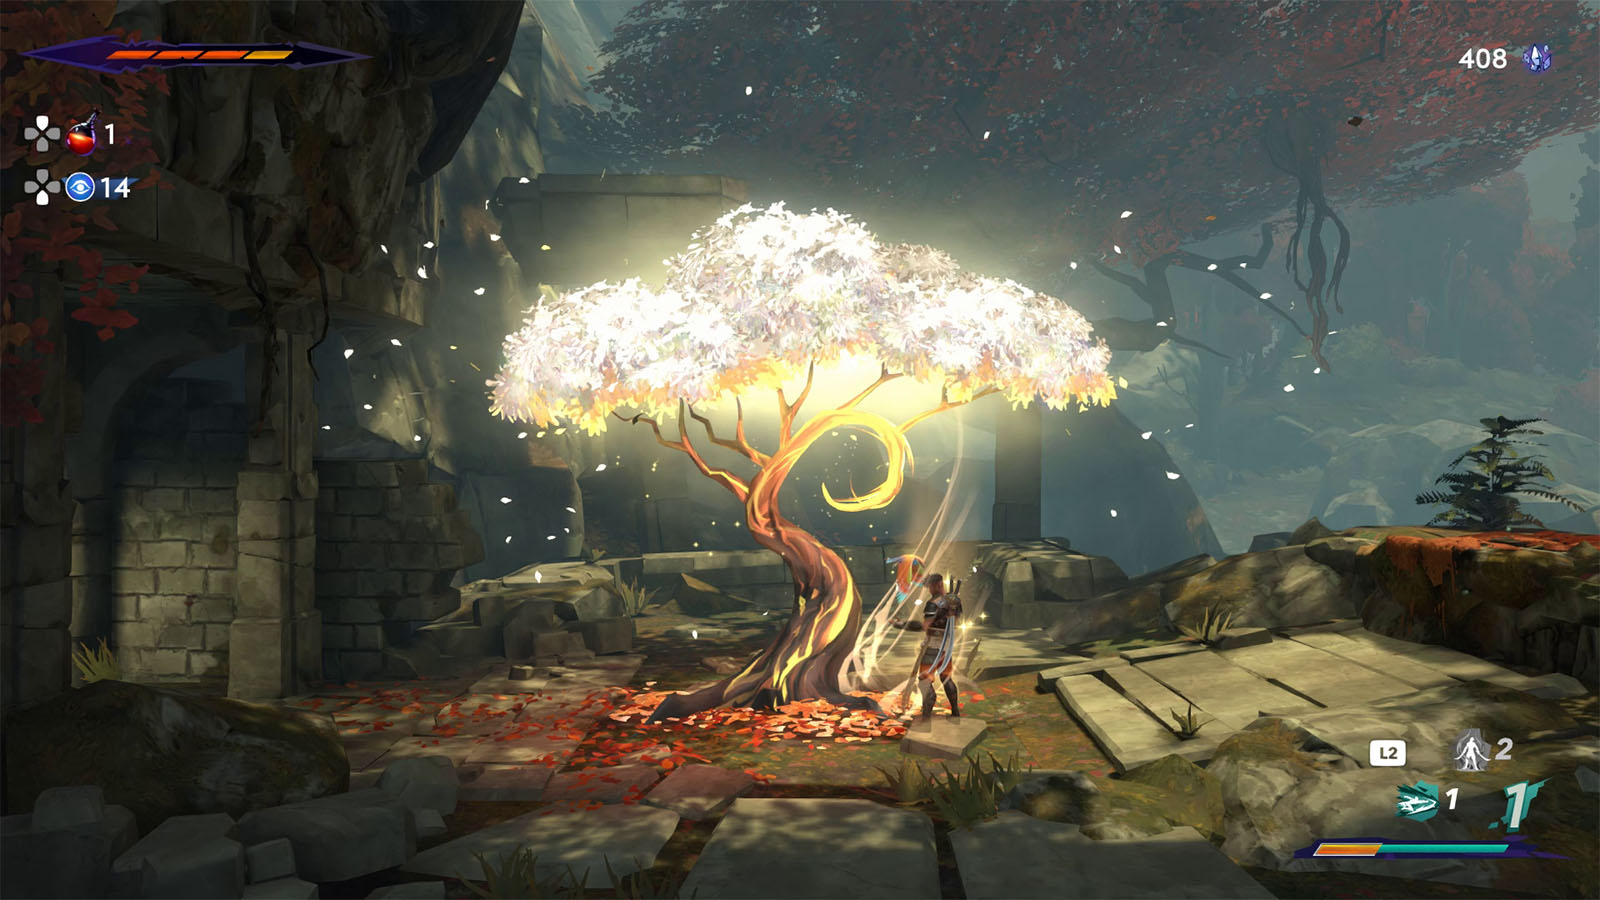
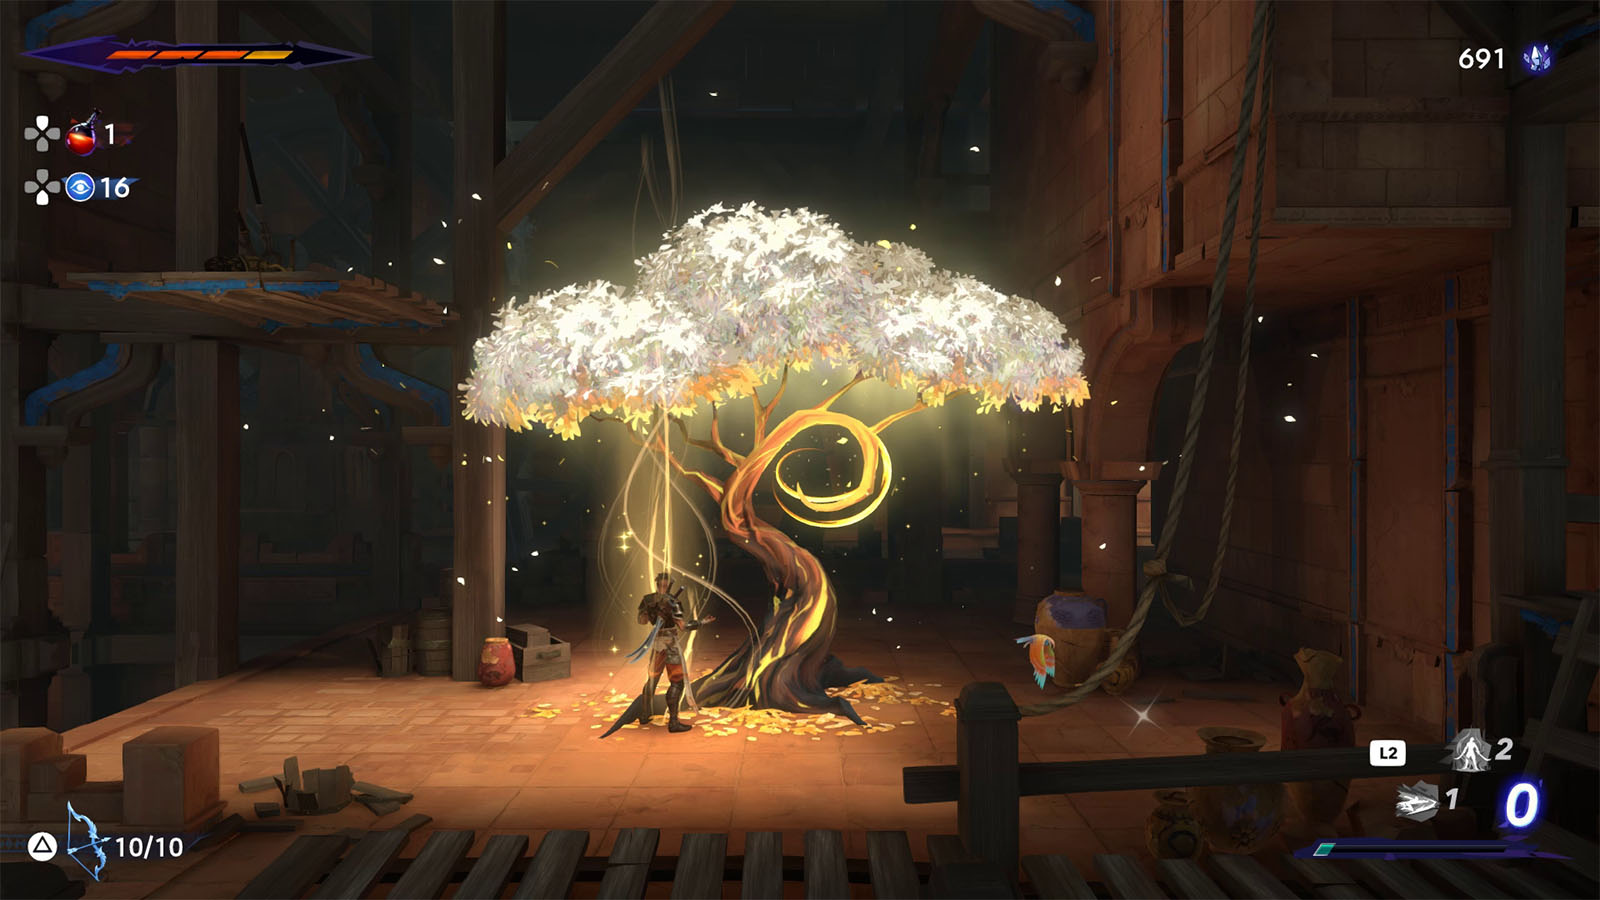
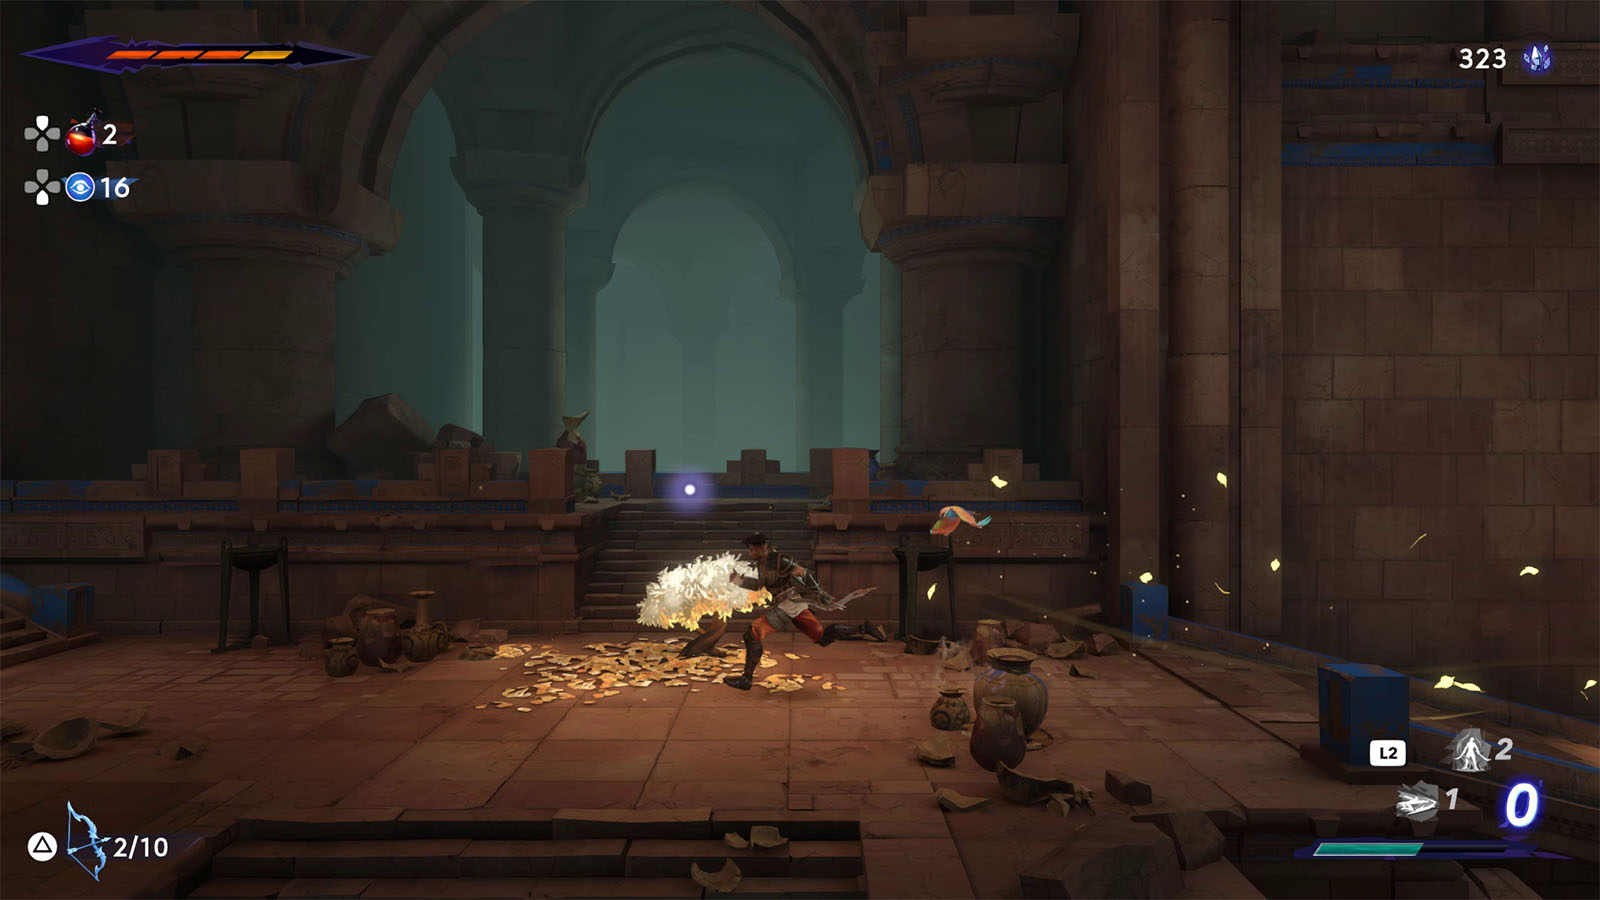
Eventually, you will start seeing gold leaves on the ground and a golden breeze that flows to a particular direction. These will be indications that a Wak-Wak Tree is nearby. Follow the breeze and you will soon arrive at the first tree.
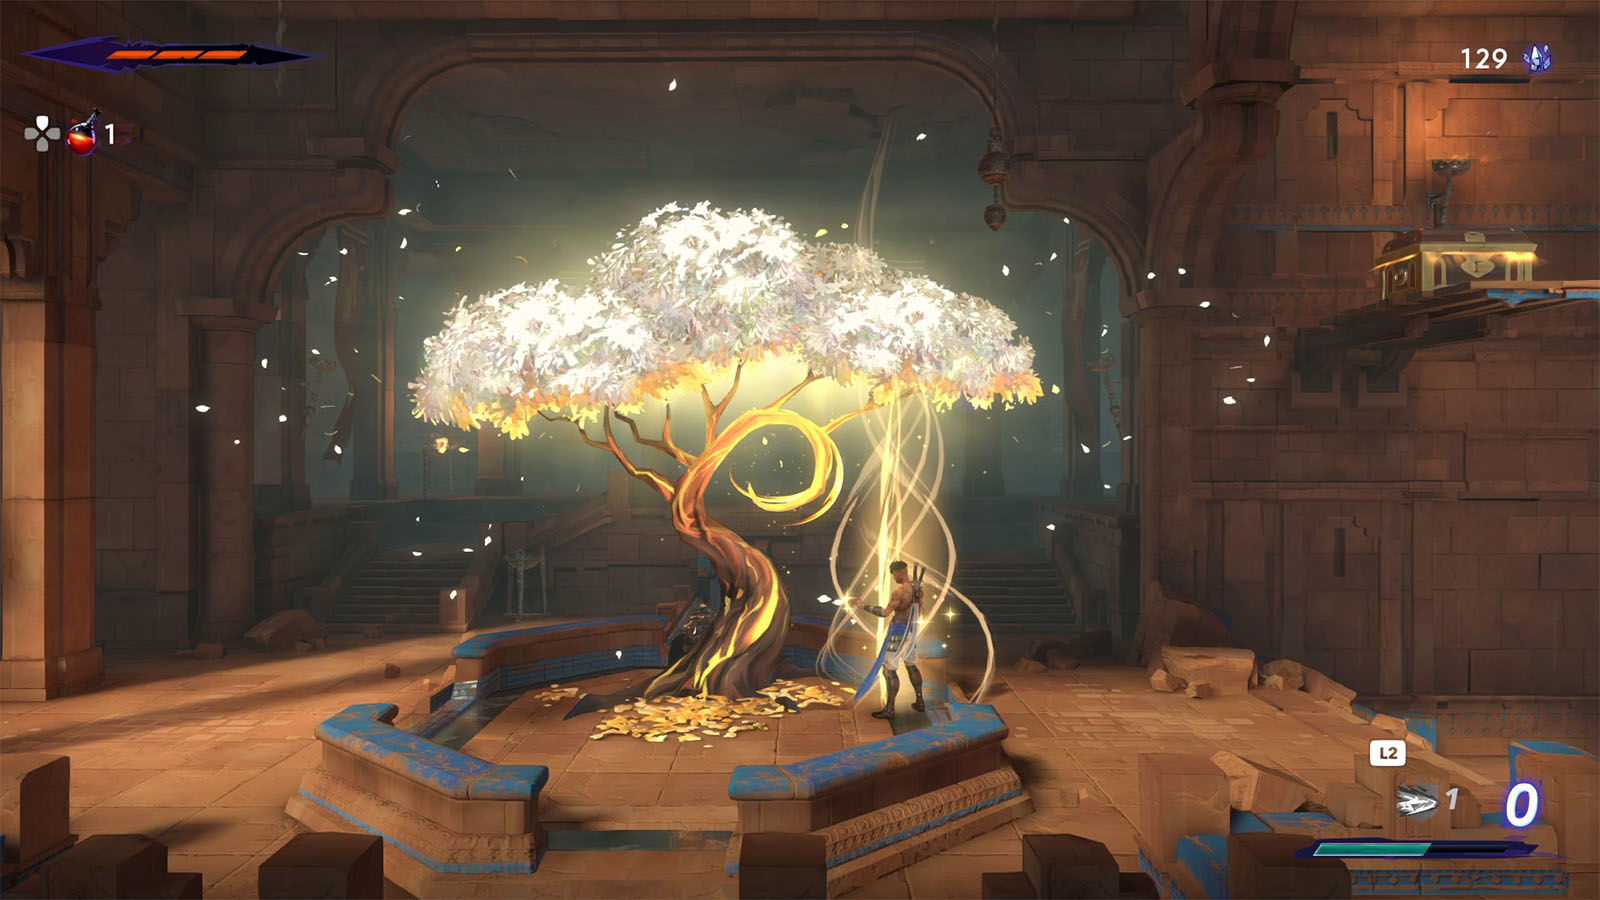
Wak-Wak Trees serve as save points in the game. Once inspected, it will replenish your health and refill your potion flasks. You will respawn at the last Wak-Wak Tree that you have inspected in case you die; take note that you need to have inspected the tree to set it as your spawn point as passing by one, even if it is already activated, will not count. The tree also serves as a place where you can manage your amulets and unlocked skills.
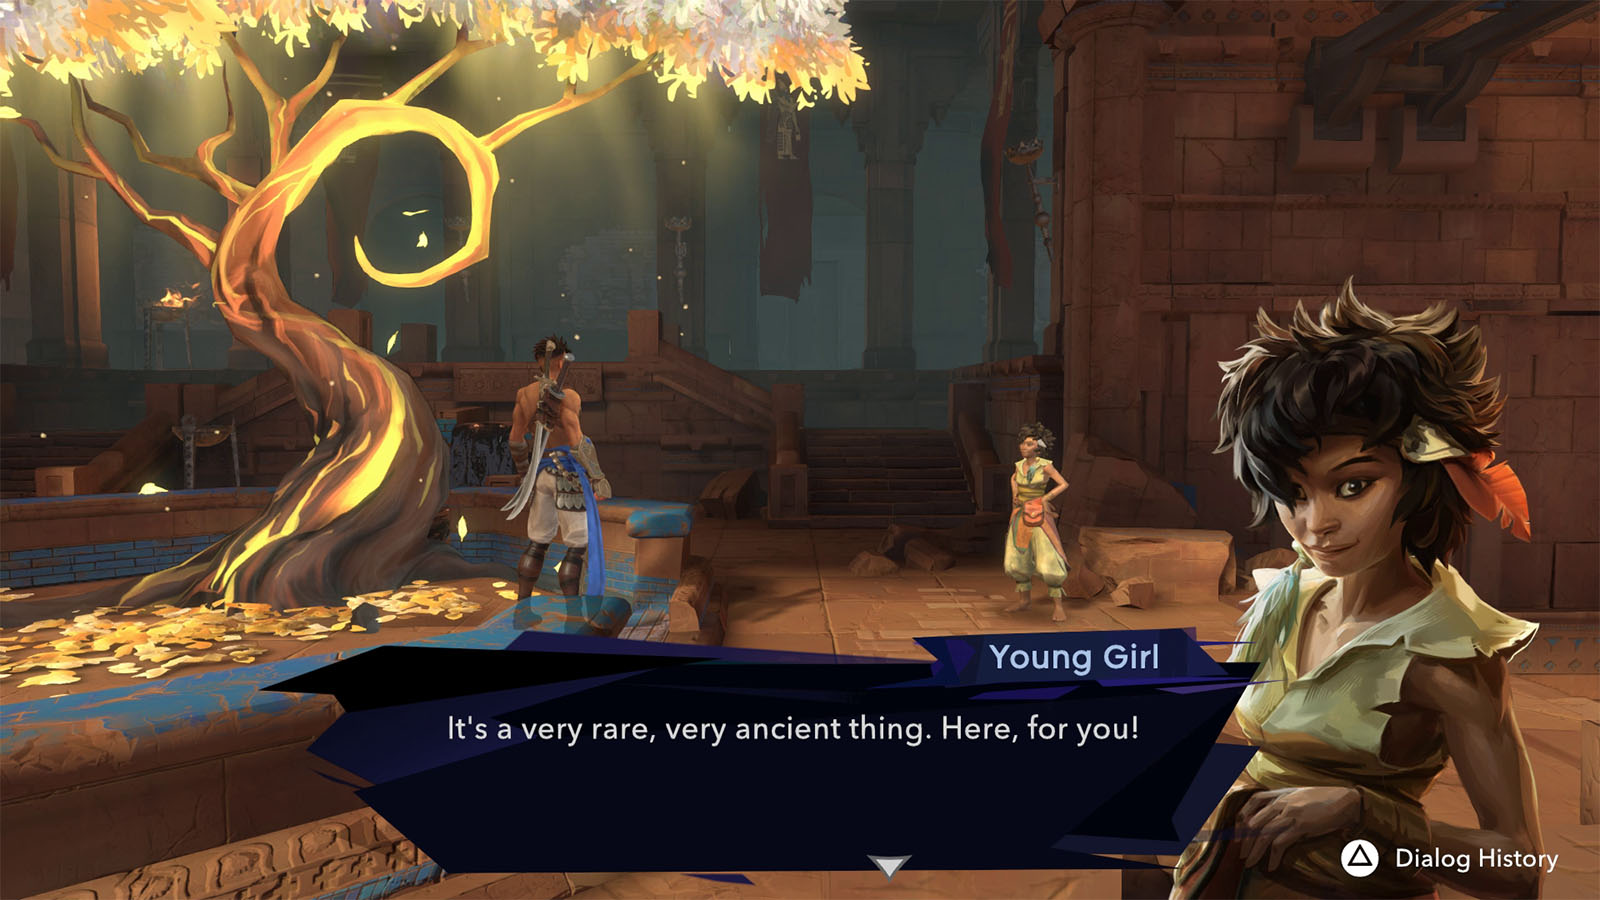
As you inspect the sapling, it will turn into a mature Wak-Wak Tree. A young girl named Fariba will then appear and talks to you about the tree. She claims that she knows every part of Mount Qaf.
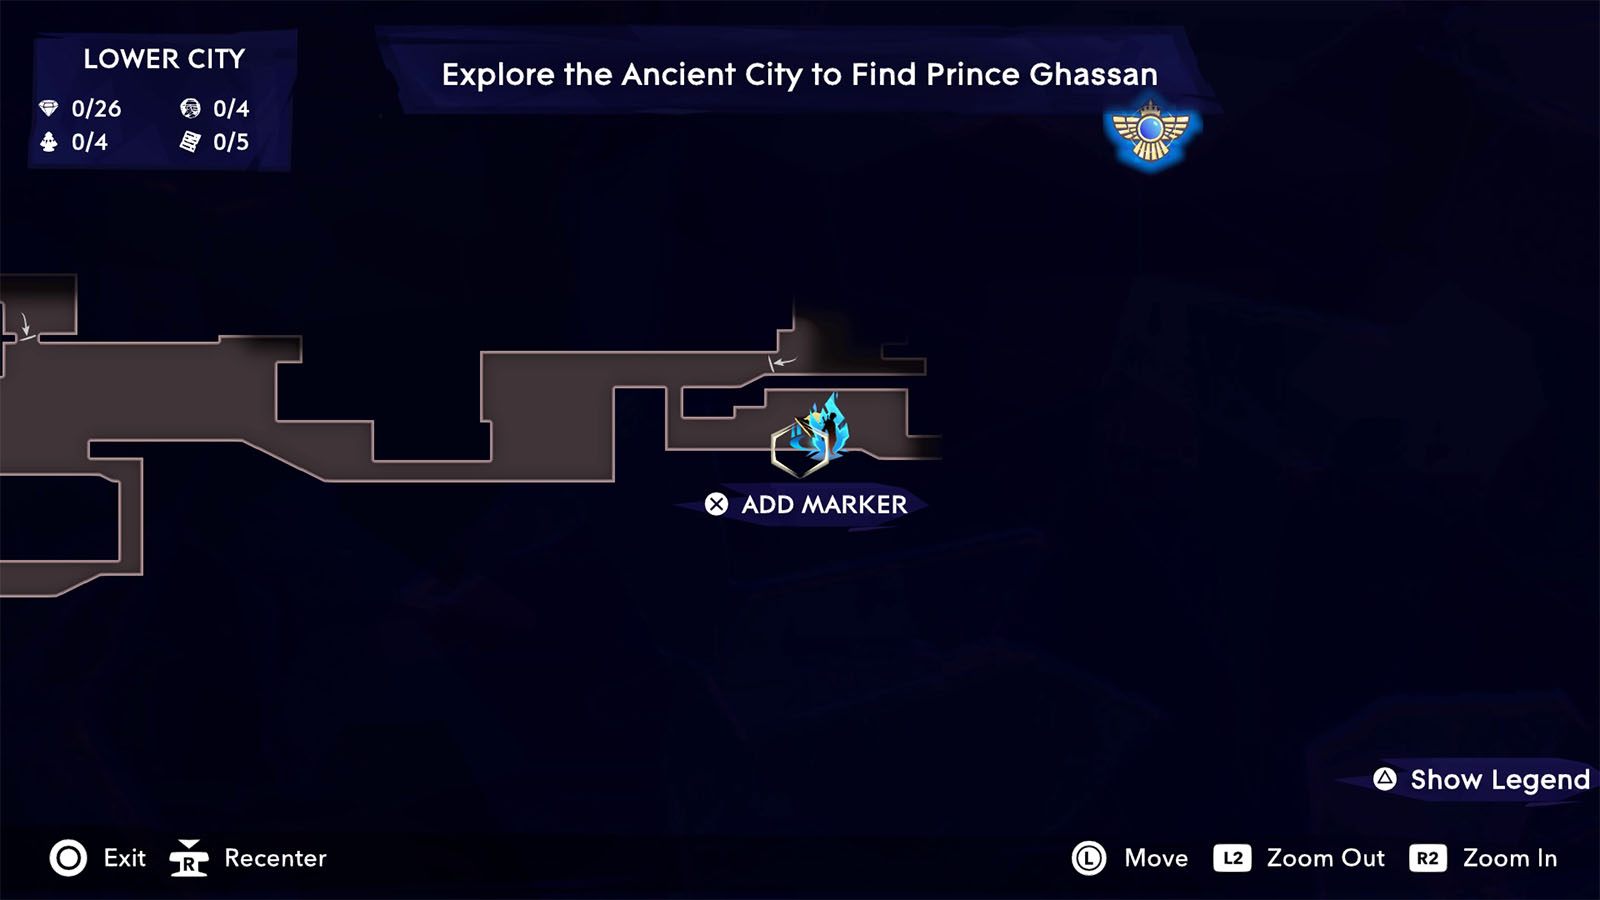
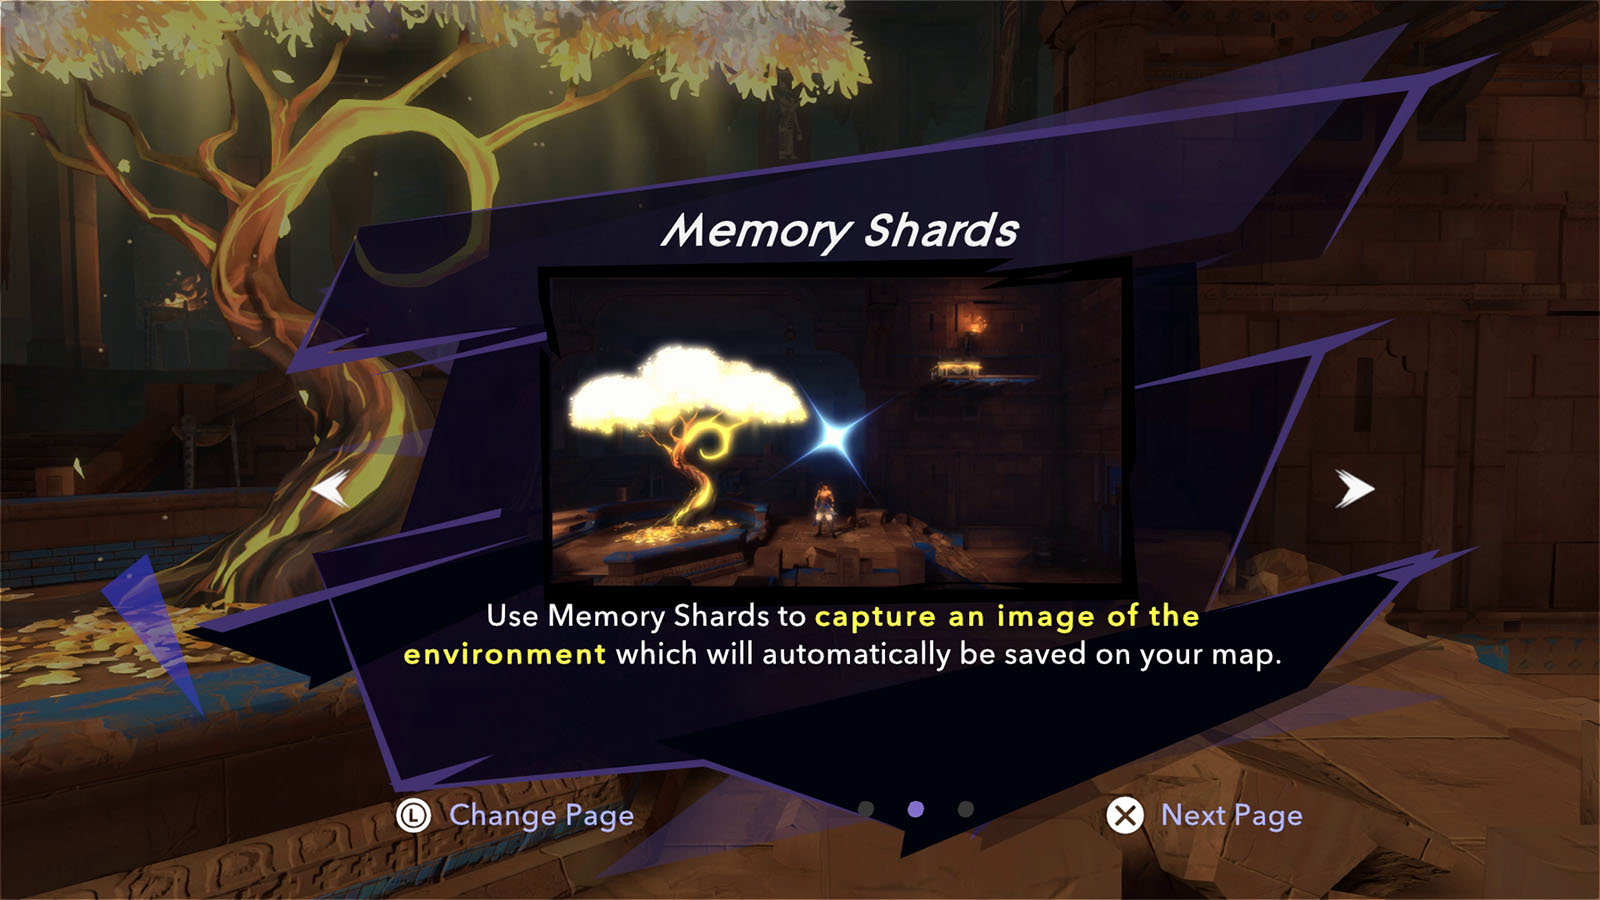
Fariba then gives you an Eye of the Wanderer which serves as your map, and some Memory Shards which are special markers that include a screenshot of the marked area. She then bids farewell, but you will be seeing more of Fariba later throughout Mount Qaf.

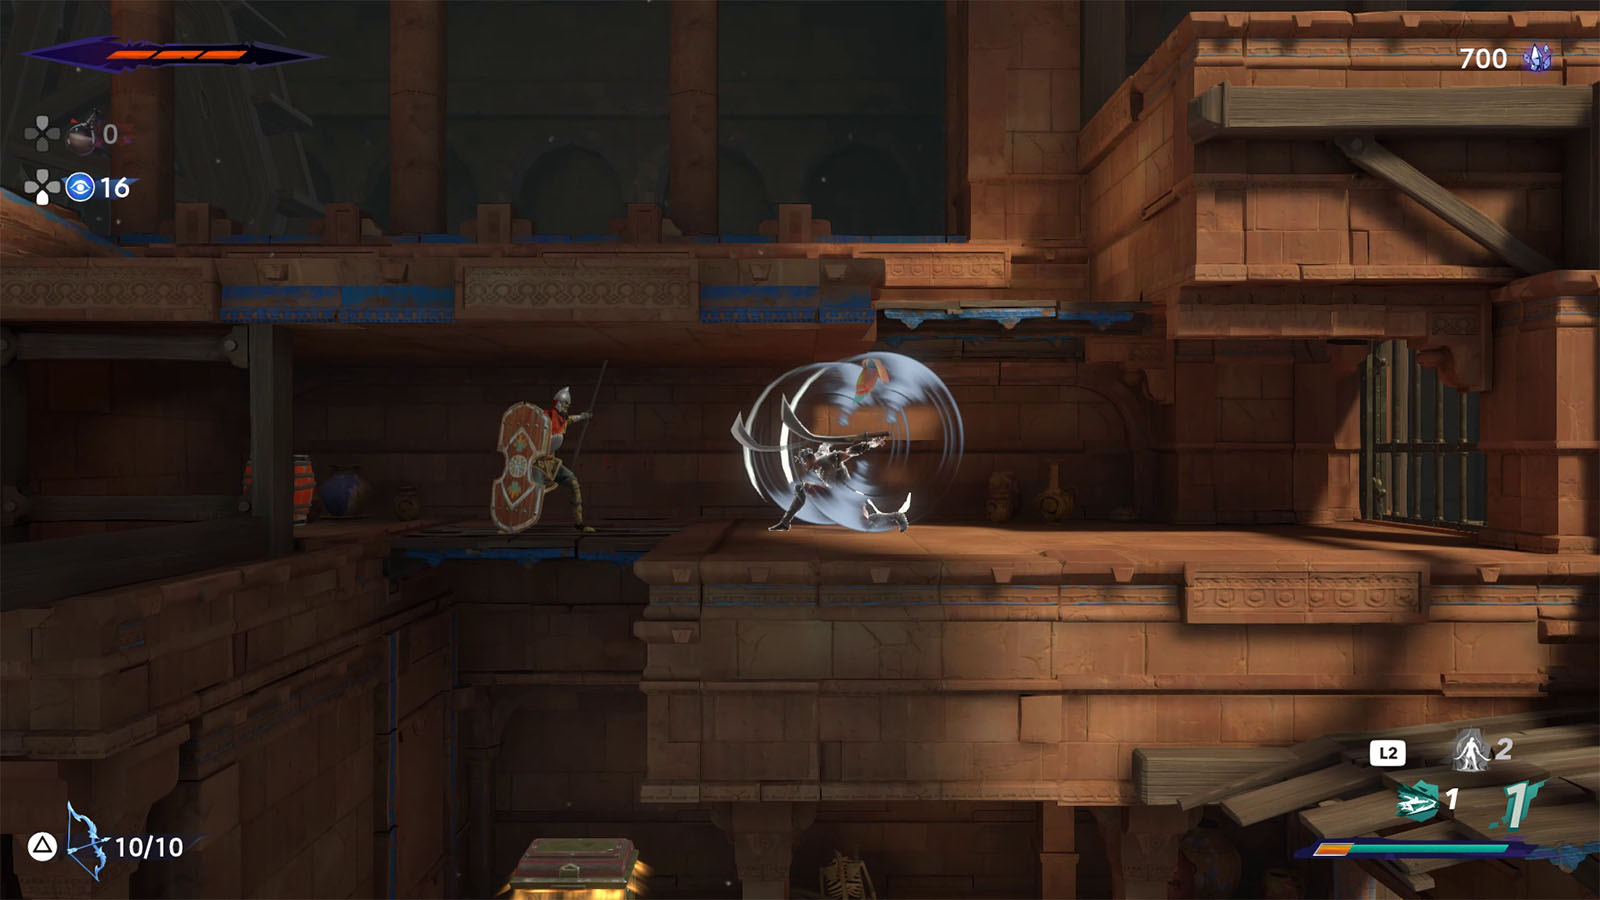
Continue moving to the right where you will encounter shielded enemies. You can either slip behind and attack their backs, or do a couple of charged attacks to break their shields.

Some of the walls in the next area are lined up with spikes. Jump quickly through them to avoid getting hit.
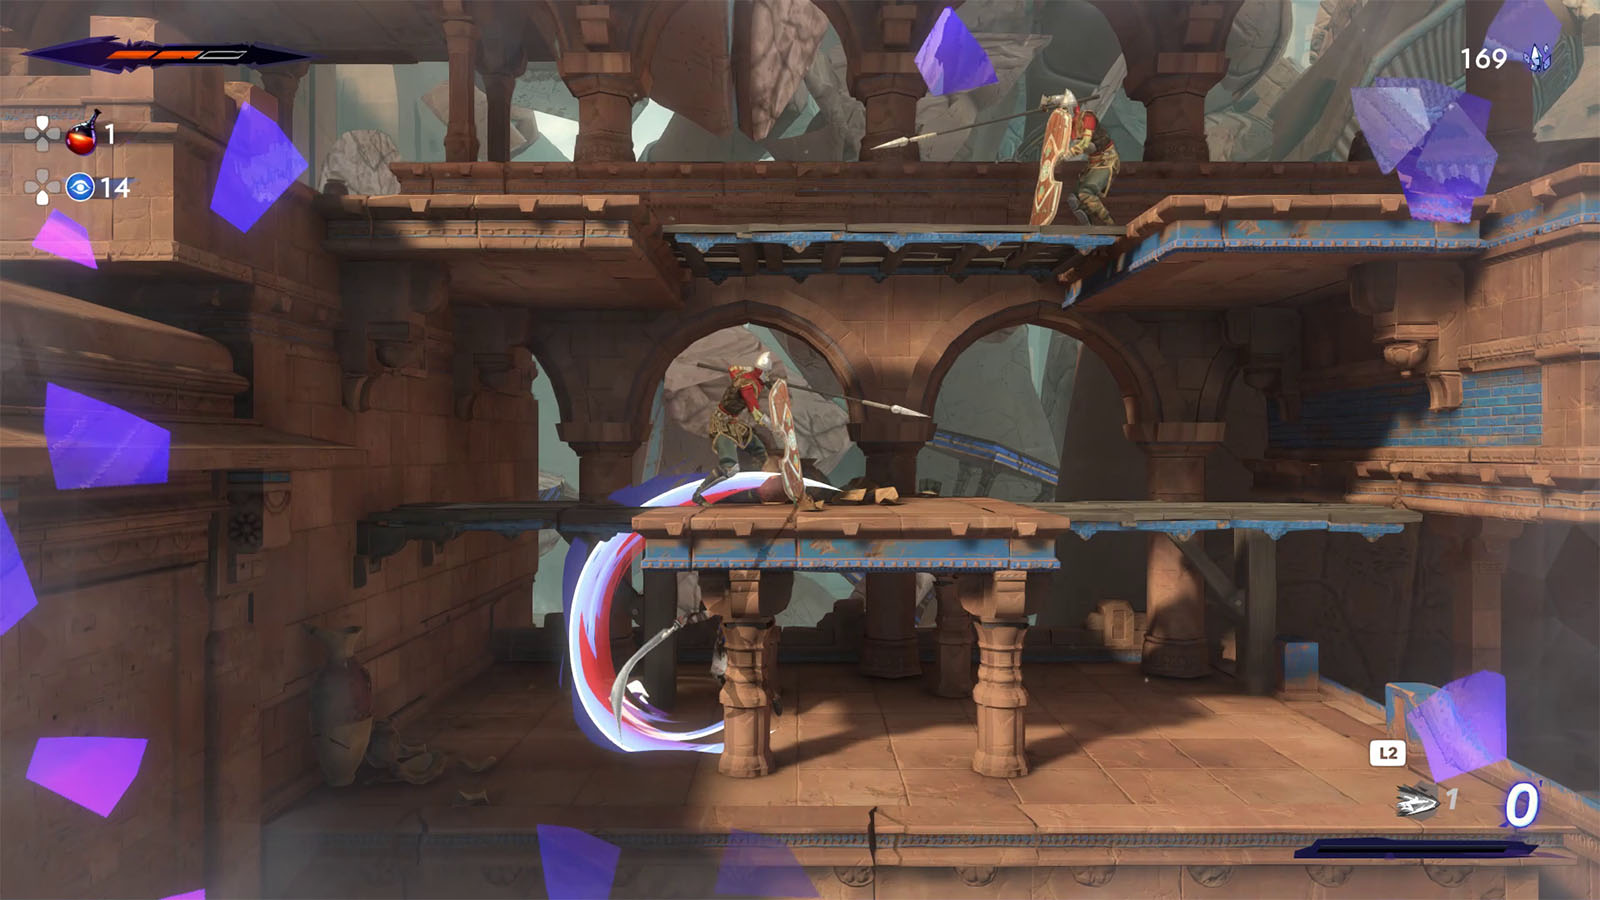
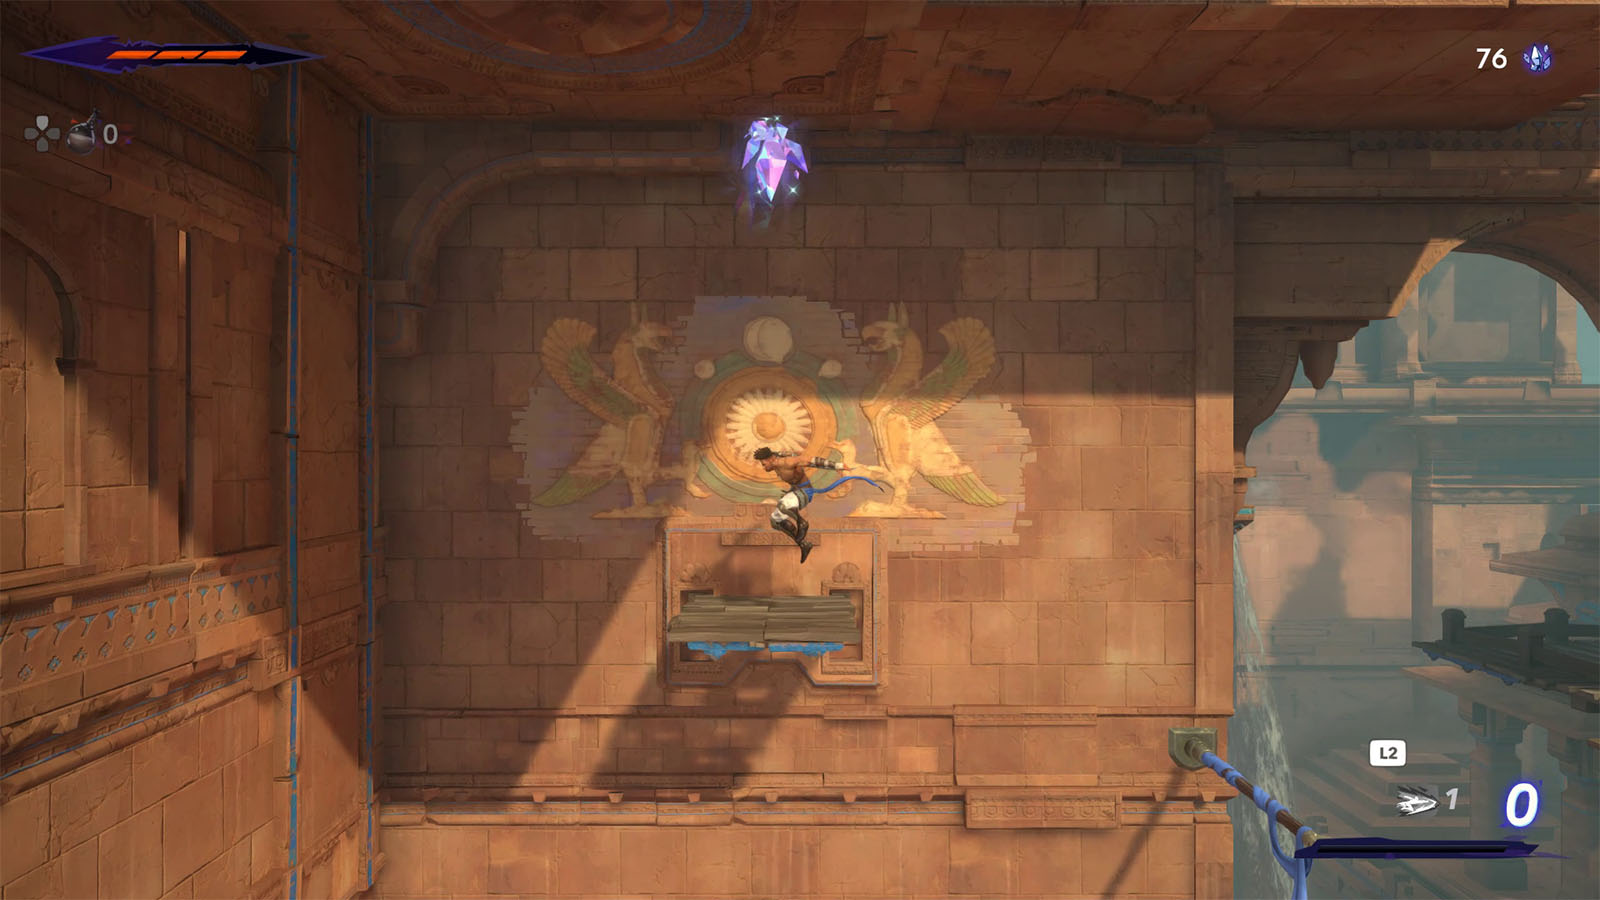
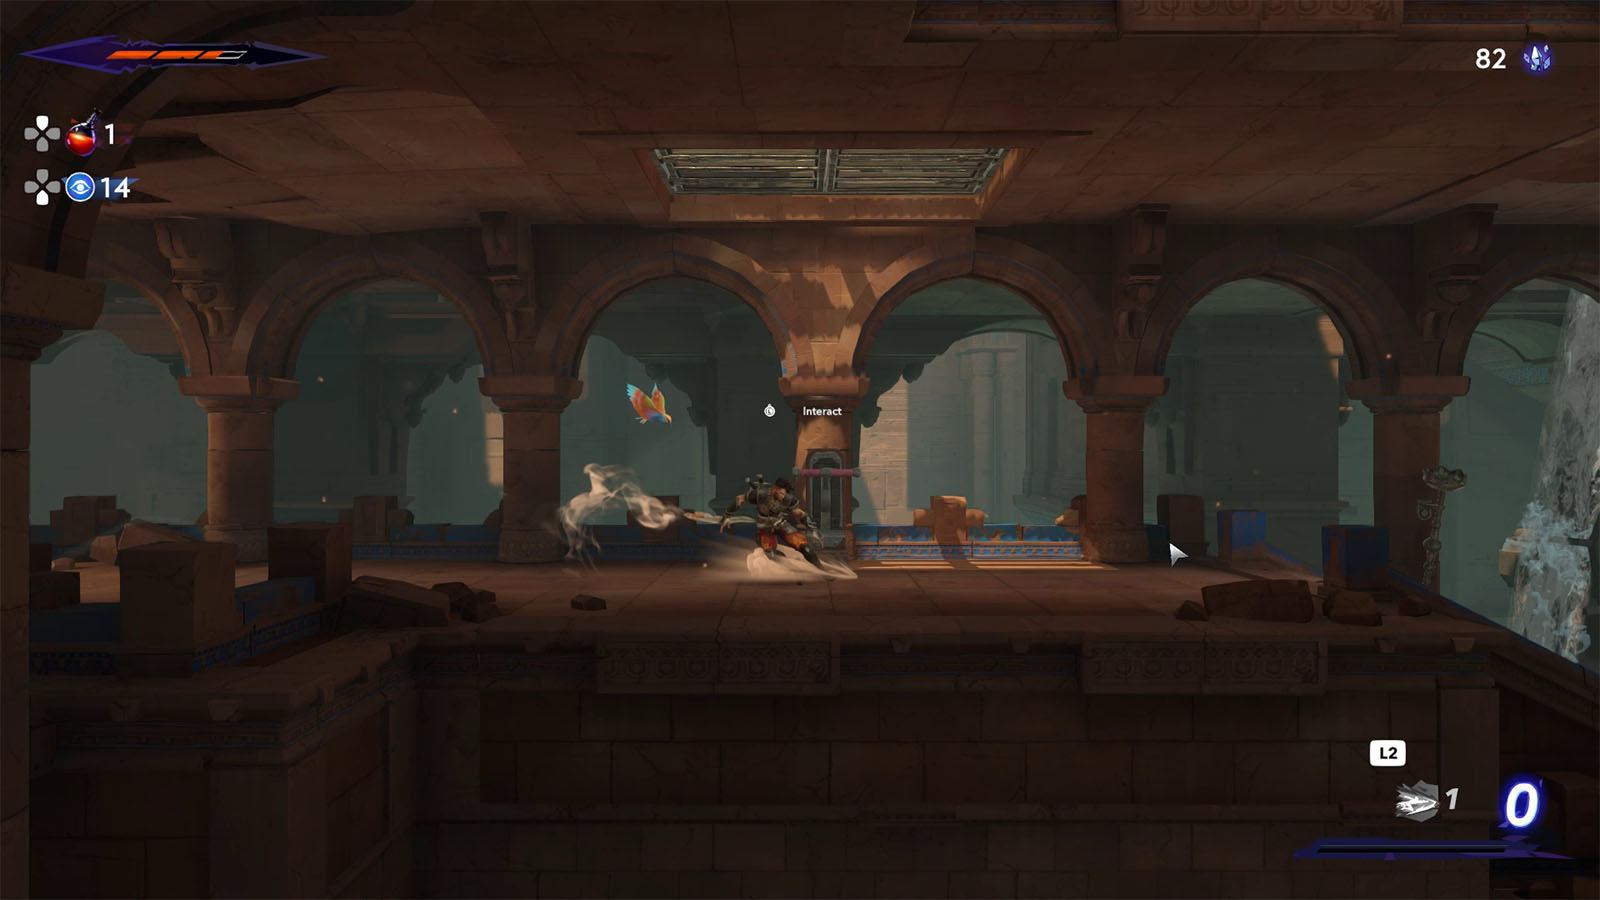
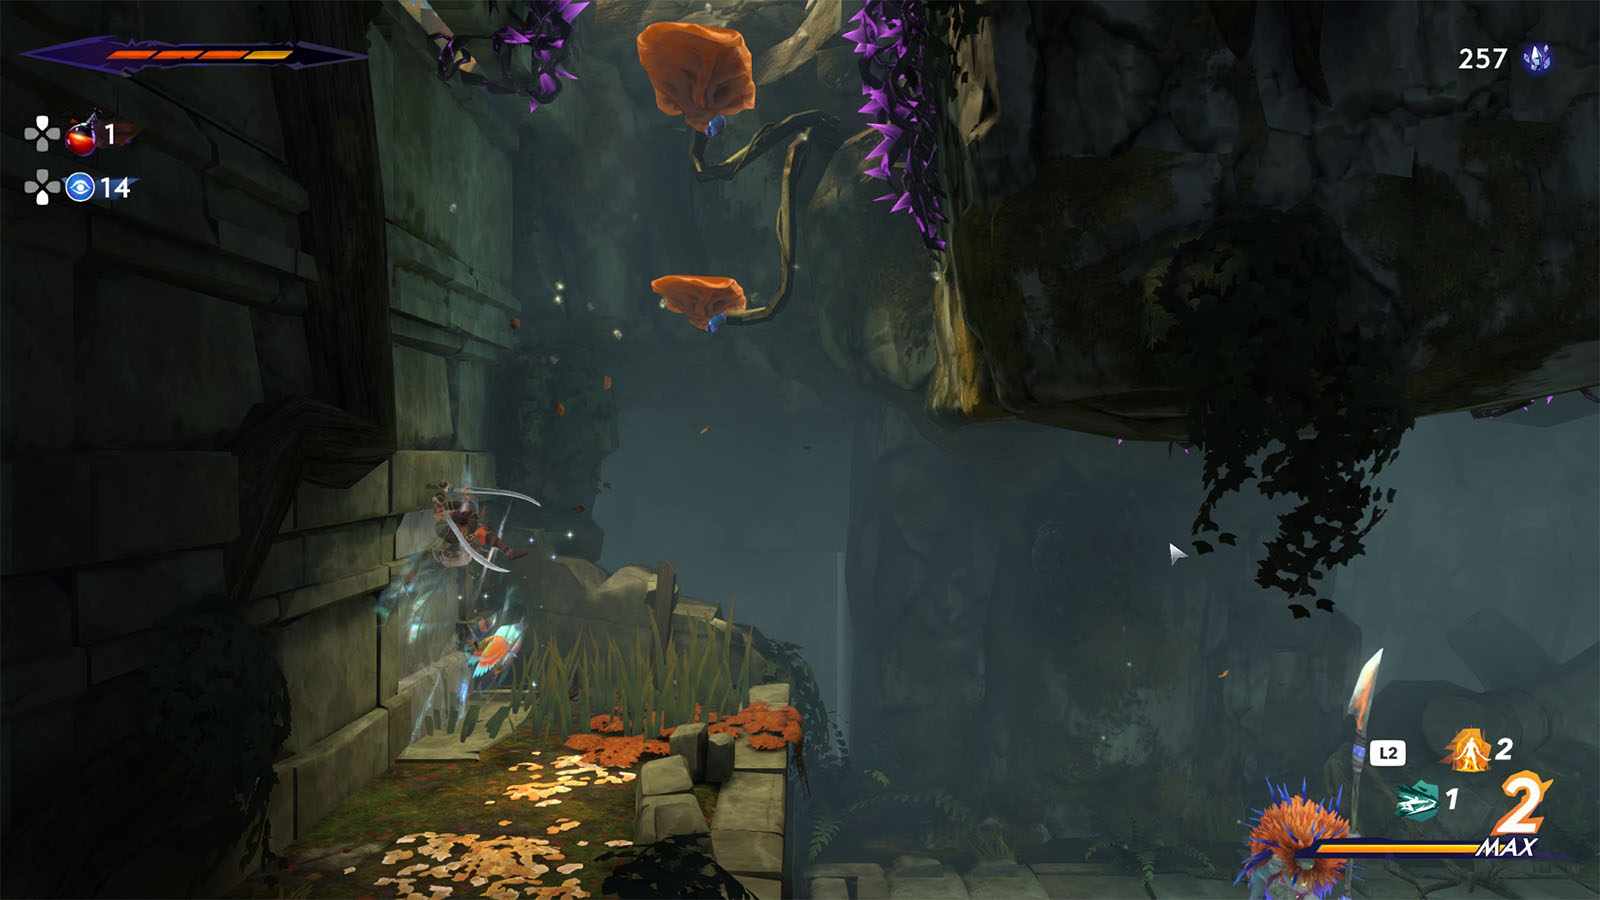
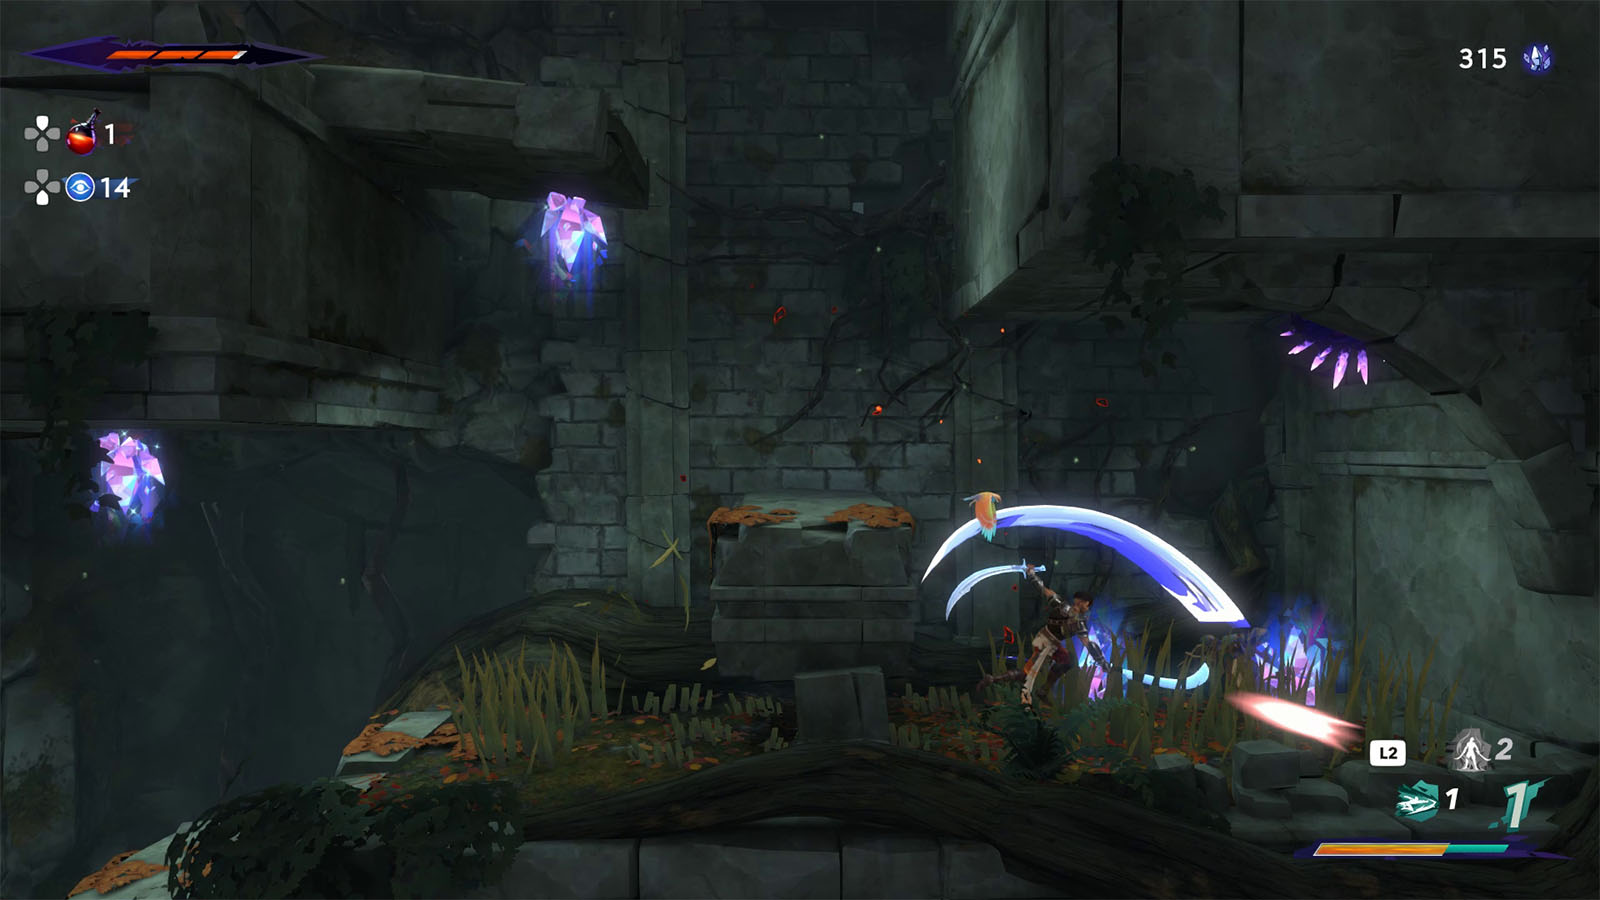
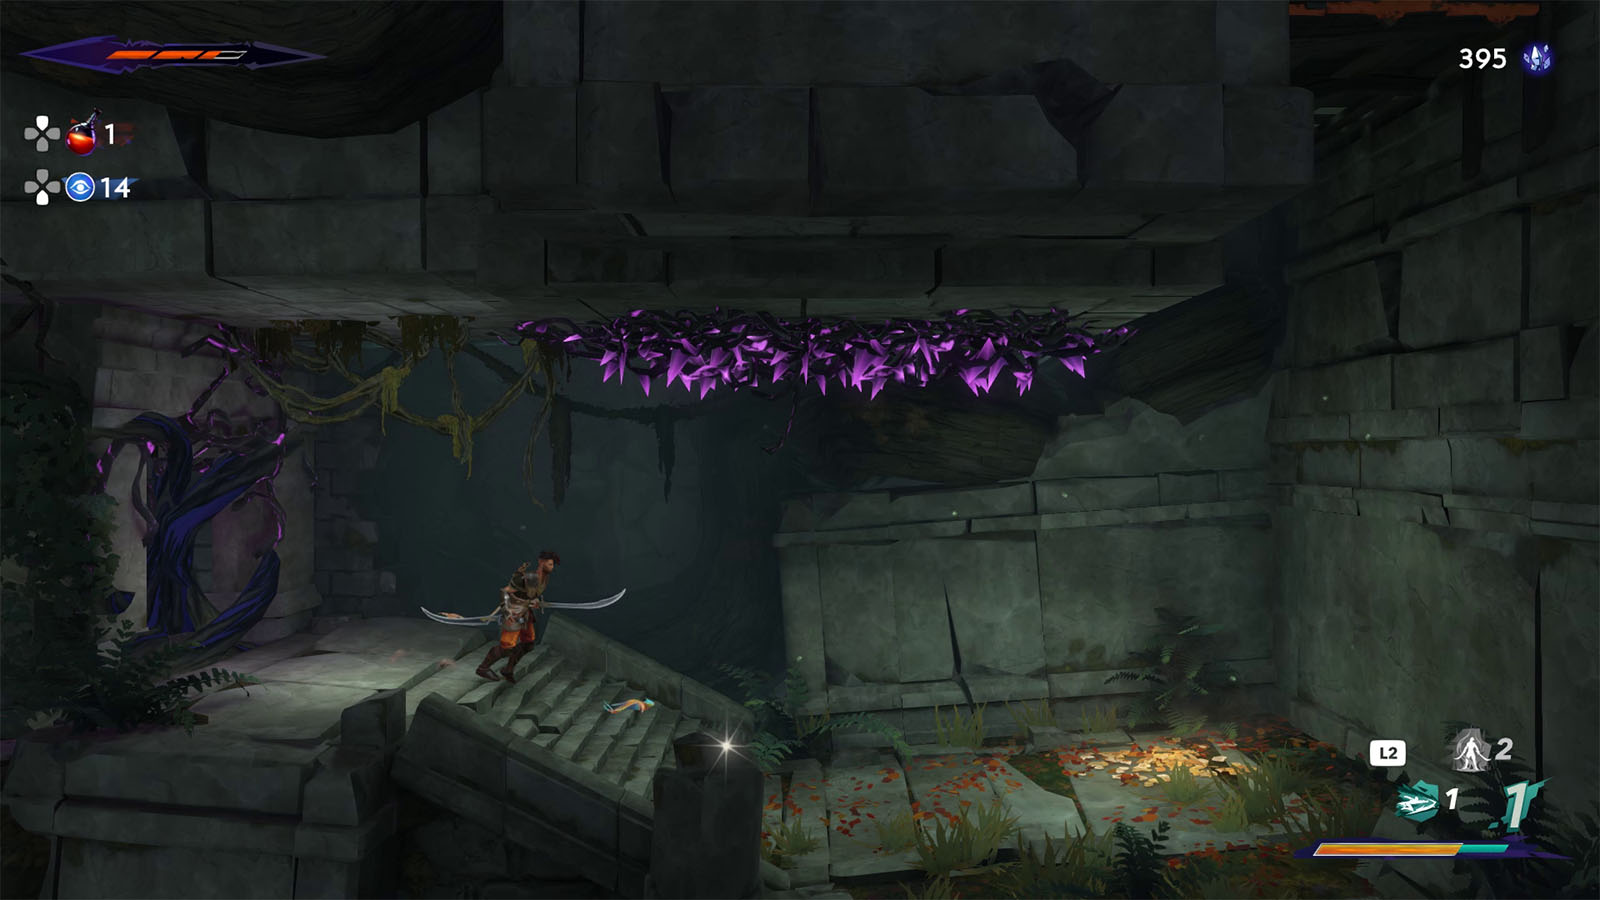
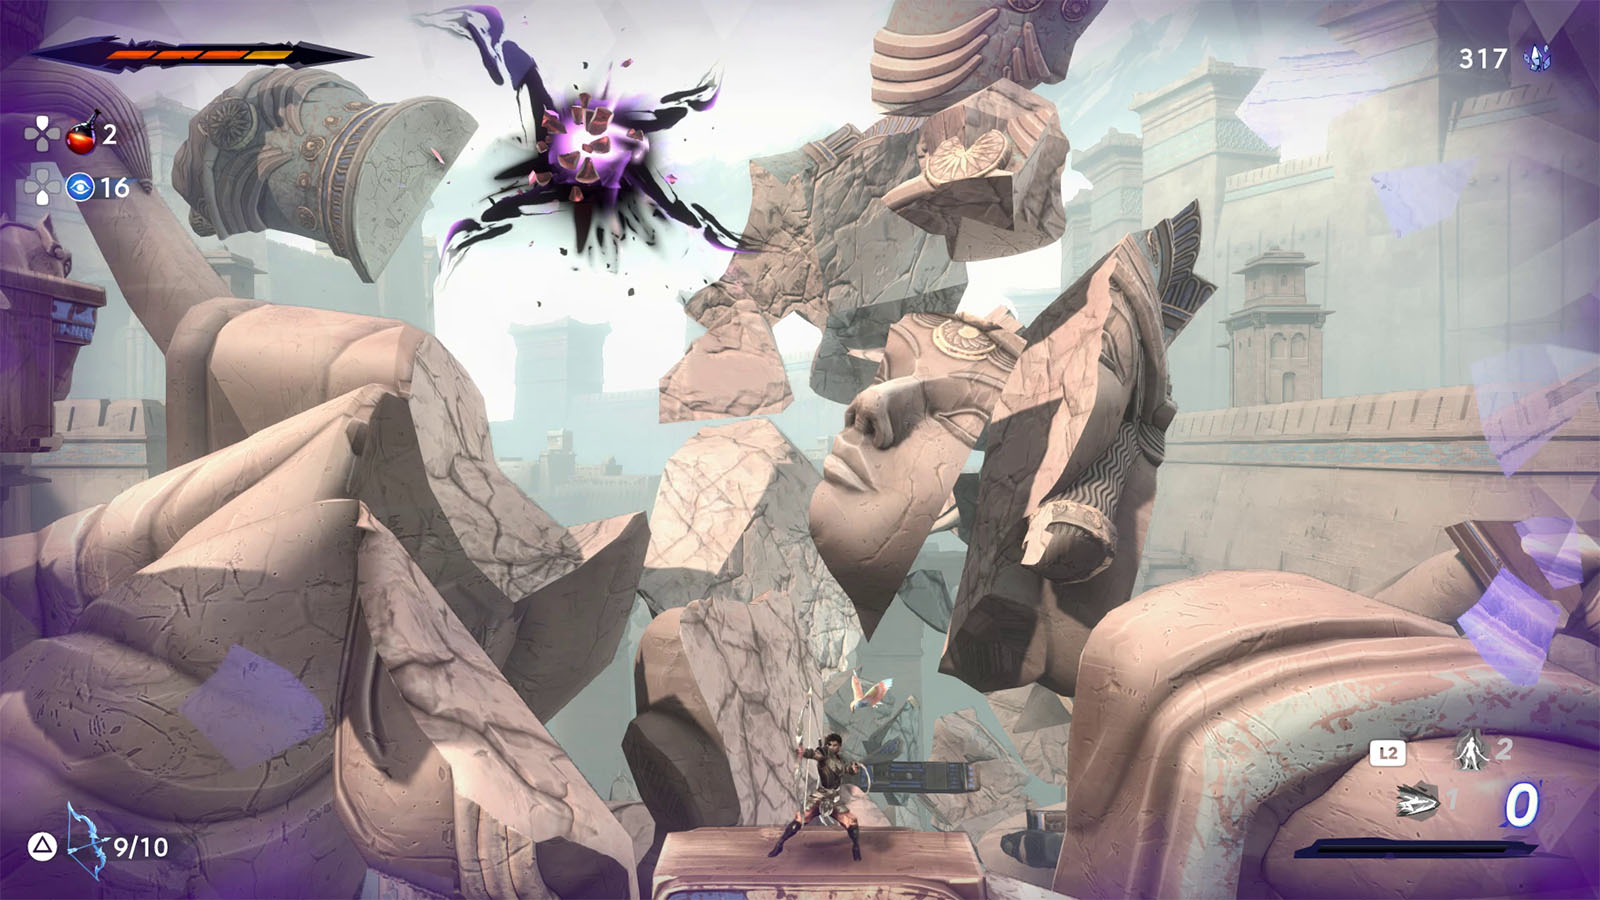
You will soon arrive at an area where the screen will have a purple shimmer. This will indicate that a Time Orb is nearby. These orbs can be broken to turn back time which often reverts ruins to their unshattered state.
Right at the area where the purple shimmer and two shielded enemies are at, climb up and head to the west, then attack the wall to reveal a secret room. These walls are often hard to see and just blend in to their surroundings, but special amulets can be worn which could help spot them easier.
In this secret room is a patrolling beast. Defeat it and mine the crystals in the room. To the west is a lever that opens a shortcut going back to the path towards the tree from earlier.
Make your way back to the purple shimmer spot and lower the drawbridge. Cross the bridge and raise it back up with the other lever, then use the bridge to wall jump to the upper level.
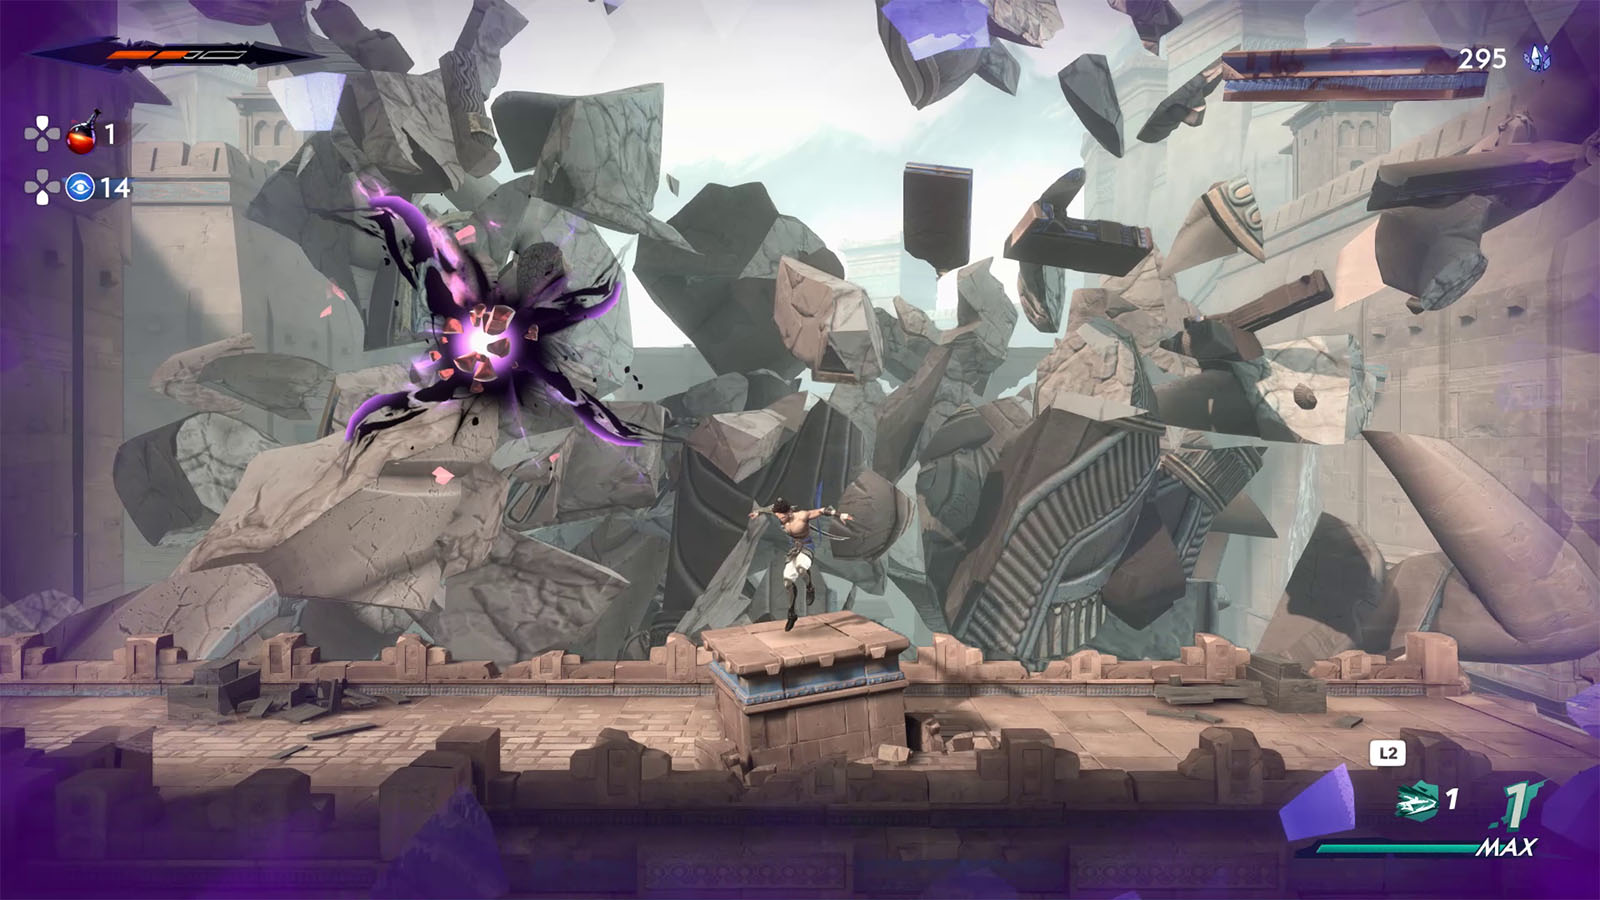
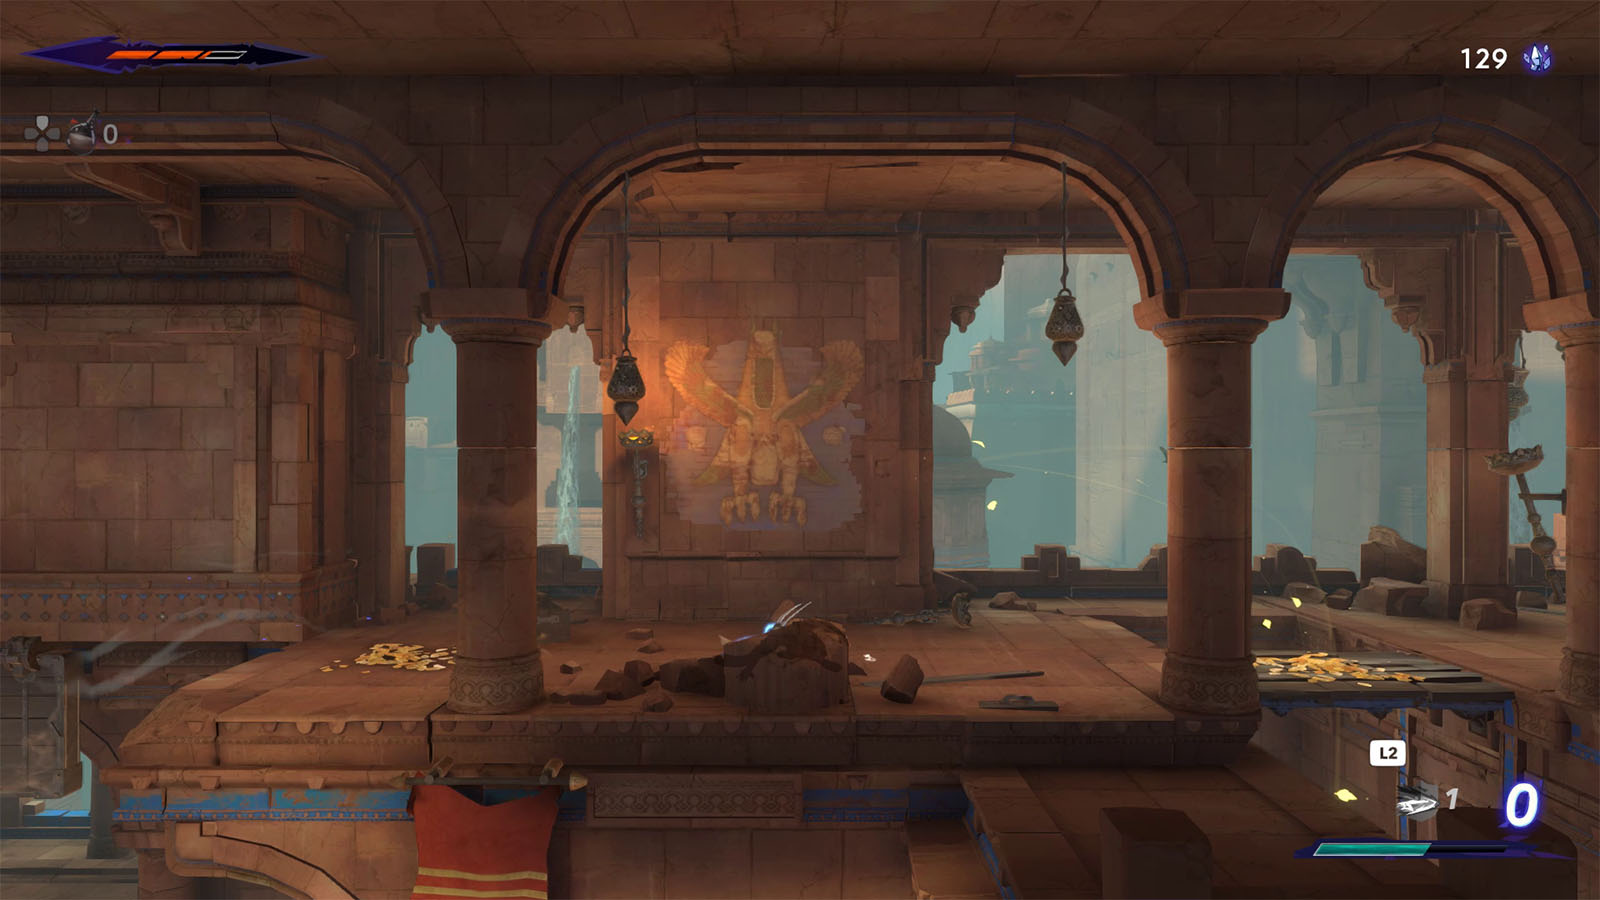
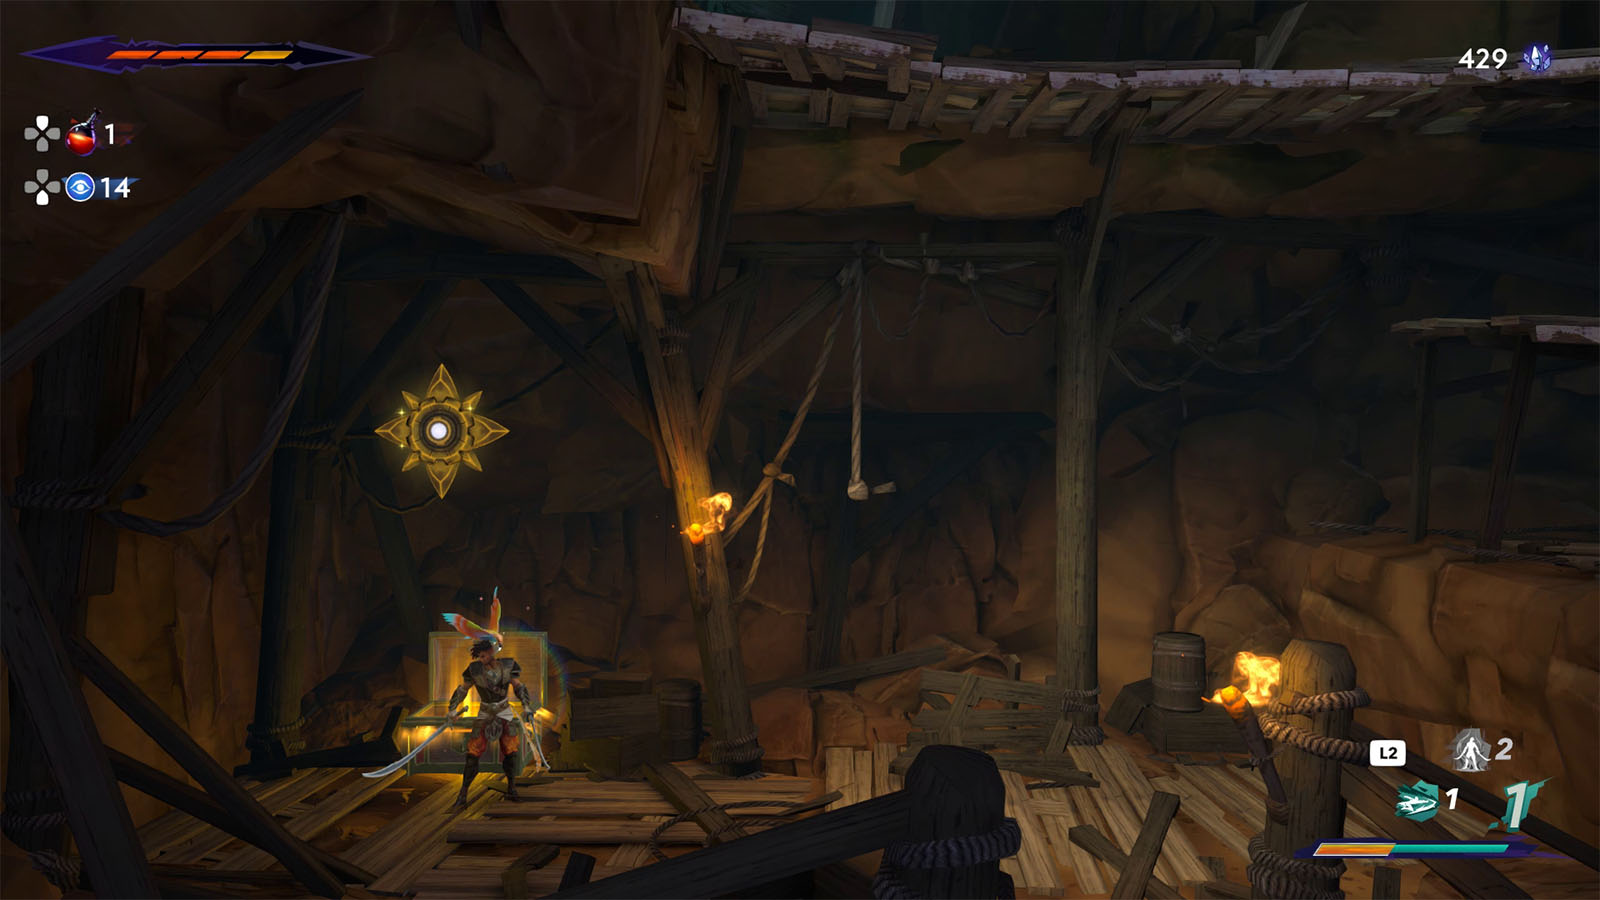
Up here is where you will find the Time Orb. Break the orb to rebuild half of the statue, then climb up the platforms.
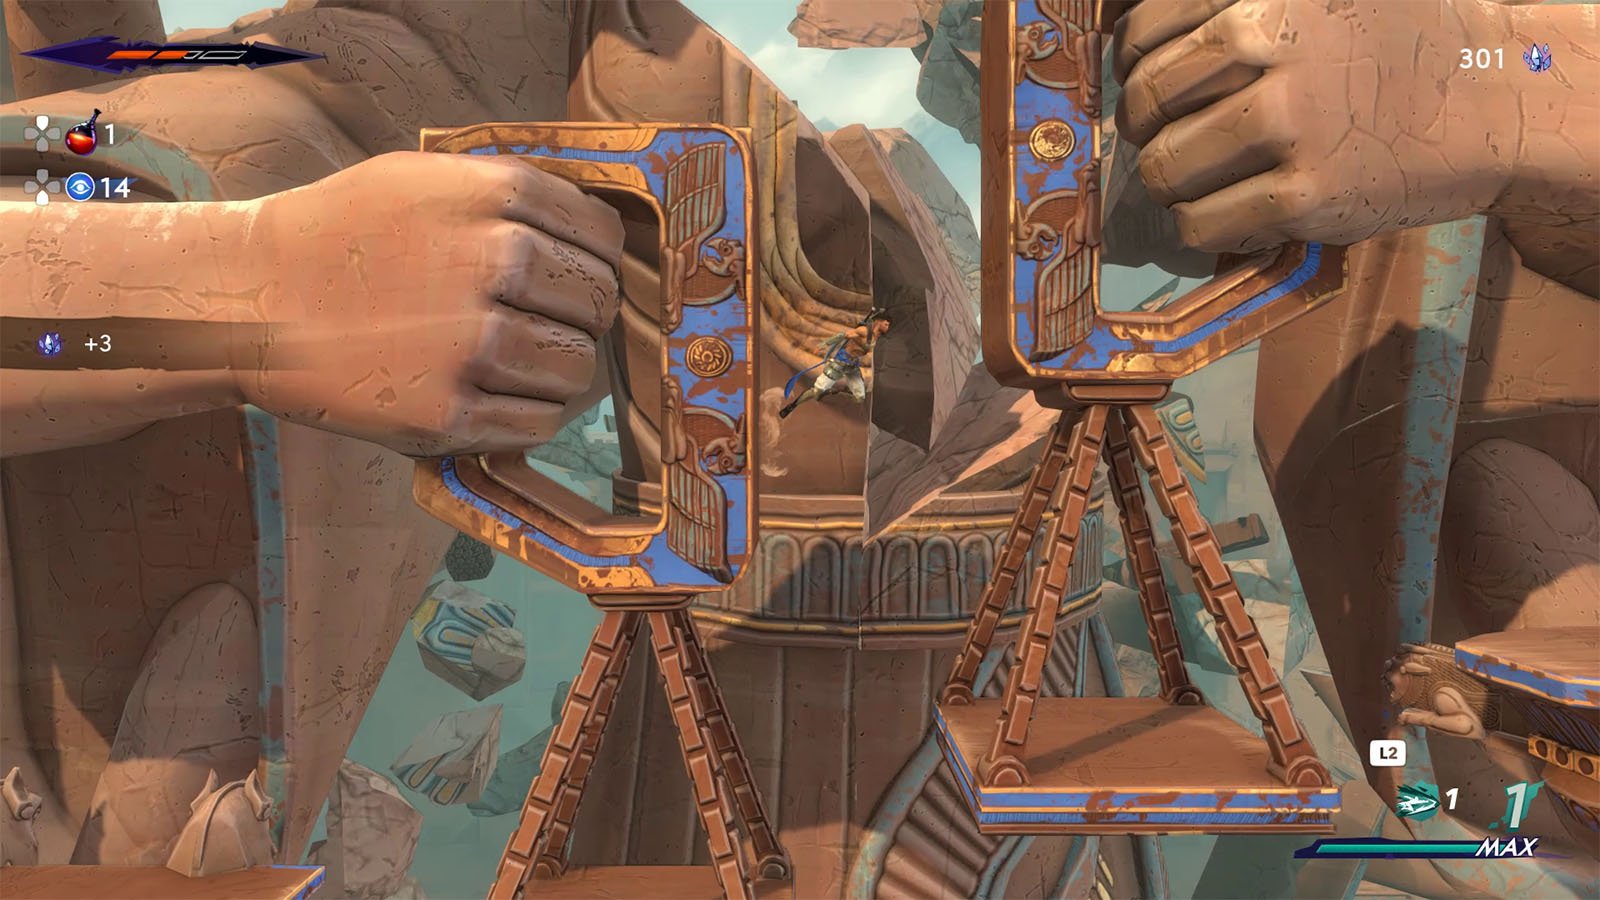
Break the next orb to build the other half of the statue. You will then hear Prince Ghassan’s voice calling out to you. Wall jump in between the fists and you will find the Prince and Anahita just above who then make their way further into the city.
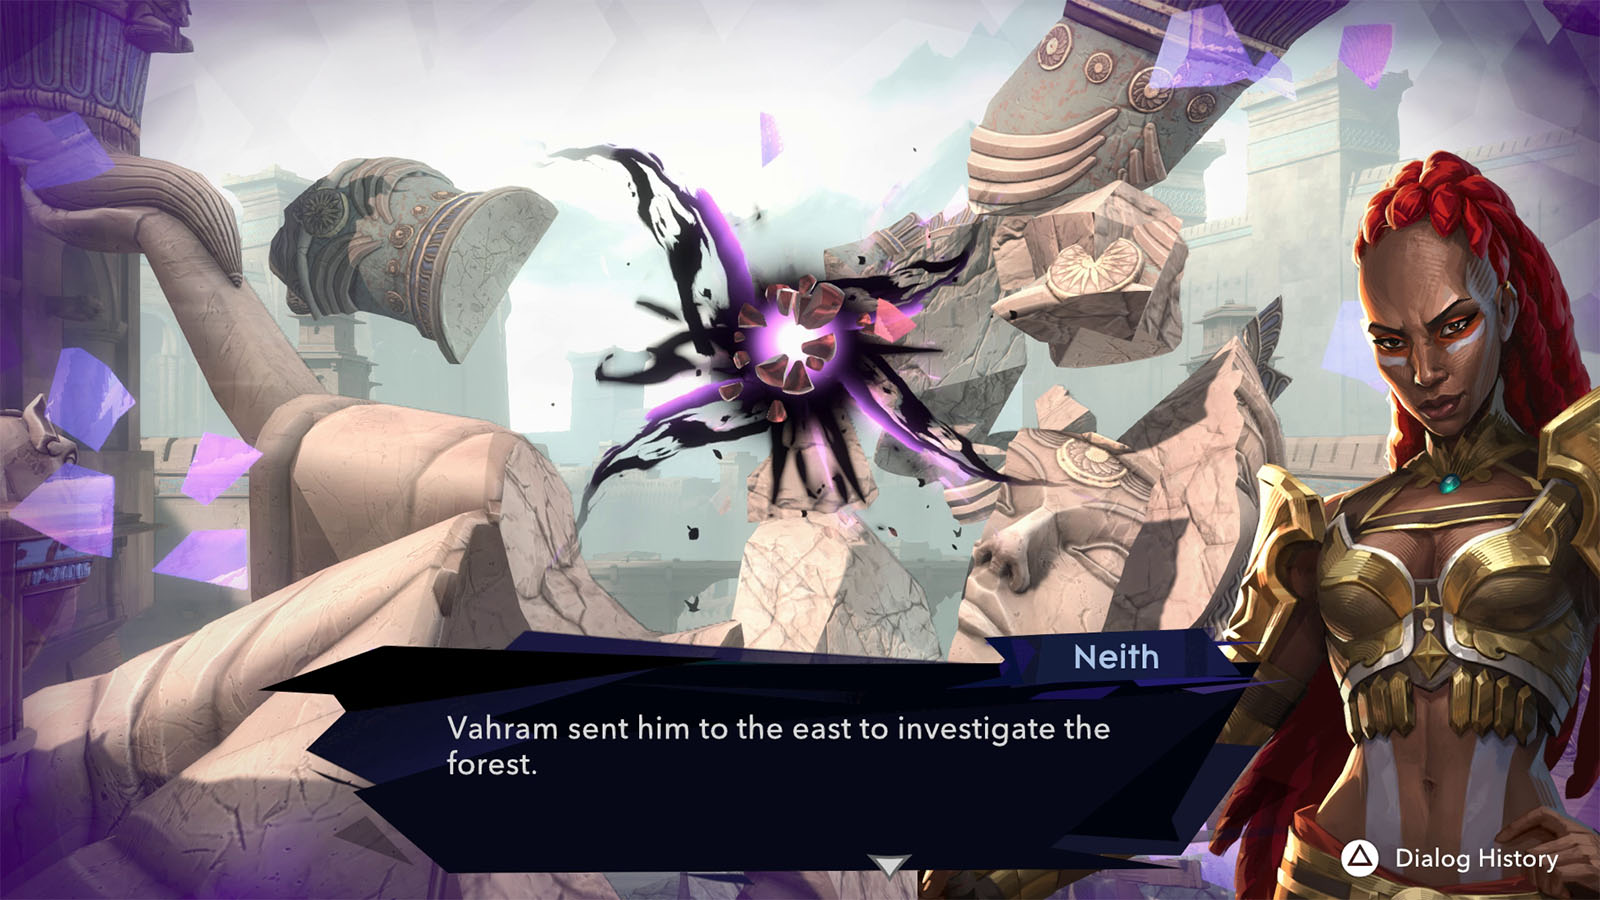
Neith will then catch up to you. She asks about the orb above you. Since the orb is up high, Neith suggest that you look for Menolias in the forest to the east to get him to shoot the orb with his bow.
Find Menolias in the Forest
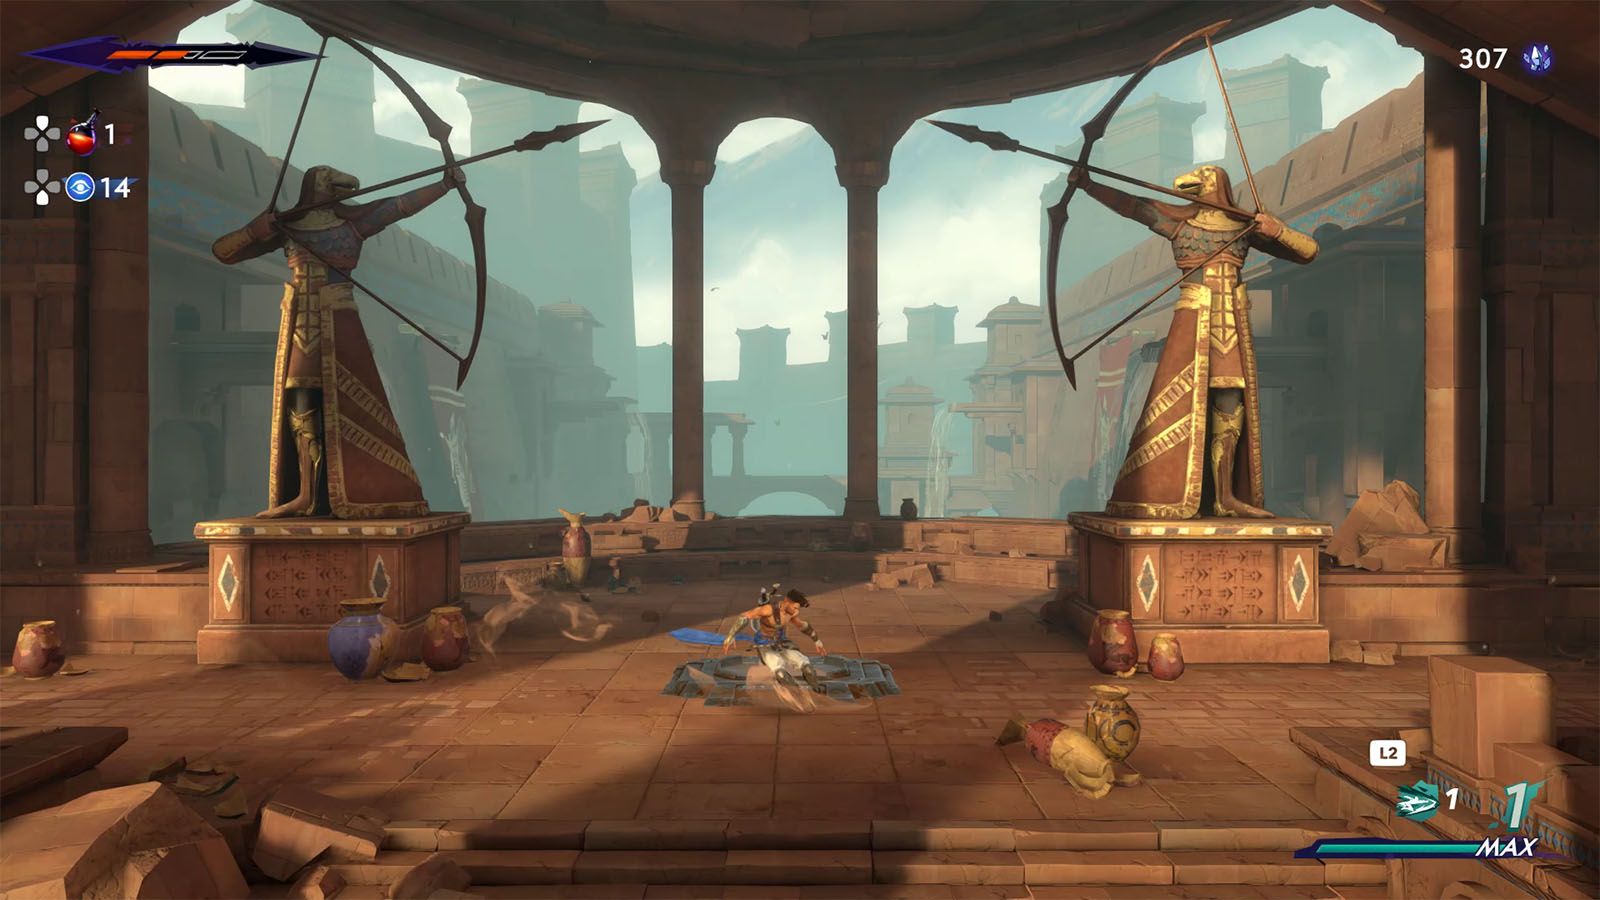
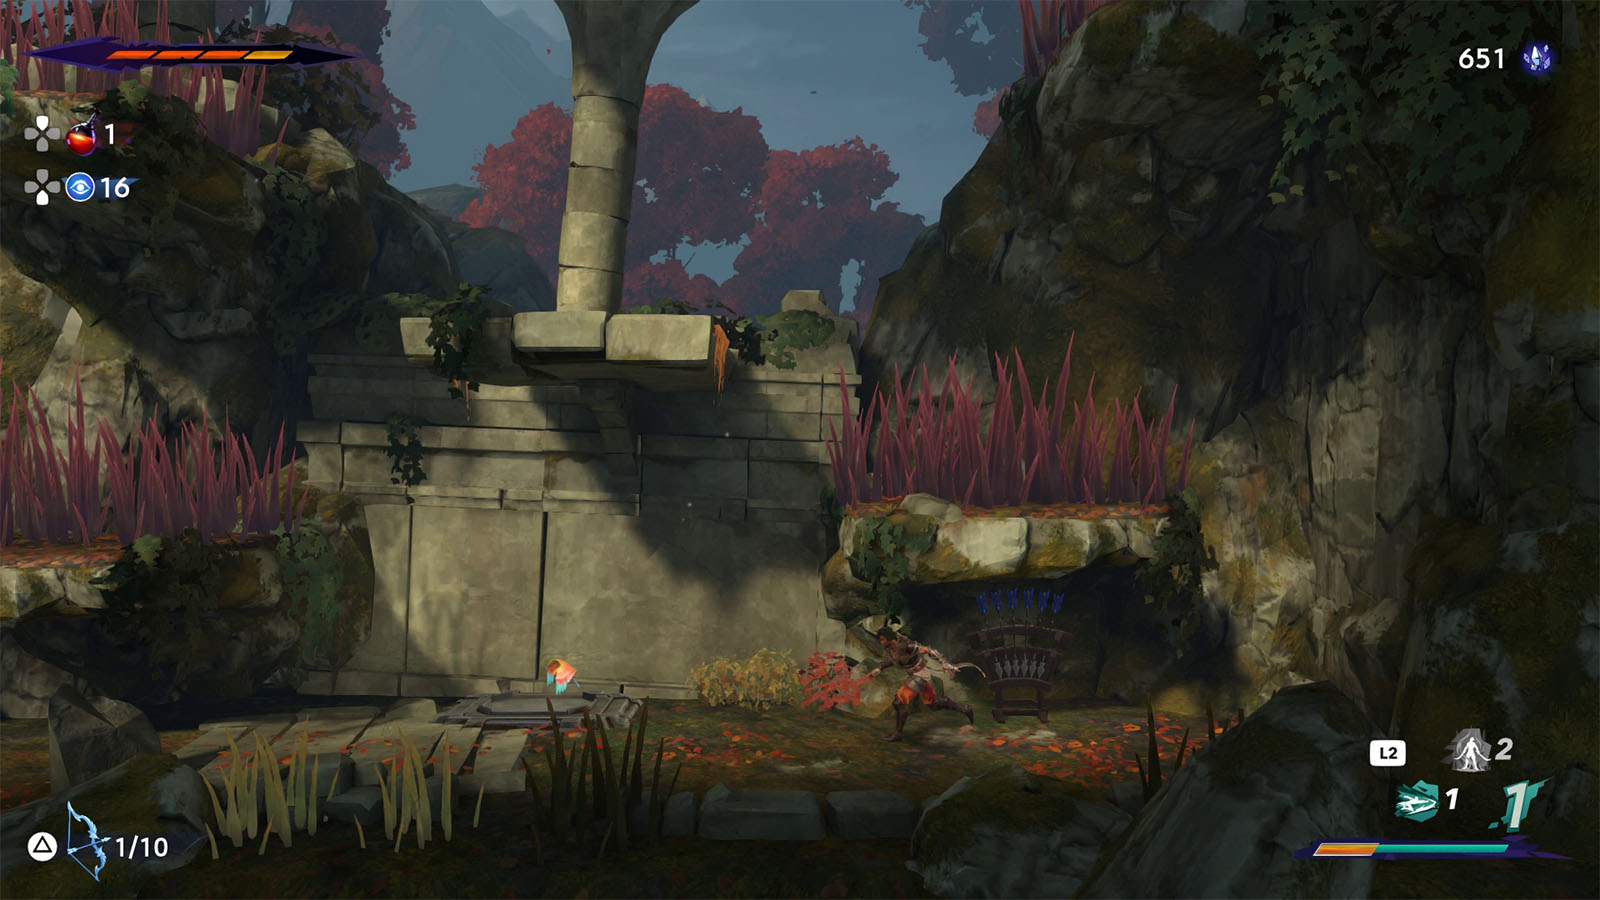
For now, head to the path on the east. You will pass by two statues drawing their bows to the sky. Take note of this spot for now as you will need Menolias’ Bow to unlock the hidden treasure.
Pass through the elevator shaft and call upon the elevator. You can take this elevator to get the the Upper City, but we will take this elevator later on. Instead, continue to the next room to arrive at The Haven.
The Haven is a safe area where you can do a lot of things such as purchase new amulets, get upgrades, or practice abilities.
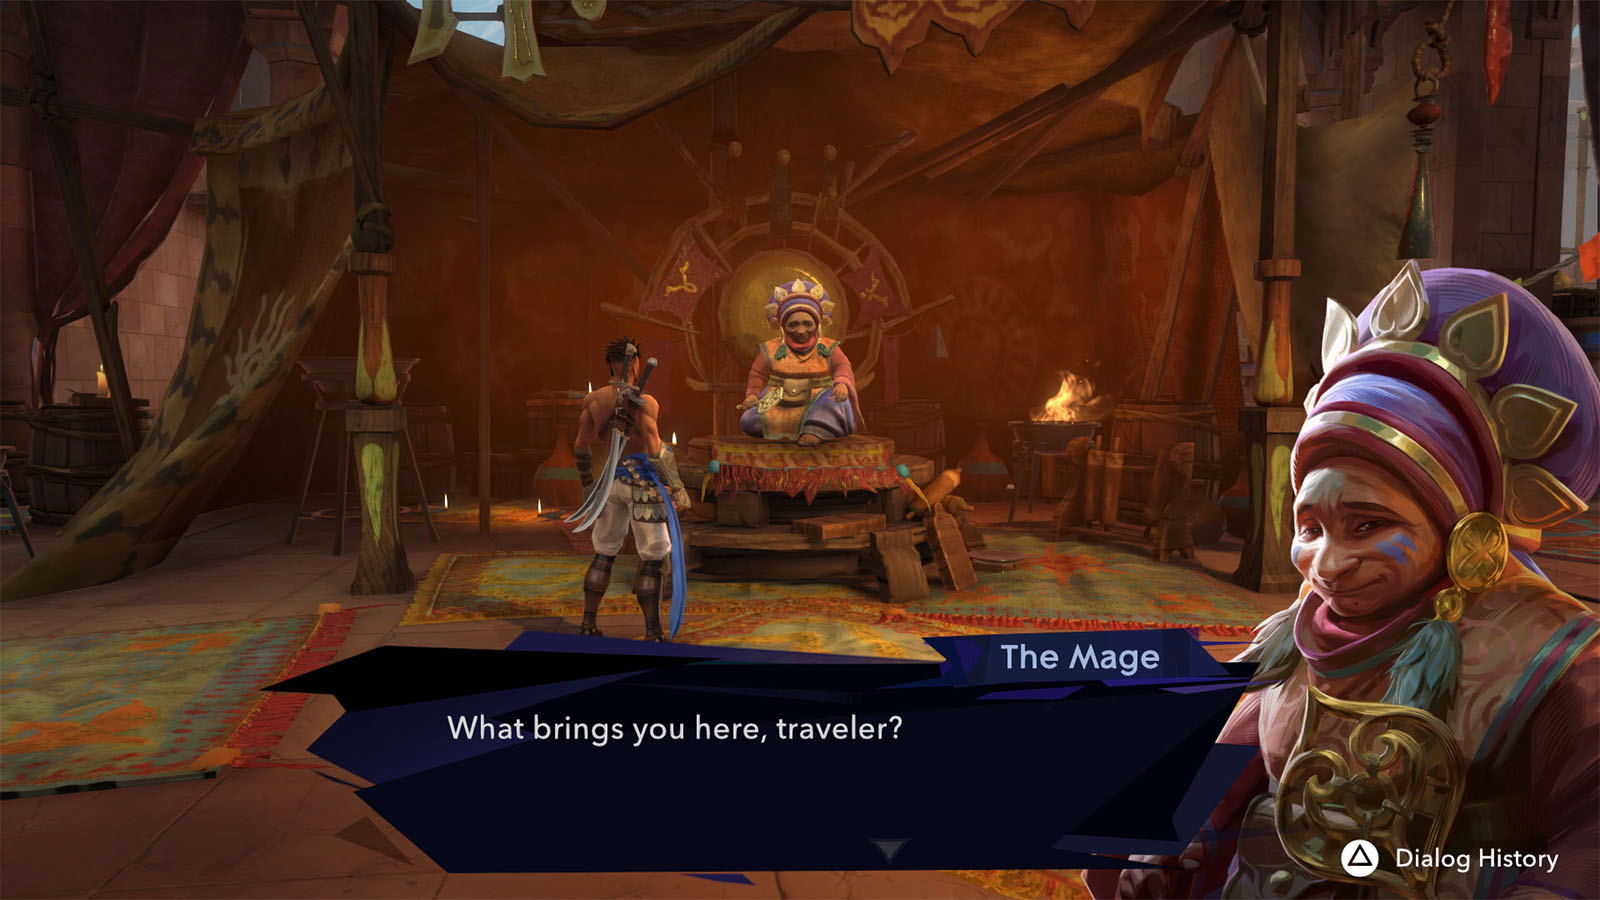
The first NPC you will meet is The Mage who sells helpful items and amulets. She also sells potions upgrades which are the recommended things to be purchased to increase survivability.
Climb the upper level and you will find Artaban who can help you in practicing your moves and skills. Complete the first batch of basic challenges to get some crystals and unlock the Vayu’s Wave Athra Surge.
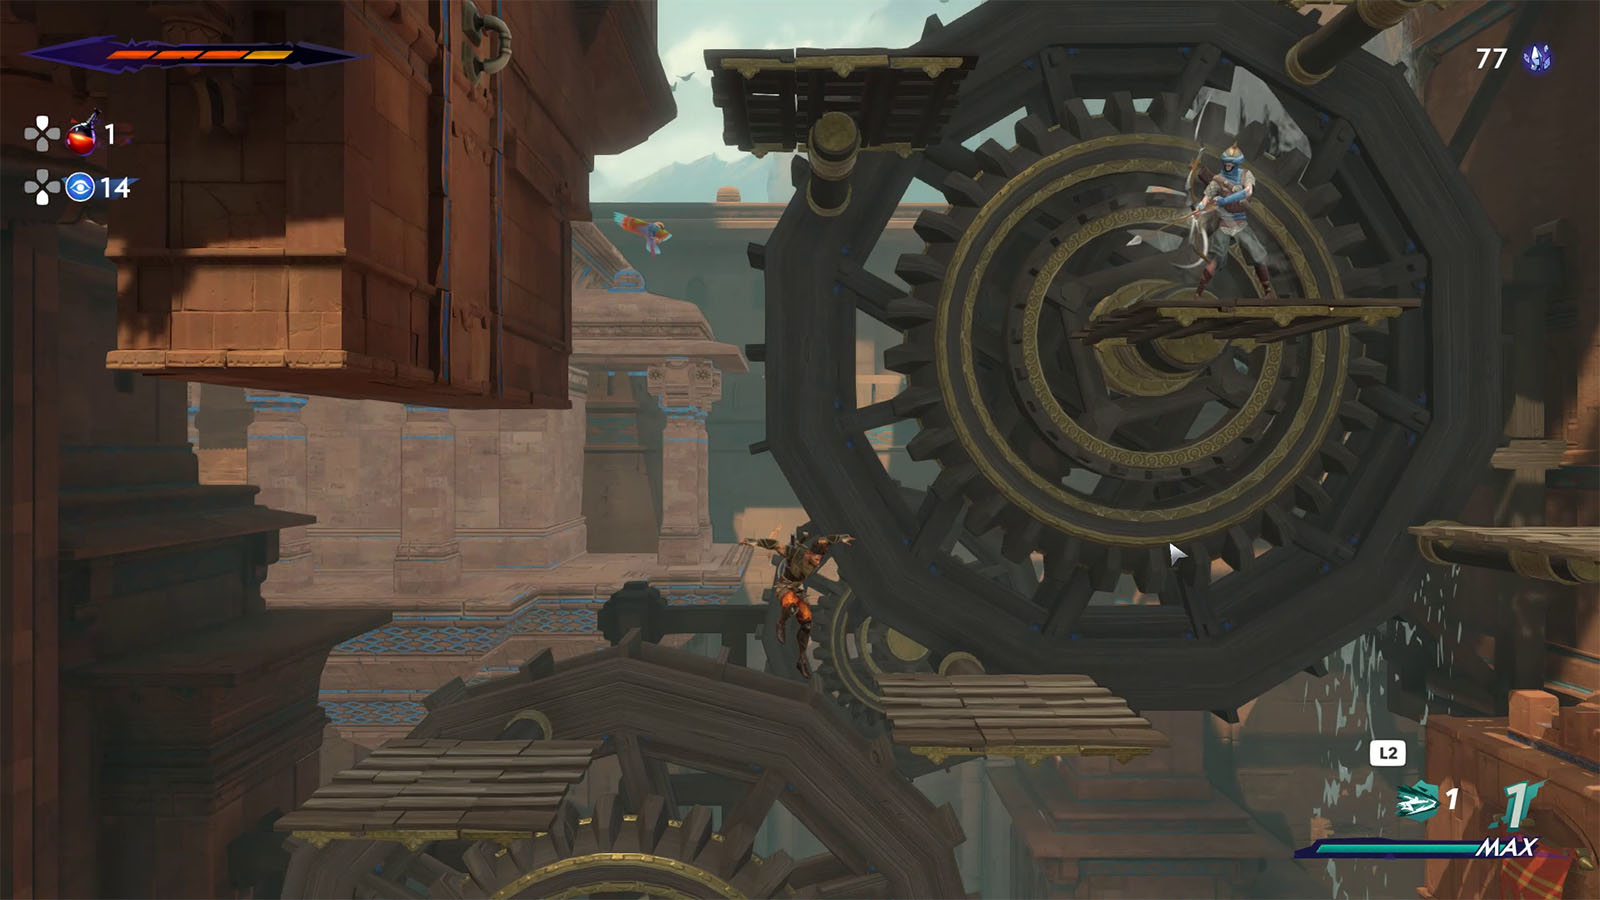
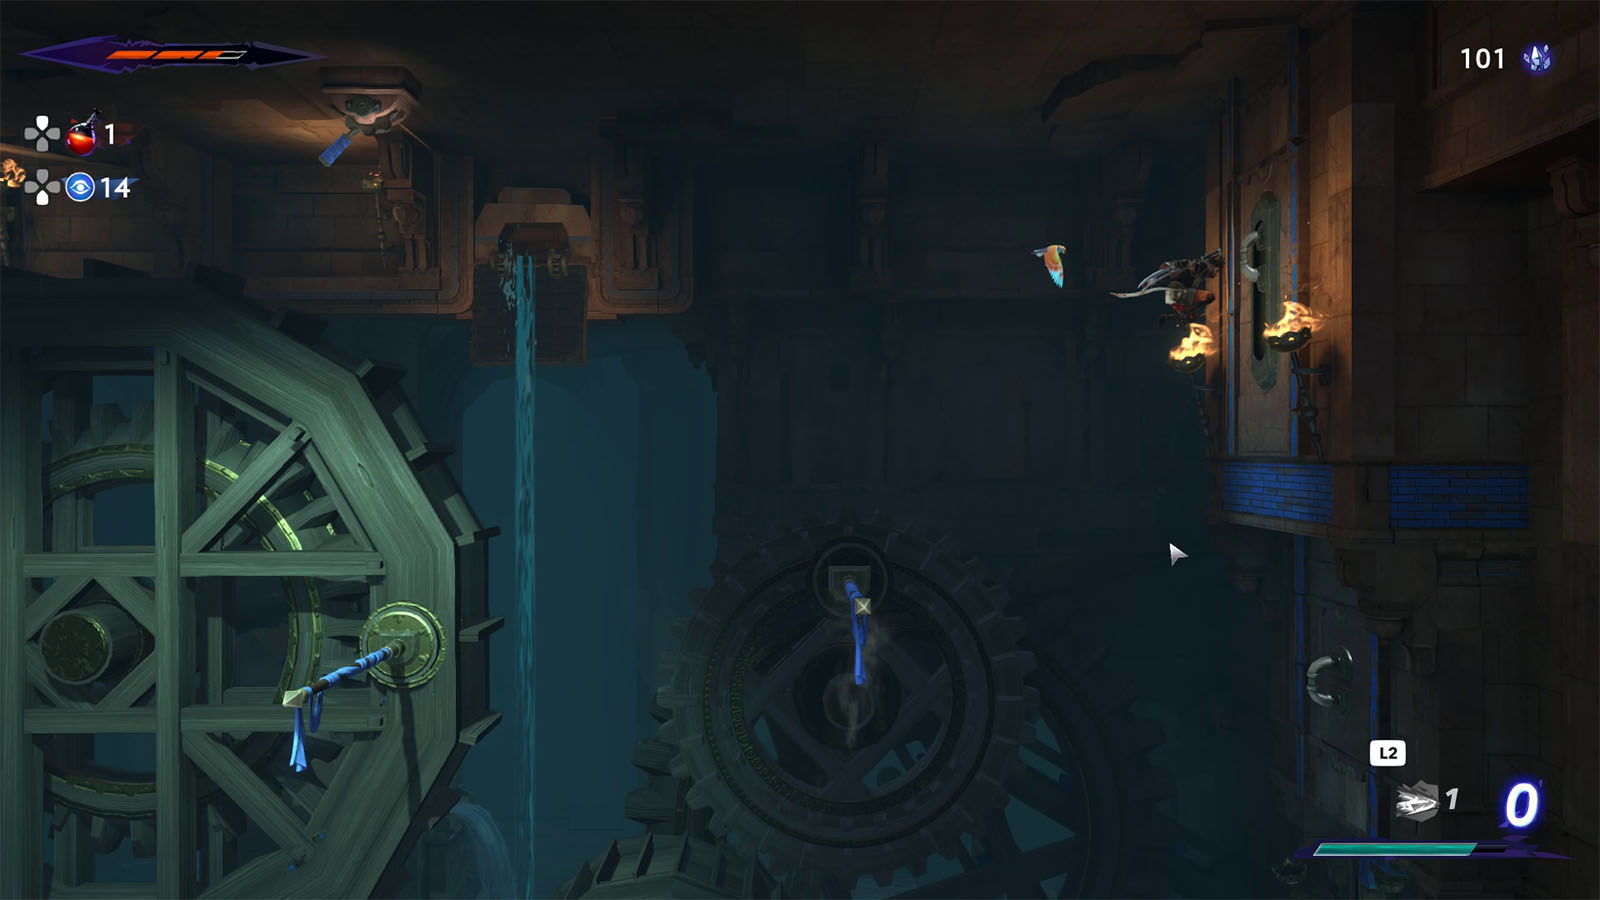
Once you’re done in The Haven, proceed to the east to continue on your journey to the Forest. The next area has rotating wheels with platforms on them. Drop down to the very bottom for now and take the path to the left.
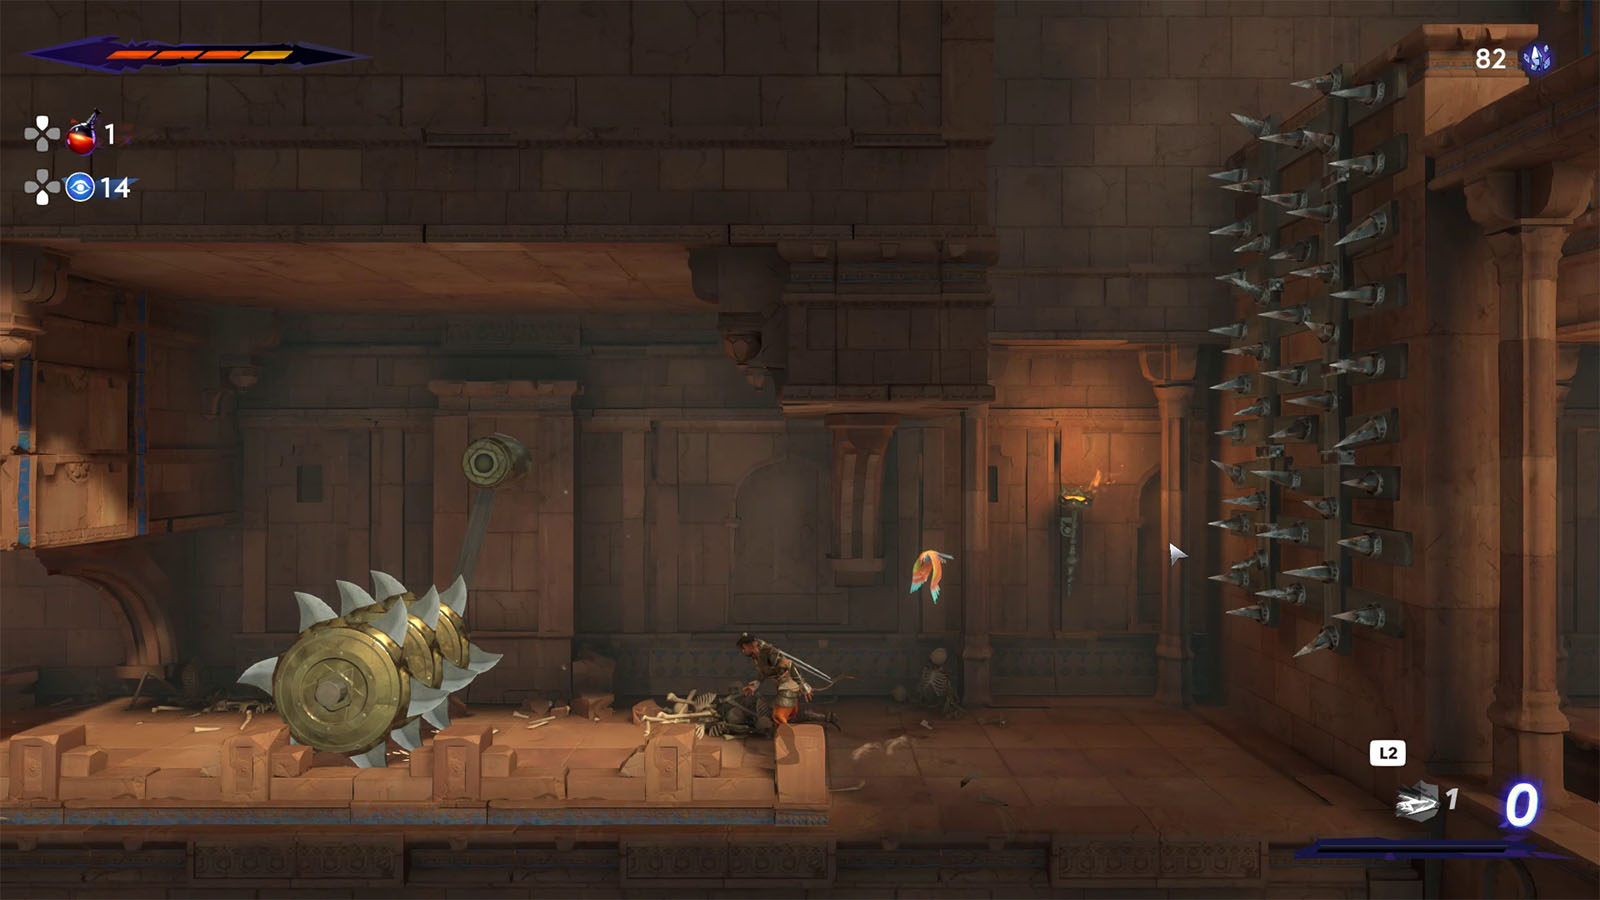
The next room will be a gauntlet of traps. Navigate through them until you reach the connecting room that has a lever that opens the floor hatch leading back to the wheel area.
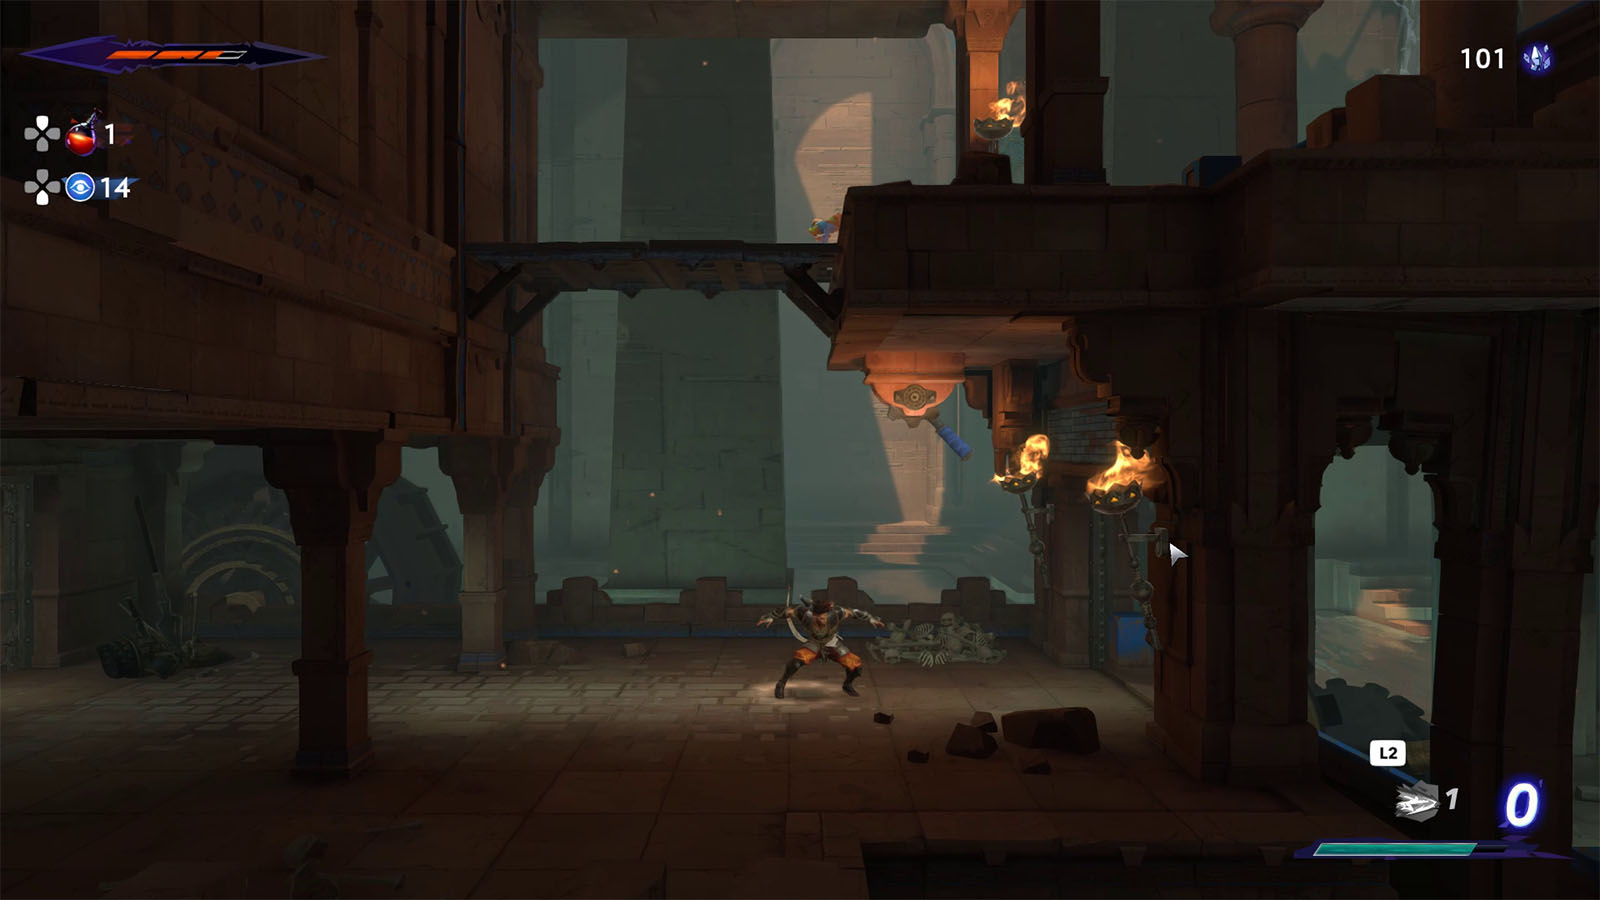
Still in the lower level, continue to the right and go down until you reach a room with two gates. You can only open up the gate to the right for now.
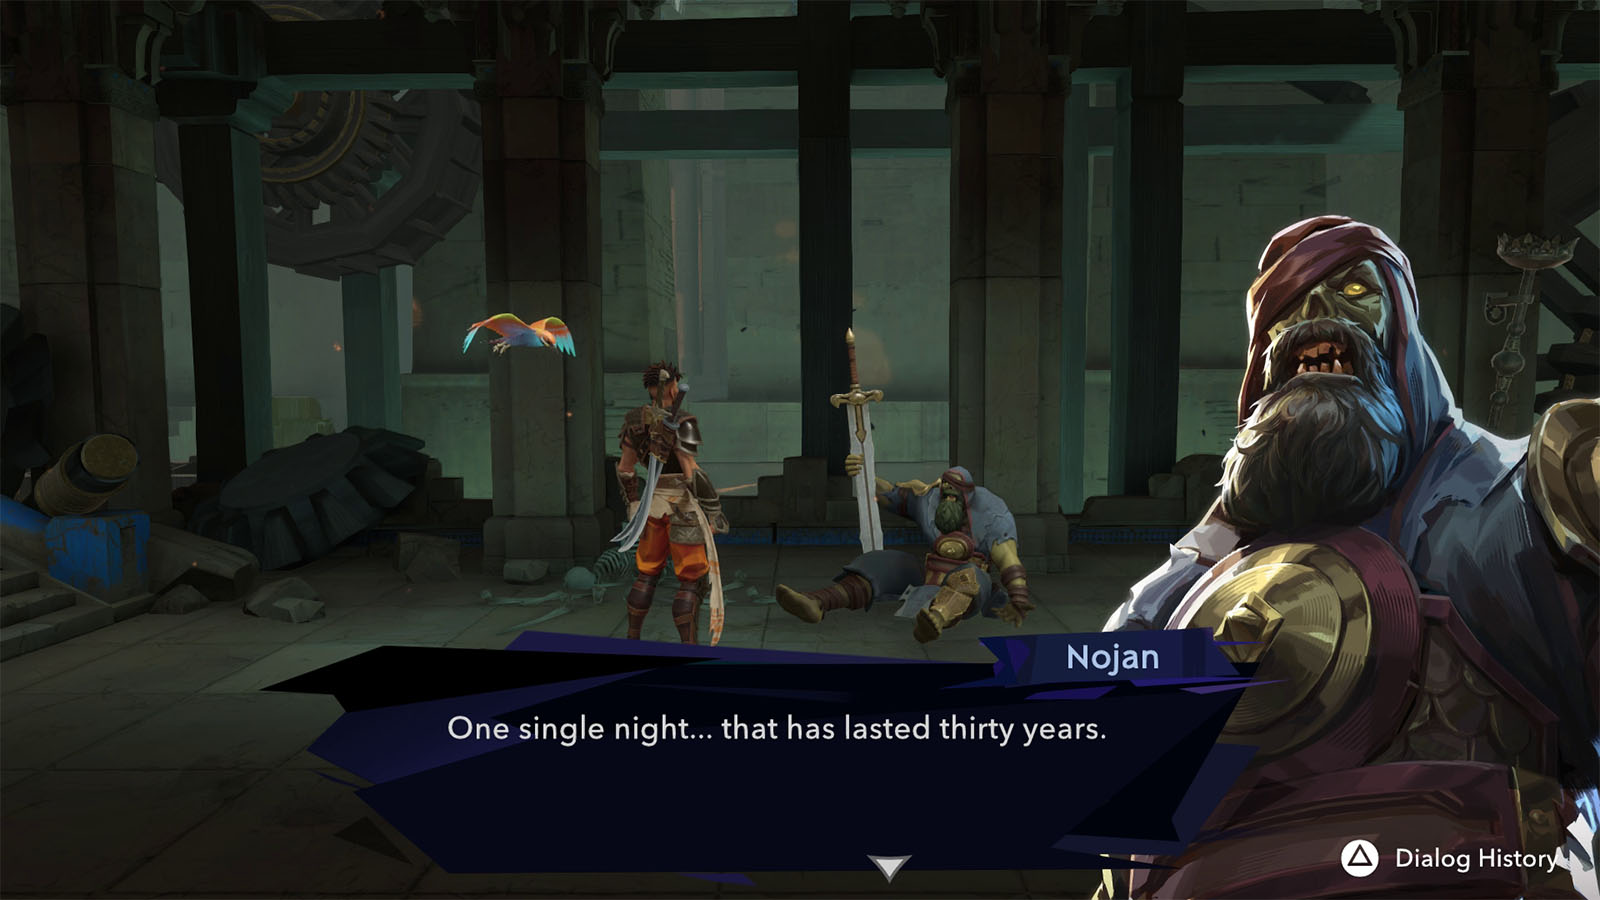
Behind the right gate is Nojan, one of Ardashir’s men, who is still alive even in his rotting state. He then reveals that they have been stuck in Mount Qaf for thirty years despite, through the eyes of Sargon, being just gone for a night. Nojan pleads you to find his brothers in arms and release them from their captivity. He then hands over his insignia before passing away. This will then start The Lost Warriors Side Quest.
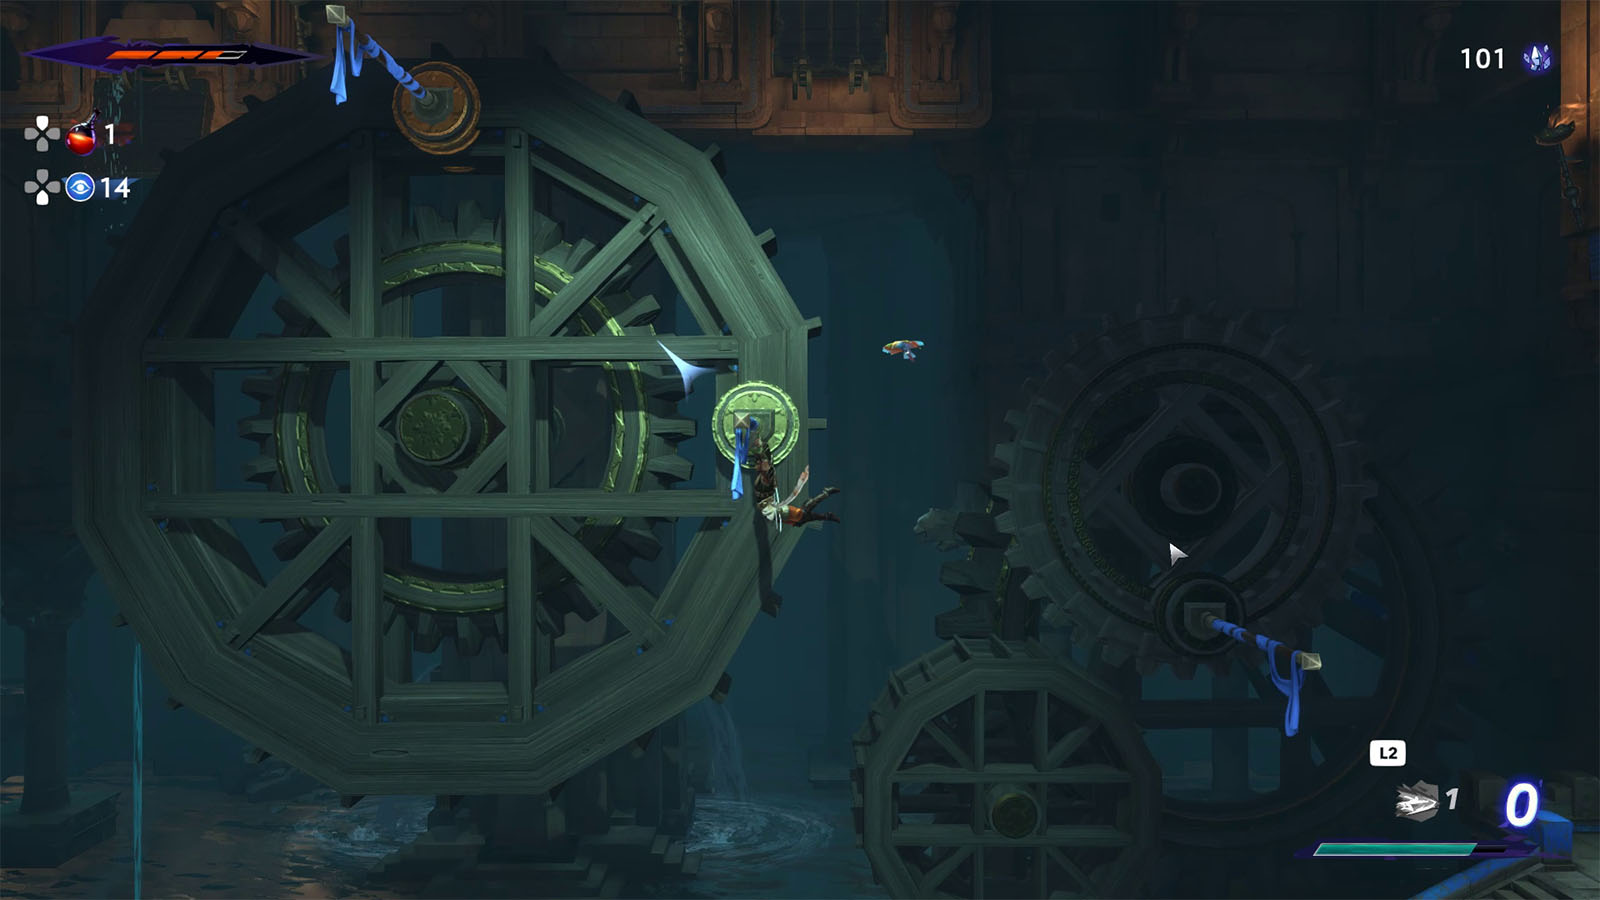
Puzzle Room: Wheels and Poles
Continue to the right to arrive at a puzzle room. This room has wheels with poles stuck to their sides, and on the floor are pressure pads that make water flow from above once their respective waterways are opened.
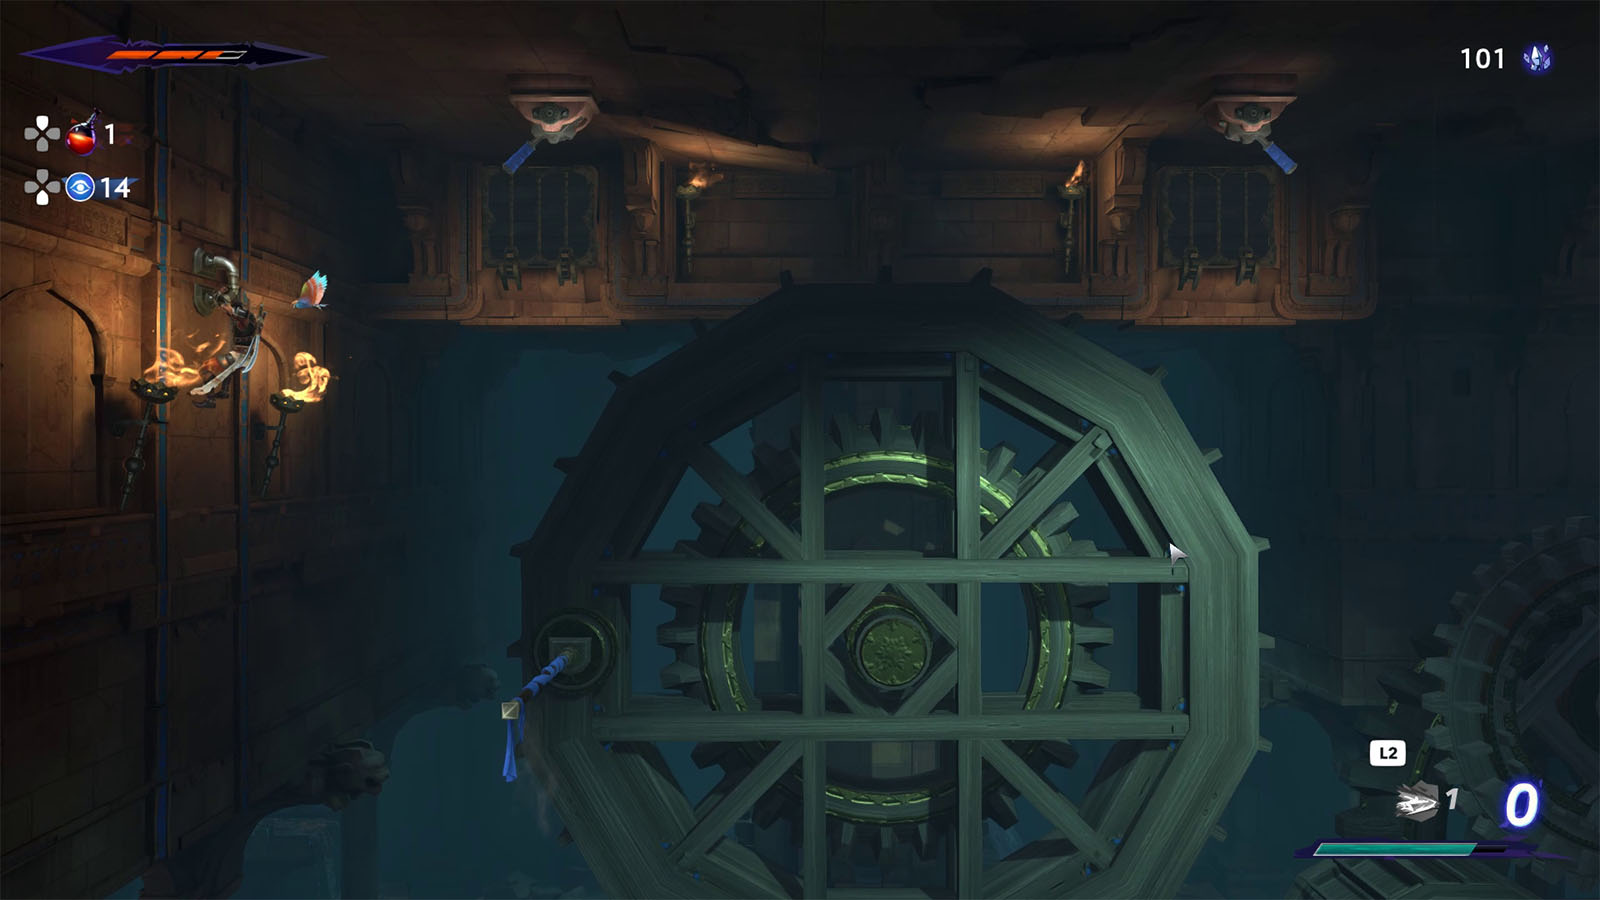
To solve this room, swing up towards the upper left corner where you can reach the first lever; hit the lever to open the first waterway.
Drop back down and step on the left pad to make the big wheel turn just enough so that the two poles are positioned on the top and right sides.
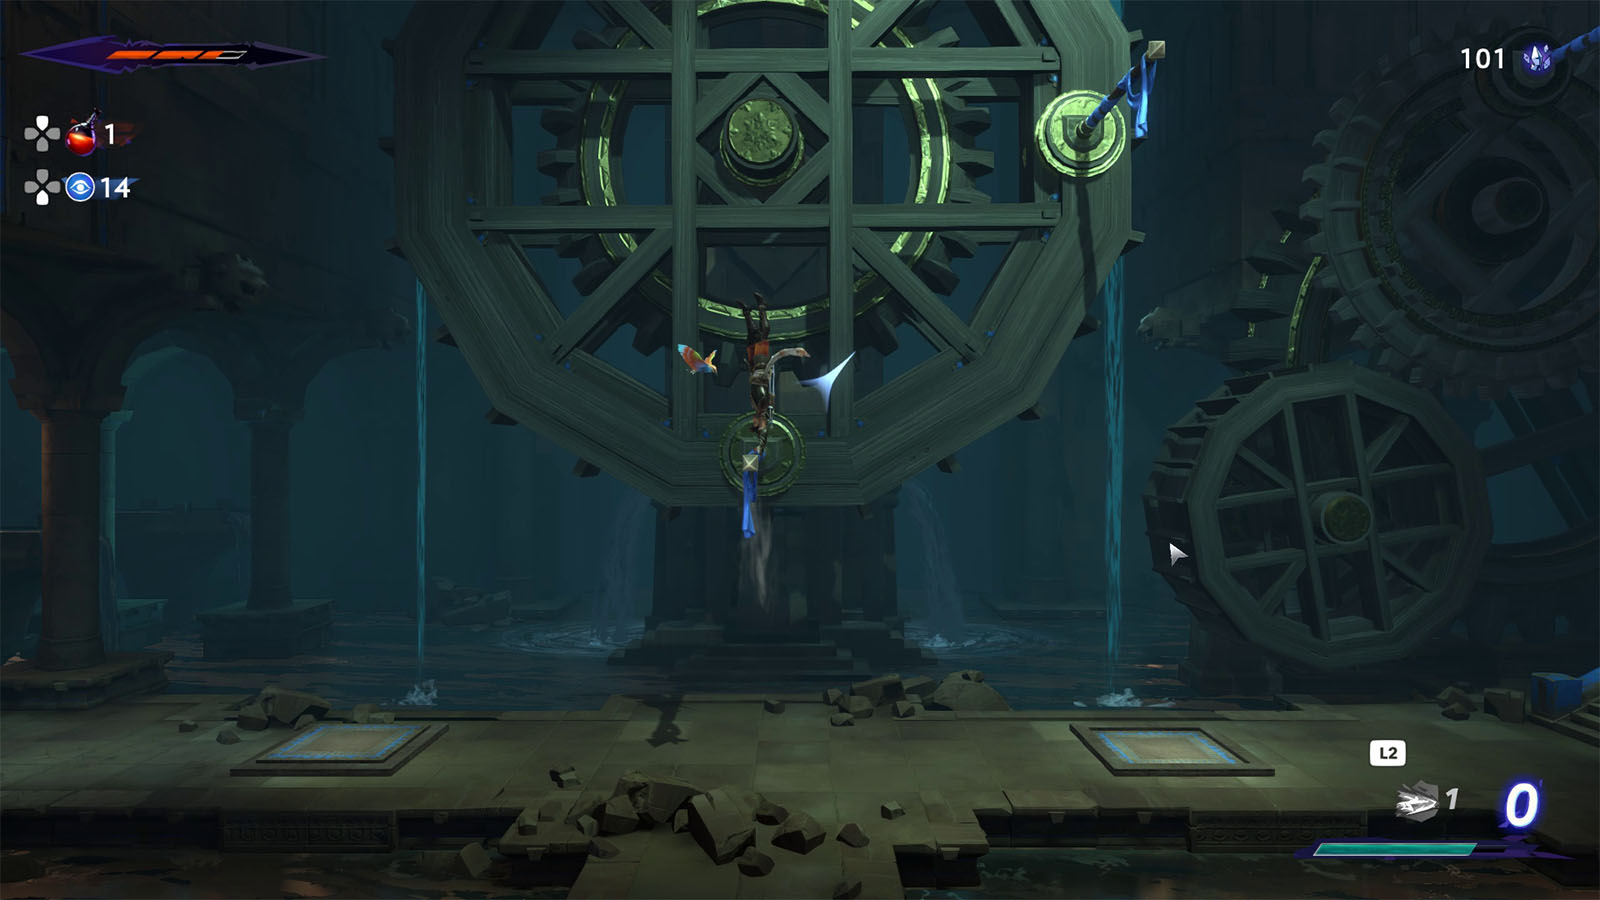
Jump and swing on the rightmost pole on the smaller wheel and make your way up the poles until you can reach and hit the other lever.
Drop back down and step on the right pad so that the poles on the big wheel are on the bottom and right sides.
Swing on these poles to reach the rightmost pole, then from the rightmost pole, jump towards the rung on the wall. This will then open up the gate to the next area.
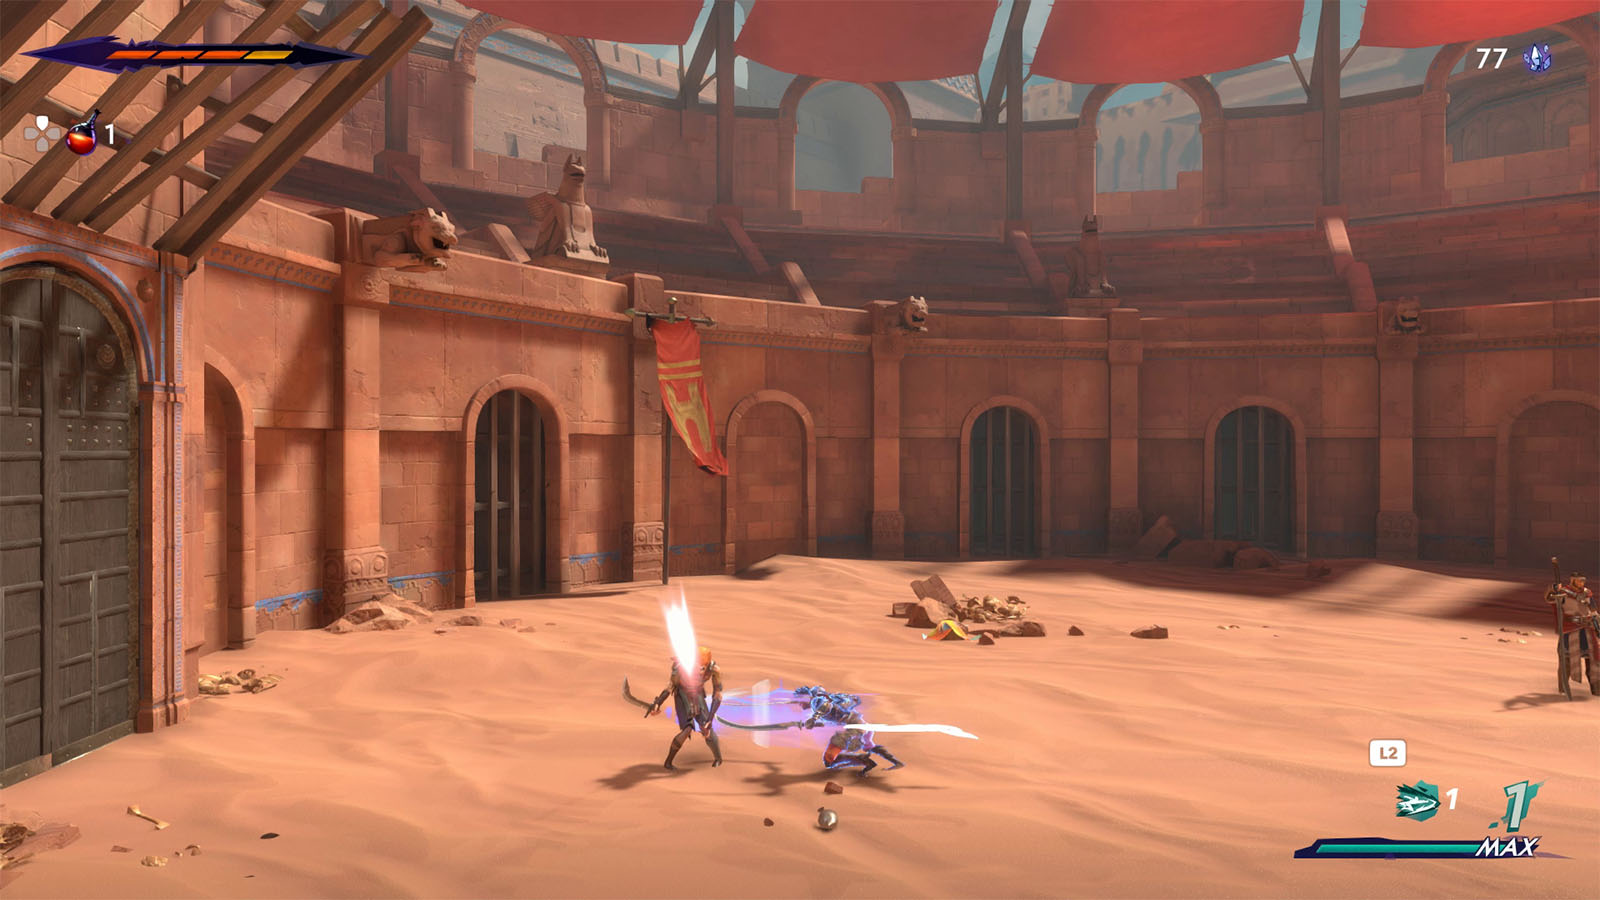
How to Defeat Undead Prisoner Mini Boss
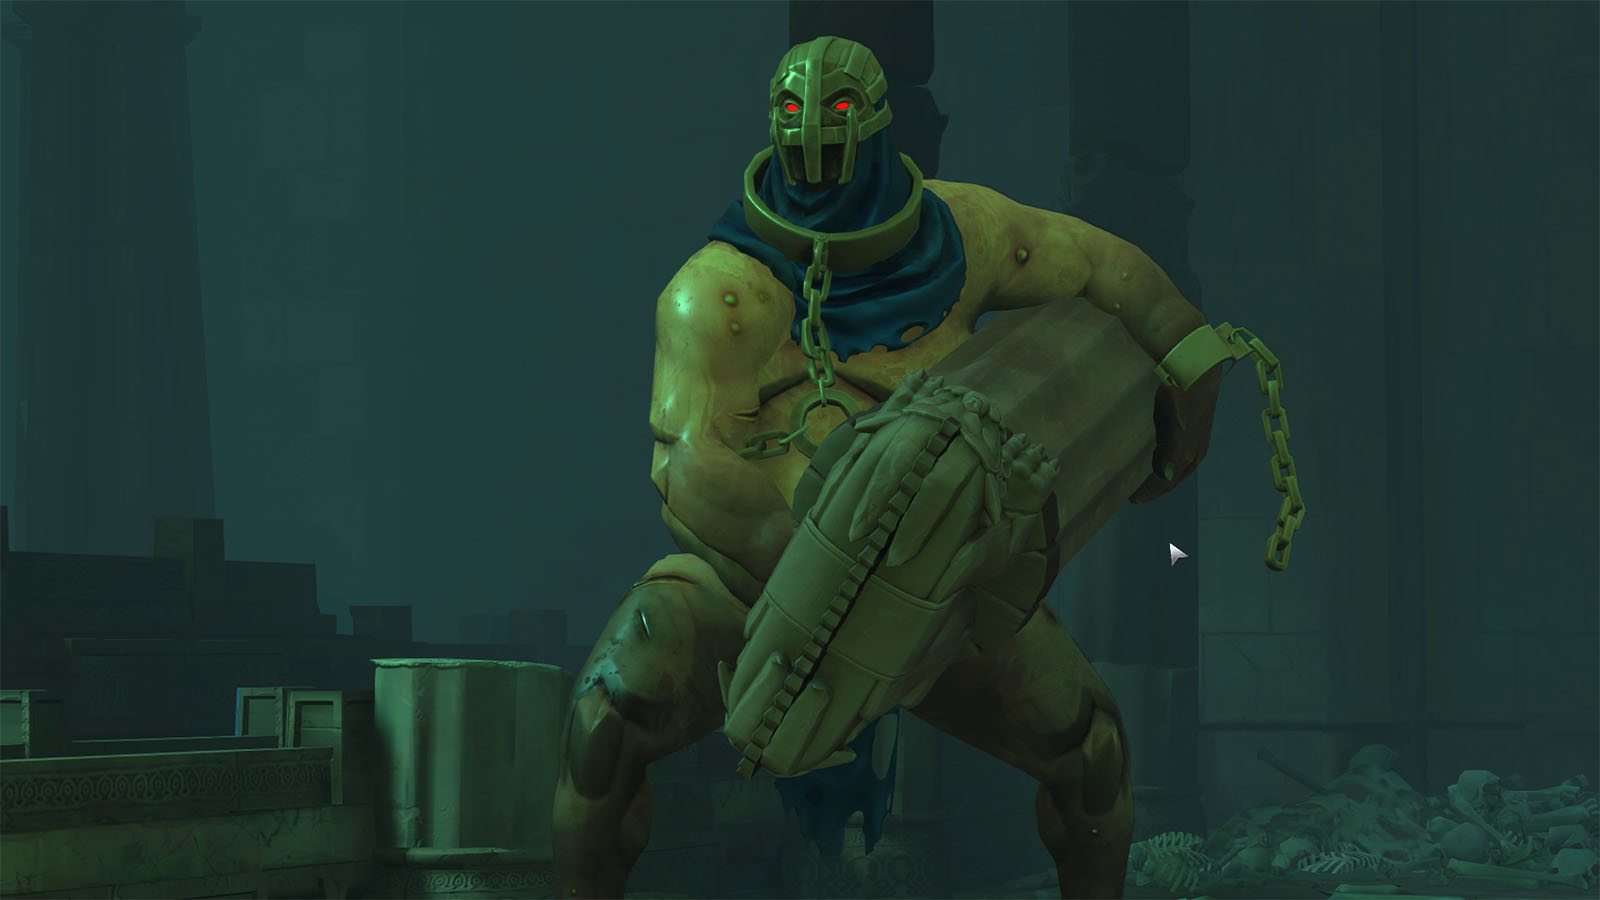
The next room will have you fight against the Undead Prisoner. It is a hulking boss that uses a pillar as a battering stick. It has several pillar attacks to look out for.
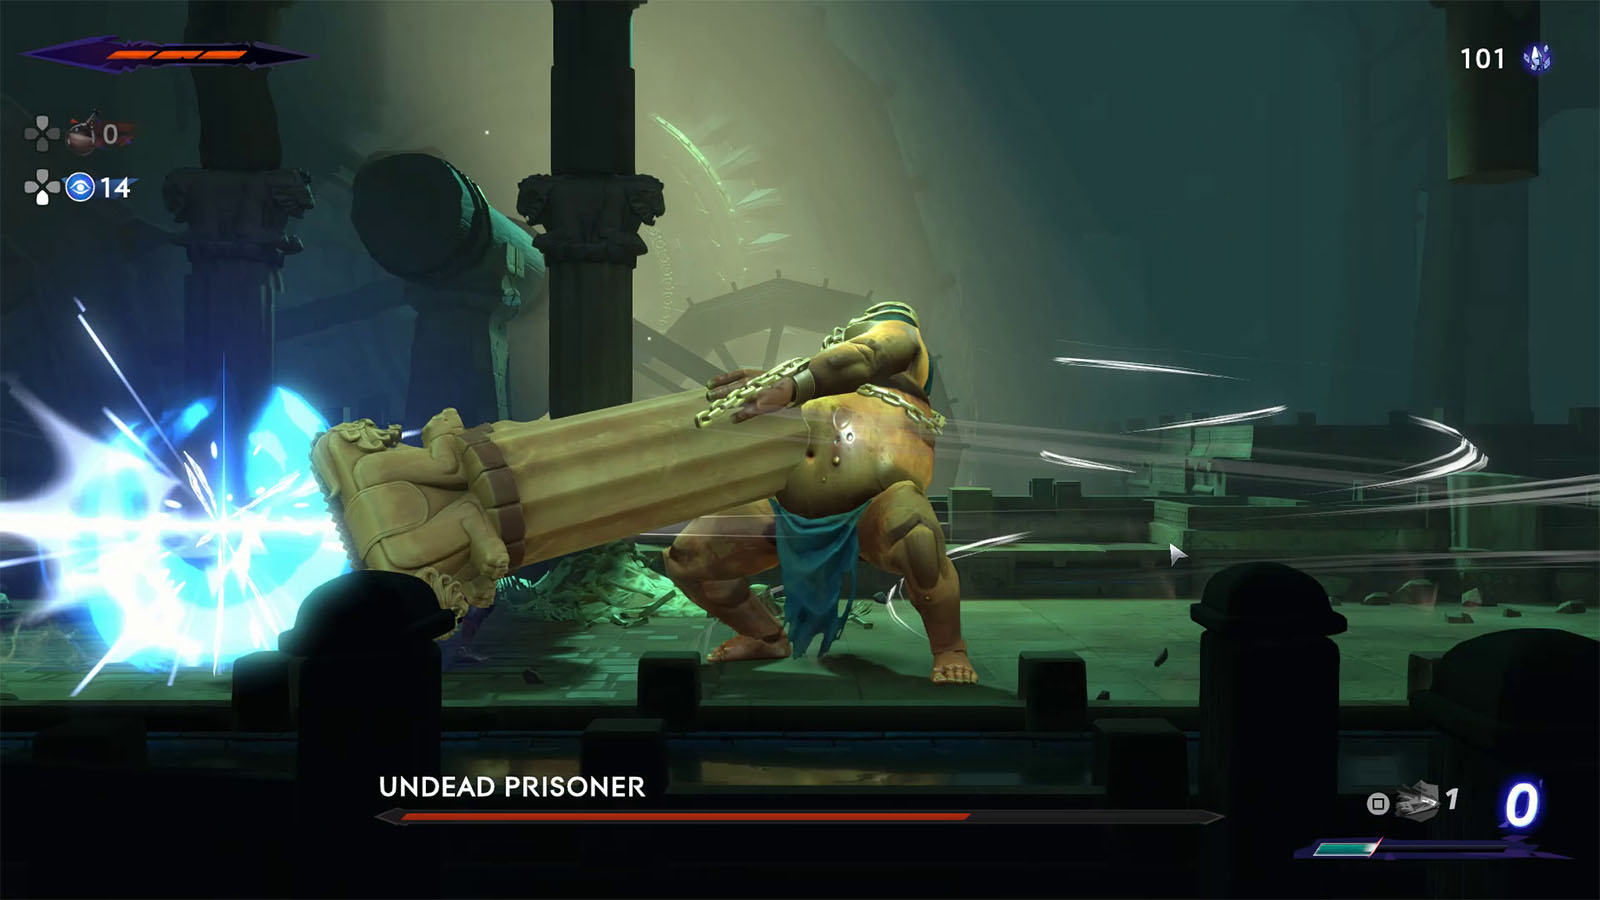
The Undead Prisoner has two unblockable attacks. The first one is where he charges towards your direction, and the other one is a ground smash. The charge can be easily evaded with a well-timed slide, after then you will be able to do a counterattack behind the boss. The smash attack will have the boss slam its pillar on the ground three times in a row, turning towards where you are every slam. During this move, focus on sliding through all three slams before attacking.
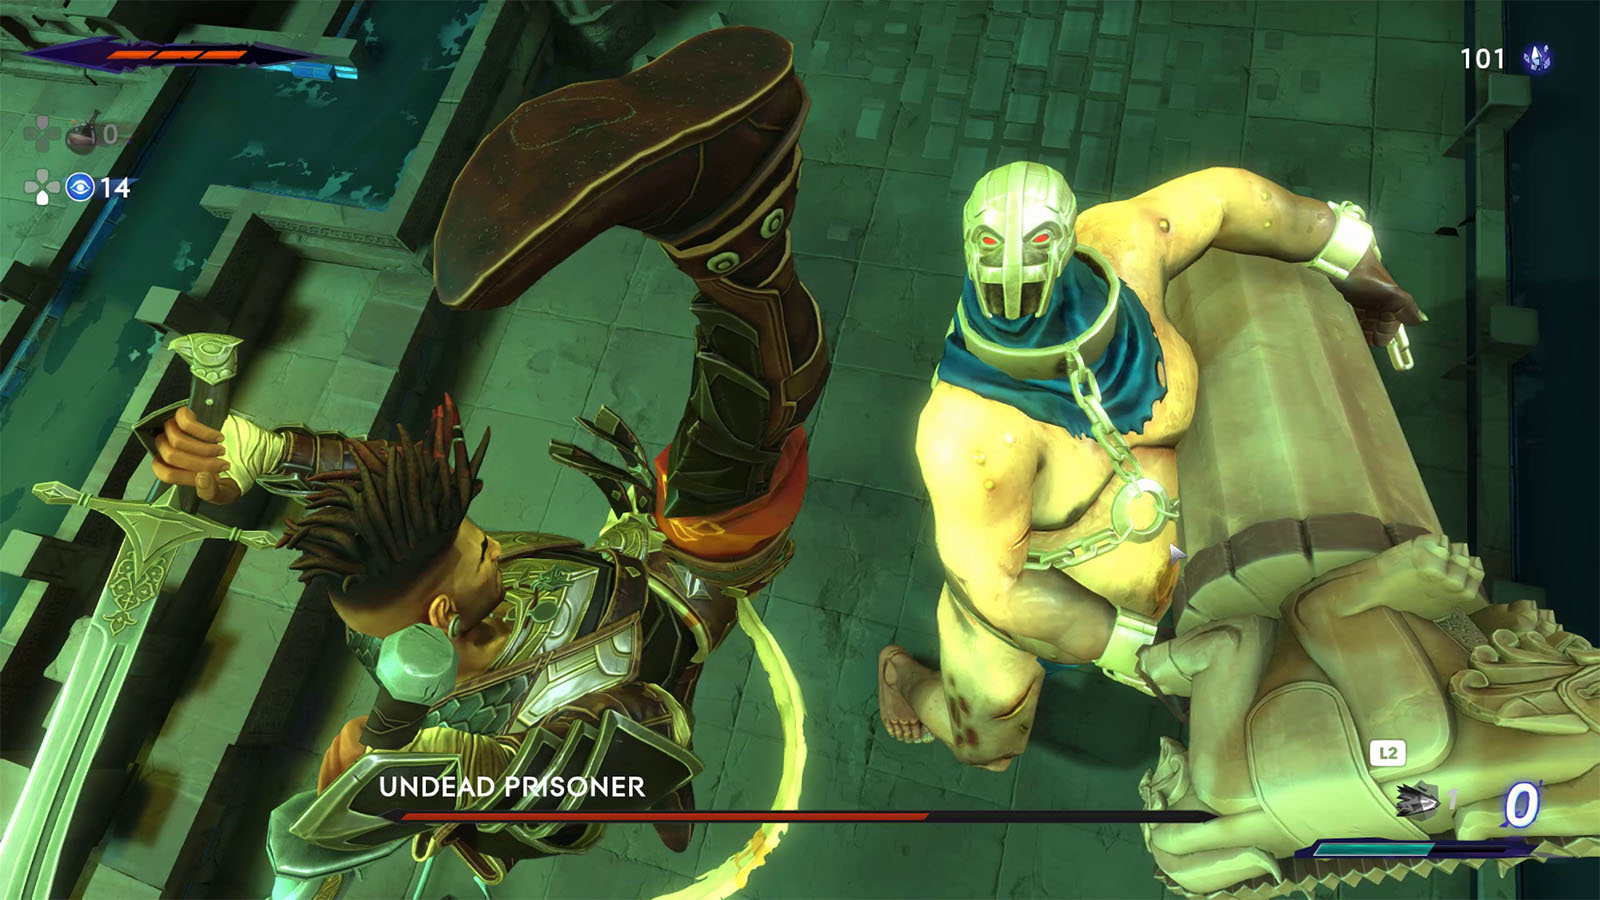
Look out for its special attack where the boss spins around with its pillar as it closes towards you. Use this opportunity to parry the attack to perform your special counterattack which deals massive damage.
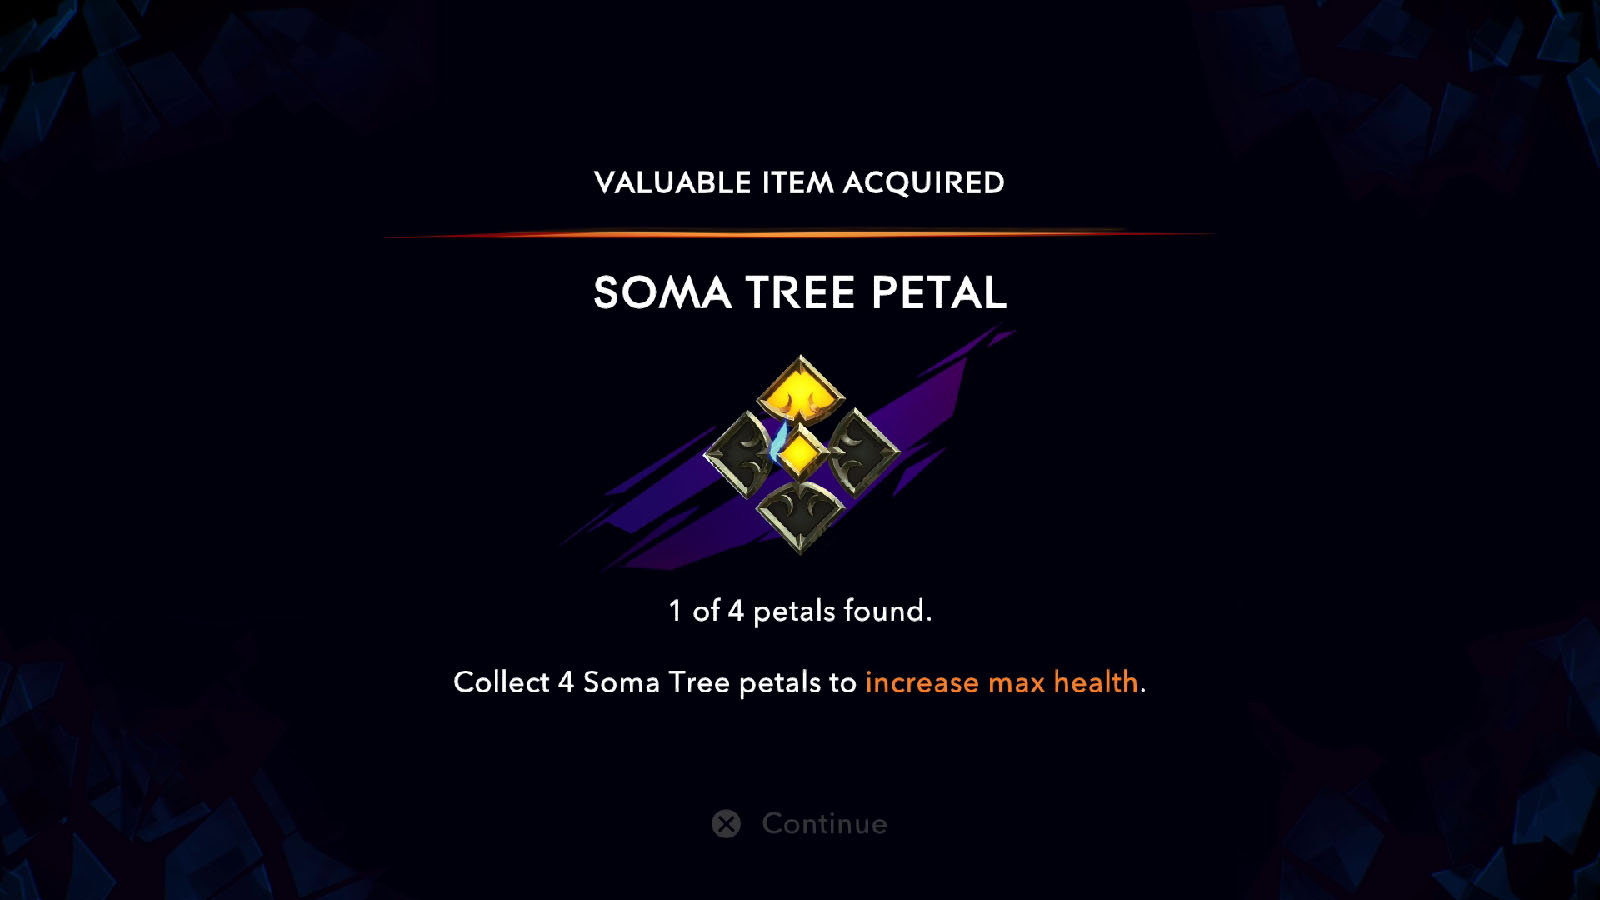
Once the Undead Prisoner has been defeated, it will drop a Soma Tree Petal which increases your maximum health once four petals have been collected.
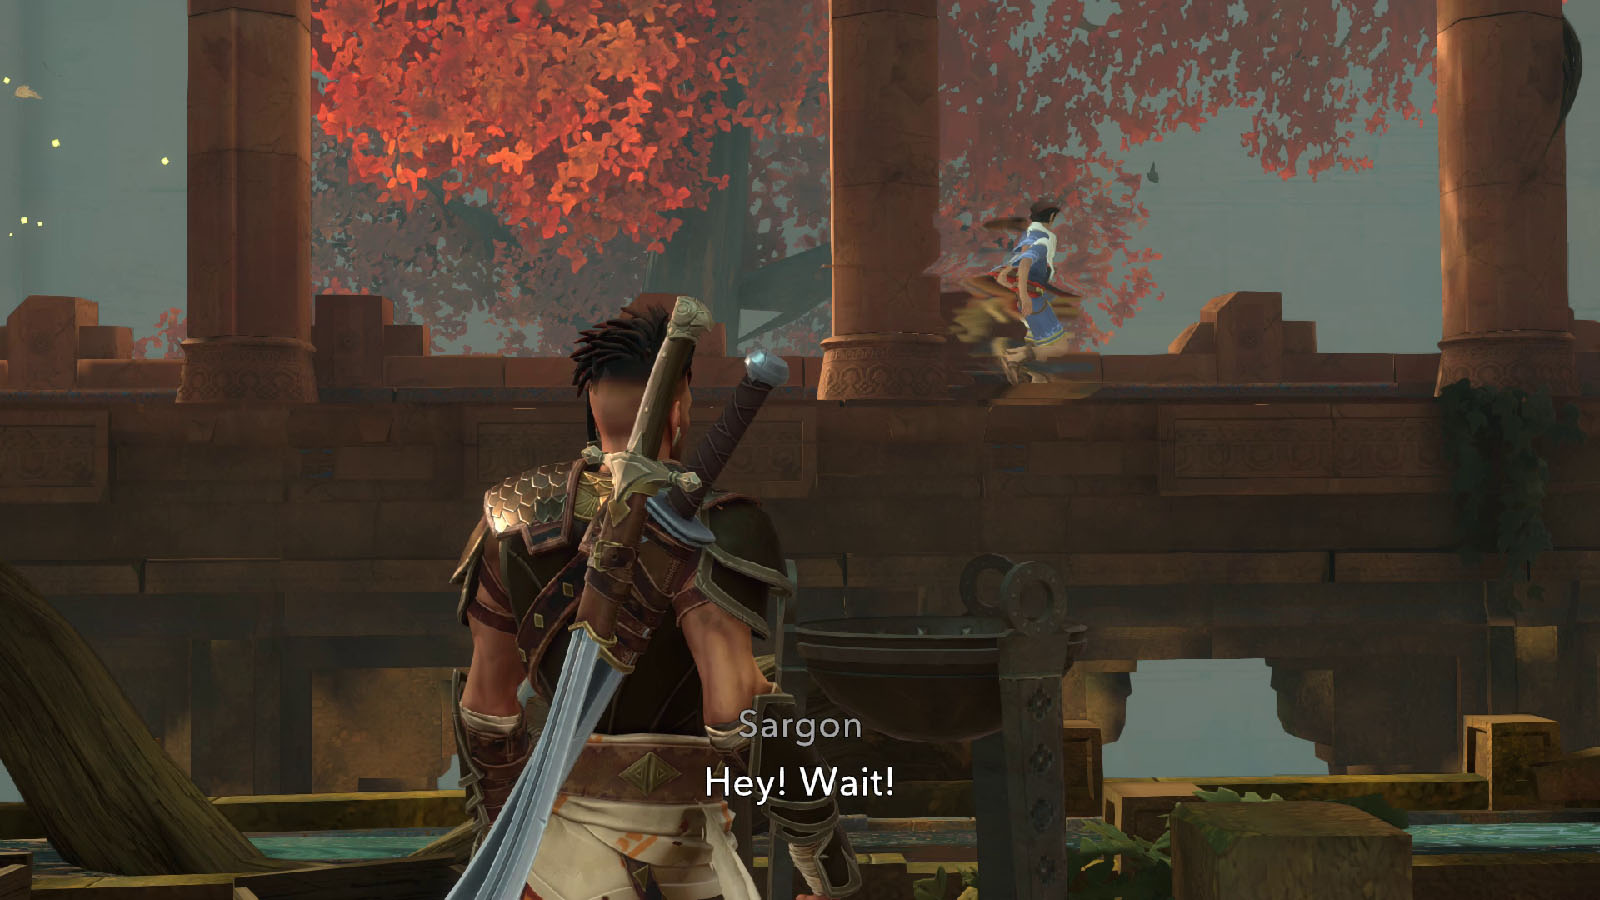
On the next area, a boy will appear phasing in and out, running while looking for his father. He then disappears before Sargon could call his attention.
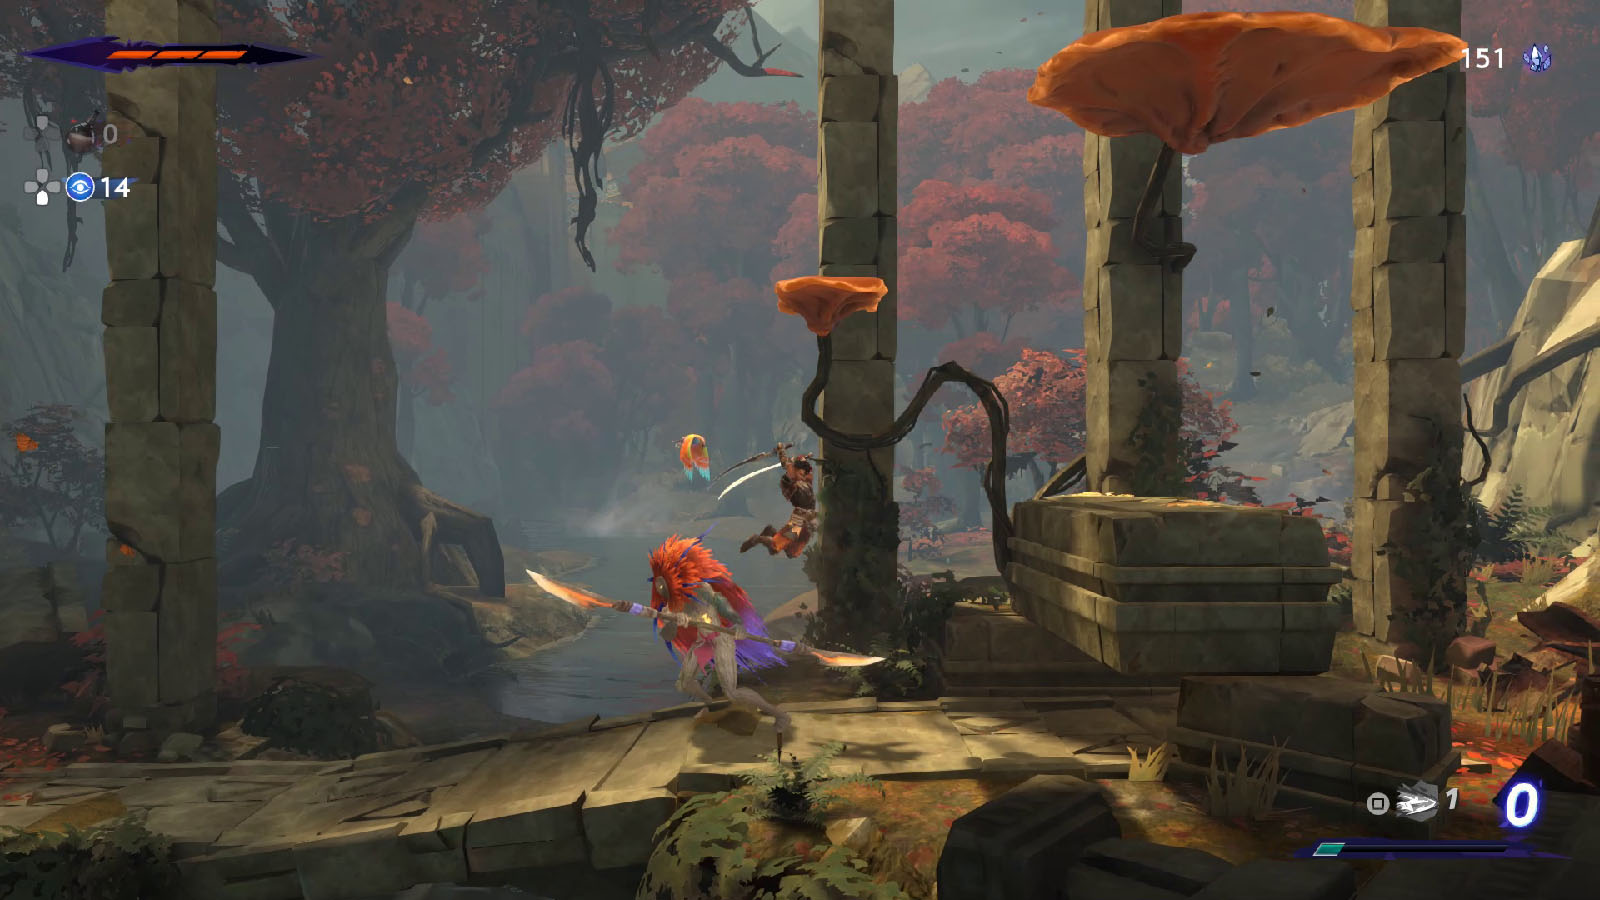
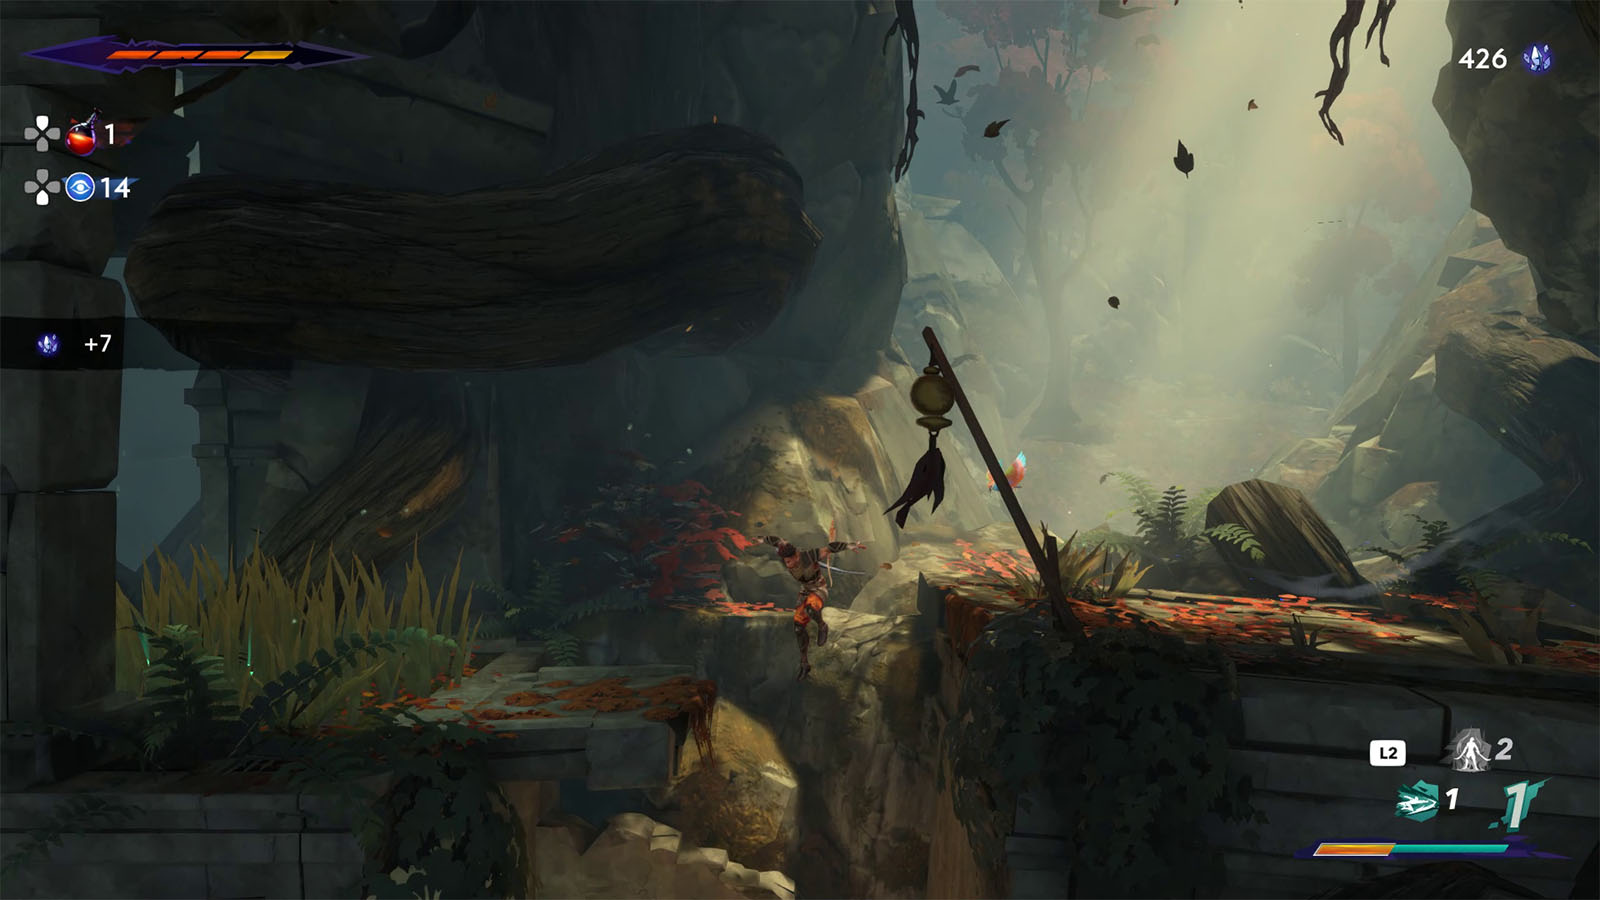
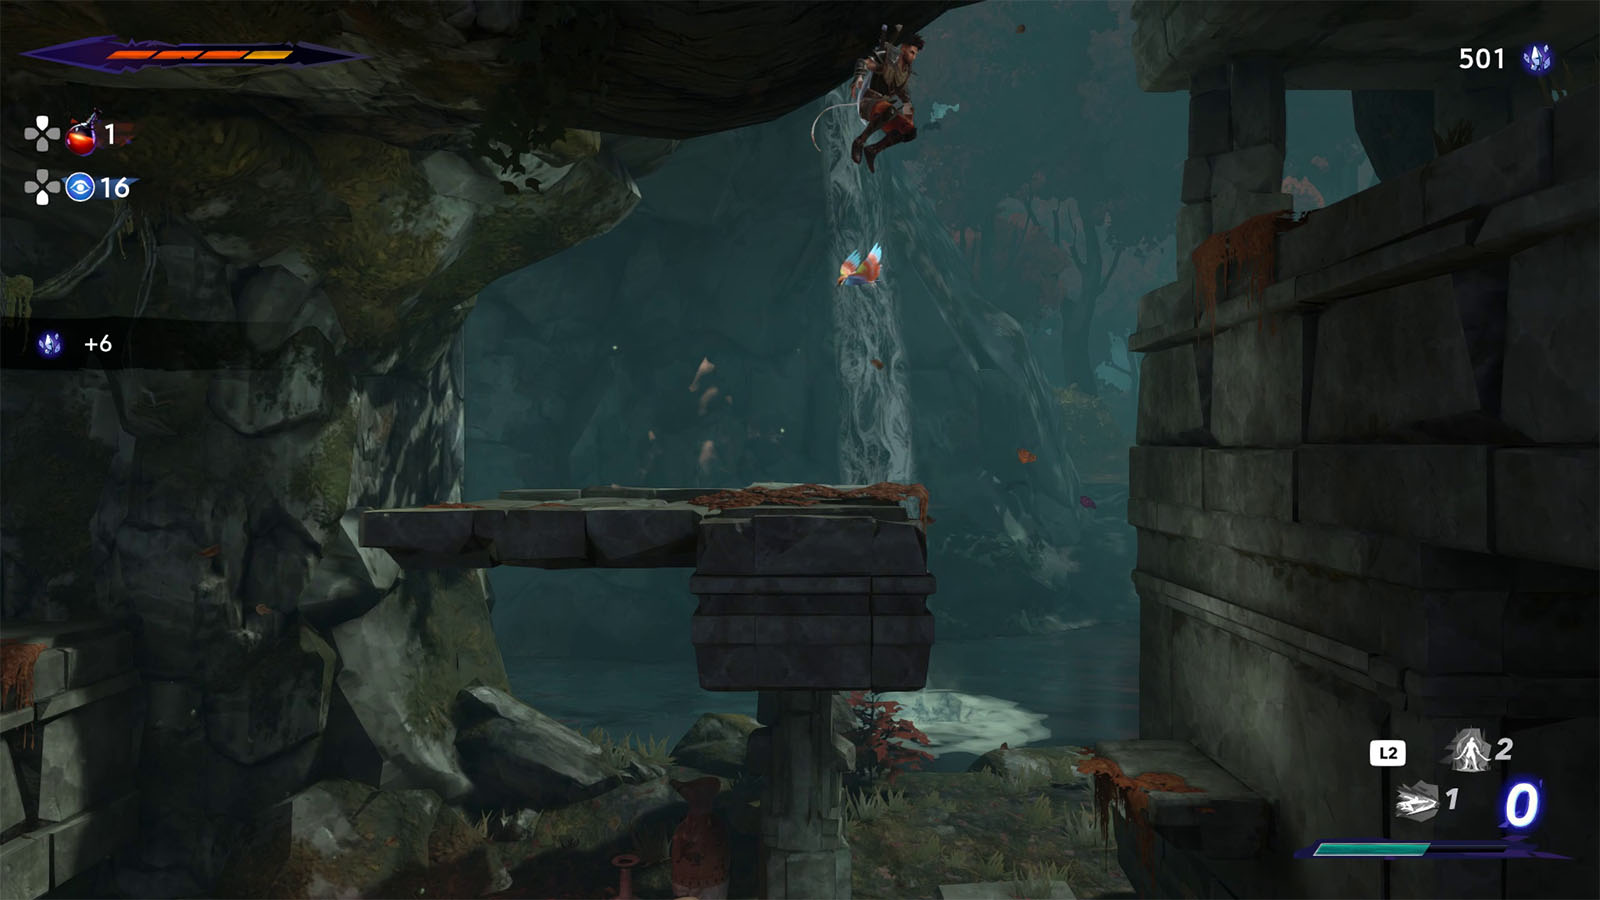
The next path to the east leads to the Hyrcanian Forest. This forest is inhabited by hostile natives and creatures. There are plants that act as platforms, but only for a short time before they withdraw. Navigate through the first area and pick up the crystals along the way.
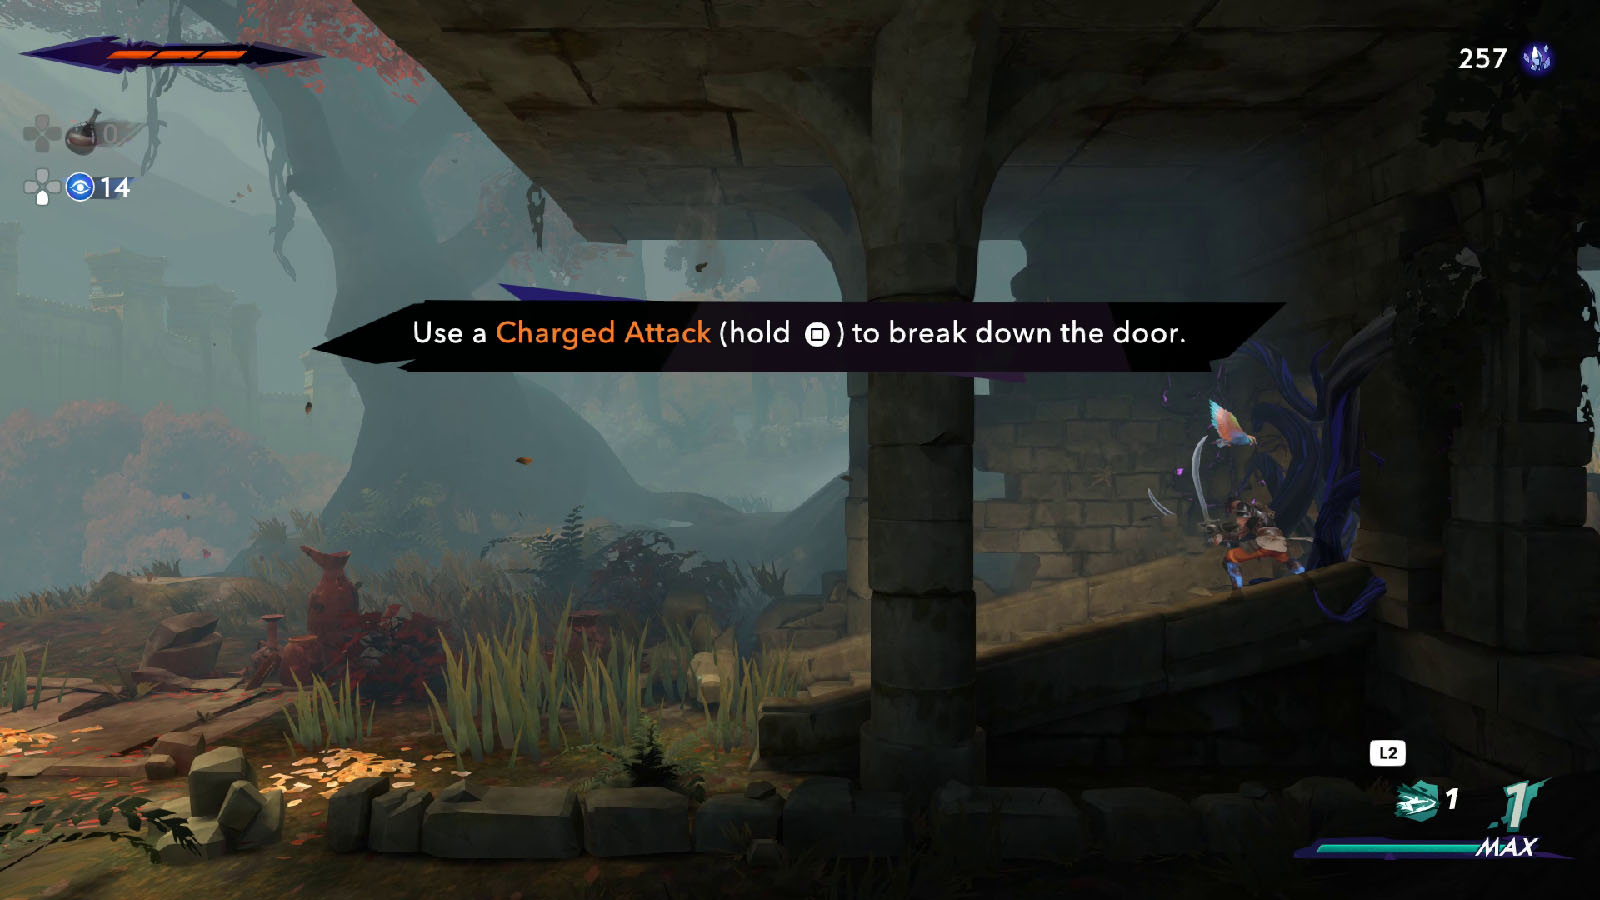
In the next area, use a charged melee attack at the vines to break them.
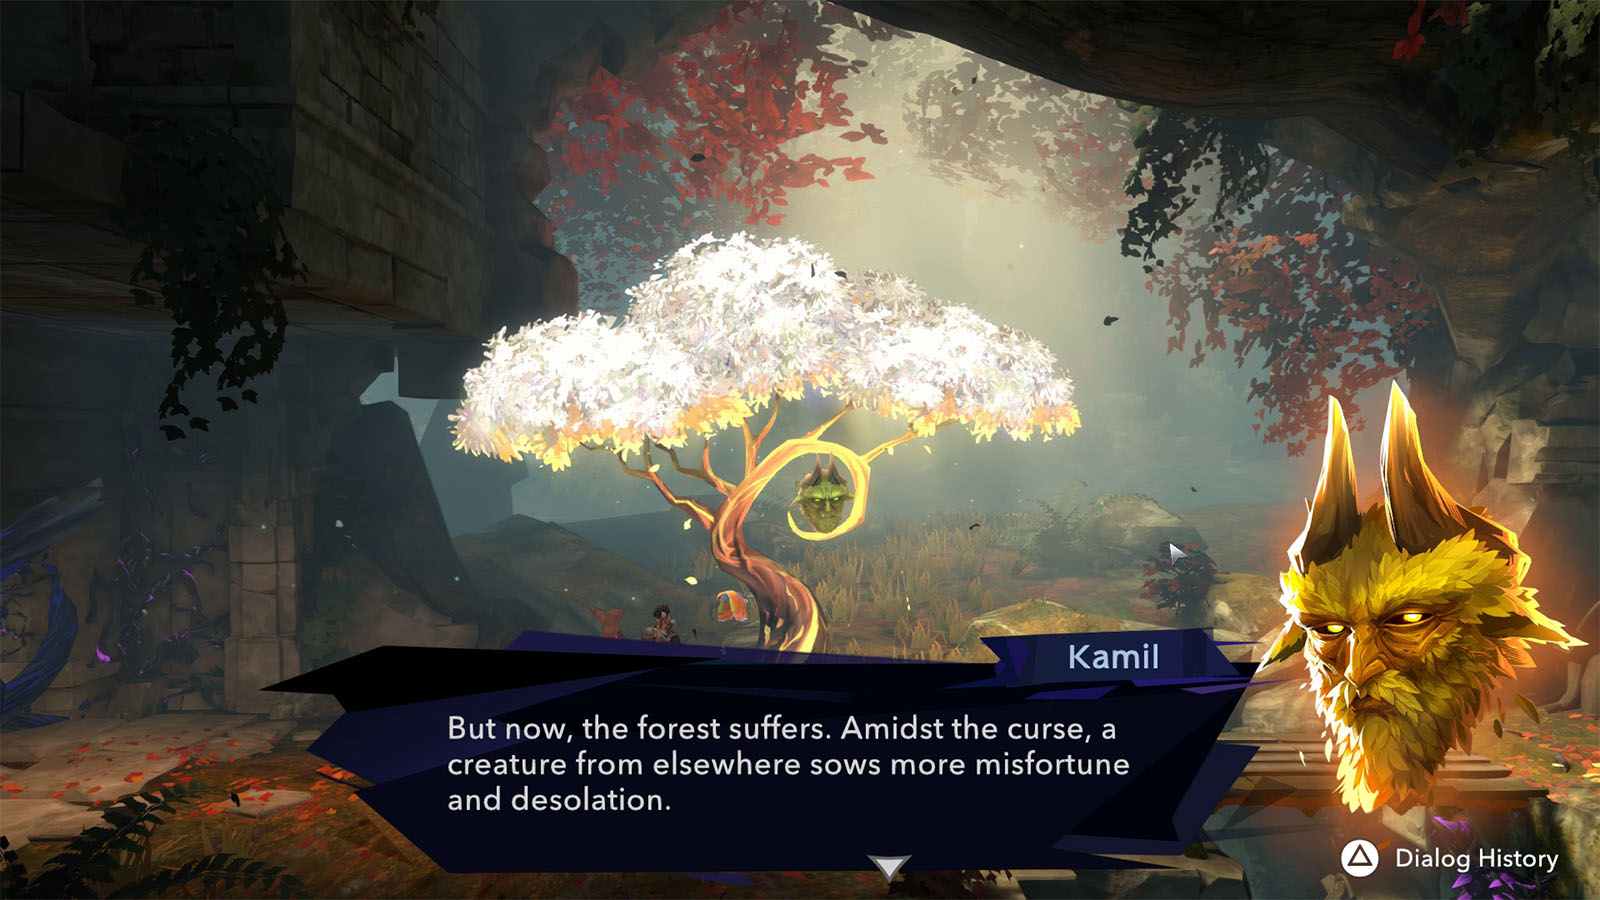
Behind the vines is another Wak-Wak Tree. From the tree appears a creature known as Kamil. Talk to it and it will give you the Athra Surge – Bahman’s Breath.
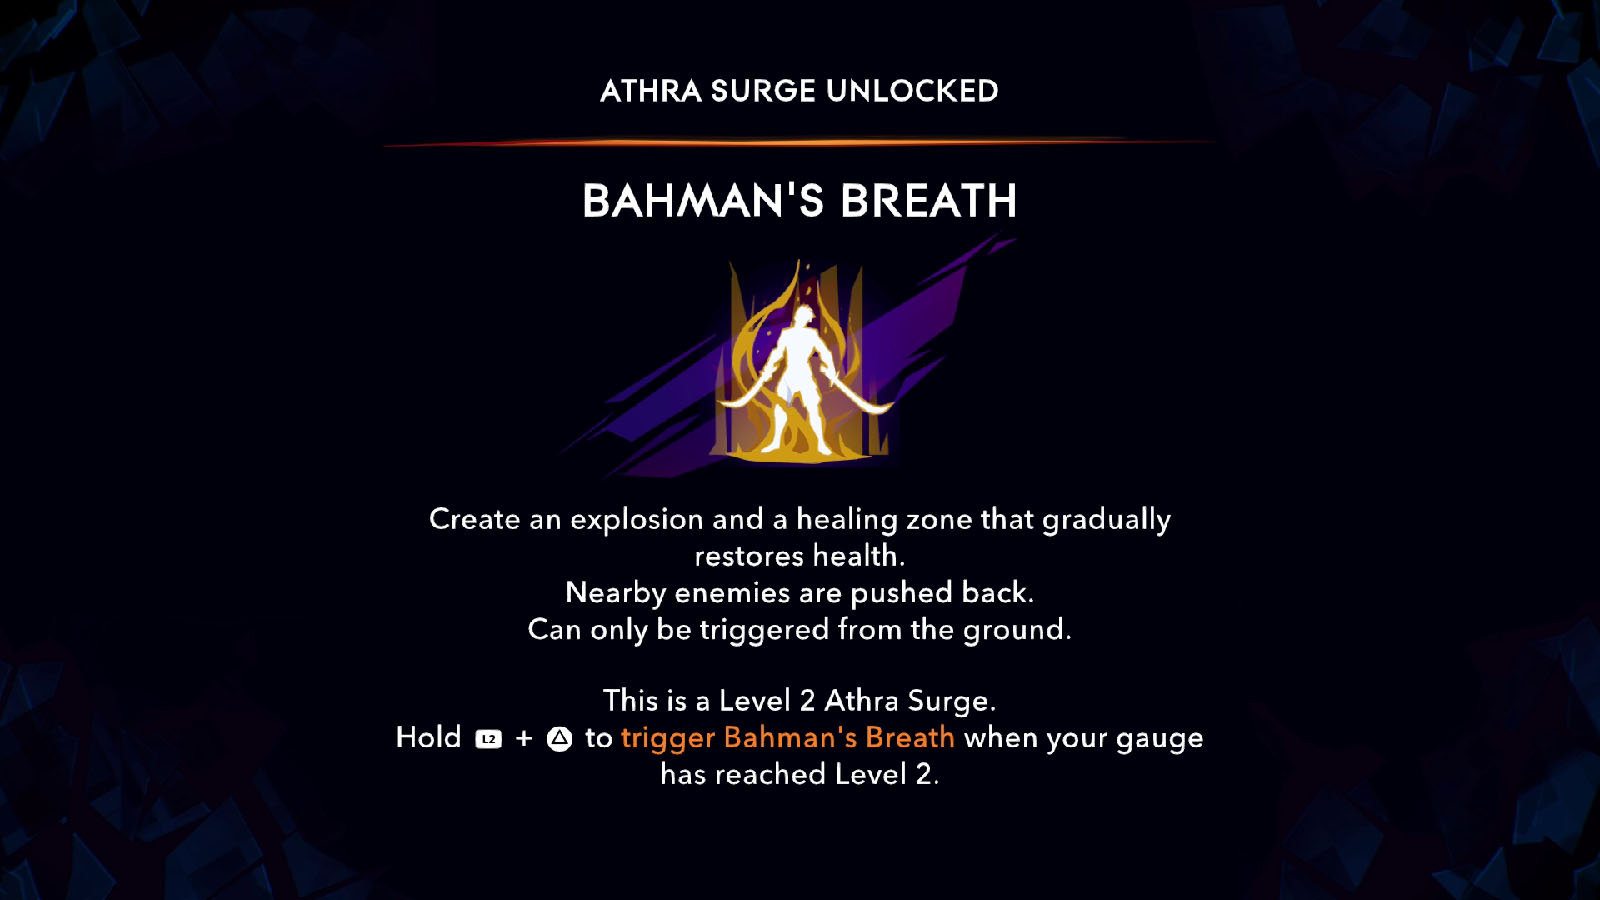
This ability requires two levels of the Athra meter. Once used, it sends out a damaging shockwave to nearby enemies, plus it also leaves a healing zone that restores your health. It is a helpful ability that can get you out of tight situations.
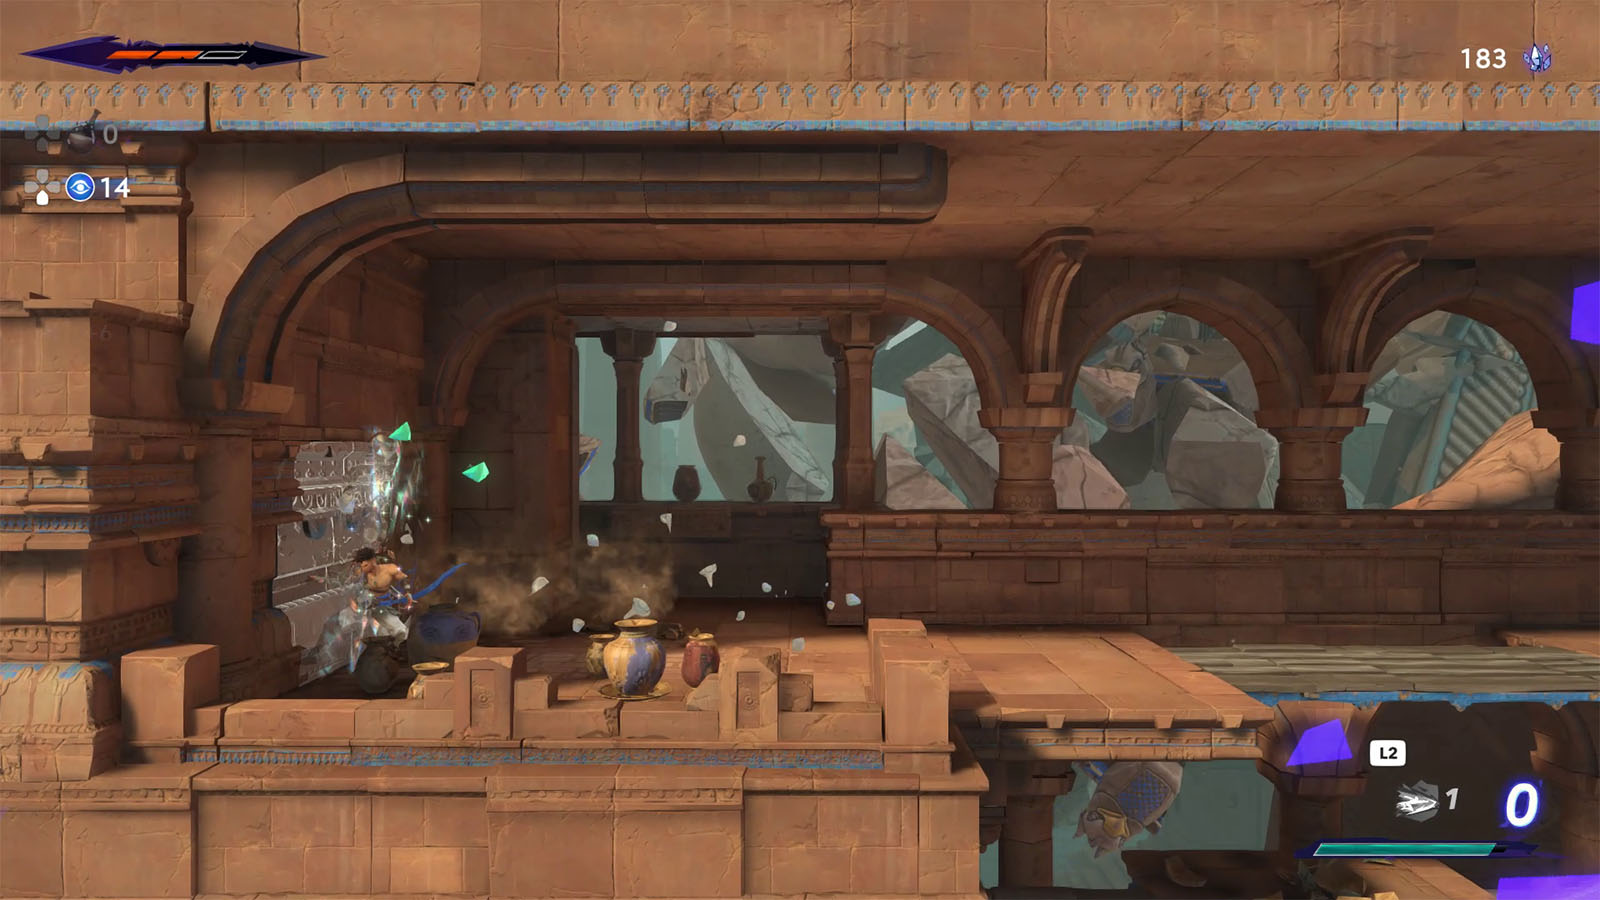
From the tree, continue down the platform while avoiding the purple vines. As you reach the bottom, hit the wall to the left to reveal a secret passage.
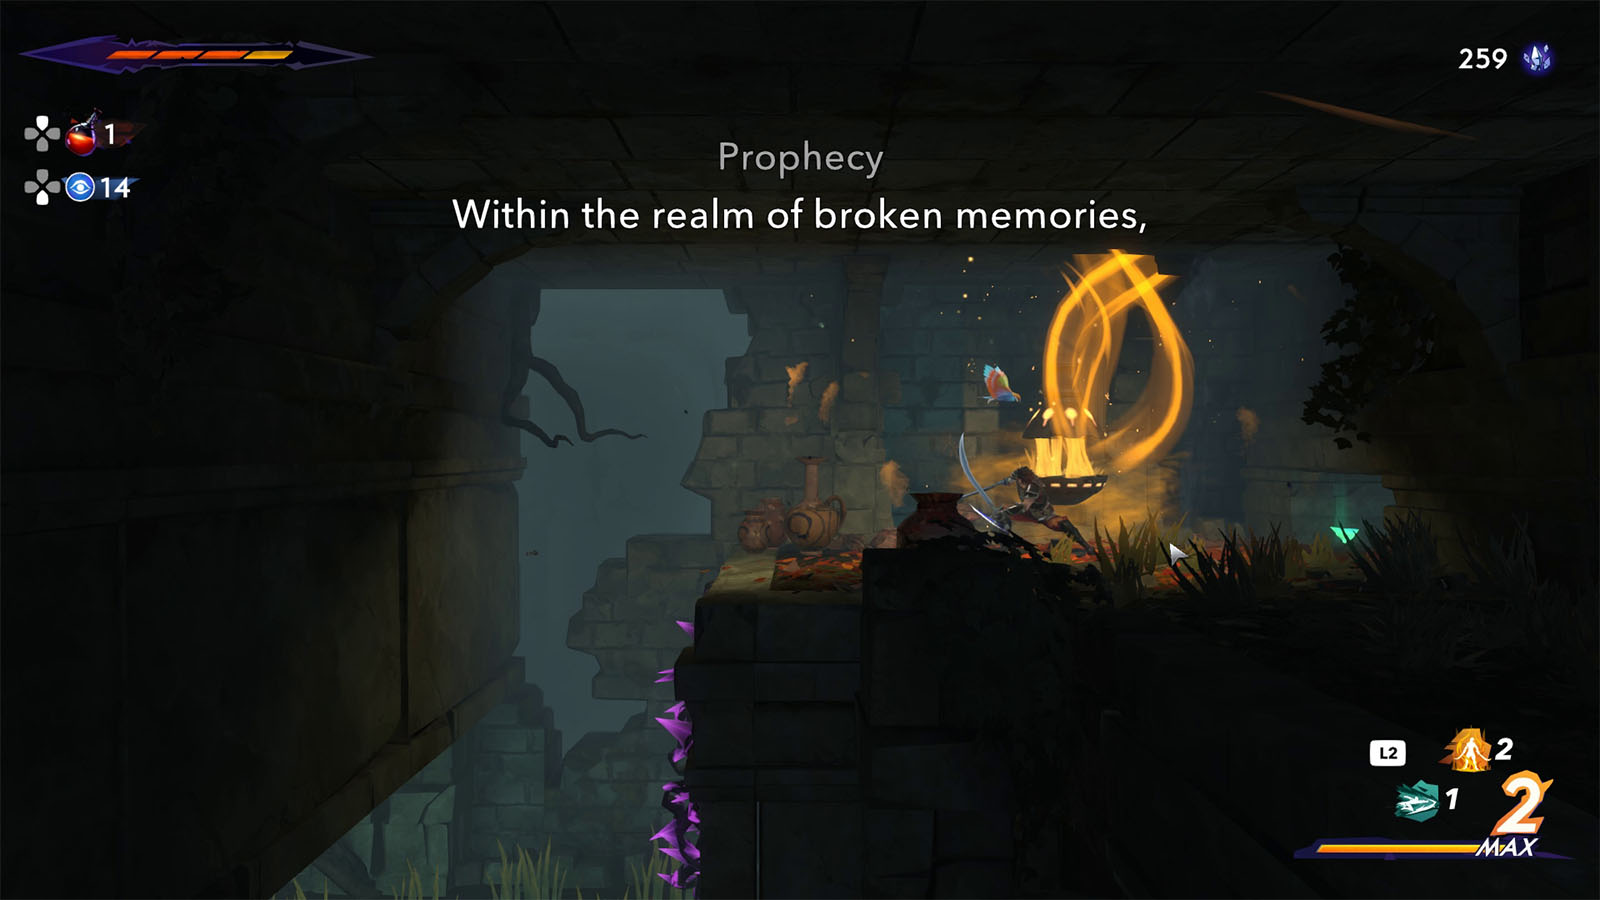
Navigate through this secret passage to find the Spirited-Sand Jar #1. This is one of the collectibles in the game which shows a part of a prophecy.
Head back to the main path and make your way through the next area using the plants. You can hit the orange bulb on the plant to make leaves that you can jump on.

Shortly after, you will get into another section of the forest that has ruins. Instead of heading east, jump down to the very bottom and you will find a corpse hanging on a rope. Cut the rope to make the corpse fall and reveal the Key Item – Cannonball that you can pick up to be used later.
Just to the west is another vined passageway. Destroy the vines and you will encounter one of the lost warriors. This warrior has a shield and spear and it can also shoot out arrows. Defeat it to get crystals and a Xerxes, a special type of currency that is commonly used for upgrades. You will also get another insignia as part of the side quest.
Go back up to the main path and go east into a building full of crystals and bugs. Go through the next vined wall to find the Collectible – Tusk of Erlik.
Jump your way out of the room, then swing on to the poles to take the upper path where you will find another Wak-Wak Tree. To the west is a path that you cannot access yet, so head back to the east and through the enemies.
There is a hole in the ground nearby that leads to the Sunken Harbor. Follow the path all the way down to find a chest that contains a Memory Shard. Further to the left is another path with two gates, but you can only get through these gates after obtaining an ability in Chapter 3, so take note of this path for now.
Head back up from where you came from, but instead of going back to the surface, take the path to the east through the vined path.
Continue down through the next ruins and look for a slit under a wall to find a room with crystals.
Then, go back out and take the upper path which will lead you to a lair of another mini boss.
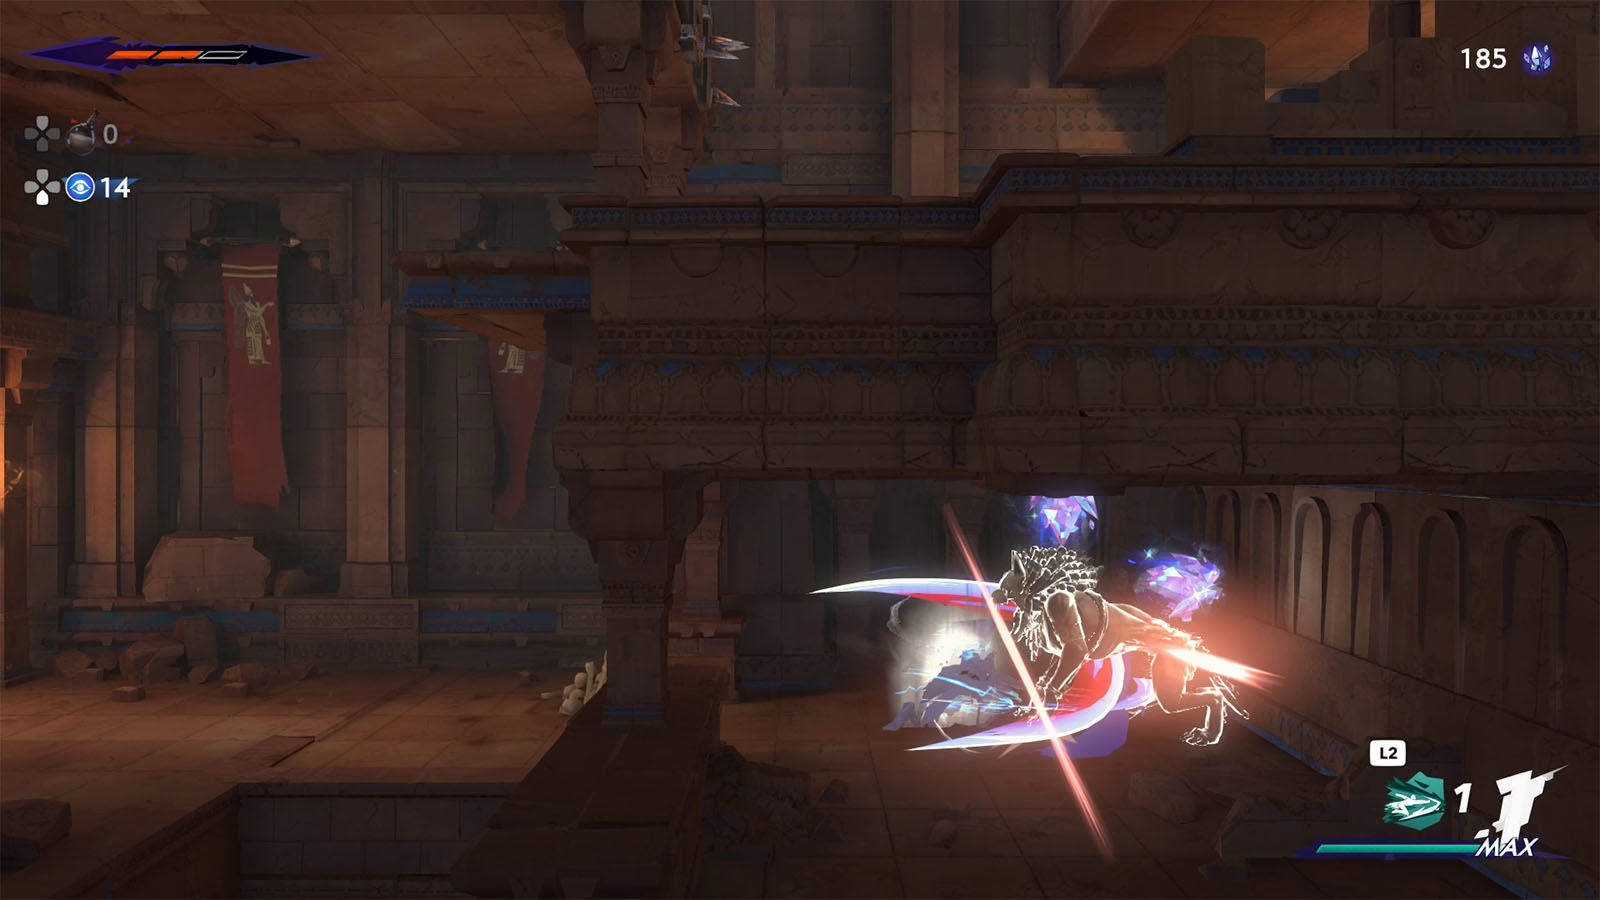
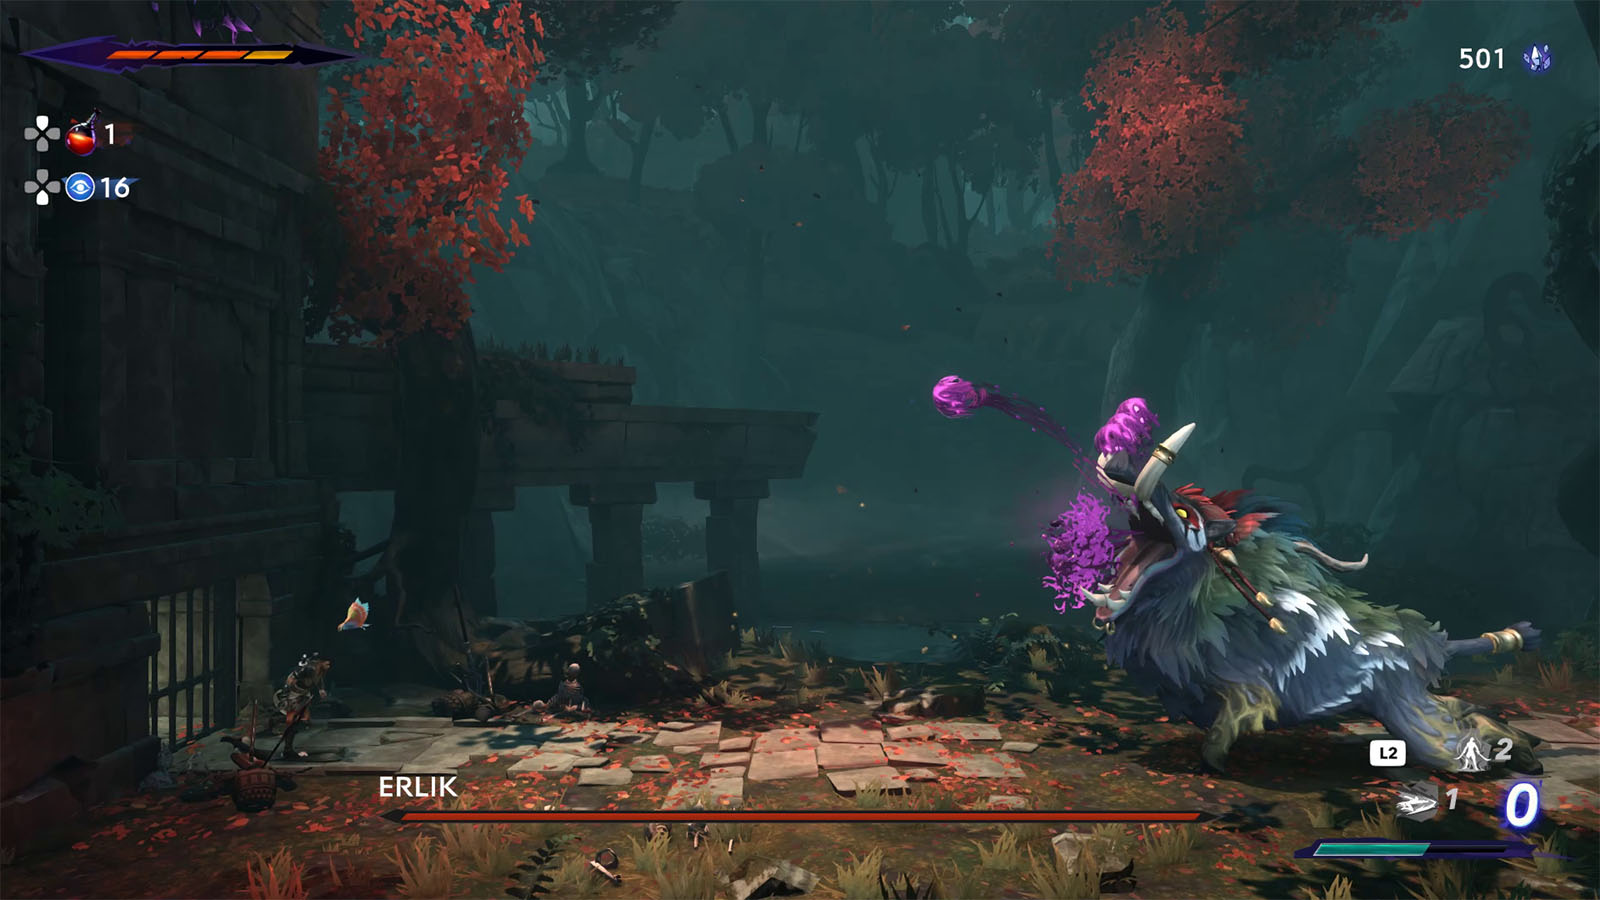
How to Defeat Erlik Mini Boss
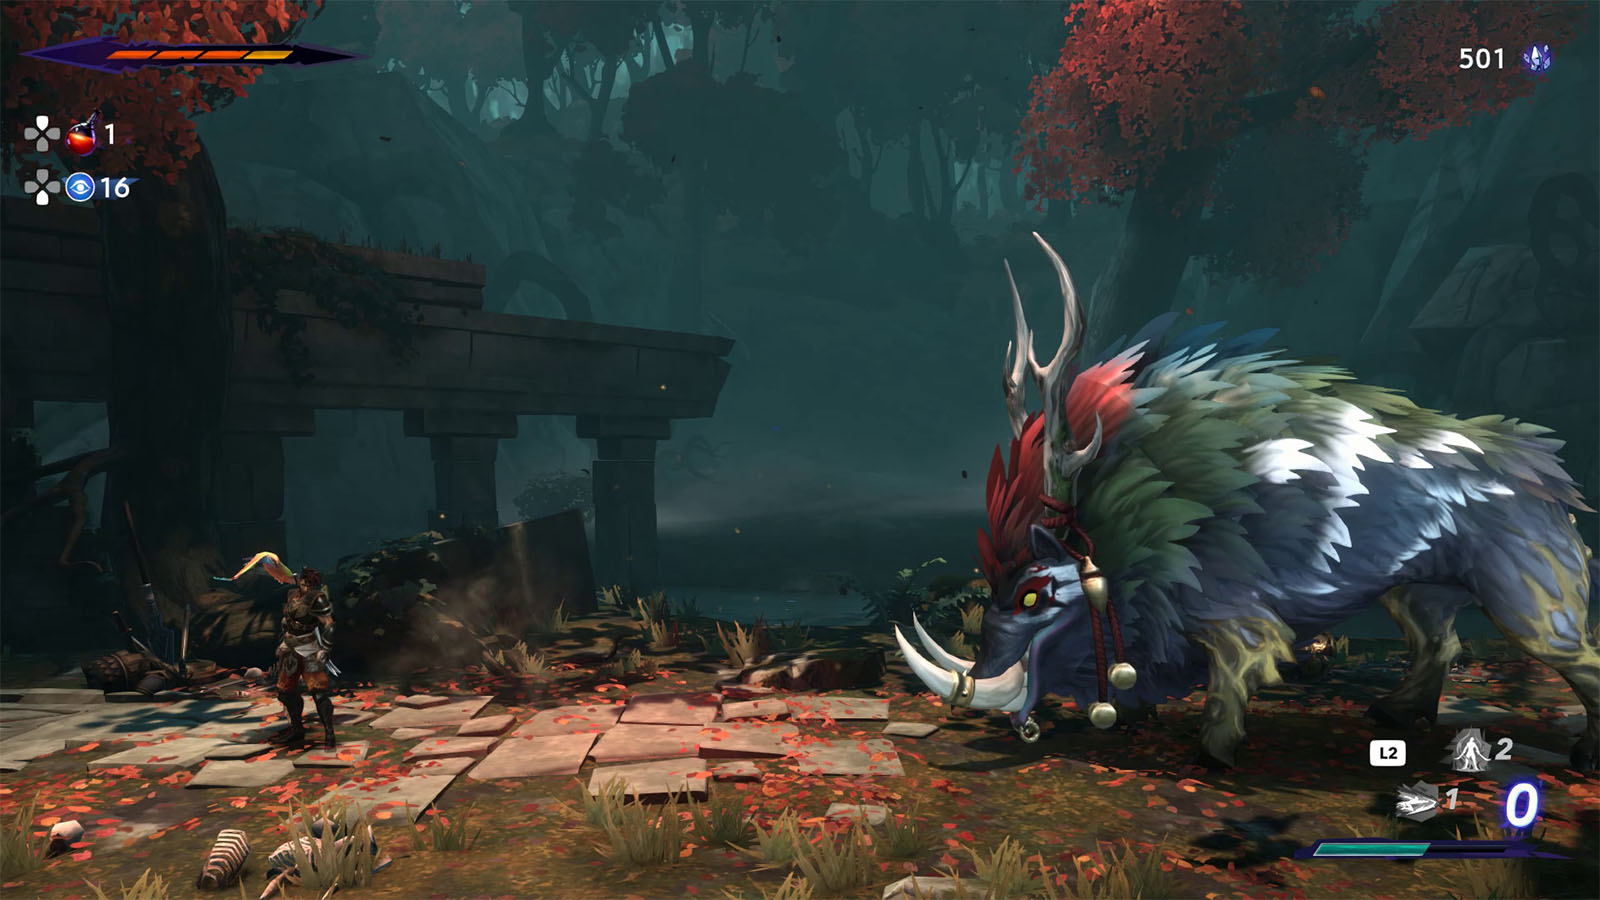
Erlik is a boar-like creature that can spit out poison balls and charges towards its targets.
It has several attacks to look out for, most of which are unblockable attacks:
- Charge – Erlik charges from afar.
- Head swing – The boss swings its head upwards; only when you are close to its face.
- Back kick – The boss kicks its hind legs; only when you are near its tail.
- Poison spit – The boss spits out globs of poison in the air.
- Rampaged charge – The boss will charge and chase you three consecutive times; each charge can be blocked.
All of Erlik’s attacks are clearly telegraphed and so evading them won’t be a problem. When it is on a rampage, focus on avoiding all three charges to get a window for a counterattack.
Once Erlik has been defeated, it will drop the Wolf-Bride Amulet which converts a small amount of damage taken into Athra.
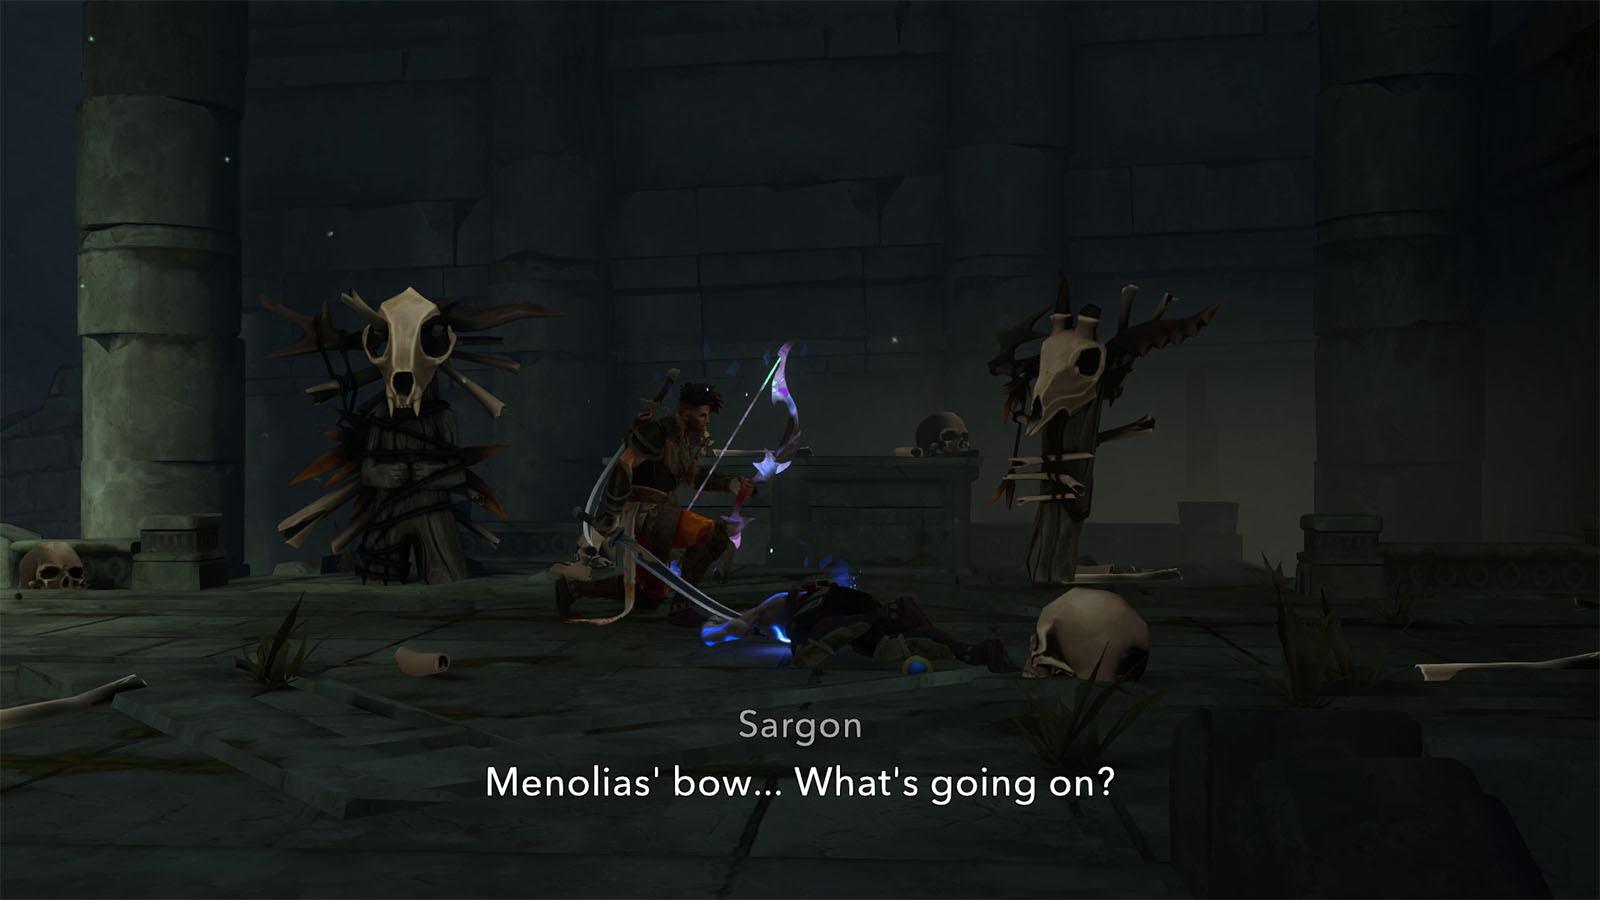
Proceed to the next areas where you will eventually discover a dead version of Sargon next to Menolias’ Bow. This sight sets some foreshadowing for some of the encounters later on. Sargon decides to pick up the bow and unlocks the Bow of Menolias Ability.
With this bow, you can now hit targets from afar, which means that you can now access the path west from the tree from earlier; this will be shown as the red gate markers turning to green on the map.
Reach the Upper Citadel
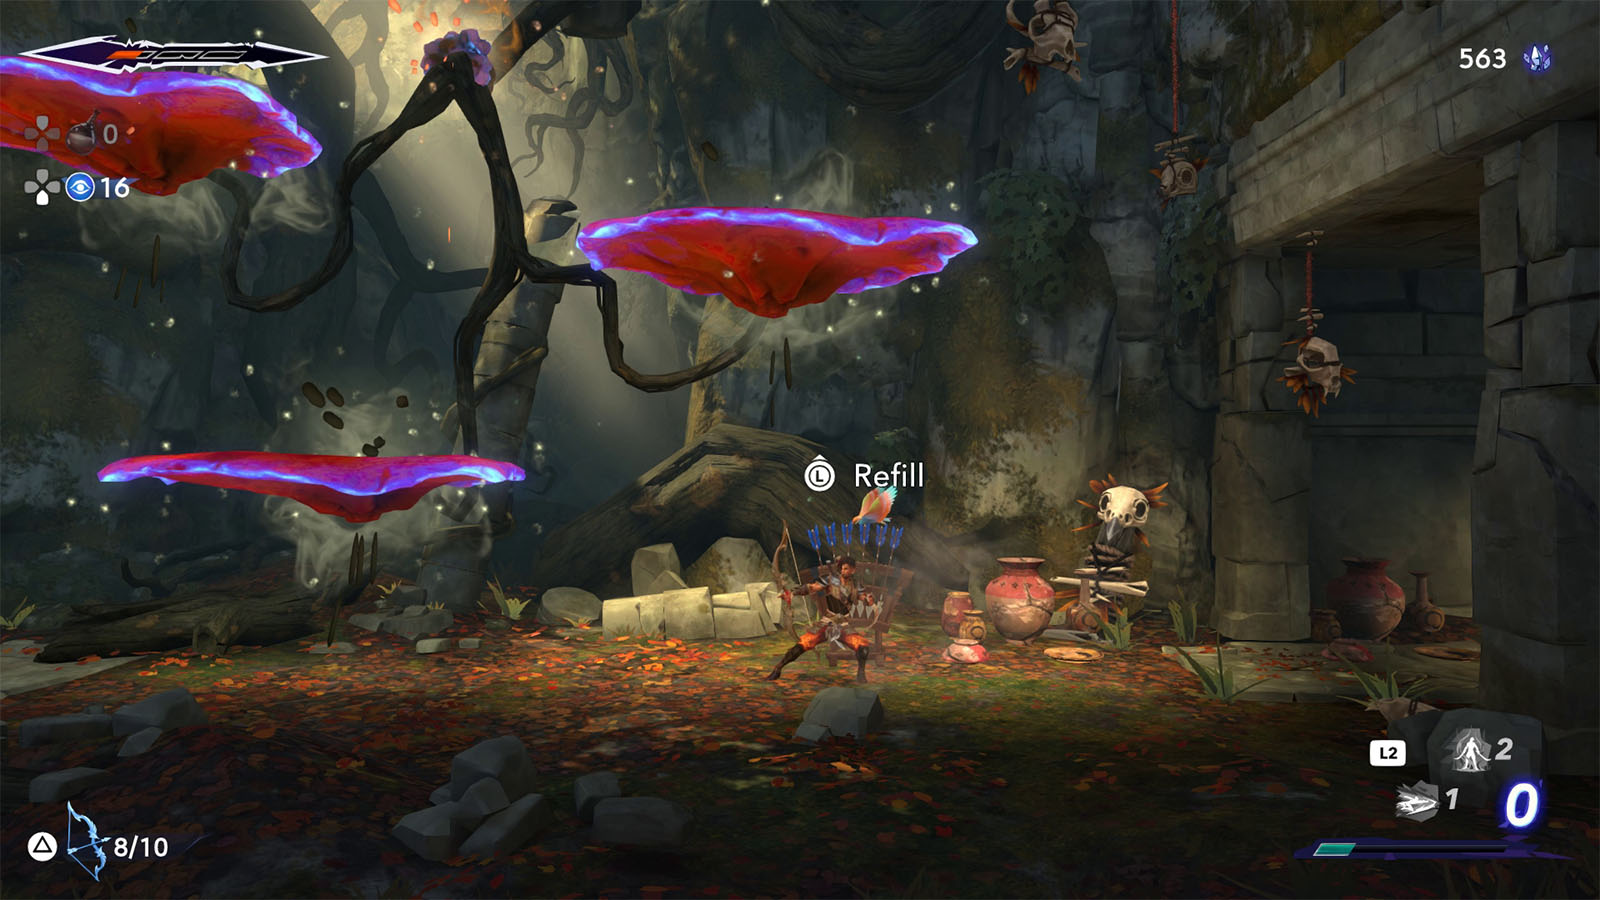
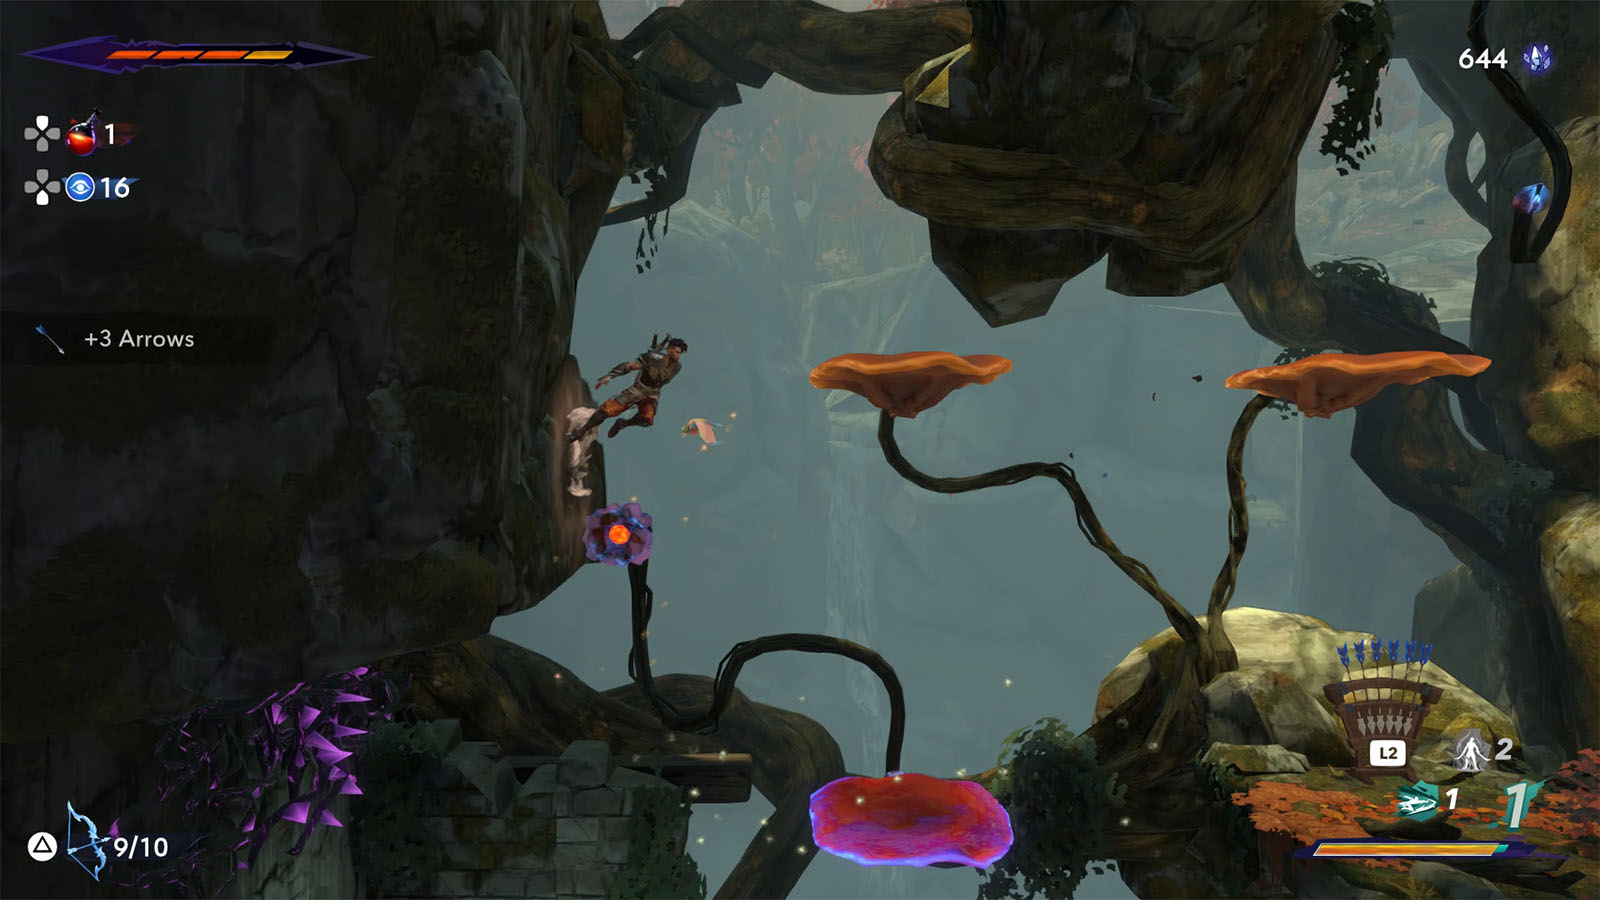
Go back out of the rooms until you see the arrow rack and the plant bulb up high. Your bow starts out with just 10 arrows at a time and you can refill it at arrow racks indefinitely; upgrades to expand the quiver to hold more arrows will be available later on.
Shoot at the bulb and make your way up while following the breeze to the next tree.
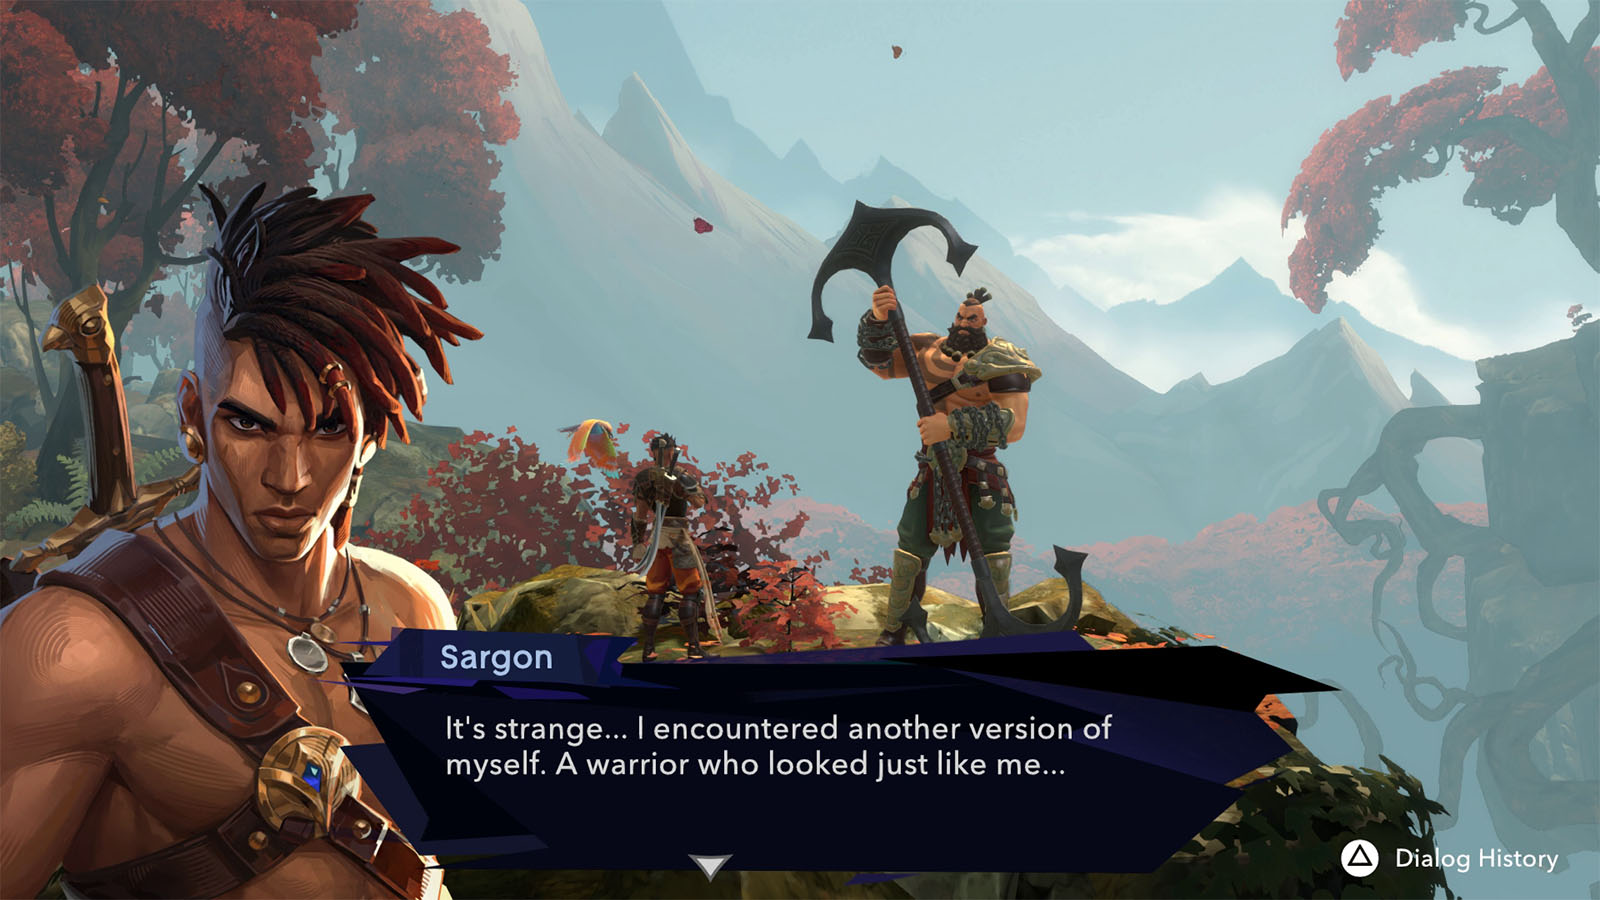
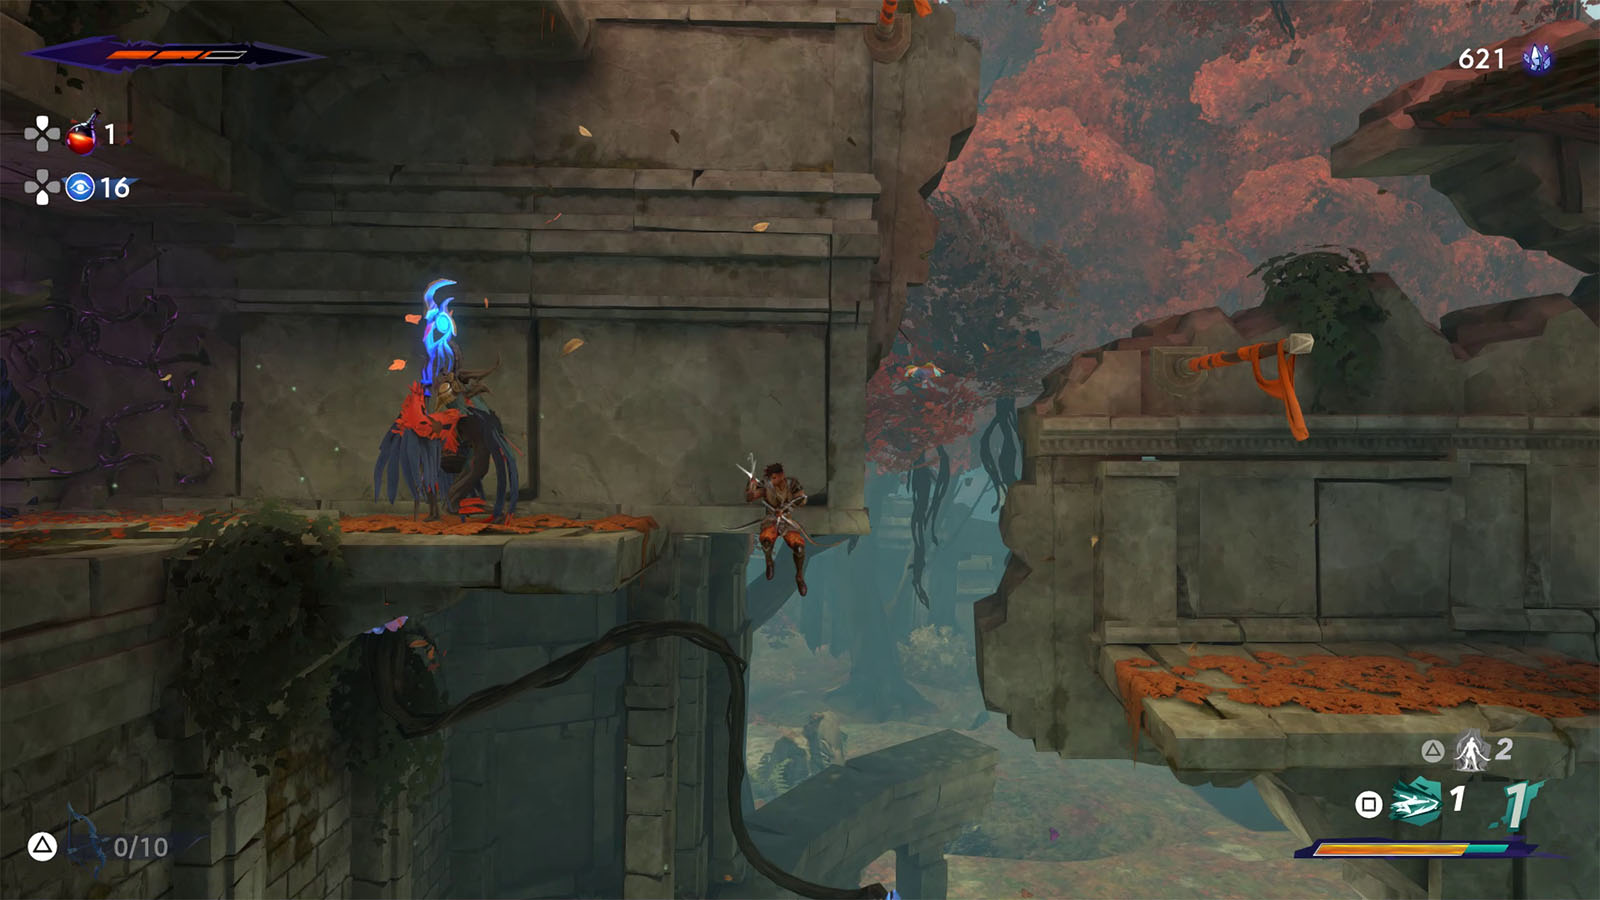
From the tree, head east to get to the cliffside where you will meet up with Orod. You then tell Orod about the alternate Sargon before he sets out to continue his search for the Prince.
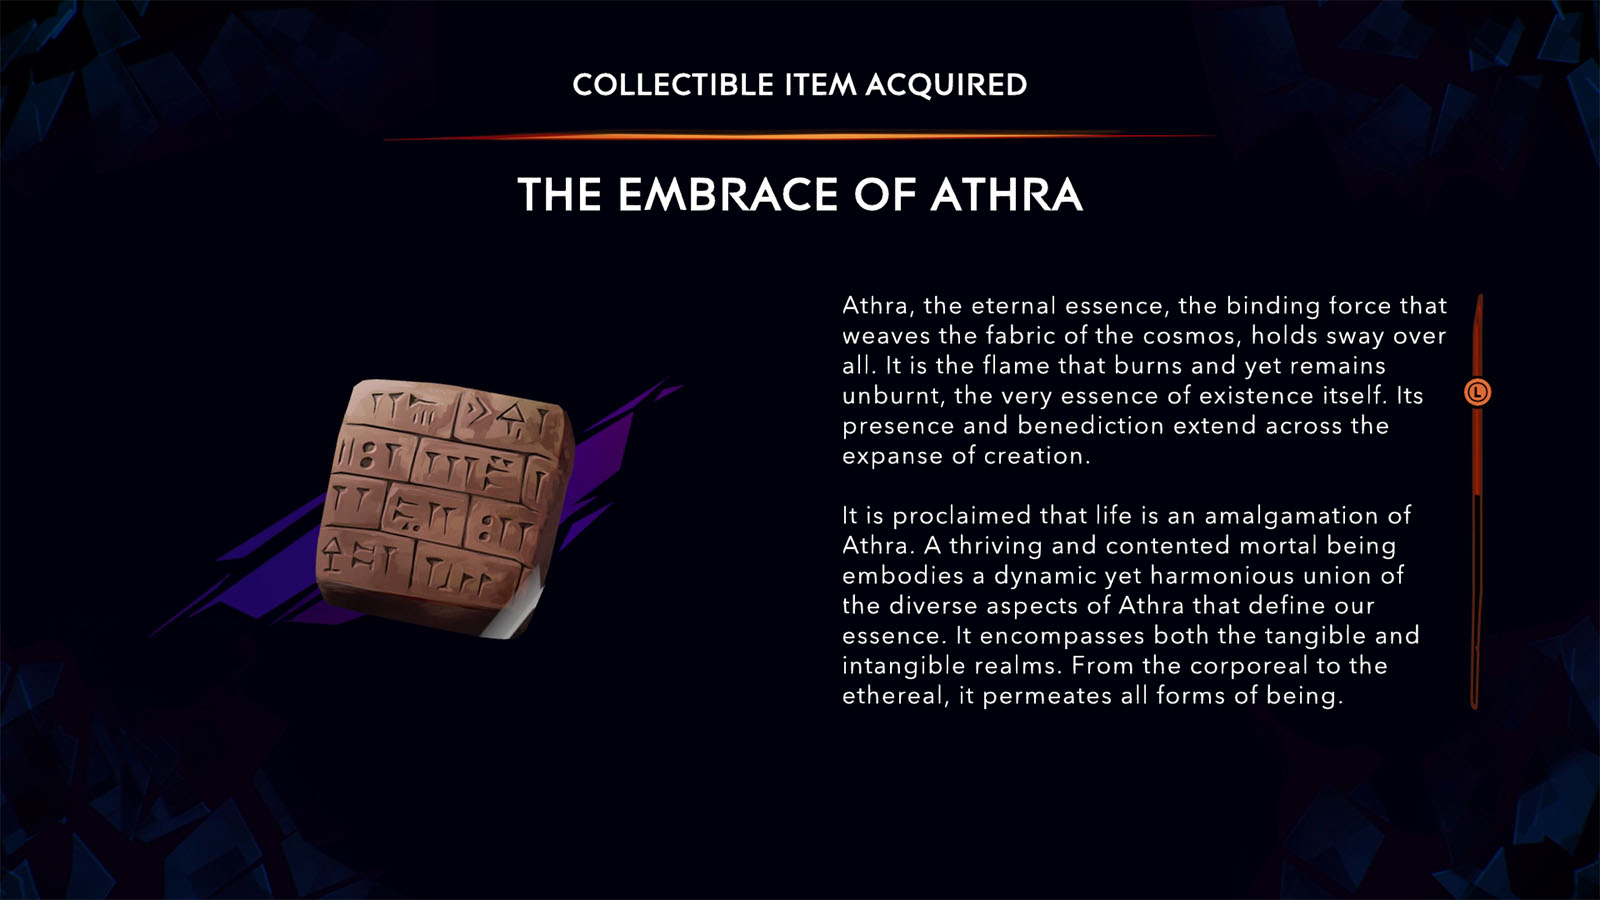
You can’t go past the cliff for now, so head back to the tree and take the upper west path. While in the ruins, look for a small hole in the ground to find the Collectible – The Embrace of Athra.
Navigate your way through the west path; look out for shamans that can throw projectiles your way. Look for another vined path to get to the next area that leads back to the Wak-Wak Tree.
Take the west path and shoot at the bulb to get to the upper pathway. The path is lined up with platform plants and traversing them will take some quick timing to avoid falling back down.
Continue moving west until you reach the next are with platform plants, purple vines, and another golden breeze. Follow the breeze and go through the path that leads upwards. You will come across another treasure area that can be unlocked later on; mark it for now. There is also another path on the upper east side which can be further access past Chapter 4.
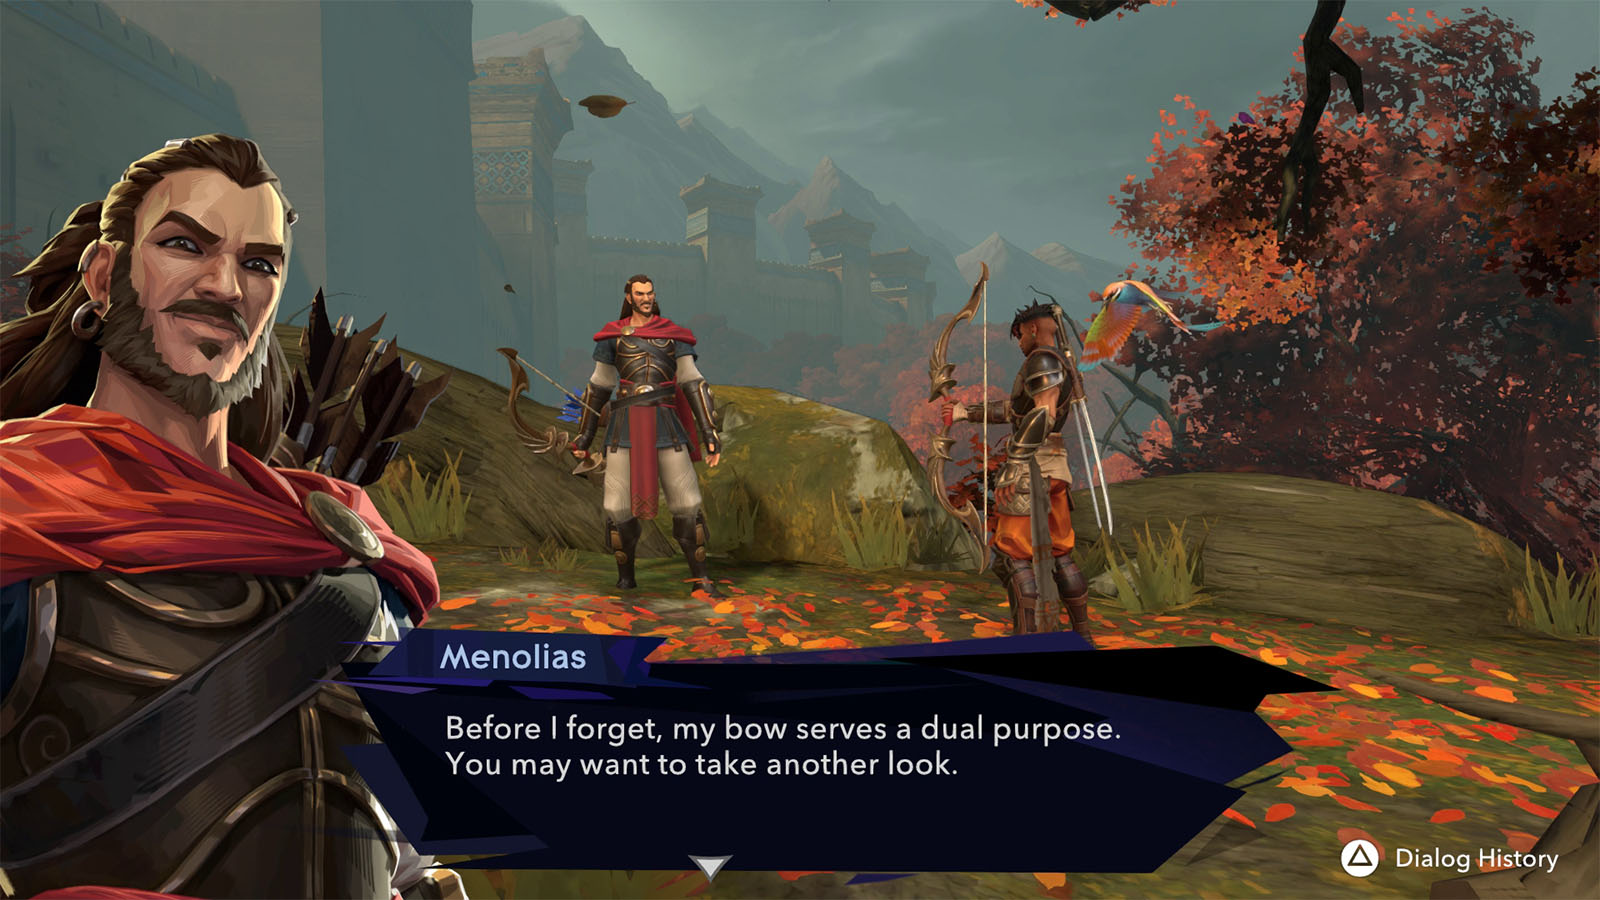
Continue heading west past the next tree to meet up with Menolias. You then tell him about the alternate Sargon and Menolias’ bow beside him, but Menolias reveals that he has his bow all along.
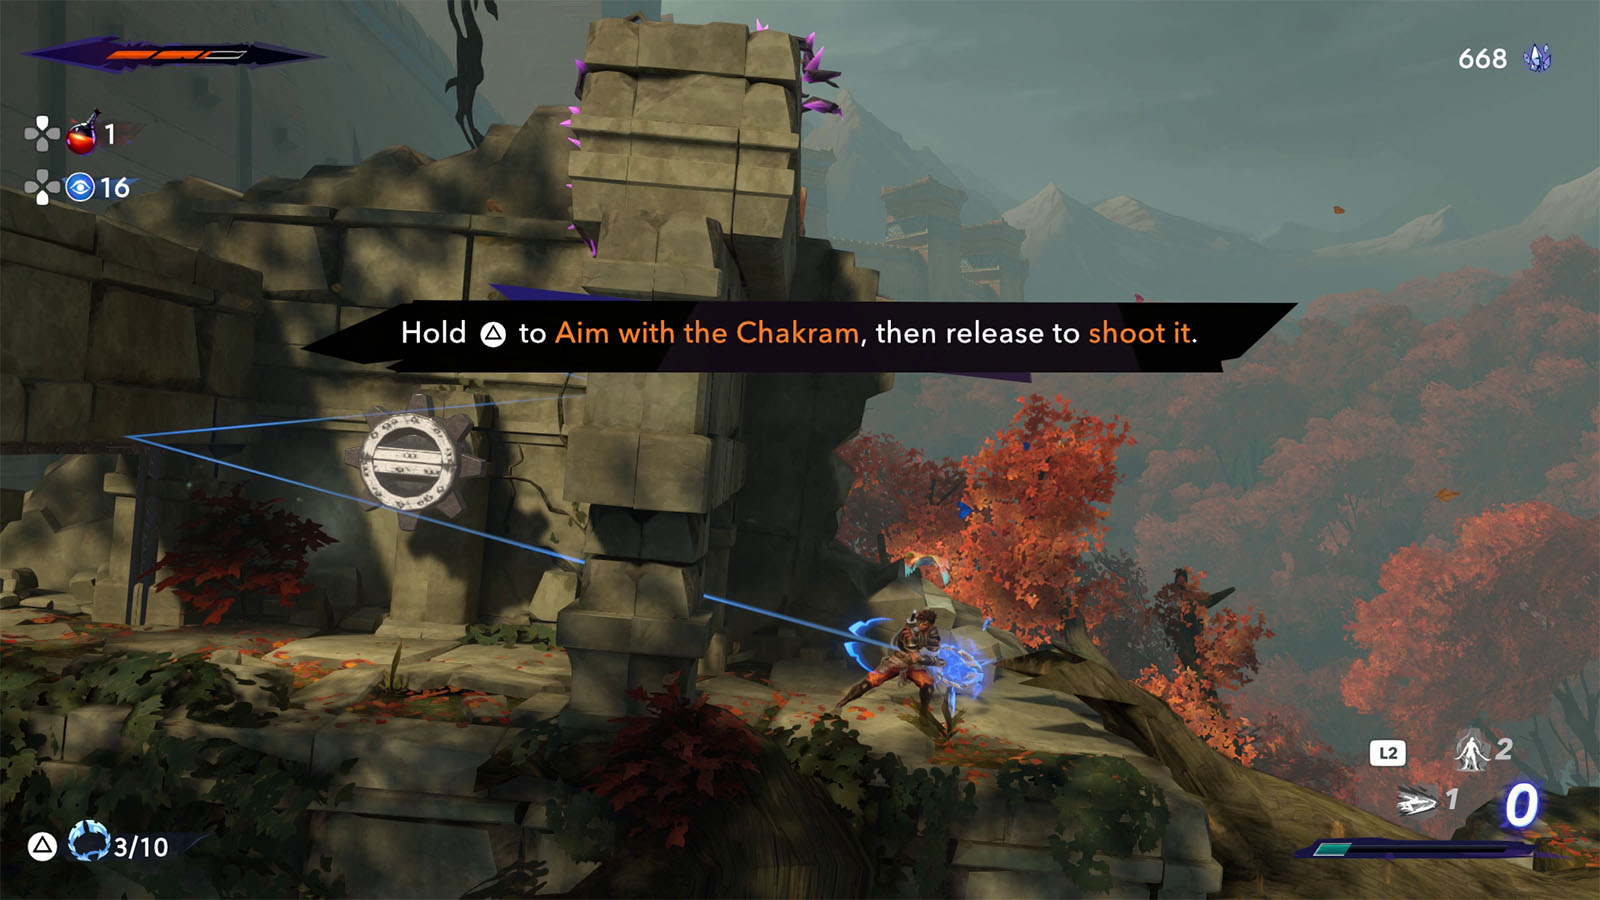
Now with your own bow, Menolias shares that his bow is also the Chakram of Menolias and can also be used as a chakram by holding down on the bow button. This will charge up the bow and transform it into its chakram form. You will be able to see a line that will show its trajectory, and once thrown, it will bounce off several times before coming back to you. Throwing the chakram will not need nor consume an arrow.
The chakram also has another use as a gear turner. Shoot the chakram at a gear to make the gear turn and open or operate the mechanism attached to it. You will be able to test it out on a gate up ahead. The chakram can be shot through grates, so aim towards the gear from behind the gate. The chakram will stay on the gear until you retrieve it.
Pursue Anahita
Back at the Lower City, navigate your way through the obstacles and traps with the help of the chakram. Follow the golden breeze for now and activate the next tree then head back to the trap room. Next to the tree is where you will find the Collectible – The Hunter and the Man-Eater. Take note of this tree for now as there is a path leading upwards which can be access later on in the story.

Back in the trap room, make your way over and around the saw blades as you move to the upper right. You will then find an Azure Damascus Ingot on a platform. These ingots are used to upgrade your weapons in the Forge later on.
Continue heading west and make your way through the buildings. Look for the building that has a grate and a patrolling shielded soldier up ahead. Take the path down to find a chest that contains an Amulet Holder that expands your amulet slots by +1.
Locate the huge door to the west and open it to get back to the wheel area leading back to The Haven.
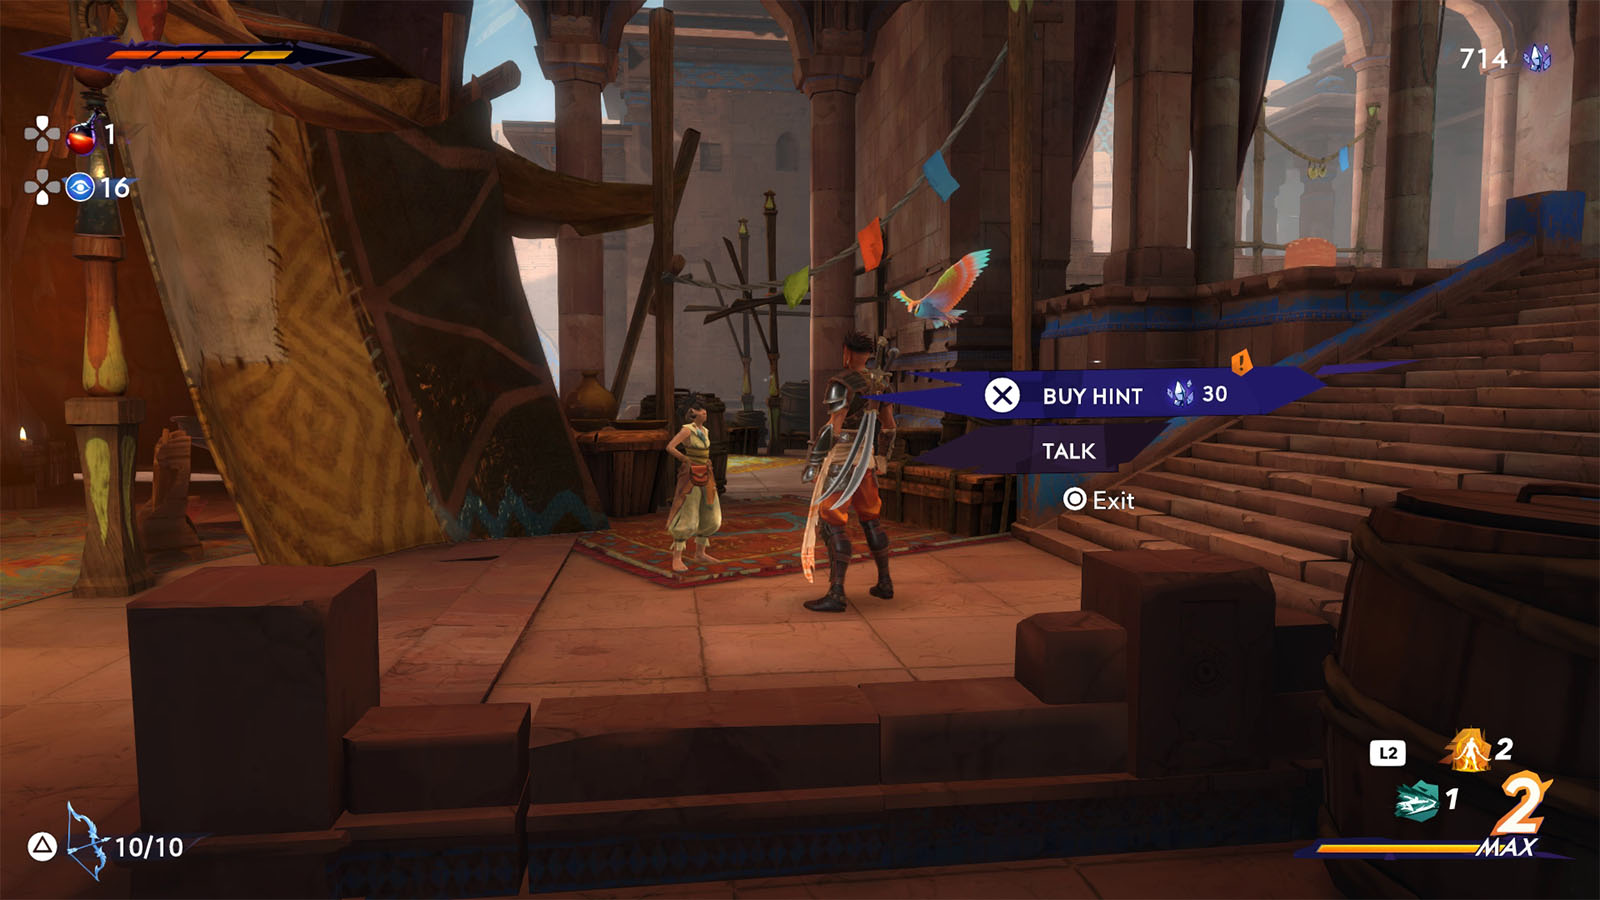
Inside The Haven, you will find Fariba has been waiting. You can talk to her and pay a small fee of crystals to get a hint for your next move. Check back with The Mage to get some upgrades.
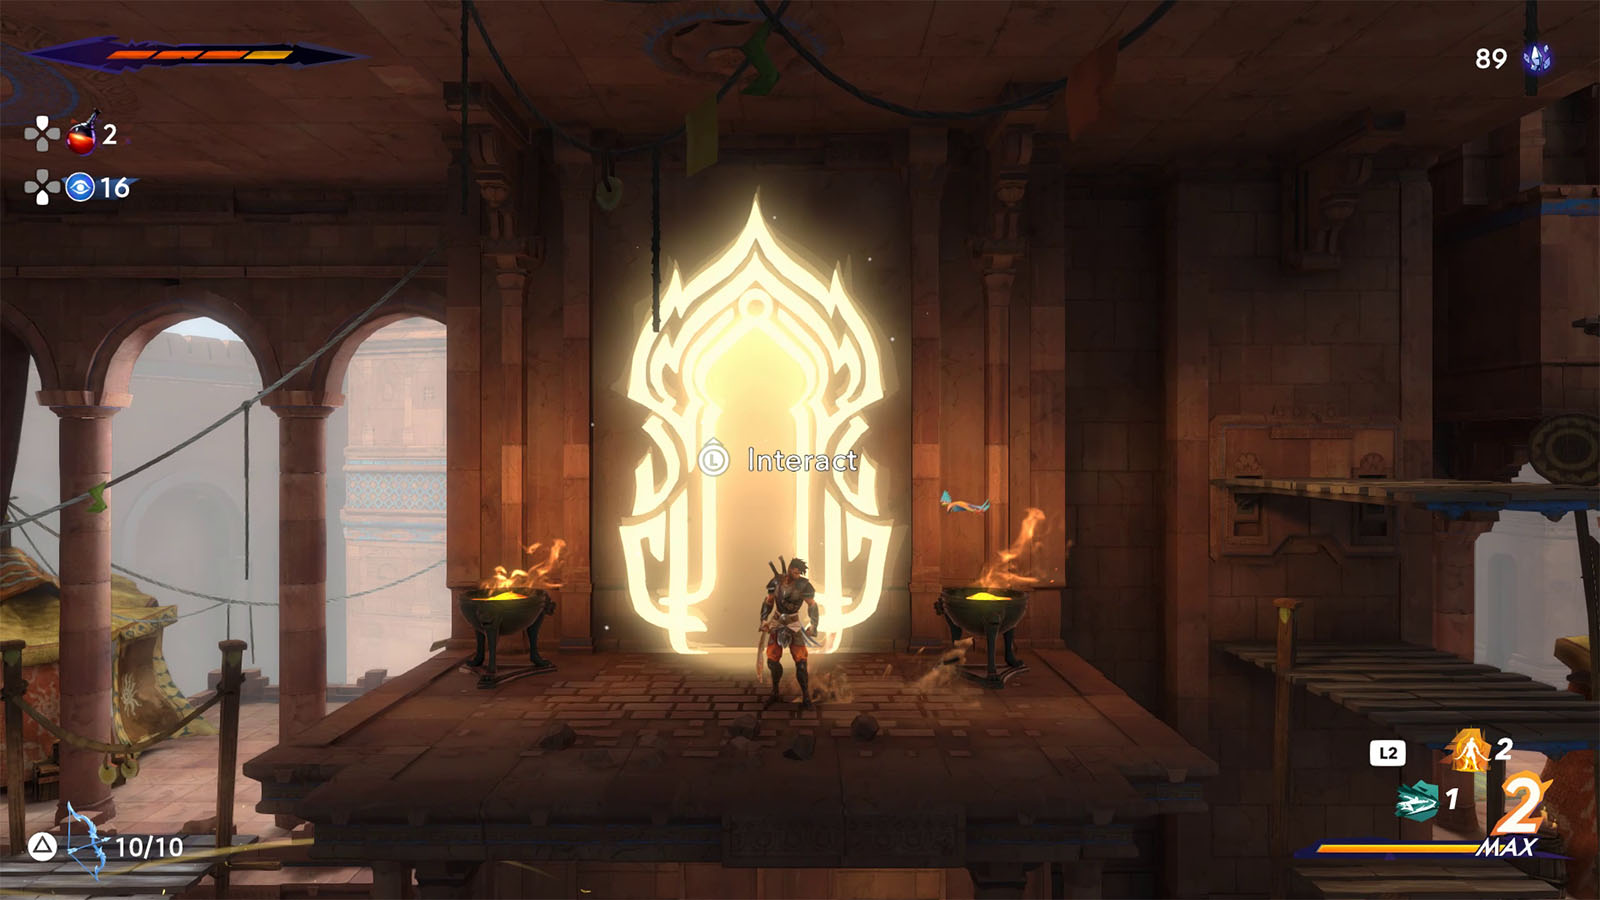
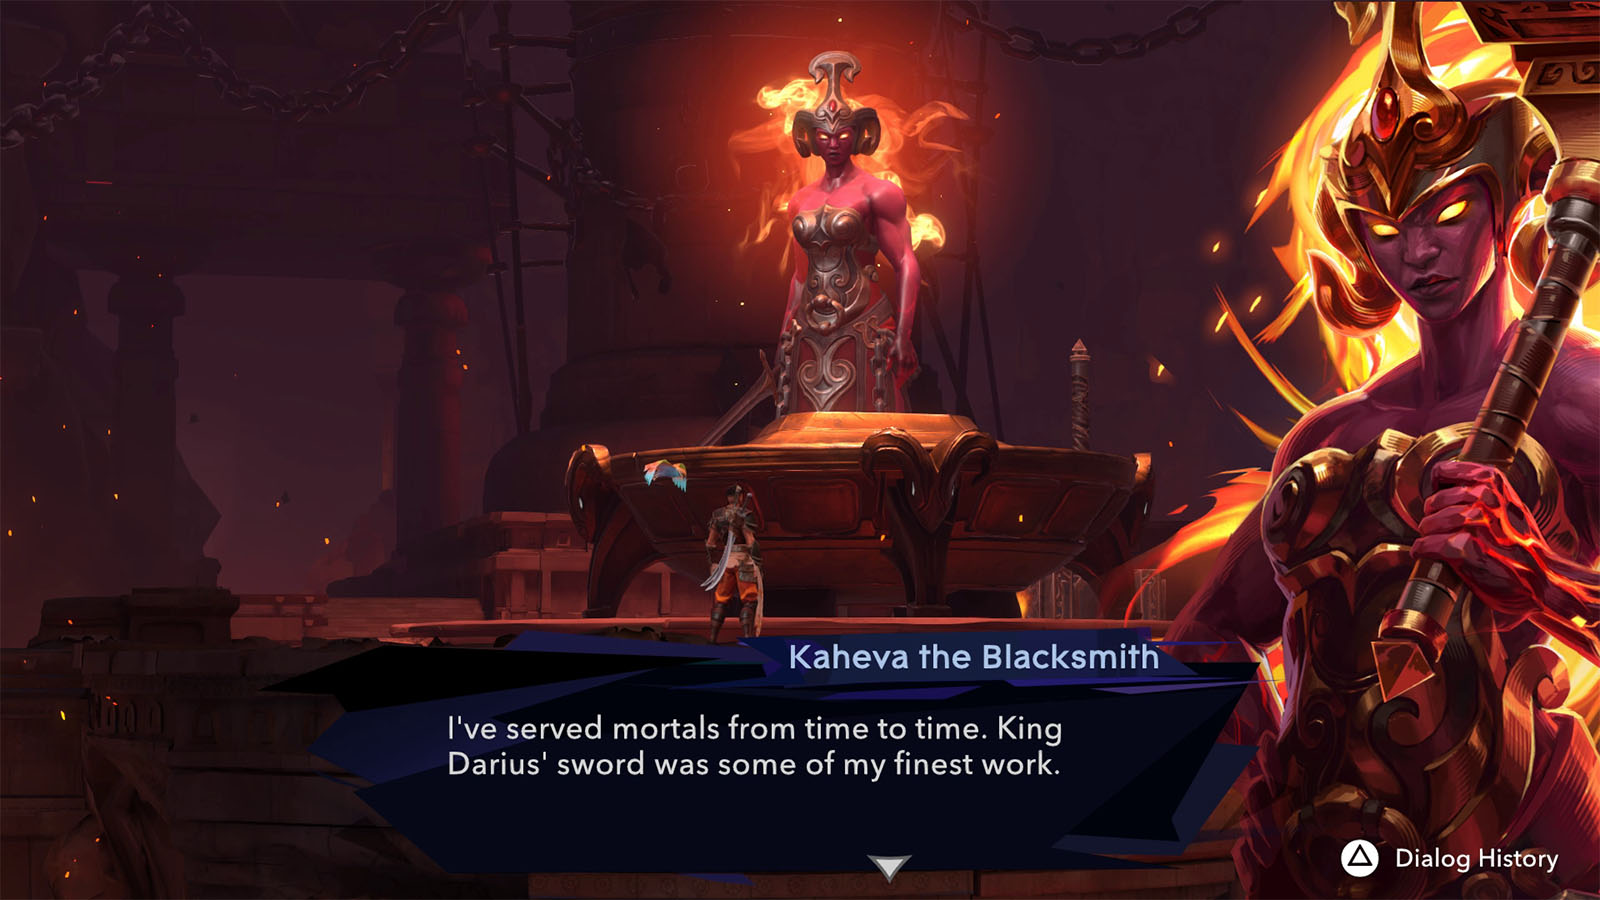
You will also find that the light near the upper left corner of The Haven has grown into a gate. Go inside it to get to Kaheva’s Forge. Talk to Kaheva who is a god that used to forge weapons for other gods and the previous King. Talk to her and you will be able to start the Ancient Power Unearthed Side Quest.
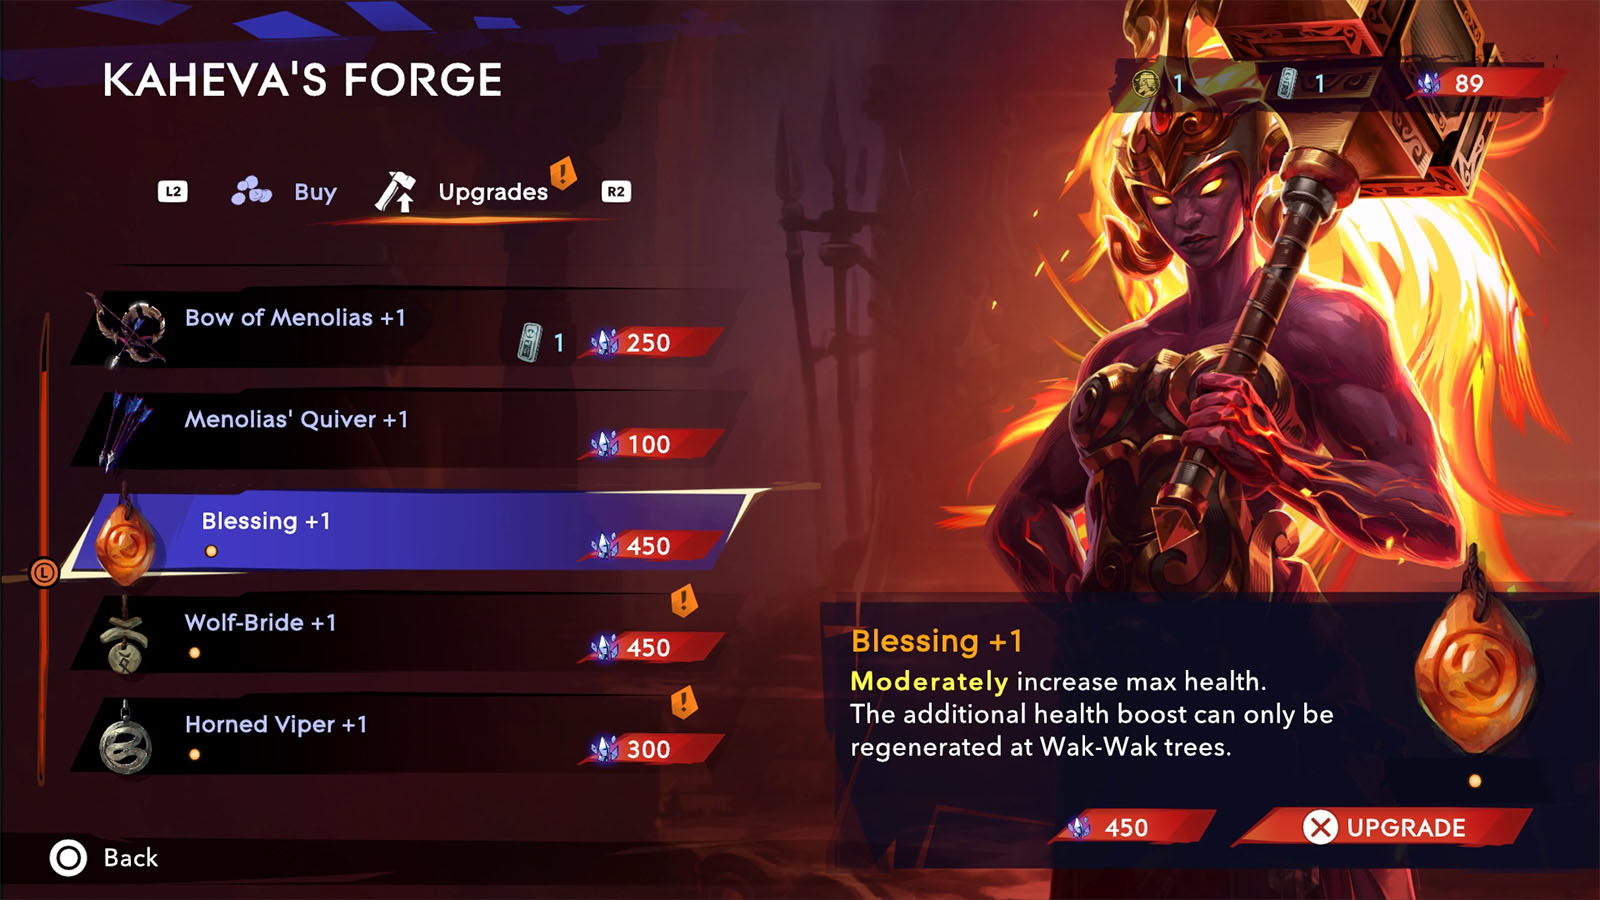
Through Kaheva’s Forge, you can buy upgrades and special amulets for your arsenal. you can also have your current weapons and amulets upgraded in exchange for crystals and ingots.
Make your way back to the shattered statue where you last saw Prince Ghassan and use your bow to destroy the third orb to rebuild the statue. Proceed to the west side and follow the golden breeze to the next tree. Up ahead is another stele that talks about Jahandar which will be your next encounter.
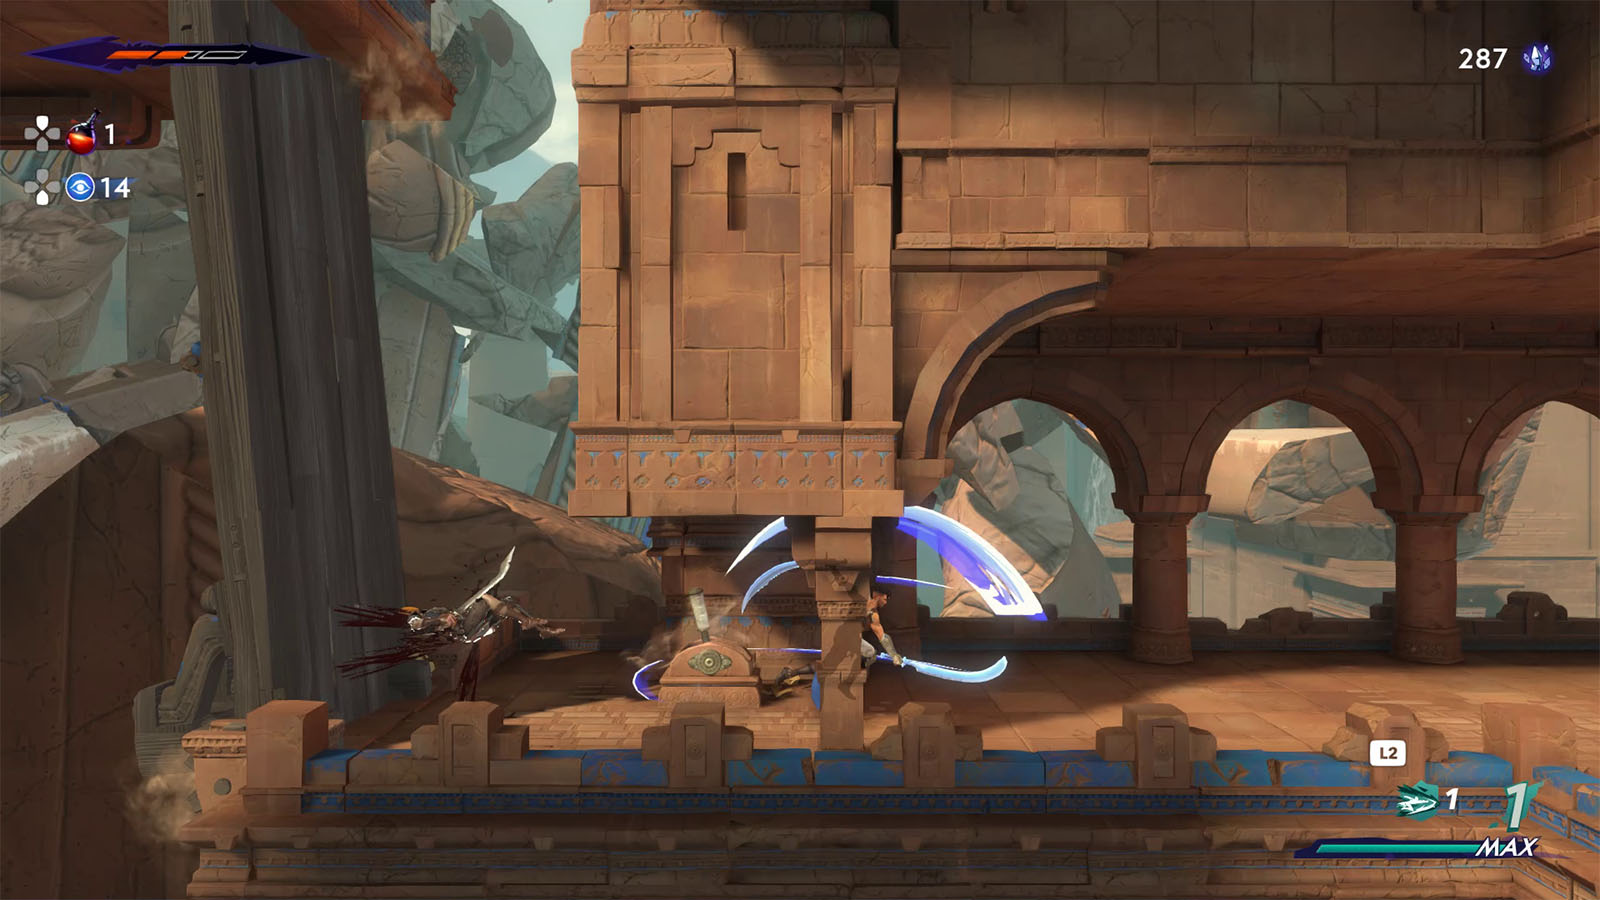
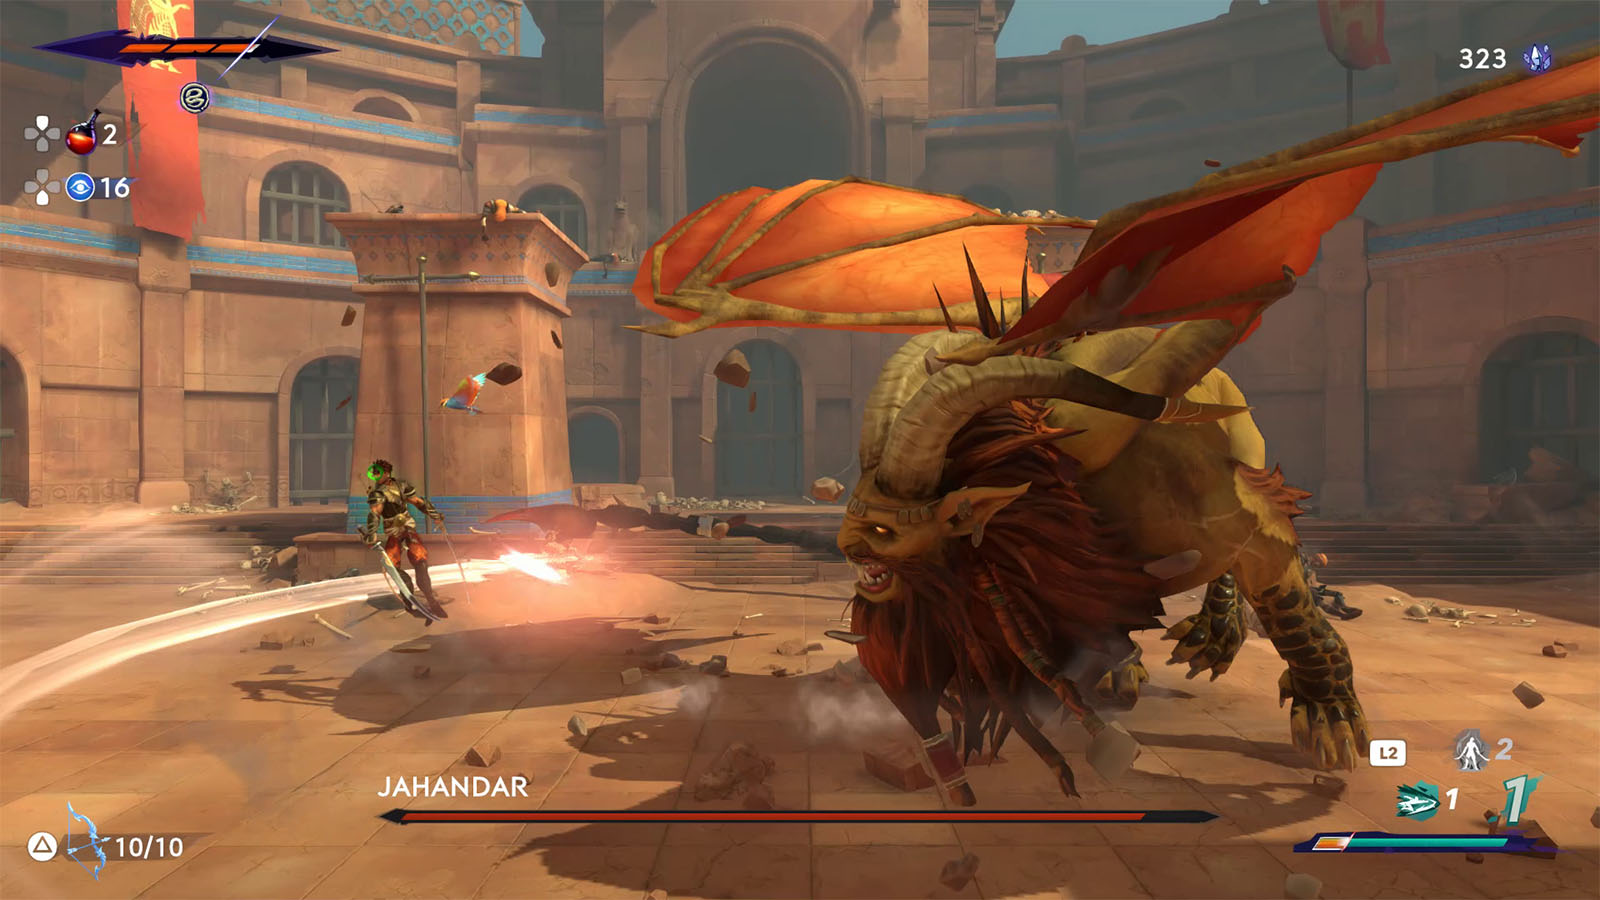
How to Defeat Jahandar, Guardian of the Citadel
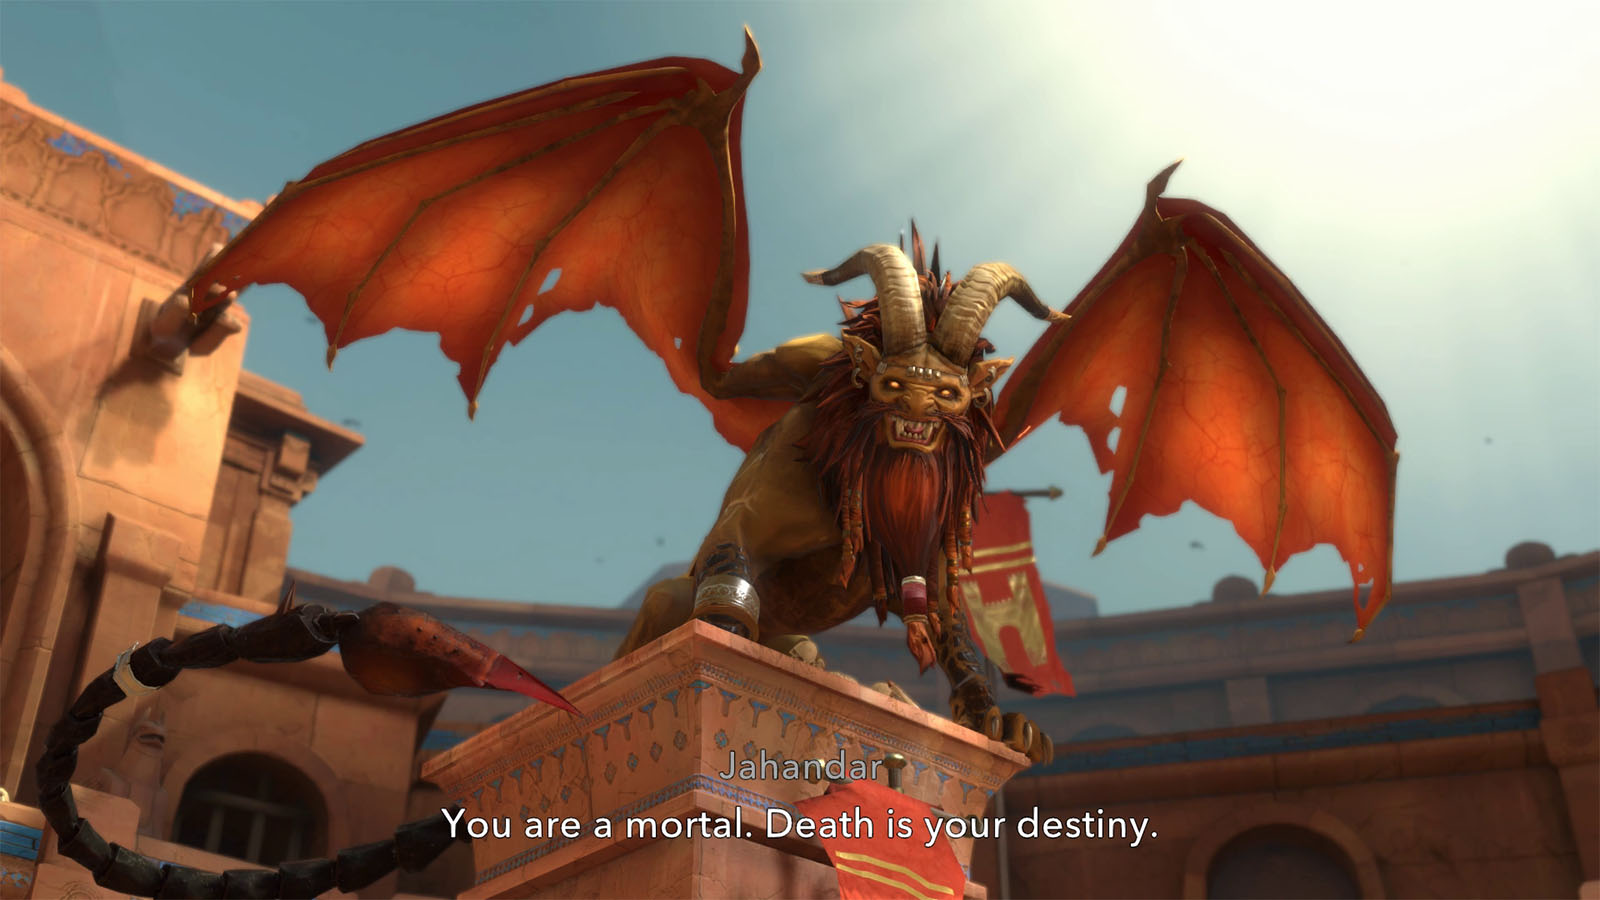
Jahandar is a manticore who served as the guardian of the Citadel. It uses its claws to maim its targets, and its tail to inject deadly venom.
Jahandar has several attacks to look out for, most of which are unblockable attacks:
- Claw – Jahandar swipes its claw forward.
- Tail jab – Jahandar jabs its tail to the ground, leaving a pool of poison.
- Tail whip – The boss winds its tail and whips it out.
- Ground smash – The boss flies up and crashes down on your location.
- Charge – The boss charges from the other side of the arena; can be parried.
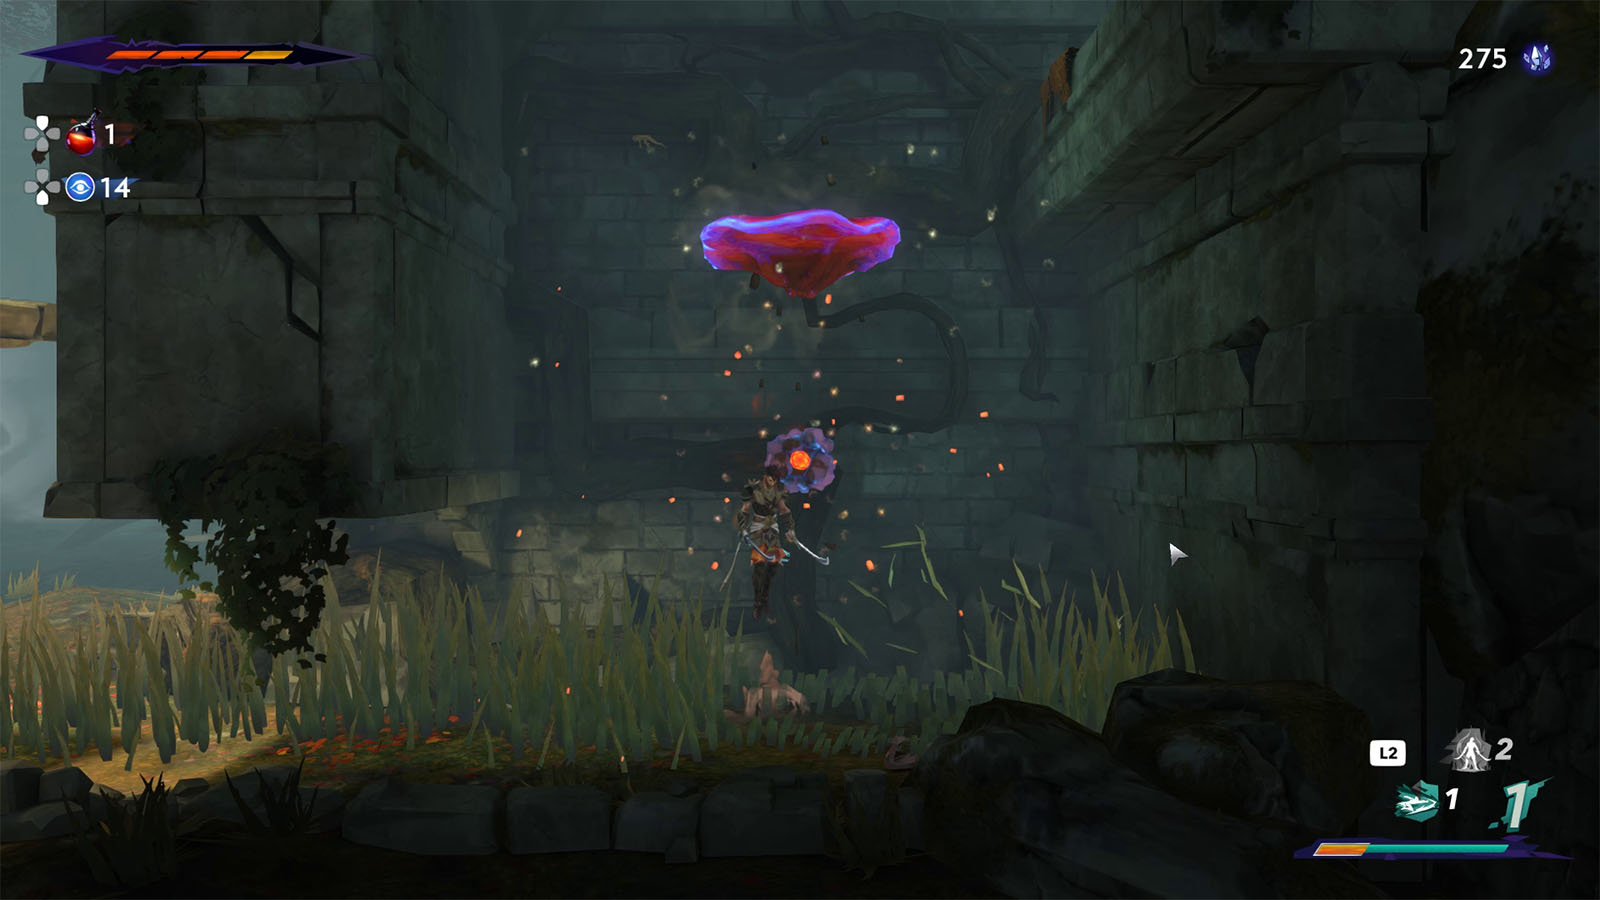
- Poison orb – On 60% health, Jahandar summons a purple orb that hovers and follows you from the air. It then locks on your location and sends a bolt of poison on you.
- Poison darts – On 60% health, Jahandar whips its tail to send out poison darts.
Try to avoid the pool of poison as it lingers on the ground; stepping on it will inflict poison damage at you. It is recommended to get the Horned Viper Amulet from The Mage to minimize poison damage.
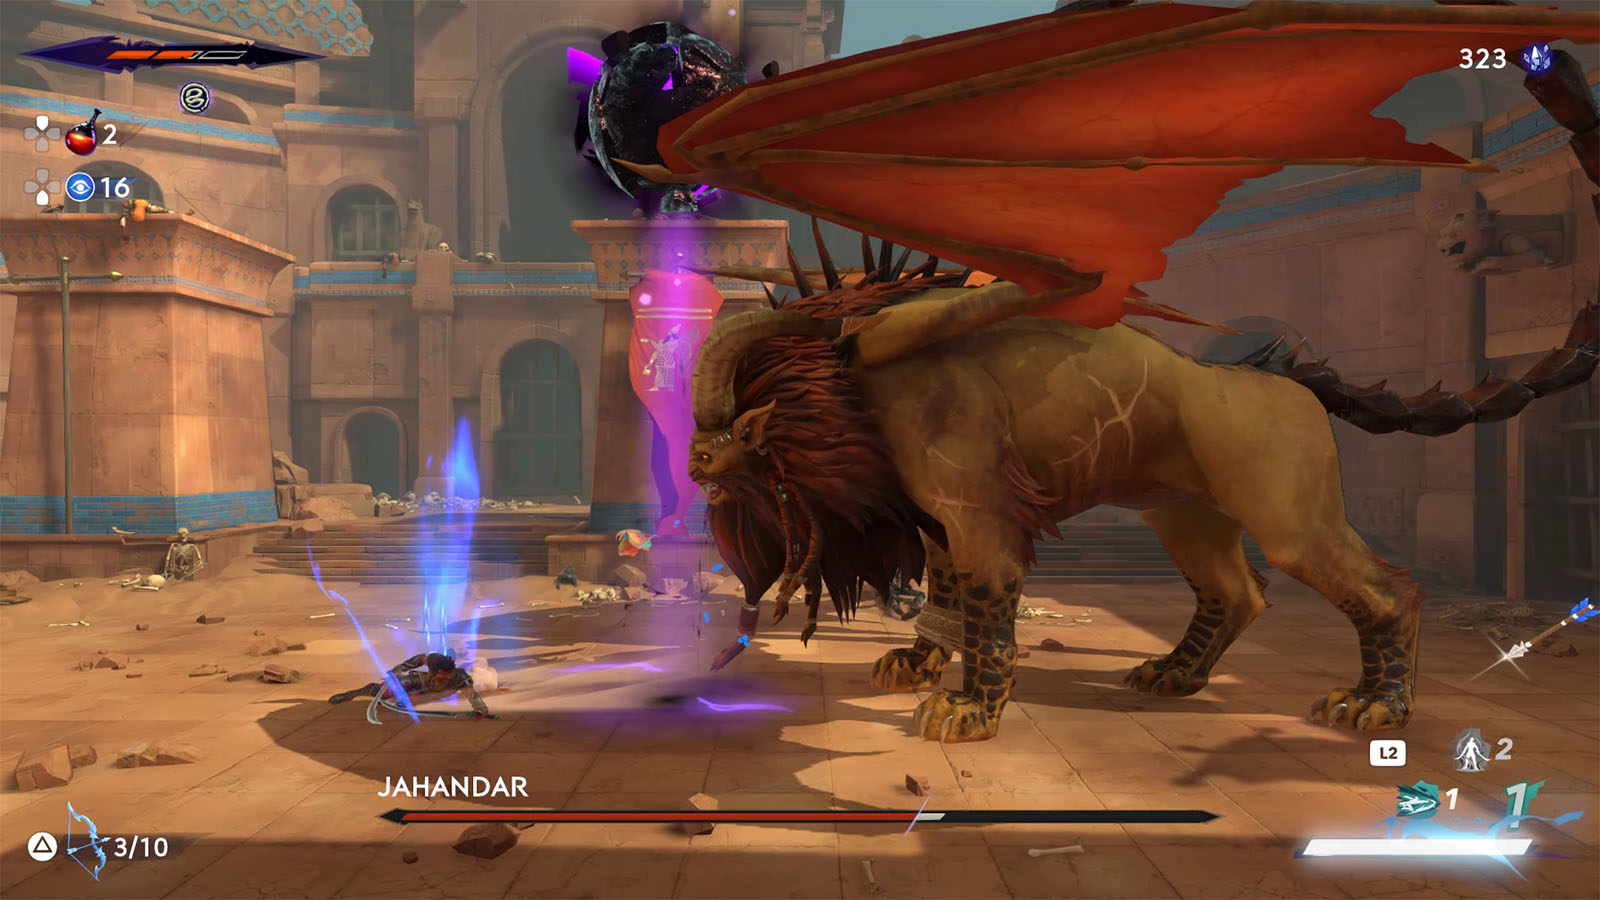
On the second half of the fight, it is important to keep moving so as not to get hit by the bolts from the orb. Look out for charge attacks that you can parry to give yourself some windows to attack.
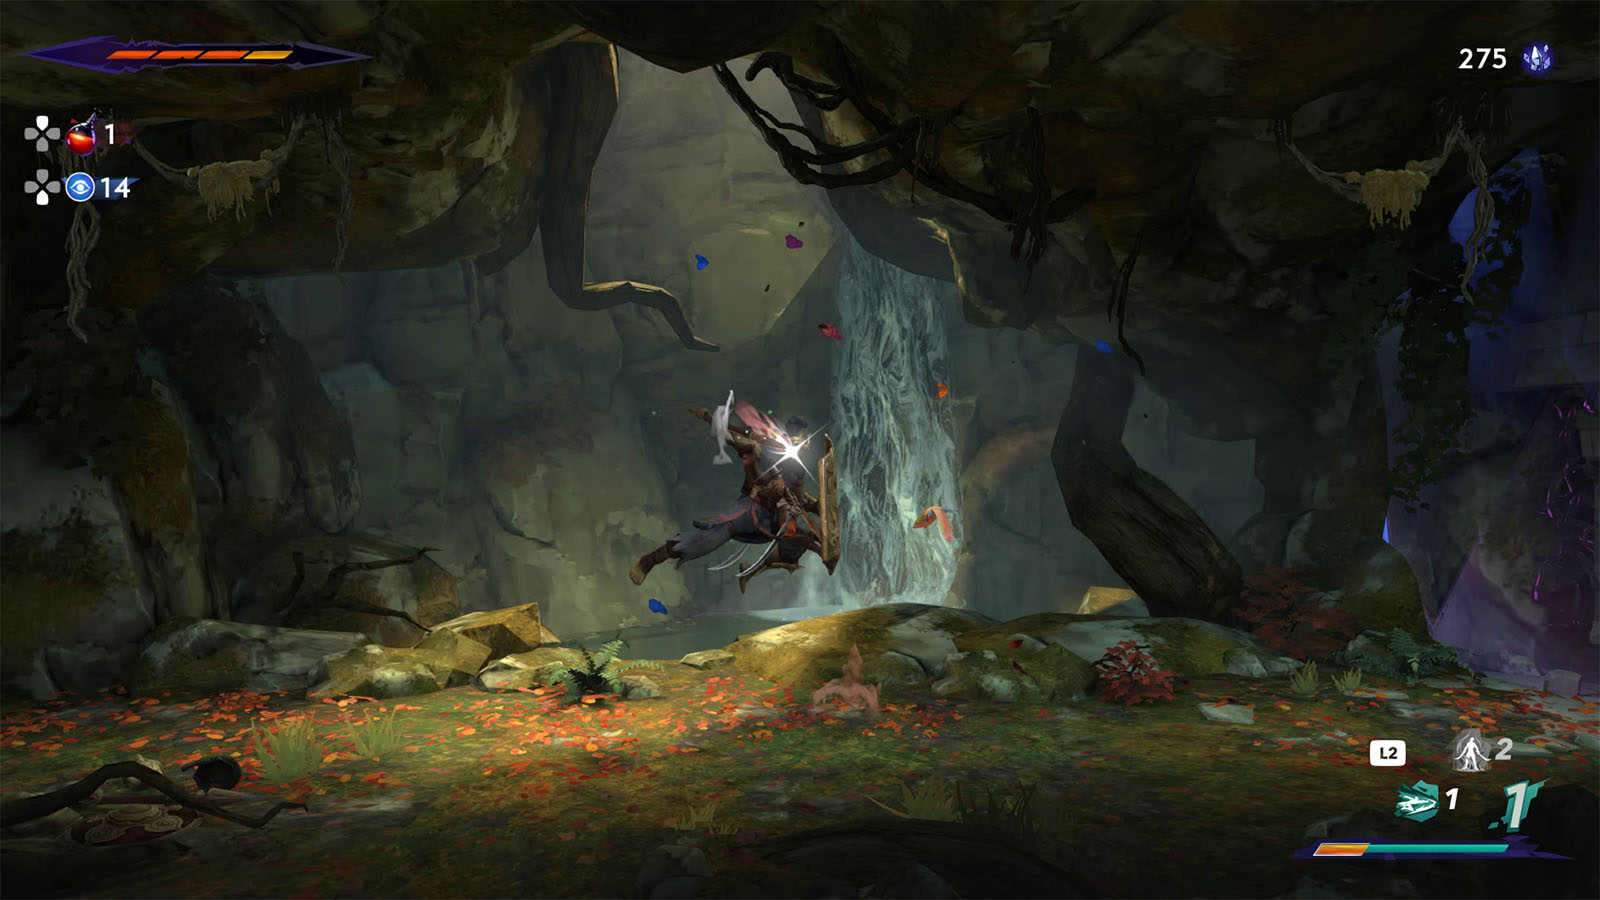
Once Jahandar has been defeated, it will drop 350 crystals and a Soma Tree Petal. Head towards the next room to the east to get the Rush of the Simurgh which allows you to do a dash through the air. The chapter will conclude and your next objective will take you to the west.
See next: Chapter 2 – The Abducted Prince


