
The Path to the Sand Prison is the fourth chapter of Prince of Persia: The Lost Crown. Just barely making it out of the Depths, Sargon meets the Old Man who suggests that he must obtain more of the Simurgh’s powers in order to be able to save a friend. Read ahead as we go through the events of The Path to the Sand Prison in Prince of Persia: The Lost Crown and share some tips, locations of collectibles, and other helpful tricks to complete the chapter.
See previous: Chapter 3 – The Tiger and the Rat
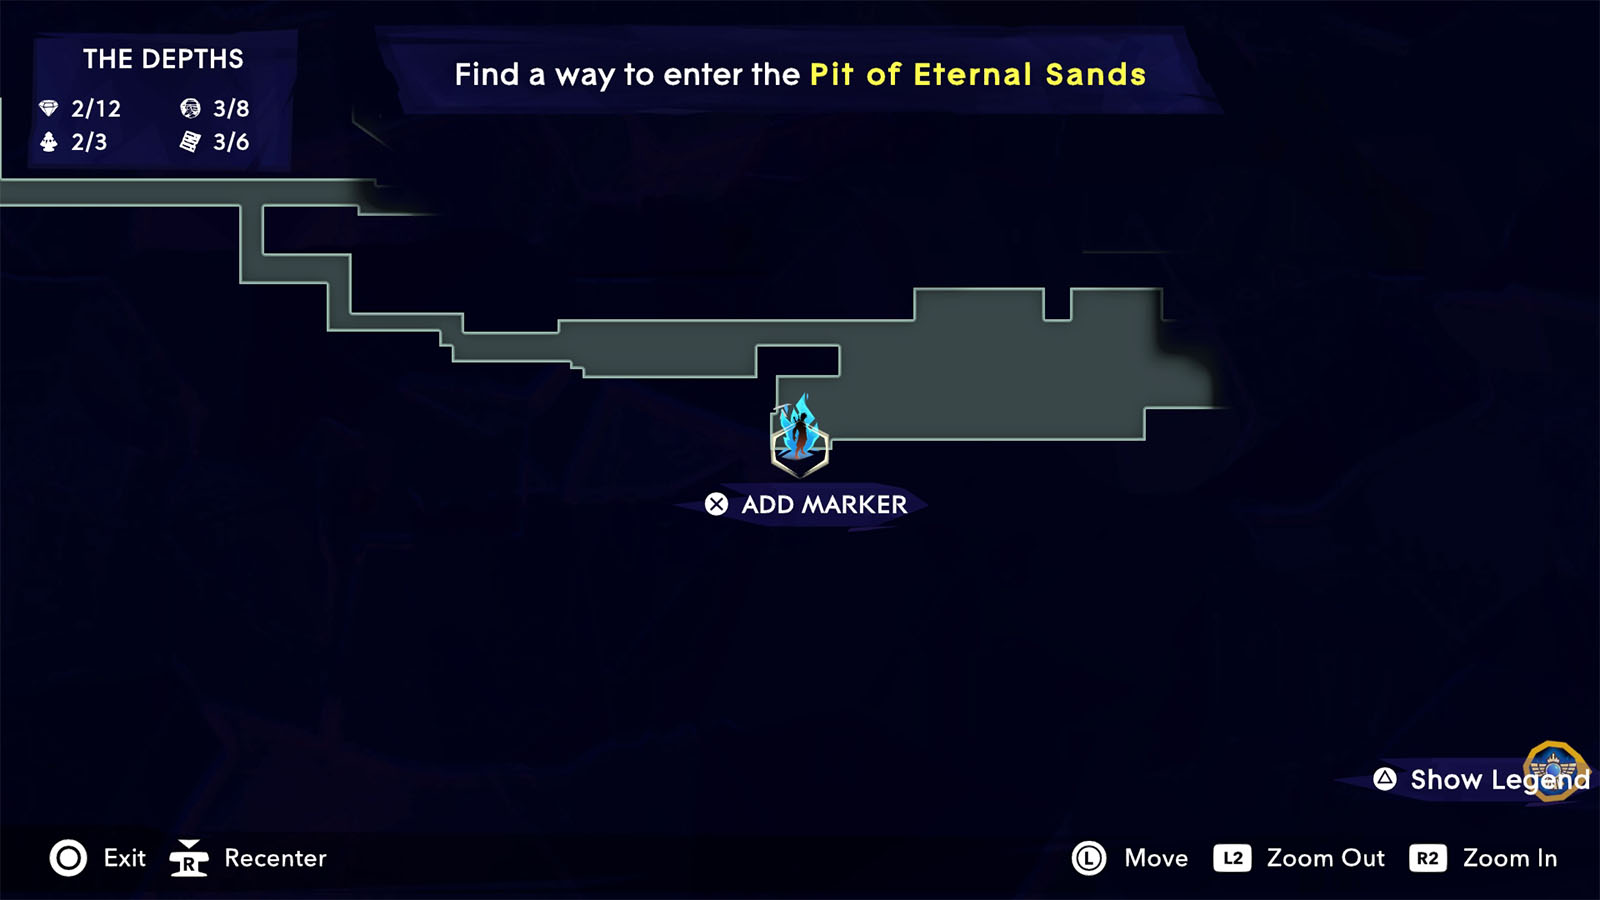
Chapter Objectives:
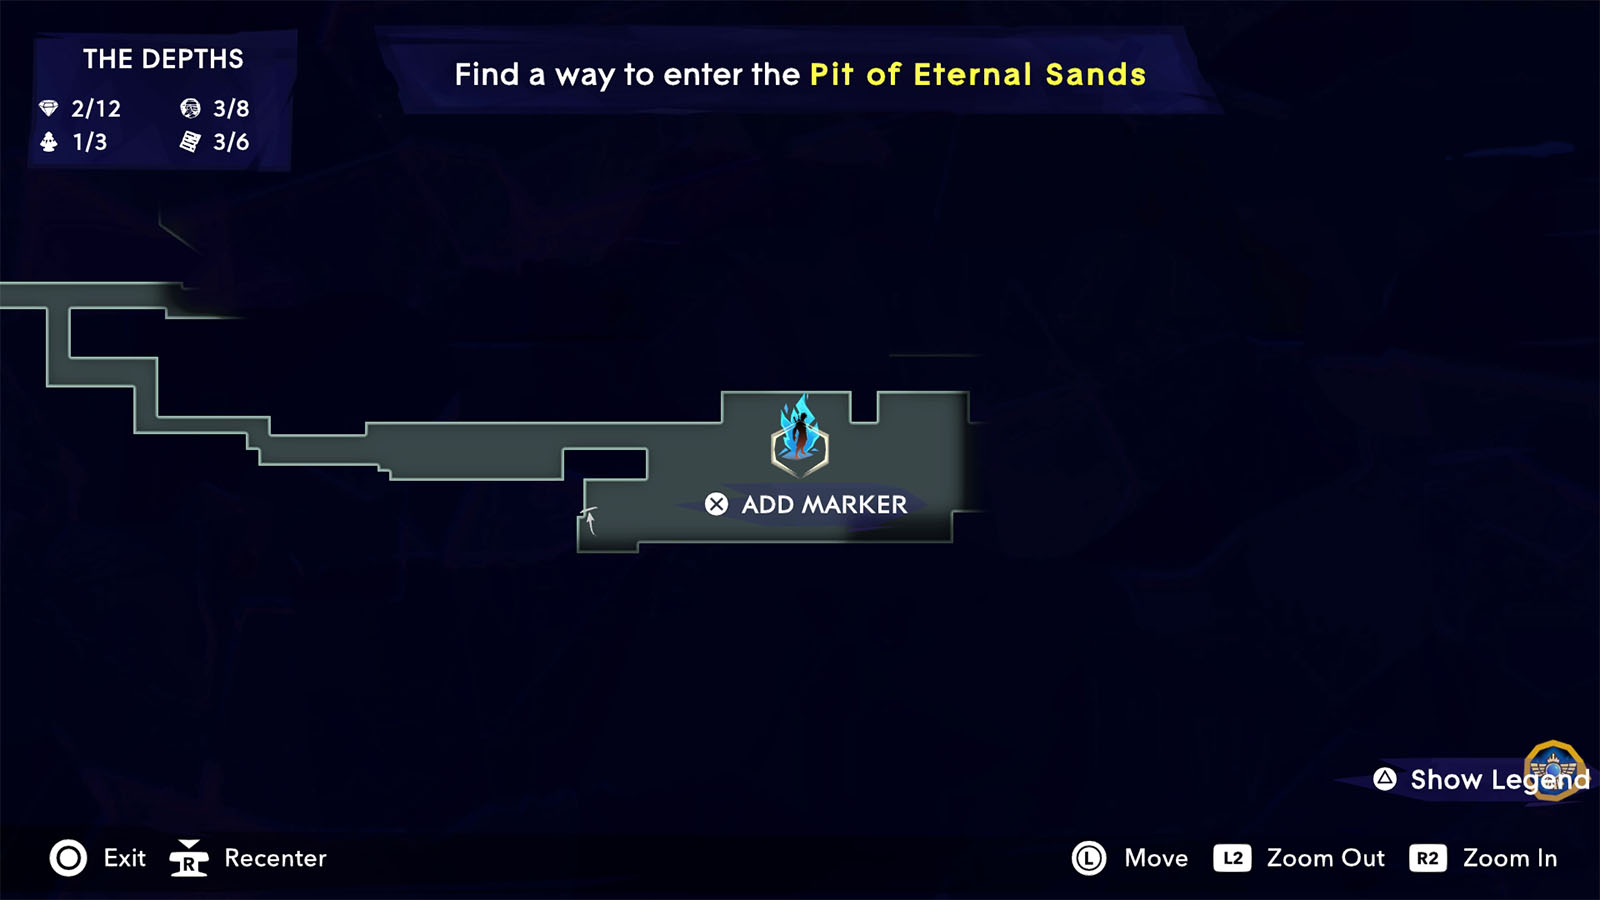
Find a way to enter the Pit of Eternal Sands
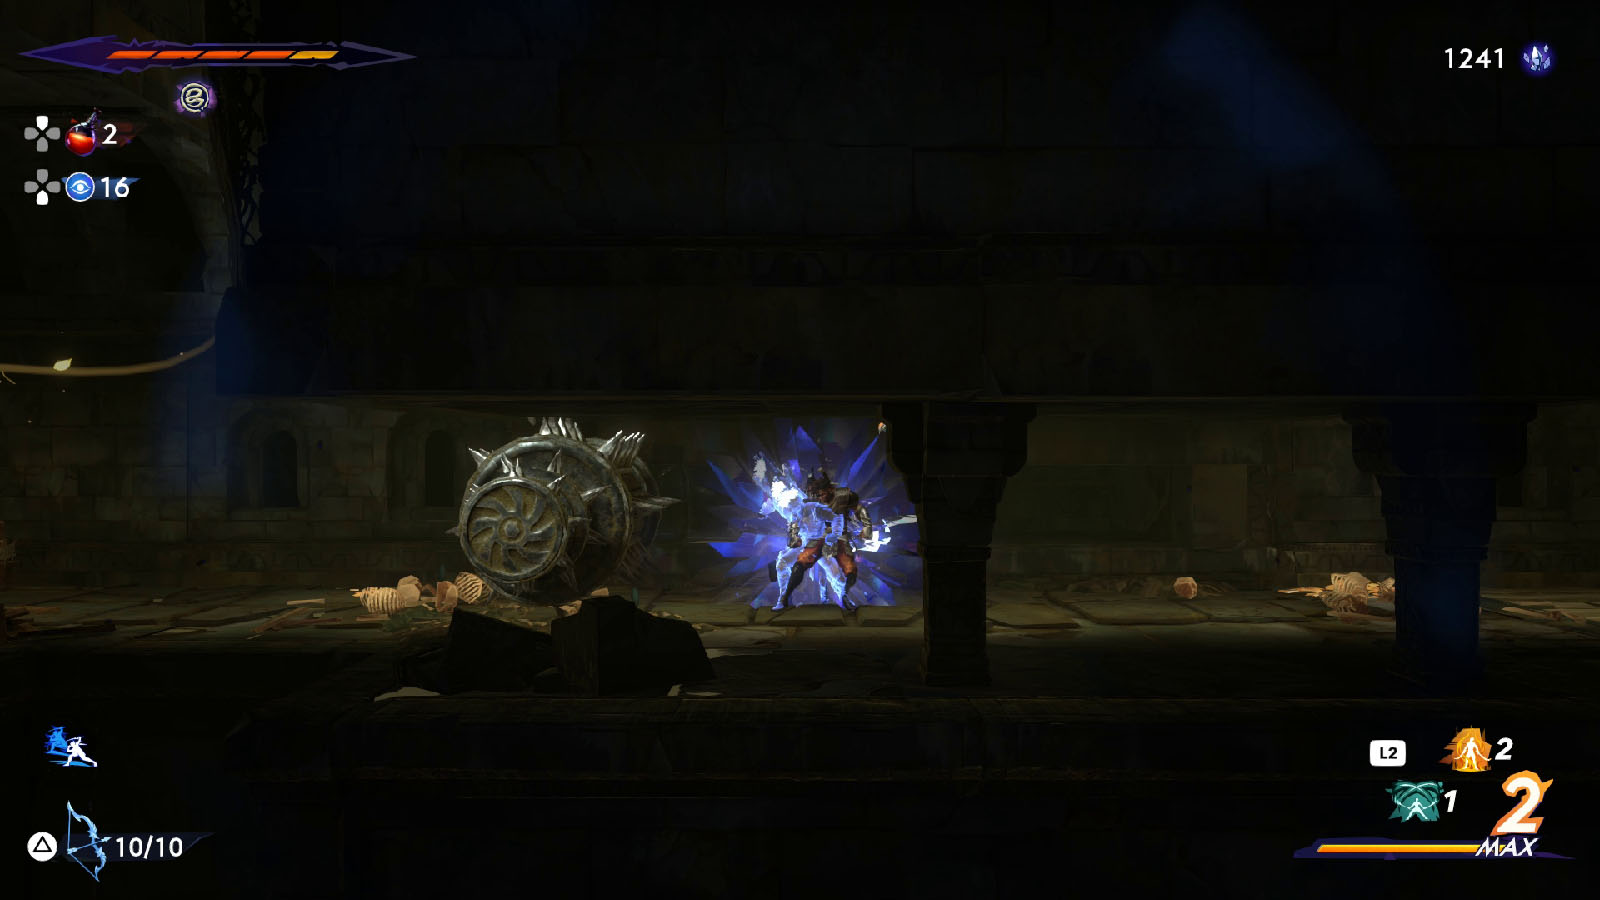
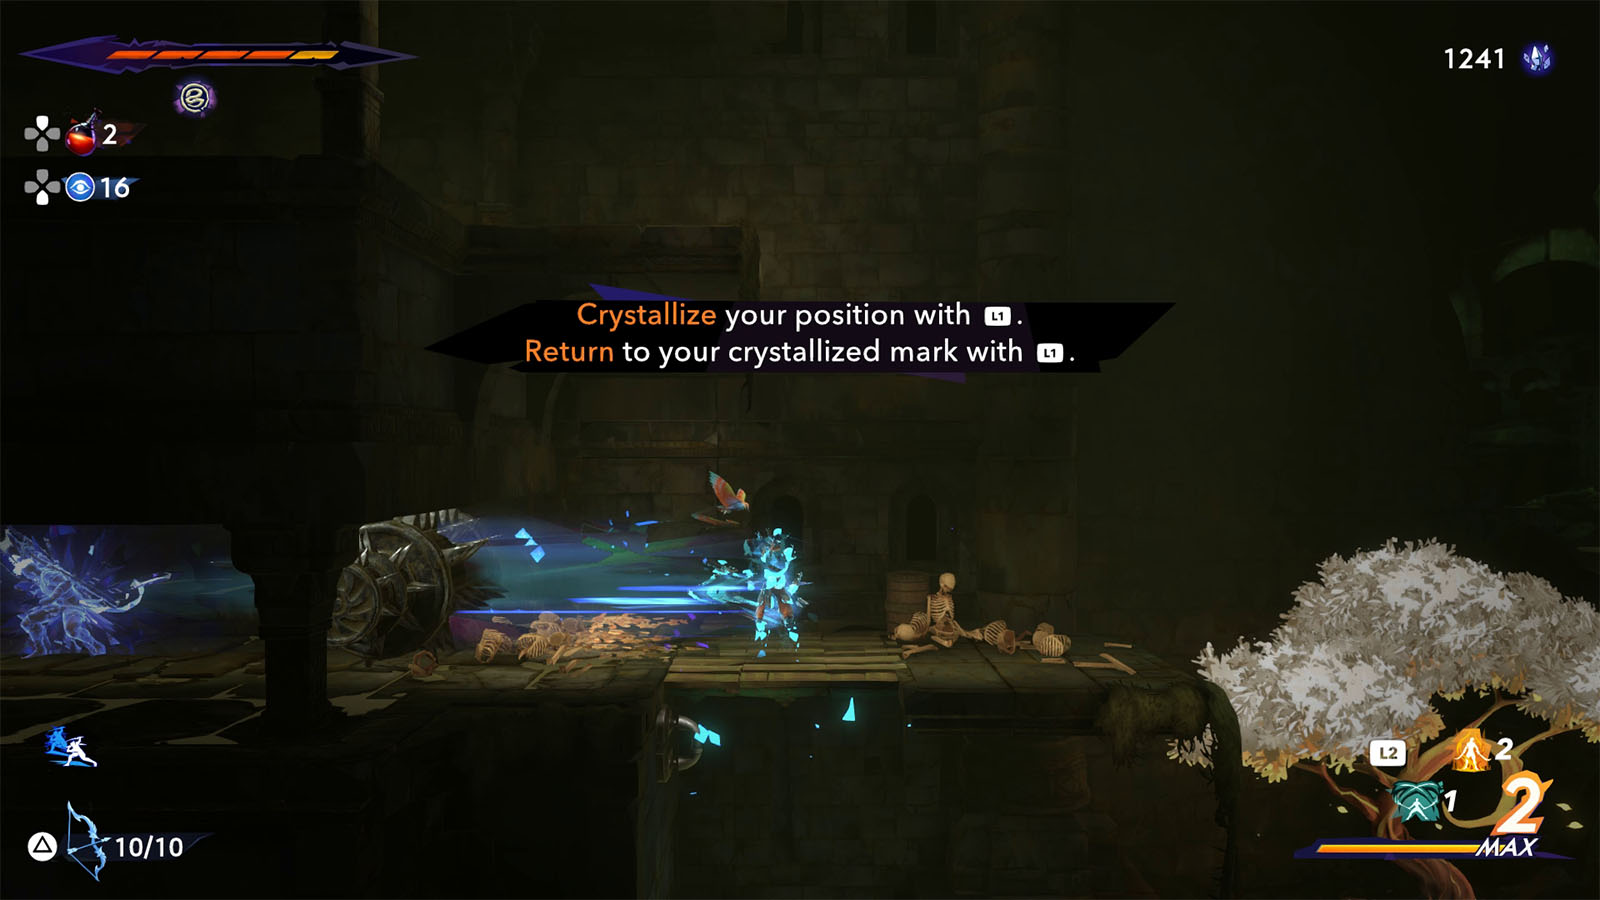
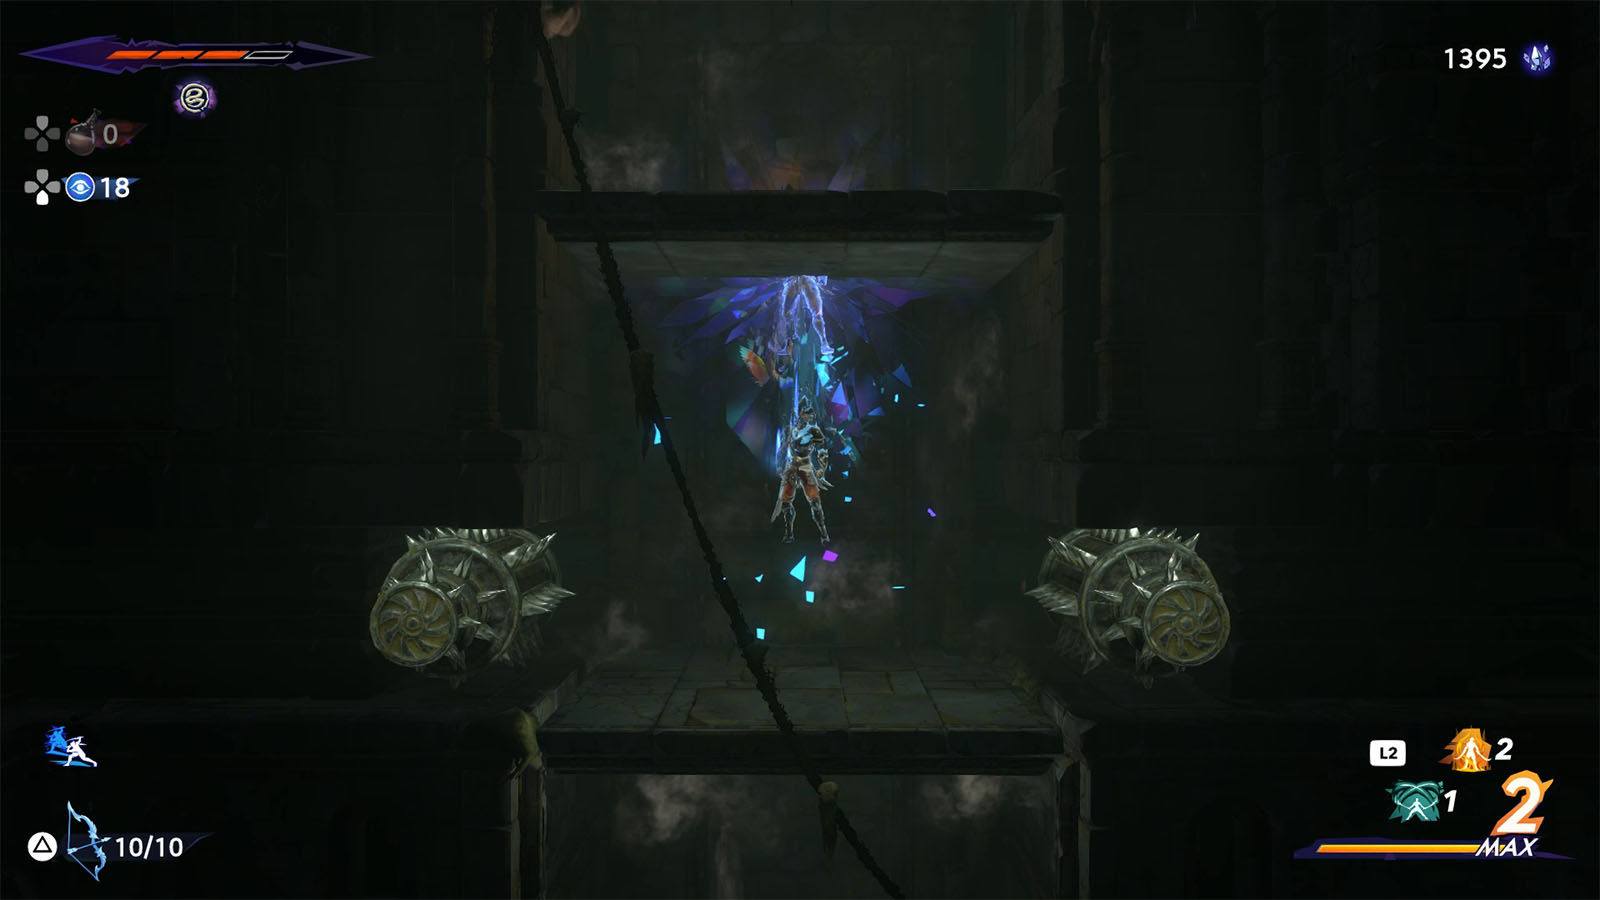
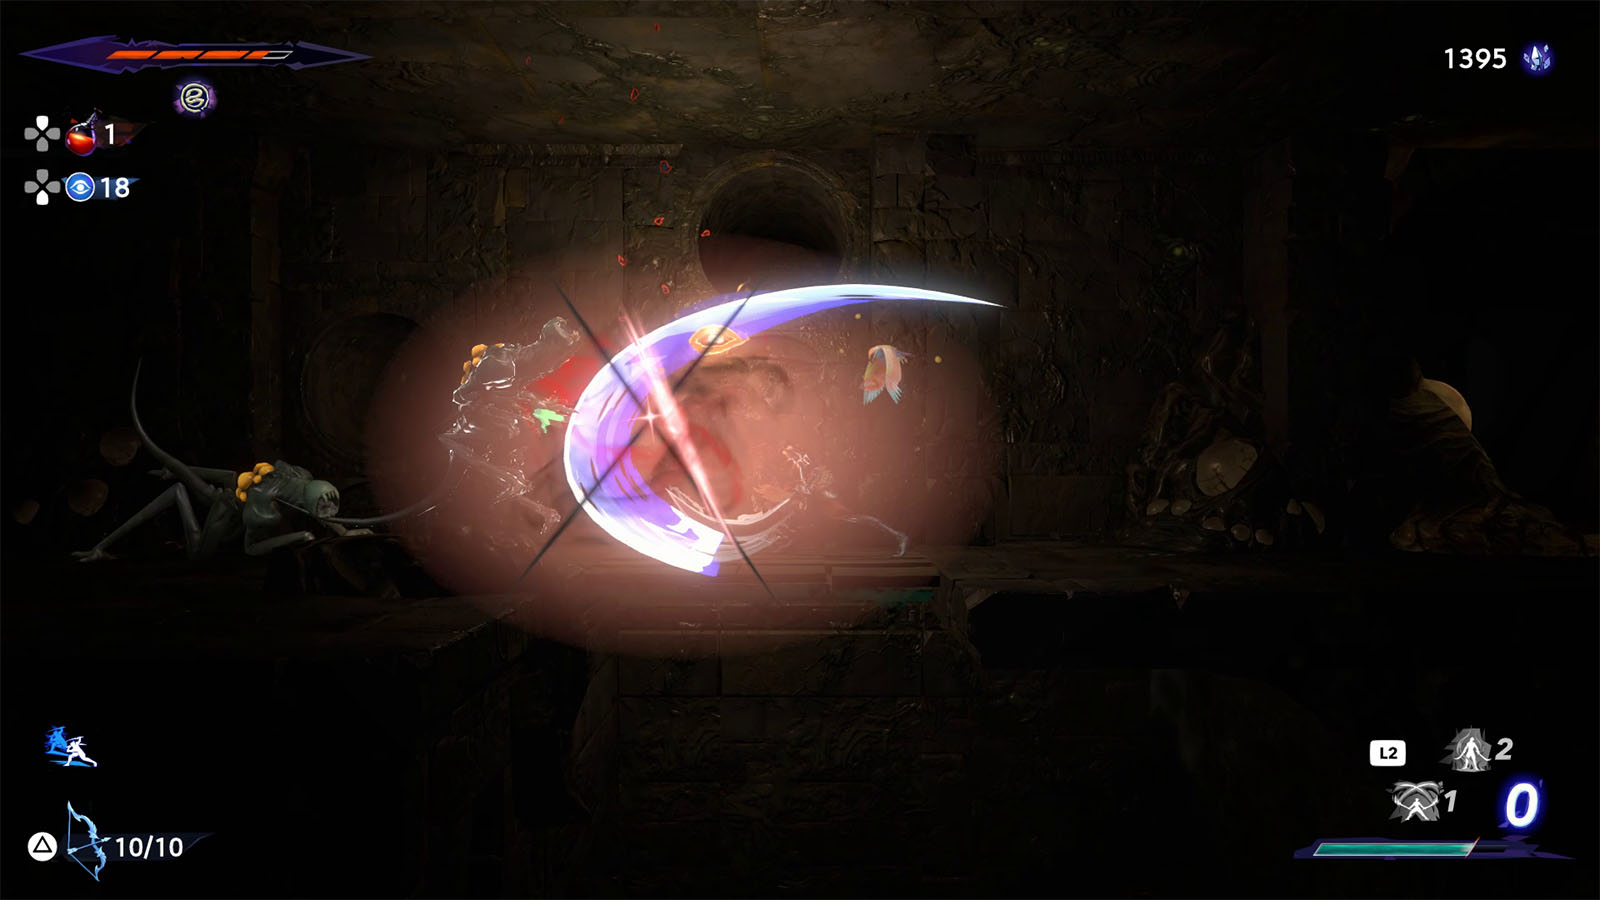
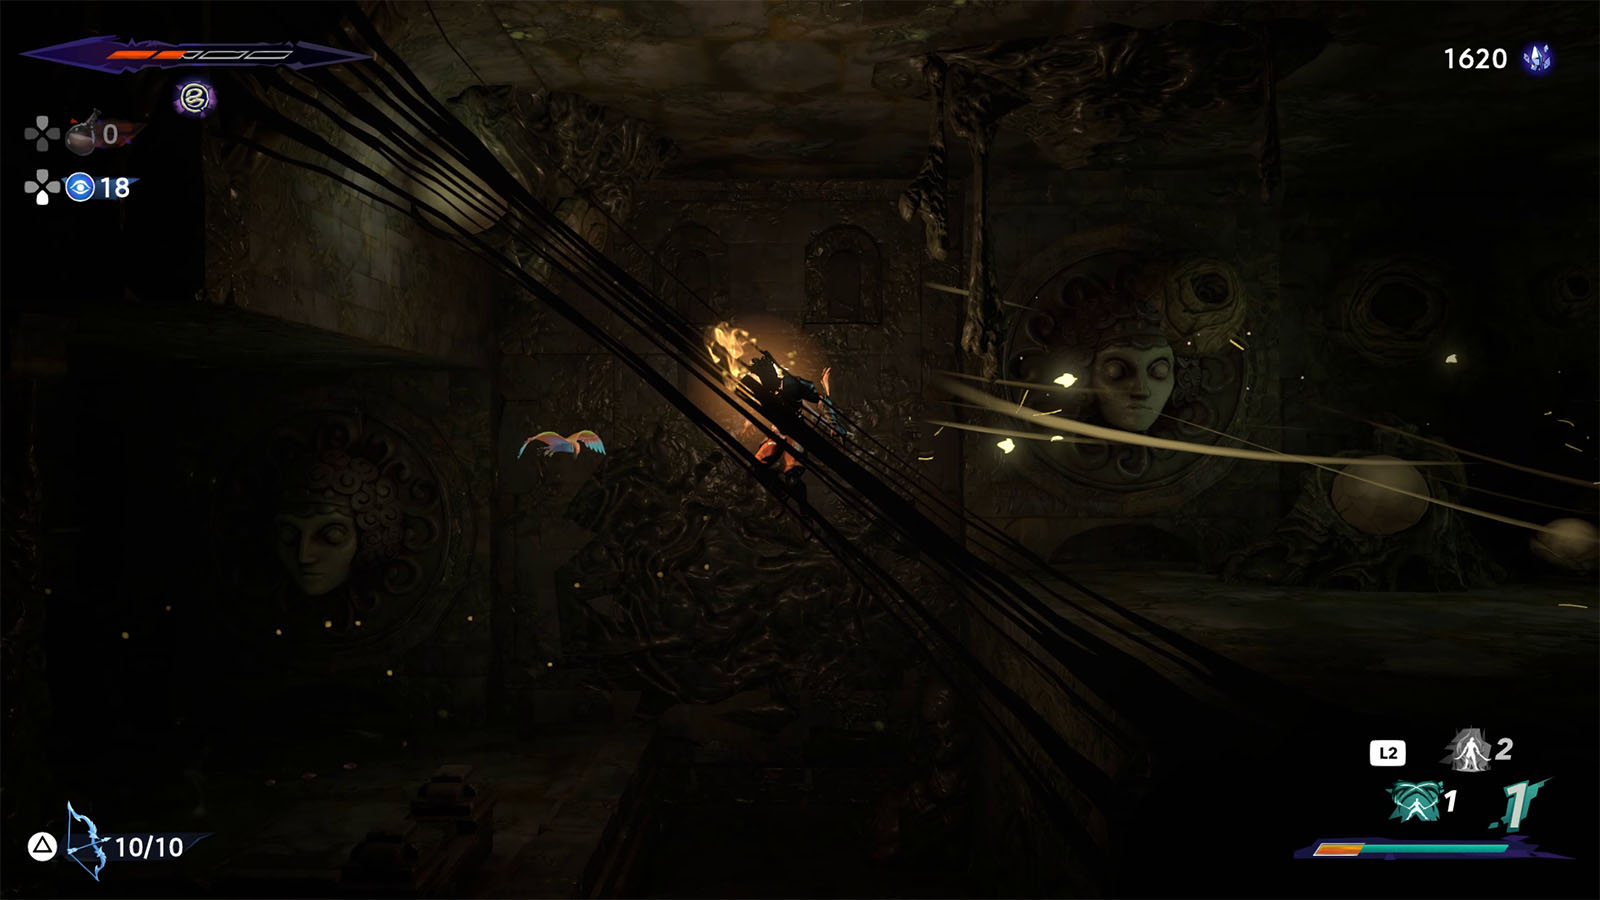
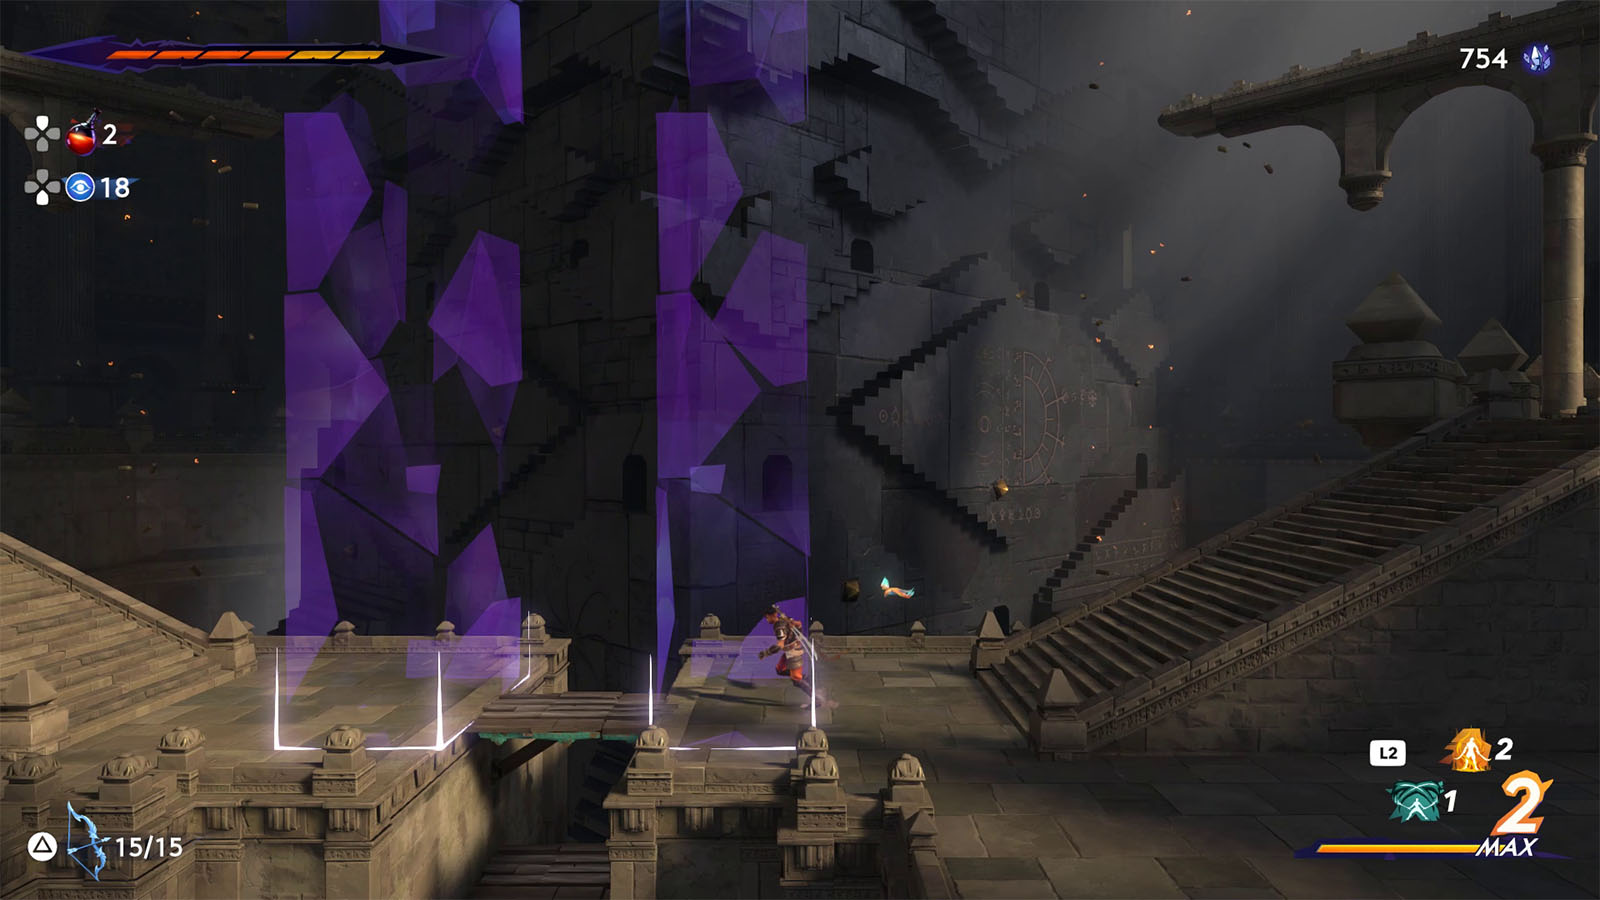
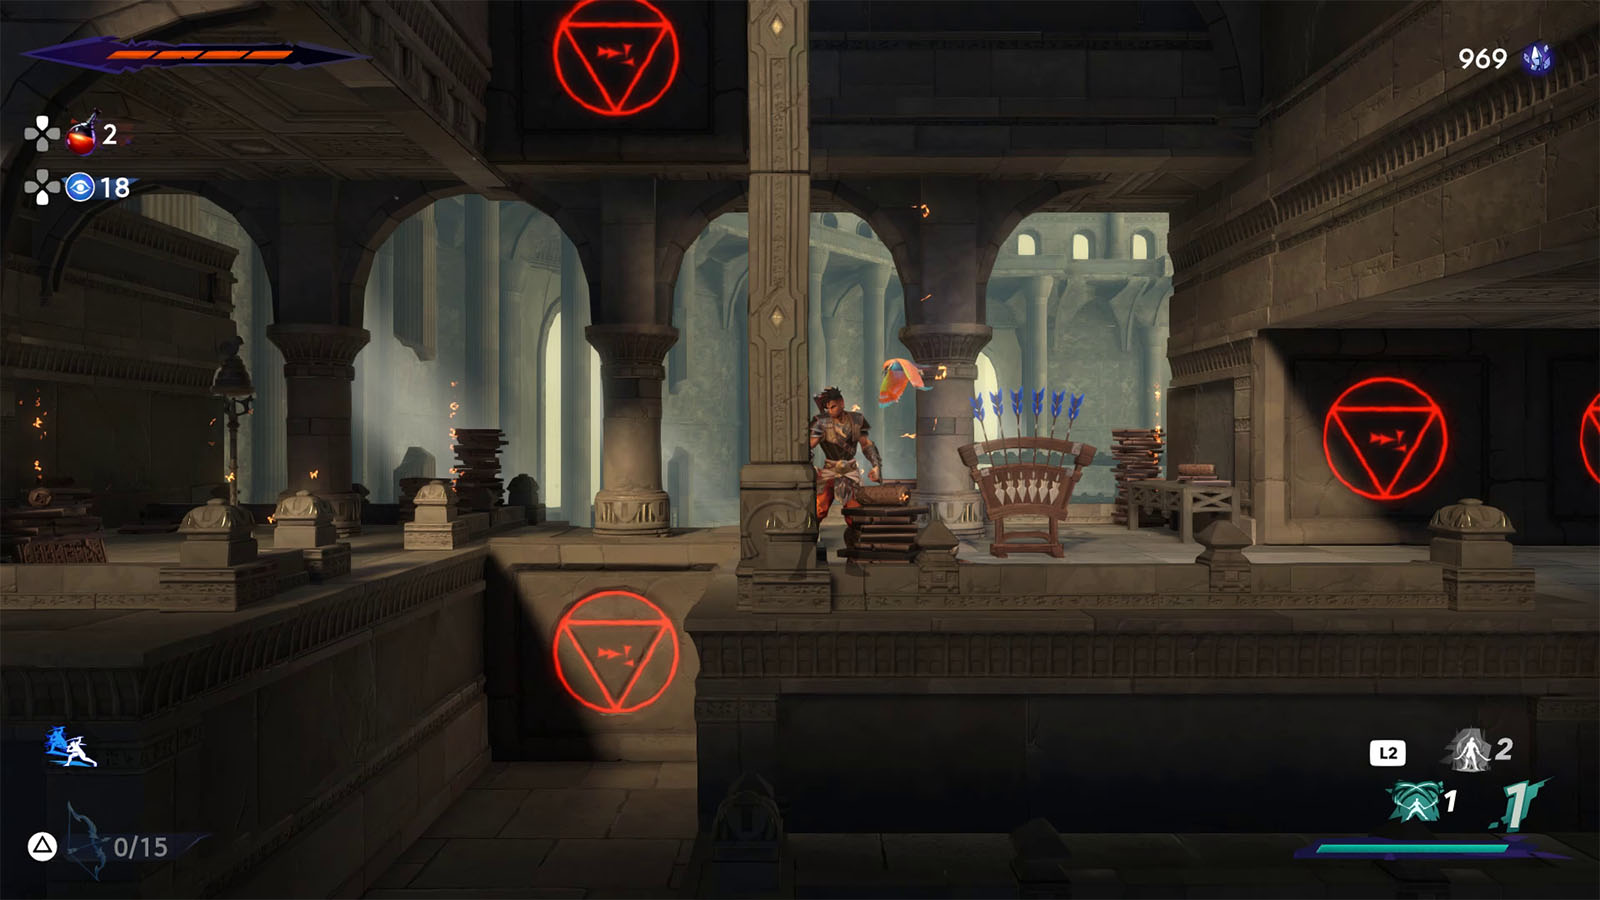
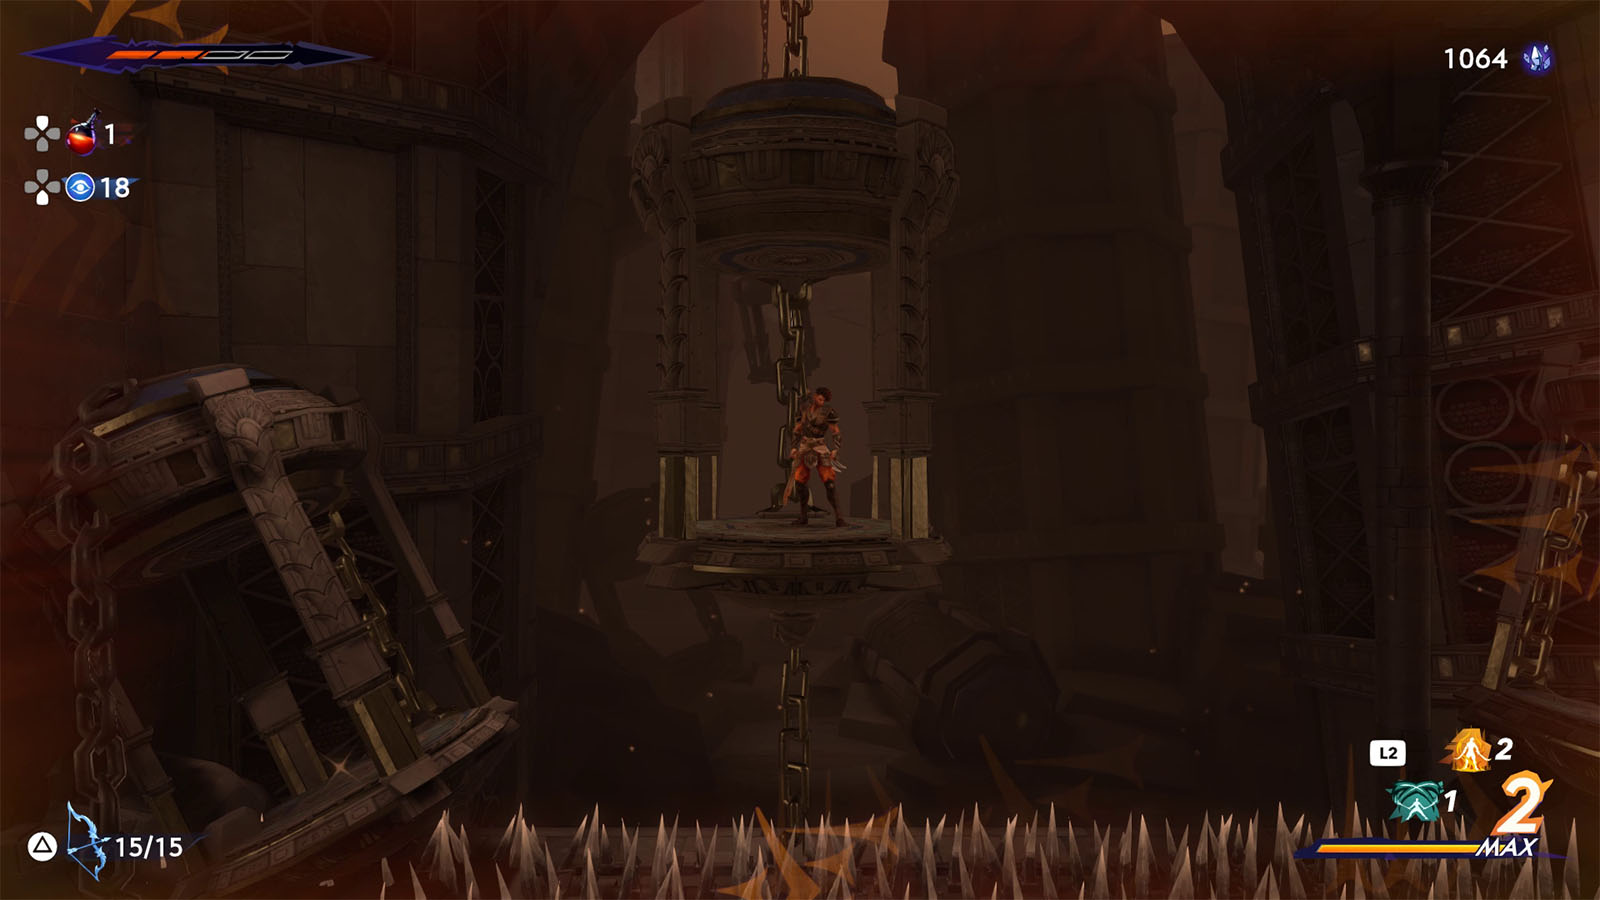
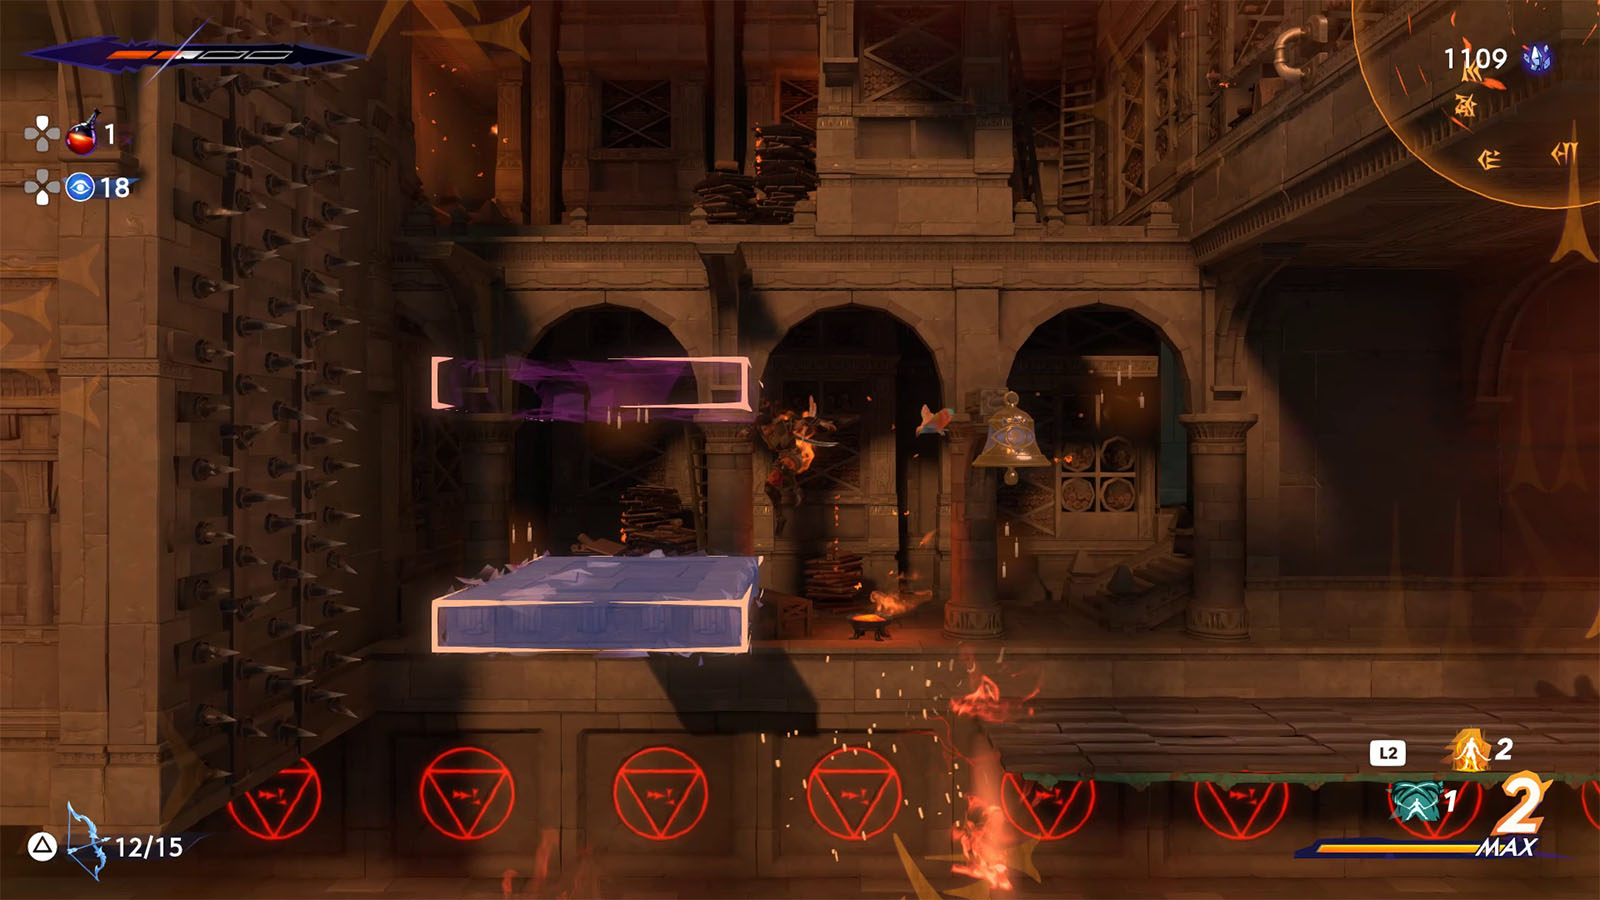
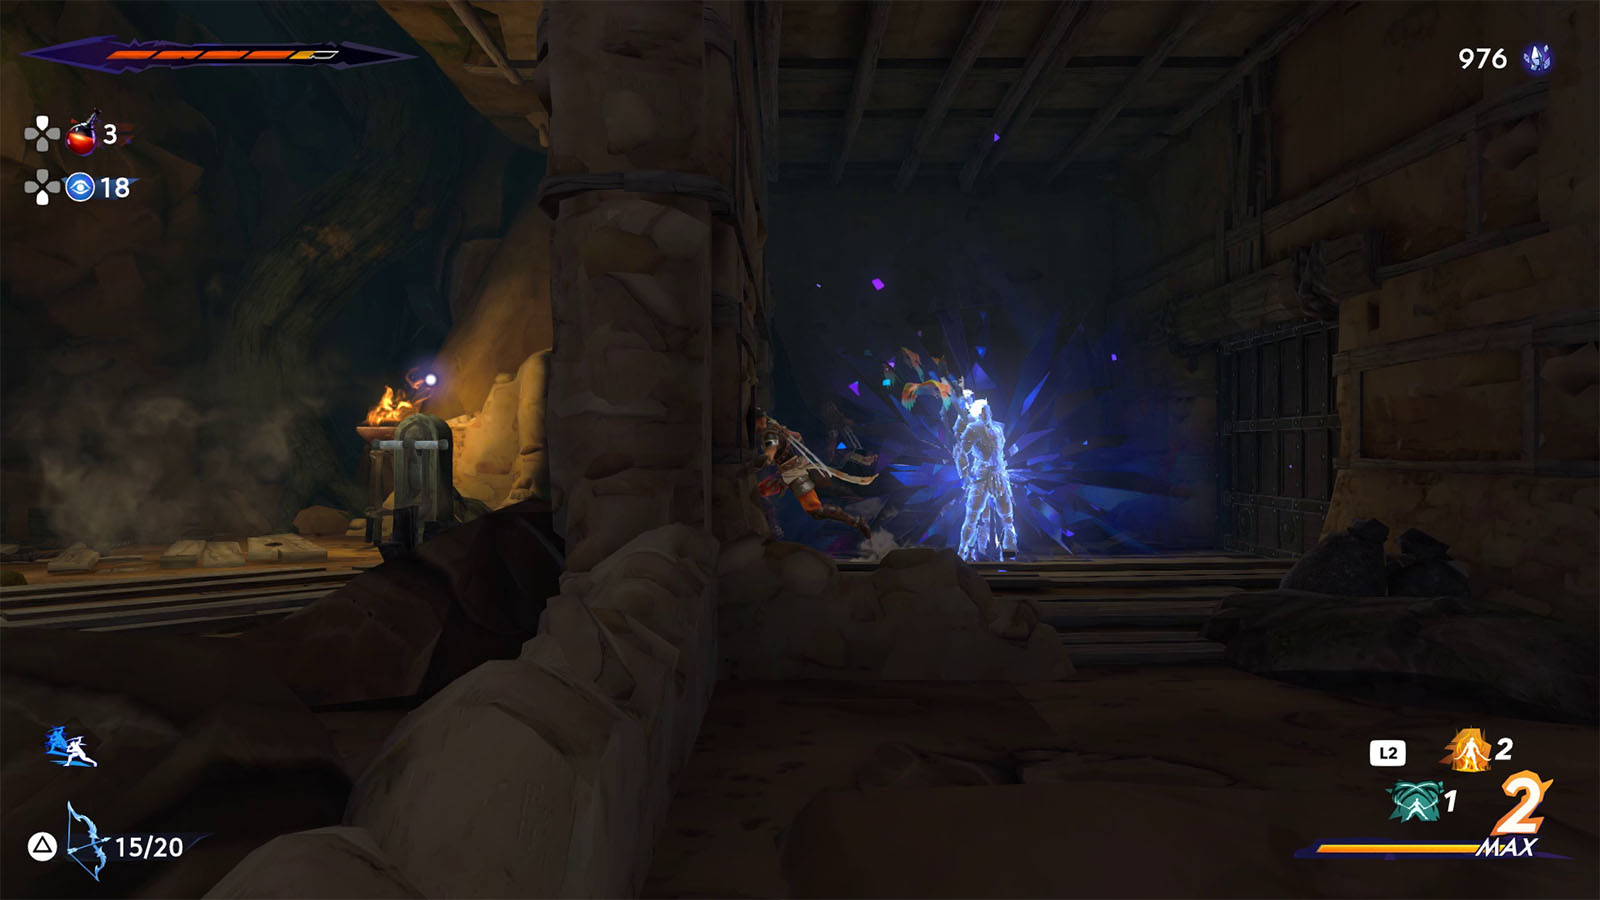
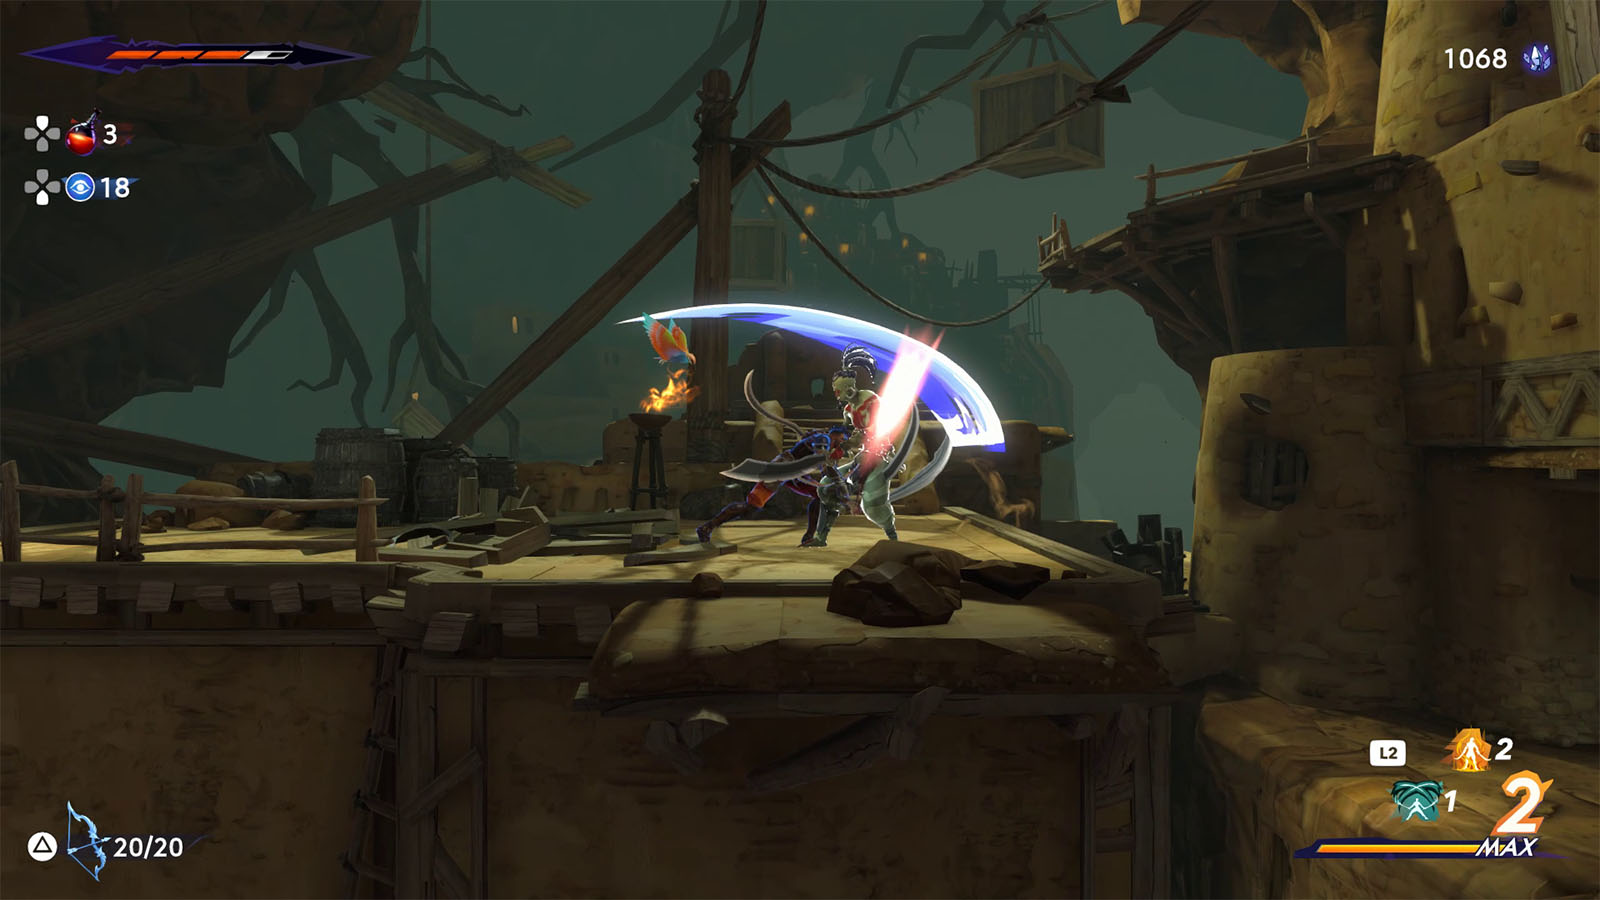
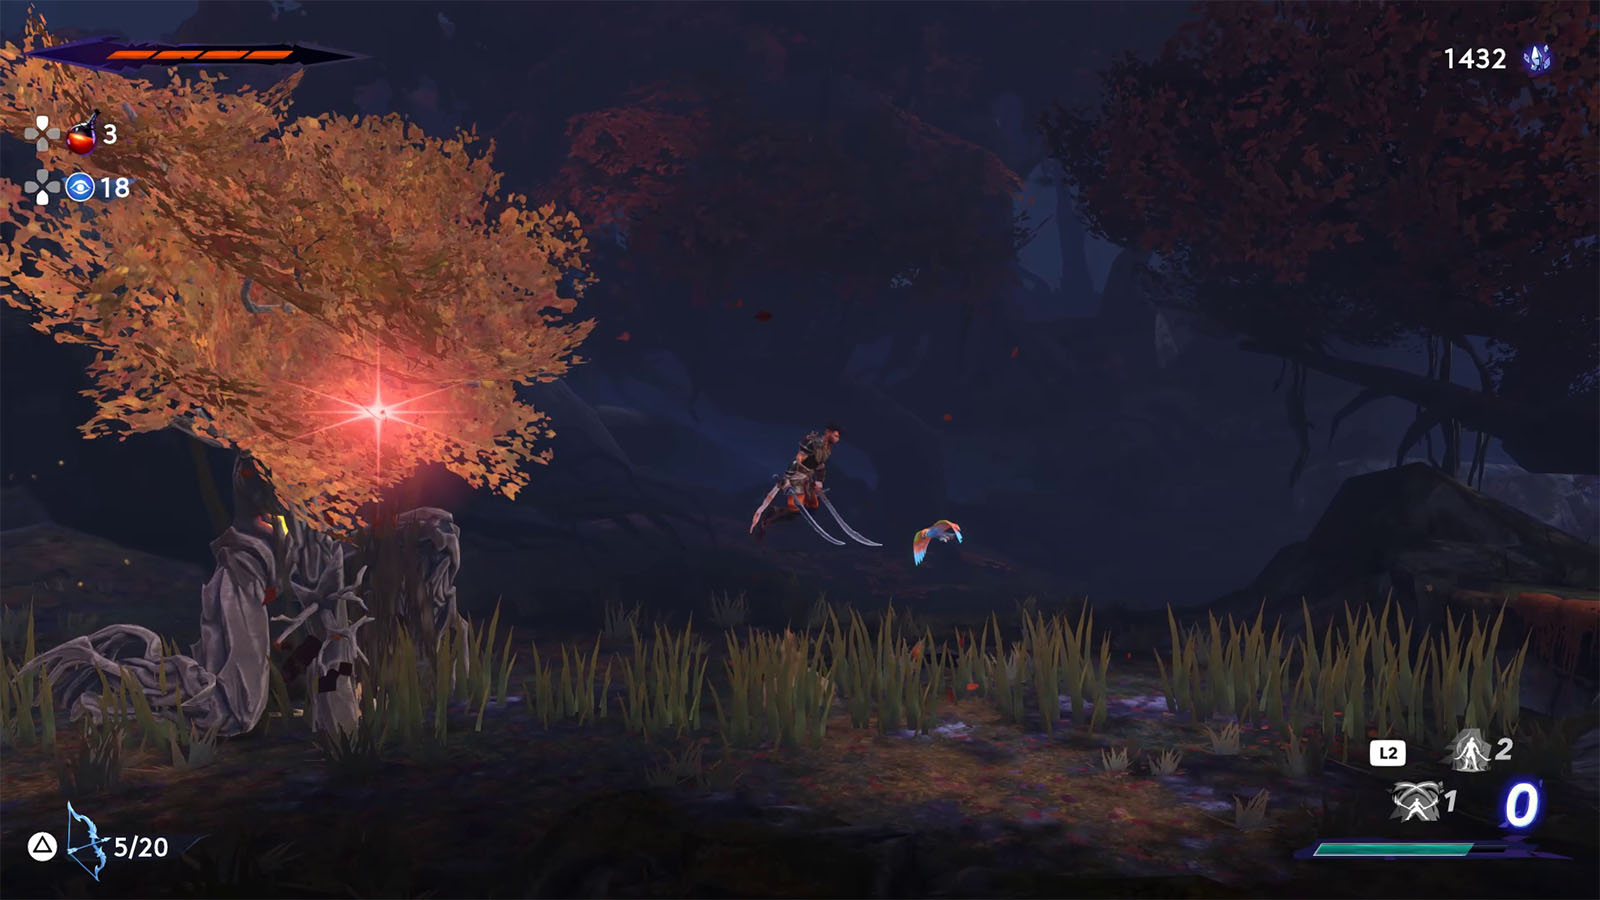
Once you have obtained the Shadow of the Simurgh, time to put your new power to the test. To get out of the room you are at, approach the rolling spikes and create a shadow at the middle of the rolling spikes’ path. Get to a safe area, and once the rolling spikes move past your shadow, quickly return to your shadow and move from the spikes’ path.
The Shadow of the Simurgh will only allow you to create shadows on places that you can reach and it can be helpful in a lot of puzzles and obstacles.
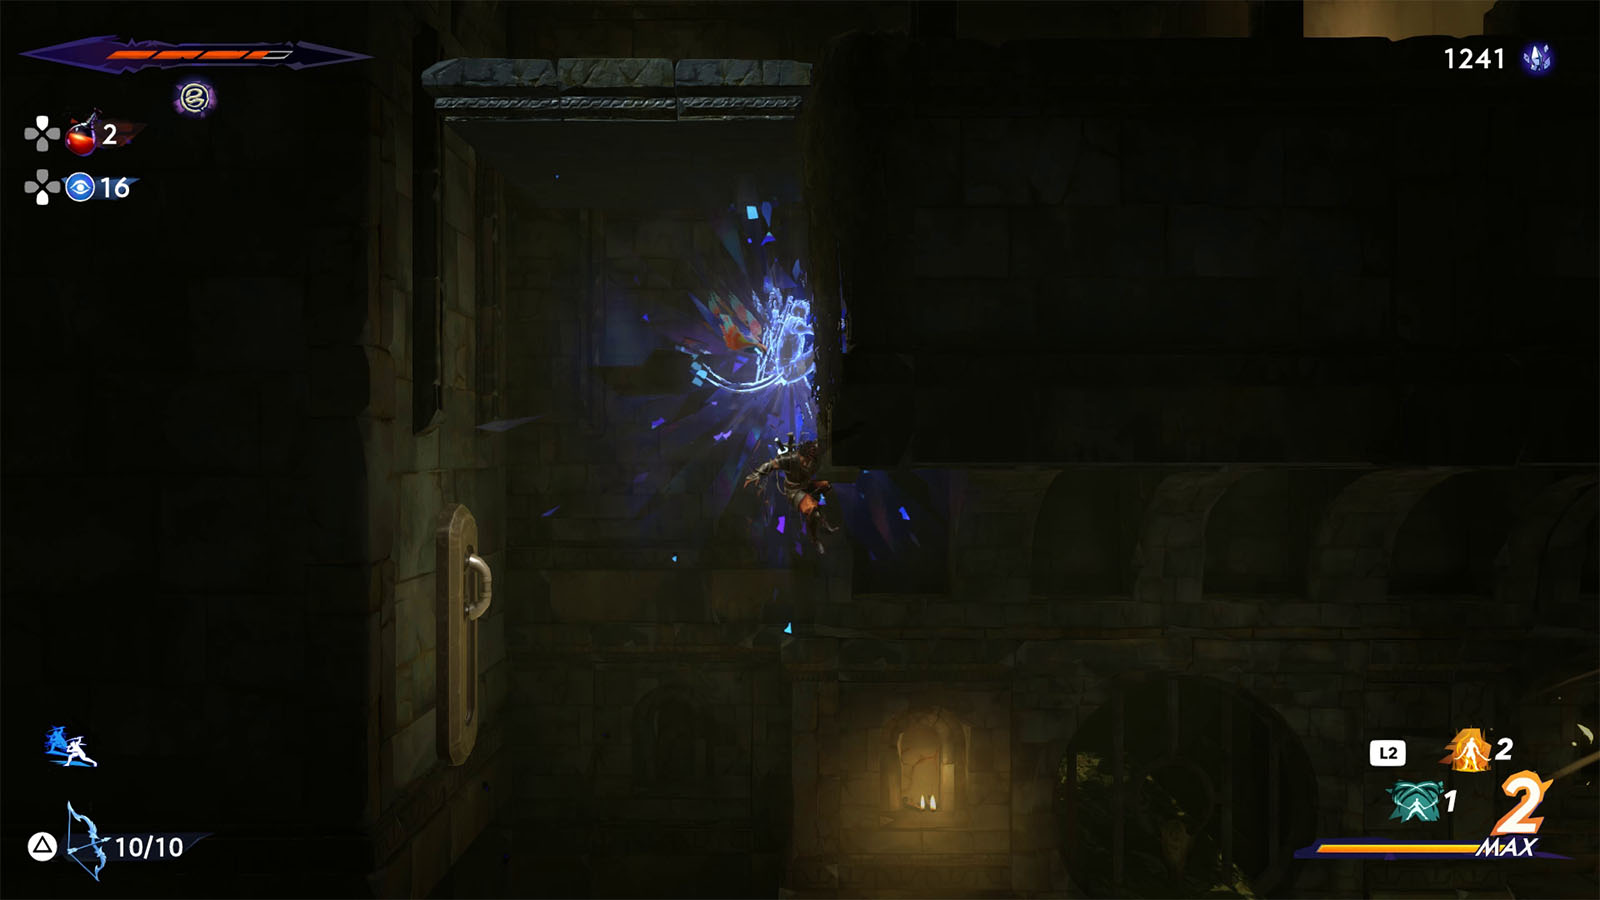
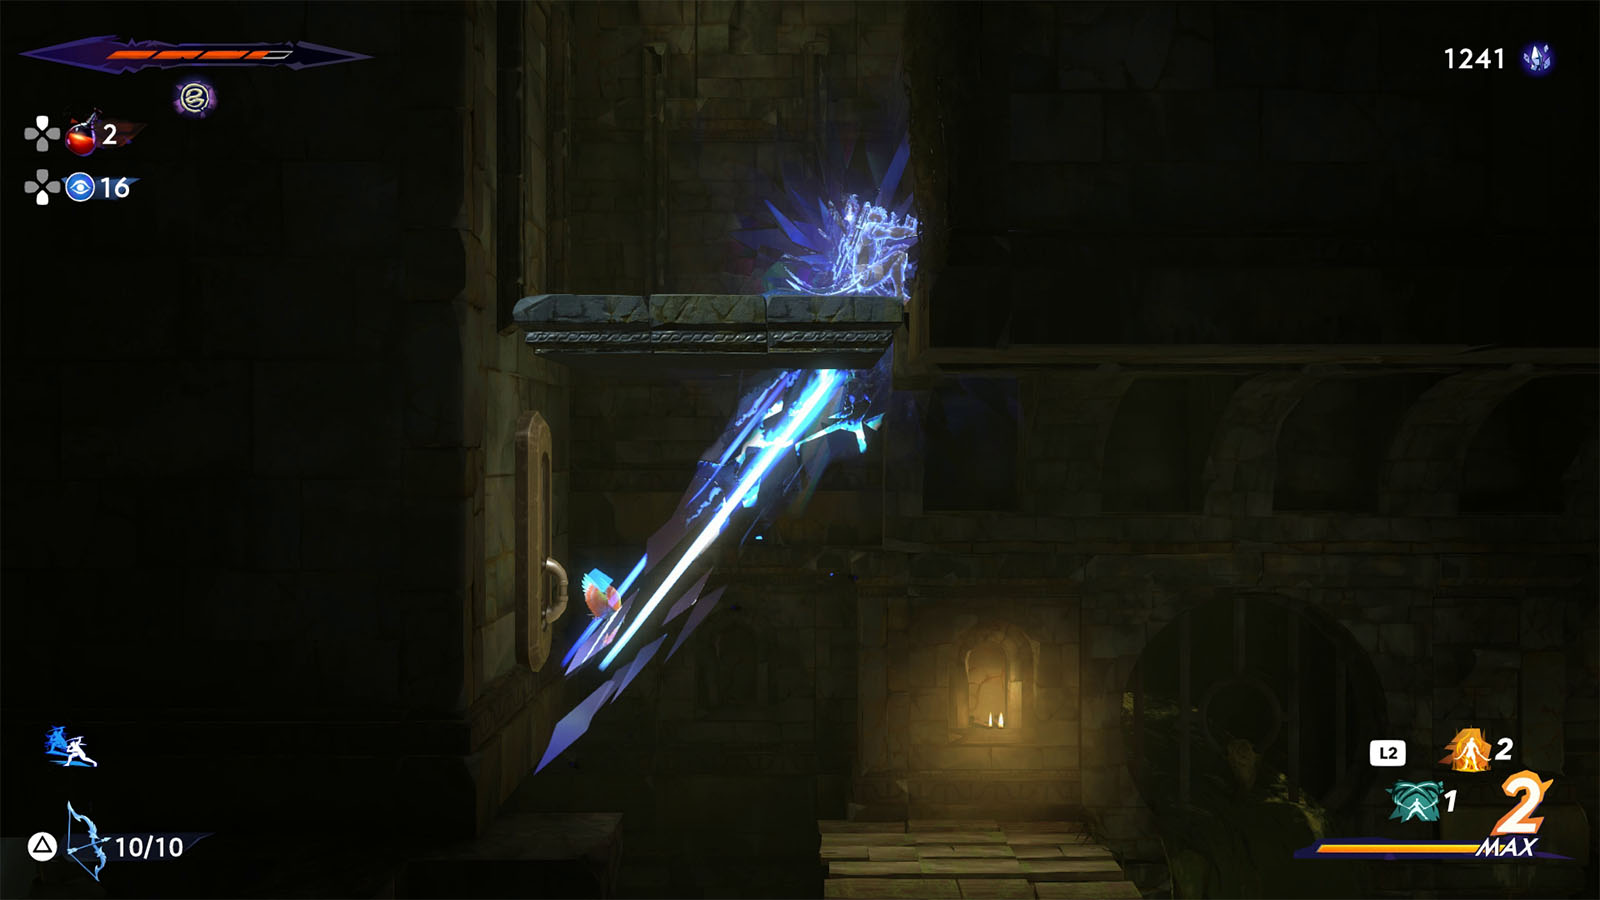
On to the next obstacle, look for the rung on the wall that lowers down a platform. Before latching on to the rung, jump up and create a shadow mid jump. Then, grab on to the rung to lower down the platform, and once the platform is below your shadow, return to the shadow.
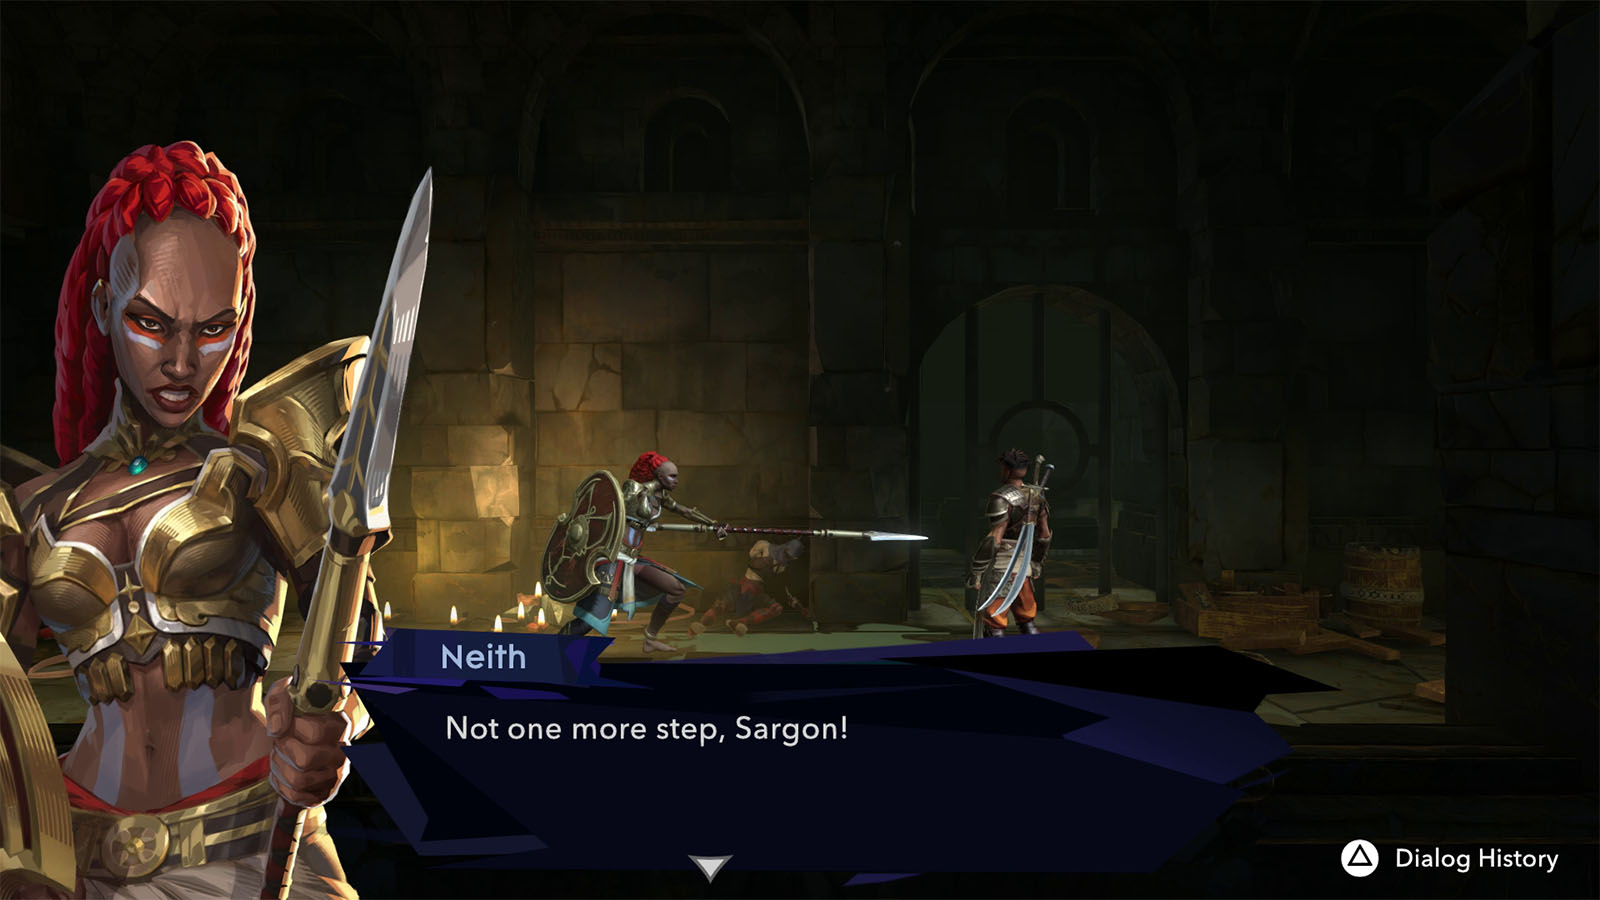
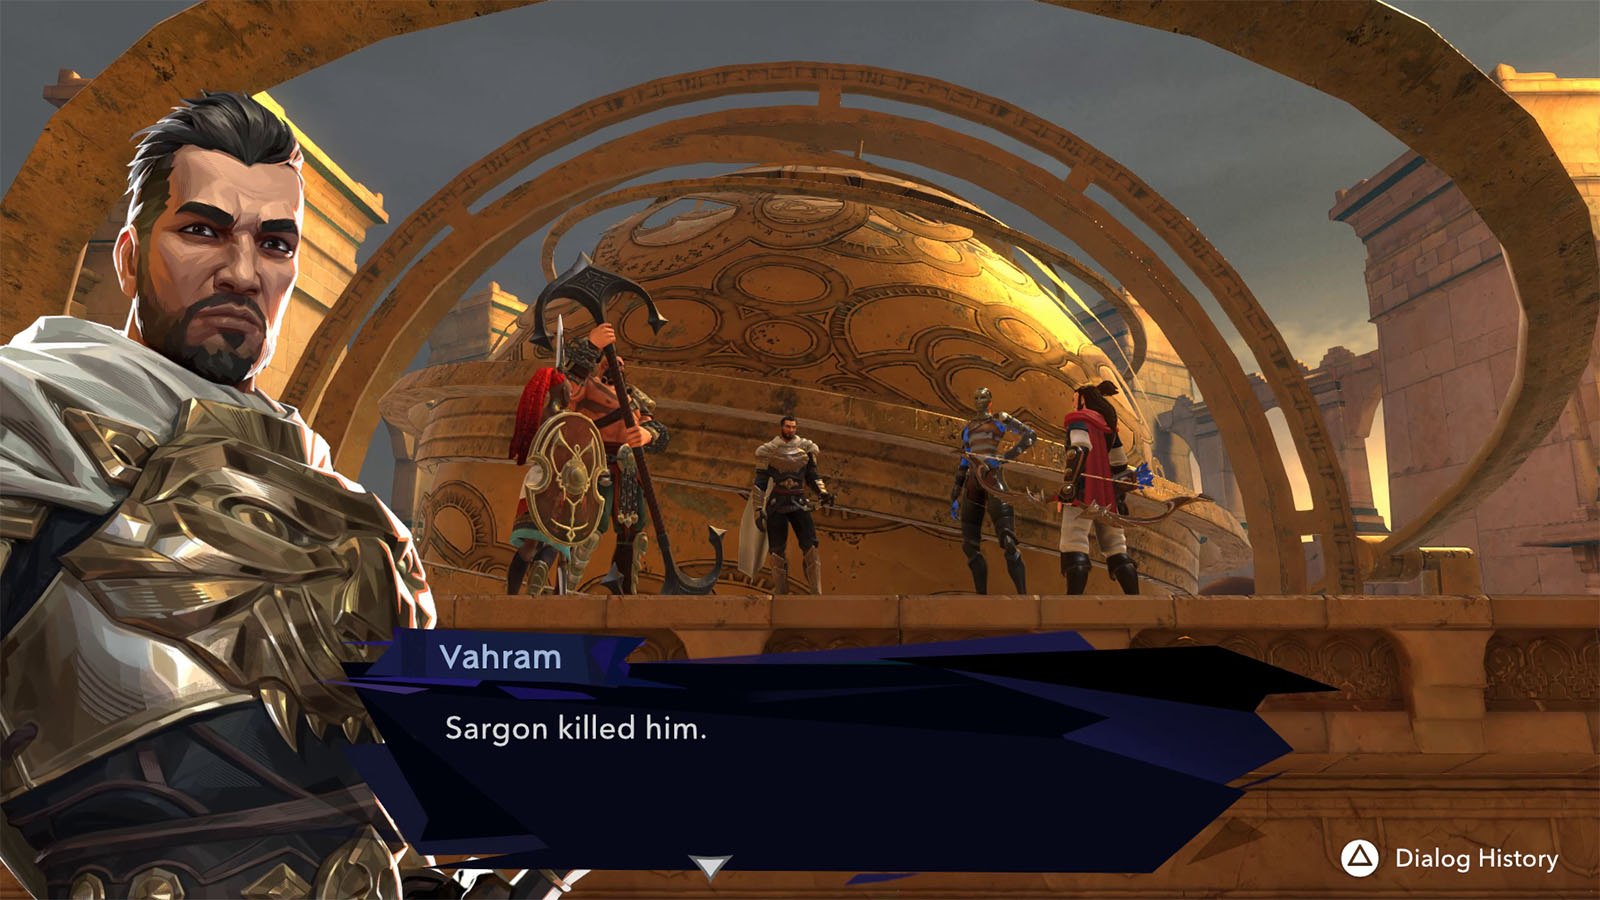
Make your way up the path and you will be confronted by Neith. You try to tell Neith the truth and she reveals that Vahram told the rest of the Immortals a fake story, blaming Sargon for the Prince’s death. Neith is convinced and assures that Artaban also believes that Sargon was not the killer. Neith warns Sargon that Radjen is hunting them and that they should flee.
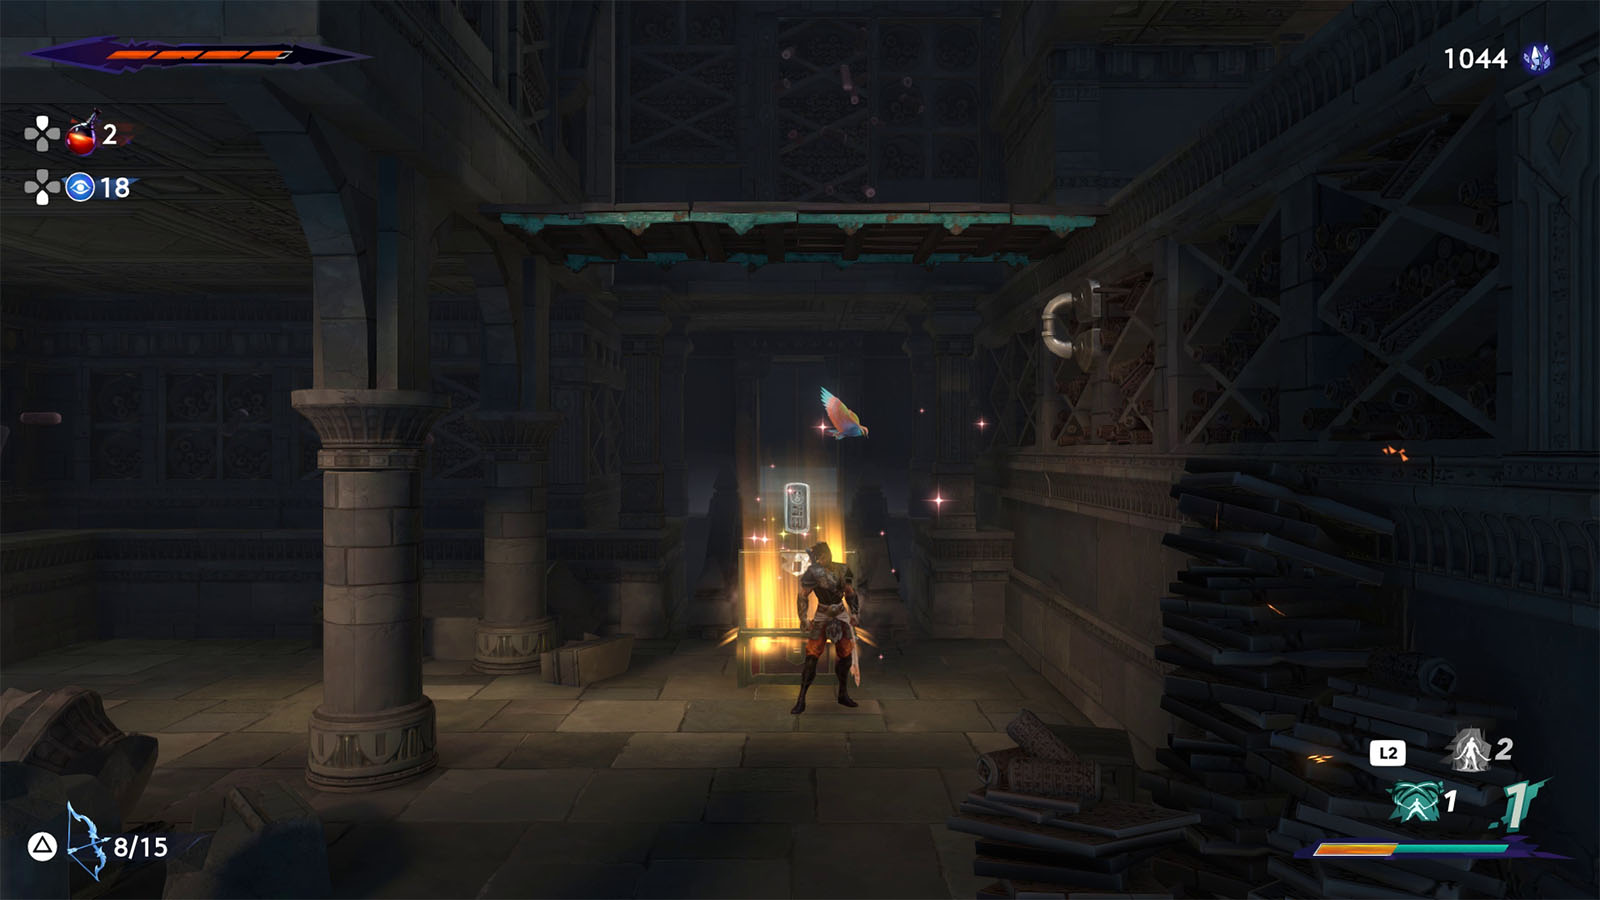
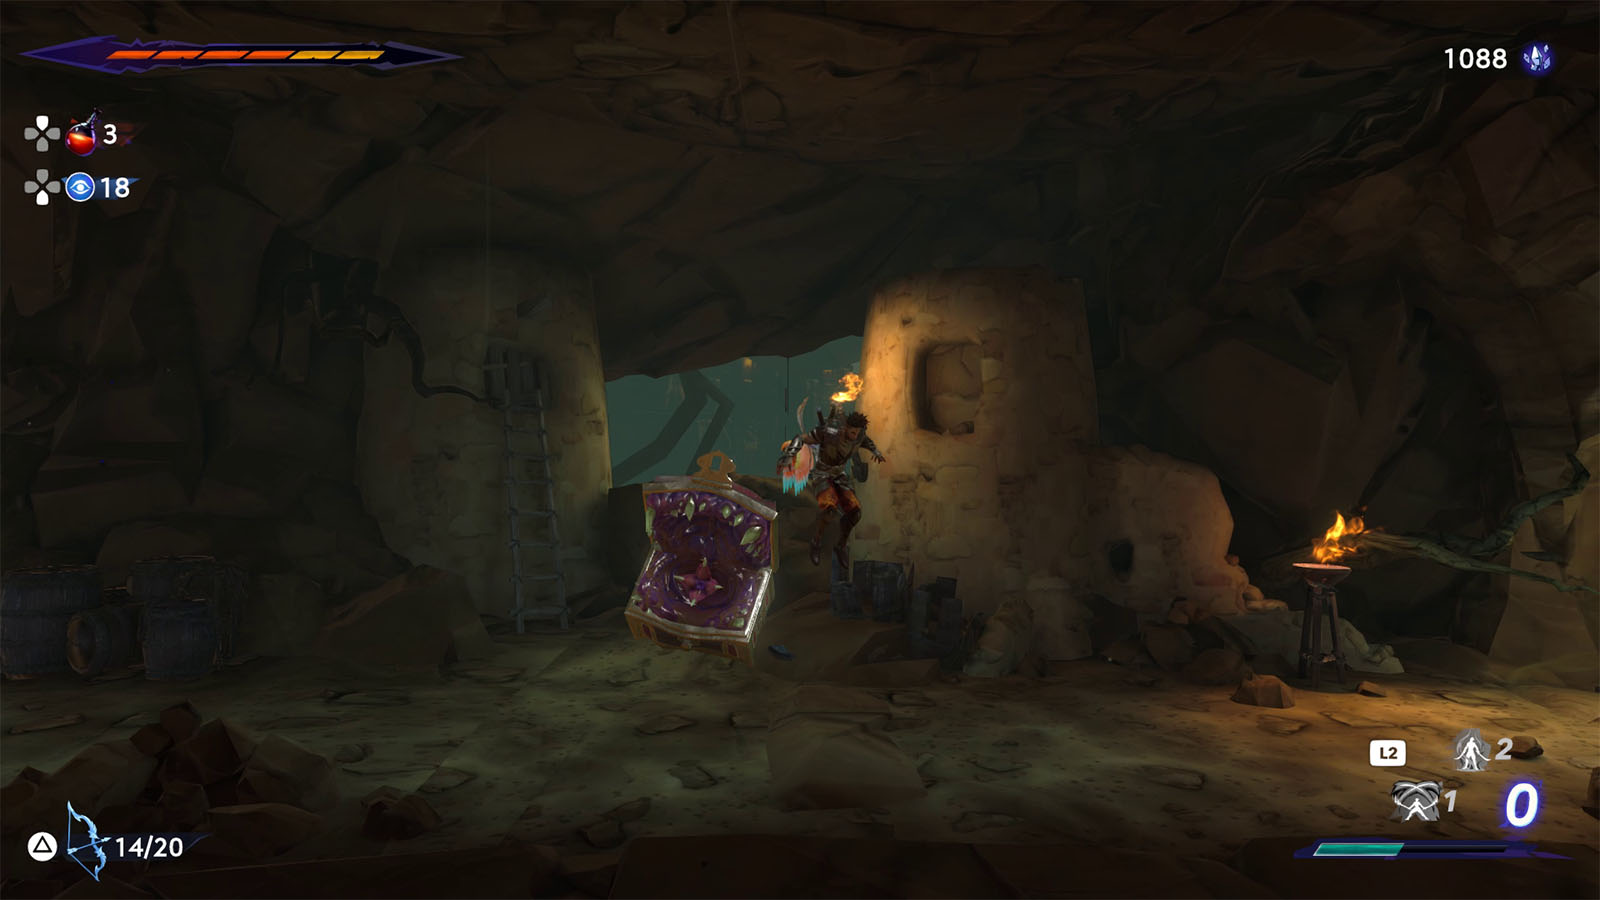
Continue on to your path until you reach the slope near a room with a chest. Climb up the slope first, then leave a shadow. Slide down the slop and latch on to the rung to reveal a platform, then quickly return to the shadow, jump on the platform and open the chest to get a Memory Shard.
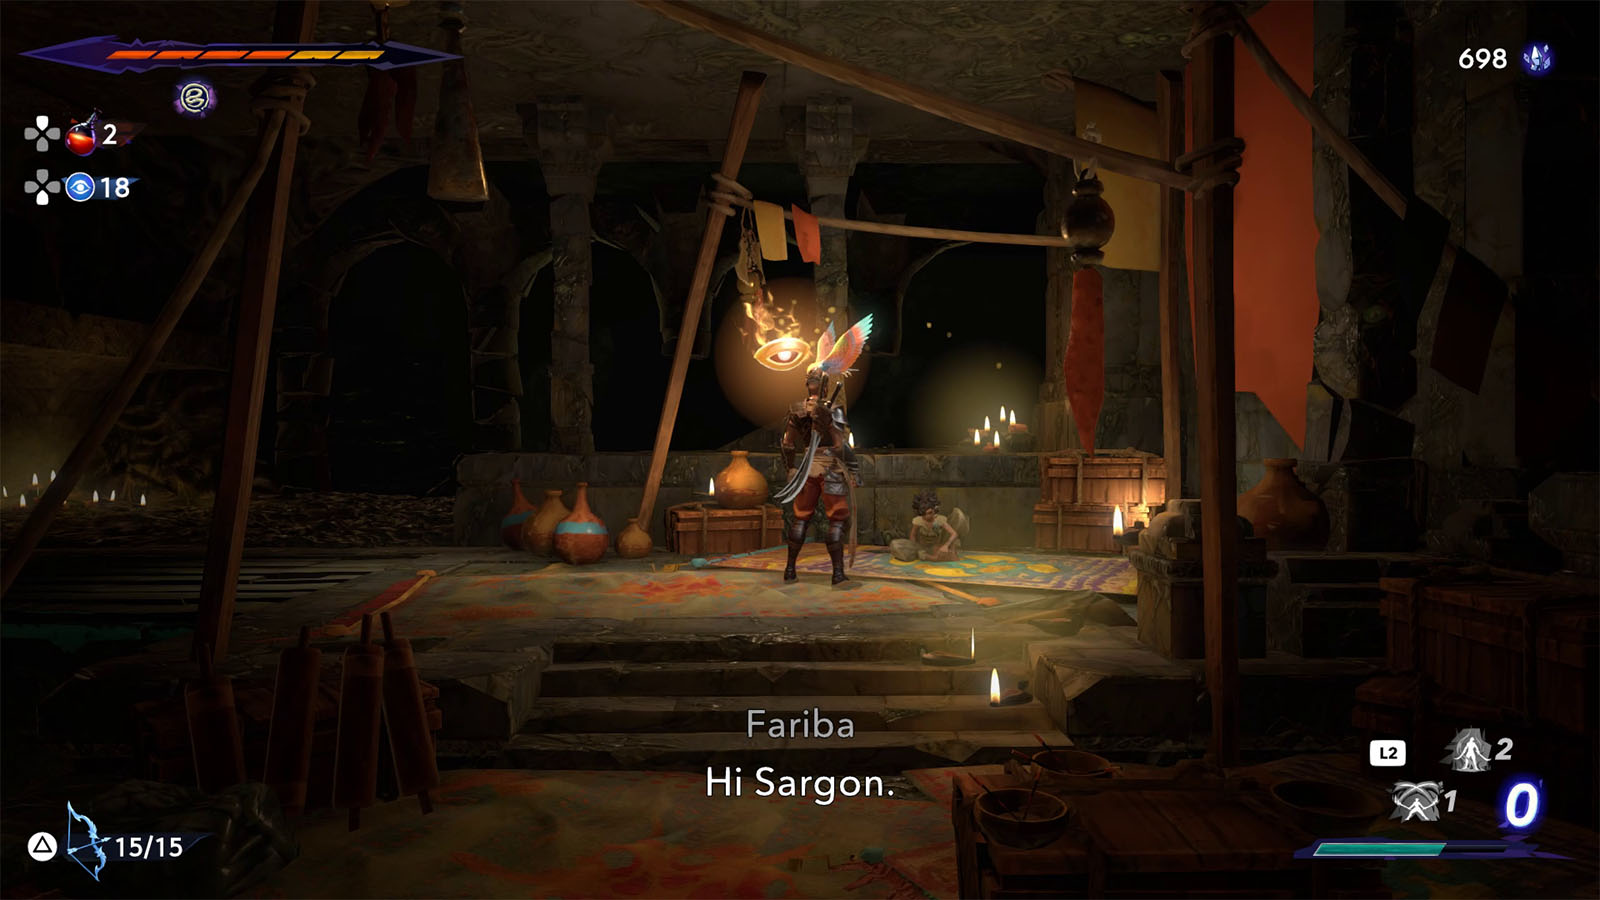
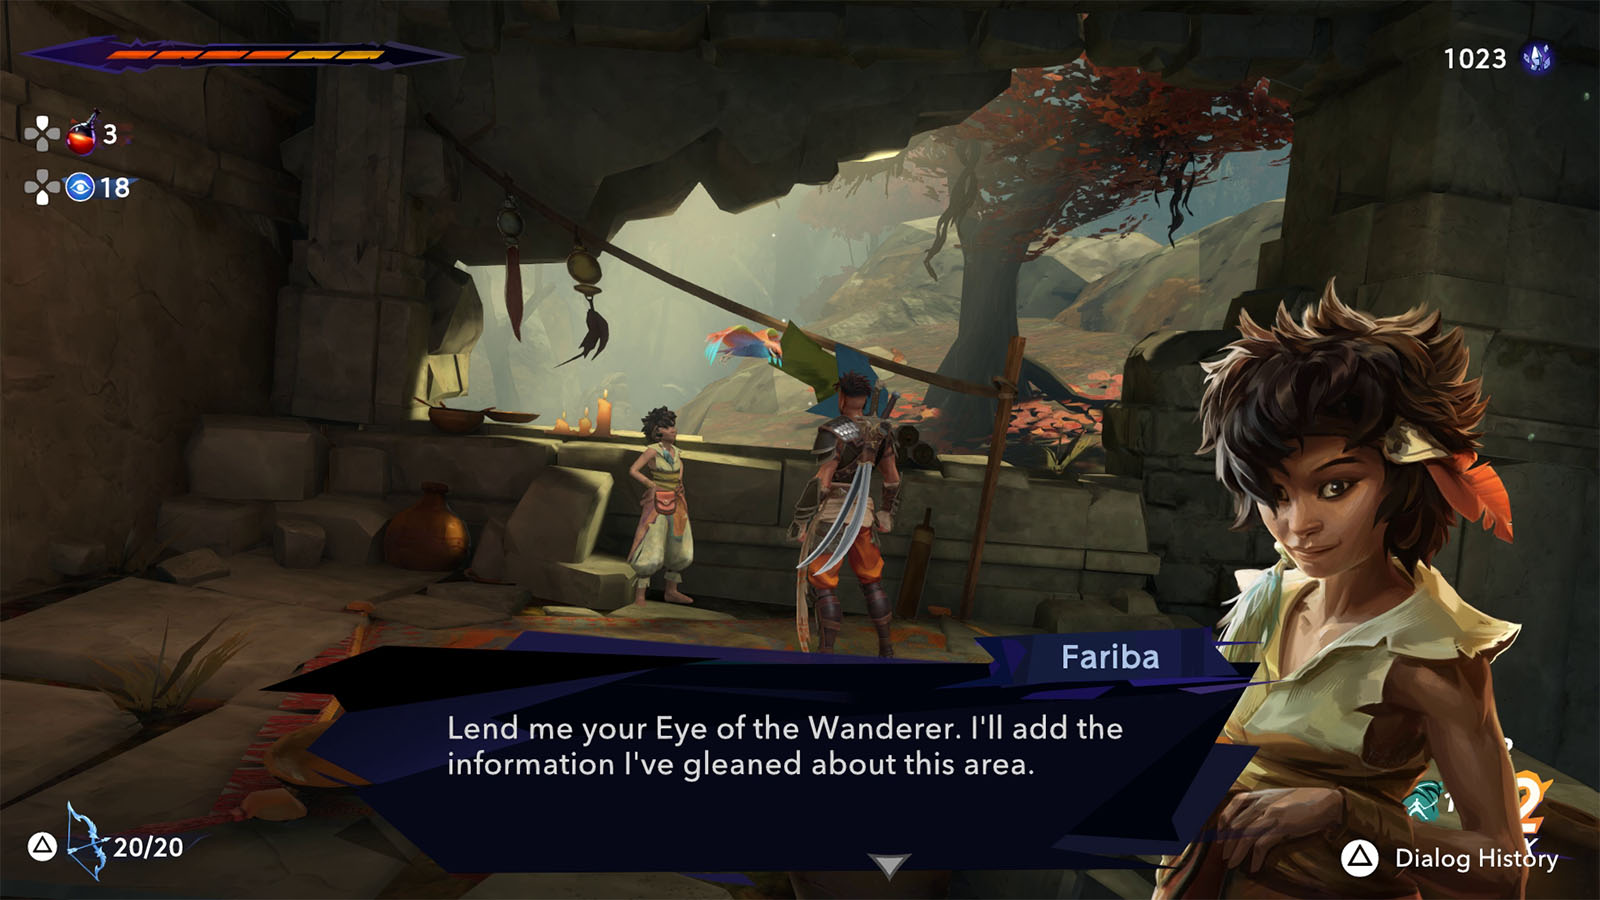
At the elevator shaft, you may want to head to the lower level first to find Fariba if you haven’t bought a map for the Depths yet.
You can also see another moon insignia near where Fariba is. Navigate through the spikes until you reach the flooded room.
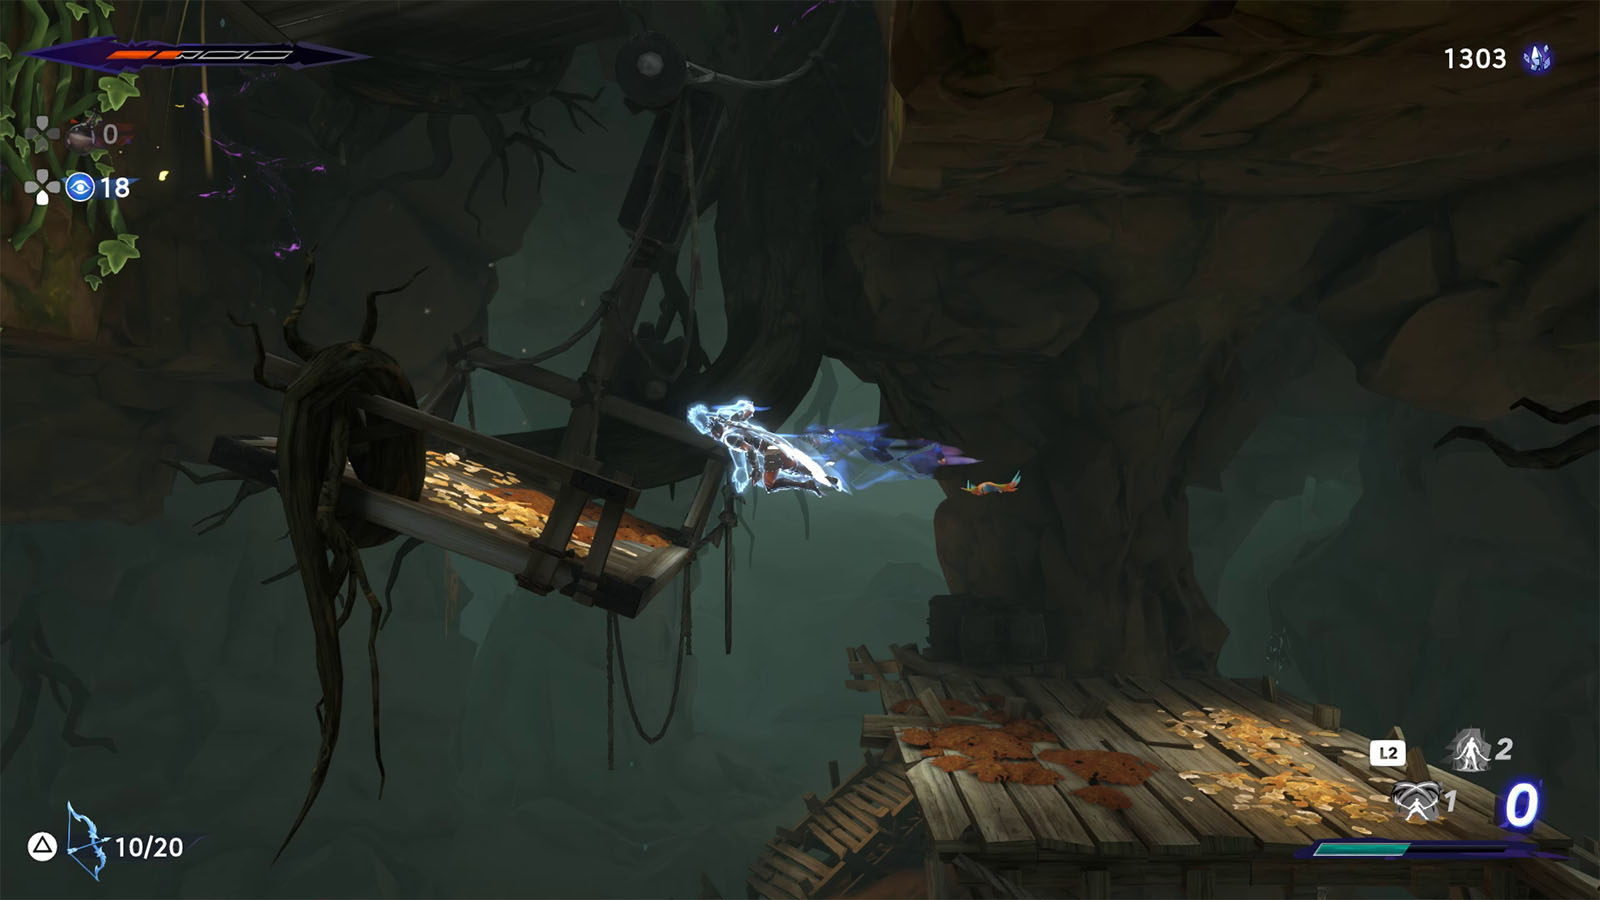
Then, swing towards the left side and hang on to the run to lower the sewage level. Swing on to the right side and grab the Xerxes coin on the way, then grab on to the next run to fully drain the sewage.
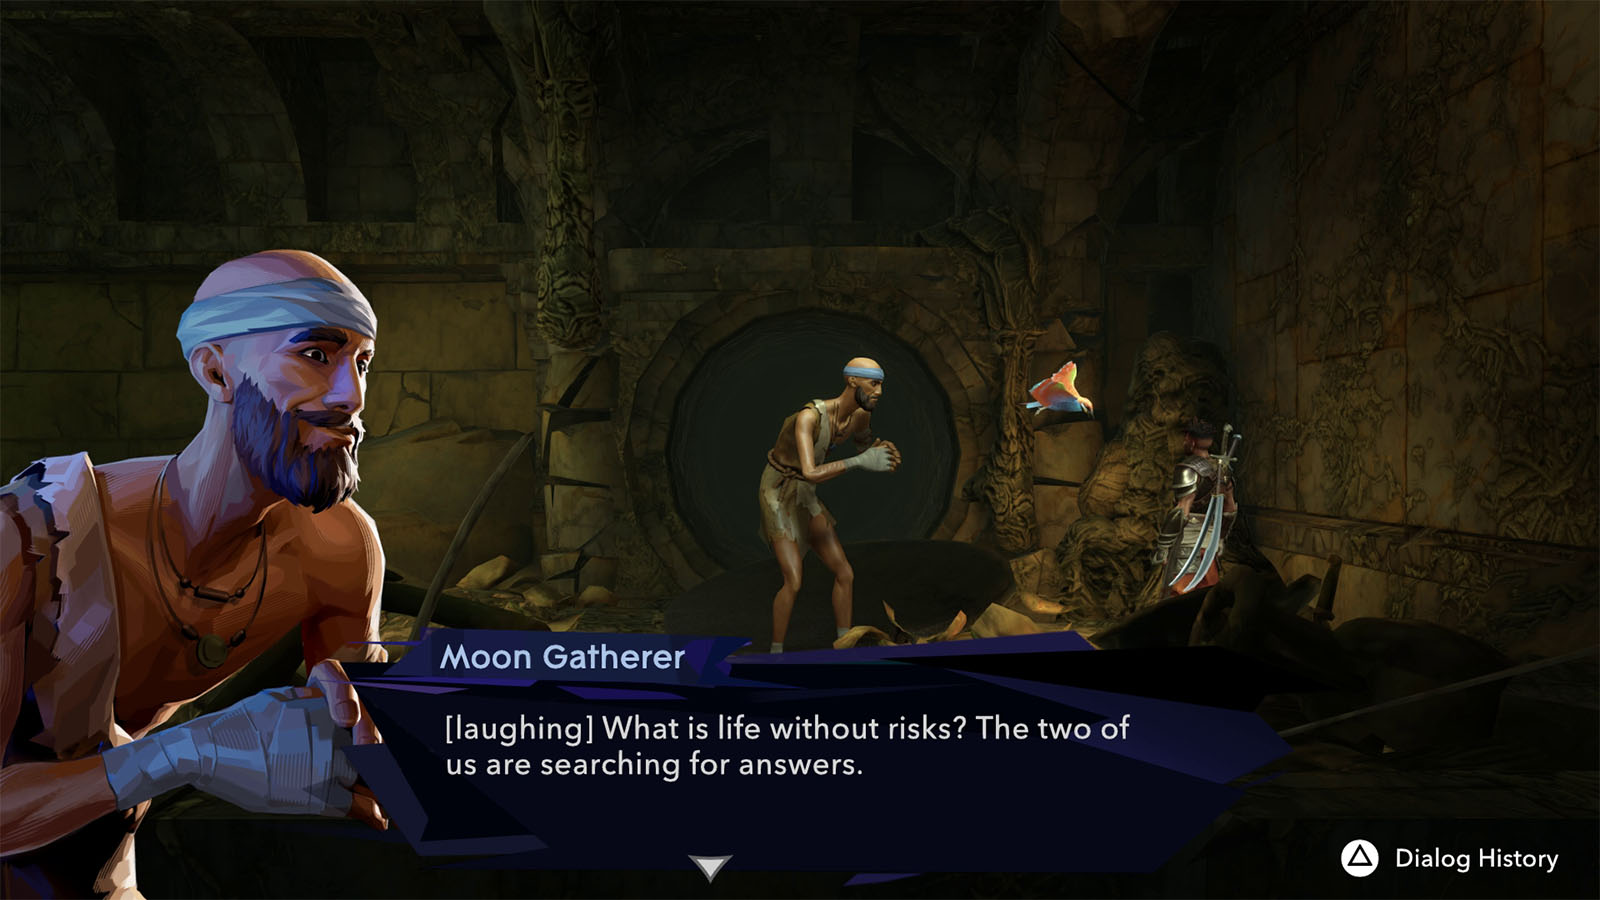
Clear the debris in front of the pipe cover to meet up with the Moon Gatherer once more. You will then be rewarded with 200 crystals.
Head back to the elevator and go up the previous floor. Before going back up, go down first and quickly leave a shadow as you descend. Once you’re on top of the elevator, return to your shadow and ride the elevator all the way up so that you can get off at the upper floors.

Take the left path from the elevator and head to the lower west room to find a Spirited-Sand Jar.
Retrace your steps for now and head towards the room with the moving gears and conveyor belts.
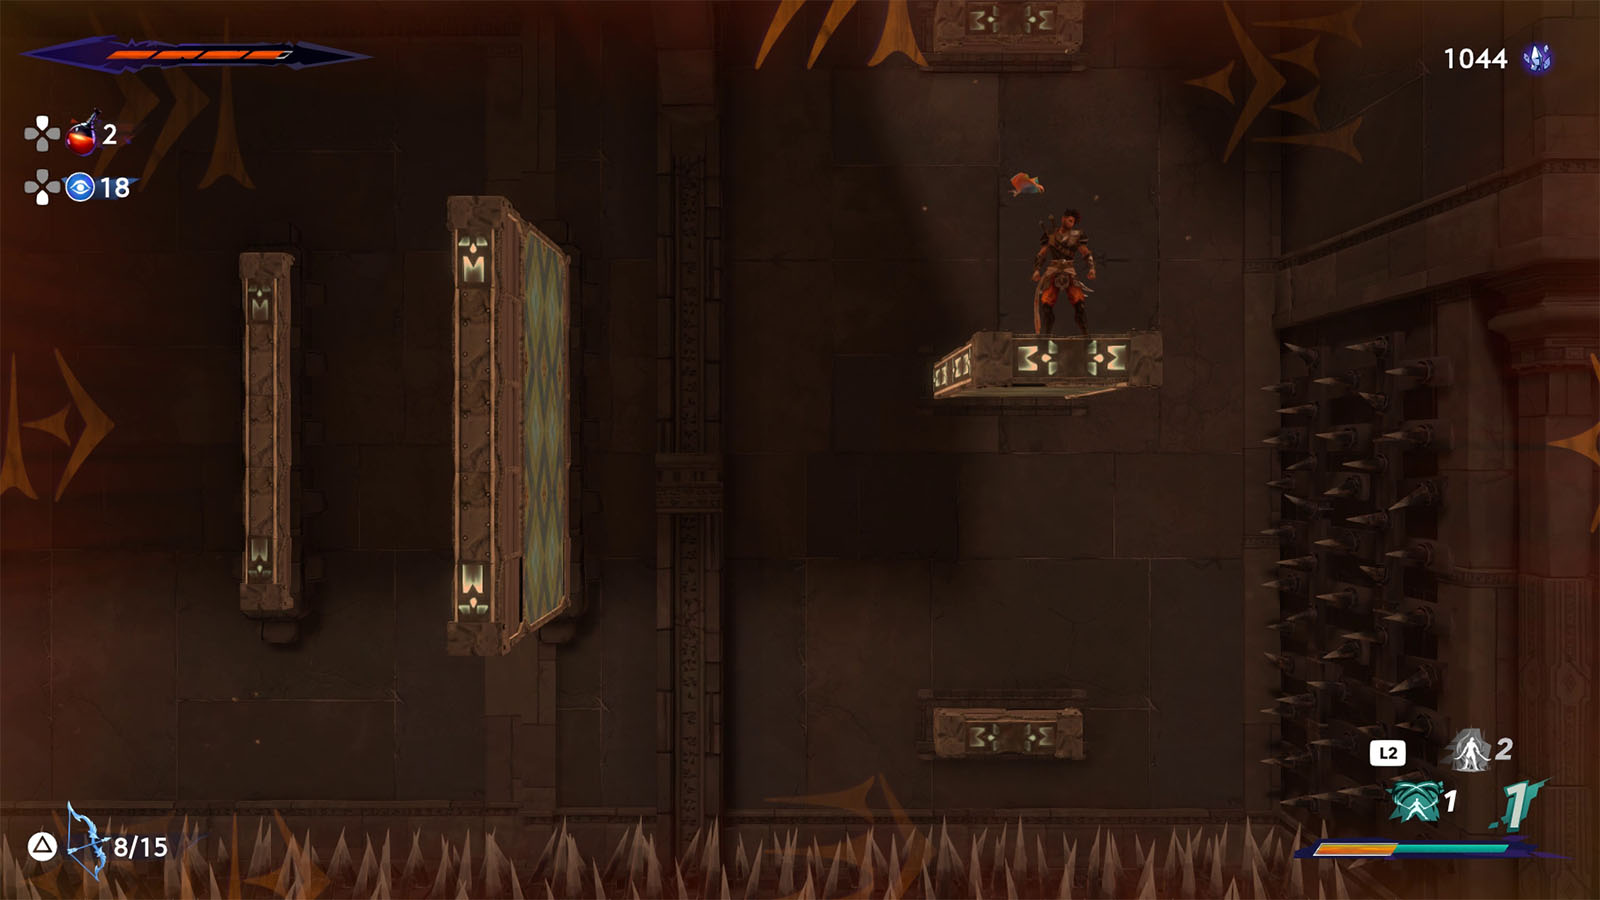
Hit the lever to make the spikes go down and then ride the conveyor down as well. Leave a shadow somewhere in the middle, then wait for the spikes to go back up and past the spikes before returning to your shadow.
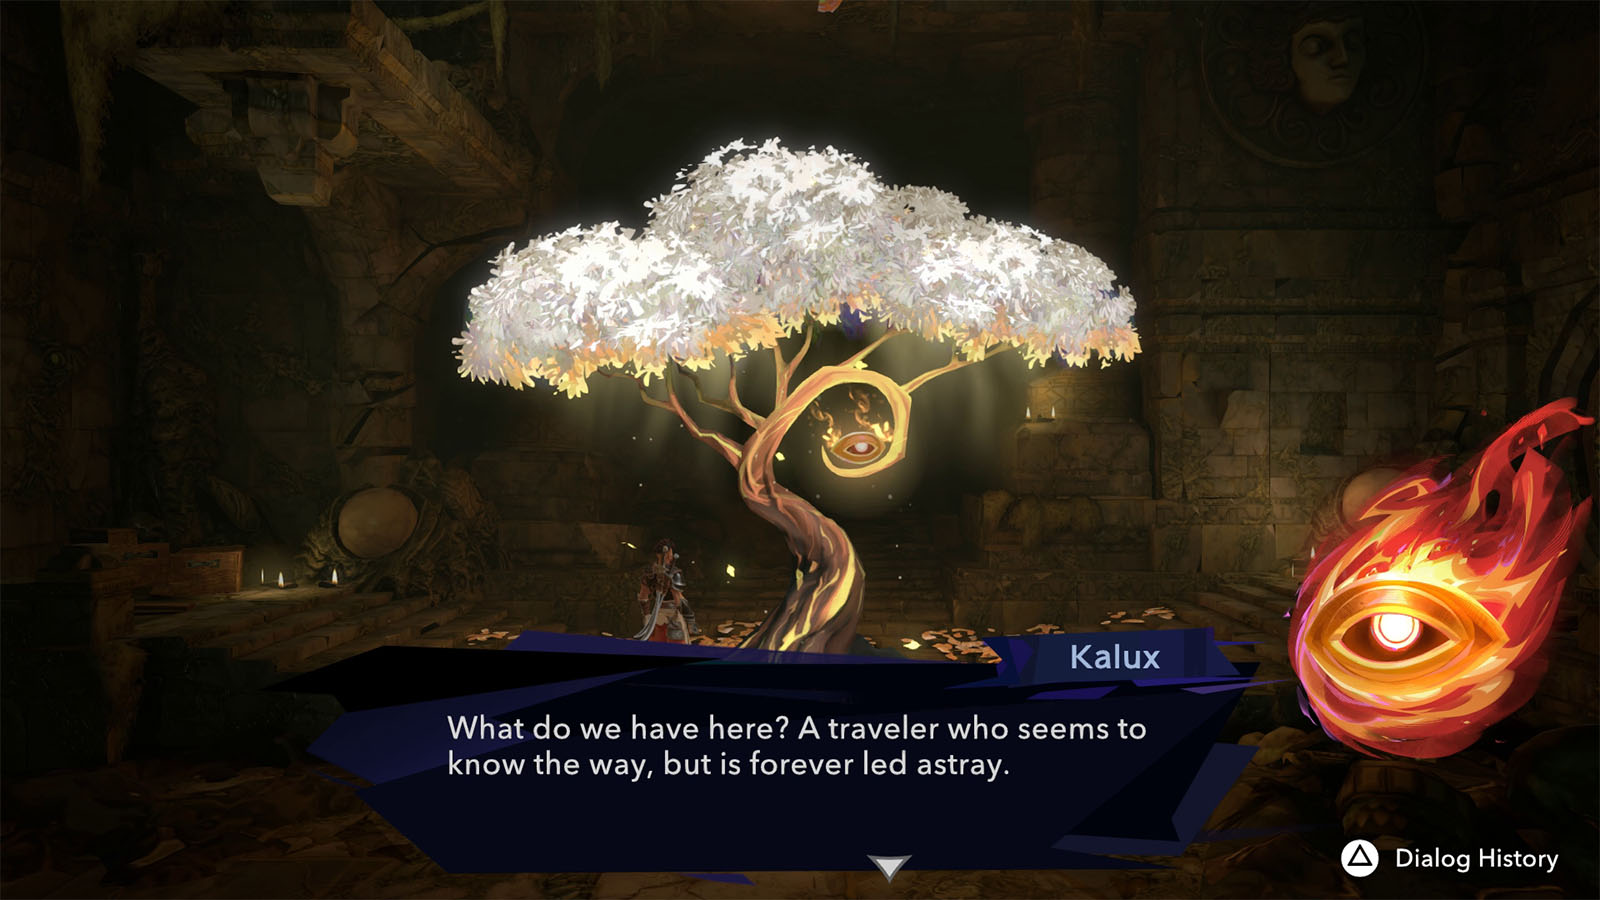
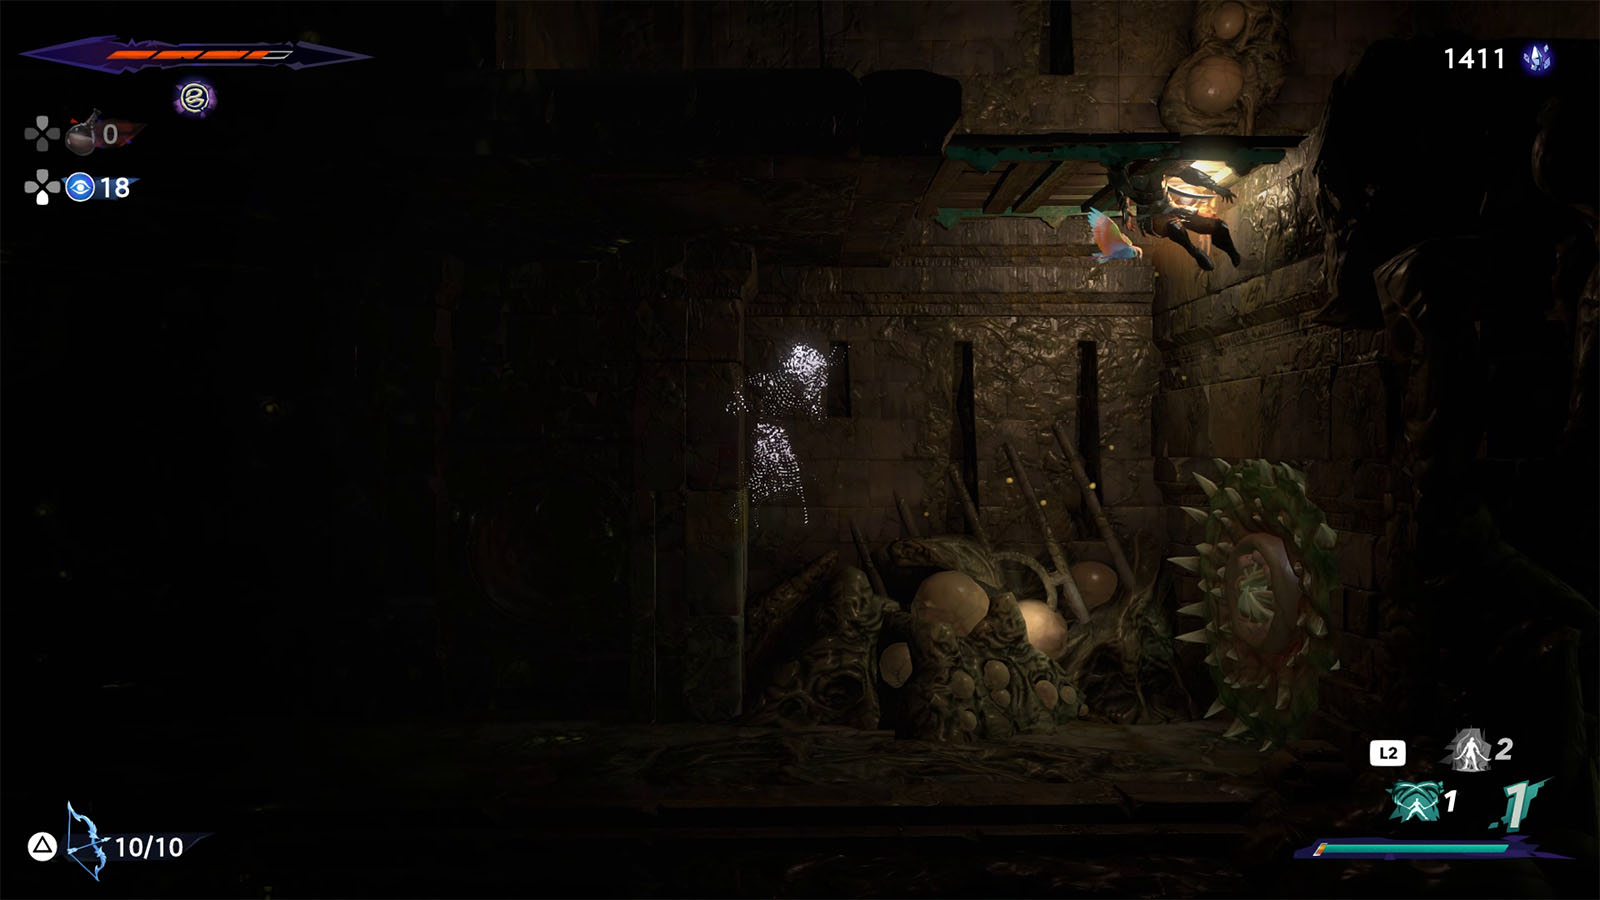
The next area you will reach is the Catacombs. Make your way to the next tree where you will meet Kalux who will serve as your light through the rest of the Catacombs.
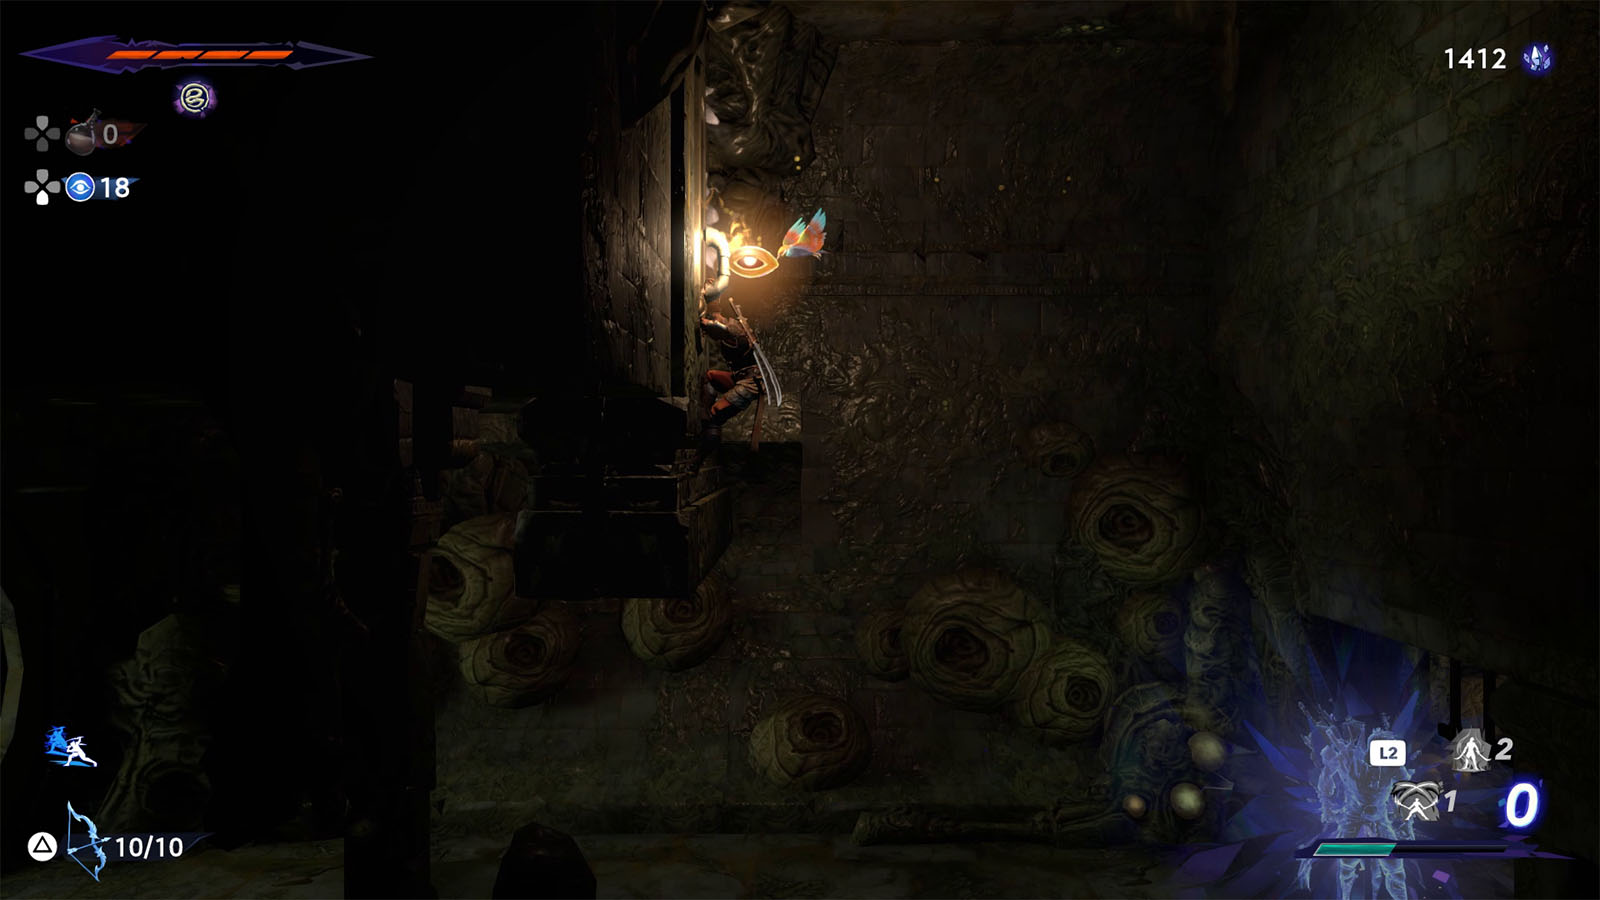
Inside the Catacombs, take the lower path for now and head east. You will be encountering creatures that are agile and have long tongues that can pierce through walls.
Look for a glimmer on one of the upper levels to find the Collectible – Tiara.
Then, make your way down going back to the west to find a slit in the wall. Slide through to find another Spirited-Sand Jar.
Head back towards the east and you will find a creature blocking a pathway. Hitting this creature a few couple of times will cause it to open up and clear the path. Leave this for now as there are still a few things to find in the Catacombs.
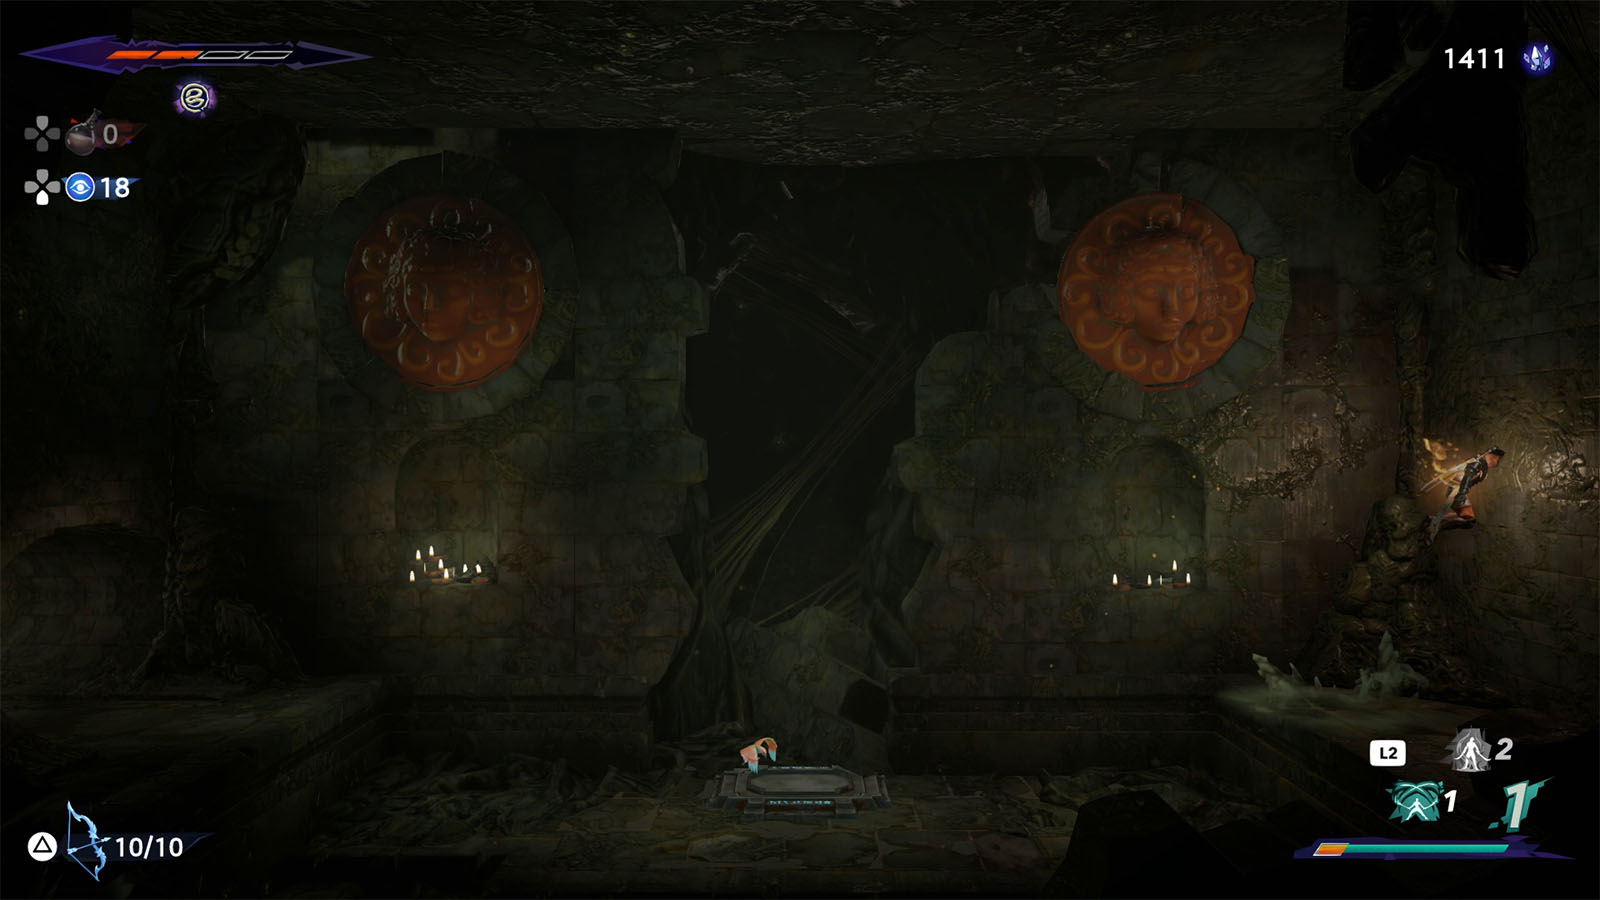
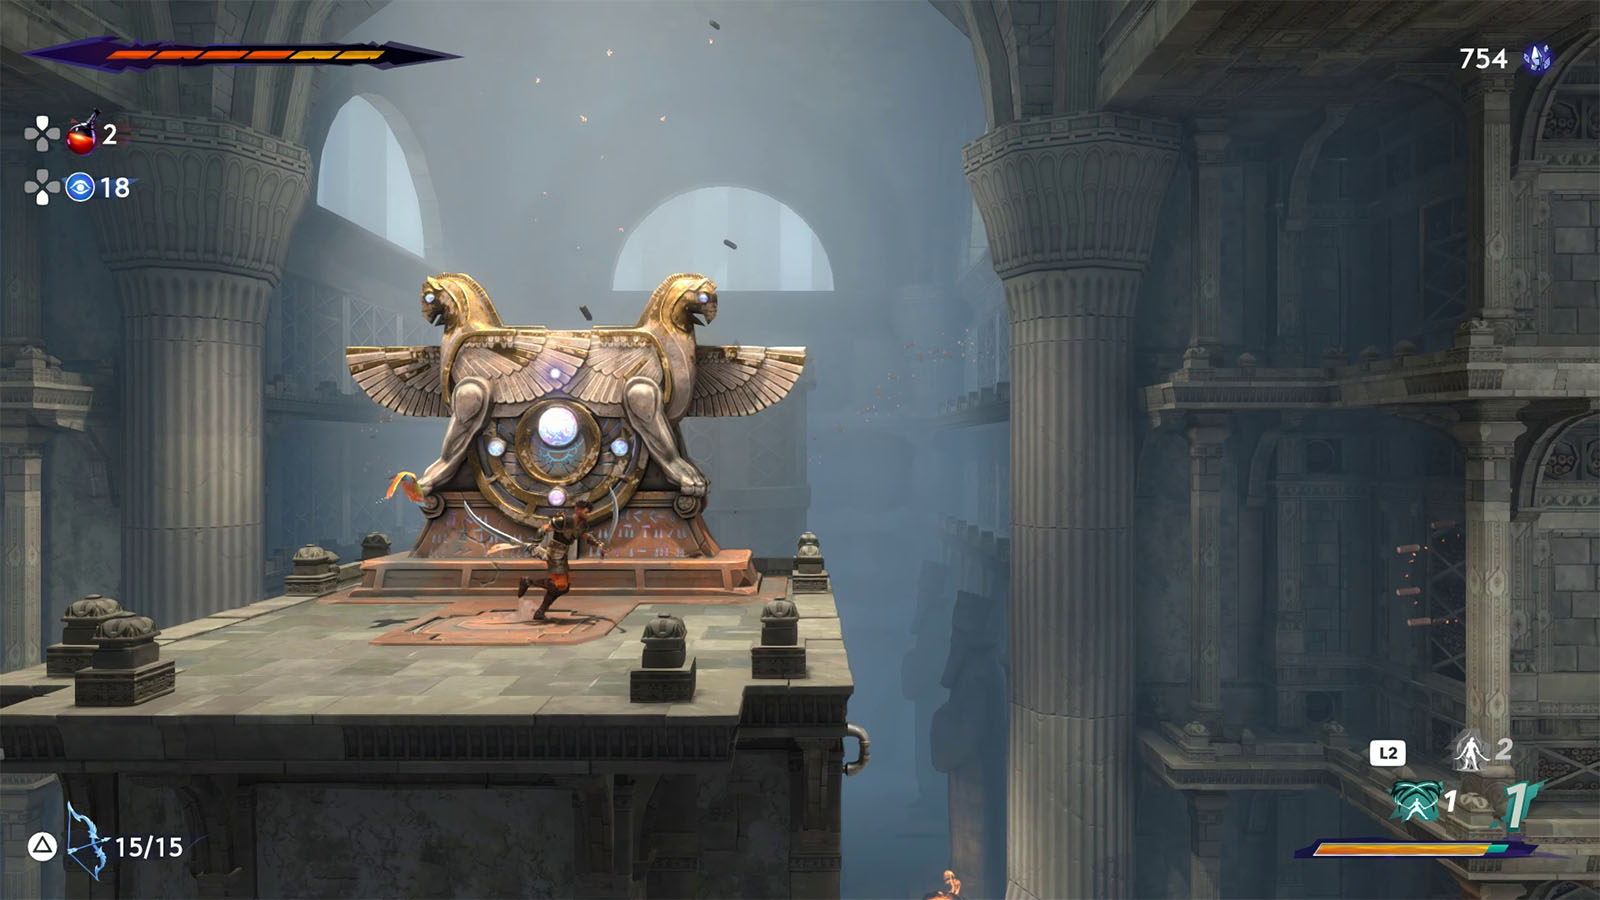
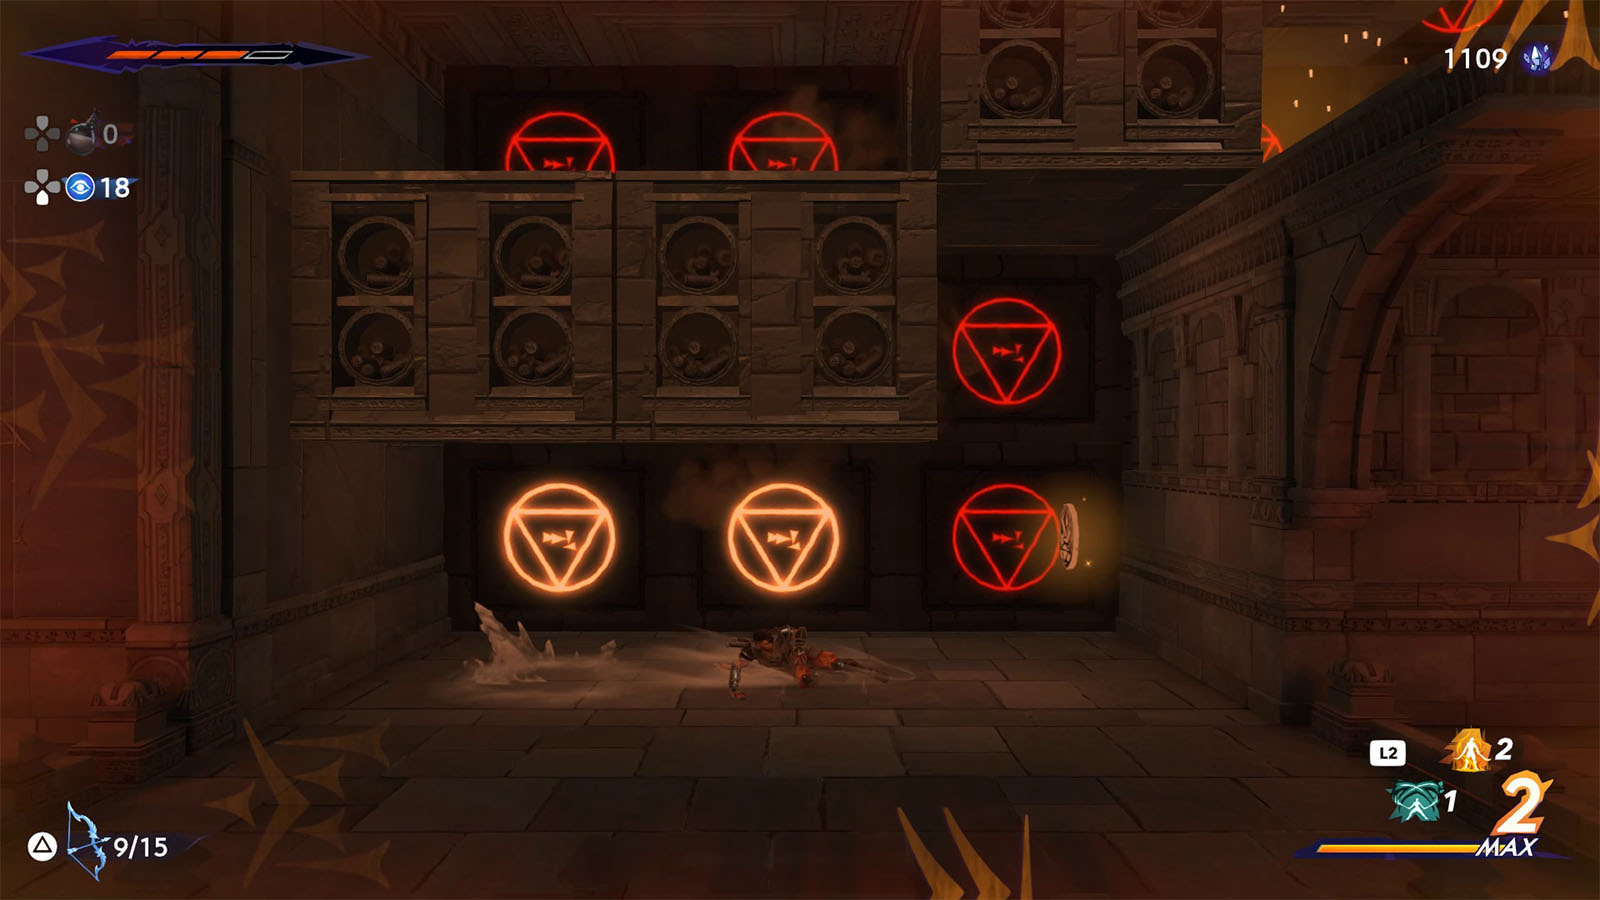
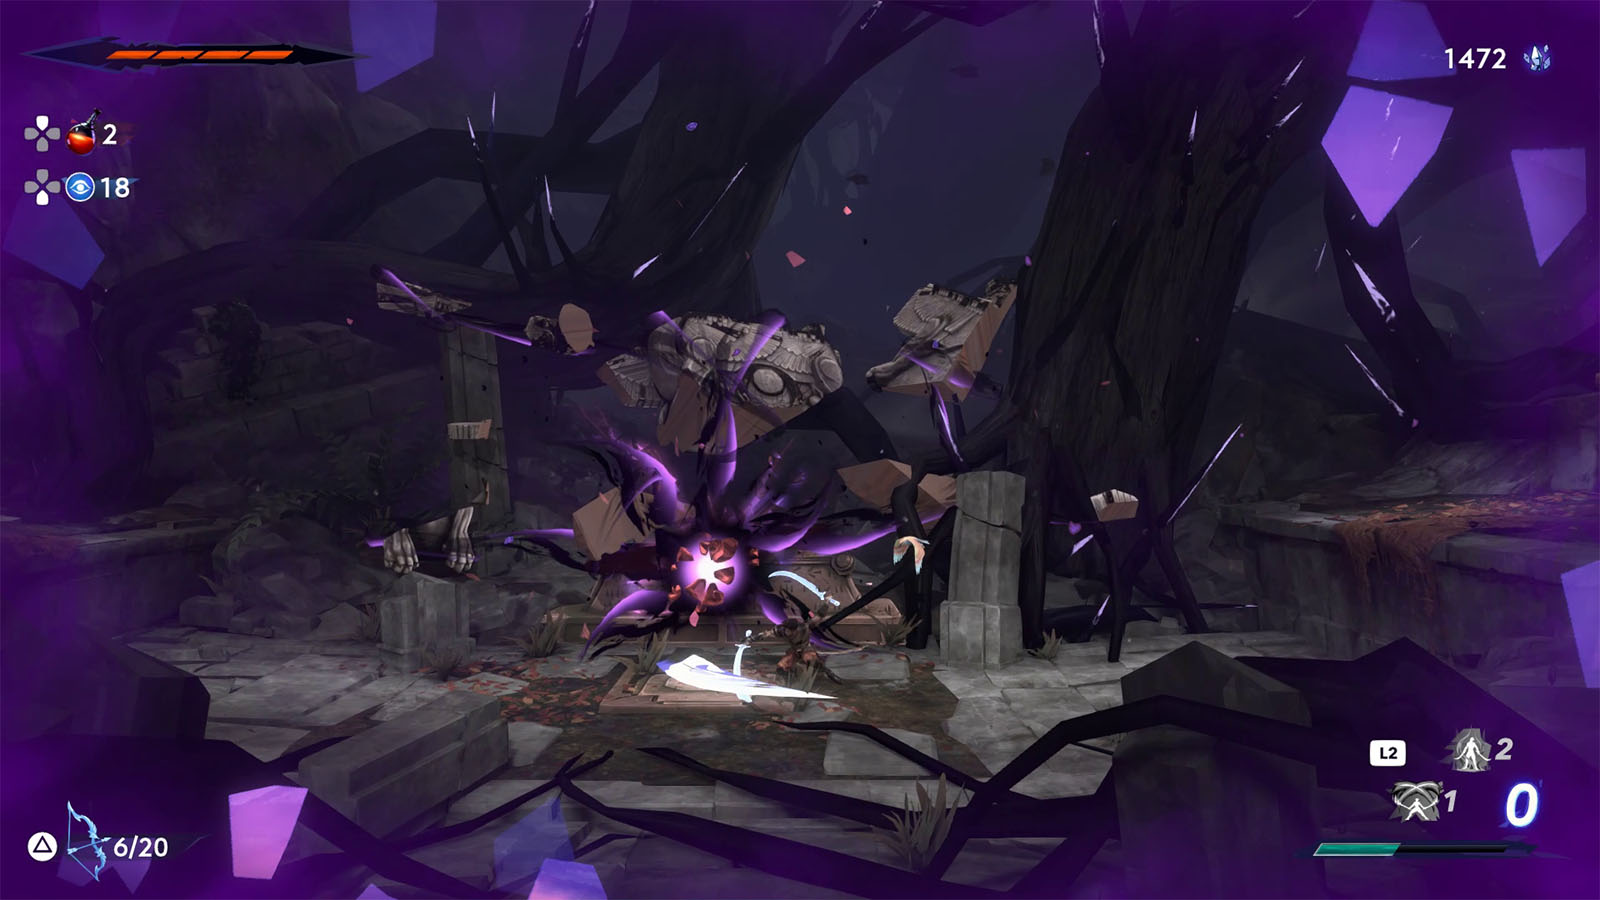
From the fork near the pathway creature, take the upper route and go east until you reach the room with two red face sculptures. This is another one of the puzzle rooms where you need to light up both of them at once to reveal the treasure.
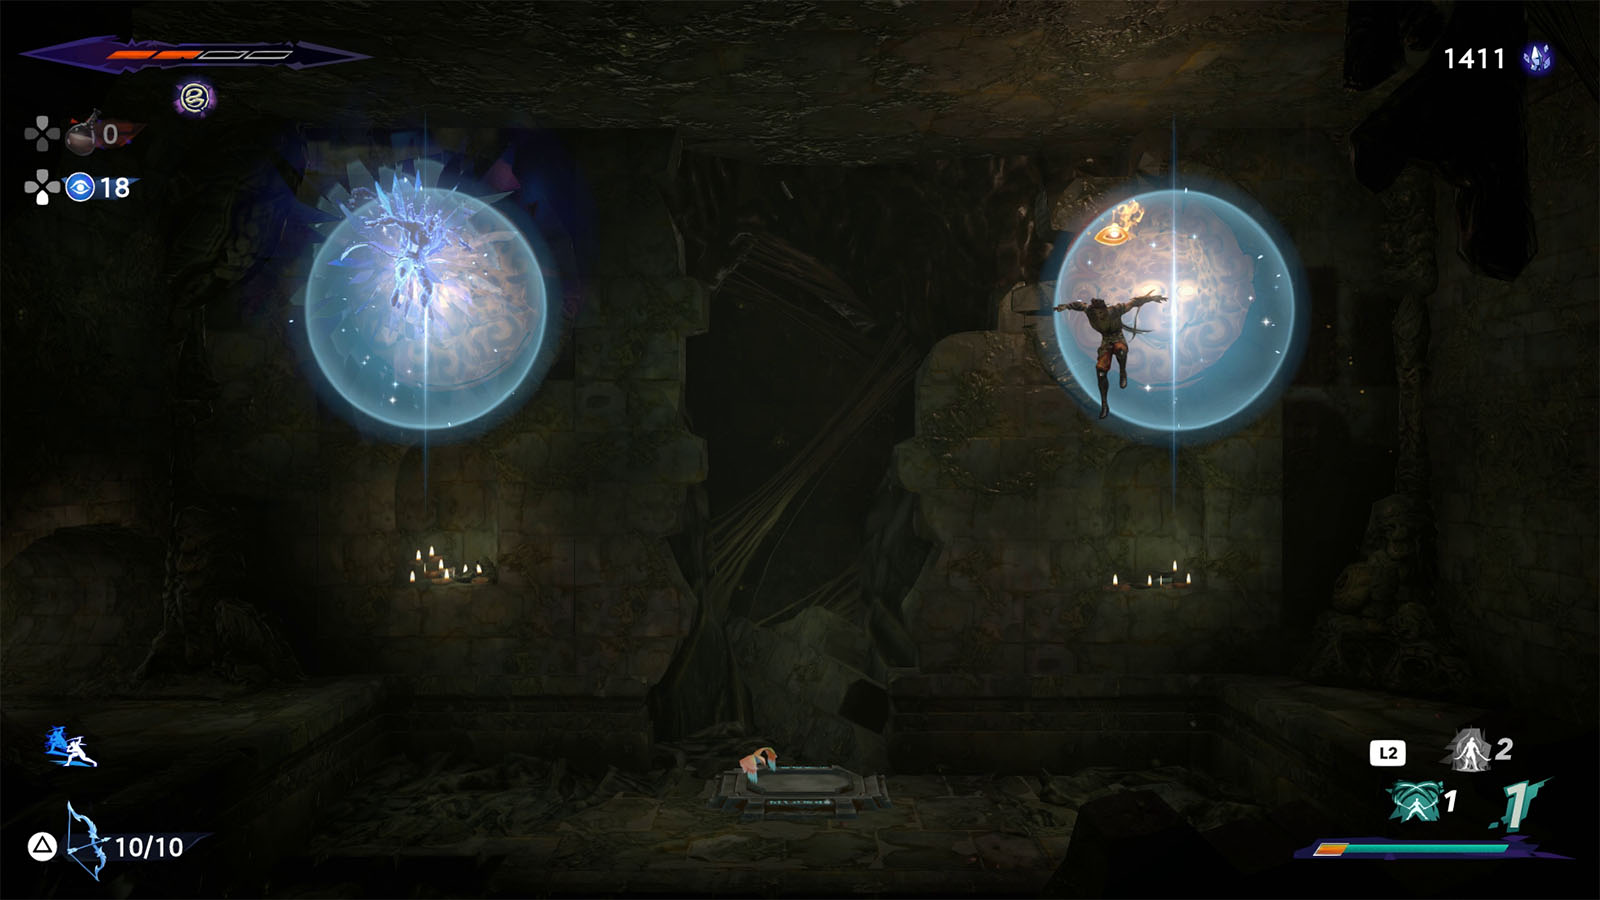
To solve this room, jump towards one of the faces and leave a shadow. Then, jump to the other face to light it up. The treasure chest should then be revealed, containing the Shockwave Amulet. This amulet sends out a shockwave whenever you destroy your shadow.
Go out of the room and climb upwards to find a vertical room with several floors. Go to the first floor and go through the pathway creature to the left first. Then follow the golden breeze to the next tree where you will also find a Homa Statue.
Head back to the vertical room and take the path to the right where you will see Fariba and buy the map for the Catacombs.
Back on the vertical room, climb up and take the path on the right to fight against the Giant Crab.
How to defeat the Giant Crab
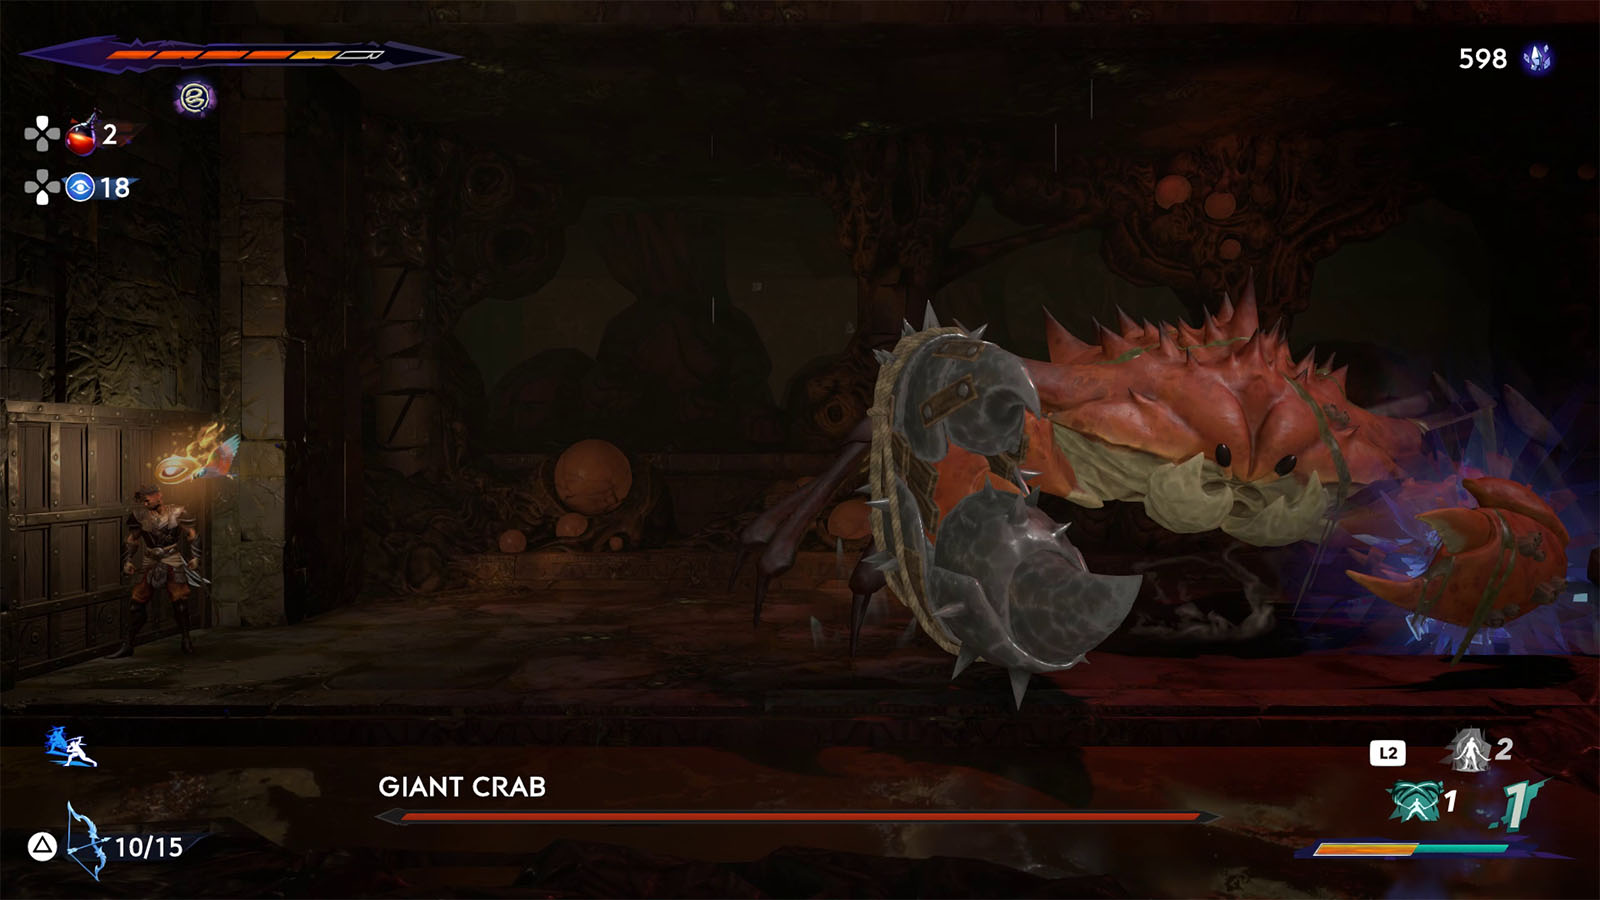
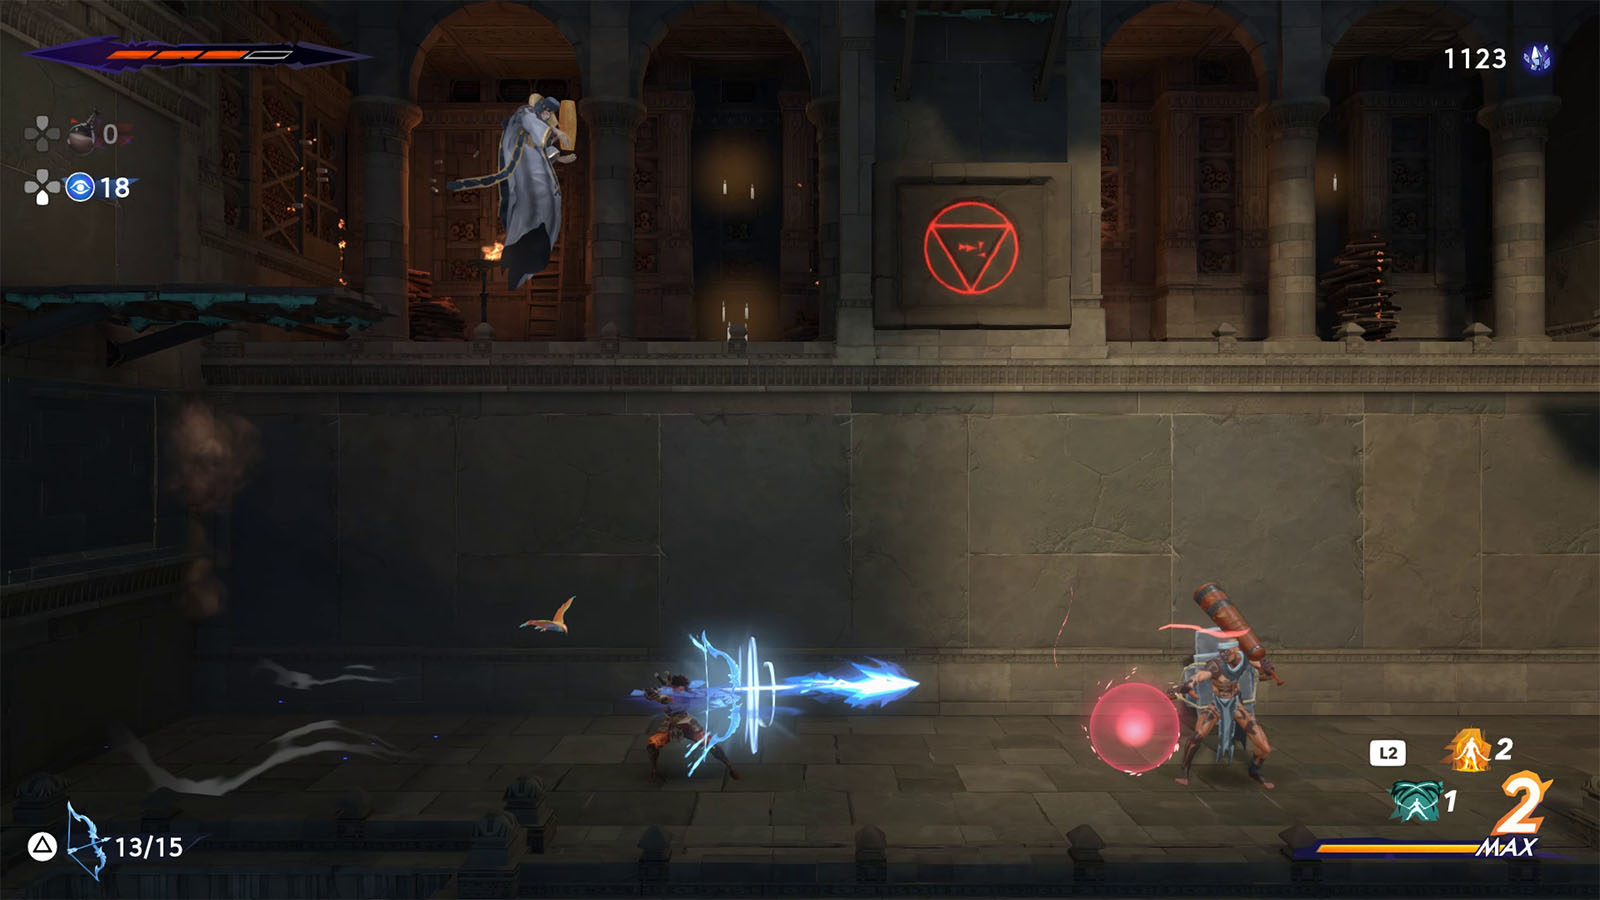
The Giant Crab has one huge pincer that is plated with scrap metal. It can slam its claw to the ground to release waves and it can also use its metal claw to bash. It also has the ability to blow sludge bubbles that deal contact damage.
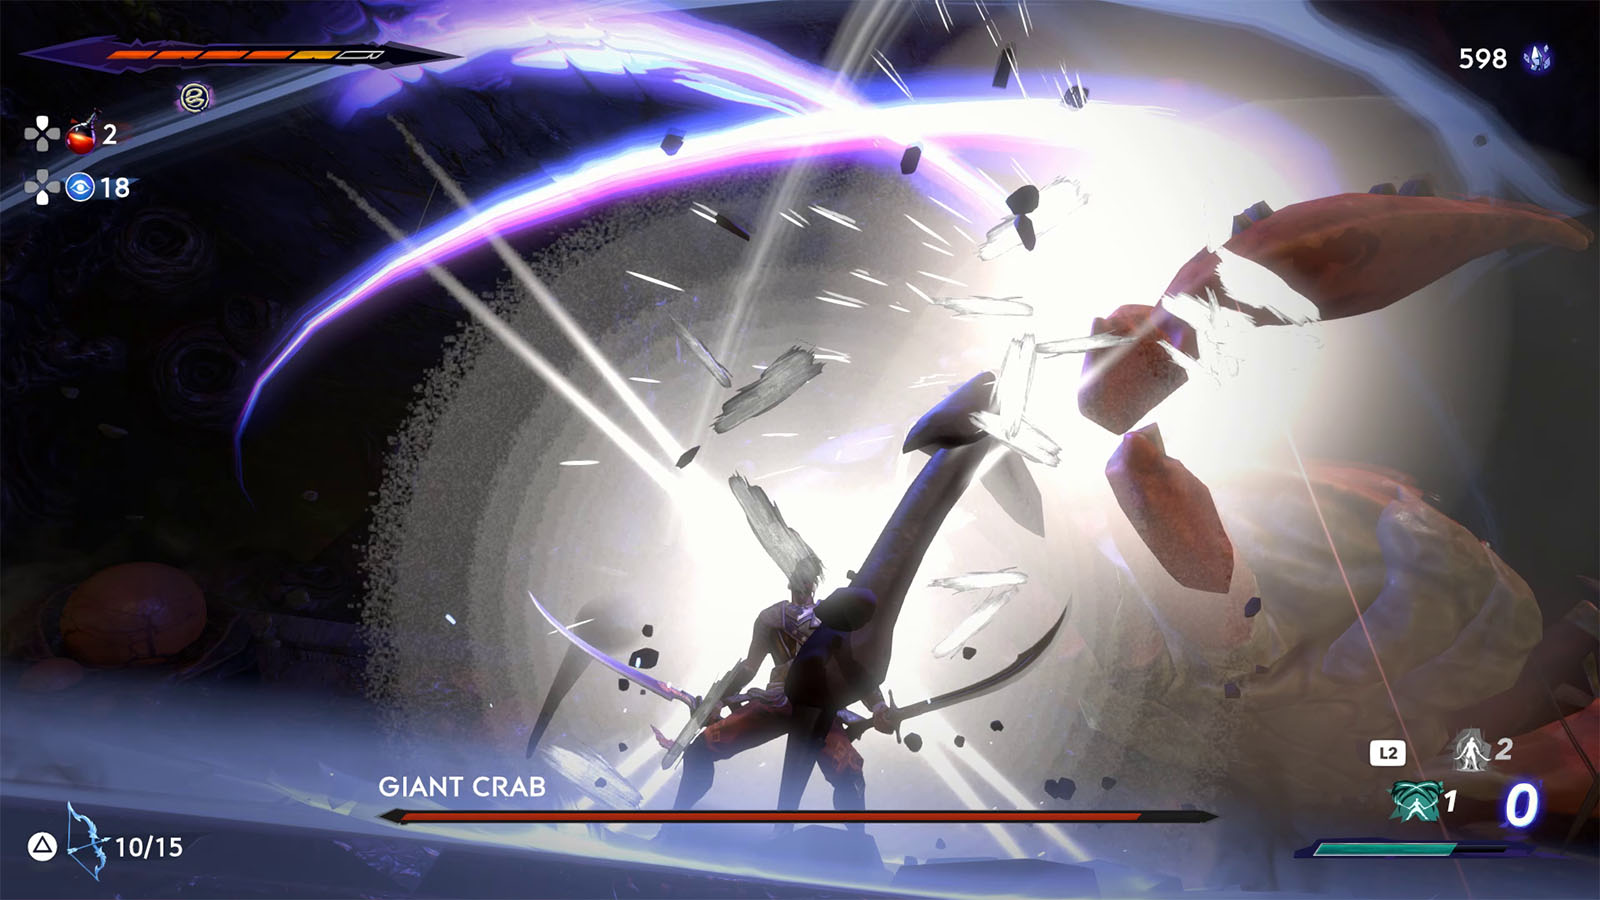
The Giant Crab is a relatively easy fight with the help of your shadow. Head towards the right and leave a shadow as close to the boss as possible, then lure it to the left. Wait for the boss to pass the shadow before returning to it, then you can deal easy hits or pop your ability on the boss’ vulnerable side. Its metal claw can also be destroyed after taking enough hits.
Once the Giant Crab has been defeated, you will be rewarded with the Agony Amulet which makes killed enemies explode.
Go back to the pathway creature and kill it to reach a room with a gate. Leave a shadow by the gate, then hang on to the rung on the nearby wall. Once the gate is open, return to your shadow and slide through.
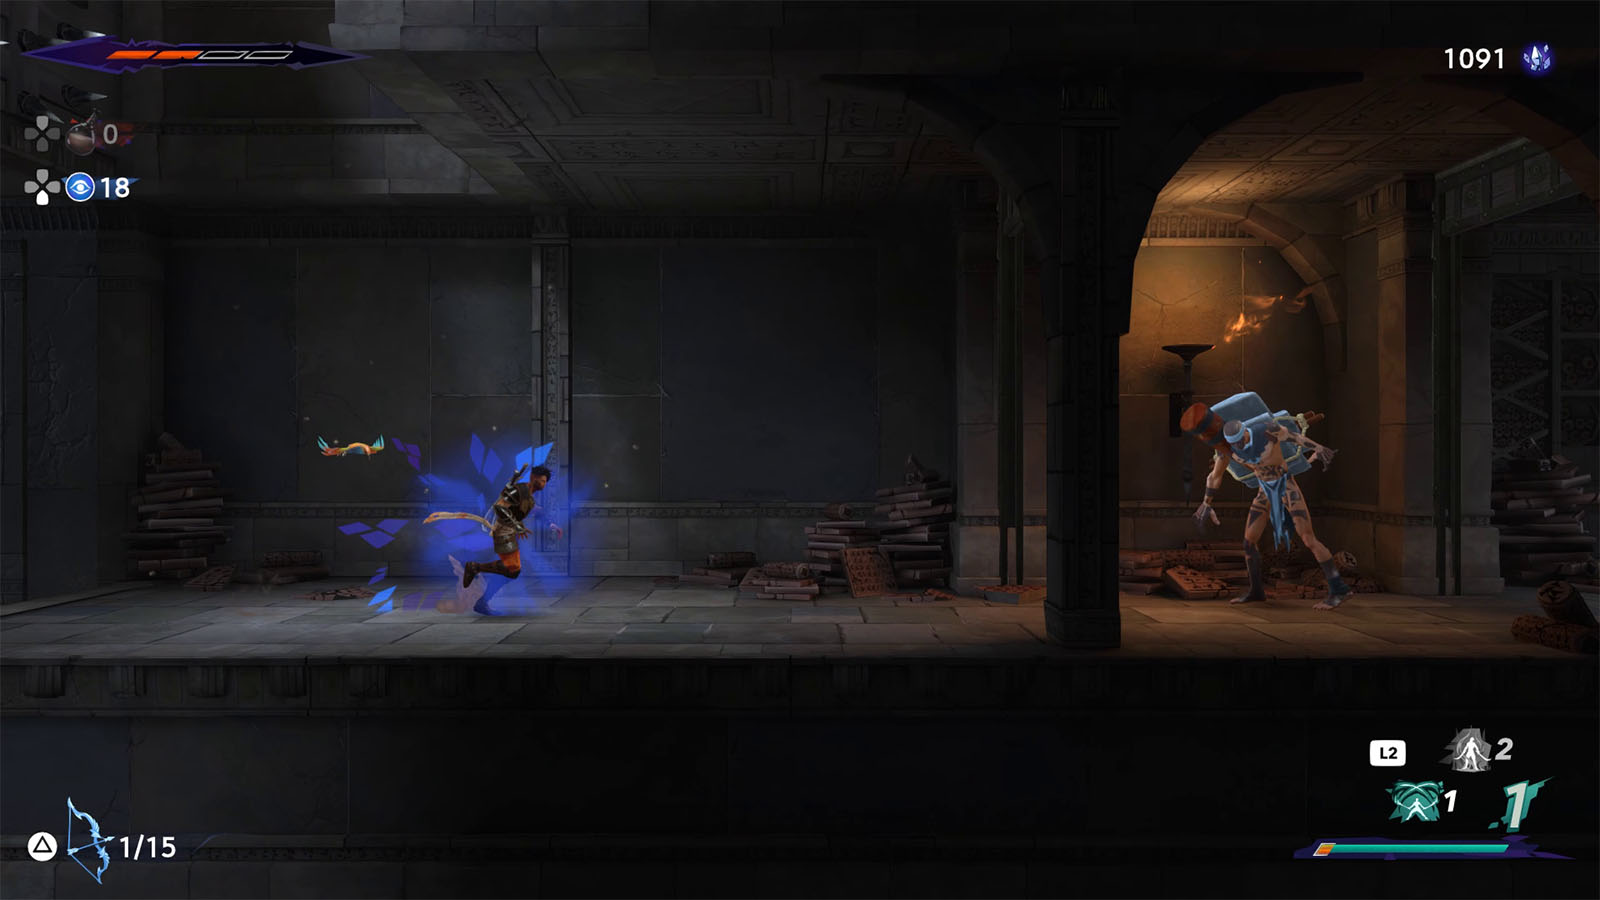
Continue down the path and you will find one of those creatures that wear the face plates as a shield. Approach the creature as close as you can and quickly leave a shadow. Then lure it to follow you, and once the creature is past your shadow, return to the shadow. You can then hit the creature’s soft parts and kill it.
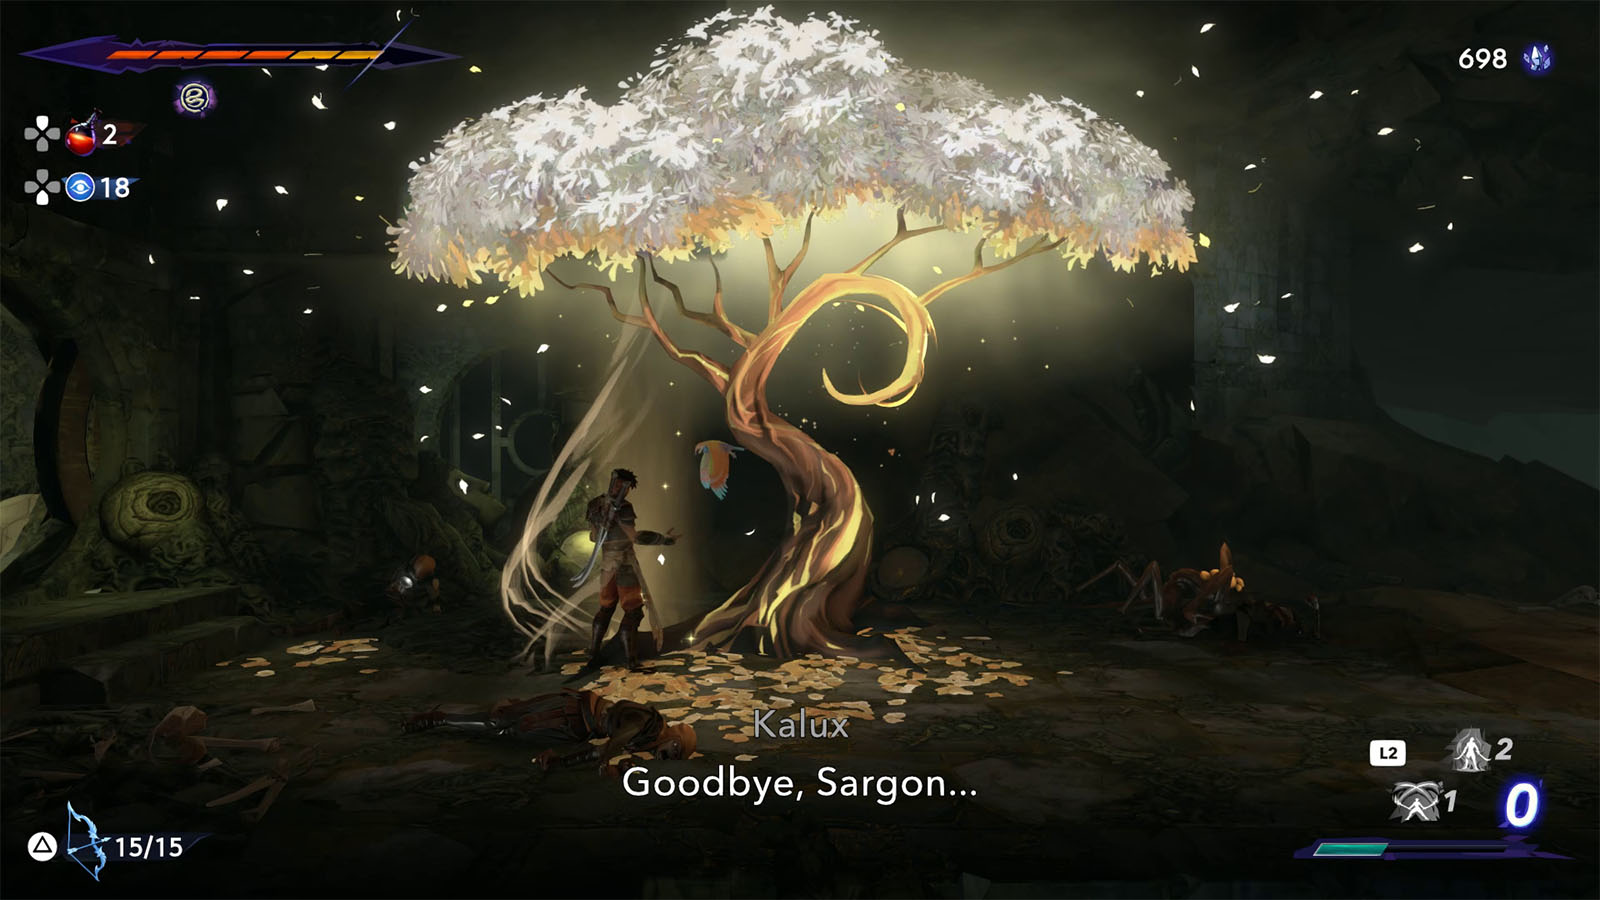
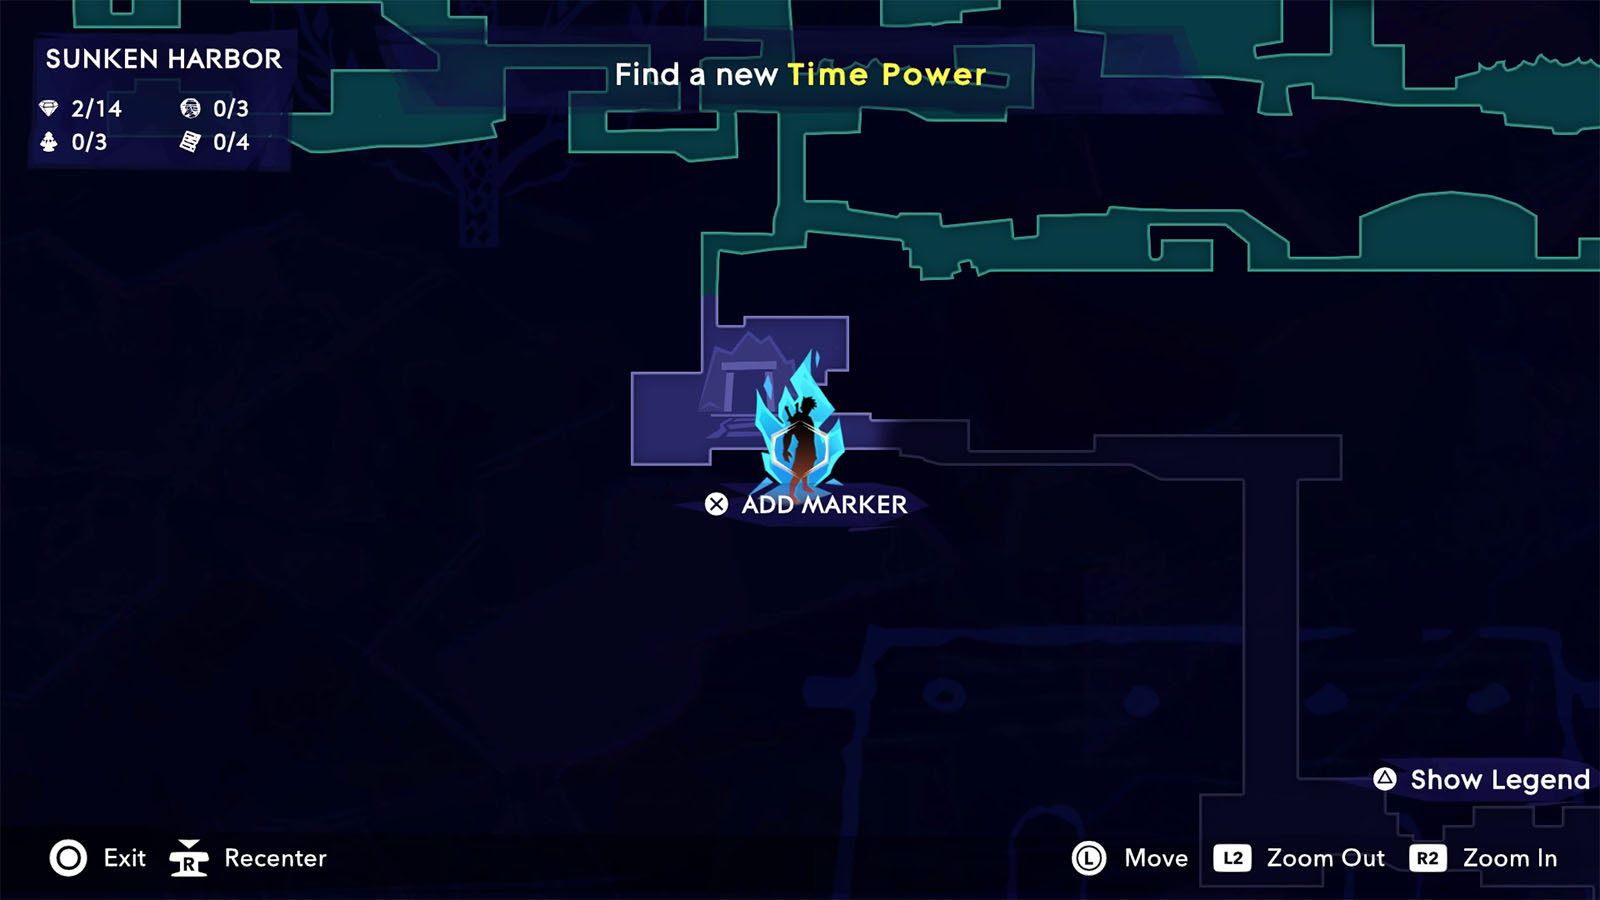
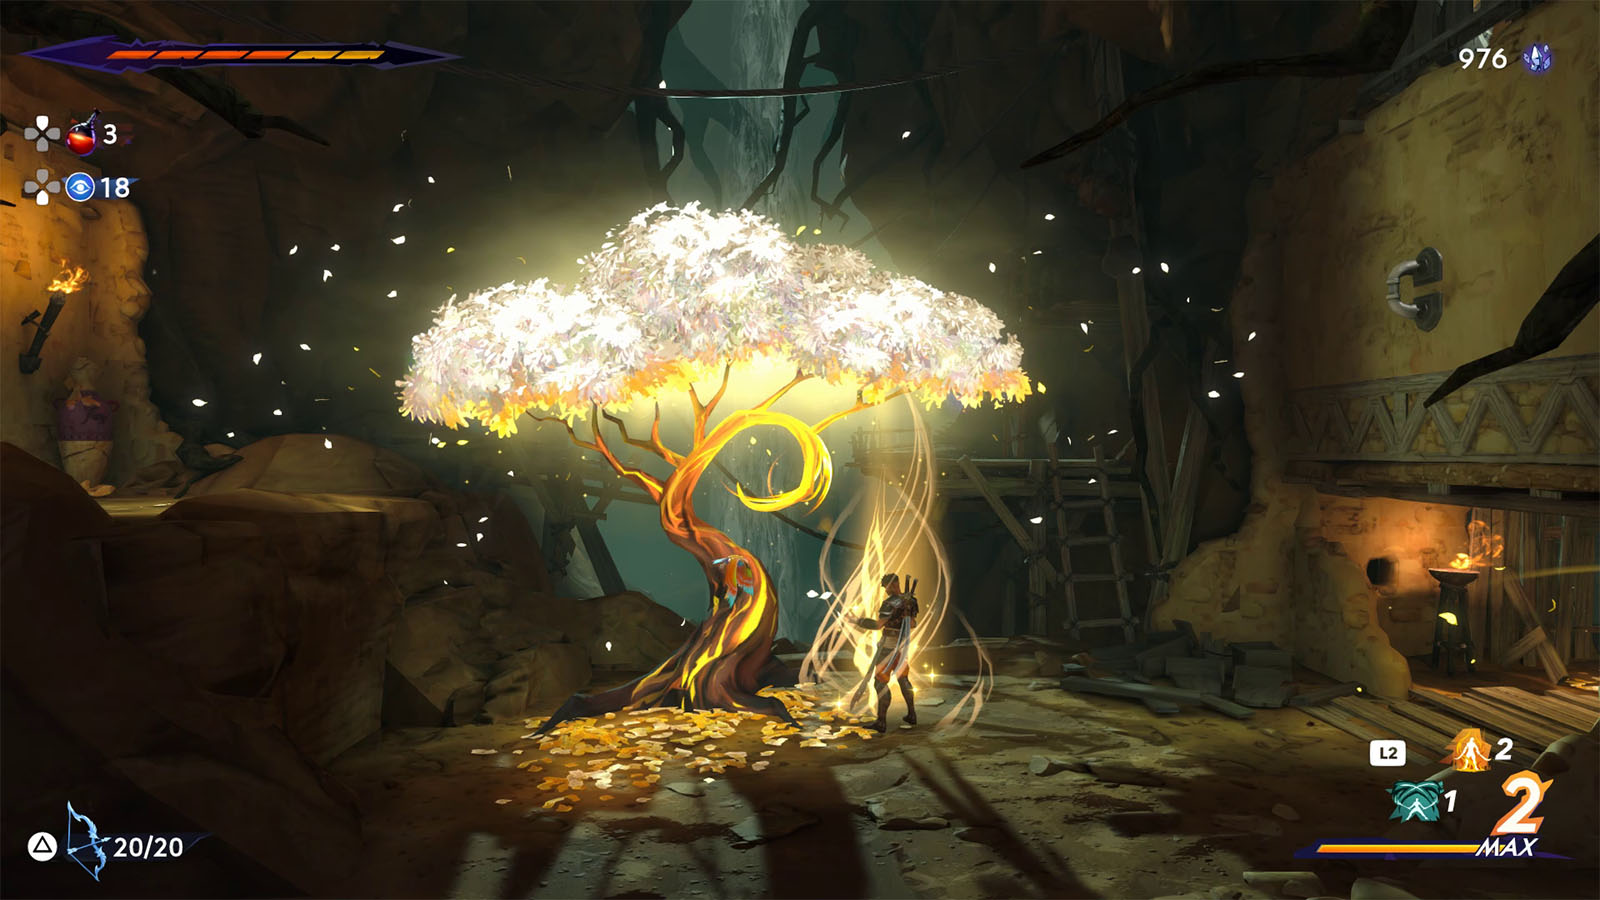
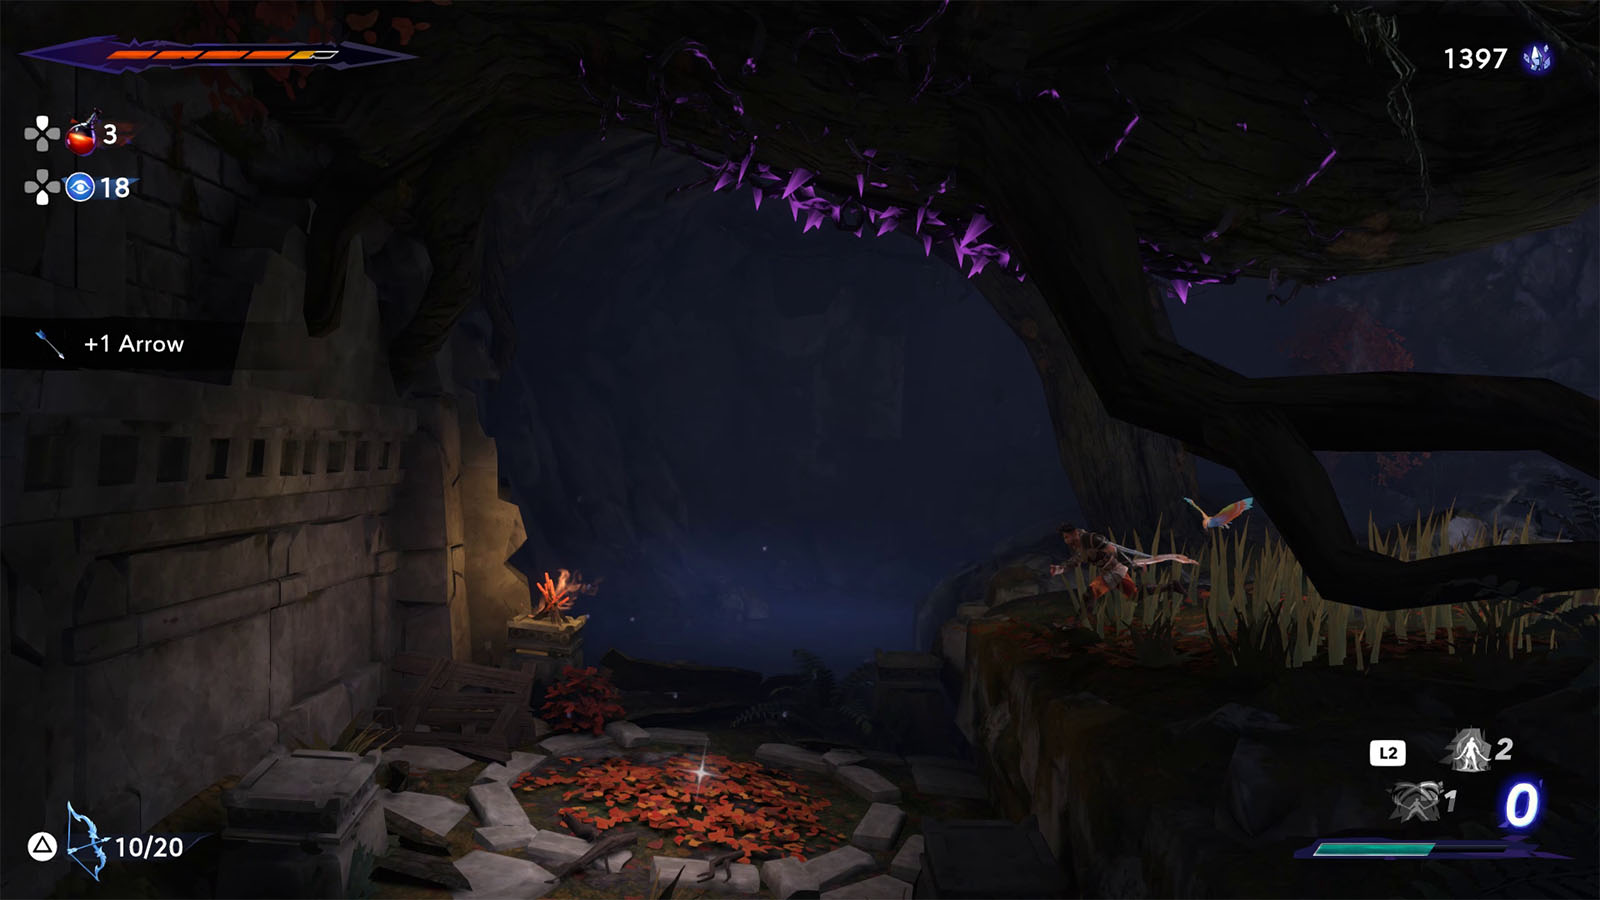
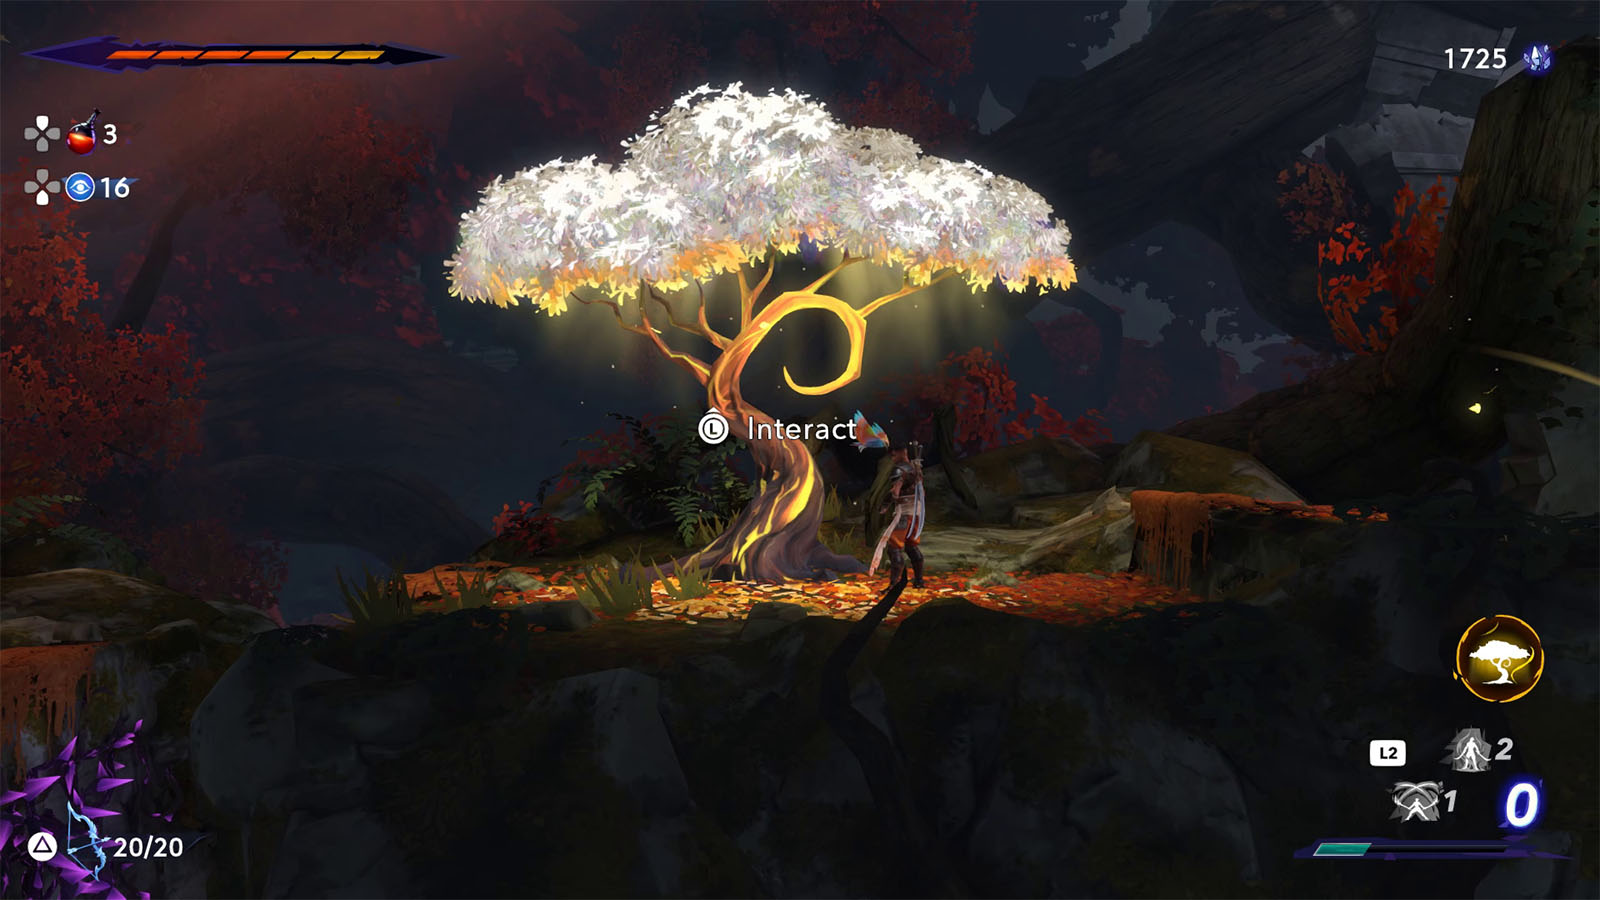
Continue through the path as it snakes downwards and you will eventually reach the Sunken Harbor and find another tree.
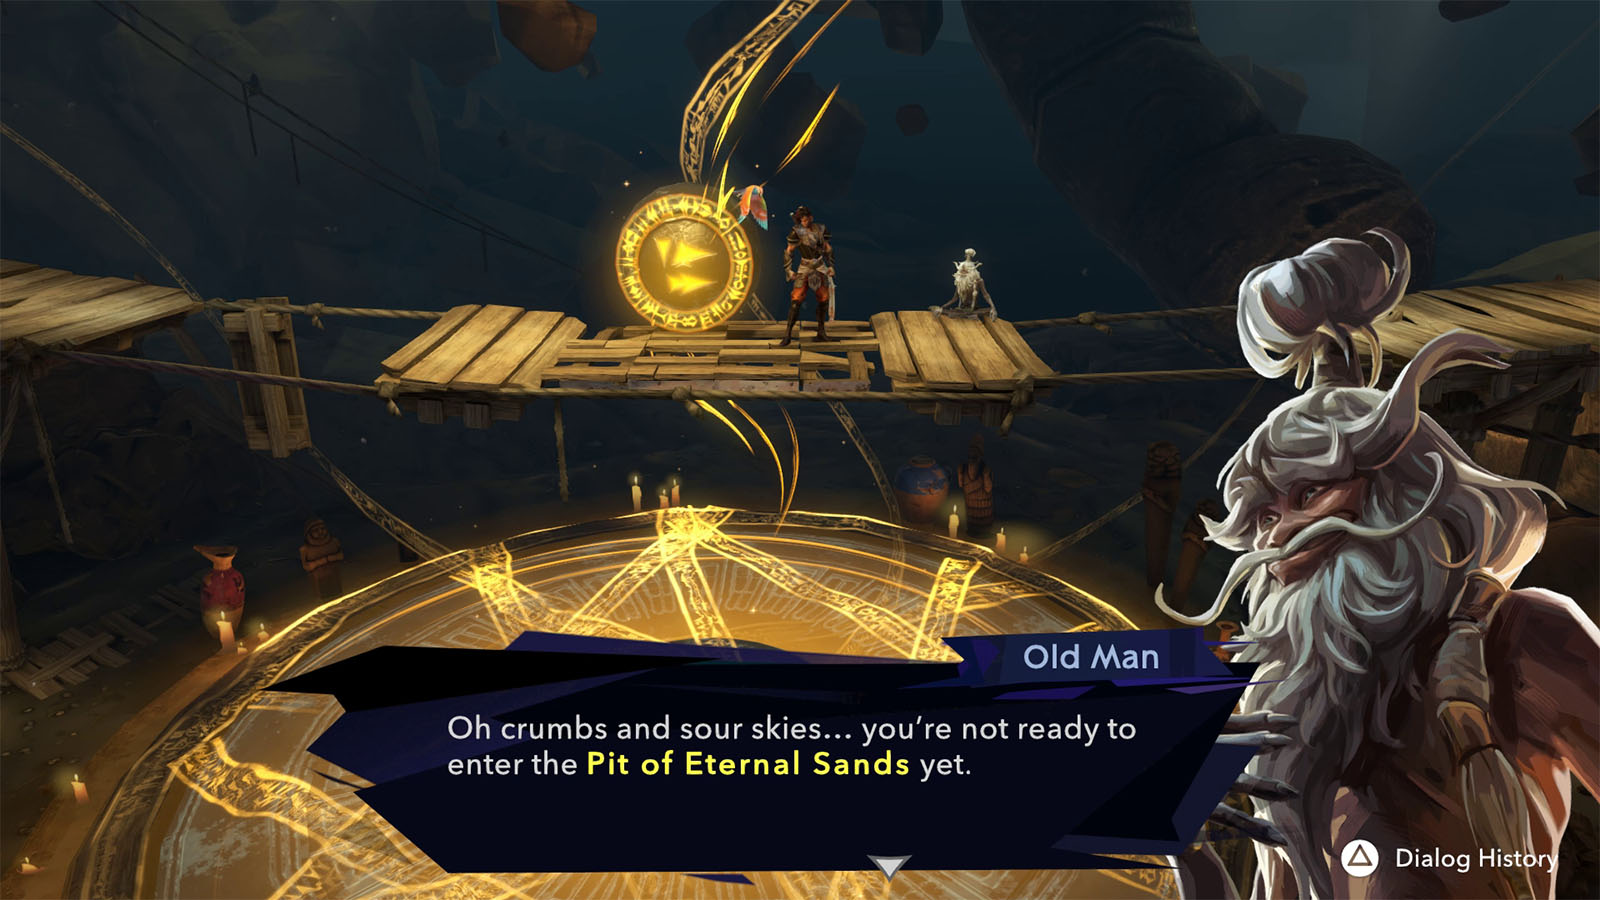
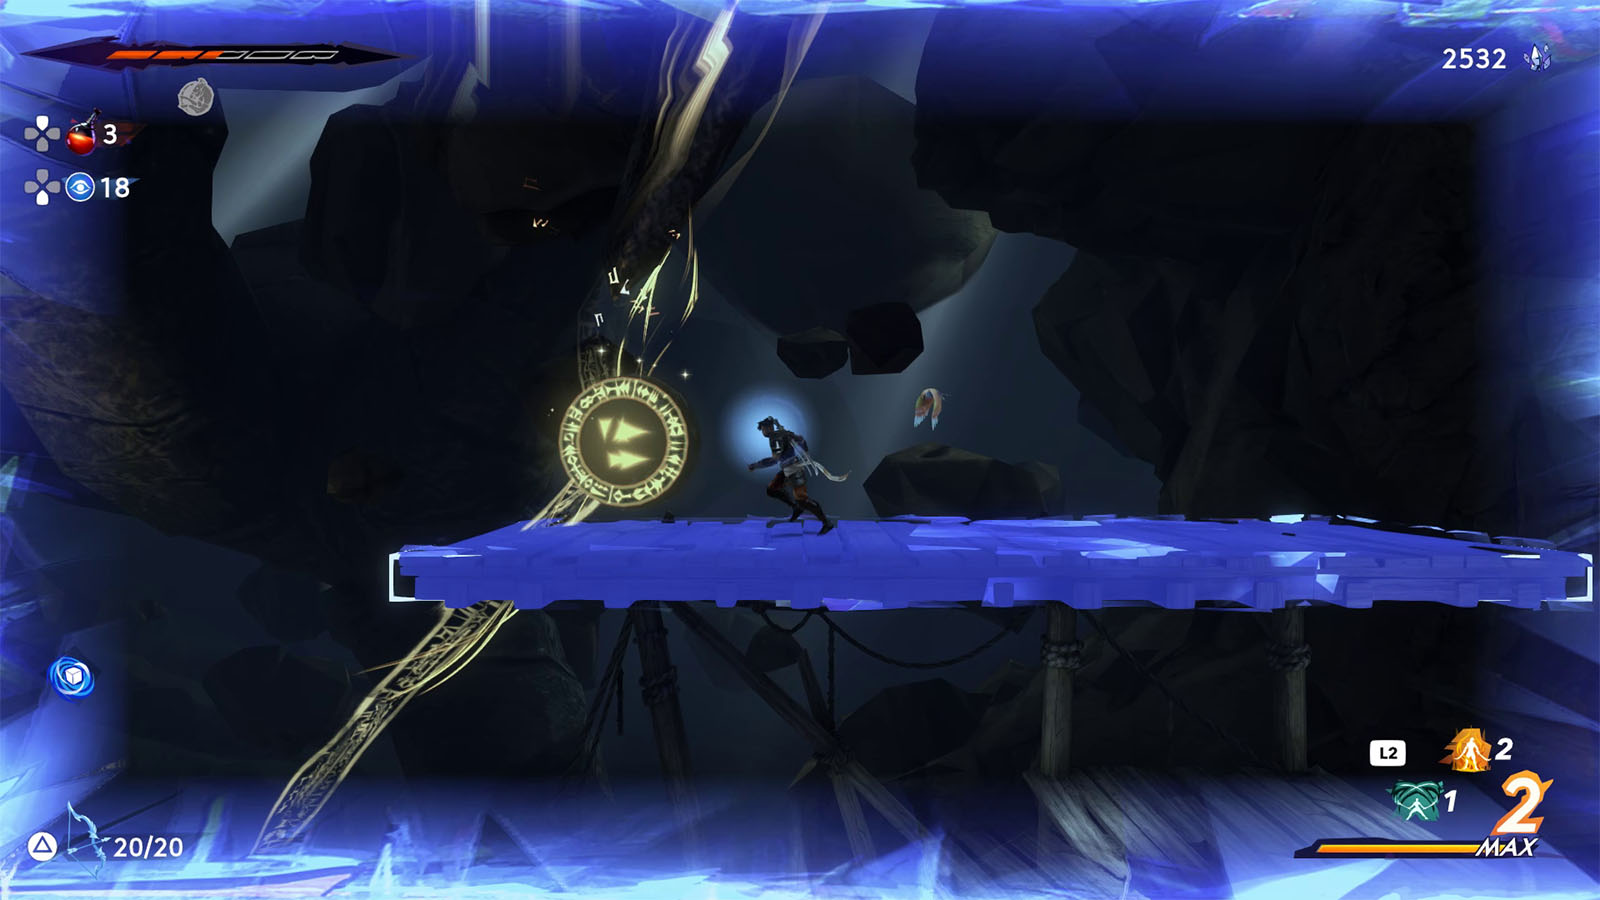
Follow the glowing bands that lead to the sealed pit where you will meet up with Alkara again.
Alkara then tells Sargon that he is not ready to break all of the seals of the pit yet as he has to gain more powers of the Simurgh to do so. He also shares some hints to where you can find such powers, one leading you back to the Hyrcanian Forest, and one leading you back to the Sacred Archives.
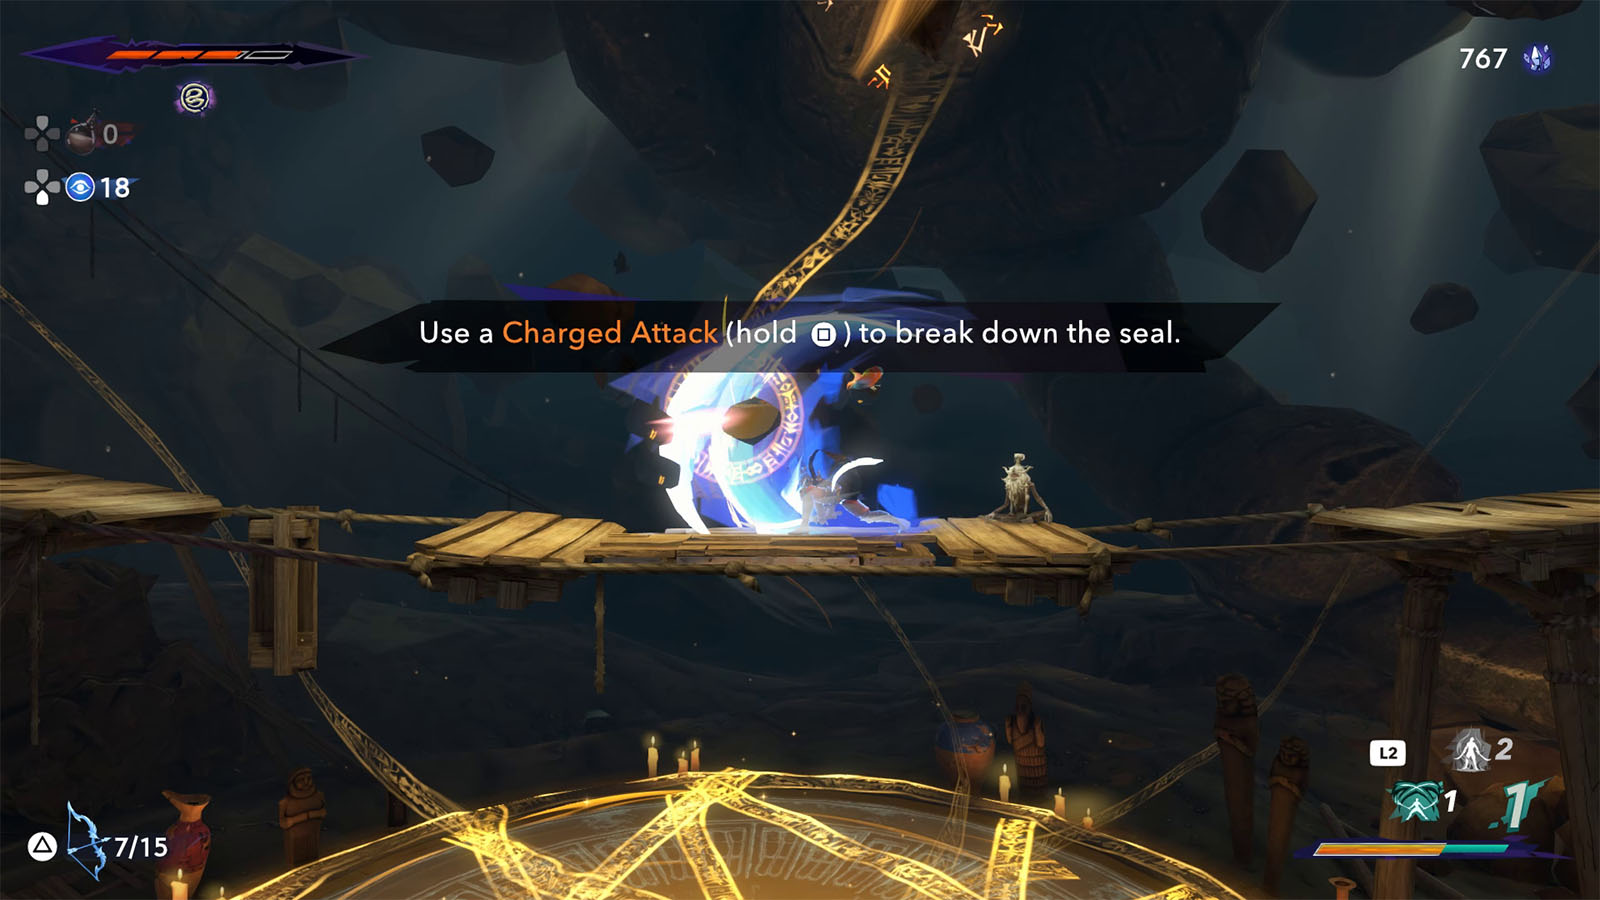
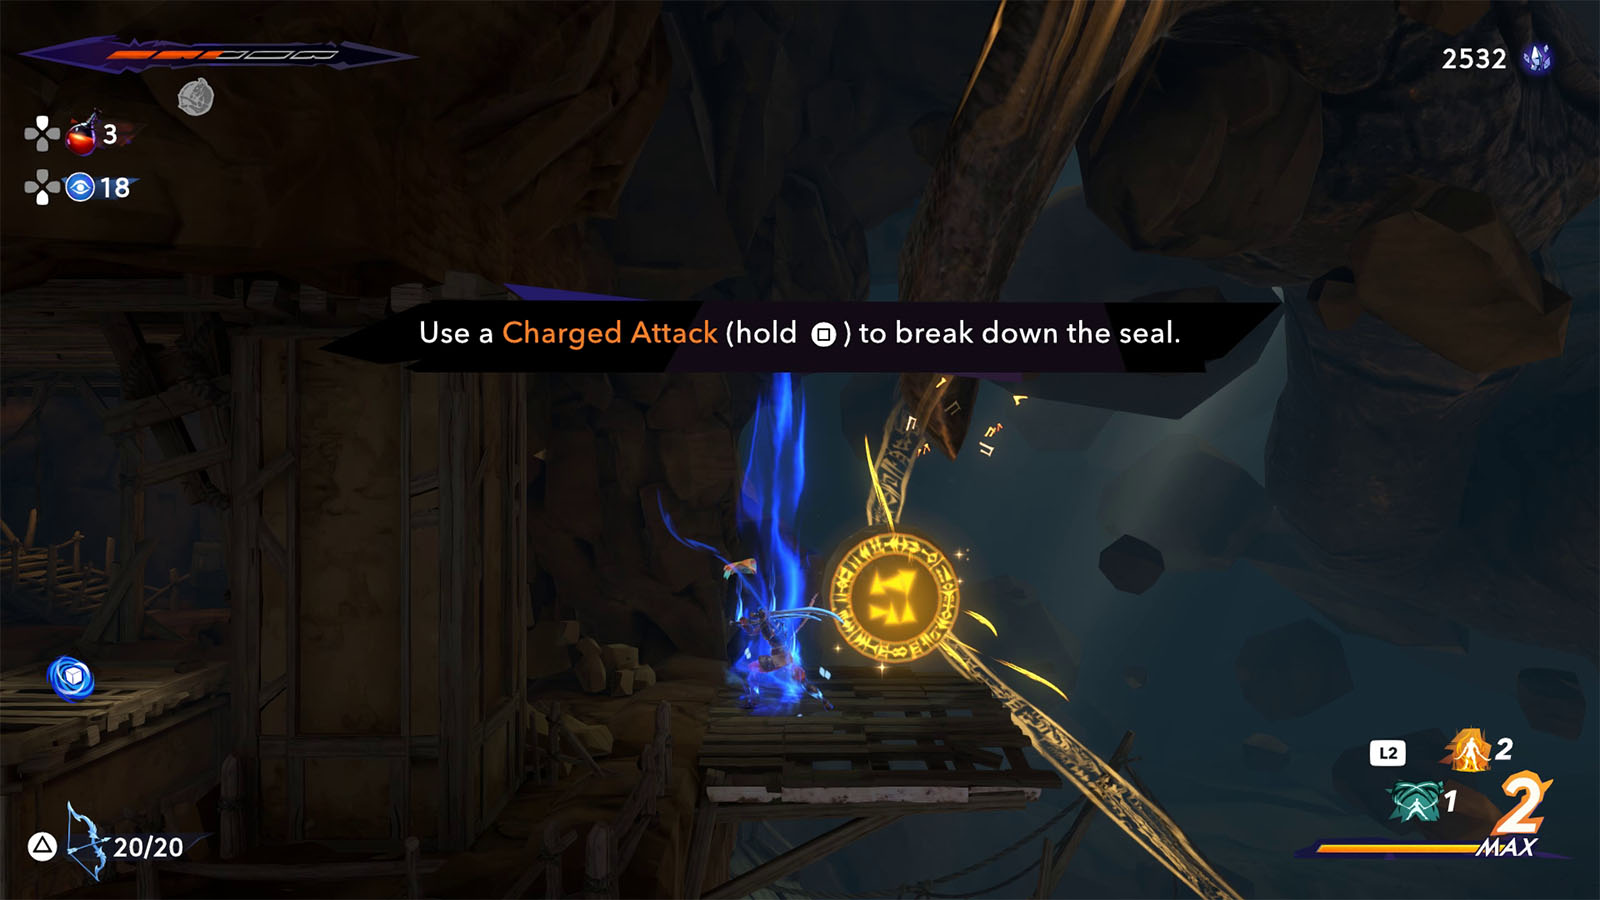
For now, you can only break the seal near you. Hit the seal with a charged attack to break it. The other bands attached to the seal are in places that you cannot reach without acquiring the other Simurgh abilities. At this point, you can either go to the forest or to the archives.
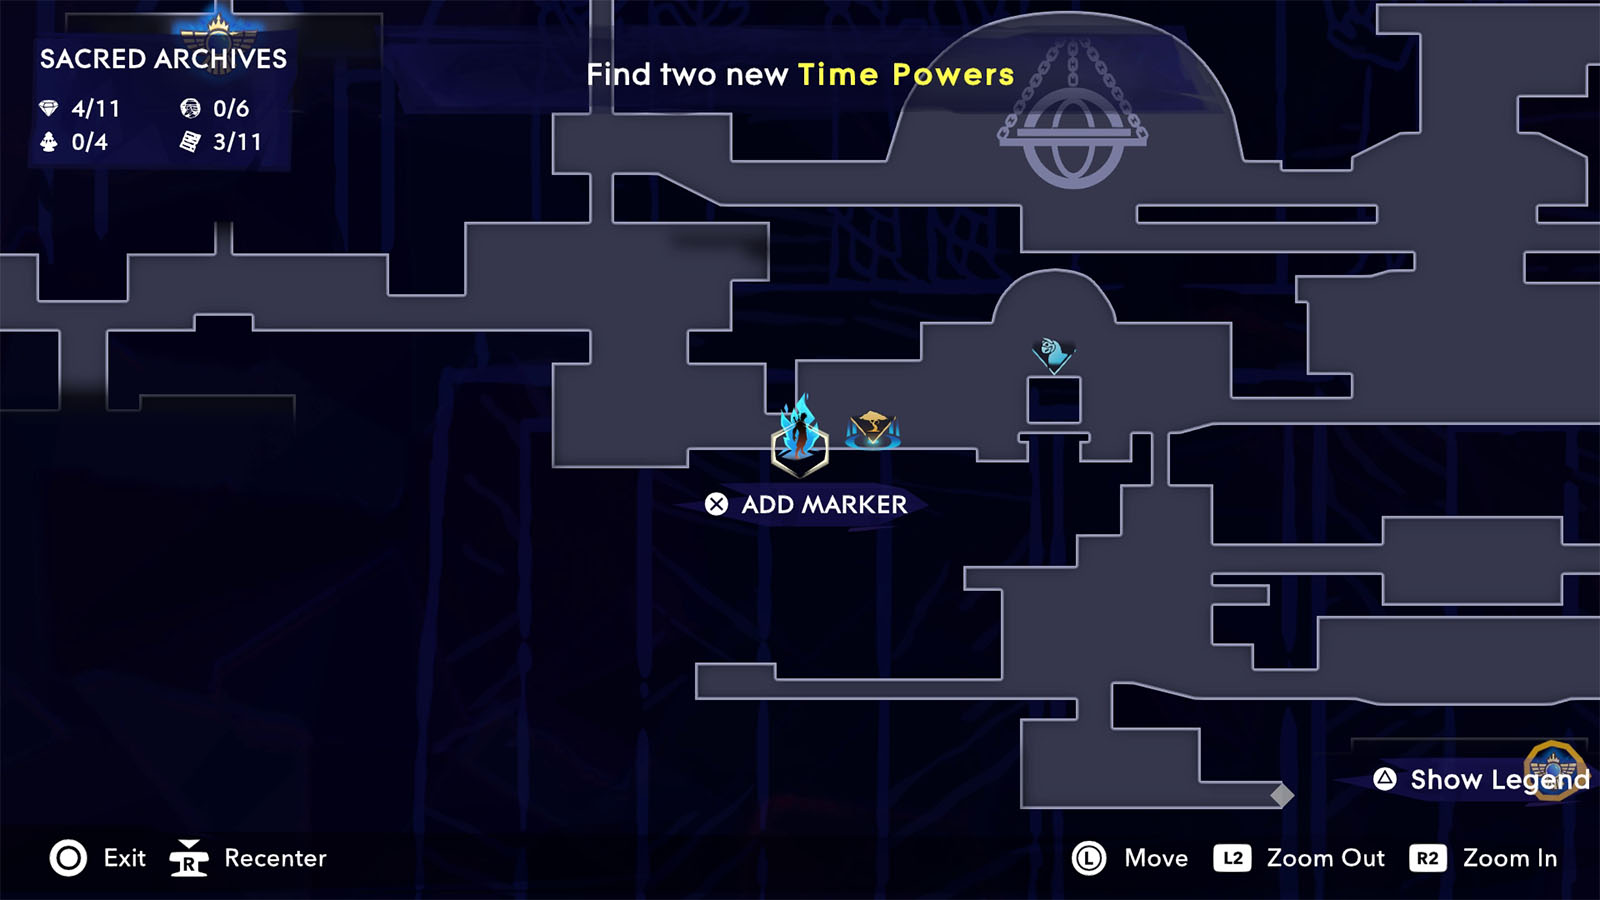
Acquire a new Time Power (Sacred Archives)
Fast travel to the sacred archives and follow the path that leads to the room directly above where the moving spiked walls are.
With your shadow, pass through the wall to the left. You can then find the Collectible – Note Pinned to a Rock Shaped Like an Eye. Head through the door to get to the Temple of Knowledge.
From the elevator, ride down to the lower level first and make your way to the nearby tree. Then make your way back and head to the upper level and into the next area to the left.
Go past the two crystal shadows and head straight to the next room to the left.
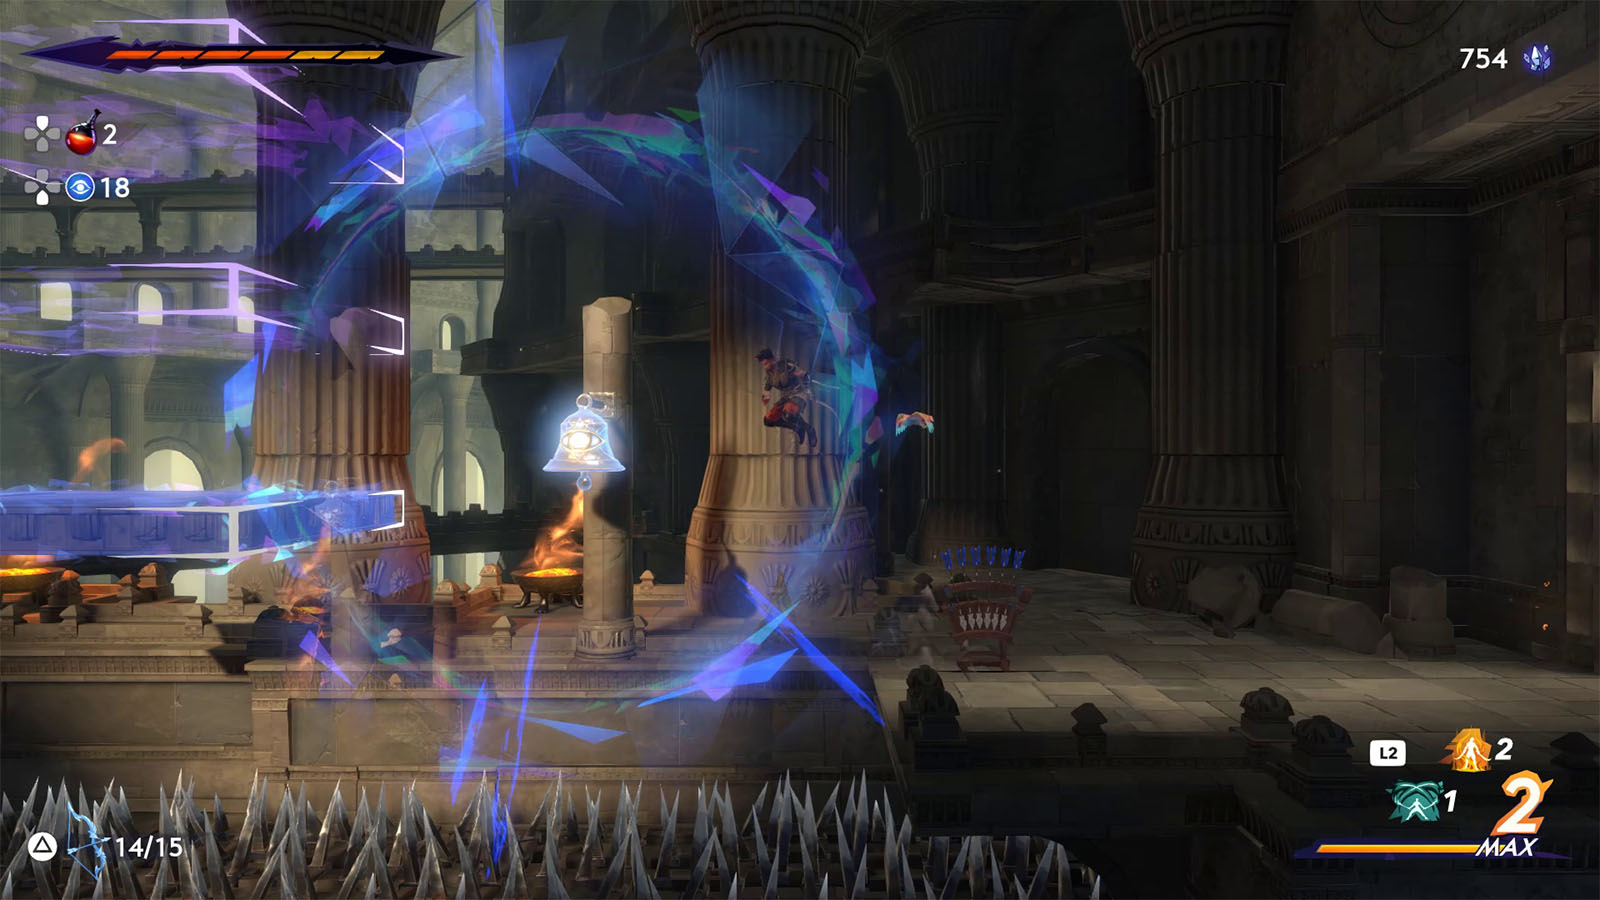
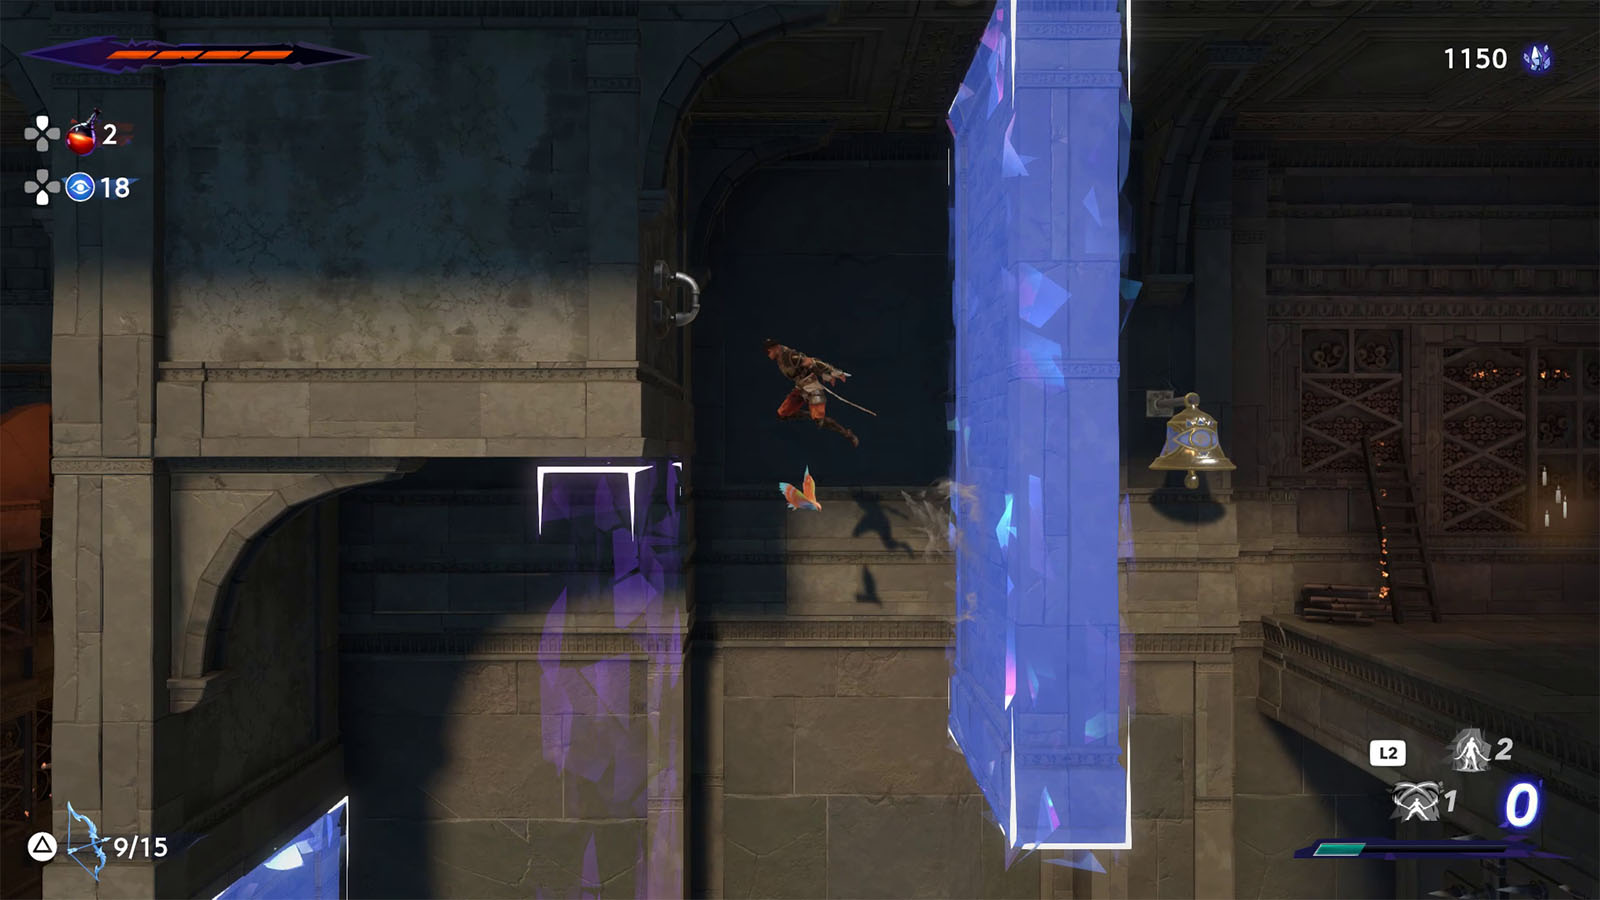
In this room, you will have to work with the crystal platforms and walls and make them appear or disappear as needed by hitting the bells. You will need to be quick when doing so as the bell’s effect only lasts a few seconds before everything reverts back to their states.
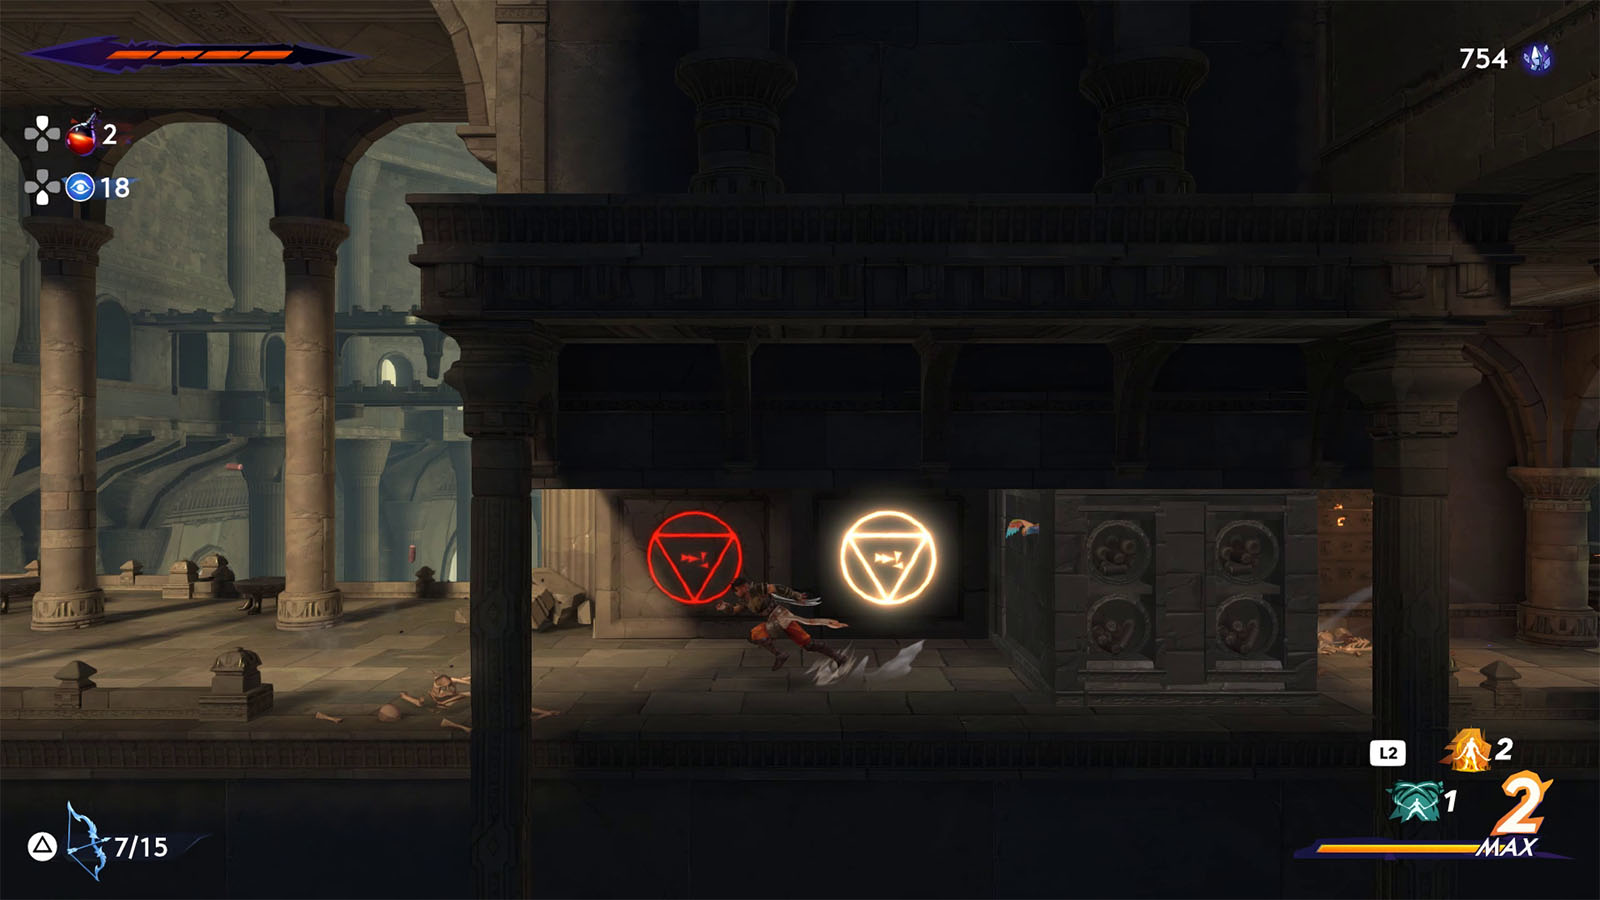
You will then come across the runed walls. These walls will activate and call upon another wall that can crush you if you don’t get in the way. Make sure to dash and run whenever you have to pass through these runed walls.
Past the floating archivist enemy, go to near the edge of the spike pit and attack the wall next to the torch to reveal a secret path. Be careful as this path is lined up with runed walls as well. Get through the path as quick as possible to get to the room with a chest containing crystals.
Next, go through the floor to reach another path with runed walls until you reach a fork.
Taking the left path first will lead you to a room that leads to another nearby tree. Be aware that the platforms that lead to the tree move depending on where you are facing.
The room to the west of the tree is a room where you have to fight and survive waves of enemies. Once done, go to the next room to find a chest containing an Azure Damascus Ingot.
In the next large room, slip past the next runed path and make your way up the large structure in the middle to find the Collectible – Alchemist Diary Entry 1.
Continue traveling to the west as the path to the objective circles around. In these next areas, the rooms will be covered in an orange aura which makes the enemies tougher and immune to knockback.
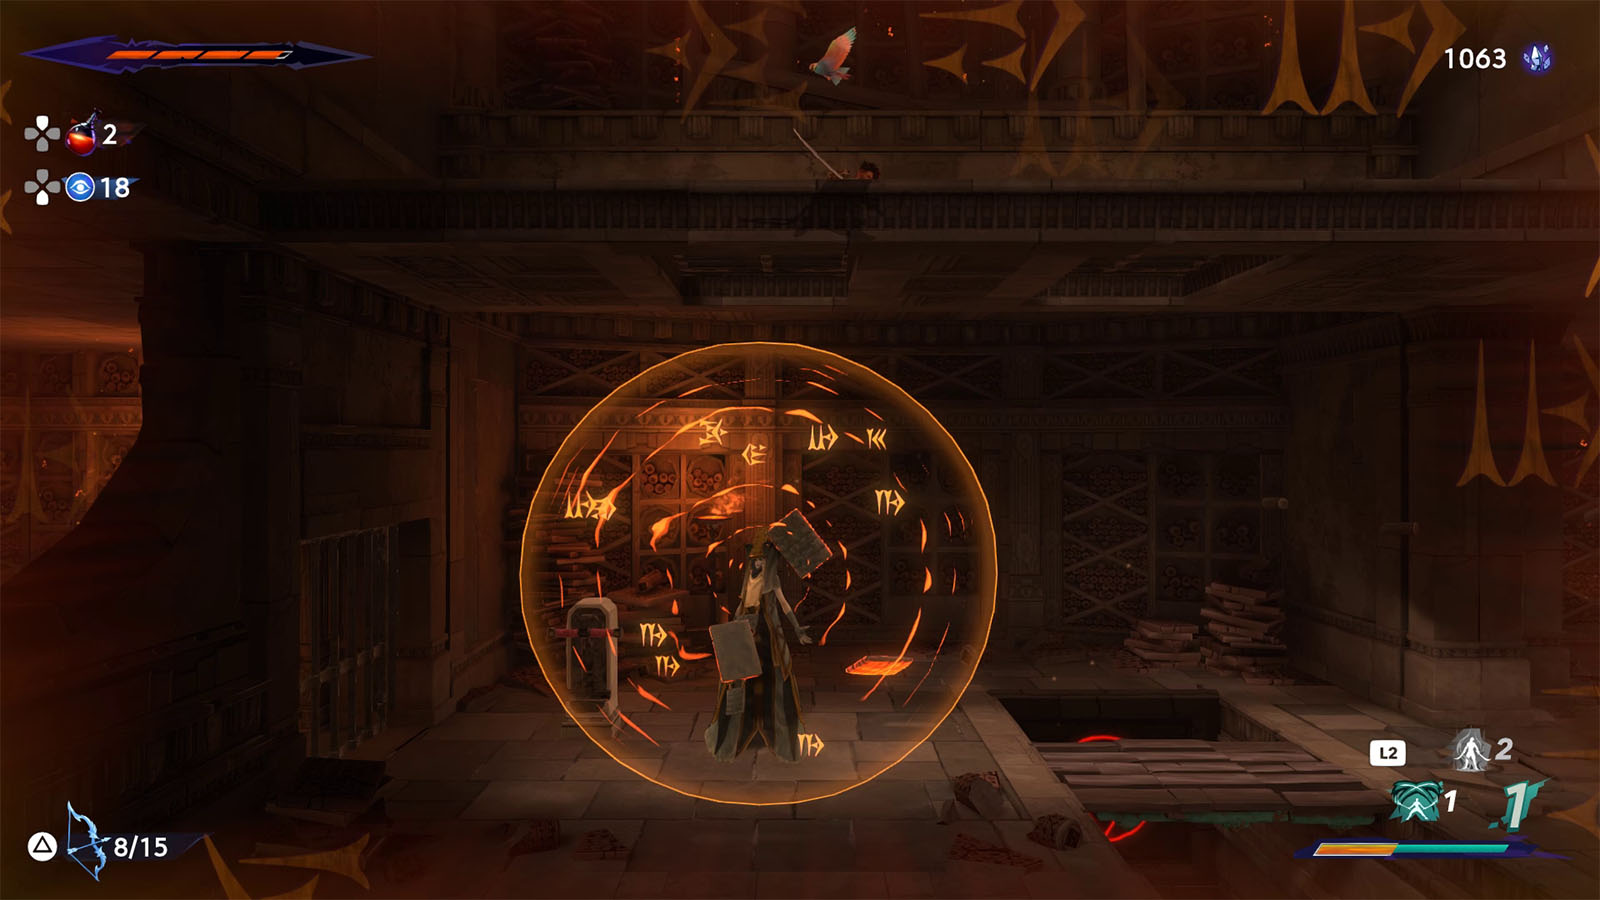
In order to dispel this aura, you will need to find the priestess enemy that is casting it. The priestess has her own barrier which can only be penetrated by melee weapons. It’s best to slip past the empowered enemies for now and go straight to the priestess to stop her.
As you take the elevator on the west side, jump across the fallen elevator at the bottom of the spike trap to find the Collectible – Last Day at Work.
Once you reach the level below the priestess, you will have to jump, dash, and wall climb through the runed path as quick as possible to reach the room where the priestess is at. You can then kill the priestess and make traversing much safer. Make sure to open the shortcut as well.
Next, use your chakram to hit the bell behind the grate to open the door. Be prepared to face against the enemy behind the door or just slip past.
The next connecting room will have its own priestess as well. Take the runed path leading up which leads to a room with enemies.
Try to avoid getting hit by the enemies’ attacks for now as your objective is to traverse this room as quickly as possible. Activate the crystal platforms and climb up them.
Just above is another secret room to the left. Destroy the wall to reveal the runed path.
This room has a Xerxes coin in it, but the entire room is lined with runed walls, so you will have to be strategic and actually go around the room before taking the coin to give time for the blocks at the exit to go away.
Go back to the path and take the room to the right to circle around to the room where the priestess is at, then kill her.
Now go back to the forked room and take the runed path that leads below to get to another room with enemies. Clear the enemies out first.
Then, wall jump to the right and aim at the top of the runed wall in the middle and quickly leave a shadow. Once the block appears, return to the shadow to stand on top of the block.
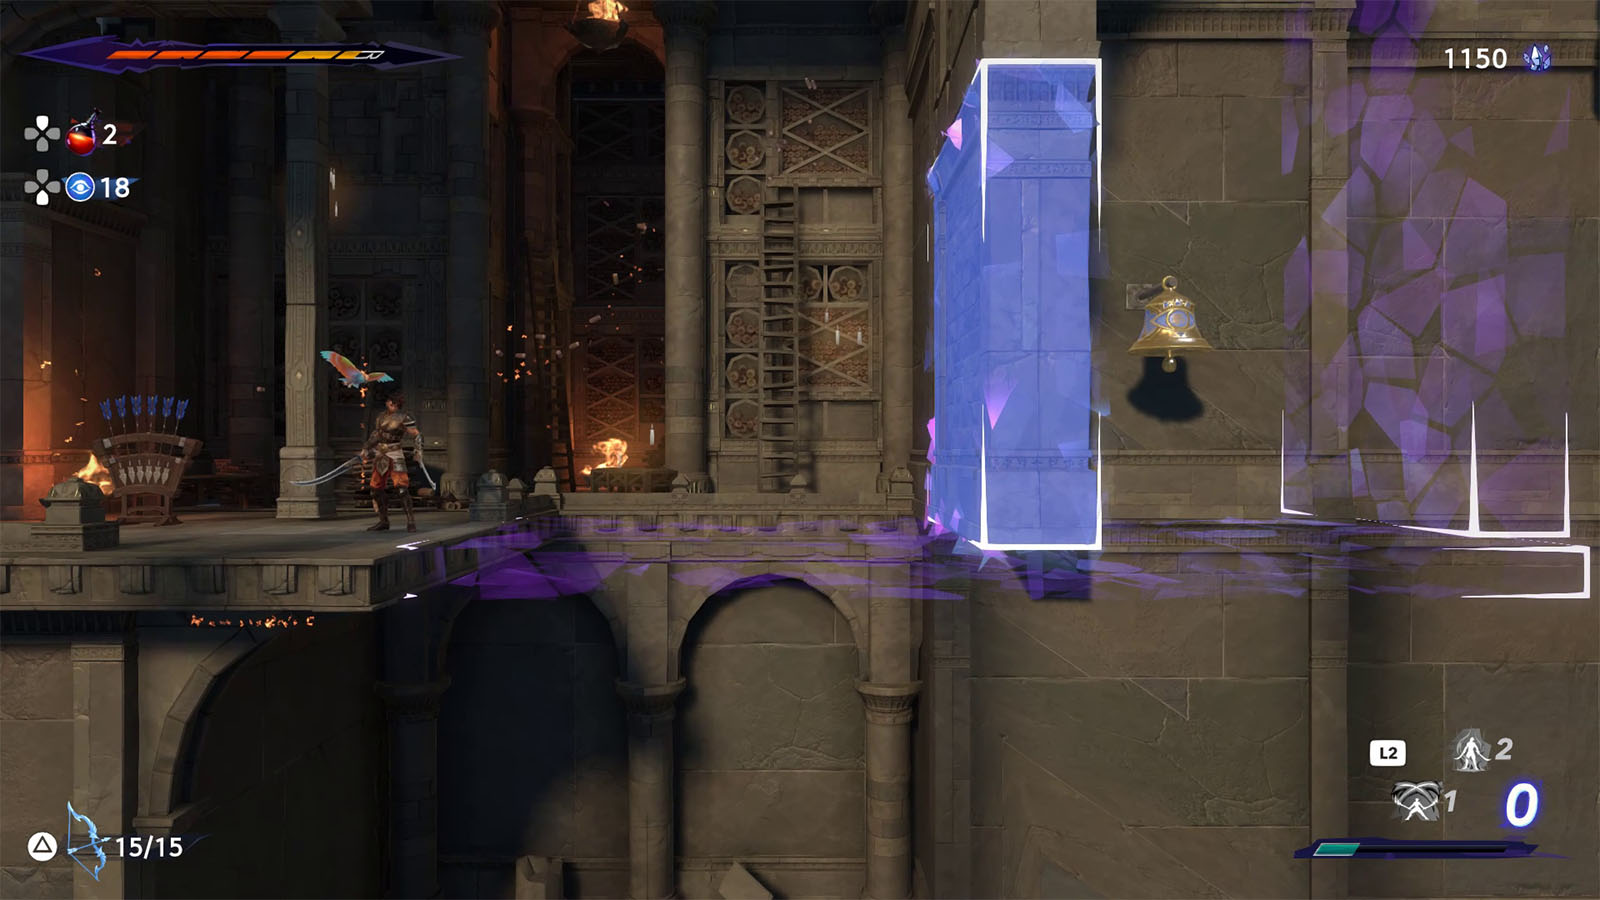
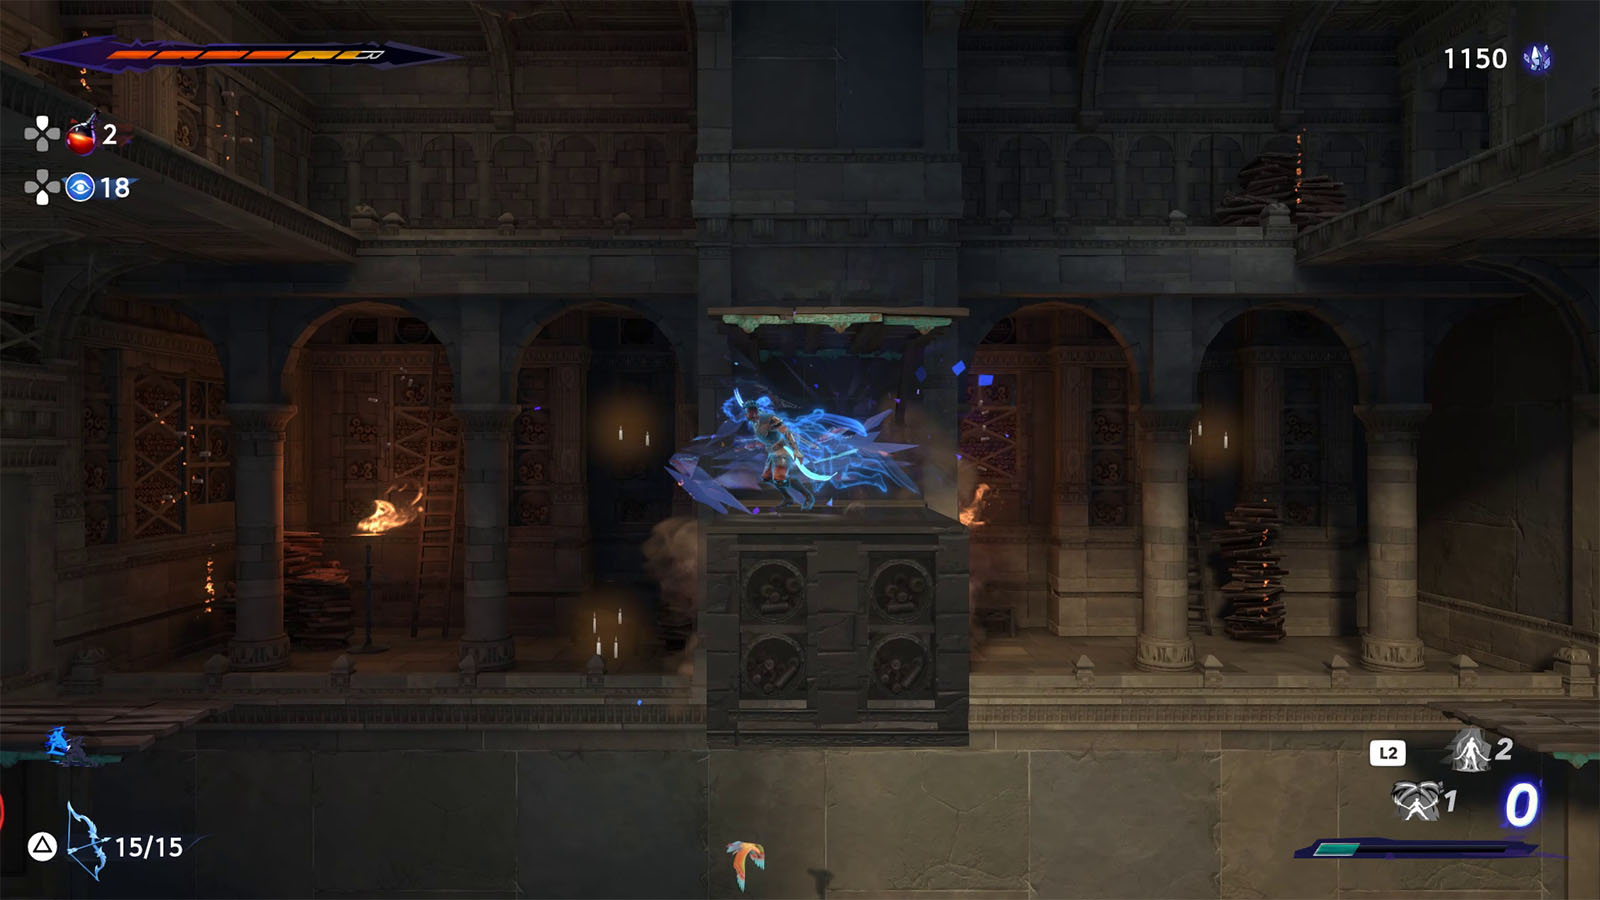
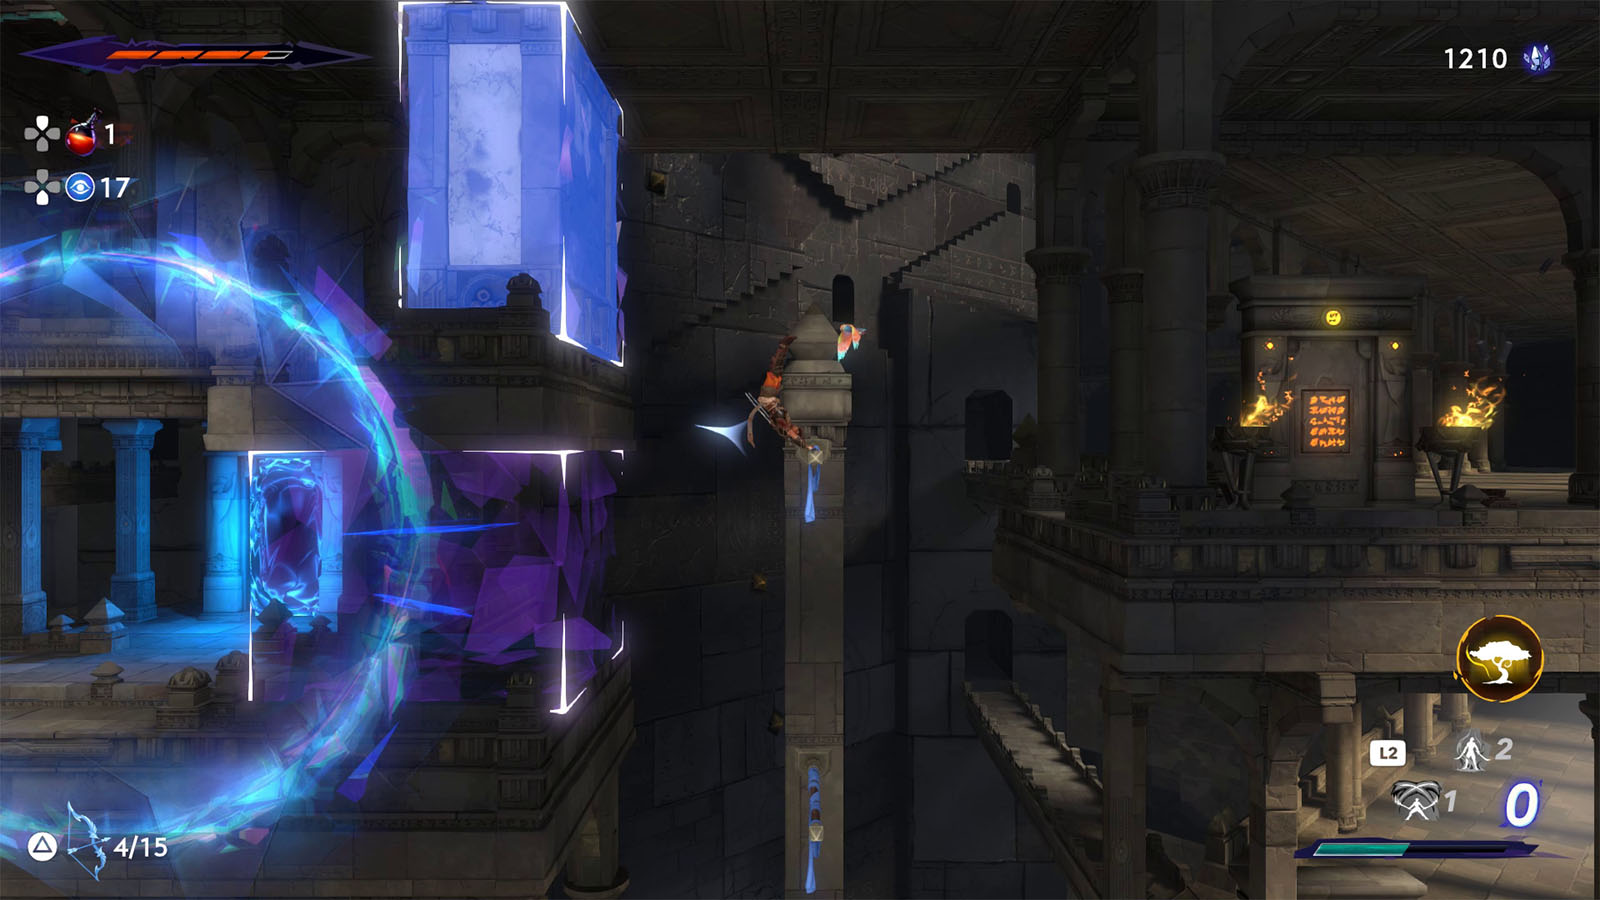
Get on top of the platform above and take the left path to open up a shortcut first. Then go to the right where you will have to traverse through crystal walls and floors. This part requires precise timing and quick reflexes in order to get through. It helps to pay attention to the states of the crystal walls to know where to latch on to when the bell’s effects wear off.

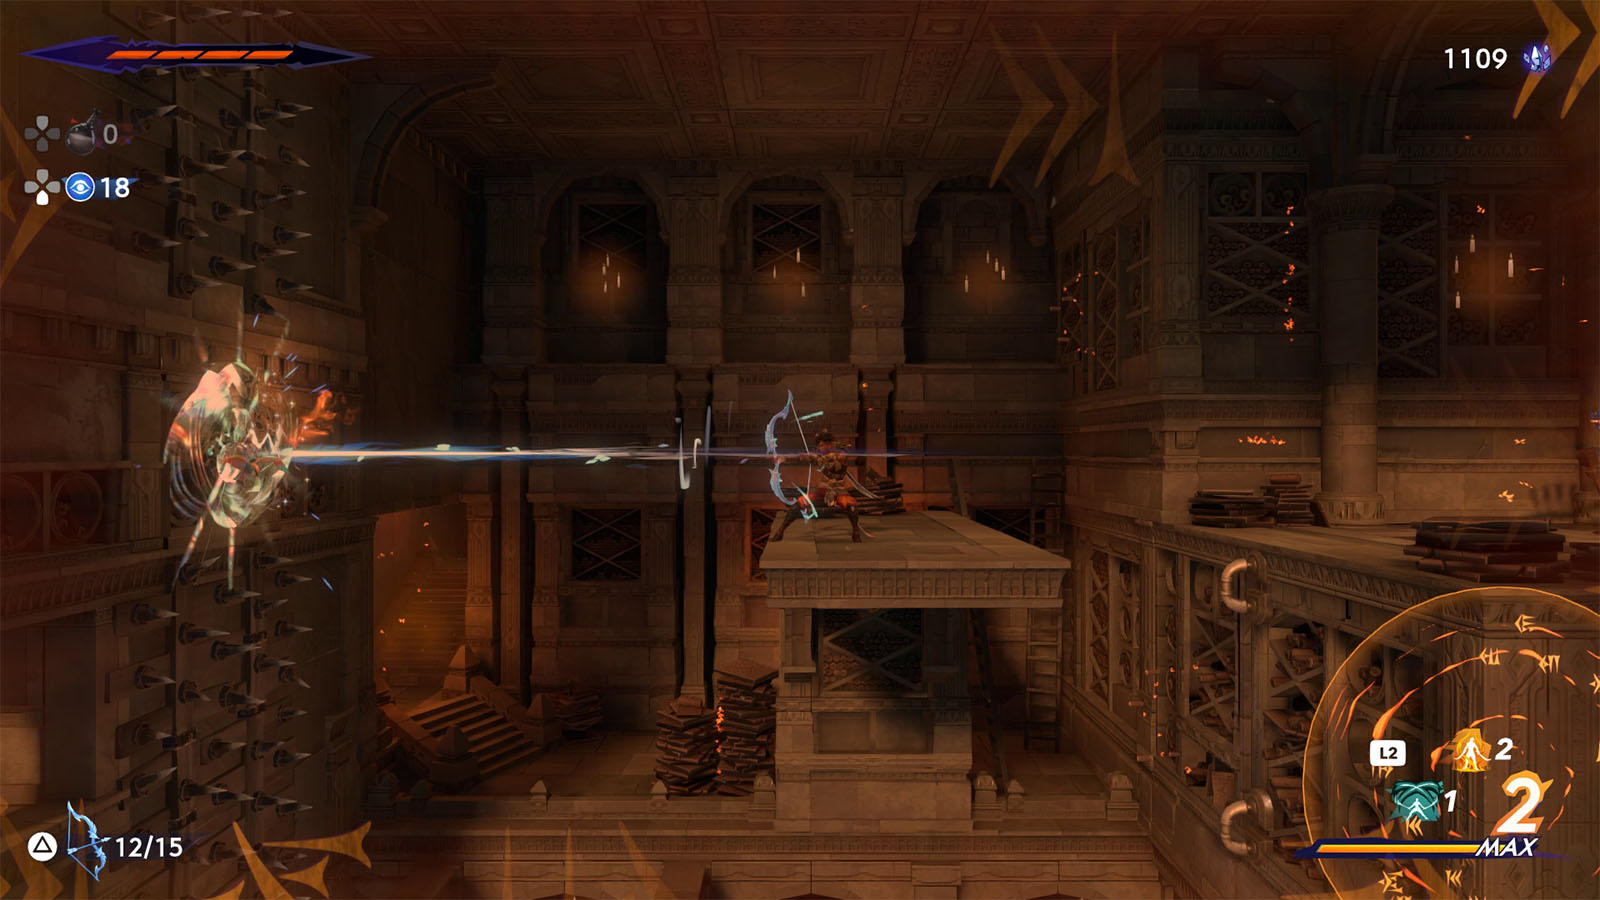
First, leave a shadow by the edge, jump into the spikes to get a clear shot of the bell, shoot the bell, and then return to your shadow.
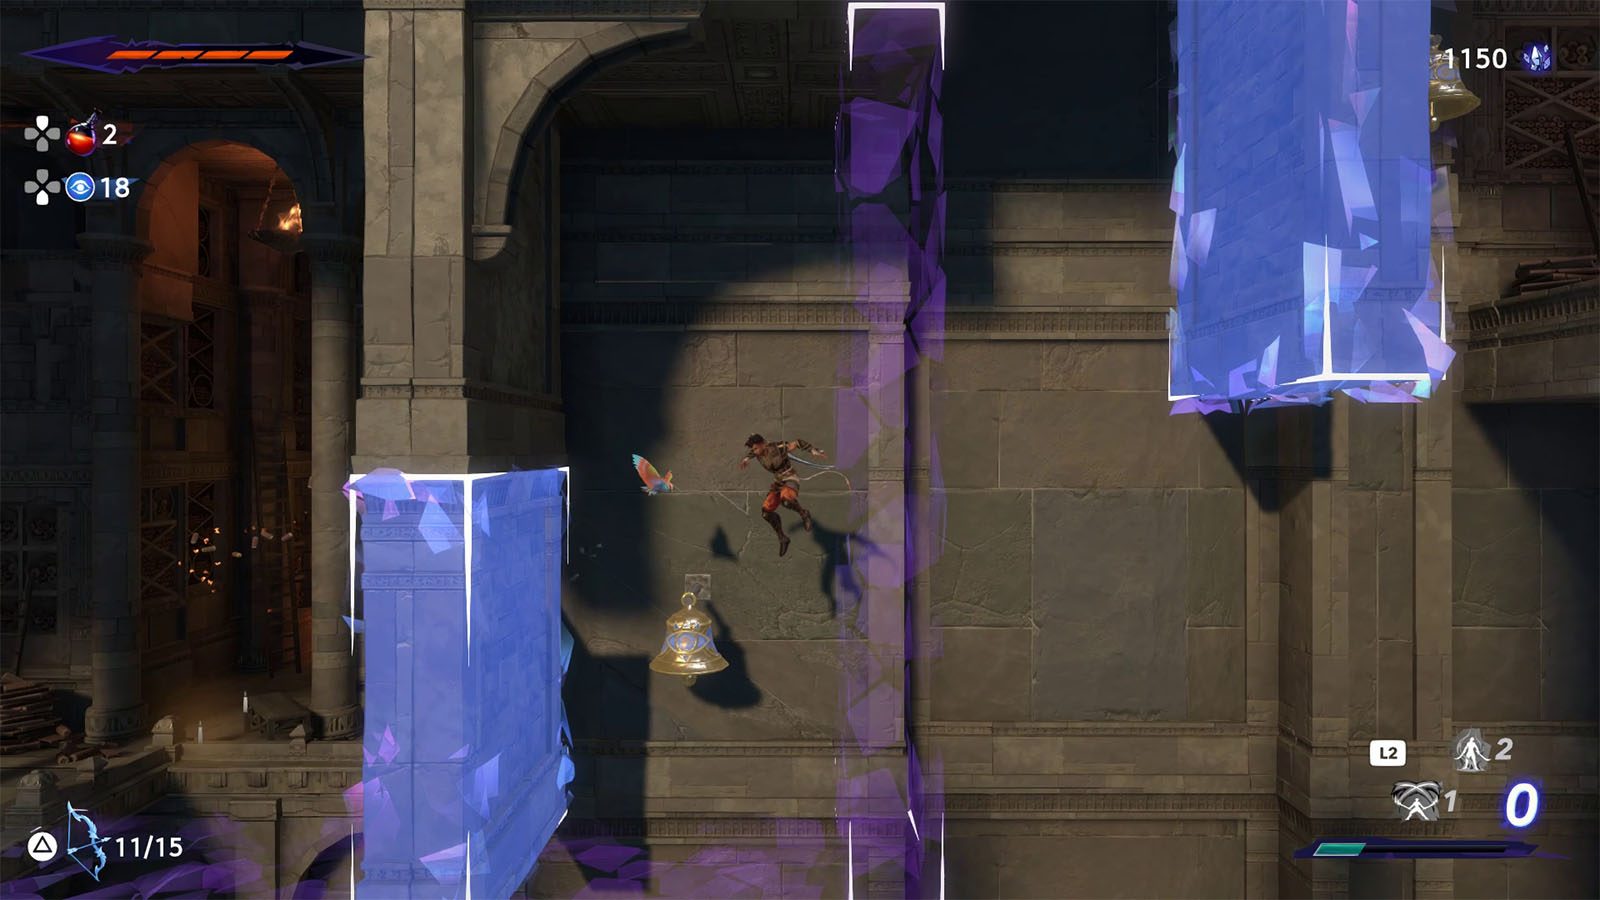
Immediately cross the crystal floor and wall jump on to the crystal wall to get to the solid wall before time runs out. You can also aim for the other crystal wall as it reappears.
Jump and dash towards the next crystal wall and grab on to the rung. Leave a shadow on to this rung, then drop down and shoot at the bell on the other side of the crystal wall before returning to your shadow. Take note that this other bell is the only one that can make the next crystal wall disappear. Then, just jump and dash towards solid ground before the wall reappears.

In the next hall, run across to the other end to open a shortcut leading back to a previous tree. You may also want to update your save to this tree as it is closer.
Next, go back to the hall and climb up to the room above where the objective is at.
Four Trials of the Sacred Archives
In this room are four gates that each lead to a trial. These trials will have you work with your own past ghosts in order to reach the goal. The first trial starts on the lower left corner, and each completed trial will open the door to the next. Once all four trials have been cleared, you will then be rewarded with the Clairvoyance ability.
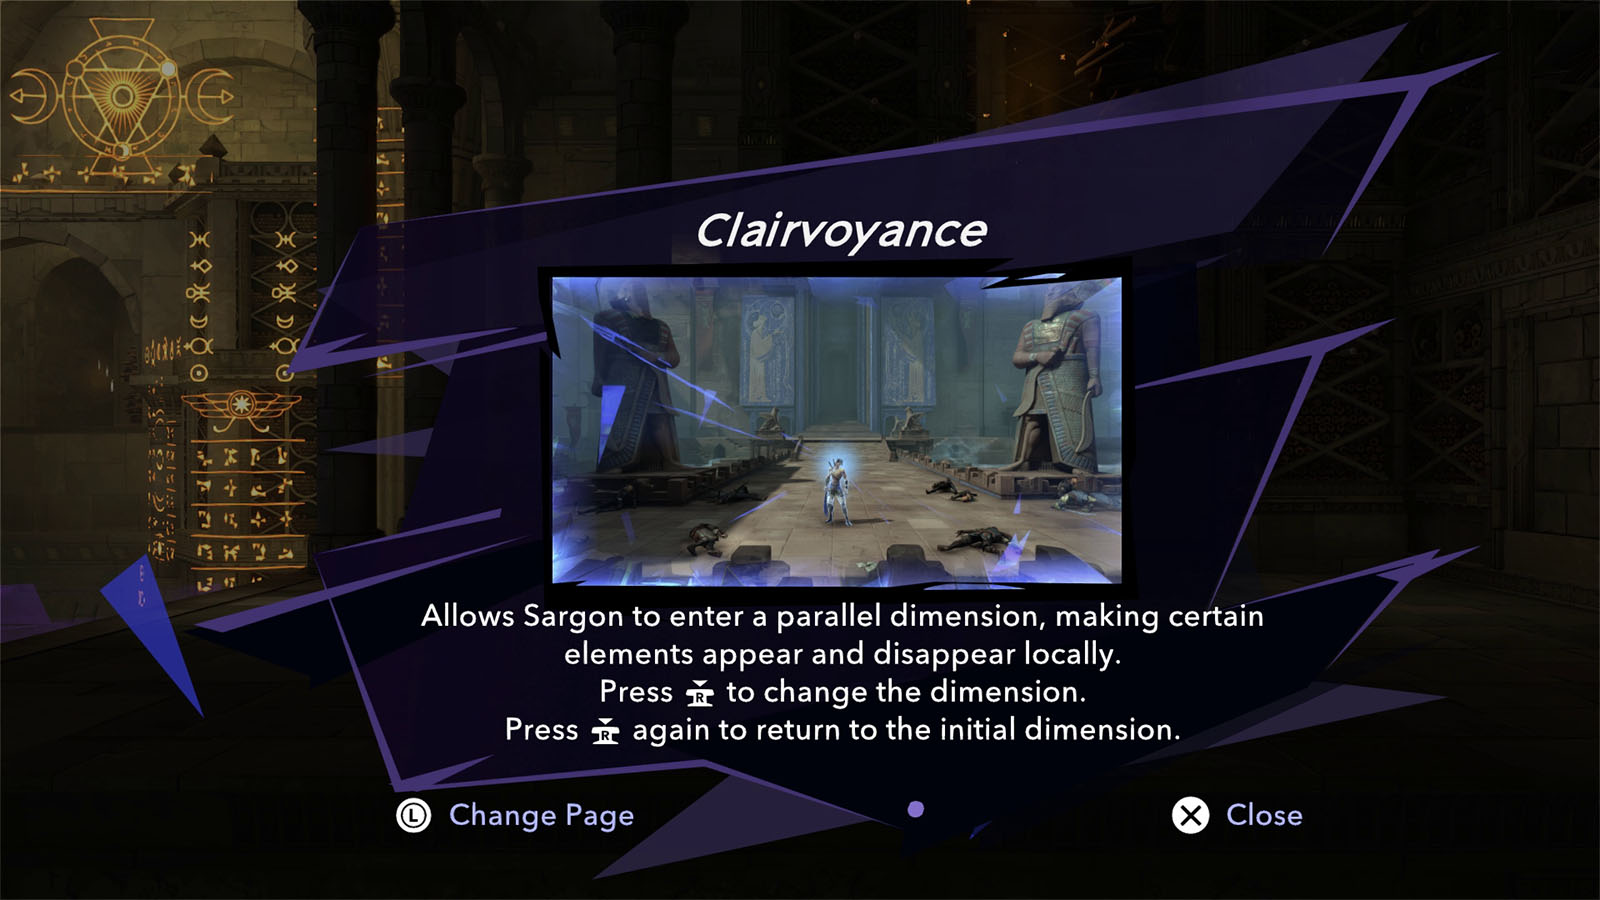
Clairvoyance allows you to travel in between dimensions, eliminating the need of hitting the bells in order to make the crystal floors and walls solid. This ability also reveals enemies that can phase in and out, making them easier to deal with.
To get a more detailed guide on how to solve each trial, refer to these guides:
Once you have completed all four trials, the door to the middle room will be opened. Head inside and go to the other end of the room to get the Clairvoyance ability.
Acquire a new Time Power (Hyrcanian Forest)
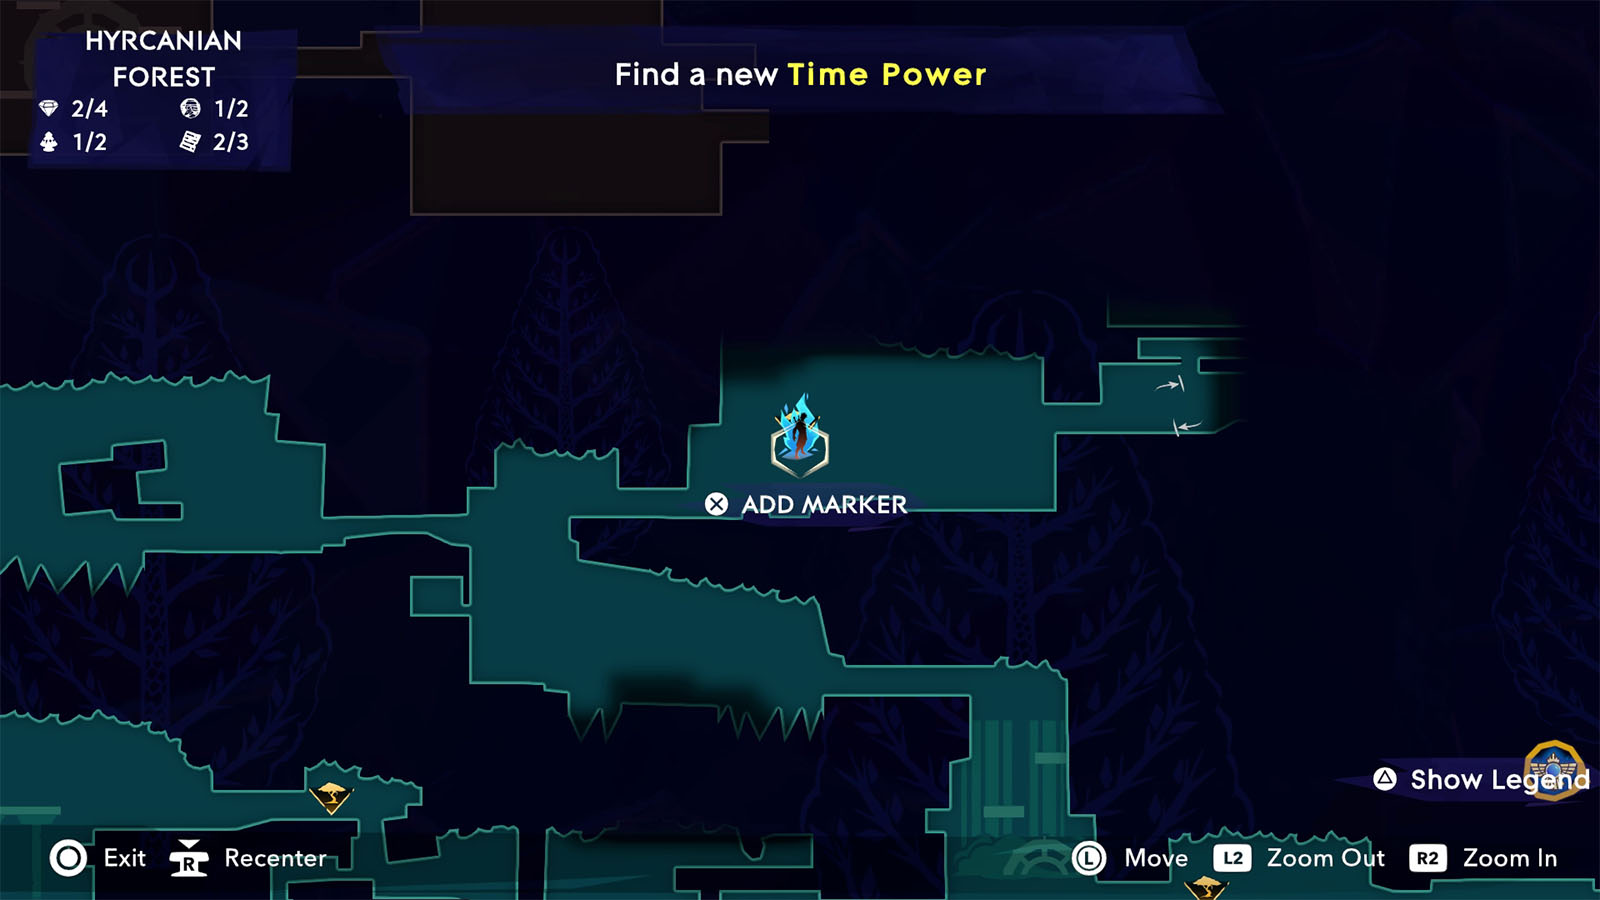
Depending on where you want to start, you can either proceed through the harbor and get to the forest, or travel to the tree at the north side of the Hyrcanian Forest. For this guide, we went to the Sacred Archives first and got the Clairvoyance ability which allows us to start from the tree at the west part of the Hyrcanian Forest.
From the tree, travel to the east to reach the starting pathway to the Forest Ruins. In here, use Clairvoyance to get past the crystal wall, then make your way to the tree and to the Homa Statue nearby.
Next, go through the gates controlled by gears by first going to the top middle room and leaving a shadow. Then, shoot the gear below to open the gate, after which you can return to your shadow. Make sure to break the barricades to get access to shortcuts later on.
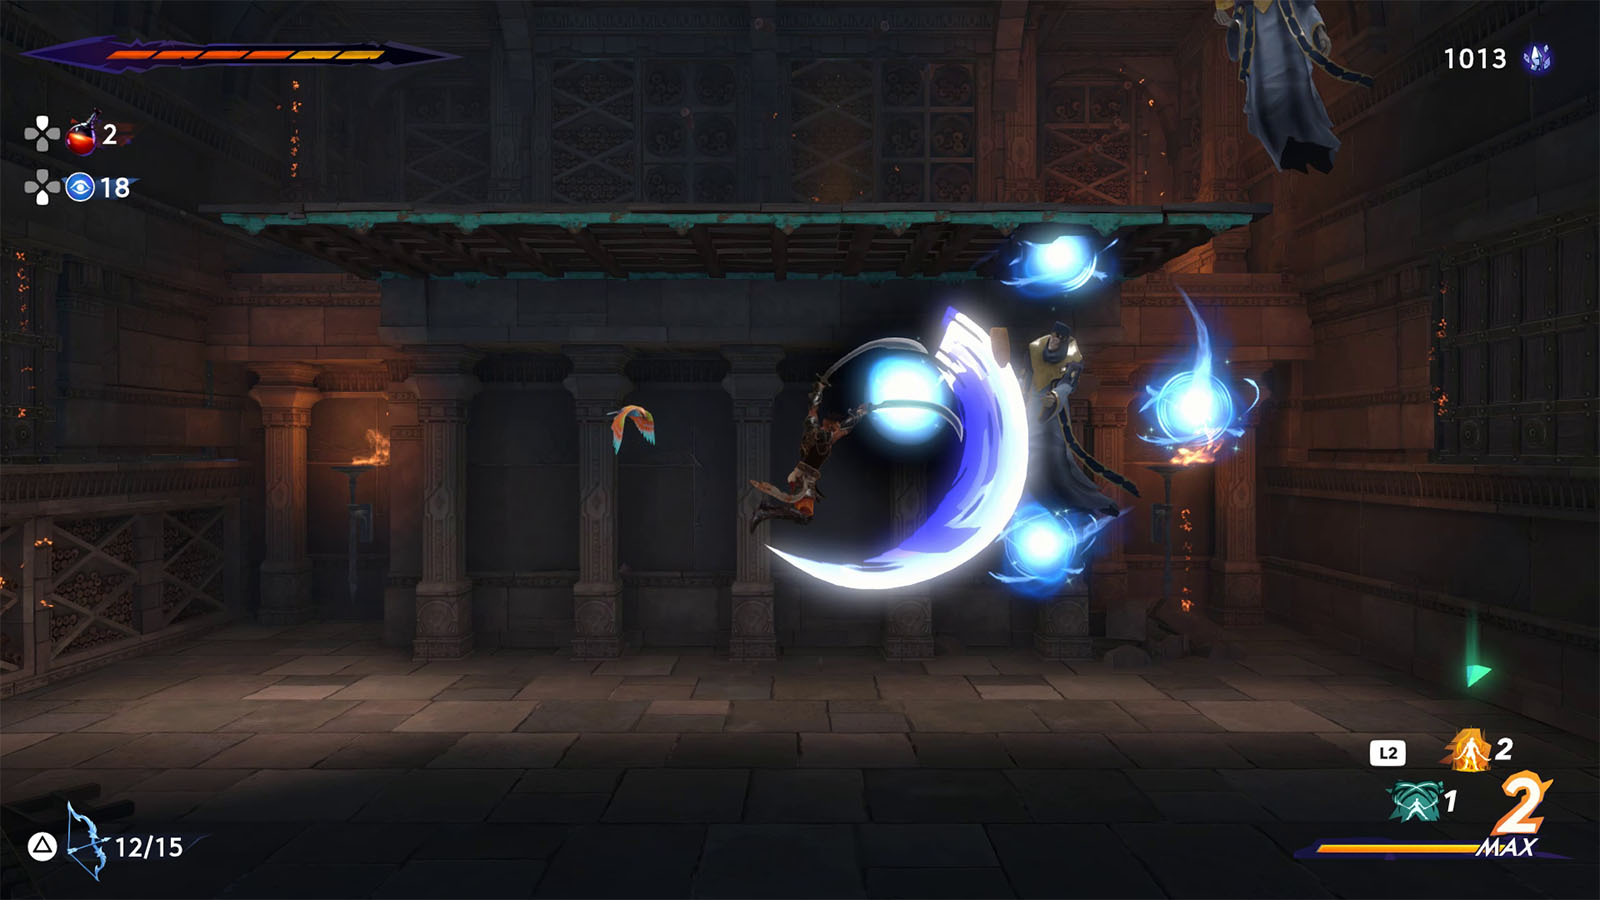
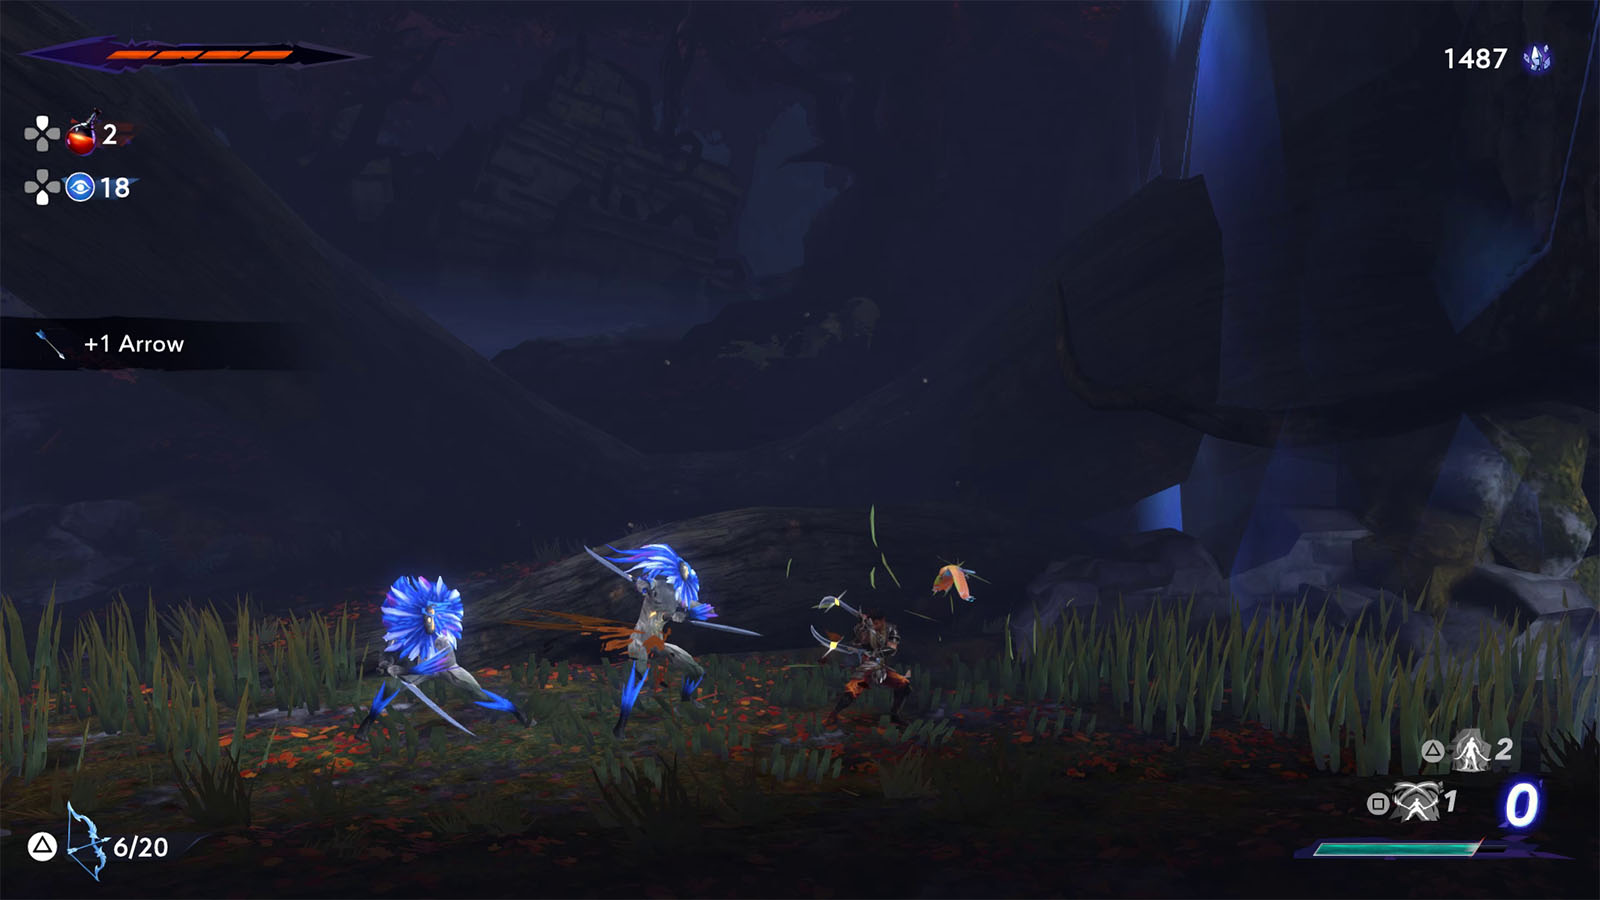
How to defeat Alternate Sargons #3 & #4
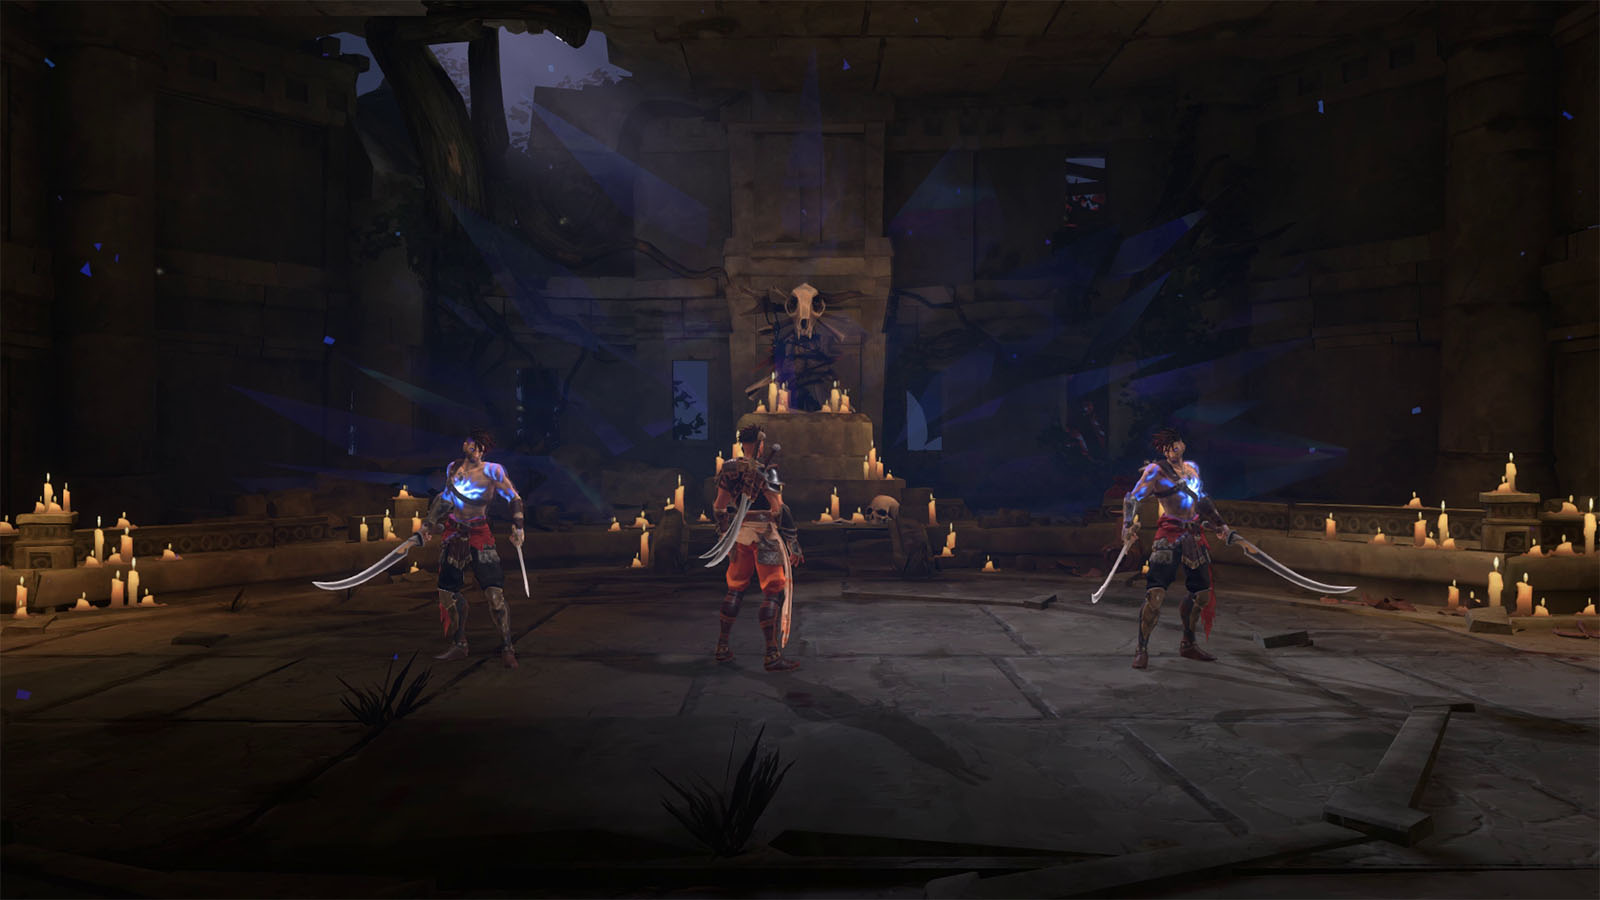
In the next room, you will be fighting against two alternate versions of Sargon, making the fight twice as challenging than the previous ones. Also, one of the Sargons has Bahman’s Breath, but luckily, it only heals up the one who casts it. Despite this, if you have been keeping up with your upgrades, this fight can be an easy one to finish.
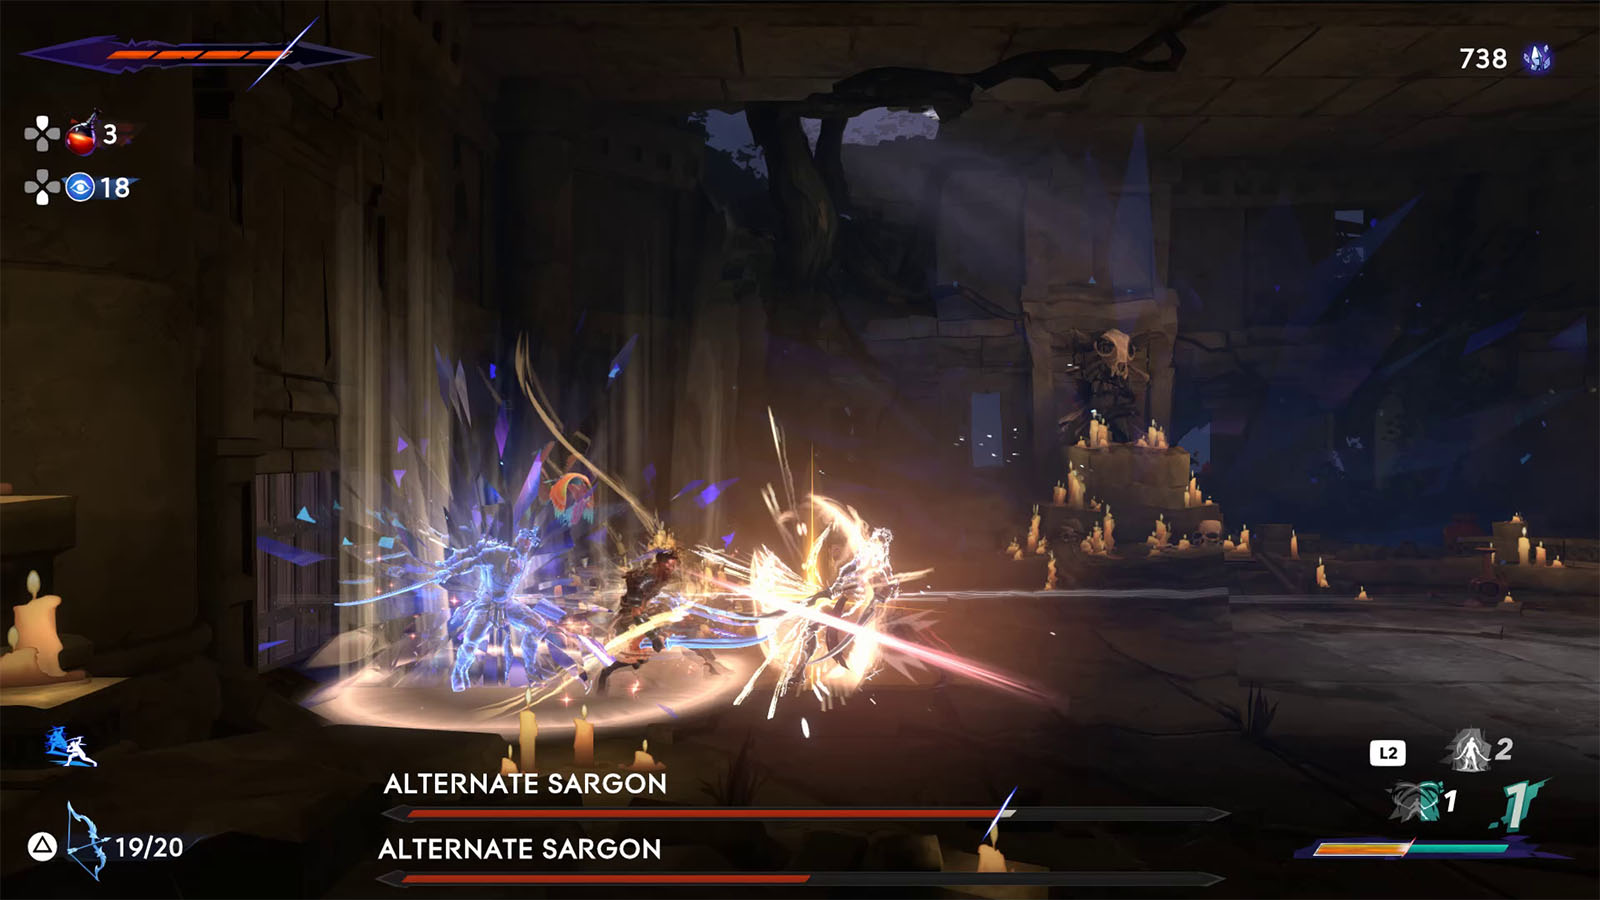
Like with previous Sargon fights, it’s best to focus on parrying the flurries to get openings. A well-timed parry can block both Sargons’ attacks at the same time, allowing you to round them up and keep the situation less hectic. Shahbaz’ Spirit is also effective in dealing damage to both at the same time as they both will be within your ability’s range most of the time.
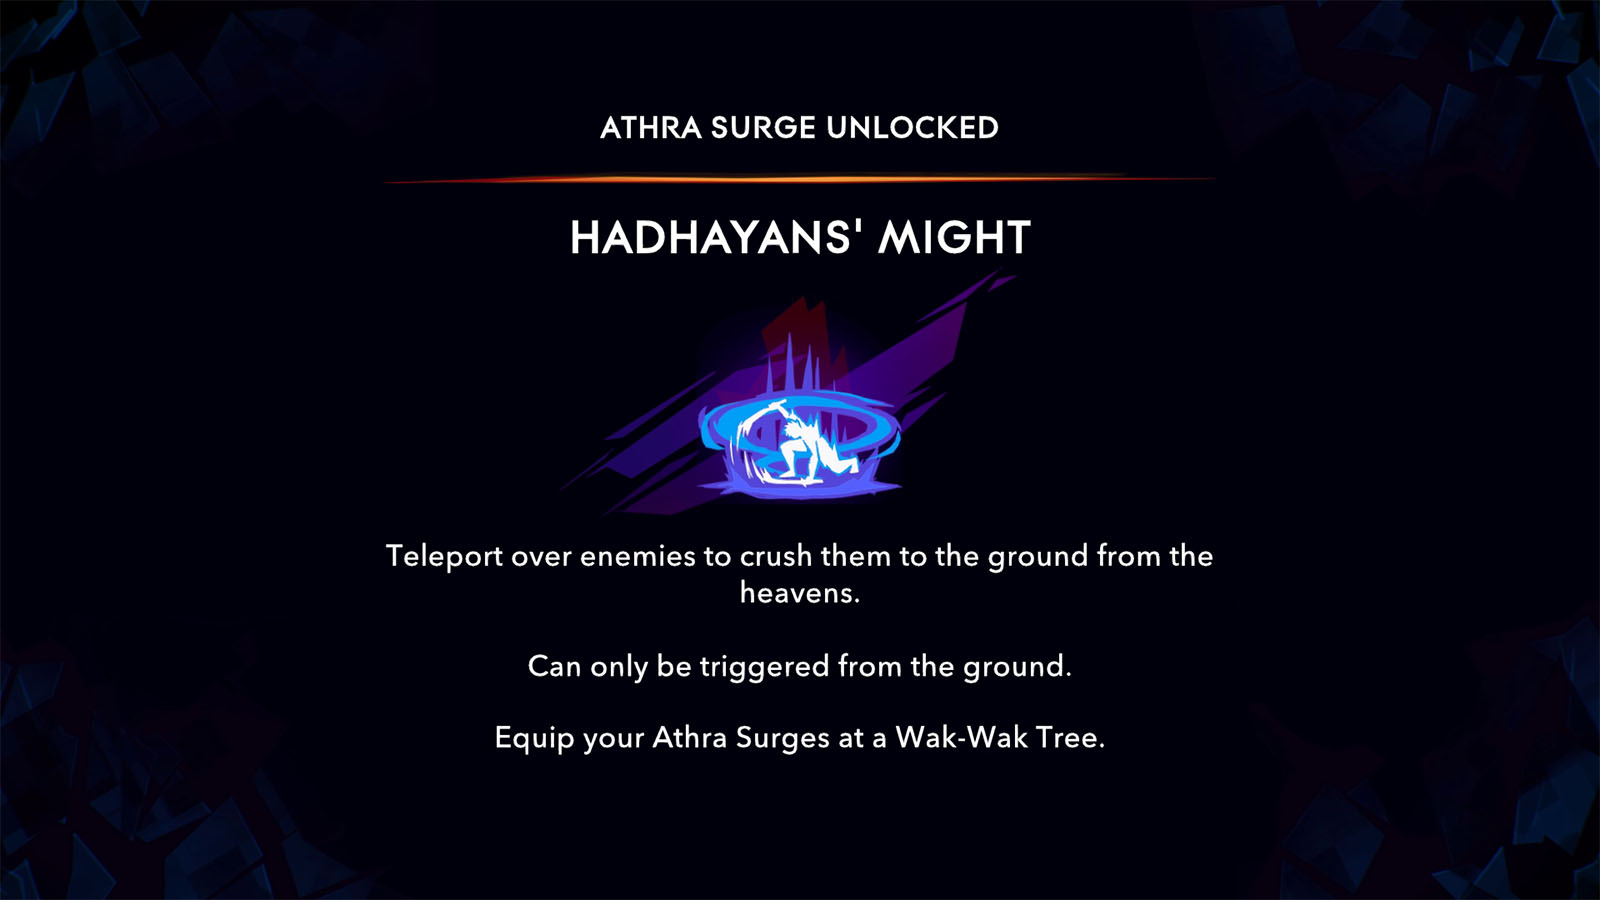
Once both Sargons have been defeated, you will be rewarded with 280 crystals and you can then absorb the Hadhayans’ Might ability. This ability allows you to teleport on top of enemies to crush them, which will be effective against ranged enemies.
Head back to the main path and travel down to the south. If you haven’t yet, make sure to pass by Fariba and buy the Forest map from her.
Travel back to the first part of the Sunken Harbor that you may have visited before in Chapter 1. Make your way to the double gate and use your shadow to get past both gates.
Once you get into the Harbor, you can either take the lifts down or simply jump down, but be careful with the spikes at the bottom.
Look for the nearby tree to activate a save point. From the tree, head right and trip the ceiling trap to make it fall down. Use it as a lift to reach the upper floor where the Homa Statue is at.
The harbor is full of spike traps and mines, so be mindful of where you are jumping or heading. Head east for now and clear through the spiked log traps.
Next, you will reach the village area of the Harbor where most of the enemies are at. Look out for debris as they often have ambushers under them that jump on you once you’re close. Along the way, you may find mimics in the guise of treasure chests. These mimics are deadly and can take a lot of beating.
After going through the traps, you will soon reach the northeast section of the Harbor where the objective is at. Make sure to activate the tree and then head west to get tot he other side of the Forest.

Make the climb towards the next objective. Check the location halfway the climb to find the Collectible – The Fall of the Hyrcanian Tribe.
Once you make it back up to the surface, head west. You will encounter some huge treants that block the way. These treants are not that hard to defeat and they can be toppled with a popped skill plus some hits.
You should soon arrive at the next Wak-Wak tree and Homa Statue.
As you continue to the west, you will enter an area where you have to defeat waves of enemies. Clear them all out and proceed to the west.
The next climb will have you deal with the purple sacs that explode upon contact. You can shoot them up, but they will regrow after a few seconds. They can be used to blow up the glowing rubble if they are close enough to one.
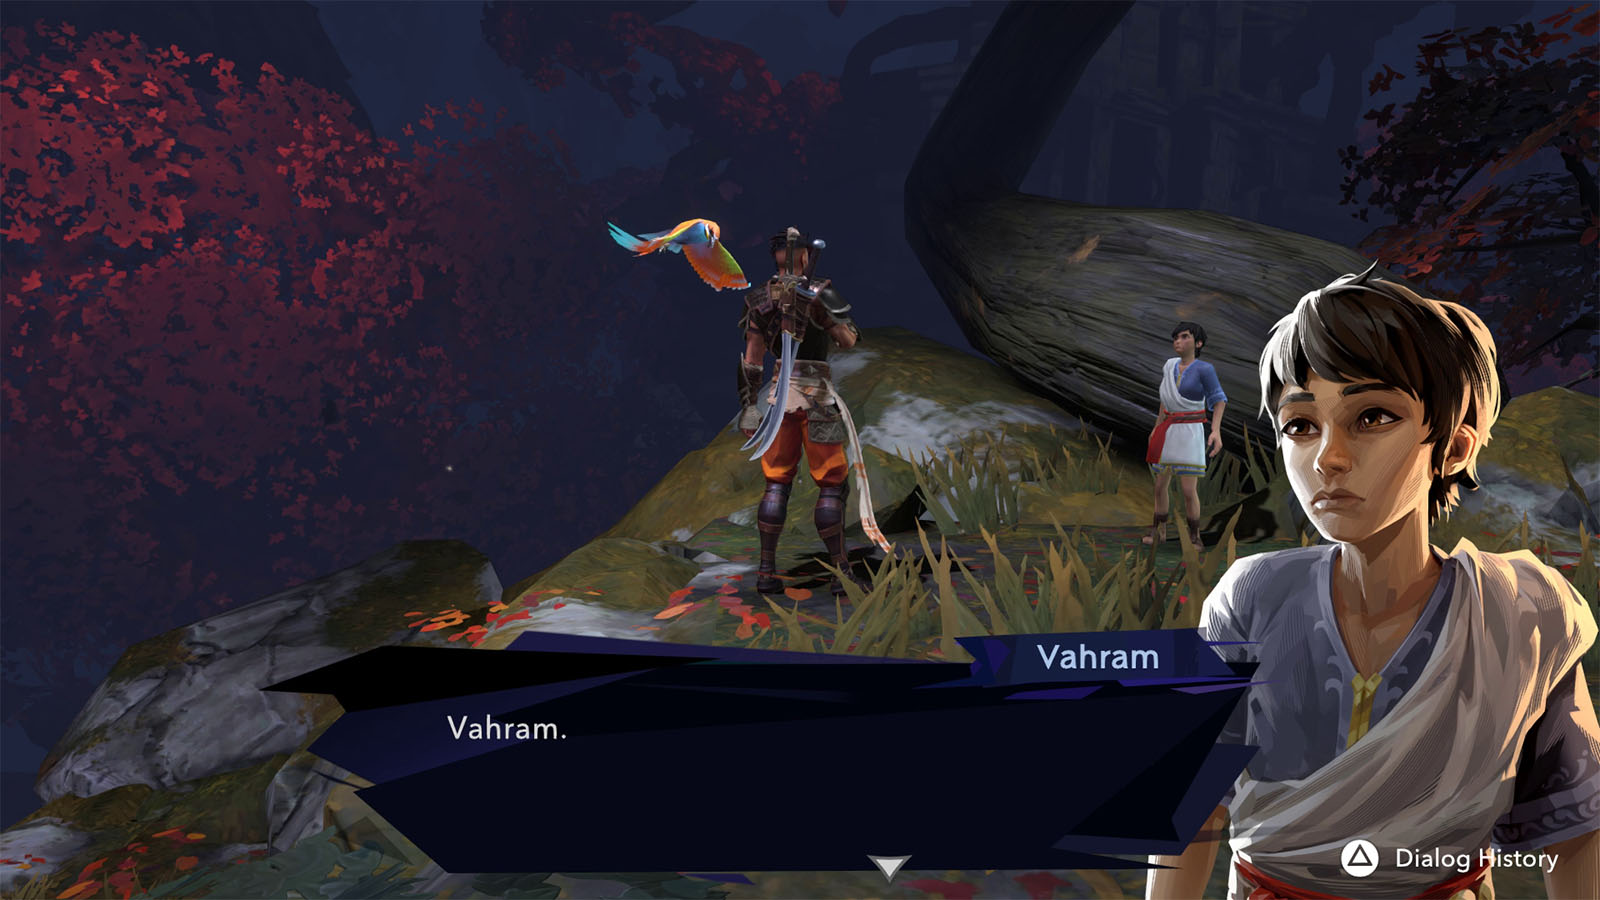
Shortly after, you will come across the boy once again. You ask for his name and the boy reveals that his name is Vahram. He is still in search of his father, but finds comfort of making a friend in Sargon. The boy then disappears after your conversation.
Head east from where you met young Vahram and fight through the enemies along the way. Slip past through the next geared gate and follow the breeze to find the next tree and the next Homa Statue. Head west from the tree and prepare for another boss fight.
How to defeat Kiana, the Forest Queen
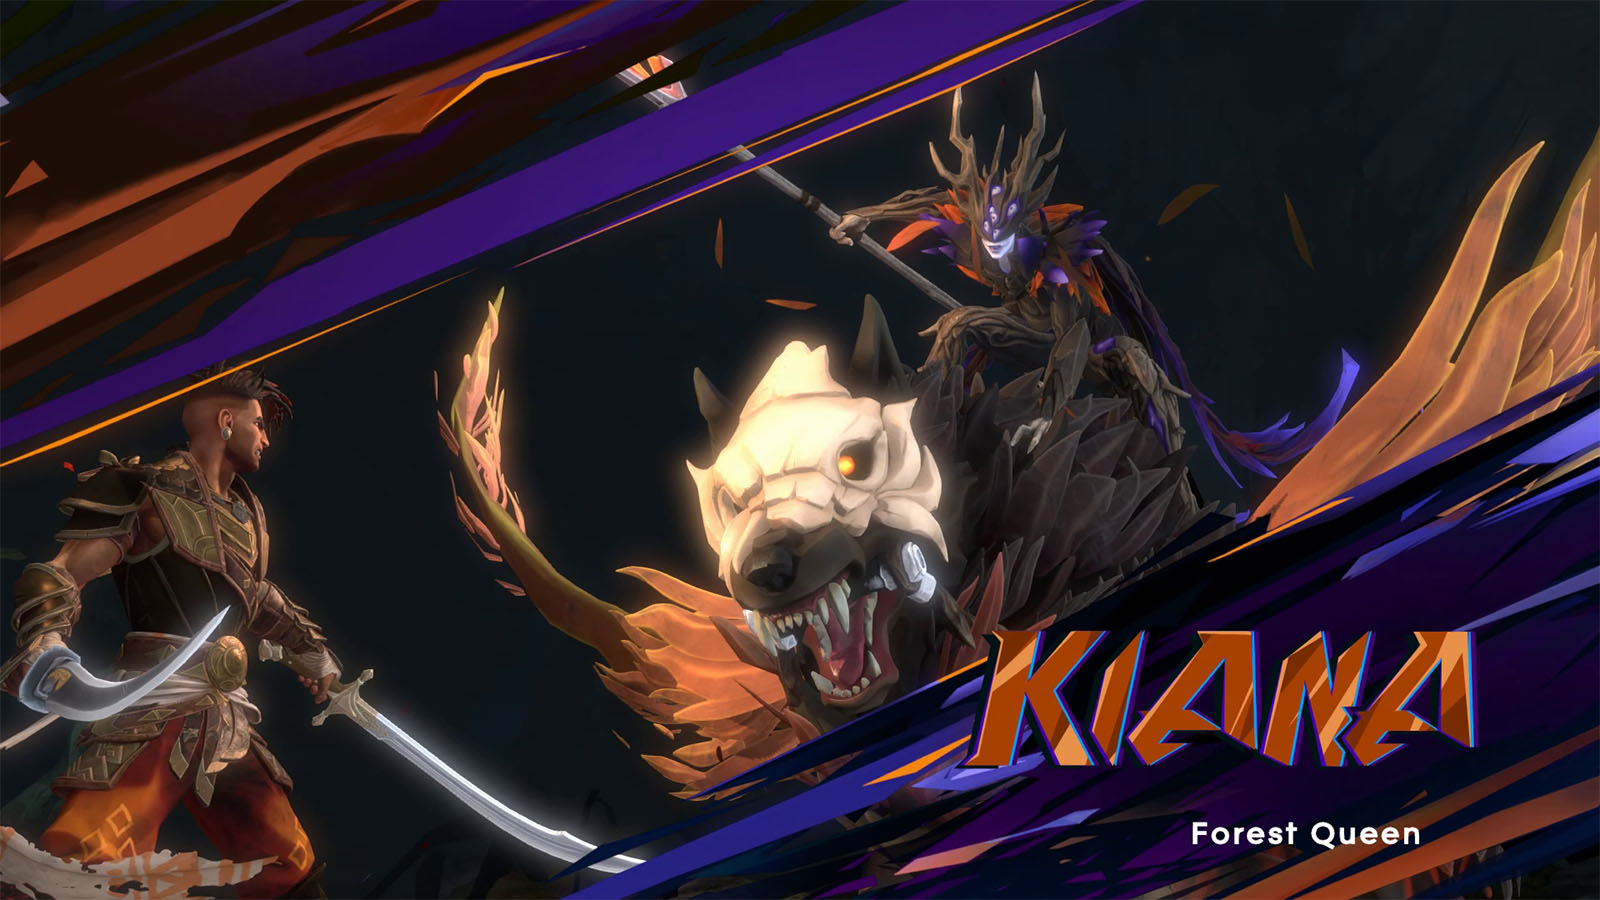
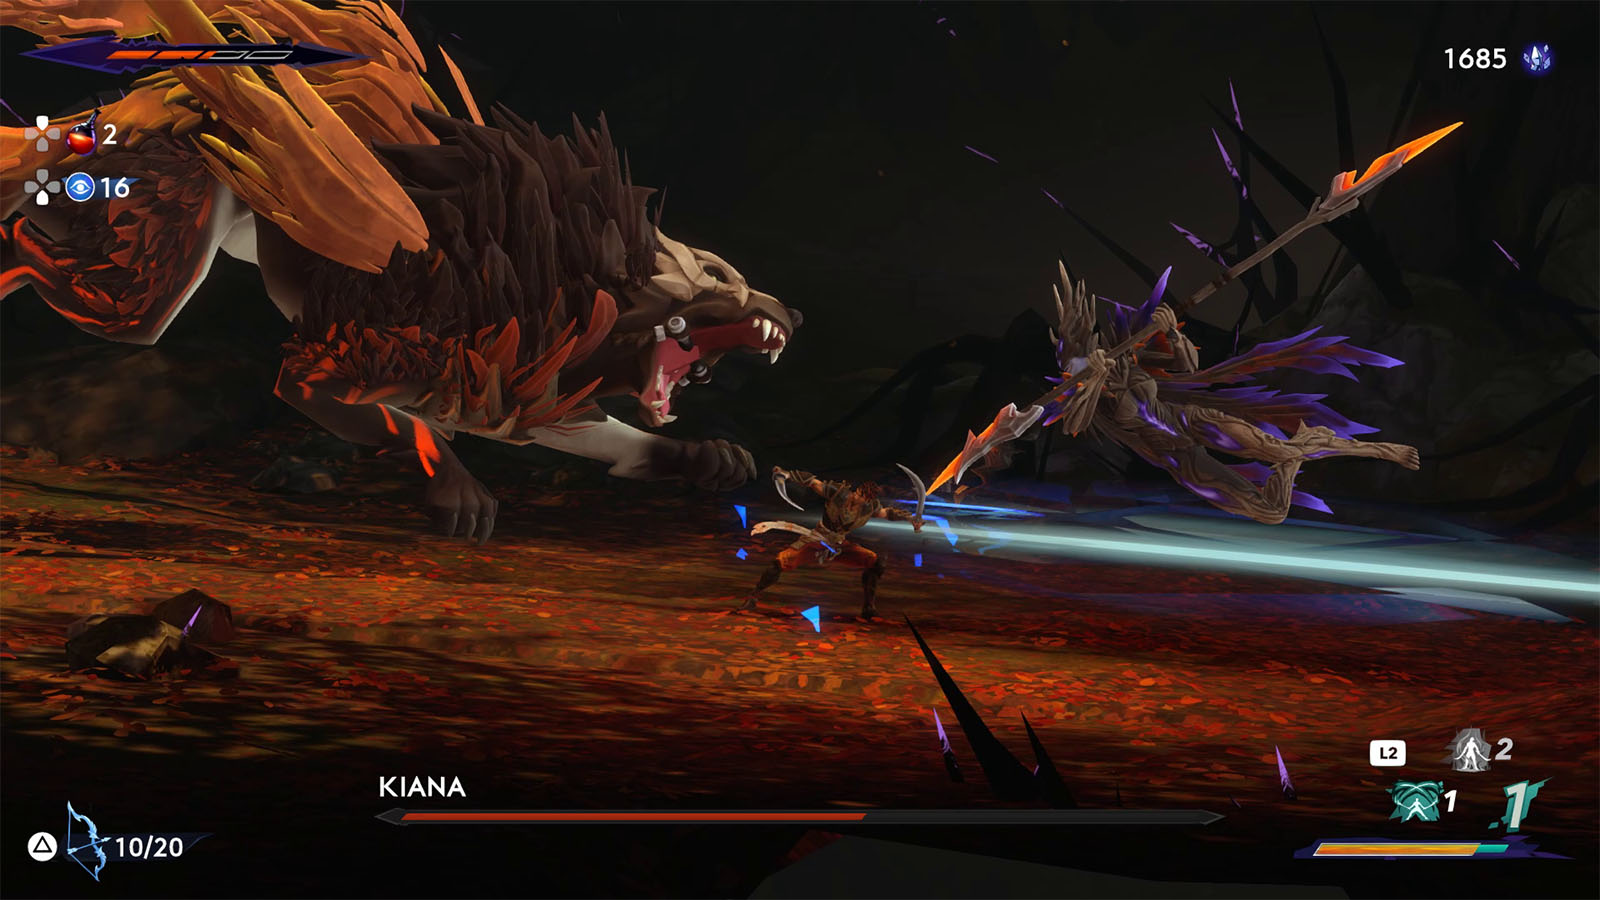
Kiana is the dark being that has taken over the Soma Tree and its protector Chamrosh. She uses Chamrosh as her mount and controls the beast, allowing her to chain attacks through a wide span of the arena.
Because of how fast Kiana is and that there’s also Chamrosh to take into account, it’s best to carefully study their moves for the first few tries. They also have different phases in which they dish more attacks.
Kiana has these attacks in her arsenal:
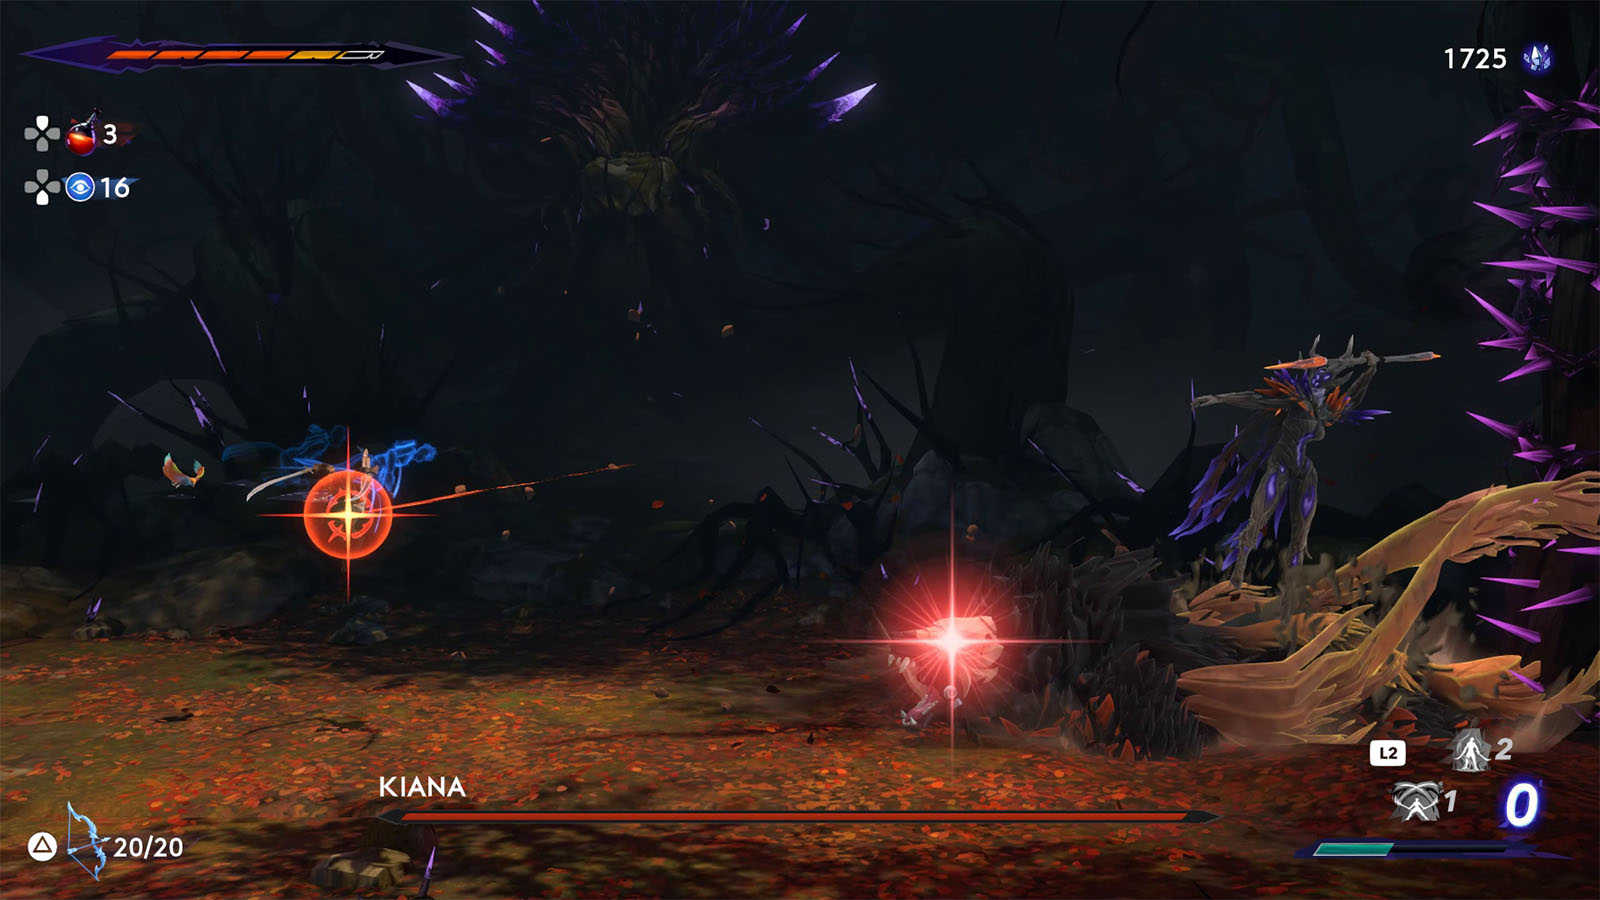
- Pounce from the Shadows – Kiana disappears from the arena and attacks from the shadow. The location and timing of the attack is shown by Chamrosh’s eye glint from the back of the arena. At <50%, Kiana will follow it up with a triplicate spear dive.
- Spear and Charge – Kiana throws her spear at you while Chamrosh charges towards your direction.
- Breach and Dive – Chamrosh goes underground and breaches under your location. He then dives and shoots out purple sacs in the arena. These sacs can hurt the boss if it is popped near them.
- Spear Spin – Kiana spins her spear like a boomerang. A variant of this attack will have Kiana and Chamrosh at both ends of the map passing the spear at each other.
- Scarlet Realm – Kiana sends you to a different realm where she summons multiple versions of her. The yellow ones strike from the sides and can be parried, while the blue one strikes from above and are unstoppable. Only the blue one can take damage.
- Spear from Above – Kiana will jump up and dive to your direction. It is an attack that can be countered, so best to parry it whenever possible.
- Boomerang and Beam – In the latter half of the fight, Kiana throws her spear in spin while Chamrosh shoots out a beam from below. It’s best to stay in the air to avoid both attacks.
- Beam Swipe – At <30% health, Chamrosh pounces from the shadows and follows it up with a swiping beam from left to right.
Pay attention to these attacks as although they are quick, they are telegraphed properly to allow you some chance to react. During the Scarlet Realm attack, focus on parrying the yellow clones to build up your Athra Surge. Be aware that attacks such as the pounce will have follow up attacks in latter parts of the fight.

If you manage to parry Kiana’s Spear from Above, it will trigger a special counter that will leave both Kiana and Chamrosh vulnerable for a few moments.

After defeating Kiana, Chamrosh will be freed from her control and the beast will thank you for saving the Soma Tree. You will be rewarded with 450 crystals and a full Soma Tree Flower which will instantly add a bar to your health meter.
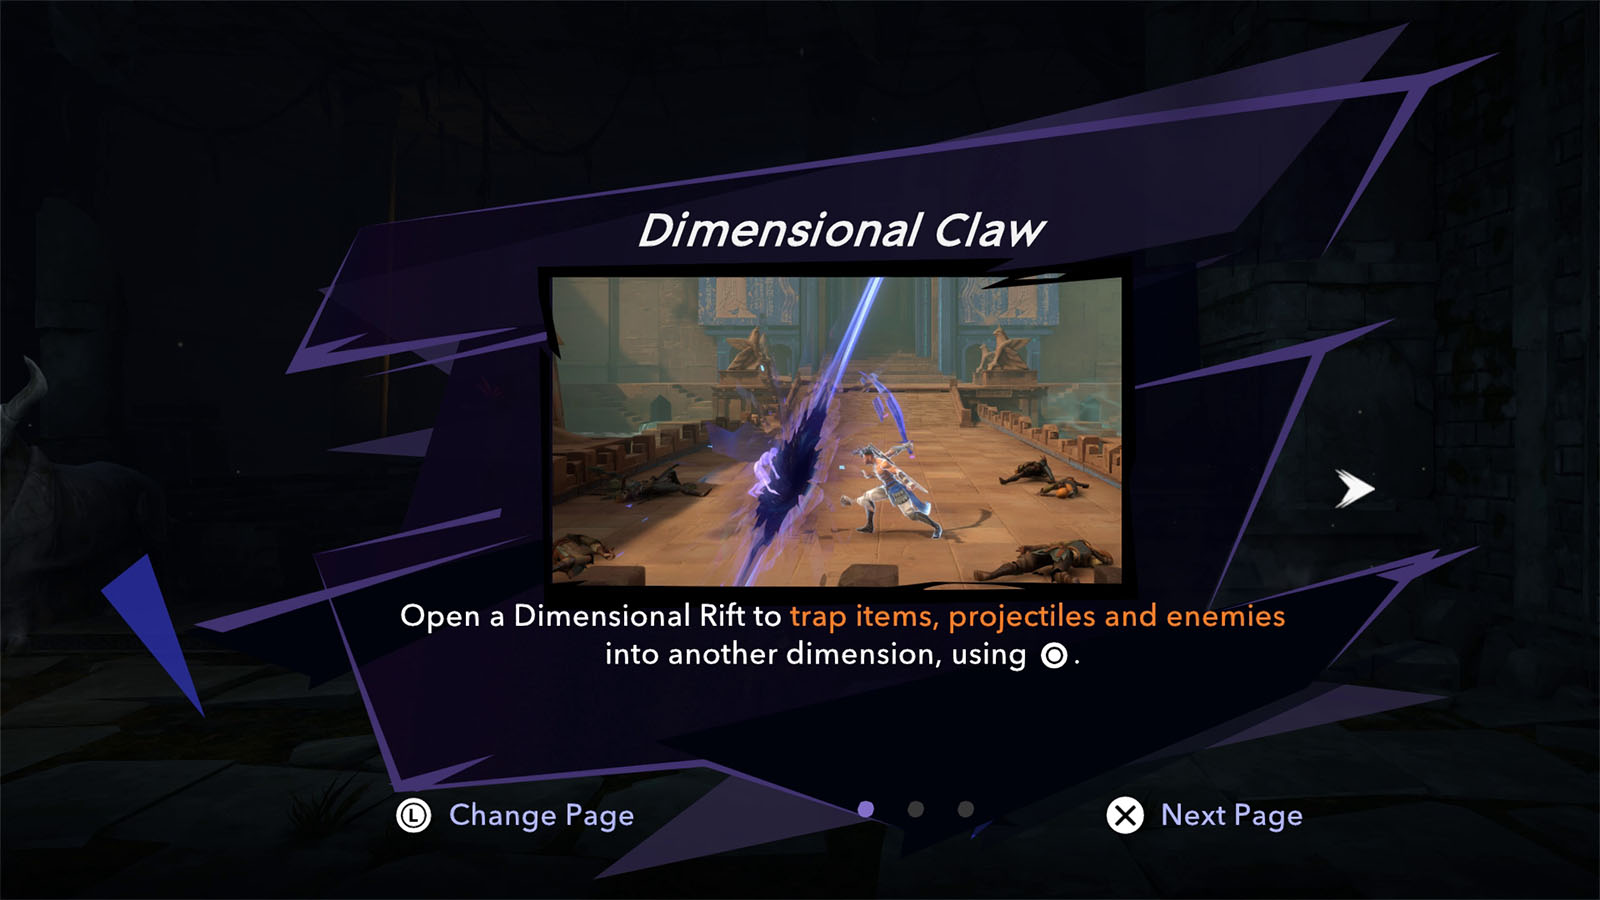
Continue towards the west side and make your way through the purple sacs. You will eventually find the room that contains the Dimensional Claw ability. This ability lets you send an enemy, trap, or projectile into another dimension. Enemies, excluding bosses, caught and released through this ability will be turned into allies for a few moments, while traps and projectiles can be aimed and thrown out to a target.
Enter the Pit of Eternal Sands
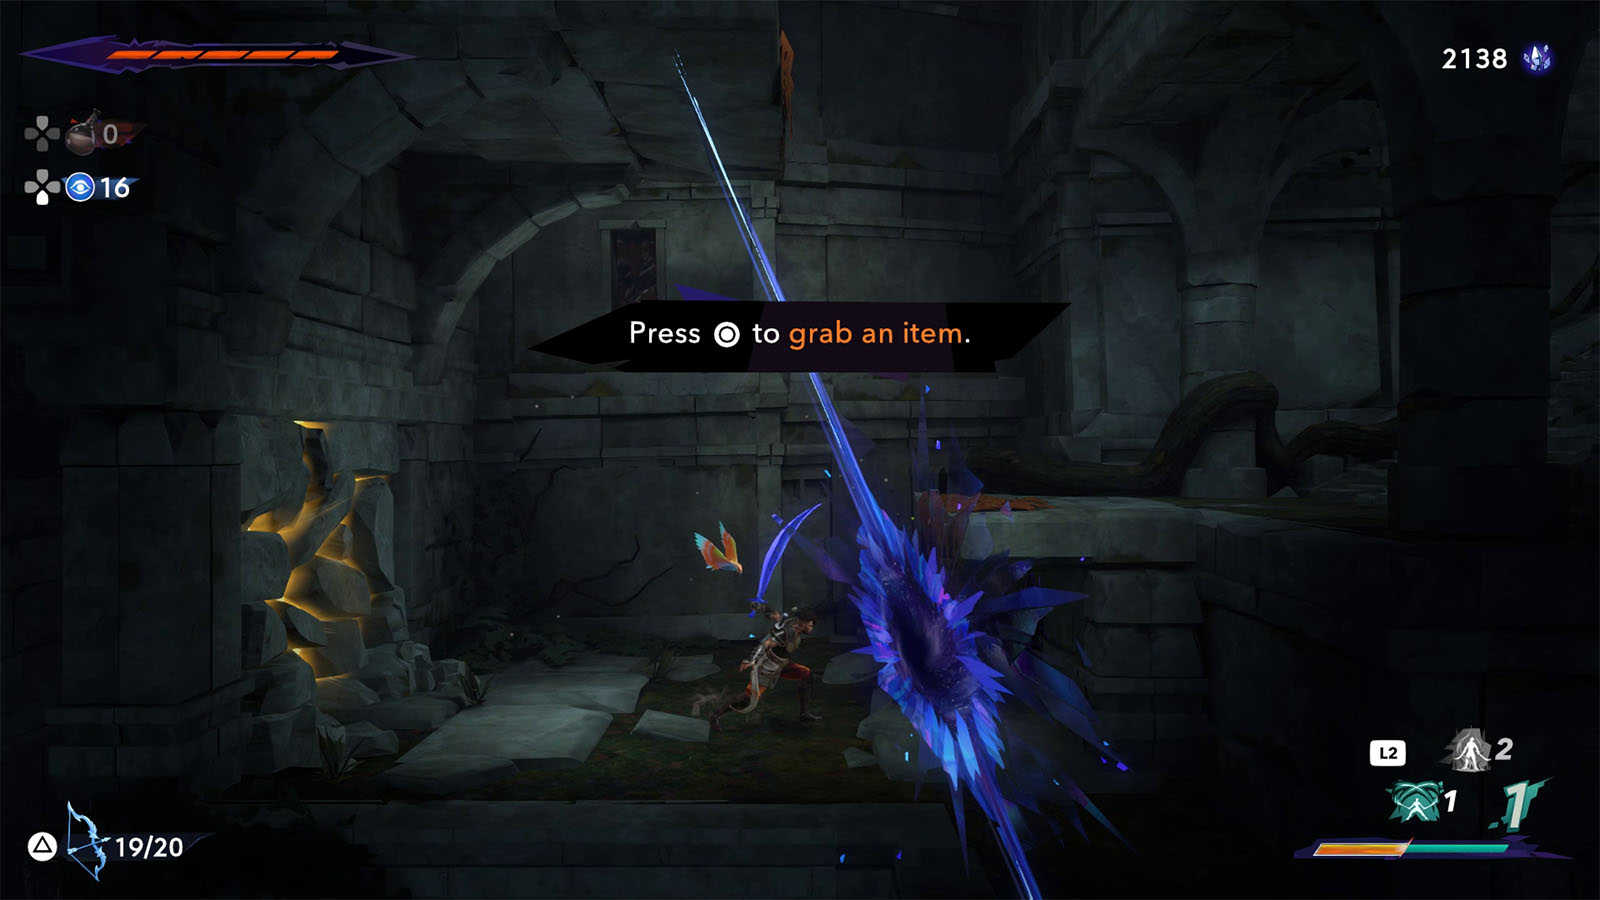
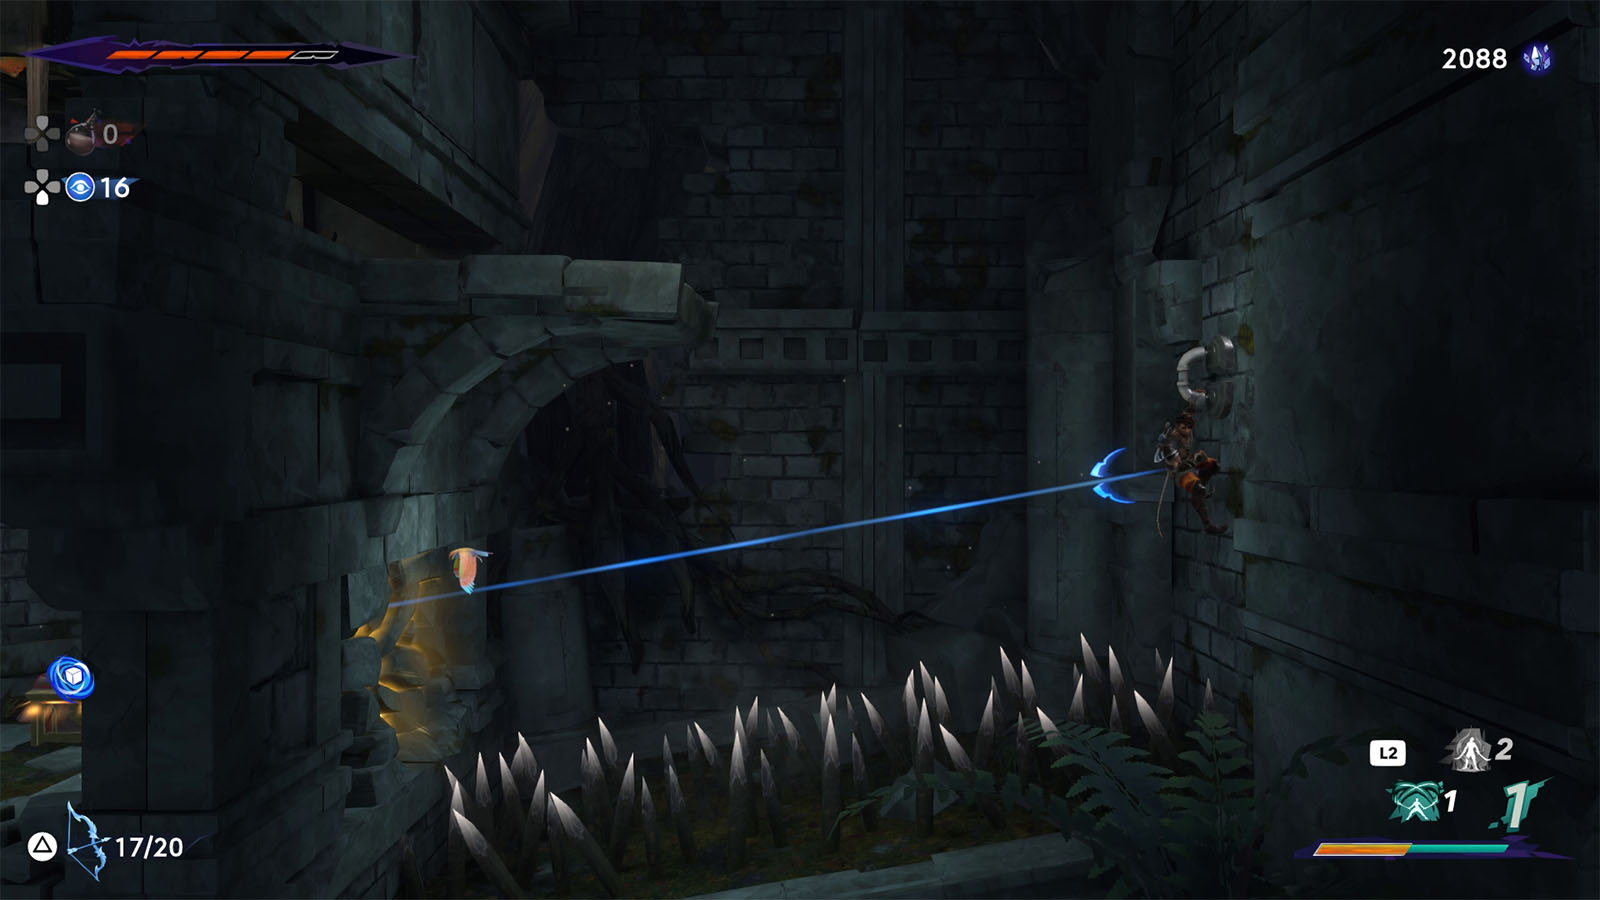
Test out your new ability by grabbing a purple sac and throwing it at the glowing rubble to clear your path. It’s also a good practice from here on to have something loaded in your rift to use for later as the rift can store items indefinitely until thrown.
Continue making your way up the ruins, and once you see the golden breeze heading west, take the east path first to meet up with Fariba and buy the map for the Soma Tree.
There is also a chest nearby that you can access through a glowing rubble to find a Memory Shard.

Continue down the route towards the next Wak-Wak Tree for now and make your way back to the Pit of Eternal Sands. If you decide to travel by foot towards the west, you may encounter several Erliks along the way. Defeating each one of them will reward you with 100 crystals.
On your way back to the Pit of Eternal Sands, follow the two strands coming from the seal and use your new abilities to be able to get close to them.
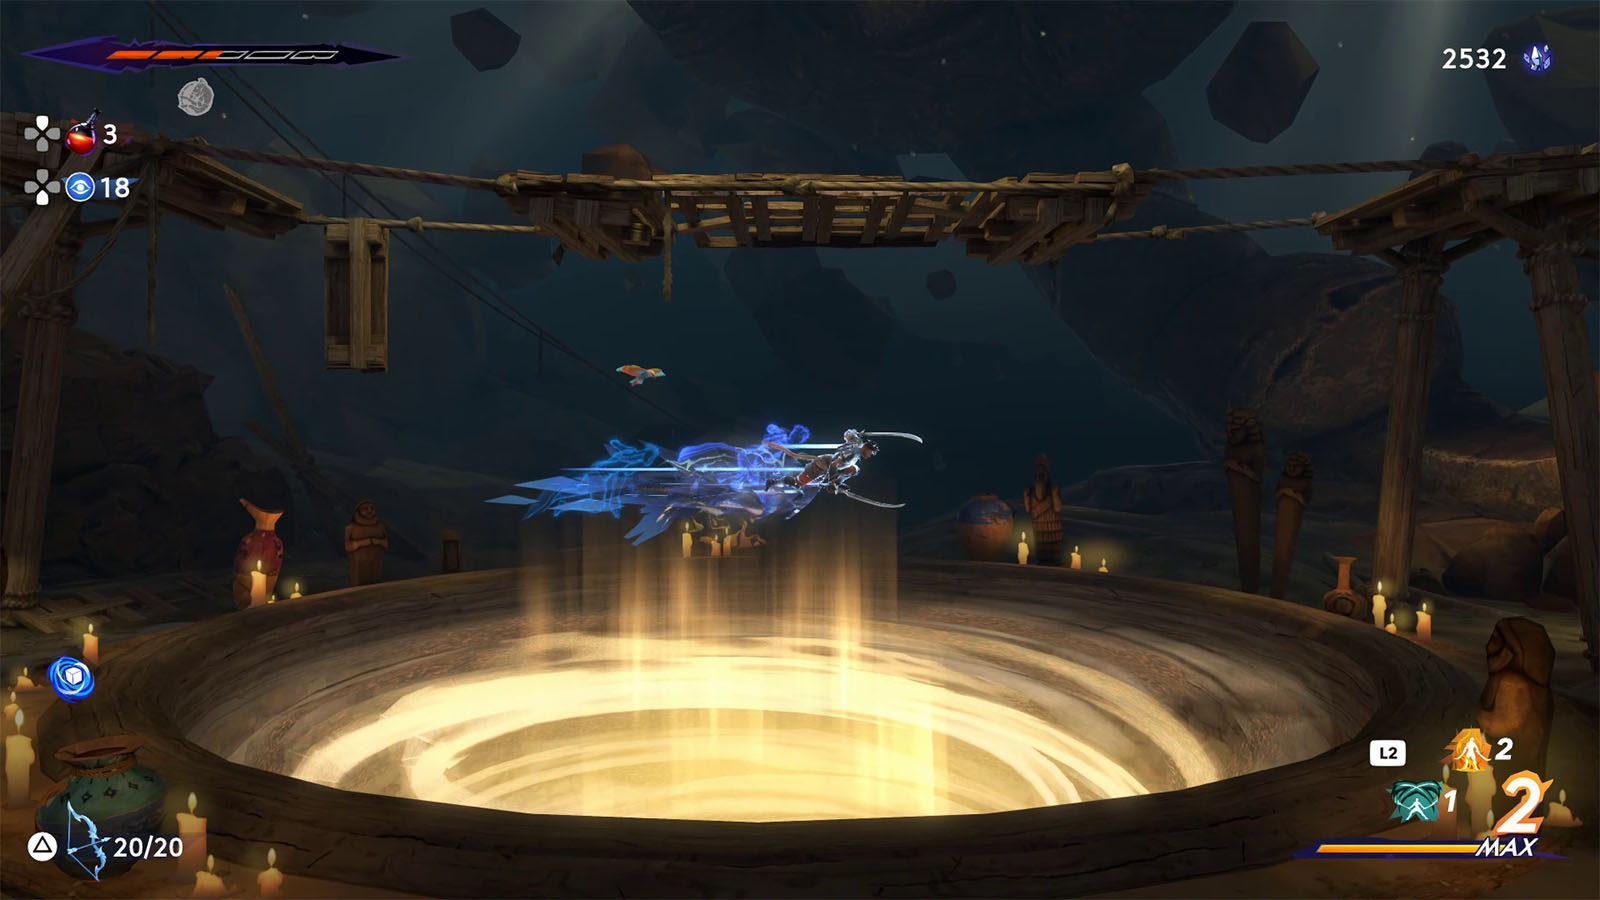
Once the seal has been undone, jump into the pit to reach the next area. This concludes the chapter as Sargon finally drops into the Pit of Eternal Sands to find and confront the dark entity.
See next: Chapter 5 – The Darkest of Souls


