
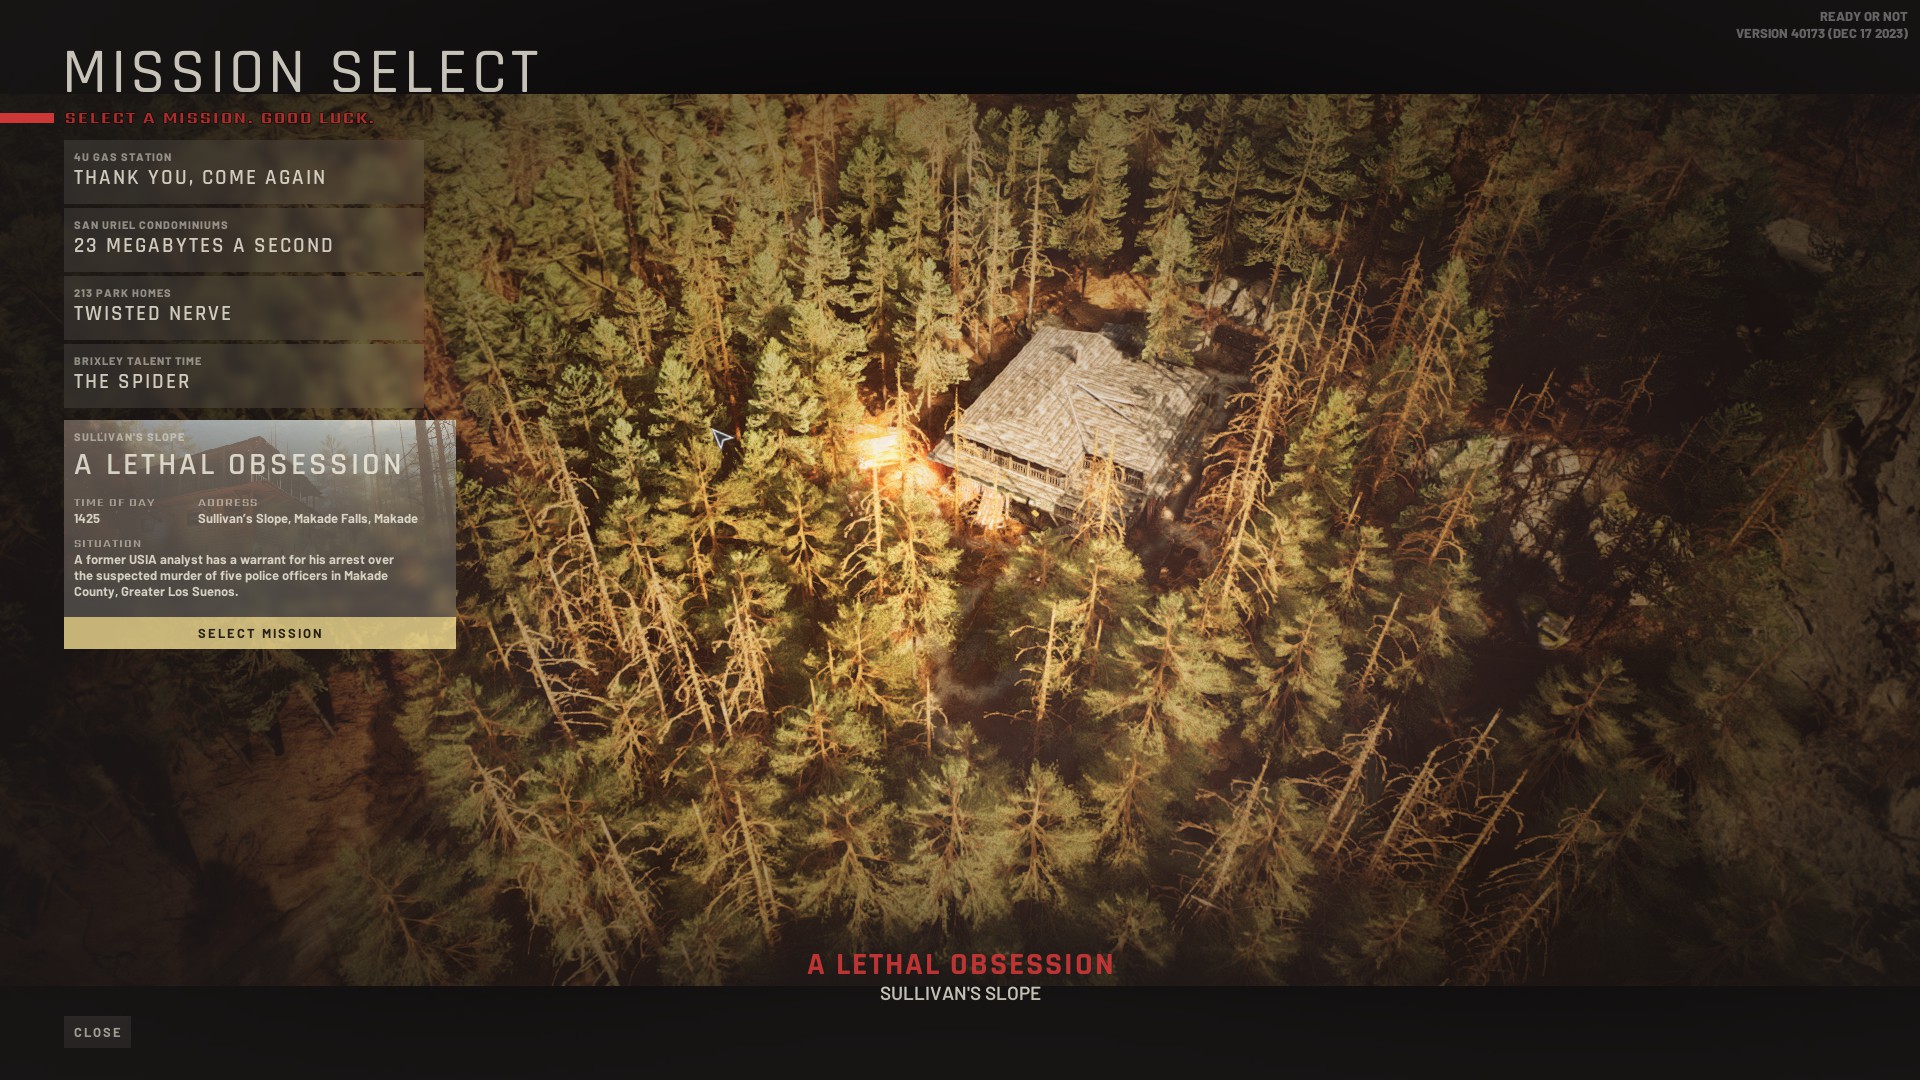
“A Lethal Obsession” is the fifth main mission in Ready or Not. In it, you’re tasked with arresting a former USIA analyst who’s suspected of murdering multiple police officers in the county of Makade.
There’s a difficulty spike that makes this mission a lot more difficult than the previous ones. If you’re not careful, you’ll find yourself dying multiple times. In this guide, I’ll be teaching you how to complete “A Lethal Obsession” in the best way possible.
“A Lethal Obsession” Primary Objectives
Once you picked up “A Lethal Obsession” from the Briefing Room, you are given two primary objectives:
- Bring Order to Chaos – This objective means arresting anyone who may be carrying a dangerous weapon. There’s usually three or four suspects including Gerard himself in A Lethal Obsession.
- Arrest Gerard Scott – Gerard Scott is the prime suspect of this mission. He’s responsible for shooting six police officers, with three dead and three fighting for their lives. Other than the fact that he’s was on the payroll for the United States Intelligence Agency, very little is known about him except for the fact that Gerard is armed and dangerous.
Preparing for “A Lethal Obsession” Mission
There are no civilians in A Lethal Obsession, so you don’t need to worry about shooting them by accident. The enemies here have gas masks, so gas grenades and pepperball guns won’t be as effective. Gerard himself is armed to the bone and won’t be as eager to surrender.
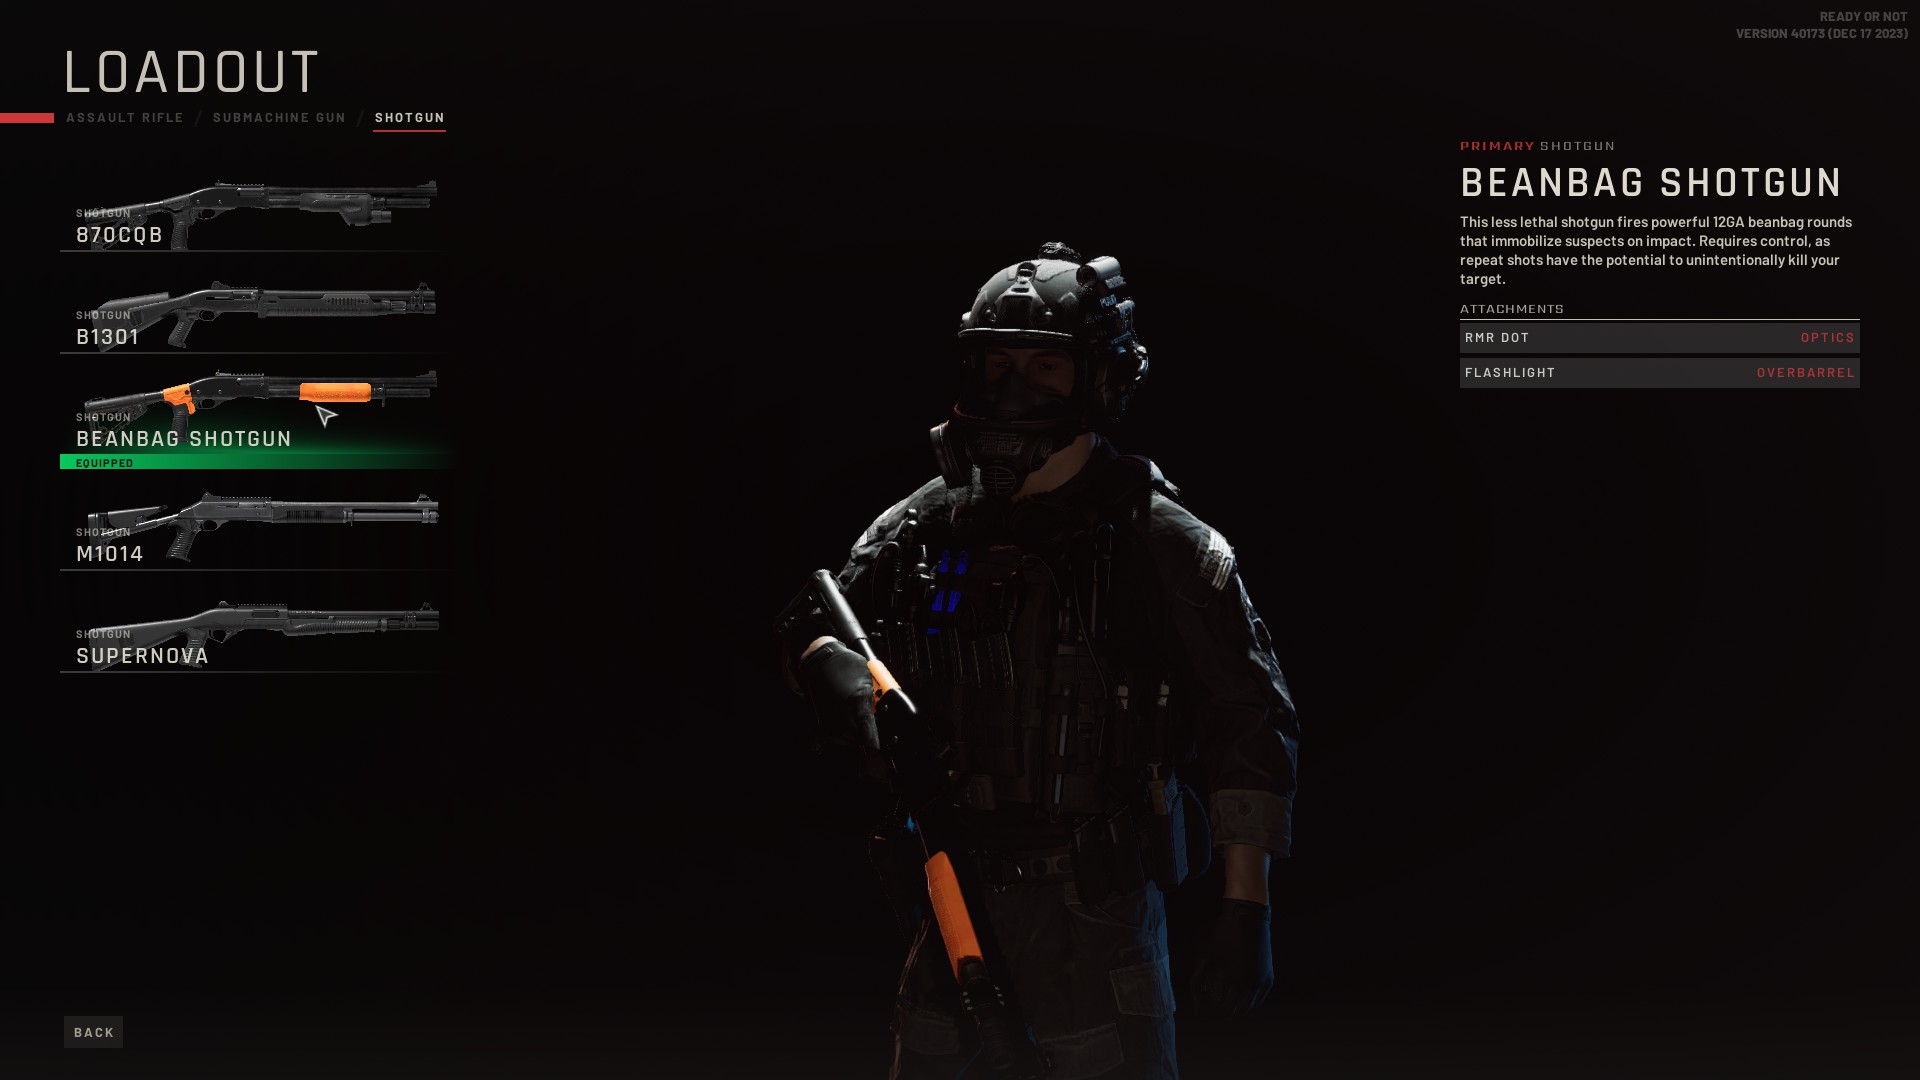
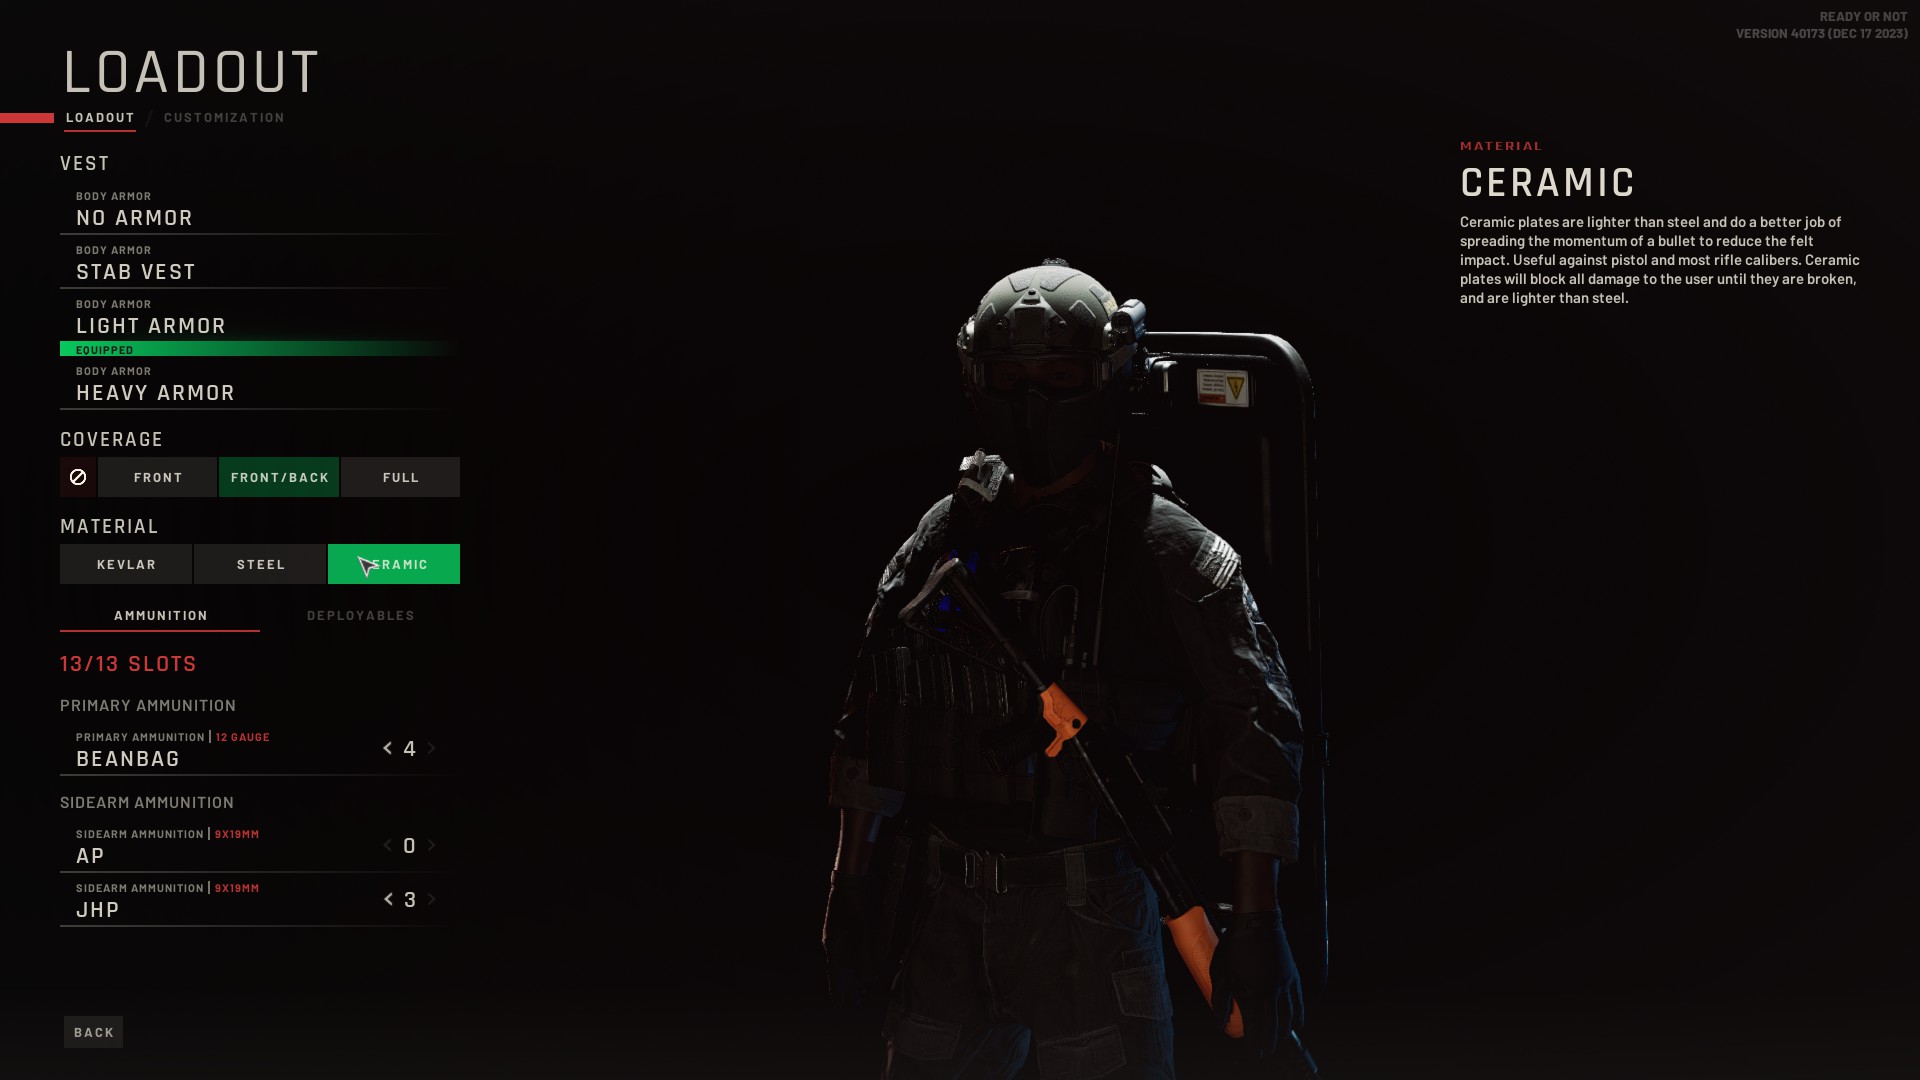
The best weapon to pack are beanbag shotguns for taking suspects alive. Equip your team with flashbangs and stinger grenades. You can provide further protection by equipping them with the ballistic mask and ceramic plate armor.
Equip at least one of your SWAT team members with the tactical shield. This will be your main lead when breaching. Also, ensure at least one of you has a mirrorgun to check for traps.
The next thing you’ll want to equip your officers with is wedges. These can be used to prevent anyone from going in and out of the place, allowing for tighter control of the situation.
“A Lethal Obsession” Mission Walkthrough
You’ll start the mission outside in the woods. Carefully close in the building in front of you. There usually aren’t any spawns outside the house itself, but it’s best to check. Make sure that the outside is clear of enemies before you head in.
Don’t bother trusting the map that the tablet gives you because it’s highly inaccurate. Gerard and his men have done too much to the place that the map is almost worthless now.
Here’s where the wedges become useful. Almost every time I load into the level, the suspects are always inside. You can keep them that way by wedging every door except for the second-floor back door. What this does is help you ensure that no one is unaccounted for who ran from inside out.
A Lethal Obsession has three floors. You have the first floor, the second floor, and then the basement. Start from the top and make your way to the bottom. From my experience, there’s usually three or four enemies, including Gerard himself, in this level. This may not sound like a lot, but they’re well equipped and have itchy trigger fingers.
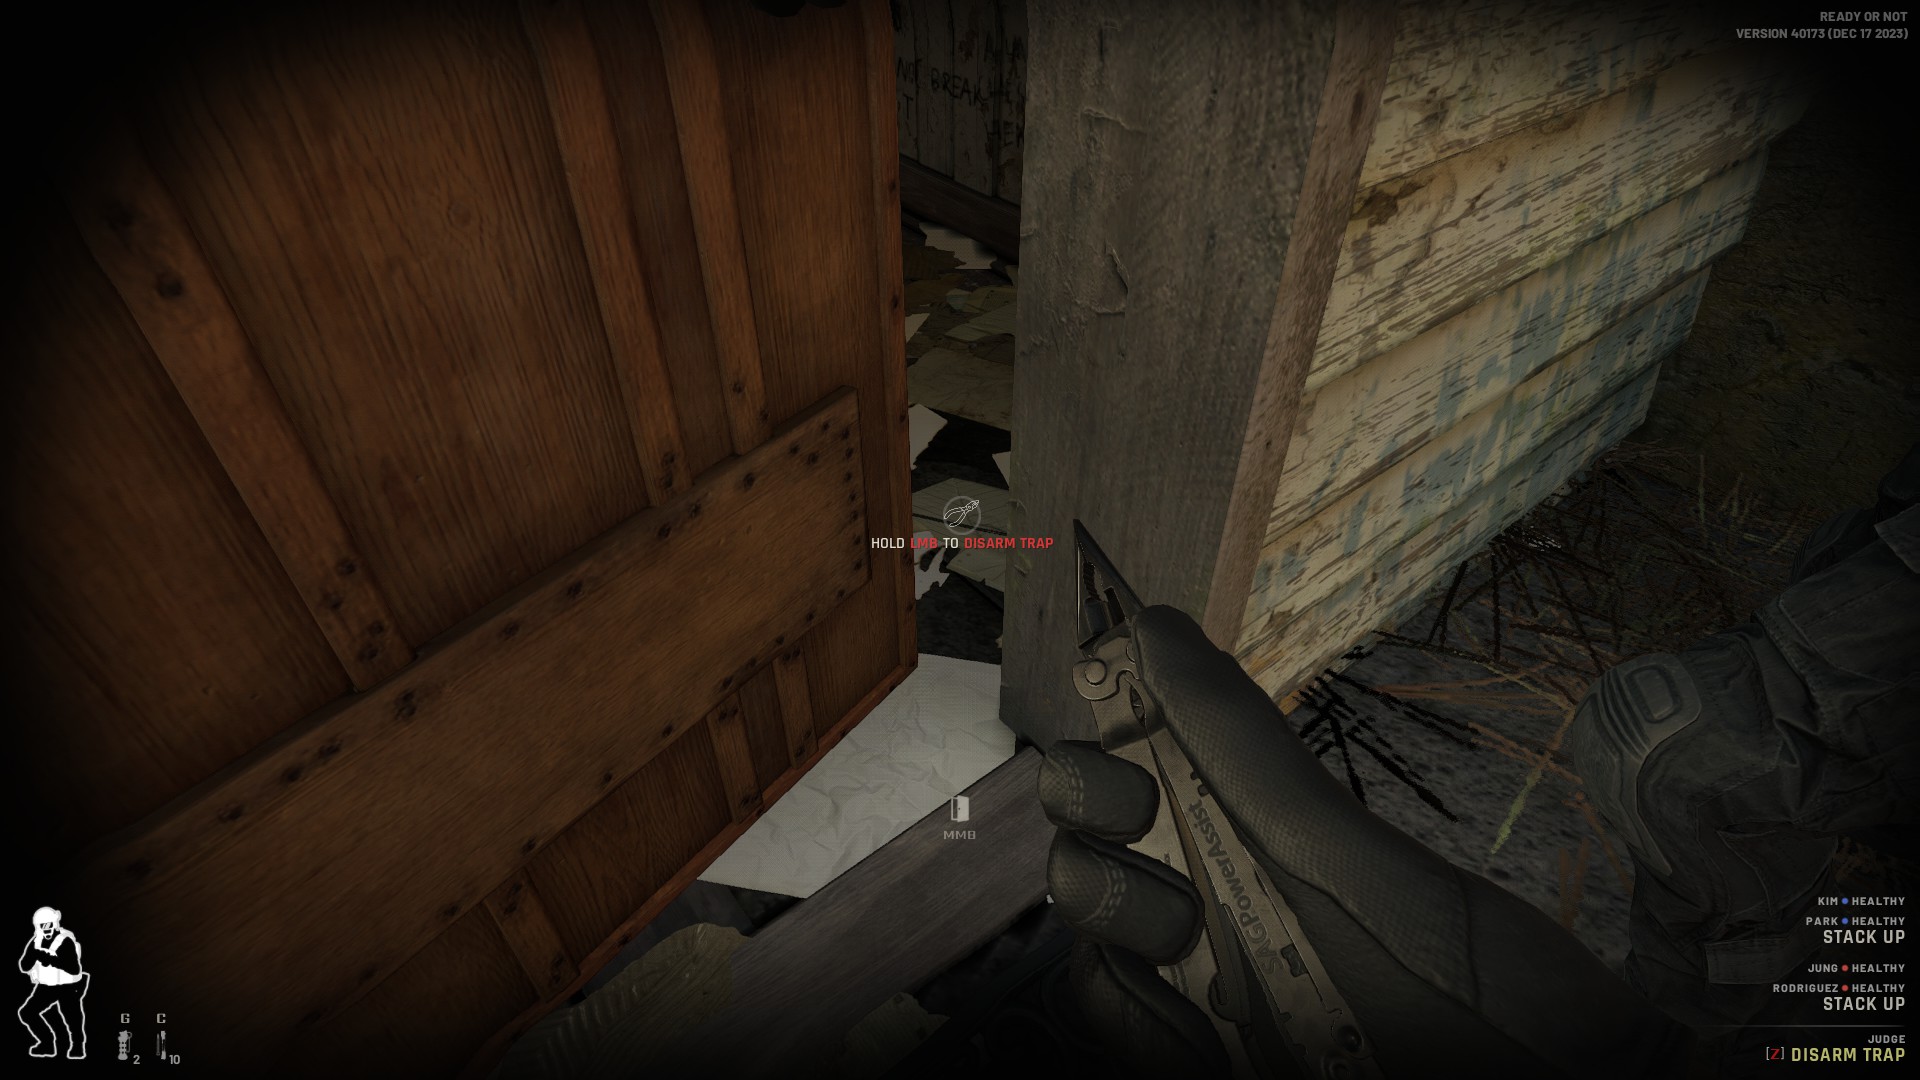
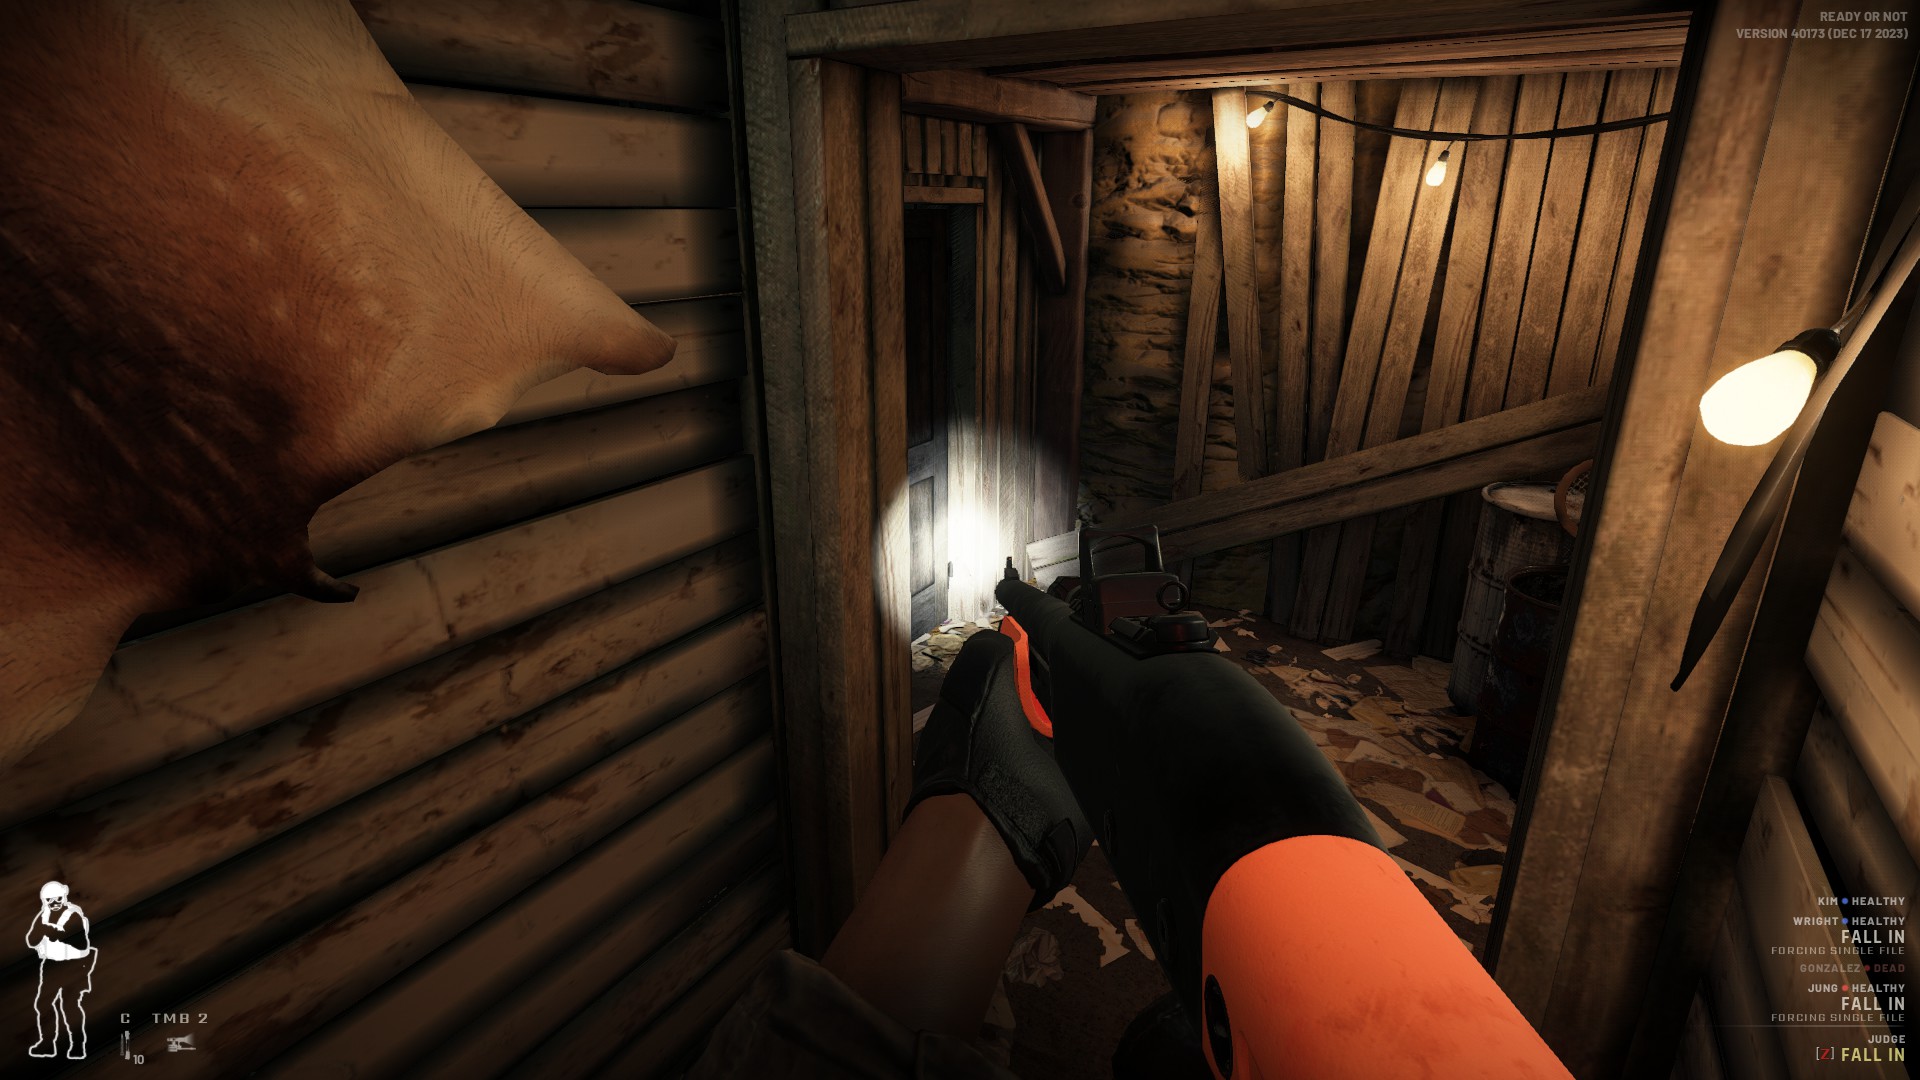
The place is trapped, so be careful when breaching doors. Compared to the missions before this one, this is most likely the first time you’ll encounter actual traps. There are quite a few of them placed by the doors. You can order your team to disable them or peek through doors and disable them yourself with the wire cutters.
Note: You’ll automatically get the prompt to equip your wire cutters and disable traps when you look down on the door. Just make sure not to open it or it’ll go off. This will cause an instant game over if you’re playing on single player.
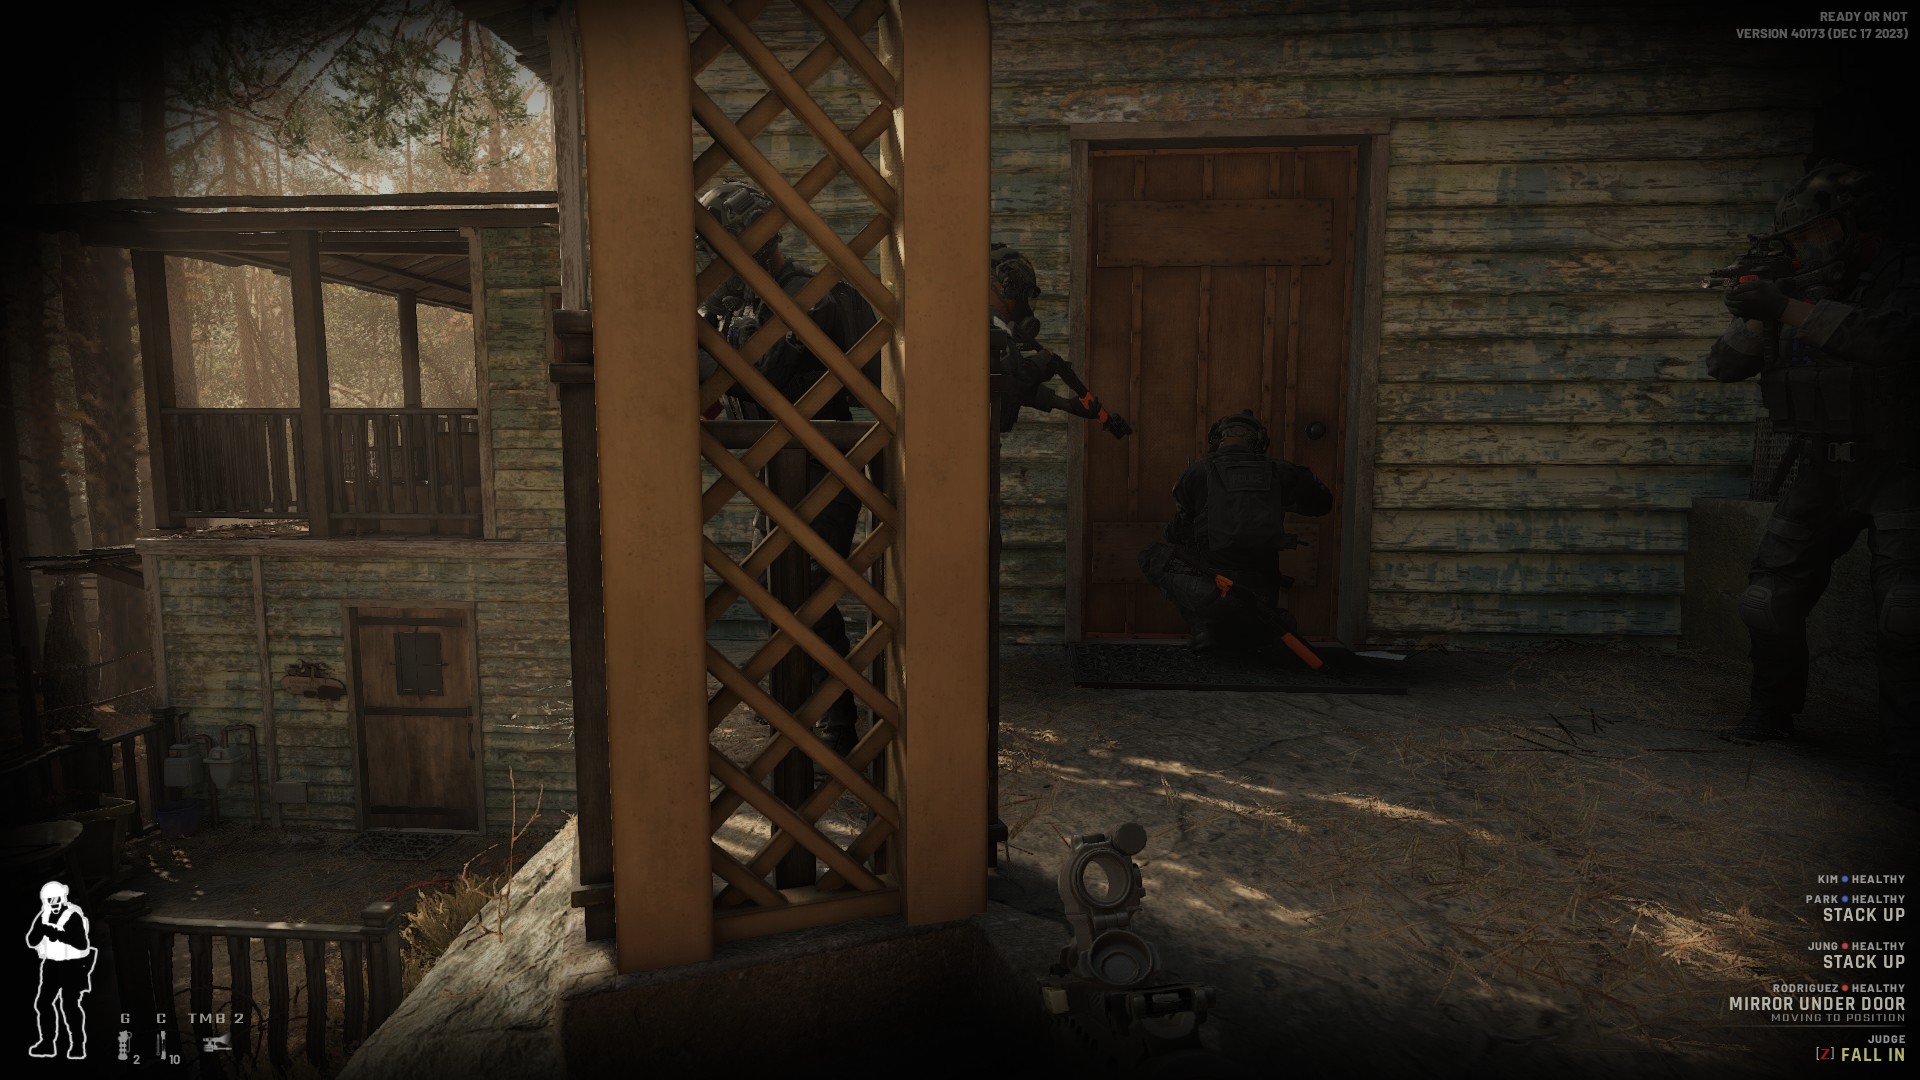
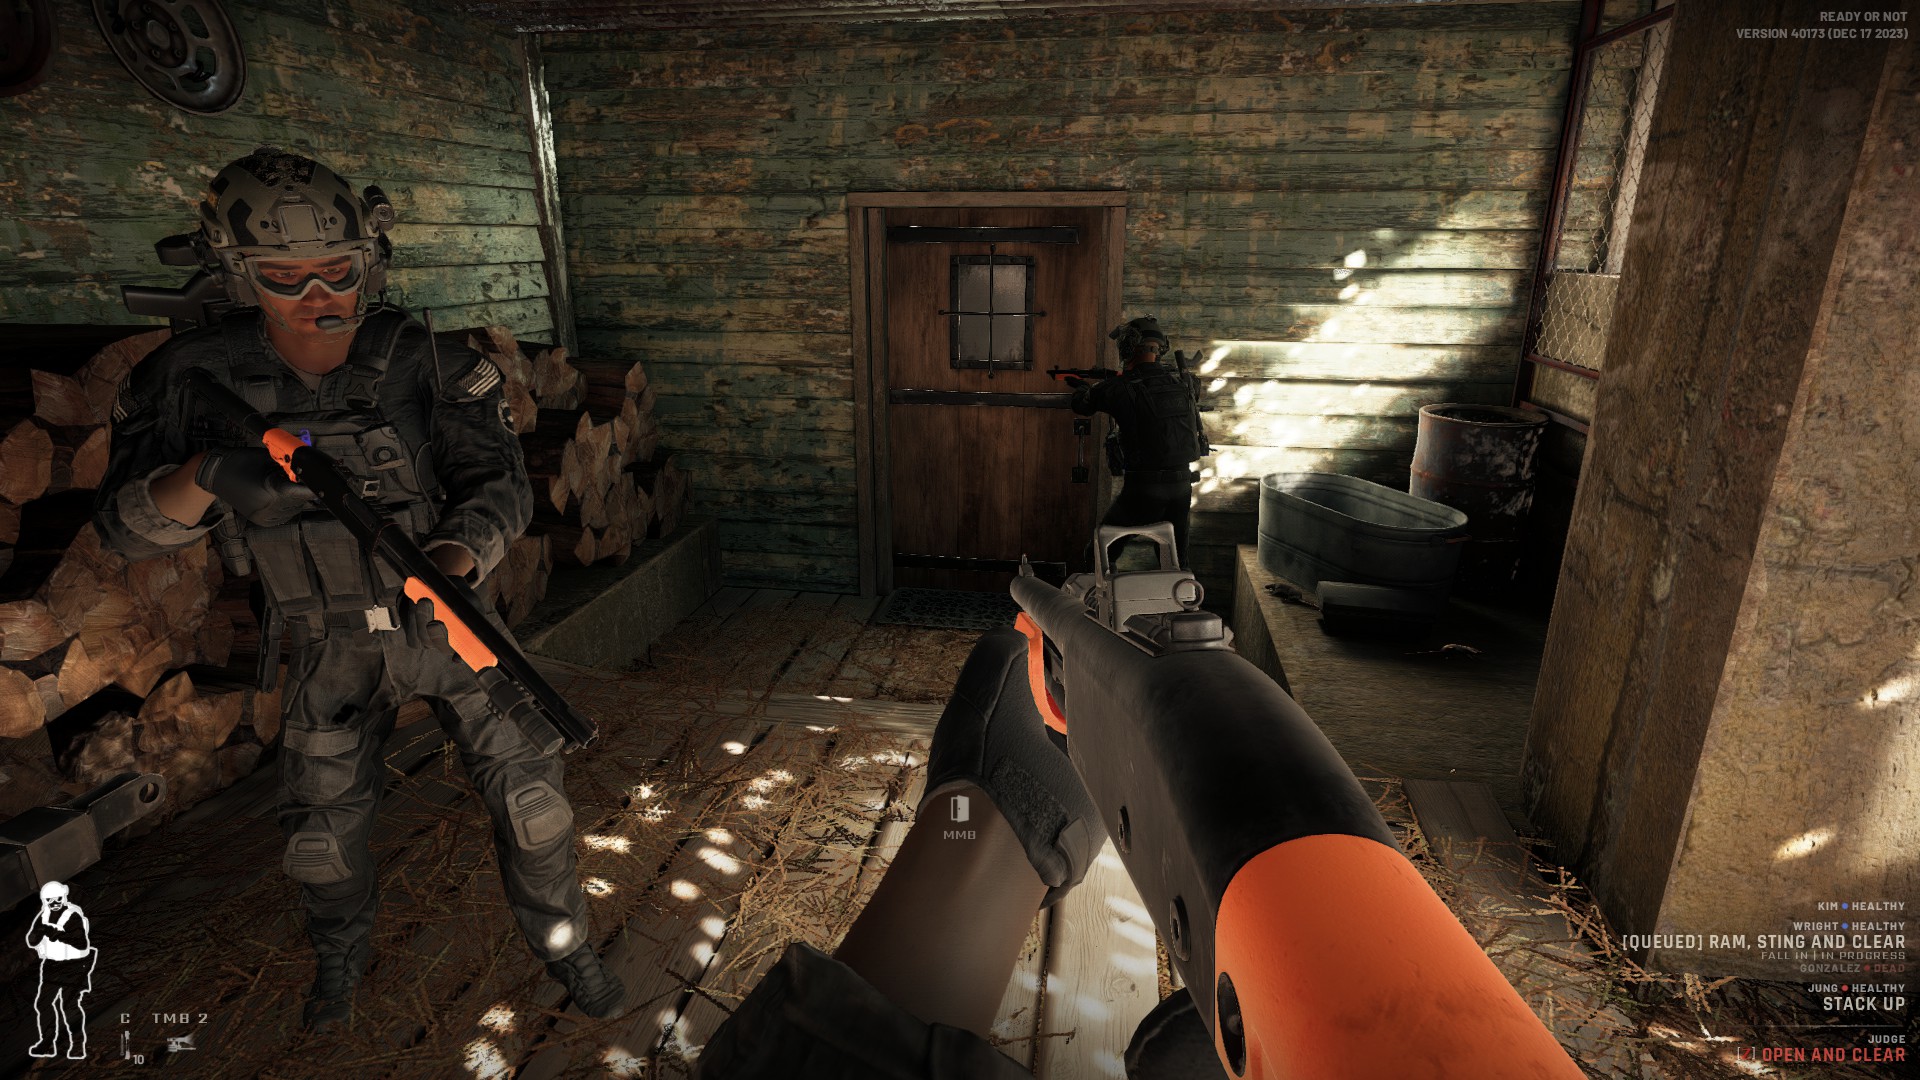
The best way to enter this facility is through the backdoors, where there aren’t as many traps. Start by clearing the second floor. Position your team to stack the door on both sides. There are three things to consider here: the room beyond that you can easily see with the Mirrorgun, the room right next to it where you can’t see anything, and the stairs. There’s another door to the left though that leads to the balcony.
Breach the room with flashbangs and ensure that you keep an eye on the stairs for anyone coming up. Three times out of four, Gerard is usually on the first floor with his ghillie suit and rifle.
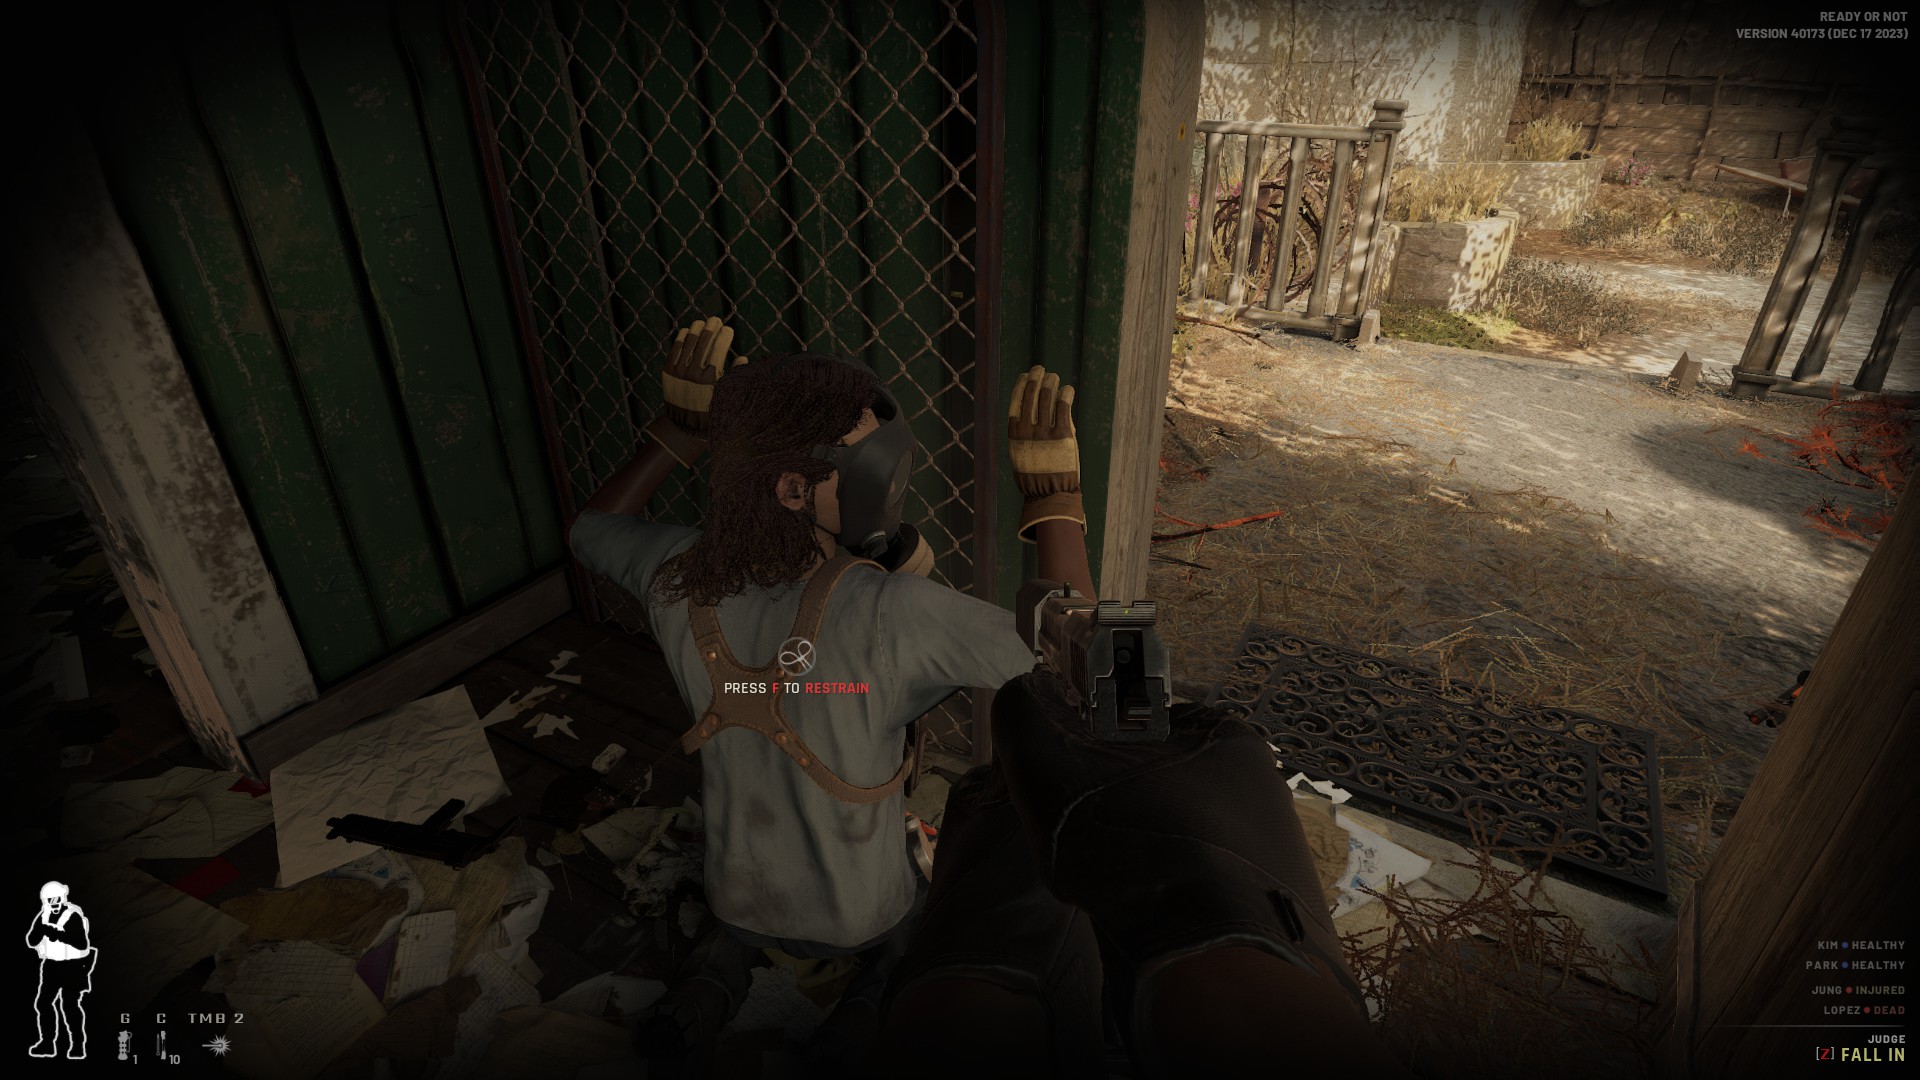
Slowly and cleanly clear out the second floor with one of your men or yourself keeping an eye on the stairs while your squad checks the room. The beanbag shotguns will be enough to coerce any suspect to getting down on their knees and surrendering.
Once you’re certain that there’s no one on the second floor, disable the traps by the doors before moving on to the stairs. What you’ll want to do is position either red or blue team by the backdoor of the first floor. Make sure that isn’t booby trapped before queueing them to breach with flashbang. Have the remaining team come with you on the stairs.
Note: You can queue orders by holding SHIFT and then pressing the middle mouse buttons before assigning orders. Then, you can order your men to execute those orders with the Z key.
Before you head downstairs there are a few openings to consider. From the stairs, there’s a room to the right leading to the kitchen with a projector where enemies can be potentially lying in wait. From the behind the stairs, there’s a hallway that can be guarded by enemies including two doors to the left that may be booby trapped.
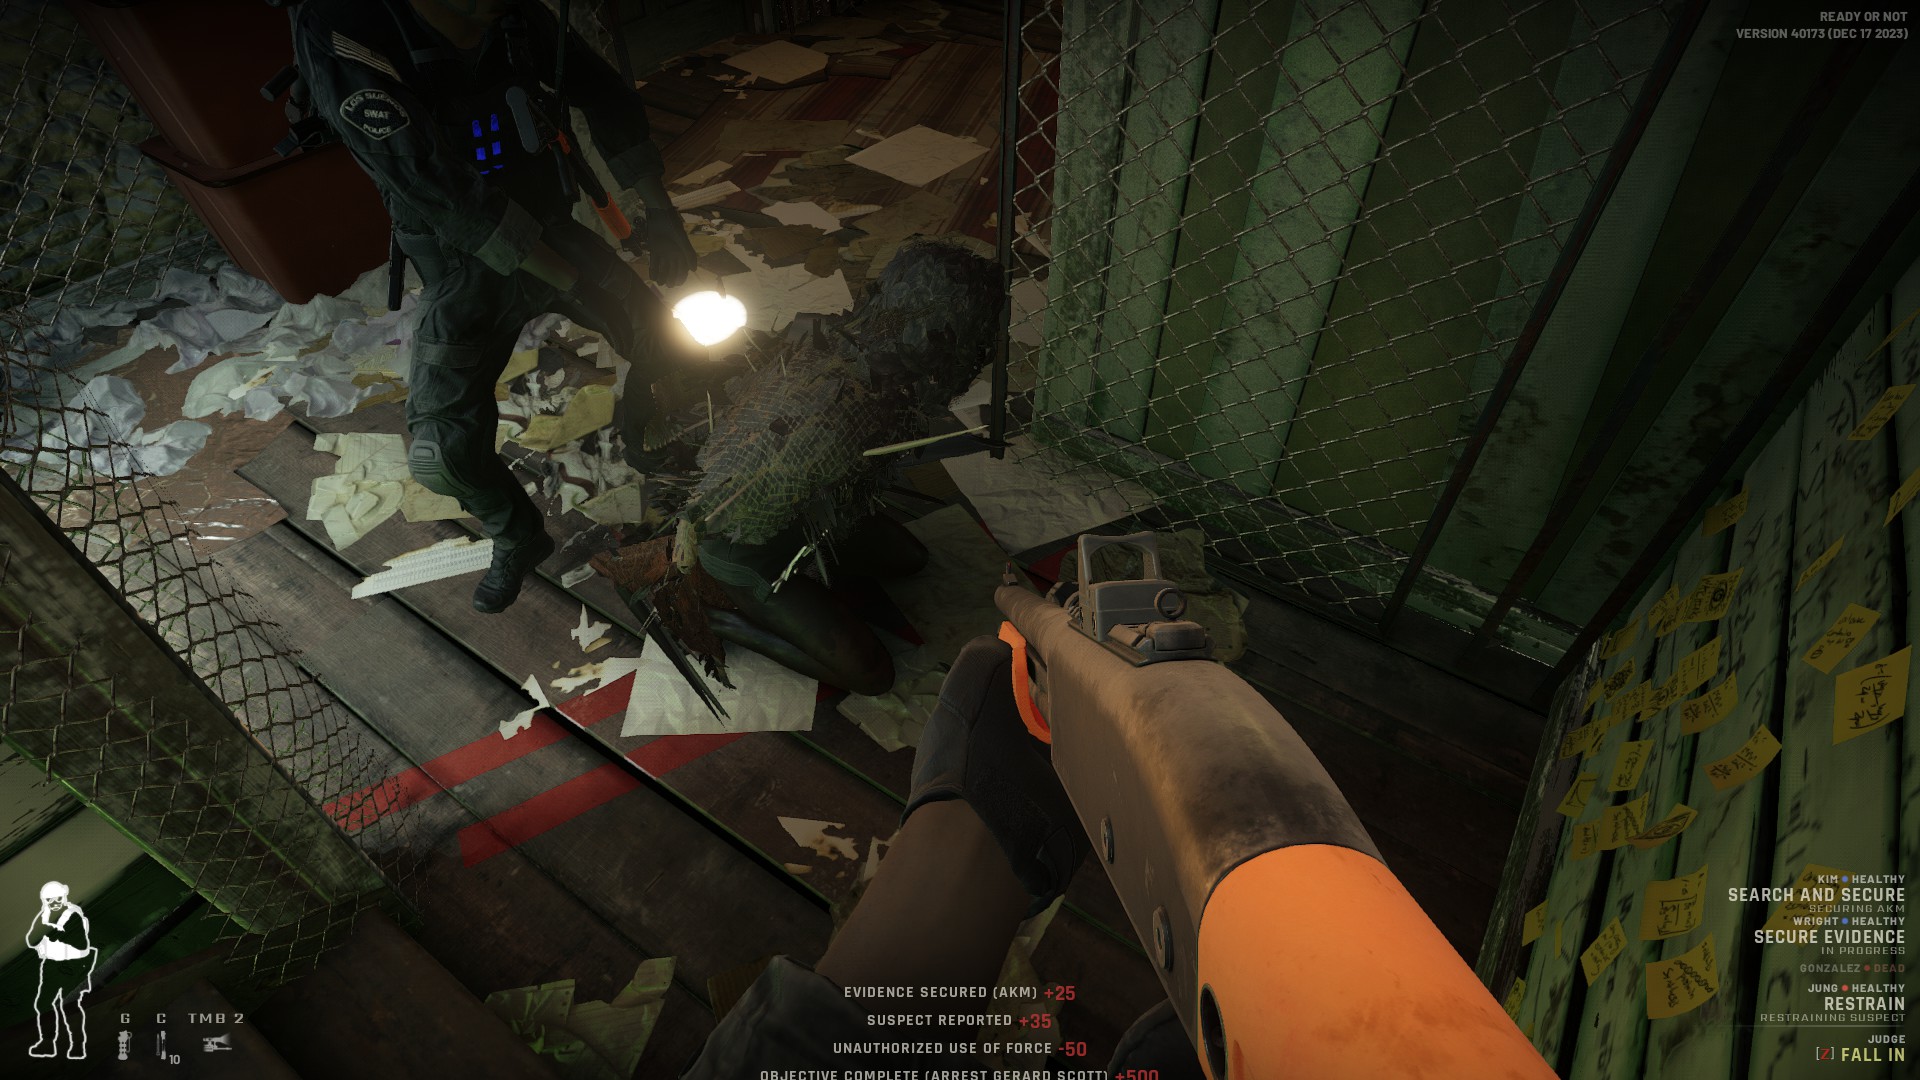
Gerard is a raving lunatic so you’ll usually hear which direction he’s coming from and he’s usually found on the first floor. He has a ghillie suit on and a rifle which makes him dangerous. A couple of shots with your beanbag shotgun will be enough to coerce him into surrendering.
Once you’ve taken the first floor, make sure that the two doors on the left of the staircase are clear. These two usually have grenades tripwires by the doorstep so check for those using your Mirrorgun.
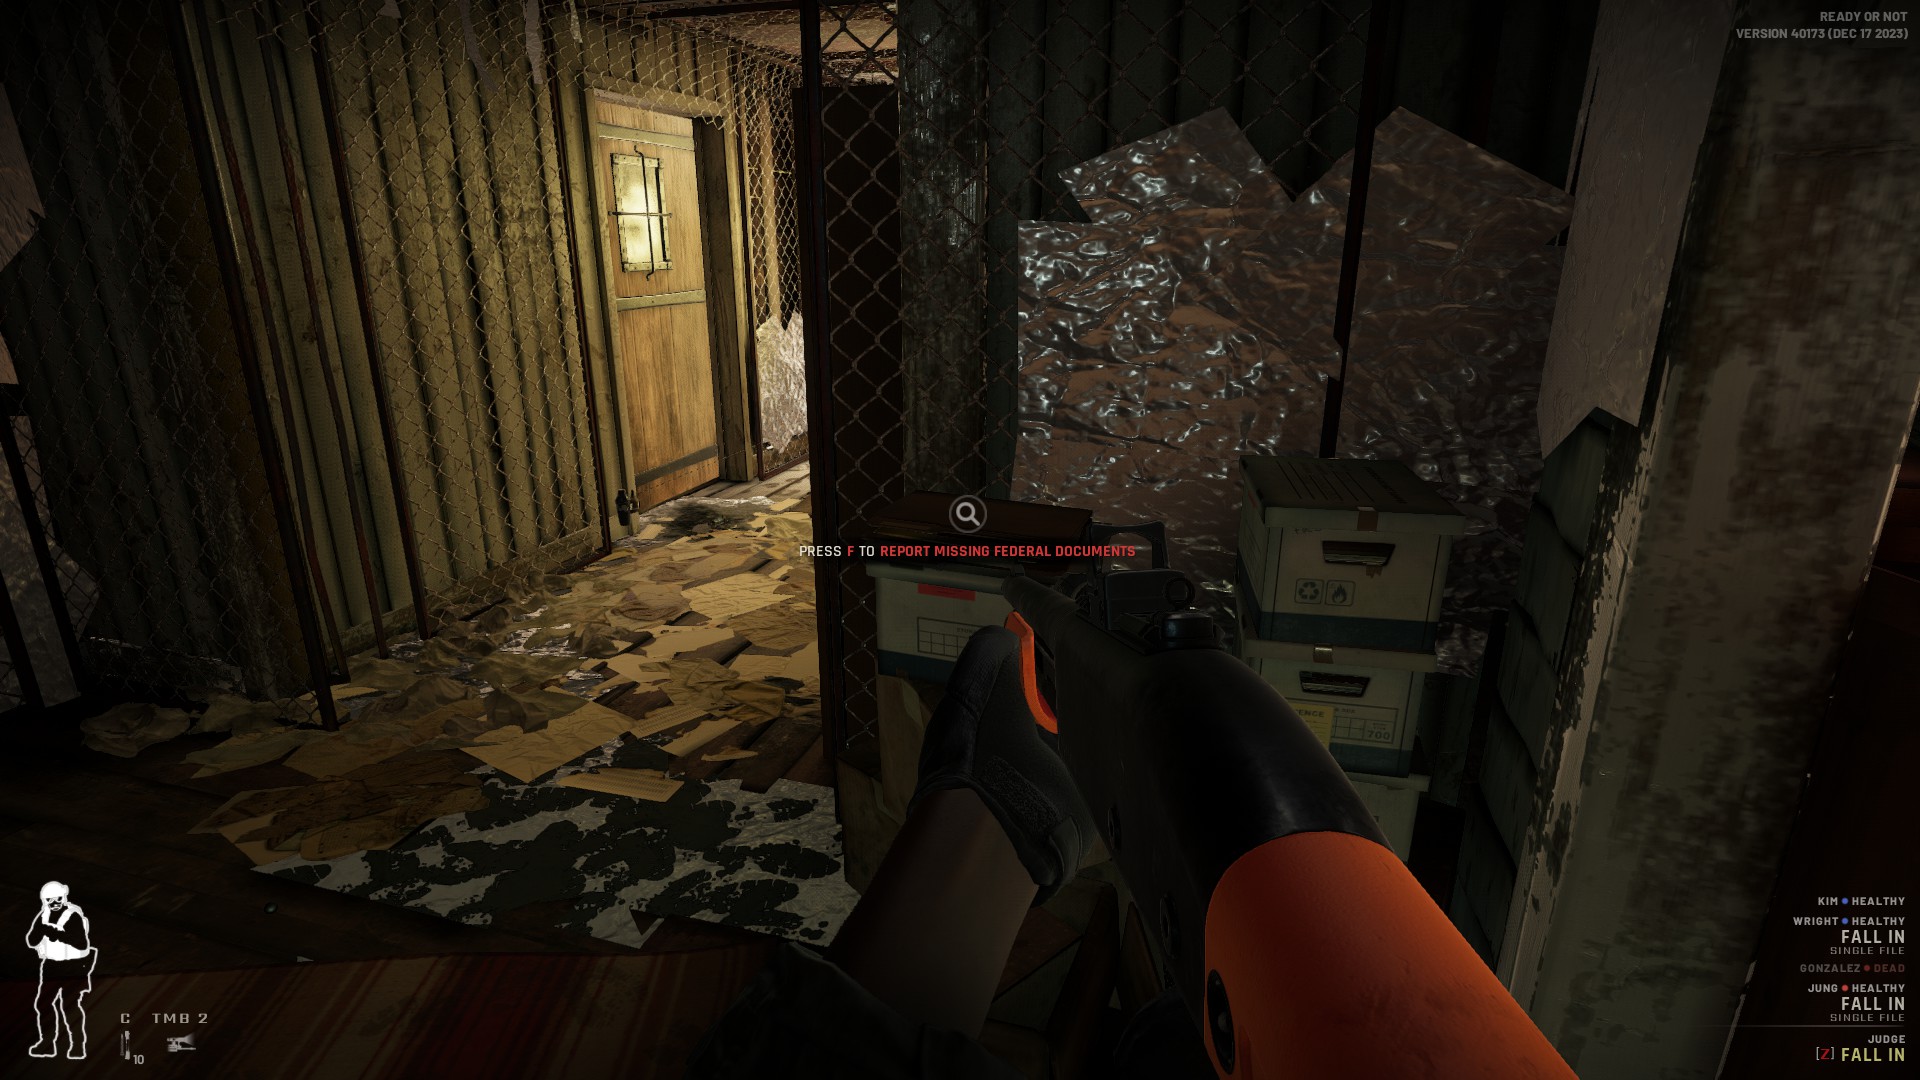
Once you’ve confirmed everything is clear, pick up the Missing Federal Documents near the entrance across the stairs. This will add some bonus points to your overall grade by the end of the mission. If the mission didn’t end once you’ve cleared the first floor, there’s more than likely still one or two more suspects in the area.
All that’s left it to clear the basement. The basement has two entrances: one from the outside near the generator downstairs and the stairs that’s from the first floor. The basement itself has two rooms, the descending down from the first floor will lead you to one end and coming in from the outside will lead you to the other.
Here’s where you can split your team again. Order either red or blue team to stack up on one entrance and queue a breach with a flashbang. Accompany the other and stack them up before queuing another breach with a flashbang. Once you’re prepared, execute the orders.
Both red and blue team will barge in different rooms separated by a wall. The door in-between might be booby trapped so don’t immediately rush in to help if the threat is on the other side. Instead, there’s a vertical opening that you can peek through and take shots while ordering the team you came with to disable the trap.
Once you’ve taken down and arrested your final suspect, A Lethal Obsession is complete. Your reward for this is that the outside of the Los Sueños Police Station is unlocked if you’re playing Commander Mode and you’ve got Ides of March for your next mission.


