
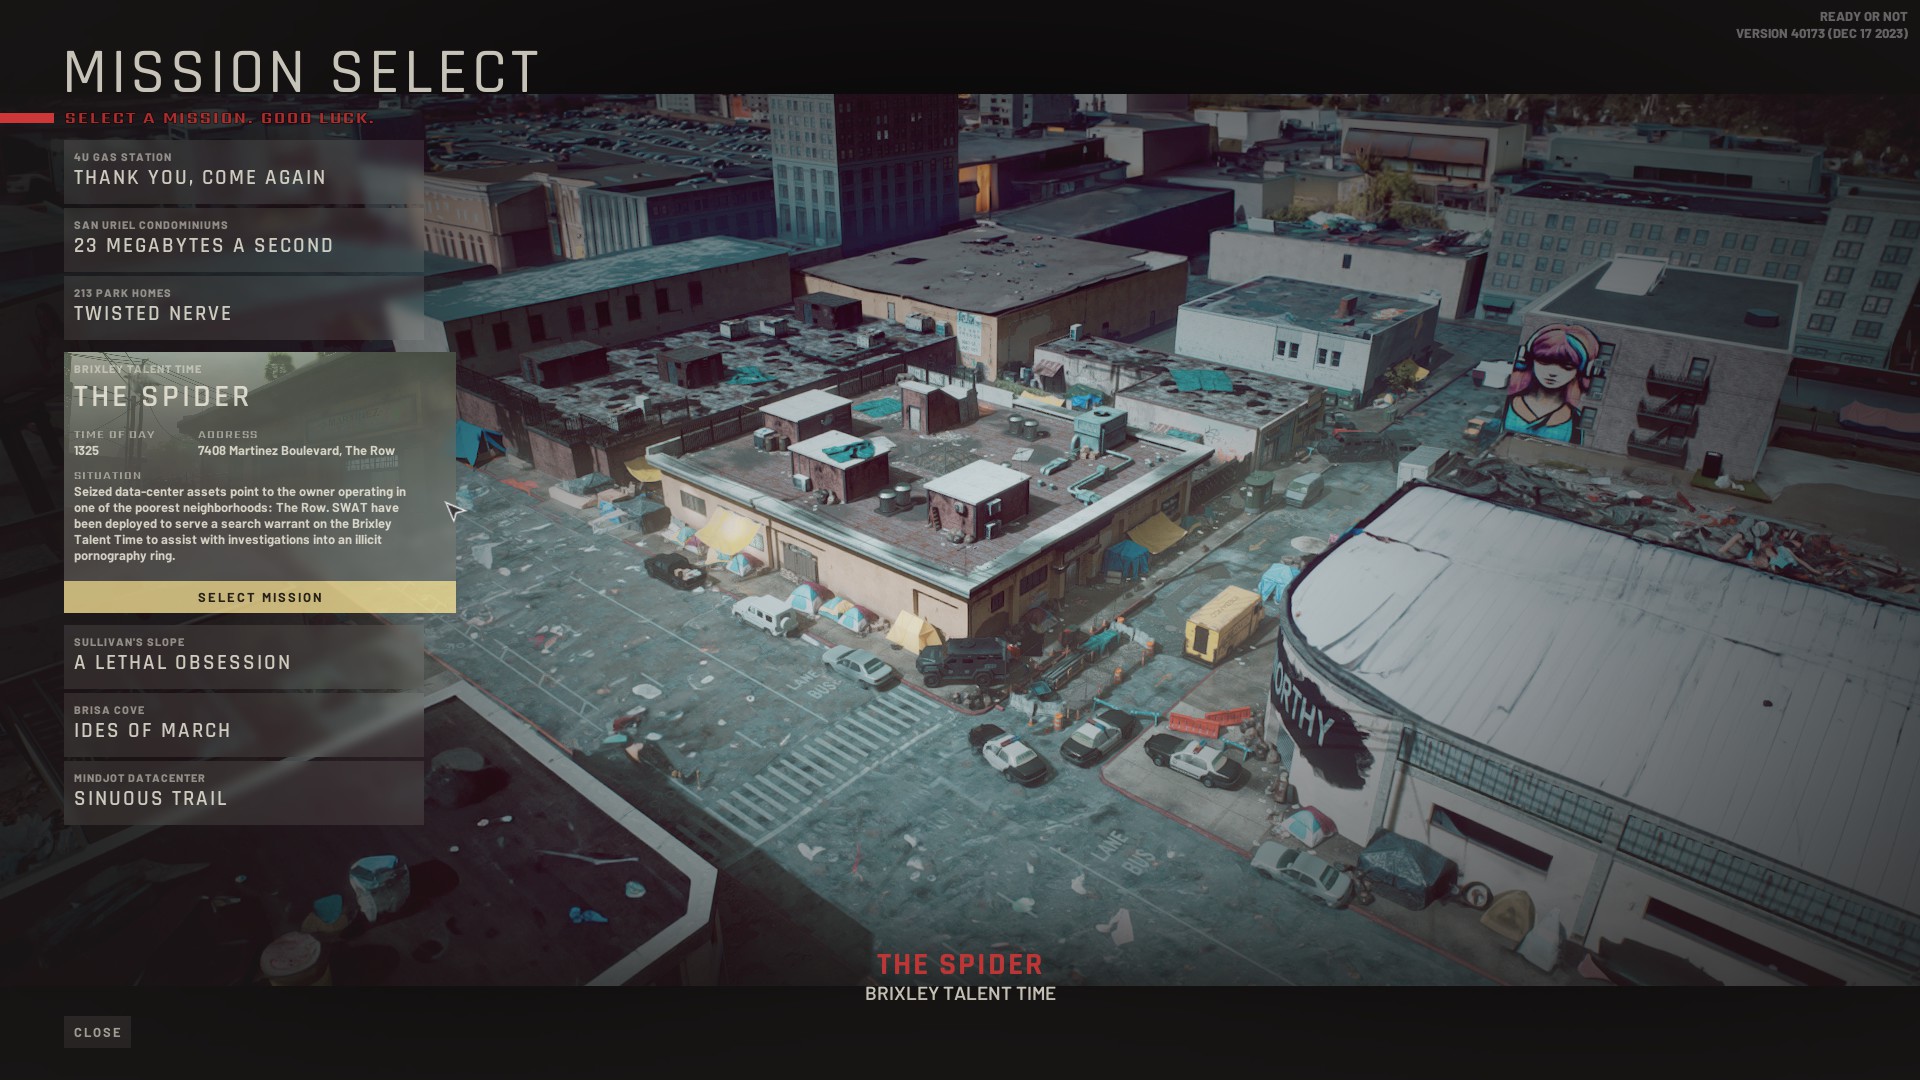
“The Spider” is the fourth main mission in Ready or Not. The LSPD SWAT team is dispatched to take control of an illegal pornography ring located in a dangerous neighborhood. What you find inside Brixley Talent Time may disturb you to your core.
There are two main buildings in this mission; however, its biggest threat lies outside, where your CQB tactics will be of little help. Let your guard down, and your squad could be coming back in body bags. In this guide, I’ll be teaching you the best way to complete “The Spider” mission.
How to Complete “The Spider” in Ready Or Not
In order to clear “The Spider” mission, you need to complete these objectives:
- Bring Order to Chaos – Take down any suspects who are carrying weapons in the level. There are numerous patrols posted inside the Brixley Talent Time and some outside.
- Rescue All of the Civilians – Cuff any civilian you find on the premises. Make sure to check every room for them.
- Apprehend George Brixley – The owner of Brixley Talent Time is usually found in his office or somewhere close by inside the building. He has a lot to answer for.
Preparing for “The Spider” Mission
Stack up on wedges and flashbangs from the SWAT’s armory. You’re going to need those for controlling movement between rooms and clearing them. Enemies here don’t have much armor but they do have submachine guns equipped.
The suspects for this level aren’t really carrying assault rifles so medium ceramic armor should be enough to protect your SWAT unit. If you want to ensure you get that S-rank by the end of the mission, you can equip pepperball guns or the beanbag shotgun otherwise assault rifles will excel here for the outdoors.
If you do choose to use pepperball guns, make sure that your team have gas masks on because this will irritate your SWAT unit when they go through the cloud left behind the pellets. Some of the inside areas are larger and could benefit if you bring in gas grenades. Though these will obscure your vision somewhat.
For breaching purposes, having one of your team have the tactical shield and wearing heavy armor will really help. They will always breach in first allowing them to divert fire from the whole team.
“The Spider” Walkthrough
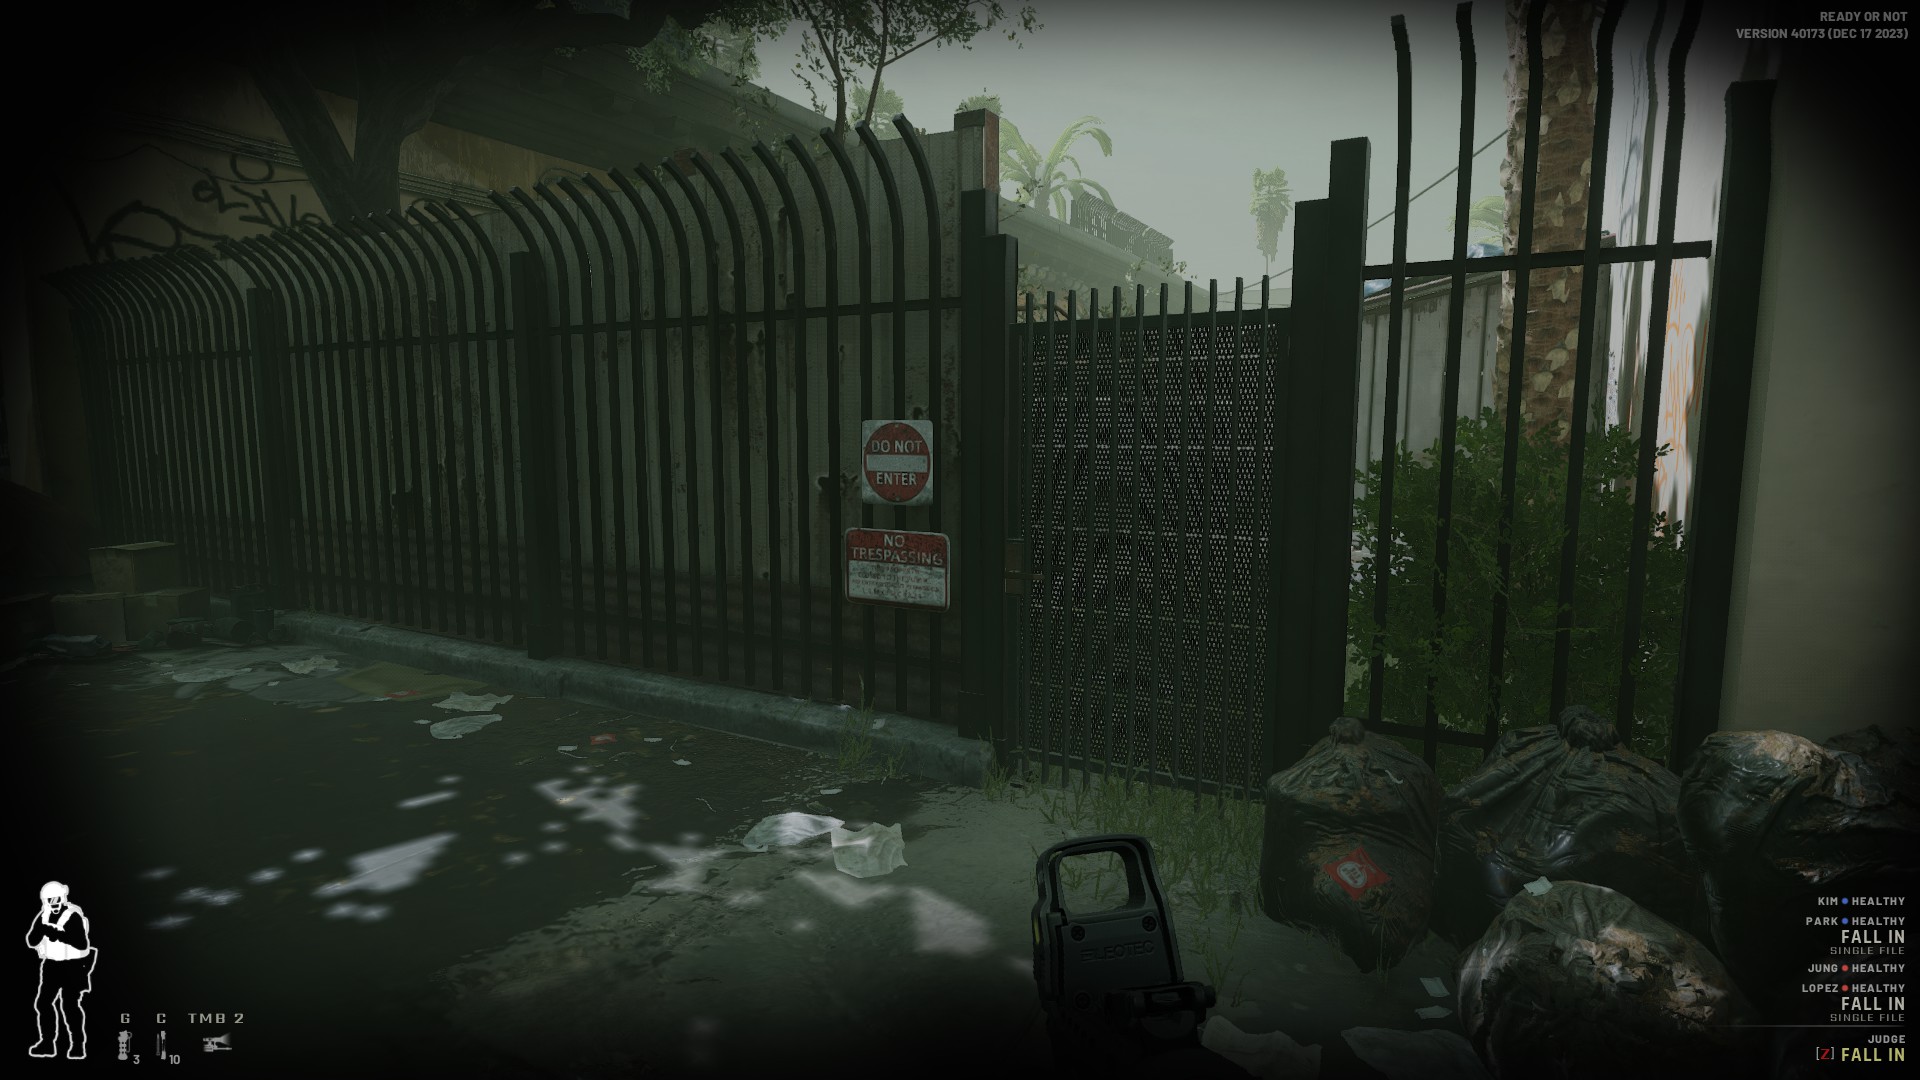
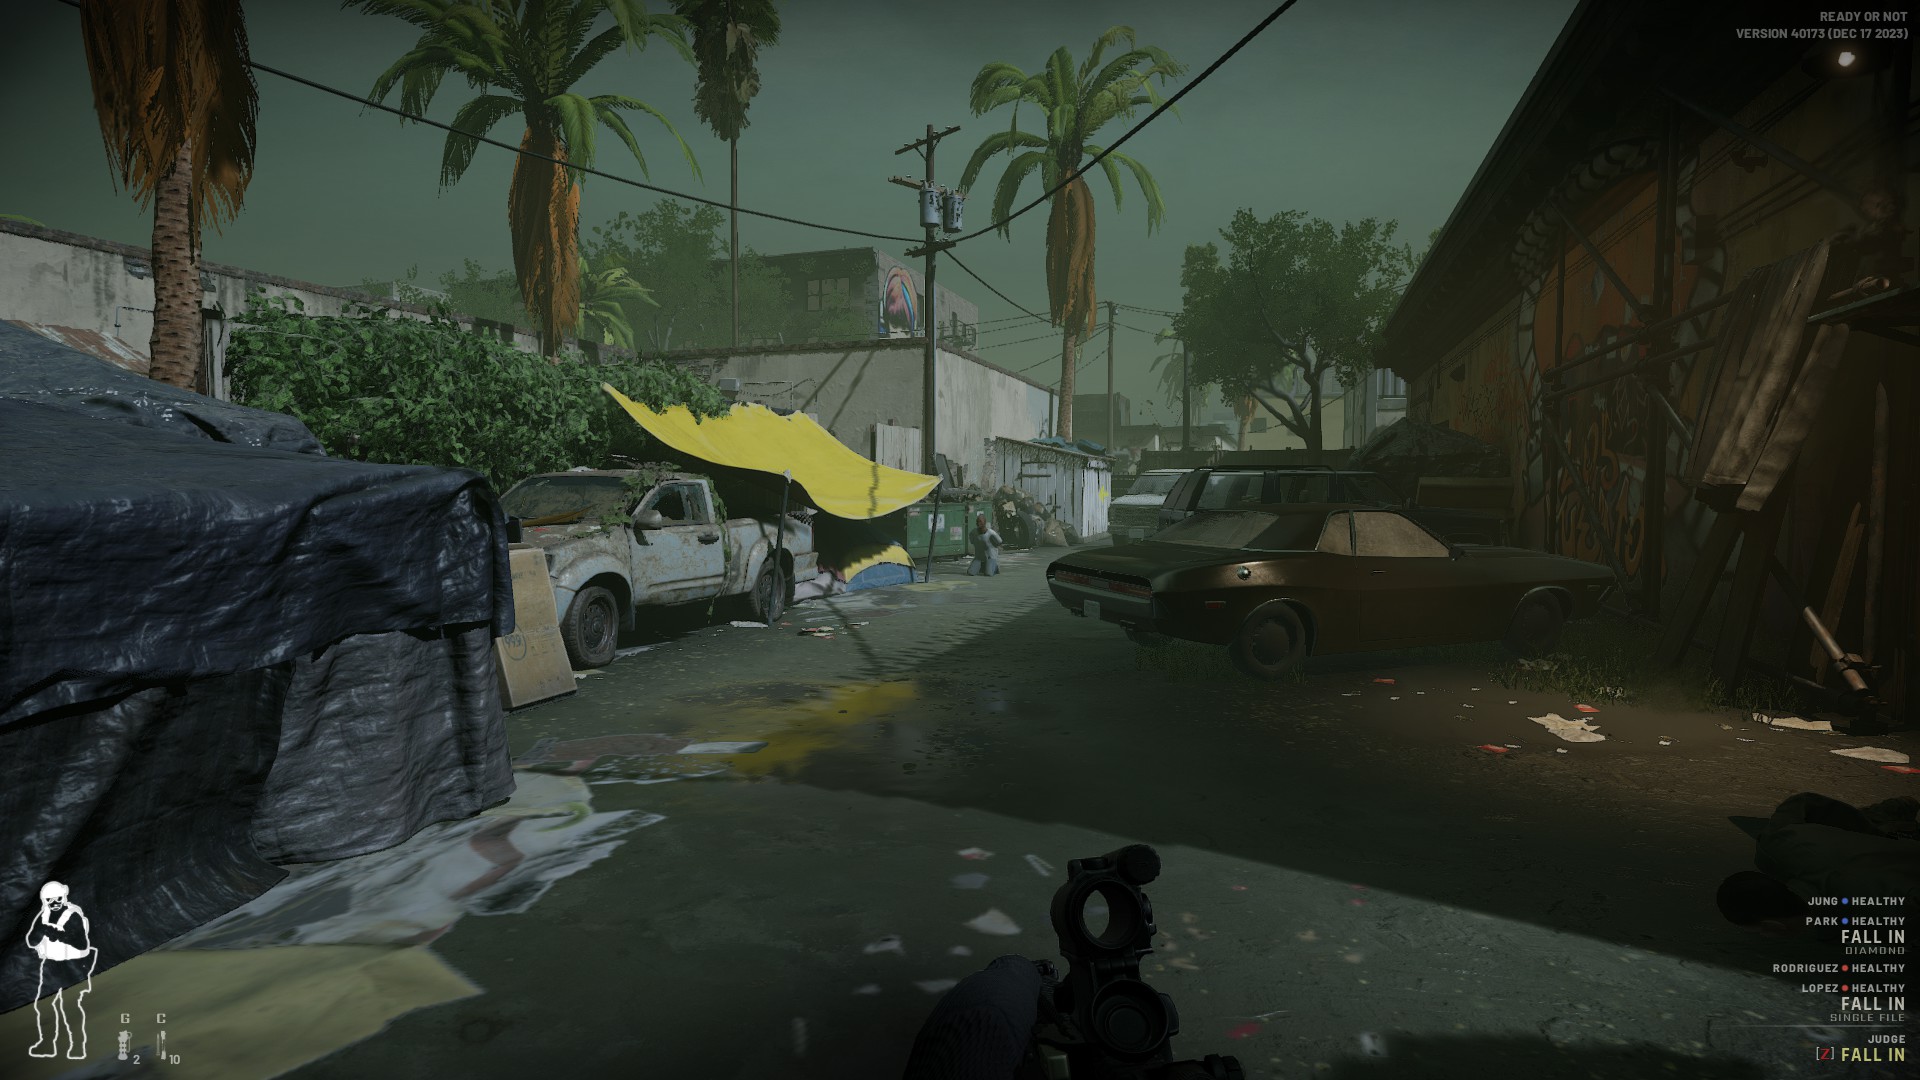
At the start of the level, scout the homeless camps on your left for possible civilians to apprehend. You can’t complete this mission unless you have everyone in the premises either in cuffs or dead. There’s a chance a civilian might spawn just outside.
Use a wedge to lock the gate in-between the convenience store to the right and the Brixley Talent Time building to the left. This will ensure that enemies from inside don’t wander out.
Now go into the convenience store and make sure the whole building is clear but don’t head outside the back just yet. From my experience, there’s usually no one inside this store but it’s always best to be safe by checking the bathrooms as well. Once you’ve confirmed that the building is clear wedge the two backdoors to make sure nobody comes inside from the backyard.
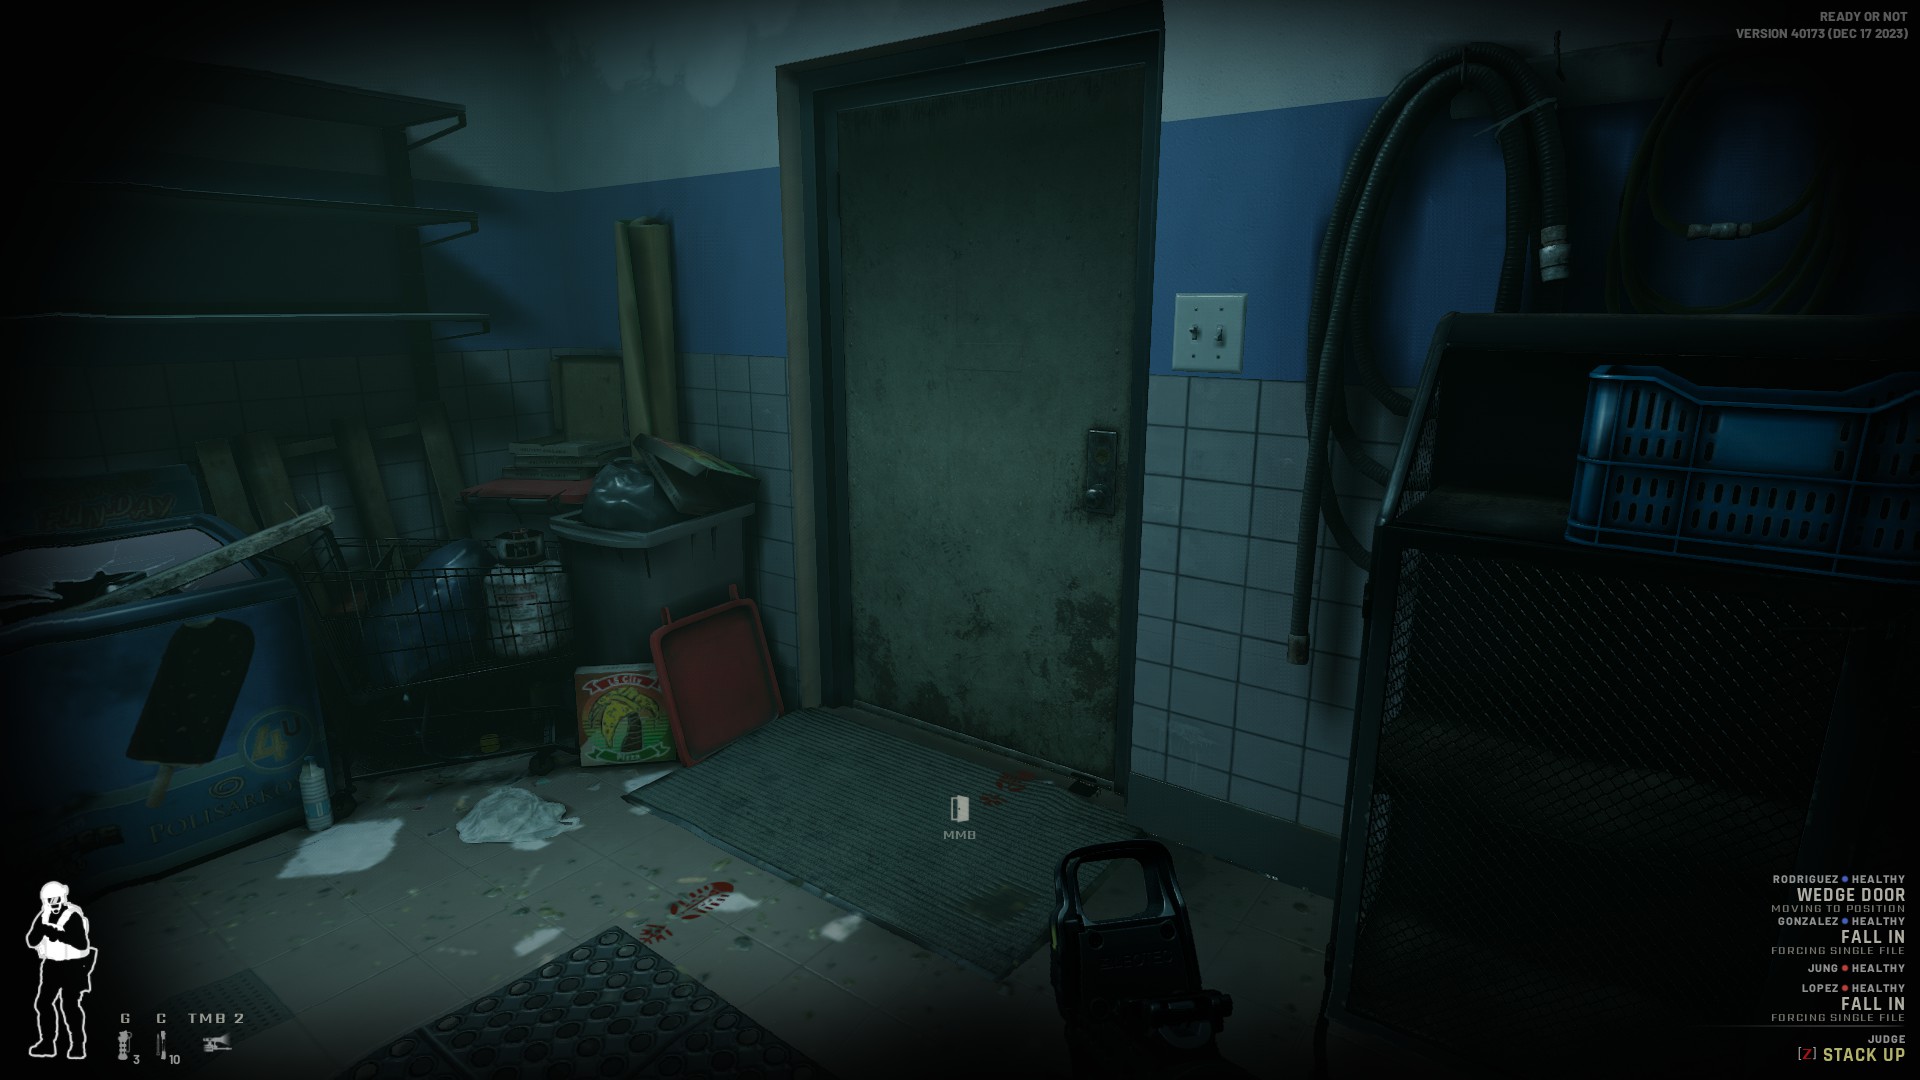
Make your way back out again and go to the Brixley Talent Time building. Use the mirrorgun to see what’s on the other side. There usually aren’t any booby traps on this level but it’s always best to be safe.
On the entrance, there’s a reception desk to the left side that overlooks the entrance doors. Keep an eye there once you go in because there could be someone from the other side. To be safe, order your men to breach with flashbang to give you an edge.
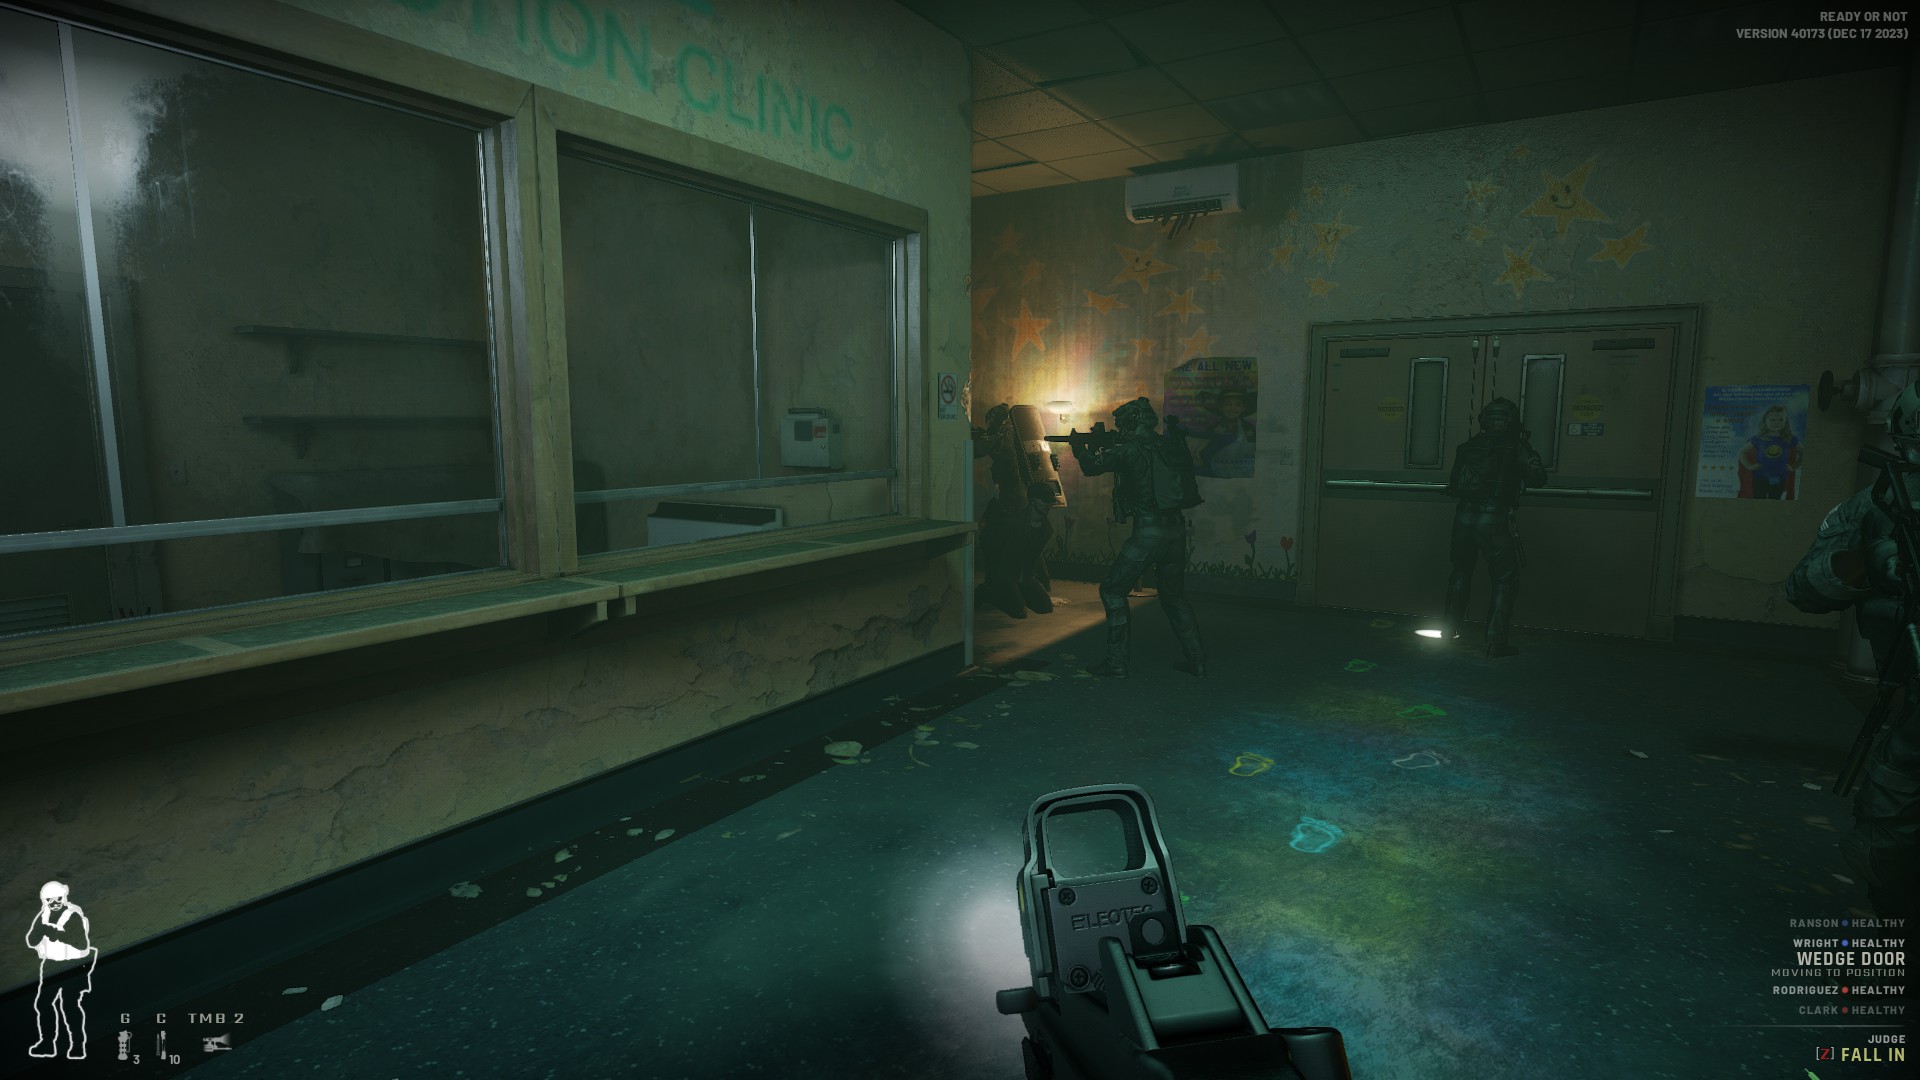
When you breach the entrance of the Brixley Talent Time, you should be preparing to breach two rooms as soon as possible, the first one you enter and the reception room to the left. This is because of the glass window that connects the two together. Be careful if the door in front is open because there are usually suspects inside.
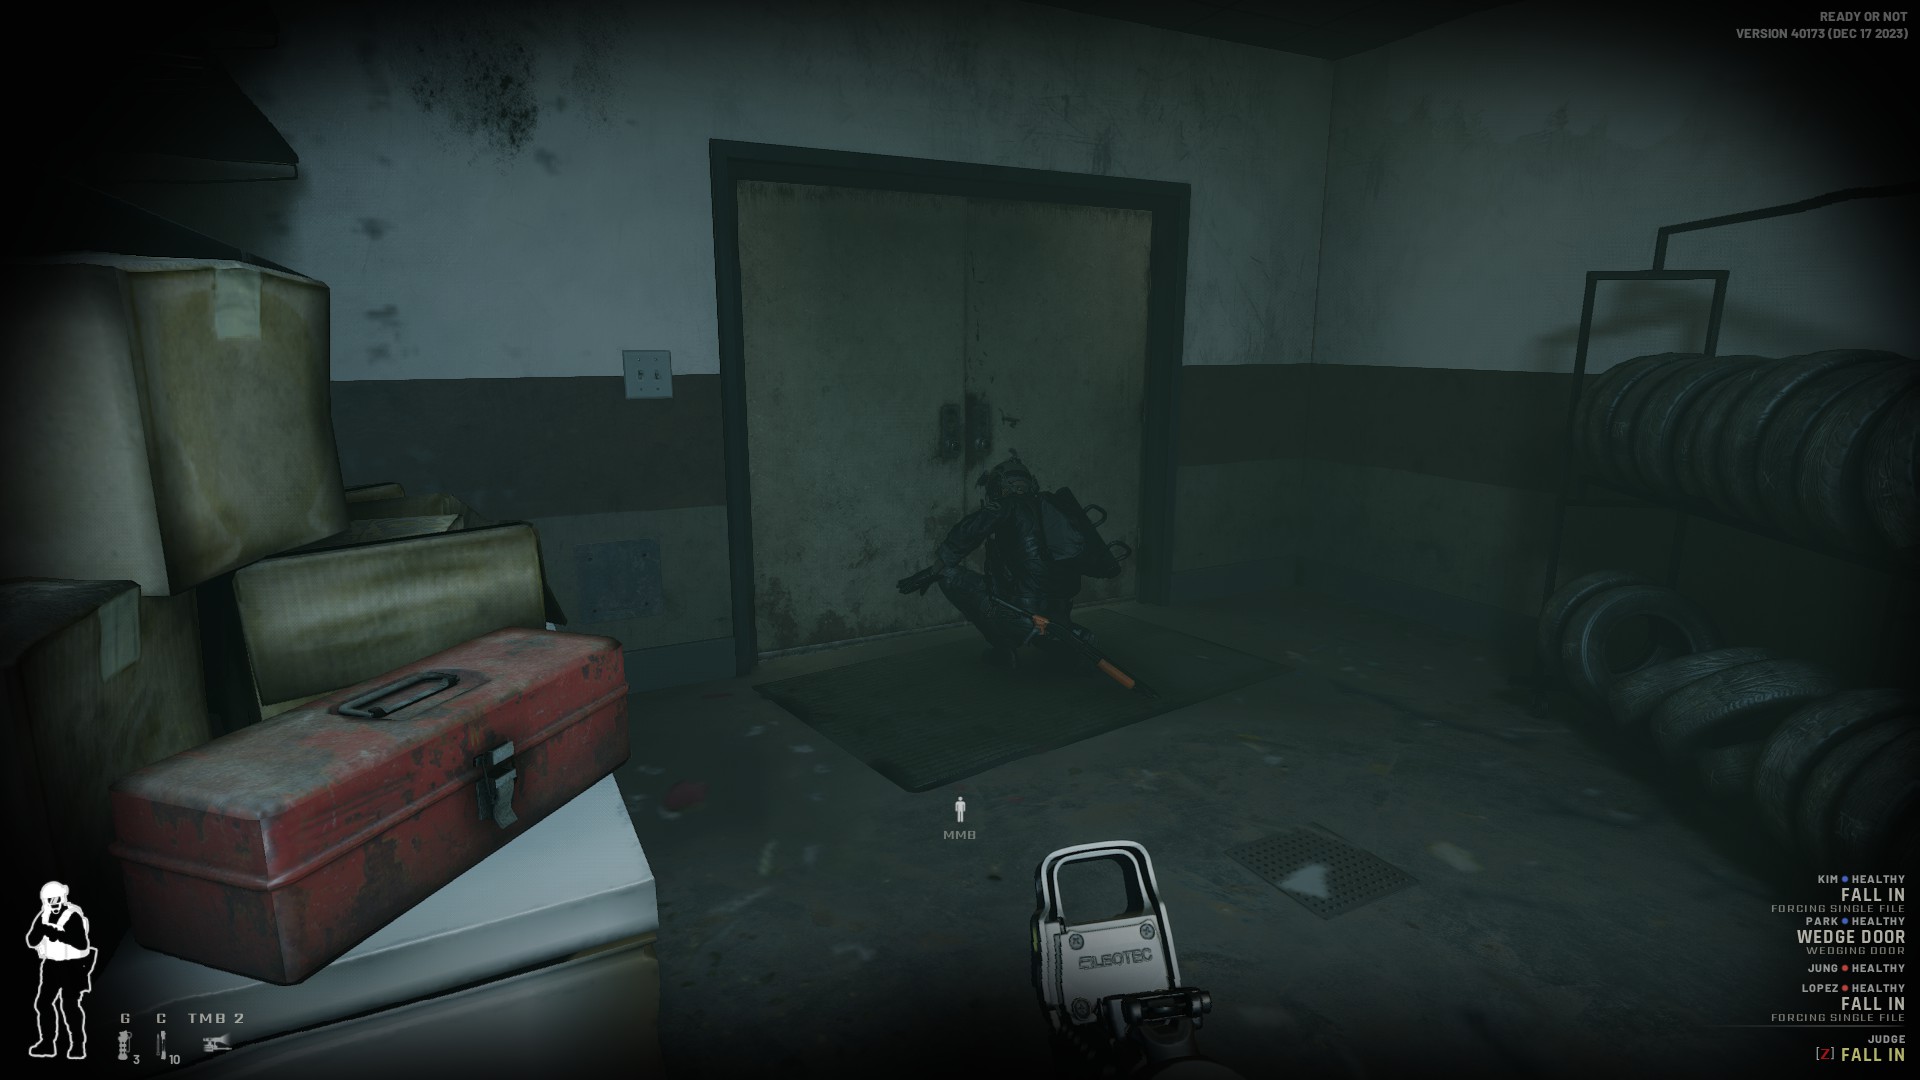
Place a wedge on the double doors opposite of the entrance. You’ll be breaching from the door behind the reception room hallway. Use the mirrorgun to see what’s on the other side before moving in. Stack your SWAT unit and order a flashbang and clear.
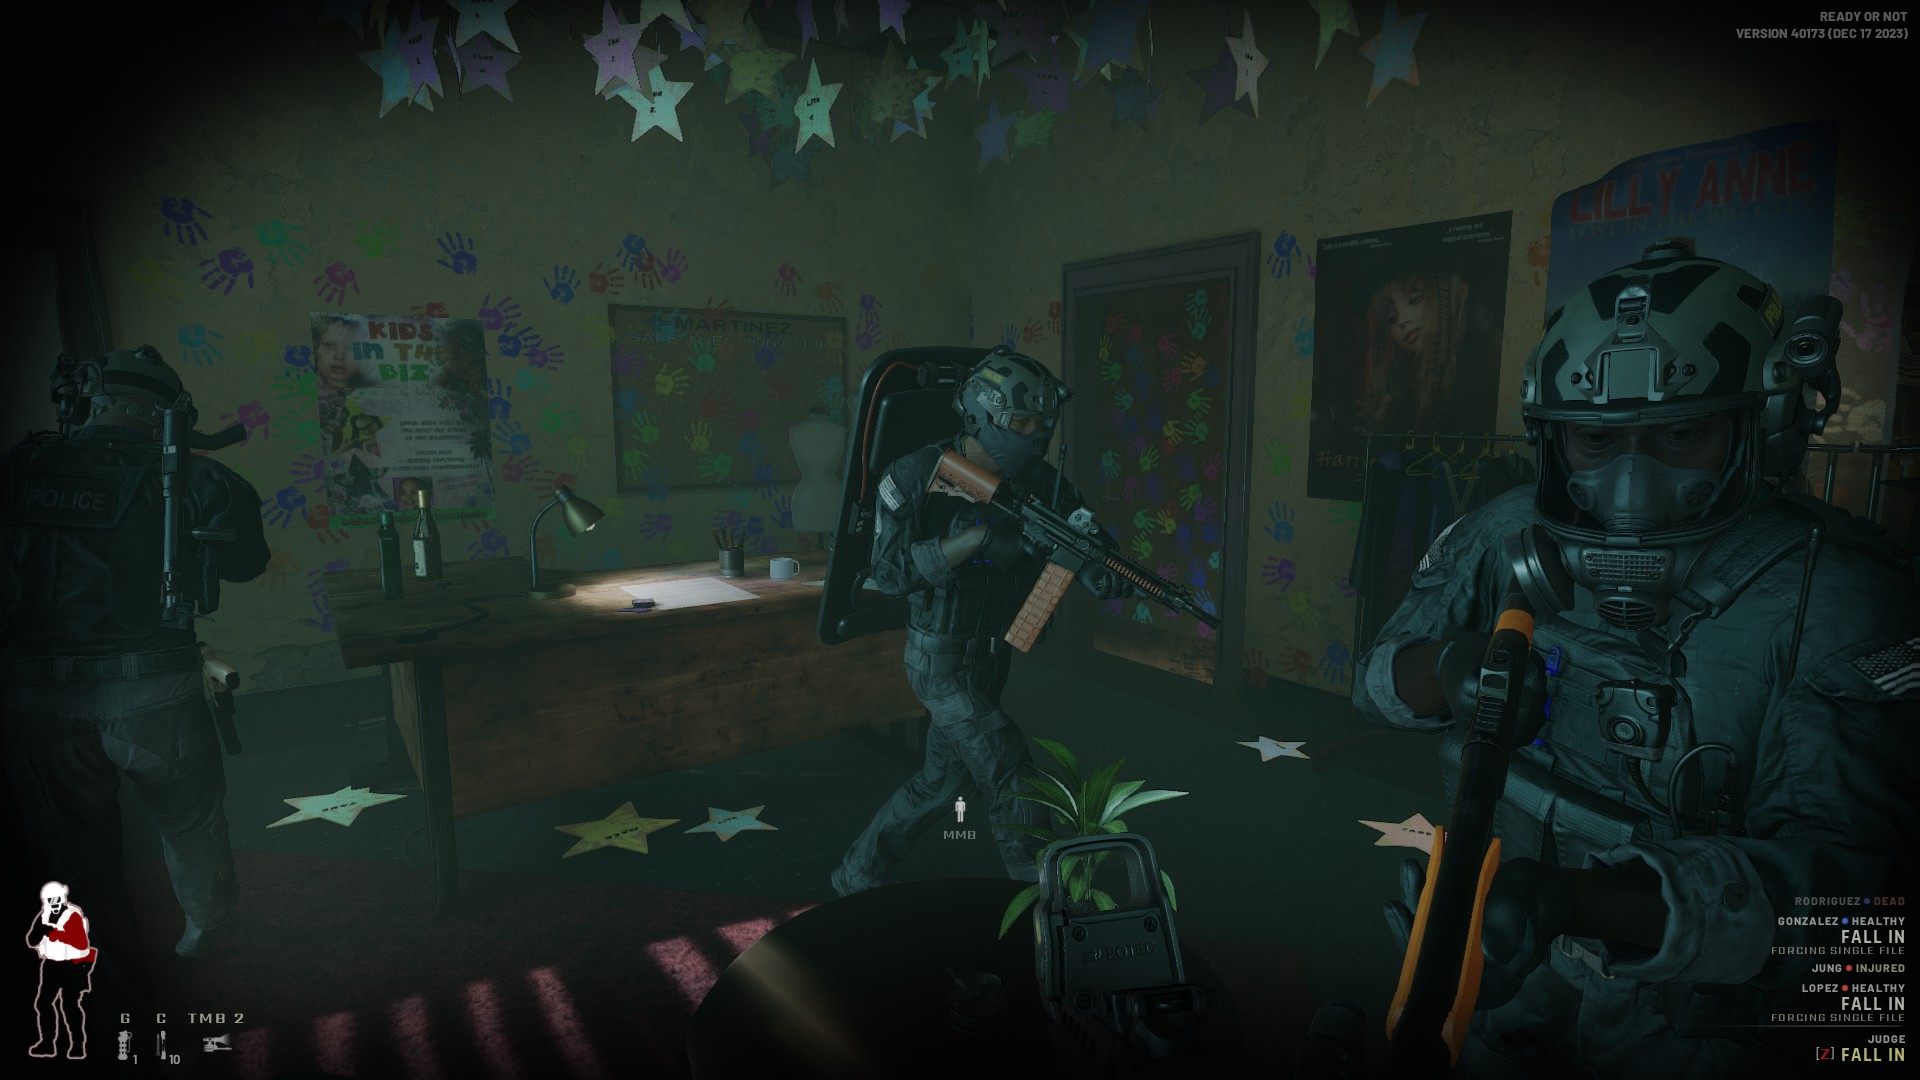
You’ll find yourself in a smaller room. In front of you is a small office with handprints on the wall and to the right is the centermost room and another reception area. Wedge the door to the right and clear the room in front. Stack up your men and get them ready to flash and clear.
Once you’re inside that room, there’s an exit to the left which will lead to the backyard and the film studio to the right. Keep the exit closed for now. Wedge it if you can and stack up your men by the door with the handprints on them. Choose the breach option to flash and clear. There’s usually a civilian or two in this room.
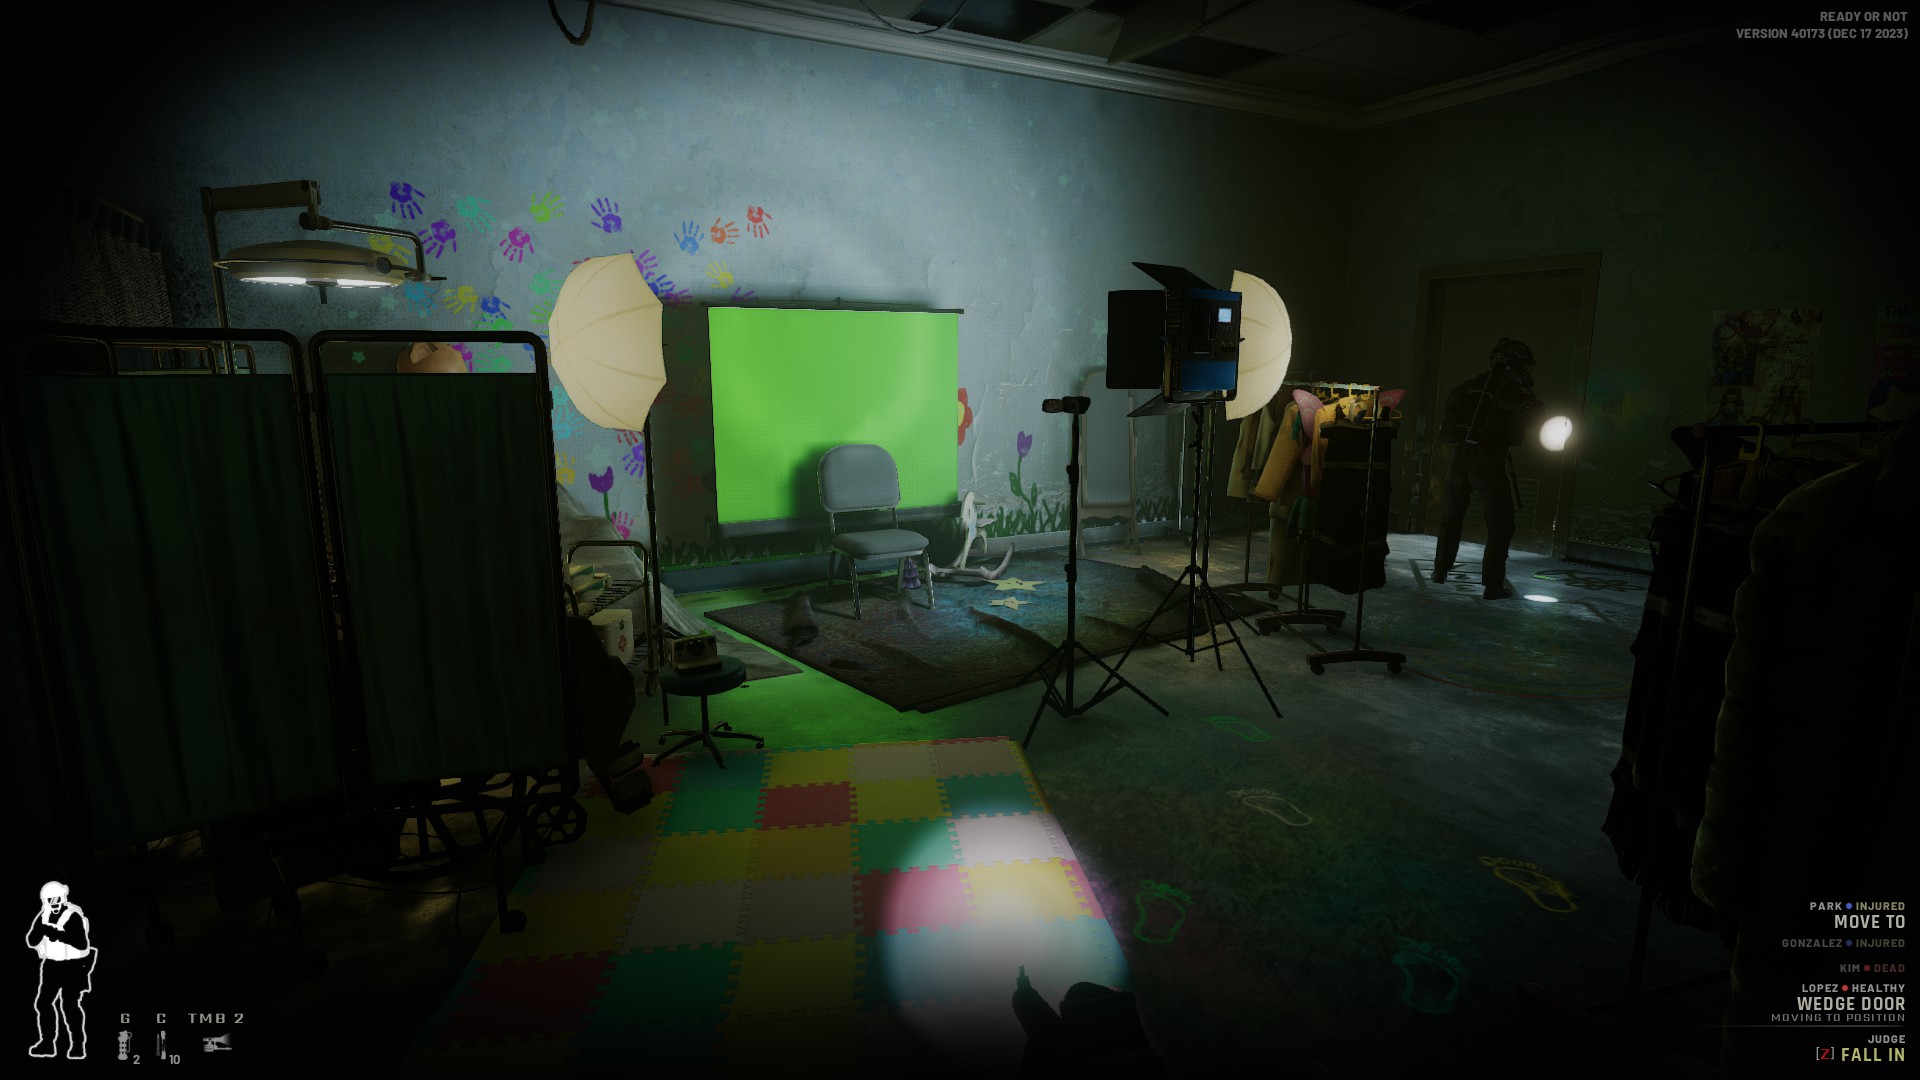
You can interact with the camera in this room to find out more about what’s happening behind the scenes. There’s a small dressing room across the entrance you came from which you should also clear. Beware if the doors connecting to the hallway are open because suspects can open fire.
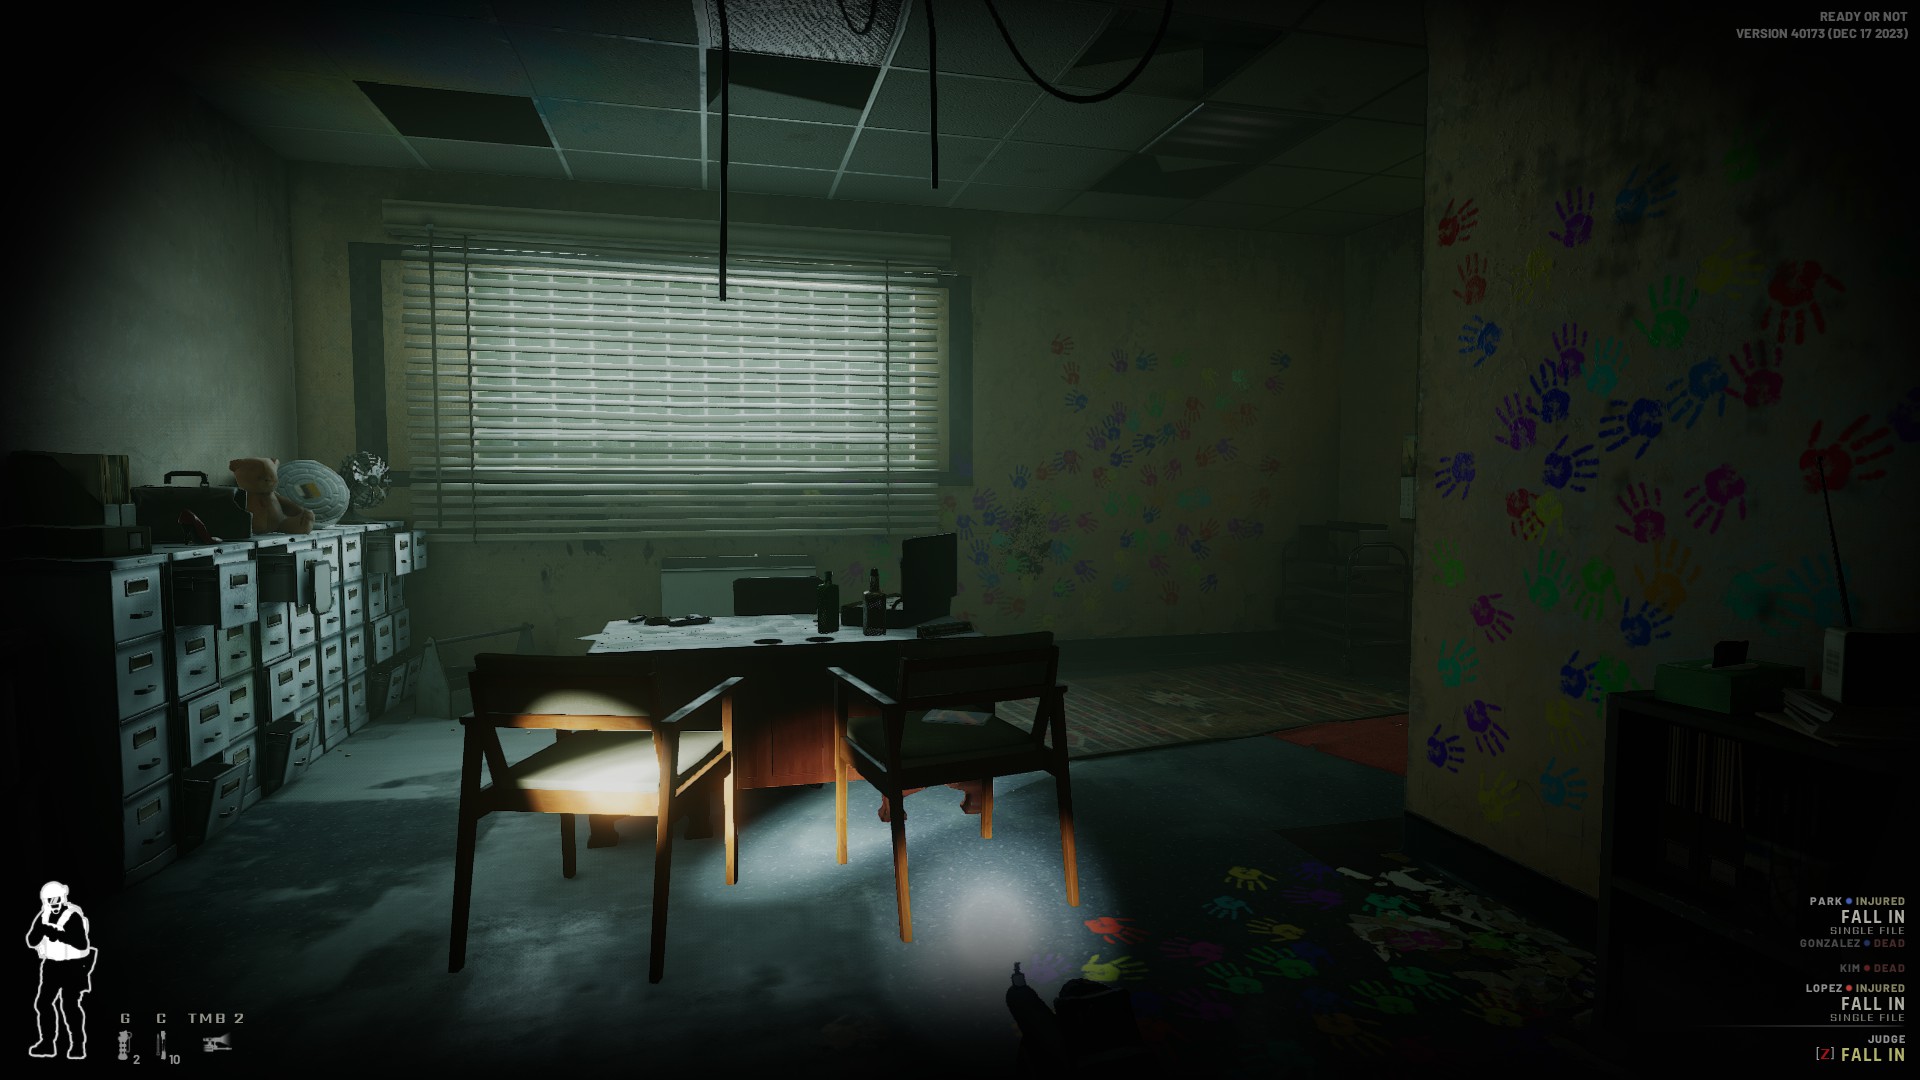
The connecting hallway beyond the dressing room lead’s to George Brixley’s office and loops back into the reception area. Breach the office first and be careful with the exit door at the back which could be open. There’s also the small room in his office to the right where someone could be hiding. You’ll normally find George Brixley, who’s the primary suspect to arrest, in here.
Don’t go outside yet, instead breach the reception area at the end of the hallway. Pay attention to the left side where the stairs that leads to the rooftop can be found. Check the bathroom in front as there’s almost always a civilian hiding there.
Once you’ve secured the place, head into the door to the right opposite of the door to the rooftop stairs. Breach it, check the room across. Once you’ve confirmed that it’s clear you’ve swept the whole Brixley Talent Time building save the rooftop.
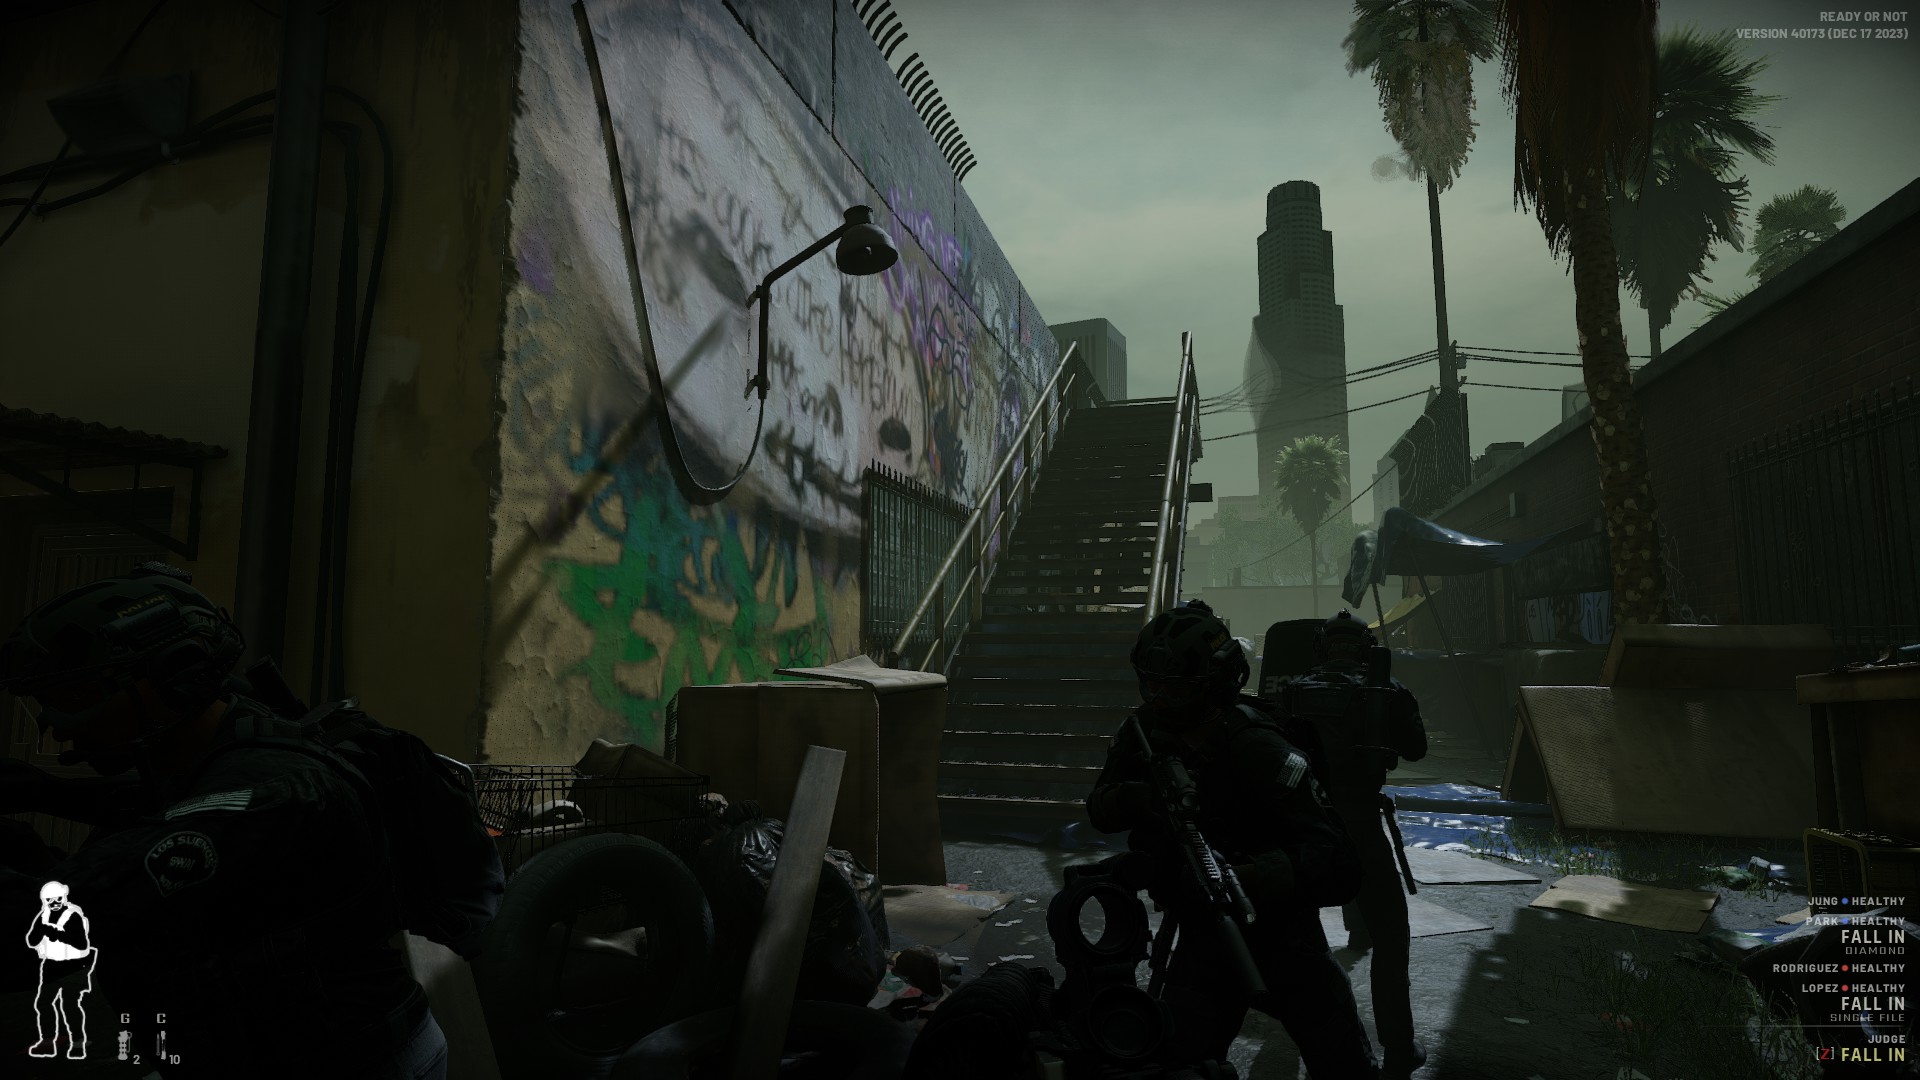
Use the double doors to breach outside and clear the proceeding area. There’s usually a civilian and a suspect at the location. At the very back there’s a set of stairs that lead to the roof and a long hall of homeless camps. After ensuring that the area is clear of hostiles and civilians it’s time to clear the rooftop.
The rooftop is the most dangerous area in this map and there’s usually one or two suspects who are hiding behind the walls unseen. Instead of breaching from the stairs inside, which will land you in the dead center of the rooftop, use the stairs from behind where the homeless camps are found. This will give you more cover to clear the rooftop.
You can order your team to move in and clear by looking at the top of the stairs until the prompt to do so shows up on your command menu or the shortcut command key. This will have red and blue team split up to cover the roof and deal with hostiles.
Once you’ve cleared the rooftop, you should be done with “The Spider” mission.


