
The balance between being frugal with your resources and knowing when to expend them can be a tricky line to manage. When it comes to combat, The Last of Us Part II excels in those tense decision making moments of whether you should use that pipe bomb you just crafted or not. Good discretion can be the key to surviving encounters or a particularly messy game over.
For most of every encounter you run into, you often start off with enemies clueless to your position. Whether they’re infected or not, you have the advantage when it comes to situational awareness. Of course, that’s a small comfort considering you’re often outnumbered, outgunned, and overpowered.
The Last of Us Part II is a game that encourages you to try and experiment. On harder difficulties, combat can often be a case of trial-and-error. Perhaps you got spotted by an enemy you didn’t know that was there, vaulted over the wrong fence, or ran out of ammunition and got yourself swarmed. Or perhaps all three in that order. Whatever the case, the best possible thing to do would be to understand the game’s mechanics and realize the options you have at your disposal.
This guide will contain no spoilers for the sake of new players. To read our full review of the game, click here.
Know Your Controls
For older fans who’ve played the first game, you should feel right at home. The sequel vastly improves the variety of options you have at your disposal. But unlike the original, you now have the ability to crawl, slip through narrow cracks, and even manually dodge enemy attacks.
All these controls help give you a more fluid experience in combat as well as the freedom to choose your own routes. Slip through the narrow opening in the wall or crawl through tall grass to avoid getting spotted? The choice is yours.

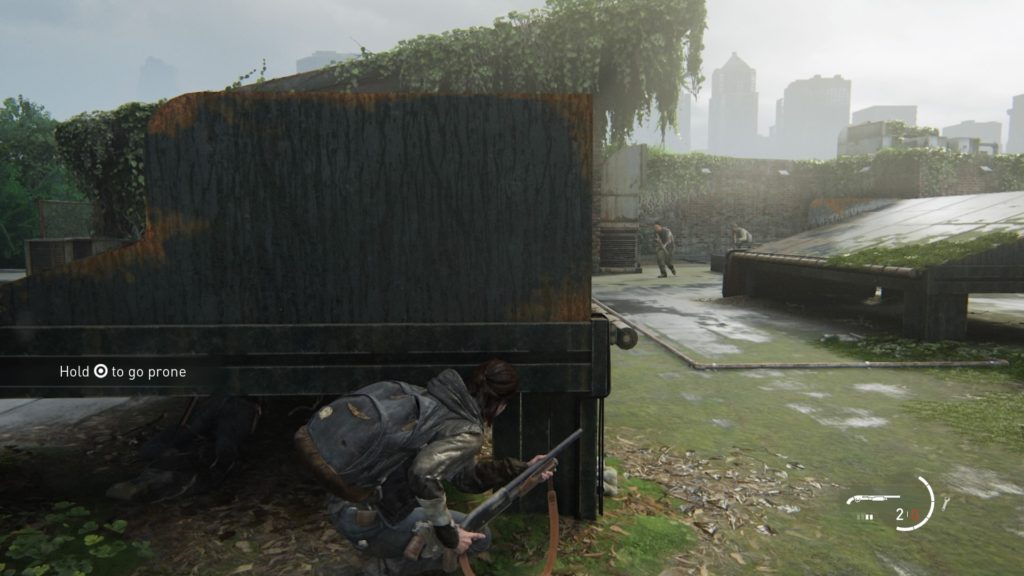
If you want to go prone, press, and hold the O button. You can move around while on the ground like a snake and it makes you particularly difficult to spot and near soundless. Though your speed is limited and enemies can still spot you if they get too close.
Pushing the forward stick and pressing X while near a narrow space in the environment will allow Ellie to slip through. Similarly, if you have to run you can also push the stick back and press X to have Ellie do a quick turn. You can now break glasses with a melee attack (square) and vault through.
No matter how much Ellie pants, there doesn’t seem to be a stamina factor that limits how much you can run. So there’s never much of an issue pressing L1 to run away from fights. But if you have to be in a close-quarters battle, you should know that it is possible to come out of a melee unscathed. Just keep in mind that by tapping L1 just before an enemy’s hit connects, you can safely dodge out of the way and counter by spamming the square button.
Another important feature that shouldn’t be ignored is your listening ability. Holding the R1 button will allow you to see enemies through walls as white clouds. The potency and distance depend on how far you’ve upgraded this skill.
The Mind of The Enemy
Knowing how AI works in The Last of Us Part II can give you an edge. While they’re not immune from the usual artificial stupidity, they can be quite clever. They will check every nook and cranny for you. They’ll pursue you relentlessly once spotted and won’t let up.
Depending on the difficulty, you can go down fairly easily. Enemies are equipped with a variety of weapons and have decent accuracy. They have a habit of pining you down from longer distances while their allies close in for a melee to force you out of your cover.

The usual encounter with them often oblivious that you’re even there. They’ll go about their business, have conversations with each other while patrolling the area. Once they spot you, however, they’ll go into alert mode. Even if you break the line of sight, they’ll look around your last known position and won’t revert back to being ignorant.
Like you, enemies can also slip through narrow passages and will retreat back into cover. They’ll inspect underneath trucks to see if you’re there and drag you out of cover.
At times, you’ll encounter enemies with dogs. If they catch a whiff of you, they’ll follow the scent. While the mutts go down fairly easily, the trouble is that they’re always accompanied by their owners. And taking out both of them simultaneously without alarming the others can be a patient challenge. Dogs can easily be lead away with a brick or bottle thrown to another location.
Speaking of noisy distractions, human enemies can also be subjected to this. Although they are more careful to investigate loud noises as they usually have someone covering their backs while they investigate.
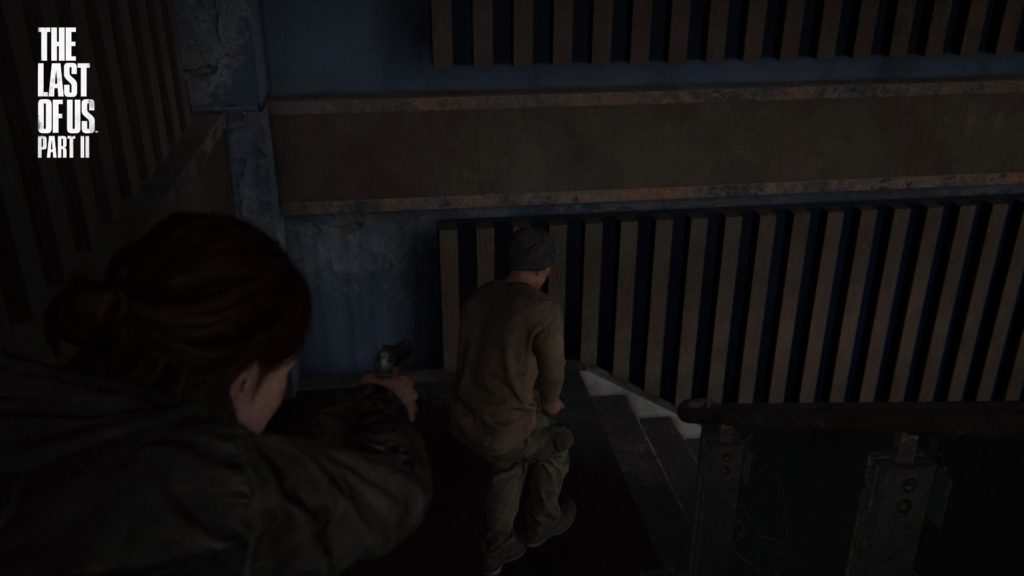
Alternatively, throwing objects at their faces can also be enough to temporarily stun them. Afterward, they’d be open to a grab or a one-hit kill. Grabbing them when their friends are aware will buy you some time, as they will hesitate to shoot you. They will then begin to slowly flank your position and move in. A melee hit from one of them can cancel the grab and place you in serious trouble. To prevent this you can move around until you get into cover. Pressing square will execute your hostage but that takes time, it can be far quicker to expend your bullet by tapping R2 to kill them immediately if you so choose.
The Mindless
Of course what would The Last of Us be without the infected?
These poor victims of cordyceps will attack you on sight and sound. While they lack the intelligence to carry any weapons, they are by no means less deadly — coming in larger numbers and are generally tougher to lose. Let your guard down around them, and you’ll have your throat ripped out before you could realize what happened.
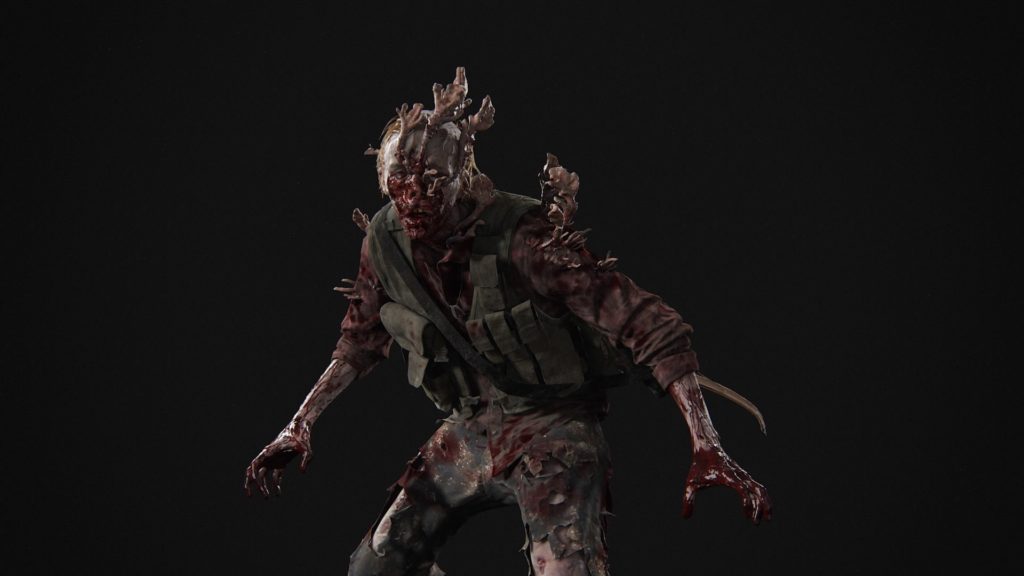
There are different types of infected. You have your runners, fast, and can swarm you but easy to dispatch. Clickers, deadly and can kill you in one hit but are slow. Stalkers, smart enemy types that can hide and plan an ambush. And there’s the new Shamblers, a grotesque giant type of infected immune to a one-hit kill from the back and can throw corrosive substances at you.

Dealing with the first two isn’t too problematic. Runners may be fast but are vulnerable for a one-hit kill from behind or even from upfront if you can grab them before they notice you. You only have to worry if another infected sees you. There are more dangerous, clickers. They can kill you in one hit but are blind. This time around, you can kill clickers without needing to craft a shiv thanks to Ellie’s equipment. However, in the later parts of the game, you will eventually be forced to craft them as you lose access to Ellie’s knife.
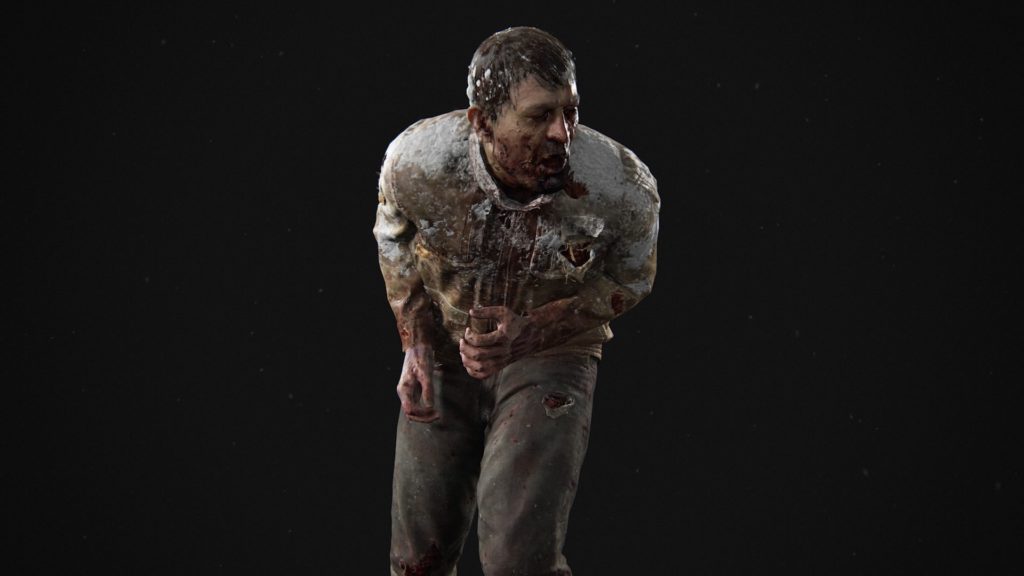
The more difficult types to dispatch are the stalkers and shamblers. Stalkers hide and are difficult to spot until they ambush you. This makes closing in for a one-hit kill rather challenging. Shamblers are tough, can tank ammunition, and throw acidic substances at you that even Ellie is not immune to. Unlike the other four up above, Shamblers can’t really be killed silently from behind. Making dealing with them very costly.
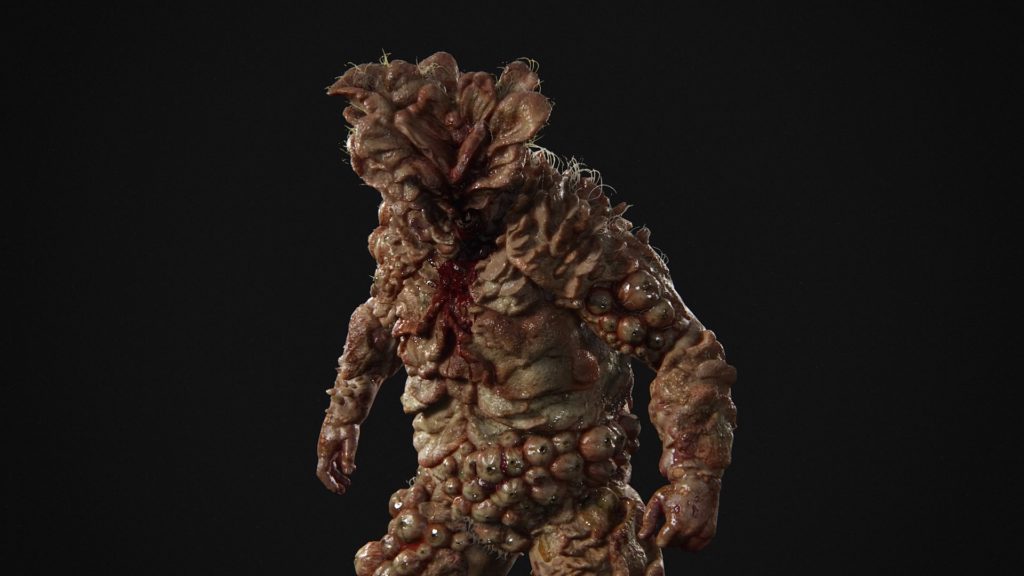
And of course, you have your Bloaters.
The alpha among the infected, bloaters can charge at you with the force of a truck. A single contact from them is a guaranteed death. They can break down walls and can be a challenge to even slow down.
When dealing with the infected, the best way is to make use of the environment. You’d better be good at playing tag, cause that’s what most wild encounters with these things will be like. Use Ellie’s ability to squeeze through narrow spaces, break glass, and vault over to put some distance between them.
Ideally, you’d want to use stealth to pick them off one-by-one. But in the event that you do get spotted, getting rid of them will be quite difficult. With the exception of the stalkers, the infected do not have any form of self-preservation. They will attack without any regard for the damage they take.
Hunt or Be Hunted
The fight for control in this game of tug-of-war against your enemies is ever so present. One moment you could be carefully aiming a shot at some poor bastard’s head, in the next you’ll be fighting for dear life against hostiles swiftly closing in your position. Being able to quickly adapt to a change in rhythm can be all the difference in a fight.
Considering the nature of The Last of Us, you can’t just go around running and gunning at your own leisure. Treat this like a third-person shooter, and you won’t get very far. Ammunition is scarce in this game, and you’ll run out faster if you throw caution to the wind.
That being said, don’t be a cheapskate. Being too frugal can lead to a game over if you never use your precious items. I can’t tell you enough the amount of times I died because I didn’t want to use that silencer I crafted for my pistol.
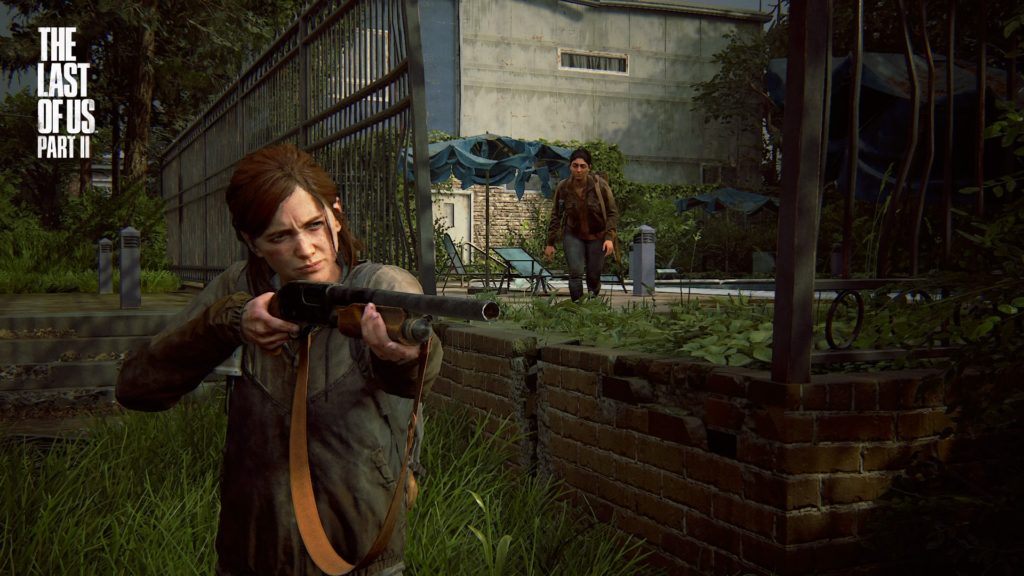
Although you often start with enemies not knowing you’re there, there’s a good chance that you’ll eventually be spotted by an enemy you didn’t see. Your listen mode will only cover so far and you might turn into a corner and be face-to-face with an enemy combatant. As such, I recommend hit-and-run tactics when stealth fails.
In The Last of Us Part II, enemies can easily lose sight of you if you turn enough corridors and slip past enough cracks. This is true even in harder difficulties. Using the environment to your advantage could give you a very high body count.
One of my favorite things to do is take a hostage in the middle of a fight. Throw a brick at an enemy before grabbing them, causing their friends to pause. From that point, I could either use them as a body shield during the fight or carefully move to another area while holding them hostage. Be warned that their friends will slowly try to approach you to free their ally. Move around to maintain control. Execute your hostage quickly with the R2 button if you have any bullets for your pistol.
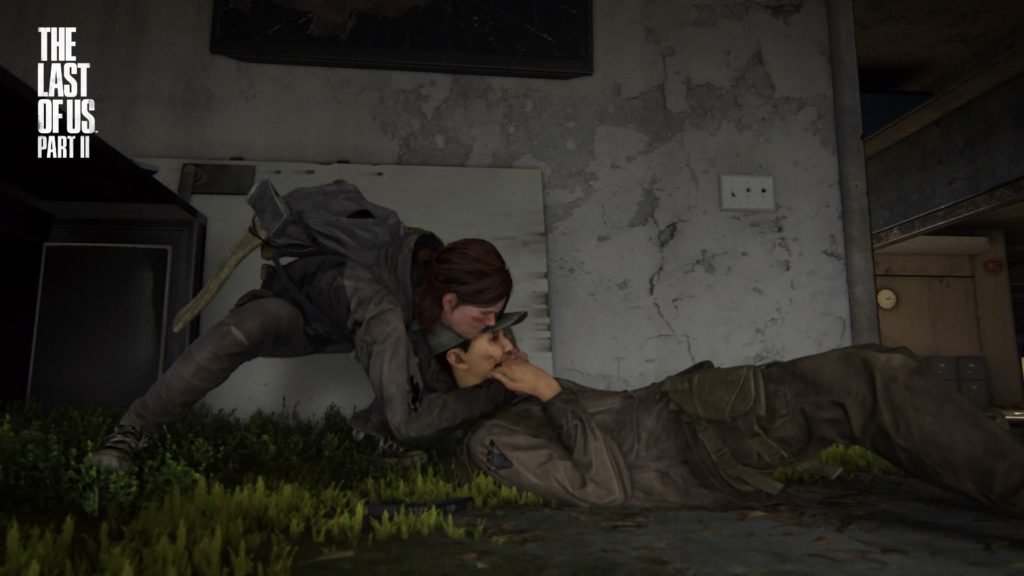
Hit-and-run tactics have always worked well for me when stealth fails. It is possible to kill an enemy who spotted you immediately with a melee attack, provided you do it fast enough. You have even better odds to do this if you have a melee weapon with you. The catch is, is that you’ll always alert their friends no matter how isolated they are.
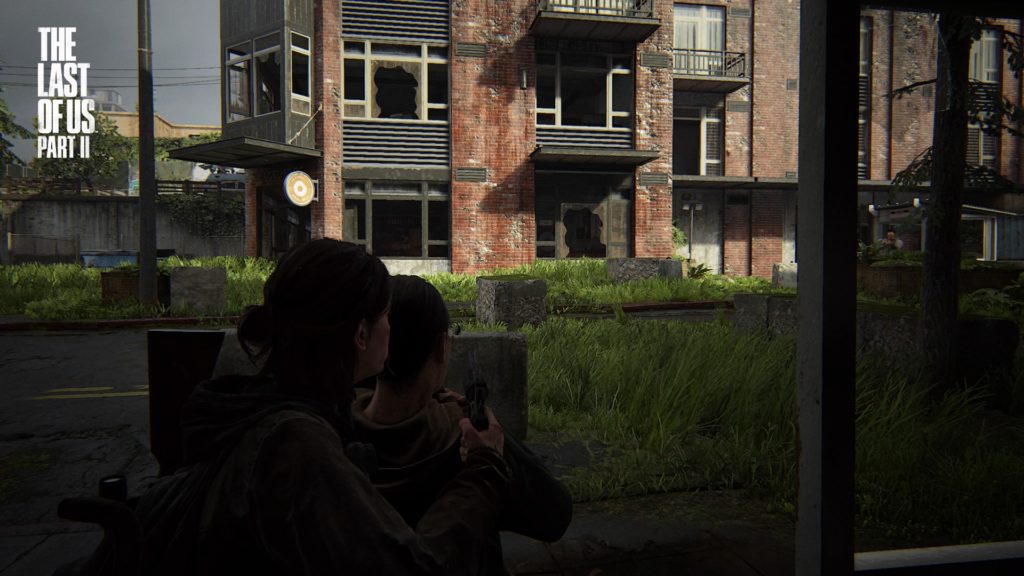
After killing an enemy, proceed to run away immediately and take cover. Either behind something or underneath the tall grass. Enemies will quickly swarm to your last known position. And it’s in your best interest to be as far away as possible.
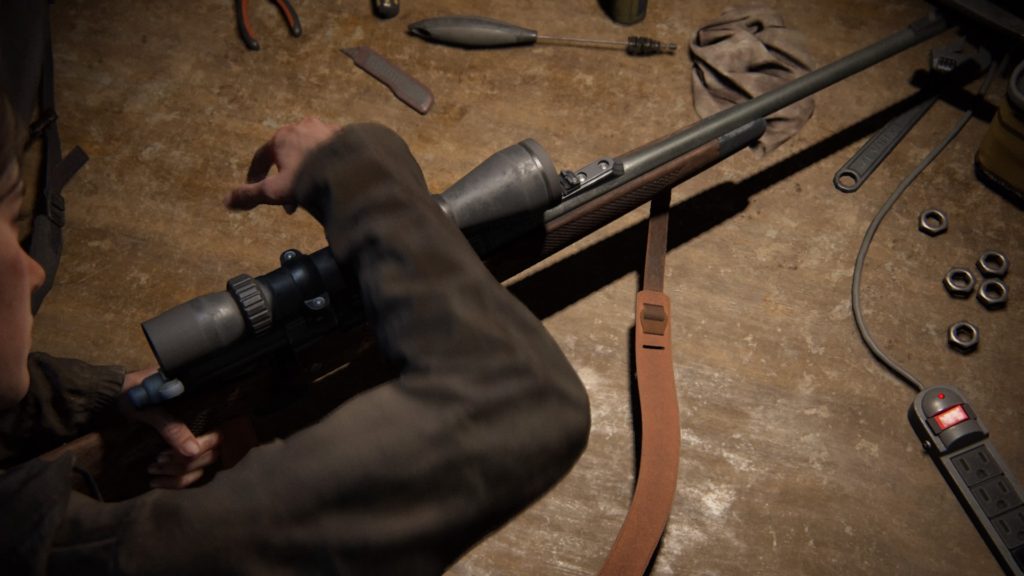
From the distance, you can even use your hunting rifle to pick off enemies one by one. I recommend getting the 4x scope attachment. As it will allow for long-distance sniping before quickly moving to another position.
On the event that stealth hasn’t failed, then a silenced pistol and your bow is your best friend. Both of which can be crafted, but arrows have the benefit of re-usability. Silencers will only last a few shots before you’re forced to find ingredients to craft a new one.
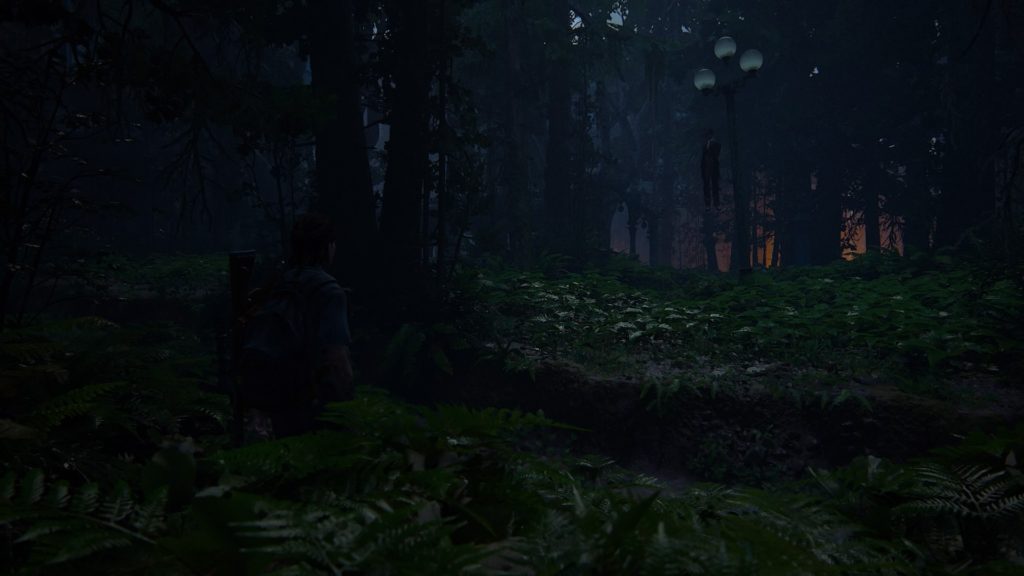
You’re capable of hiding beneath tall grass, crawling under trucks, and causing distractions to help get past enemies. And if you’re good enough, you can even avoid conflict entirely by getting to the exit before anyone can spot you. Doing so can be very difficult.
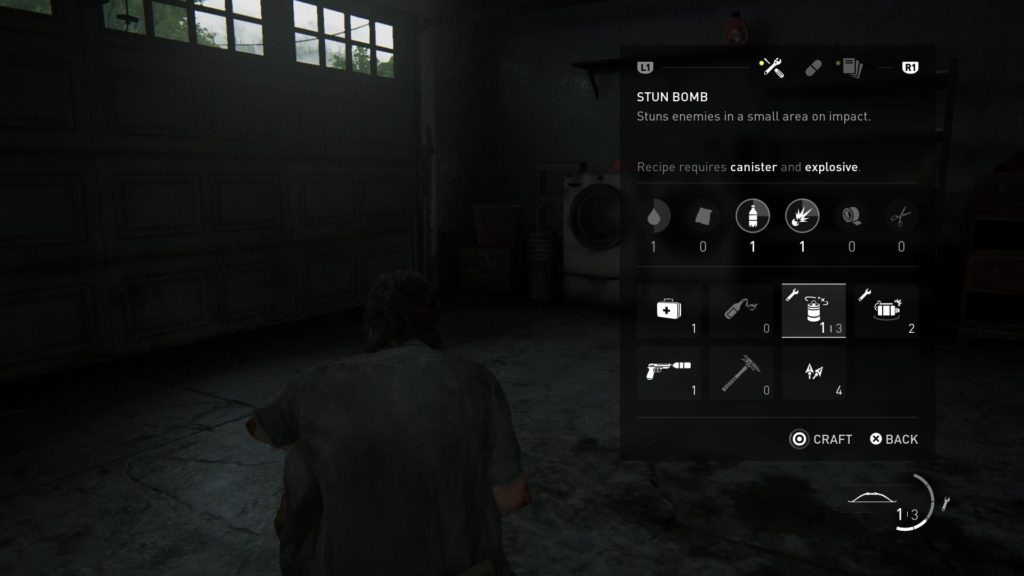
Crafting is your best friend here. Don’t rely on your ammunition. There are crafting materials all over that can allow you to craft stun grenades, mines, molotovs, and even exploding arrows. You can craft in the middle of a hostile environment or even in the middle of a firefight.
If you invest in certain upgrades using supplements that you find across your journey, you can evolve the usefulness of these improvised materials. You can turn that stun bomb into a smoke grenade which also obscures vision. Increase the potency of your molotovs. And gain access to incendiary shotgun shells.
Ultimately how well you do in combat depends on how much you’re willing to experiment. Good decision making on your end can lead to a very rewarding experience. Alternatively, the opposite will lead you to the game over screen that will fill you in with tips as it reloads the level.


