
Cancel the Autopsy is an MK-challenge part of Program 1 in The Outlast Trials. In this trial, players are sent into the morgue to interrupt an autopsy as its findings go against the truth. Read ahead as we go through the tasks in order to complete the Cancel the Autopsy trial in The Outlast Trials.
See previous The Outlast Trials Kill the Snitch Trial Walkthrough
Cancel the Autopsy Main Objective: Corpses offer forensic facts incompatible with our truth. Grind the bodies into factually correct slurry.
The Outlast Trials: Cancel the Autopsy Trial Walkthrough
To start Cancel the Autopsy Trial, you will have to get inside the police station and dispose of the bodies of the agents by grinding them into a pulp. Just like in the previous trial, this side of the station will still be guarded by the Warden and the rest of the enemies. There are only a few tasks to be done for this trial, but it is equally as challenging and nerve-wracking.
Find Keys to release Agents to their deaths
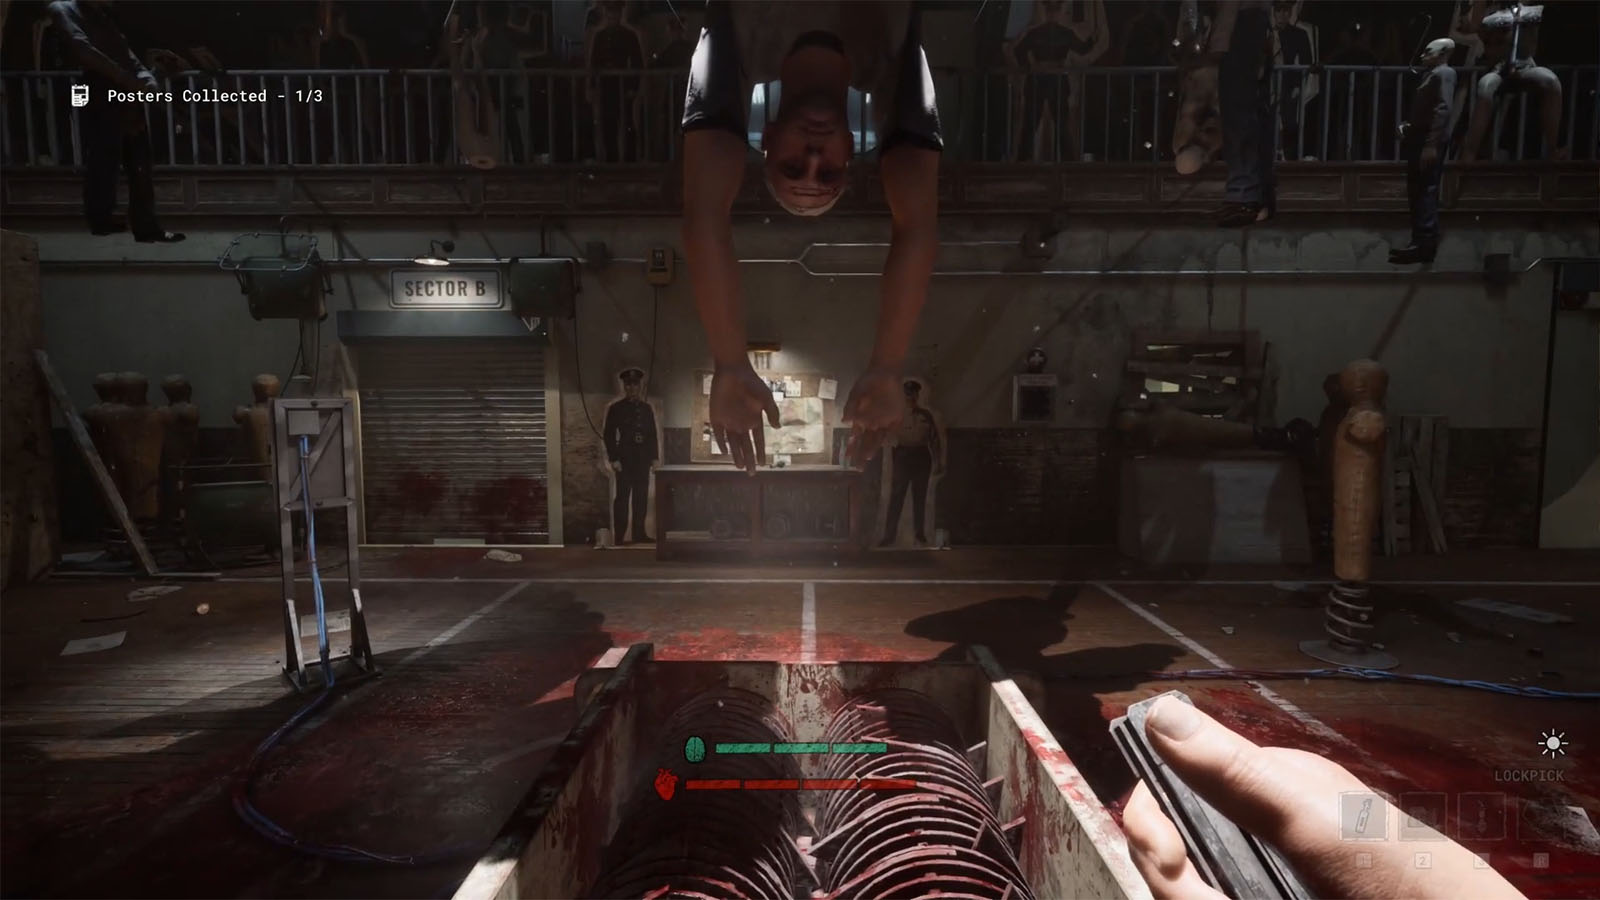
As you arrive in the gymnasium, you will find the hanging bodies of the agents over the grinder. Push the button to start the grinder. However, the bodies will have to be lowered via the the three terminals for their pulleys. You will have to find the keys hidden in each of the sectors A, B, and C first.
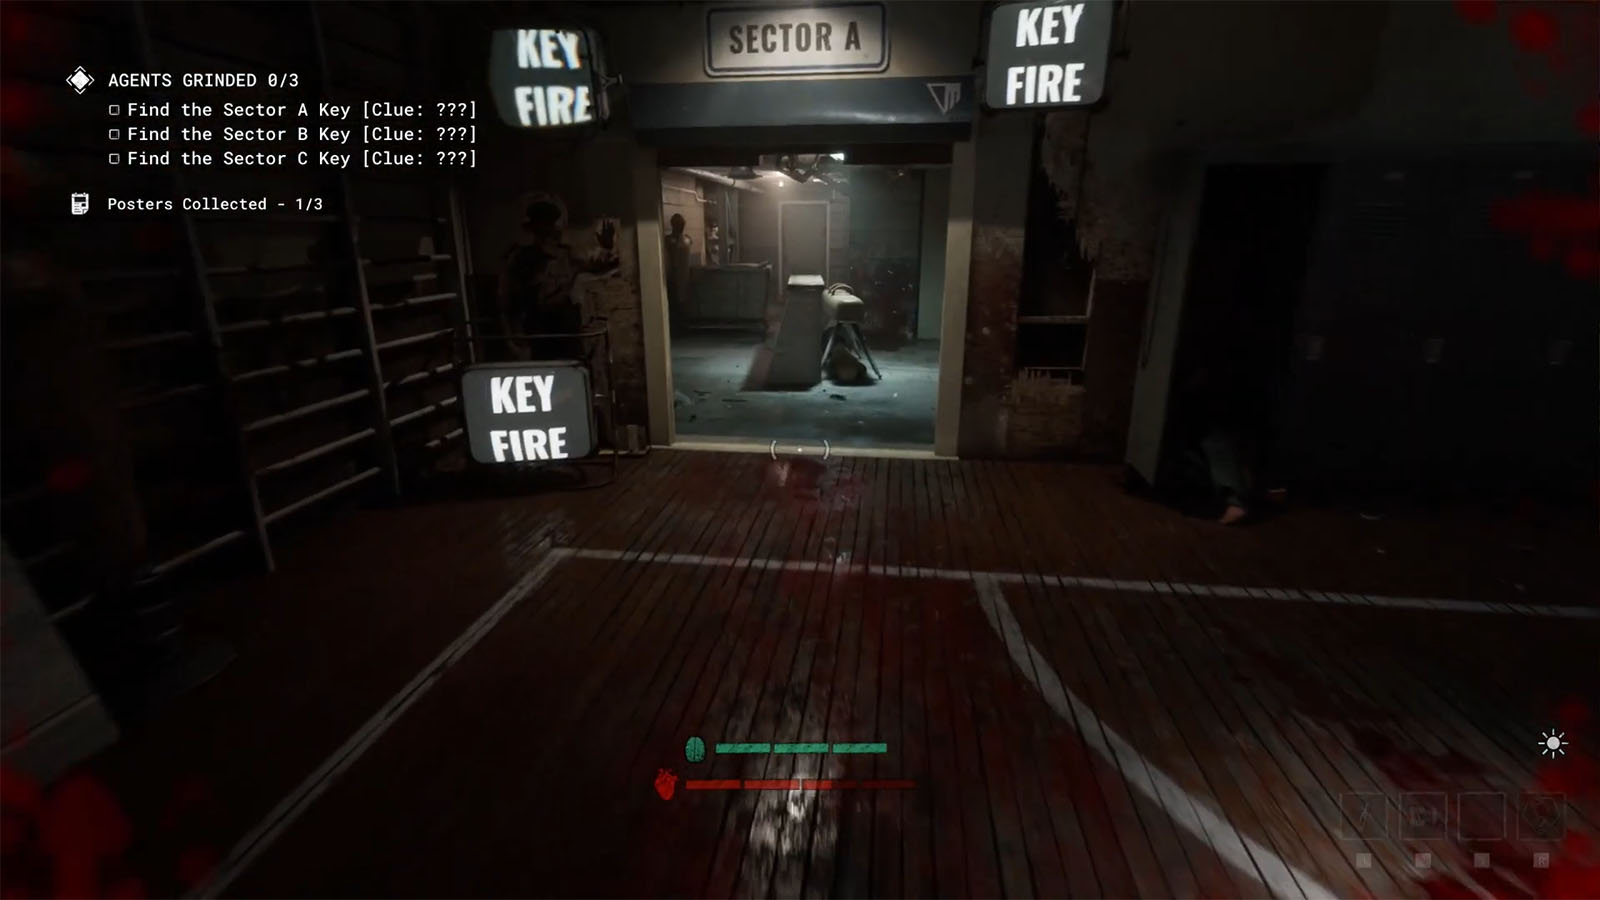
Each sector entrances are surrounded by monitors that will give a clue where these keys can be found. Take note of the icon or shape that is shown in the monitors. Head inside each of the sectors and go look for the corpses that have tattoos that match the respective icon or shape.
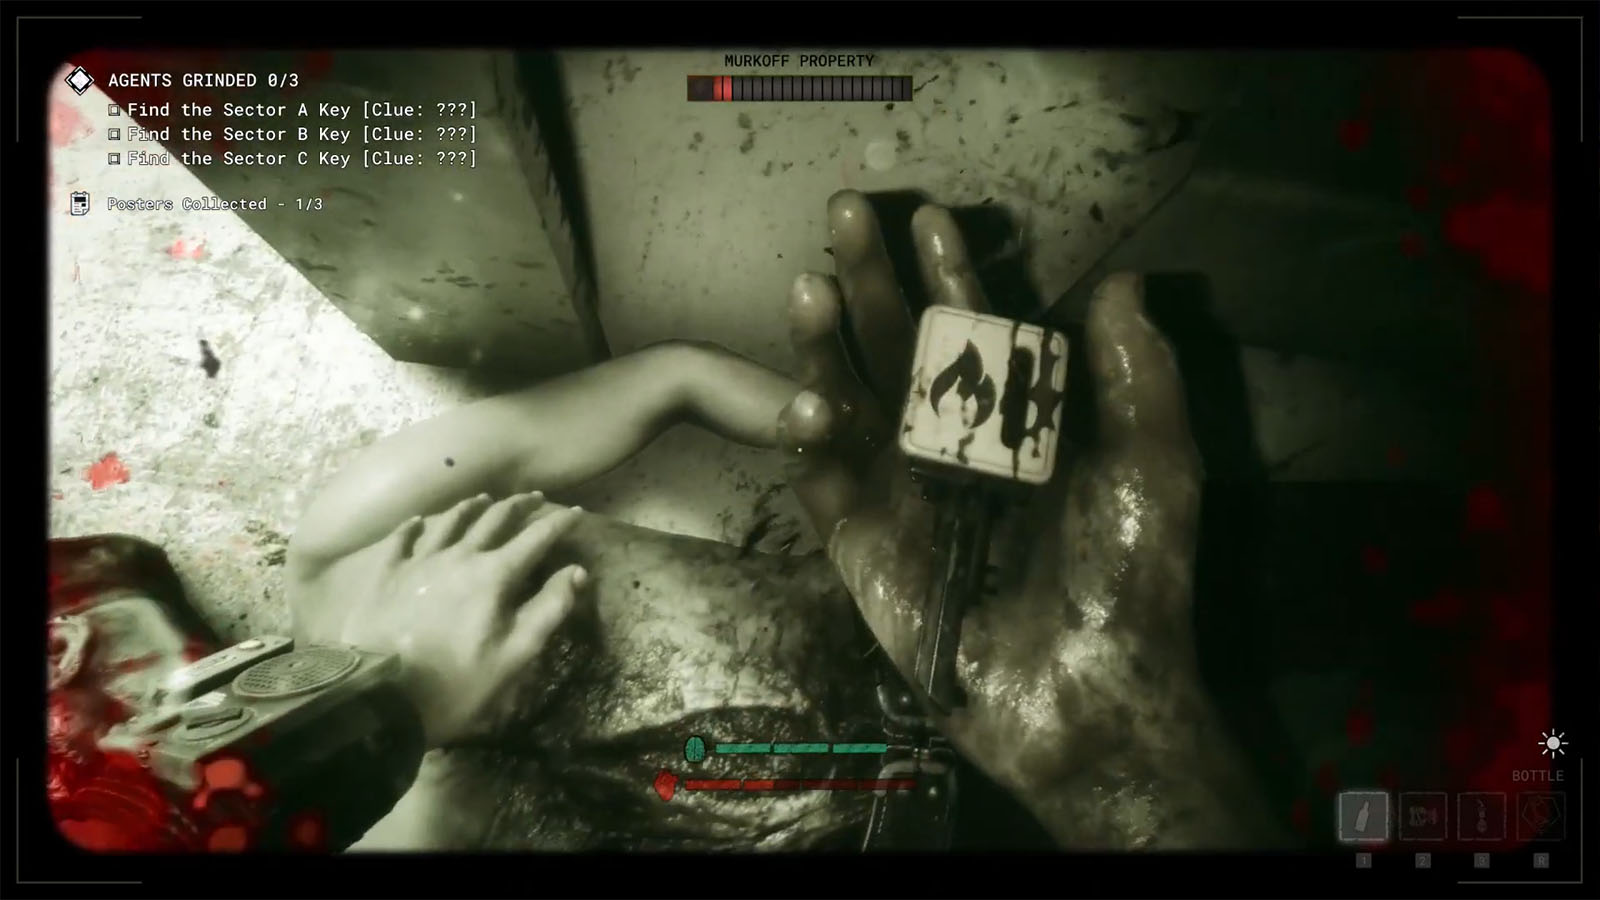
The bodies within your proximity will be marked with a ? and since these sectors are often pitch black, using your night-vision goggles will help not only for seeing in the dark, but also to easily see the tattoos on the corpses.
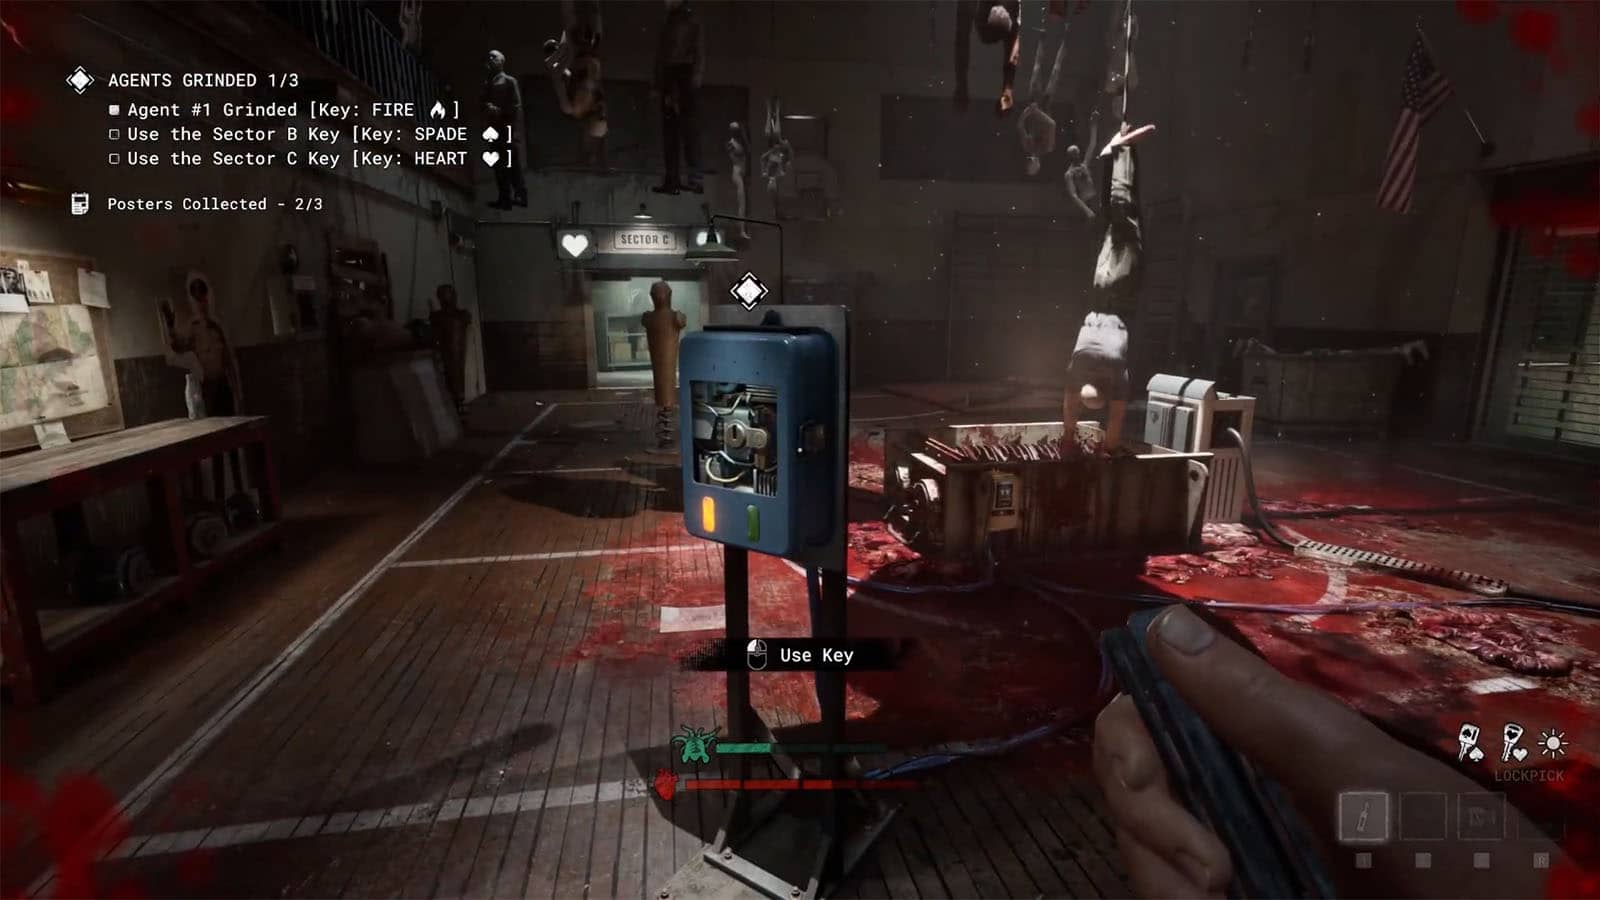
You can either use the keys one by one as you obtain them, or find all three keys first then use them on each of the terminal to lower each body into the grinder. Doing this will call the attention of the Warden and the other enemies to the gymnasium, so you will have to do it quickly and make your way out as soon as you’re done.
Return to Shuttle
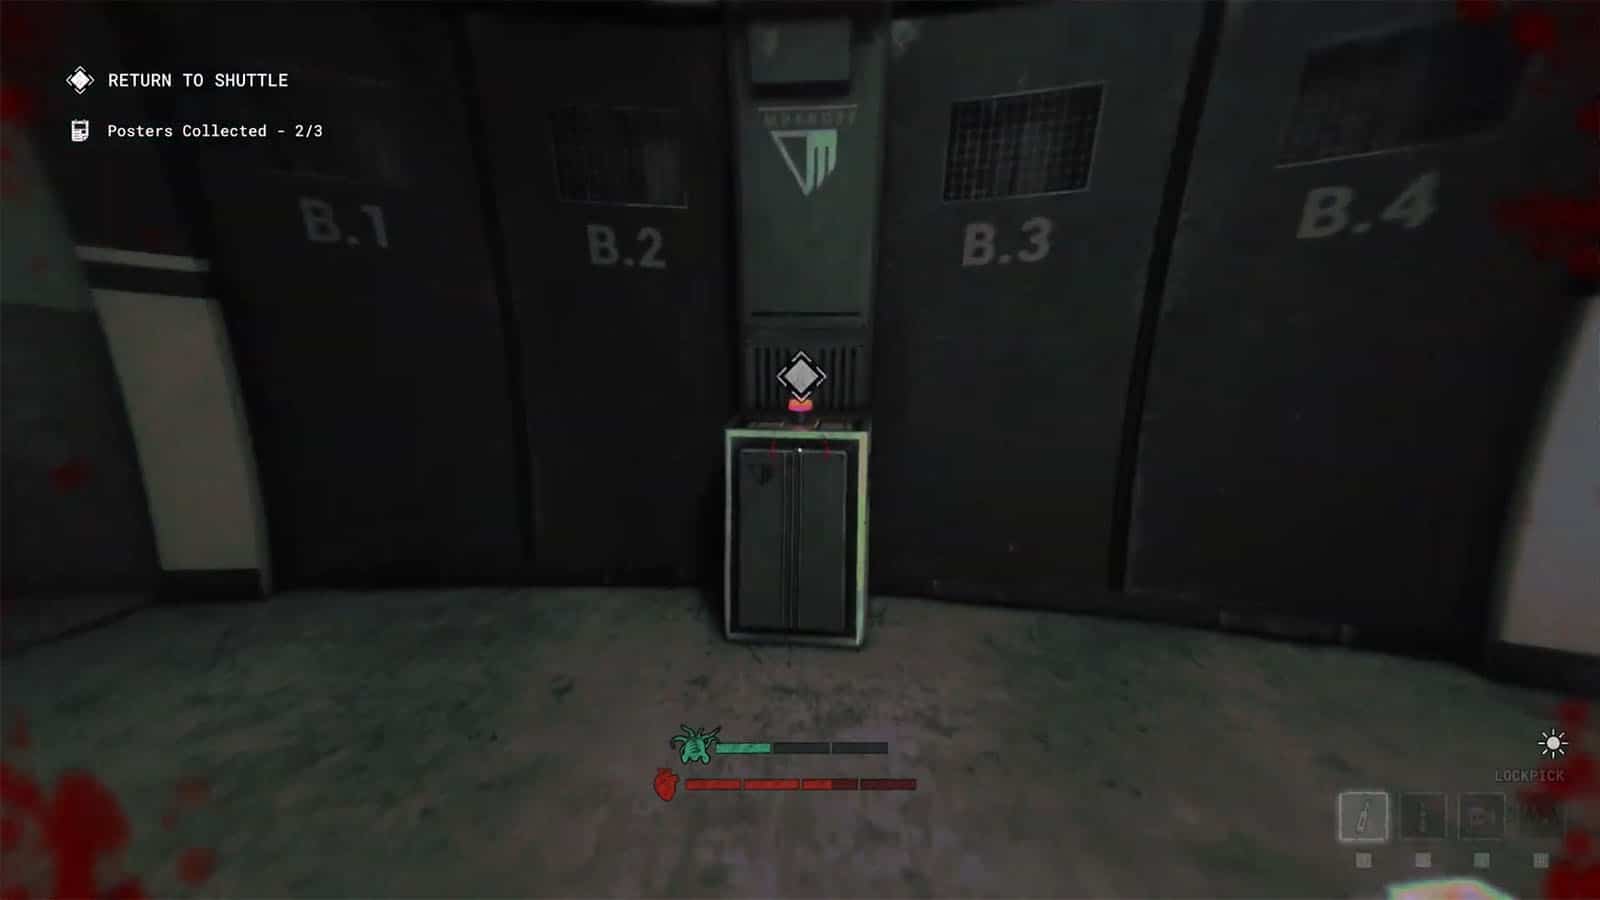
After dropping the final body, quickly go to the shuttle exit and press the button to call the shuttle. You will have to wait a few moments for the shuttle to arrive, so try to survive until it does. Once the shuttle doors are open, head inside to complete the trial.
Cancel the Autopsy Completion Rewards
- First time completion:
- +750 XP
- +$250
- +$500 for A+ rating
- Regular rewards:
- Random cosmetic
- Random cell decoration
- XP and $ based on rating
Cancel the Autopsy Poster Locations
There are three posters to be found within the Cancel the Autopsy trial.
- Poster #1 – This poster can be found in the left corner of the gymnasium.
- Poster #2 – This poster can be found in the corridor within Sector C.
- Poster #3 – This poster can be found in the room on the left of the shuttle exit
See next The Outlast Trials - Sabotage the Lockdown MK-Challenge Walkthrough


