
Kill the Snitch is a trial part of Program 1 in The Outlast Trials. In this trial, players are sent out to the police station to kill the incarcerated snitch for his actions. Read ahead as we go through the tasks in order to complete the Kill the Snitch trial in The Outlast Trials.
Kill the Snitch Main Objective: False witnesses must not be allowed to spread their false truths. Take the Snitch to the execution chamber and silence his lies.
The Outlast Trials: Kill the Snitch Trial Walkthrough
To start the Kill the Snitch Trial, you will have to get inside the police station, locate the snitch who has been held as a prisoner, and execute him yourself. The police station will be patrolled by monstrous enemies that are out to get you, especially the Warden who guards the place with his shock baton. Although you cannot do much against these enemies, you can use your skills and surroundings to outsmart them and shake them off your tail.
Infiltrate the Police Station
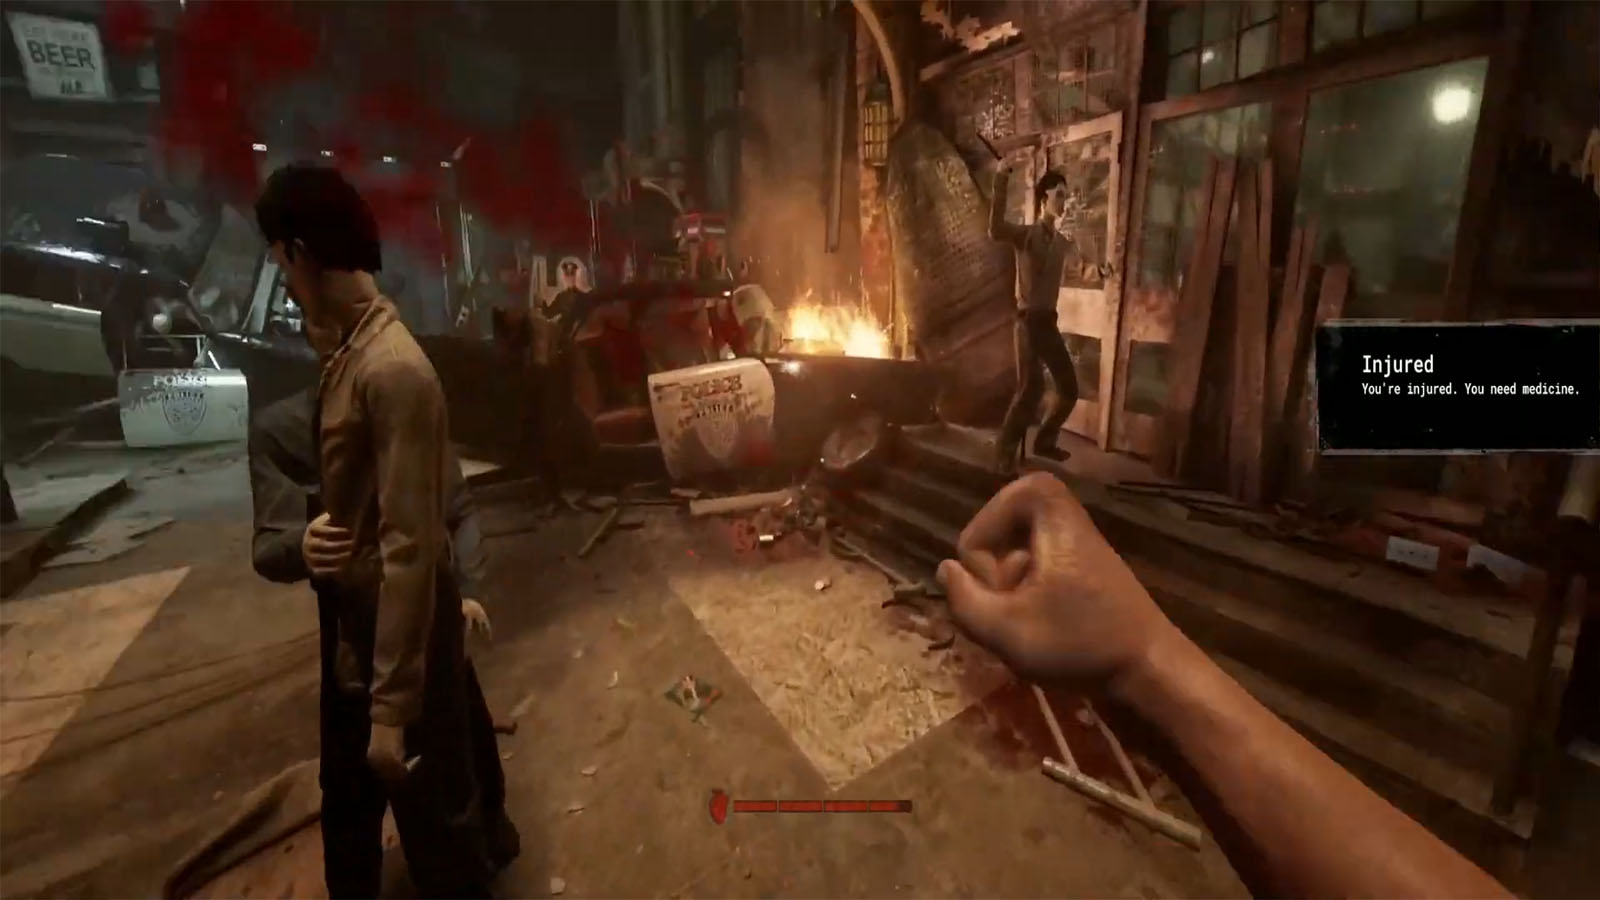
After selecting the program and riding the shuttle, you will be transported outside the Police Station set. Make your way to the station by looking for the burning police car crashed into its entrance. The main entrance has been barricaded, so you will have to enter the open door on the side and go through the window of the station.
Reach the Security Room

Inside the station, you will see arrows pointing the path to the security room. Sadly, this is a roundabout path and you will have to go through dark rooms. Activate your night-vision goggles and sneak through these rooms while avoiding making too much noise that will attract the patrolling enemies in the dark.
Once you reach the gates to the security room, go through it and press the marked button to see the cells ahead.
Get to the Snitch in the Cell Block
Make your way into the holding cells that should be open by now. Follow the rails on the floor to reach the open cell and find the Snitch.
Push the Snitch
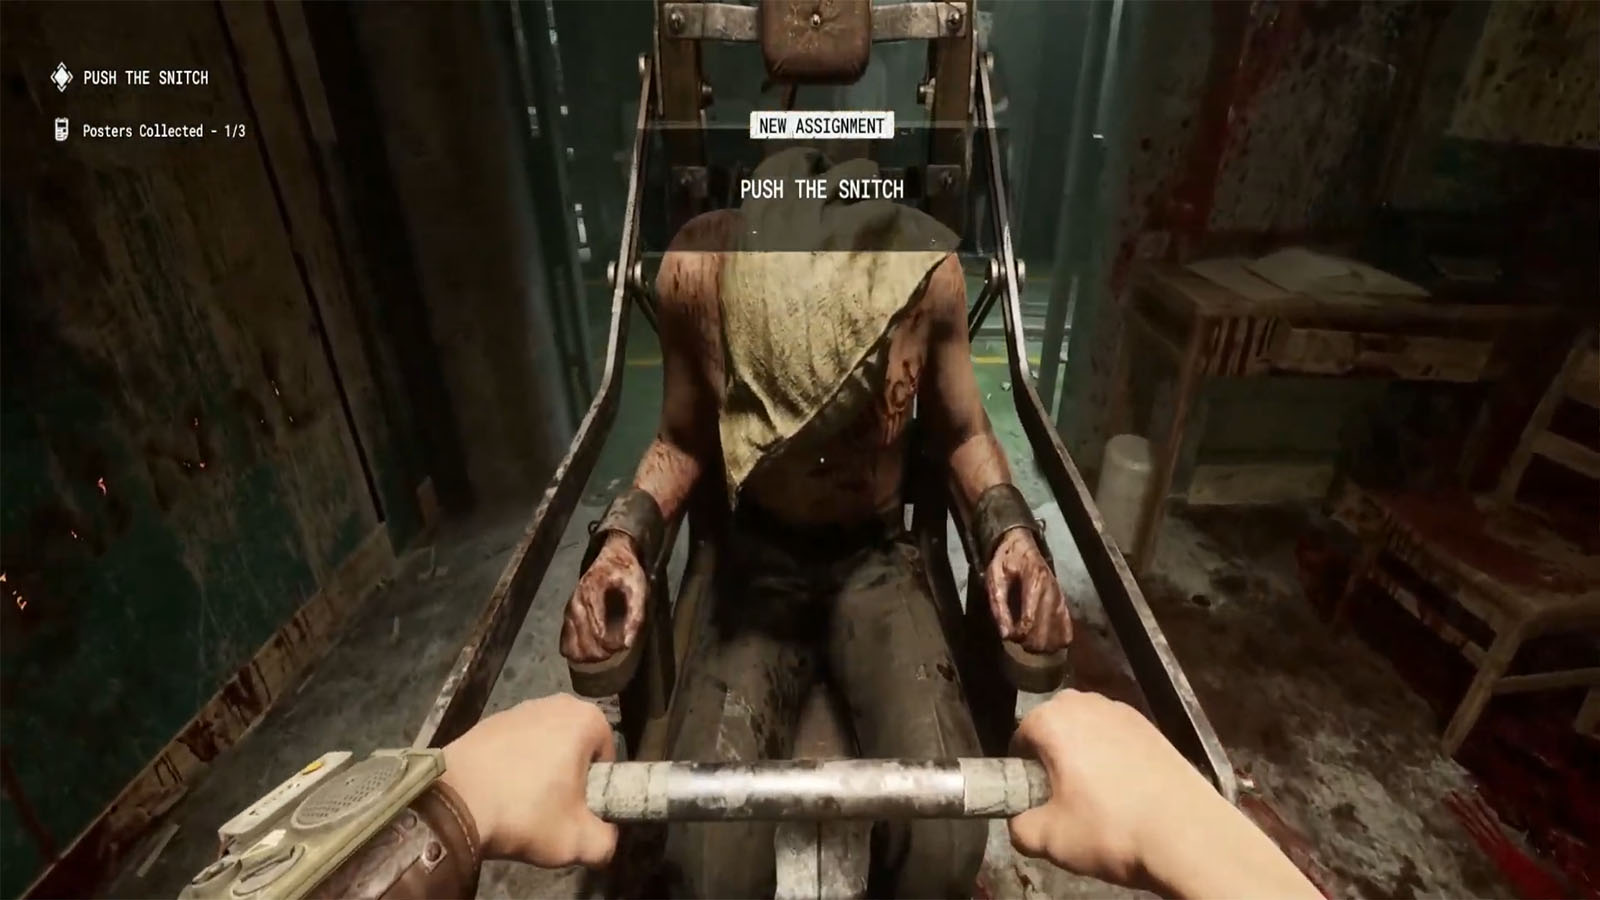
Take the Snitch out by pushing on to its chair. As soon as you exit his cell, the lights will shut down and only the emergency lights will illuminate your way. This means that the gates up ahead will also be powered down.
Start the Generators in the Basement
You will have to repair the generators which are in the basement. Follow the path ahead through the underground parking. You will have to wear your goggles again as you navigate this dark area. The Warden, along with some other enemy, will also be patrolling in this area. There are two generators to repair and doing so will require a few steps.
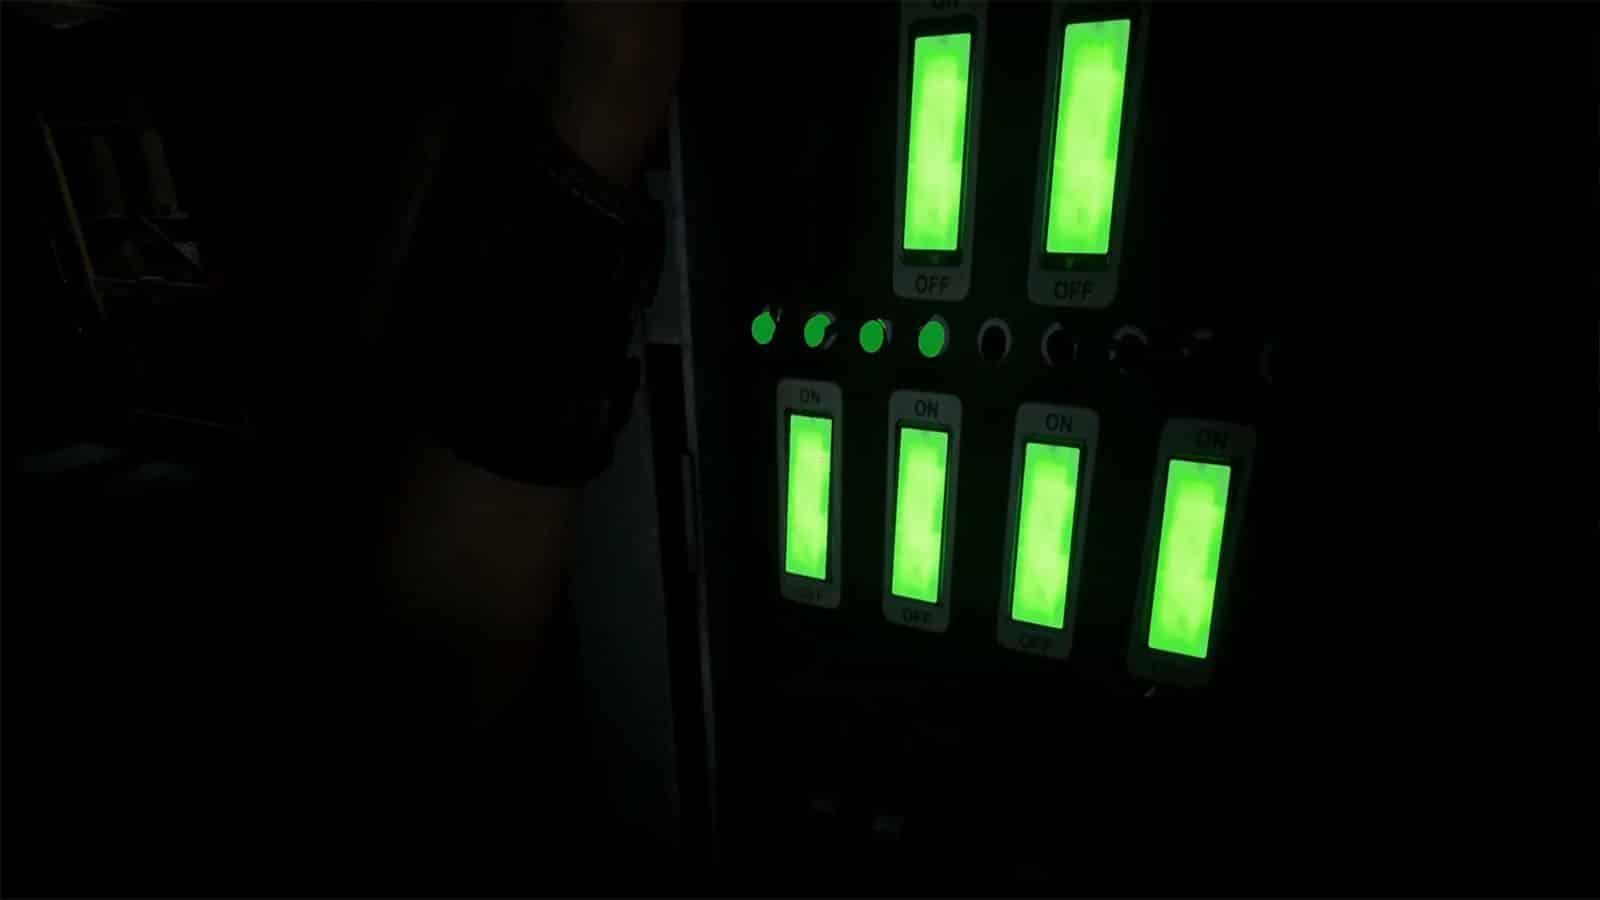
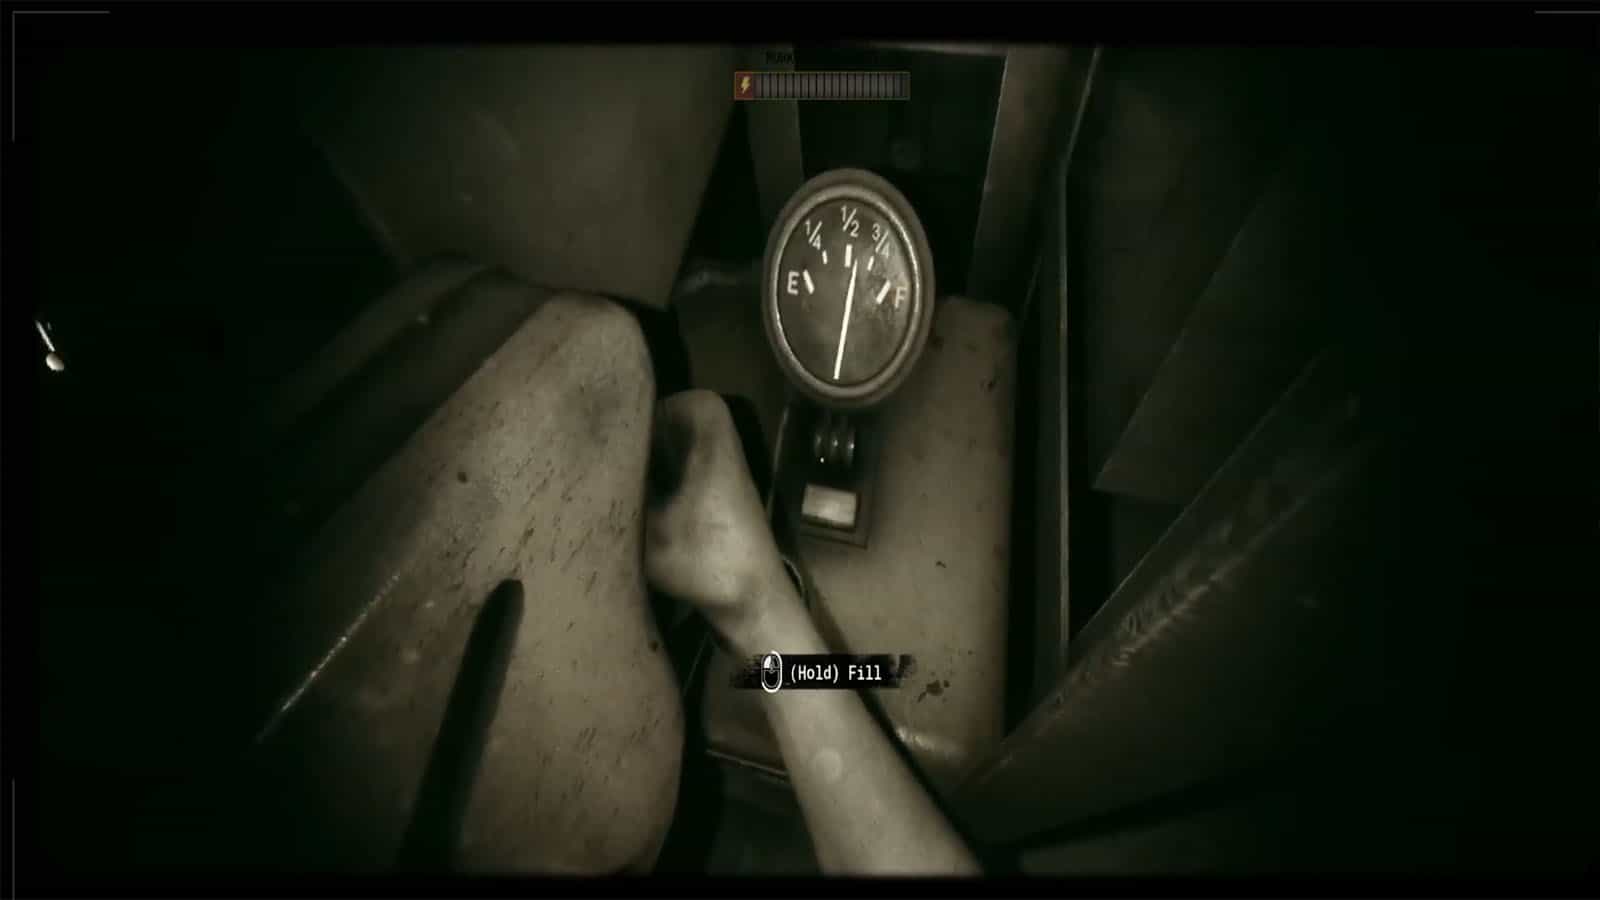
To fix the generators, you will have to find the fuel canister and carry it to the generator. The canister and the generator will be marked. Pour fuel inside the generator’s tank, then go to the side of the generator to find switches. You will have to press the switches in the right order or they will shut off and reset. Do both switch sets on both sides of the generator. Afterwards, do the panel in front of the generator where you have to pull the crank at the right moment to start the generator up.
Get back to the Snitch in the Cell Block
Once you have both generators running, make your way back to the Snitch and continue pushing him until you get to the locked gate.
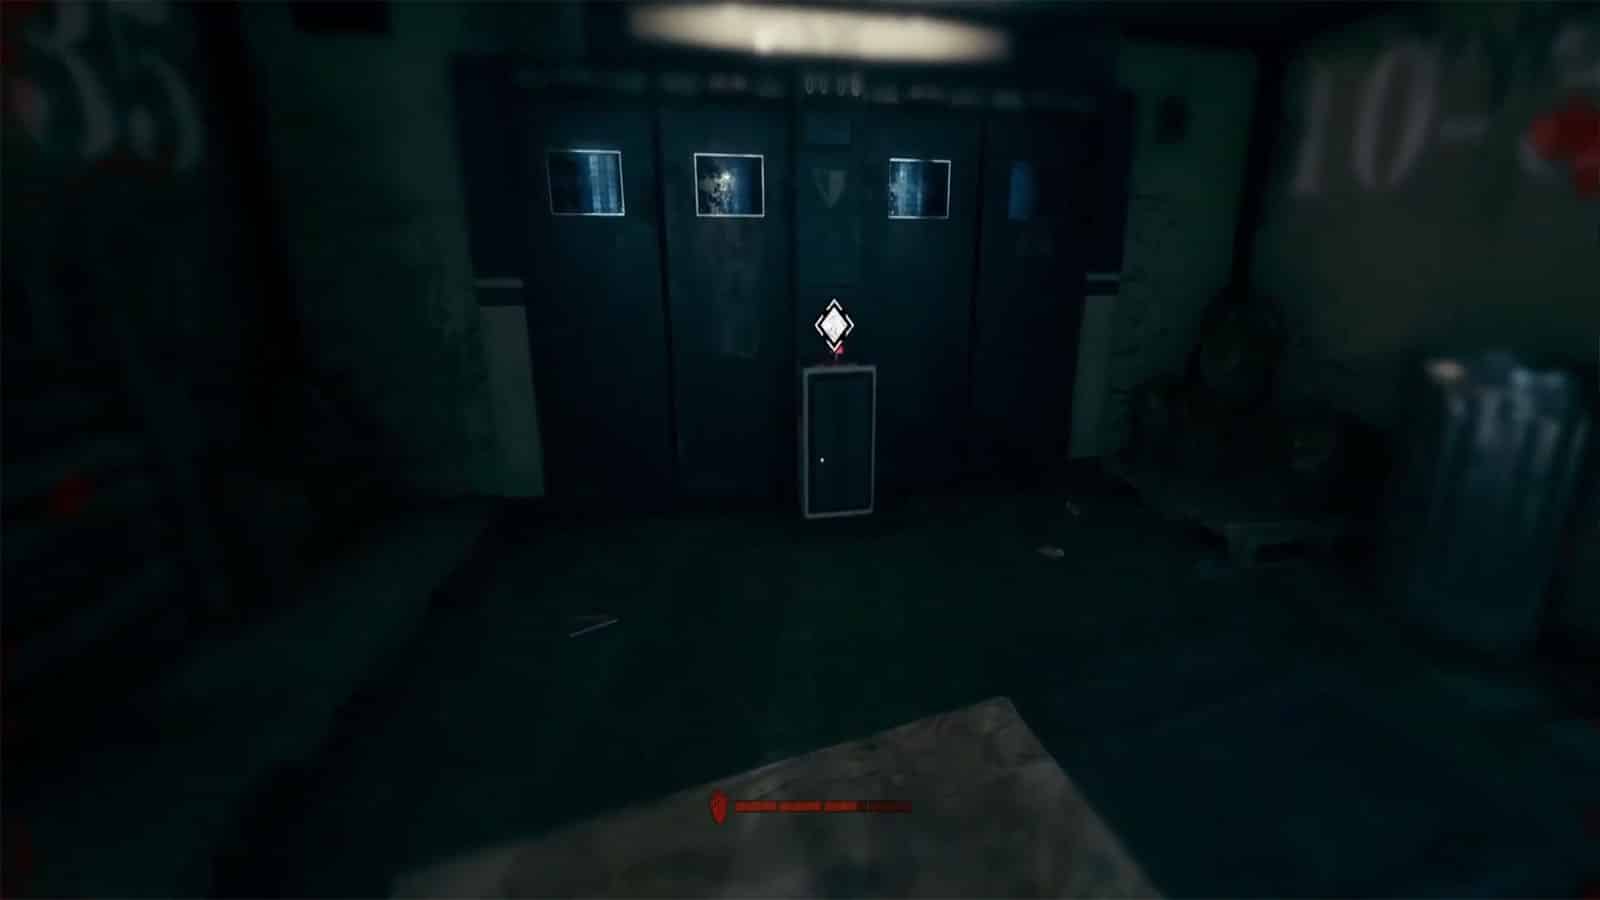
Open the Gate
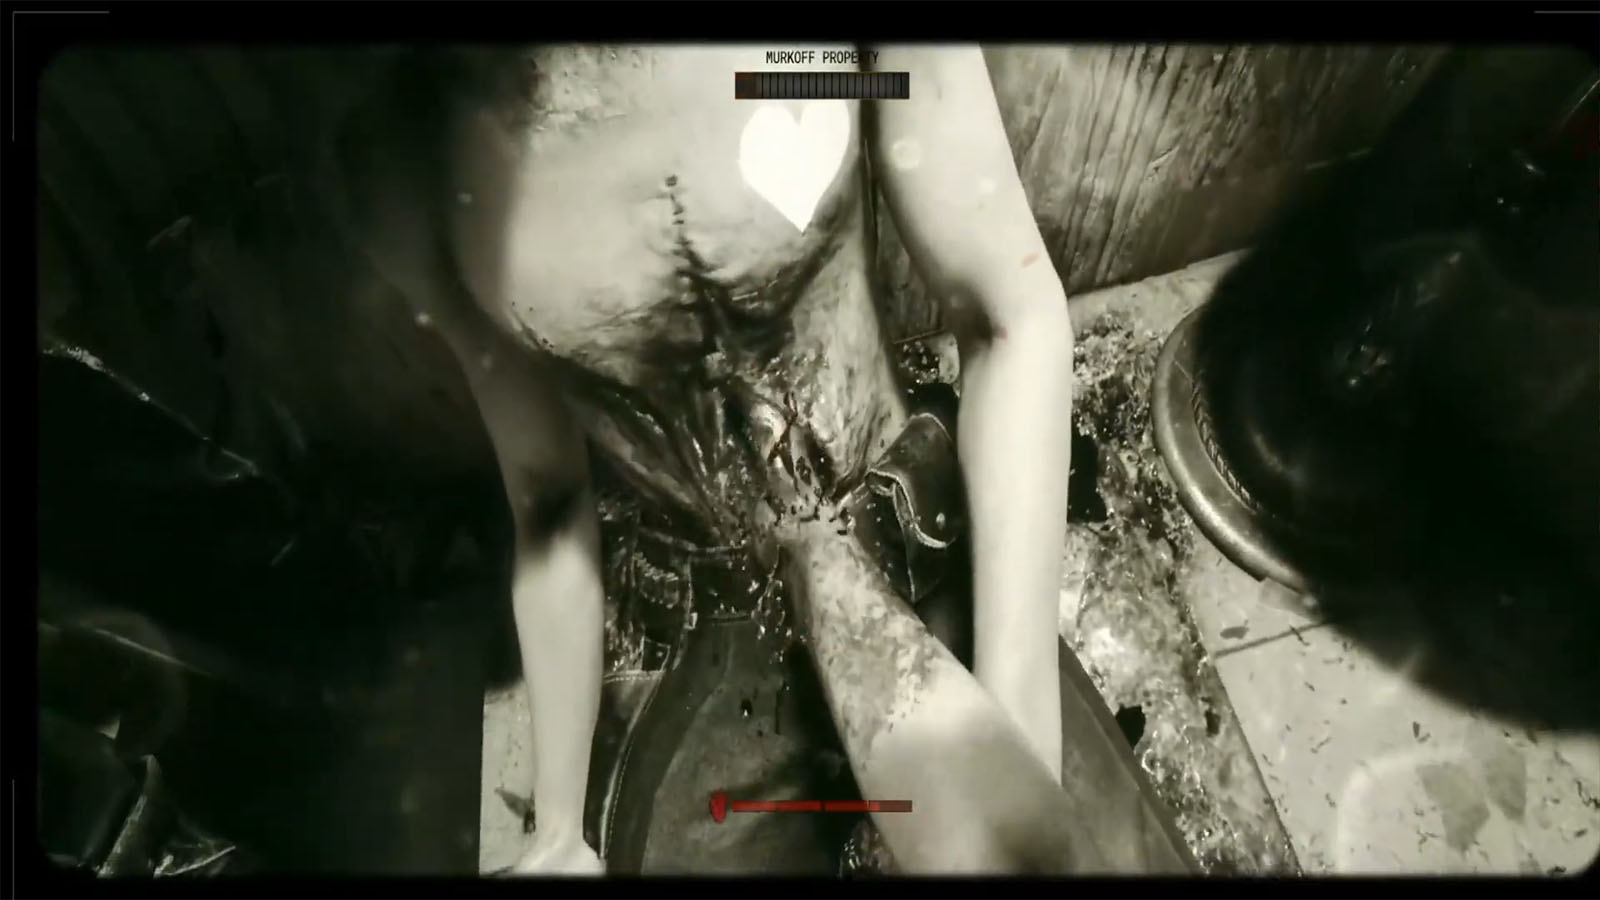
At the locked gate, look at the monitor above to get a clue about the key. Then, enter the room with the door that has “key” written on it, and then check inside the corpse’s body marked with the blue heart for the key. This pretty much serves as a tutorial for the next objective.
Once you have the key, use it on the panel to open the gate.
Open all Gates
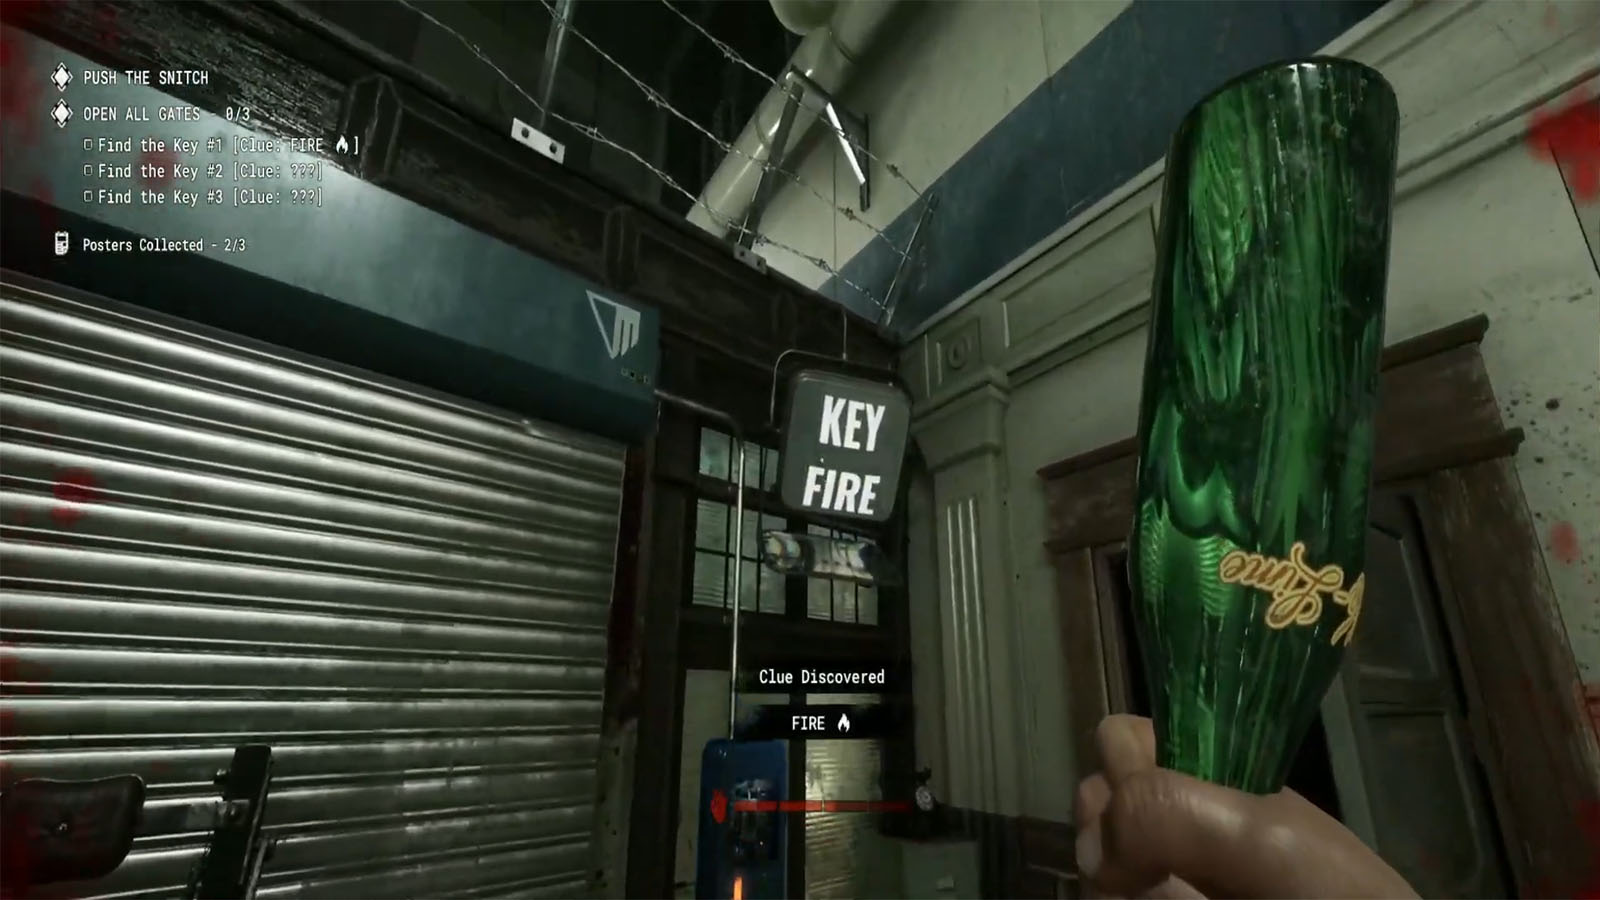
In this next objective, you will have to search for the keys within the entire police station. There are three keys to be found. Similar to before, look for the monitors which are usually above the closed gates to get the clues. Then, look for the corpses with the matching symbols shown in the clue to find the right keys. It can be easier to spot the symbols on the corpses when using the goggles as they will glow bright, but make sure to look out for your goggles’ battery level.
You can immediately open the gates once you get the right key for it; you don’t have to collect every key first.
Electrocute the Snitch
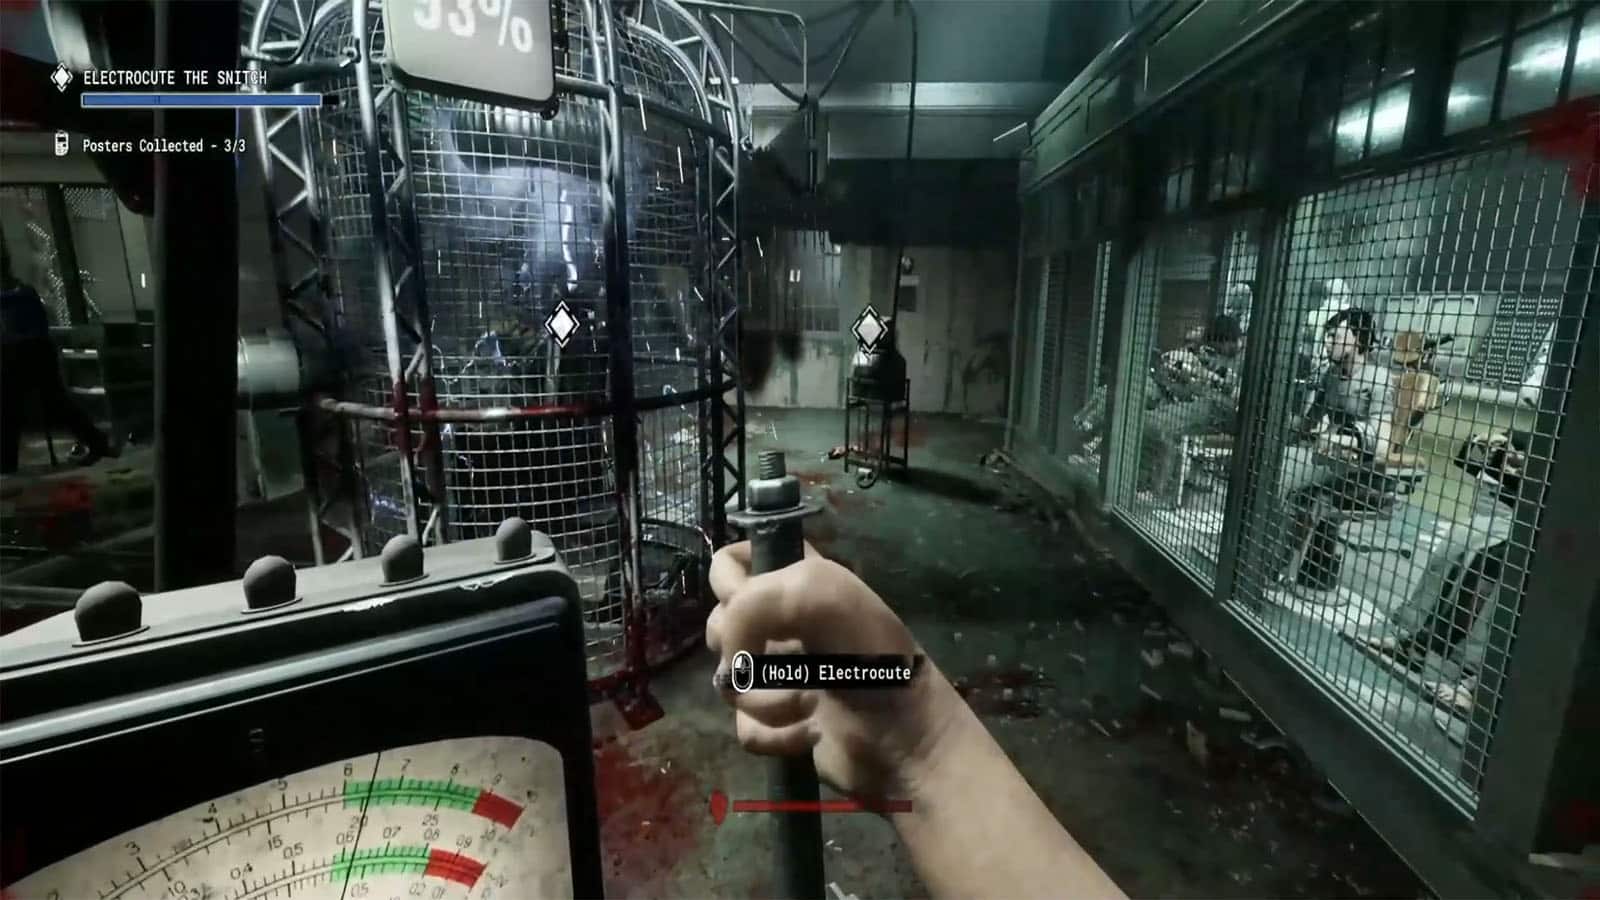
Once all gates have been opened, it’s time to push the Snitch again all the way to the electrocution room. After placing the snitch inside the chamber, you will then have to head to one of the panels and hold the lever to electrocute the snitch. This has to be done until the electrocution level reaches 100%.
During this, the Warden will be coming into the room as he hears the snitch’s screams. You will have to lure him away from the chamber so that you can finish the task.
Return to the Shuttle
After electrocuting the snitch, make your way back to the starting point outside the station then call on the shuttle. It will take some time for the shuttle to get to you, so try to survive any attackers that follow you. Once the shuttle arrives, ride it to complete the program.
Kill the Snitch Completion Rewards
- First time completion:
- +1500 XP
- +$500
- +$1000 for A+ rating
- Regular rewards:
- Random cosmetic
- Random cell decoration
- XP and $ based on rating
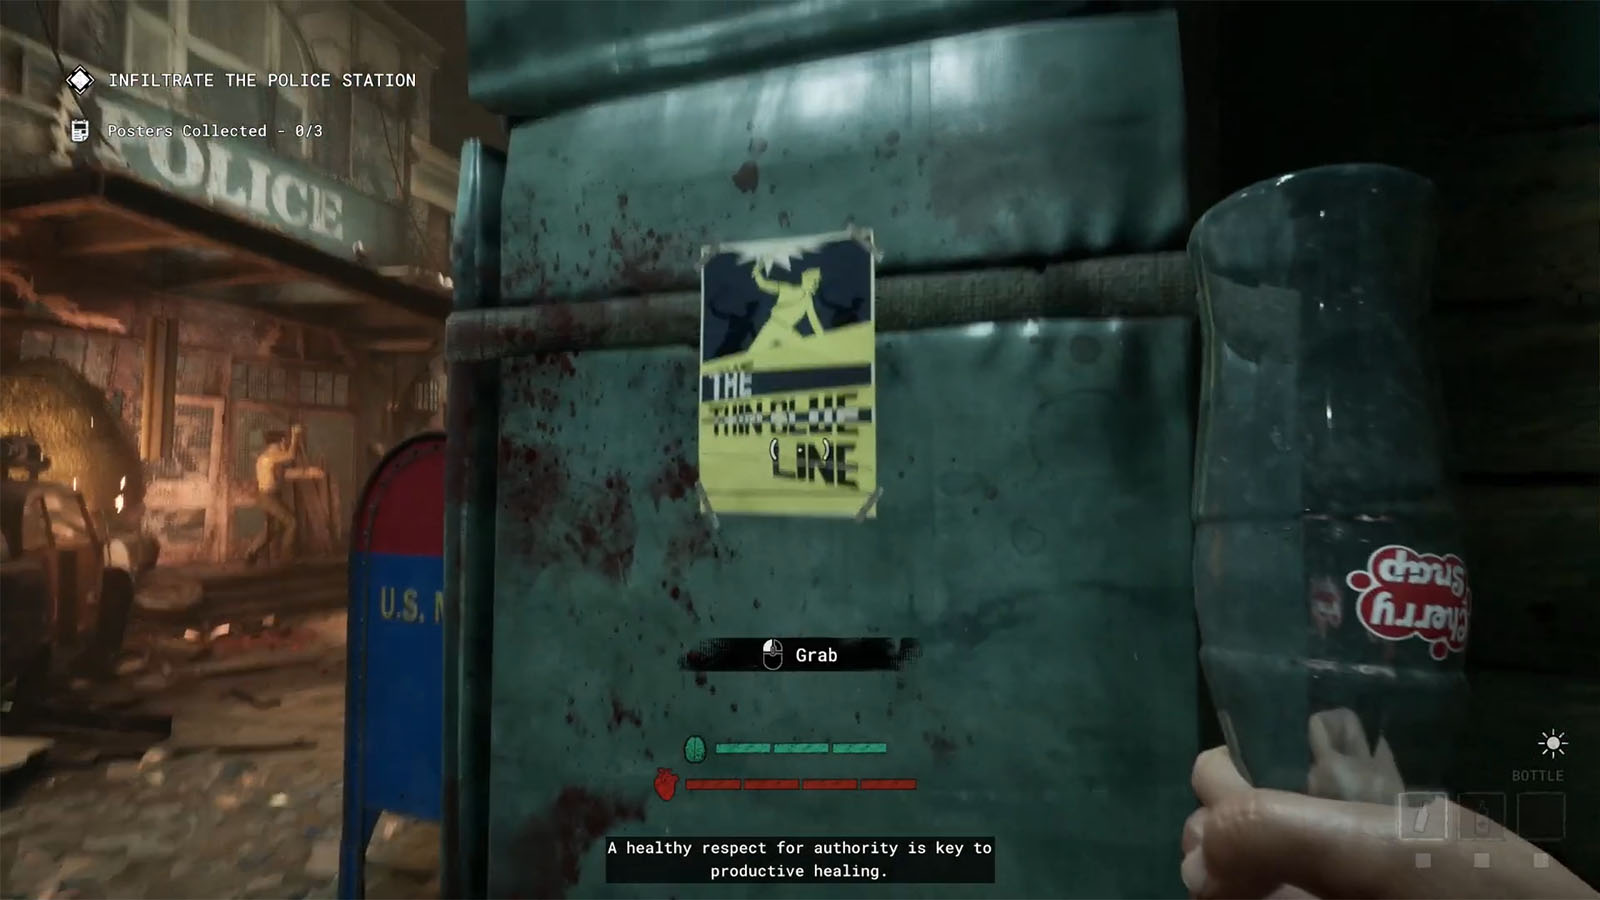
Kill the Snitch Poster Locations
There are three posters to be found within the Kill the Snitch trial.
- Poster #1 – This can be found on the wall behind the mailbox that is just on the opposite side of the street in front of the police station entrance.
- Poster #2 – This can be found on the left wall on the path that leads to the ramp going down into the underground parking lot.
- Poster #3 – This can be found inside the Dispatch Room of the security station, on the room to the right.
See next The Outlast Trials Cancel the Autopsy MK-Challenge Walkthrough.


