
The Vexcalibur Destiny 2 secret quest is now live. The Exotic Glaive has been something of a mystery since players of the game first spotted it. Now that everyone now knows of its existence, it’s time we go down deep into the Vex Network and retrieve this very unique weapon.
This Destiny 2 guide will tell you everything you need to watch out for during the entire Exotic Quest. Expect there to be several puzzle-solving segments, a couple of not-so-difficult platforming, and a multi-stage boss fight at the end.
This is going to cover the first run of the Exotic Quest. We may have another article talking about the Legendary mode to get the weapon Catalyst.
Vexcalibur Destiny 2 Exotic Quest Prep
For this solo Exotic Quest, we’re rocking Void Hunter with Gyrfalcon’s Hauberk. If you’re going in with other classes, we suggest old reliable, Solar Titan with Loreley Splendor Helm or we hear that Strand Warlock with Osteo Striga works well on this mission.
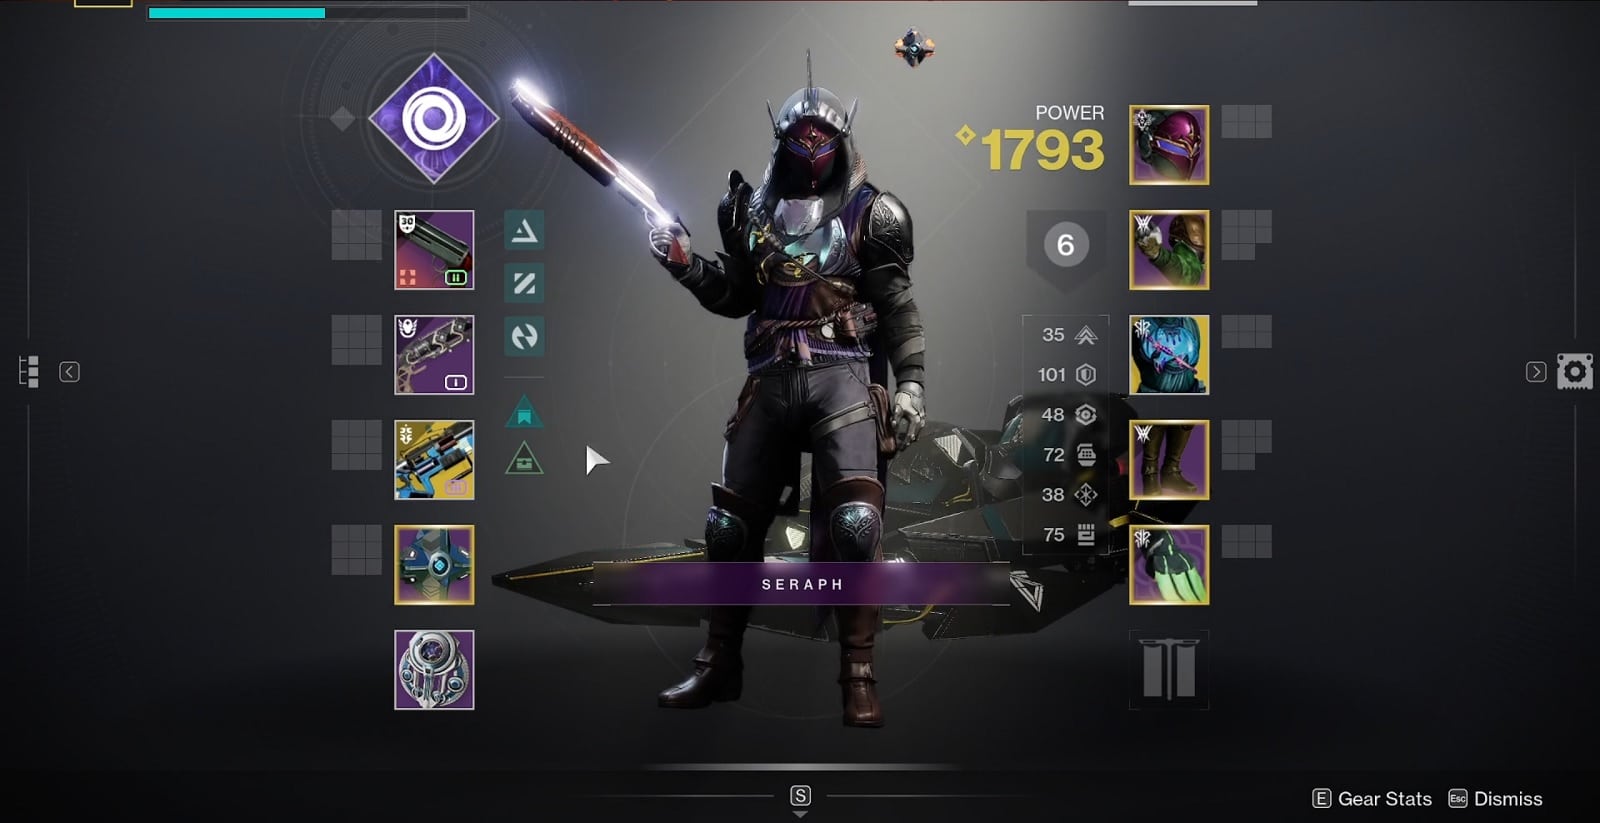
As for our weapons, we decided to go for the Autumn Wind pulse rifle first and then a Shotgun Primary for yellow bar enemies during the boss fight. We then went for a Void energy weapon with Repulsor Brace, and the Grand Overture machine gun for the final boss. This particular build uses the Wastelander M5 as a personal preference and also remaining mobile is a must in this mission. We also chose the IKELOS_HC_v1.0.3 for the same reason, but any hard-hitting weapon will do. We recommend the Veles-X pulse rifle.
How to Unlock //NODE.OVRD.AVALON// Exotic Quest
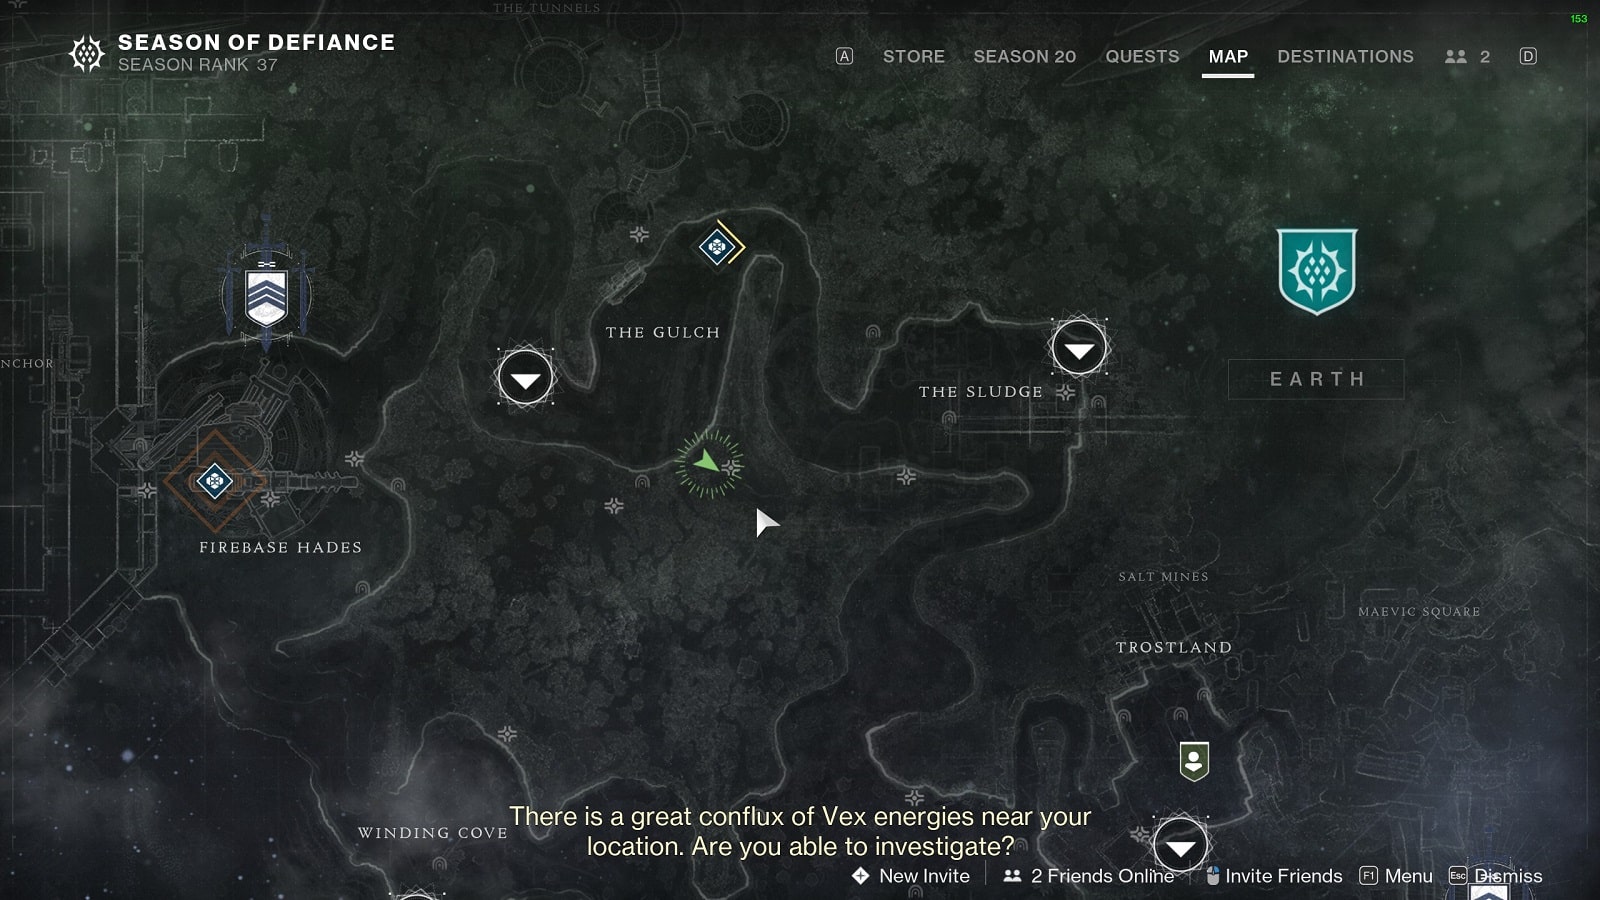
The Exotic Quest for Vexcalibur is a secret one. You won’t even know it exists until you go to the Landing Zone in the Gulch of the EDZ.
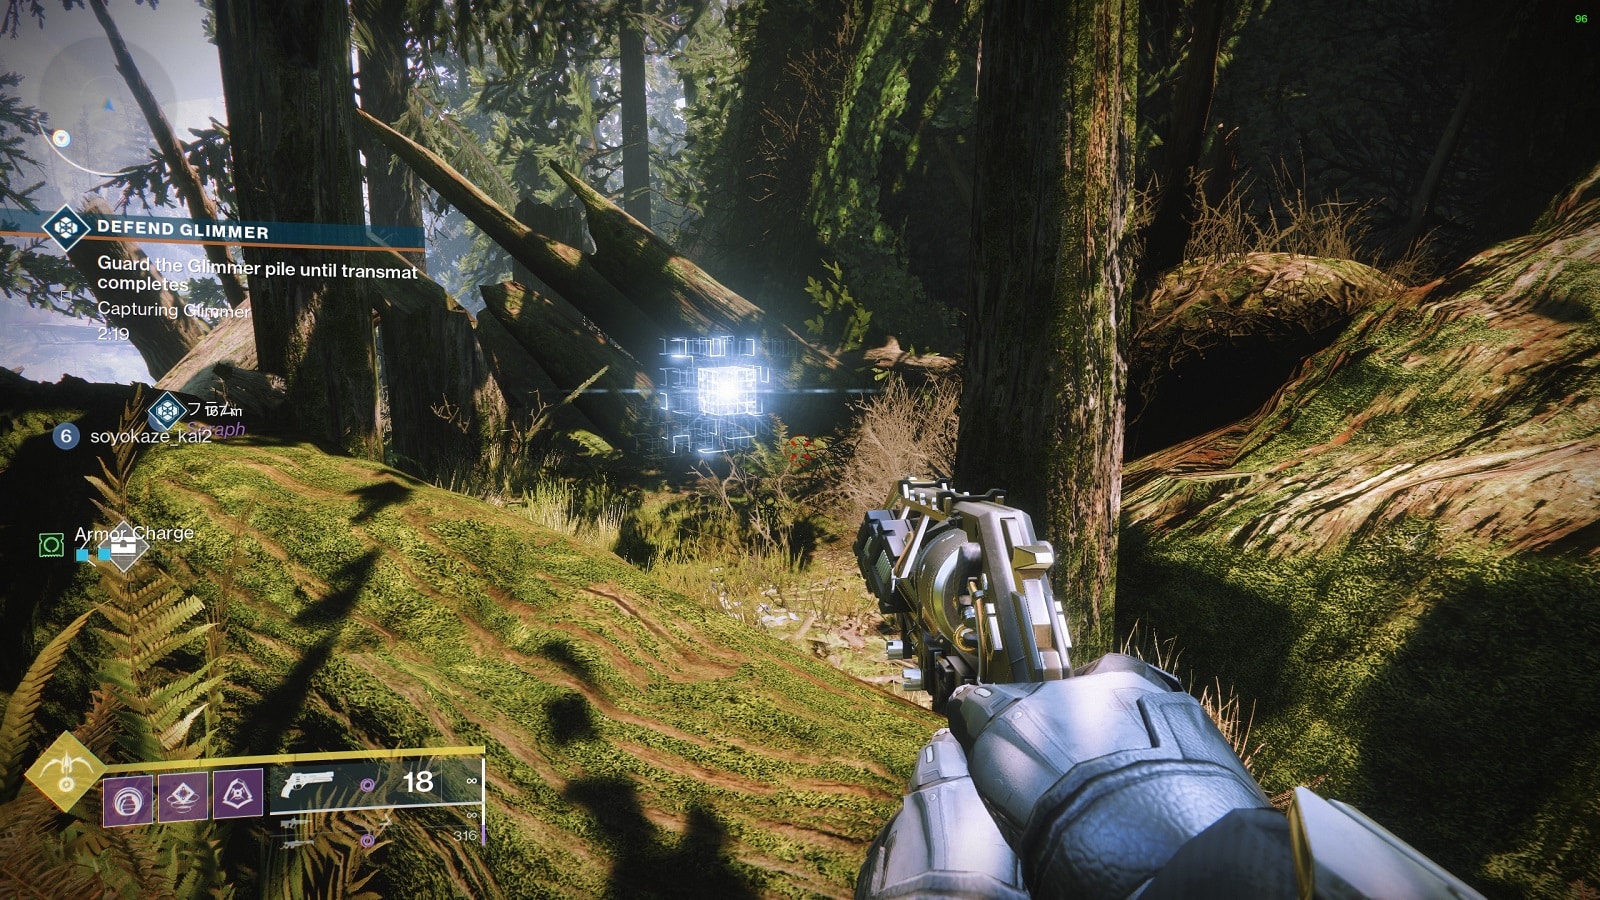
There are six Vex cubes scattered around the Gulch and the surrounding forest. There are no less than 3-4 in the surrounding forest and about a couple in the Gulch itself. We recommend going for the forest one first (pictured above) and then going for the one underneath the bridge next. The rest of the four cubes are within visual range of each other.
After picking up the cubes, the entrance of the cave will open up. The cave is located by overhanging bridges. You can actually look at the sky and see a Vex portal forming on top of the location. Use that as a guide on your way to the cave.

It doesn’t matter what order you pick up the cubes, the codes remain the same.
Simulated Cave Access Code: 53-43-52-49-42-45.
How to Start //NODE.OVRD.AVALON// Exotic Quest
At the back of the cave, you’ll come across a Vex Harpy. This is the starting point for an Exotic mission into the Vex network. The mission itself is 1800 in Power. However, if your level is lower than 1800, your Power Level will be bumped up to 1790.
Once inside, you’ll have to run a maze of passageways.
To get through the maze, you need to first drop and go through a small passageway just above the pool radiolarian fluid. Just wait for the door to open and then slide right through. Take a right at the next junction. Then look to the left at the end of the passage and you’ll see a slide. Go down the slide to proceed.

Once the slide levels out, you’ll see a couple of Harpies in the passage. There is a side passage between them on the left. You’ll want to go down that passage. You’ll see Asher Mir for a brief moment as go down more. Go down the multiple long drops until you go down a circular vent. You now find yourself in a huge storage area with multiple containers of radiolarian fluid.
You are now inside what many in the Destiny 2 community call the Vex Network.
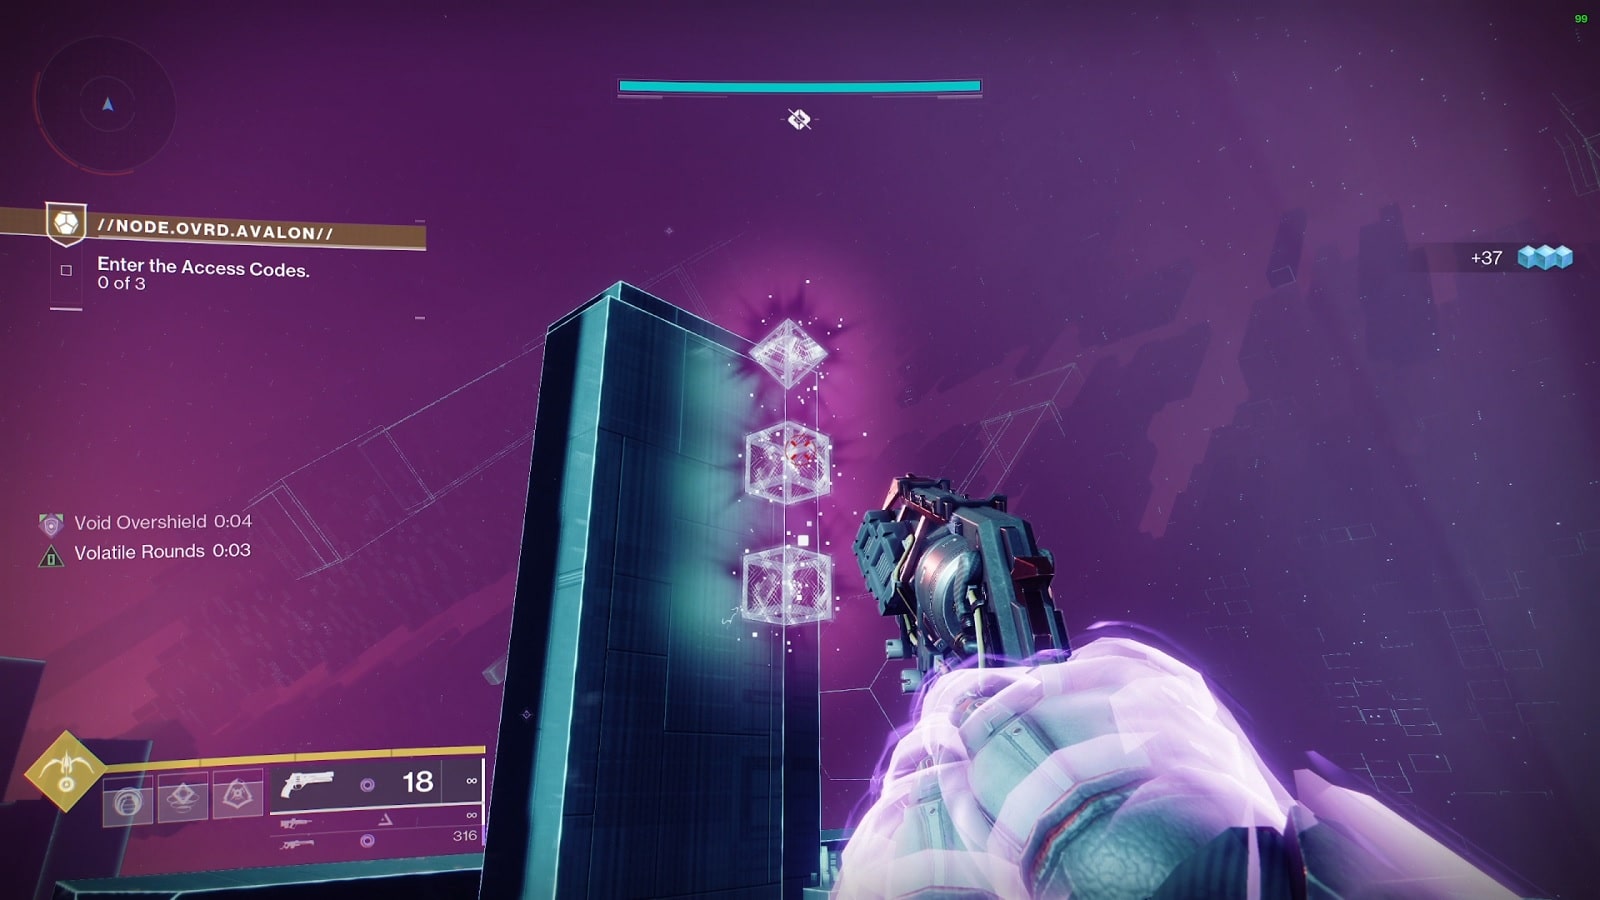
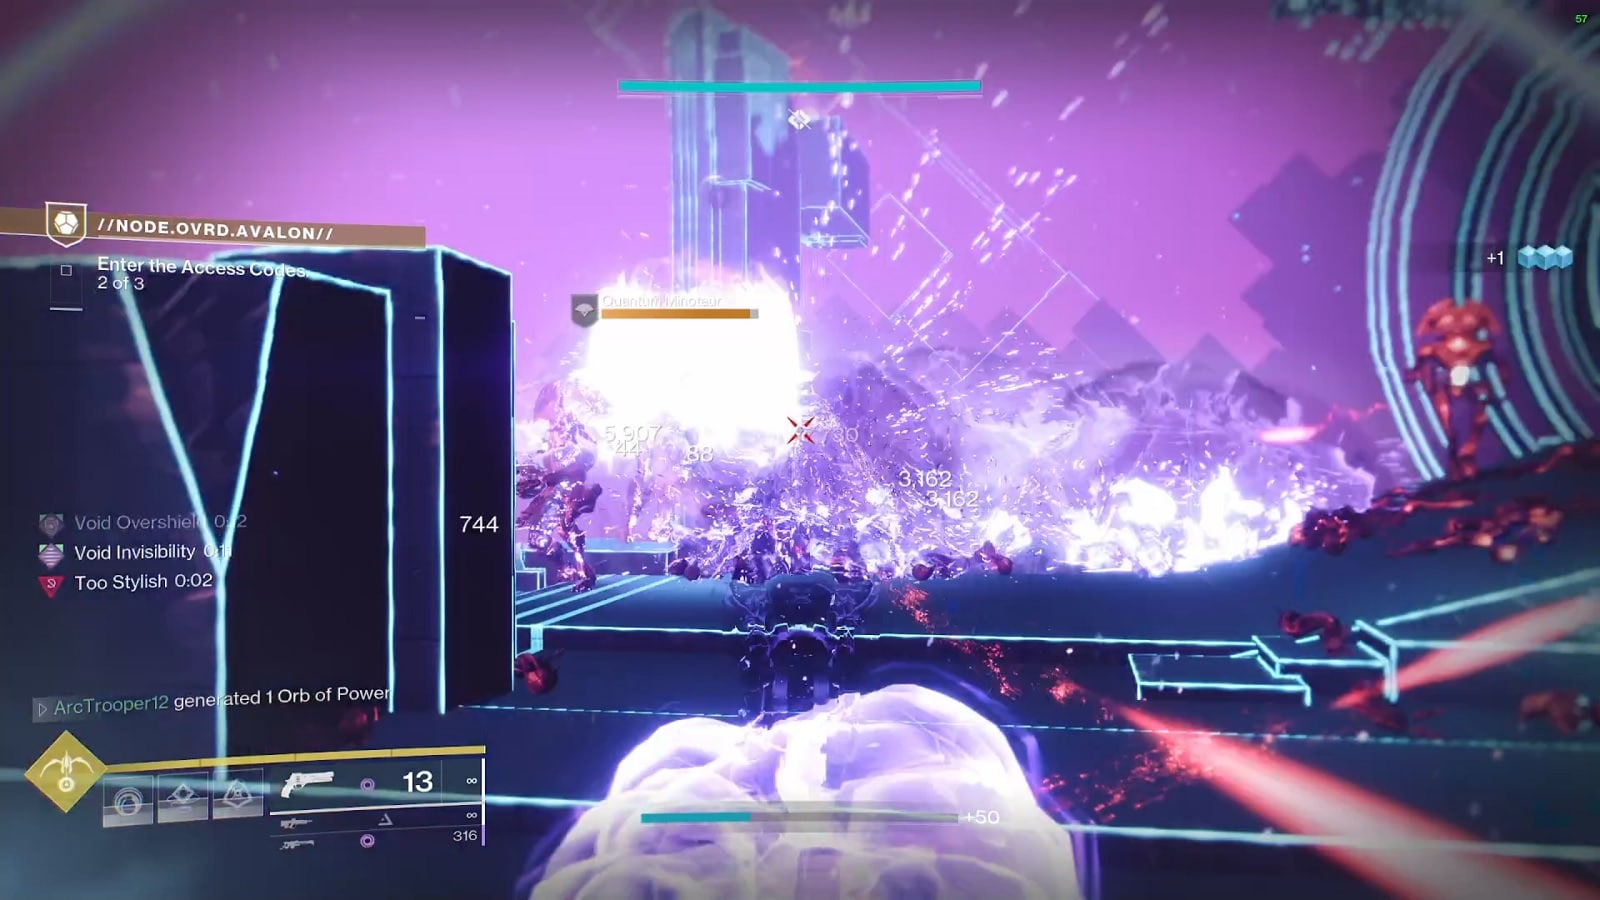
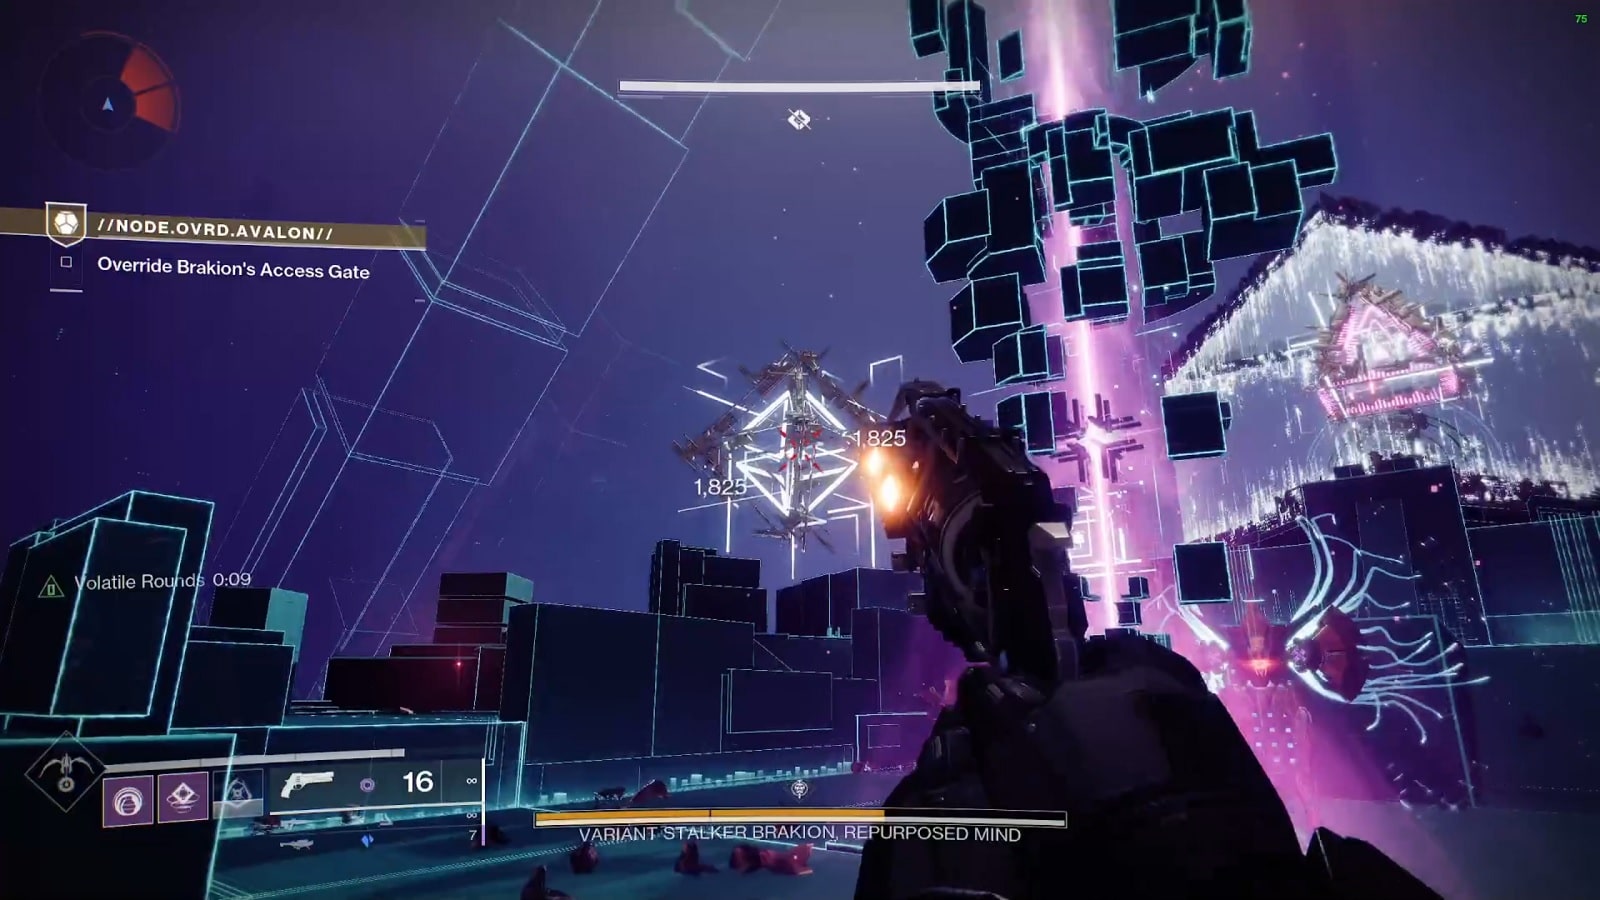
This part of the quest requires you to survive waves of enemies while solving a couple of puzzles in two different arenas. You’ll first start on a platform with a Vex Conflux at the center. Around the Conflux, you’ll see a bunch of shapes popping in and out. The shapes are cube, diamond, and pyramid.
There is an order you need to shoot these shapes. The order can be found anywhere around the arena. The order is always from top to bottom. Shoot the right shape and a new set of shapes will eventually appear. Keep doing this until you get the correct order. Don’t worry about making a mistake, you’ll be informed about it on screen, and you’ll have to start over. The combinations start at three shapes and go as long as five shapes.
As you’re trying to solve the puzzle, waves of enemies will keep descending on you. If you’re with friends, you may want to assign someone with ad clear duties. Do keep in mind that the shields are going to be Void, so a Void weapon is a must-have.
This is where Void Overshield and Volatile rounds come in clutch as a solo player. You’ll need the fragment that allows you to go Invis while dodging. Once you start shooting, you’ll be shooting volatile rounds for a few seconds after exiting Invis, all thanks to Gyrfalcon’s. Defeating volatile enemies will cause them to explode and activates Repulsor Brace. You’ll get an Overshield and you’ll keep getting Overshields for as long as Void-debuffed enemies keep falling. This is the loop that’s going to keep you alive for the whole mission.
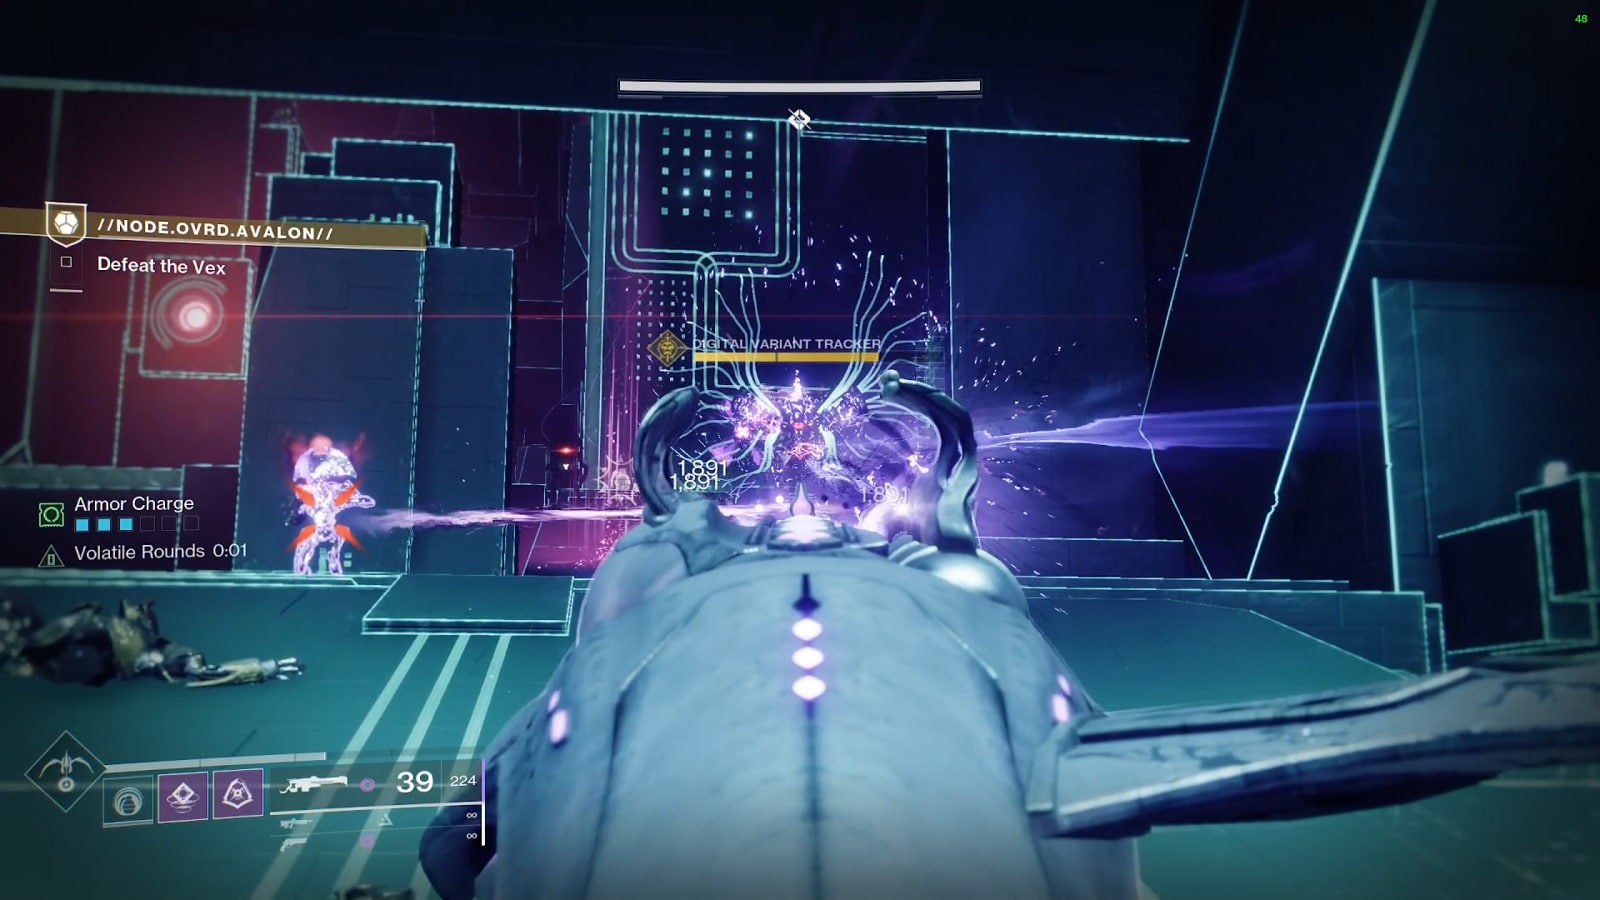
The second arena is pretty much the same. The only difference is that you’ll have to go deeper into the Vex lines to get the final set of shapes. It can get truly hectic near the end. Around the time you finish the puzzle, Wyverns will start appearing. Prioritize them ASAP or else it’s a quick reset to the start of the encounter. To process this further, you need to clear ads to remove the Dark Zone.
The next part is going to be a jumping puzzle with disappearing Vex platforms. If you have Strand, this will make things easier but you don’t really need it. The next part also requires you to run through a long passageway with timed doors closing. The final part of the puzzle requires you to crawl an equally long slanted hallway. Move carefully or else you’ll be chucked out into cyberspace.
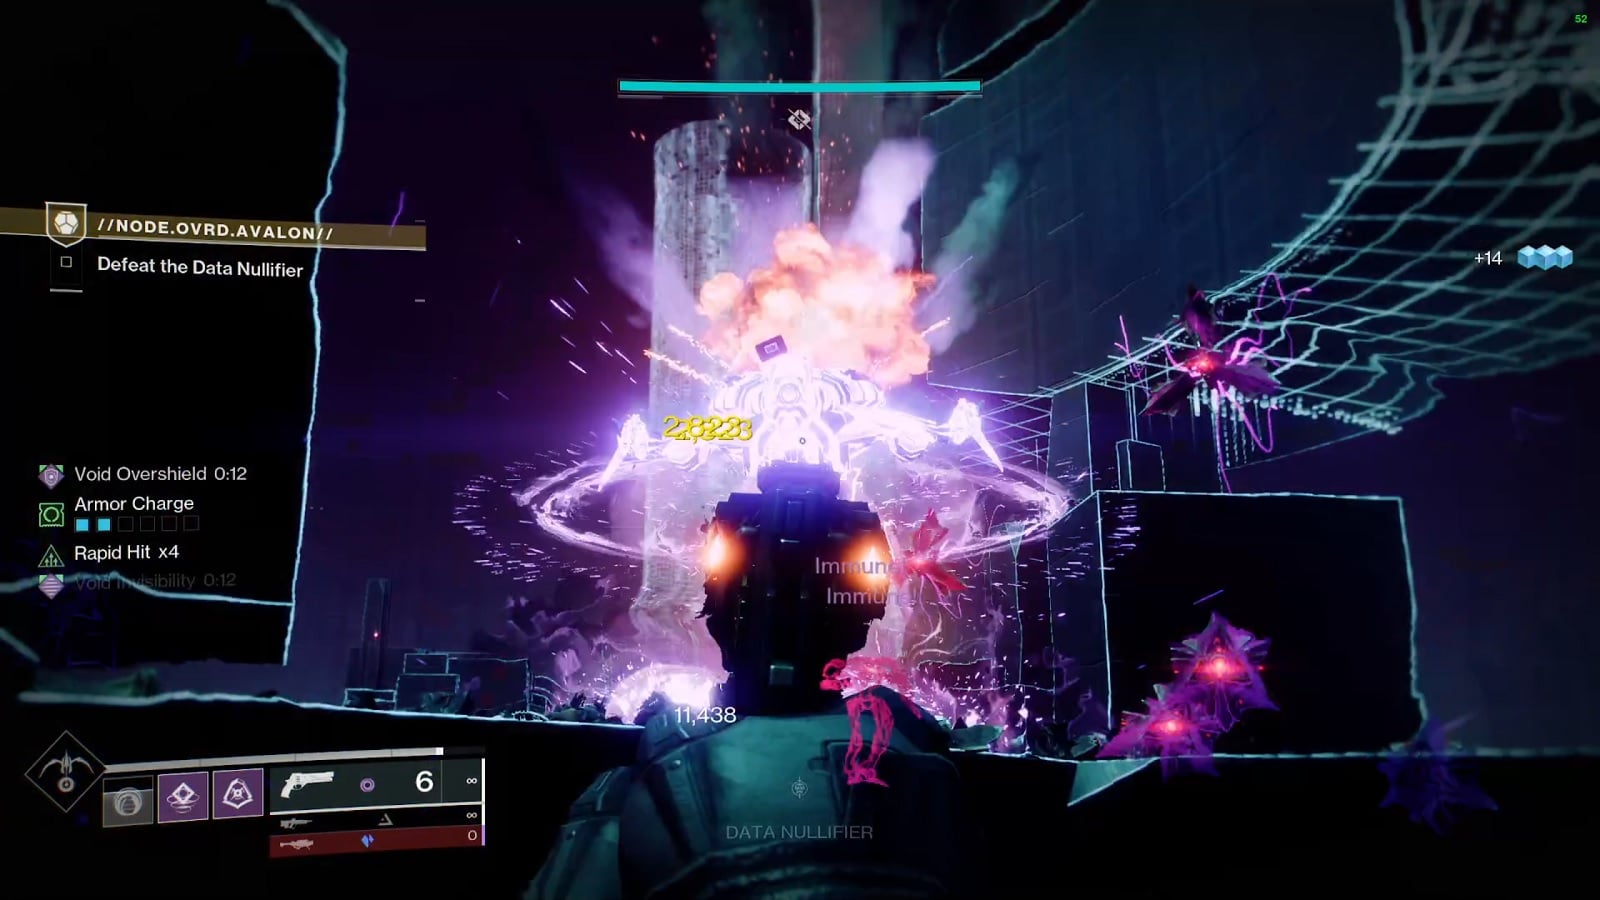
First Boss Encounter: Data Nullifier
Get through the crawl space and you’ll be entering the pre-boss encounter. At this point, you can place your raid banner to replenish your ammo and Super. Enter the launcher to start the sequence.
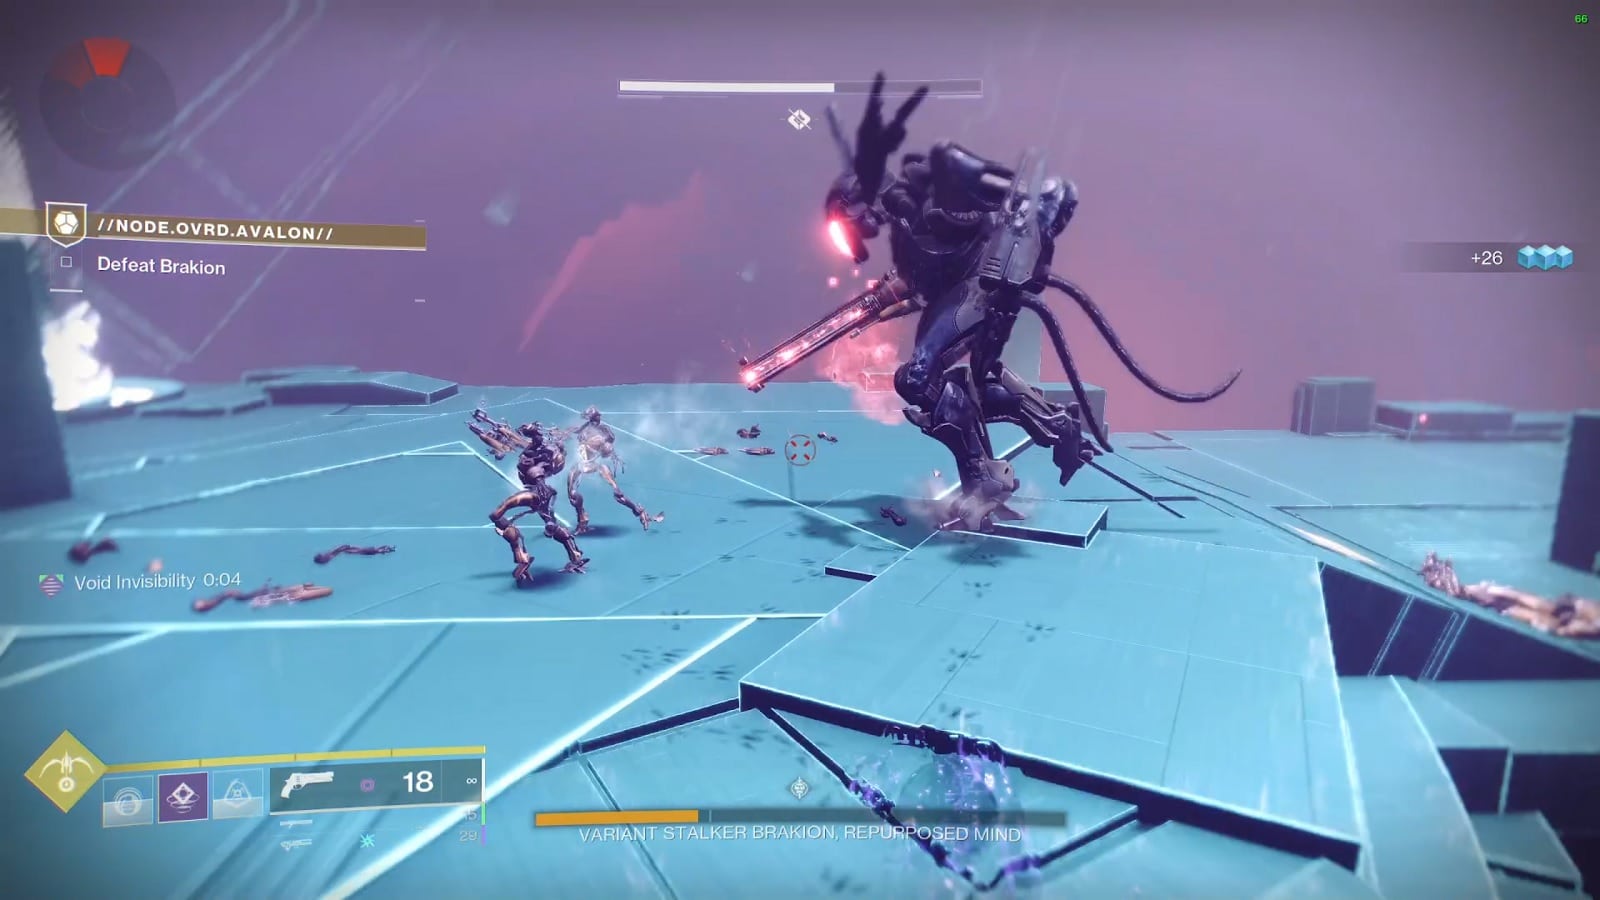
This sequence will require you to destroy Vex as quickly as possible before the boss initiates its wipe mechanic. If you’ve ever played Gambit, this is going to be very familiar to you. There is a Conflux in the middle of the arena and you’ll need to bank Data Fragments in order to open the safe zone.
Void explosions make this part really easy. But you’ll still want to keep your guard up. At around 10 seconds before detonation, a couple of Wyverns will spawn in to ruin your day. We advise jumping into the hole with as many motes as possible at around 12 seconds left. You can’t really see how many you’re carrying, so unless you want to chance coming up short, get as many motes as possible with the few seconds that you have.
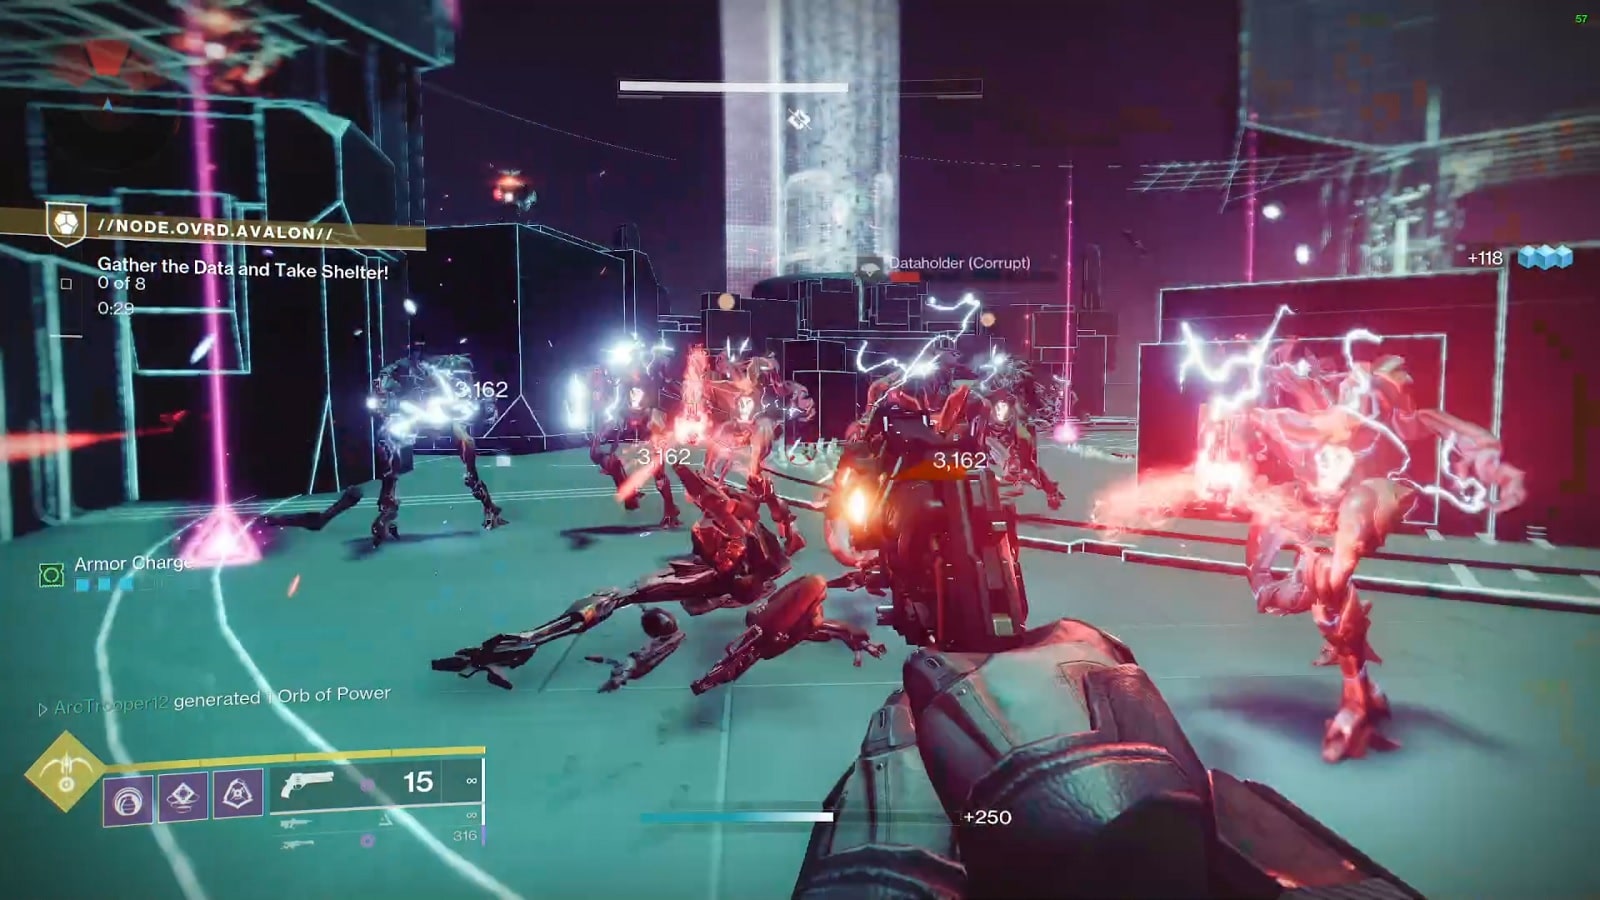
Weirdly enough, the hole is not as safe as one might think. Wyverns will shoot at you while you’re down there. You may want to bring a Disorienting Grenade Launcher to prevent them from shooting at you. Or what we did and time our Invis dodge to escape their gaze. After a few seconds, the force field will appear on top of the hole and the bottom will disappear, letting you fall into the next encounter.
You’ll be doing the same things you’ve been doing before. After banking in the Data Fragments, the Wyvern will teleport to the middle of the arena. This is the start of the damage phase. Once the boss reaches half health, you’ll have to repeat the process again a second time. Thankfully, there are plenty of Harpies to get resources and shields. If you have Orbs of Power farming mods, you can potentially have three Super in your pocket when necessary.
Once the boss dies, you can exit the arena from the opposite side from where you entered it.
You’ll then do some parkour stuff all the way to the base of the Vex portal. Just follow the Vex. If you see them on your path, then you’re going the right way. At the end of the path is the portal to the final boss encounter. Take the portal to start the encounter.
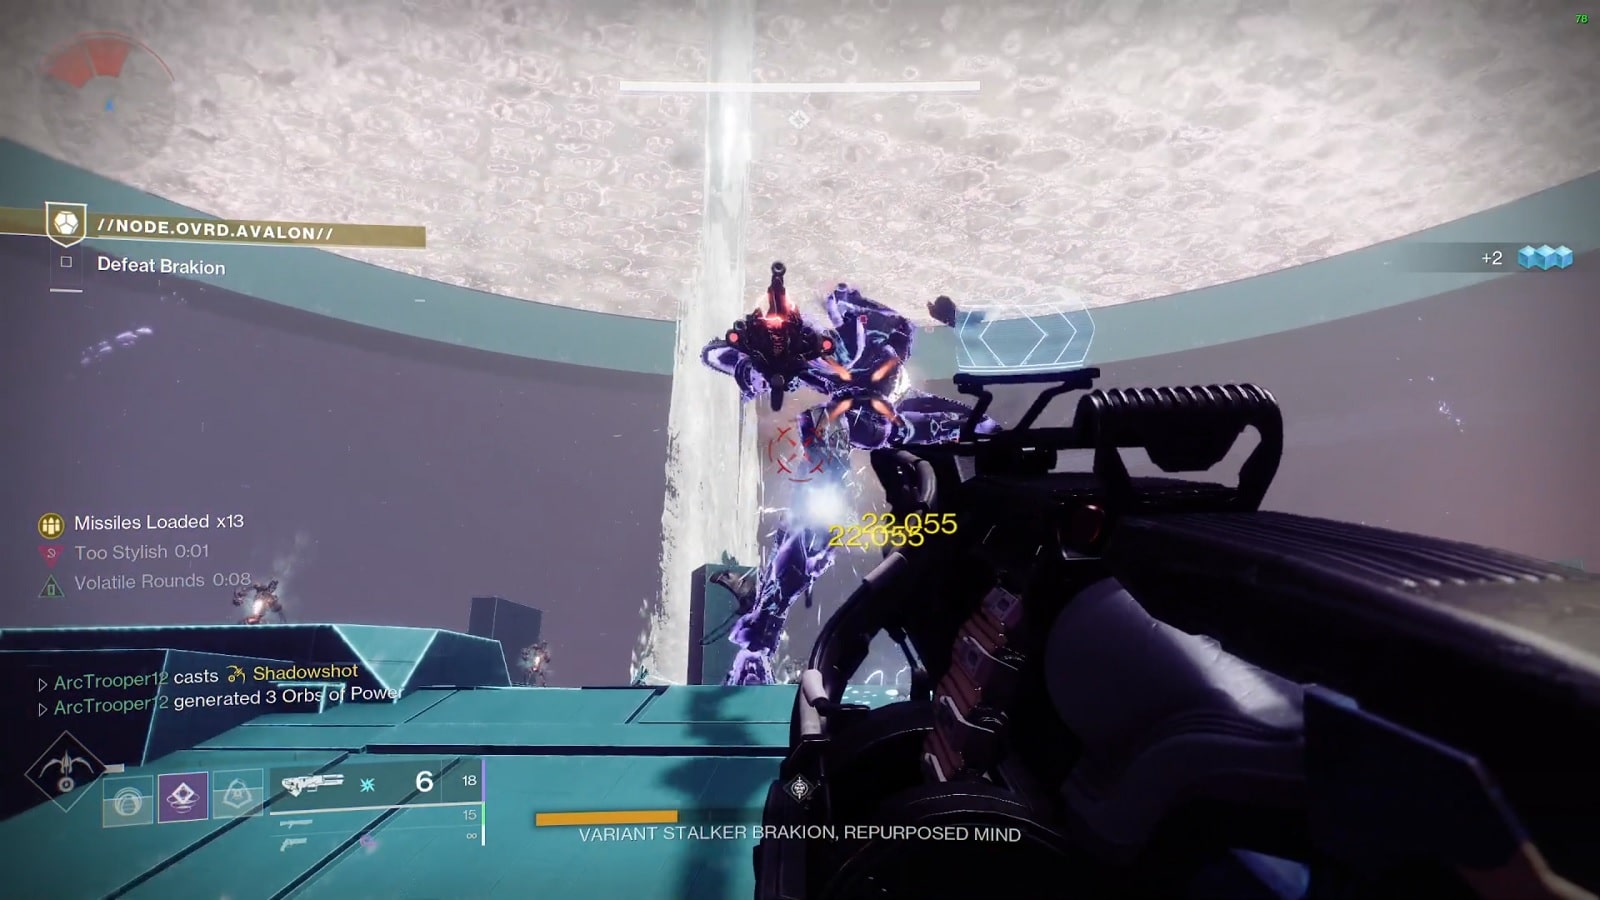
Final Boss Encounter: Variant Stalker Brakion, Repurposed Mind
This Destiny 2 final boss fight has three phases. The Reporpused Mind has two weapons, a sniper and an AOE flamethrower.
Phase 1: The Roundabout
The first phase sees the boss appearing along with a bunch of ads. You will want to prioritize the Wyvern and then the boss itself. During this time, you can take advantage of the geometry and head glitch some potshots if you stick close to the raised platforms. The boss will keep rotating between three points in the arena. Once the boss does a full rotation, a new wave of ads will spawn. Get rid of them ASAP.
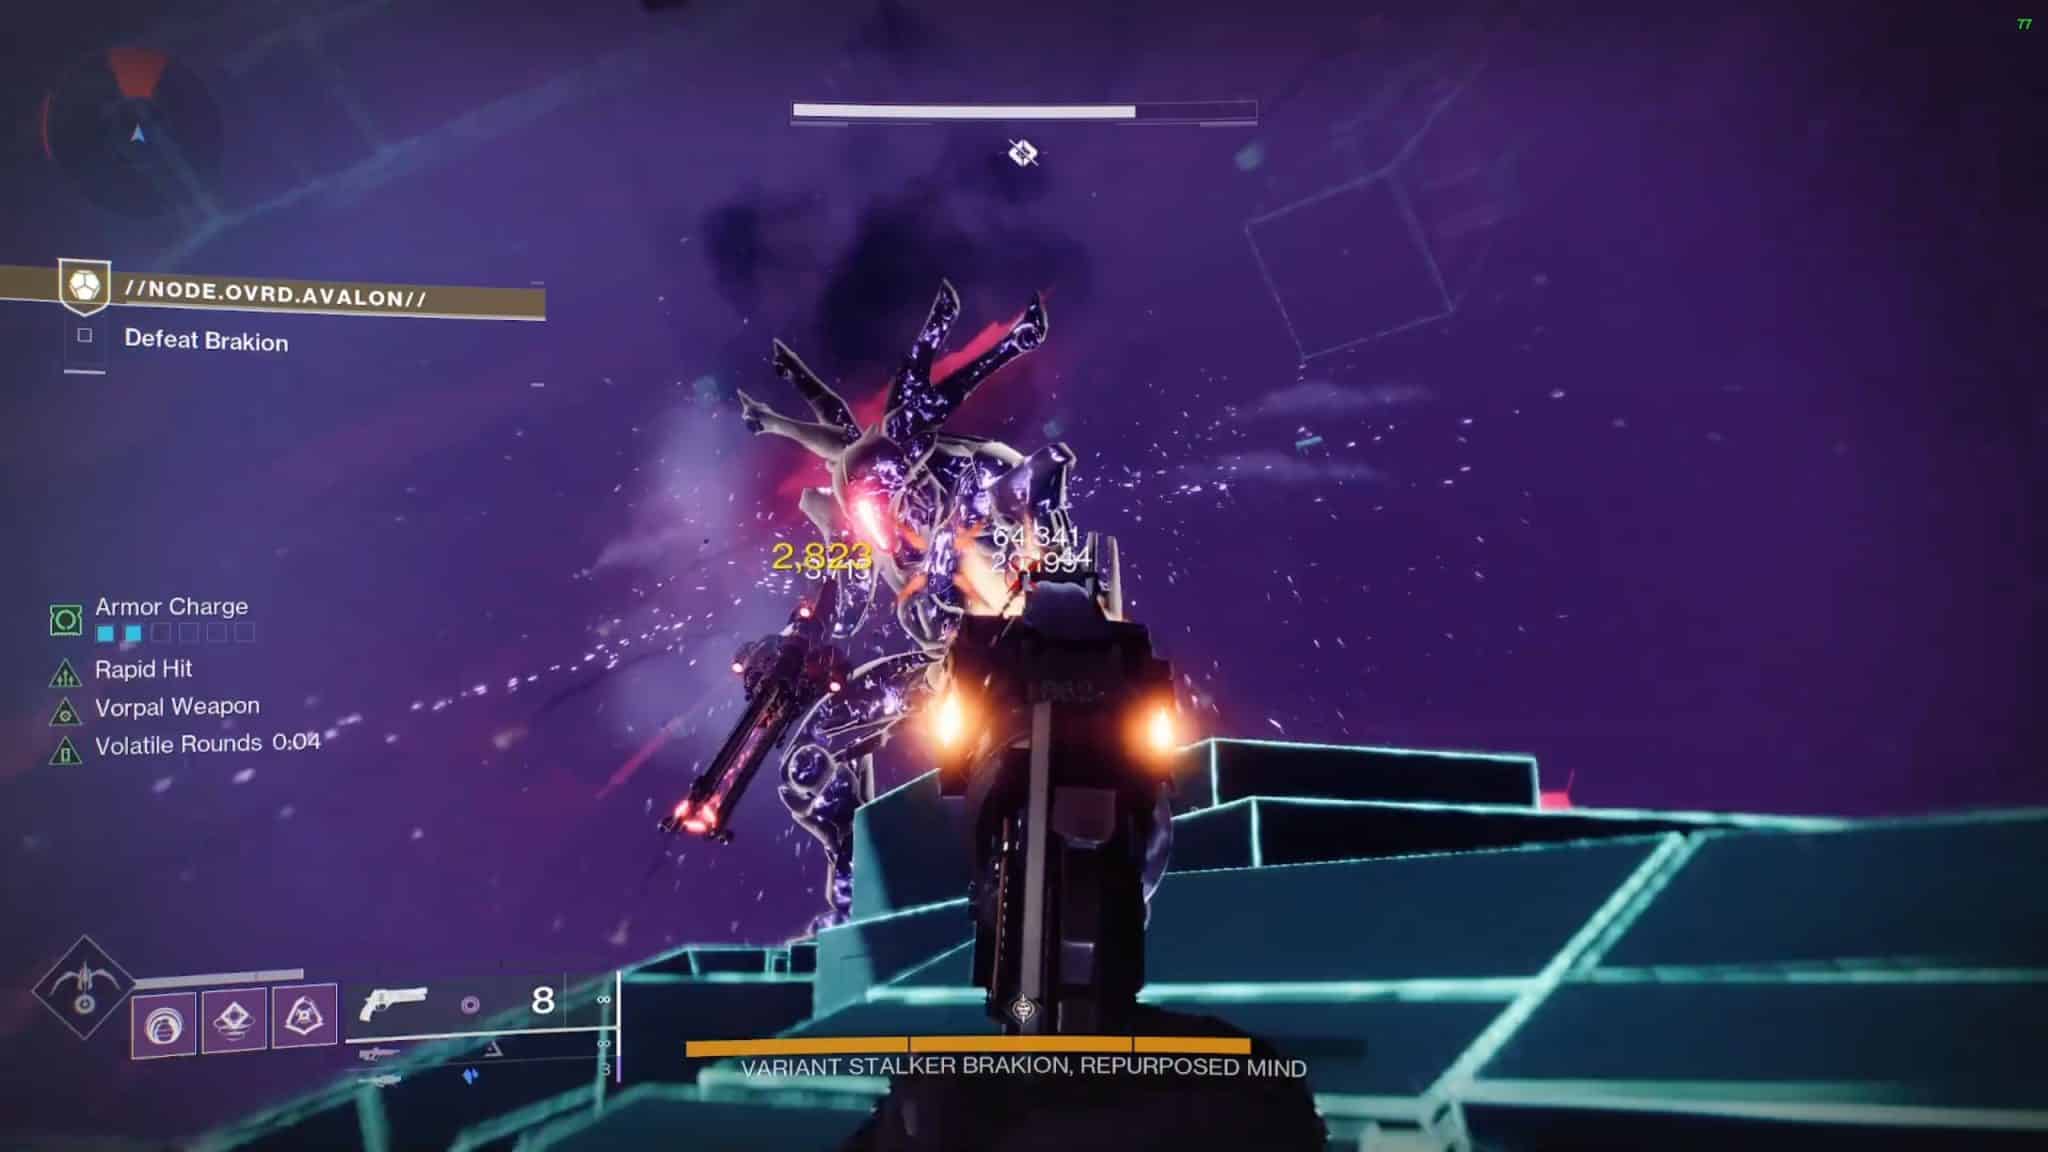
The Grand Overture, using both weapons settings, does a huge amount of damage if you pile on the damage.
Once you’ve dealt a third of its health, the boss will teleport away. A portal will open up in the back. You go through the portal to start the second phase of the boss fight.
Phase 2: Puzzle Fight
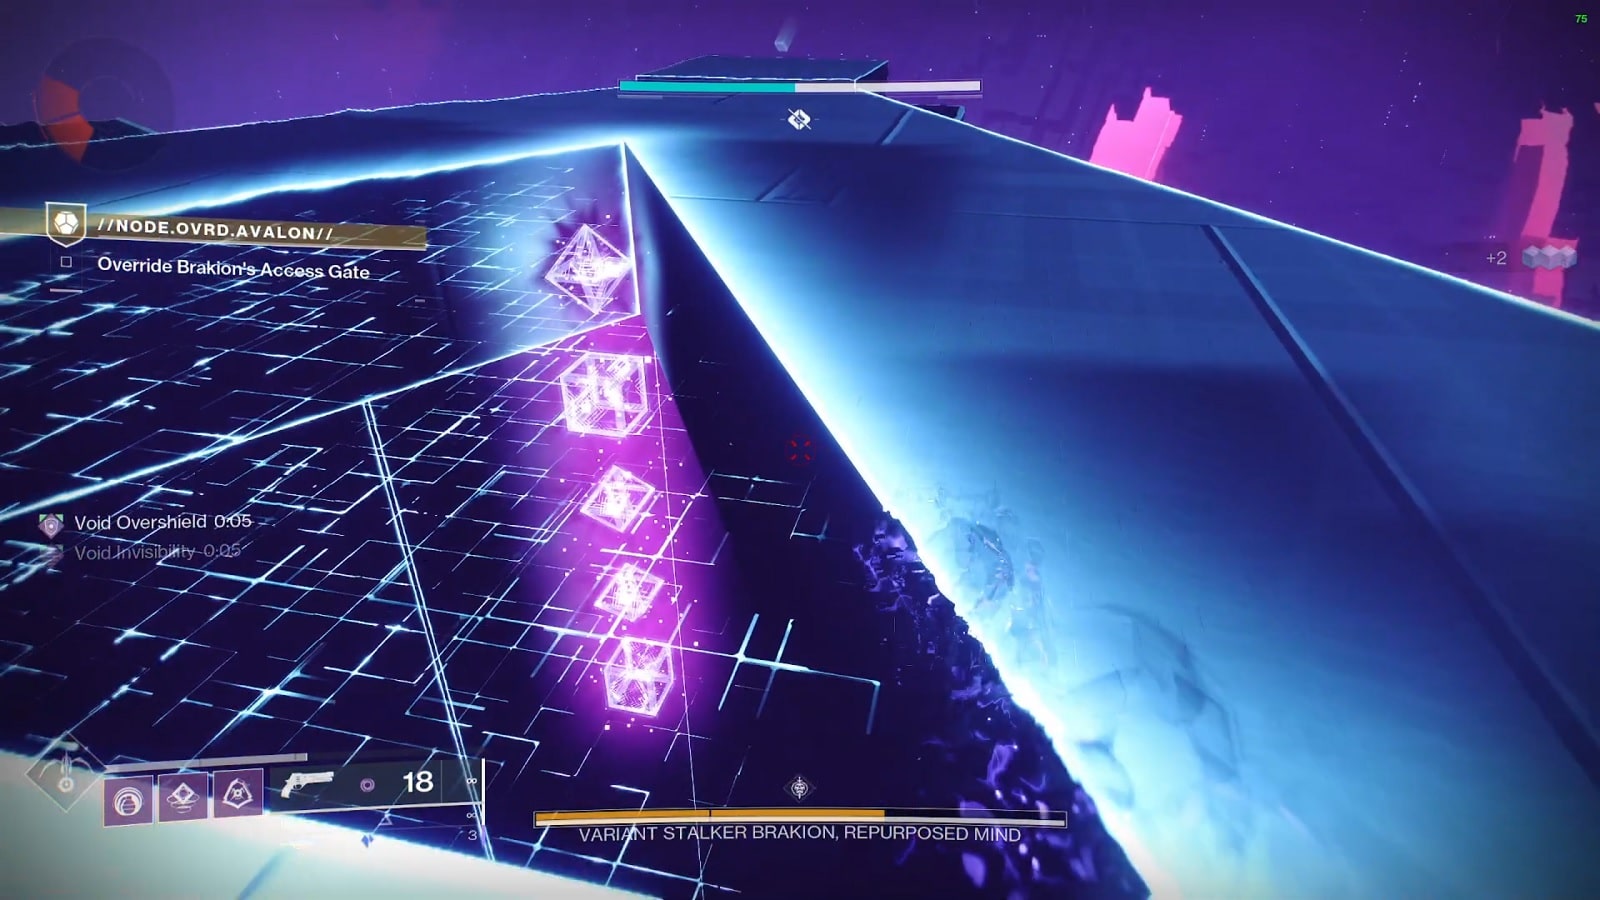
In this phase, you will find that the boss is behind a barrier with ads around it. To destroy the shield, you’ll first need to destroy the Hydra to cause the Conflux to appear. You’ll then need to solve the puzzle by shooting the correct order of shapes. Basically what you’ve been the entire time but with a boss shooting at you at the same time. The puzzle solution will appear under clear floors on either the left or right of the arena.
For this part, prioritize the Wyverns. The platform is small enough that they can boop you off with one diving attack. We recommend taking the time and shooting them with three pulls from a good shotgun.
After the shield goes down, the damage phase begins. You’ll have 30 seconds of free damage on the boss while the Firewall reboots. After the reboot completes, the shield will return. Rinse and repeat until the boss enters phase three.
Phase 3: Berserker Mode
At one-third health, the Destiny 2 boss will retreat to the final arena. We recommend taking down any remaining ads and Cyclops left at the end of the battle. You are now clear to enter the portal where the boss once stood.
The boss will greet you much in the same way it did in the first phase. The only difference is that Brakion will walk between all three platforms and will shoot you more often. Minotaurs and Fanatics will also appear on the field. Hunter Invis will give you the breathing room you need, and allow you to recover health when necessary. Be patient. You’re in the final push.
Deal more damage and the Brakion will lose its head and become berserk, thus beginning a nasty game of keep away as you will do whatever it takes to prevent yourself from getting crushed under heel by the rampaging boss. Be patient and keep calm and you’ll destroy the boss. There’s no point in rushing the last stand when you’re so close to the end.
Once the boss dies, you can finally pull Vexcalibur from the floor of the arena. That’s the end of the mission.
Upon getting the Vexcalibur Exotic Glaive, your next objective is to head back to the War Table on the H.E.L.M. This is where you can unlock the pattern for the weapon. That’s right. Just like the Revision Zero Exotic Pulse Rifle before it, the weapon is seasonal Exotic with multiple that unlock on a weekly basis.
And that’s all we’ve got for the Vexcalibur Destiny 2 Exotic Mission. Check back with us when we have another article talking about how to get the Catalyst and anything else you need to know about the weapon.
Check out this video from Youtuber My Name is Byf where he talks about the lore pertaining to Destiny 2 Vexcalibur and the Warlock Asher Mir.
")
")
