
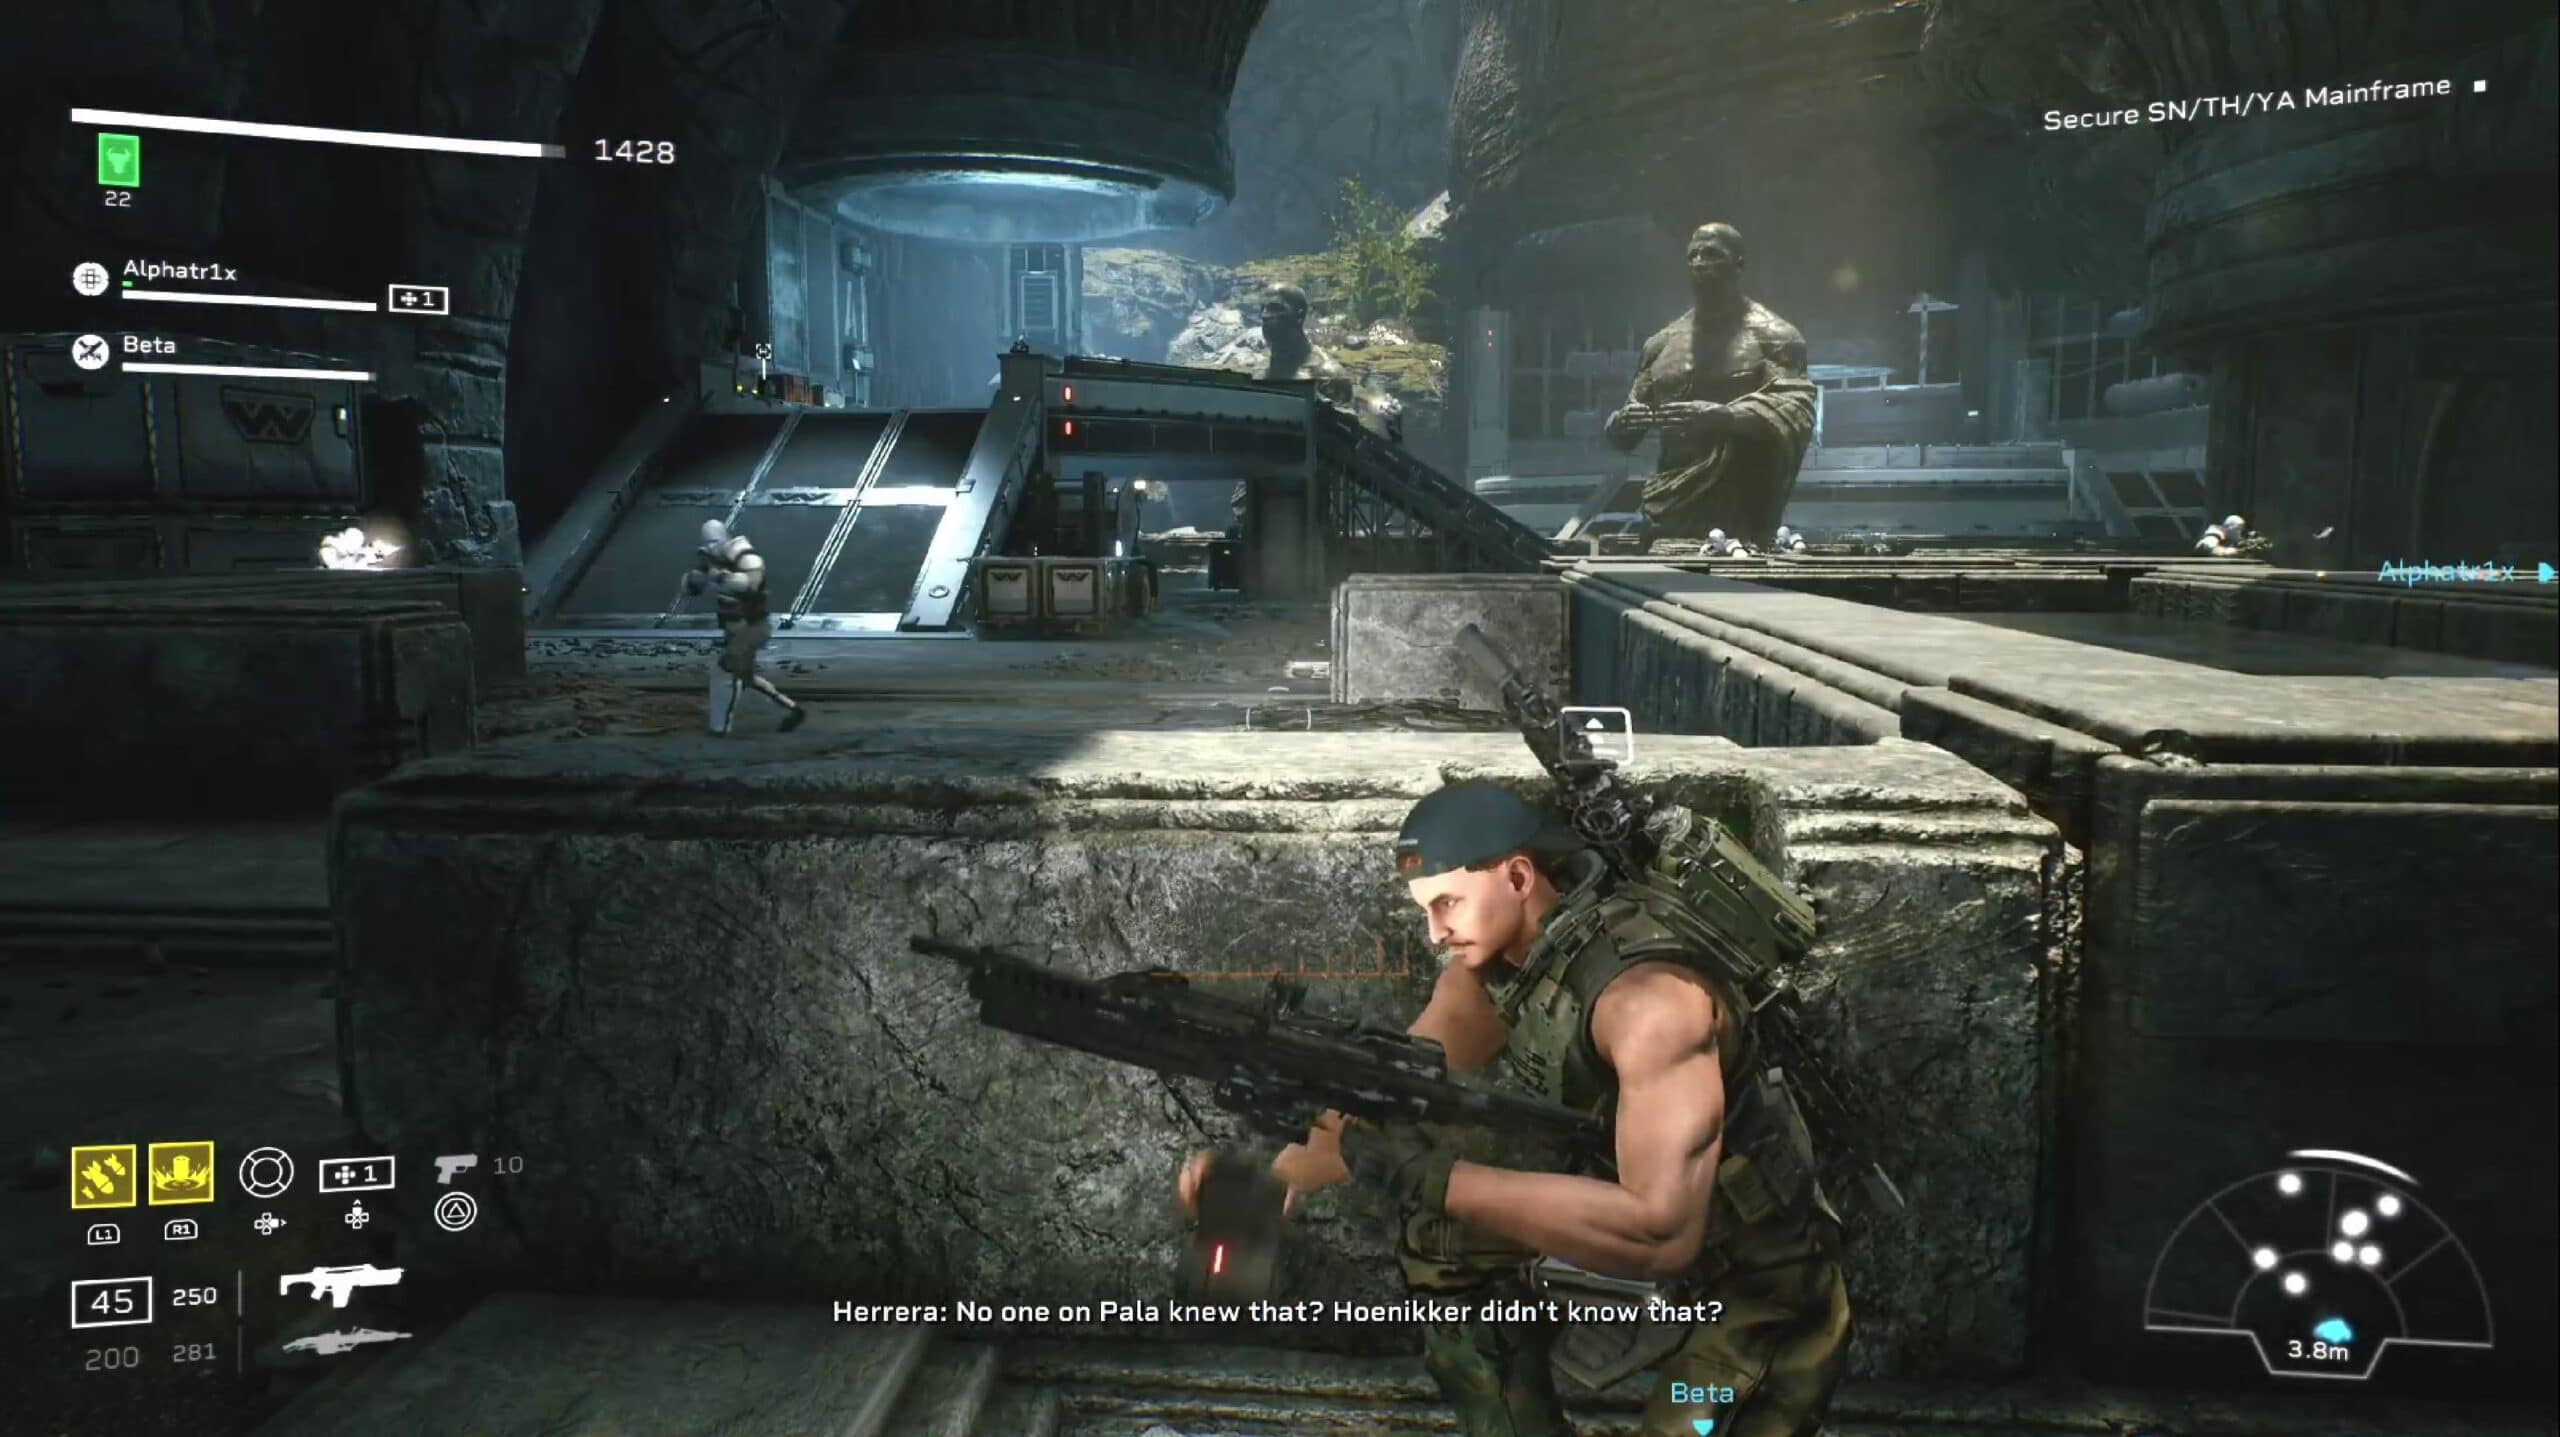
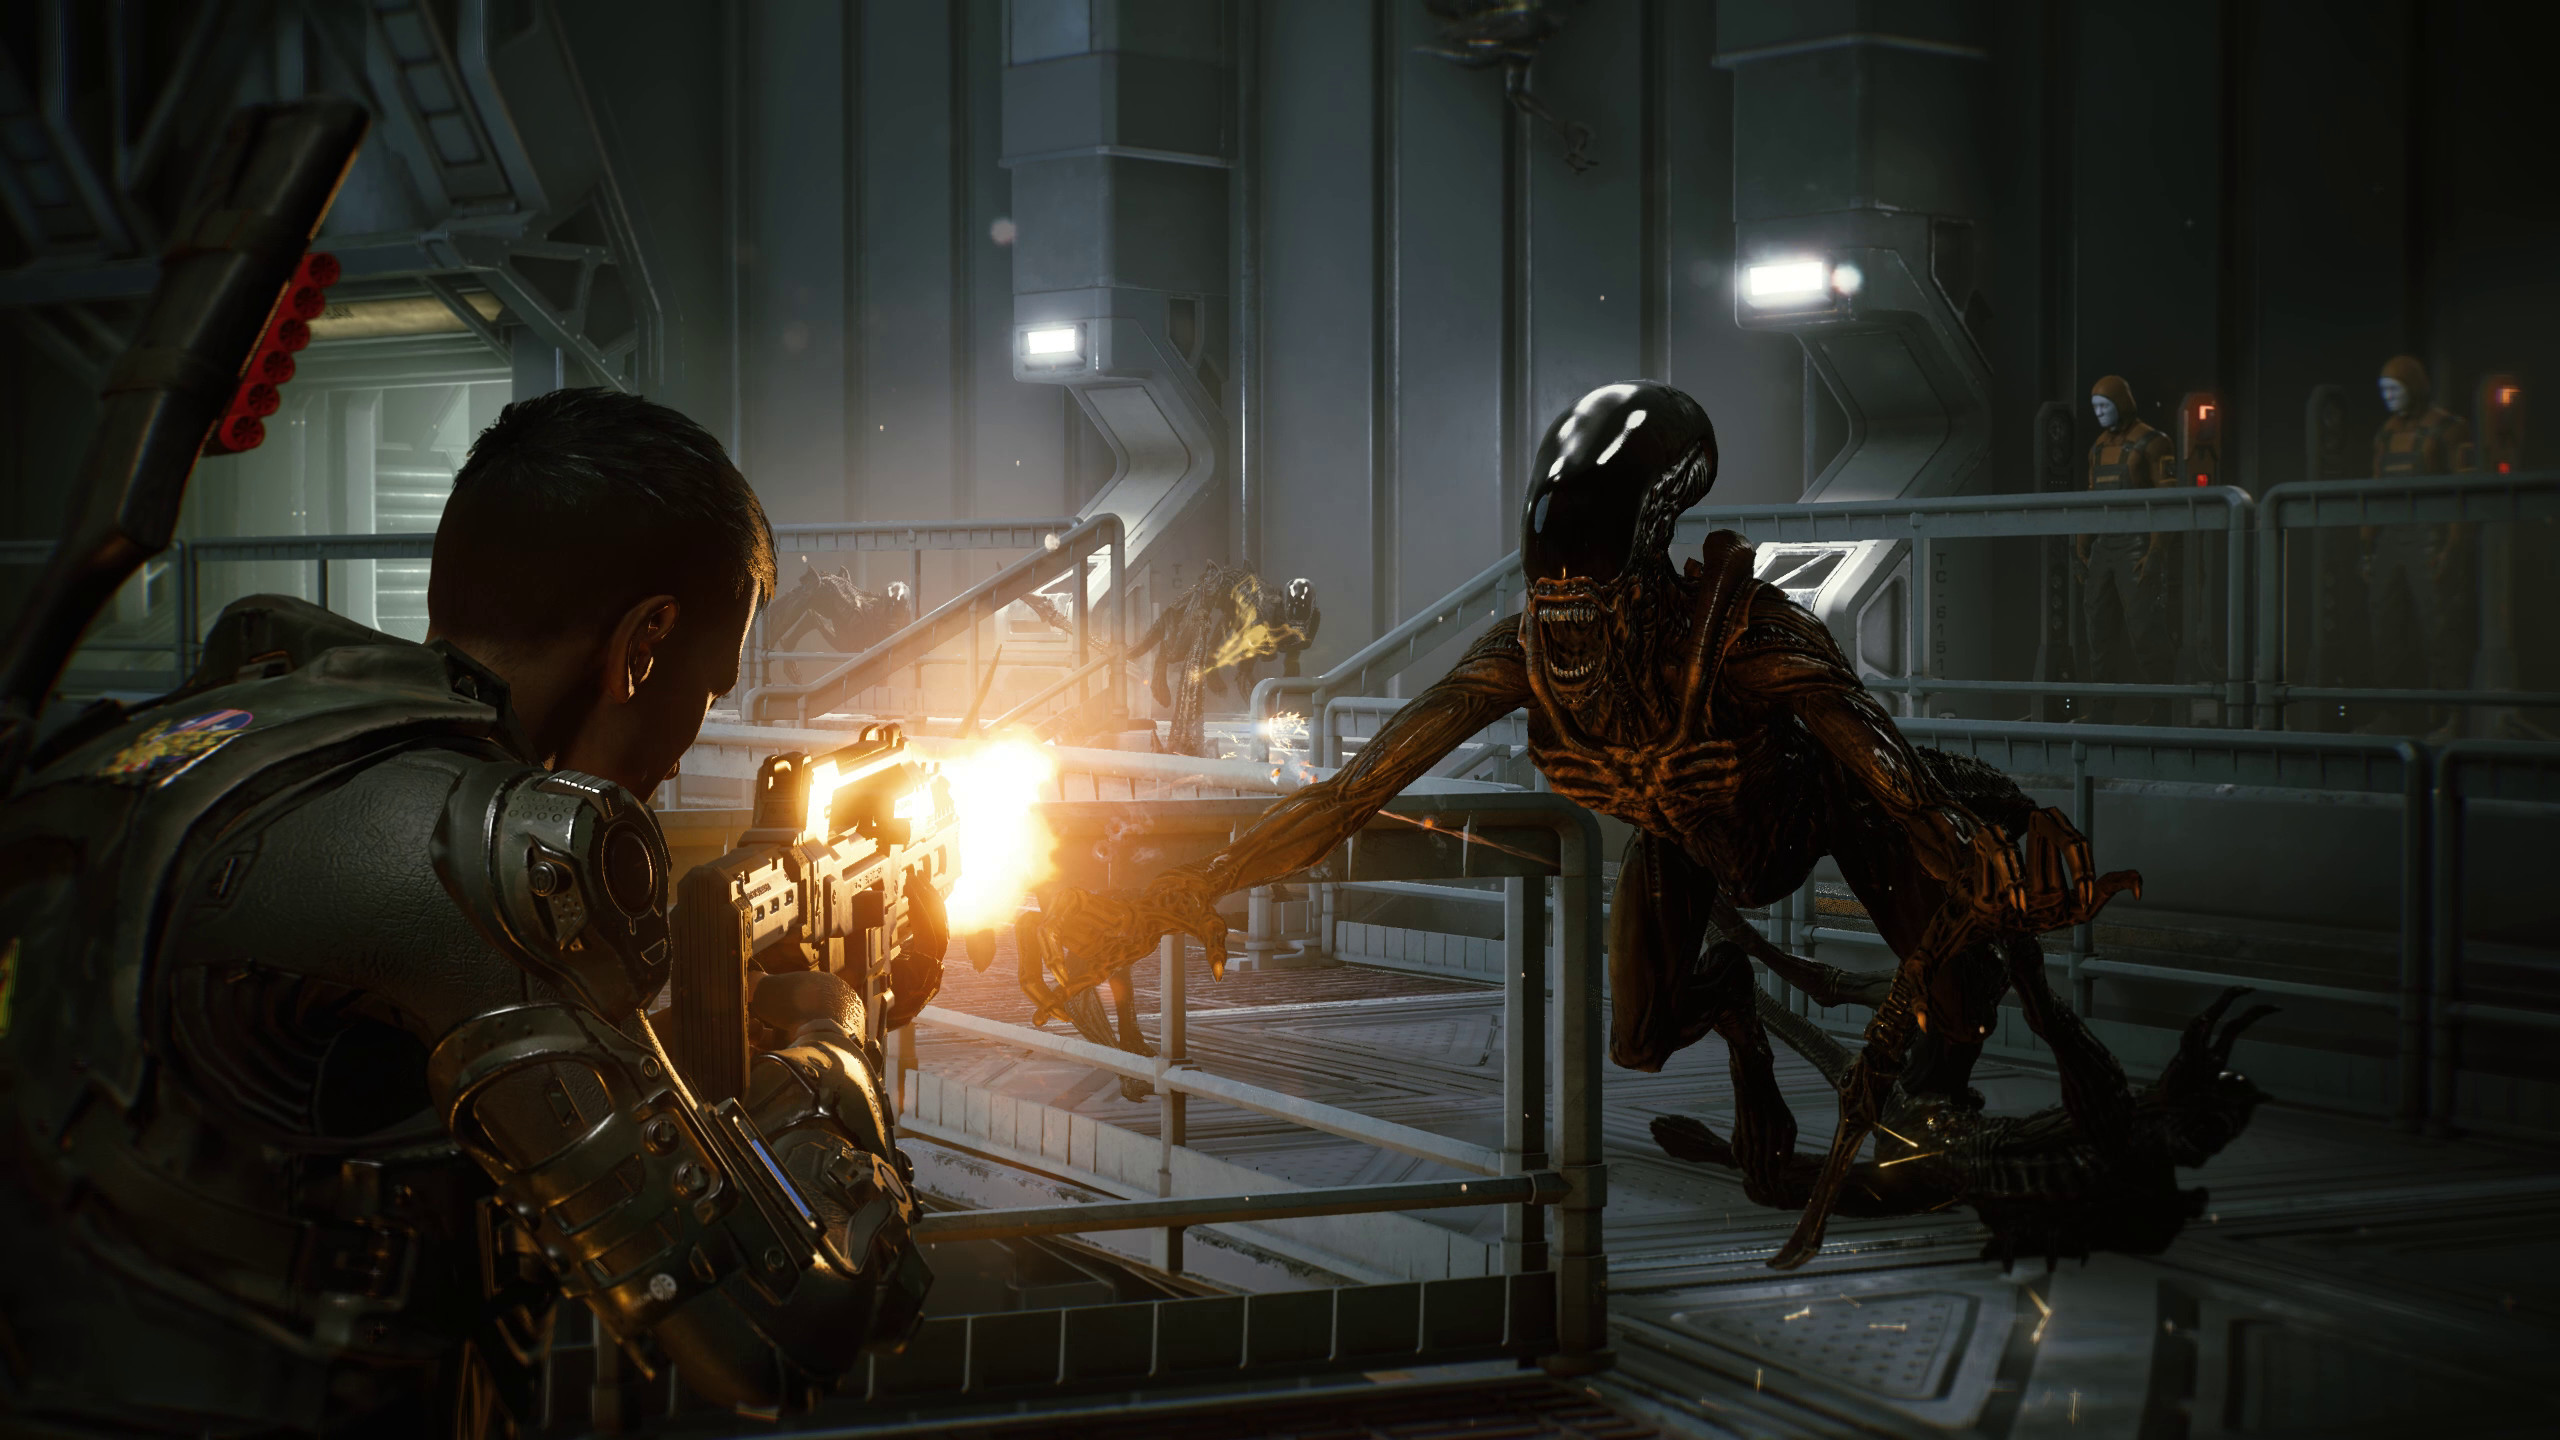
Aliens: Fireteam is very much a teamwork based shooter. You need to work together with your squad in order to maximize your chances at success. There’ll be a plethora of xenomorphs and even other types of dangers coming at you from all sides so it’s best to know what your role is in the team. As part of our Aliens: Fireteam Elite guide, here’s everything you need to know about the loadout kits.
Everything You Need To Know About Your Fireteam
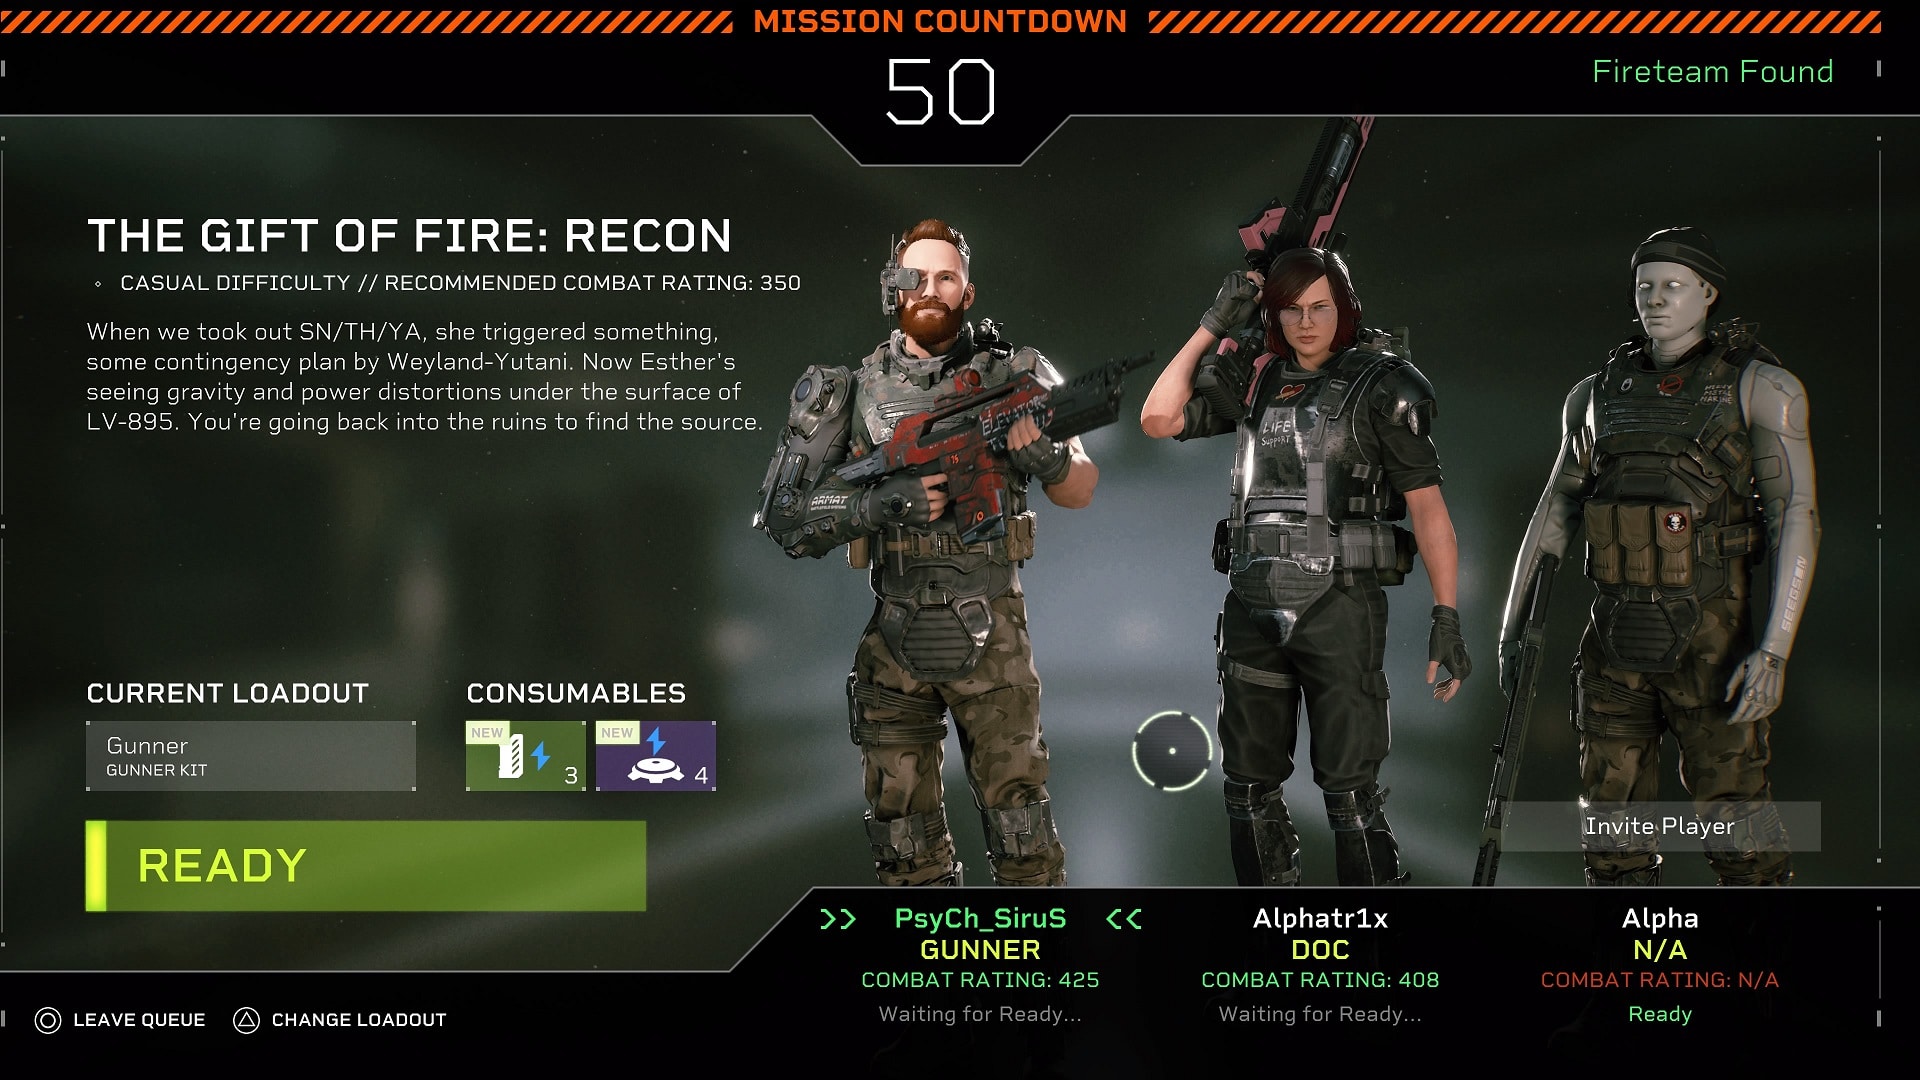
You can only have three members with yourself included. Any available spot will instead be replaced with a generic synth with no special abilities. This is why coop with a friend is important for Aliens: Fireteam as each classes you can pick from brings something substantial to the mission.
You’ll have four classes to pick from initially. You’ll unlock a fifth class once you’ve finished the game. It’s best to have a good variety with your fireteam as each class specializes in one particular way. While you can pick the same class as your coop team, it’s advisable not to have duplicates.
Each class has its own individual rank. You’ll have to spend some time playing through classes in order to gain experience for it and unlock new weapons and perks. Each class has two abilities that can be manually activated along with a passive. One of their abilities can be altered should you reach Rank III.
Guide to Gunner
The Gunner is your standard leader with all the abilities that come with it. The Gunner comes with a rifle and a close-quarters weapon at hand. This character class is great for those who prefer to be adaptable to any situation at hand.
Weapons
- Rifles
- CQW
Passive Ability
- Stay on Target – grants a bonus of damage stacks when dealing damage. This can be stacked up to ten times. The stack will fall off when you stop dealing damage. Modifiers can make the duration last longer.
Tactical Abilities
- Overclock – will increase the rate of fire for you and your squad. This ability also greatly increases reload speed. Paired with a competent Demolisher, the Overclock ability isn’t to be underestimated. Unlocks at the Start
- Frag Grenade – a throwable grenade that deals damage to a large radius. This is a great ability when dealing with large swarms of enemies which is typical for this game. Unlocks at the Start
- Incendiary Burst – a modifier which will take the Frag Grenade’s place. You’ll throw a device that releases a series of microbombs around the area which causes a wider explosion. Unlocks at Rank III
- Remote Detonator – a throwable device that can either stick to a surface or an enemy. This also replaces the Frag Grenade ability. You can detonate this at your leisure from a remote distance. However if you don’t detonate this after some time it’ll automatically explode on its own as a safety fallback. Unlocks at Rank III
The Gunner contains quite a few unique modifiers that greatly increase the combat abilities of his team. This class is a must have for any fireteam due to its versatility and support capabilities.
Guide to Demolisher
The Demolisher are for those who want to solve every problem with more bullets and firepower. This class fights fire with fire. The Demolisher comes with a rifle and heavy weapon. Great for mowing down large numbers of enemies as fast as possible.
Weapons
- Rifles
- Heavy Weapons
Passive Ability
- Clear The Room – activating any of your abilities will grant a stack and an additional stack for every enemy that you hit. Every time you gain a stack your gun damage will increase by 2.5% and will last for about fifteen seconds. When you gain new stacks, your old ones will expire automatically.
Abilities
- Micro Rockets – fires three micro rockets locked-on at your enemies. This creates a large shockwave that will damage and stumble anything within the blast radius. Unlocks at the Start
- Blastwave – fires a concussive blast on your center knocking enemies away while damaging them. Very useful when you’re surrounded. Unlocks at the Start
- Concussive Rockets – fires four micro rockets after locking on to targets. The explosions have a large radius that can produce a knockback effect. While having less damage than Micro Rockets, it covers a larger radius. This modifier replaces the Micro Rockets ability. Unlocks at Rank III
- Napalm Rockets – fires twelve smaller rockets that explode dealing fire damage to anything it locks onto. The area it blasts will be covered in fire for a few seconds. This ability deals less damage on impact compared to Micro Rockets but has a wider trajectory range. This modifier replaces the Micro Rockets ability. Unlocks at Rank III
The Demolisher is great for those seeking to clear out rooms by spraying everything that has a pulse with as many bullets as it can eat.
Guide to Technician
The defacto Engineer of the squad, the Technician is an excellent defensive class for those seeking to stop the advance of xenomorphs. The Technician can place down turrets and throw a device that can slow incoming hostiles your way.
Weapons
- Handgun
- CQW
Passive Ability
- Cross-Platform Synergy – Allies that are close to your turret take ten percent less damage. If you are standing close to your turret, it will recover five percent of its health every second.
Abilities
- Sentry Turret – places a turret in front of you that automatically fires upon enemies. The turret can be picked up and redeployed. Alternatively you can also disable it from a distance but this induces a cooldown period. Unlocks at the Start
- Charged Coils – throws a device that lodges on a surface or enemy and discharges electrical shocks in the area that slow down enemy movement speed while damaging them. Unlocks at the Start
- Incinerator Turret – places a turret that sprays flame at hostiles that get close. This modifier replaces the Sentry Turret ability. Unlocks at Rank III
- Heavy Turret – places a turret that deals better damage at the cost of fire rate. This modifier replaces the Sentry Turret ability. Unlocks at Rank III
The Technician is an excellent class for those who would prefer to prioritize on their defensive capabilities.
Guide to The Doc
Prioritizing keeping their allies alive, the Doc is an excellent support class and a necessity for more difficult missions. The Doc can heal allies and boost overall team performance just by being nearby.
Weapons
- Rifle
- Handgun
Passive Ability
- Field Medic – if you’re close to your allies, the recharge speed for your abilities is increased by fifteen percent. Picking up aid kits restores portions of your Trauma Station’s supply.
Abilities
- Trauma Station – deploys a station that heals your squad inside a certain radius but has a limited supply. You can pick it up and redeploy it before it runs out. Unlocks at the Start
- Combat Stims – increases your accuracy and stability by fifty percent and stamina regeneration by thirty percent. Your squad will gain a fifteen percent increase in movement speed. Unlocks at the Start
- Painkiller Station – gives you team an additional thirty percent bonus in damage resistance and gun handling in addition to healing, however your station’s overall supply is lessened by twenty percent. This modifier replaces the Trauma Station. Unlocks at Rank III
- Suppression Station – gives your station a larger radius while debuffing any hostile that enters by reducing their movement speed and damage. This modifier replaces the Trauma Station. Unlocks at Rank III
On harder difficulties, the Doc is a must have due to its excellent support, buffs, and healing abilities.
Guide to Recon
The Recon class is the fifth loadout that can only be unlocked after you finish the campaign. This class specializes in detecting enemy positions and replenishing the team’s ammunition while providing support buffs.
Weapons
- Rifles
- CQW
Passive Ability
- Focus – if you get two headshot kills within ten seconds from each other, you gain a stack of focus. Each focus stack increase accuracy and stability by ten percent and can be stacked up to three times.
Abilities
- PUPS – Parameter Uplink Spectagraph is a small drone that reveals nearby enemy positions to the whole squad. This also lowers their damage for a short time by twenty percent. Unlocks at the Start
- Support Drone – deploys a drone that replenishes the ammunition of your squad while increasing their accuracy and stability by twenty percent. It also grants hit points whenever your squad members kill a target. Unlocks at the Start
- Blood Hound – sends the PUPS to track a specific enemy target that lowers its defense and reveal the position to the whole squad. This modifier replaces the original PUPS. Unlocks at Rank III
- Guard Dog – sets your PUPS to defend an area. The drone will slow down enemies and reveals their positions. It will also zap enemies dealing damage and stumbling them. This modifier replaces the original PUPS. Unlocks at Rank III
The Recon class is sadly a bit underwhelming in comparison to the other loadouts. It isn’t a bad class but it’s abilities put it behind the others.


