
Maintenance is the eastern area of Amnesia: The Bunker. In order to find one of the components for the detonator, Henri must venture into the Maintenance area, where he meets the other dangerous denizens of the bunker. Read ahead as we go through the Maintenance area in Amnesia: The Bunker, share some tips and the locations of the key items in the area.
Amnesia: The Bunker Maintenance Walkthrough
The Maintenance area is one of the areas that you will have to visit in order to get the detonator handle. Your main objective in this area is to follow the clues to find and get the Wrench which will be needed in another area later on.
Rats
Make your way to the east side of the bunker near the Wine Cellar to reach the Maintenance area. The first room to your right is the Clerk’s Office, where you will see the map of the Maintenance area (this also updates the map in Administration; if you die after seeing it but prior to saving, the Administration map resets). There’s also the Note – The Rats nearby and Maintenance Photo #1 in a cabinet. The room on the other side of the hall is the Supply Storage where you can get some supplies.
Lighter
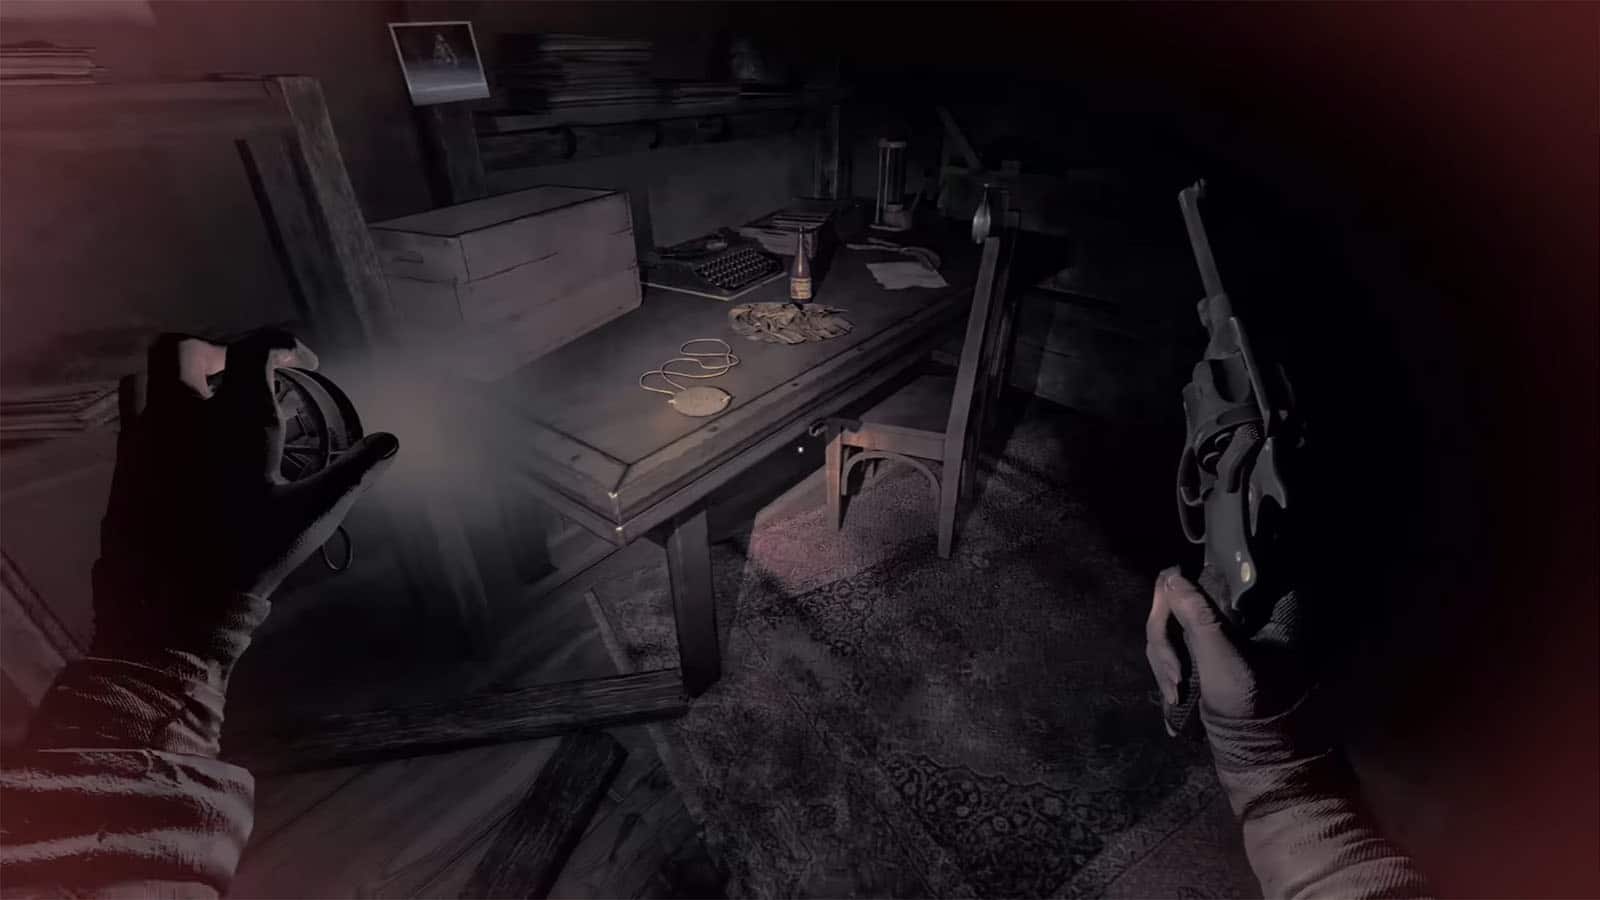
Back in the hall and further ahead is another path to the right; skip this for now and take the stairs to the left that lead to the Foreman’s Quarters. Inside is Maintenance Photo #2, another dog tag, and the Note – Note to a Dead Friend.
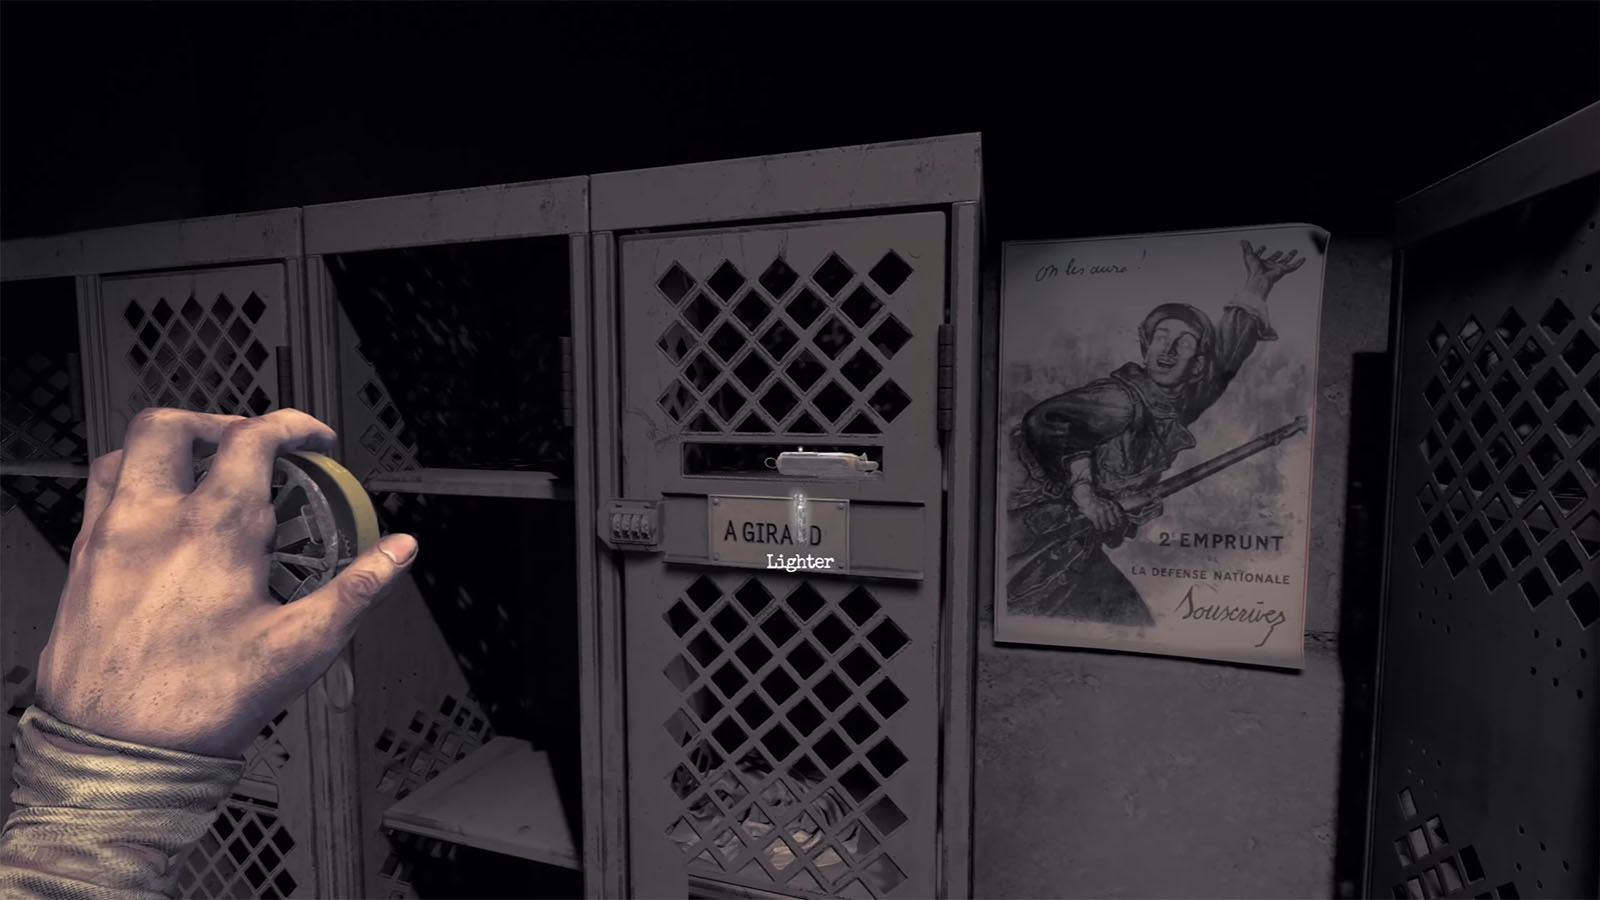
At this point, take the time to go back to Mission Storage and find the locker matching the dog tag you just found. This locker contains the Lighter that will be useful in staving off the rats in the area.
Head back down to the main hall and trace your steps to the path you just skipped. Up ahead to your right is a hole in the wall that lets you see the inside of the Break Room. You will also have a line of sight to the lock by the door; shoot it to gain entrance to the room. In case your shot calls the attention of the beast, use the cabinet nearby to hide from it.
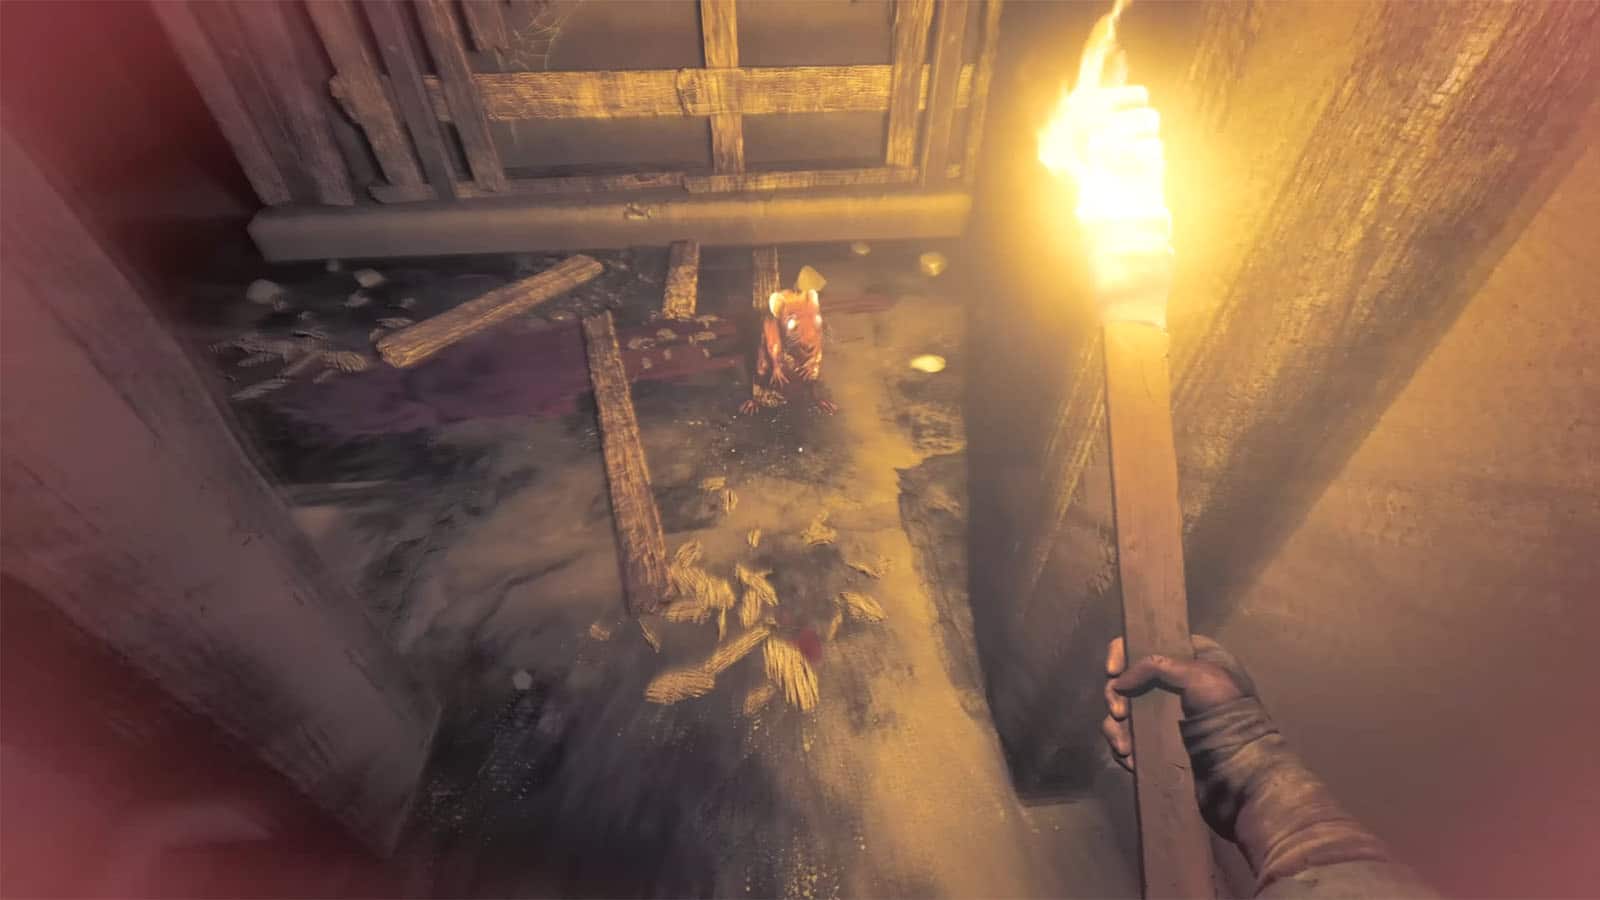
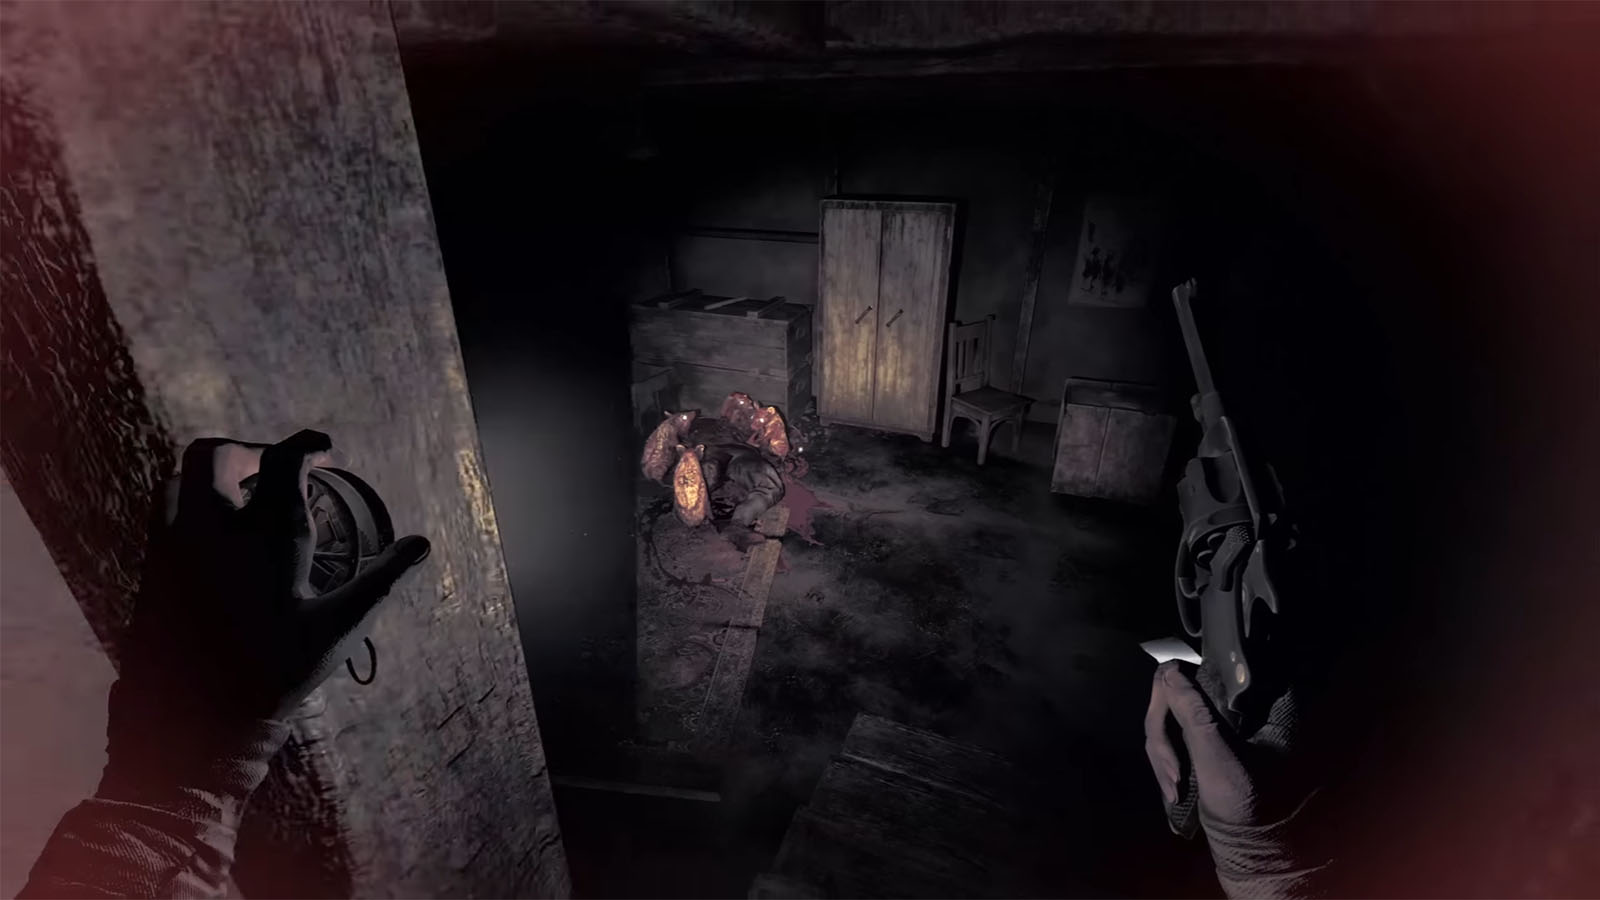
You can then head into the Break Room where you will find some rats eating a corpse. You can stave off the rats with fire, and the best way to do so is to create a torch using a piece of cloth and a stick, then light it up using the lighter. Other methods, such as using the grenade + fuel or shooting at them, also work as long as you have the supplies to do so. Once the rats are gone, check the corpse to find another dog tag.
Go back out to the main hall and take the path to the right; skip both side paths, but take the stairs to the right to reach the Changing Room. You will find another dog tag in the cabinet and the Note – It Can Hear Me. Beware of the rats in this room.
Tunnel
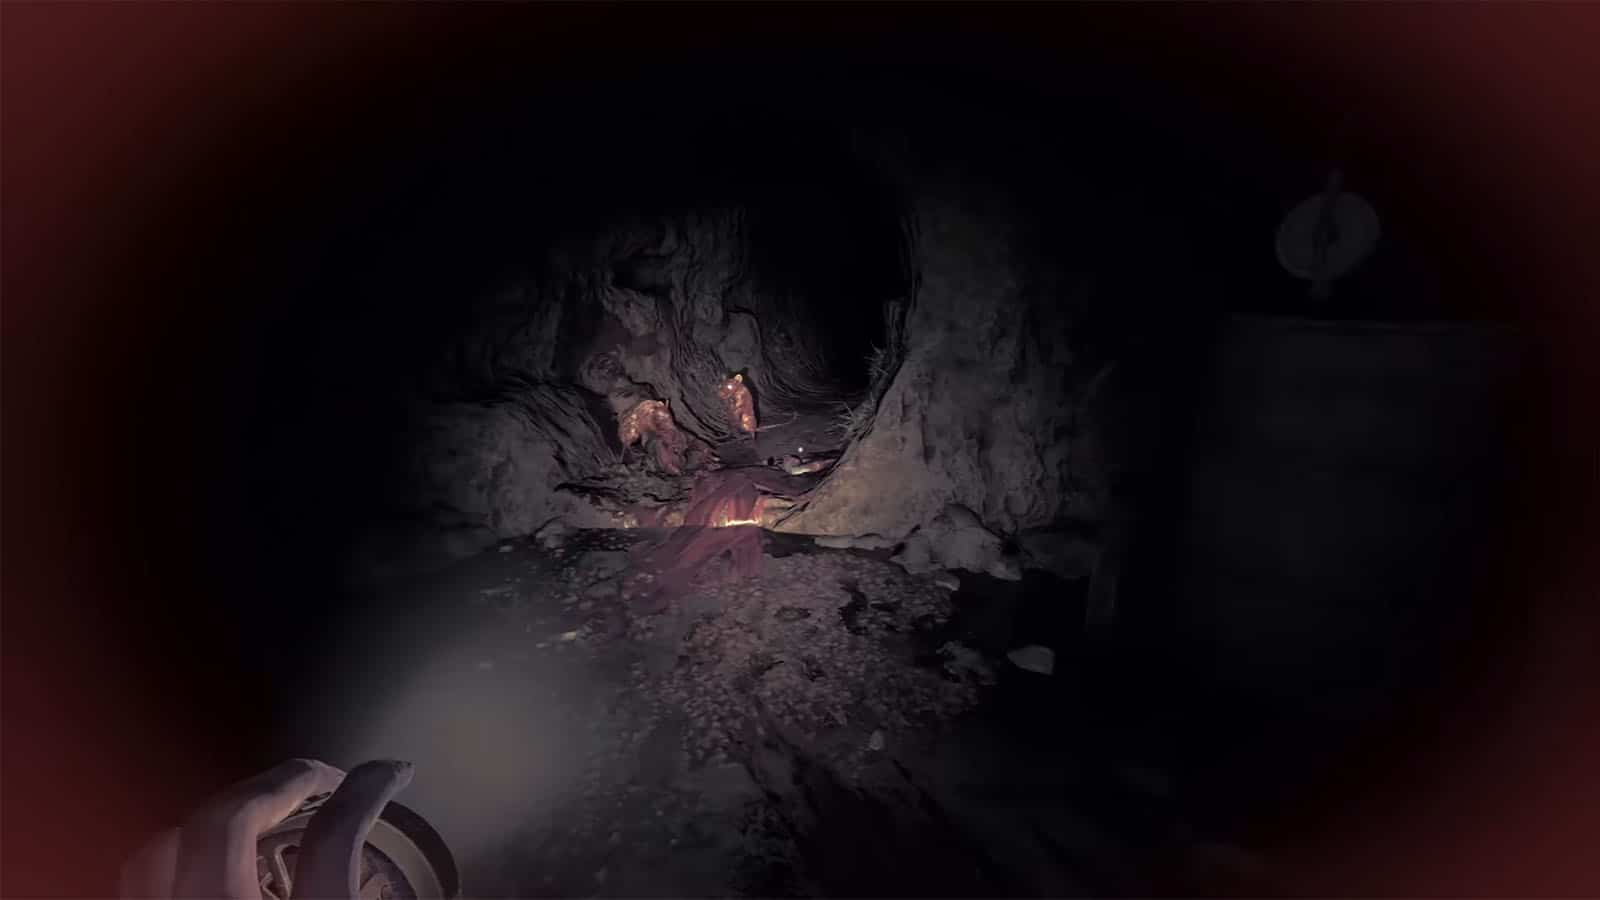
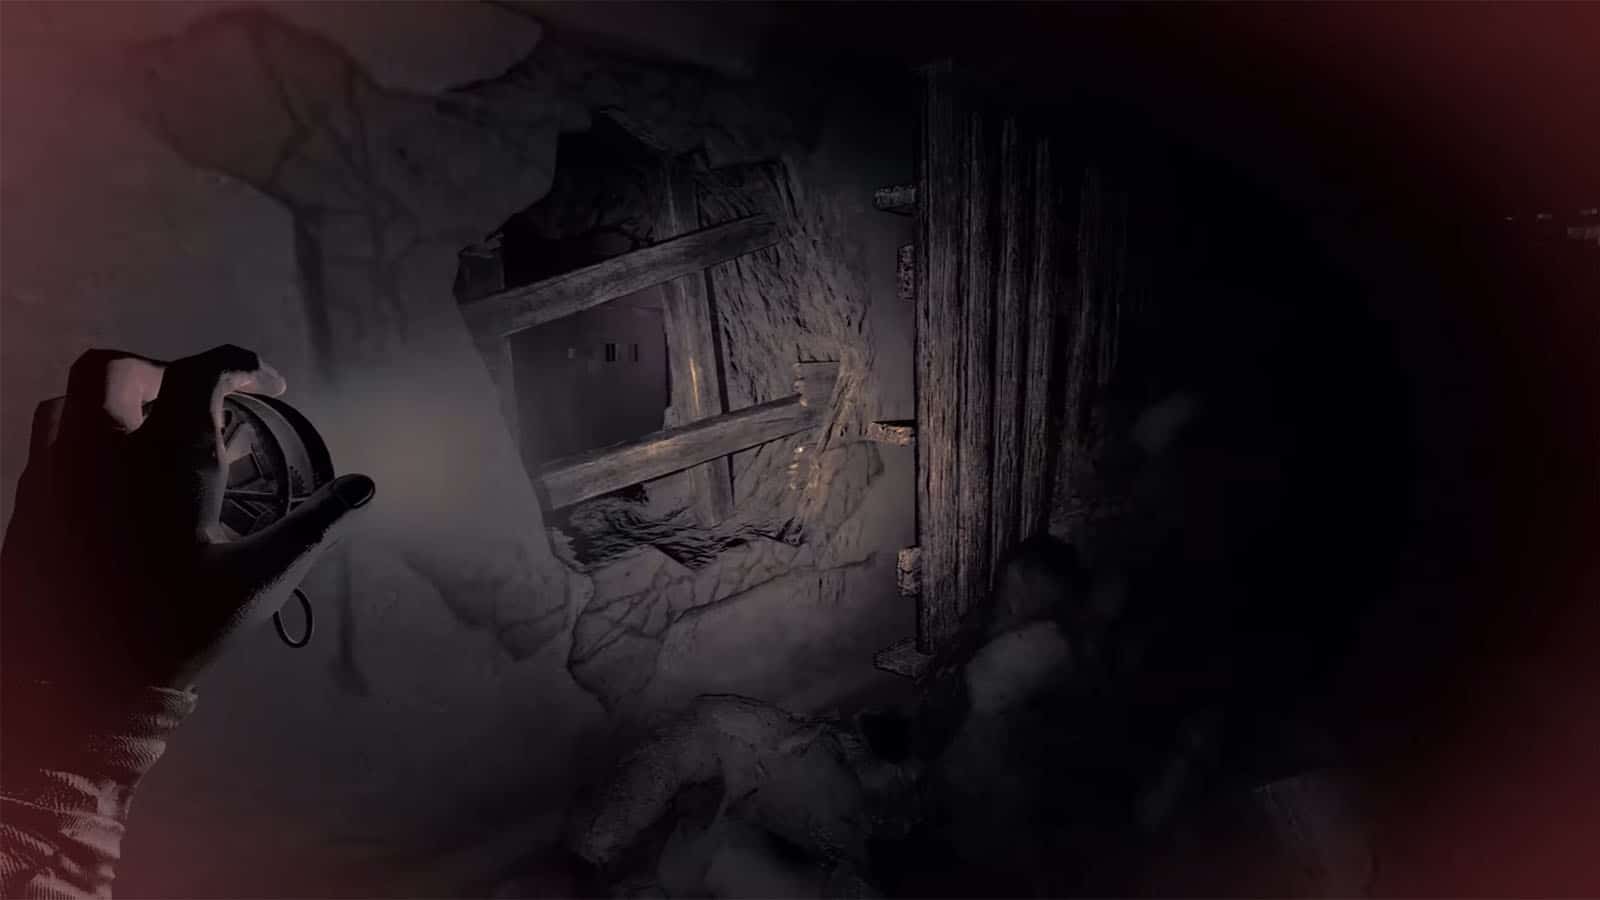
Skip the locked door and head back to the main hall, taking the path to your left that you skipped earlier. The next door up ahead will lead to the pantry, which holds some supplies. Afterwards, head to the next room, which is the Workshop. There is a huge hole on the side of the wall that actually connects to a hall next to the Storage Hub and also has three dog tags in it.
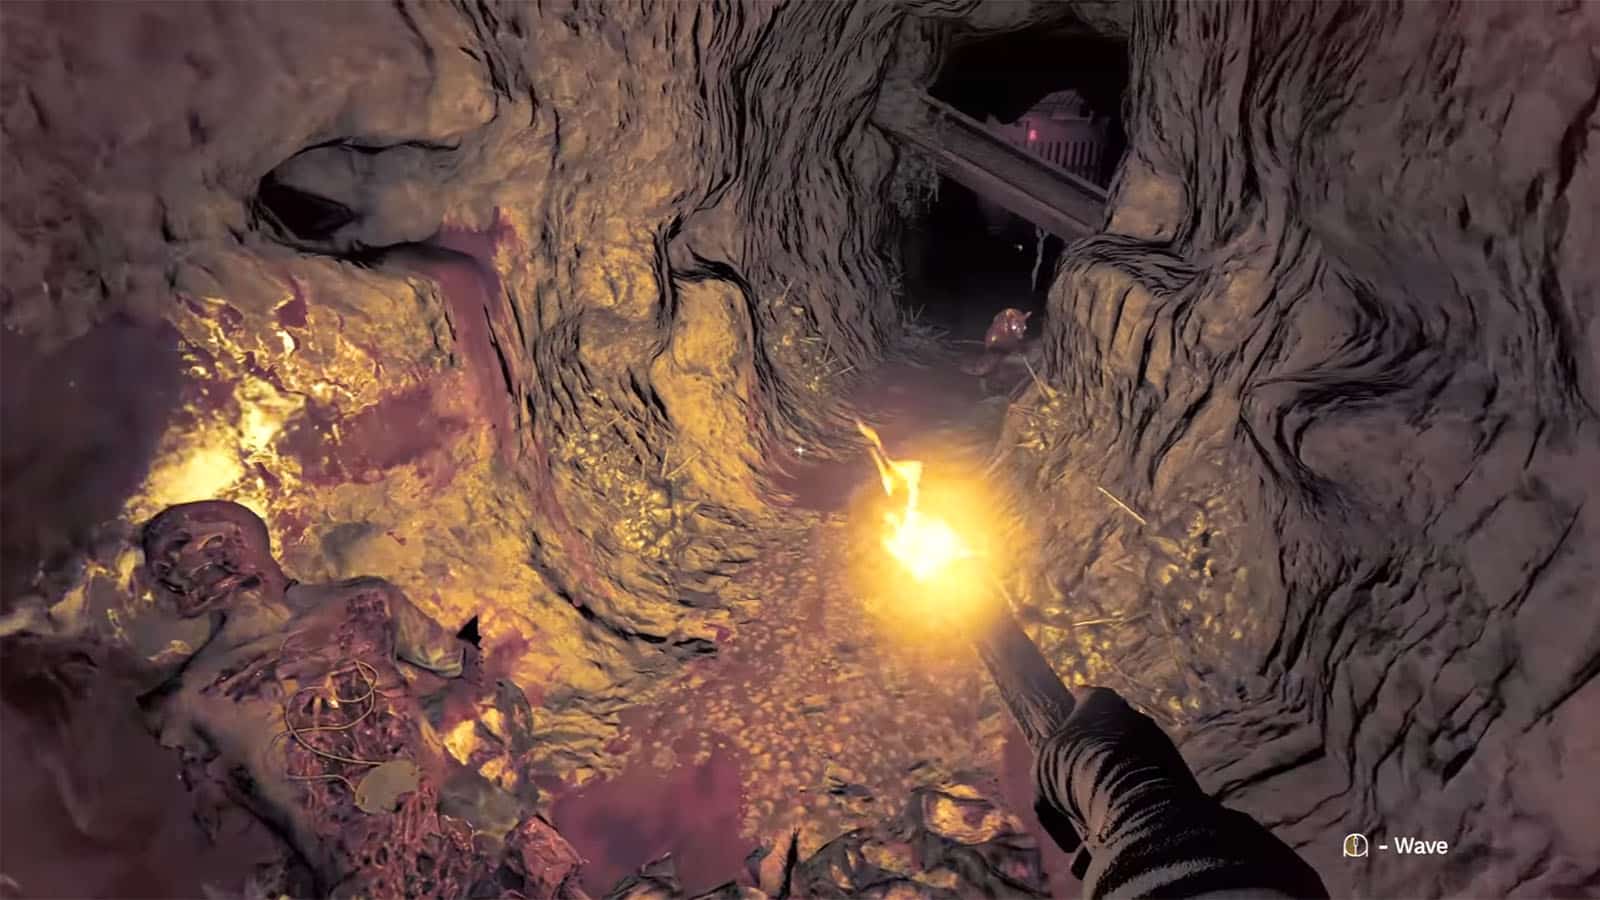
You can’t just cross this tunnel without preparing for it, as there are plenty of rats chowing down on the corpses. You will have to bring your torch and hold it as you cross the tunnel to scare away the rats.
Pillbox
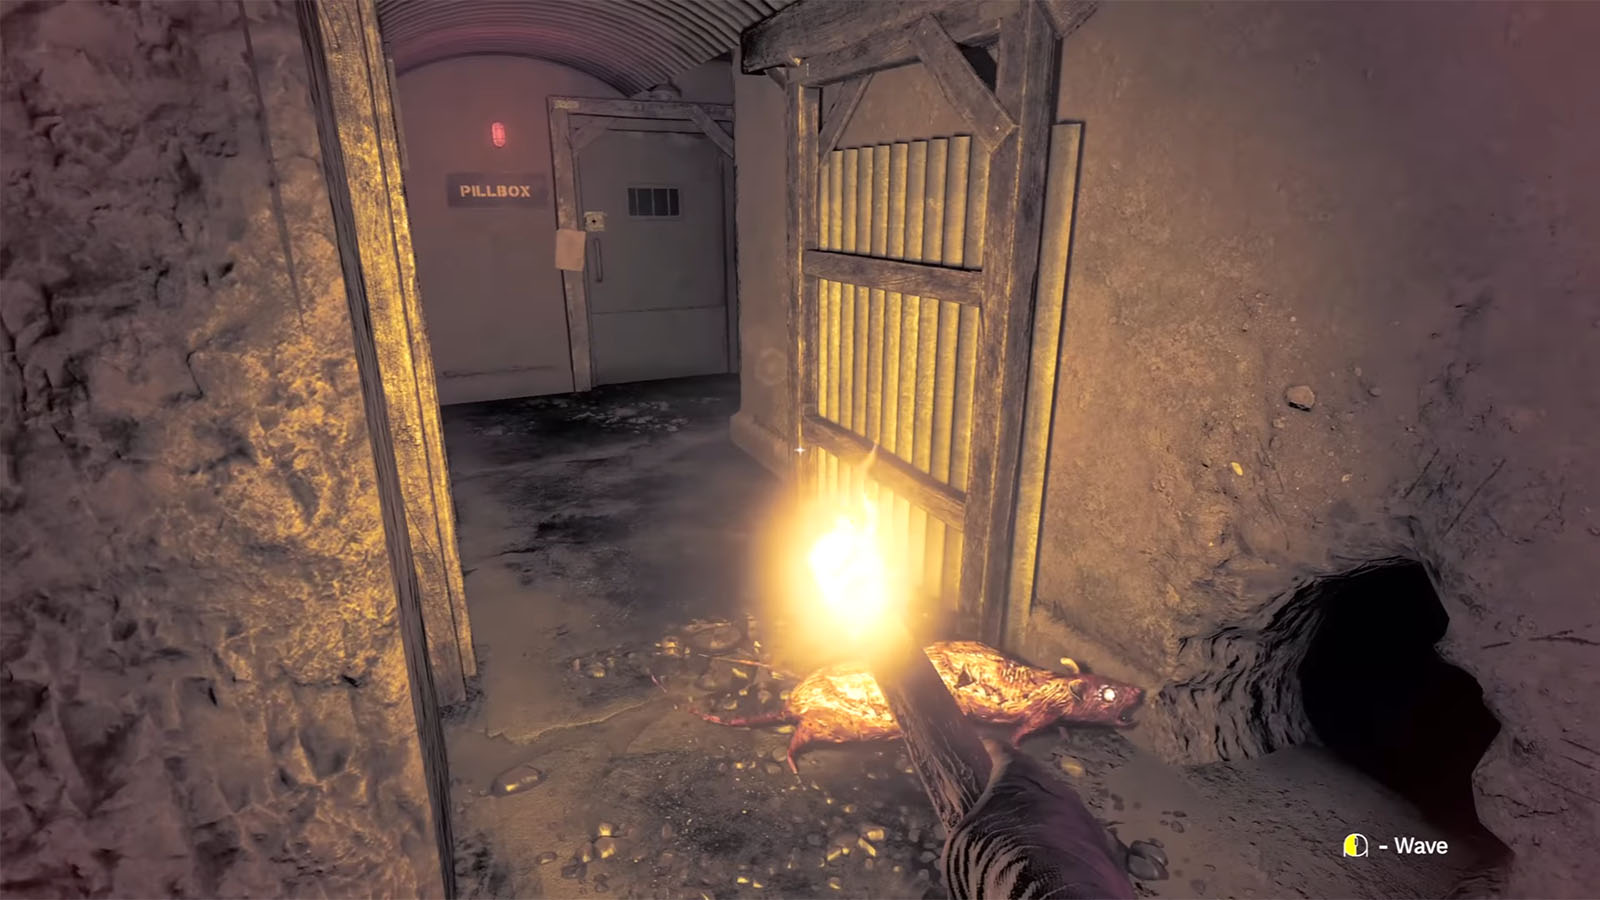
As you exit the tunnel, take the path to your left, and you will arrive at the Pillbox. You can’t open it yet, but you can find the Note – Where’s the Pillbox key? that will give you a clue on how to do so. Turn back to the path you came from to get to the Storage Hub, then head left to reach the Chapel.
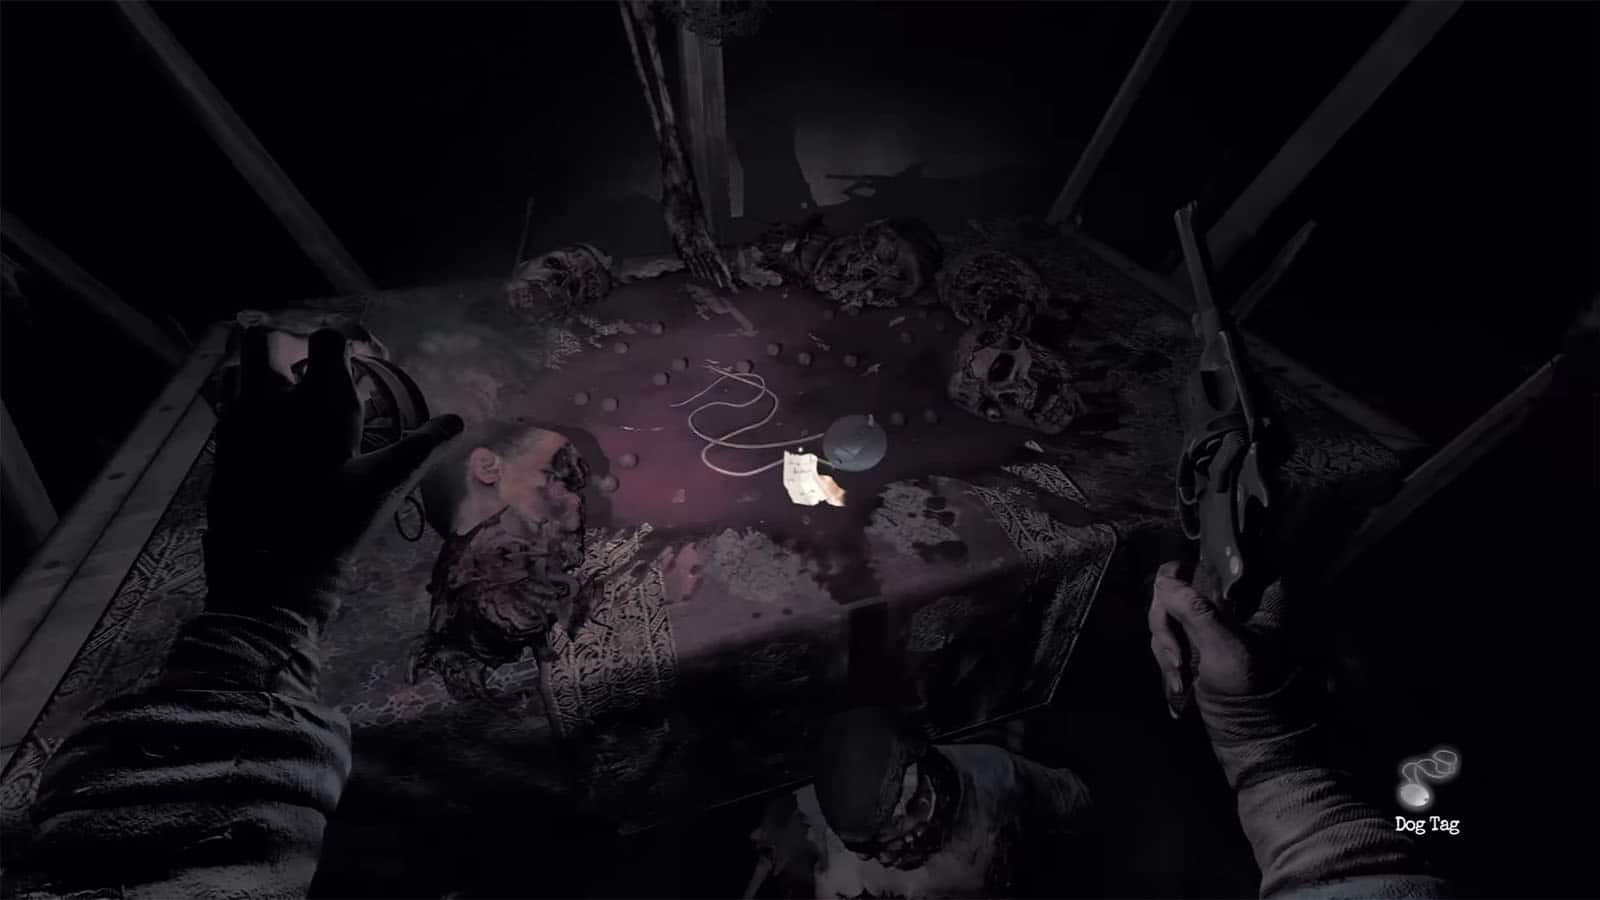
In the Chapel, you can get another bag on the table as well as another dog tag. Then, check the confession booths where you can find Note – Lambert’s Journal – Part 1.
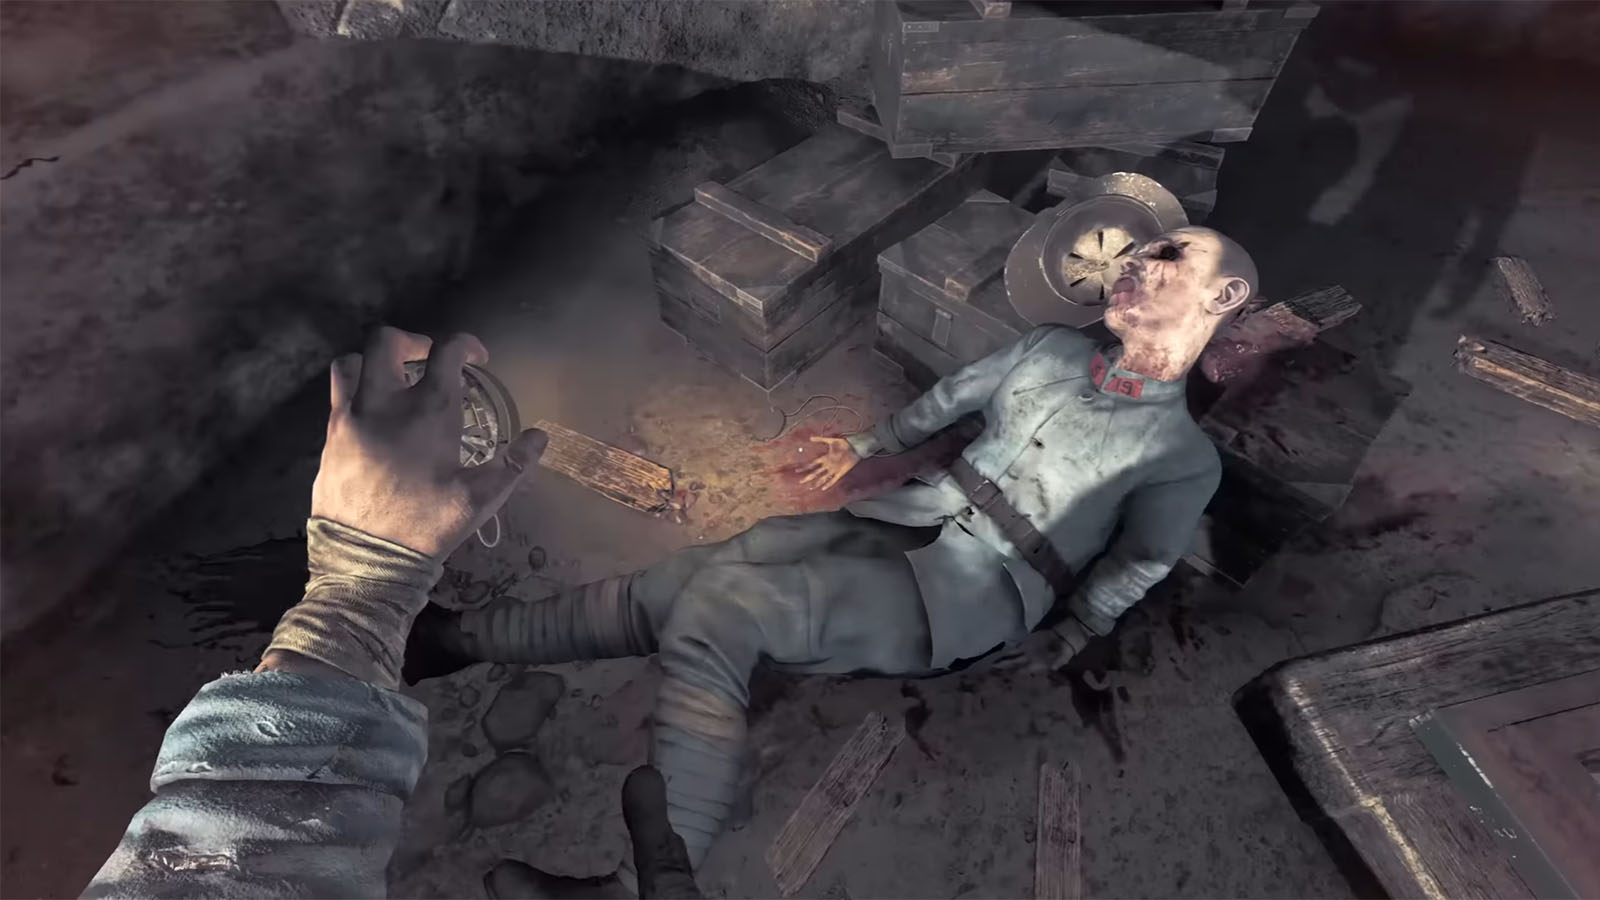
Inside the middle one is where you will find the dead priest that was referred to in the previous note and the Pillbox Key. Be prepared to hide, as the beast will be alerted to your position at this point.
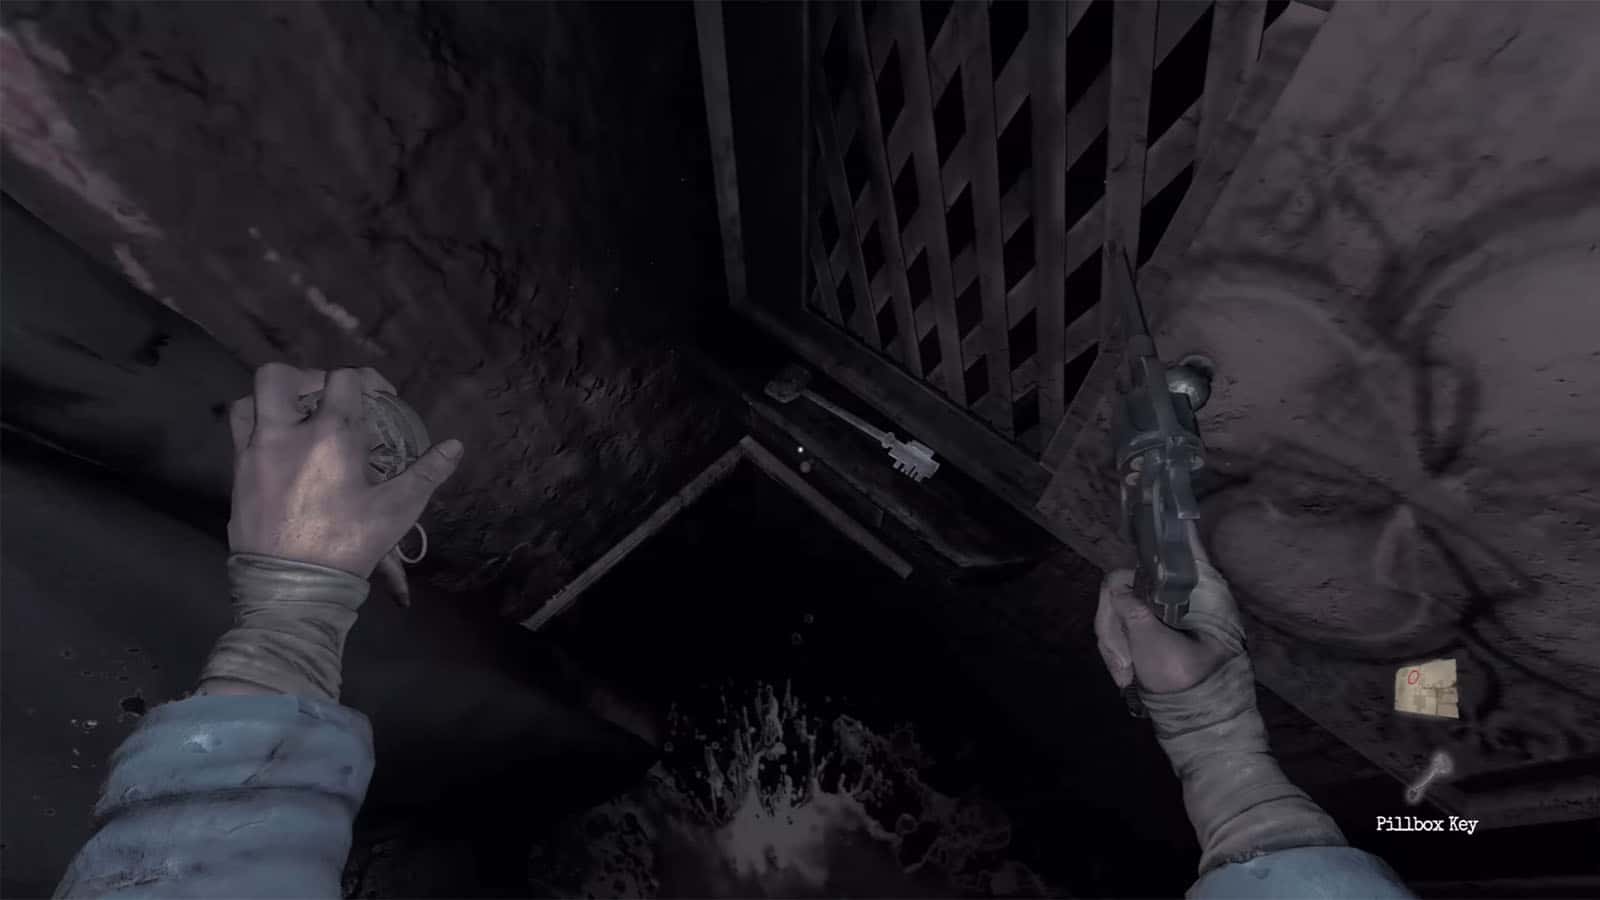
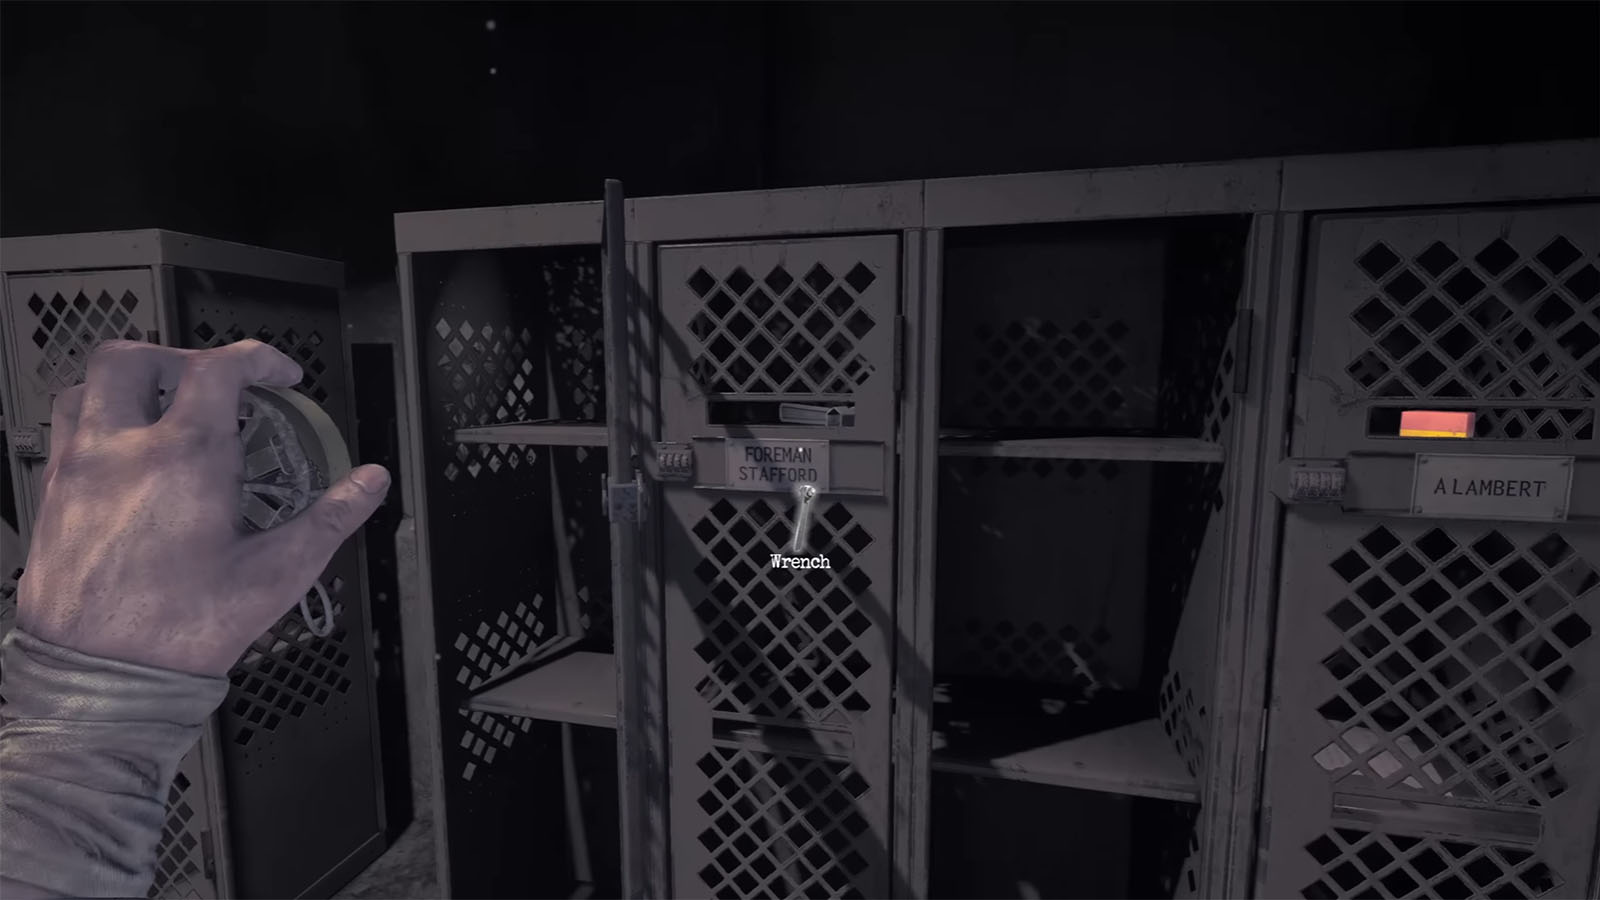
Head back to the Pillbox and use the key to open the door. Climb up the stairs, but stay crouched to avoid getting hit by gunfire. Grab the dog tag and check the code. There’s also a boarded hole in the wall nearby leading to the Munitions Storage; if you have a grenade, blow the board up and you will find the Note – I Saw Its Face. Make your way back to Mission Storage, find the locker that matches the dog tag, and open it to get the Wrench.
Now that you have the Wrench, you can make a quick detour over at the Wine Cellar again to use the tool to open the cell section and find Note – List of the Guilty and Note – Noyer’s Translations, plus some bottles to craft molotovs with.
Your next stop will be at the Prison, located northwest of the bunker.
See next: Amnesia: The Bunker Prison Walkthrough


