
The Roman Tunnels or Tunnels is the southern area in Amnesia: The Bunker. The Tunnels are filled with ancient and even otherworldly structures with a mysterious origin. It also appears to be the source of the weird mutation in rats as well as the Beast itself. Read ahead as we go through the Tunnels area in Amnesia: The Bunker and share some tips and the locations of the key items in the area.
See previous: Amnesia: The Bunker Prison Walkthrough
Amnesia: The Bunker Roman Tunnels Walkthrough
Before you make your way to the Tunnels, make sure that you have the generator running for the water pump later on. To get to the Tunnels, head back to the Arsenal area, where you will find the collapsed hall with the sign “To Tunnels”. Crawl through the tunnel and then cut the chain at the metal gate to gain access to the next area.
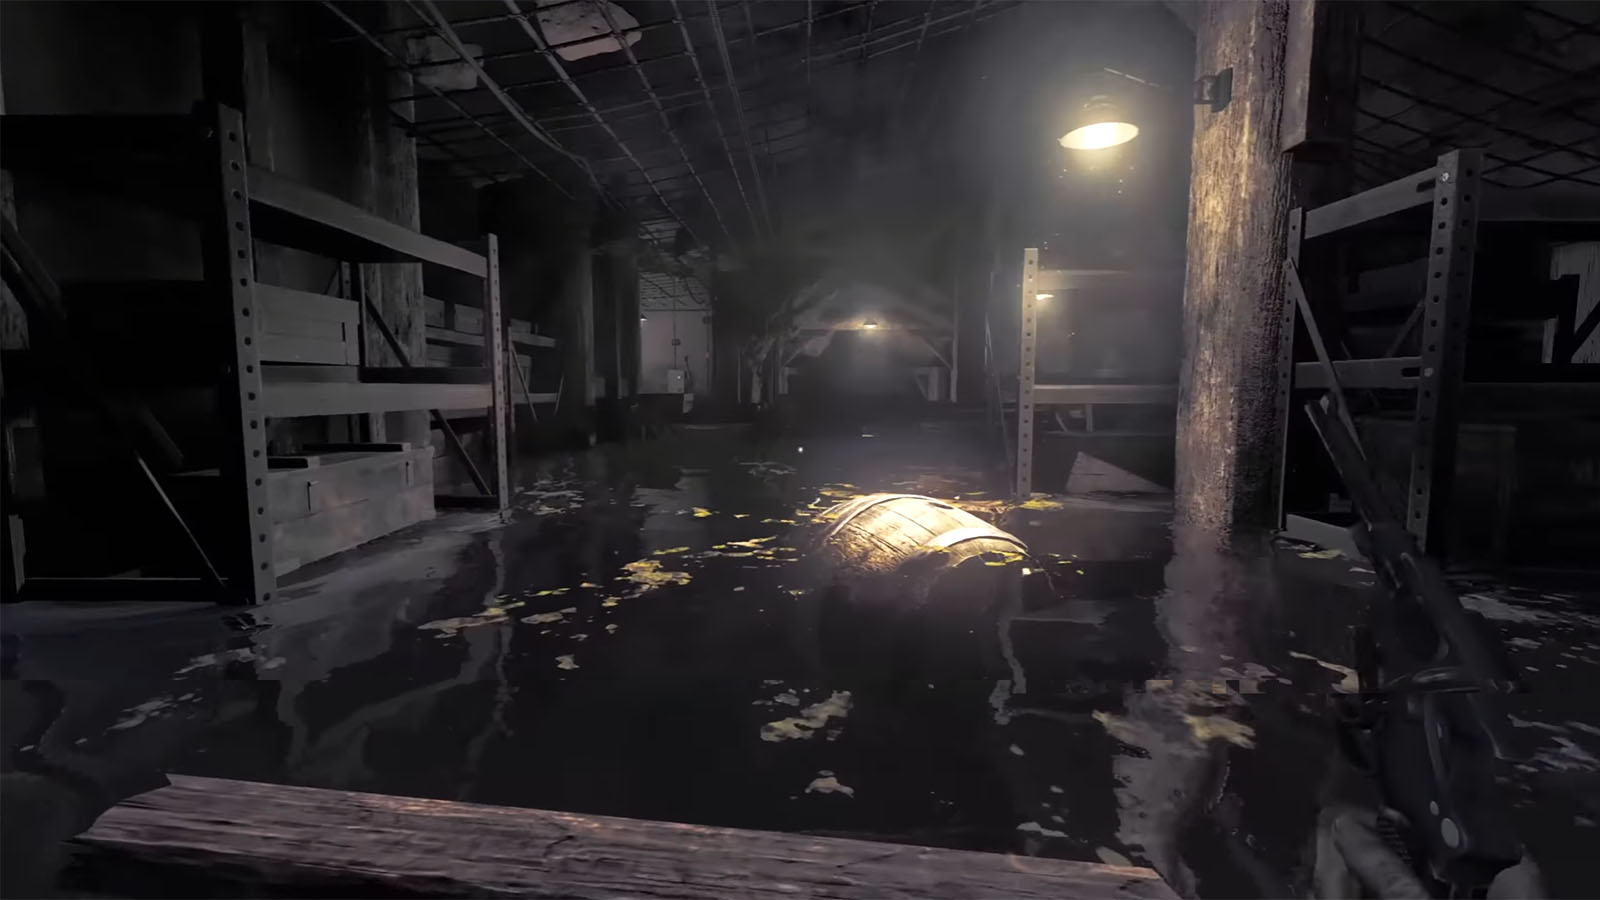
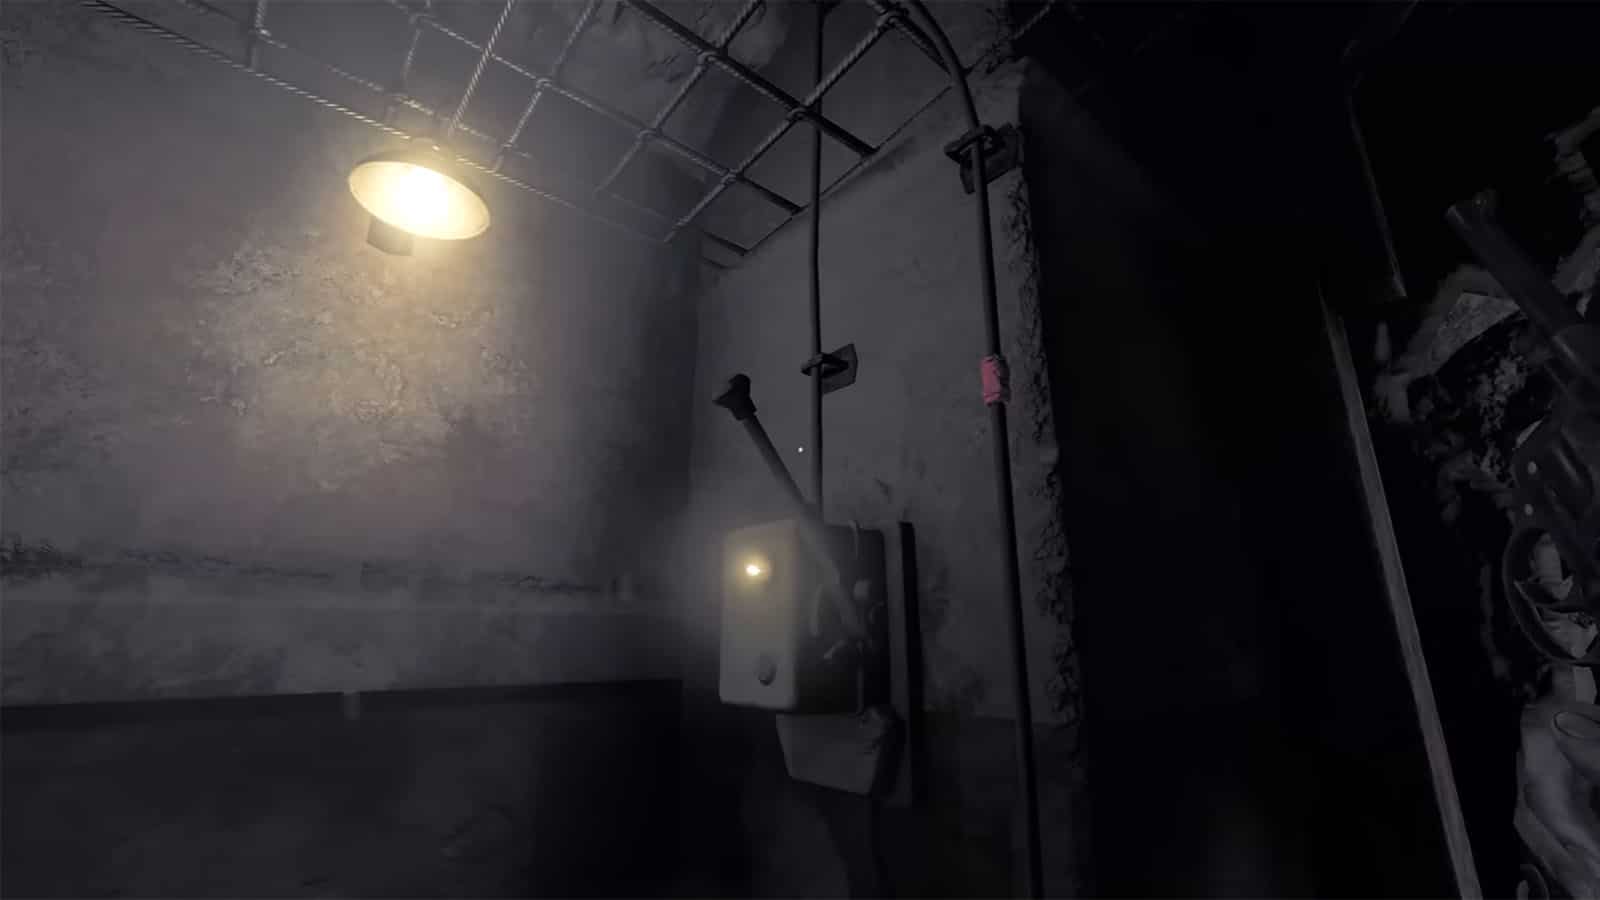
The path up ahead is flooded, and the water pump needs to be powered up in order to pump all the water out. However, the breaker is on the other side of the flooded room, so you will have to wade through the water and make your way through the shelves to reach it.
Once done, head back to the water pump and turn it on, then go back to the other side of the room and remove the box blocking your path to proceed to the Tunnels.
Once you reach the first area in the Tunnels, you will find a save point, Tunnels Photo #1, plus the Note – Comment on Noyer’s Report and the Note – Toussaint’s Madness. As you have noticed, the Tunnels are not included in the map inside the Administration room. The map for the Roman Tunnels is located inside the Mess Hall in the Soldier Quarters. There is a photo behind a grate that shows a sketch of the Tunnels map, oriented 90 degrees clockwise to the other maps in the bunker. Make sure to get this first to help you navigate the Tunnels.
There are shadowy figures in the Tunnels that don’t really cause physical harm to you, plus the Beast should not be able to reach you at this point. All you need to do for now is follow the path all the way around until you find a ledge to jump down on; use the boxes below as stairs to get back up later on. You will start hearing someone singing; it’s Toussaint who has lost his mind, and the owner of the pried eyes that you might have seen earlier.
Shotgun
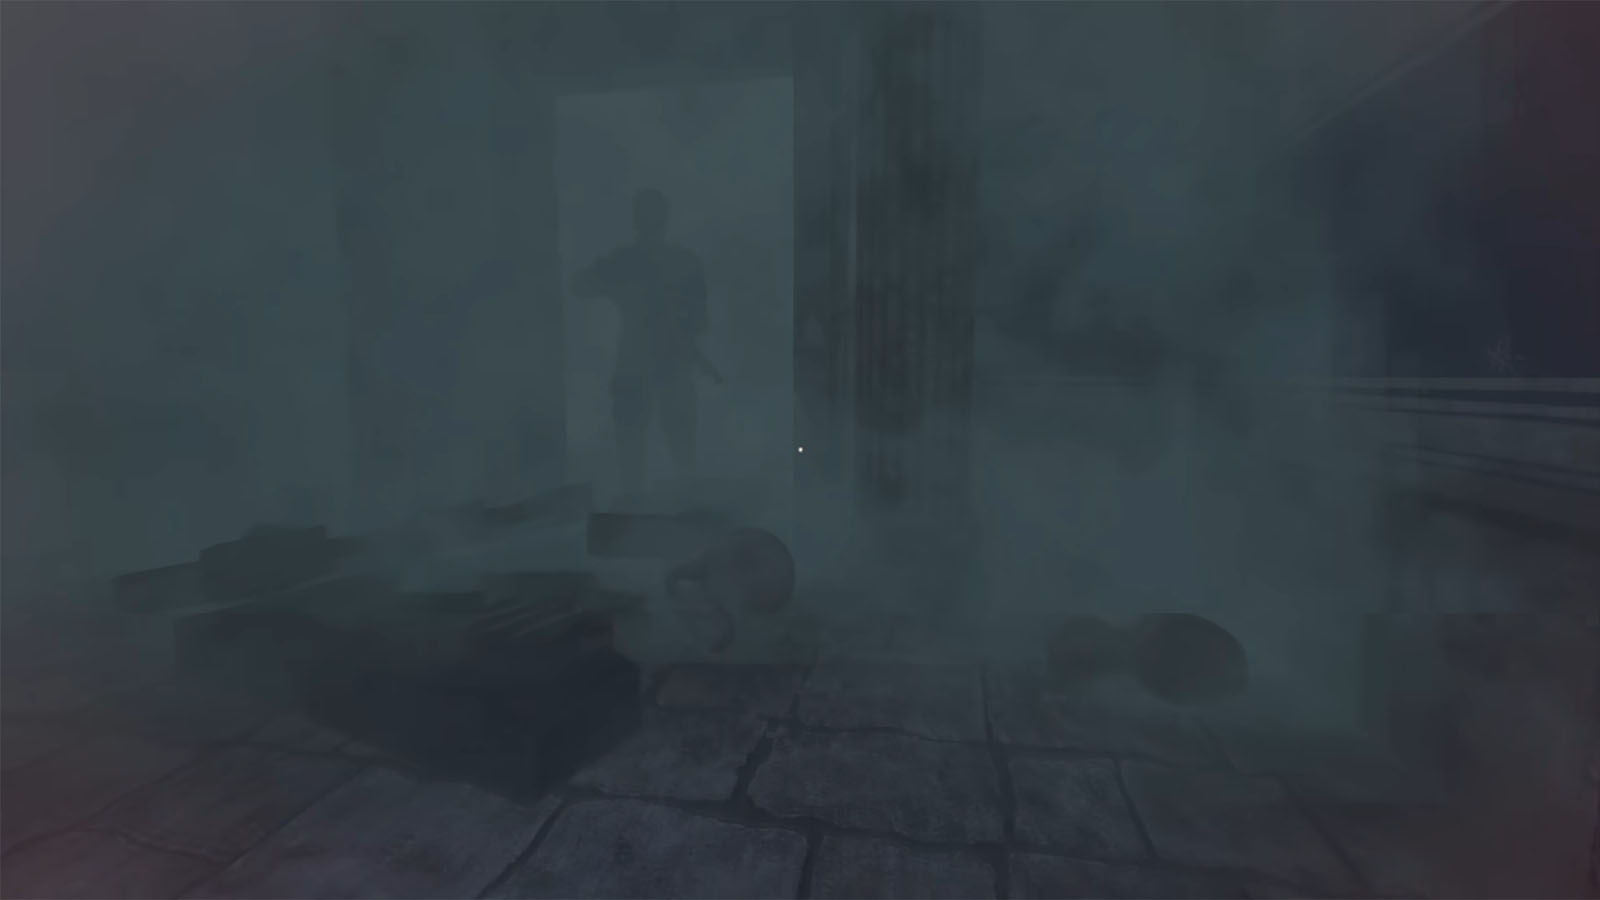
Once you arrive at the large room with the shadowy figures, you will want to take care of Toussaint first. To your right is a passage that leads to another hall where Toussaint is patrolling. Because of how thick the mist in this area is and also because of the walking shadows, it would be hard to rely on sight alone. Use Toussaint’s voice to know where he is, then shoot your gun at him. If you get shot back, you should still be able to survive. Once Toussaint is dead, get the shotgun from him; you will need it later for the final act.
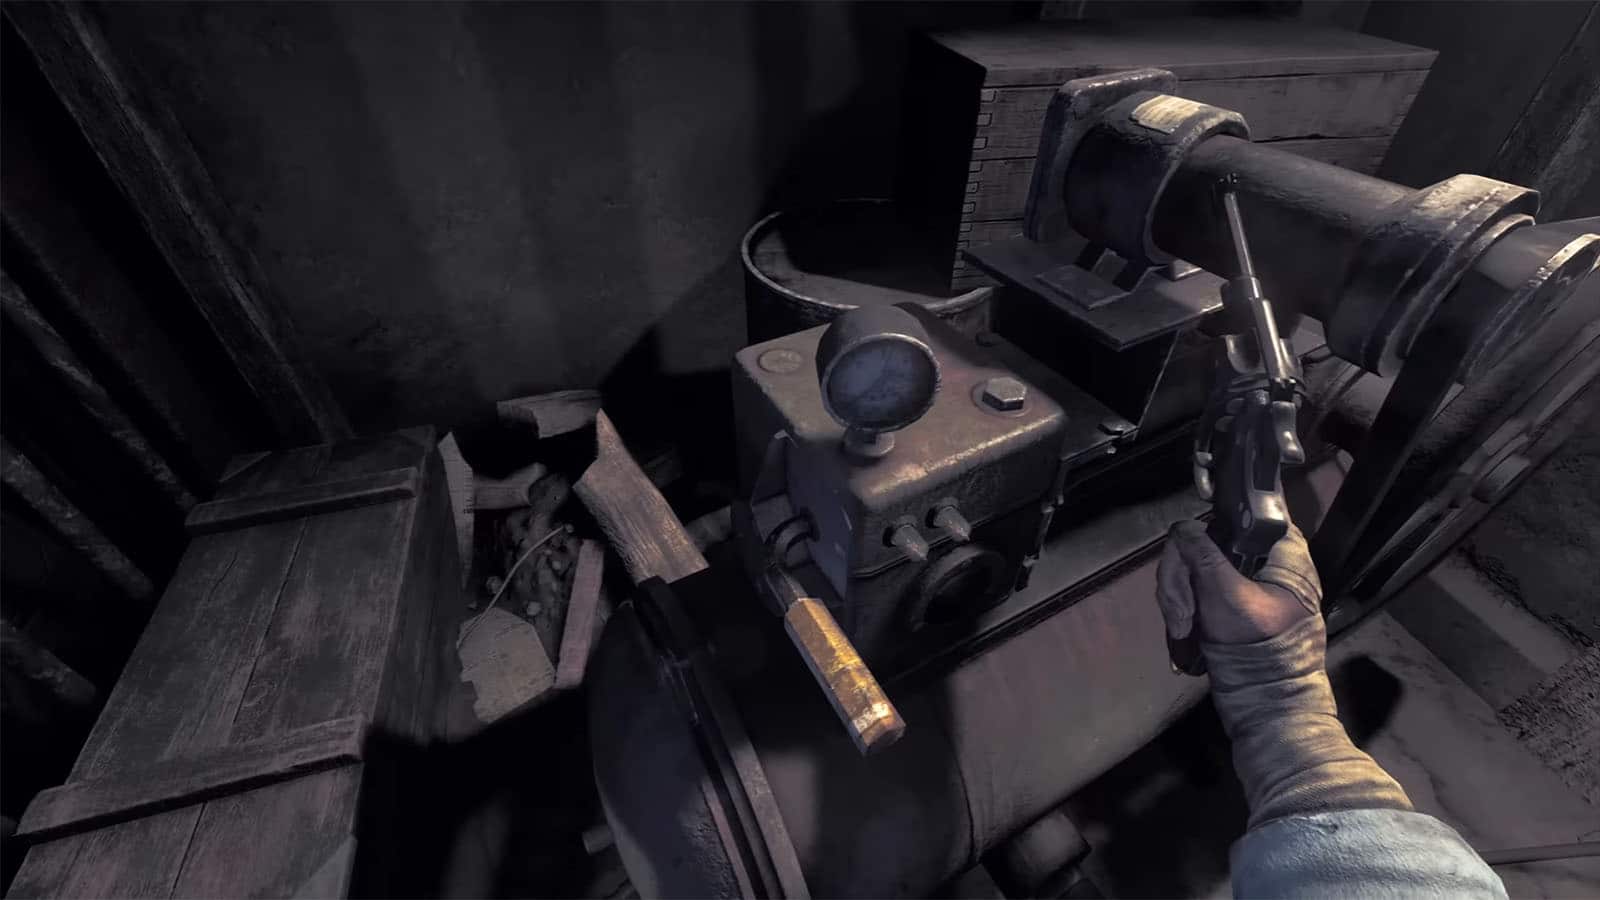
Detonator Handle
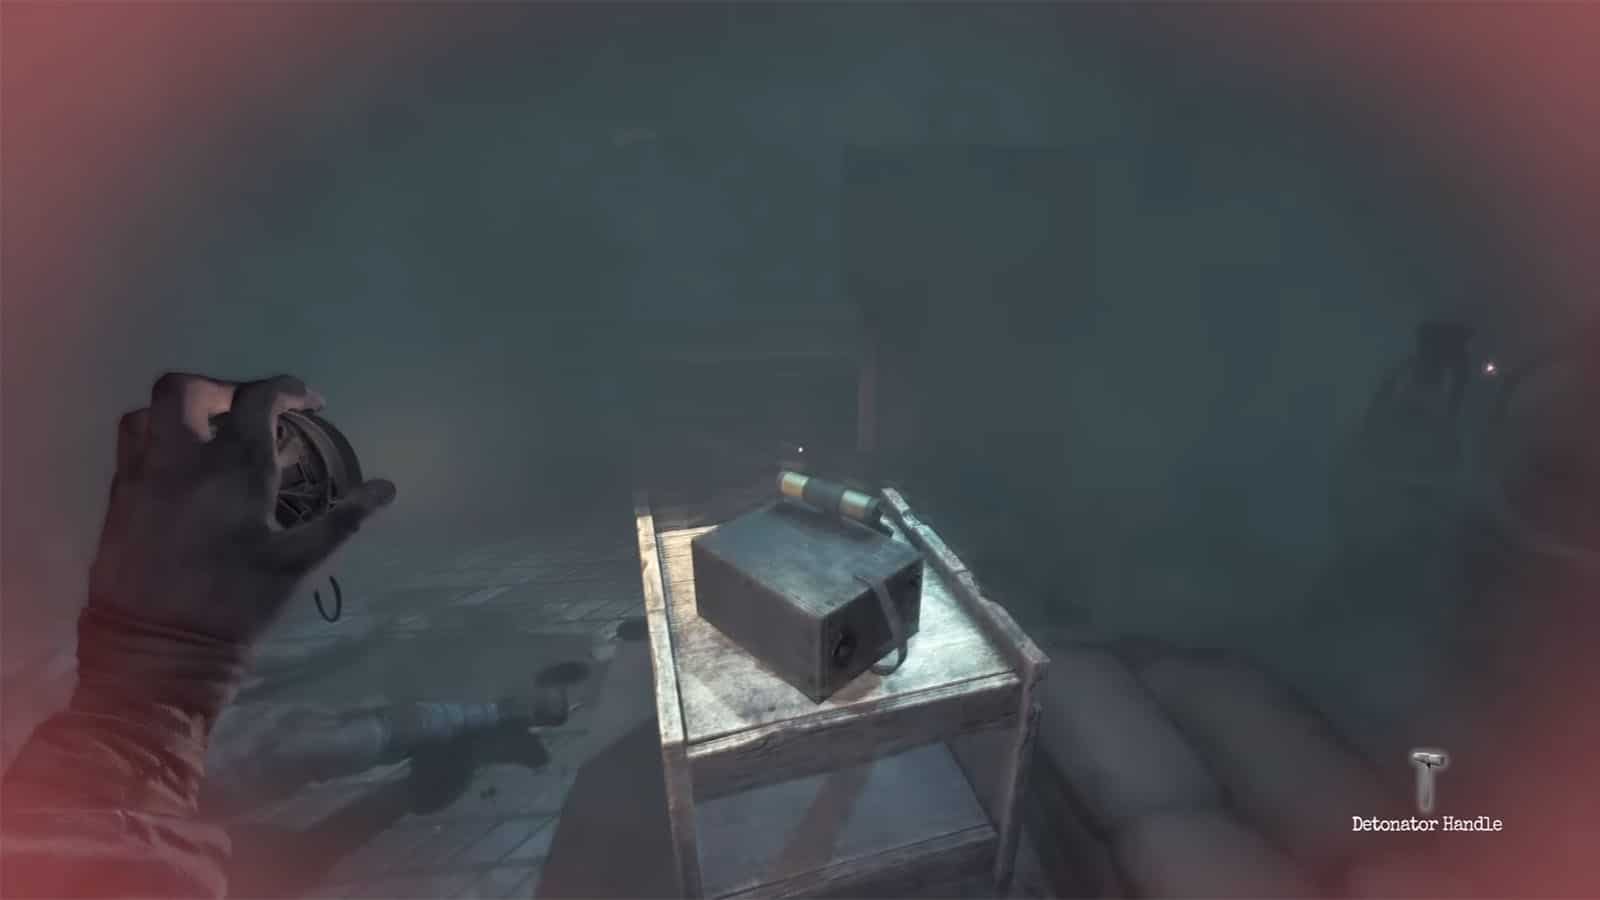
Head back to the room from earlier and enter the next room to your left. Here you will find the detonator handle that you will need for the exit later on. There’s also a bag underneath it.
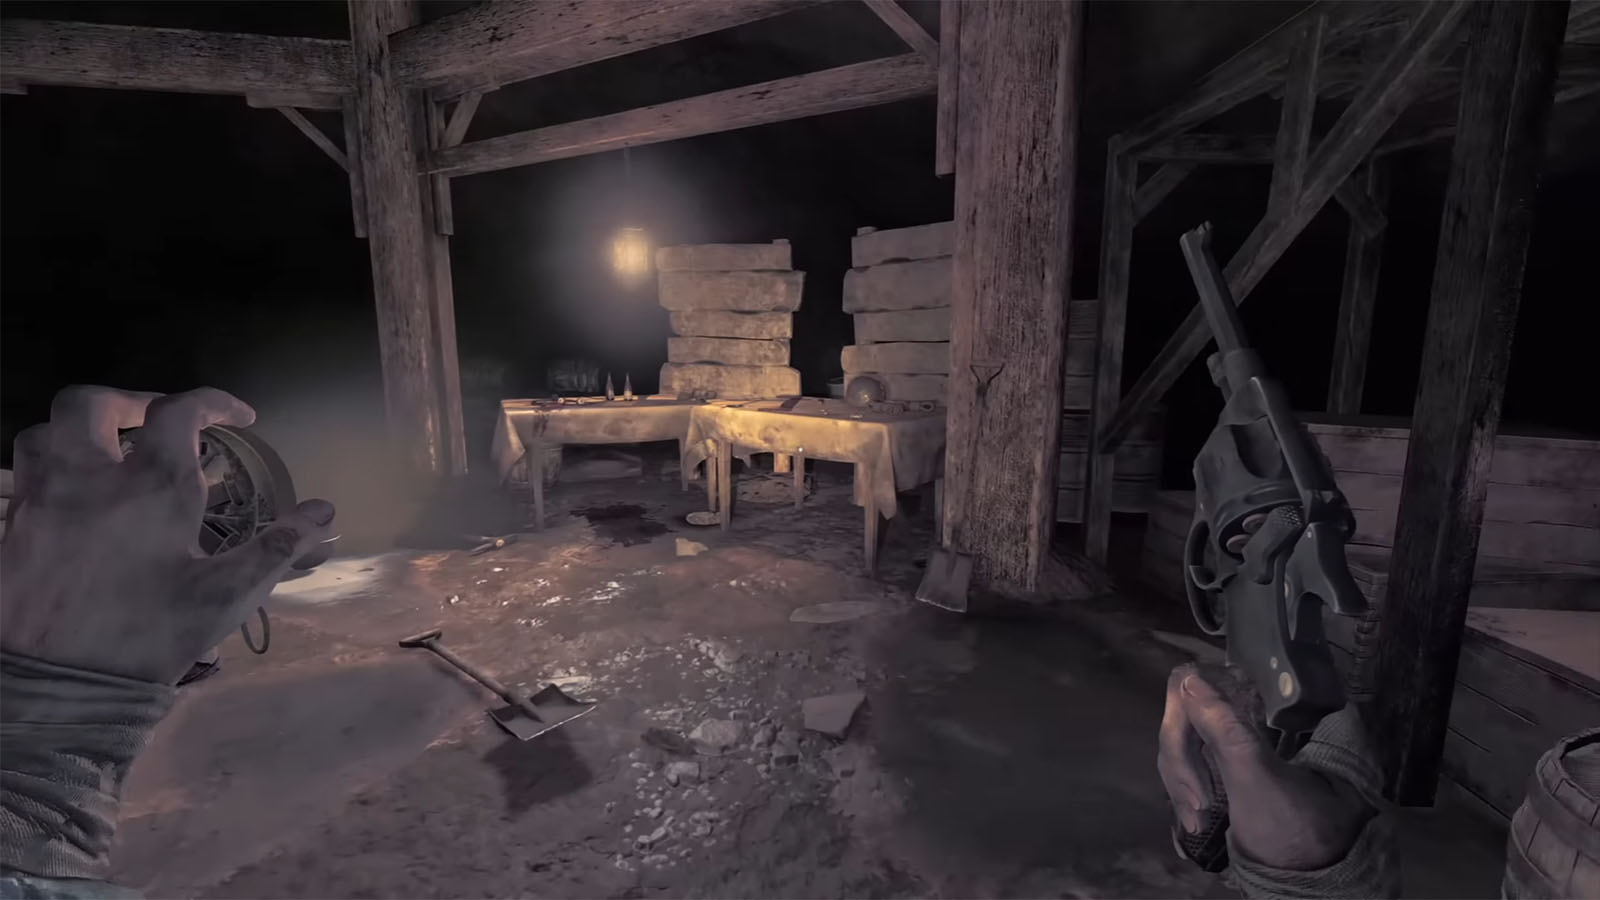
Rabbit Toy
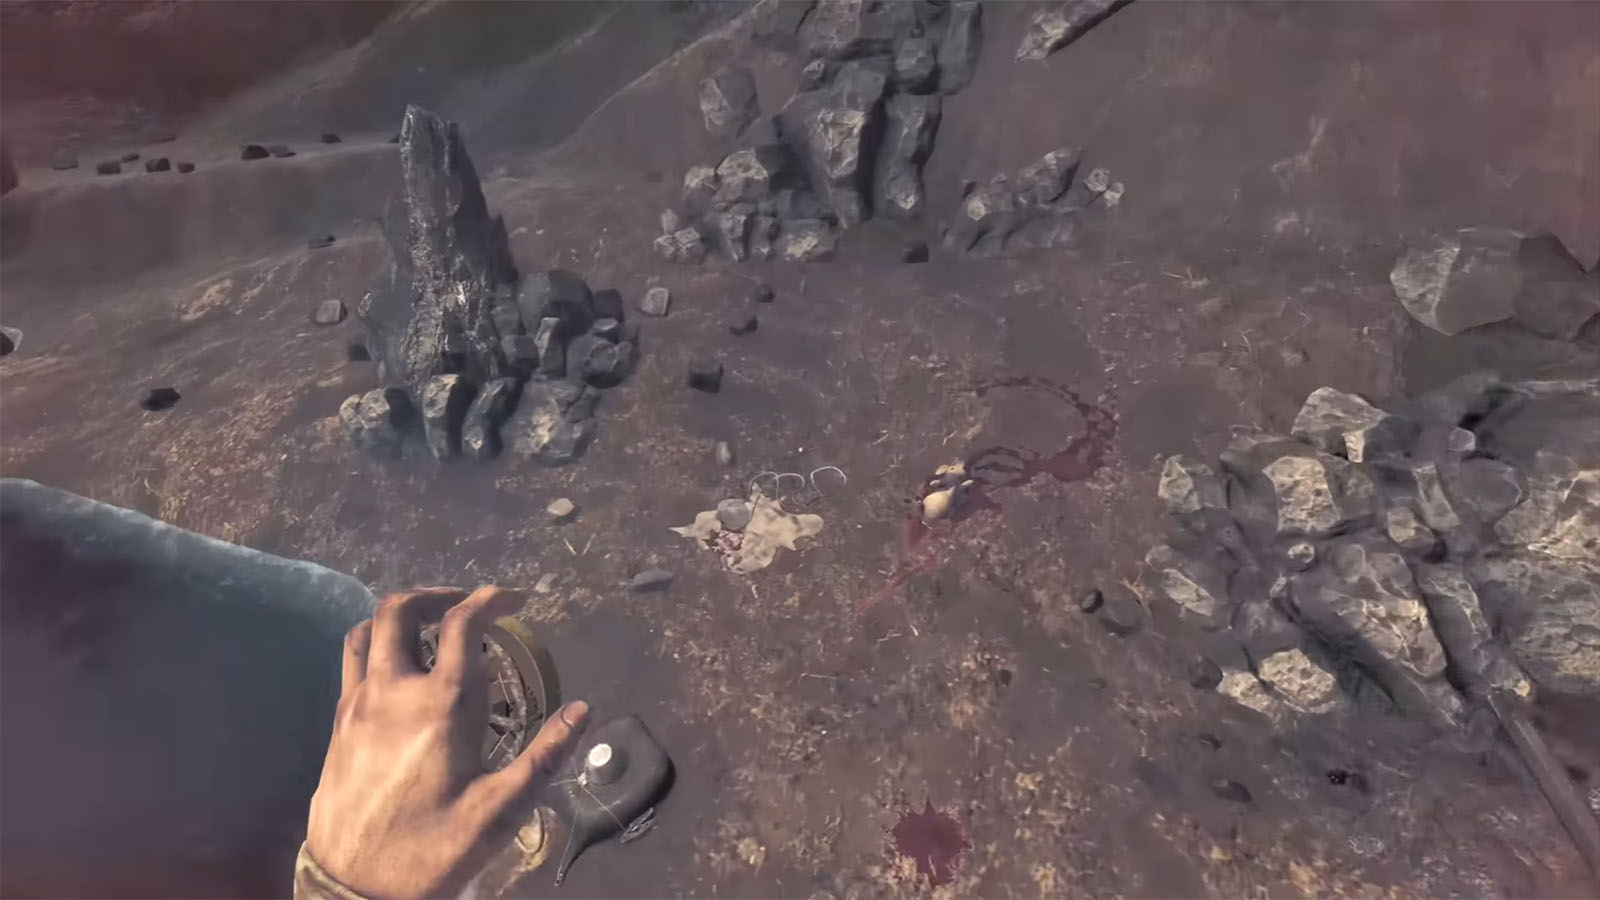
In the same room, look for the corner with a box and barrel. Move these objects out to access a small tunnel that you can crawl through. This leads back to the crater where you first rescued Lambert. Pick up Lambert’s dog tag and the rabbit toy nearby. This rabbit toy should help you get the alternate ending later on.
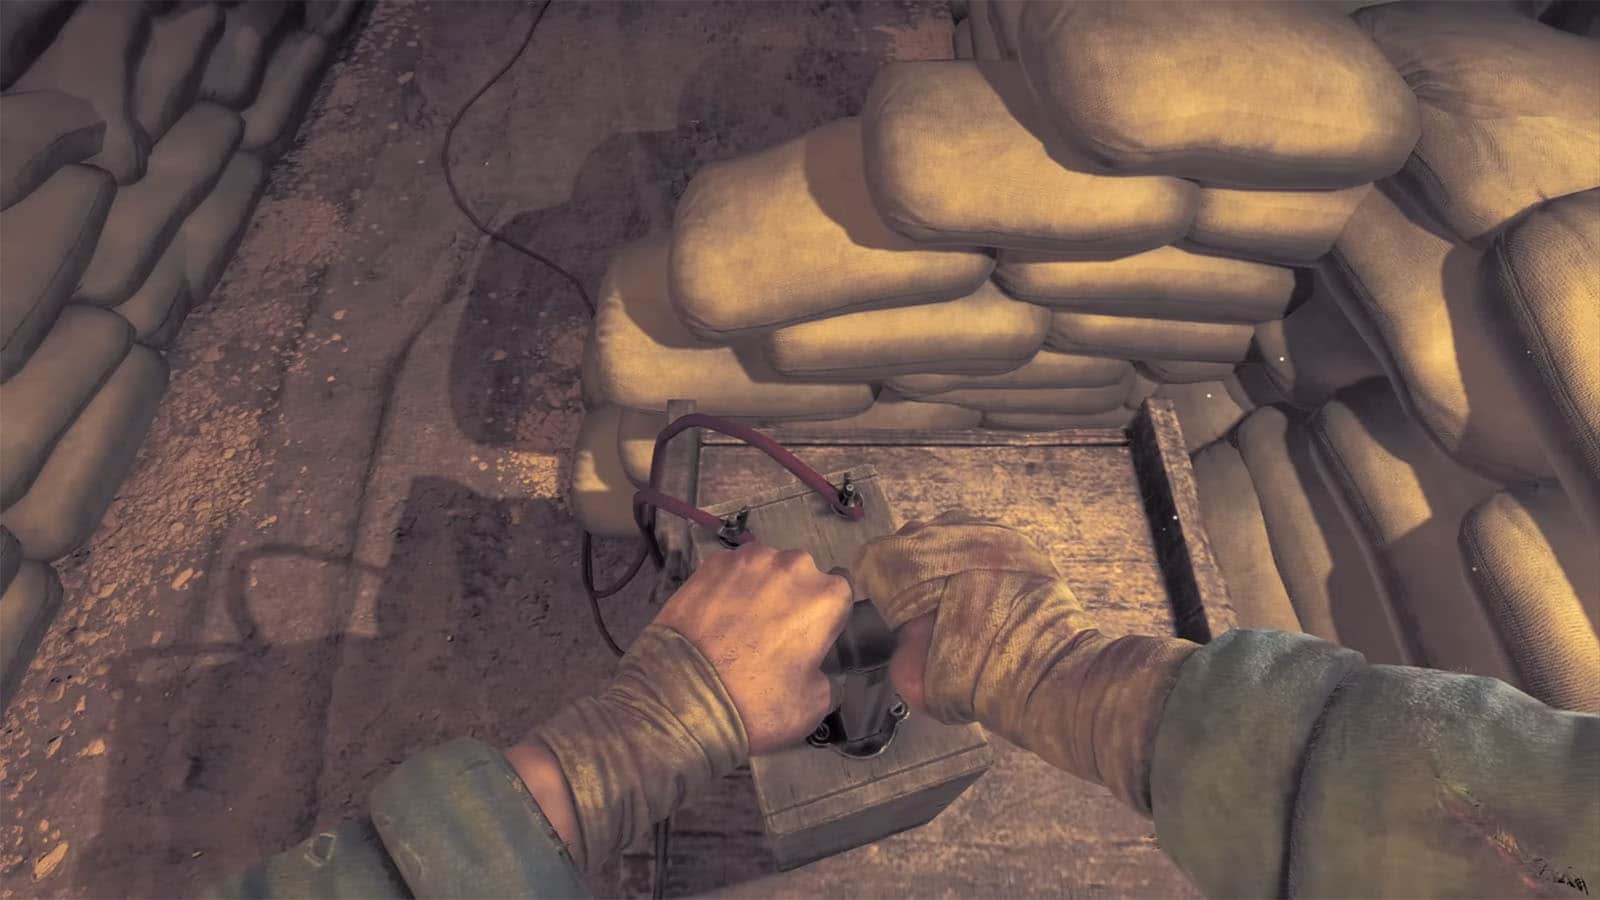
Make your way back to the exit and set up the explosives. You may want to prepare your inventory first by bringing some bandages, a grenade or two, one fuel tank, and enough ammo for your shotgun. Bring the rabbit toy with you. Once you’re ready, blow the rubble away from the exit to reach the final area.
See next: Amnesia: The Bunker Endings Explained


