
The Soldier Quarters is the western area of Amnesia: The Bunker. In order to get the explosives needed to clear the exit, Henri must figure out a way to get hold of the code that will give him access to the dynamite stash. Read ahead as we go through the Soldier Quarters area in Amnesia: The Bunker and share some tips and the locations of the key items in the area.
See previous: Amnesia: The Bunker Maintenance Walkthrough
Amnesia: The Bunker Soldier Quarters Walkthrough

Before heading to the Soldier Quarters, you will need to have the Wrench first, which can be obtained in the Maintenance area. Once done, make your way to the Soldier Quarters; the hallway leading to it is just across the doors to Mission Storage. The first door that you will see as you go down is the Clerk’s Office. You can find the Soldier Quarters map in here, Soldier Quarters Photo #1, and Joubert’s Journal – Patrol. Keep note of the photo, as you will use it later on once you get into the barracks.
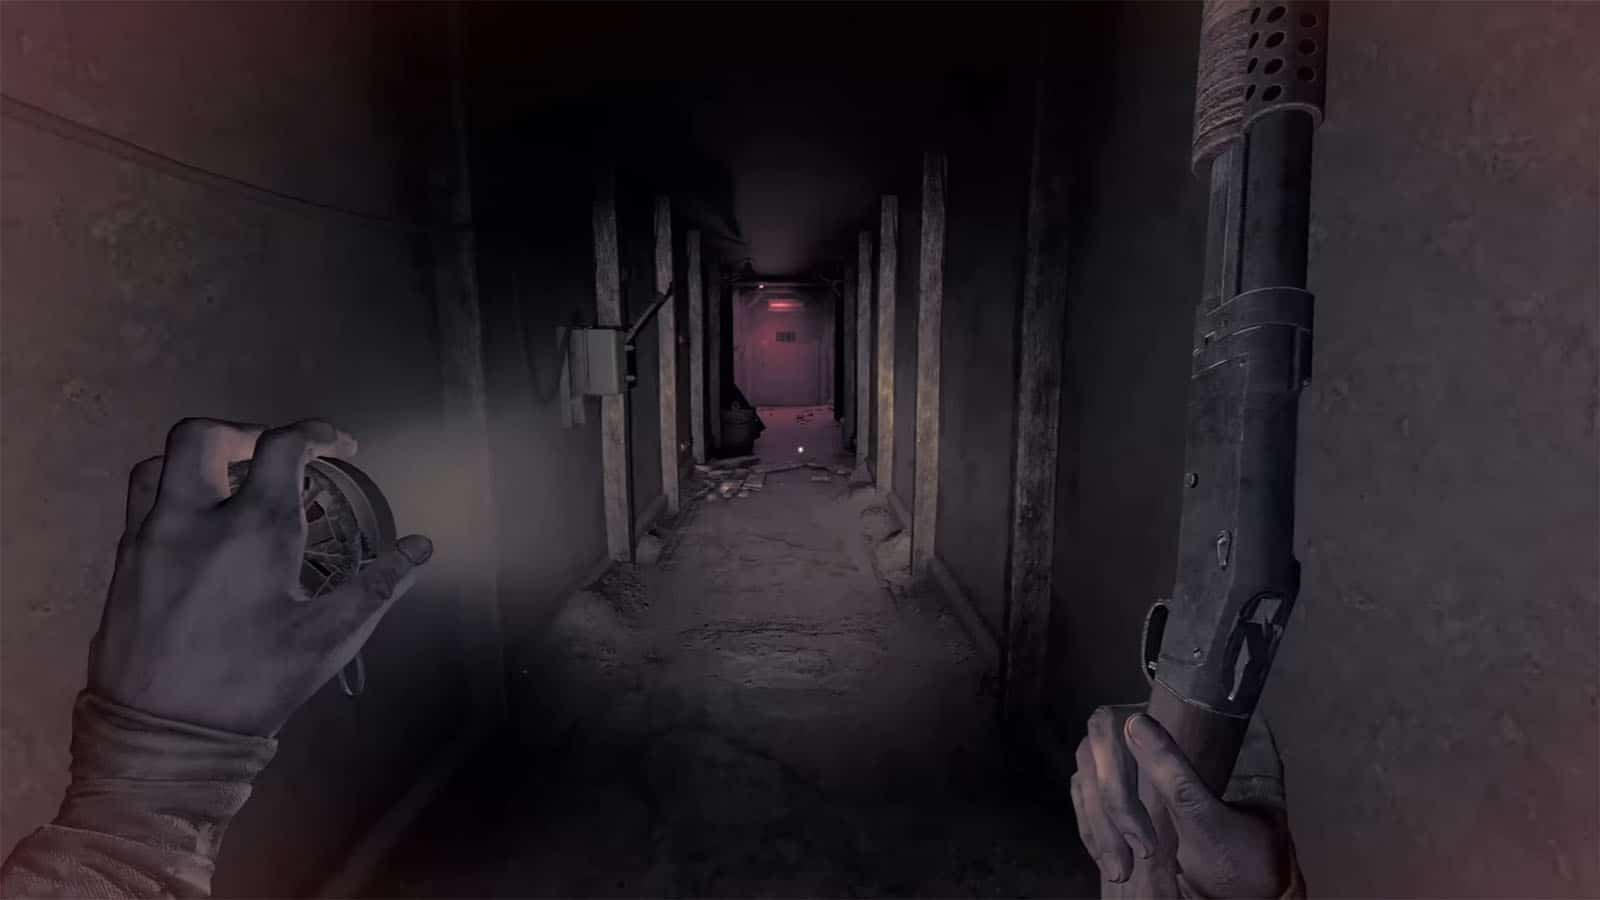
Continue down the hall, where you will pass by the two doors of Barracks A (right) and B (left). Up ahead, you will see a locked door that leads to Communications. Take the left door for now to enter Barracks B.
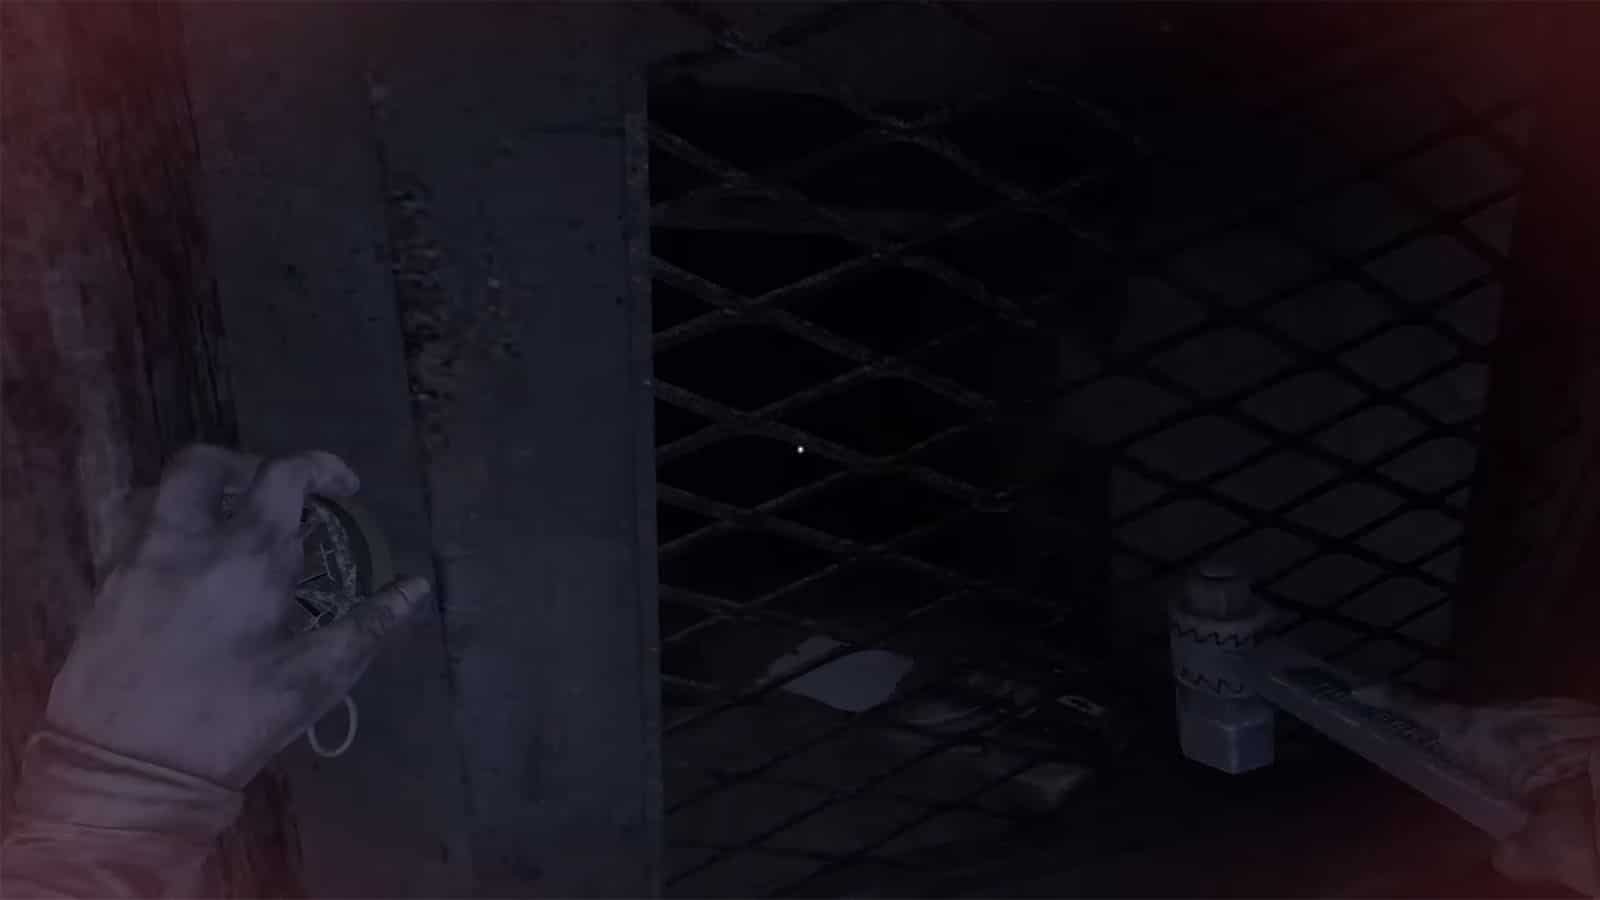
On the farthest corner from where you are, look to the right, where you’ll find a grate; open this using the Wrench. Behind the grate is the Note – Gathering of the Willing and you may also find a bag. Check the other beds to find the rest of the collectibles, like the Soldier Quarters Photo #2, the Note – Clement’s Journal – Compelled, the Note – Fear and Paranoia, and a dog tag. You can then open the locked door, which gives you access back to the long hall, and then take the door on the opposite side of the barracks.

Follow the hallway as it runs to the right. Once you see the locked door that leads to the Mess Hall, look on the right side to find a power box with Soldier Quarters Photo #3 on top and a corpse with rats. Get the dog tag from the corpse and take a note of the map on the photo, as it will show the switches that are connected to the power box. You would want to turn all of these switches on (pulled down), but every switch that has been turned on will drain your generator fuel faster, so it is best to familiarize yourself with the area first before committing to the power box, especially if you’re running low on fuel.
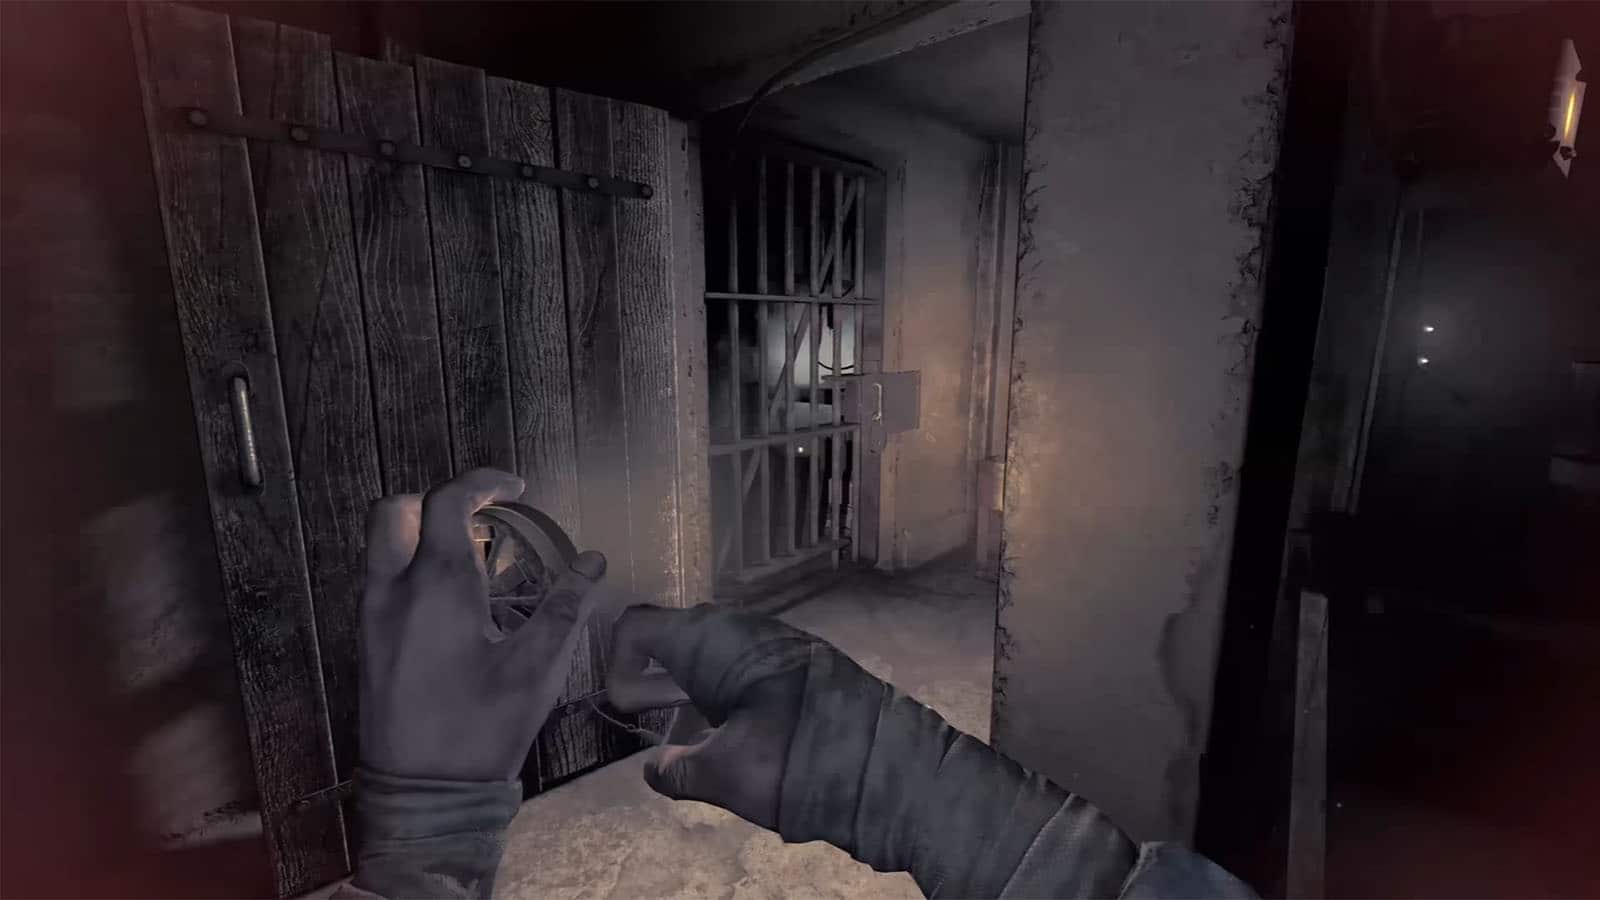
Skip the door for now and continue down the hall, then enter the next door to reach the Break Room. Inside, check the door to your right to get inside the Utility Room where there is another switch behind a locked gate. Use your Cutter to remove the lock. You will also find the Note – The Officers have fled.
Check the other door in the Break Room; you will have to bash it to get through to the Pantry. Once done, pass through the next door to reach the Kitchen, and then the next door to the Mess Hall.
Inside the Mess Hall, you will find one of the switches near the locked door from earlier. Explore the area to find the Note – Farber’s Last Note and another grate behind some objects. Behind this grate is Soldier Quarters Photo #4, which shows a sketch of a map. Take note of this for later.
Head back out into the main hallway and take the other path near Barracks A. Check the door on the left to enter the Darkroom, where you can find Soldier Quarters Photo #5. Then check the other room up ahead to reach Security where you will find the Note – I Have the Communications Key. From this note, you will know who last had the key to the locked door at the end of the main hall; it would be randomized per instance. Take a look at Photo #1 to find where the bed is, and enter the respective Barracks to get the key.
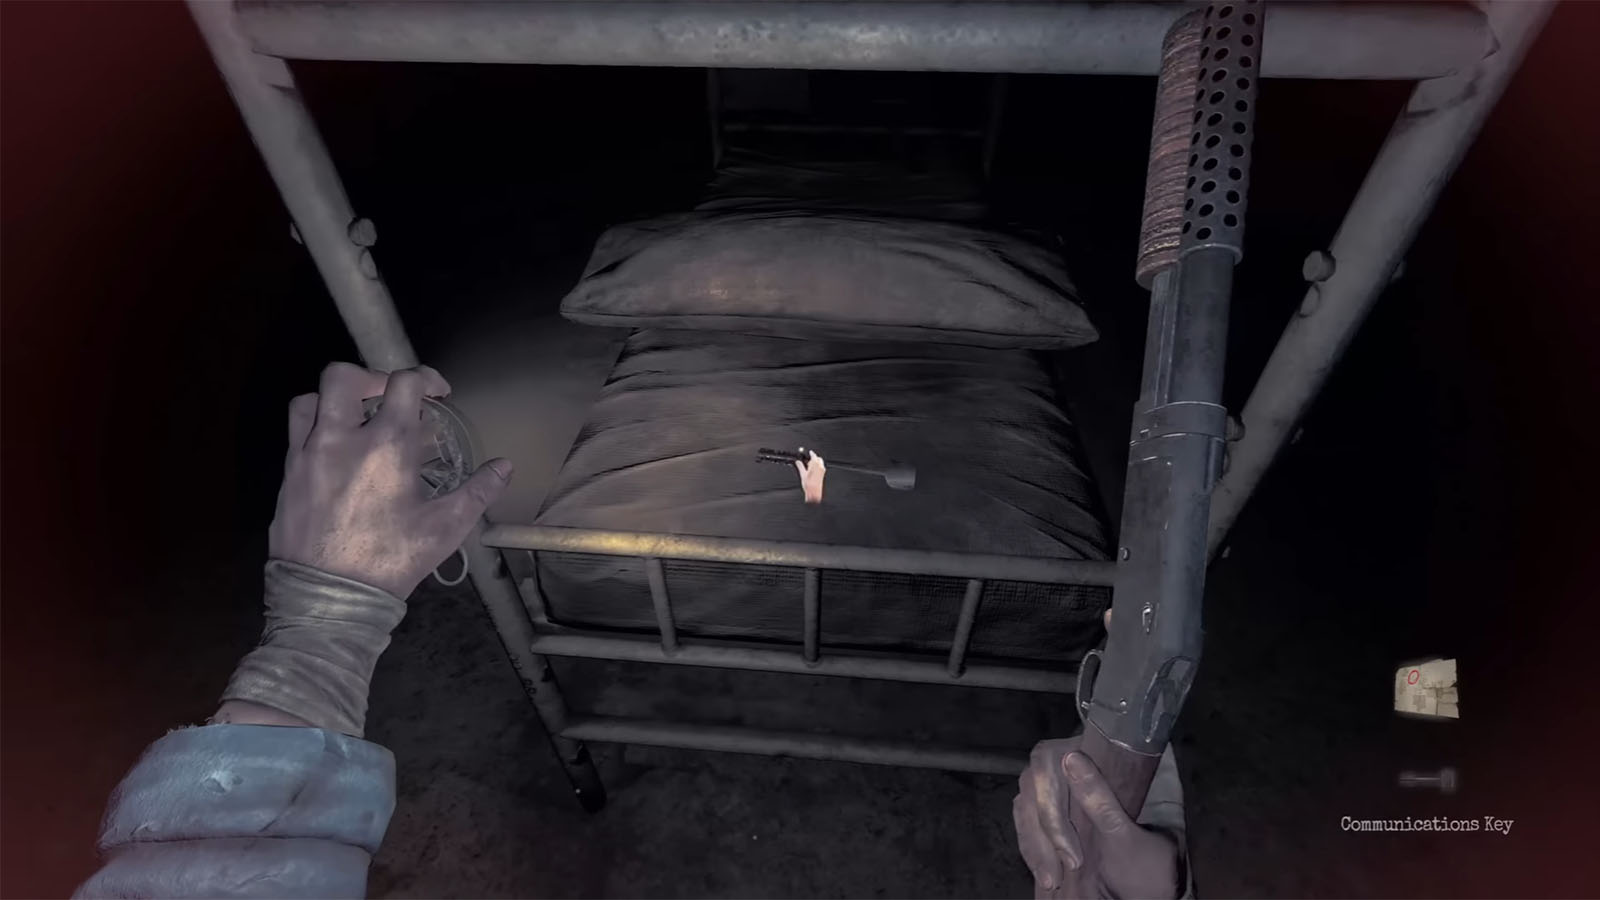
If the note leads you to Barracks B again, take the time to explore Barracks A afterwards to find the Note – Nicolay’s Unsent Letter, the Note – Noyer’s Journal – Part 1, the Note – Toussaint’s Journal, and a dog tag by the rat-infested corpse.
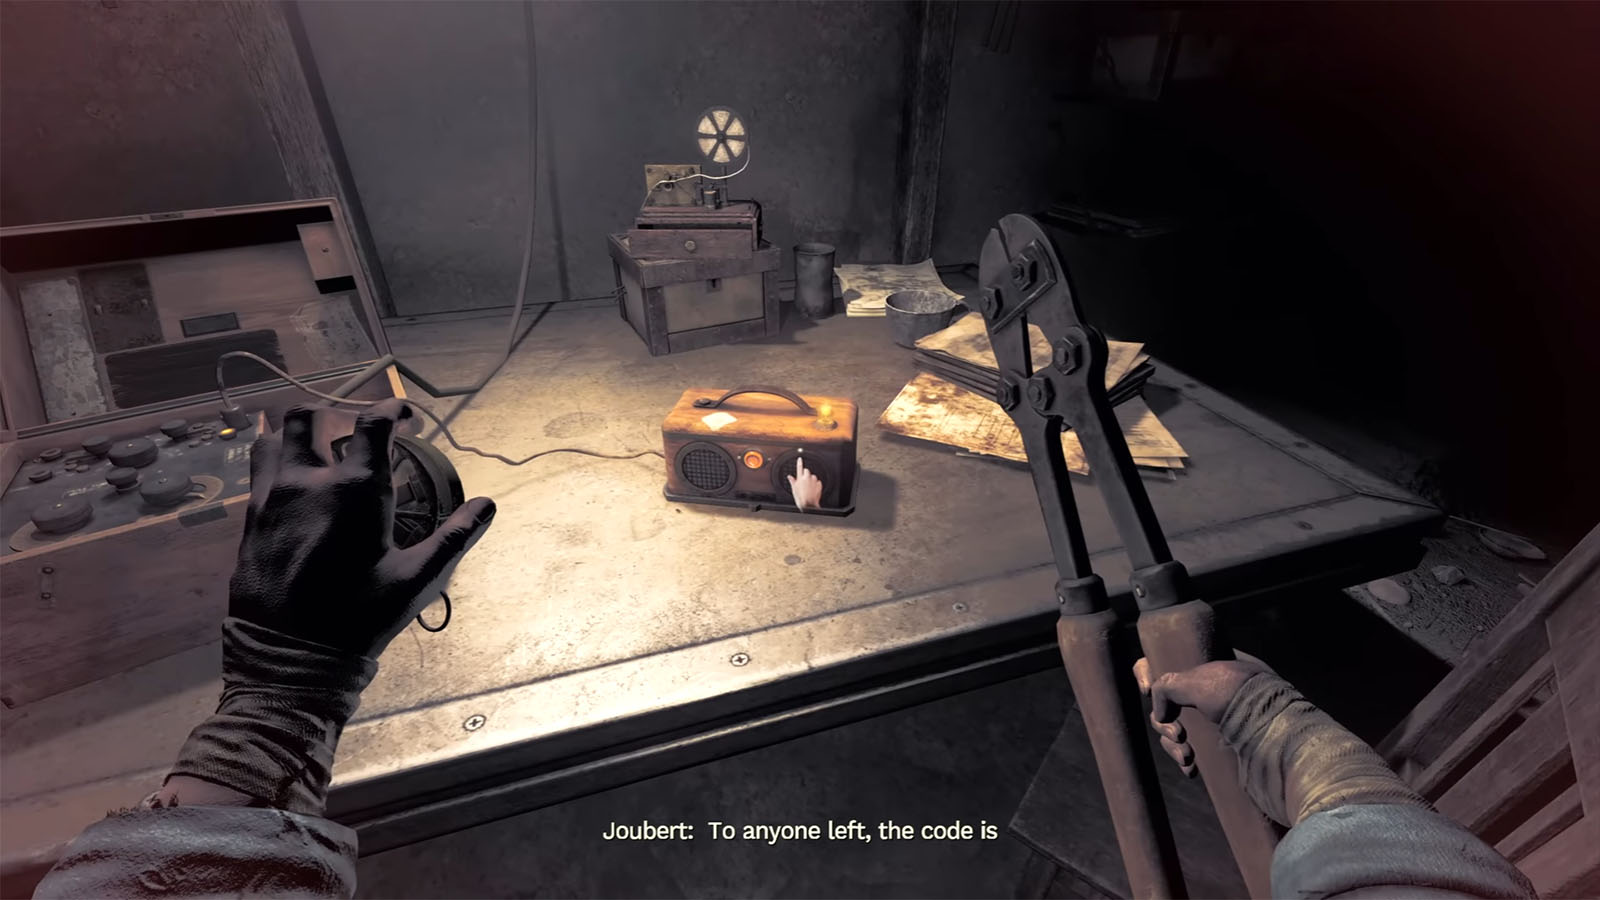
Once you have the key, go back to the door at the end of the long hall, then go up the stairs to reach the Communications Room. You’ll find Note – Farber Dies, Note – Note to Farber, Note – Noyer’s Journal – Part 2, and a bag by the cabinet, plus one of the switches. Inside the room is also a radio that can only be turned on if all the switches are turned on while the generator is running.

For the final step, make sure that you have turned all switches on (pulled down), then head back to the generator to fill it back up and turn it on, then head back to the Communications Room to listen to the radio. You will be given a 4-digit code that you will need for the dynamite later on. Take note of this code.
Once you have the code, you can then head towards the next area, which is the Arsenal.
See next: Amnesia: The Bunker Arsenal Walkthrough


