
Testing Ground 10 is one of the areas in Atomic Heart that is an optional place to go through to get weapon blue prints and upgrades. Testing Grounds, also known as Polygons, are usually filled with puzzles and obstacles, as well as enemies that patrol the area.
Read ahead as we go through the steps on how to complete Testing Ground 10 in Atomic Heart, as well as share the locations of where the Loot-yagins can be found.
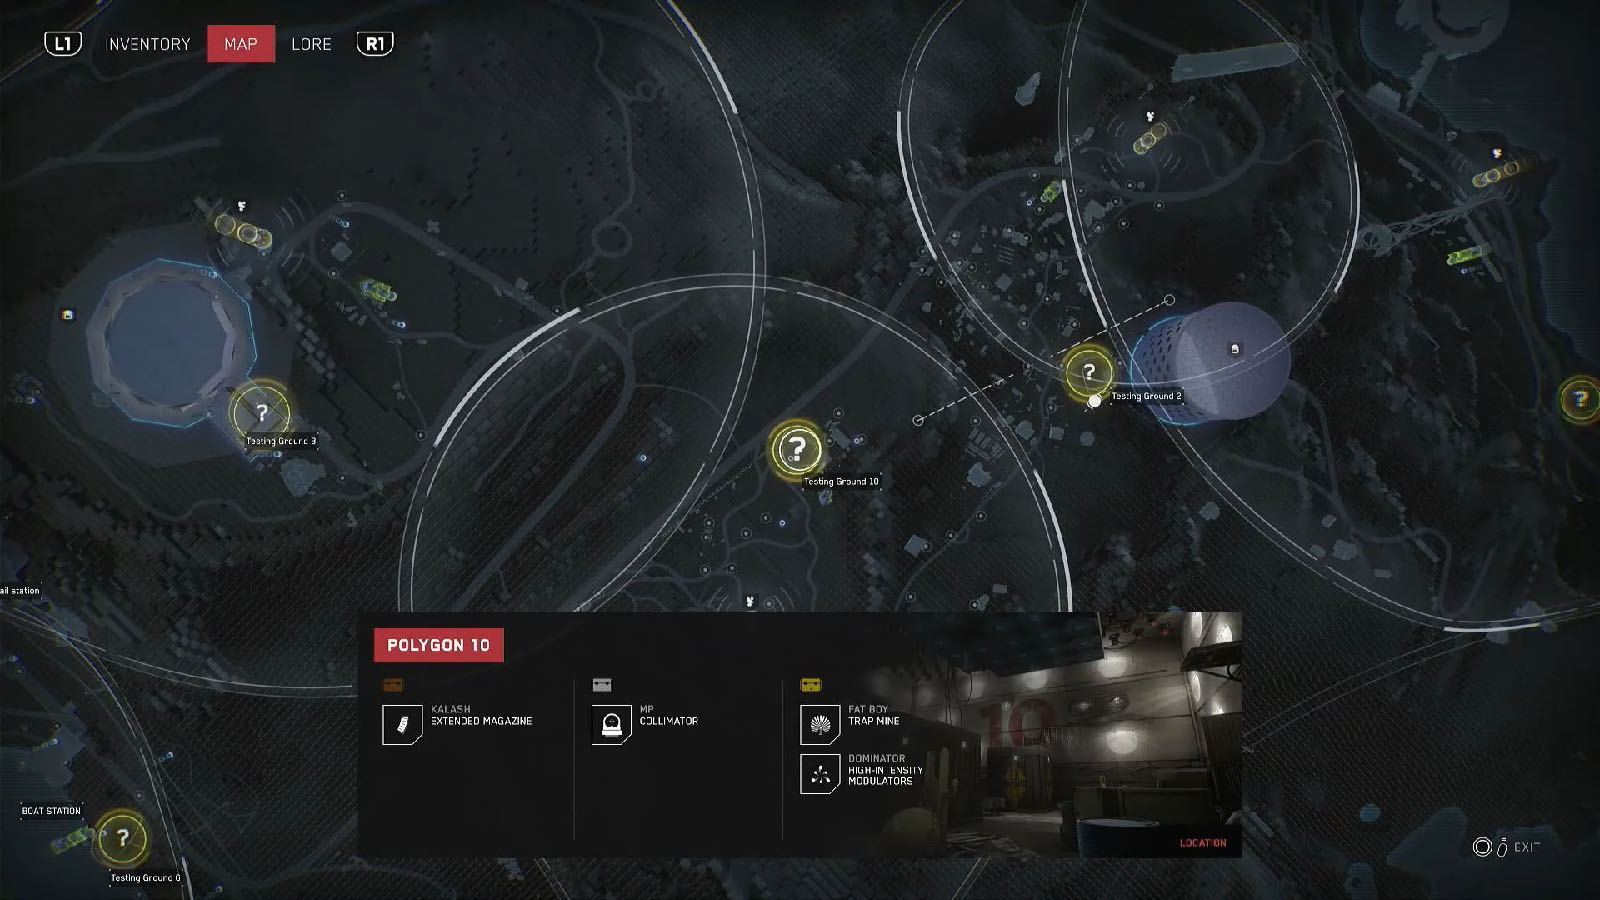
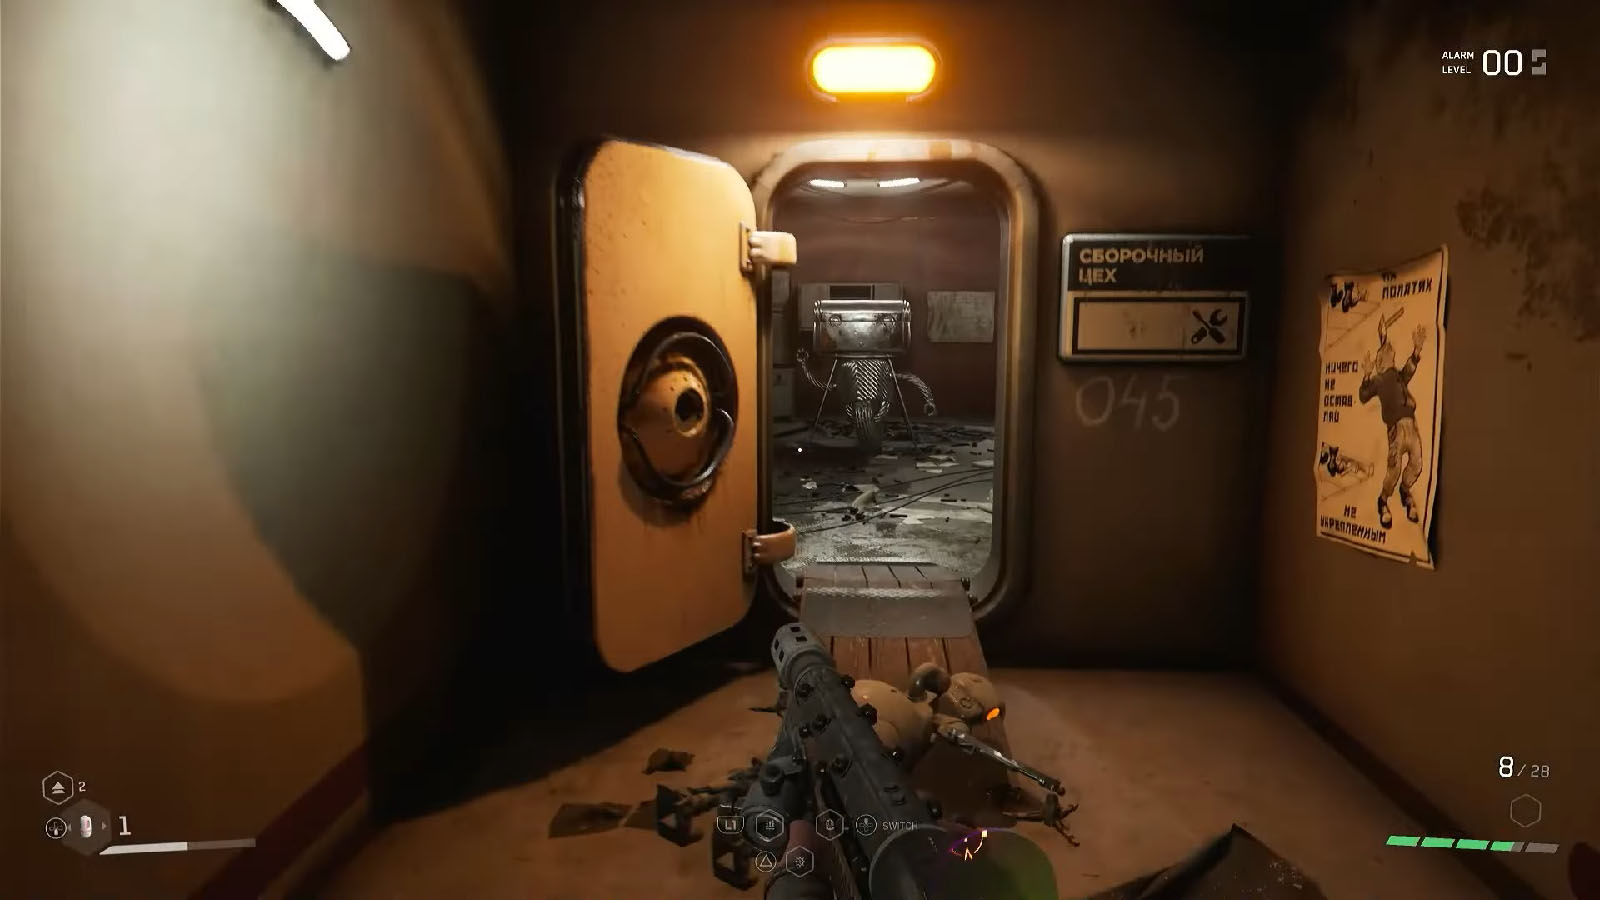
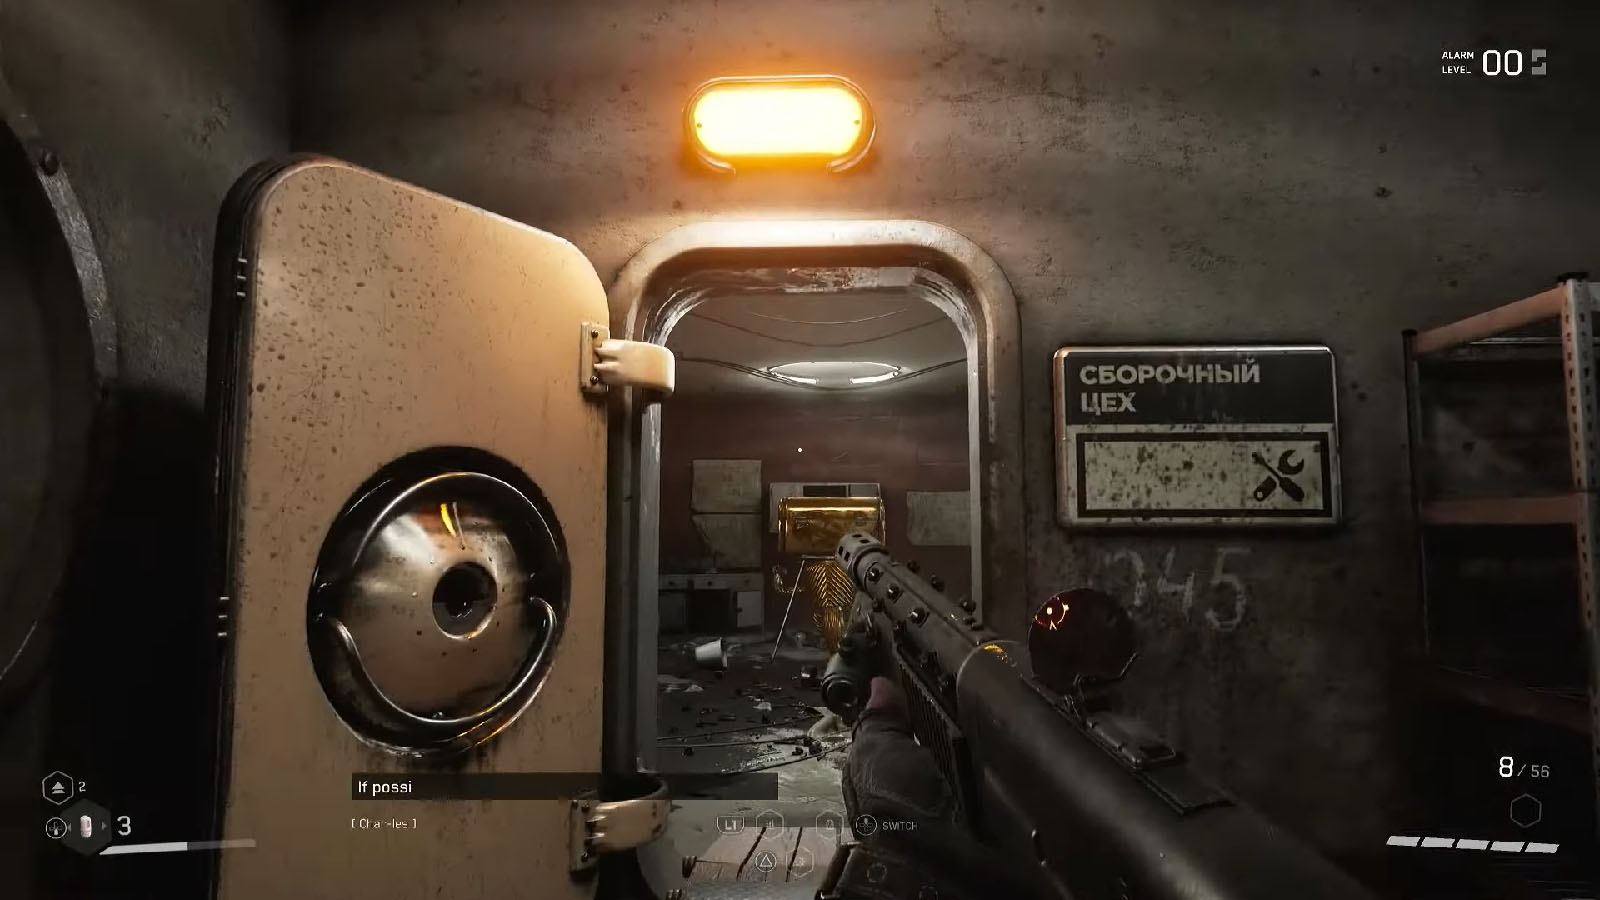
How to access Testing Ground 10
Testing Ground 10 is in the middle of the map. To access this testing ground, climb on top of the wooden house to find a room with the antenna inside. Then, interface with the antenna and hack the camera in between you and the testing ground.
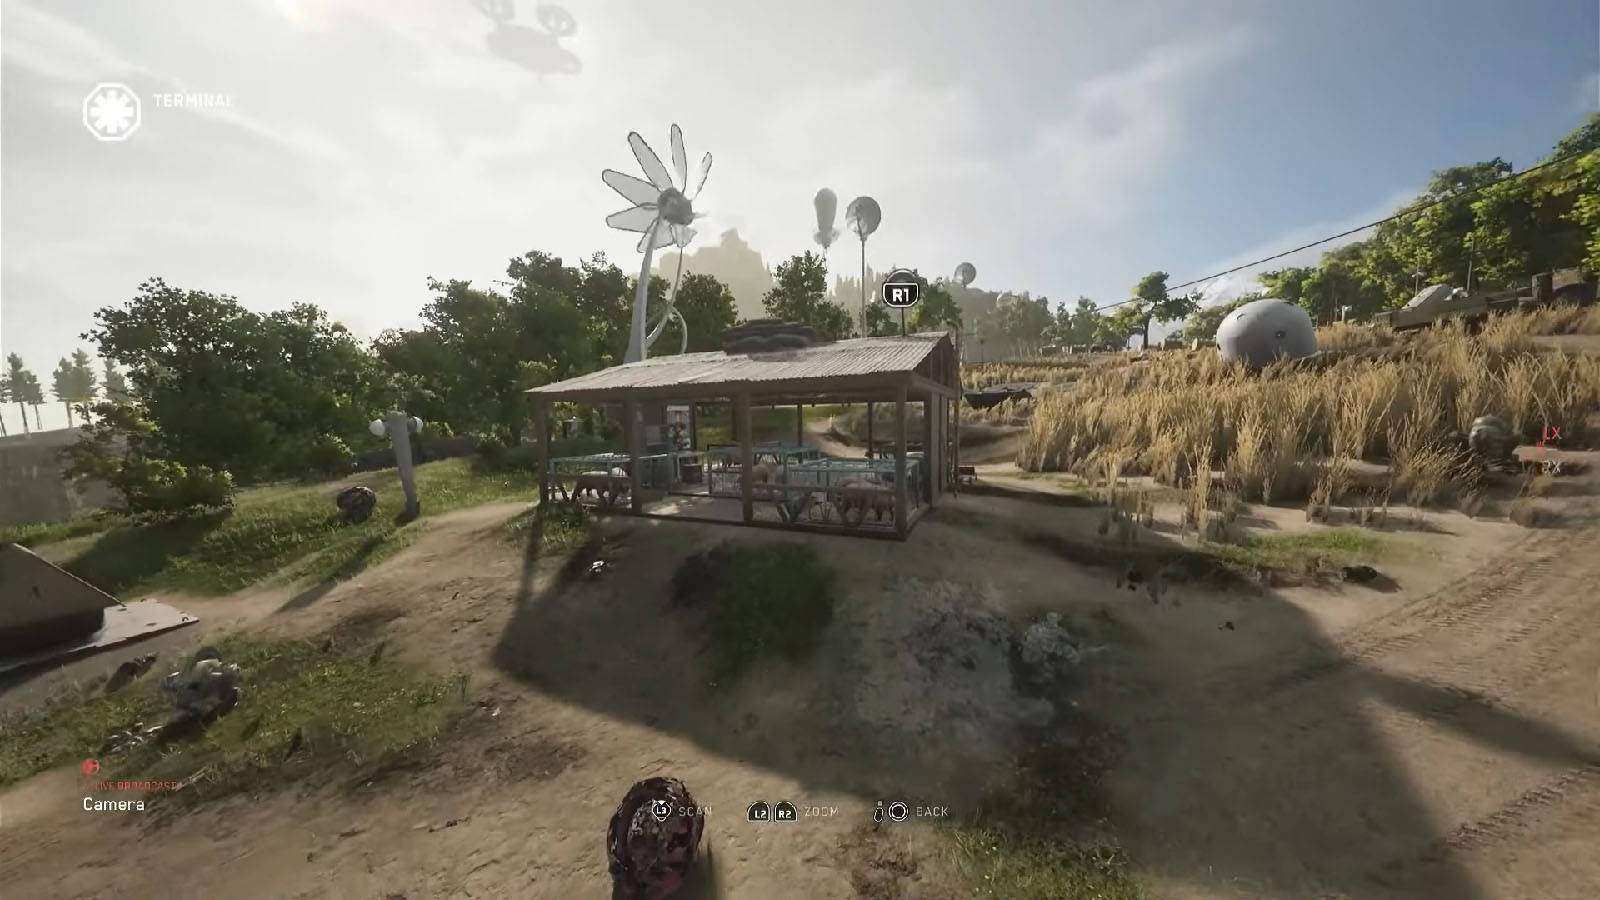
Point at the switch on top of the shed and it will reveal the elevator coming up from the shed’s floor. Head inside the elevator to reach the testing ground.
Candle puzzle #1
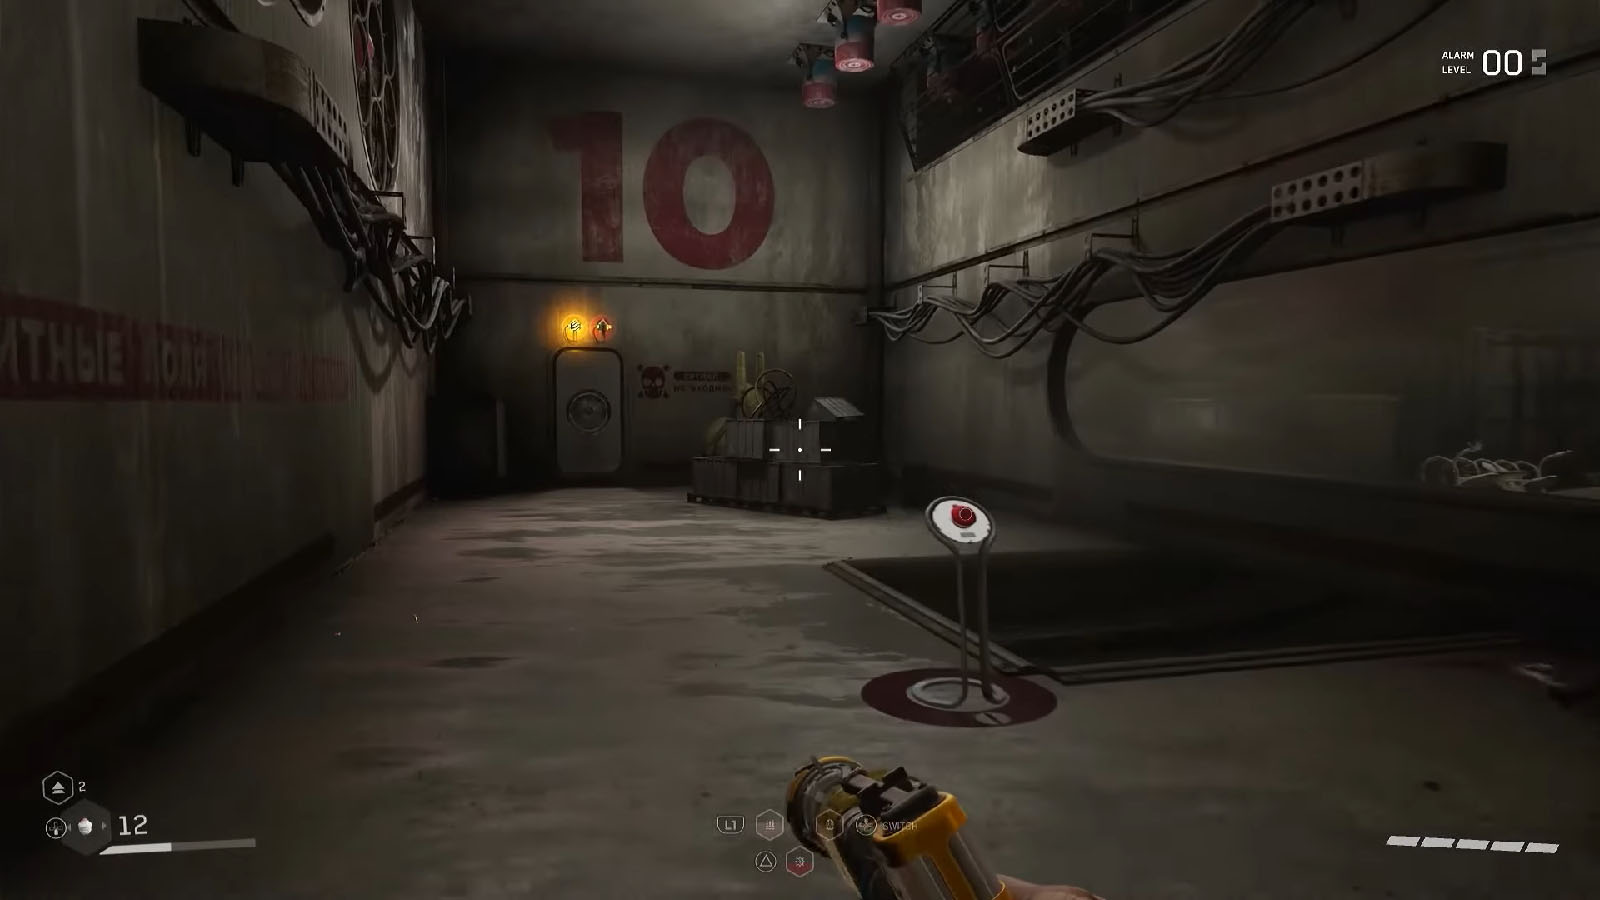
From the elevator, turn left and walk down the hallway until you reach the second turning point to the left that leads to a room. Behind the divider is a terminal that you can hit with a SHOK. Doing so will open the door up ahead.
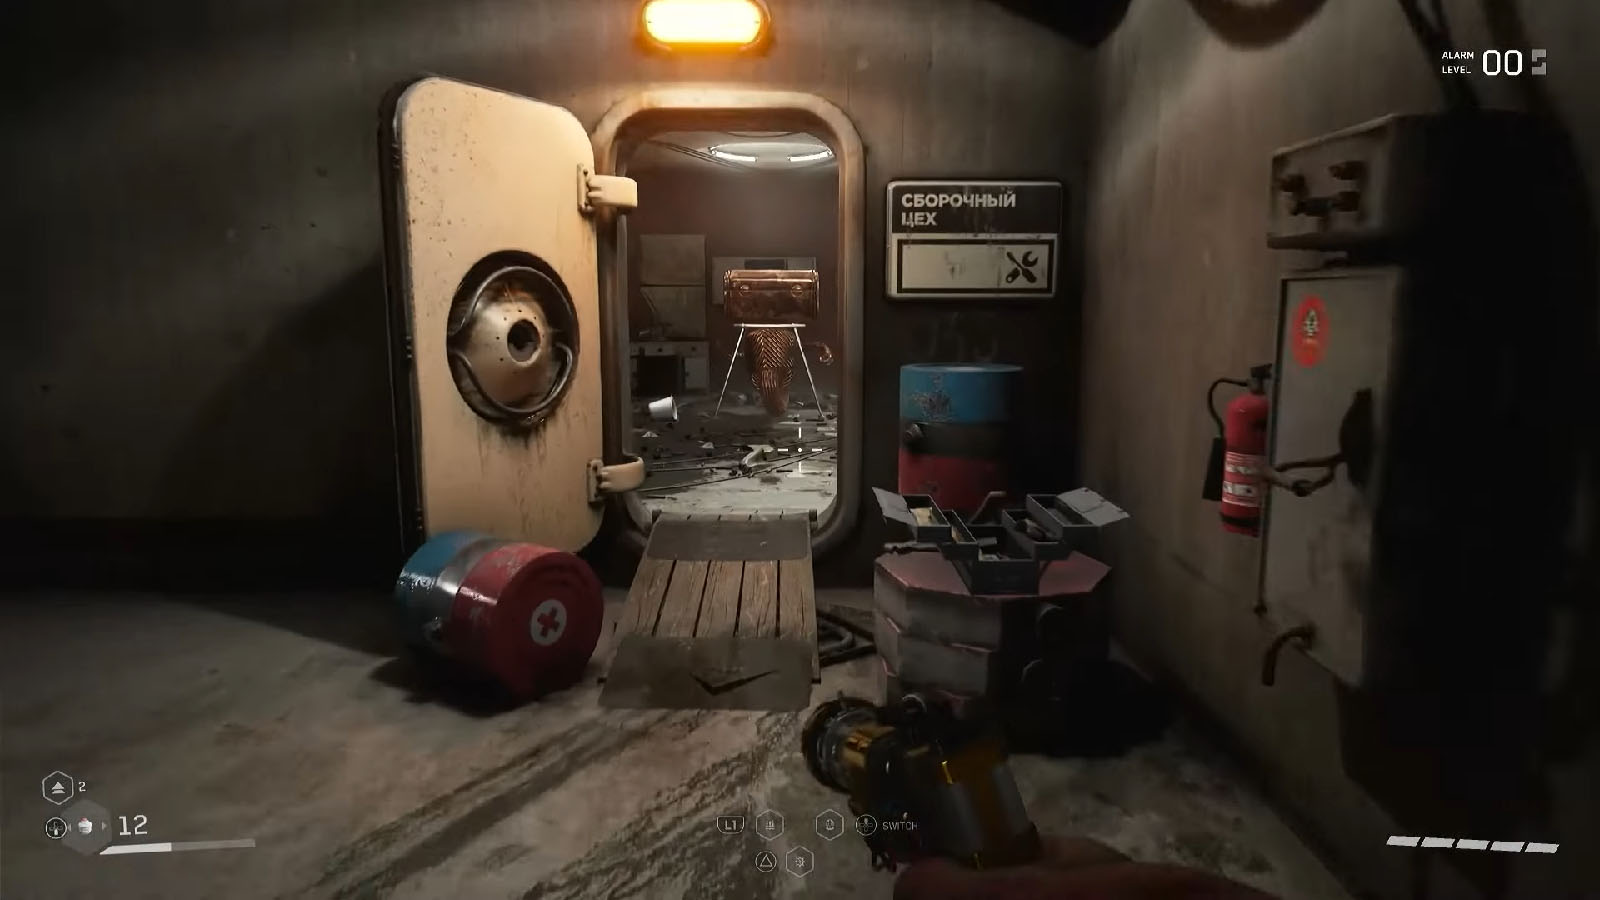
In the next room, grab the Candle from above the door up ahead and throw it at the holder in the middle of the ceiling. Then, reverse the polarity of the magnets above to make another Candle drop. Place this candle on the holder above the door, then retrieve the first Candle and place it on the other holder. Press the button in the middle of the room to open the door.

Candle Puzzle #2
In the next room, grab the Candle on the side and throw it on the holder on the ceiling. Reverse the polarity of the activated magnets, then grab the Candle and place it on the other ceiling holder and do the same. Jump on the platform to reach the other side of the room, ride the small platform and reverse the polarity. You can then reach the other Candle and throw it back to the other side of the room.
Make your way back to the other side and place both Candles on the holders on the top of the next door. Then, press the button to open the door to proceed.
Bronze Loot-yagin – Kalash Extended Magazine
Walk down the next hallway and you should see the Bronze Loot-yagin inside the room ahead. It contains a Kalash Extended magazine.
Silver Loot-yagin – MP Collimator
Continue down the path to the left and you’ll find two rooms on either side with terminals. Use SHOK on them to open the gate up ahead. Head through the next room with the crates and make your way through the platforms and ledges until you reach the platform that is lit red. Go through the hole on the floor, then turn right as you exit to see the room with the Silver Loot-yagin. This contains an MP Collimator.
Gold Loot-yagin – Fat Boy Trap Mine / Dominator High-Intensity Modulators
In the next room, reverse the polarities of the magnet walls to reach the button on the left side of the room. Press the button then make your way to the door on the other side of the room. To the right of the corridor is the Gold Loot-yagin. It contains a Fat Boy Trap Mine and a Dominator High-Intensity Modulators. You can then take the elevator to exit the testing ground.
Check out this video by ZaFrostPet showing how to complete the Testing Ground 10 in Atomic Heart:


