")
Lae’zel is one of the origin companions in Baldur’s Gate 3. A fierce warrior of the githyanki, Lae’zel was also captured by the mind flayers and given the parasite. However, her transformation is also delayed and she takes this opportunity to seek purification through her own kin. Read ahead as we talk more about Lae’zel and how to recruit her as a companion in Baldur’s Gate 3.
BG3: How to recruit Lae’zel
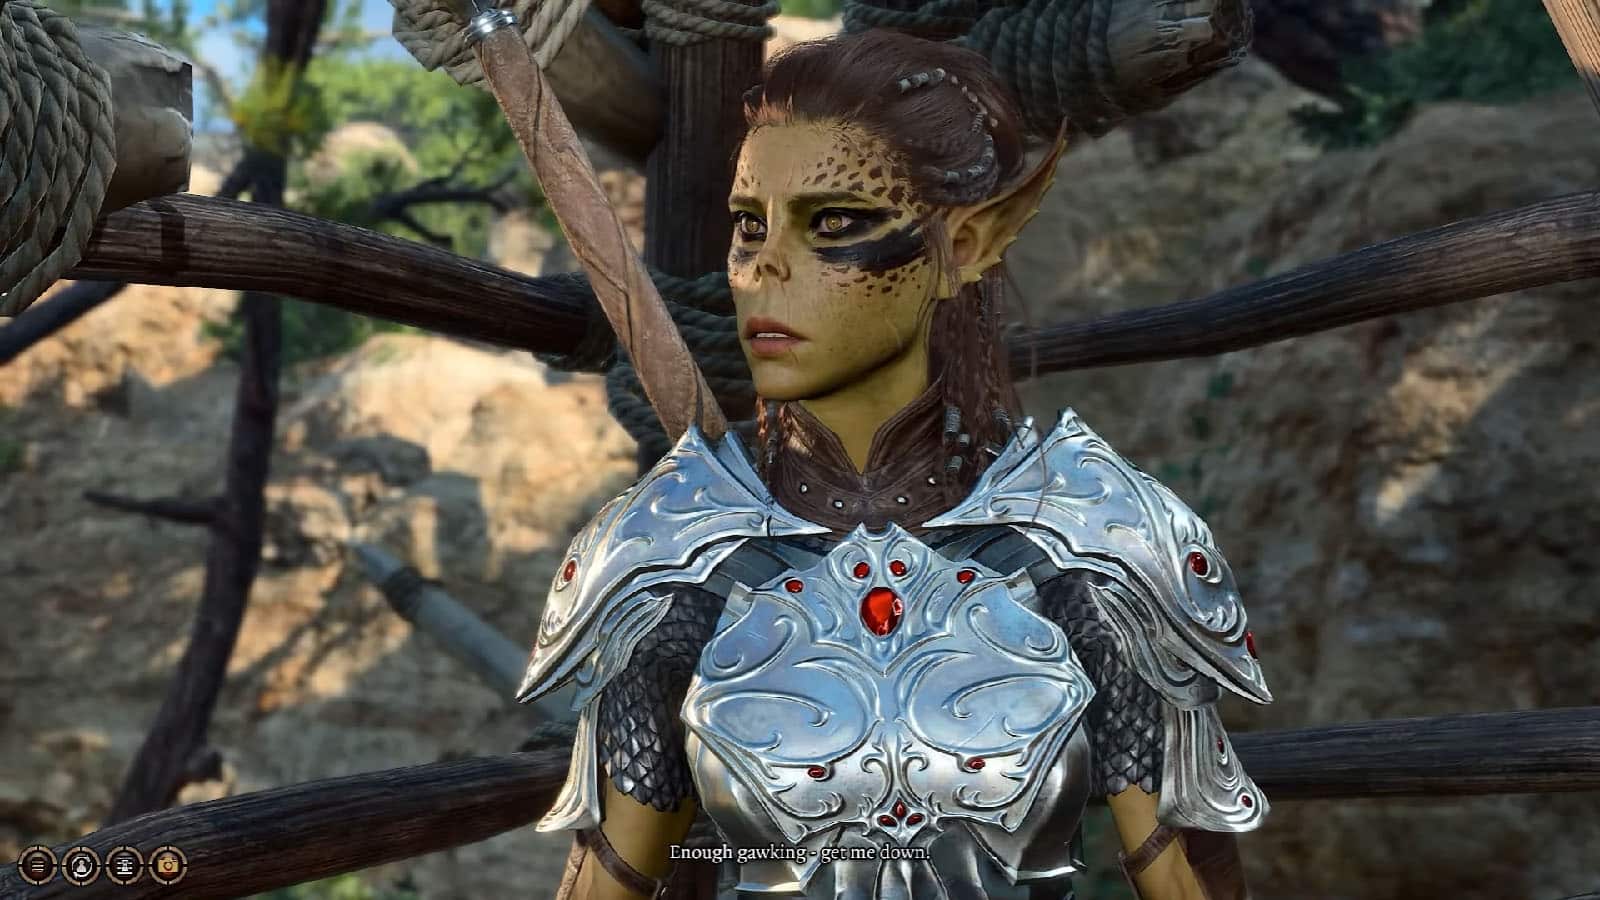
Lae’zel can be recruited in the Nautiloid when you first encounter her during your escape. After the ship crashes, you can find Lae’zel caged up by tieflings north of the crash site. You can then rescue her from being captured, then you will have the option to recruit her in the party.
BG3: Lae’zel Companion Quest – The Githyanki Warrior
As soon as you meet Lae’zel, you will get to start The Githyanki Warrior companion quest. Knowing that you both have the parasite in you, she immediately searched for a way to get to the Githyanki Crèche which she believes would purify her from the parasite.
Search for the Githyanki Crèche
Lae’zel then searches for Zorru which is her first lead to finding the place. Zorru can be found inside the Druid Grove and later points the party to the Mountain Pass. If, for some reason, Zorru is no longer in the grove, you can simply head over to the pass for the next objective.
Make your way to the Mountain Pass where you will see githyanki soldiers going up against human soldiers. A dragon then swoops in and attacks the humans. You can then approach the band of soldiers and talk to Voss. Lae’zel will then talk to Voss to guide her to the location of the crèche, but Voss declines and instead focuses on searching for an artifact; the same artifact that Shadowheart holds.
You have the option to reveal the artifact to him or keep it in secret, to which you have to do a Persuasion check (DC 10) to make Voss believe that Lae’zel is taking your party as captives (Lae’zel herself follows this check up with a Deception check which has a high chance of failing due to her low Charisma). If you fail or choose to reveal the artifact, you will then be left to fight the other soldiers as Voss flies off.
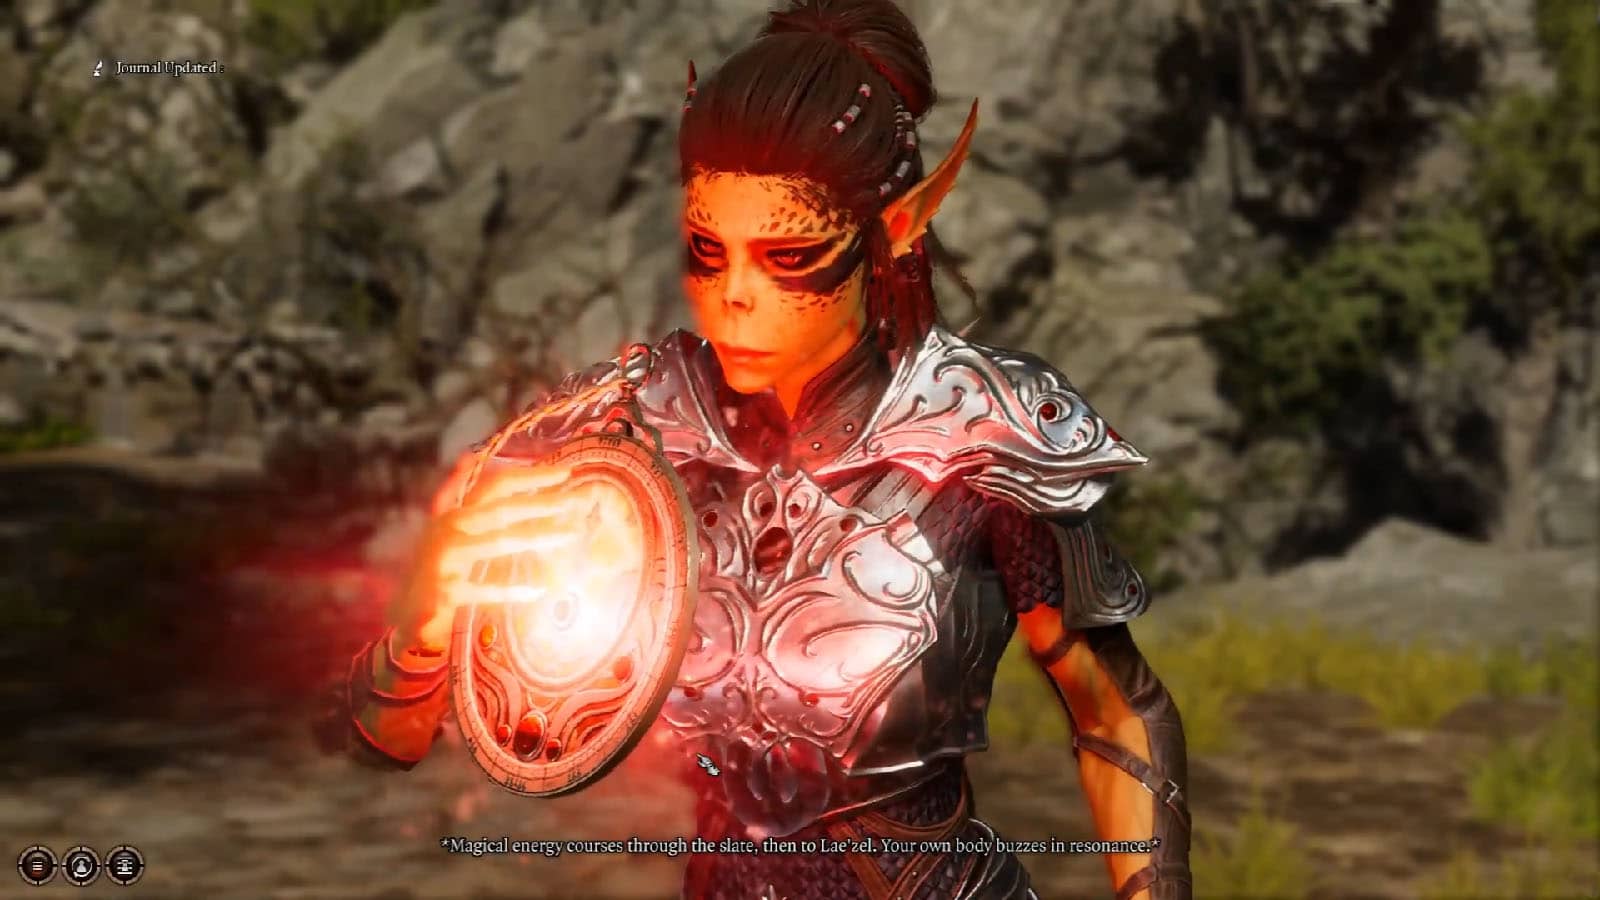
After defeating the soldiers, you can search one of them to find the Elaborate Plate that would give you more clues on where to find the crèche.
If you push further through the bridge, you will be stopped by a voice. If you haven’t seen it yet at this point, and if you have Shadowheart in the party, Shadowheart will use the artifact against the voice to dispel it.
Continue making your way towards the Rosymorn Monastery where the crèche is rumored to be. As you get to the monastery entrance, you will find some githyanki escorting captured cultists back into the monastery. Make your way through the monastery and you will eventually end up in the Crèche Y’llek up north.
Inside the crèche, you will be halted by the githyanki guards. You can try to reason with them or go against them, or you can simply let Lae’zel talk to them and choose the option to be able to wander inside the crèche peacefully. Check the east side first where you will find the quartermaster who sells gear and other items.
Blood of Lathander detour
At this point, you will need to head west to the infirmary for the main quest, but if you spent time in the Rosymorn Monastery to find the Dawnmaster’s Crest, you would be able to do the Find the Blood Lathander quest that could bypass the objective that involves the infirmary. You can head north, engage and defeat the Inquisitor right away in the Inquisitor’s Chamber, and find a secret entrance that would lead to the legendary weapon.
Choosing the option to not use the crest and just grab the weapon will activate a mechanism that will destroy the entire crèche, but you can simply use the crest, get the weapon, and use the weapon for the fight ahead.
Go to the Crèche Infirmary
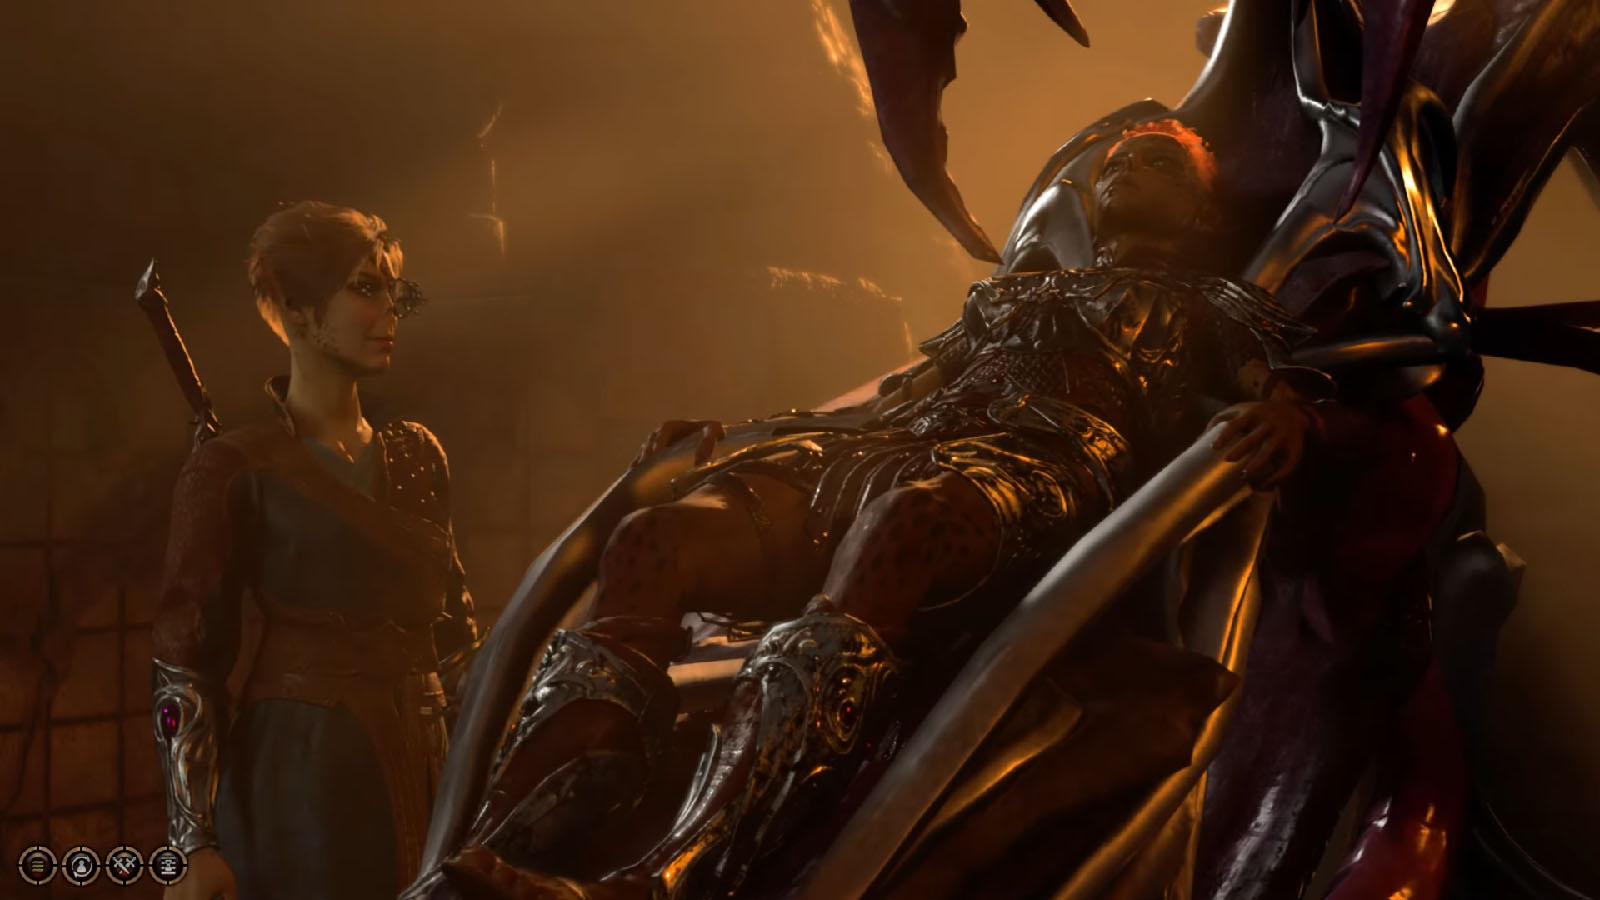
Once you get to the infirmary, talk to Ghustil Stornugoss. Go through the dialogue and choose the option to use the zaith’isk which is the device that will supposedly remove the parasite. You can then either go first or have Lae’zel go first on the machine.
If you try to go first, you will have to pass several checks, first an Intelligence check (DC 12), a Wisdom check (DC 15) and another saving throw. If you let Lae’zel go first, you can go for any of the checks, or you can encourage her to keep enduring the pain. Regardless of who goes first or which option you go for, the parasite will overload the zaith’isk and make it explode, but whoever is using it will be fine.
You can then talk to Lae’zel after the explosion and have the option to suggest that something might be wrong with the machine; doing so will affect the outcome of the fight later on. Lae’zel then decides to report the incident to the Inquisitor as she suspects that the zaith’isk has been tampered with.
Report to the Inquisitor
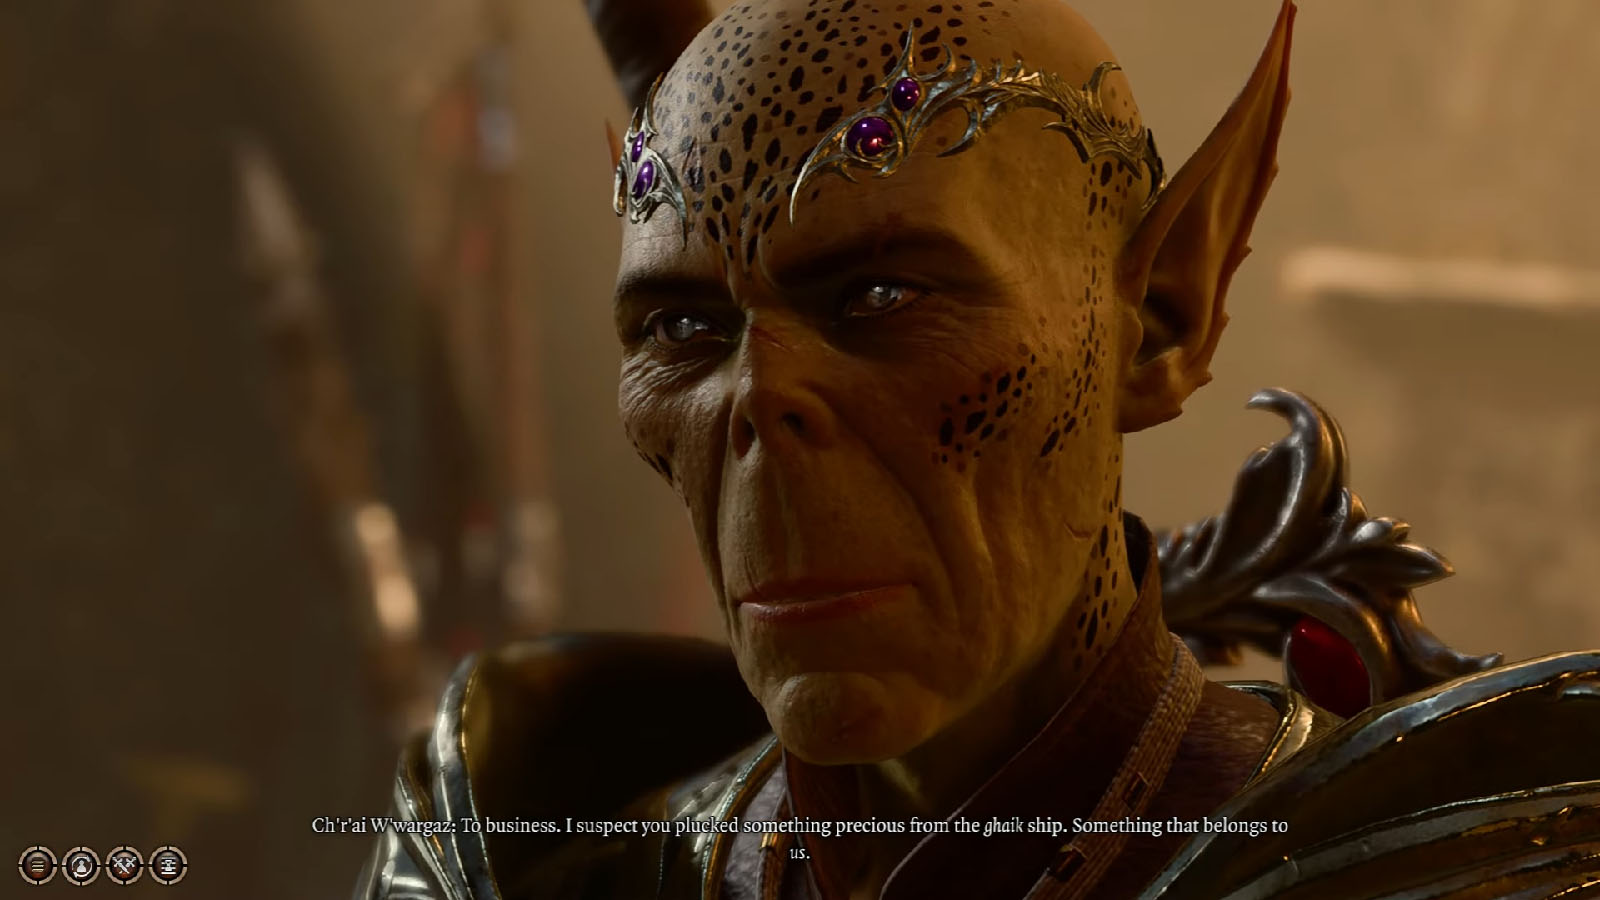
Head back to the main hall and then take the north path to reach the Inquisitor’s Chamber. Here, you will have a dialogue with Ch’r’ai W’wargaz, the Inquisitor. During your dialogue, you will have the option to reveal the artifact to them, which is called the Astral Prism, or refuse to hand the artifact to them.
Reveal the artifact
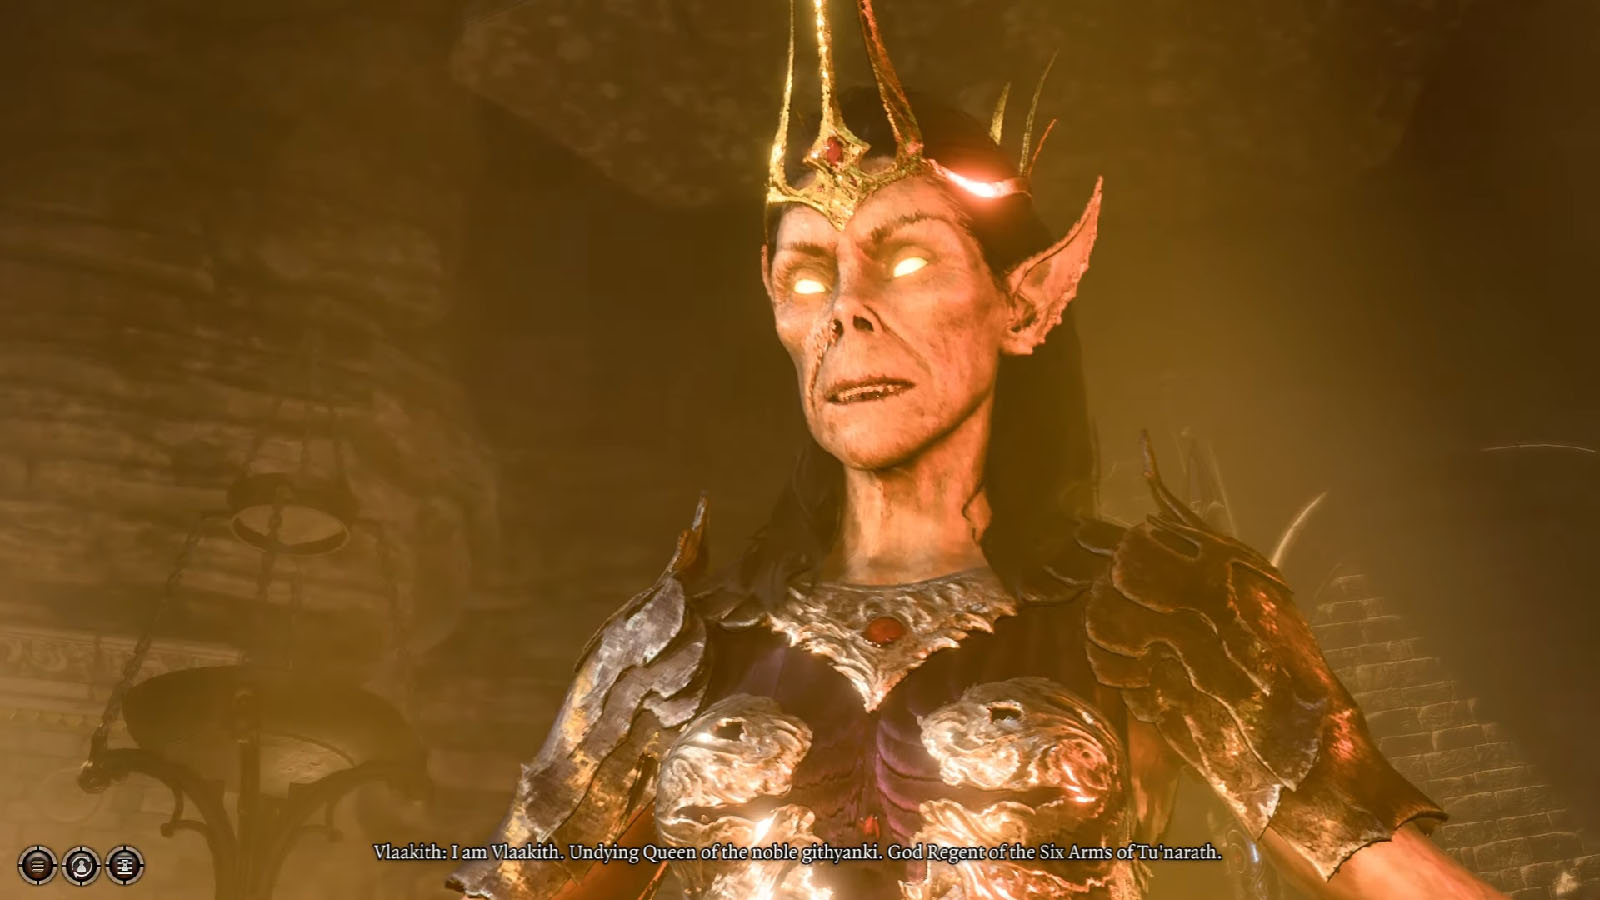
If you reveal the artifact, you can then place it at the receptacle and then Vlaakith will appear before you. She will then explain as to why they were searching for the Astral Prism and why it is acting strange. Vlaakith then demands that you kill the being that has entered the realm inside prism and in exchange, she would purify you from the parasite.
Obeying Vlaakith, you then travel into the pocket dimension within the prism. There, you meet the Dream Visitor which resembles the NPC embodying your ideal lover that you created at the start of the game, which also serves as the manifestation of the parasite. The Dream Visitor then explains their side, that they are actually the ones helping you from the voice of the Absolute and preventing you from transforming into a mind flayer. They also reveal that Vlaakith has a secret and will have you killed once you get back to the material realm.
The Dream Visitor then materializes a blade and gives you the choice to obey Vlaakith and kill them, or spare them and take their side. If you try to kill the Dream Visitor, you will find out that they are actually unkillable which will make them wary of you, otherwise you can spare them instead. Whichever option you take, you will then return to the material realm afterwards.
Refuse to give the artifact
If you refuse to give the artifact, Vlaakith will then have the Inquisitor kill you. Depending on your choice whether or not you convinced Lae’zel that the zaith’isk was tampered, she will either stay as an ally or fight along with her kin.
You will still have to face the Inquisitor regardless of whether or not you tried to kill the Dream Visitor in the astral realm as Vlaakith has already ordered for your execution.
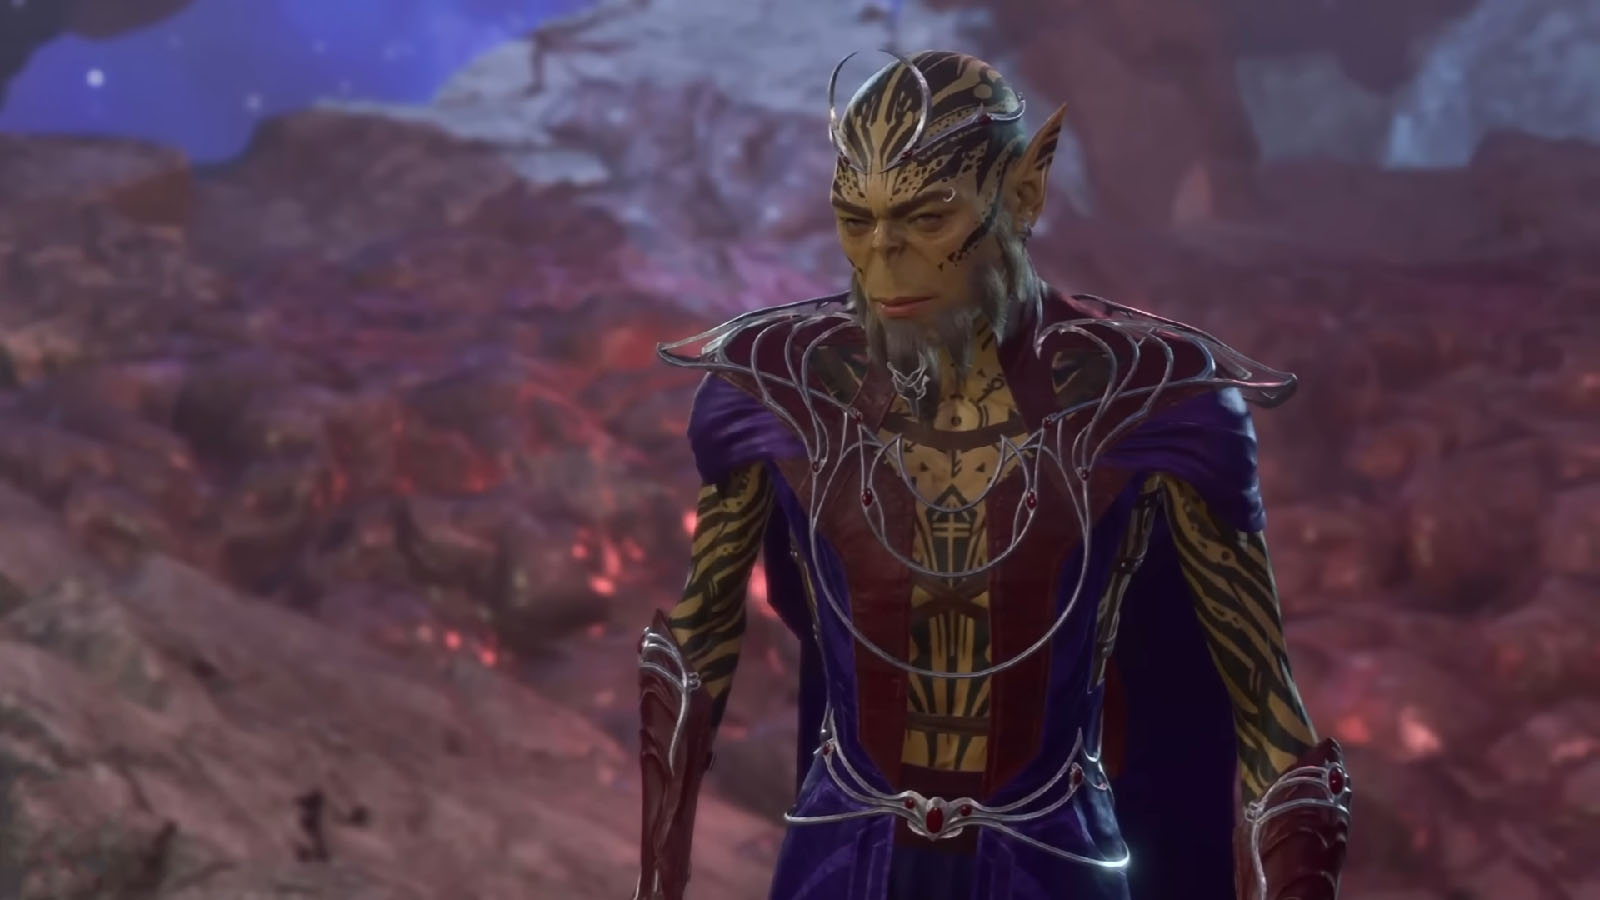
Meet Kith’rak Voss at Sharess’ Caress in Baldur’s Gate

As you continue on to your journey, Kith’rak Voss will visit your camp. He plans to go against Vlaakith and he will offer his help upon learning that the artifact is in your possession. He will also reveal that the zaith’isk was not meant for purification, and he also reveals that Vlaakith’s goal is to use githyankis who have ascended and take their power to use it for her own and reach godhood.
Accept the offer and Kith’rak will invite you to meet him over at Sharess’ Caress at Baldur’s Gate to talk more about the details of his plan.
Once you arrive at Sharess’ Caress, you will find that Kith’rak is talking to Raphael. He is pleading Raphael to help him save the githyankis, but the devil refuses. They then notice your arrival and Kith’rak pleads that you must take on Raphael’s deal to save Orpheus, the son of Gith.
You can then talk to Raphael about the deal. He proposes to give you the Orphic Hammer right away, a weapon that can be used to free Orpheus from his chains, in exchange of giving the devil the Crown of Karsus once you defeat the Netherbrain.
You can choose to accept this offer and get the Orphic Hammer right away (and get Raphael’s post credits scene/ending), or you can decline this offer all together. Should you decline, you still have the option to go into the House of Hope and steal the hammer instead; this entails a boss fight against Raphael. You can also accept the deal to get the hammer, and venture into the House of Hope to destroy your contract if you wish.
Free Orpheus
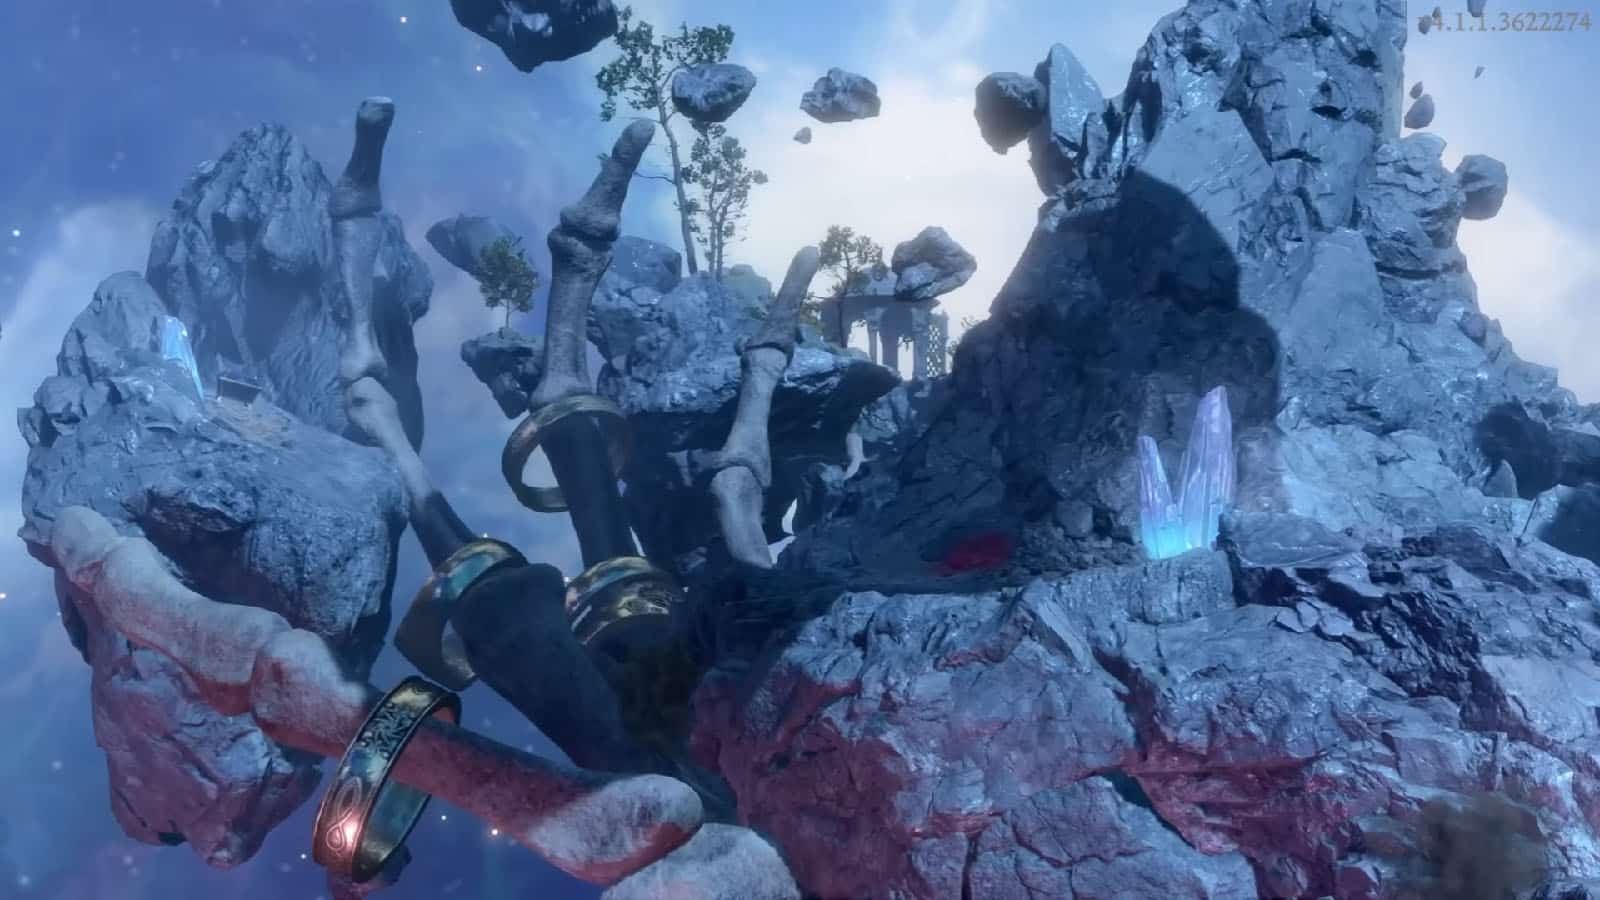
After talking to Kith’rak and telling him about obtaining the hammer, you will then have to find another opportunity to get inside the Astral Realm. With the guidance of The Emperor, you will need to take on a different quest that involve hunting down the Chosen: Ketheric, Orin, and Gortash. Kill them to get their netherstones, and then make your way to the Morphic Pool to confront the Netherbrain.
As you try to dominate the Netherbrain, it will prove itself to be too powerful for you. The Emperor will then appear just in time to save you before it whisks you back into the Astral Realm. From here, you will see the dome where Orpheus has been imprisoned. You can choose to talk to the Emperor, in which you will have the option to go on to his plans of assimilating Orpheus to be more powerful than the Netherbrain, or you can choose to betray the Emperor and save Orpheus. You can also skip the Emperor and just use the Orphic Hammer to break one of the red crystals that holds Orpheus.
Choosing to free Orpheus will make the Emperor leave you to take the side of the Netherbrain instead.
Defeat the Netherbrain
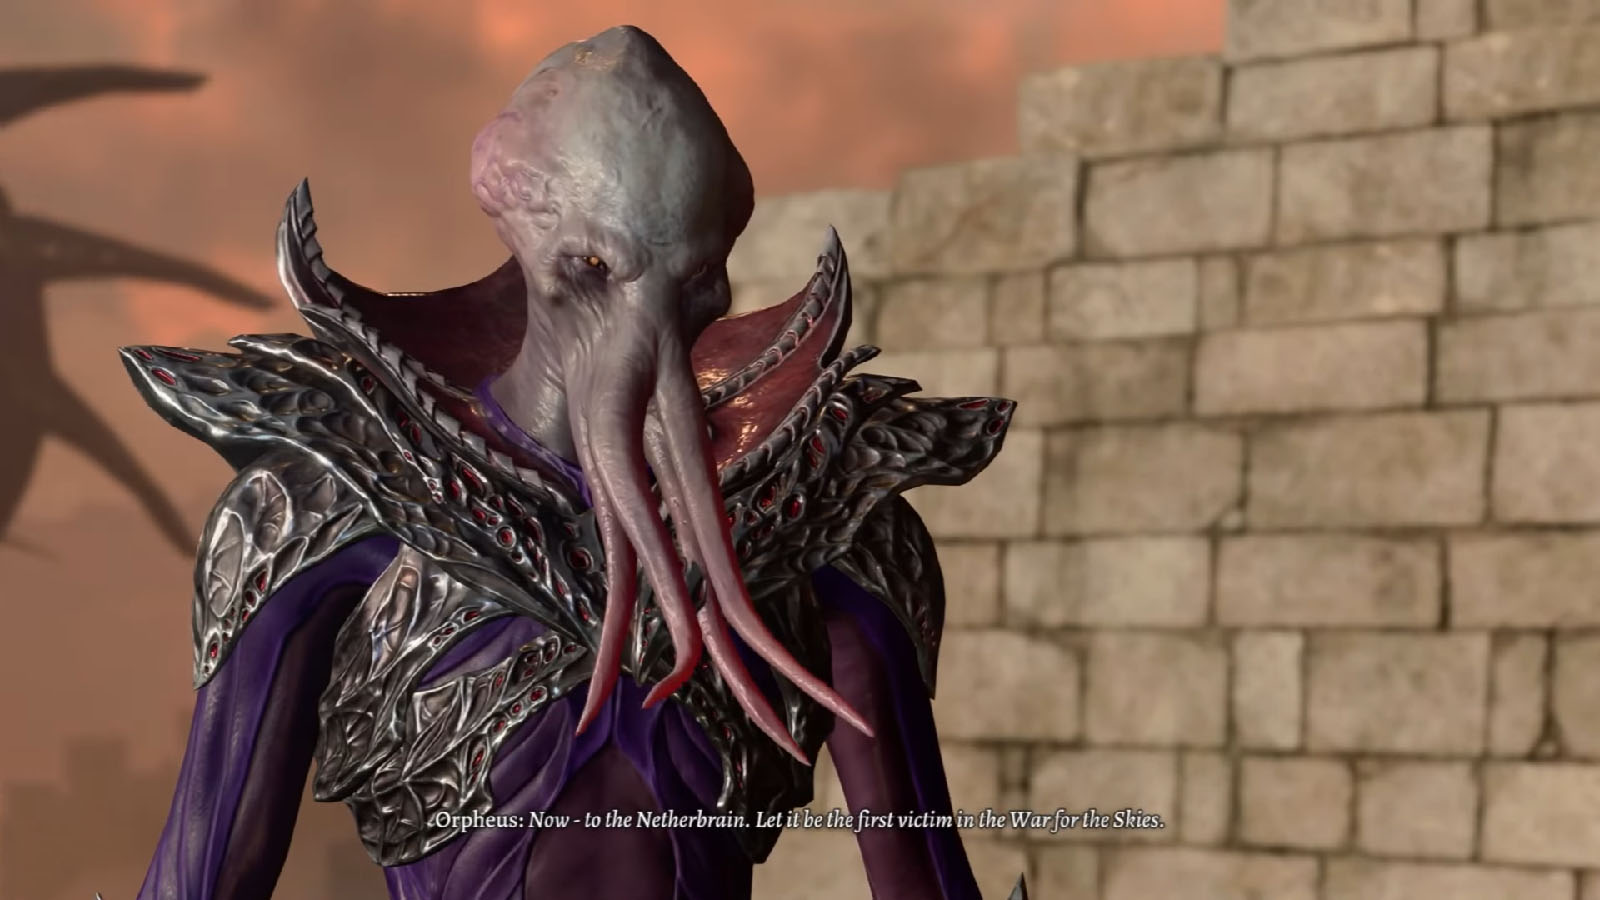
Now that Orpheus is free, he senses that the Netherbrain has gained so much power due to having the Crown of Karsus for so long. He then proposes a solution where one should become a mind flayer to be capable enough to stand against the Netherbrain with the help of the netherstones.
Depending on who you have on the party, you will have the option to have one of them turn into a mind flayer, especially Karlach who presents herself willingly. There is also the option to become a mind flayer, or your can persuade Orpheus himself to become one. Whichever you decide, you will then face against the Netherbrain in a battle.
Once the Netherbrain has been defeated, you will have slightly different endings depending on the steps you took and howclose you are to Lae’zel. Orpheus will then assign Lae’zel as the leader of the revolution against Vlaakith, to which you can persuade her to stay or simply let her lead the githyankis. Afterwards, Orpheus will then ask for you to end him as he already has turned into a mind flayer; you can choose to kill him or persuade him that he should live for his people. After all the dialogues, the companion quest will be complete.
BG3: Lae’zel Personality and Preferences
Lae’zel is a fierce paladin who is very loyal to her goddess Vlaakith, even thinking that she is being put to the test when Vlaakith is already punishing her. She is also direct, militaristic, and approves of any violent decisions. If you are speaking to any githyanki, there will be an option to let her speak, and it usually ends up beneficial for your party to let her do so. Lae’zel can be tough to please on a heroic playthrough because she disproves most of the good deeds.
Lae’zel is also romanceable and to gain her approval, you will need to always have her in the party or in dialogues. Following her companion quest and taking her side or supporting her through the decisions will have the greatest impact in earning her favor.
BG3: Lae’zel Stats
Lae’zel is a Barbarian with a Soldier background. She is a Githyanki which gives her traits such as Martial Prodigy and Astral Knowledge. She has the following base stats:
- Str: 17
- Dex: 13
- Con: 15
- Int: 10
- Wis: 12
- Cha: 8
- Initiative: +1


