
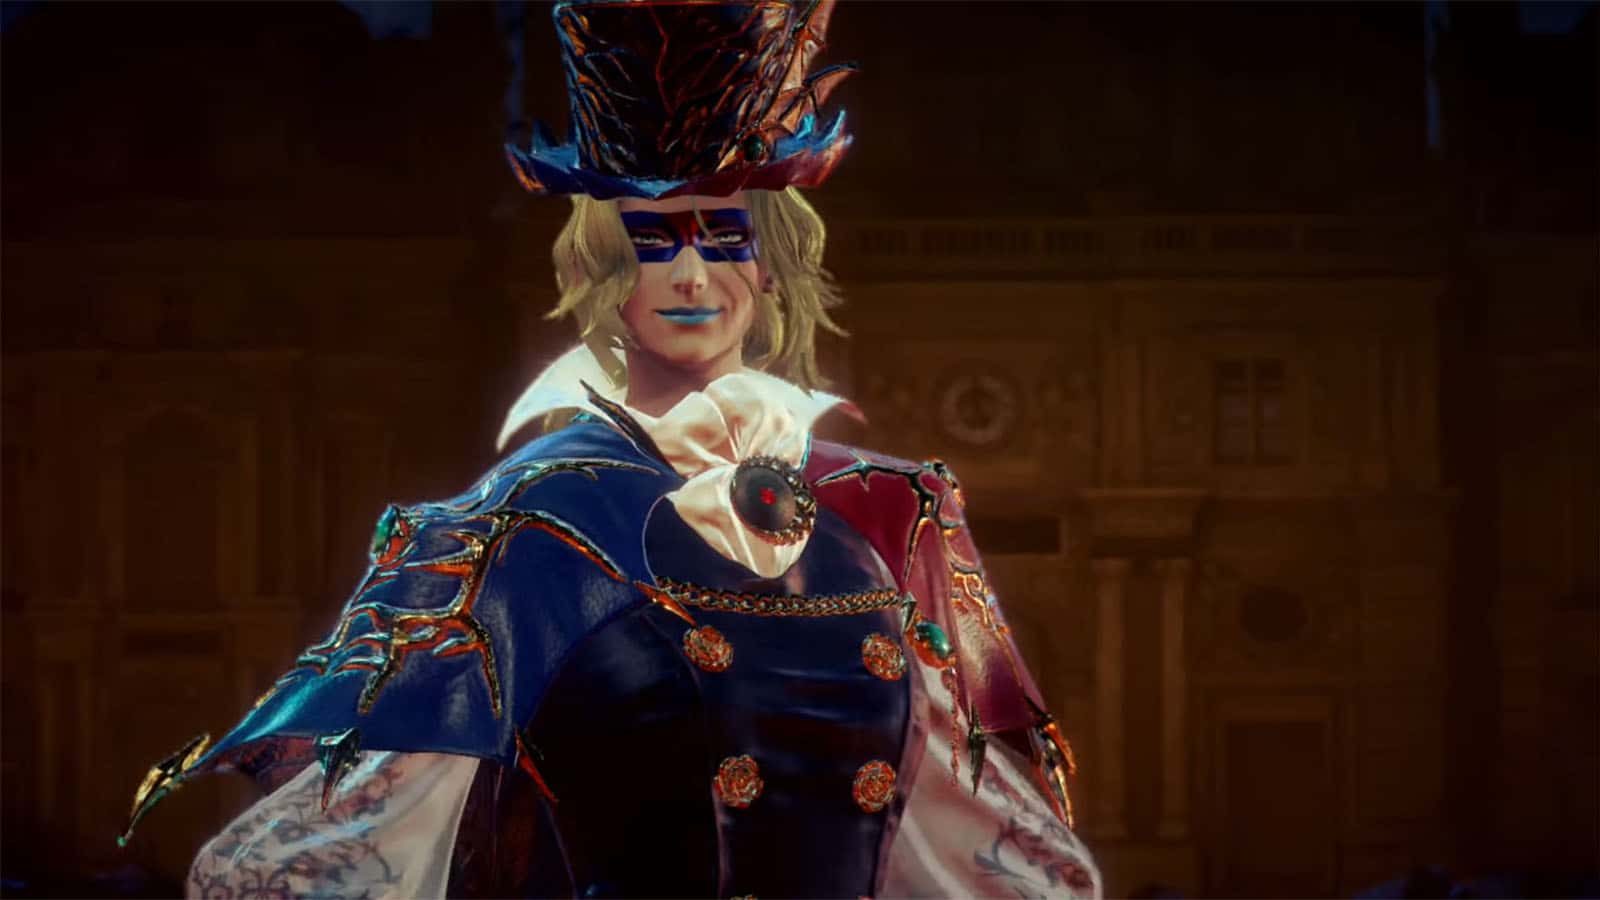
The Edge of Madness is the twelfth chapter in Bayonetta 3 where Bayonetta continues her search of a Chaos Gear in the streets of Paris. She eventually bumps into another version of herself who is out to get revenge for her mother.
In this guide, we will go through Chapter 12: The Edge of Madness, listing along any collectibles as well as Bewitchments that can be acquired in the chapter.
See previous Bayonetta 3 Walkthrough Chapter 11 - A Familiar Dance
Chapter 12 – The Edge of Madness Objectives and Collectibles
- Paris: 1st Arrondissement
- Bewitchment #1
- Verse #1 / Broken Moon Pearl #1
- Figure Box #1
- Verse #2
- Figure Box #2
- Verse #3
- Figure Box #3
- Umbran Tears of Blood – Crow
- Umbran Tears of Blood – Toad
- Card Pack #1
- Verse #4
- Broken Witch Heart #1
- Umbran Tears of Blood – Cat
- Figure Box #4
- Verse #5 / Broken Witch Heart #2
- The Gates of Hell
- Echoes of Memory #1
- Figure Box #5
- Verse #6
- Bewitchment #2
- Card Pack #2
- Verse #7
- Bewitchment #3
- Verse #8
- Bewitchment #4
- Verse #9
- Bewitchment #5
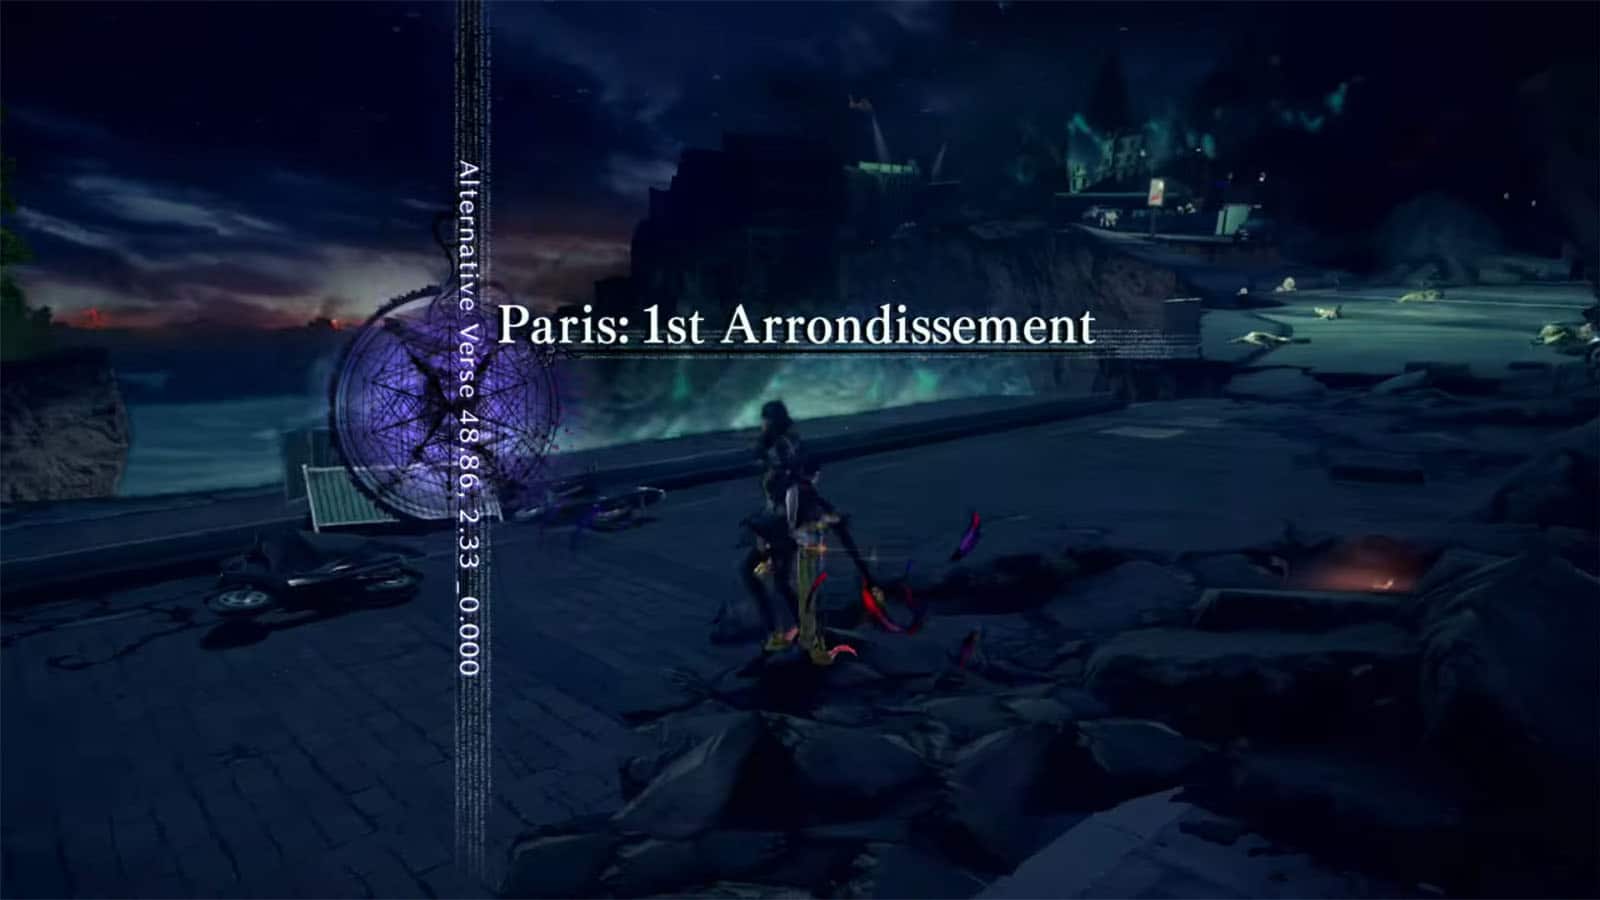
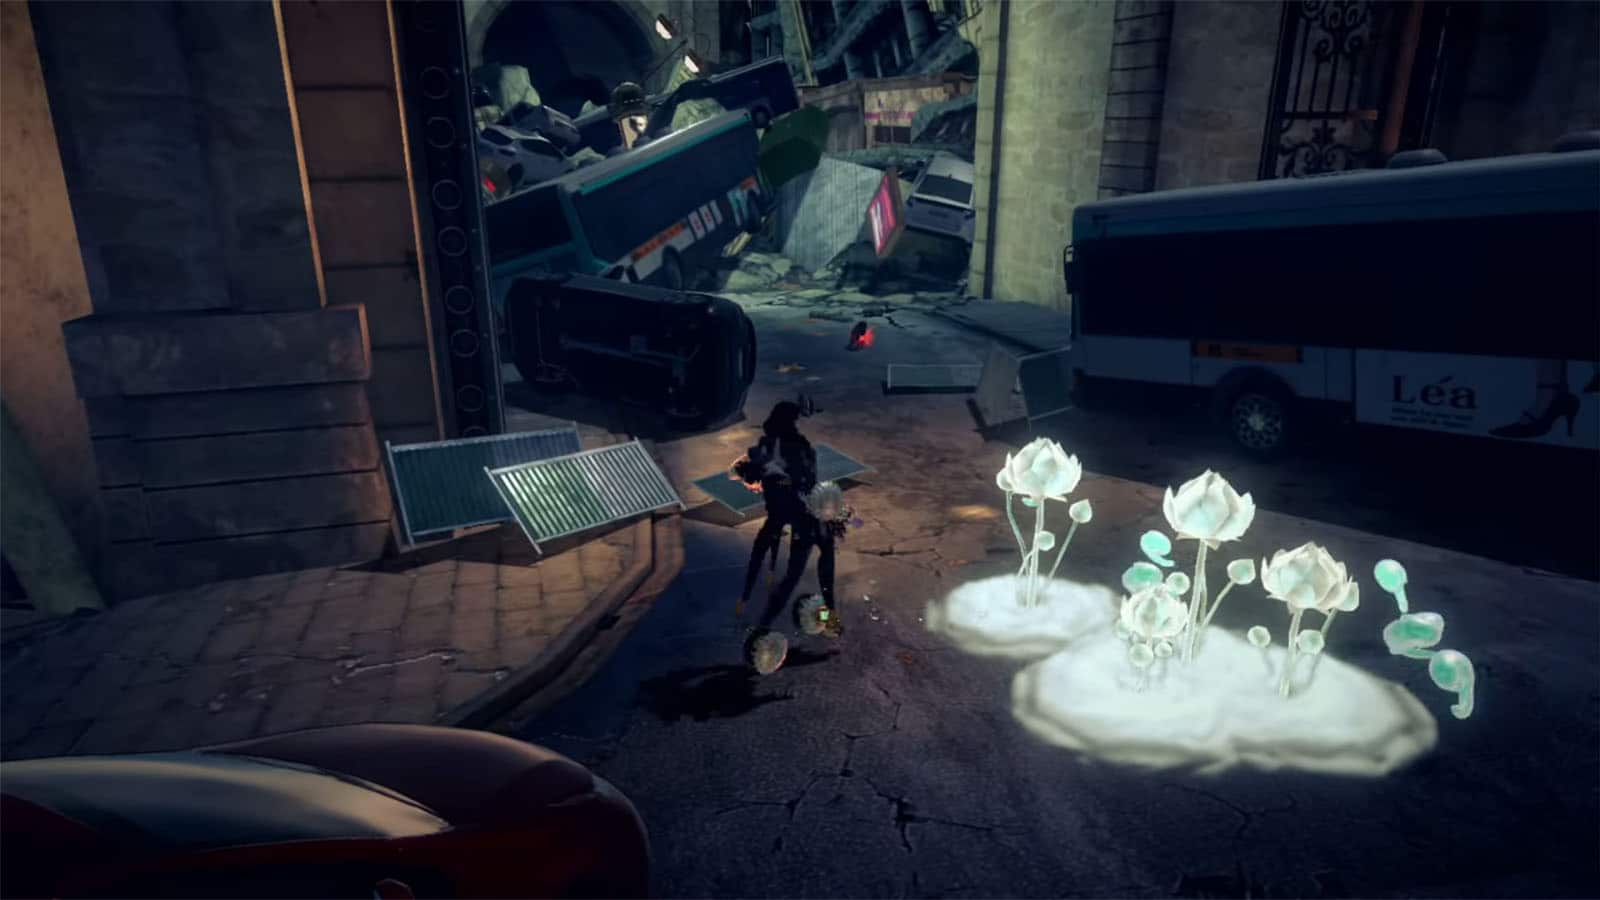
Paris: 1st Arrondissement
Still following the story as Bayonetta, we arrive at another location in Paris. Take the time to check the skills of your new summon and weapon before proceeding.
Bewitchment #1
There are a number of busses that you can destroy in the area to get the Destroy 5 buses Bewitchment.
Verse #1 / Broken Moon Pearl #1
From the starting point, turn around to find the verse portal. In this challenge, you can only summon the Umbran Clock Tower. Use its different levels to take on the segments until you defeat the homunculus. You’ll be rewarded with a Broken Moon Pearl after the fight.
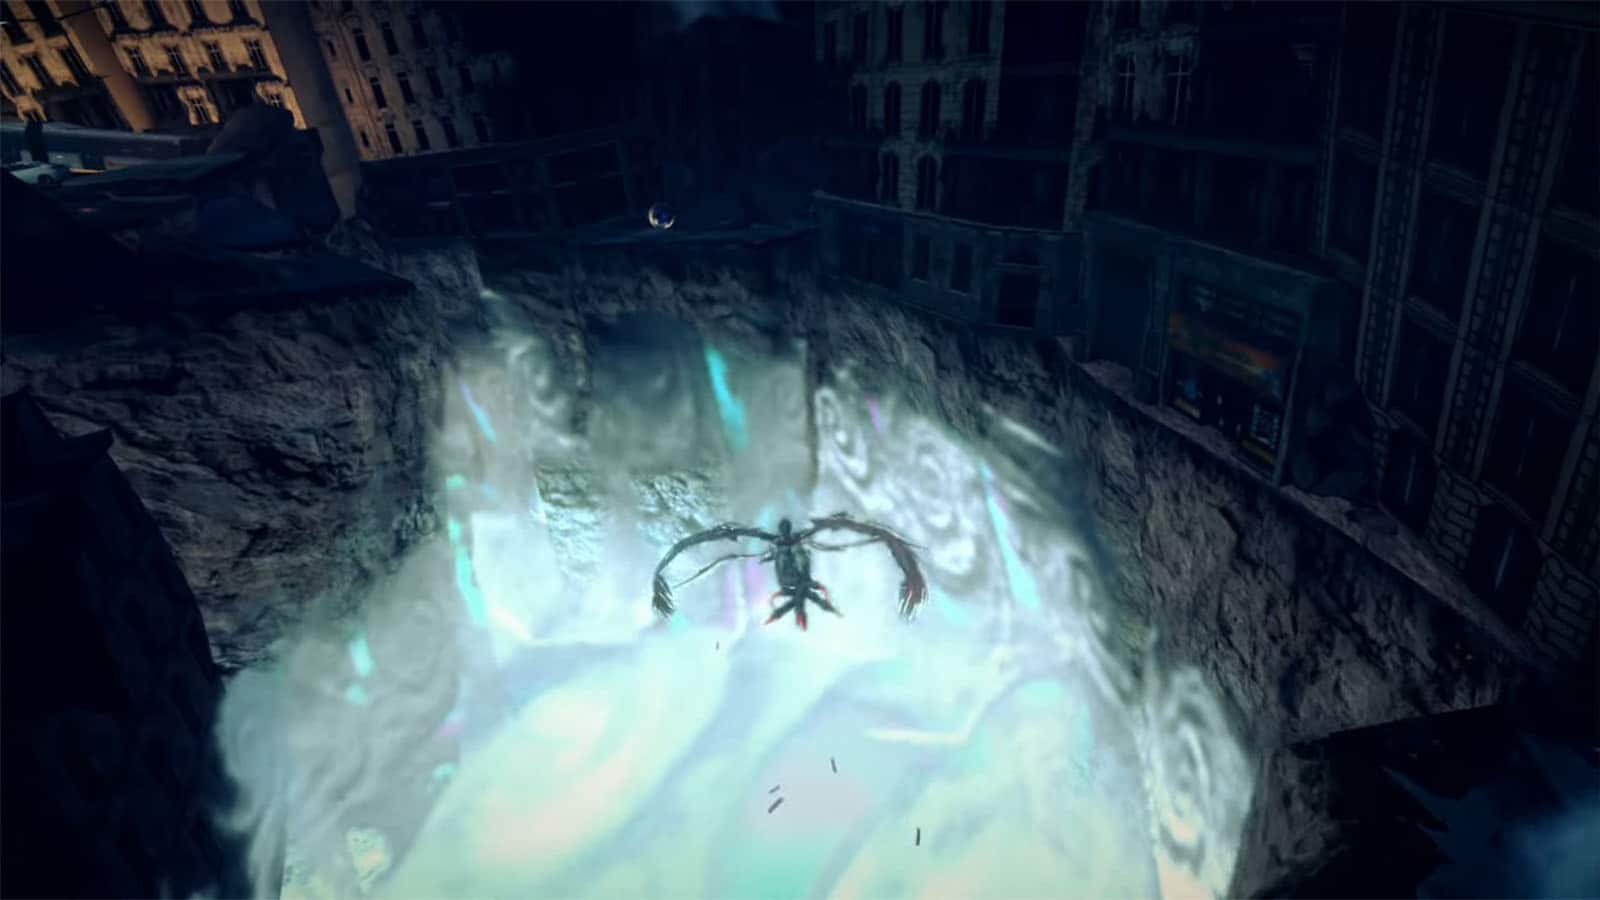
Figure Box #1
Move towards the hole on the ground and jump across it to get the figure box.
Verse #2
Jump back to the main path to trigger the next verse. Clear the enemies to proceed.
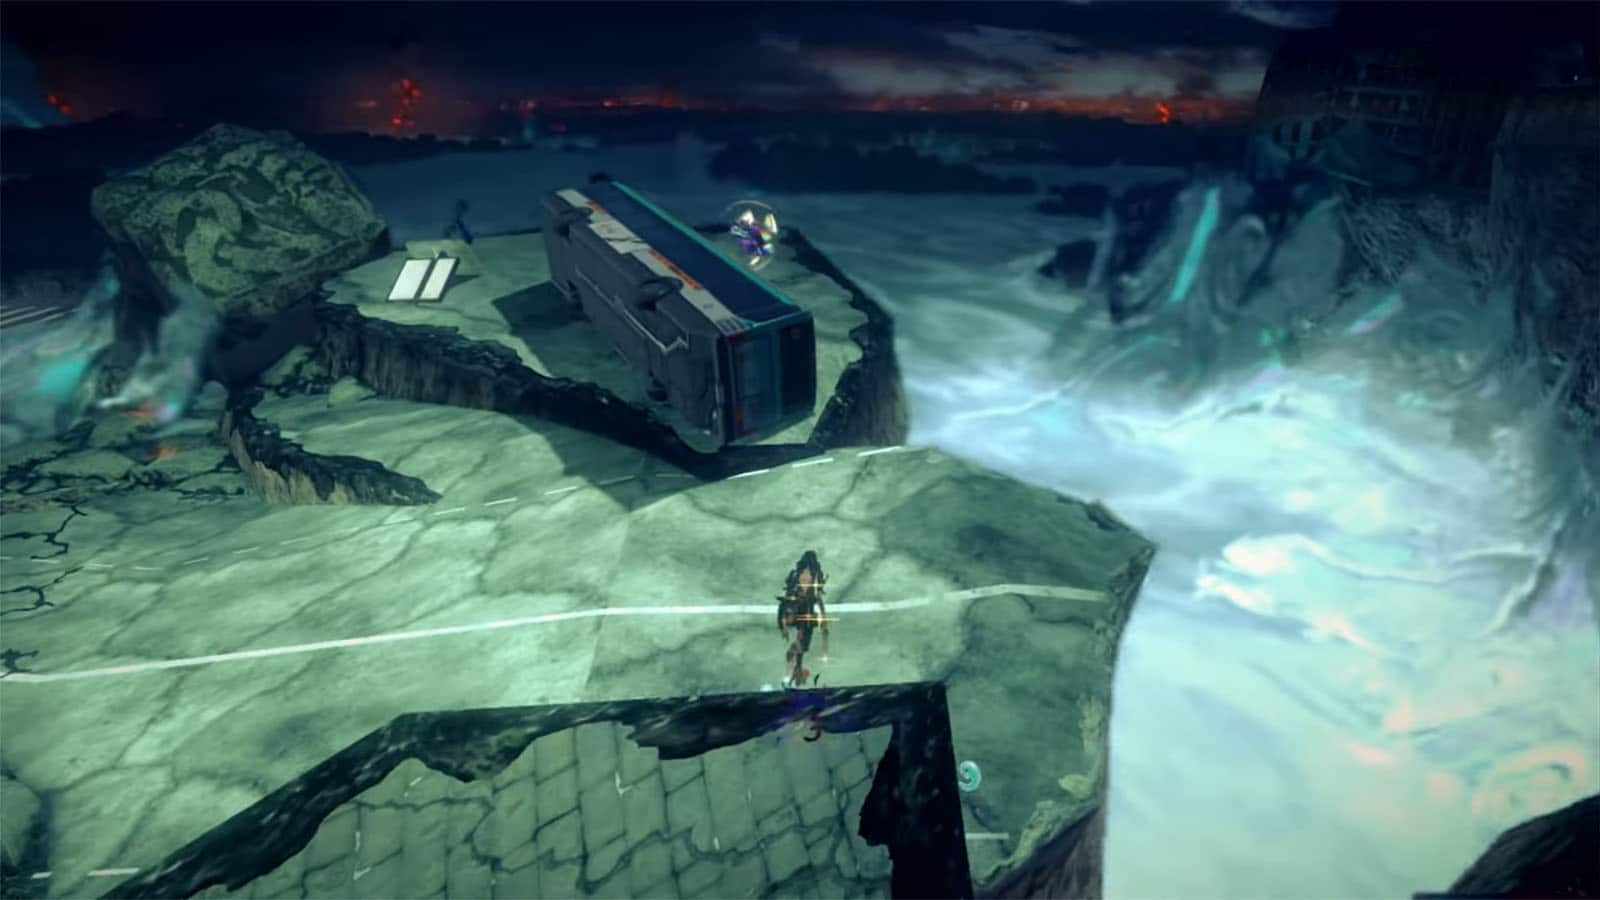
Figure Box #2
Up ahead near the overturned bus is the next figure box.
Verse #3
Right up the ramp from the previous verse, instead of heading left to the main path, turn right on the small alleyway to arrive at Verse #3. You’ll be fighting another angelic enemy that’s more powerful than the previous ones. Clear it out to proceed.
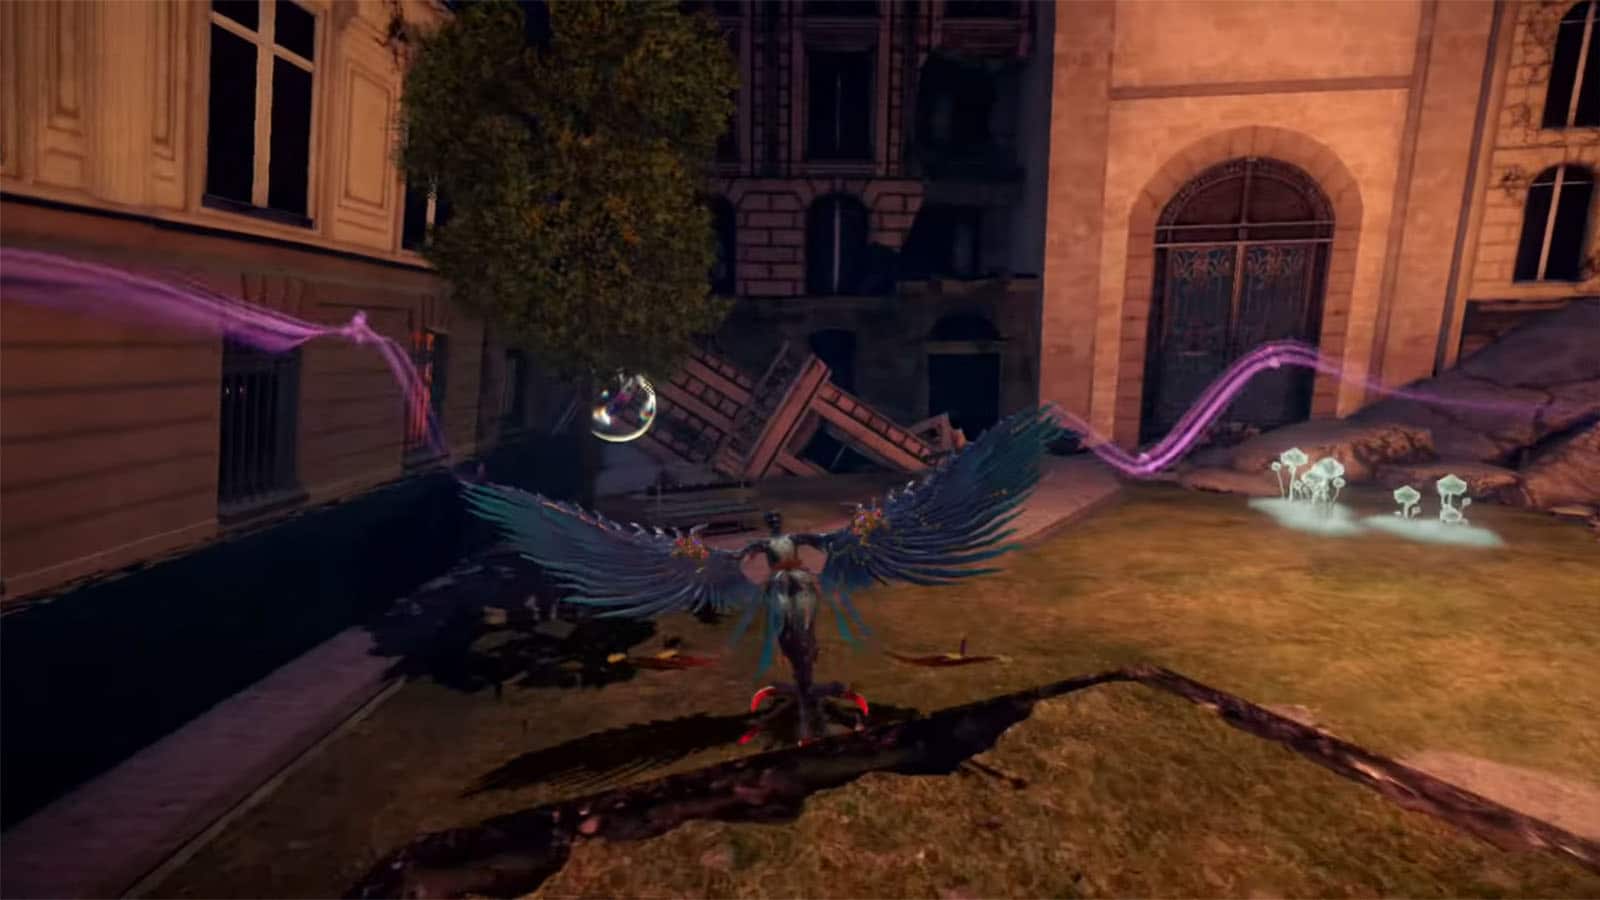
Figure Box #3
In the same area of the previous verse, go to the corner near a tree to find another figure box.
Umbran Tears of Blood – Crow
You can also find the crow within the same area perched on top of some rubble. It will fly towards one of the buildings through its window, so you can simply wait there to intercept it.

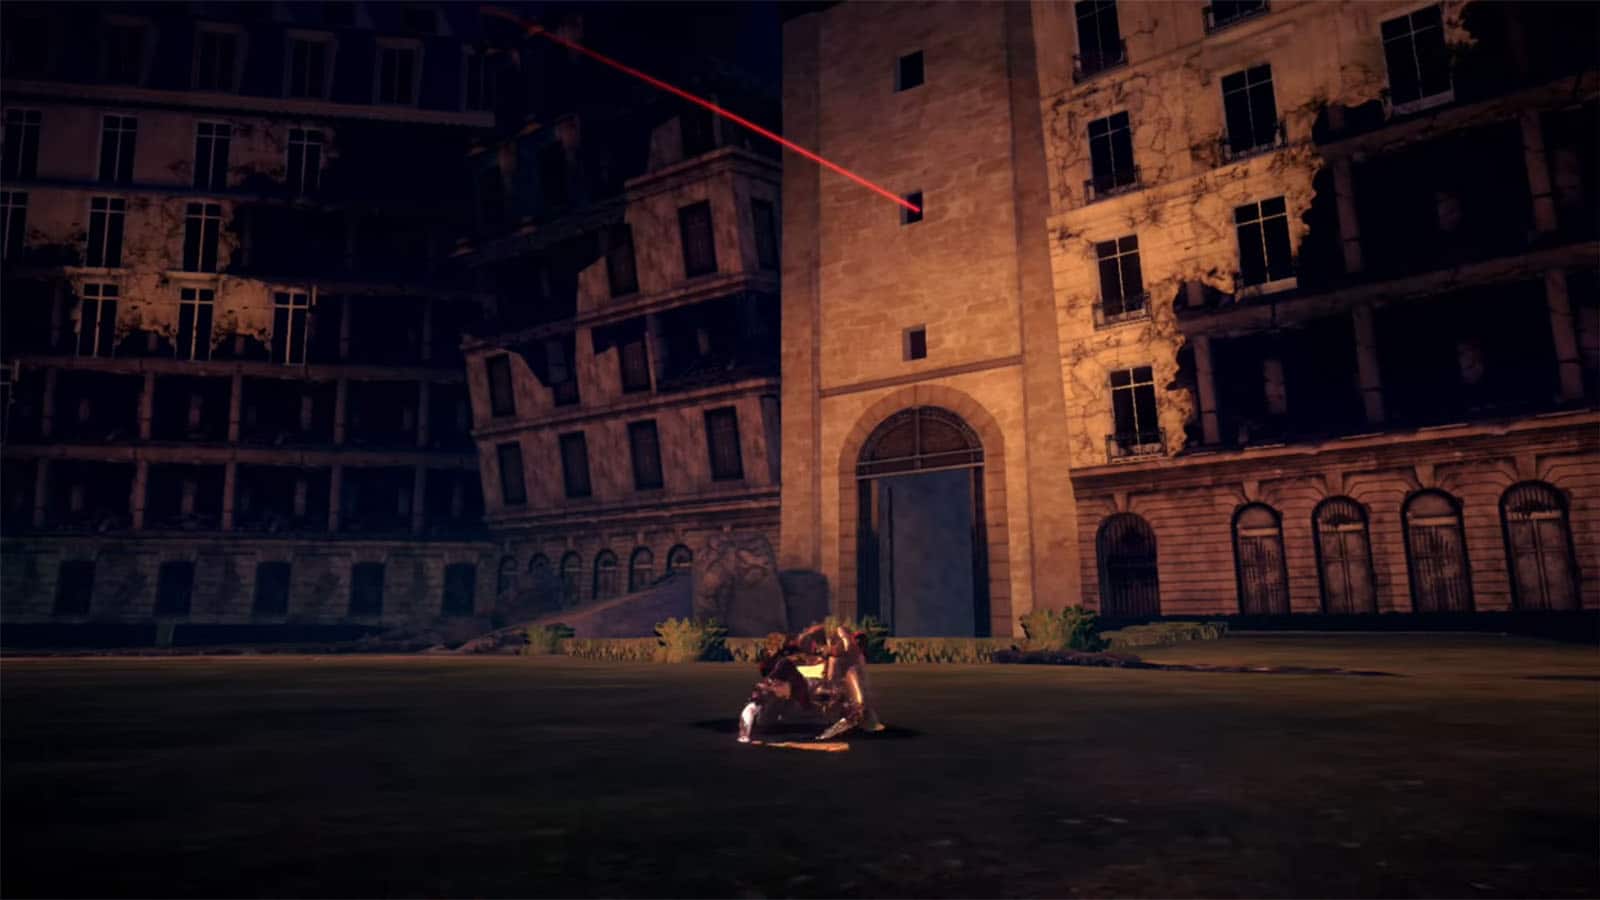
Umbran Tears of Blood – Toad
Head back out into the main path and just past the bodies of soldiers, look down to the left cliff to find a fallen building. Use the outcropping to get to the building and look behind the debris on the roof to find the toad.
Card Pack #1
Beside the entrance to the alley, break the garage door to find a card pack inside.
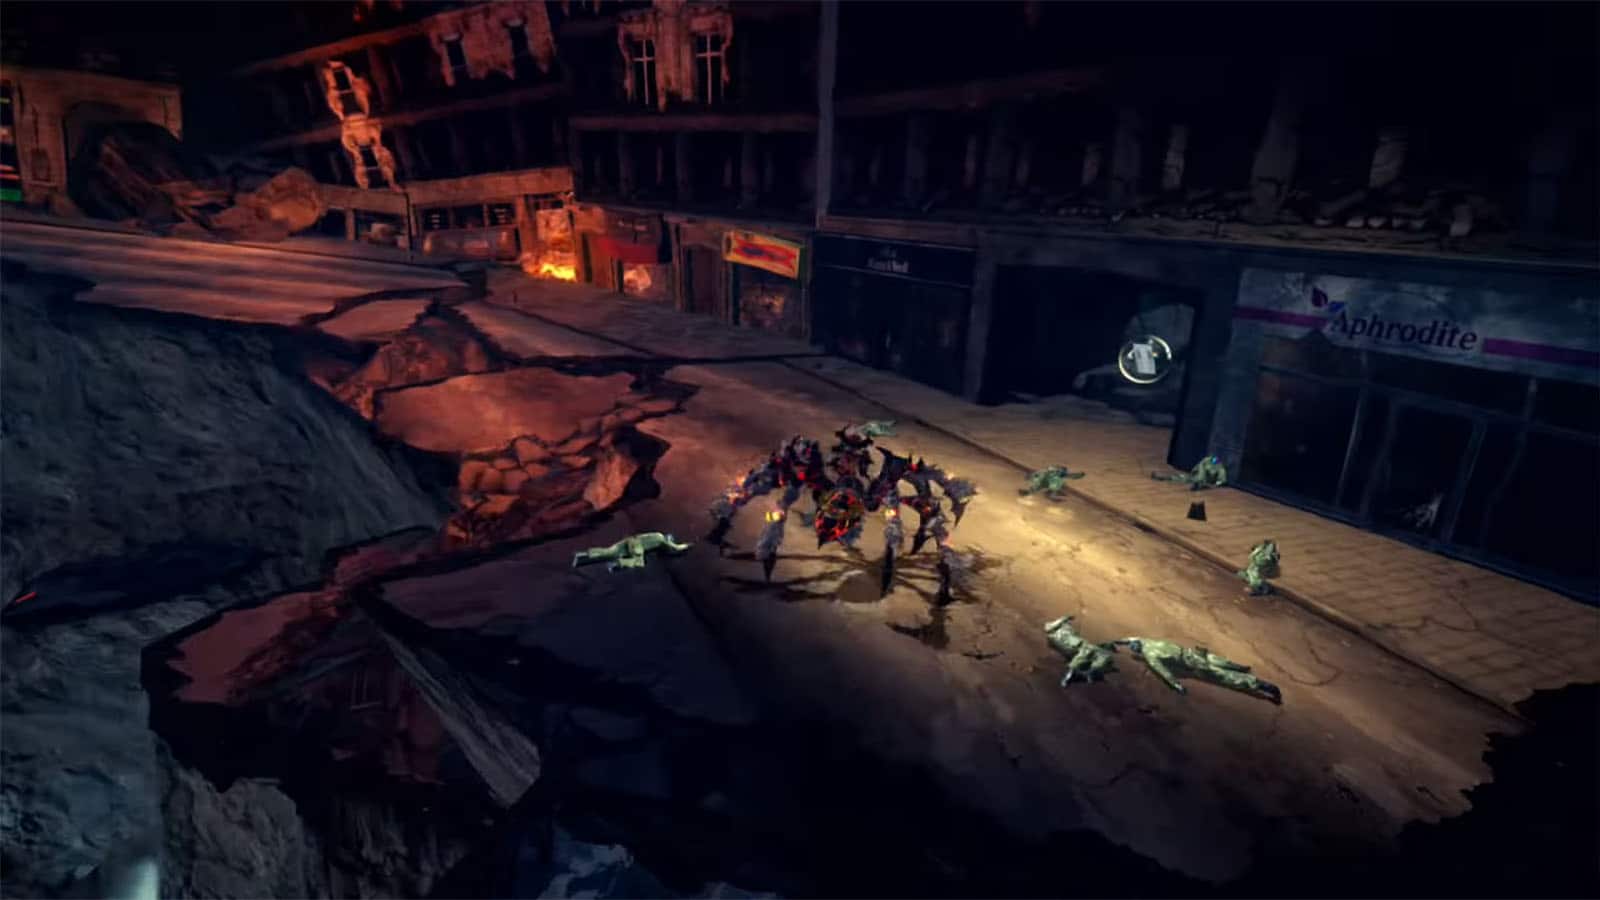
Verse #4
Continue moving towards the next open area to get into the next verse. You’ll be fighting against a Duplucatus which is another type of jellyfish homunculus. Compared to the previous variant, this enemy can just split on its own without getting attacked by demons. Clear it out to proceed.

Broken Witch Heart #1
Look down on the left side of the street again to find a relic that activates platforms that lead to another relic. Activate this relic to start a time trial. Grab all the pieces before the time runs out to get a Broken Witch Heart.
Umbran Tears of Blood – Cat
From the first relic on the previous time trial, make your way to the path on the right, then turn left on the tunnel to find the cat. You’ll have to break the vehicles inside the tunnel to be able to chase the cat down.
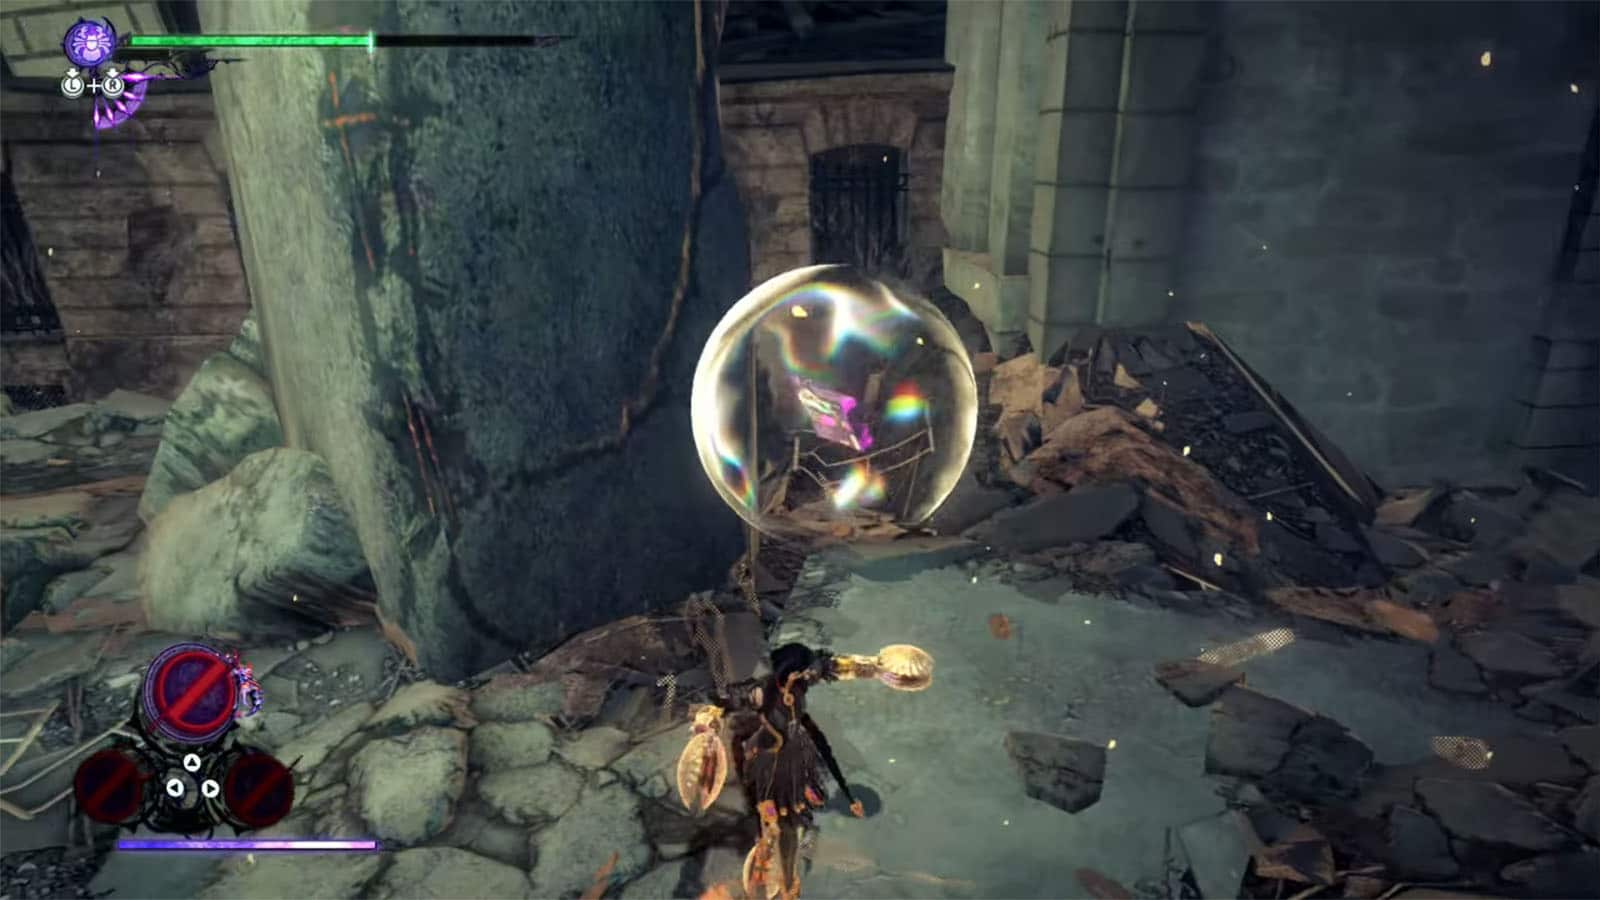
Figure Box #4
At the very end of the tunnel, break the police car propped behind the concrete slab to reveal the figure box.
Verse #5 / Broken Witch Heart #2
Head back to the main path, but before crossing under the arch, turn right to find the portal to the next verse. In this challenge, you cannot stand on the floor or get hit once by enemies. In order to stay aloft, you can jump on the tree enemies and continue gliding until the time runs out. Completing this will reward you with a Broken Witch Heart.
The Gates of Hell
Go to the arch where you’ll find the portal to Rodin’s. Take the time to buy some items or accessories.
Echoes of Memory #1
Check the debris behind Rodin’s portal to find the Echoes of Memory.
Figure Box #5
Just as you pass the arch, turn around to find the figure box floating above.
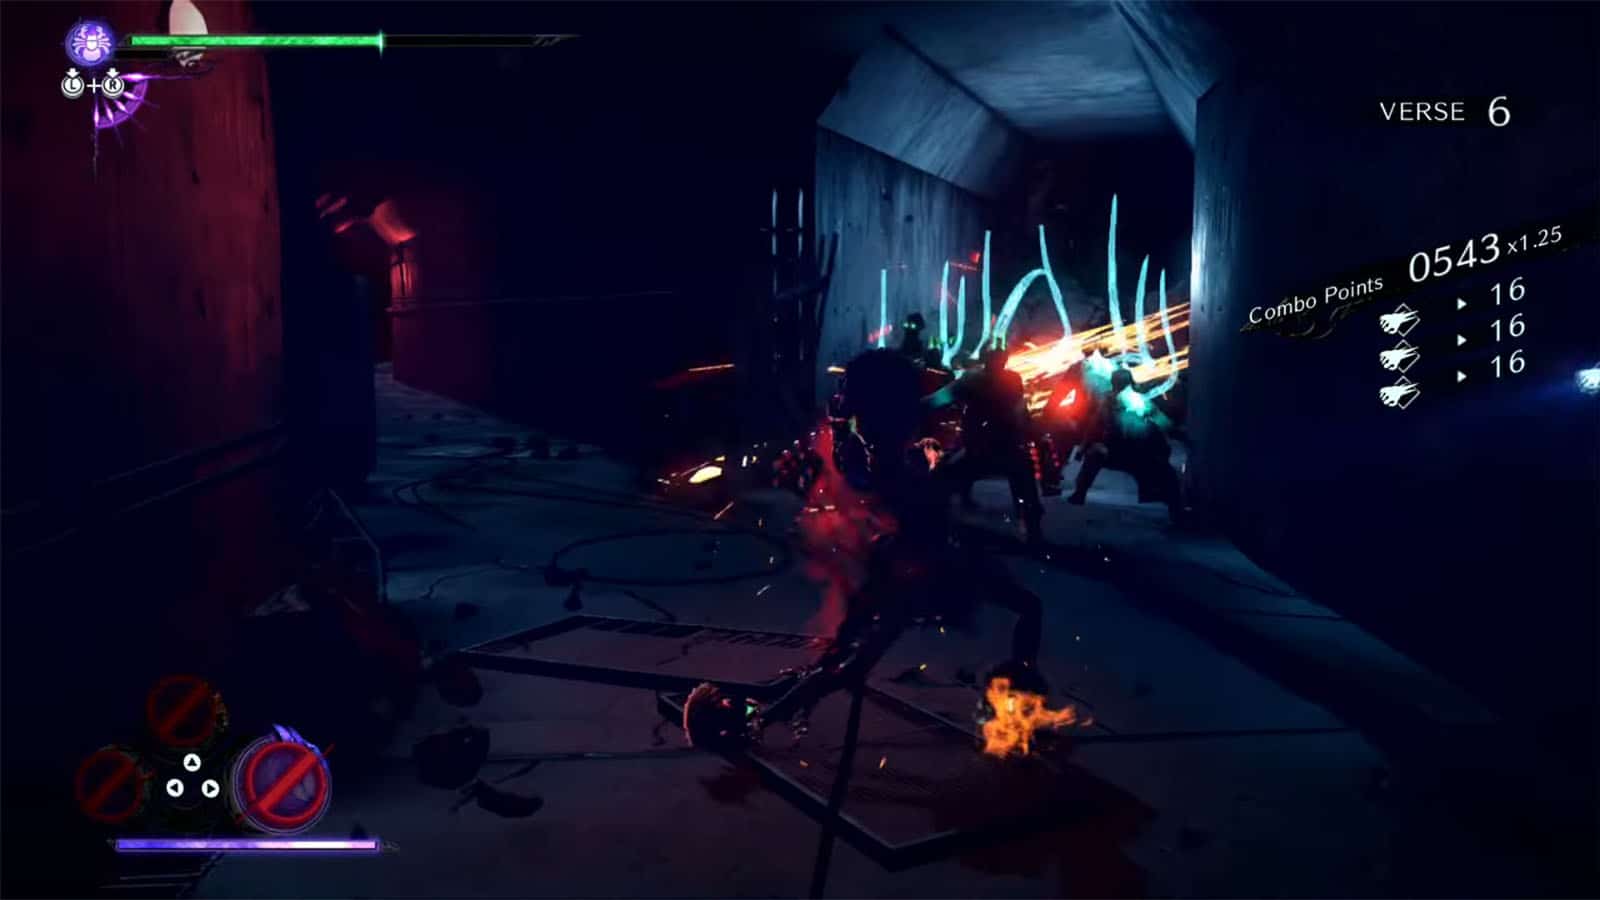
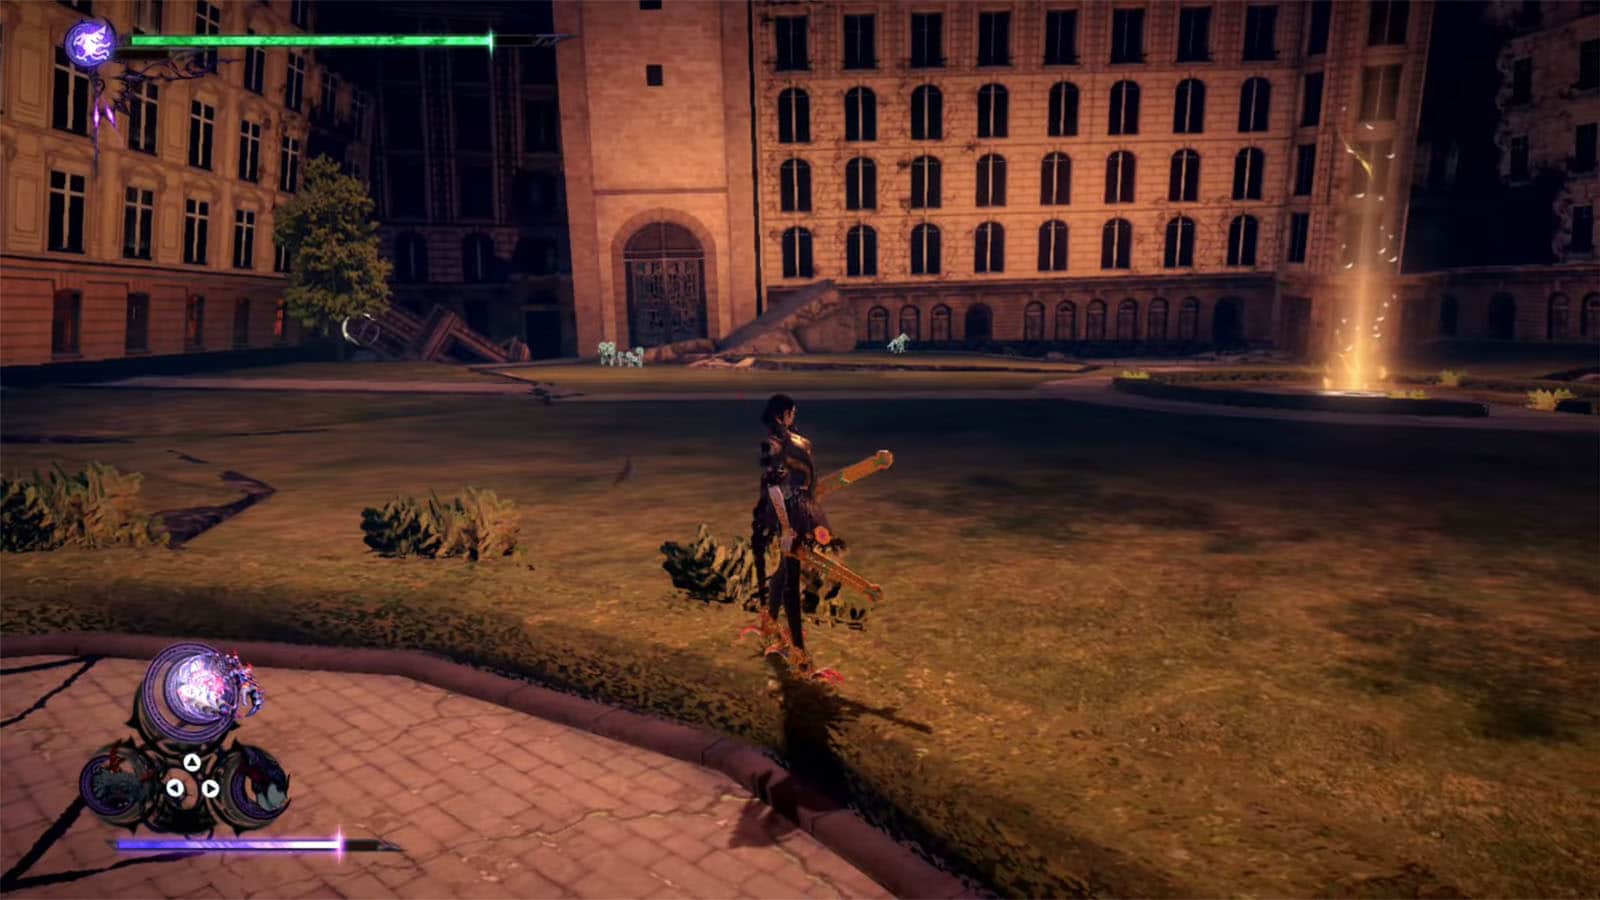
Verse #6
Go to the next area where a bunch of soldiers will get possessed by homunculi. Continue down into the tunnels where there are more enemies. Clear them out to proceed.
Bewitchment #2
Clear all of the enemies inside the tunnel, even those that are behind locked bars to earn the Defeat all enemies in the underground tunnel Bewitchment.
Card Pack #2
Inside the tunnel are possessed enemies behind a gate. Destroy the gate and the enemies, then check inside the area to find a card pack.

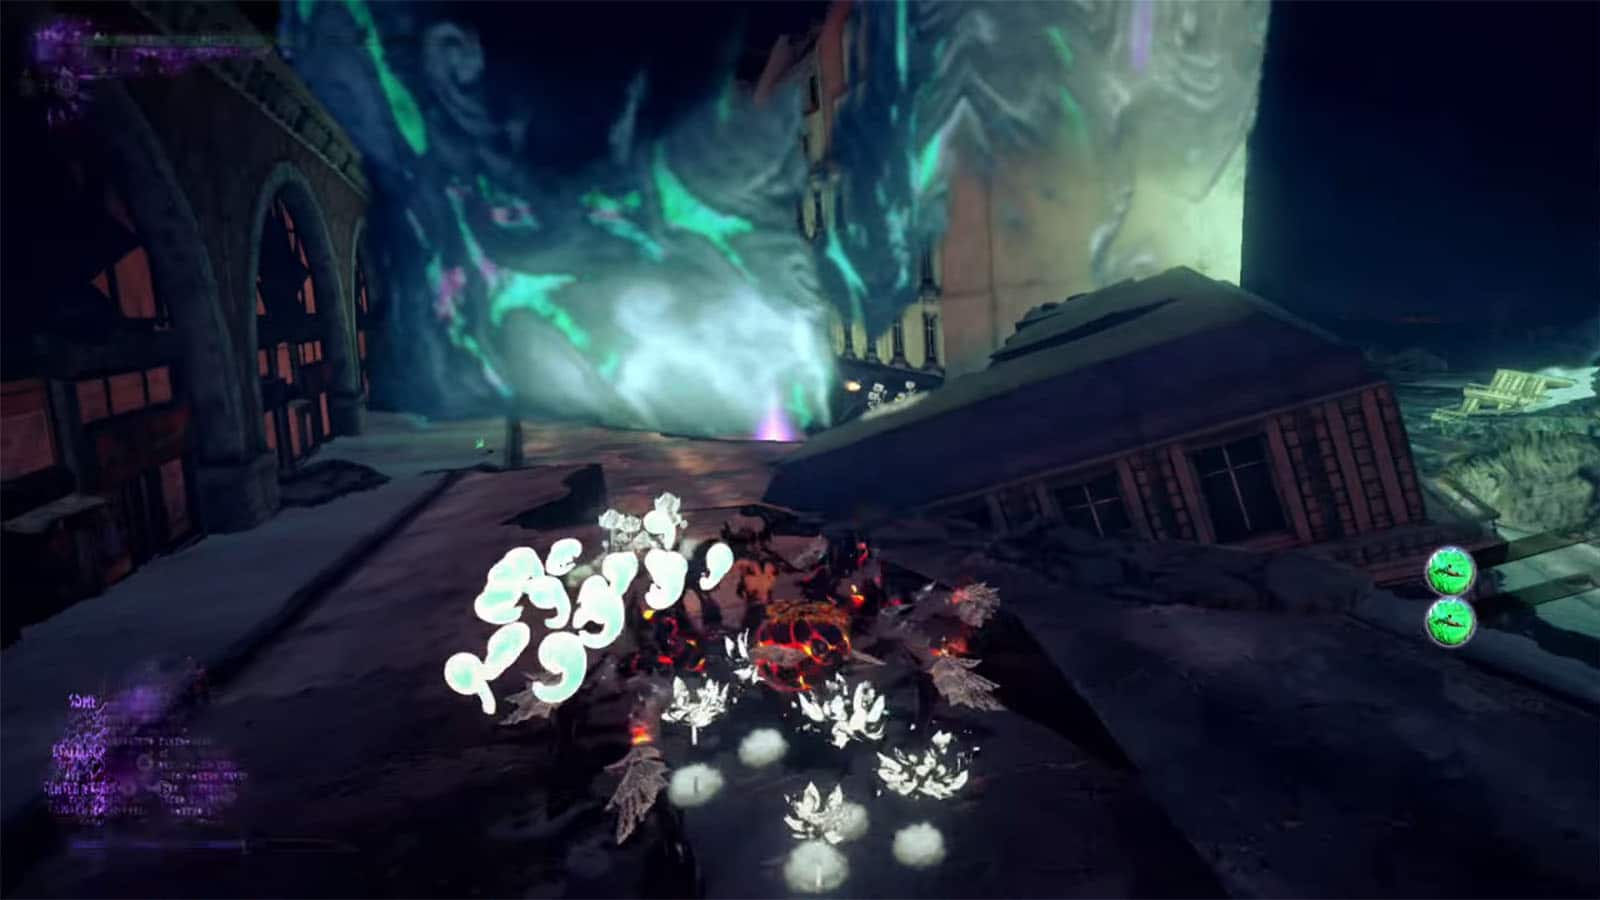
Verse #7
Once you get out of the tunnel, another cutscene will play showing the dancing possessed soldiers. You’ll then be riding Gomorrah as it destroys its way towards the next destination.
Bewitchment #3
Once Gomorrah reaches its climax, it will shoot out its atomic breath. Aim at one of the helicopters to bring it down and get the Knock down a helicopter while riding Gomorrah Bewitchment.
Verse #8
You’ll be fighting against another alt Bayonetta after a short dance off. The first phase of the verse is a one-on-one fight between the two Bayonettas. Take advantage of Witch Time especially against the devastating attacks.
Bewitchment #4
Make sure that you have Umbran Clock Tower equipped as one of your summons for this fight to get the Defeat this world’s Bayonetta with the Umbran Clock Tower equipped Bewitchment.
The second phase of this fight is against Mictlantecuhtli. Use your summons to fare against this other summon to clear the fight.
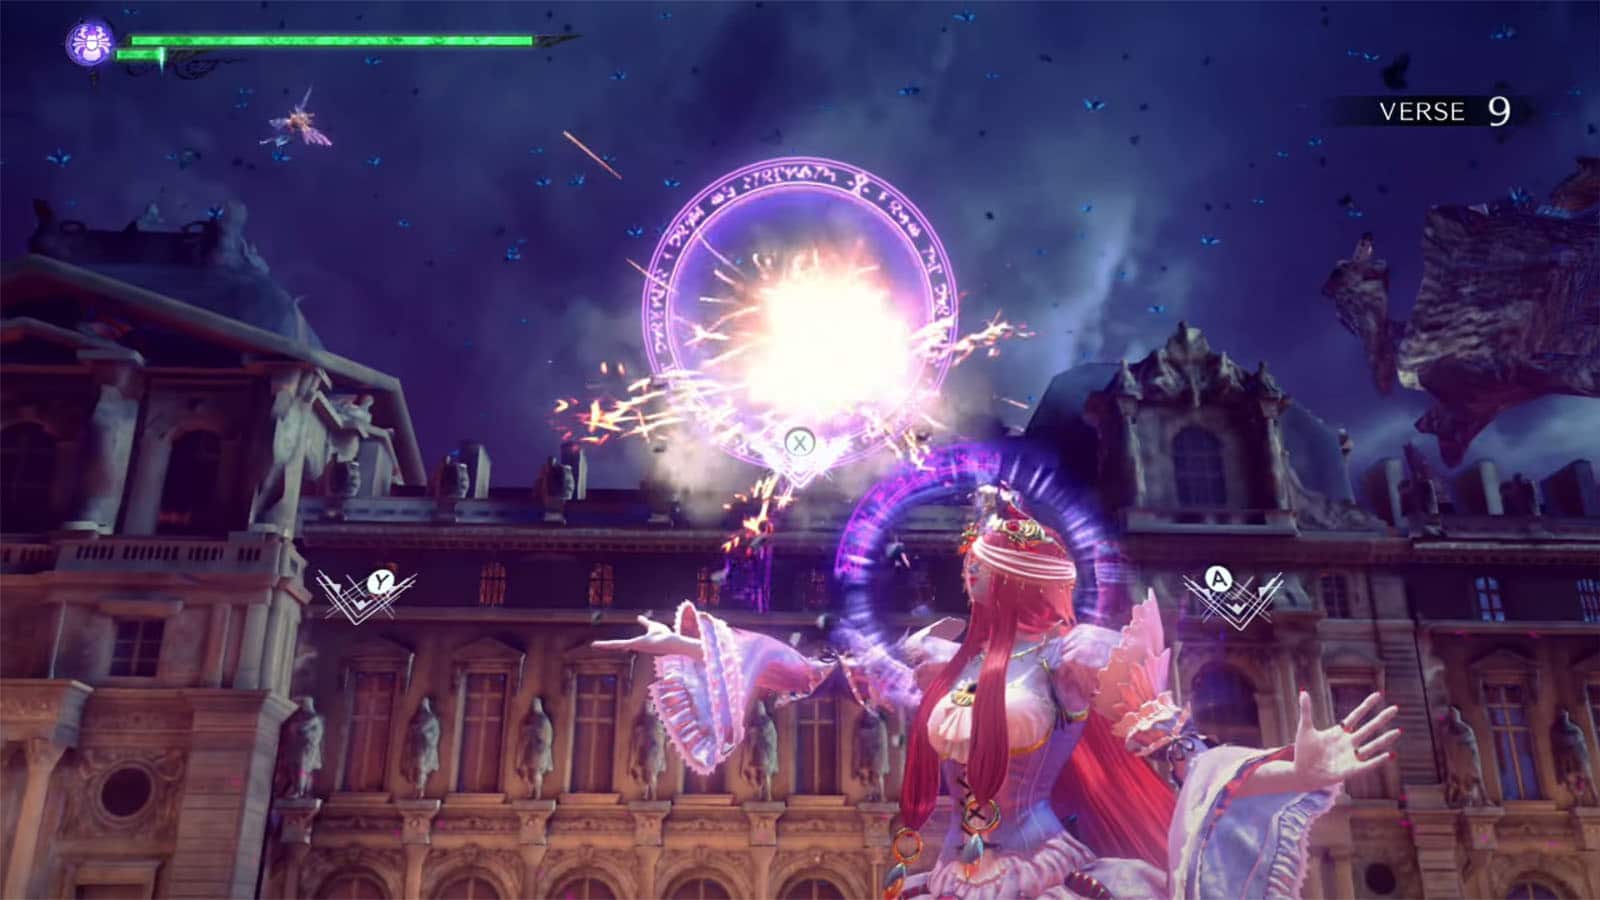
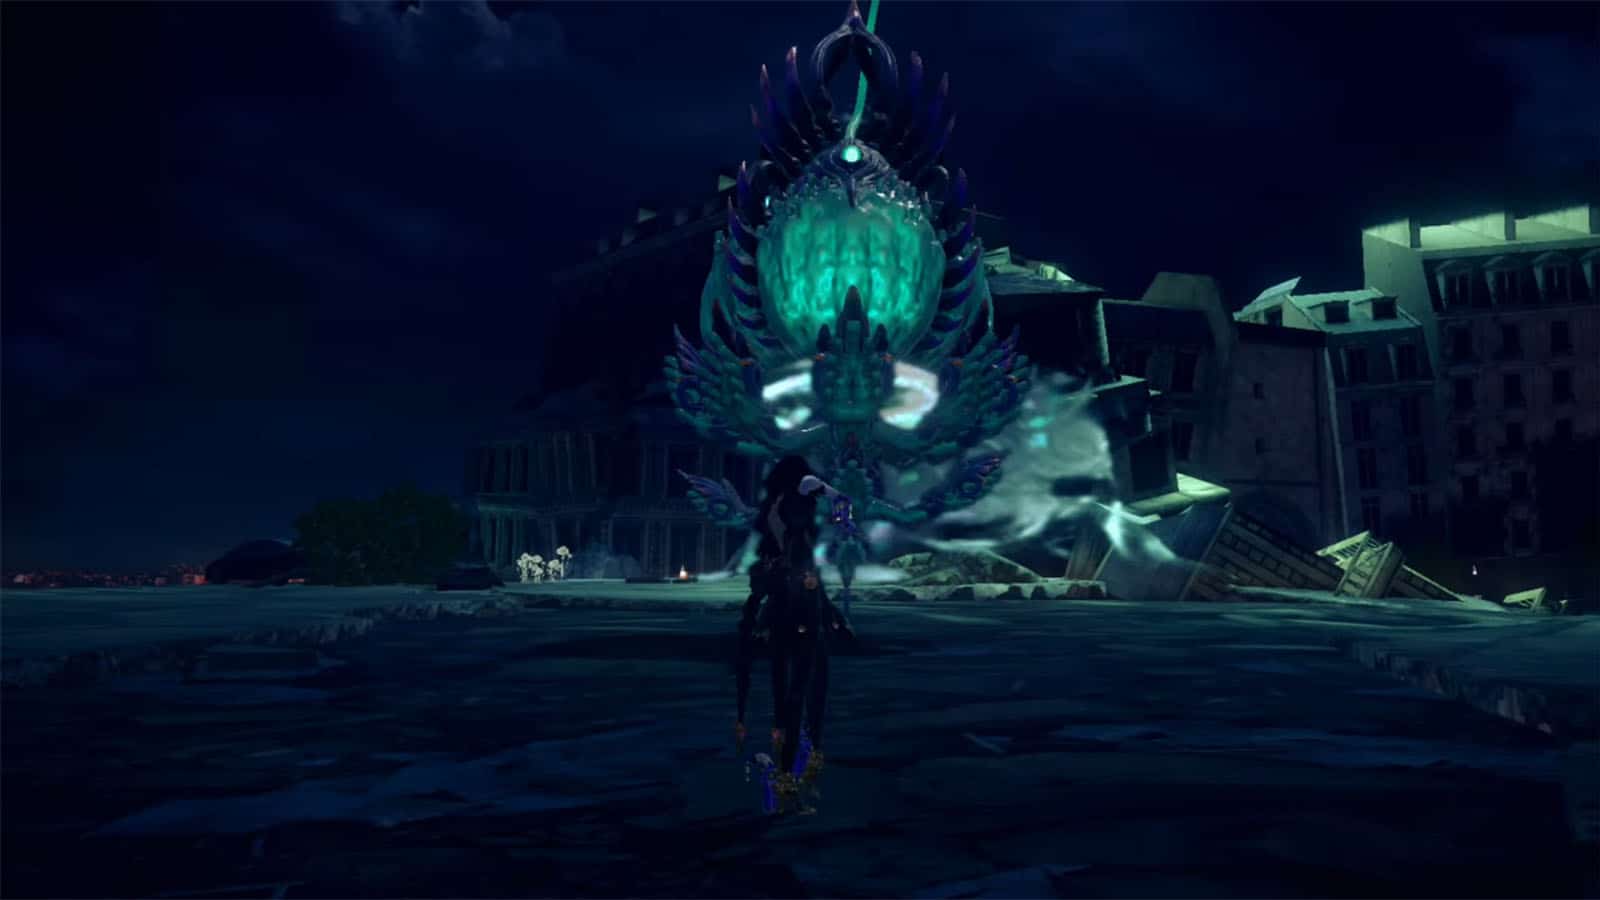
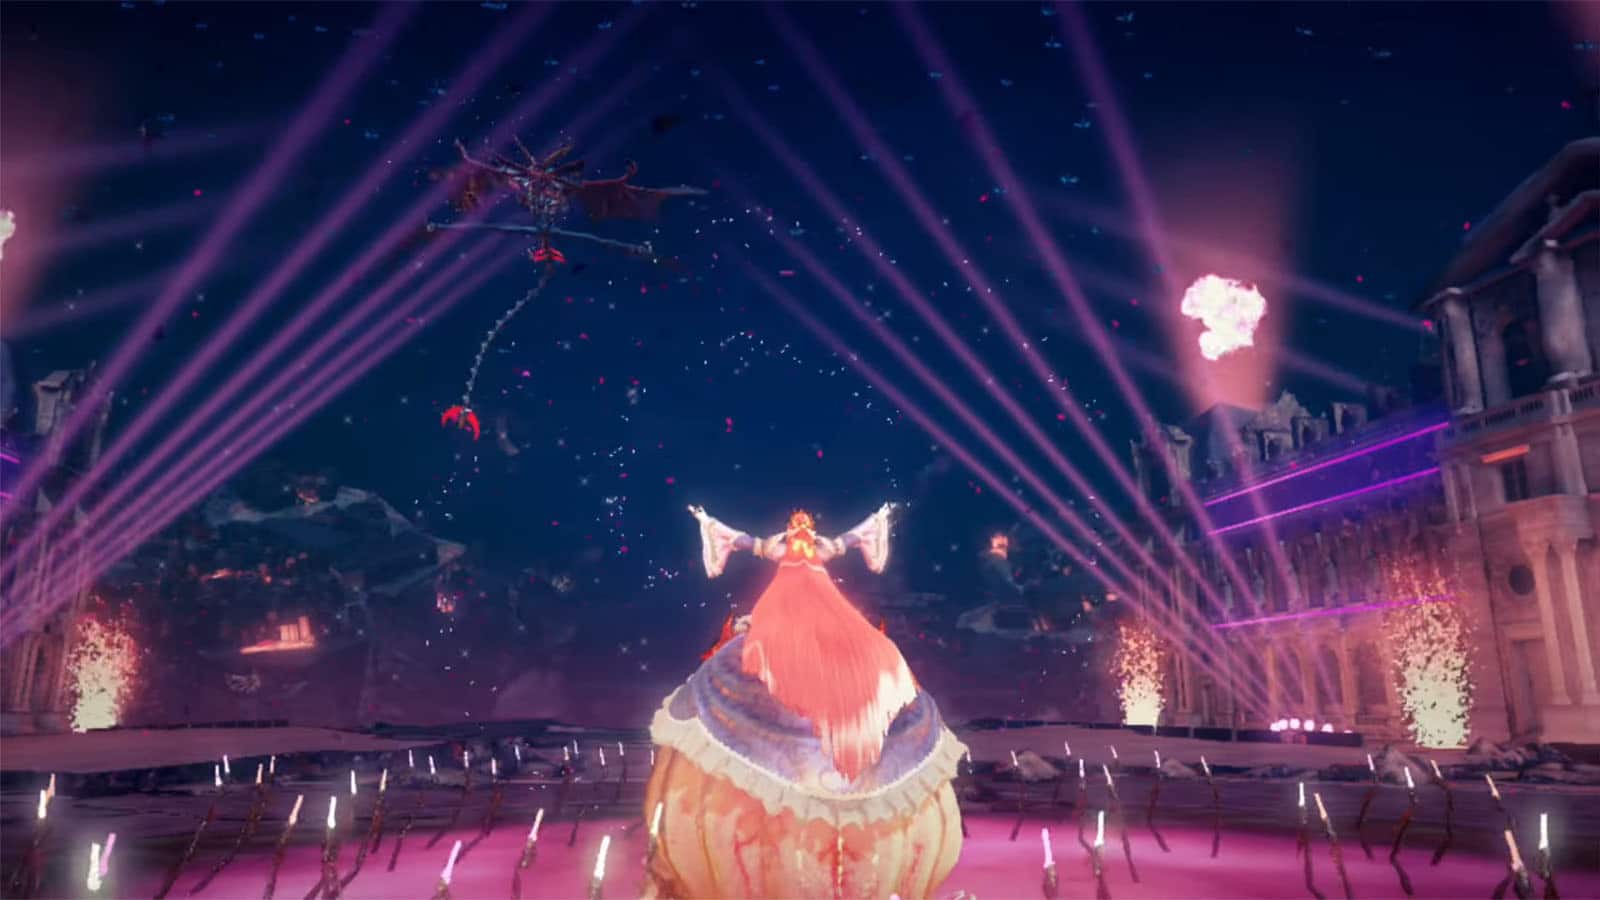
Verse #9
This verse will have you playing a rhythm game as Bayonetta summons Baal Zebul and uses her singing to block the attacking enemies. You can move the circular barrier using the Y, X, and A buttons depending on where the enemies will be coming from, from left to right. Time your button press to make sure that the enemies will be blocked; enemies will twinkle as they are about to attack, so use this as a tell.
Bewitchment #5
Get a full combo in this fight to get the Finish Baal Zebul’s performance without taking any damage Bewitchment.
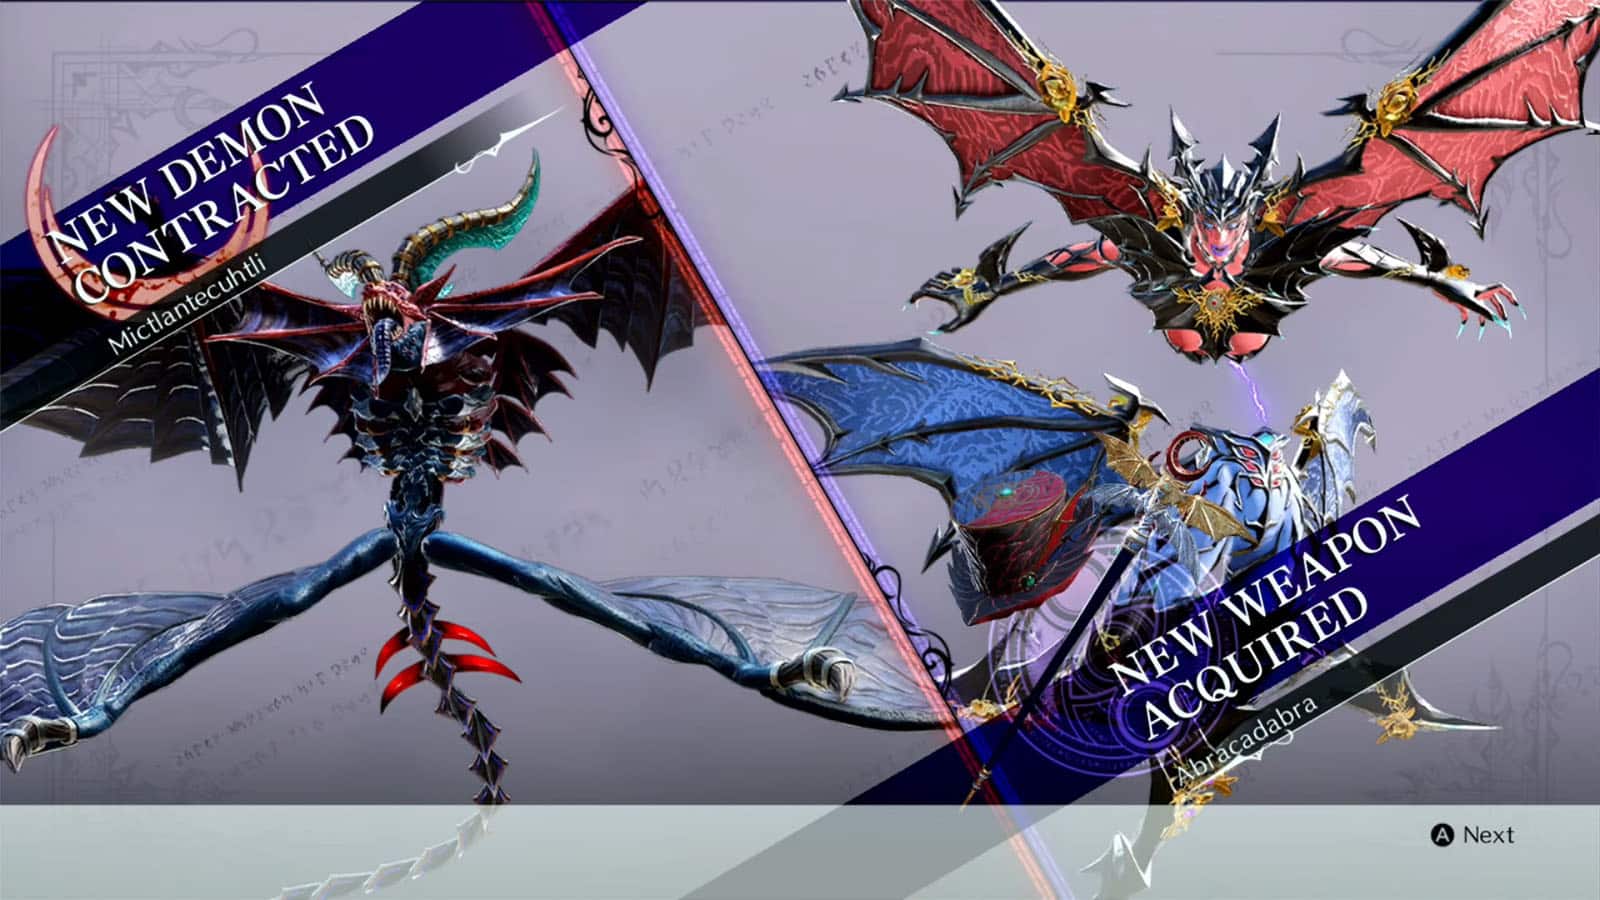
The chapter ends after the fight. You’ll then be able to use Mictlantecuhtli as a summon as well as use the Abracadabra weapon.
See next Bayonetta 3 Walkthrough Side Mission 4 - The Doctor is Out
If you like this guide, be sure to check out our other Bayonetta 3 articles:
- Bayonetta 3 Chapter List – How Many Chapters
- Bayonetta 3 Ending Explained
- Bayonetta 3 Singularity (Explained)
- All Outfits in Bayonetta 3
- Bayonetta 3 Weapons and Abilities
- Bayonetta 3 Day One Update Patch Notes Revealed
- How Long to Beat Bayonetta 3 – Game Length
Check out this video by omegaevolution showing gameplay for Chapter 12:


